IABSM AAR: Where the hell have you boys been? #19: Pouppeville

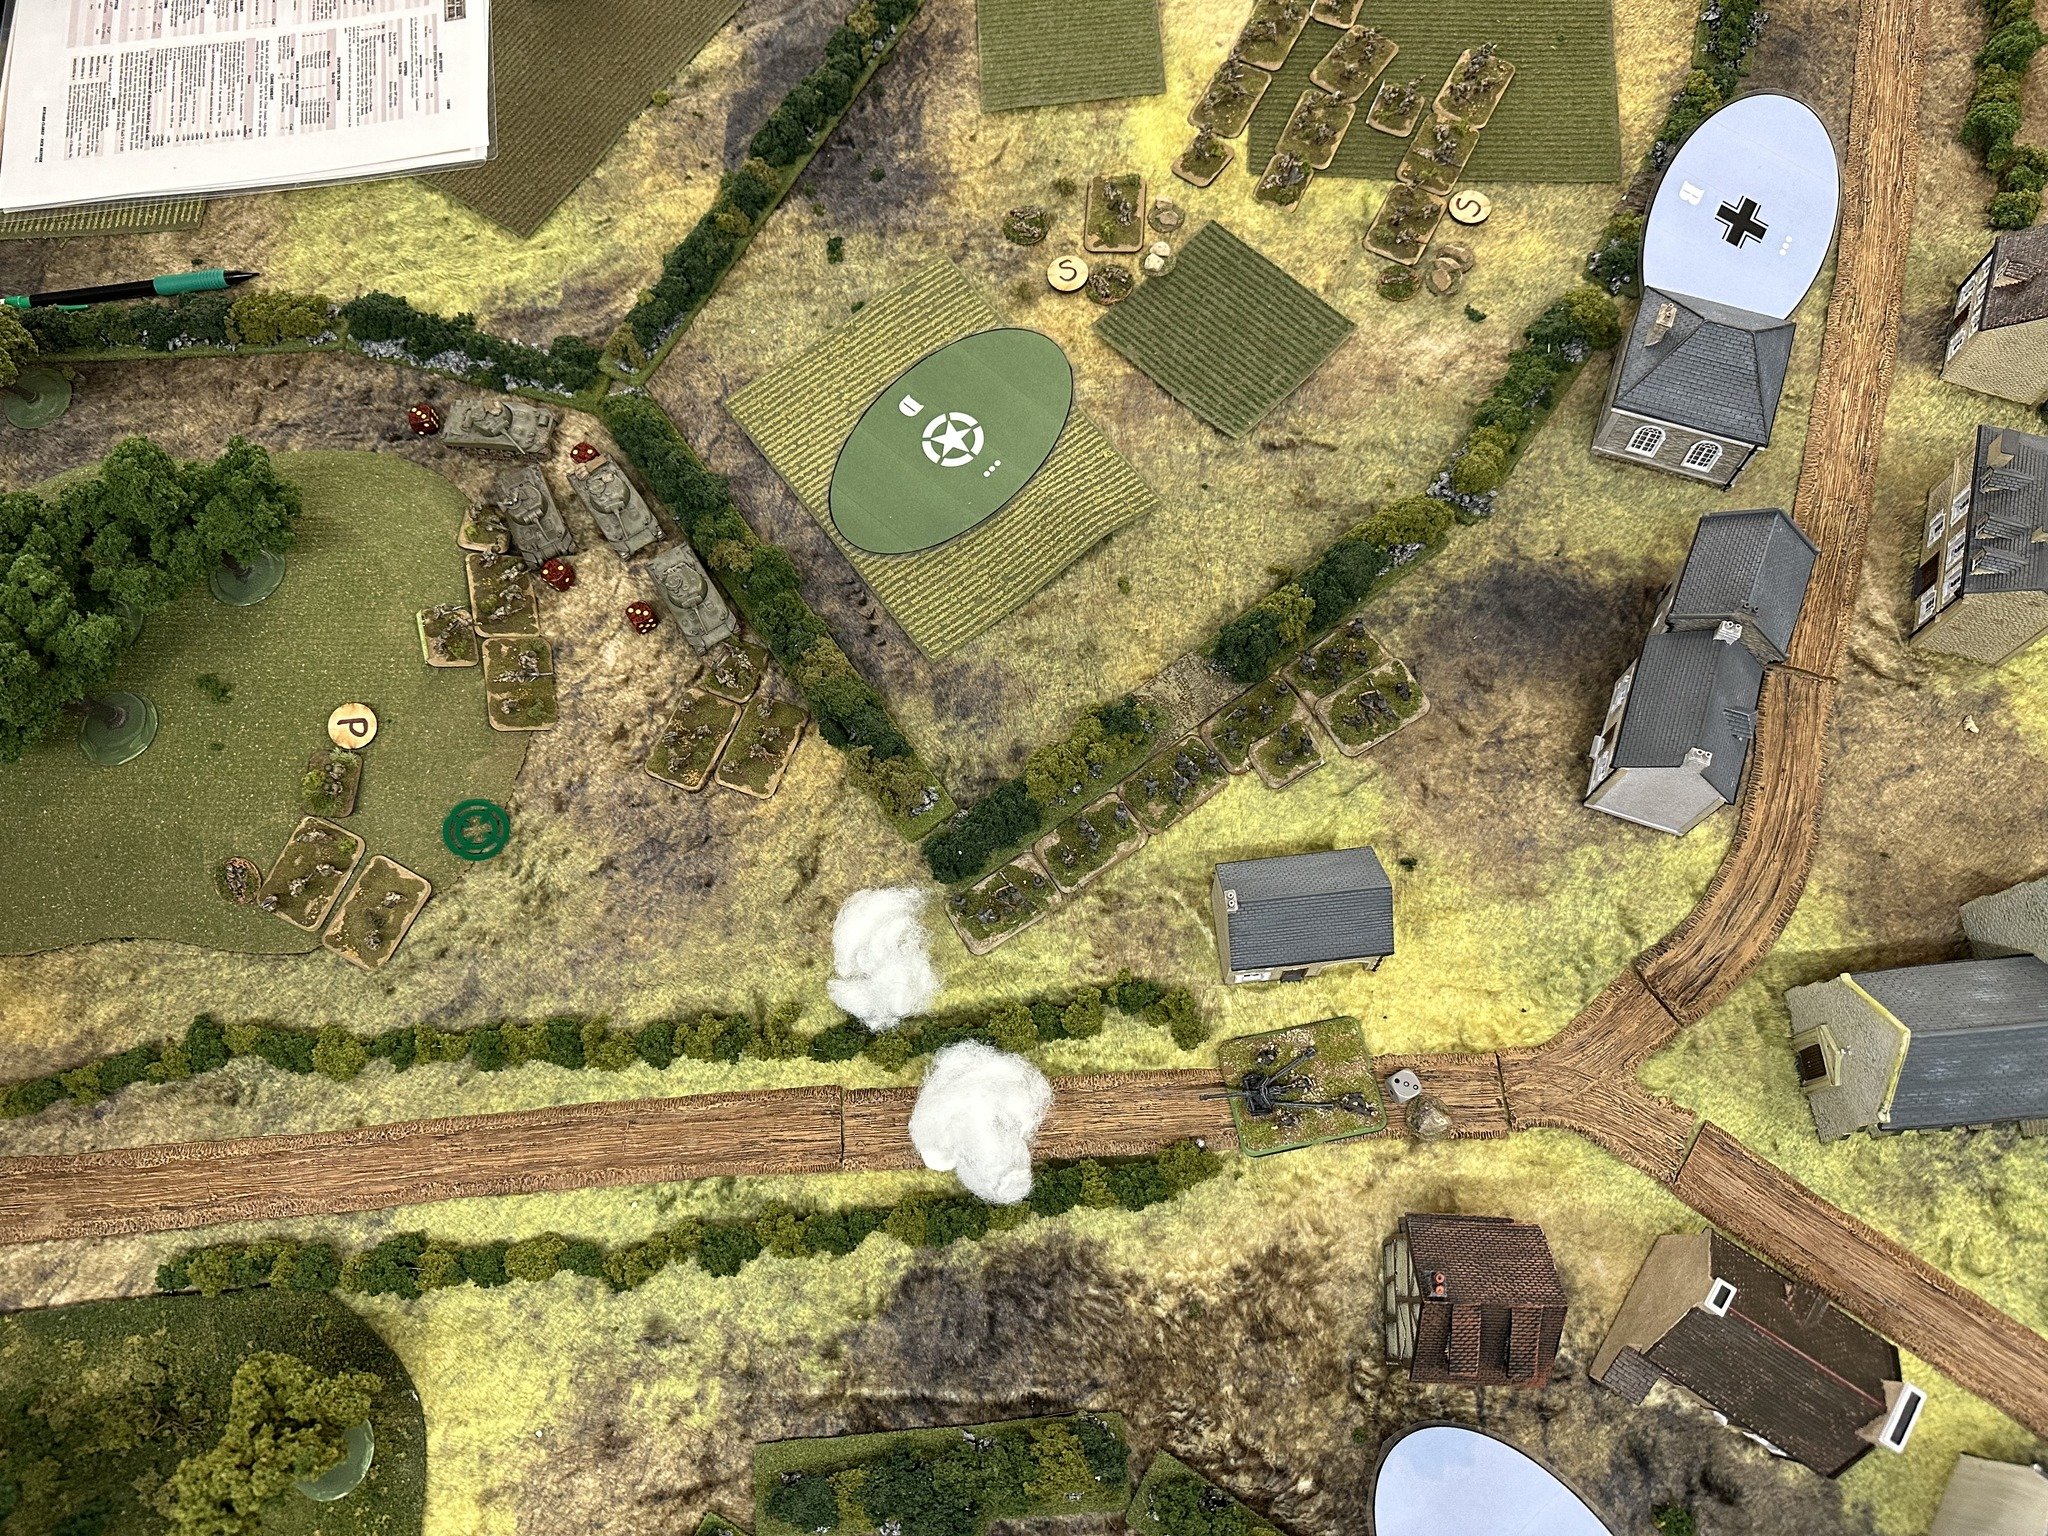
Great little battle report from Andy Cowell originally posted on the I Ain’t Been Shot Mum Facebook Group.

The AAR uses scenario #19 from the Where the hell have you been boys? pack: Clearing Exit One if you’re the Americans or, if you’re the Germans, Blocking the Exit.

Click on the picture below to see all:

IABSM AAR: Normandy in Knoxville, Tennessee

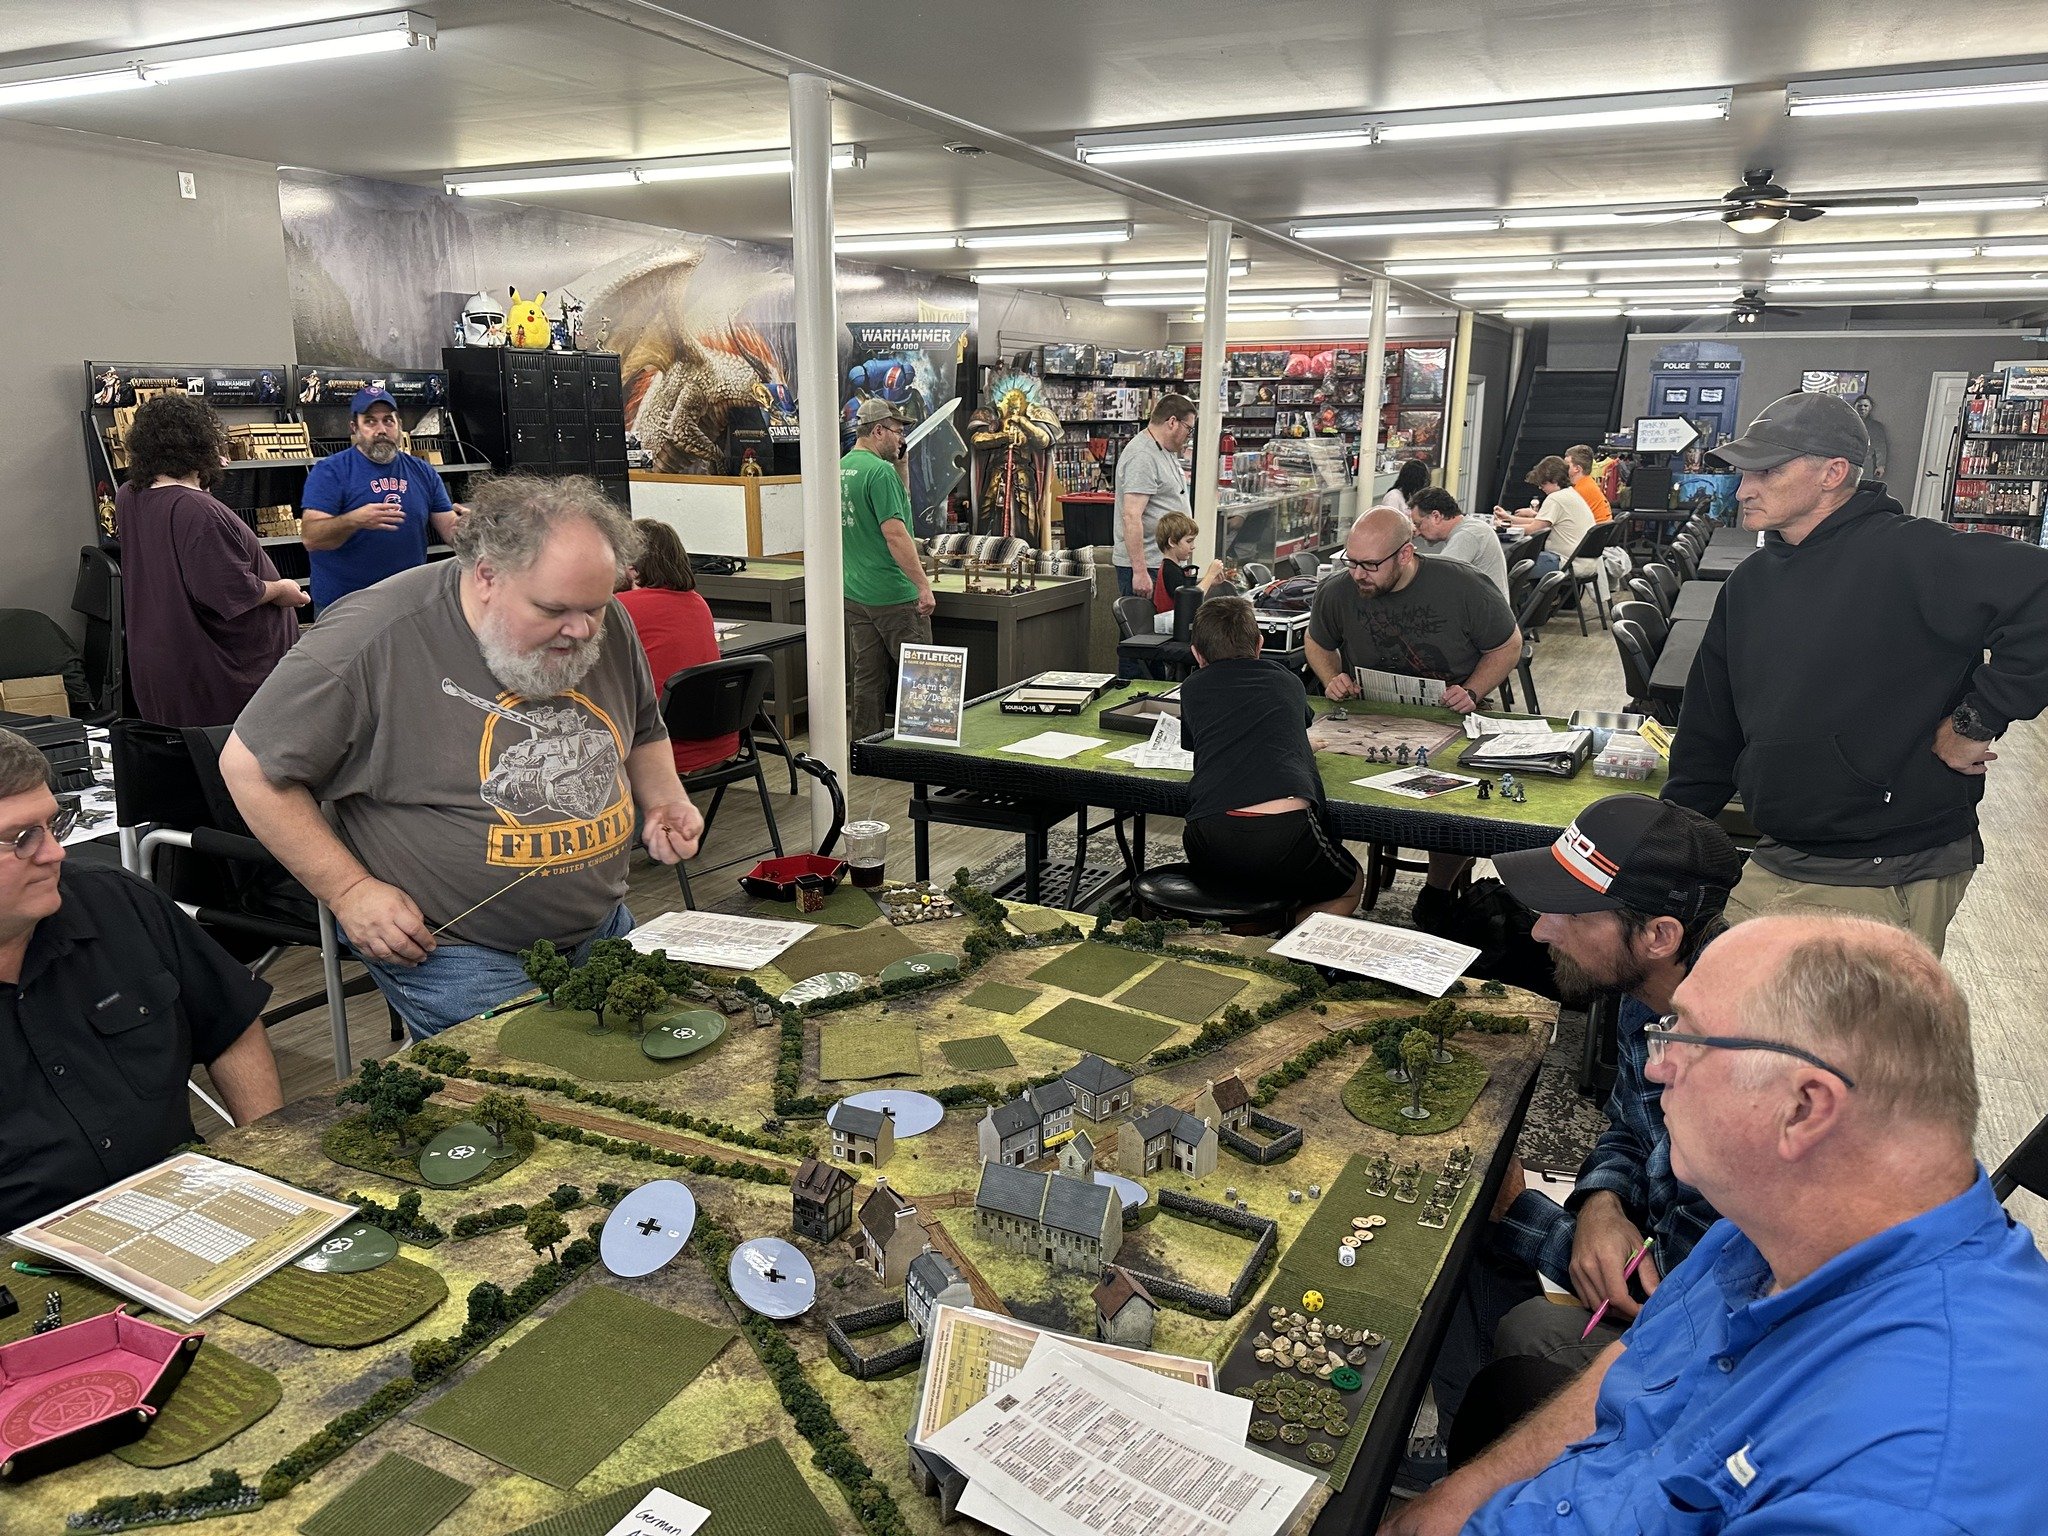
Andy Cowell ran a Normandy game of I Ain’t Been Shot Mum at a couple of events recently.

The first run-through was at a Knoxville, Tennessee fundraiser for the American Red Cross to raise money for Hurricane Helene relief as part of the Knoxville Blood Bowl League (KNOBBL).

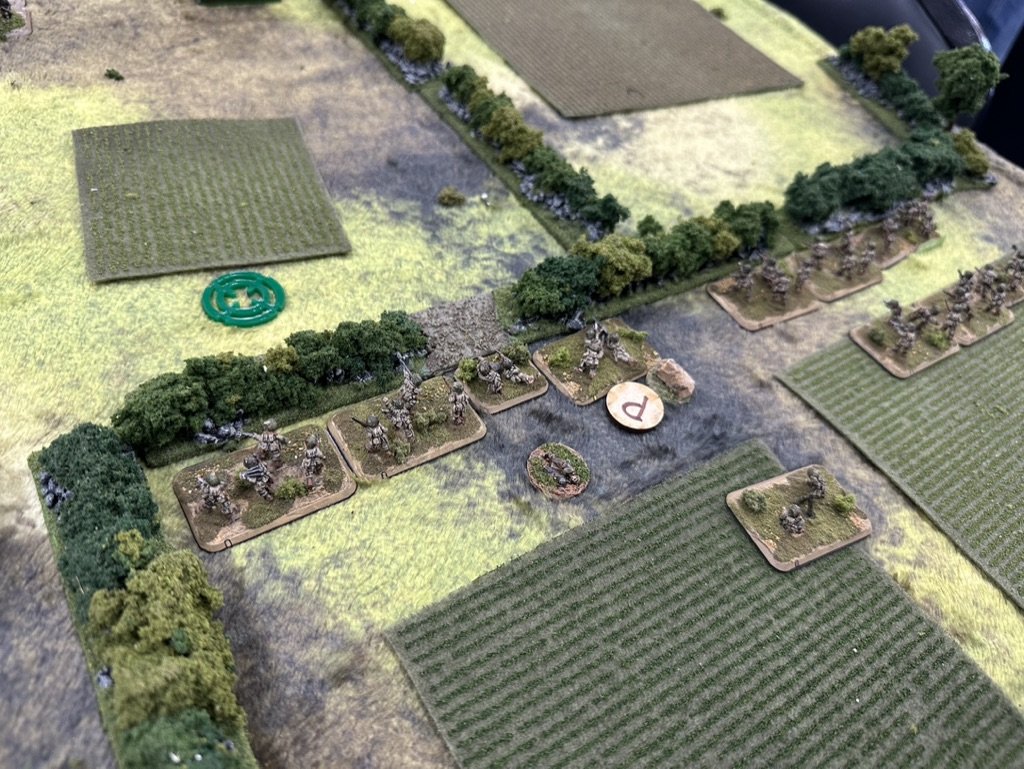
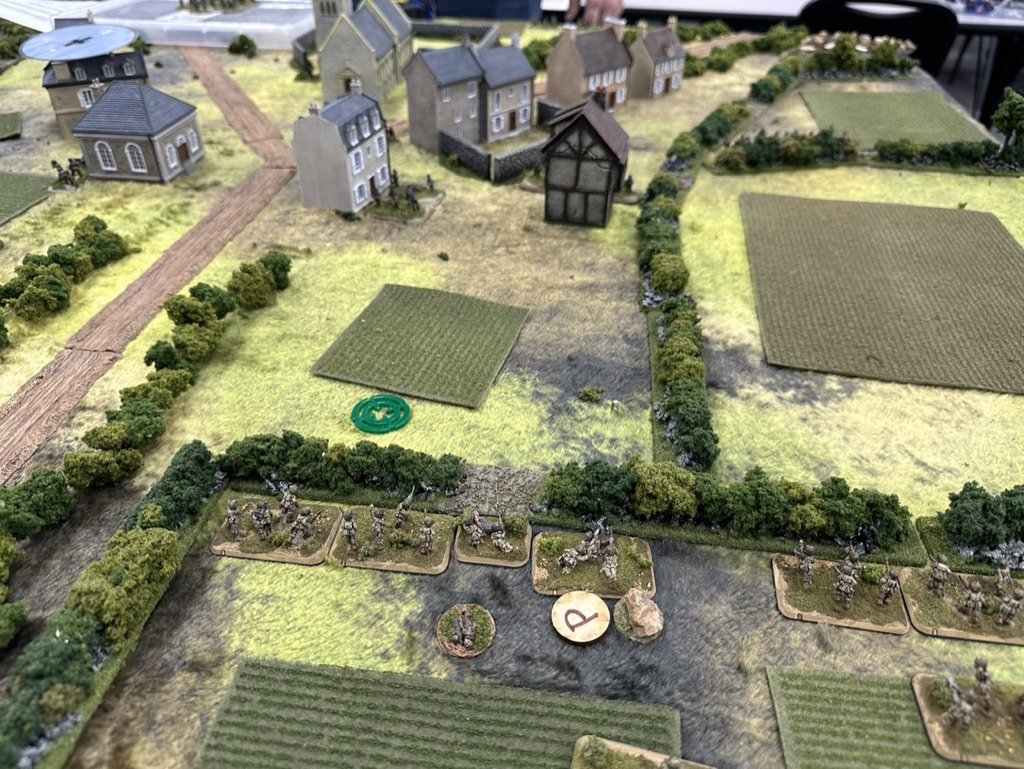
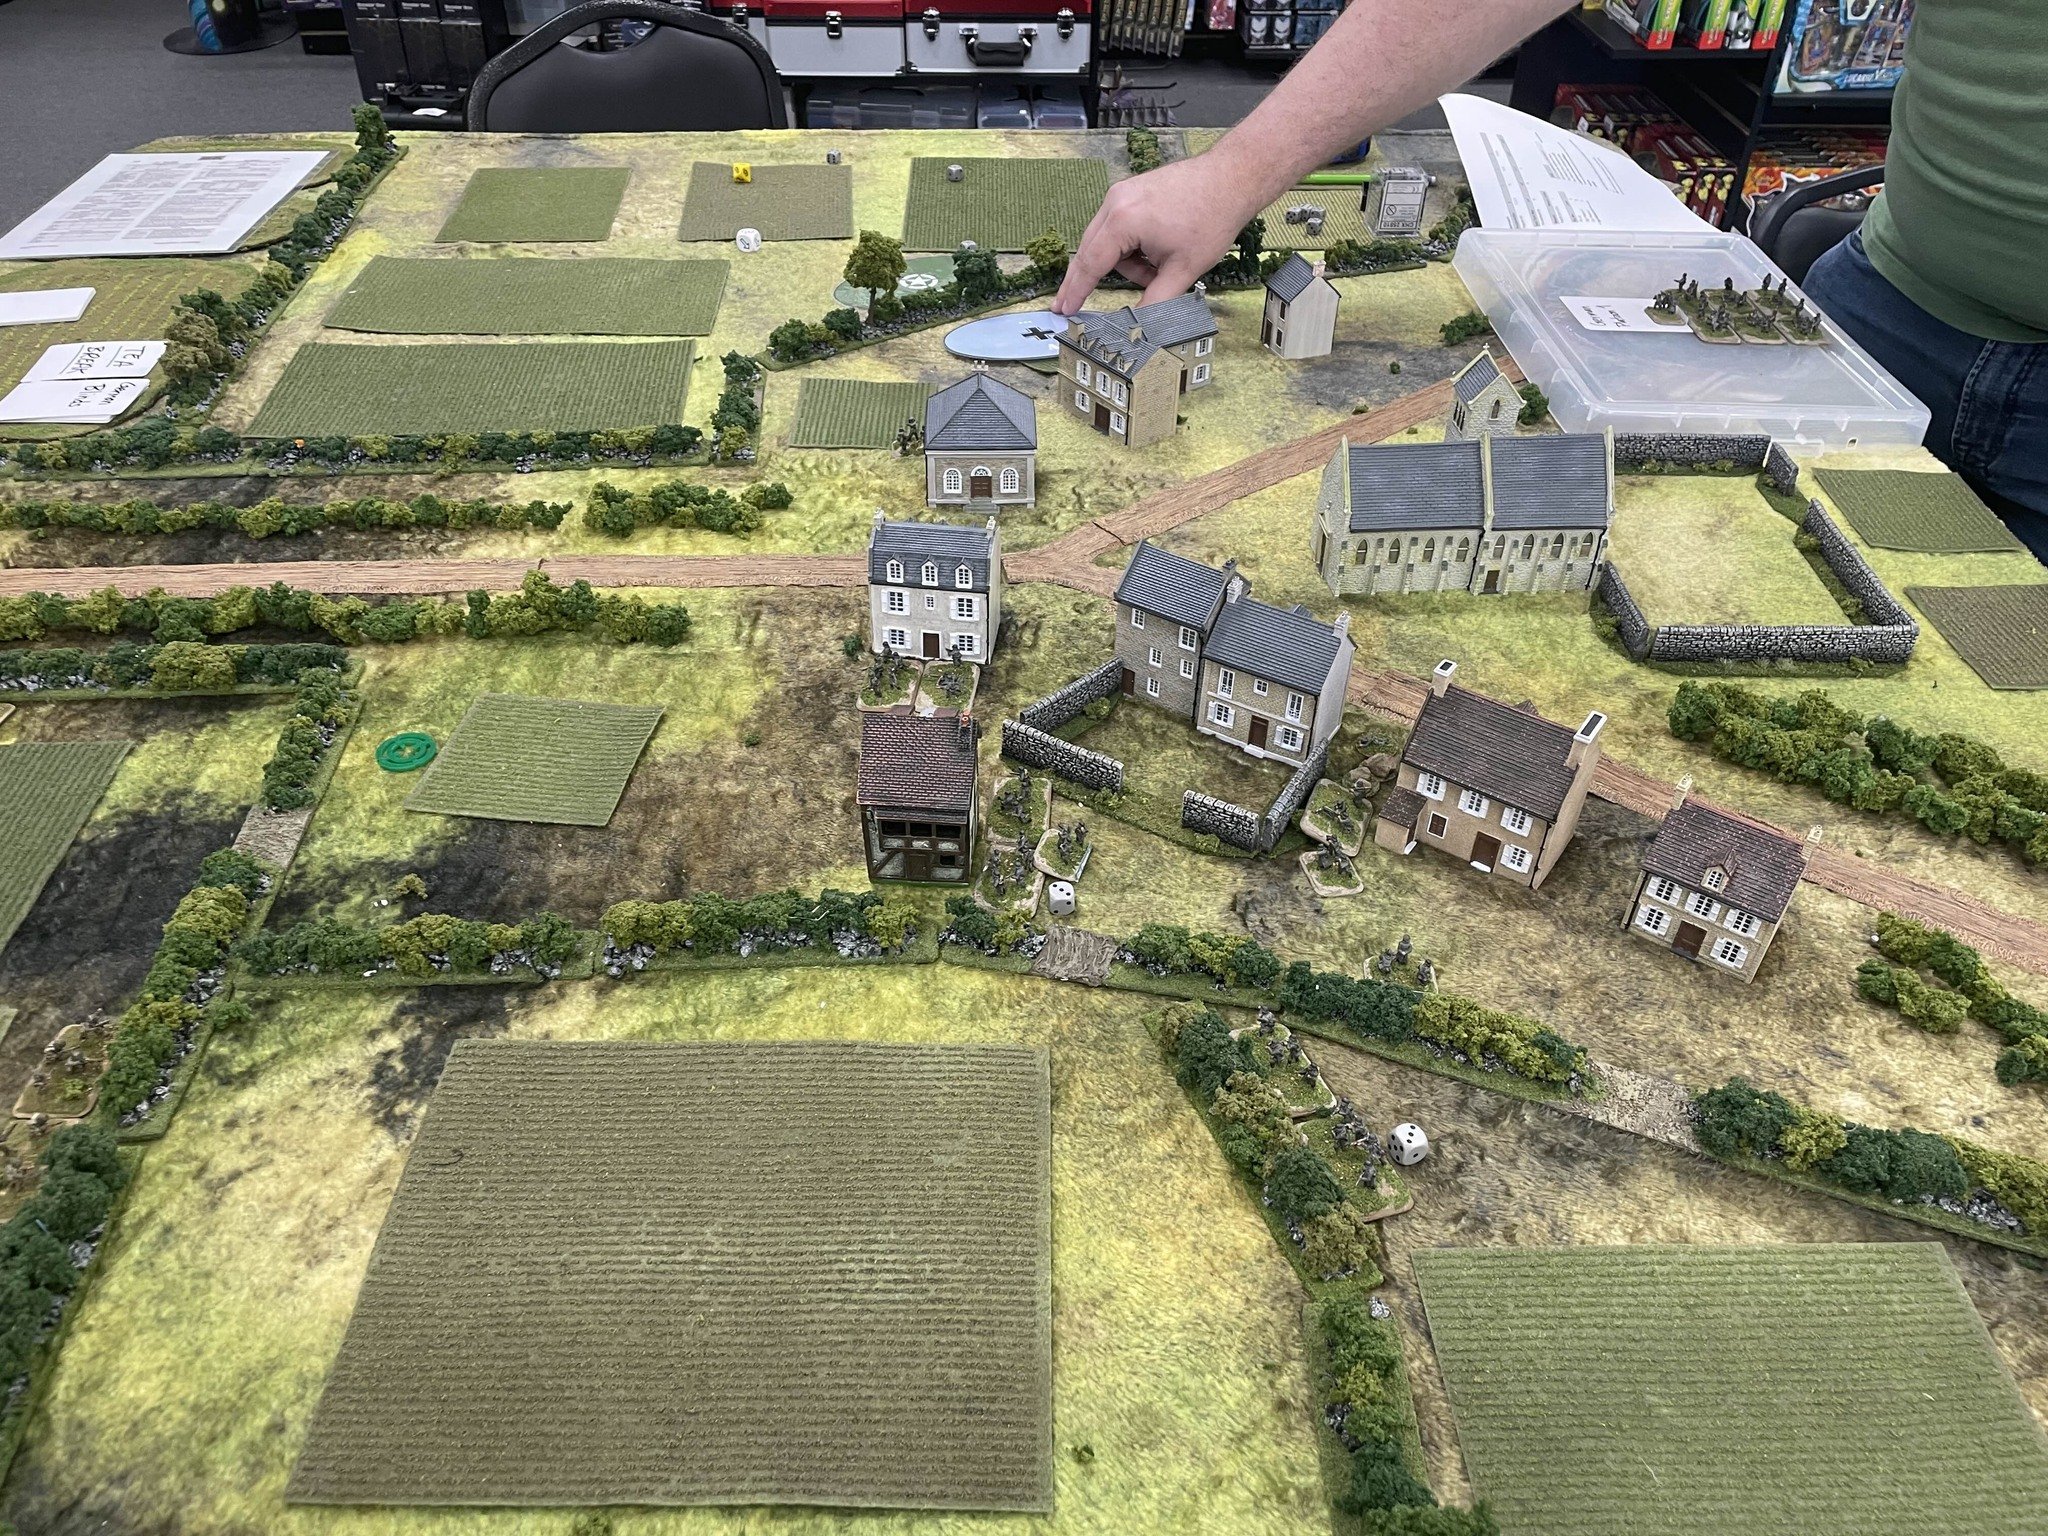
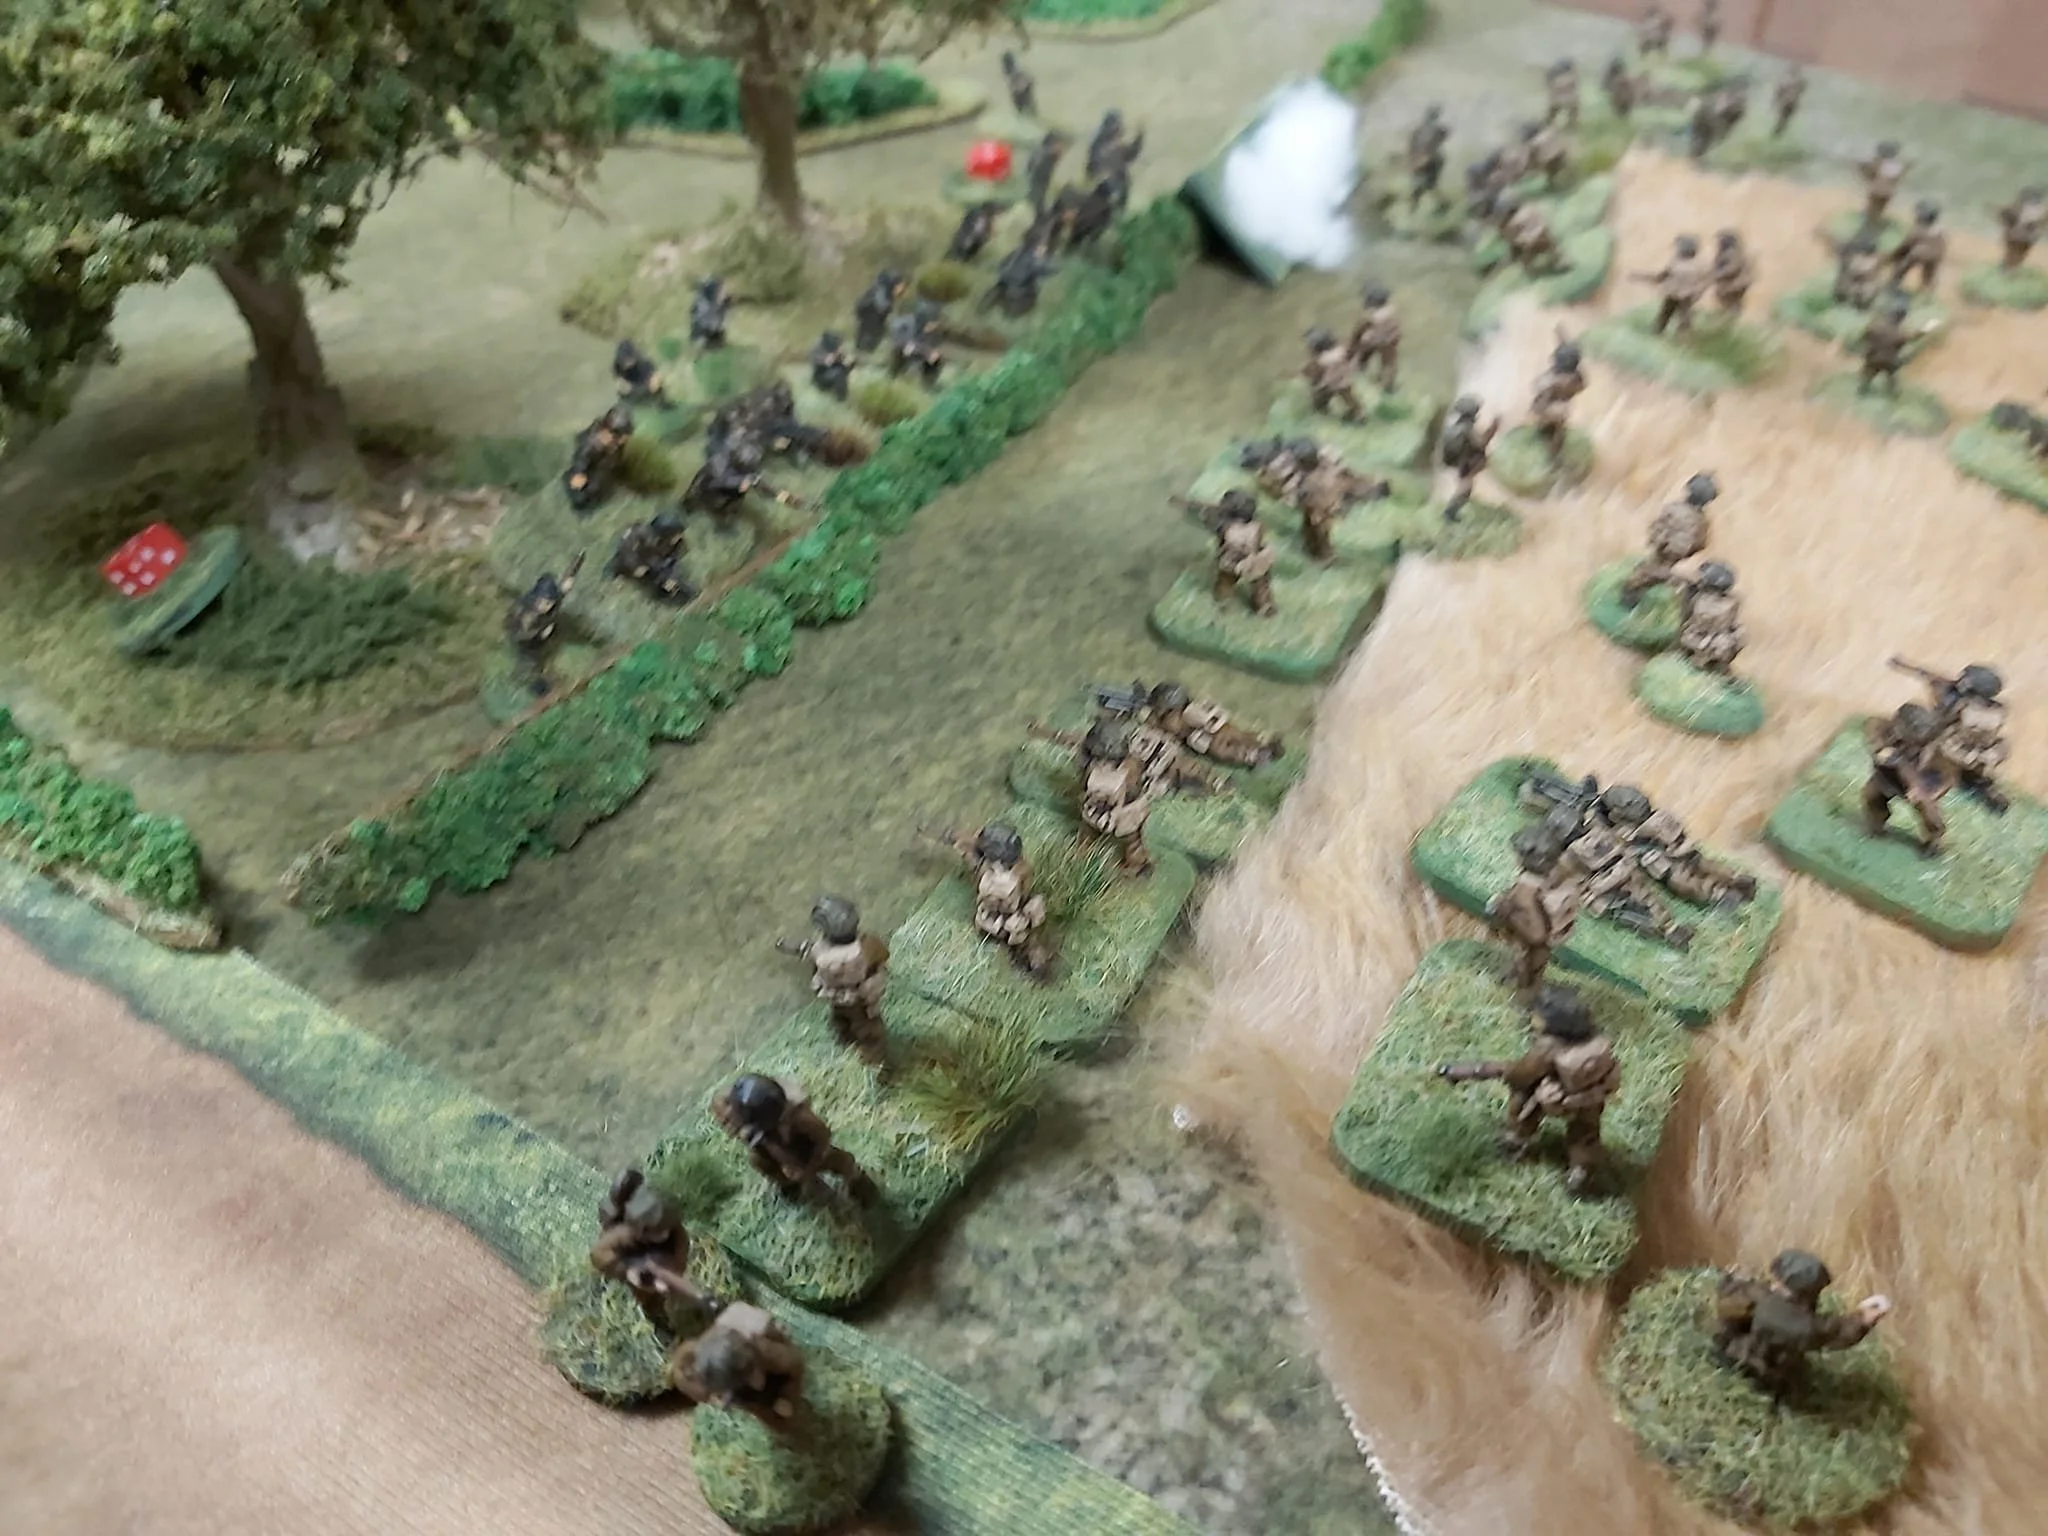
In the game, US Airborne troops are assaulting a small village amongst the Normandy hedgerows.

Andy then ran the game again as part of the East Tennessee Miniature Wargaming games day, also in Knoxville.

The game was scaled up a bit for a larger table: a full company of Airborne with a platoon of Shermans assaulting a village crossroads held by a Germany company with PaK 38s and an 8cm mortar battery.

IABSM AAR: South of Cherbourg

Here’s a quick AAR from Alex Sotheran featuring one of the v3 rulebook scenarios: click on the picture to see all:

Alex ran another game recently: introducing four new players to I Ain’t Been Shot Mum. In this game, the British were held up on the left flank, but smashed through on the right to cut off the Germans retreat and capture the crossroads:

IABSM AAR: Blenneville or Bust! #01: West of Pierrecourt

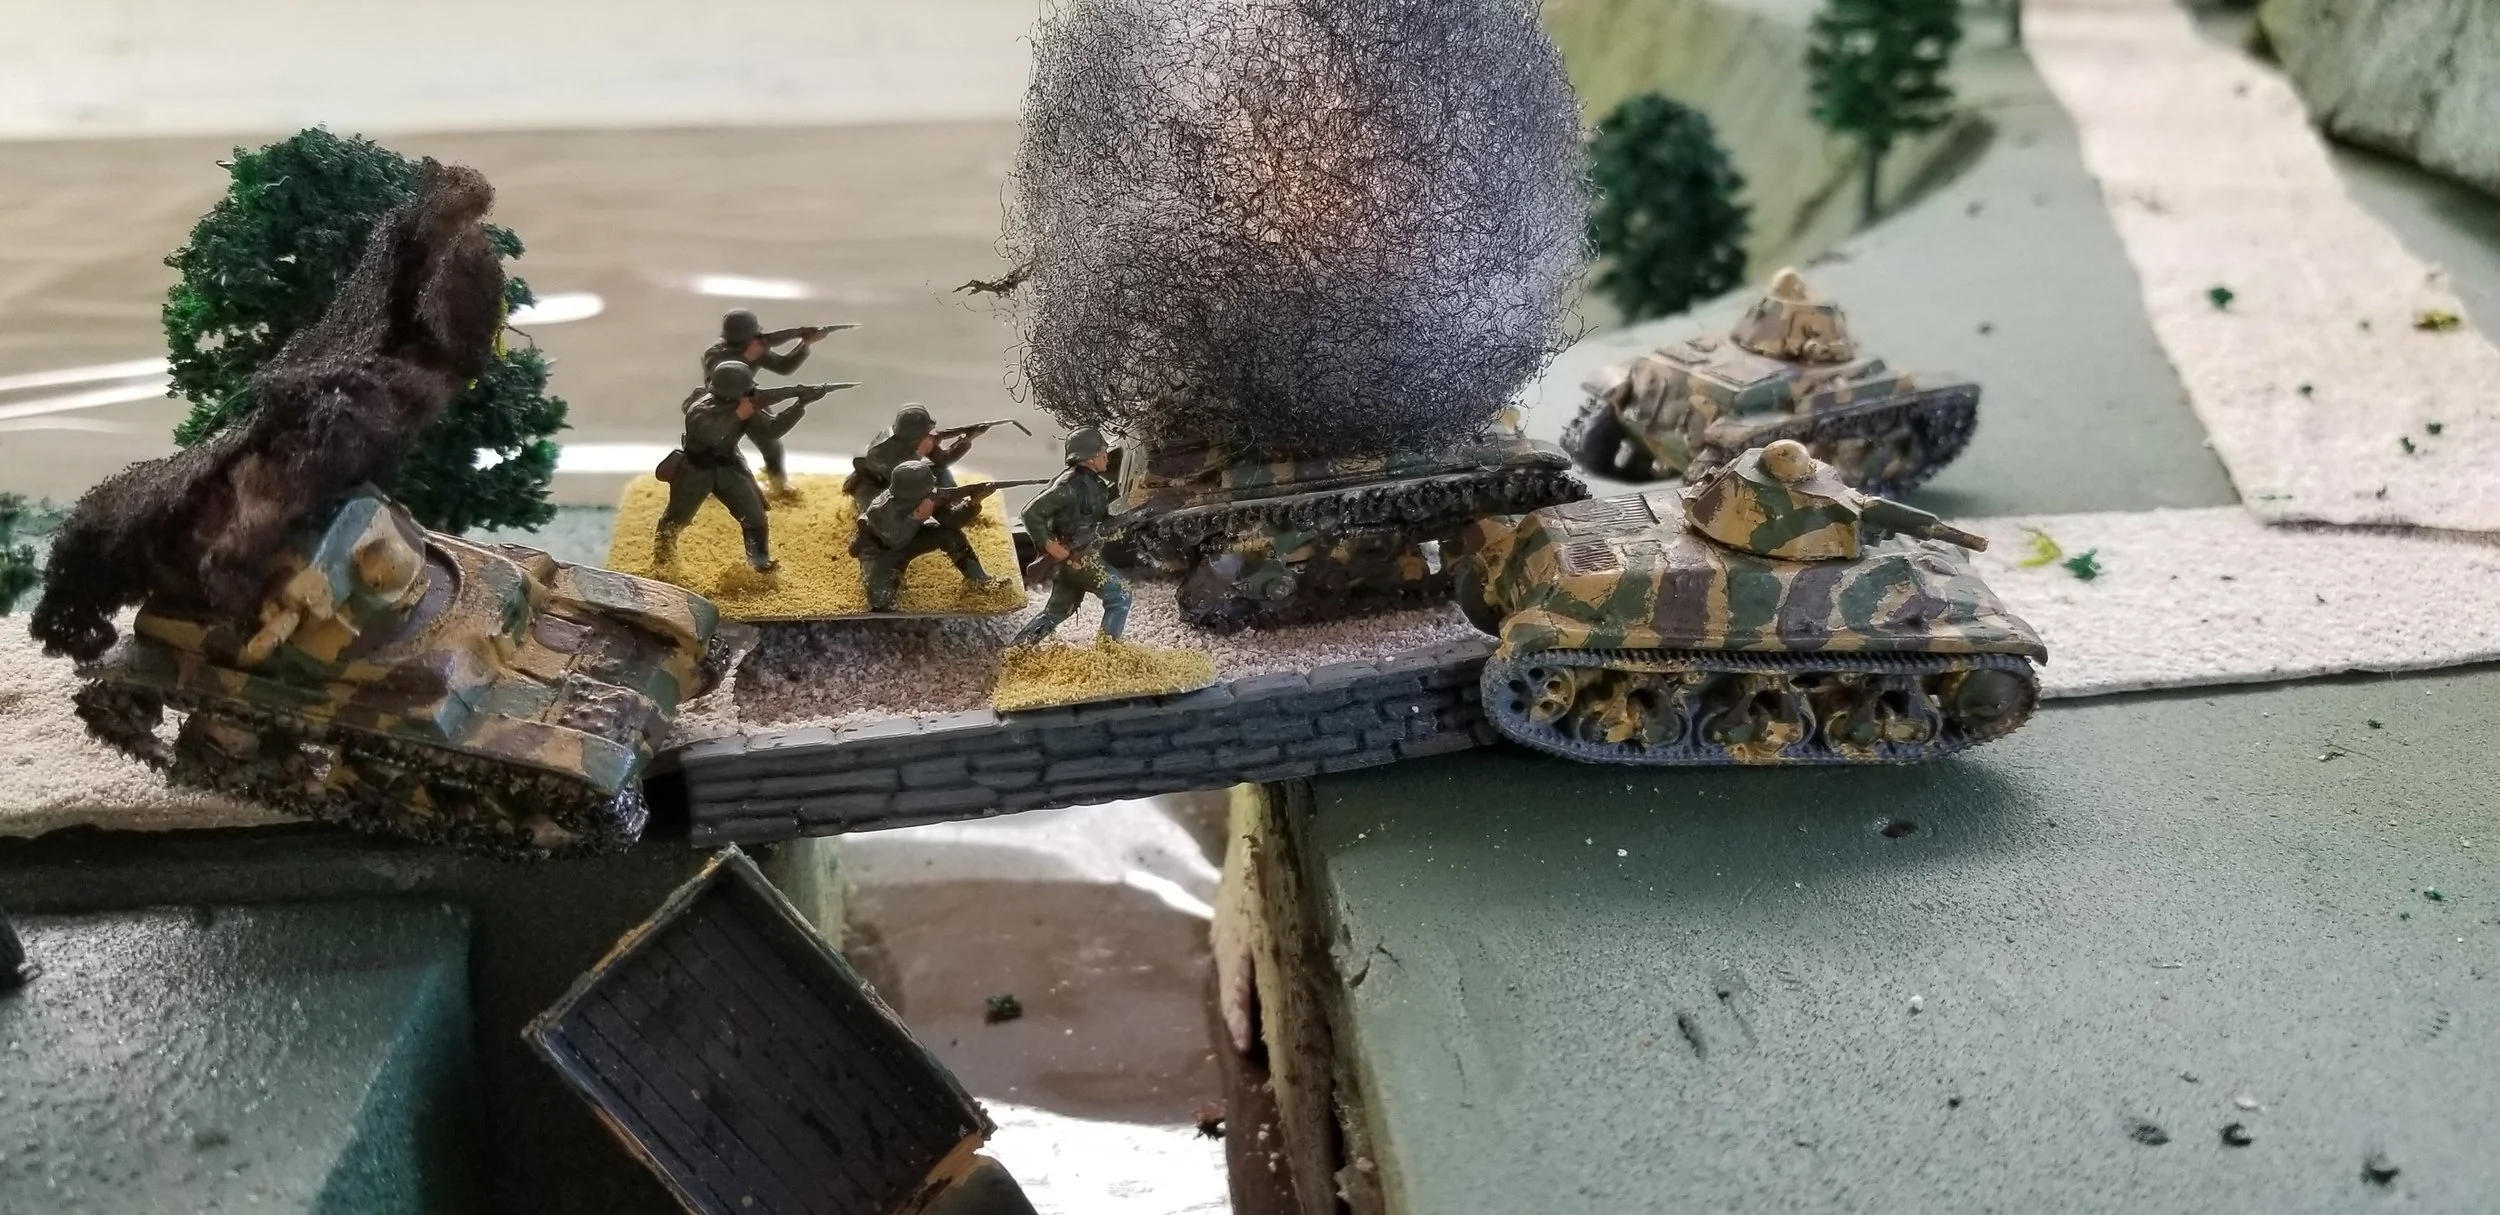
Just before Christmas I had a chance to play a great game of I Ain’t Been Shot Mum using the first scenario from the Blenneville or Bust! scenario pack: West of Pierrecourt.

The Allies are moving up the valley hoping to hook round Pierrecourt to the west. In order to do this, they need to be able to cross the Moire River. There’s a major bridge at Belle Maison, but Belle Maison is apparently full of Germans, so it would be good to find somewhere else to cross. Aerial assets have spotted a small bridge west of Pierrecourt, and the reconnaissance elements of the US 107th Infantry Division (nicknamed the Coyotes) have been sent forward to check it out.

The Germans, meanwhile, are keenly aware that the troops in Pierrecourt are relying on the Moire to protect their wider left flank. As the Allied advance begins, their commanders send out 30th Panzer Division’s reconnaissance units to cover as many river crossings as they can. This scenario covers the first clash between the opposing scouts.

Click on the picture below to see what happened:

IABSM AAR: Happy Christmas!

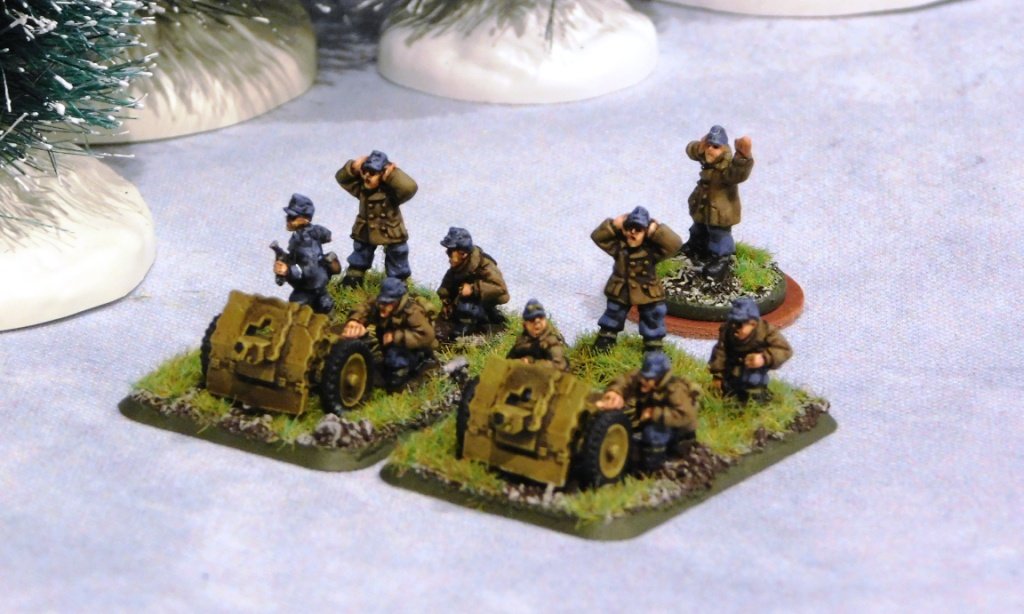
Over the Christmas period, I got a chance to play in a Christmas-themed game of I Ain’t Been Shot Mum set in late December 1944.

It was a Battle of the Bulge scenario, with me playing a US force defending a major supply dump against an attack from a German armoured column. I could expect some support from nearby Brits, but couldn’t be sure when they would arrive.

Click on the picture below to see what happened…

US Tanks for North Africa

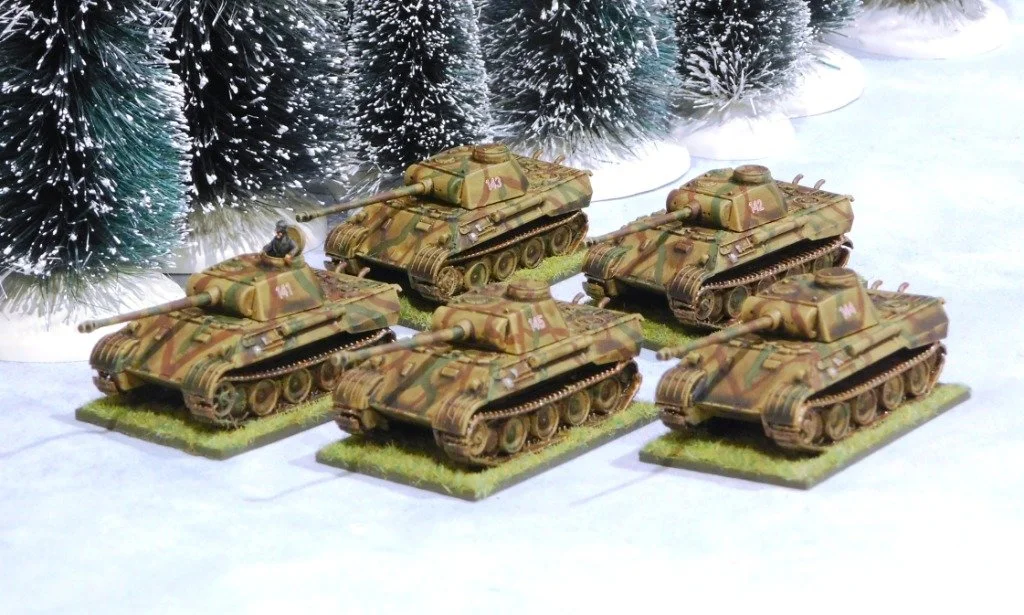
Earlier this year, I bought the Kasserine boxed set at a show, and having already completed the Panzers for the Germans, it was time to have a crack at the Americans.

In the box, you get enough plastic sprues for five M3 Stuarts, four M3 Lees, and three M4 Shermans. To these I added not two French hens and a partridge in a pear tree but some Battlefront special edition Sherman base I’d had lying around for ages. Let’s take them each in turn.

The Stuarts

First up were the five Stuarts. The build did not get off to a great start when the first thing I did was to snap the gun barrel in half on the first Stuart I was building. I’ve often said that clipping the gun barrels from the sprue is often a risky business, and so it had proved again.

This was a real pain in the backside, but I solved it by using a decapitated pin instead. It’s the barrel on the command tank (the one with the chap sticking out the turret) in the picture above.

Otherwise, the build wasn’t too difficult, although getting the upper hull to sit flush on the main body proved almost impossible. That means that there’s a gap on both sides of most of the models, but I stuck the stowage on the side where it was worst and the paint job conceals the other.

As a point to note, these kits have no tolerance for badly clipped parts: you have to make sure there are absolutely no bumps or it just won’t fit together.

The Lees

The same notes about gun barrels and no tolerance applies to these kits as well. Also, you need to make sure that you get the 75mm gun the right way up: get it right and you can fix it in place without glue so that it swivels.

Otherwise, these kits go together well, especially the mudguards: they were actually strangely satisfying to fit!

The Shermans

This is where the fun began…but “fun” entirely of my own doing!

It was quite an overcast day when I sprayed these in the garage and, as is my custom, I took the trays with all thirteen tanks out of my spraying area and put them on the front step just outside the front door of the house. It’s a place that’s in the sun and, once dry, I wouldn’t have to go through the rigmarole of walking to the garage (all of twelve steps!), opening the garage door, getting the models, closing the garage door etc.

I then went into the house and started watching a bit of TV, eventually dozing off as I’d had an early start.

The thunder and lightning of an enormous storm woke me, and for a while I sat watching the lightning fork down and the wind sweep the rain horizontally across the front garden.

Then I remembered my models: still outside “drying in the sun”!

By the time I rescued them, the trays with the Stuarts and Lees were half an inch deep in water, and the tray with the Shermans was nowhere to be seen! I eventually spotted it blown down the drive some twenty metres away!

Rushing out into the teeth of the storm, I managed to rescue the Stuarts and Lees without too much difficulty, and then went back out into the darkness to find the Shermans. We leave no-one behind!

I found all three Sherman hulls, but only one turret, so the models below have been built using the spare turrets from some Plastic Soldier Company Shermans that I’d built some time ago: like many plastic models, there’s one PSC sprue for a Sherman that allows you to build all the variants i.e. it has the parts for various shaped turrets on it dependent on which variant of Sherman you are building.

Okay, so the turrets don’t turn, and have no .50 cal…but that’s better than throwing the incomplete models away and they seem to have turned out okay.

Fortunately, the Battlefront special I was also painting was made of metal and resin, so was a pretty solid affair that hadn’t been blown away in the wind.

Summary

So that’s another foothill of the lead mountain dealt with.

The Battlefront Kasserine box set is good value (especially the discounted price I paid for it) and the kits aren’t really too hard to put together. Take a bit more care than I do and none of them should be a problem.

One thing: no decals are included in the set. I’d have rather paid a bit more and had the right decals than have to specially buy a pack or two of yellow stars for the US tanks, and I couldn’t find anyone who does 15mm yellow strips to go either side of the stars like on the pictures of the models on the box. I could have tried to paint them myself, but experience has shown me how difficult that is, so I didn’t bother to even try!

Looking back at my post about building and painting the Panzers (click here) I see that I gave the German side of the box set a Recommended. I can’t give the US side of things the same rating, mainly because of the build on the Stuarts and the overall lack of specialist decals: it gets a solid Average for being convenient and good value, but that’s all.

IABSM AAR: Strongpoint Hillman

James Mantos played in a D-Day scenario put on by Brian Hall: Strongpoint Hillman. Not a full report but duplicating the pictures he posted to the I Ain’t Been Shot Mum Facebook Group:

On a beautiful October Saturday, when I should have been doing some gardening, I instead drove with Weirdy-Beardy to deepest, darkest, downtown Hamilton for a Lardy themed game day. A change in route thanks to recommendations from a Hot Lead friend made the drive there and home much less fraught with peril, unlike my last three trips to play in Hamilton. Victory for old fashioned map reading! Take that Google Maps and GPS!

I got a spot in friend Brian's 6mm I Ain't Been Shot, Mum game refighting the 1/Suffolk Regiment's 2nd assault on Strongpoint Hillman during the afternoon of D-Day. See also a Youtube video here.

Brian is a fantastic game master who always brings his depth of knowledge about the battle being played to the game to help the players understand what is going on and facilitate any rules interpretation required. His terrain is also very well made and thought through.

This scenario was one of the players fighting the GM/table since the Germans were pretty static and didn't have much to do except react. Looking at the situation I quipped to my team mates: "Two up, one back, bags of smoke?" One of them replied, "Yeah, sounds good."

Fortunately our supporting 25 pdr batteries got on the job quickly and the first missions were on target so we had the most dangerous German MG emplacements blinded for the critical break in phase while the Engineers widened the gap in the minefield to let the tanks in.

Brian introduced me to using Force Morale for IABSM, which is a great idea that I'll use from now on instead of troops fighting to the bitter, ragged end.

IABSM AAR: All American #03: La Fiere II

Great write up of a game of I Ain’t Been Shot, Mum from the keyboards of Dan Albrecht and Shane Waley.

Dan used a modified version of the third scenario from the All American scenario pack, along with a modified version of IABSM using Derek Hodge’s command card activation system.

Click on the pic below to see all:

IABSM AAR: Break-Through

For those of you who are on Facebook, I recommend joining the I Ain’t Been Shot, Mum group. People there answer questions about the rules, post up pictures of their forces, ideas for scenarios and, of course, after action reports.

Here’s one from James Moulding featuring late war action in a break-through scenario. Click on the picture below to see all.

Oddball and Bowser!

Not the worst named estate agents in the world, but a quick bit of painting to fill in the gaps between Six Nations matches!

First up are two 3D printed Shermans from Syborg.

When I was looking at re-photographing my US troops, I noticed that I was short the tank company HQ. At the same time, whilst browsing the Syborg website I noticed that they do an “oddball” version of a Sherman i.e. a Sherman tank with a loudspeaker mounted on the side in the same way as the one commanded by Donald Sutherland’s spaced out Oddball character in the film Kelly’s Heroes. This was too much of a happy coincidence to resist, so I bought two and clipped the speaker off one of them. I now have both my tank company HQ and a one-off model that could be used as an objective or for a specific scenario.

My only word of caution with these models is that they are a little bit bigger than a PSC plastic Sherman. It doesn’t really make that much of difference once gaming, but it is noticeable.

Second up is one of those delightful bits of tail that make the tabletop really come alive: a water bowser i.e. a truck that carries a tank full of, er, water or, as someone suggested for the Brits today, tea or gin & tonic!

This is also from Syborg, and I would emphasise that “in the flesh” you can’t see the layers built from the printing process as much as you can in the photo. In fact it’s a cracking little model that will go really well with my NAAFI truck and the fuel tanker that I already have.

So two “highly recommended” models from Syborg.

IABSM AAR: Home Run at Osmanville

An excellent I Ain’t Been Shot Mum battle report for you to look at today, from Scott Miquelon’s equally excellent Little Soldier Painting Studio blog.

Scott has created a comic-book style AAR showcasing his solo game using the Home Run at Osmanville scenario from the 29 Let’s Go Large article in the TFL 2014 Christmas Special.

Click on the picture below to see all:

More WW2 Galleries Updated: Allied Airborne Troops, Late War Germans

Six more galleries showcasing my collection of 15mm WW2 figures have been updated. This time it’s the turn of the Allied Airborne troops and the Late War Germans.

British

Air Landing Company 1943-45

Parachute Company 1943-45

There are a few gaps in the rosters that I would like to fill, but the thought of painting any more of the camouflage Denison smocks worn by the Brits is enough to persuade me to concentrate elsewhere!

Late War Germans

Gebirgsjaeger Kompanie 1943-45

Panzerkompanie 1943-45

IABSM AAR: South of Cherbourg

Here’s a quick IABSM battle report from Sergeant Steiner’s excellent blog.

The Sergeant played through one of the free scenarios in the main rulebook: the South of Cherbourg game. This is an all infantry scenario with regular Wehrmacht defending against advancing US troops in Normandy in 1944.

Click on the picture below to see all:

IABSM AAR: Anzio #10: Highway 7

Another great 6mm I Ain't Been Shot Mum game from Mark Luther played at Gigabites Cafe in November 2021.

The scenario is taken from the Anzio: Wildcat to Whale scenario pack and features US infantry and armour assaulting a collection of four farmhouses held by men from the Herman Goering Panzer Division.

Click on the picture below to see all: