FK&P AAR: Vanquished at Vanquish!
/I visited the Vanquish wargaming show in Bourne End a couple of weeks ago. It’s a great little event and conveniently close to home, so I always enjoy attending. This year, I had an extra reason to go — the South Oxford Generals (SOGS) were running their Pavia game using the For King & Parliament: Eastern Front variant.
I ended up playing the Ottomans against a combination of friend Gary and a young lad who was at the show with his father…who was helping him, as was everyone else in the room…an important fact to remember when we look at what happened in the game. Very important!
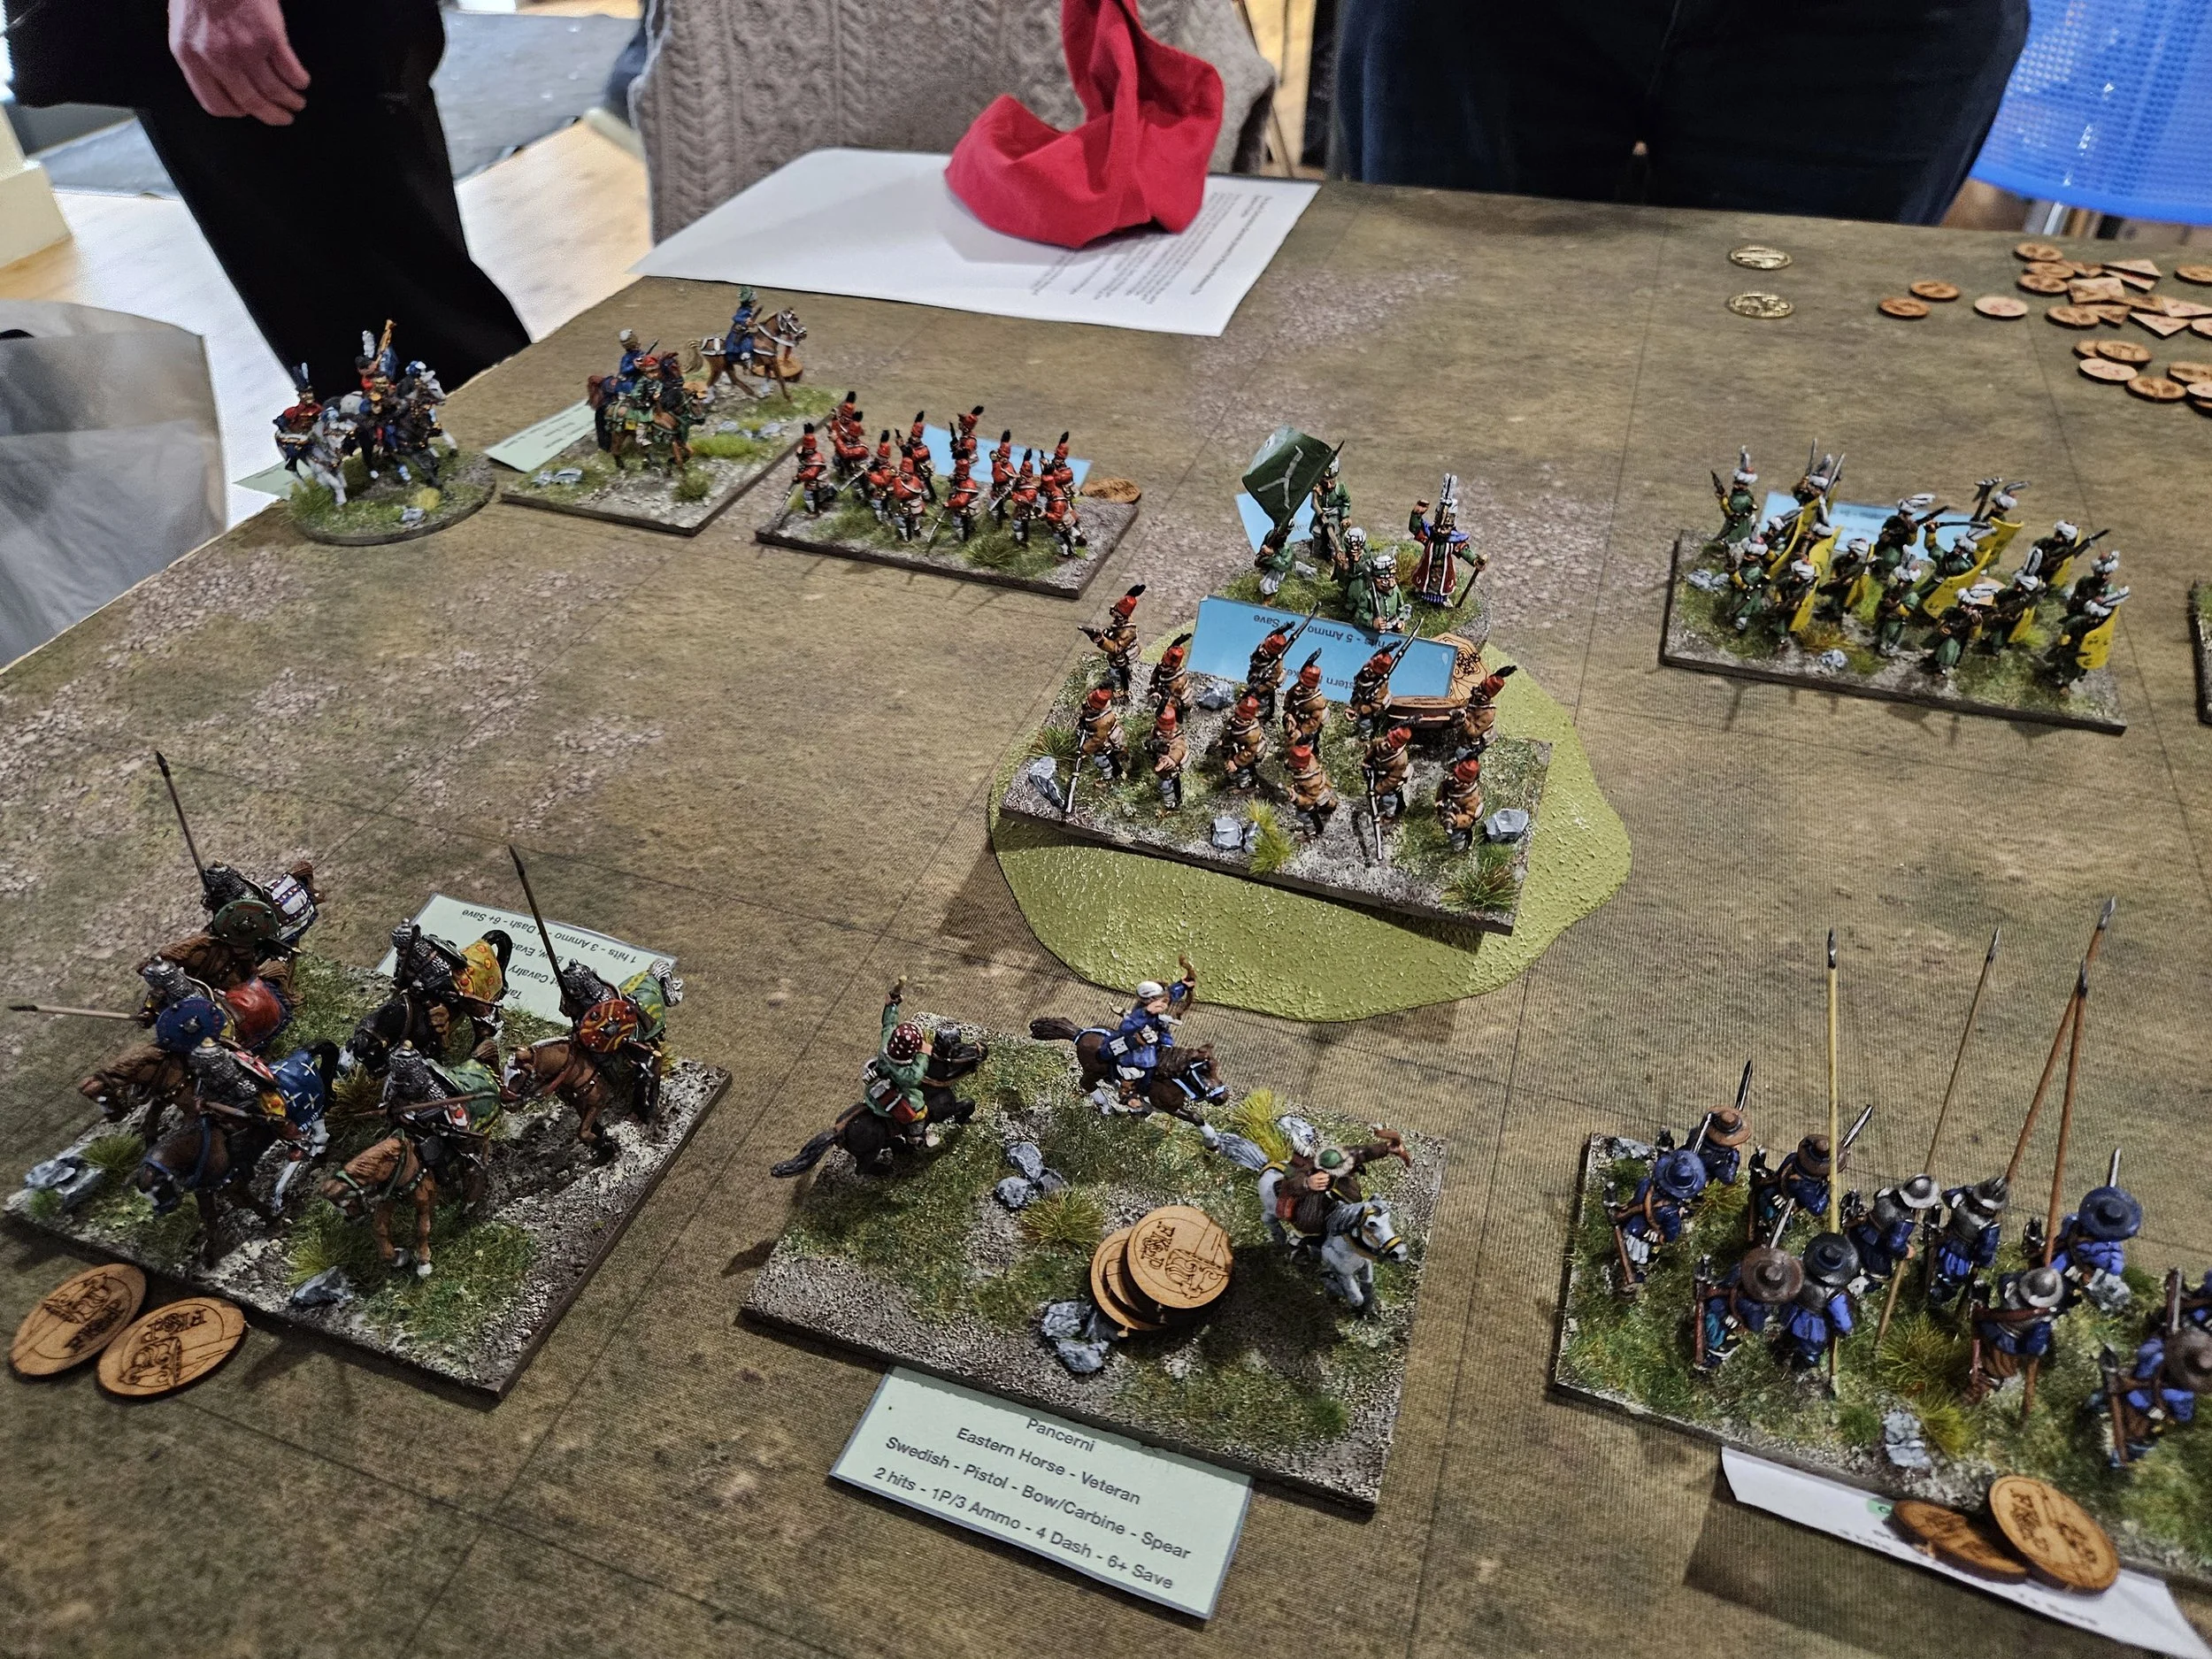
Now the Poles, my opponents, have vast amounts of very, very good cavalry, including the dread Winged Hussars (veteran horsemen armed with lance, pistol, carbine, bow, spear, warhammer, phased plasma rifle in the 40-watt range etc) so I decided to see what I could do against the Polish infantry: after all, I had the Janisseries and they’re supposed to be pretty good. So forward went my foot…
First, however, the Poles, understandably keen to get their cavalry into action, advanced their right wing, and soon a massive cavalry melee broke out in the centre of the field.
My chaps didn’t actually do too badly here. In fact they did rather well in that rather than being wiped out to a man, they held their own, gave as good as they got, and soon the left hand side of the battlefield was looking rather empty of formed units.
This shifted the action into the centre where the two sides went at each other again.
Much to my surprise, I was definitely winning the cavalry battle, but just couldn’t quite finish the Poles off.
Meanwhile, on the other side of the field, the two infantry lines had closed and were sending shot after shot at each other, but to no great conclusion.


By this stage the game had attracted quite some attention with, as I said, the whole room siding with the young lad against me: somewhere along the line I had apparentlly turned into a combination of Dick Dasterdly and a pantomime villain! We won’t talk about who was Mutley, Si…
Anyhoo, we were now neck and neck on the coins front, as my initial gains on the left had been offset by my opponent’s gains in the centre and on the right.
The young lad’s father wanted to go. I agreed: he needed to take his child away before the young scallywag (not what I had originally written!) beat me!
It was all coming down to one final turn. I had cavalry to spare in the centre, but just couldn’t quite get them into the action in time…and the Poles still presented a danger from their last few horsemen.
In the end, I had a turn where I failed to get the last coin I needed to win; then the young lad went through most of his turn equally failing to get the last coin that he needed to win before commiting his last remaining unit of light horse in a desperate charge at a unit of my light horse.
With the crowd cheering them on, the Polish light horse smashed into my chaps and sent them routing from the field! I had lost!
What a cracking game of FK&P and a real example of what wargames shows are all about: not just the shopping but beautifully displayed demo games played with plenty of crowd participation.
My thanks to Si and the rest of the SOGS for putting on such a great game.
Postscript
Afterwards someone came up to me and said how much they had enjoyed watching and that it had been one of the best demo games they’d ever seen. They also wanted to know how difficult it had been to make sure that I lost, and by just one coin. I must, they said, be a very skilled player to manufacture such a close result and yet make sure the young lad won.
Make sure the young lad won? Make sure the young lad won? I was trying everything I could to beat the little…young scallywag!