TTS AAR: Burgundian Ordnance vs Sassanid Persians
/Time for a quick game of To The Strongest, with my Burgundians facing Neil’s Sassanids.
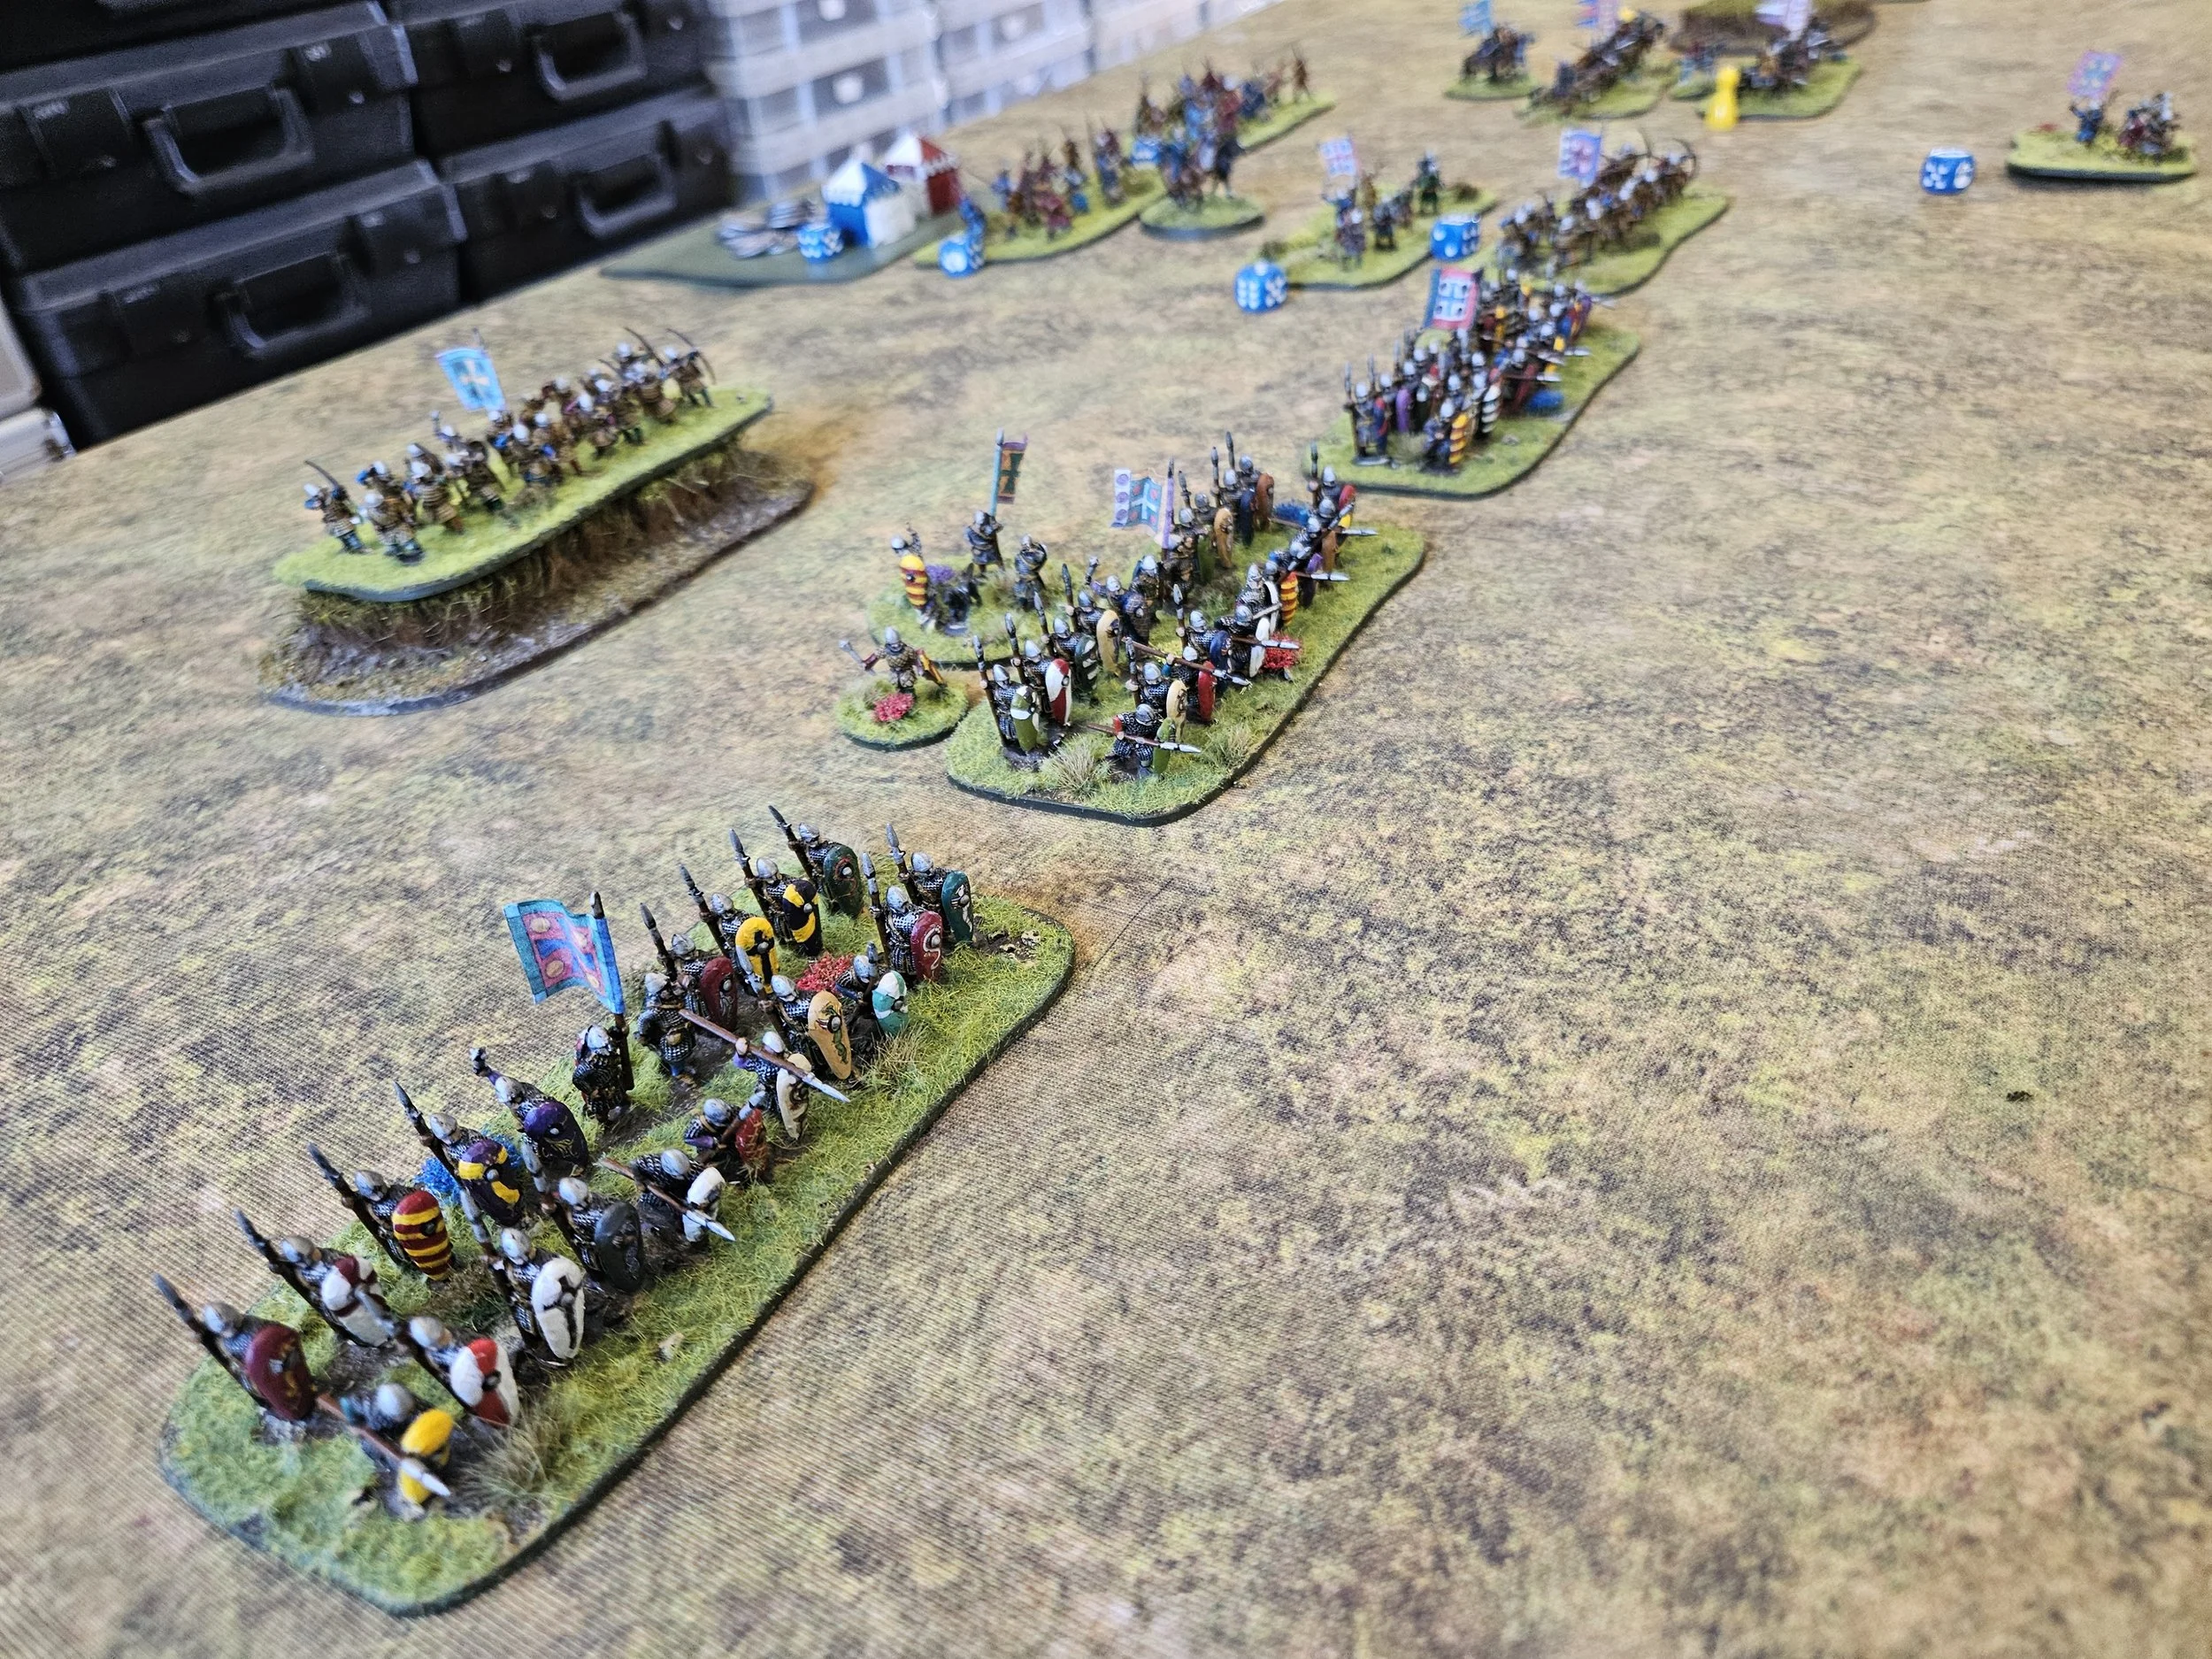
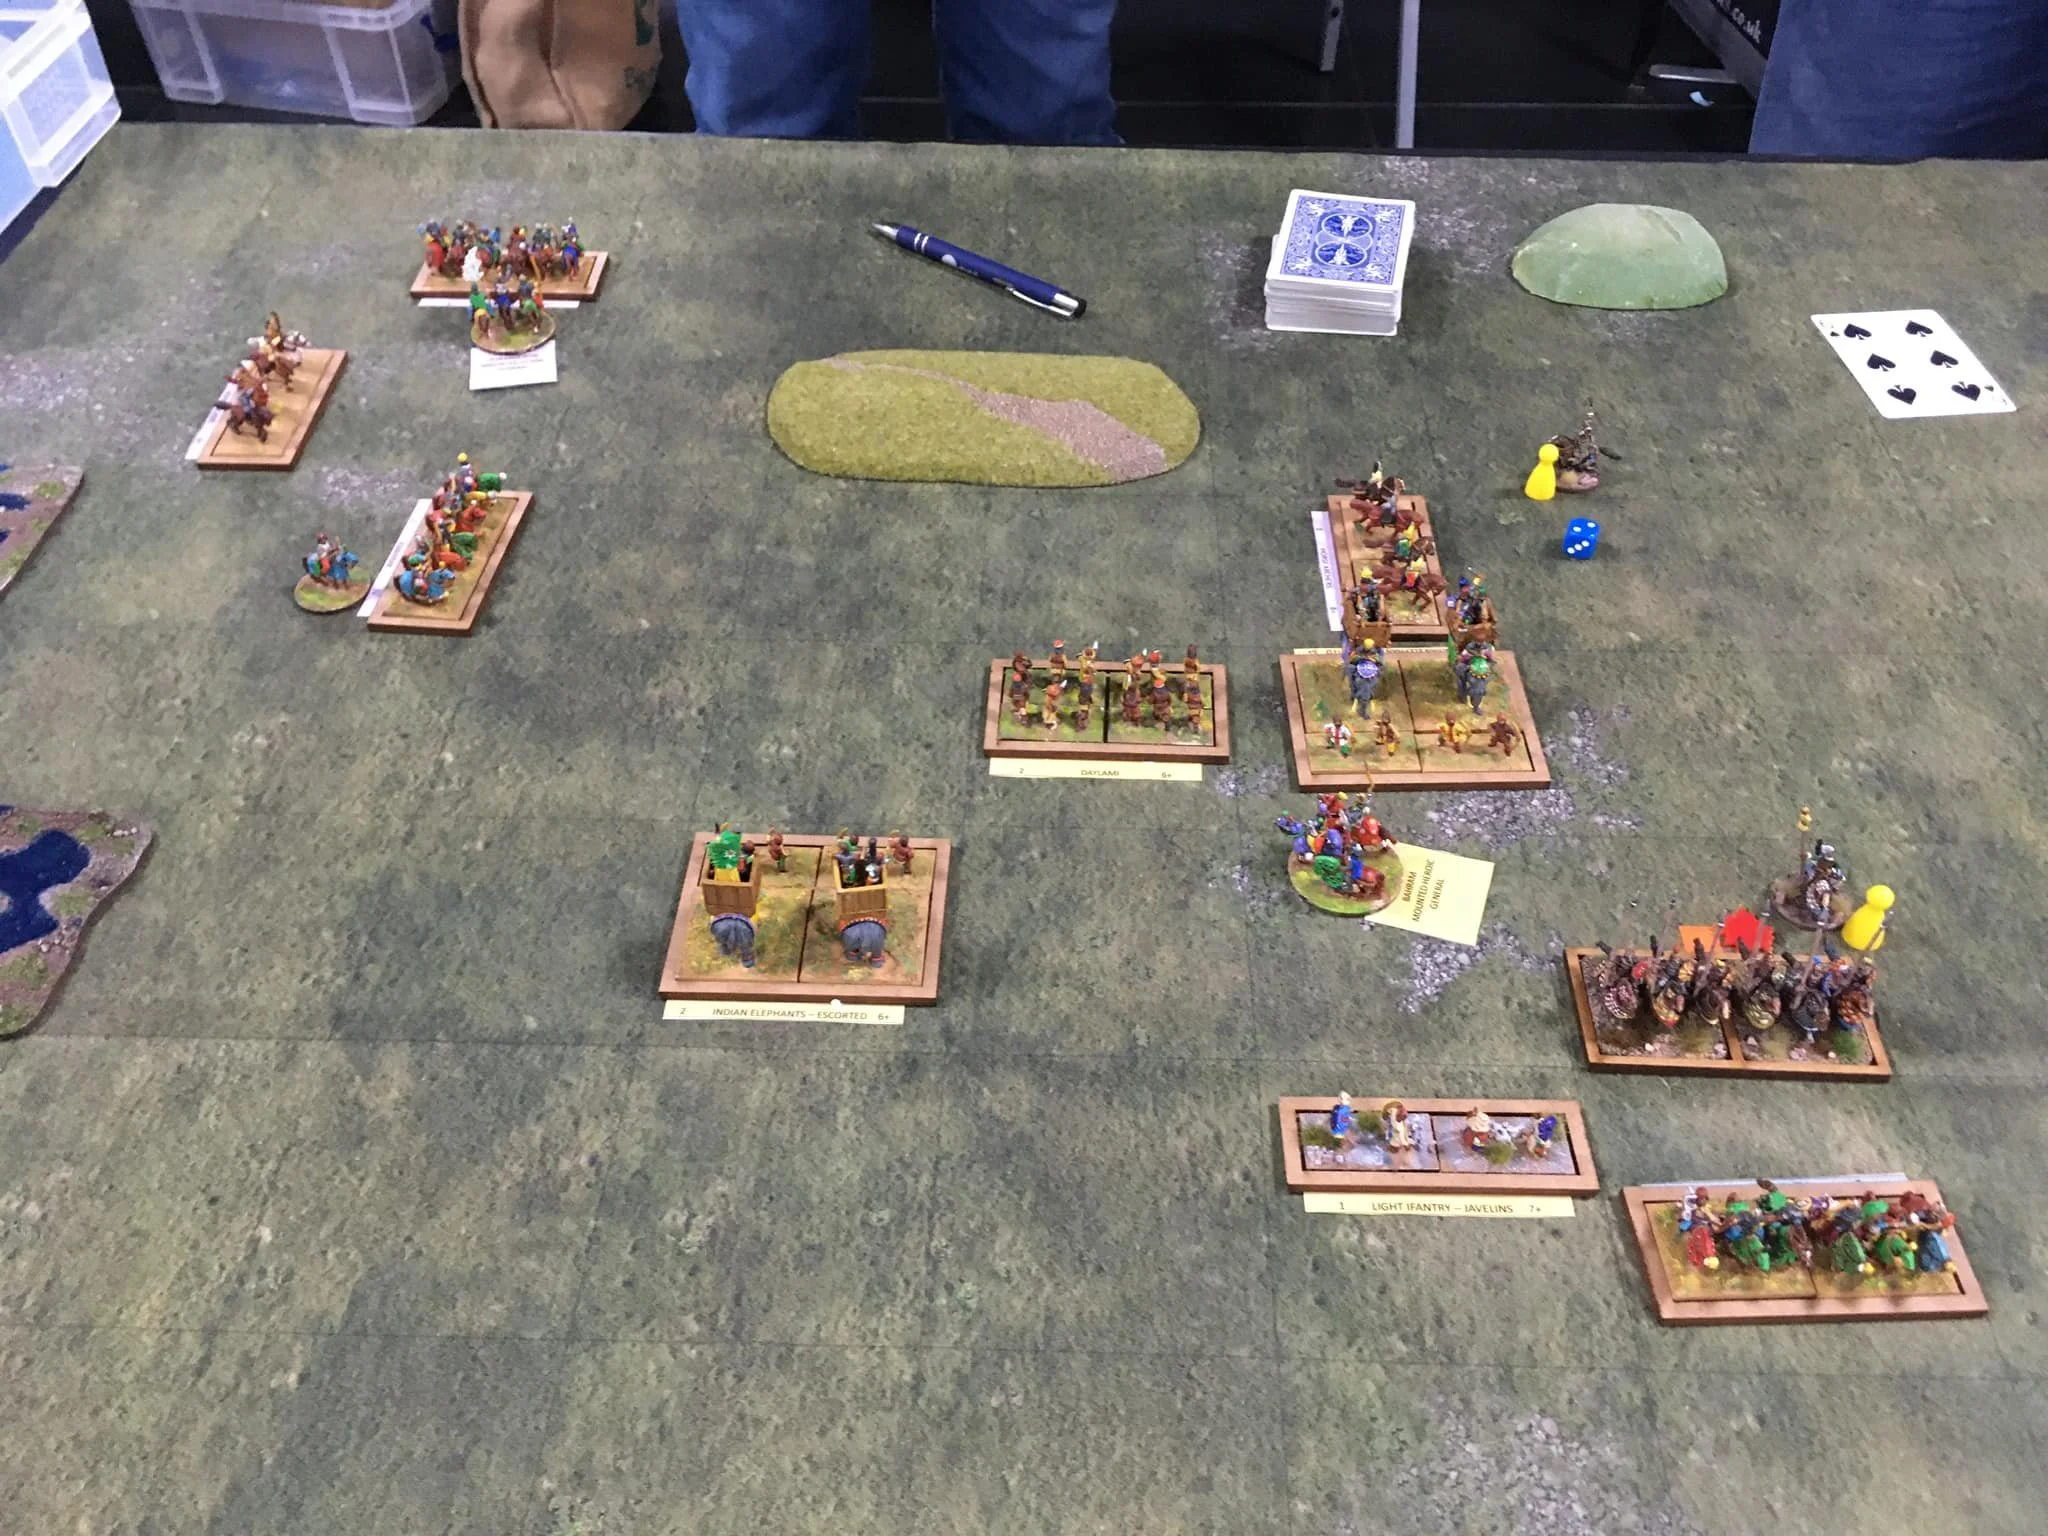
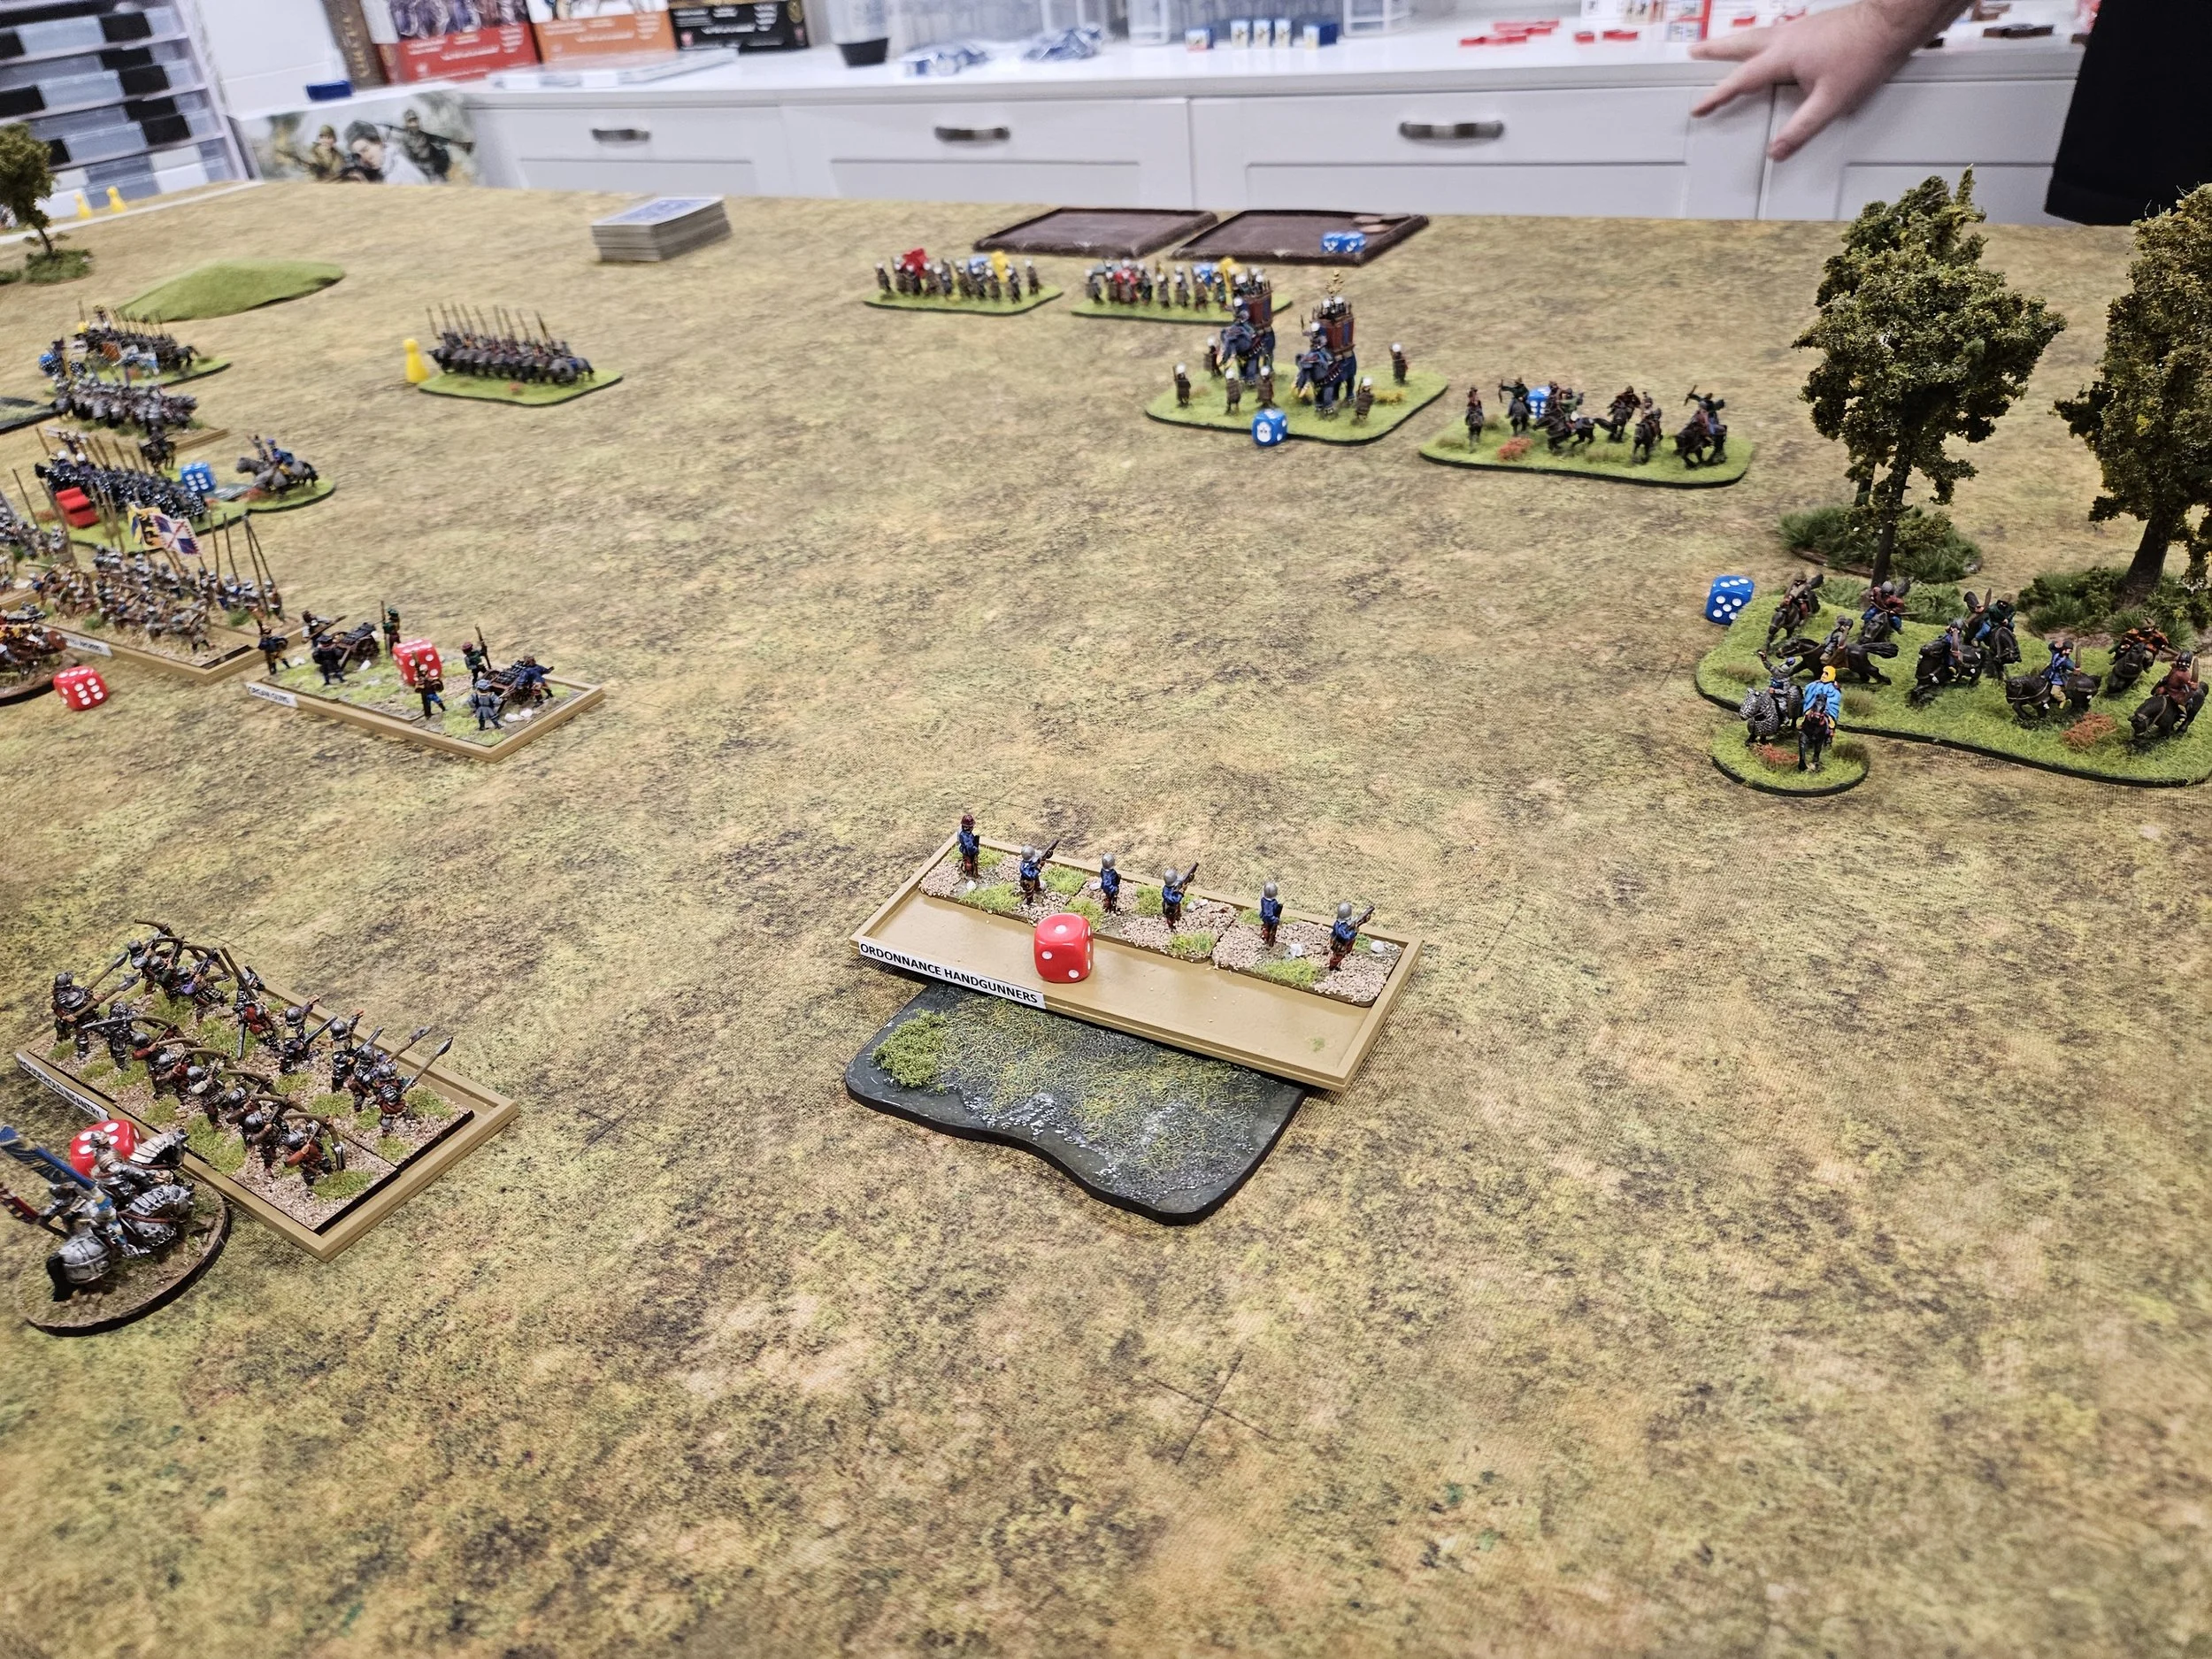
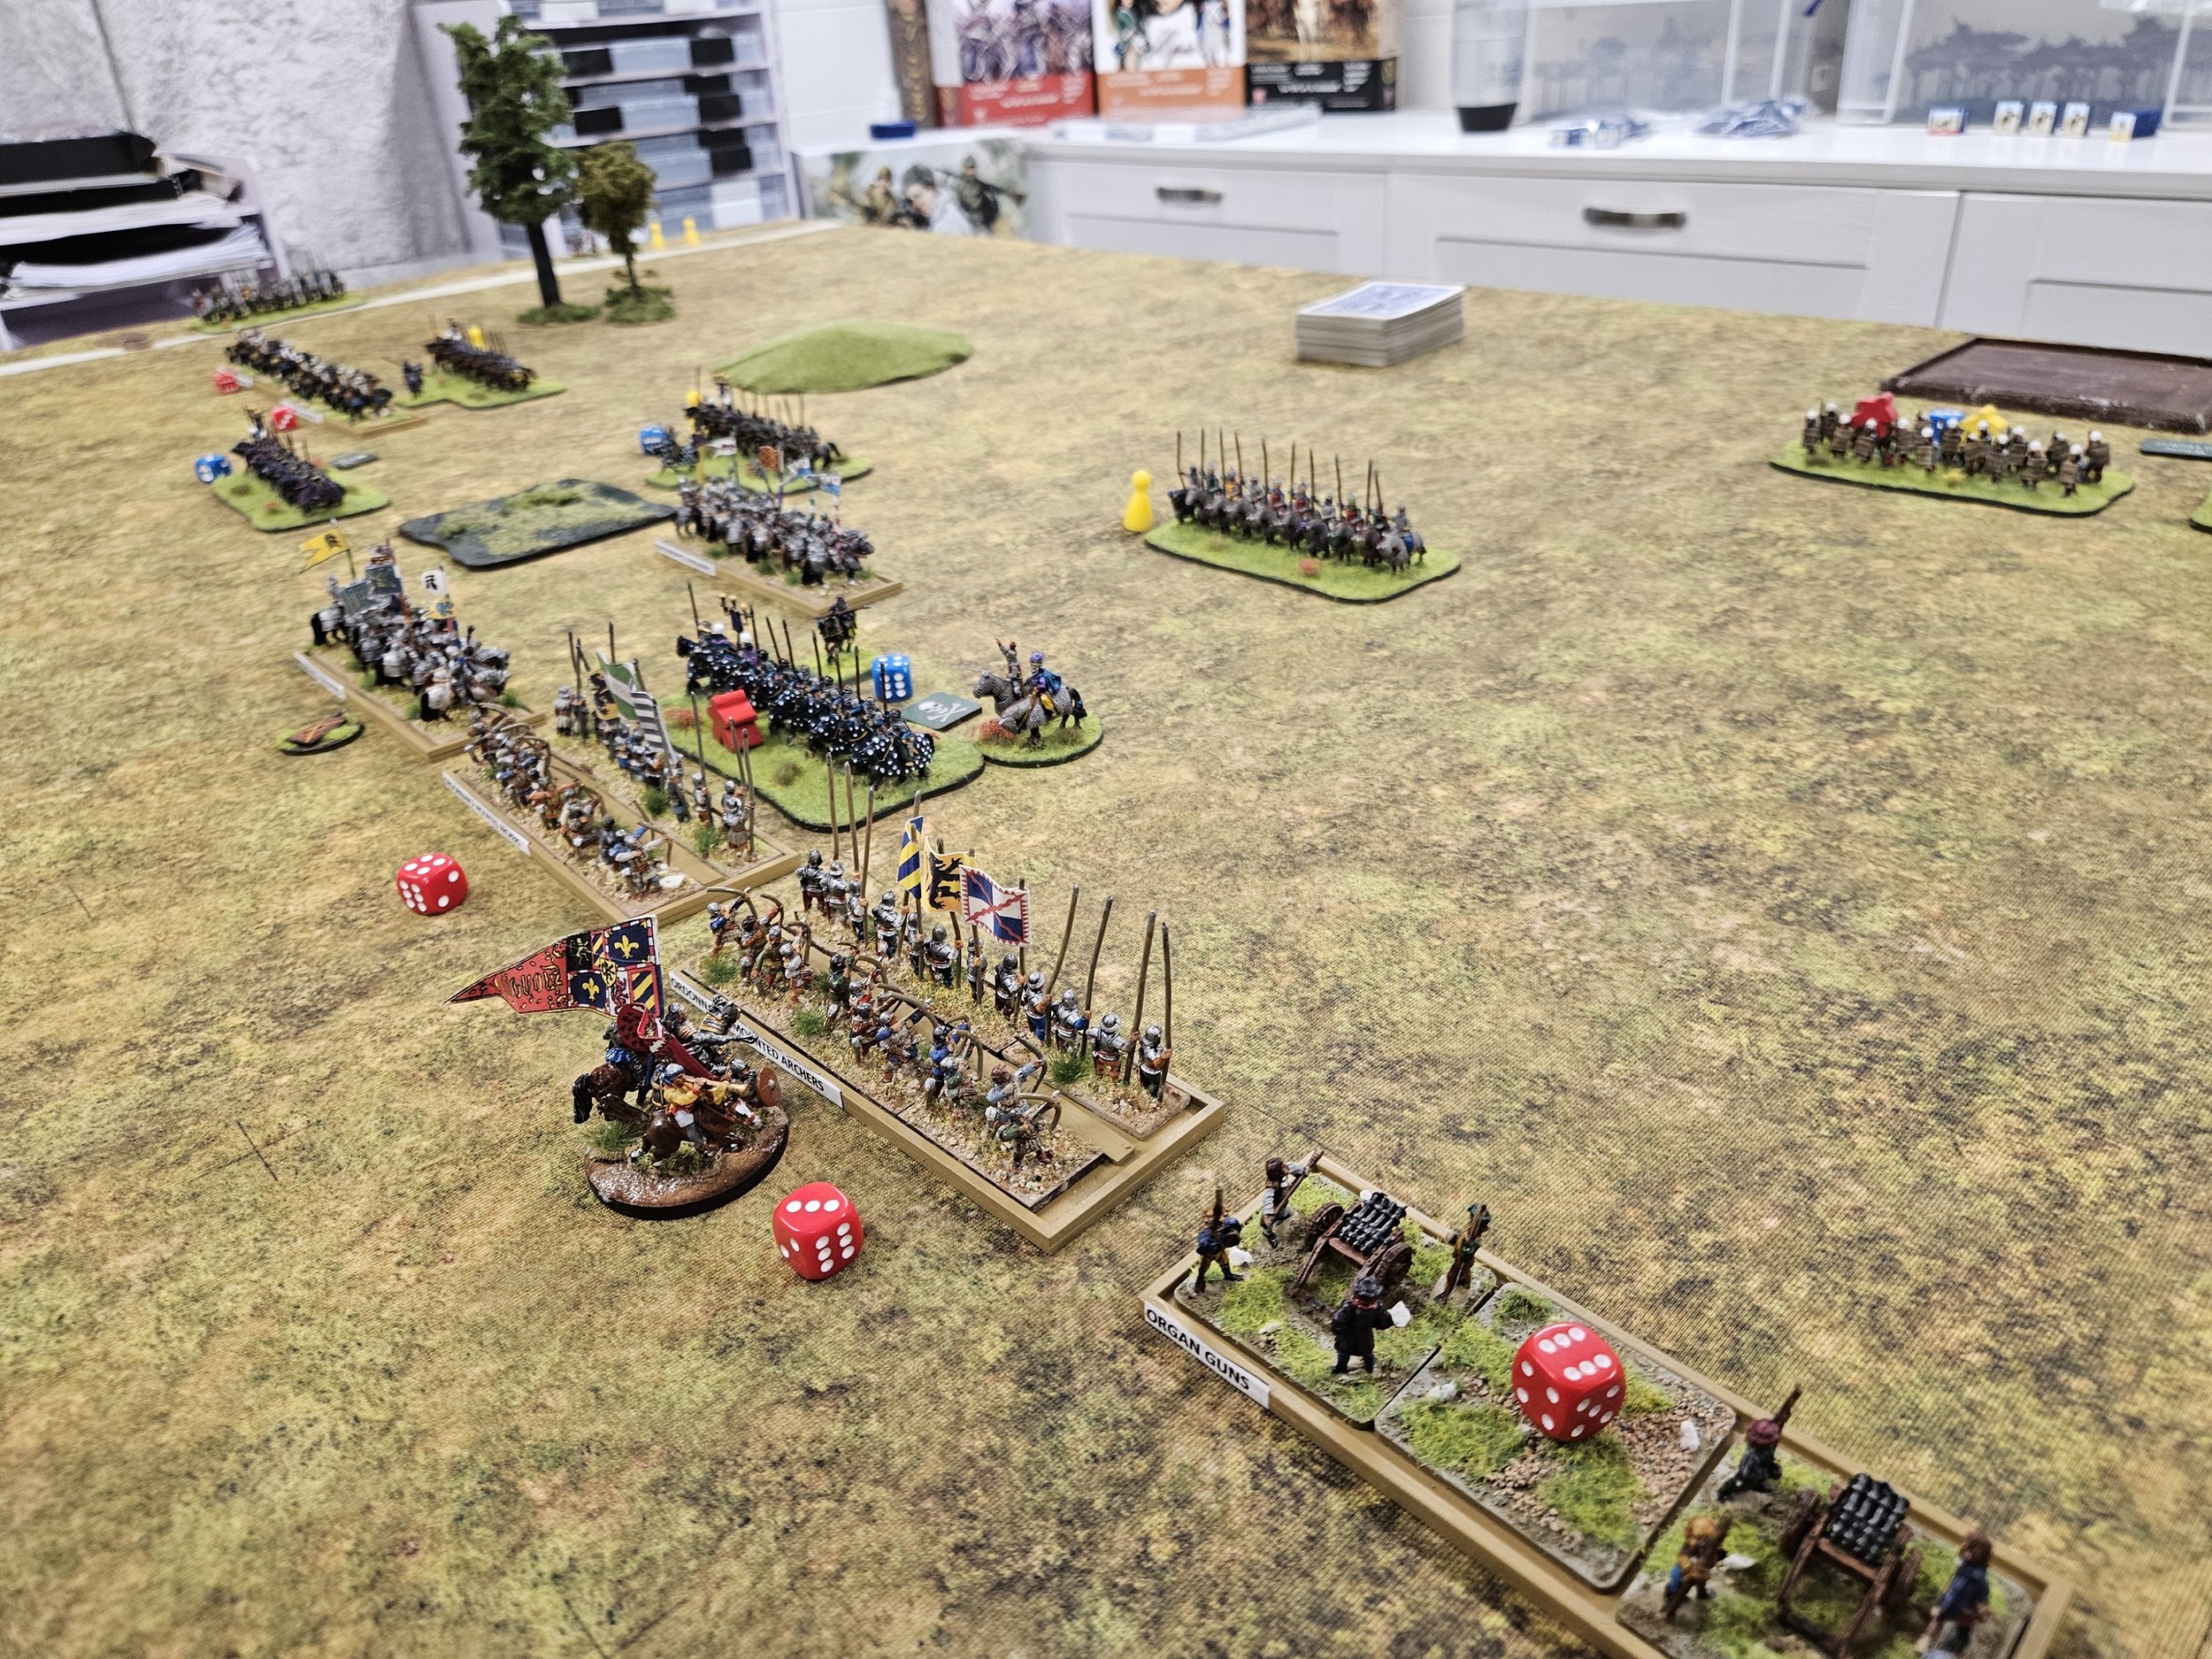
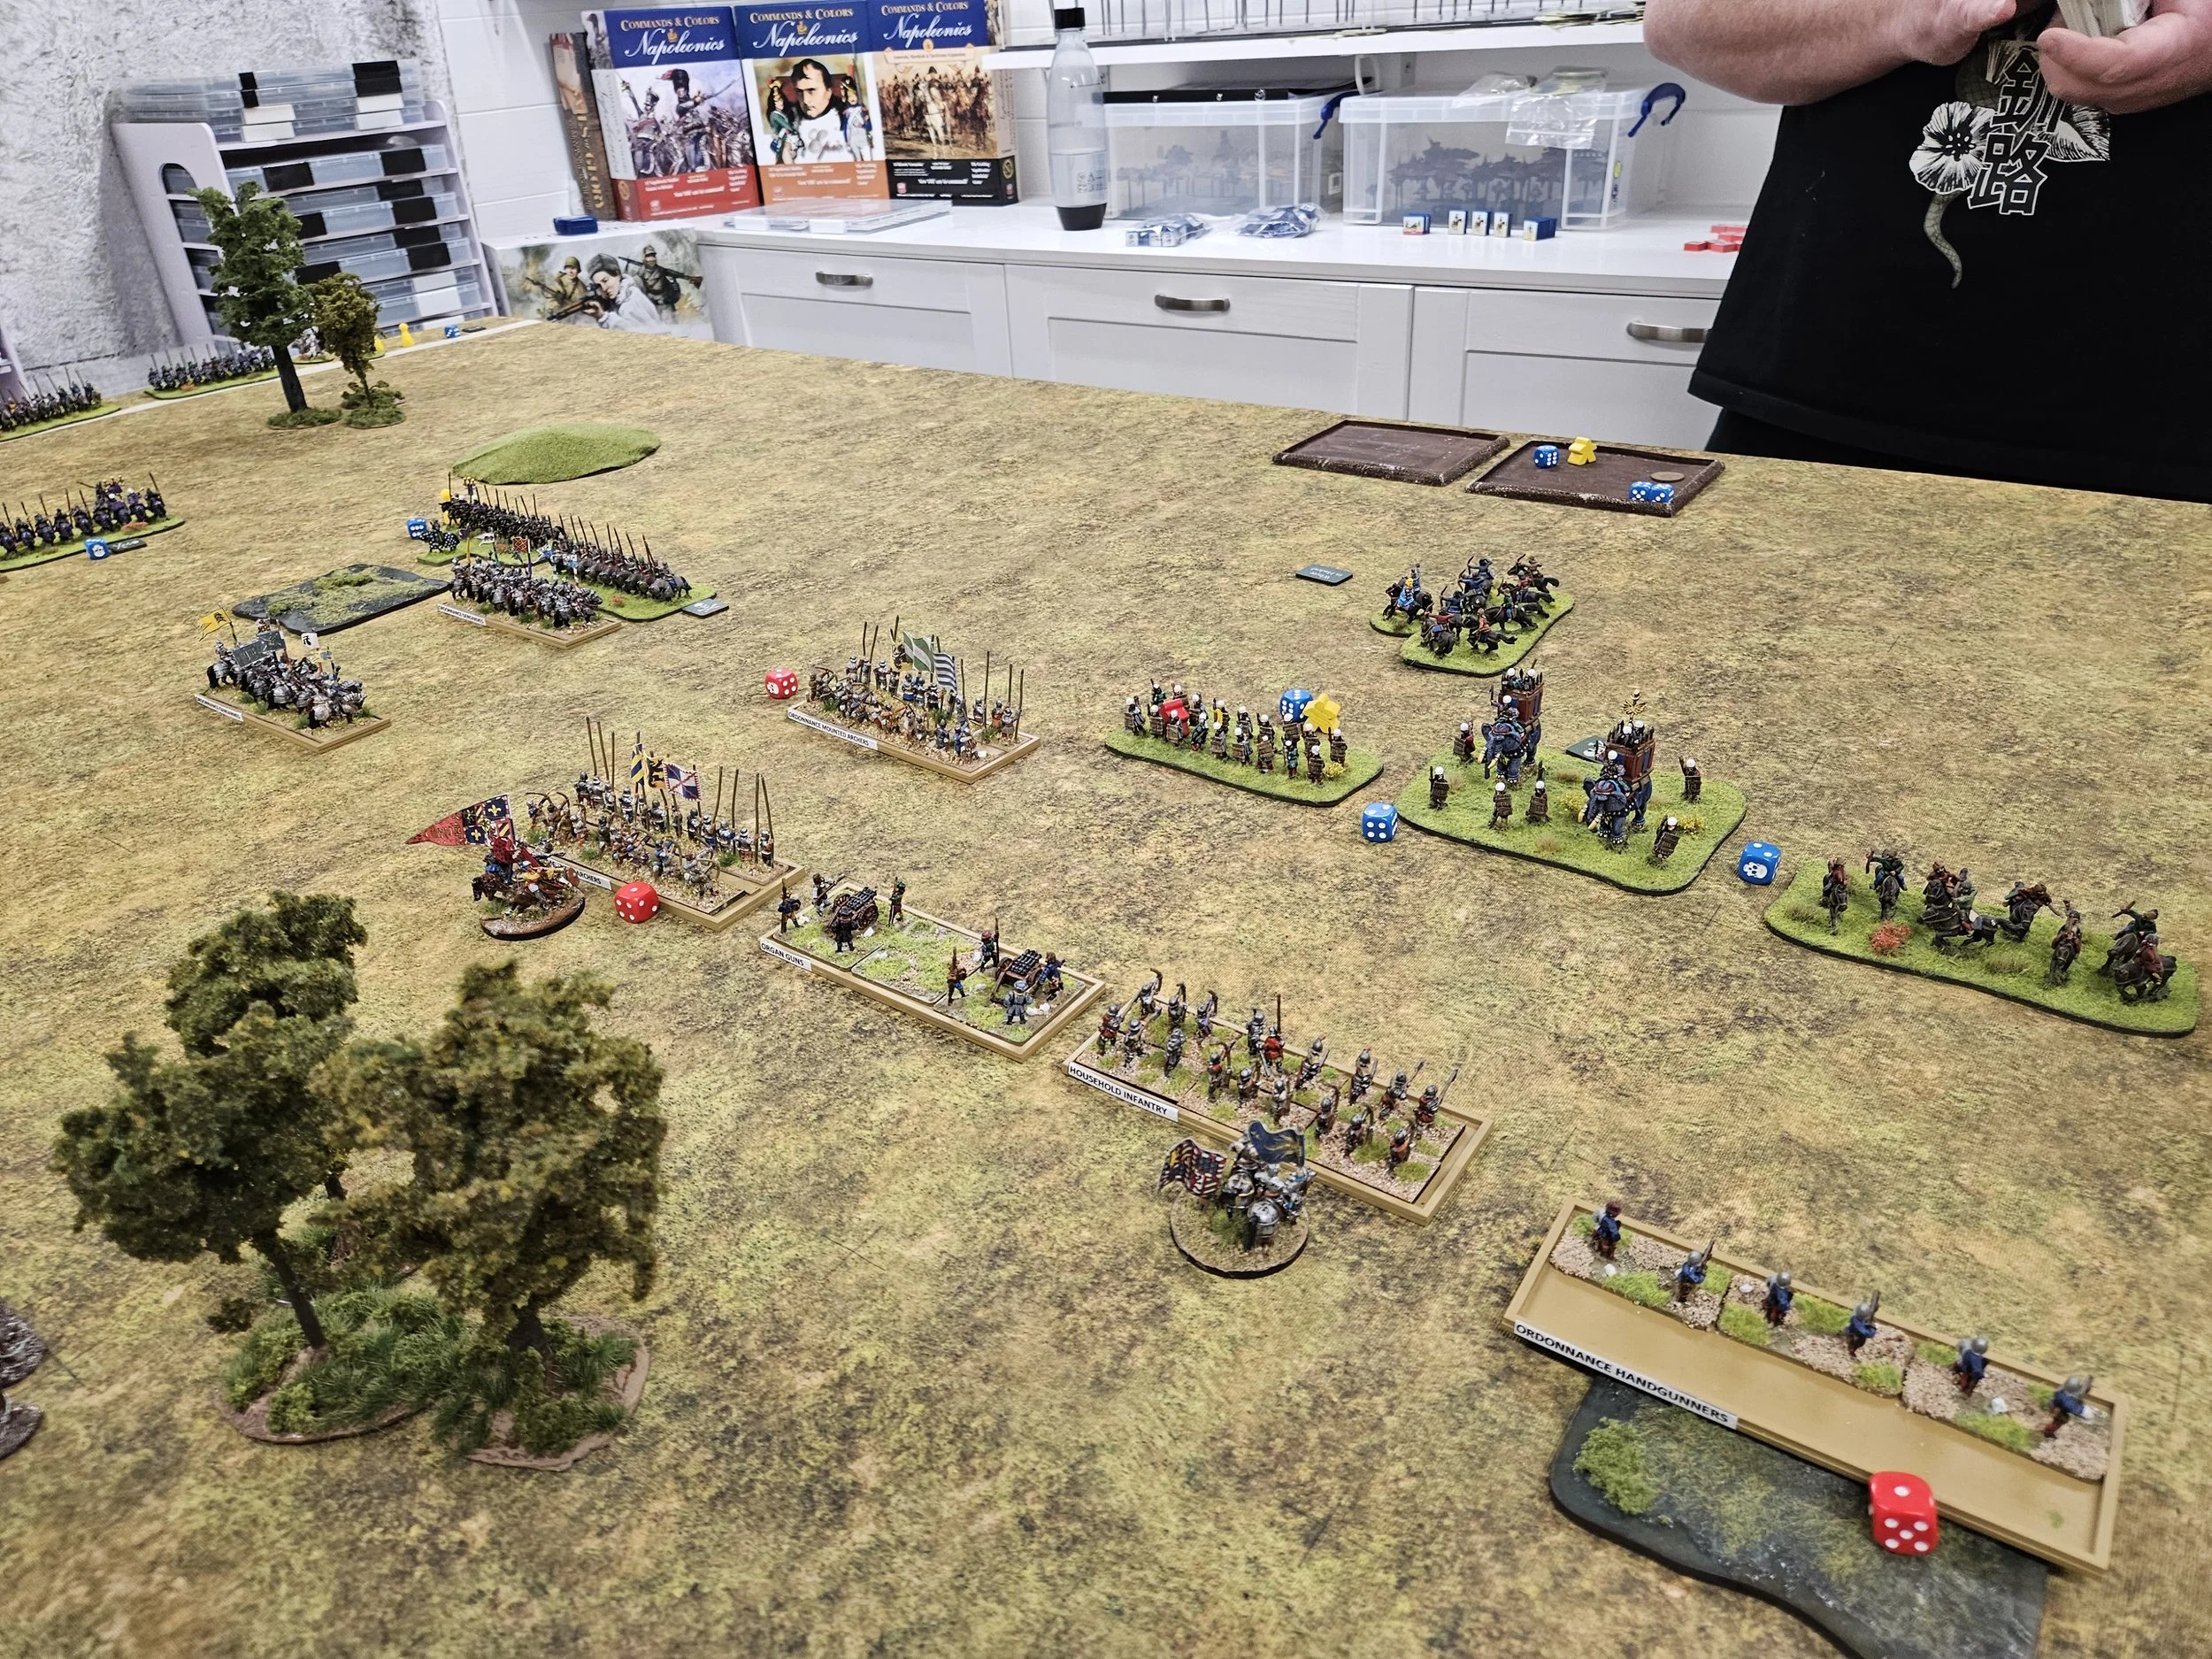
Unusually, the Burgundians won the scouting, so I positioned by Knights to face one command of Persian heavy cavalry on my left, with a couple of units of mounted crossbowmen aiming to sneak around that flank as well; and my veteran spear/archer units in front of the other command of Sassanid heavies: I was pretty sure than the combination of longbow fire and spears would keep them at bay.
All this meant that I had to weaken my right, so I used the This Way Effendi! strategem card to push back his infantry and horse-archers there, and placed the Ducal Household Infantry supported by handgunners and an organ gun to cover them.
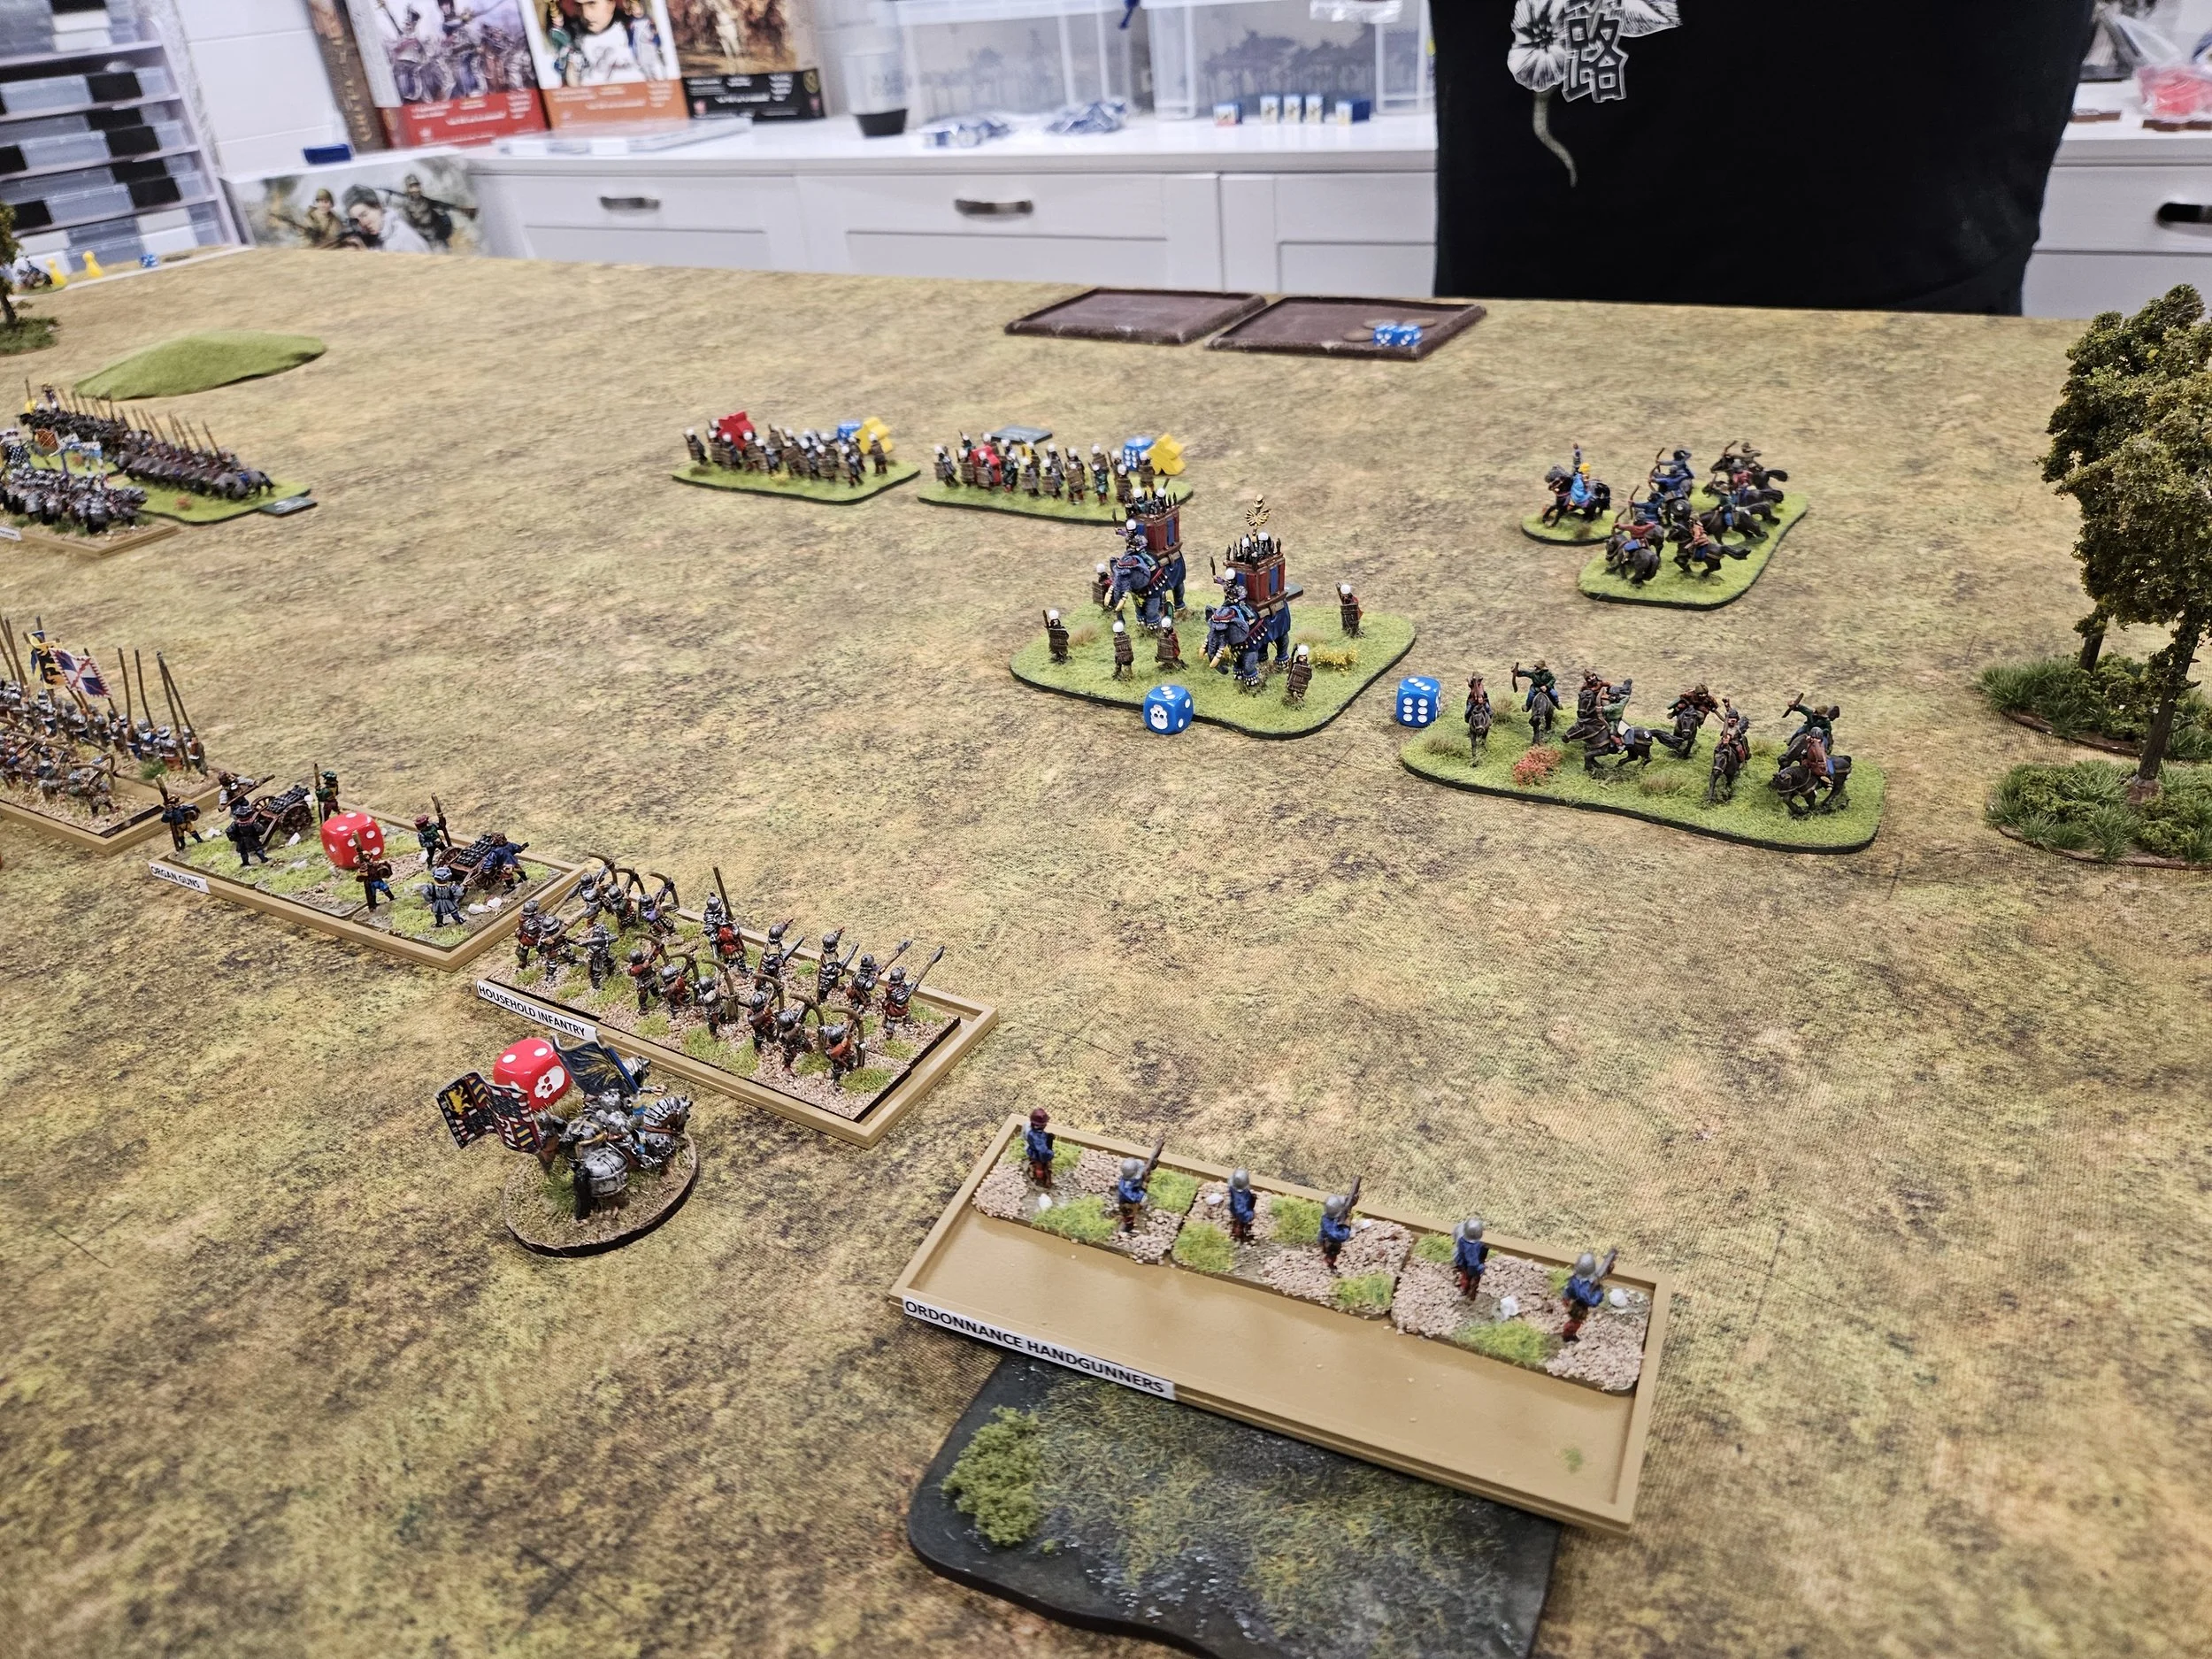
To tell the story of that right flank first, although the Sassanid elephants, horse-archers and Daylami javelinmen advanced forward, they did so comparatively slowly and, when they did get close to my line, were stopped by missile fire: the organ guns being unusually effective against the Daylami. The battle ended with that flank still very secure.
The action kicked off very quickly, with the Sassanid heavies charging my line as soon as possible.
The Persian attack on the far left was enough to force back my Knights there, but at the cost of the Sassanid general of that command. Any gloating on my part was, however, immediately cut short as the Sassanid attack on my other Knights in the left-centre, although largely unsuccessful, killed Charles the Bold. Turn one and both sides had lost a general!
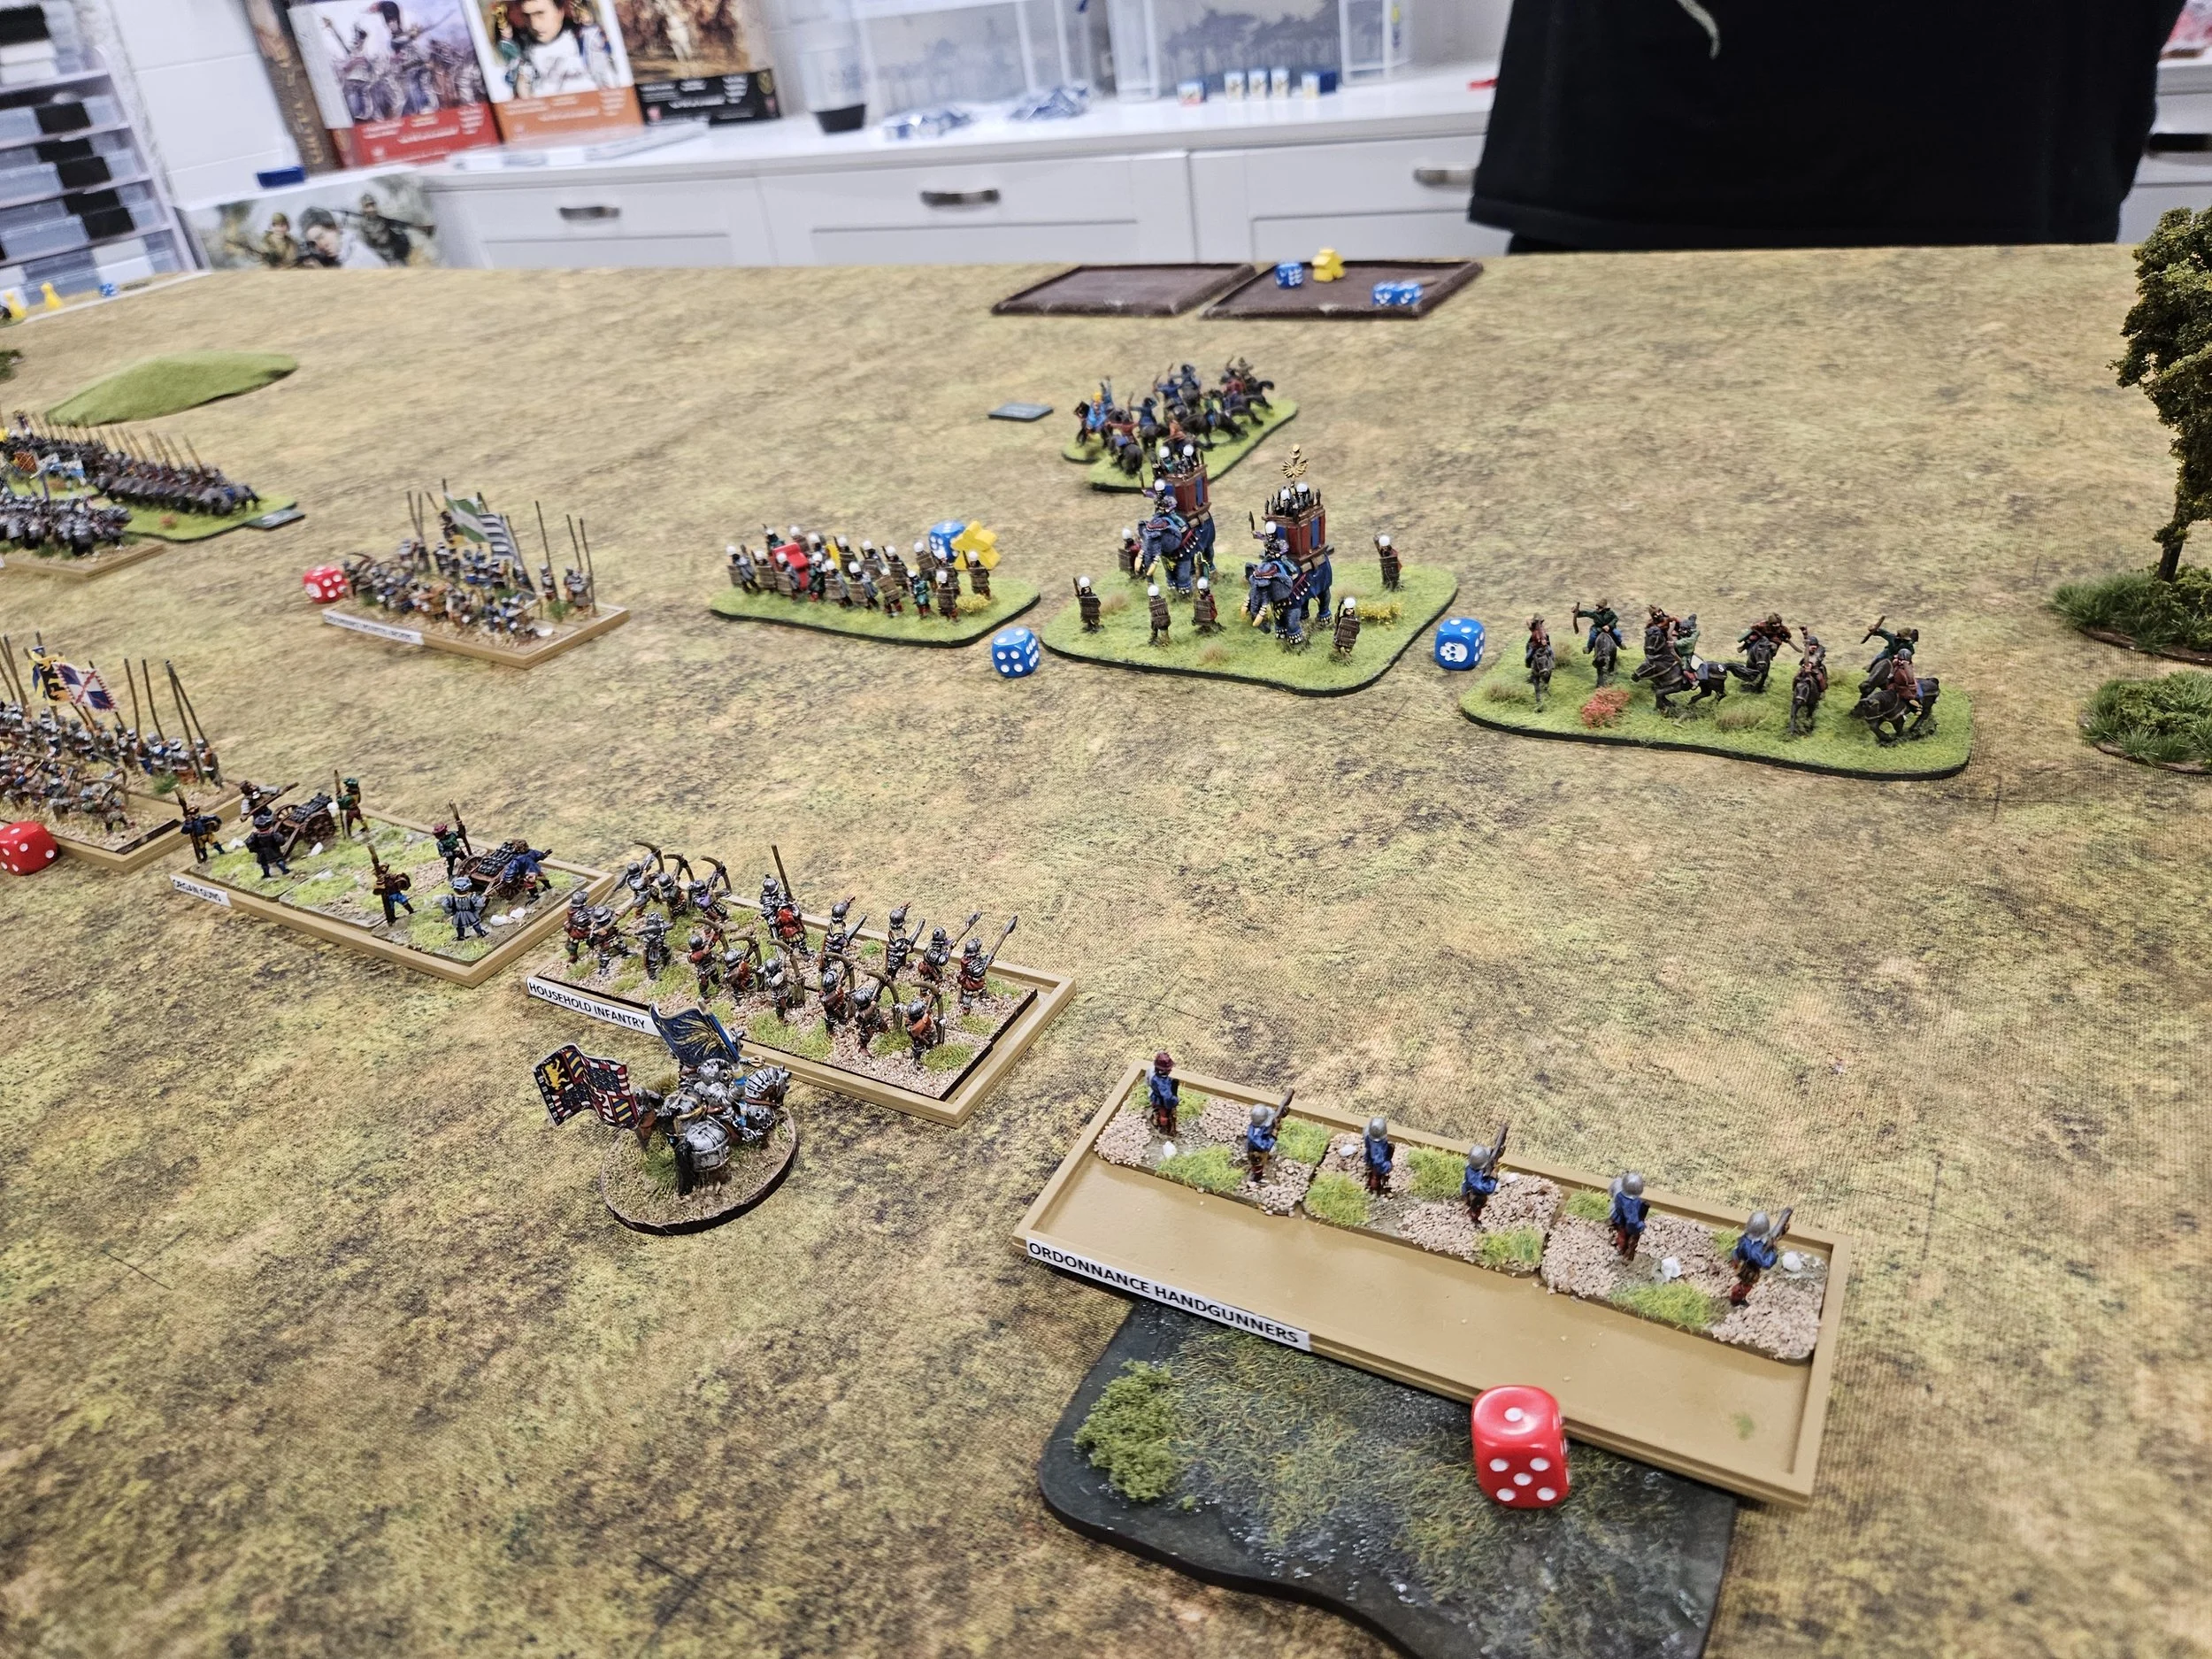
Centre-right then saw the Persian Cataphracts charging my main infantry command:
Attacking undamaged veteran spear/bowmen with horse, even cataphracts and veteran heavies, is never going to go well, and soon two Sassanid cavalry units had been sent fleeing from the field, another Persian general dying in the process.
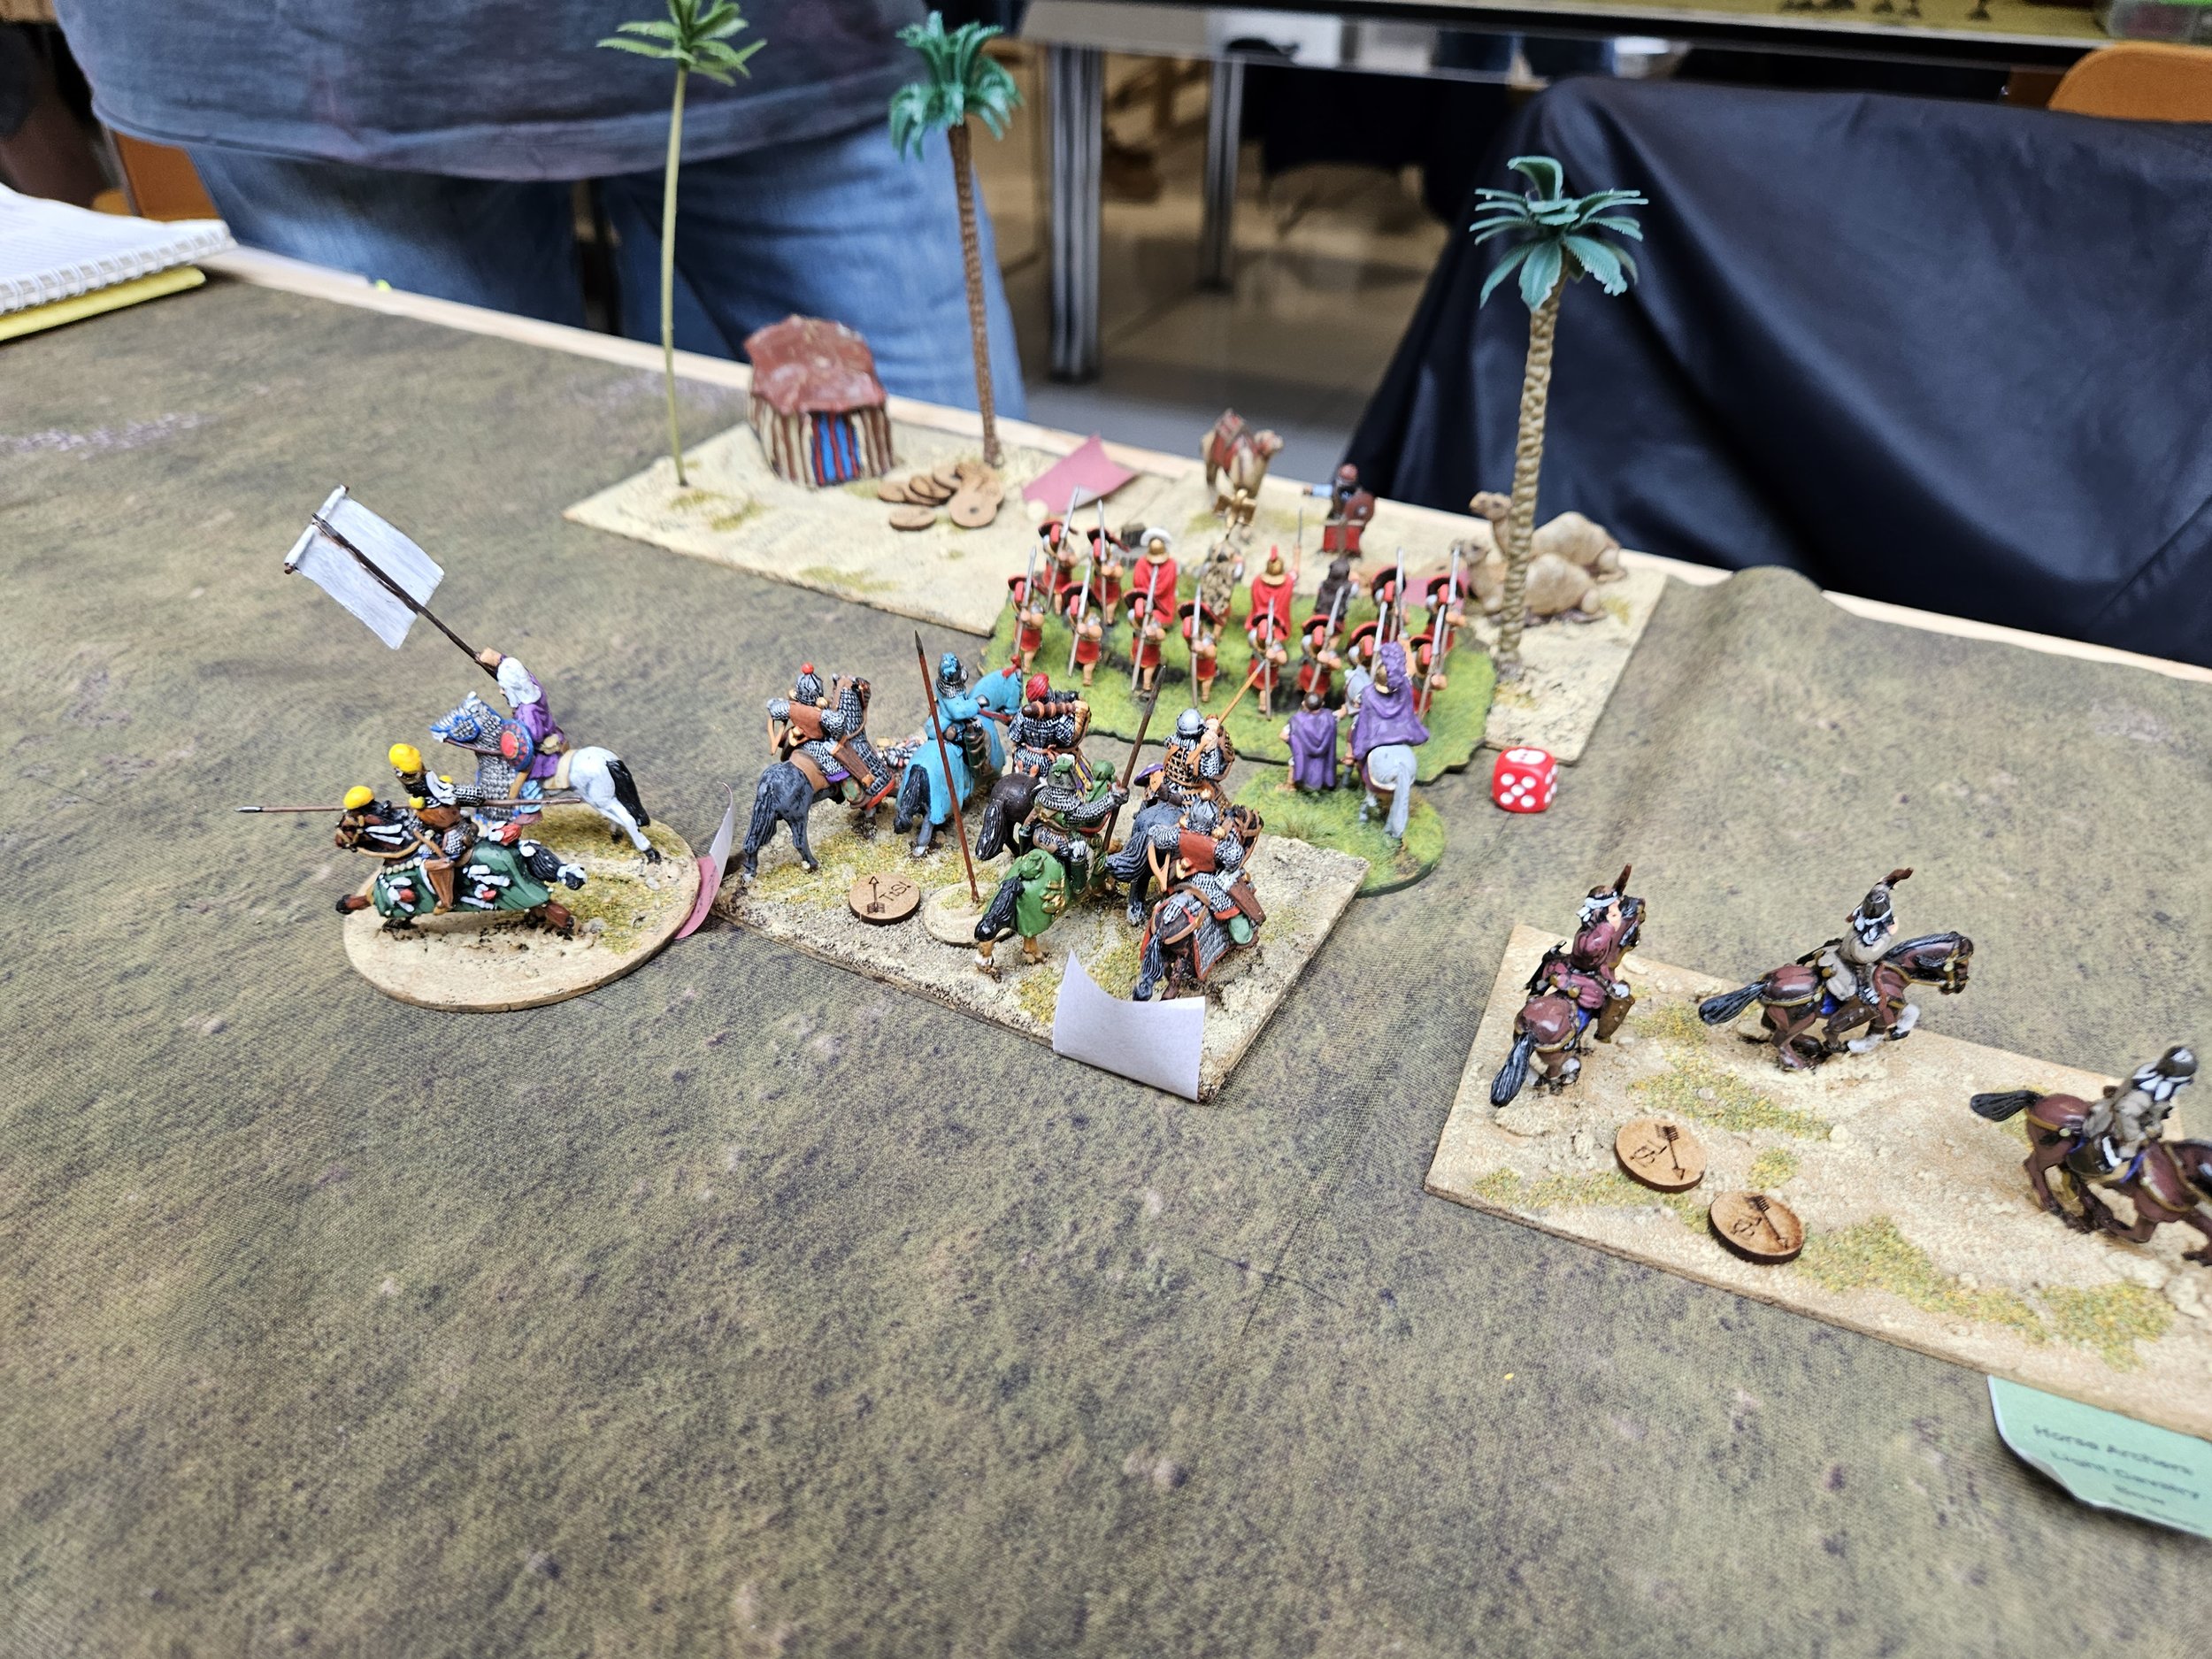
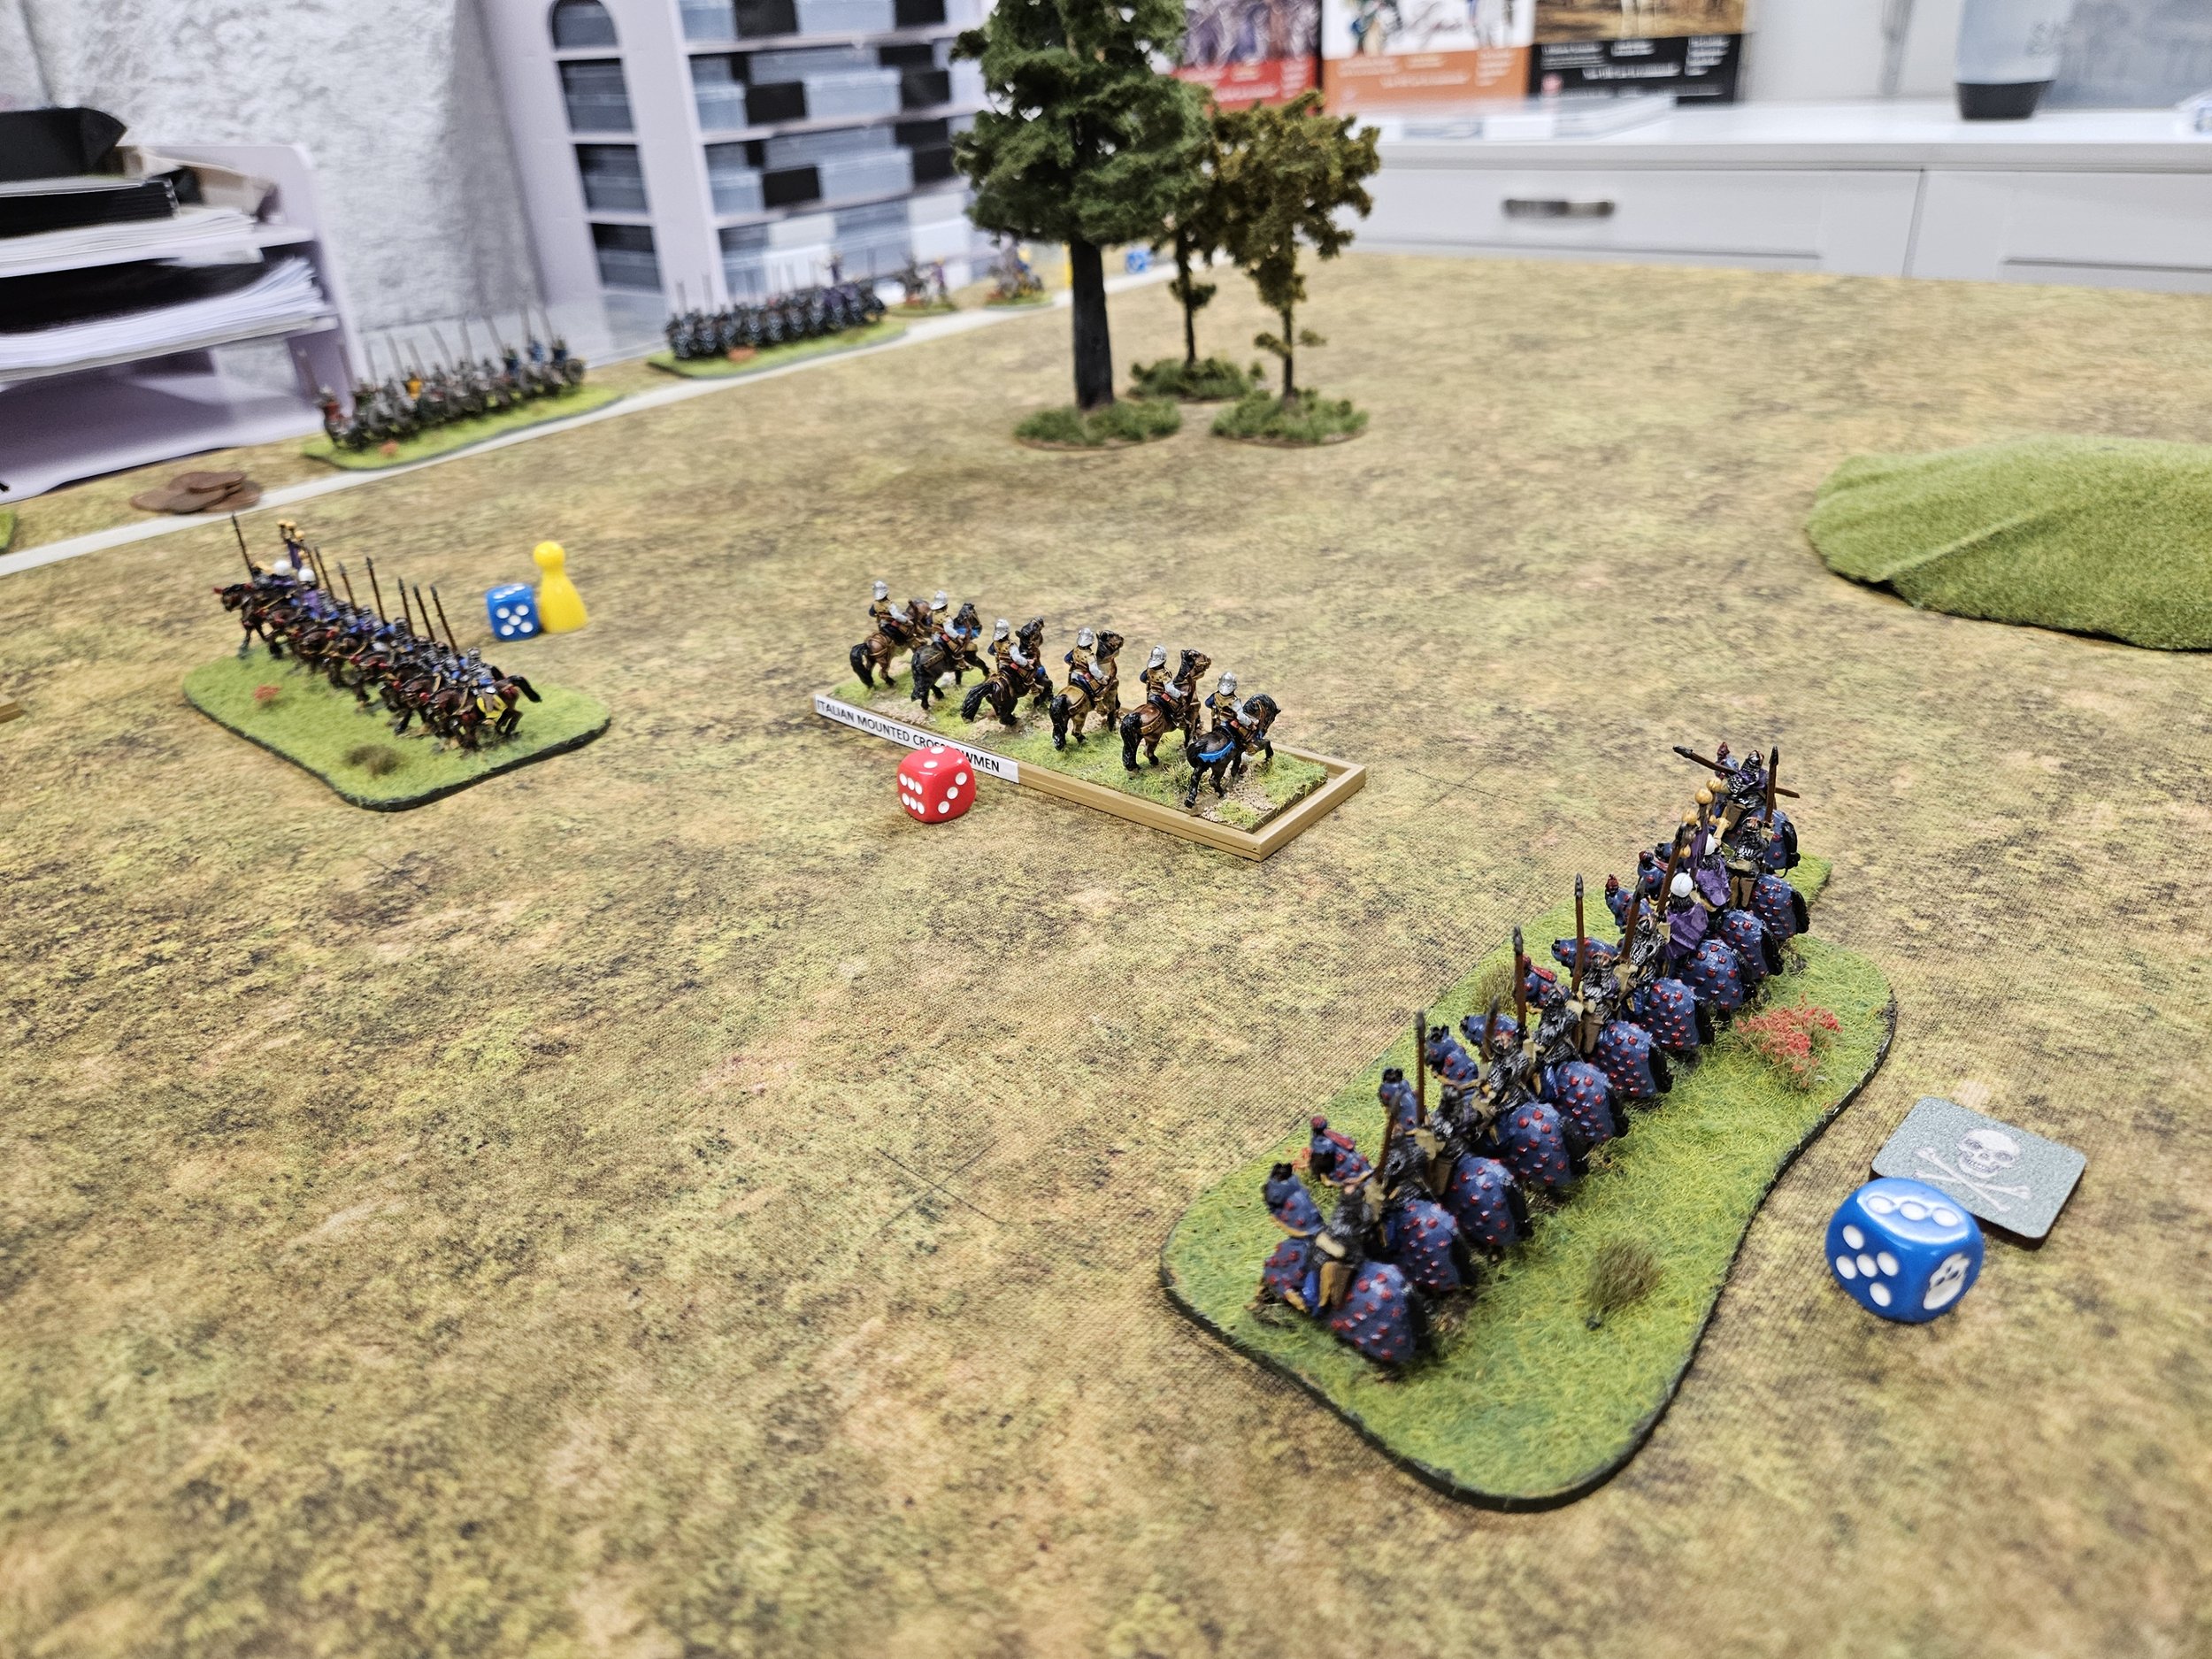
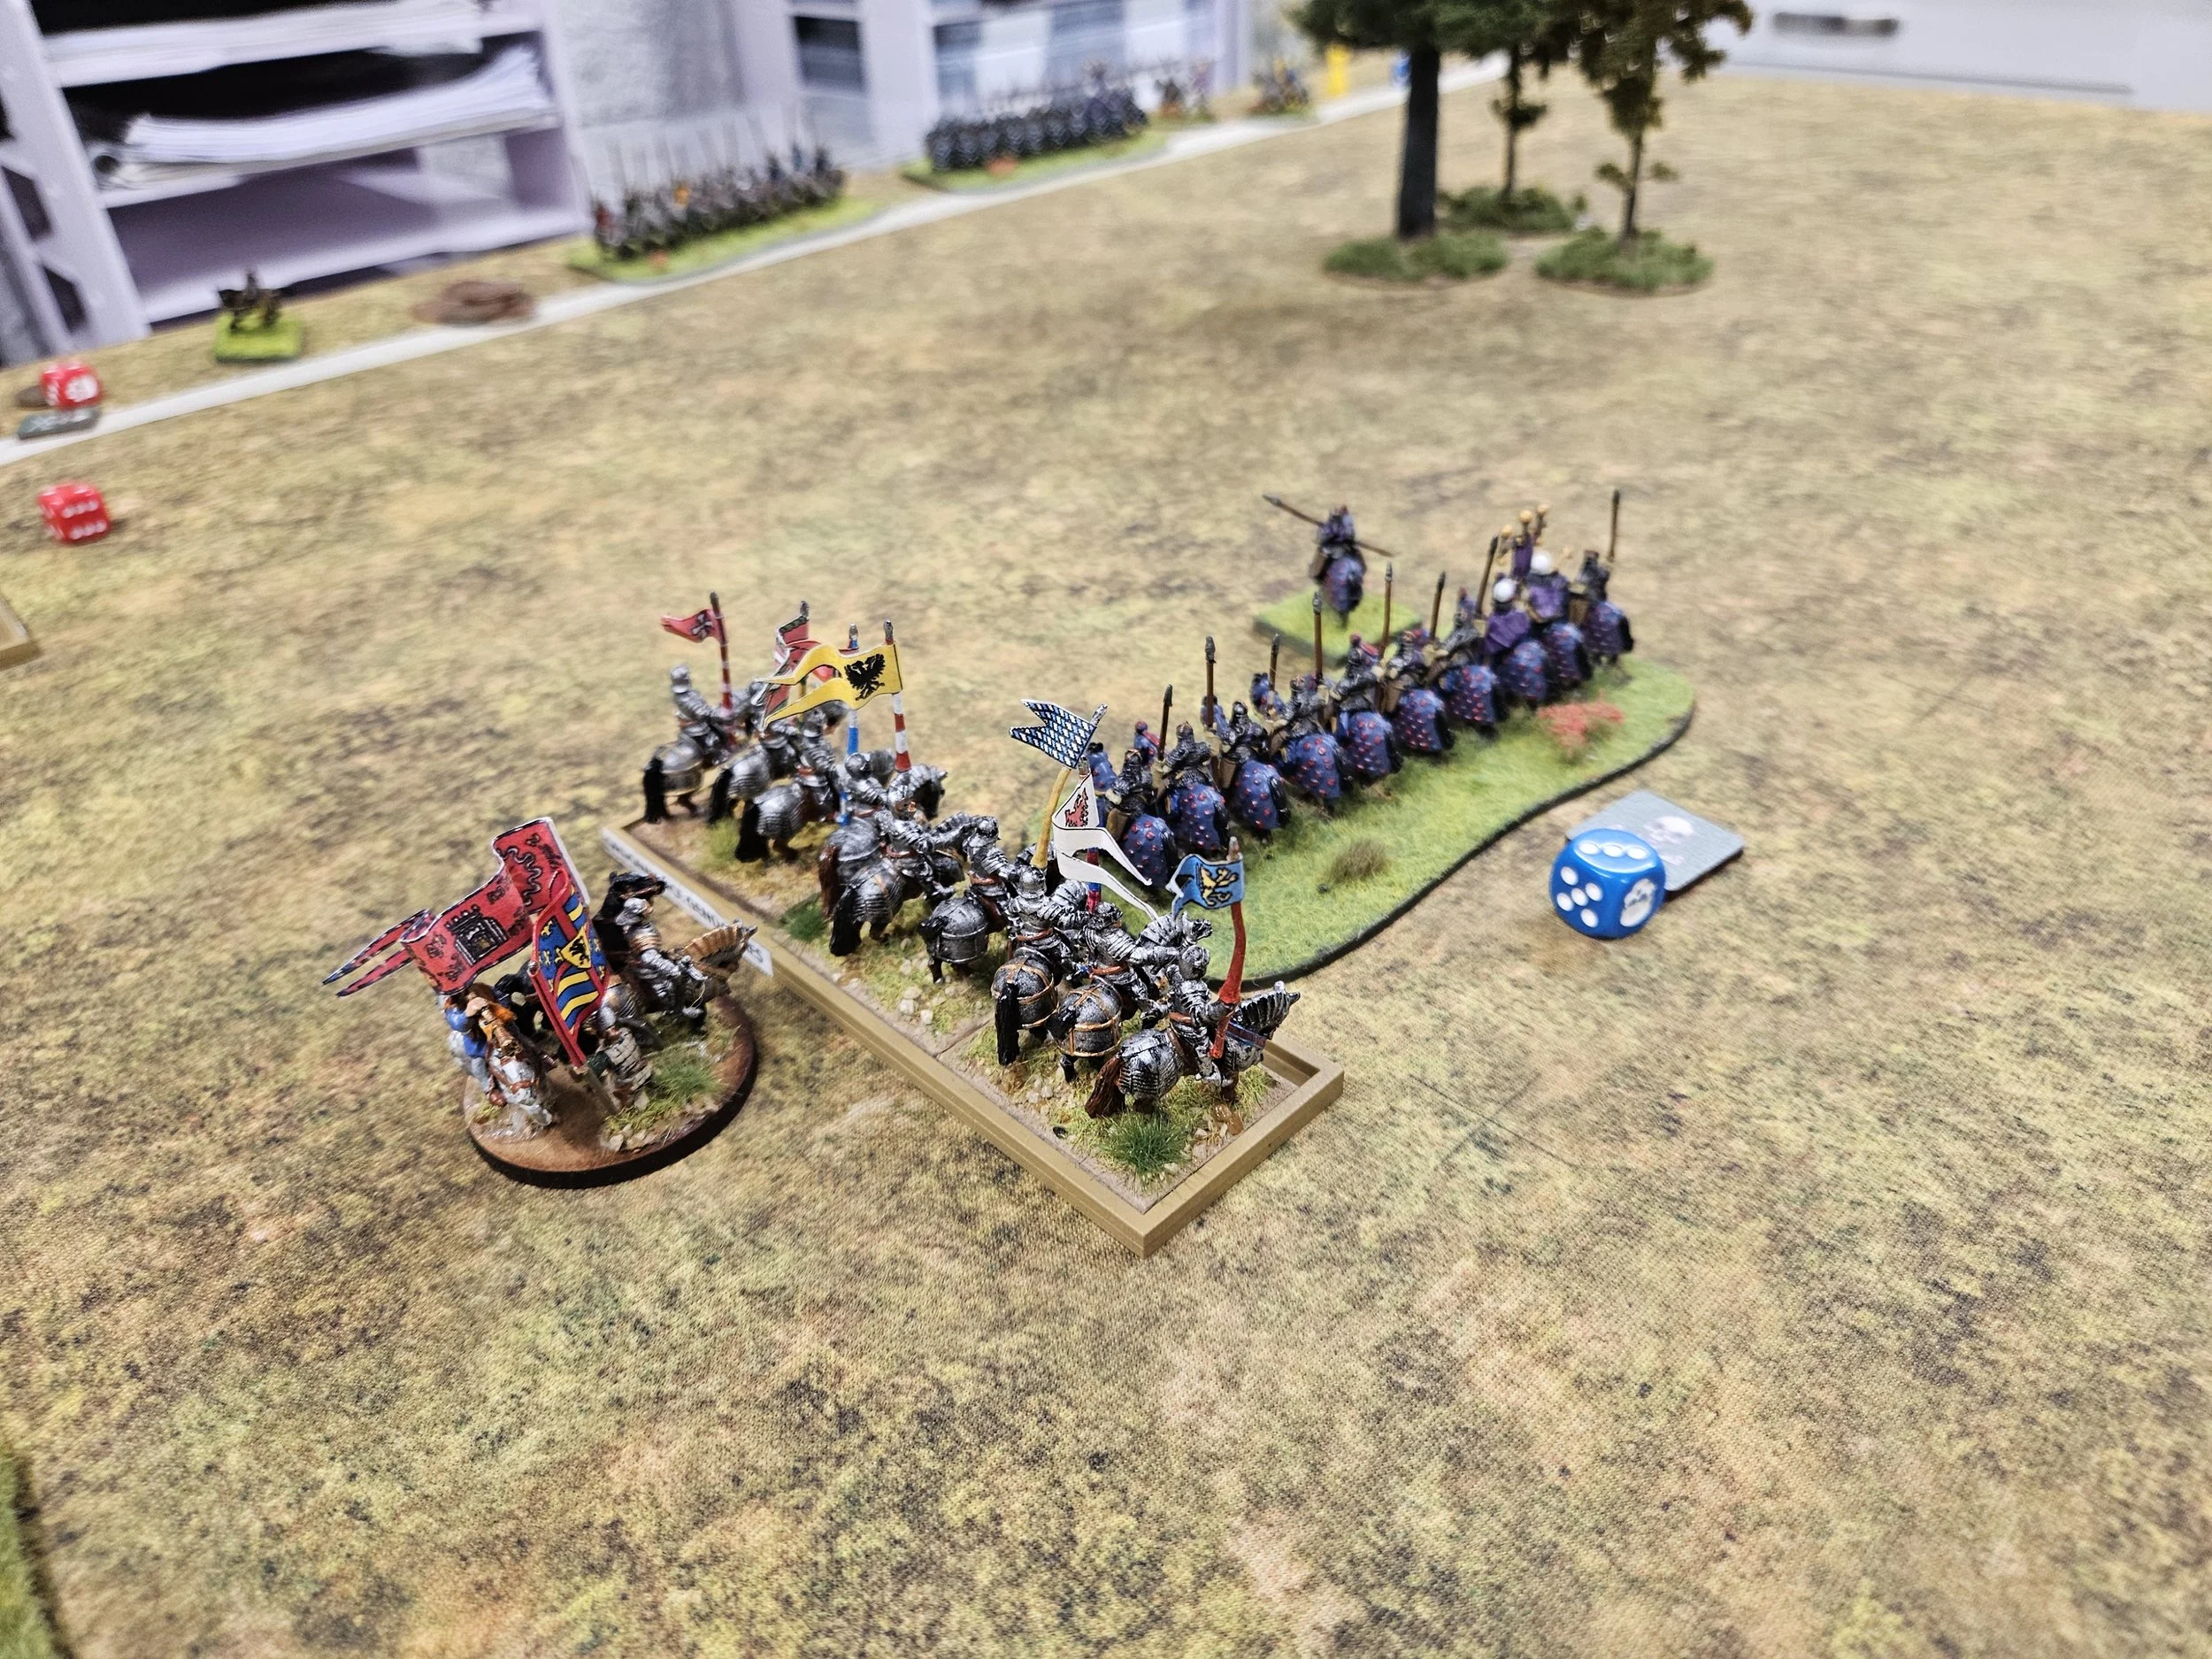
On the left, I then stupidly lost a unit of mounted crossbowmen by allowing them to be squished between two Savaran units, but this actually opened up the opportunity to hit the squishers in the flank with the unit of Gendarmes that I had been forced to pull back to rally.
Victory here gave me the game: the Sassanids had lost two generals, one infantry unit to organ-gun fire, and three units of heavy cavalry
Not a game with a huge amount of tactics in it: the Burgundian missile-fire was exceptional throughout right across the army, which meant I was generally charging disordered units when it came to melee…and there’s nothing a Gendarme likes better than riding over disordered troops!
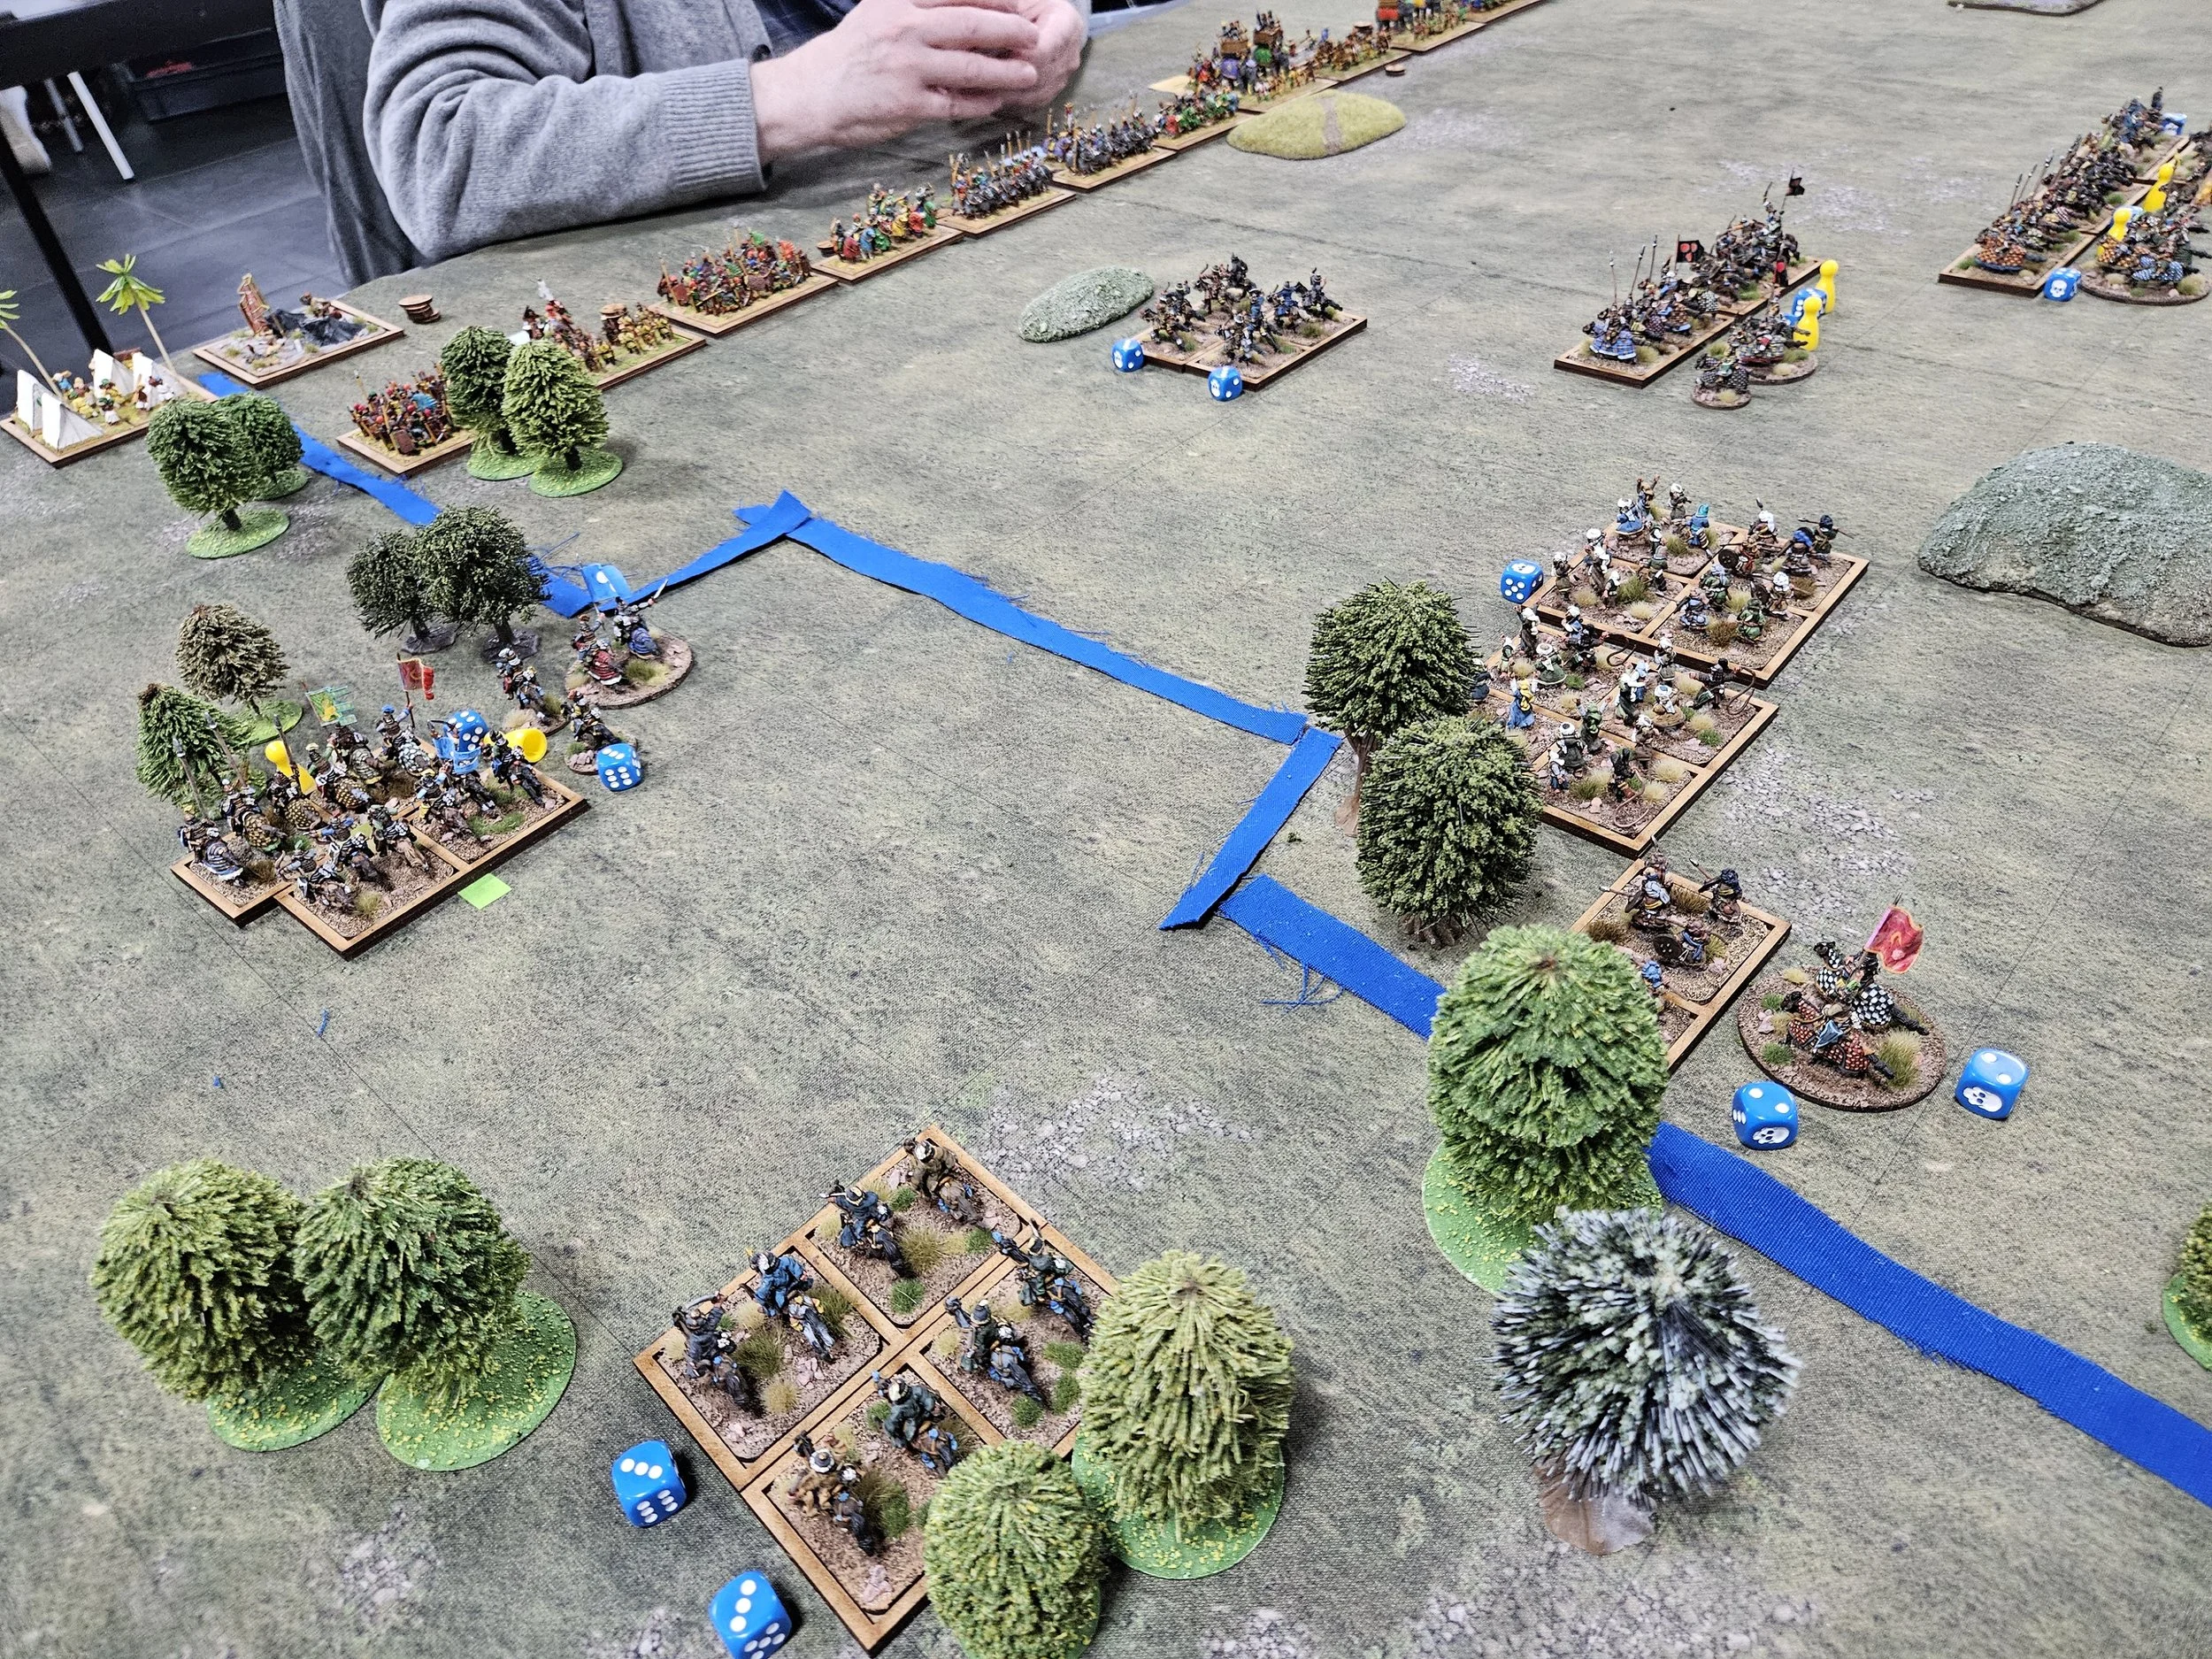
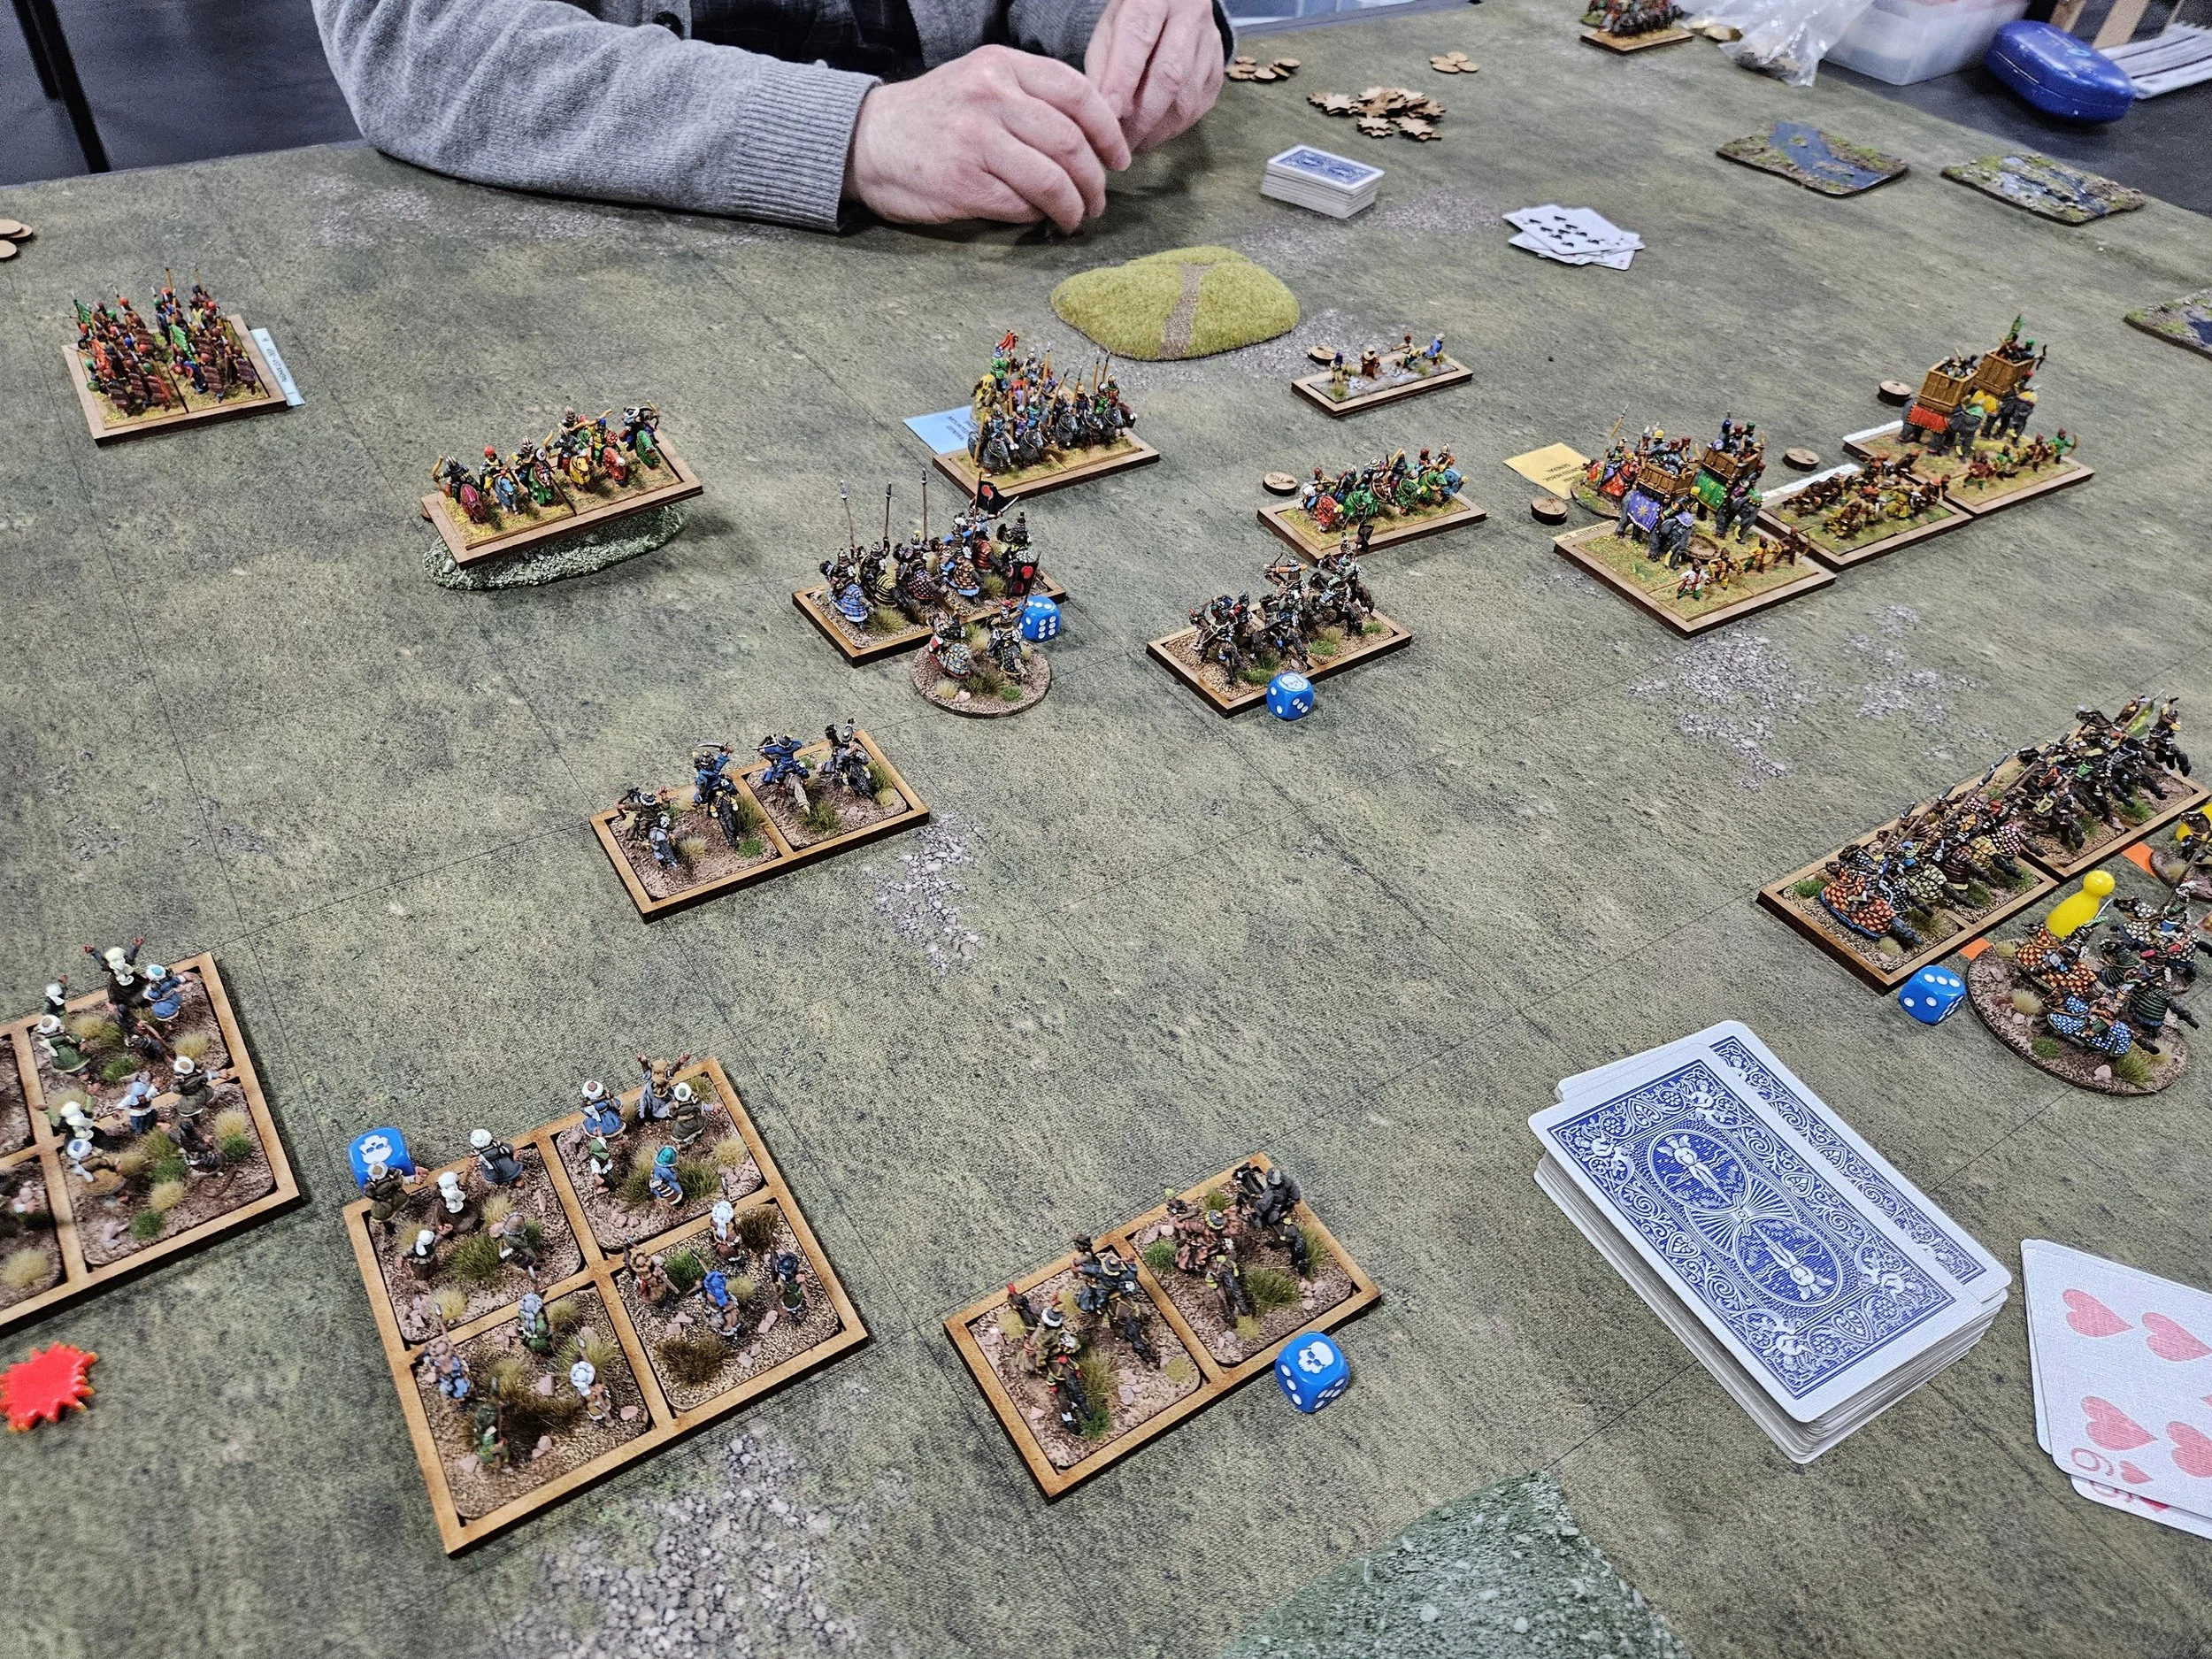
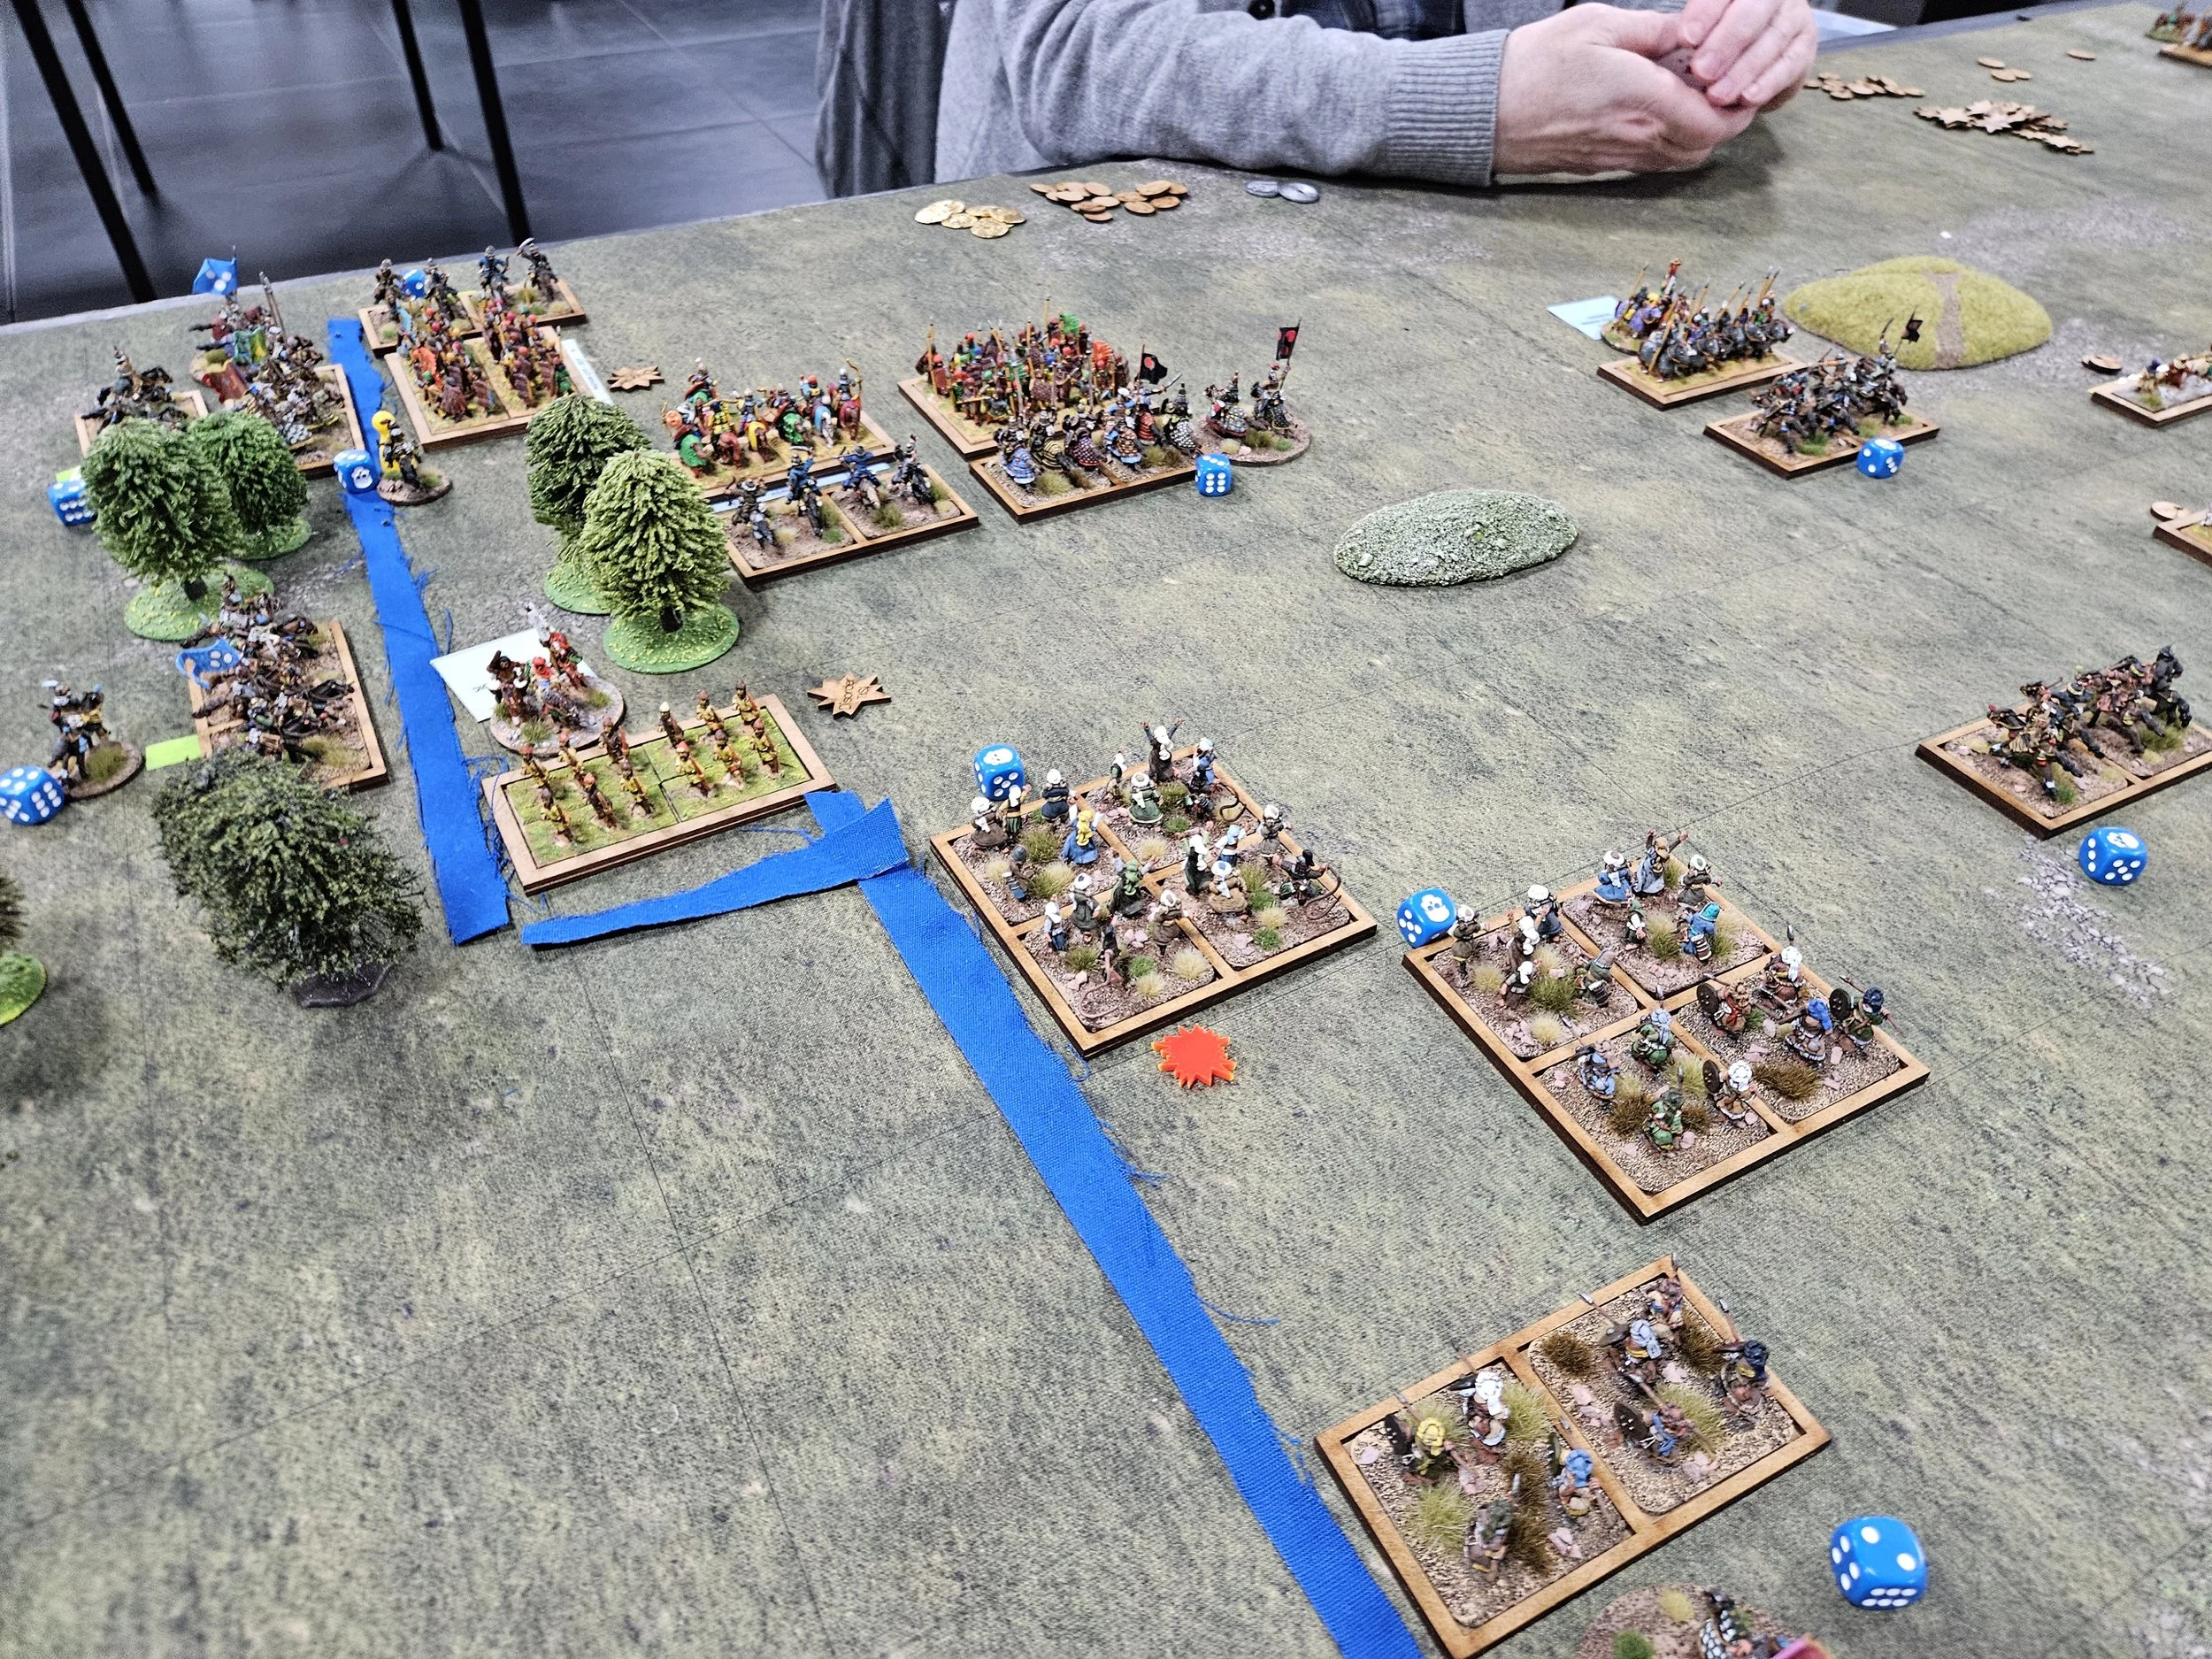
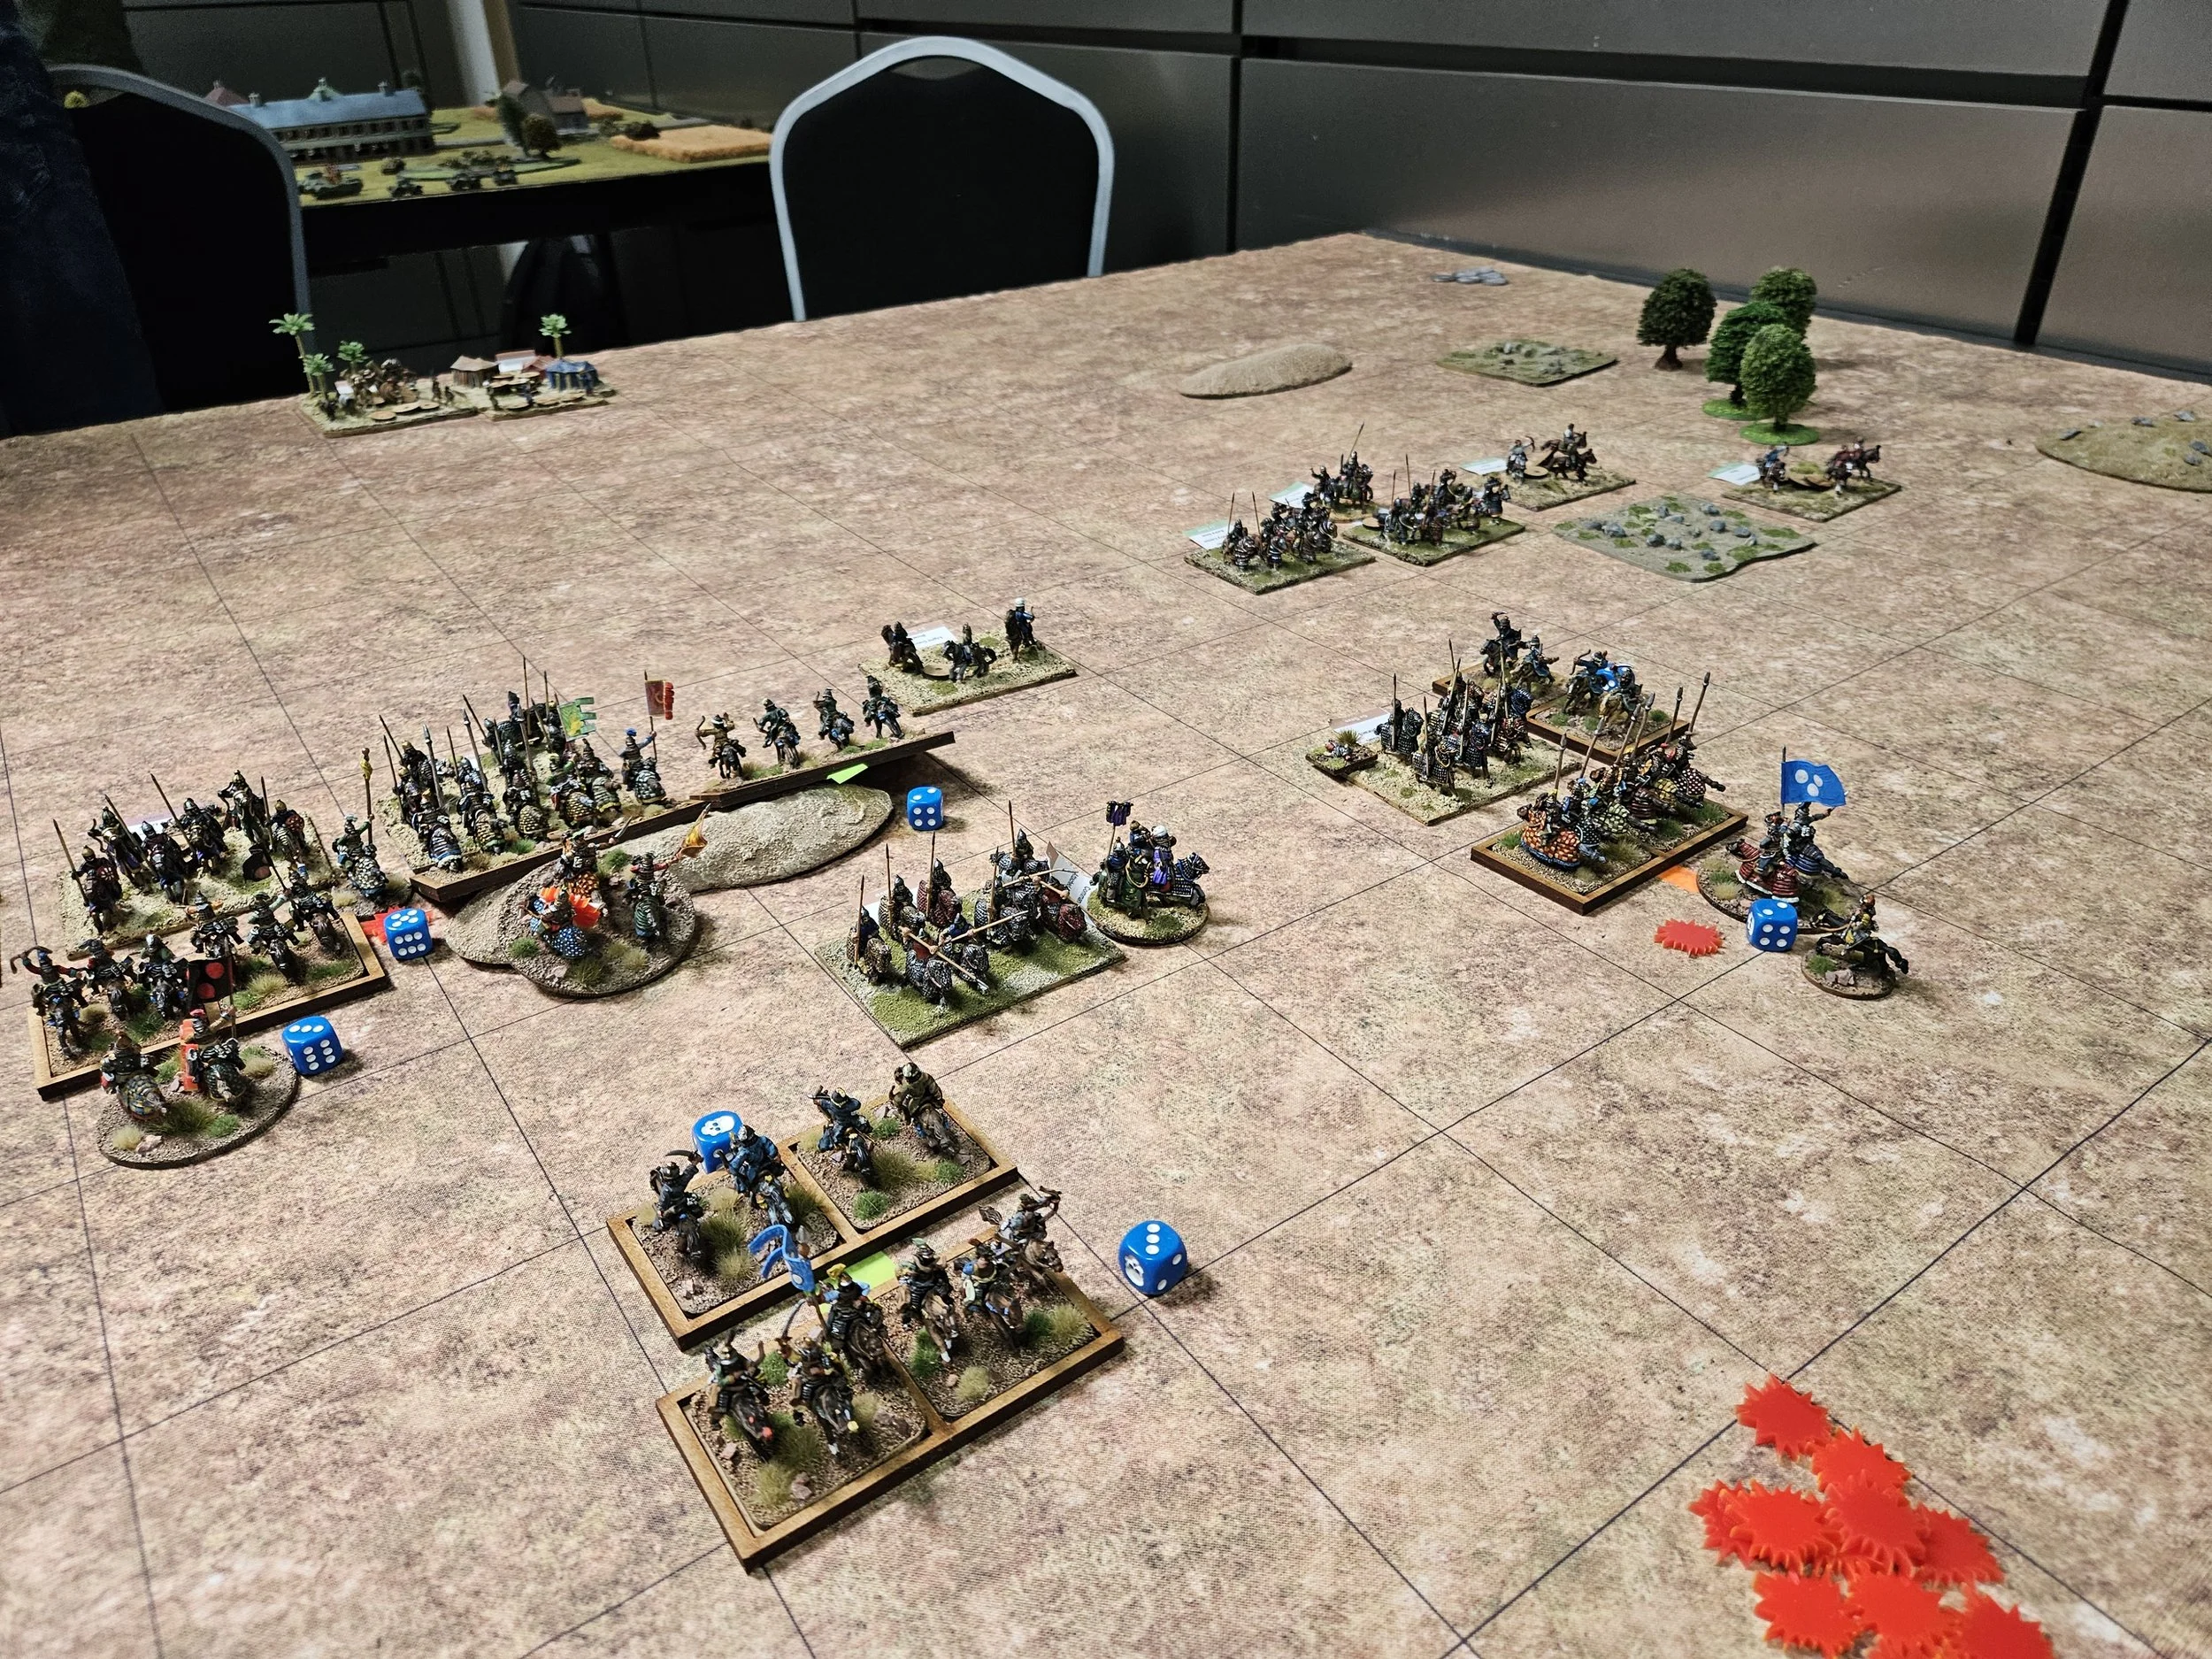
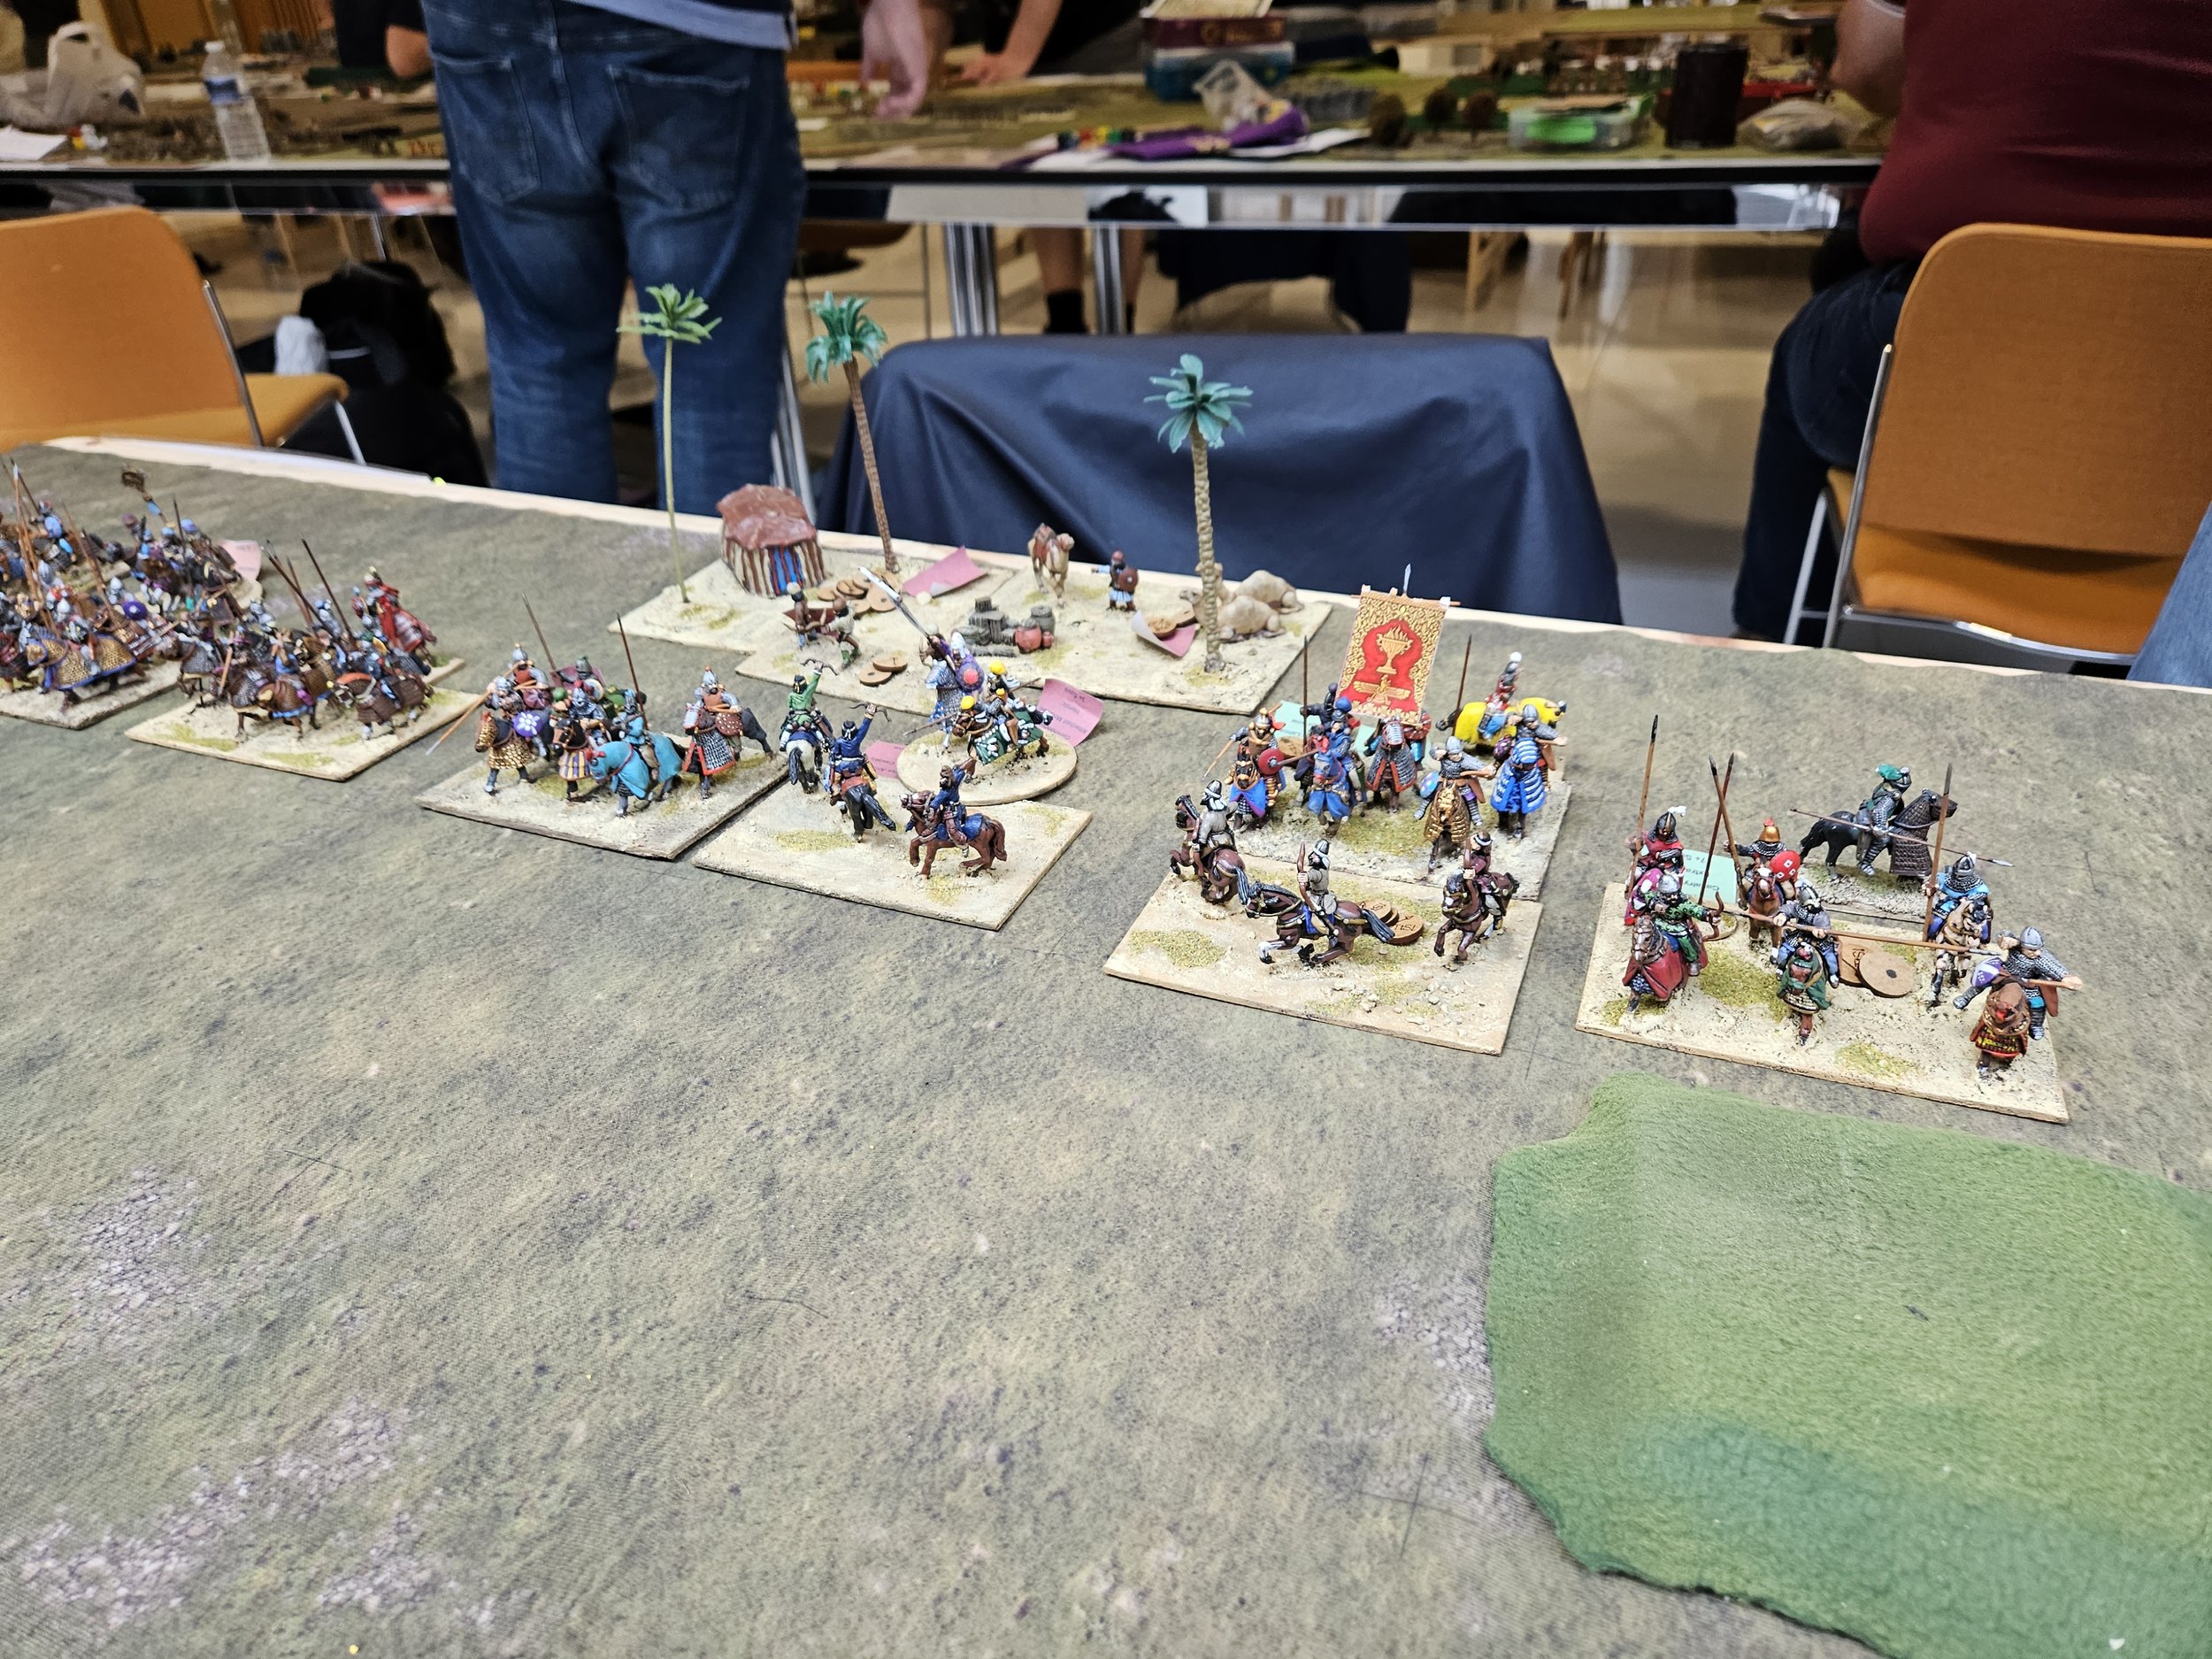
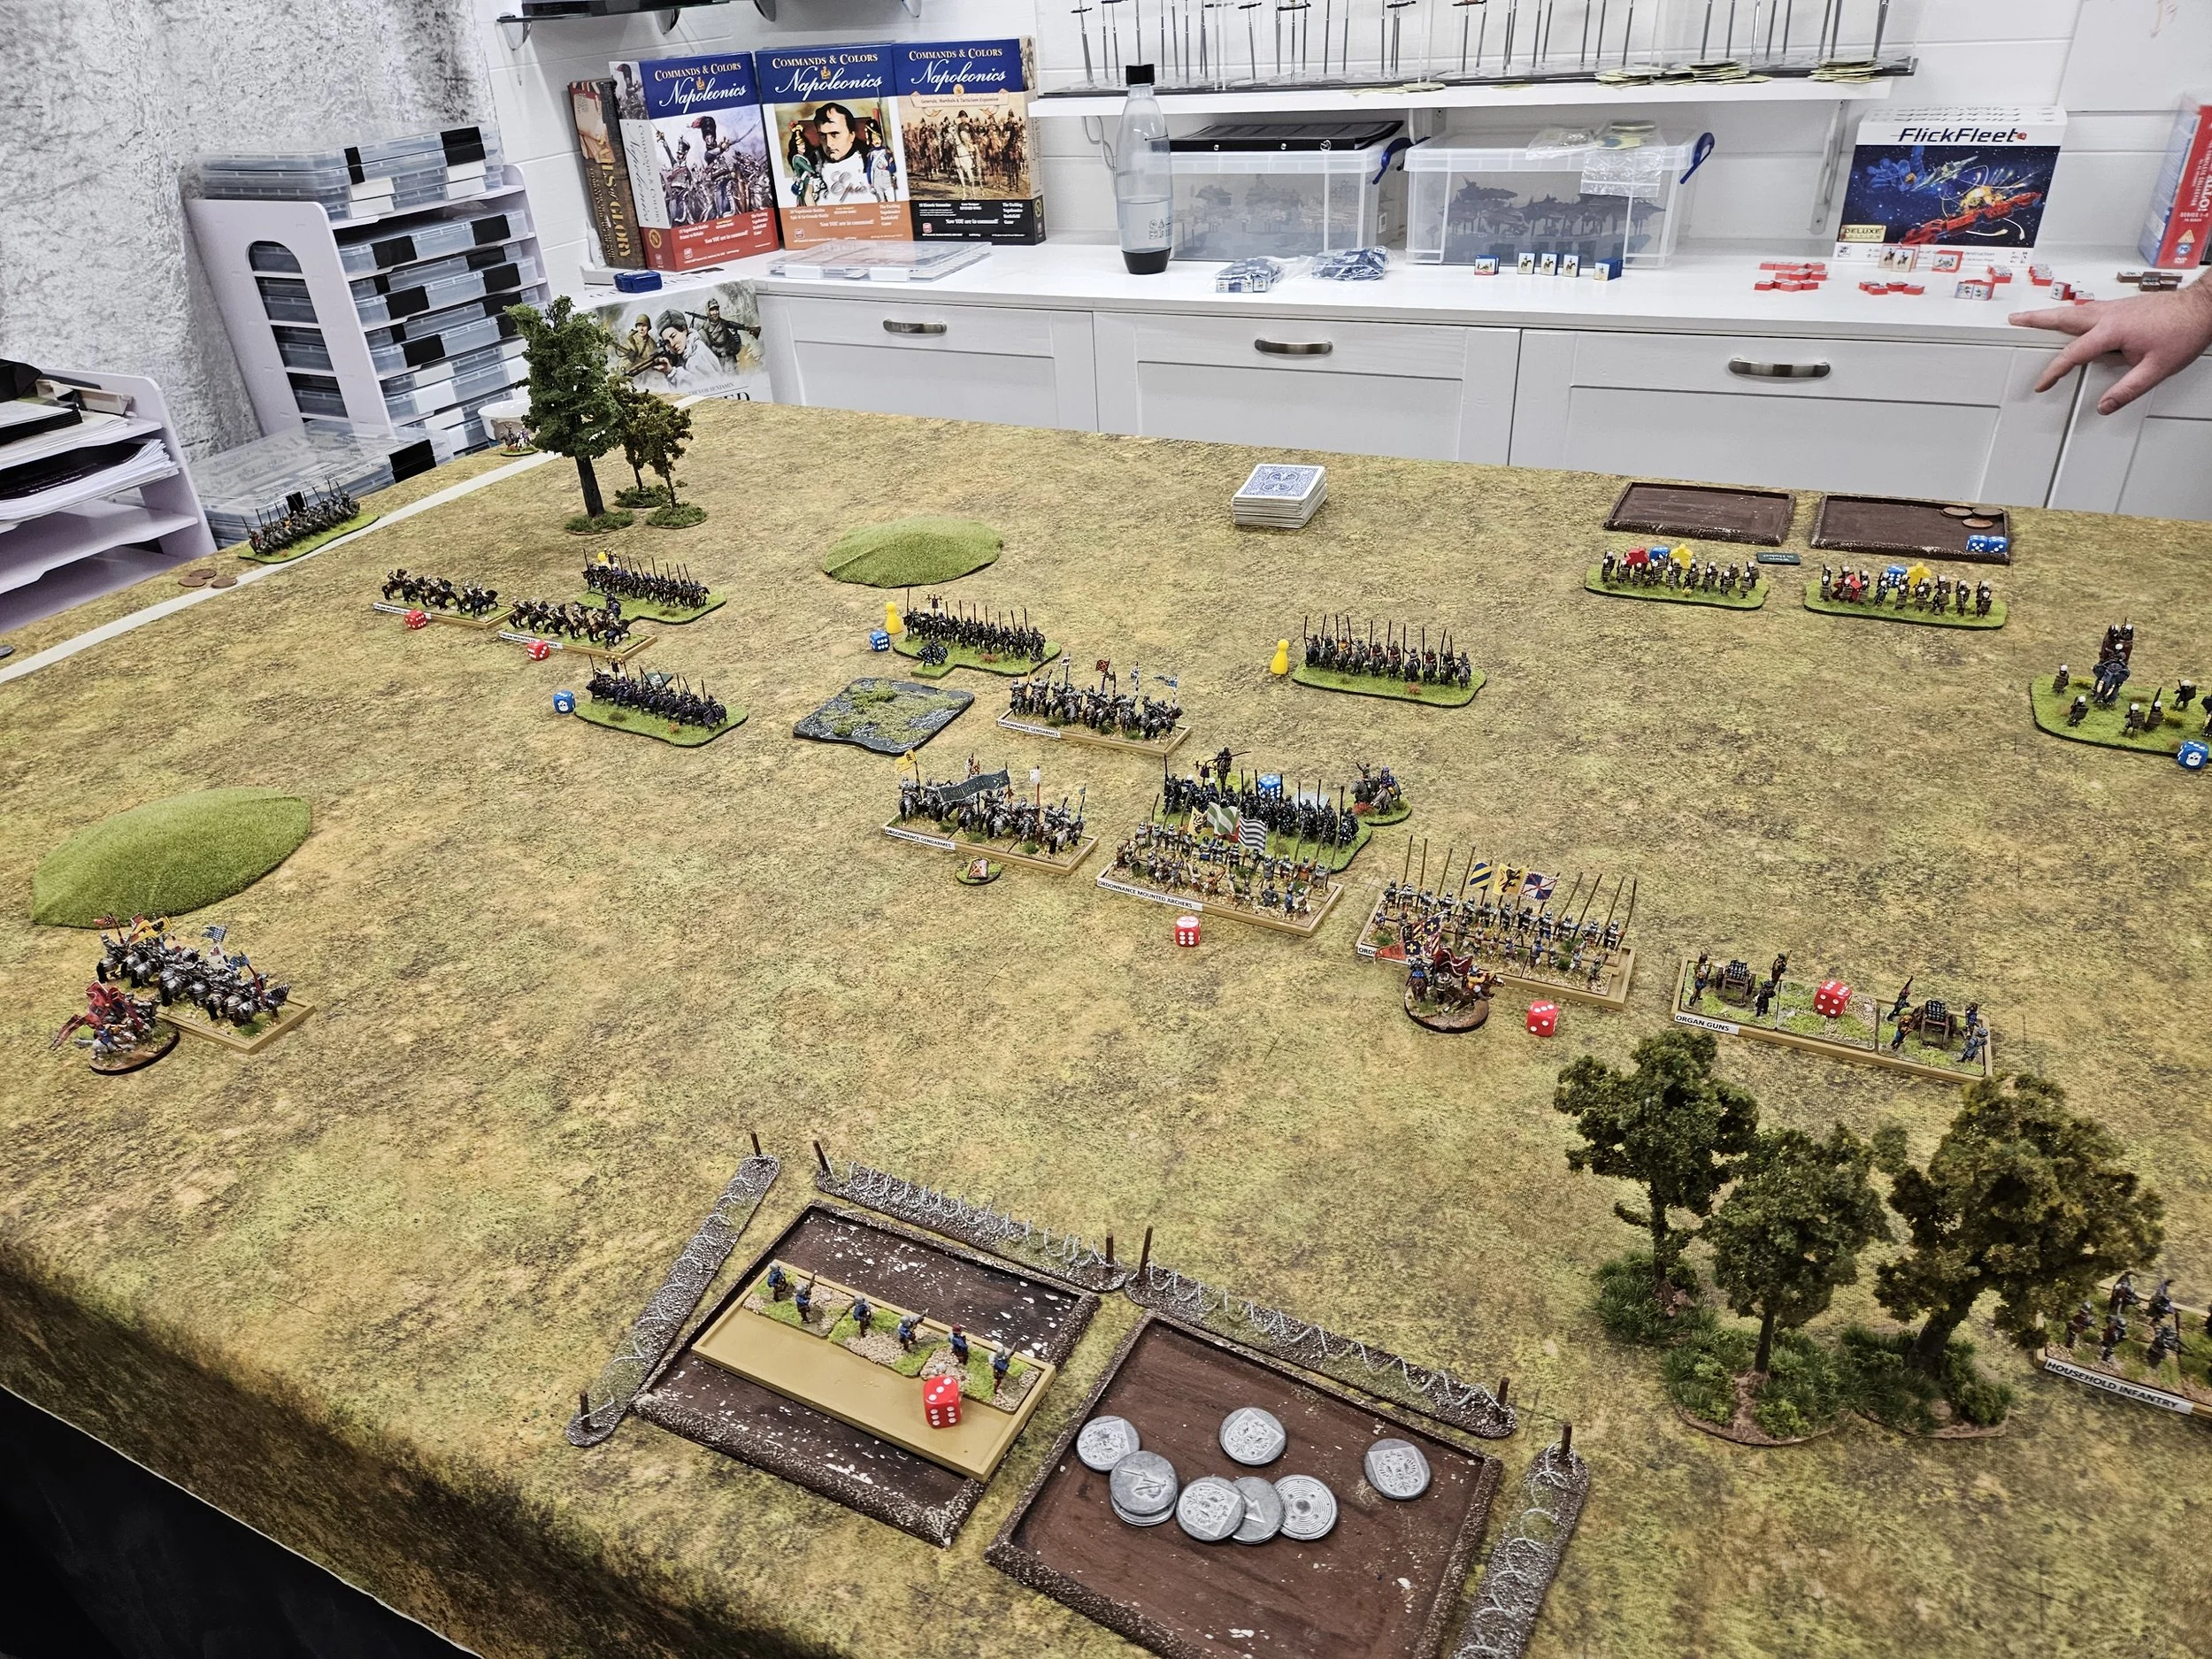
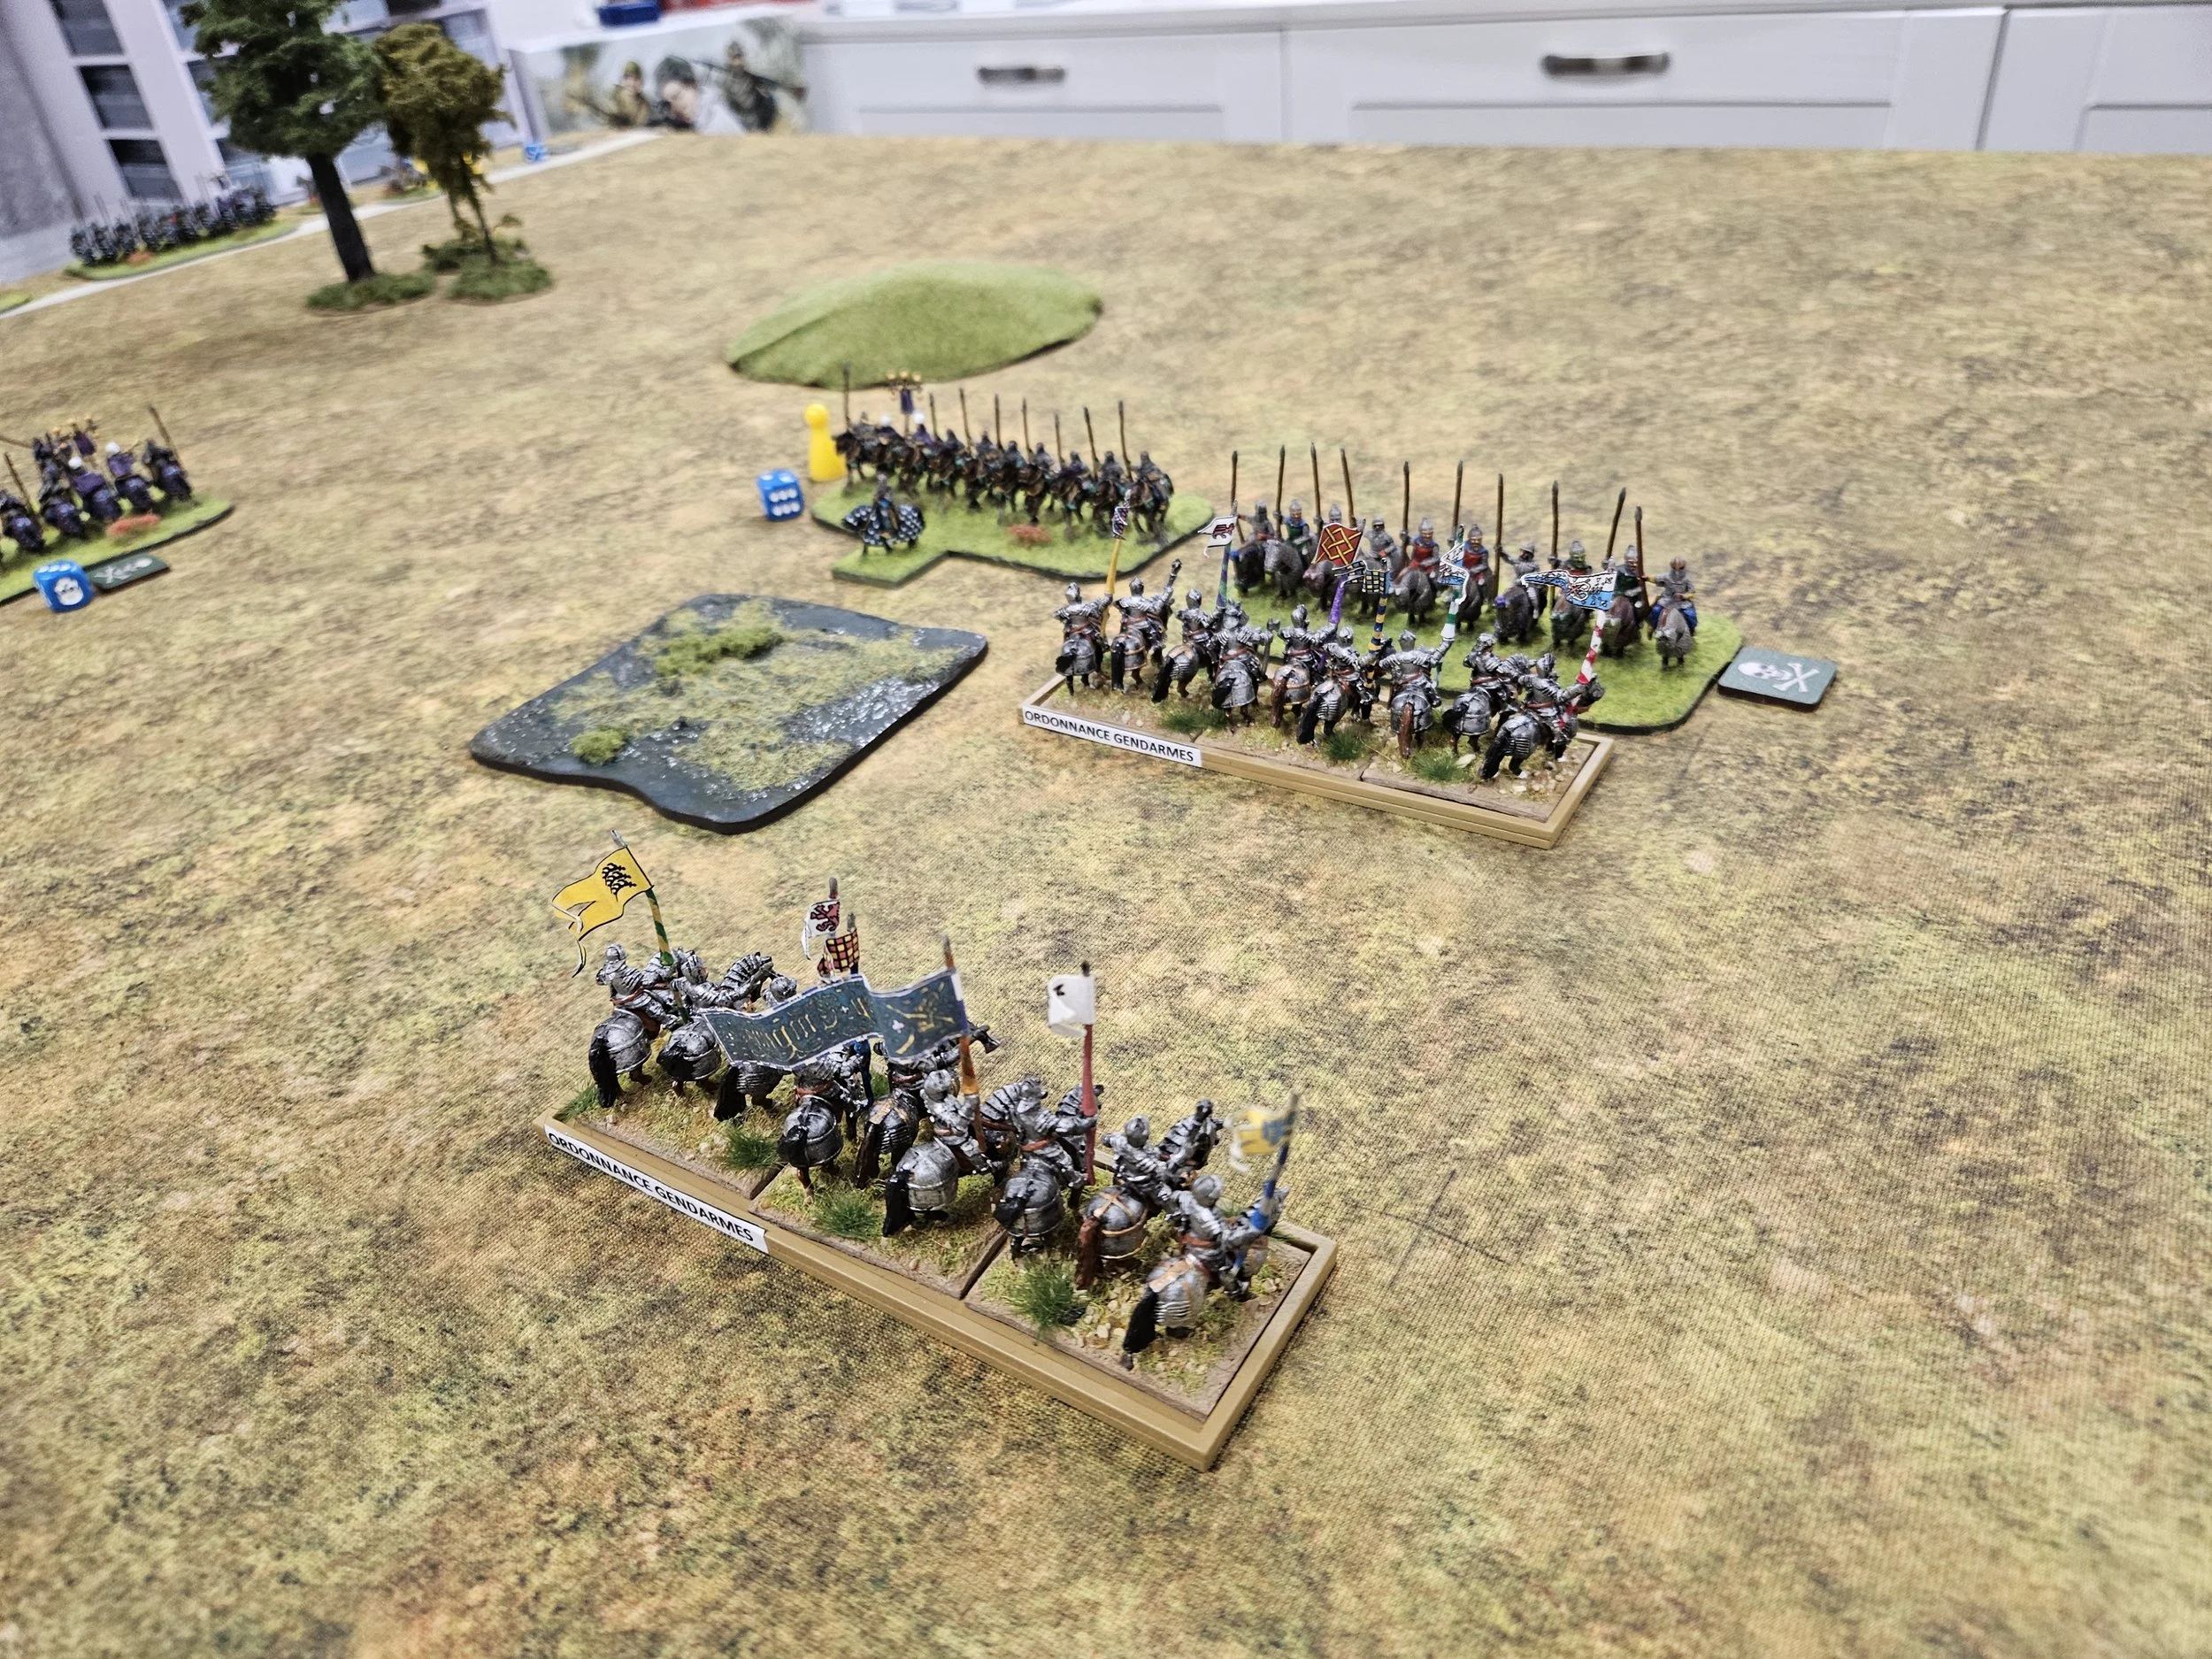
Here’s a couple of shots of the rest of the field at my moment of triumph:
The good news was that as that game was over so quickly, we had time for a re-match, but more of that later…