TTS AAR: Ayyubid Egyptian vs Early Crusader
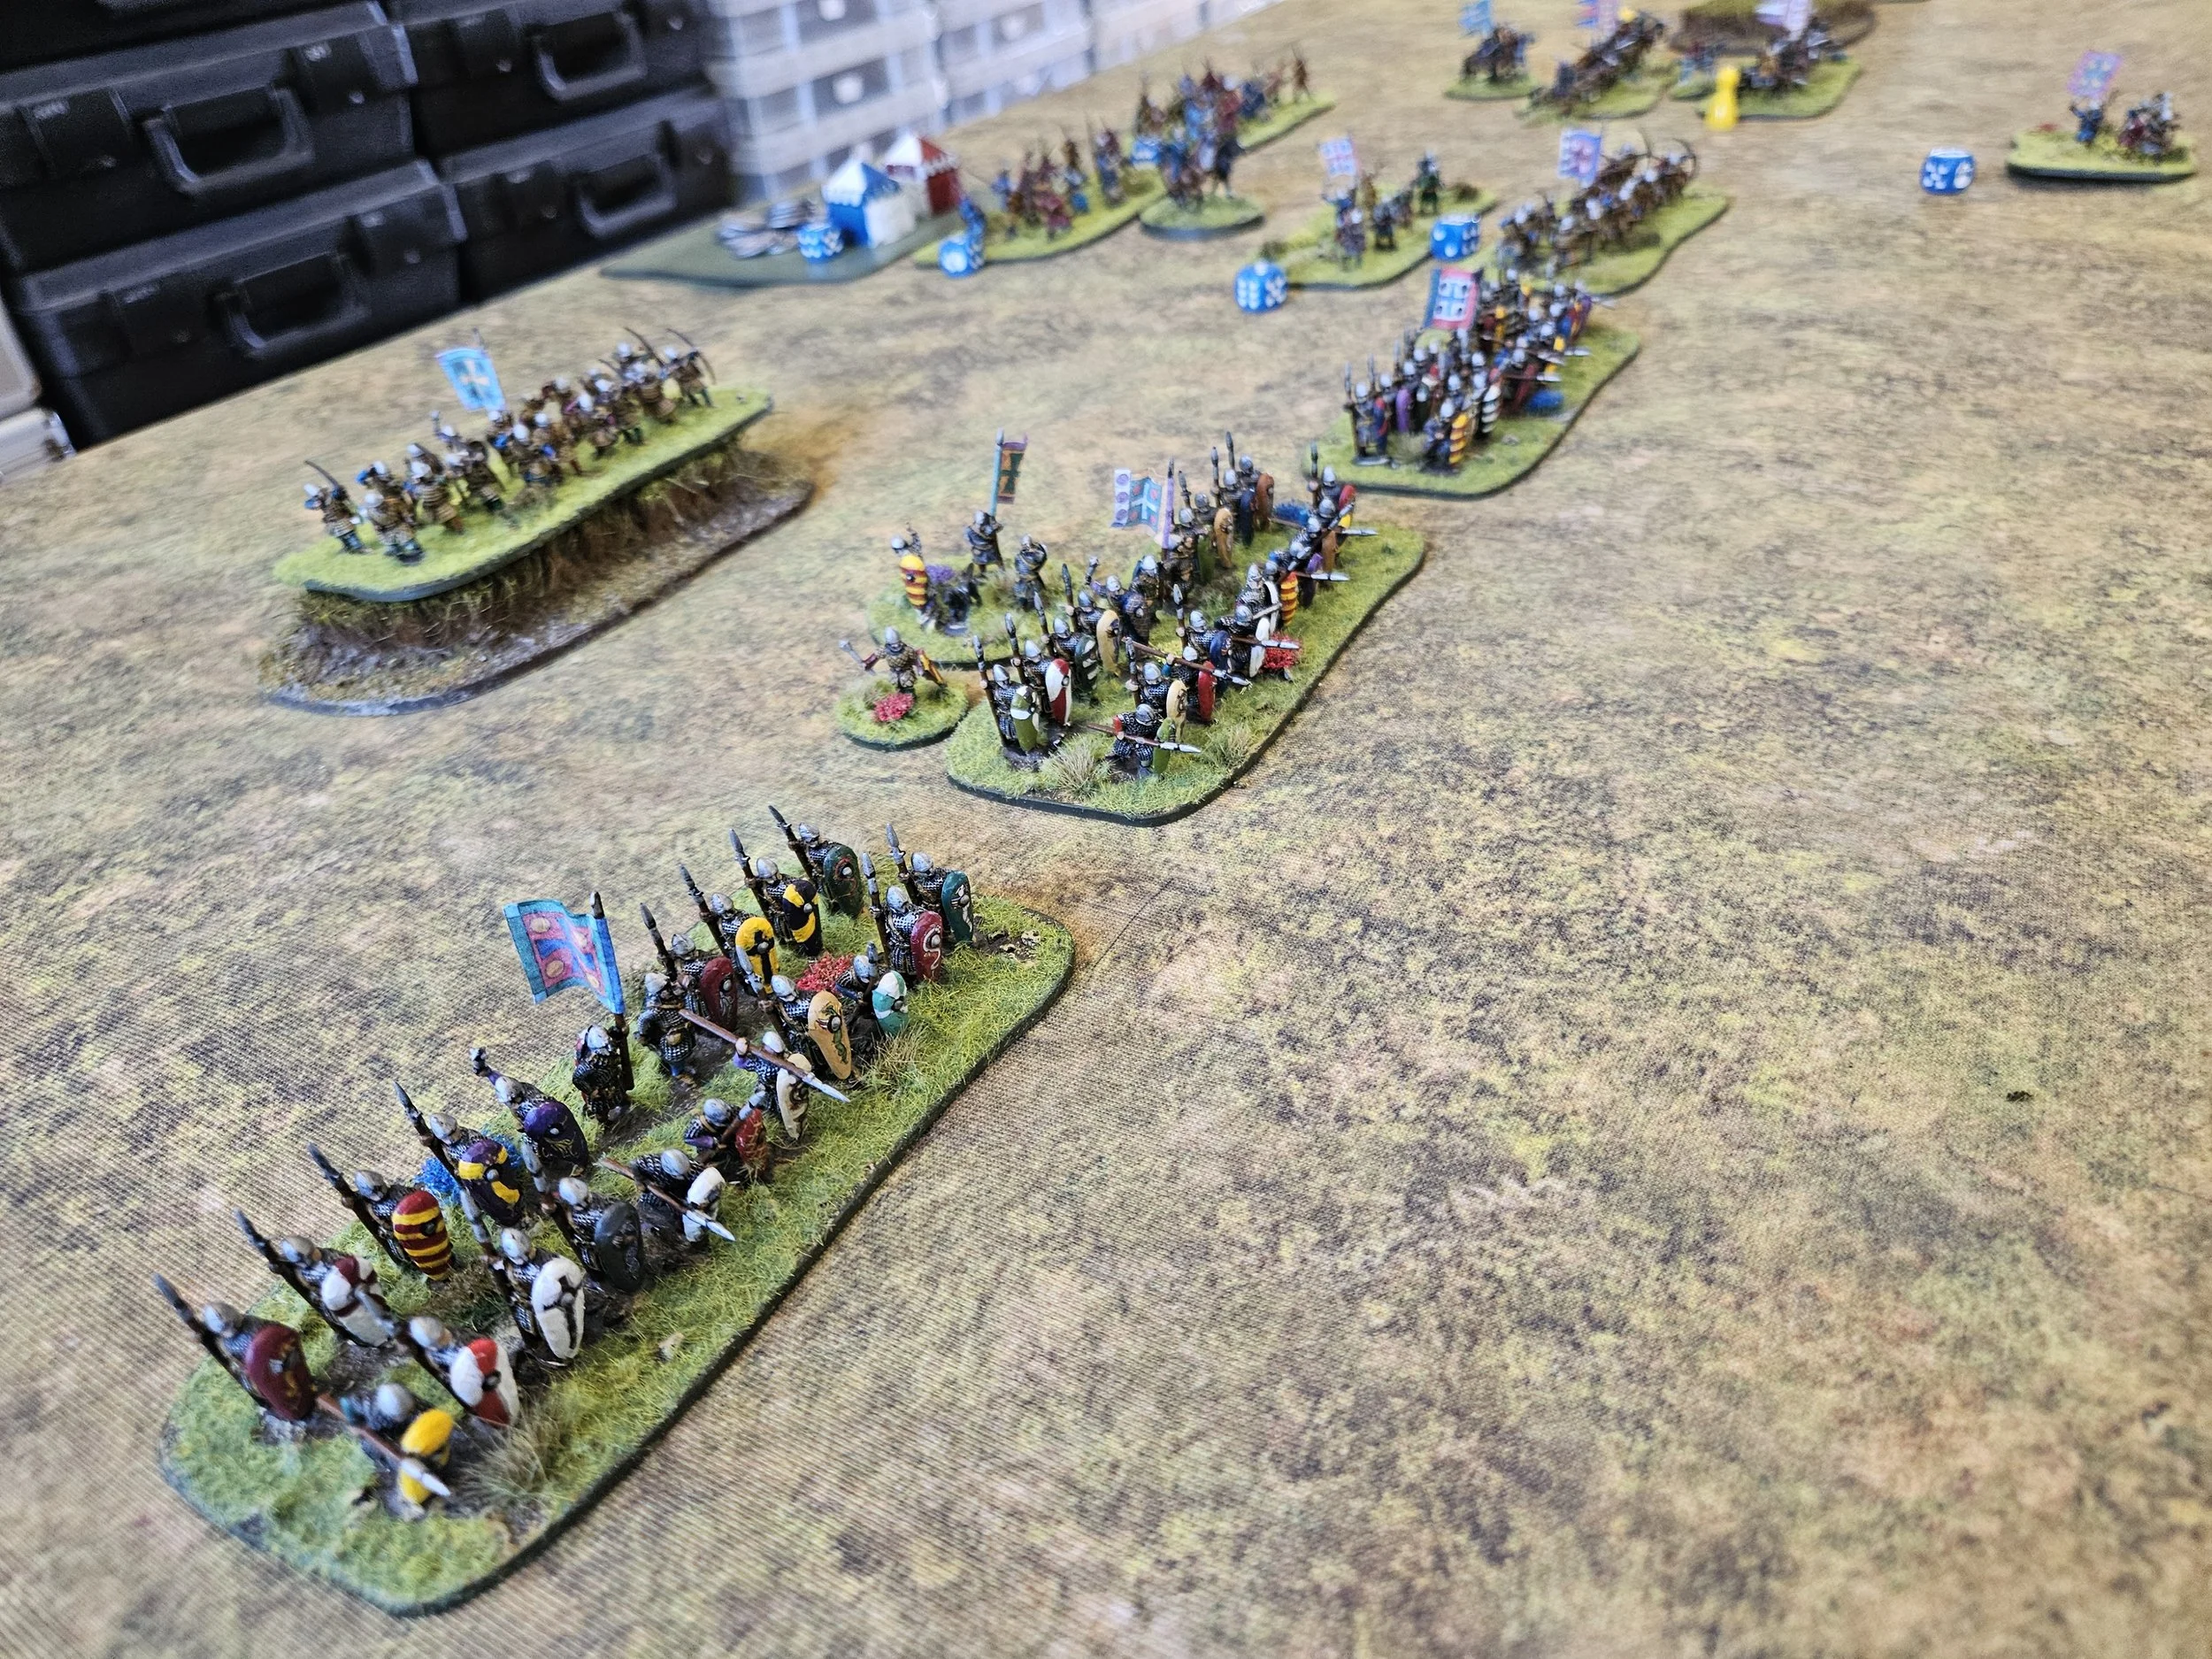
/Having painted up all my Berber spearmen, it was time to get them onto the tabletop where, as part of an Ayyubid Egyptian army, they would face the Early Crusaders.
As I watched the Crusaders deploy, I began to evolve a plan: I placed all my cavalry on my right flank intending to overwhelm the Christian Knights in front of me whilst the rest of my army held back.


The two cavalry forces quickly got to grips on the right flank but try, as I might and even with the advantage of numbers, I just couldn’t break the enemy Knights: even when outflanked by my lights they just shrugged off any damage and carrried on.


At the same time as my plan was being thwarted on the right, the Crusaders were trying to outflank me on the left. Fortunately, I had an infantry command ready to cover that flank and, just as the enemy Knights on the right, they were able to hold their ground against everything thrown against them.
In fact, the troops on the hill were so successful at repelling Crusader Knights and Arriere Bans that they were able to begin pushing forward.


That was both wings tied up, but what of the centre?
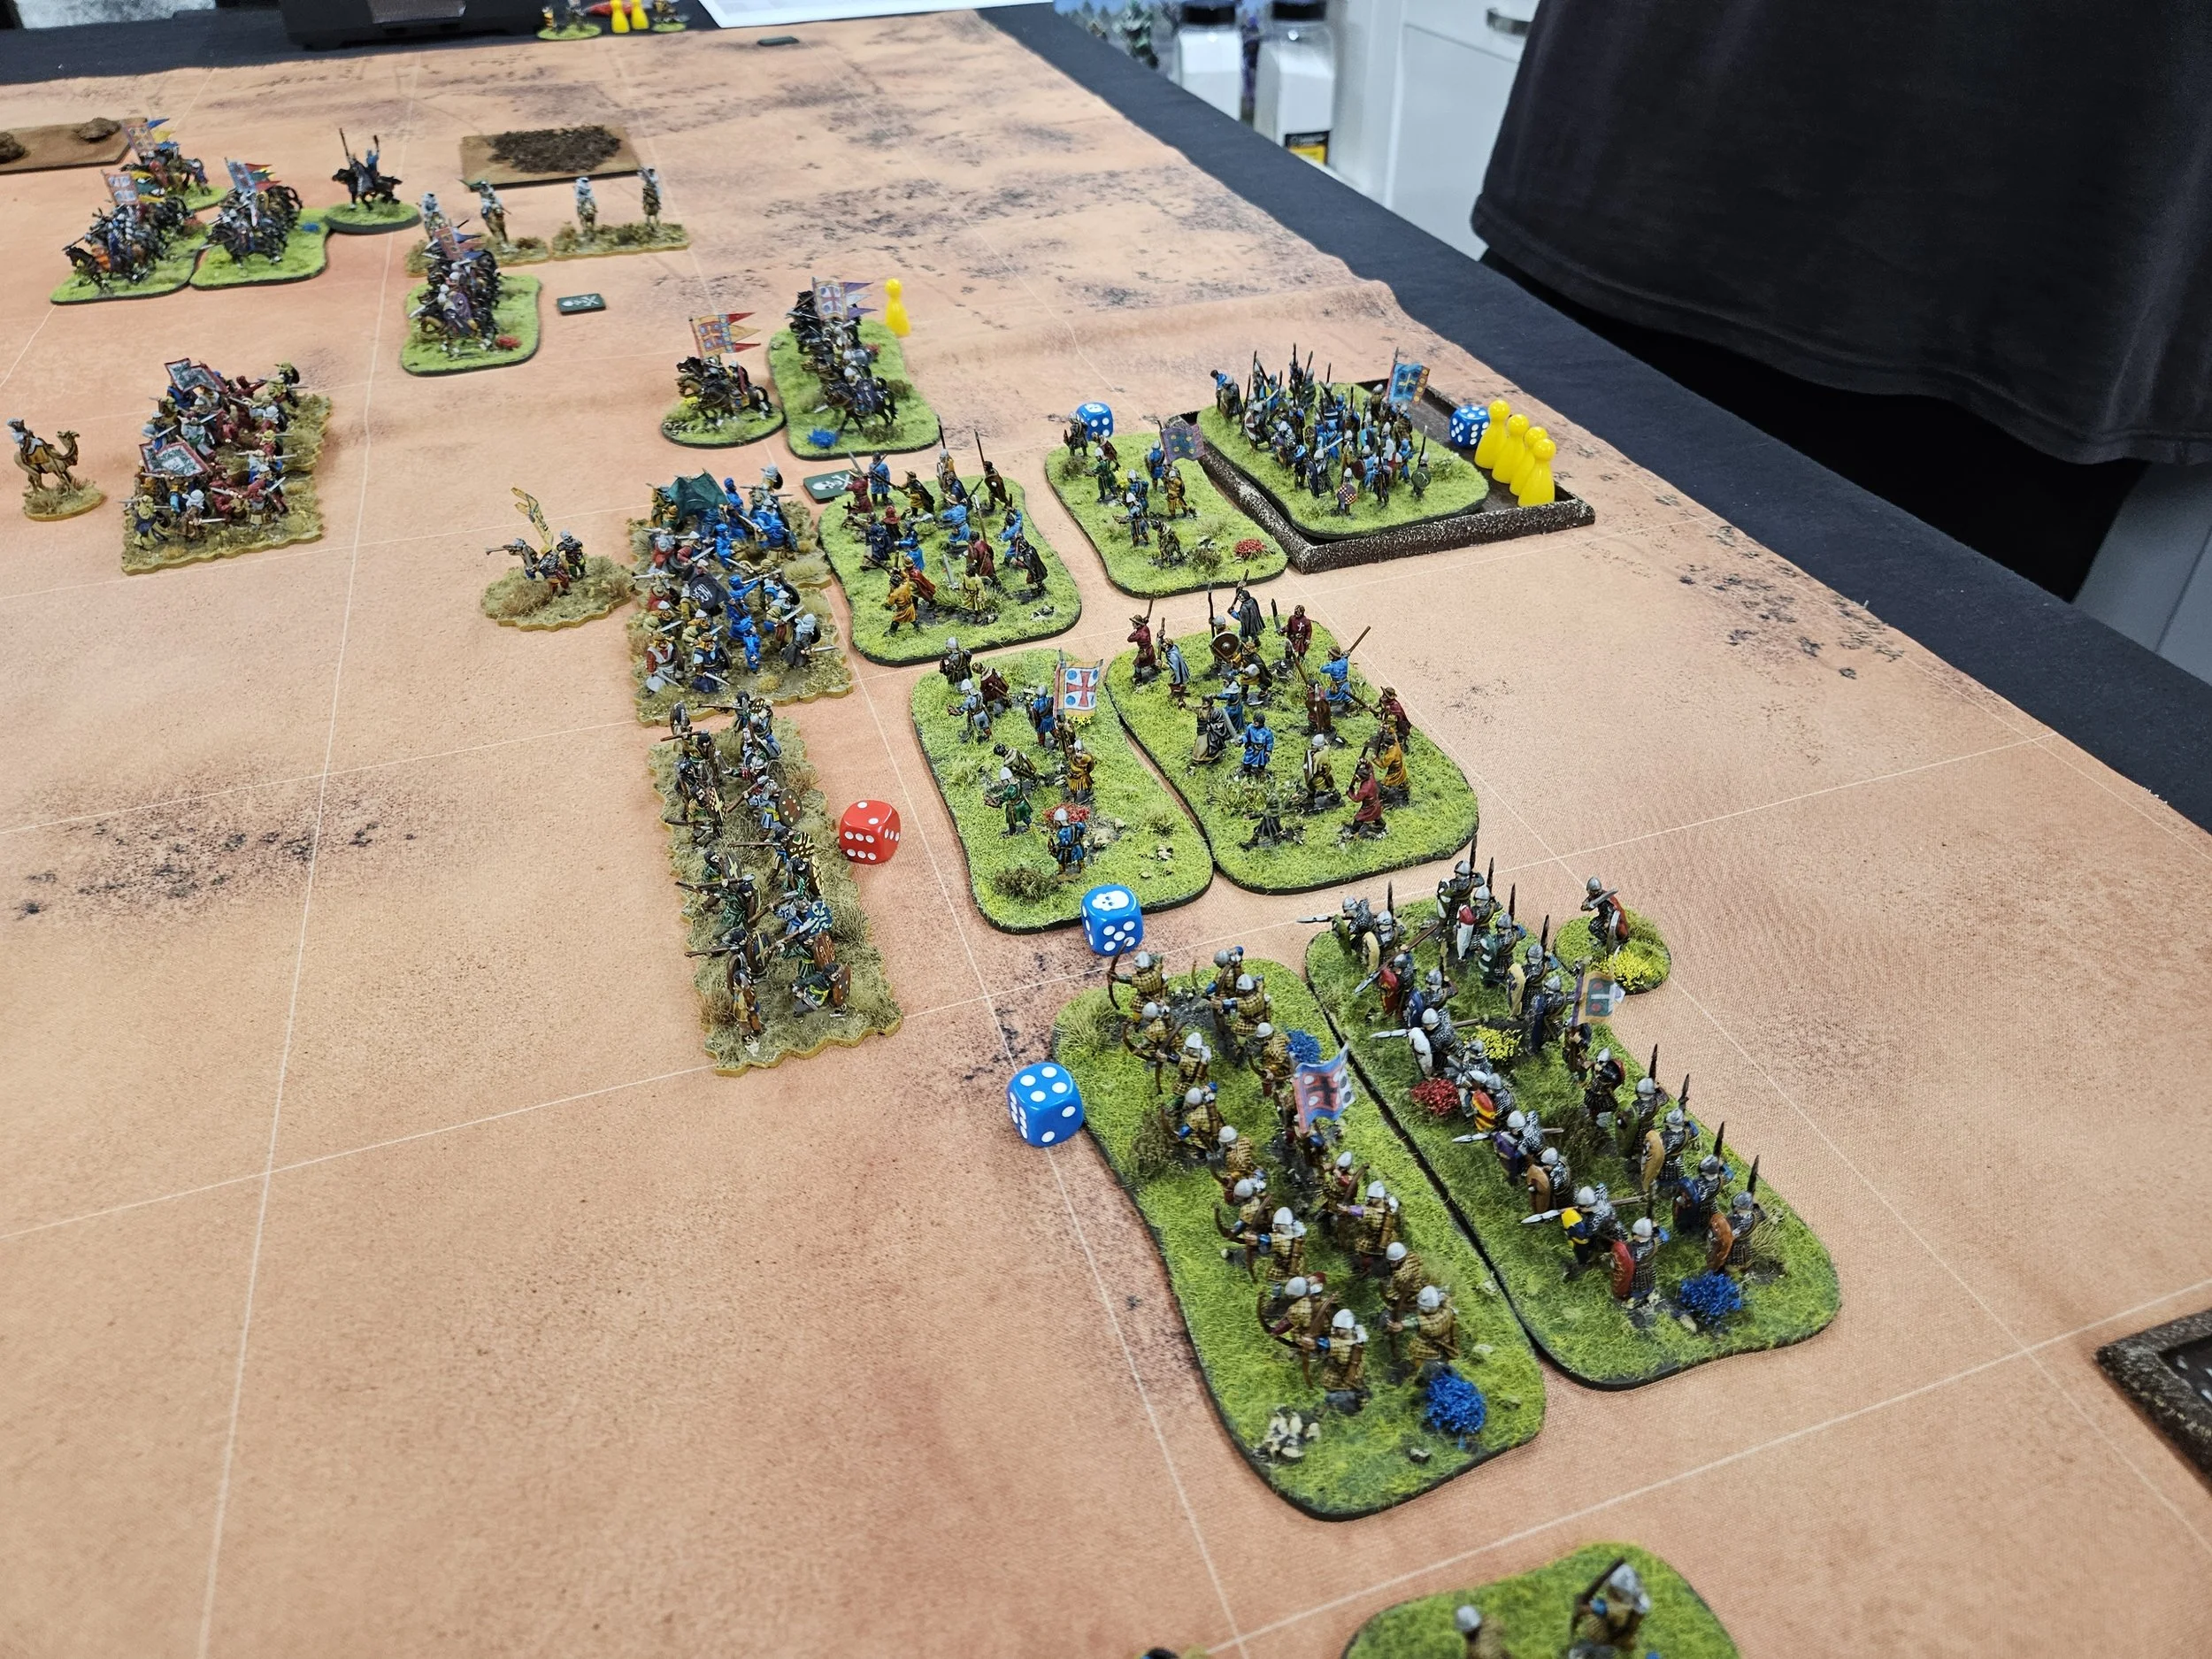
With one of my infantry commands tied up protecting the left flank, that left three units of Berber Spearmen (one the veteran Black Guard) facing all the Crusader foot. Fortunately, their deployment meant that I wouldn’t necessarily have to face them all at once: the pilgrim contingent on the right of the Crusader line would initially be fighting thin air!


The two sides closed quickly.


My troops on the right of the line were victorious, sending a unit of Crusader infantry fleeing the field. To their left, however, the Arab Spearmen were pushed back, but managed to retreat to a safe distance to reform.
The rest of the Crusader infantry then finally got into a position where they could join the fun, and the melee neatly pivoted through 90 degrees.


Meanwhile the battle between my cavalry and the Crusader knights on my right flank was still very much in the balance: try as I might, my Jund cavalry, even supported by all those lights nipping at the Crusader flanks, just couldn’t break the veteran Norman horsemen.
Sidenote: I can’t help feeling that if I had been facing my Venetian Knights, the Arabs would have wiped them out in one turn! Why can’t my Knights ever survive attack after attack in the same way?
Some Crusader infantry came to help the Knights, and a cunning use of the Cry Havoc! stratagem card (caltrops!) almost derailed my attack entirely, but the Arab horse survived and the fight went on.


Things were also starting to look a bit dicey on the left, where the Crusader Knights there were having a bit of a resurgence…
…but in the centre a lucky run of cards knocked the enemy Arriere-Bans off the table, and I only needed a couple more coins to win.
In the end the battle was decided on the right, as the cavalry unit that had retreated back from the enemy caltrops managed to catch a unit of Crusader infantry in the flank as they moved to intervene in the big battle on the right. Already disordered, the Crusader foot crumbled under the onslaught of the Jund, and the game was mine!
That had been an epic battle, with thrills and spills throughout.
All kudos to the two units of veteran Crusader Knights facing my right flank, who at one stage were keeping four units of cavalry and four units of light cavalry occupied, and it was really only a bit of luck in the middle of the field that would eventually give me the game.