TTS AAR: Anglo-Normans versus Siamese (Thai)

After our recent Naphill game of FK&P, Rob and I had time for a quick To The Strongest. Rob had once again brought his new Siamese/Thai army (Khurasan figures) and I decided to use the Anglo-Normans against them (Museum Miniatures and Forged in Battle).

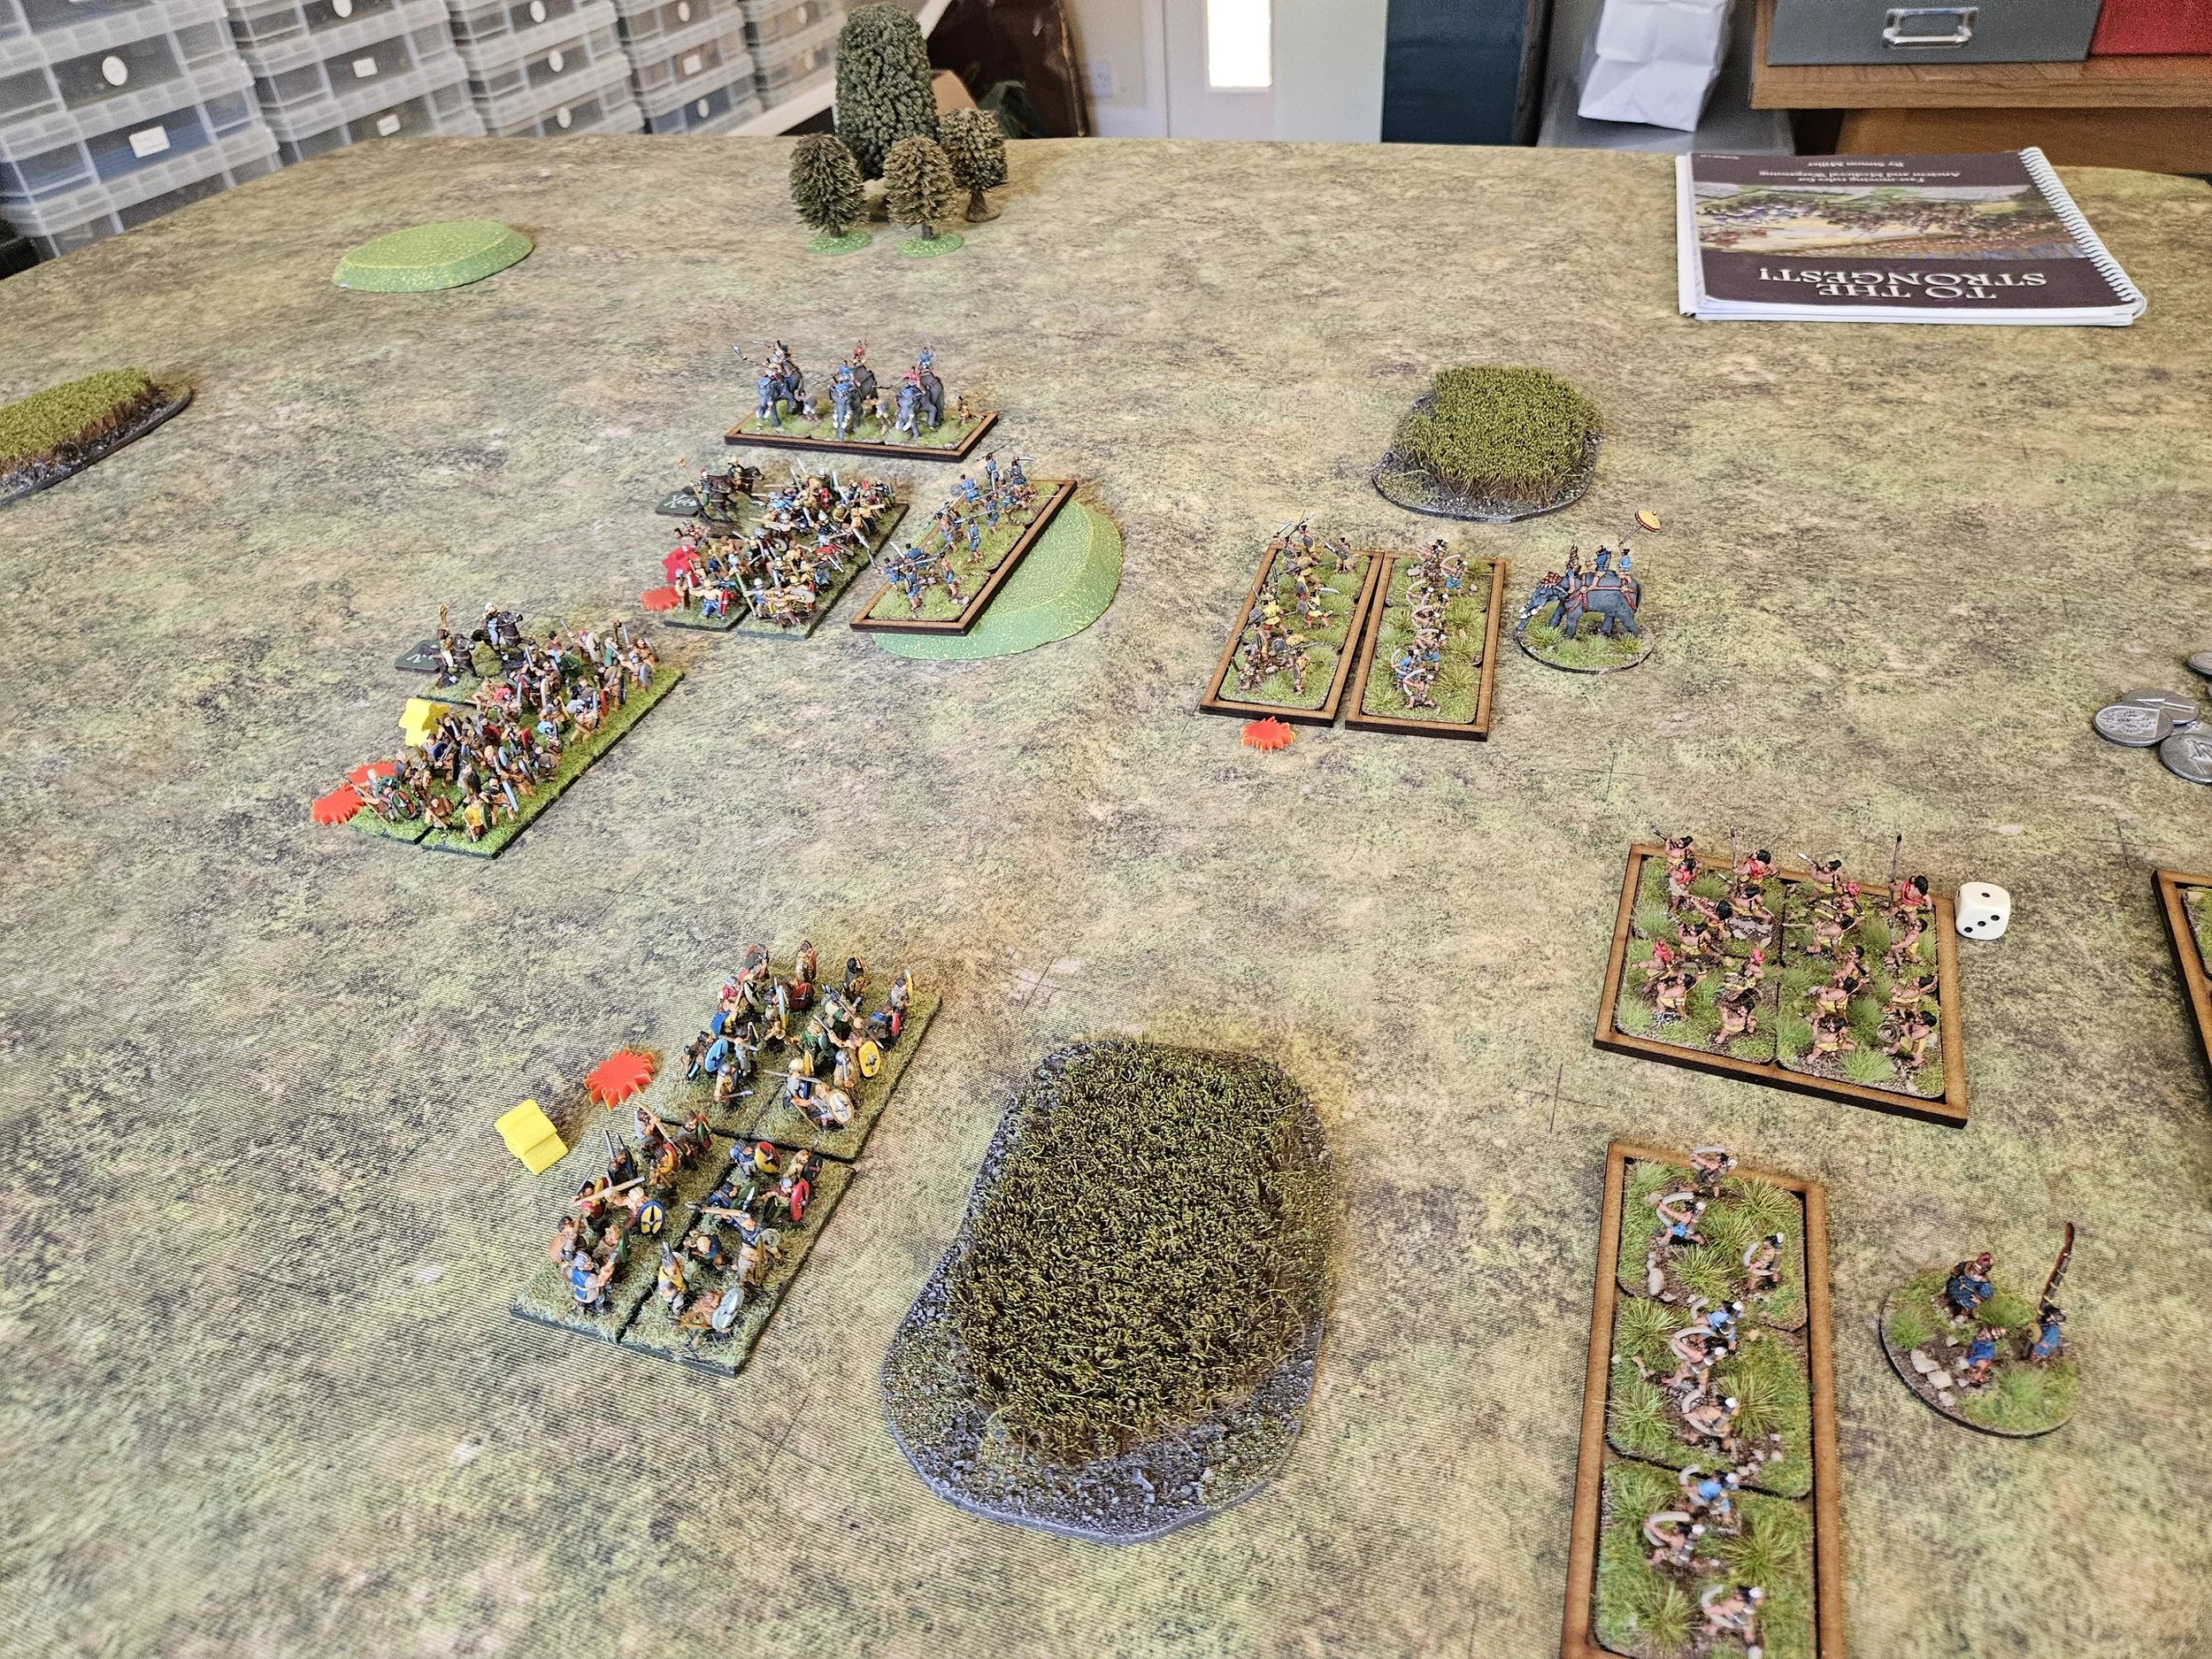
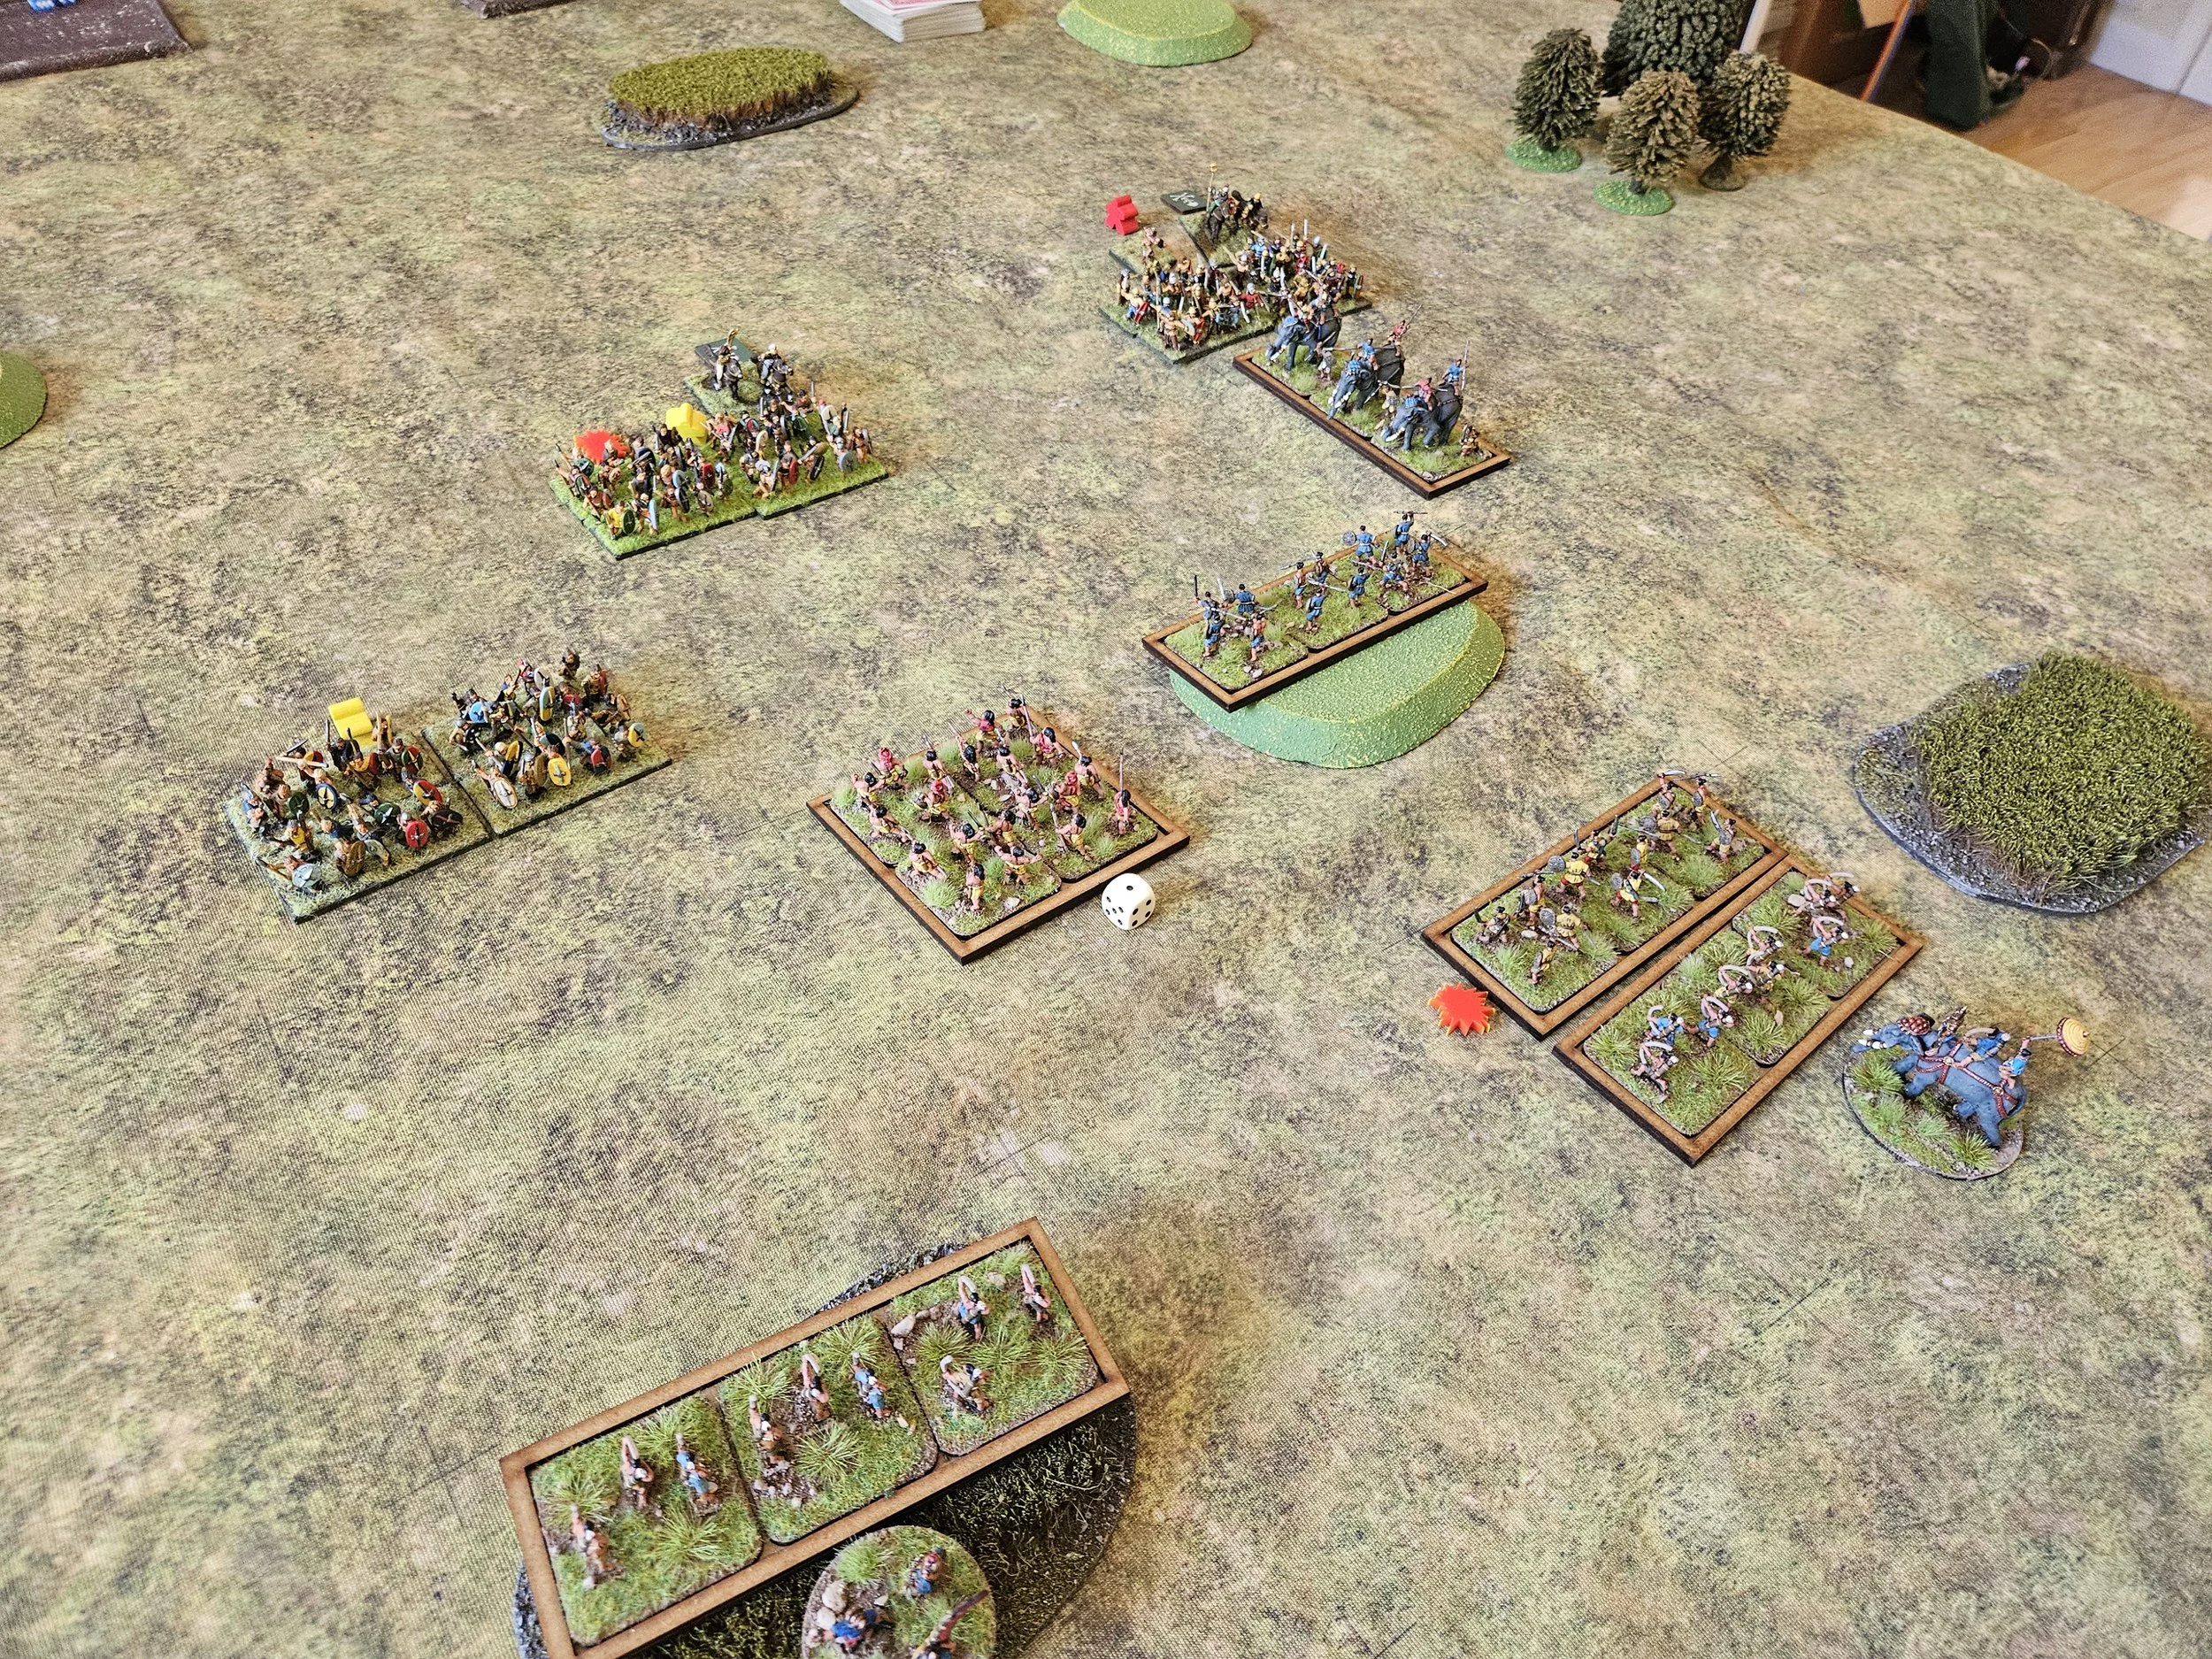
The Anglo-Normans won the scouting and, after deployment, I immediately saw an opportunity to outflank the Siamese line on the right hand side, sending two units of Milites forward and deep to acheive that very end.

This forced Rob to hang back his left wing…meaning that a strong advance with the rest of the right hand side of my line threatened his troops there, but with so many Thai units available, he was able to form a decent ‘corner’ that it would prove hard for me to exploit.

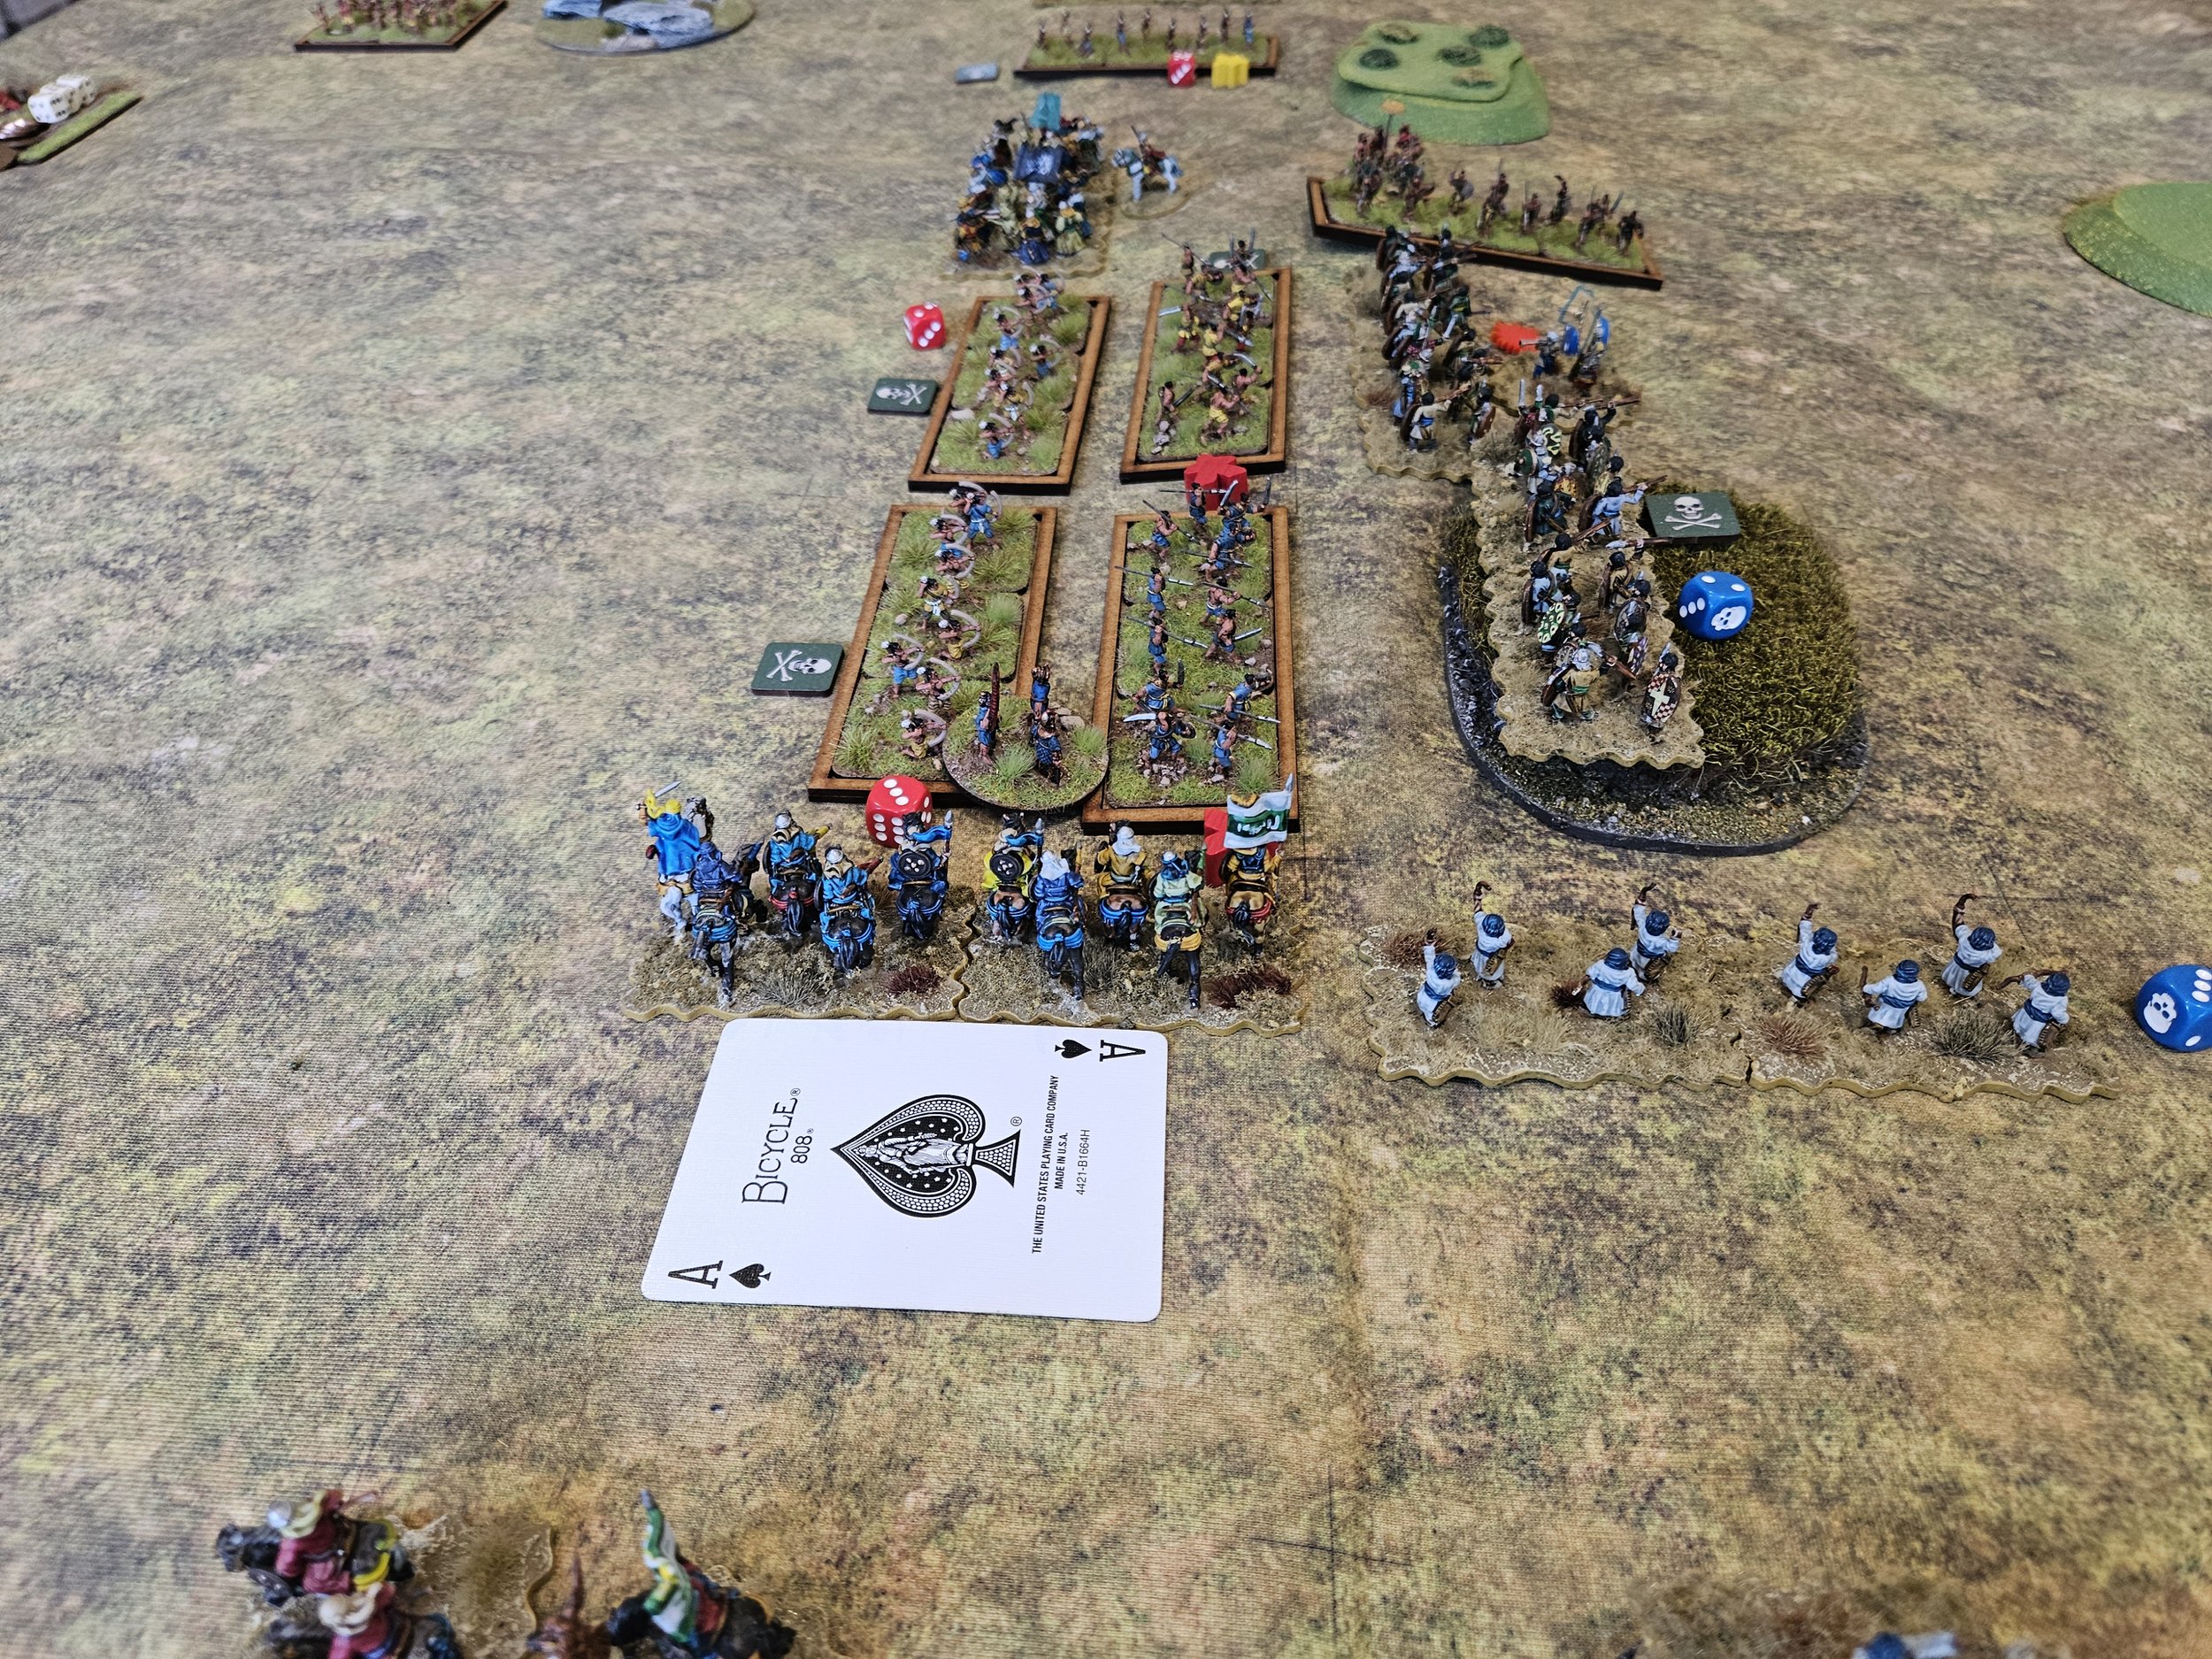
Threatened on his left, Rob attacked strongly in the centre, but the cards had other ideas, and a unit of veteran Spearmen evaporated under a countercharge from some Milites backed up by Fyrd.

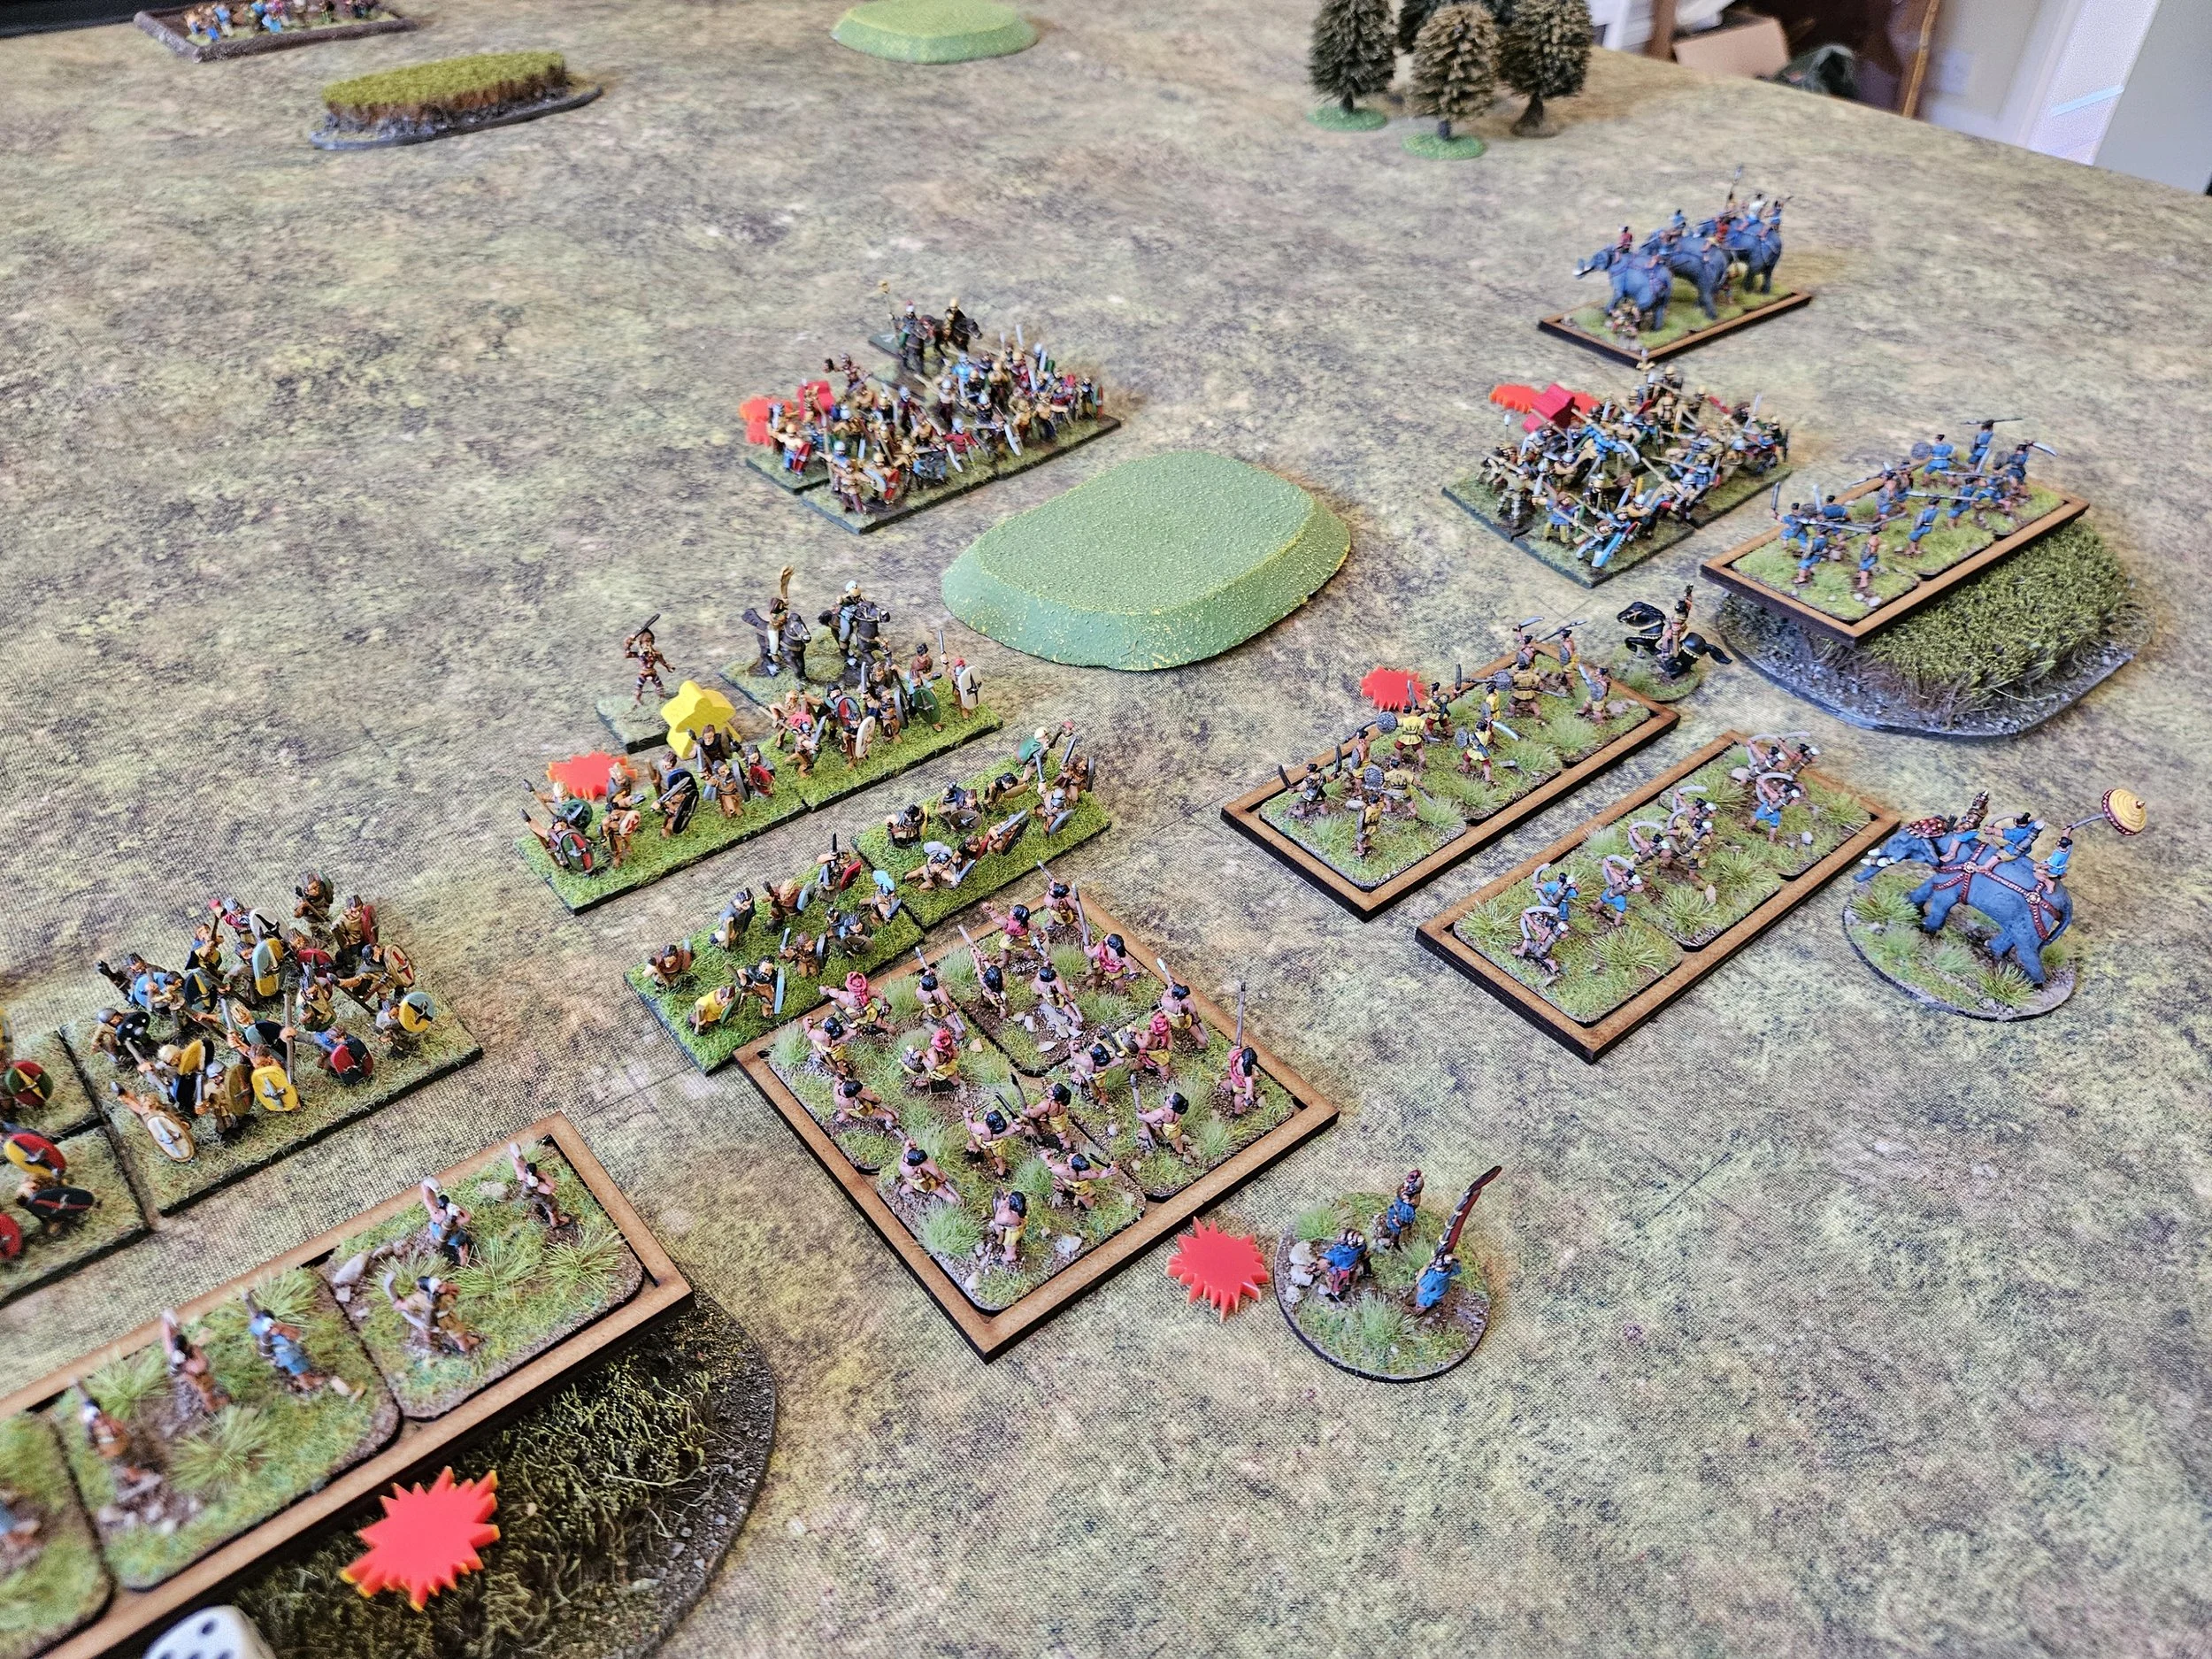
This particular unit of Milites were led by Bishop Odo and a piece of the True Cross. They would go on to rampage up the centre of the table knocking Thai units off the table at a rapid rate of knots. At one stage, it looked as if they would win the battle on their own!

Back to my right flank, and Rob had very cleverly managed to use a piece of Impassable terrain to stop my cunning outflanking move from fully coming to fruition:

Where were the Thai elephants, you may ask? Why weren’t they causing havoc amongst the Norman horsemen?

Well, my deployment had deliberately avoided the nasty Nellies, and refusing my left flank made it even more difficult for Rob to get them into the action.

My advantage from outflanking on the right had definitely now disappeared. In fact, my isolated cavalry units there were coming under some pressure, being hit from front and sides themselves!

William the B had a narrow escape in the combat that followed, but was saved by one of his liege-men who threw himself in the way of an enemy spear.

And meanwhile Bishop Odo was still thundering, unstoppable, down the centre of the field…

This was all taking too long, as Rob had recovered from the difficulties he faced from the initial deployment and had managed to get quite a lot of cavalry around my left flank. The Thai elephants had also now managed to lumber into the fray.

Fortunately William the B, still alive after his close call, was available to dash back and shore up the left flank, leaving Bishop Odo and his rampaging knights the time to take one of the now-undefended enemy camps and Rob’s last three victory medals.

It had been a great game of TTS. My initial advantage on the right flank was countered by Rob’s cunning use of terrain; Rob’s recovery assault on my left flank had been mostly neutralised by me shifting troops rapidly from right to left; and it was left to Bishop Odo, True Cross in hand, to win the day!

TTS AAR: Double Debut - Hittites vs Siamese

Regular visitors to the site will know that I have been building a 15mm Hittite army using Red Copper scultpts printed by Baueda. At the same time as I have been doing that, friend Rob has been building a 15mm Siamese (Thai) army using Khurasan figures (Rob reports that these are excellent, but that the spears are a bit flimsy and easily bend out of shape).

With both armies now 90% finished, it was time to get them onto the tabletop. Two newly-painted armies each making their debut? Given popular superstition, what could possibly go wrong!

As we both wanted to get as many of our figures onto the table as possible, we would play the game large at 160 points per side. This meant that I had to proxy in some Assyrians and Sumerians to face Rob’s Thai hordes!

The Siamese army could have been designed to fight Hittites. Elephants would disrupt my main chariot strike force, with their supporting spearmen proving equally tricky to beat when defending. Fortunately I won the scouting (thank you to the ally-Syrian light chariots, only varnished that morning!) so would be able see some of Rob’s units deploy before I had to set up myself.

Historically, Hittites fought with their chariots in front, infantry behind, but (given the above) that wouldn’t work here. I therefore determined to deploy in what I would call a more traditional manner atypical to the Hittites: infantry in the centre, chariots on the wings.

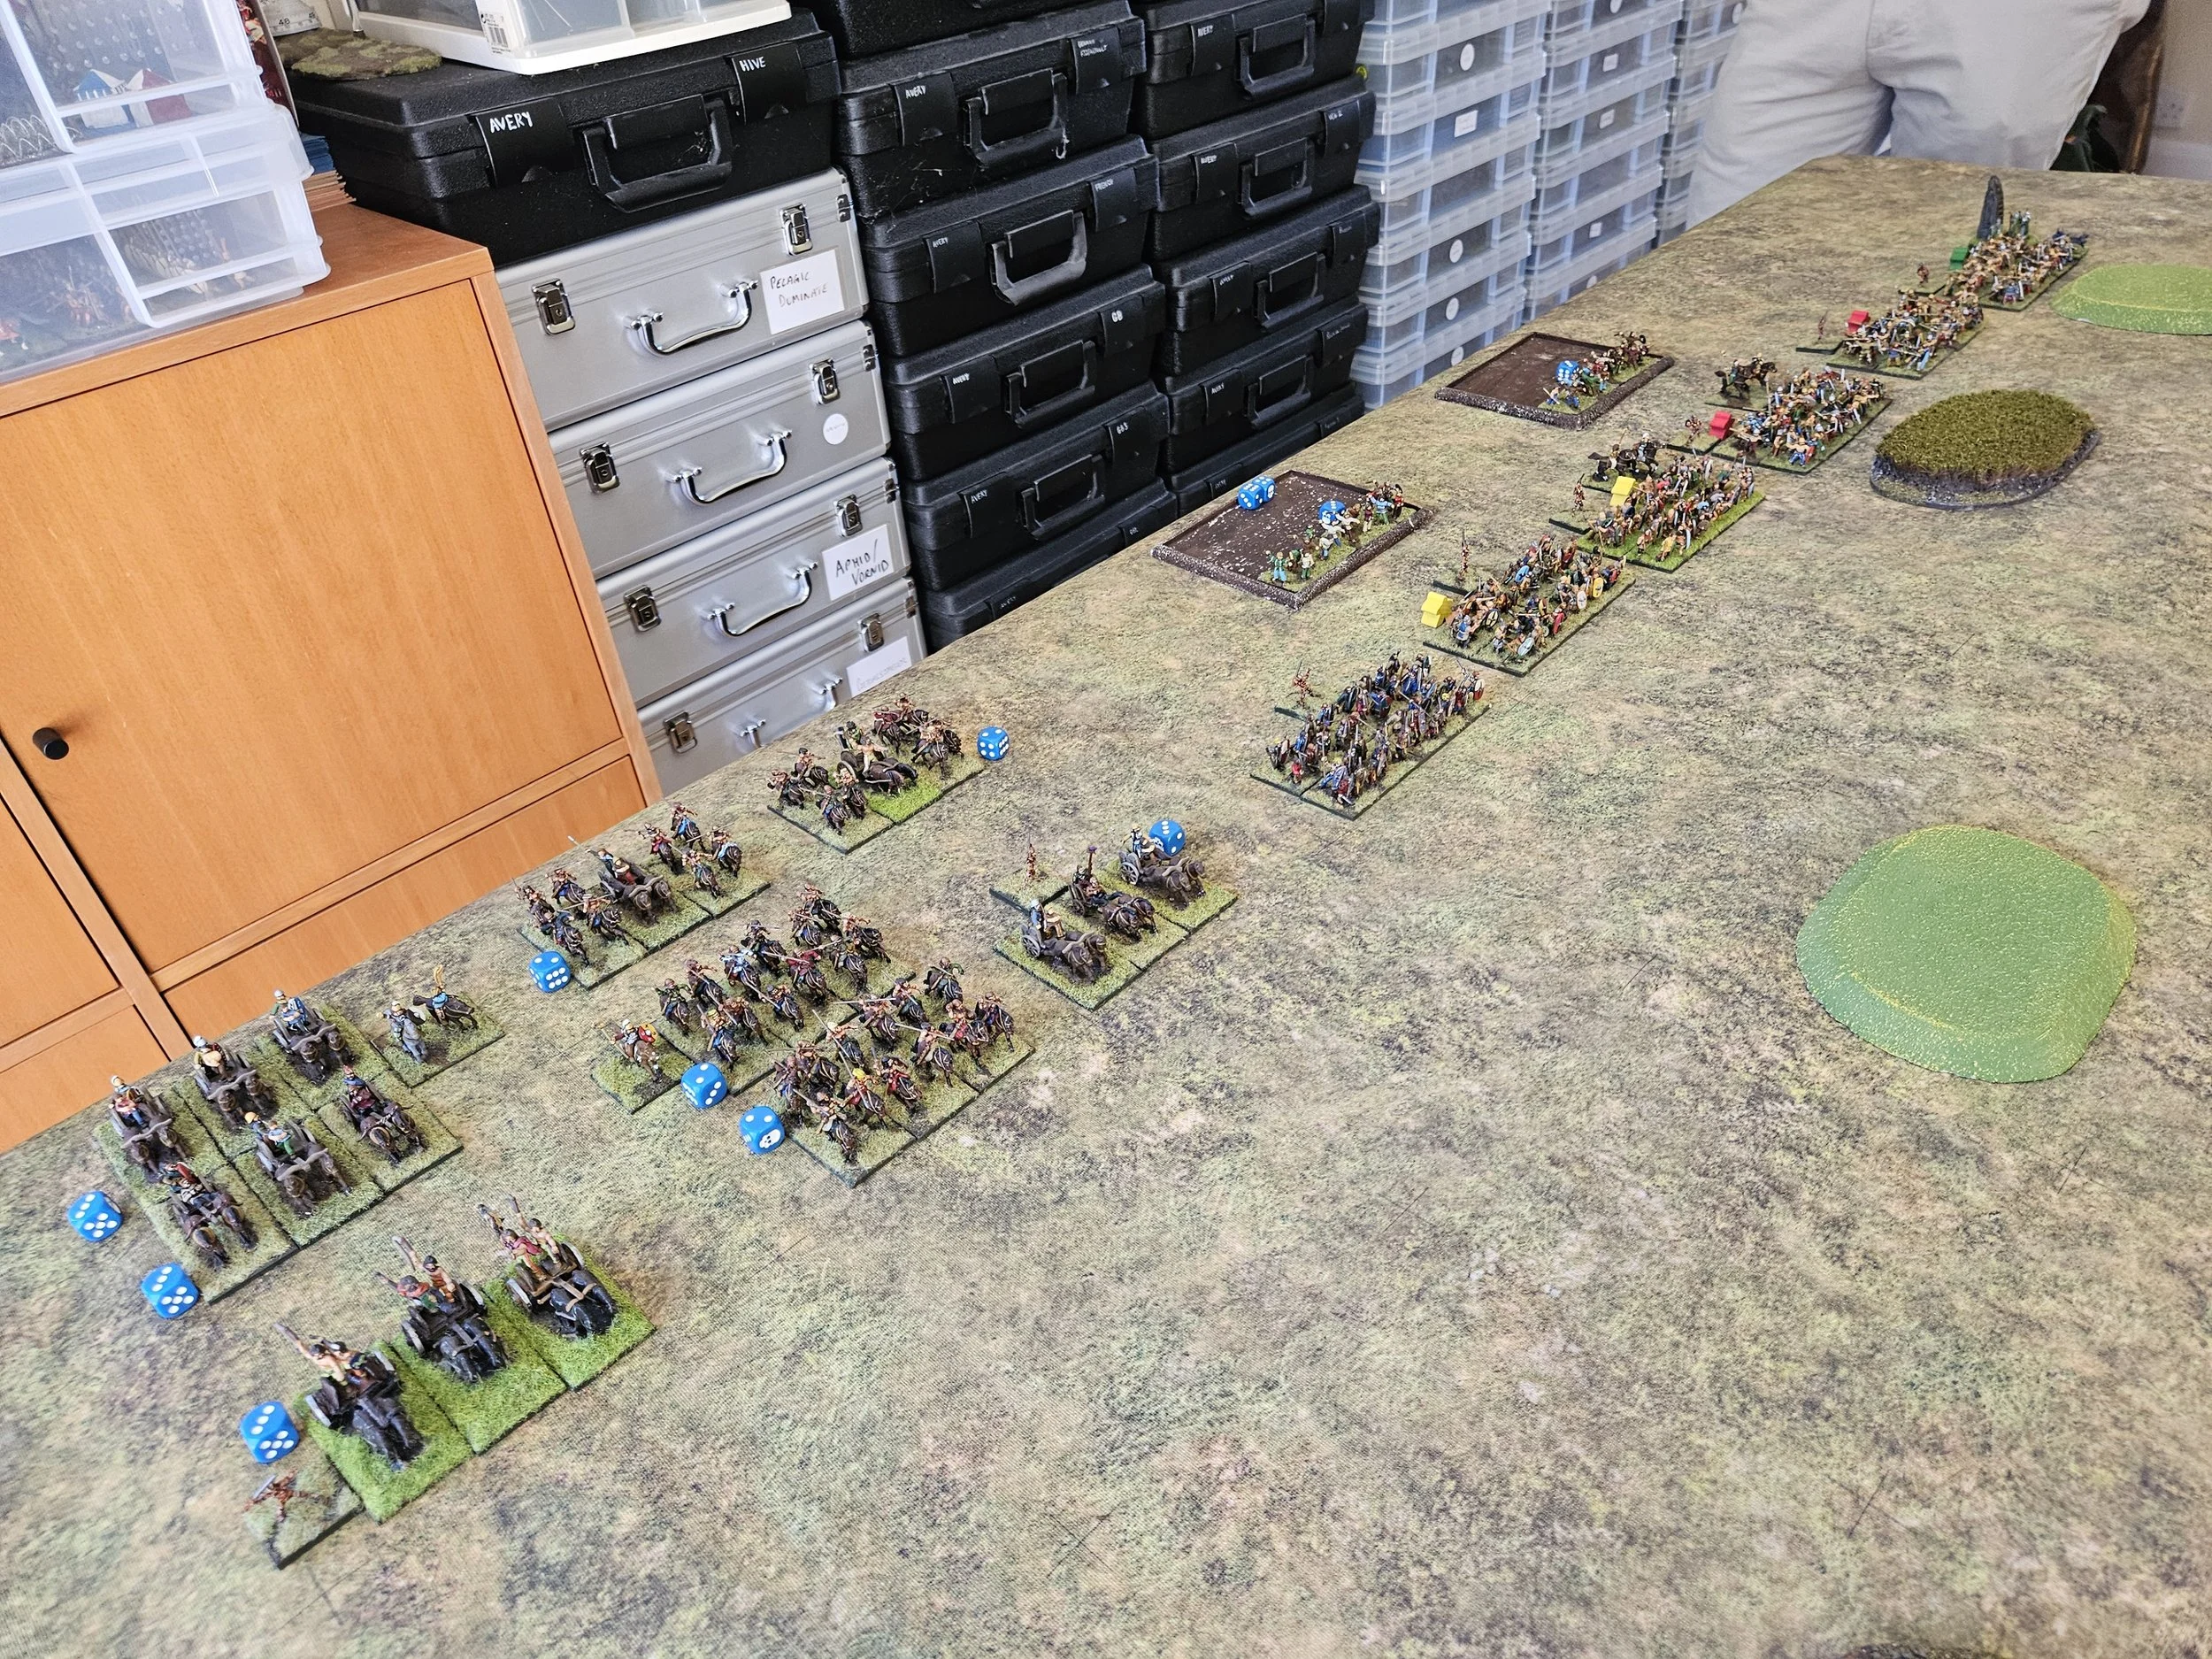
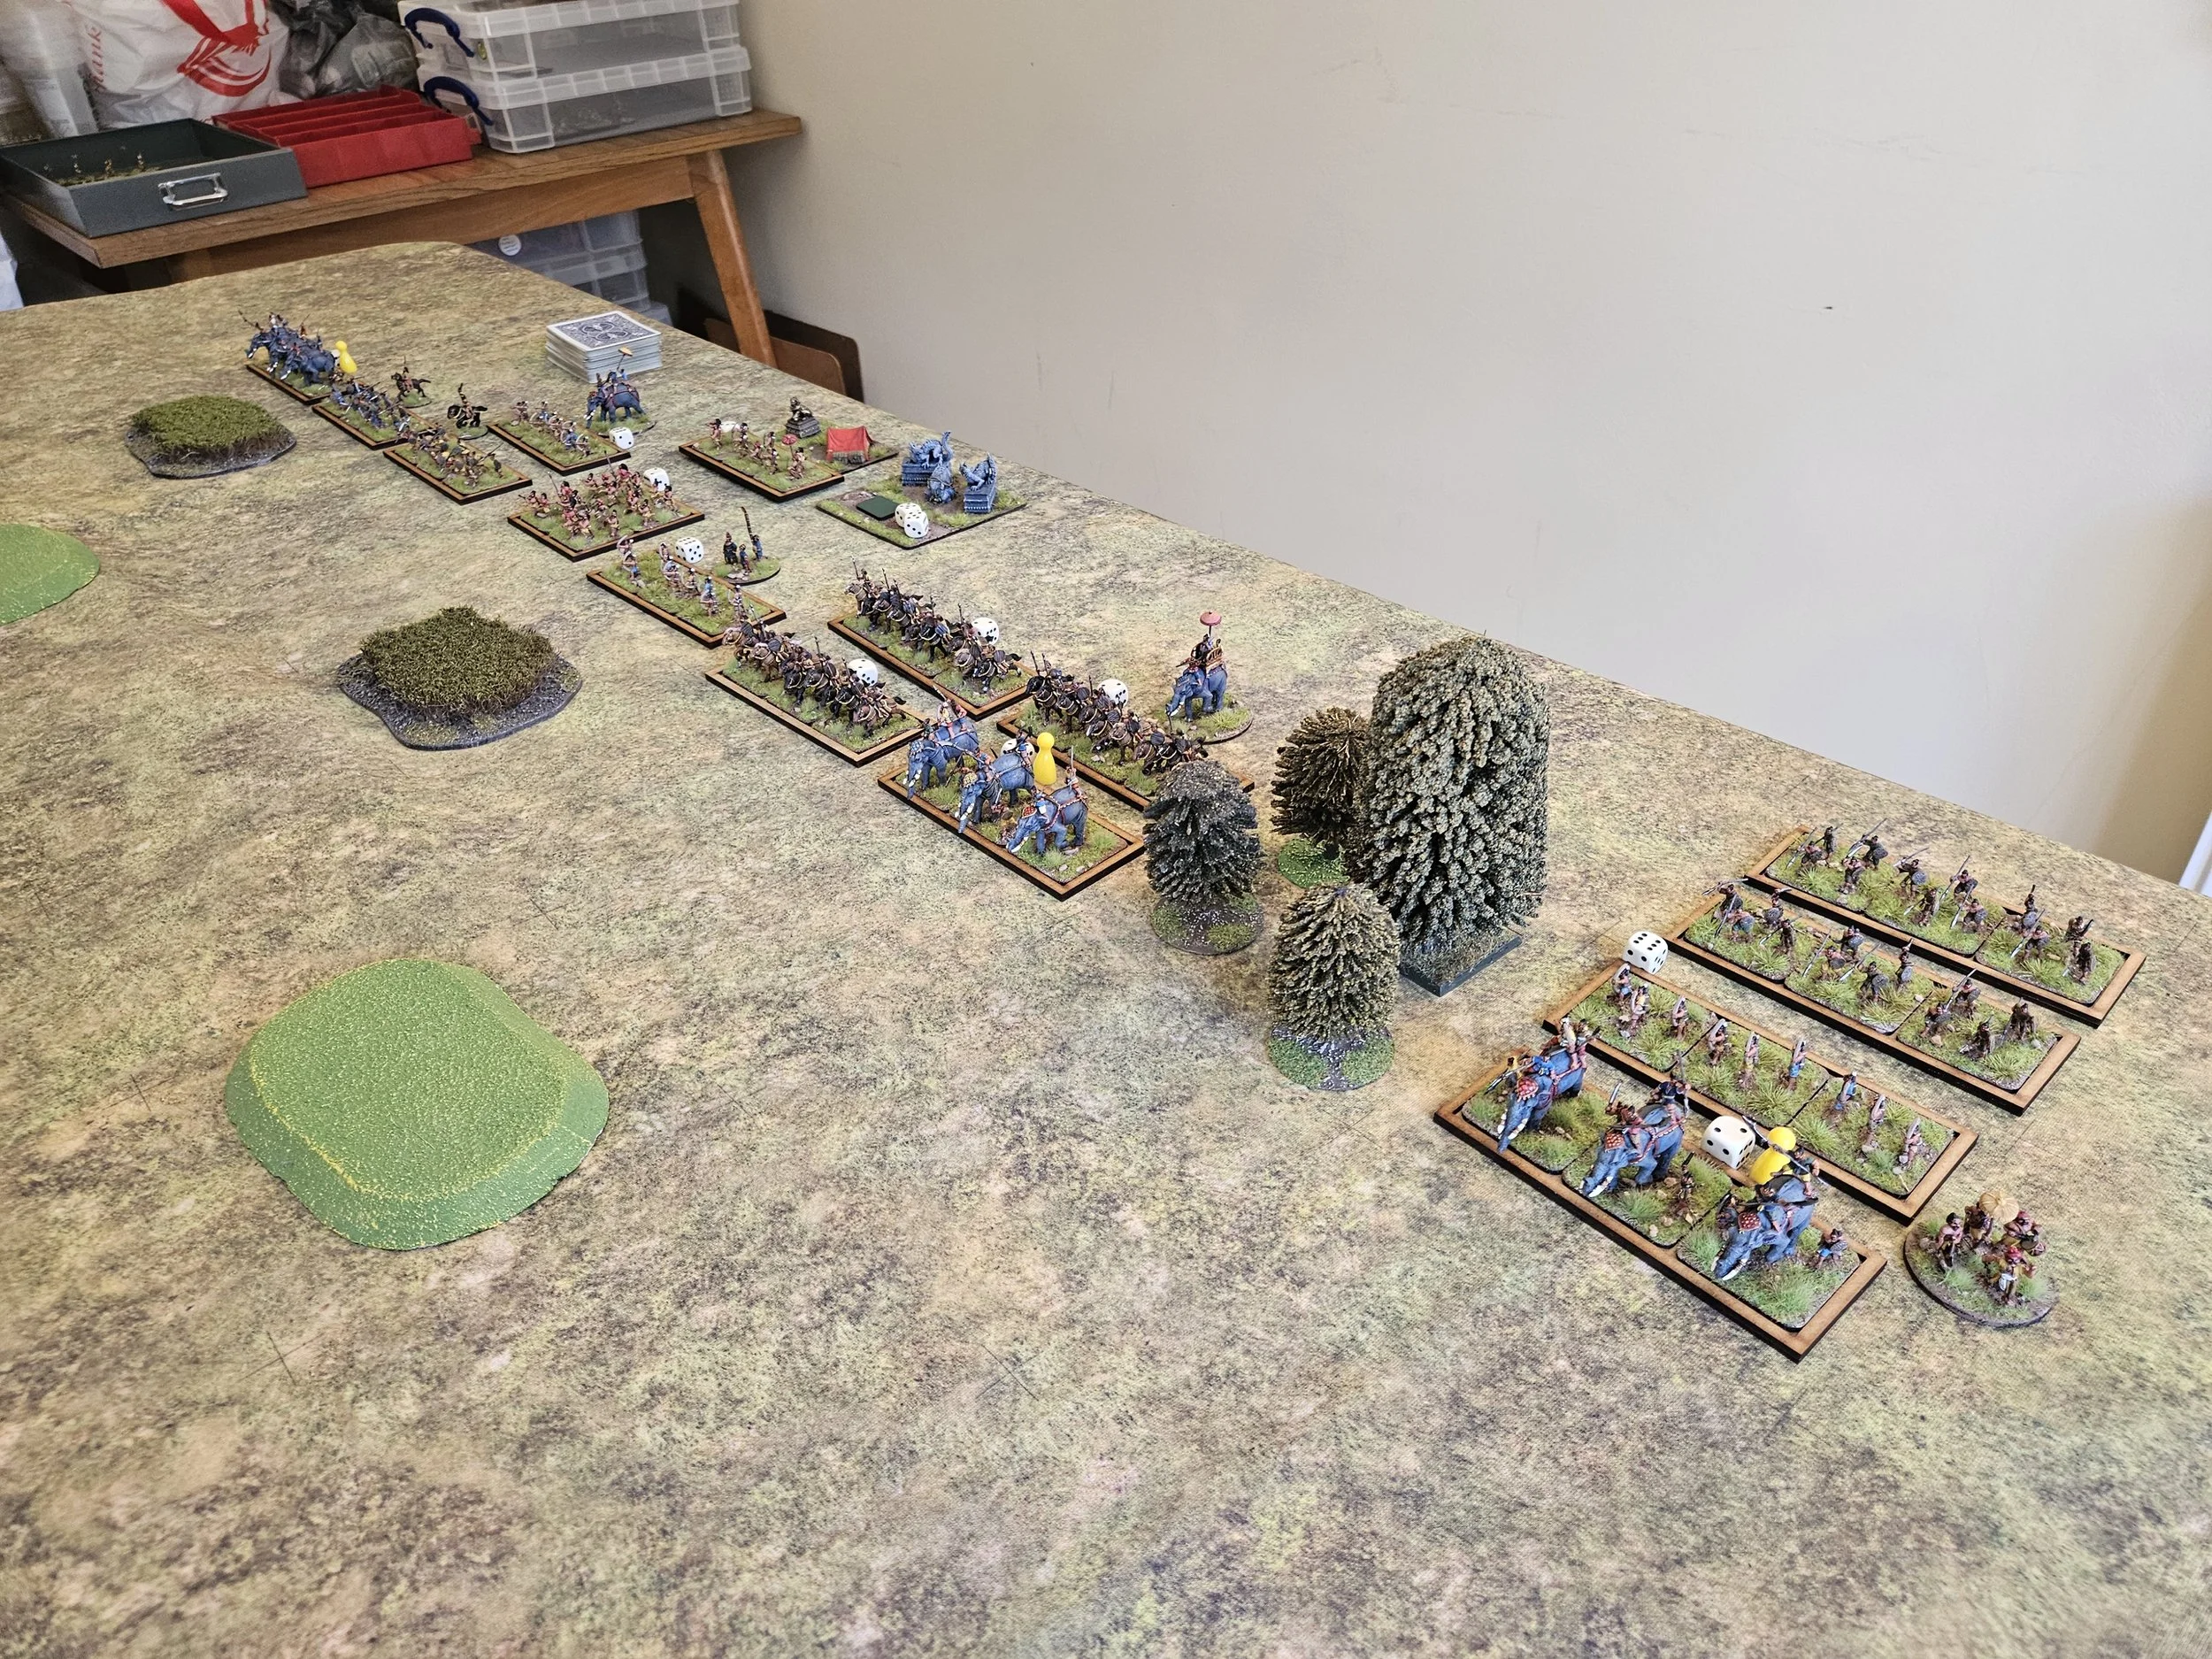
With Rob deploying all his cavalry on his right flank, a plan began to form: send one brigade of chariots forward to crush his cavalry (my lances should give me the advantage); then use the centre infantry and right chariots to pin the rest of his line whilst the ally-Syrians looped around the Thai far-left flank using their bows to take out the elephants there without actually making contact. Genius!

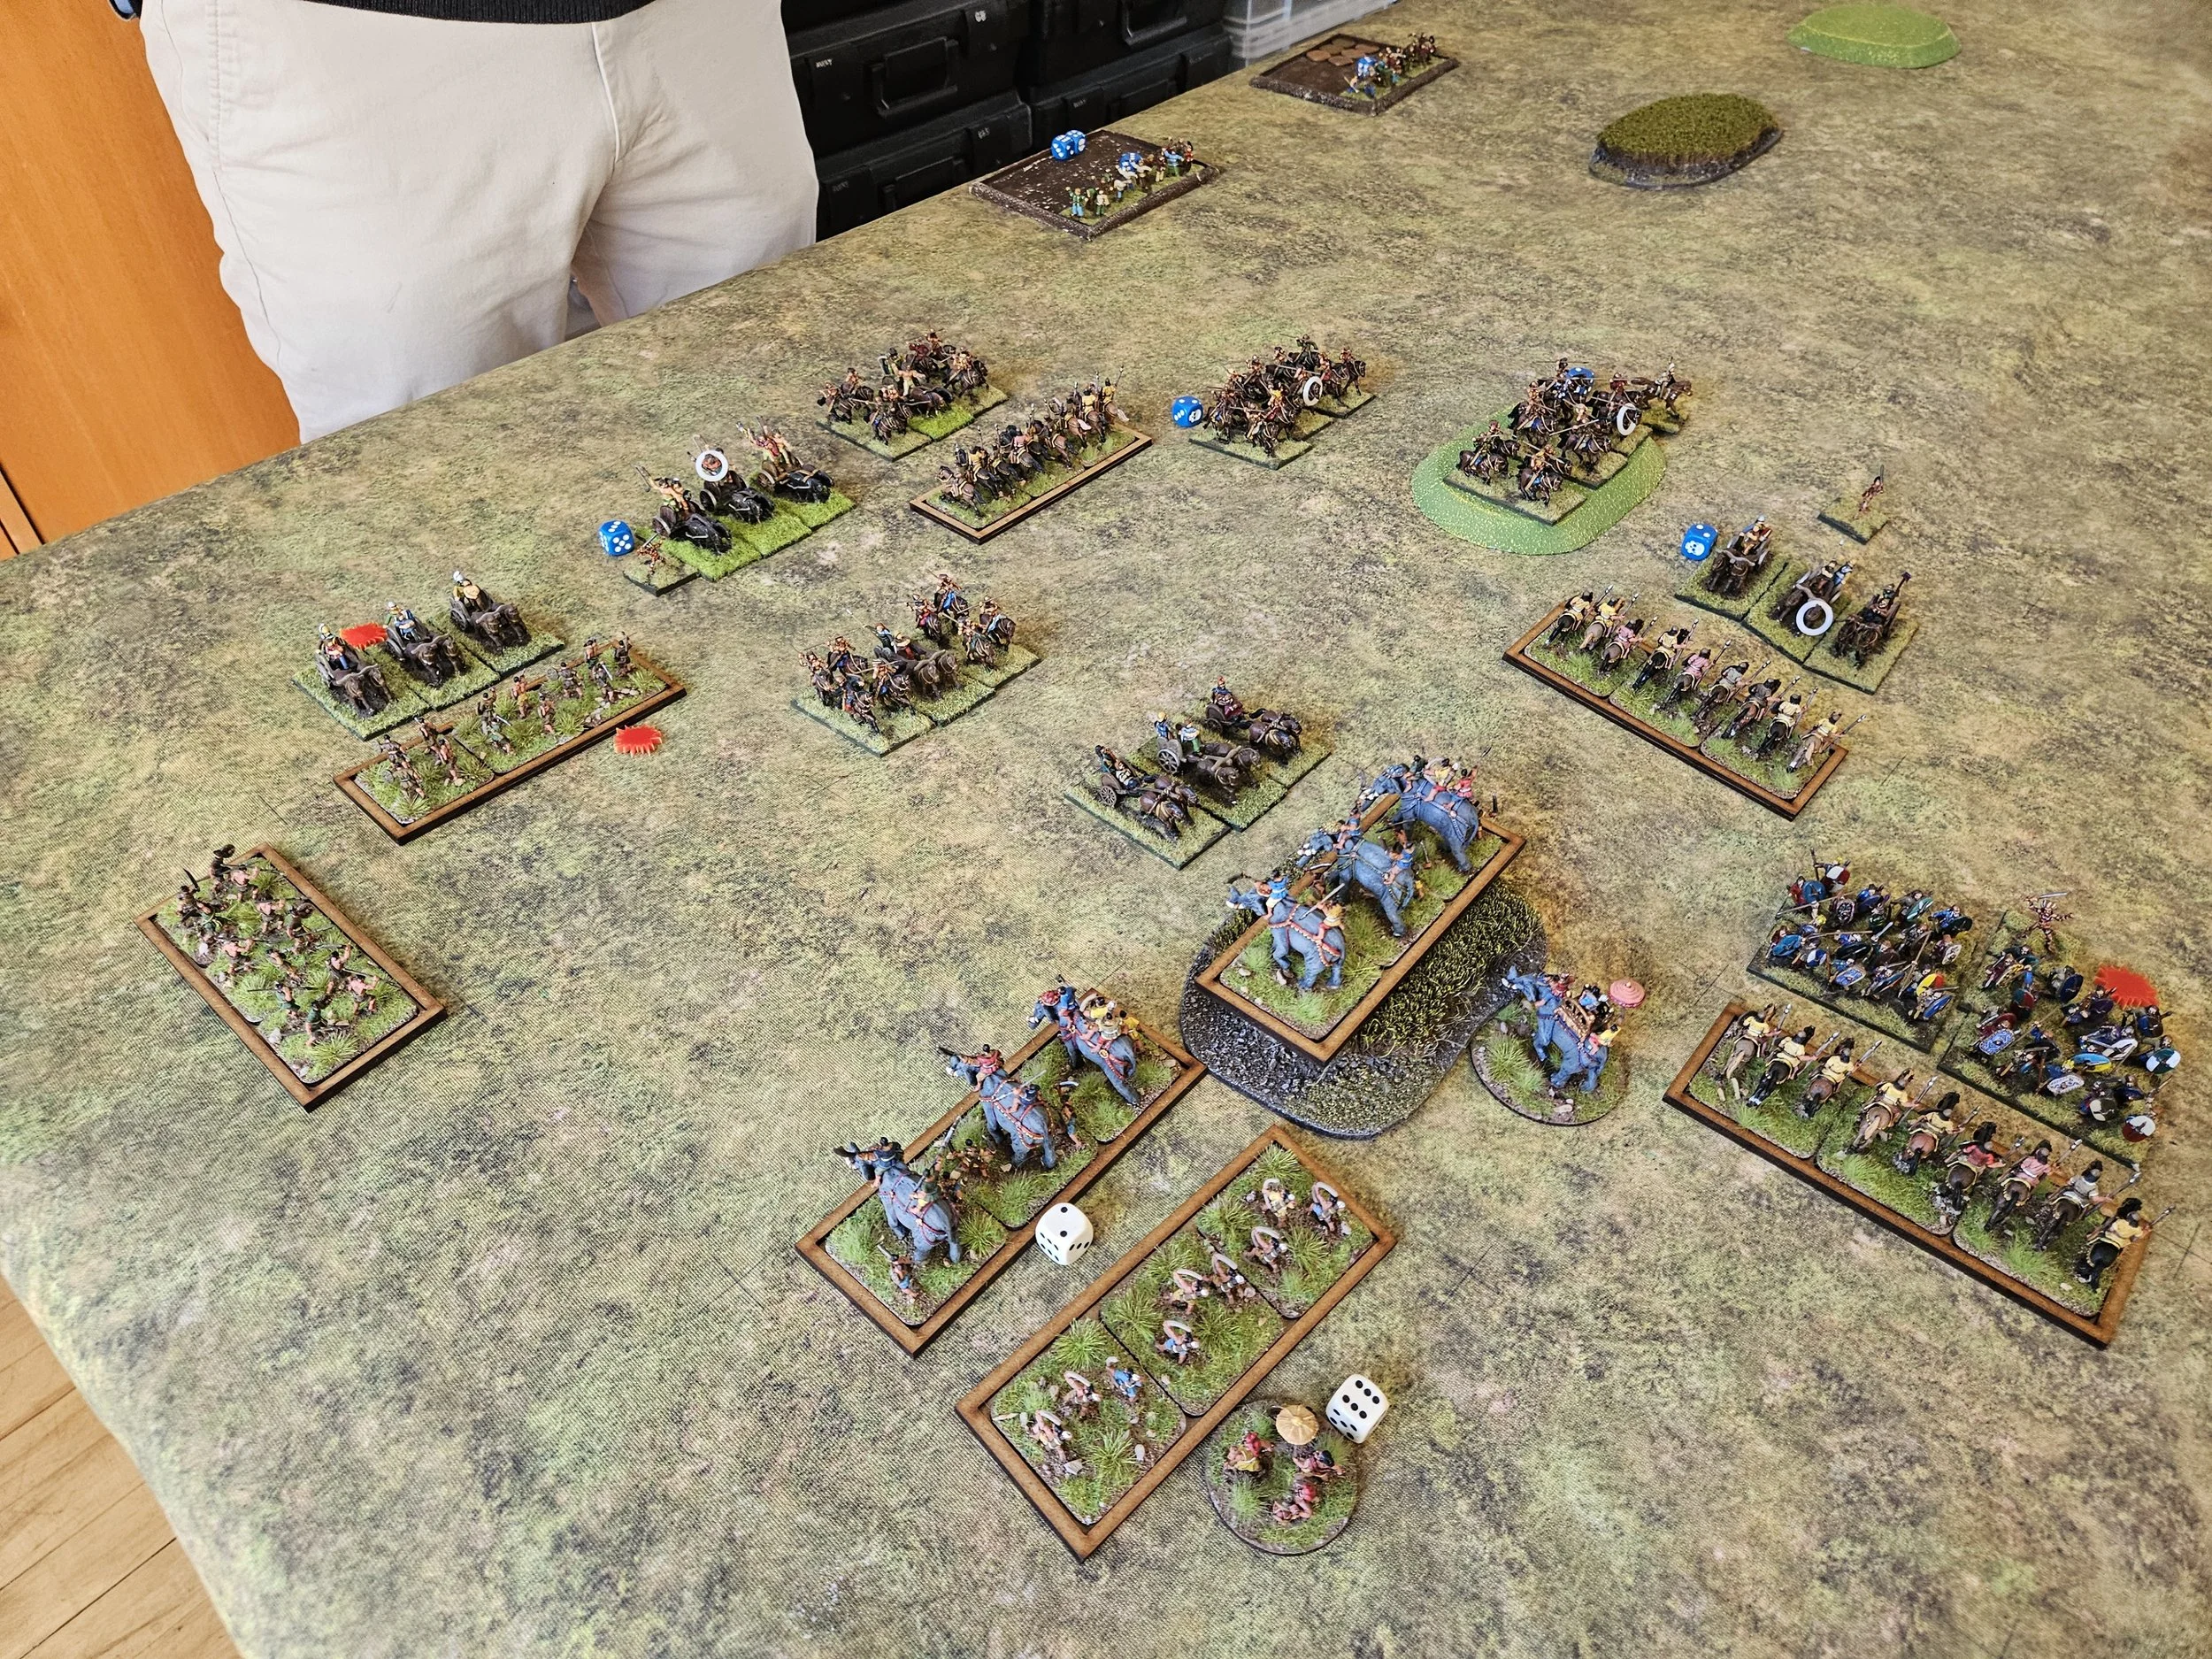
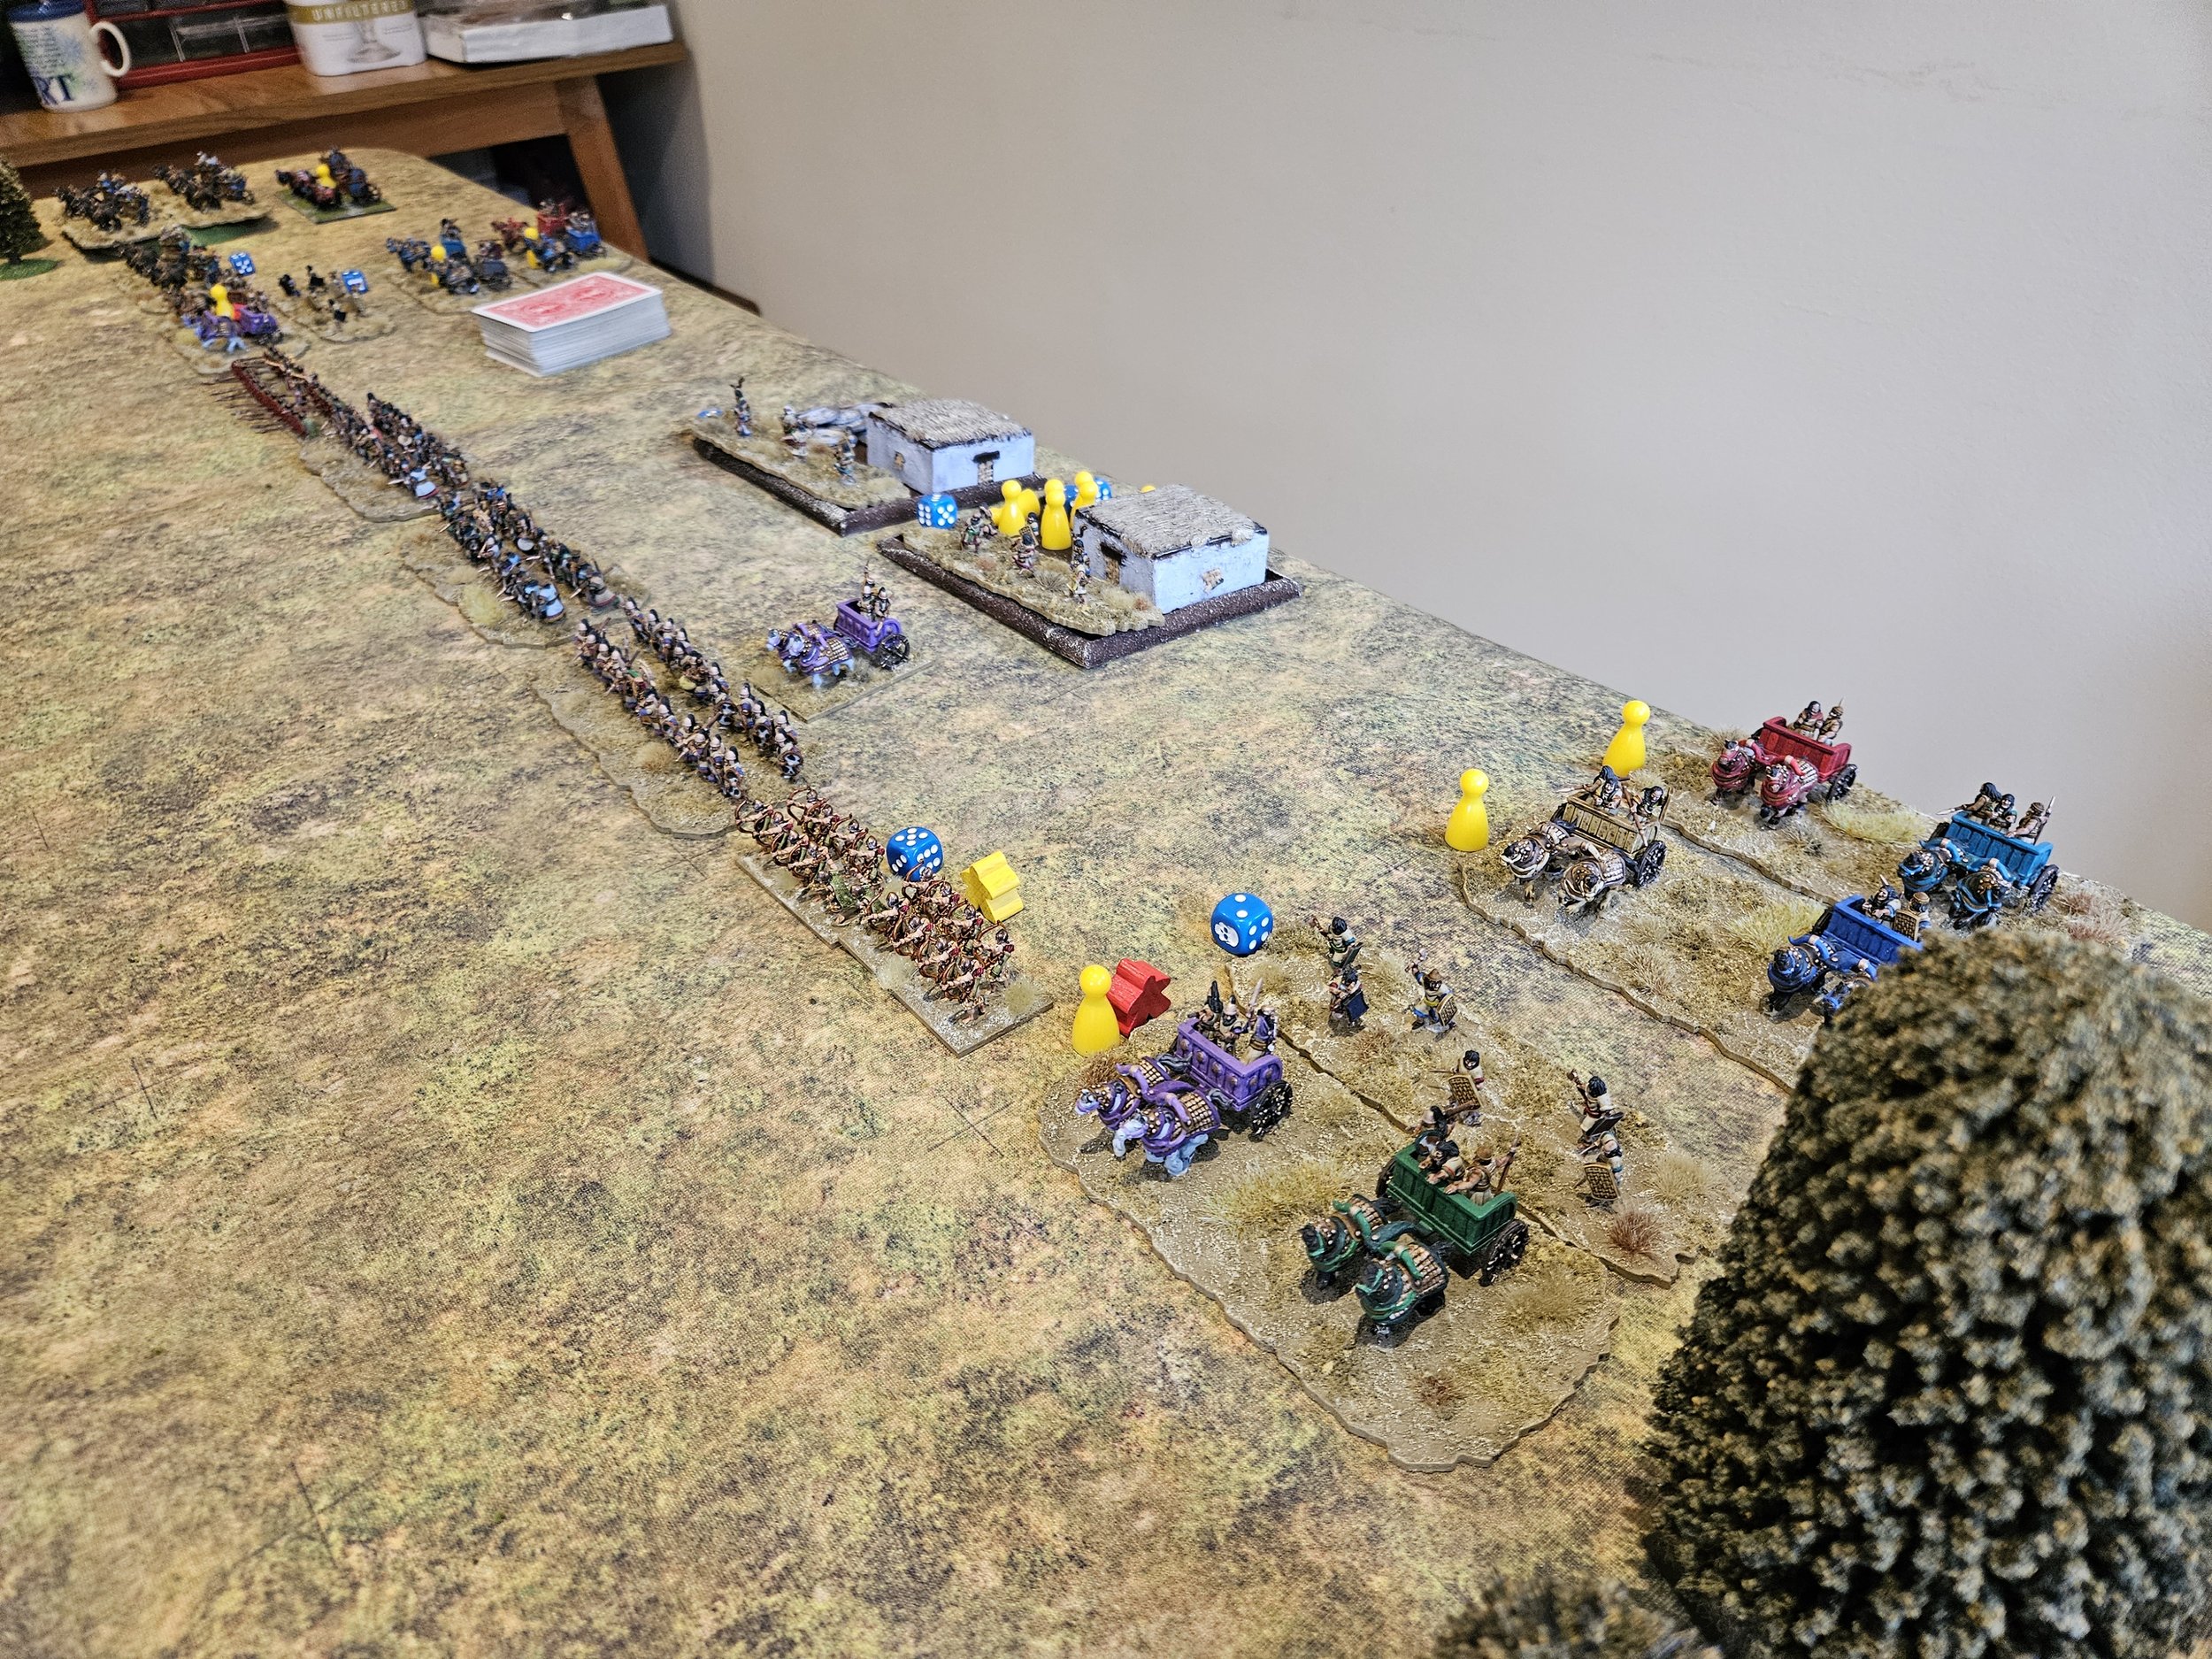
As the battle began, both sides advanced forward smartly, although the Siamese were plagued by a couple of Aces in their initial group moves. Here’s a picture of the action just before we closed. Hopefully you can see that my plan is beginning to get underway!

The battle then divided into three parts: the left, the centre and the right.

On the right hand side of the field, the ally-Syrian light chariots and half my heavy chariots tried to keep his elephants and infantry occupied without actually closing to what would surely be an unfortunate combat.

This they largely achieved: the lights evading away from pachyderm charges, even sometimes being knocked temporarily off table; the heavies by dint of refusing to charge and even edging backwards as the nellies came forward. I was happy to be charged by spearmen, but wouldn’t initiate any charges into a set line of men carrying nasty, pointy sticks!

In the centre, things did not go so well. Hordes of enemy spearmen, with archers behind, came forward and routed my line infantry. By the final stages of the battle, only one unit of line infantry remained standing, and I was forced to re-deploy some of the heavy chariots as a reserve.

I was a bit surprised that the victorious Siamese infantry didn’t rush forward in an attempt to sack my two camps, defended only by some petty scummy light troops, but Rob said afterwards that he felt at that stage that the infantry needed to turn back and help out the flanks.

Whatever he chose to do, it was very unnerving to see six enemy units (half spearmen, half bow) with nothing in front of them except my regret that my infantry hadn’t stopped them!

Which meant that the battle would, as planned, need to be won on my left.

There, my chariots charged the Siamese cavalry as soon as they could, with fairly disappointing results. Rather than smash them from the field, the chariots got locked into a bitter combat in which neither side had the advantage.

This meant I had to divert the archers and Royal Guard from the centre onto this wing - part of the reason why the centre collapsed! The bowmen moved up to support the chariot runners who had engaged the enemy elephants, keeping them from interfering with the chariots vs cavalry combat. The Royal Guard also charged the elephants, promptly becoming disordered!

Fortunately my overall commander was on hand to rally them, as I was going to need them as although one unit of chariots had broken through, they had become disordered in the process, and another unit of enemy horse was moving up to engage them. My other chariots were still locked into a mutually-disordering combat with the cavalry.

I needed something special to swing things my way and, with Lady Luck supporting me for a change, the Royal Guard showed what they could do.

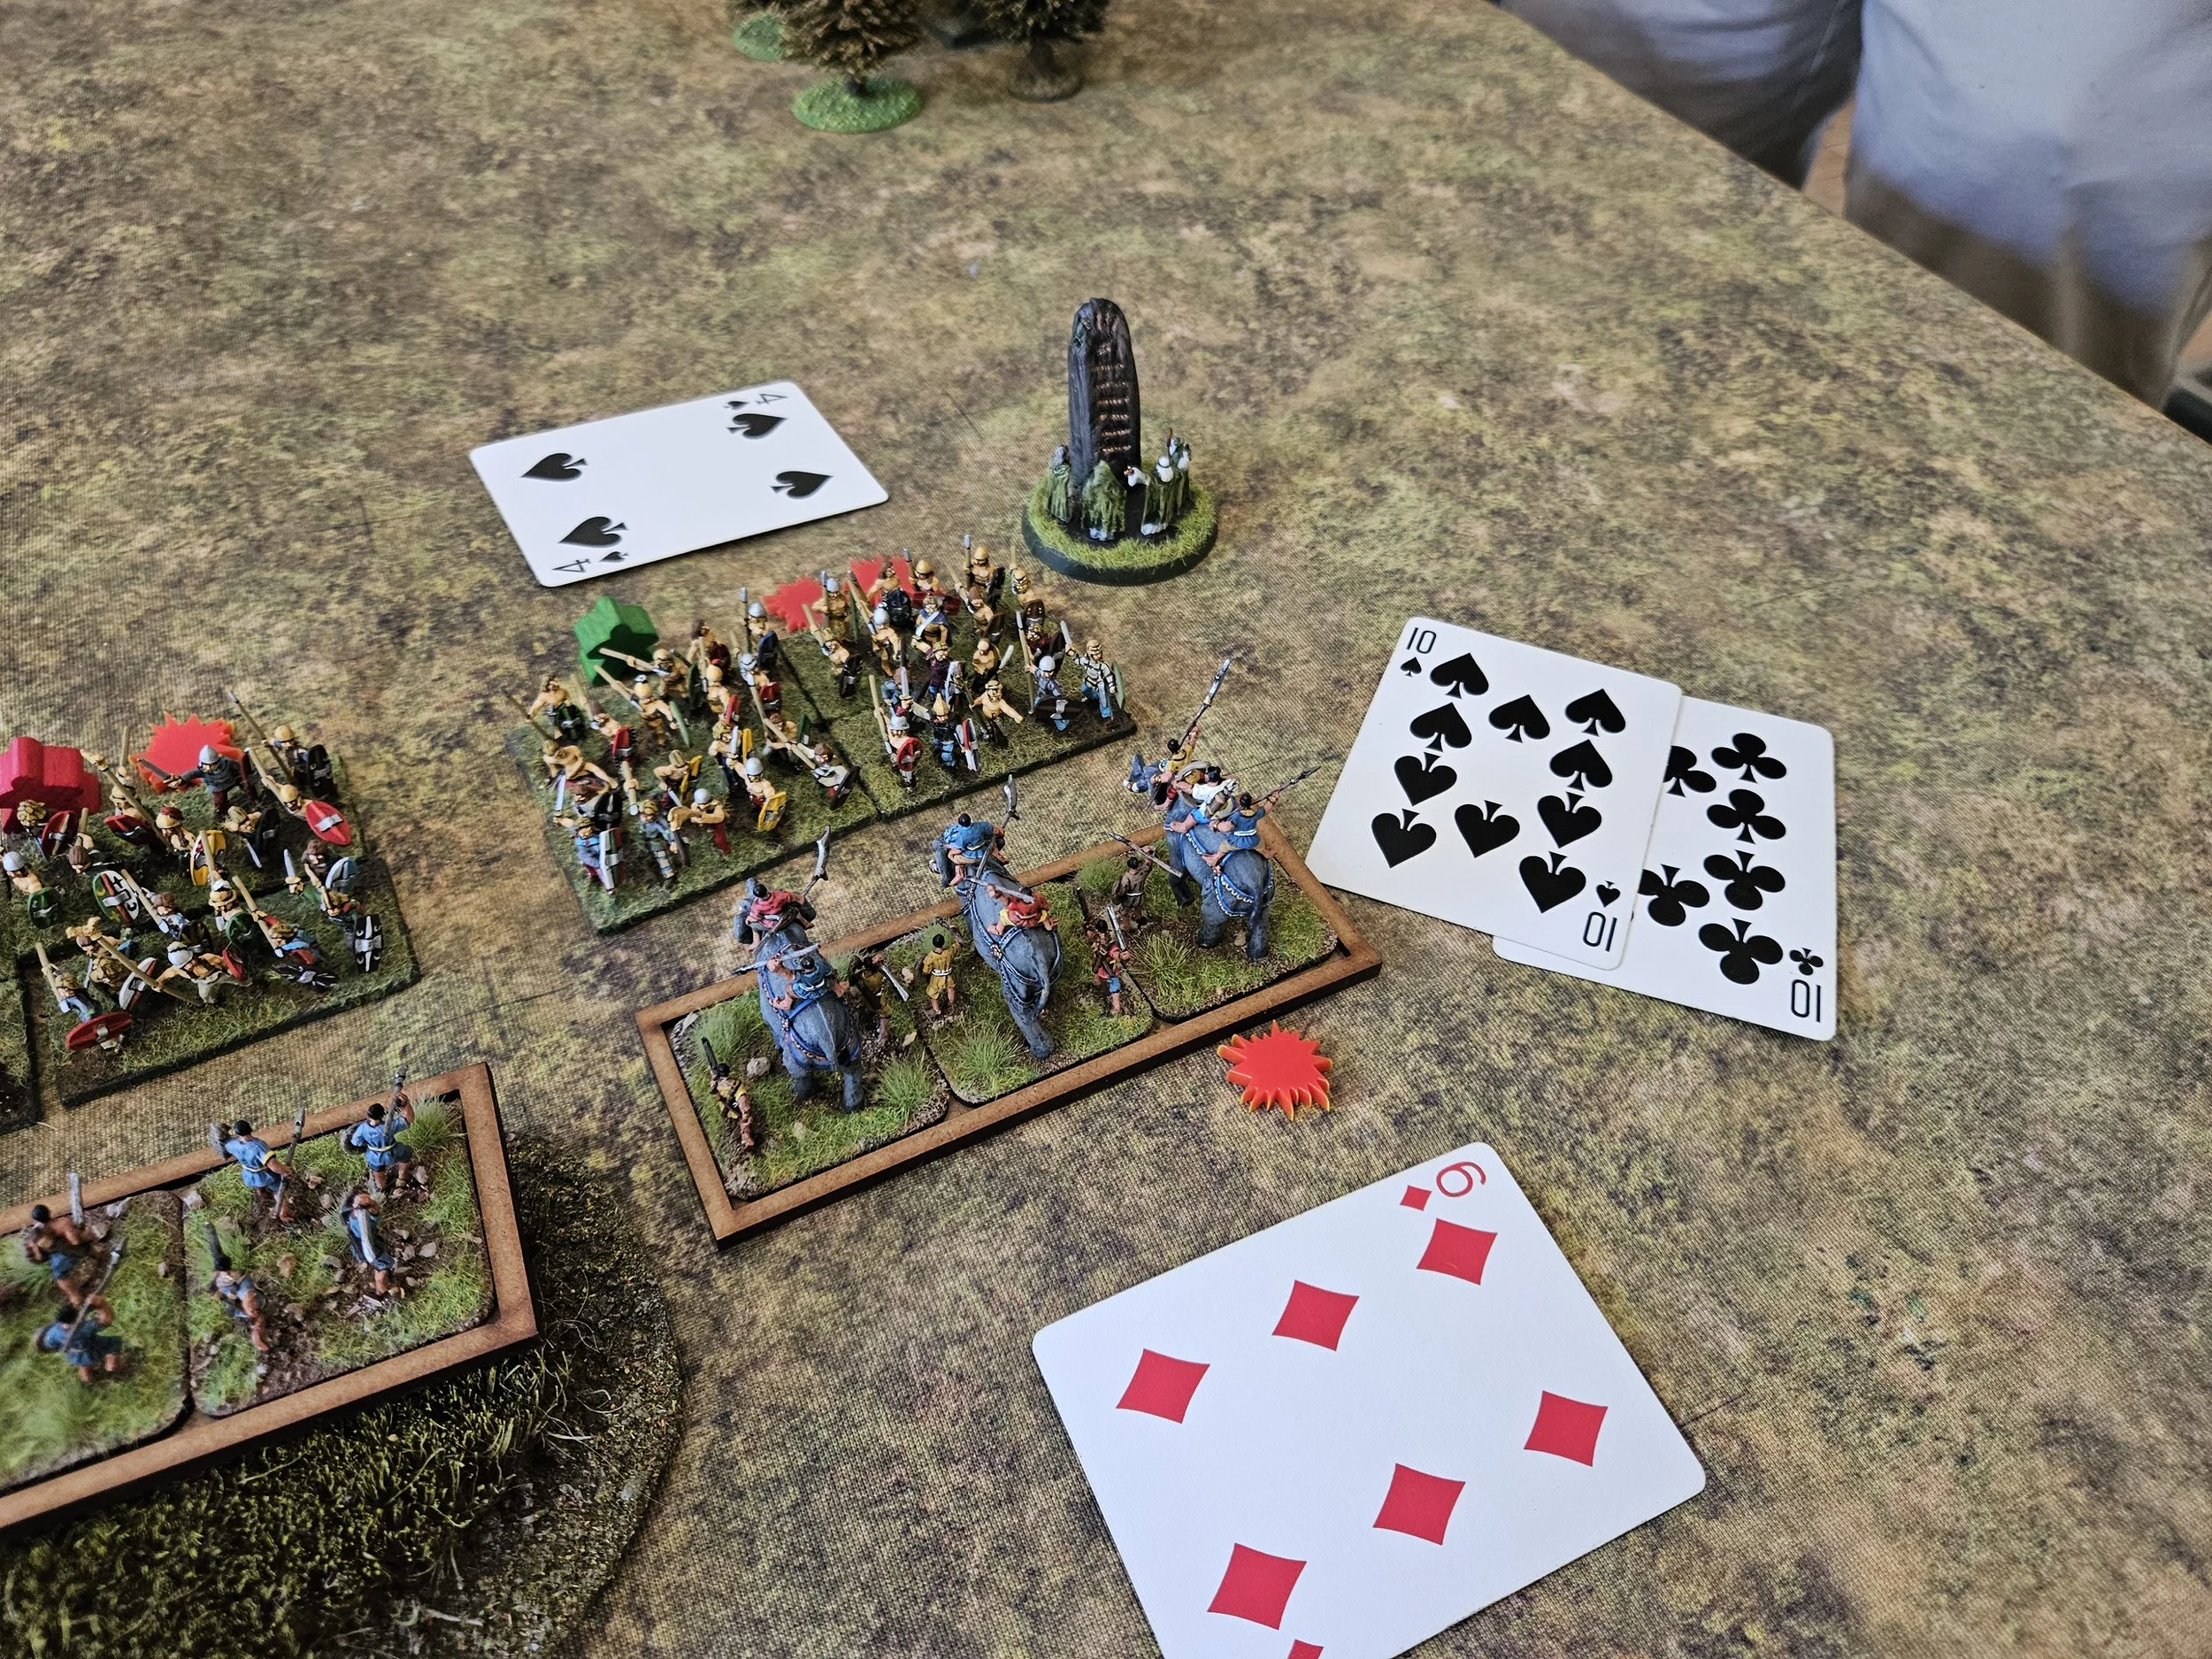
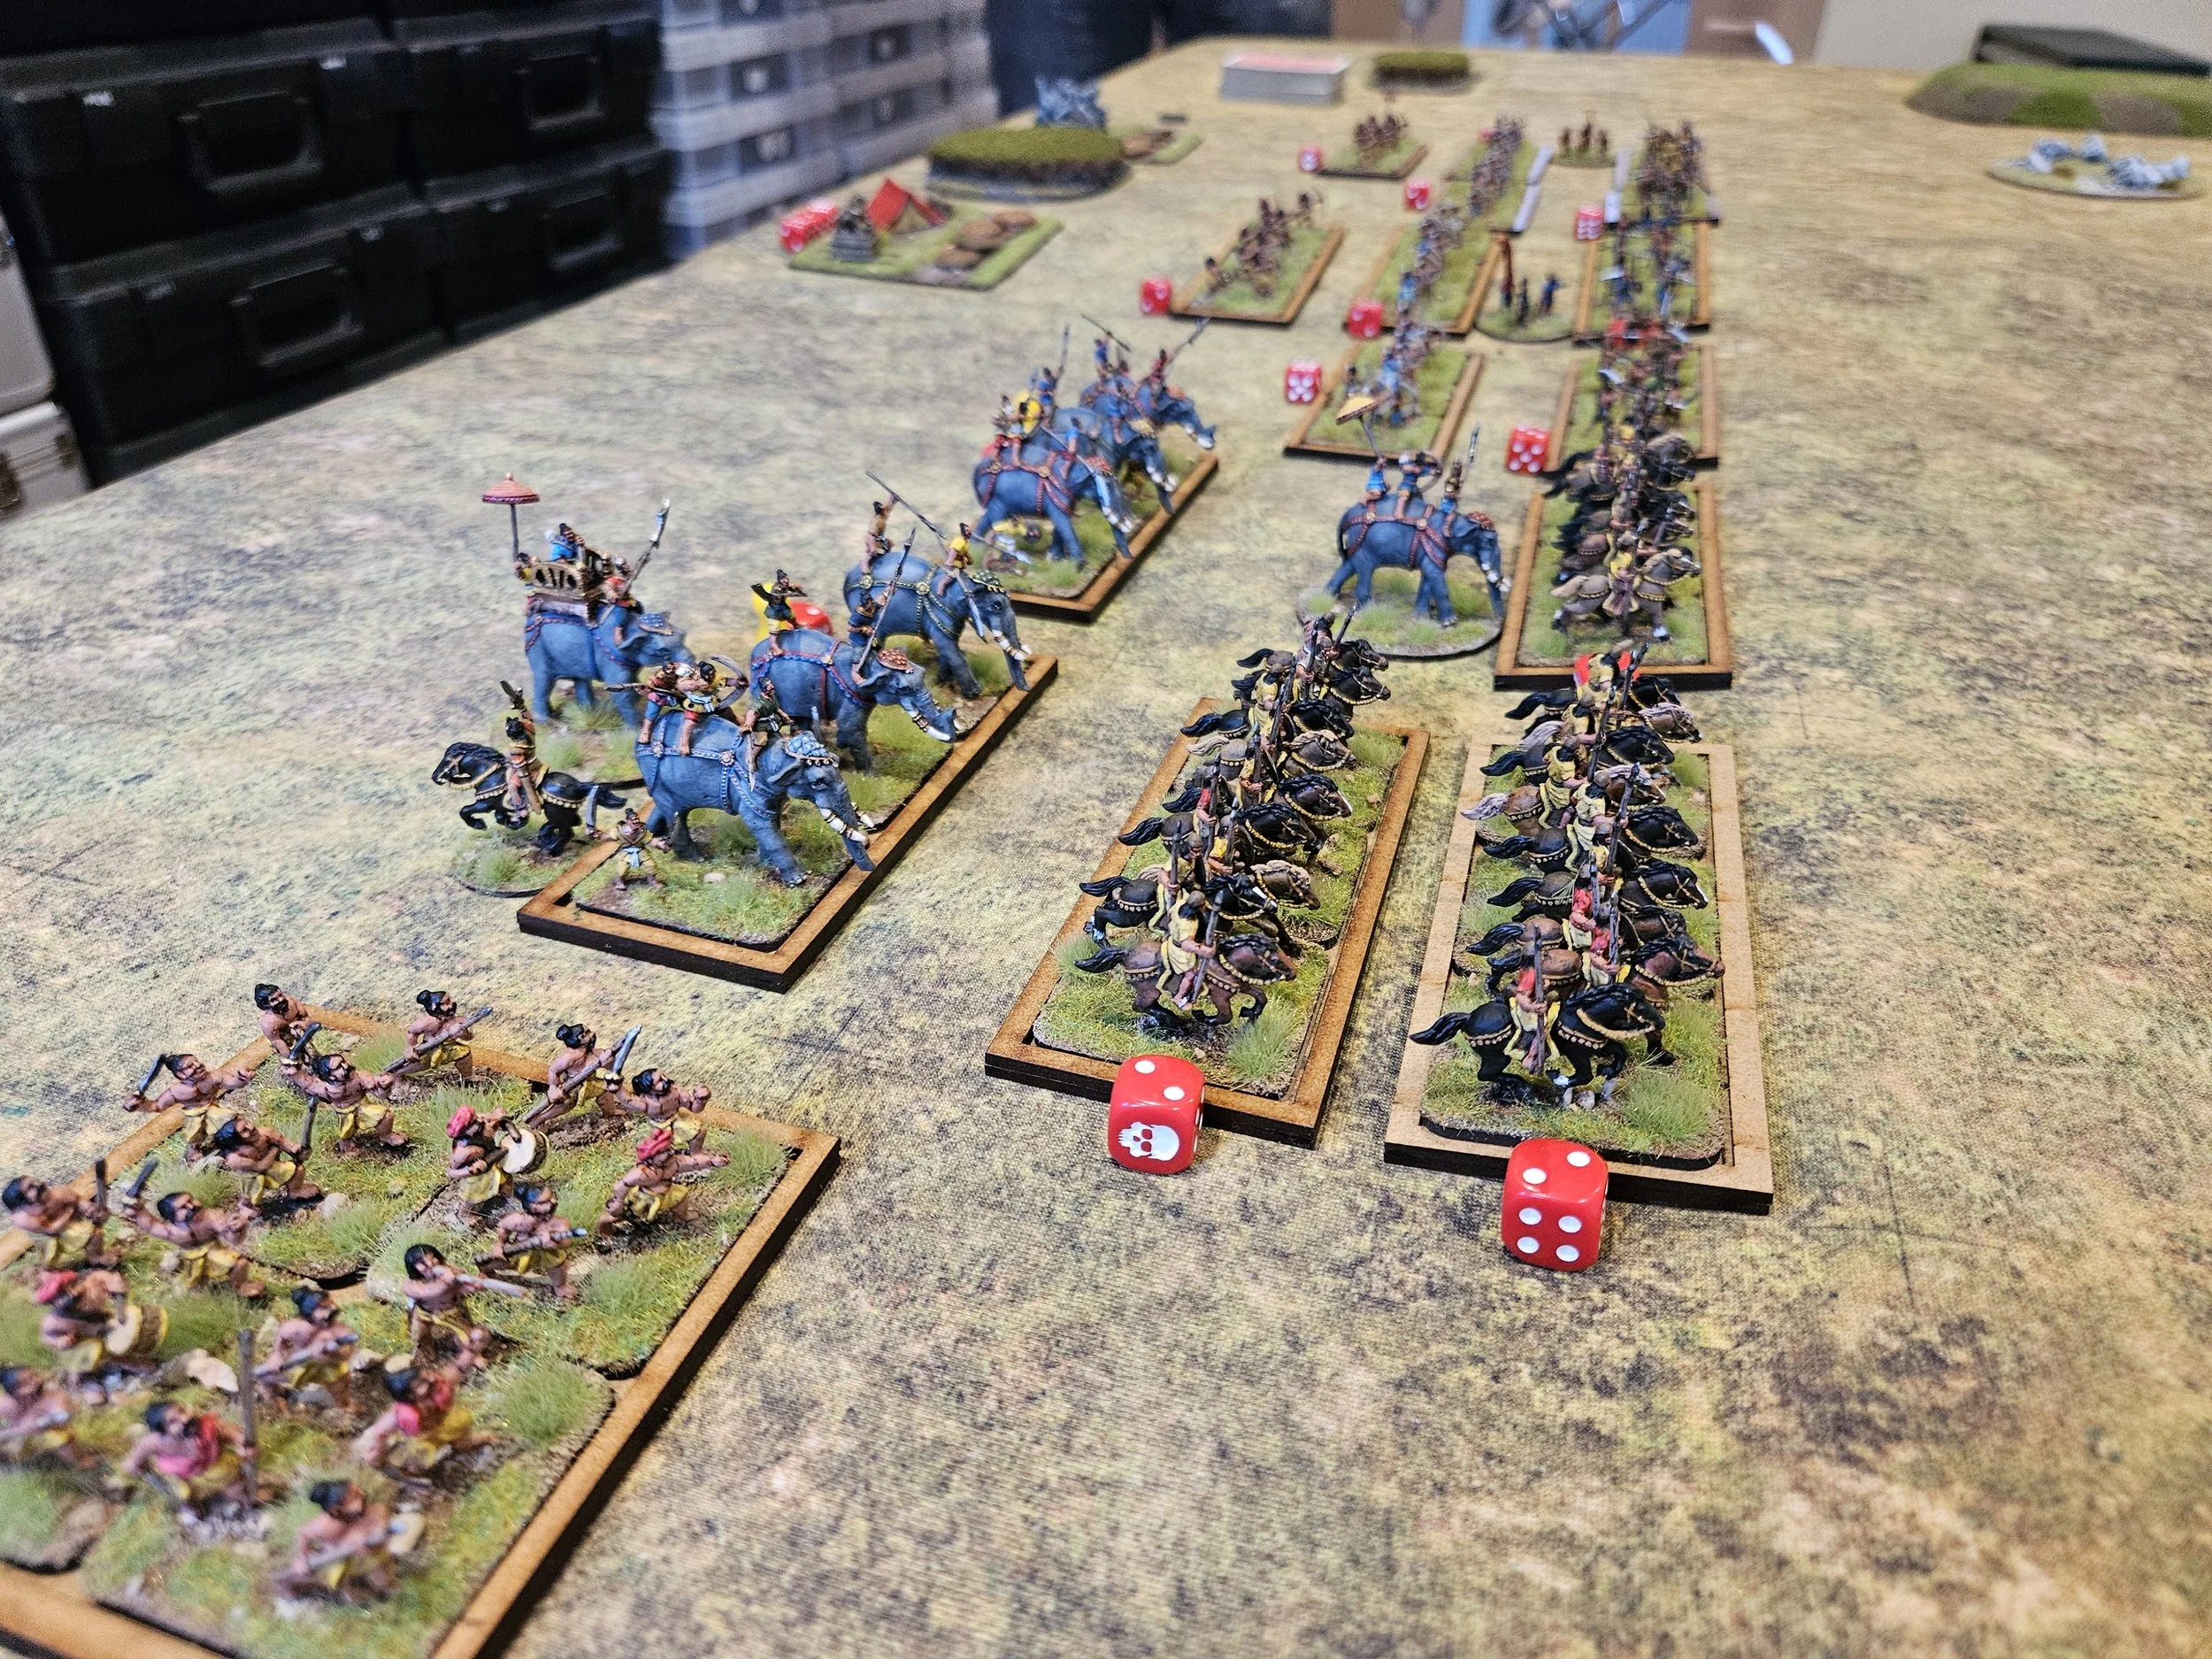
The enemy elephants were disposed of and then the Guard turned left and rolled up not one but both cavalry units: in the picture below you can see that their last two activation cards were a couple of 10’s. In effect, in one activation, they had dealt with the elephants and two units of Siamese horse: definitely a battle honour coming their way!

The Siamese weren’t broken yet though, and their centre was swinging round towards my left flank.

The Royal Guard neatly reversed direction and headed back into the fray. I even had a reserve chariot unit, headed by a General, that could jump in as well.

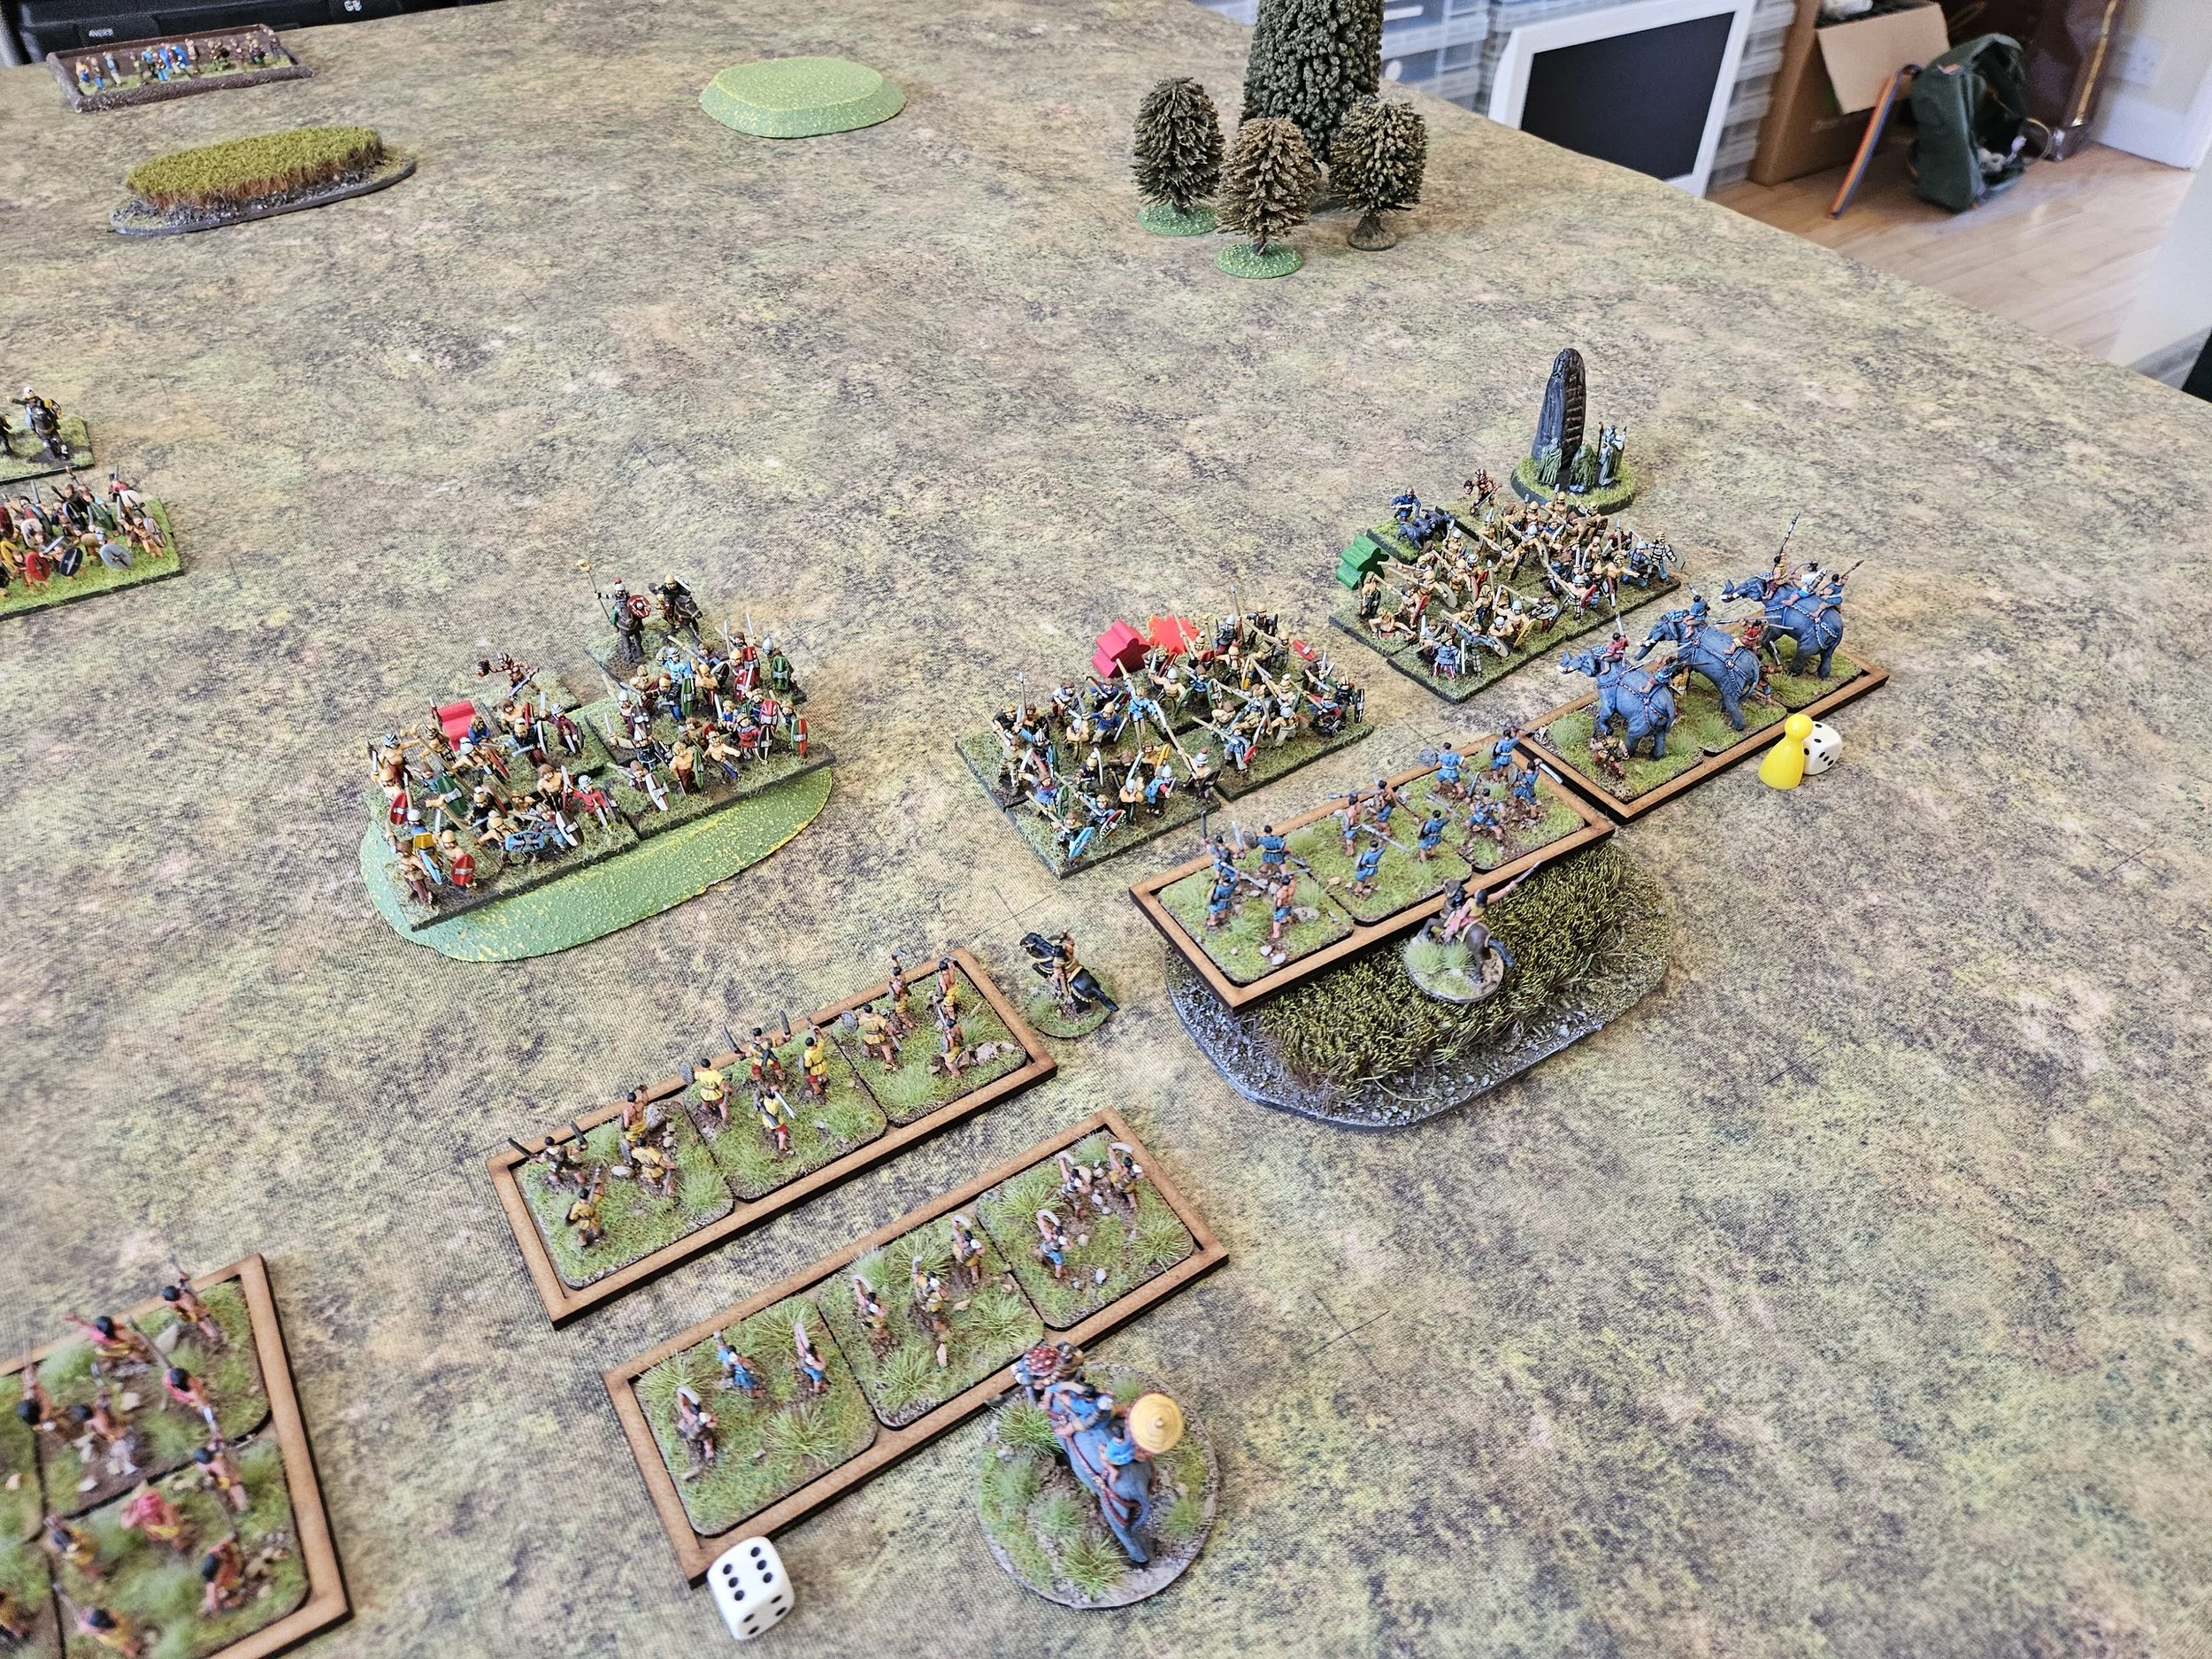
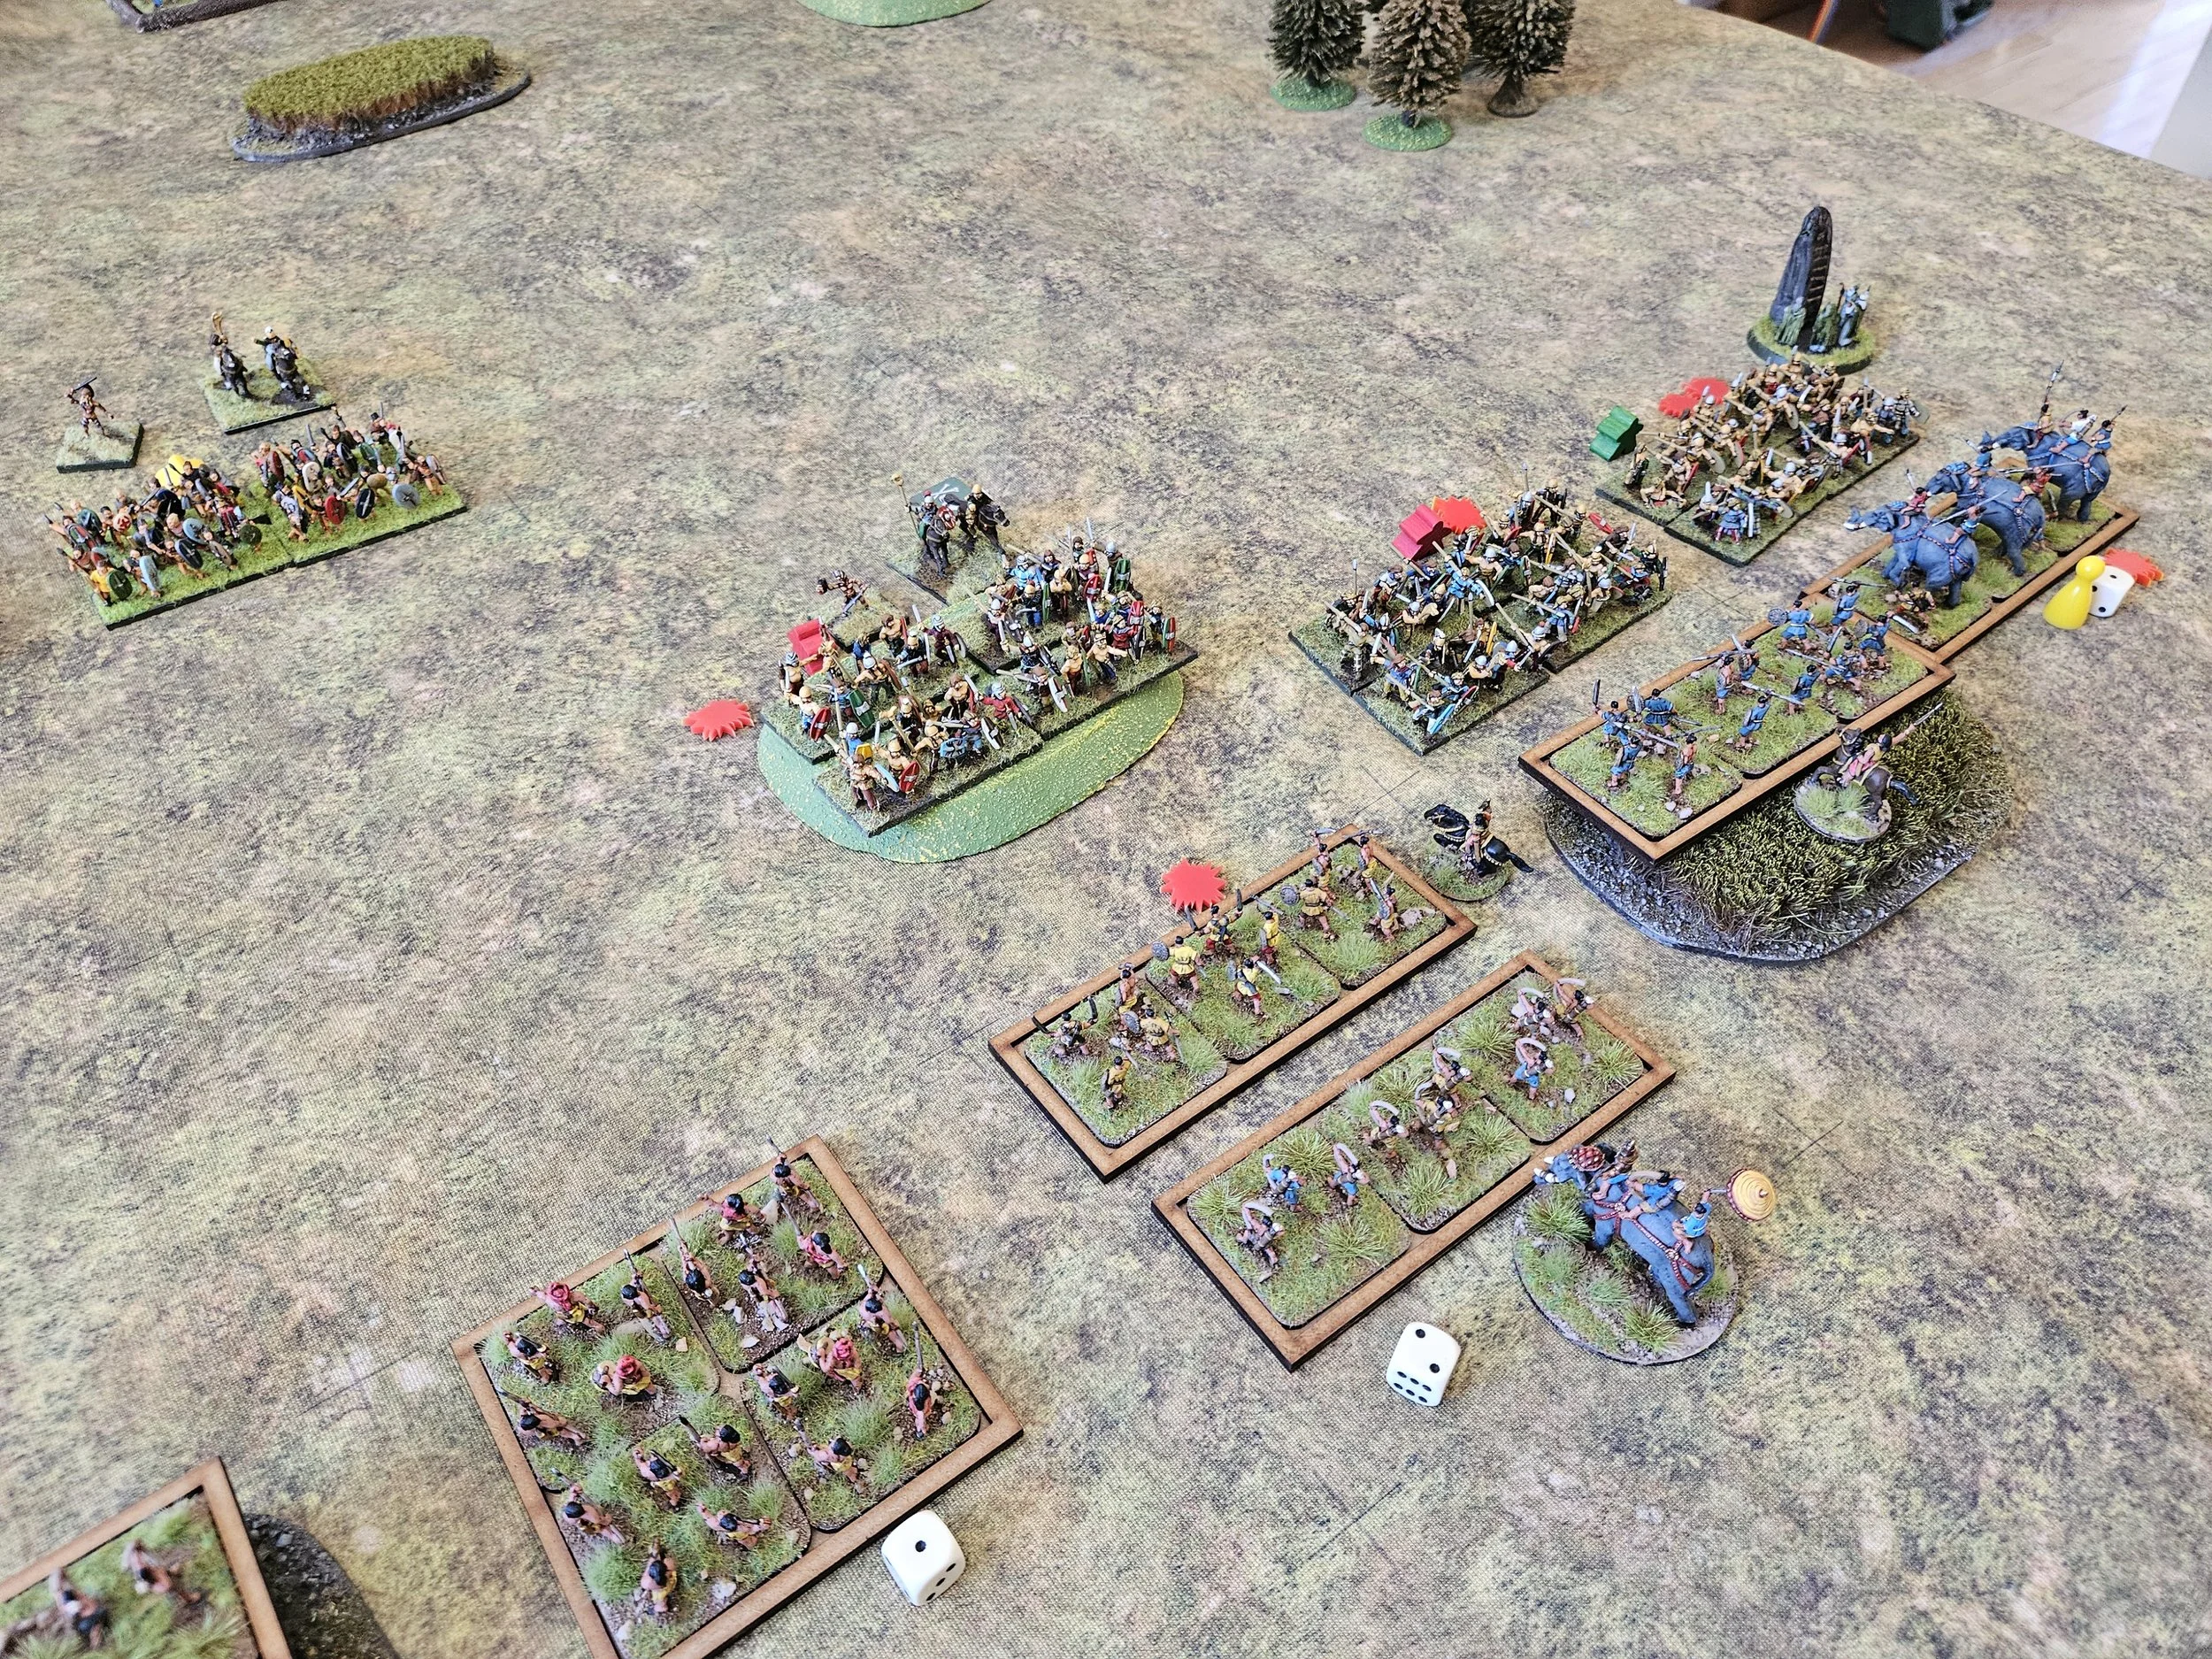
This was a good thing, particularly as my right was now coming under considerable pressure (the first picture in the gallery, below).

With his centre’s expansion contained, a unti of chariot runners were able to take an enemy camp, and a unit of chariots postion themselves to charge the rear of the main Siamese line.

This, however, proved unnecessary as, again, the Royal Guard charegd forward and smashed a unit of enemy spearmen from the table (they’d been softened up by the archers). That cost the Siamese their last two coins, and the victory was mine.

I had definitely been lucky to survive that one!

Things were looking extremely dicey before the Royal Guard went turbo and mullered three units in one turn. I was also lucky with the cards when I needed my left flank to about face and head into the centre/the enemy’s rear.

A great game, played in excellent spirit, and nice to finally get the Hittites (and the Siamese) onto the table.