TTS AAR: Welsh Open Game One: Venice Abroad versus Ikko-Ikki
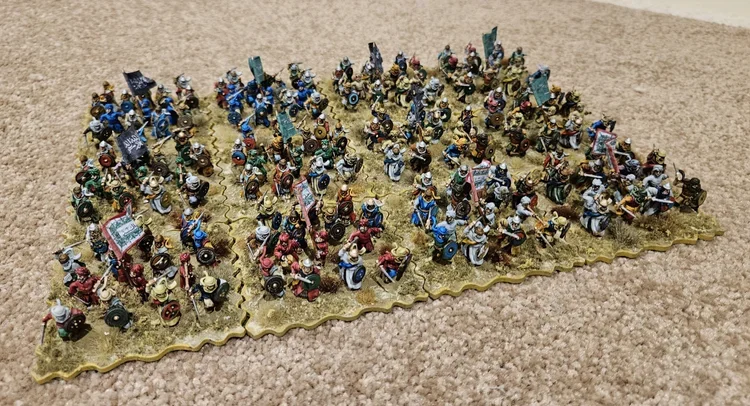
/My first game proper at this year’s Welsh Open (held at the ever-excellent Firestorm Games in Cardiff) was against Colin’s beautifully-painted Ikko-Ikki.
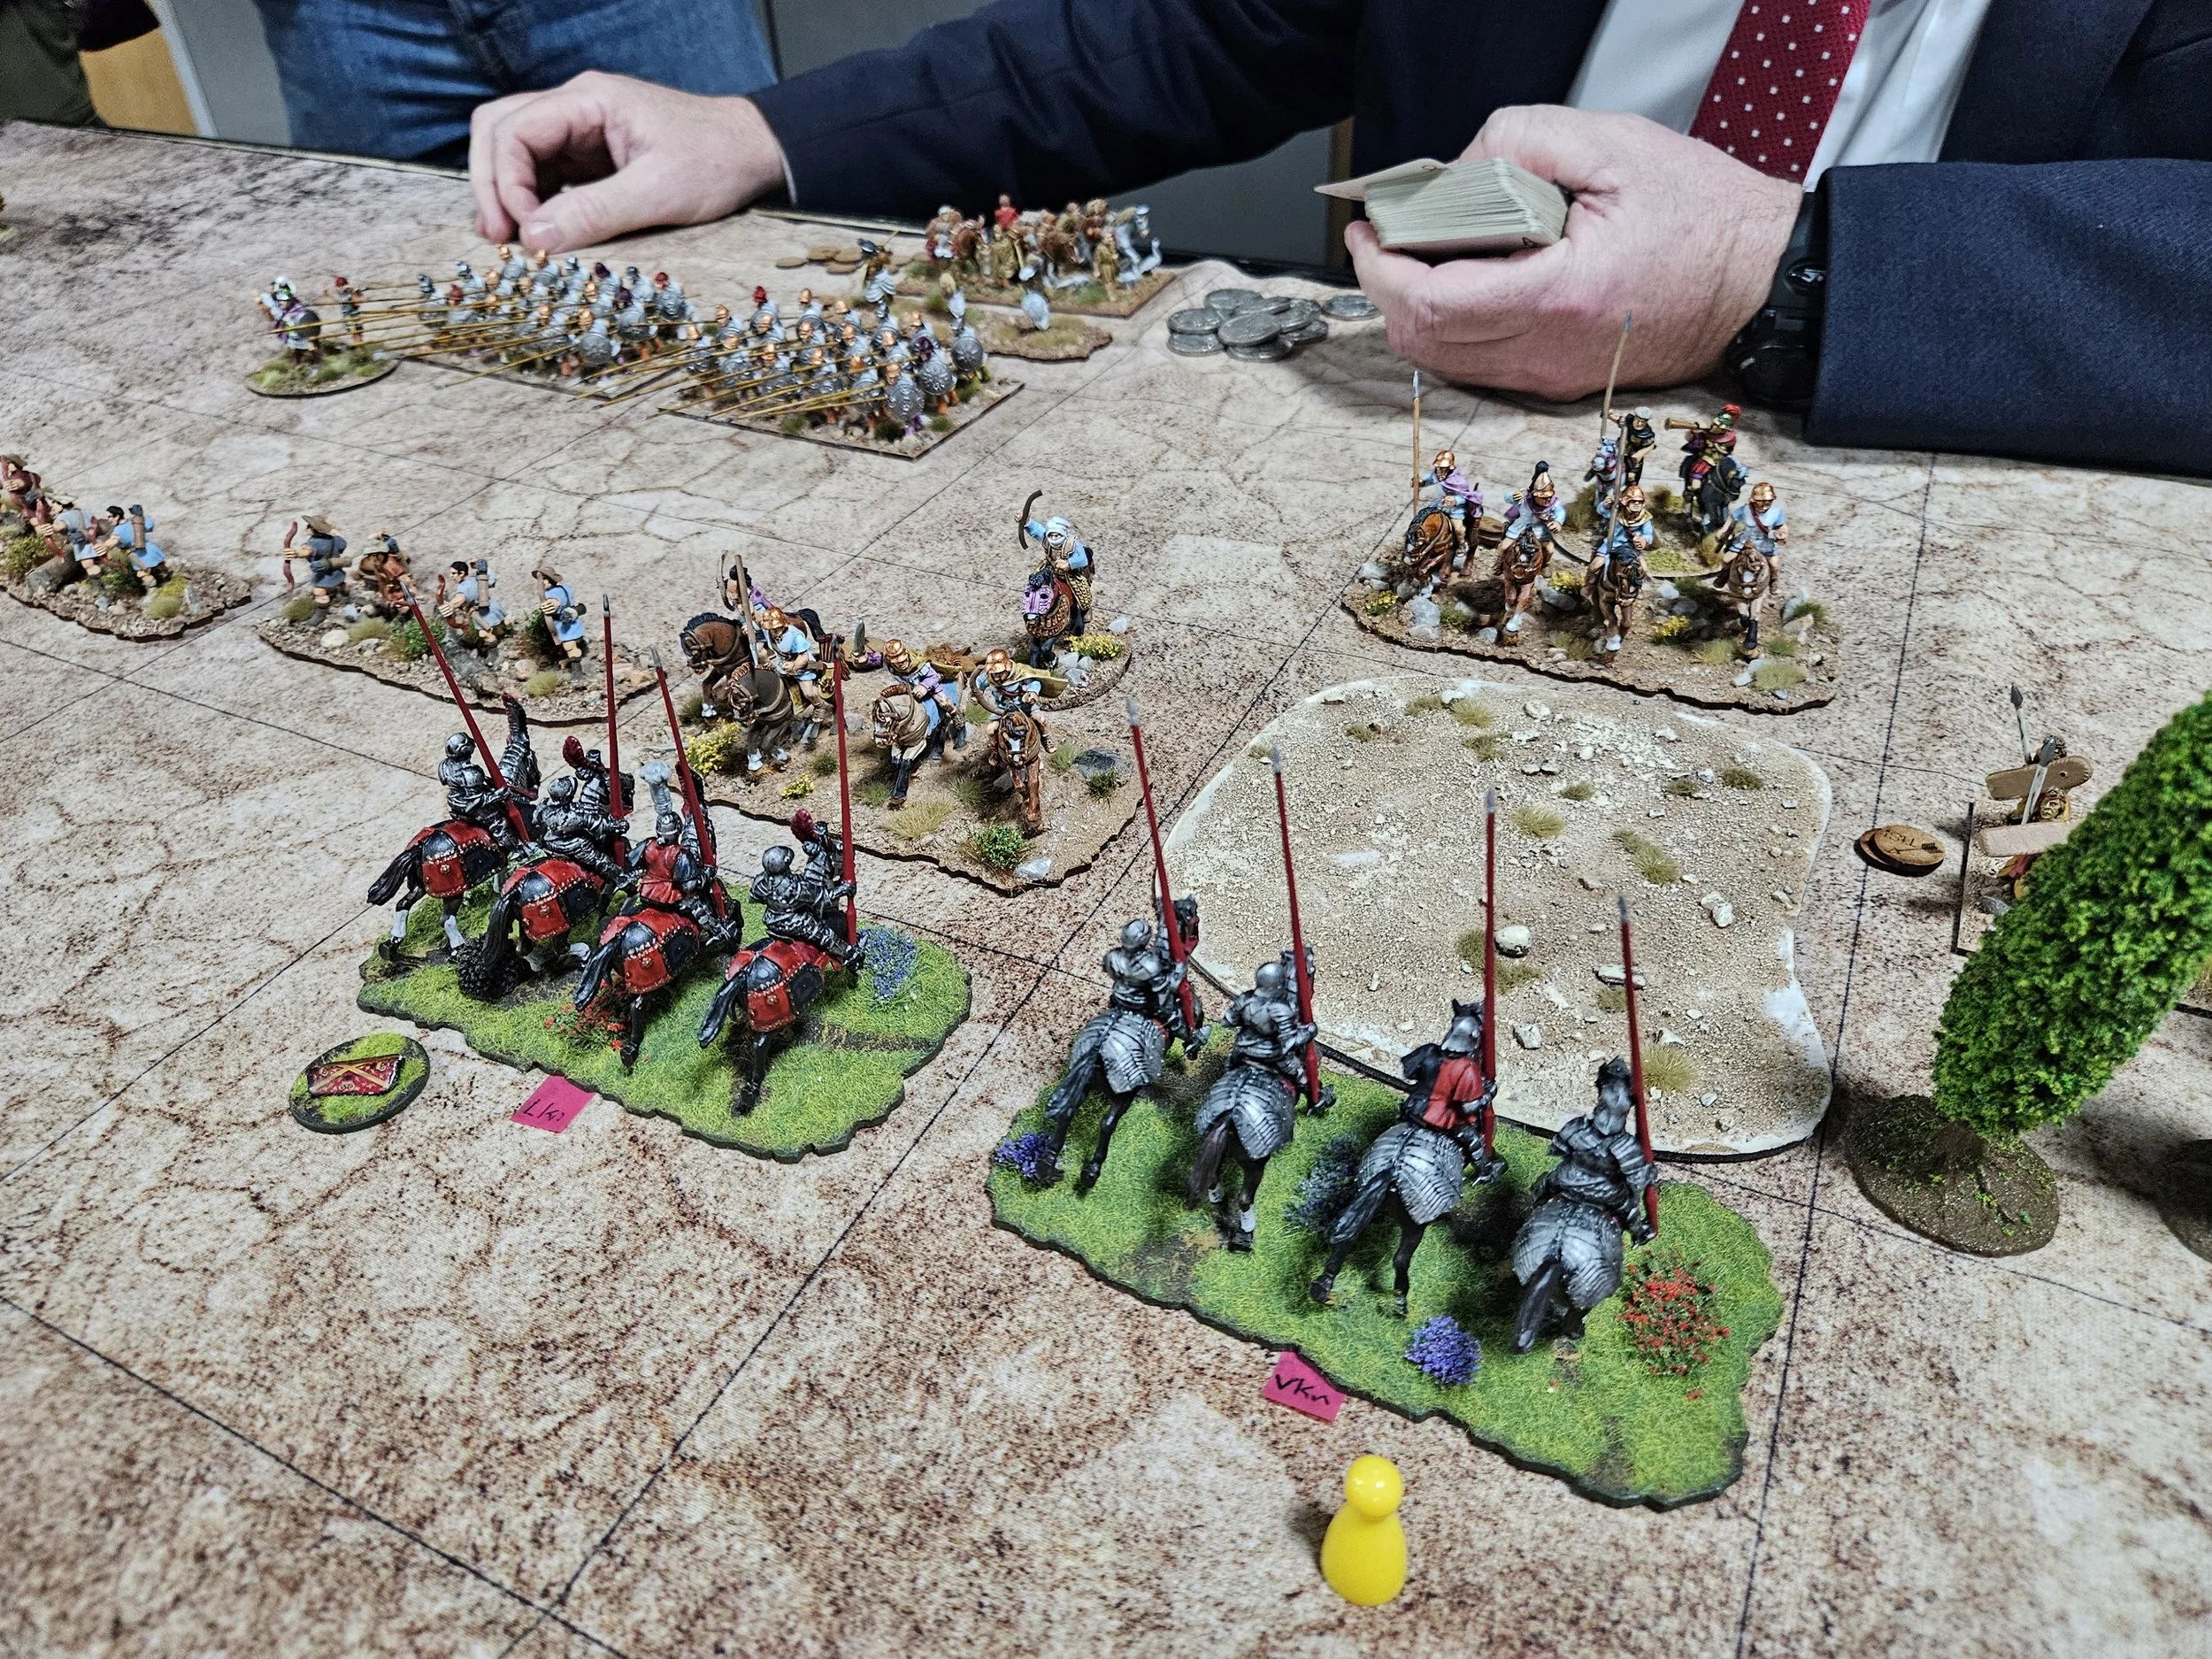
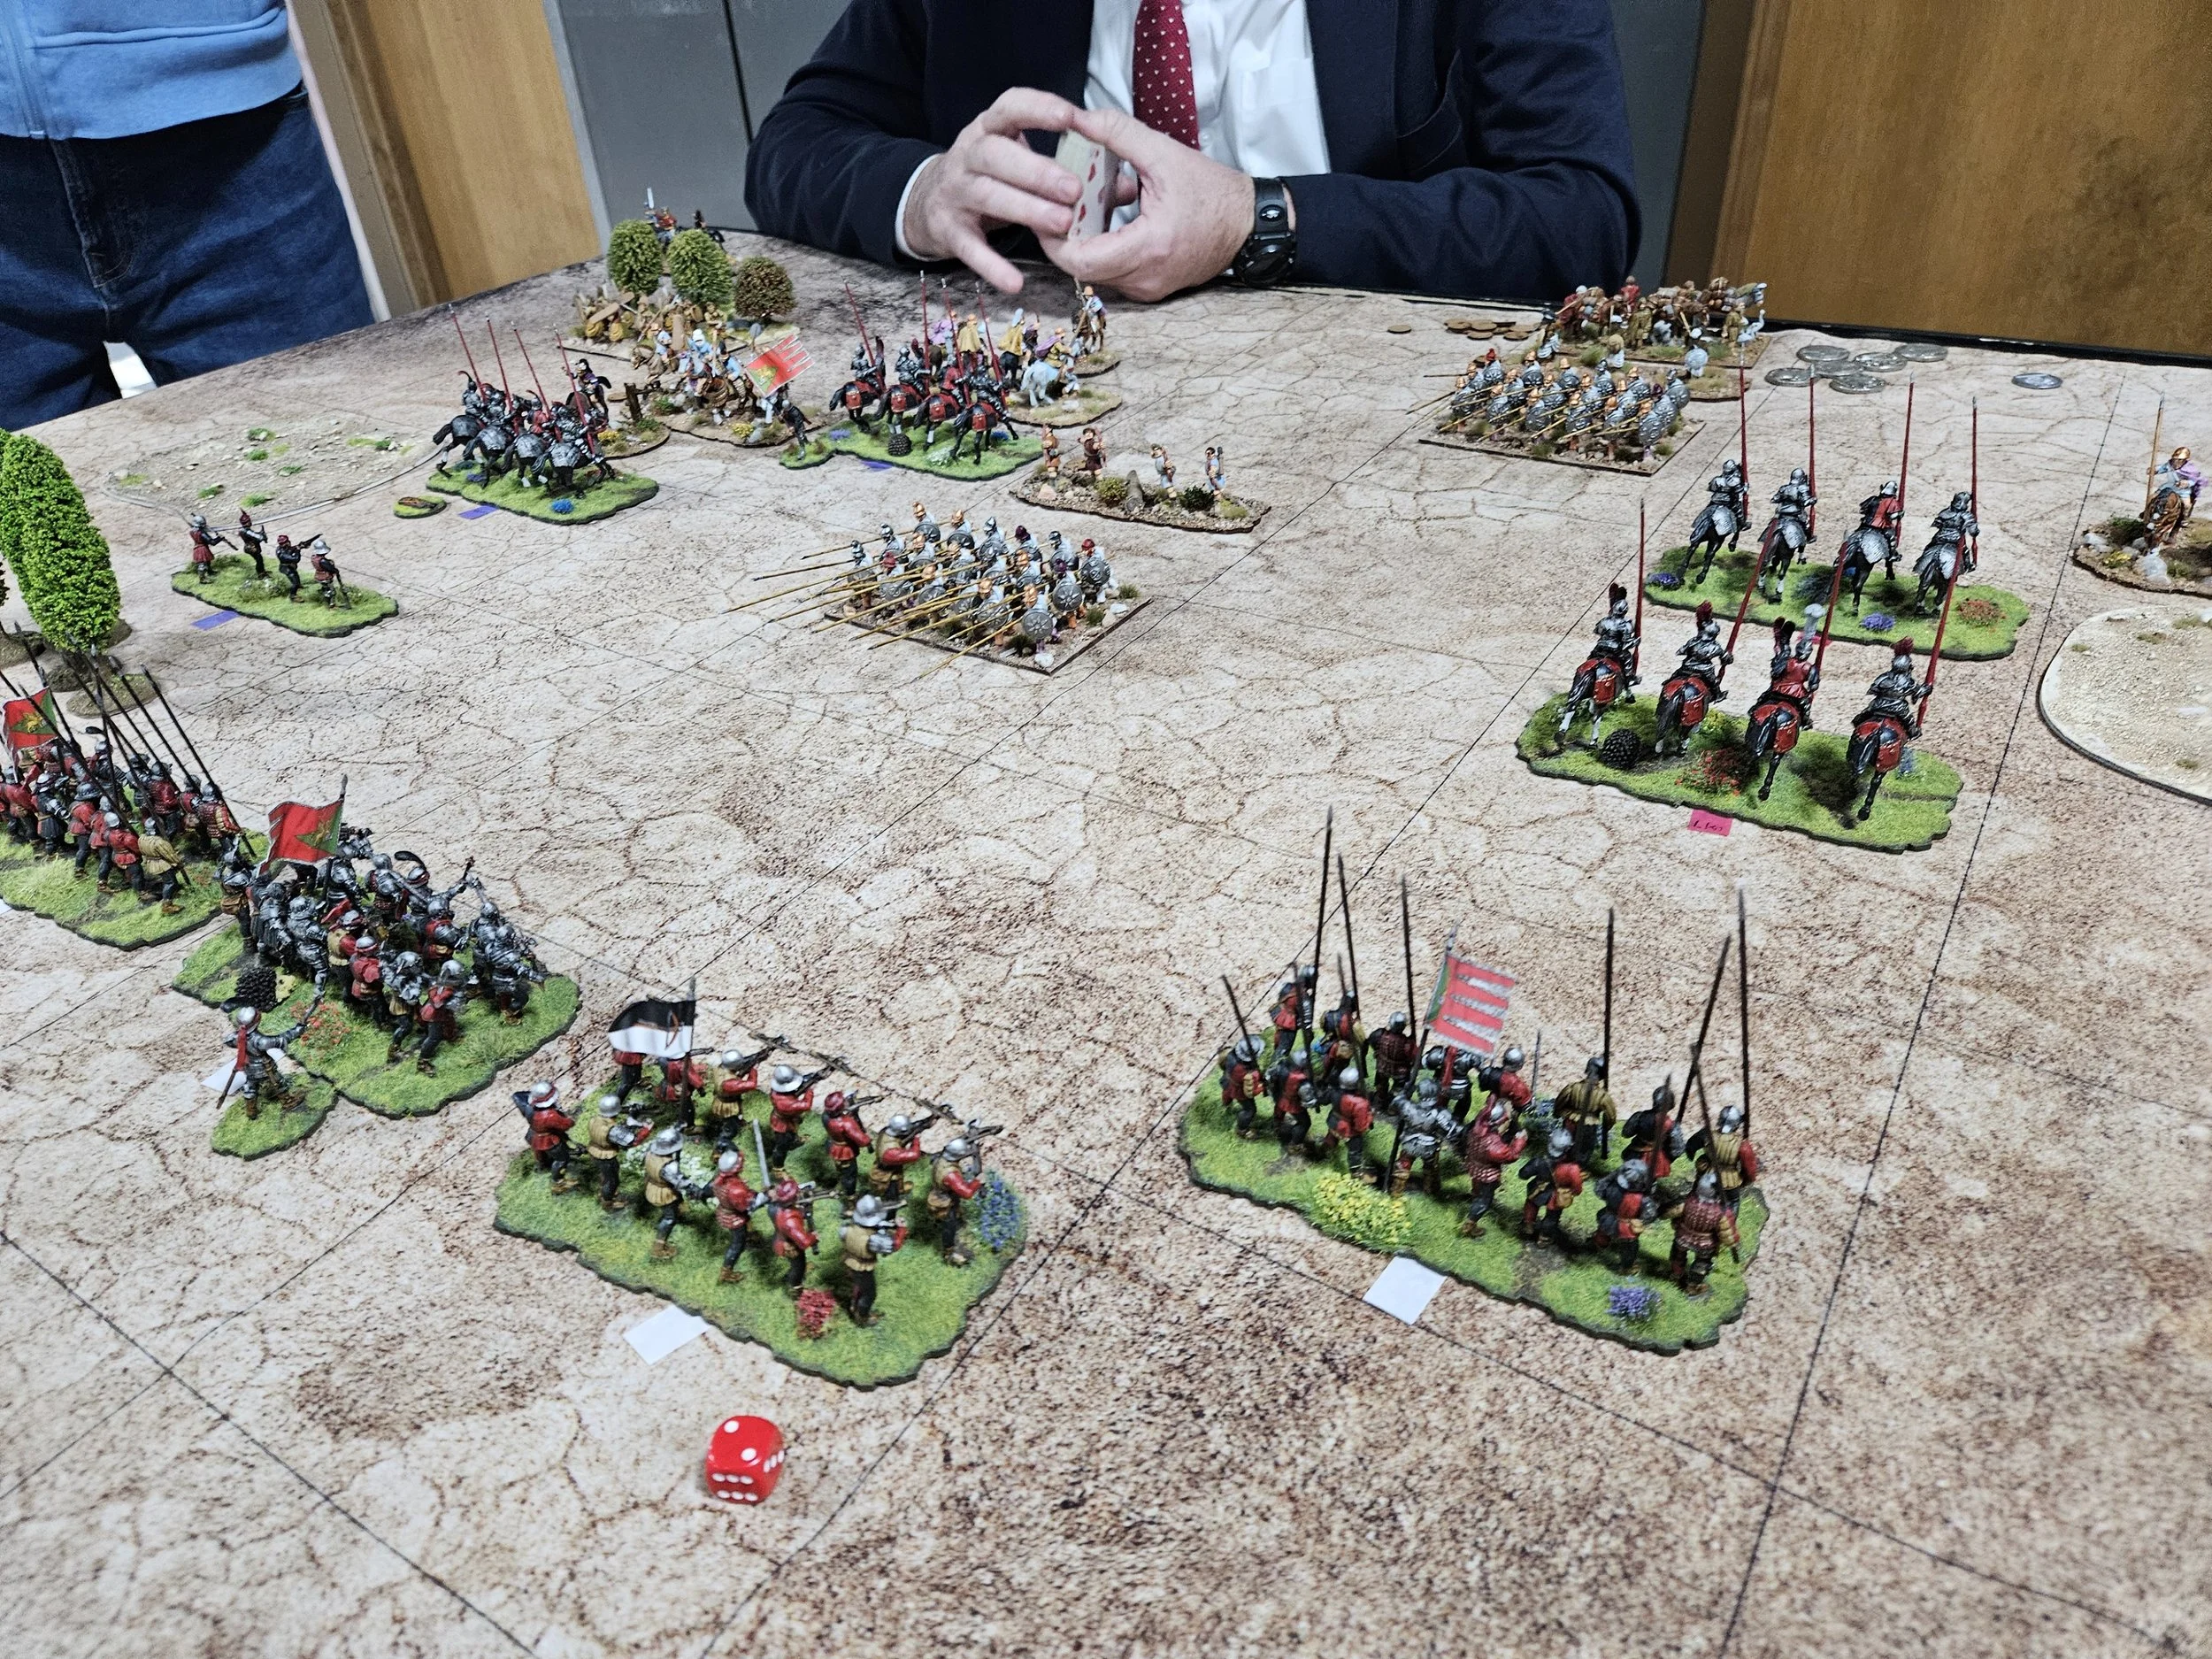
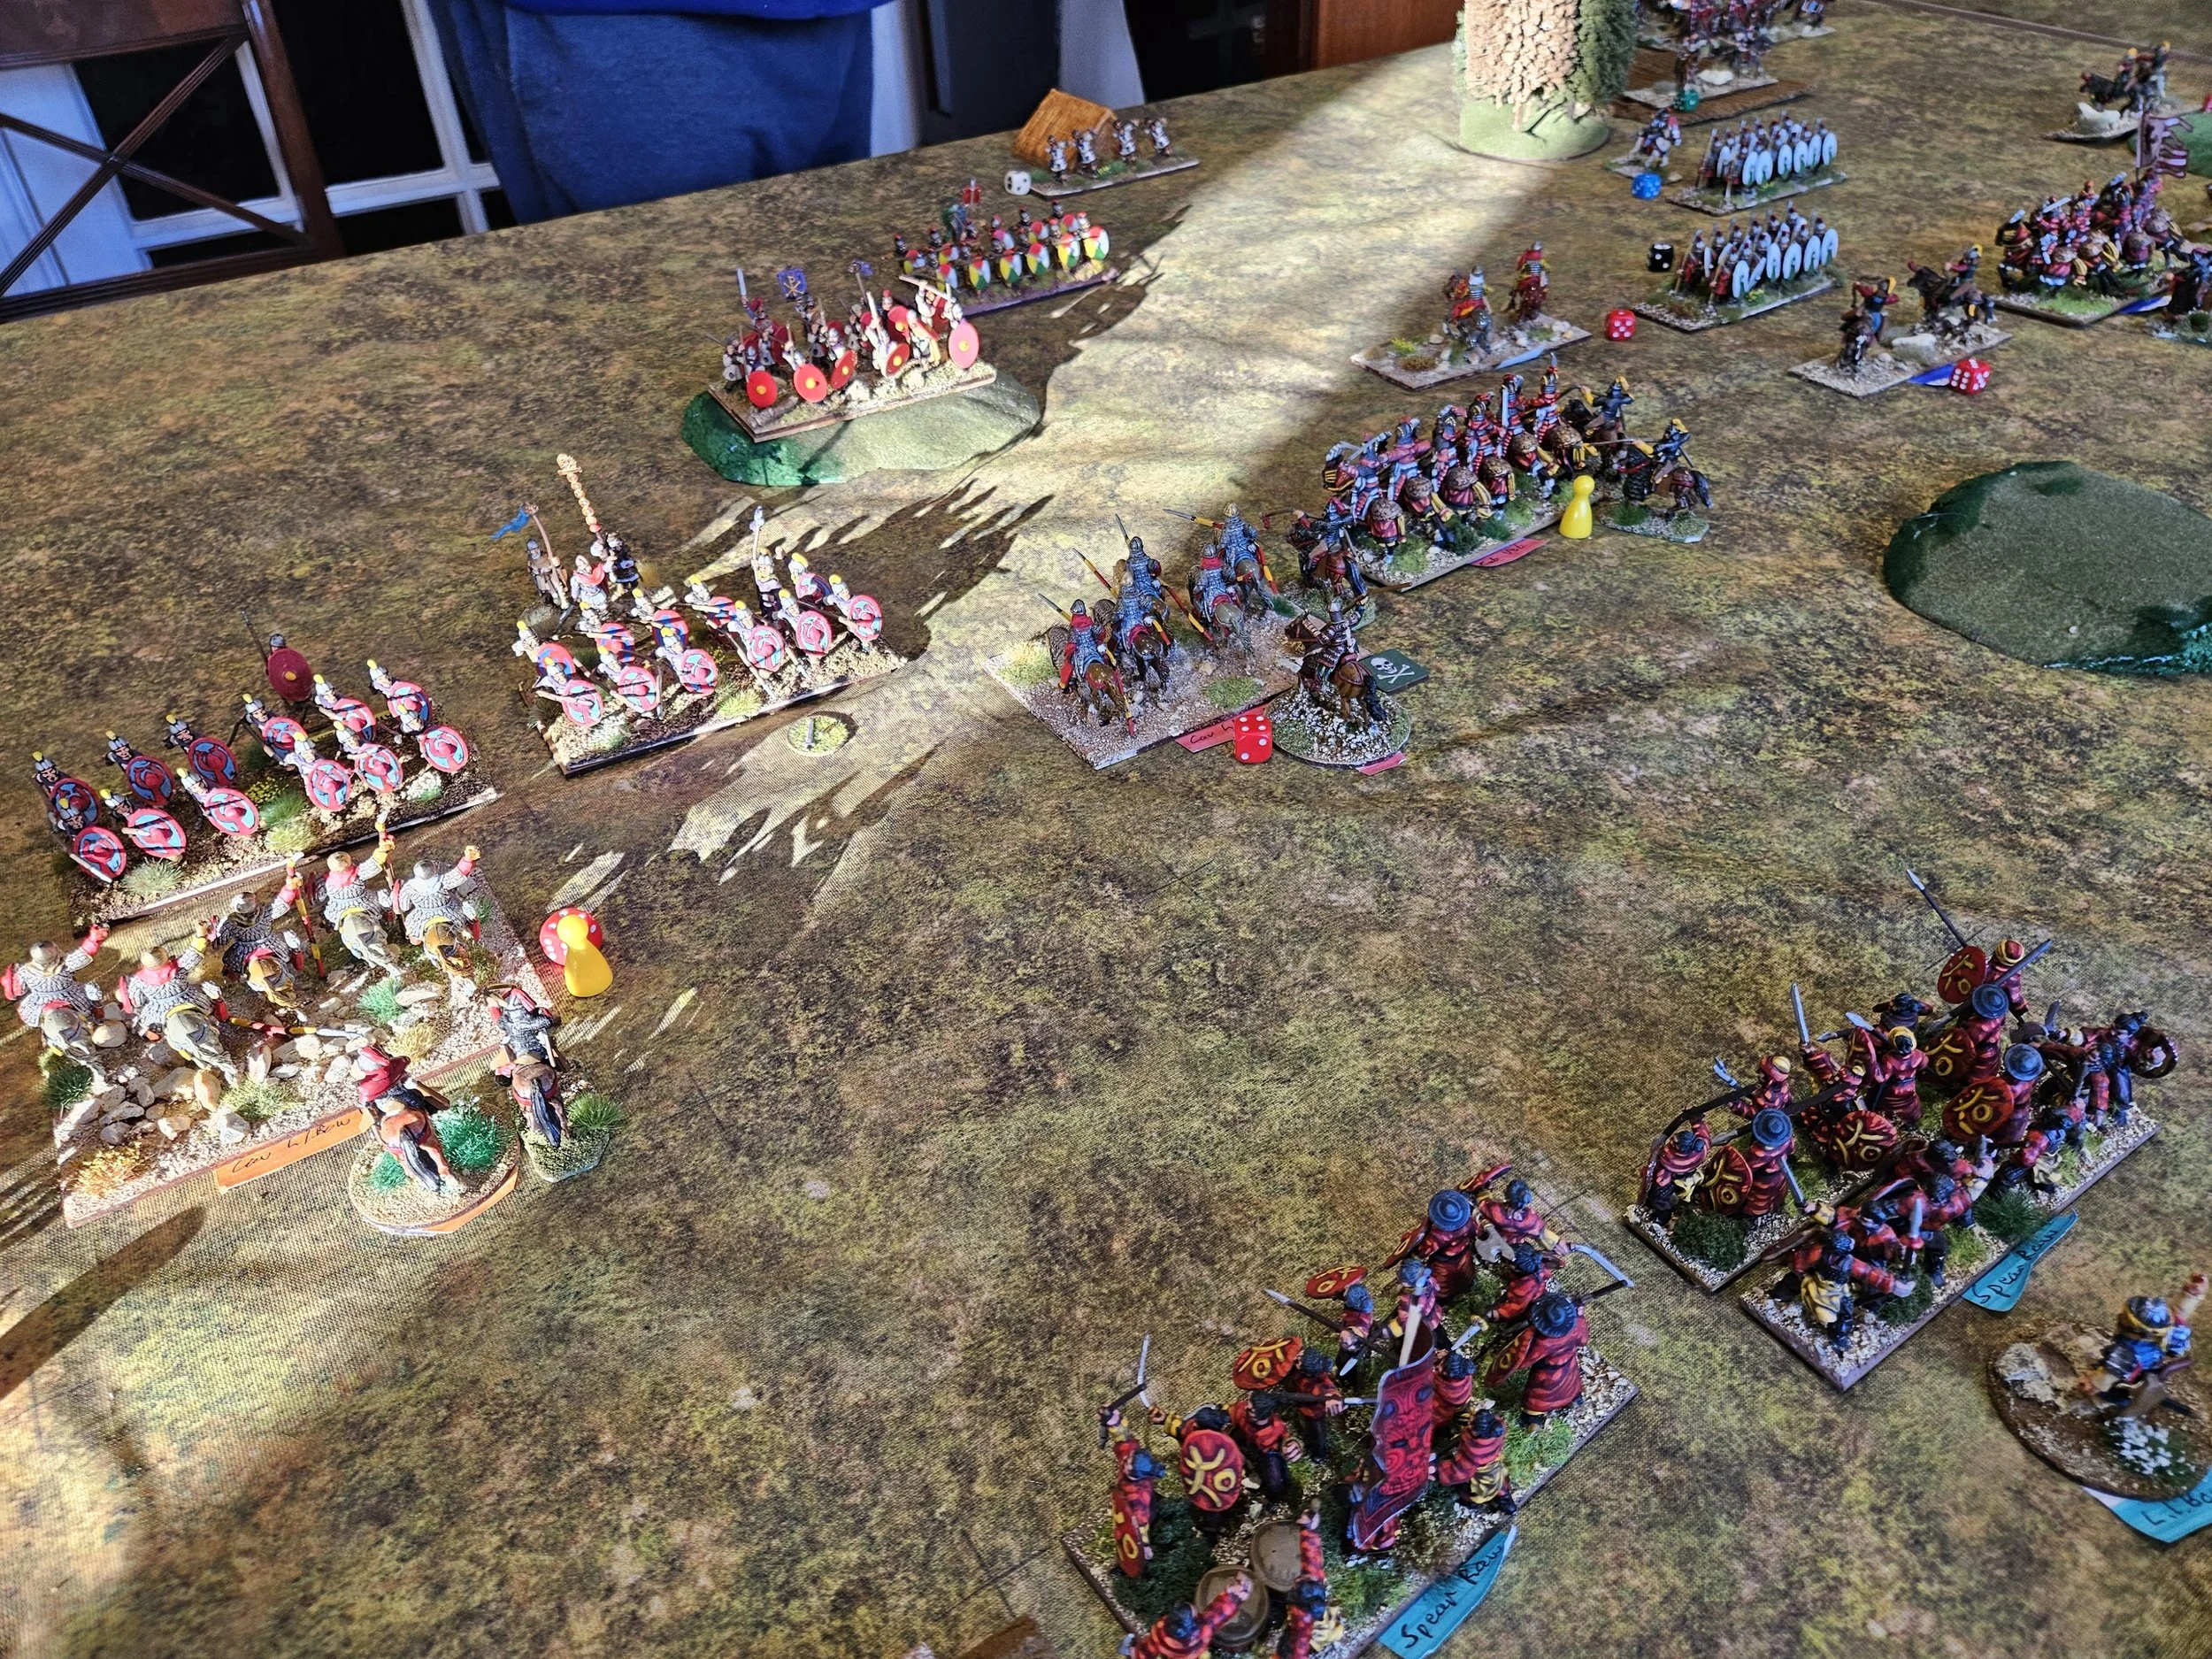
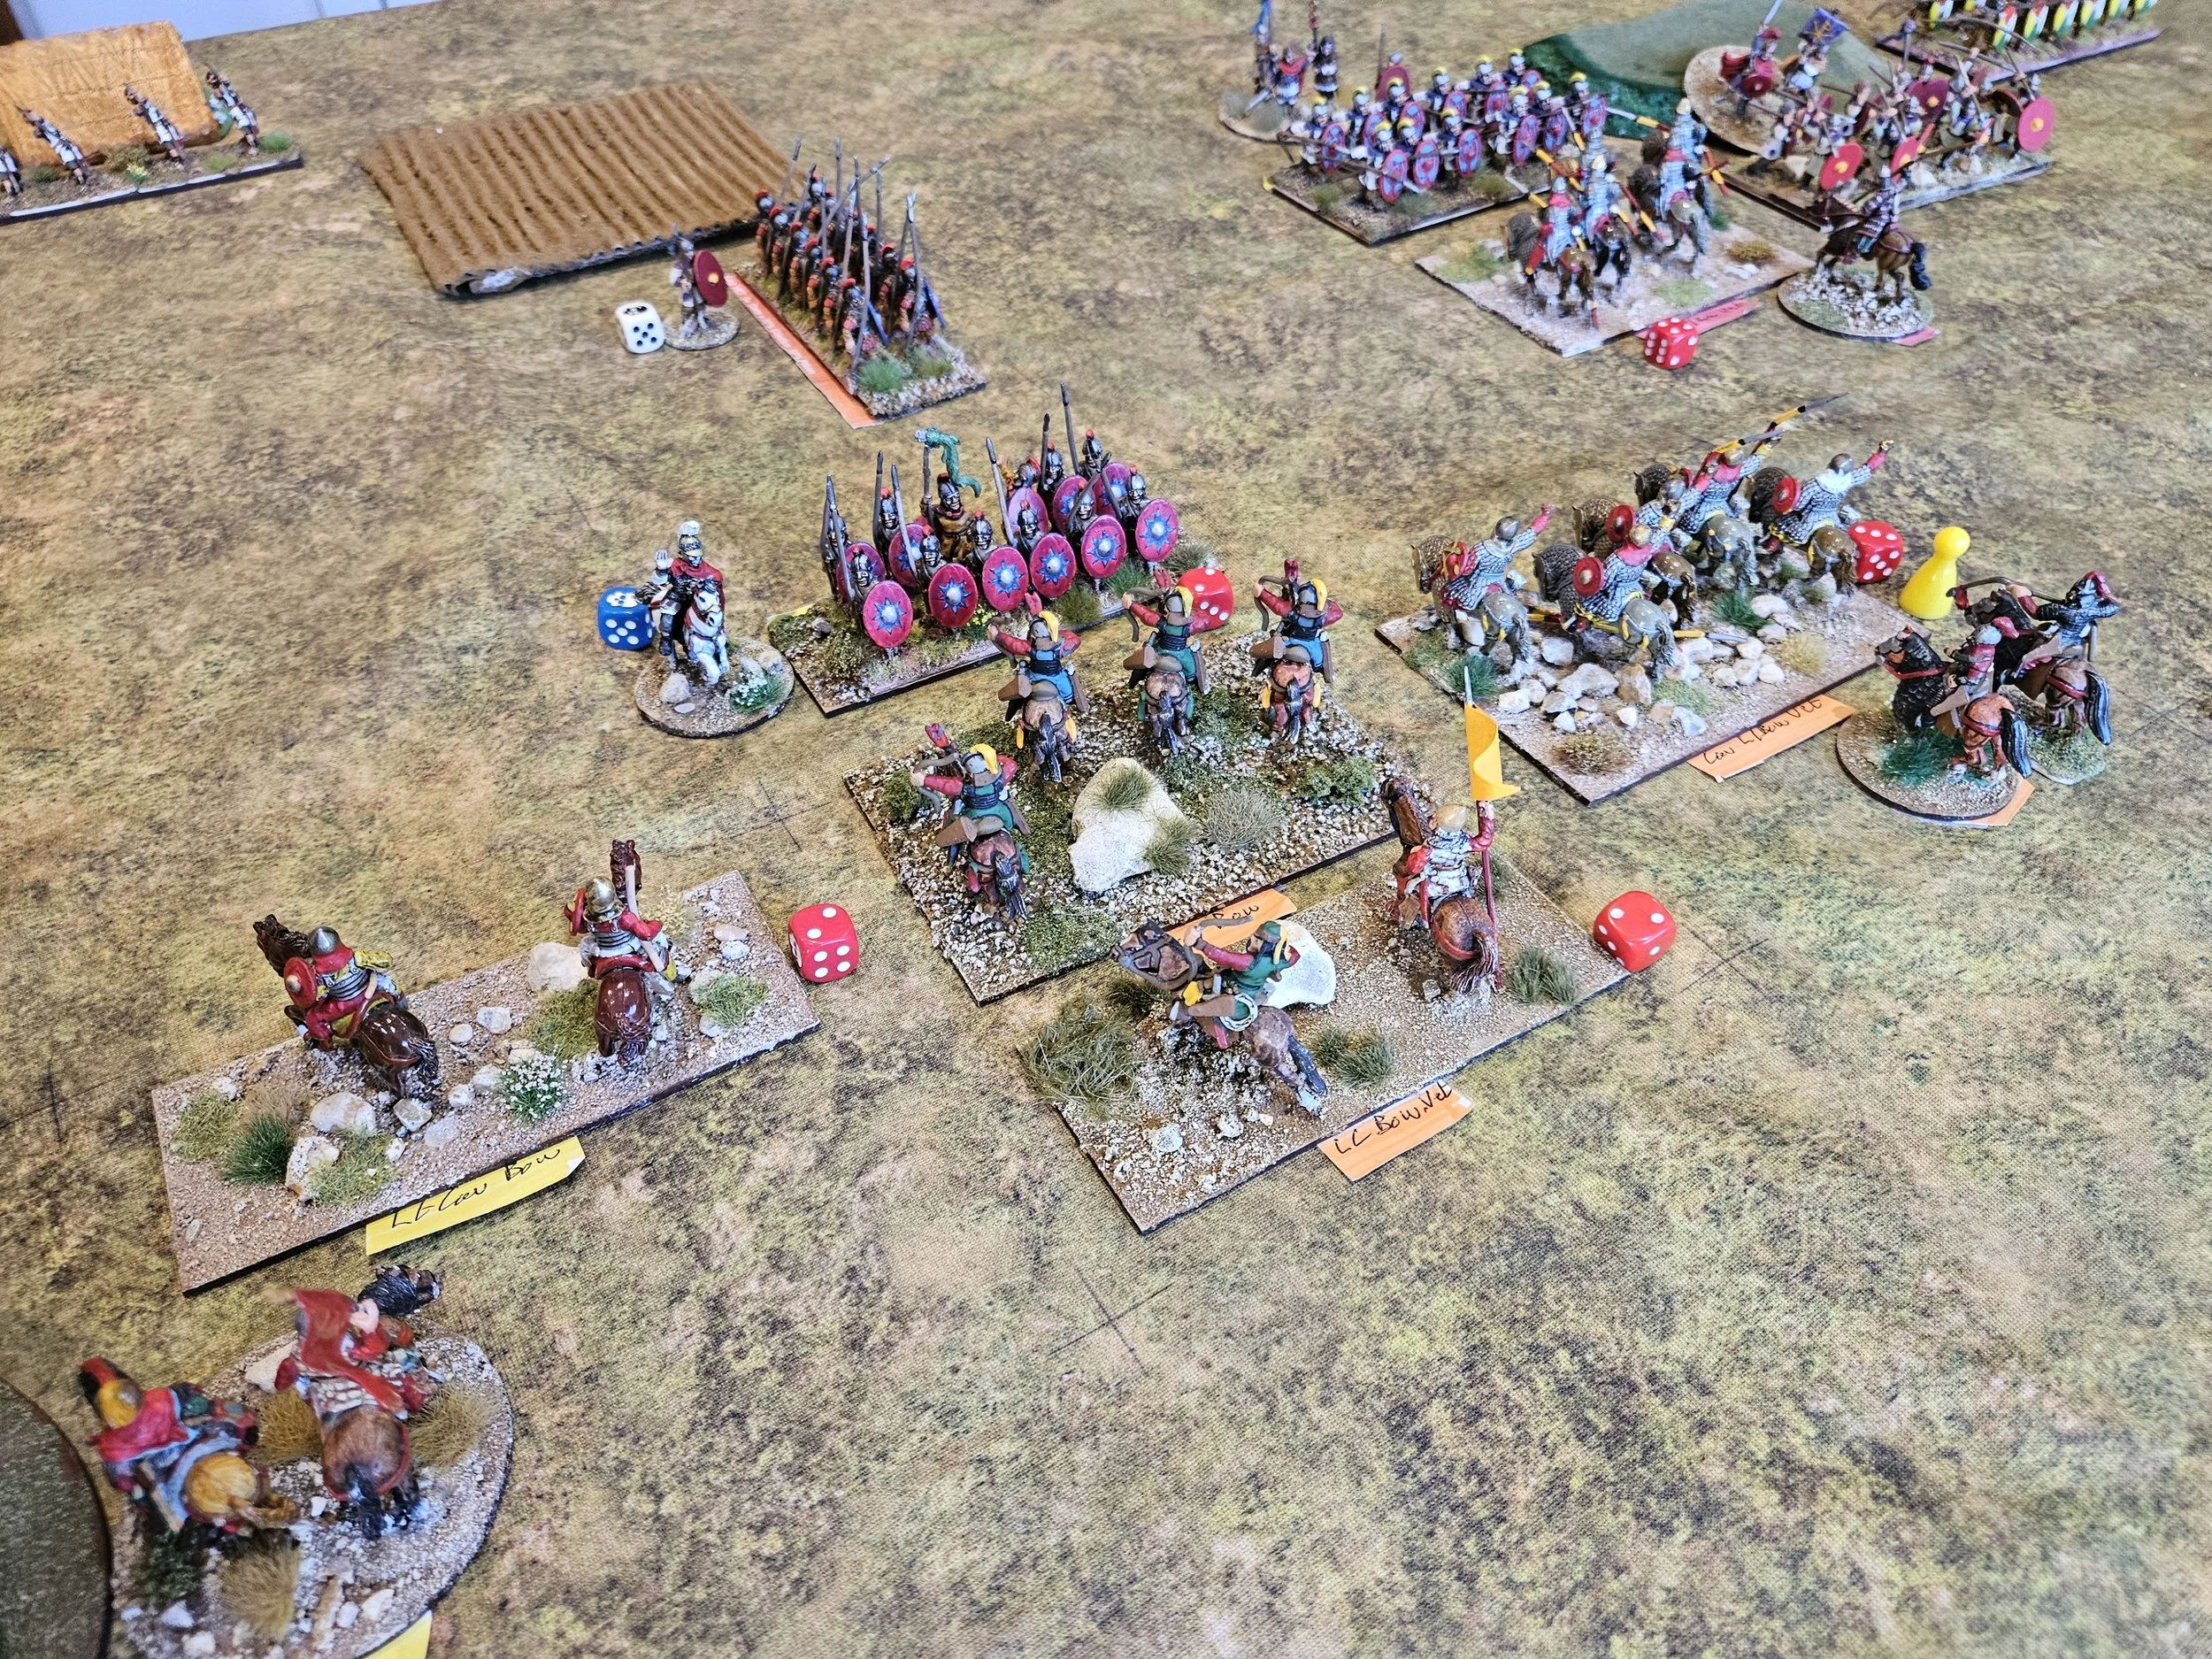
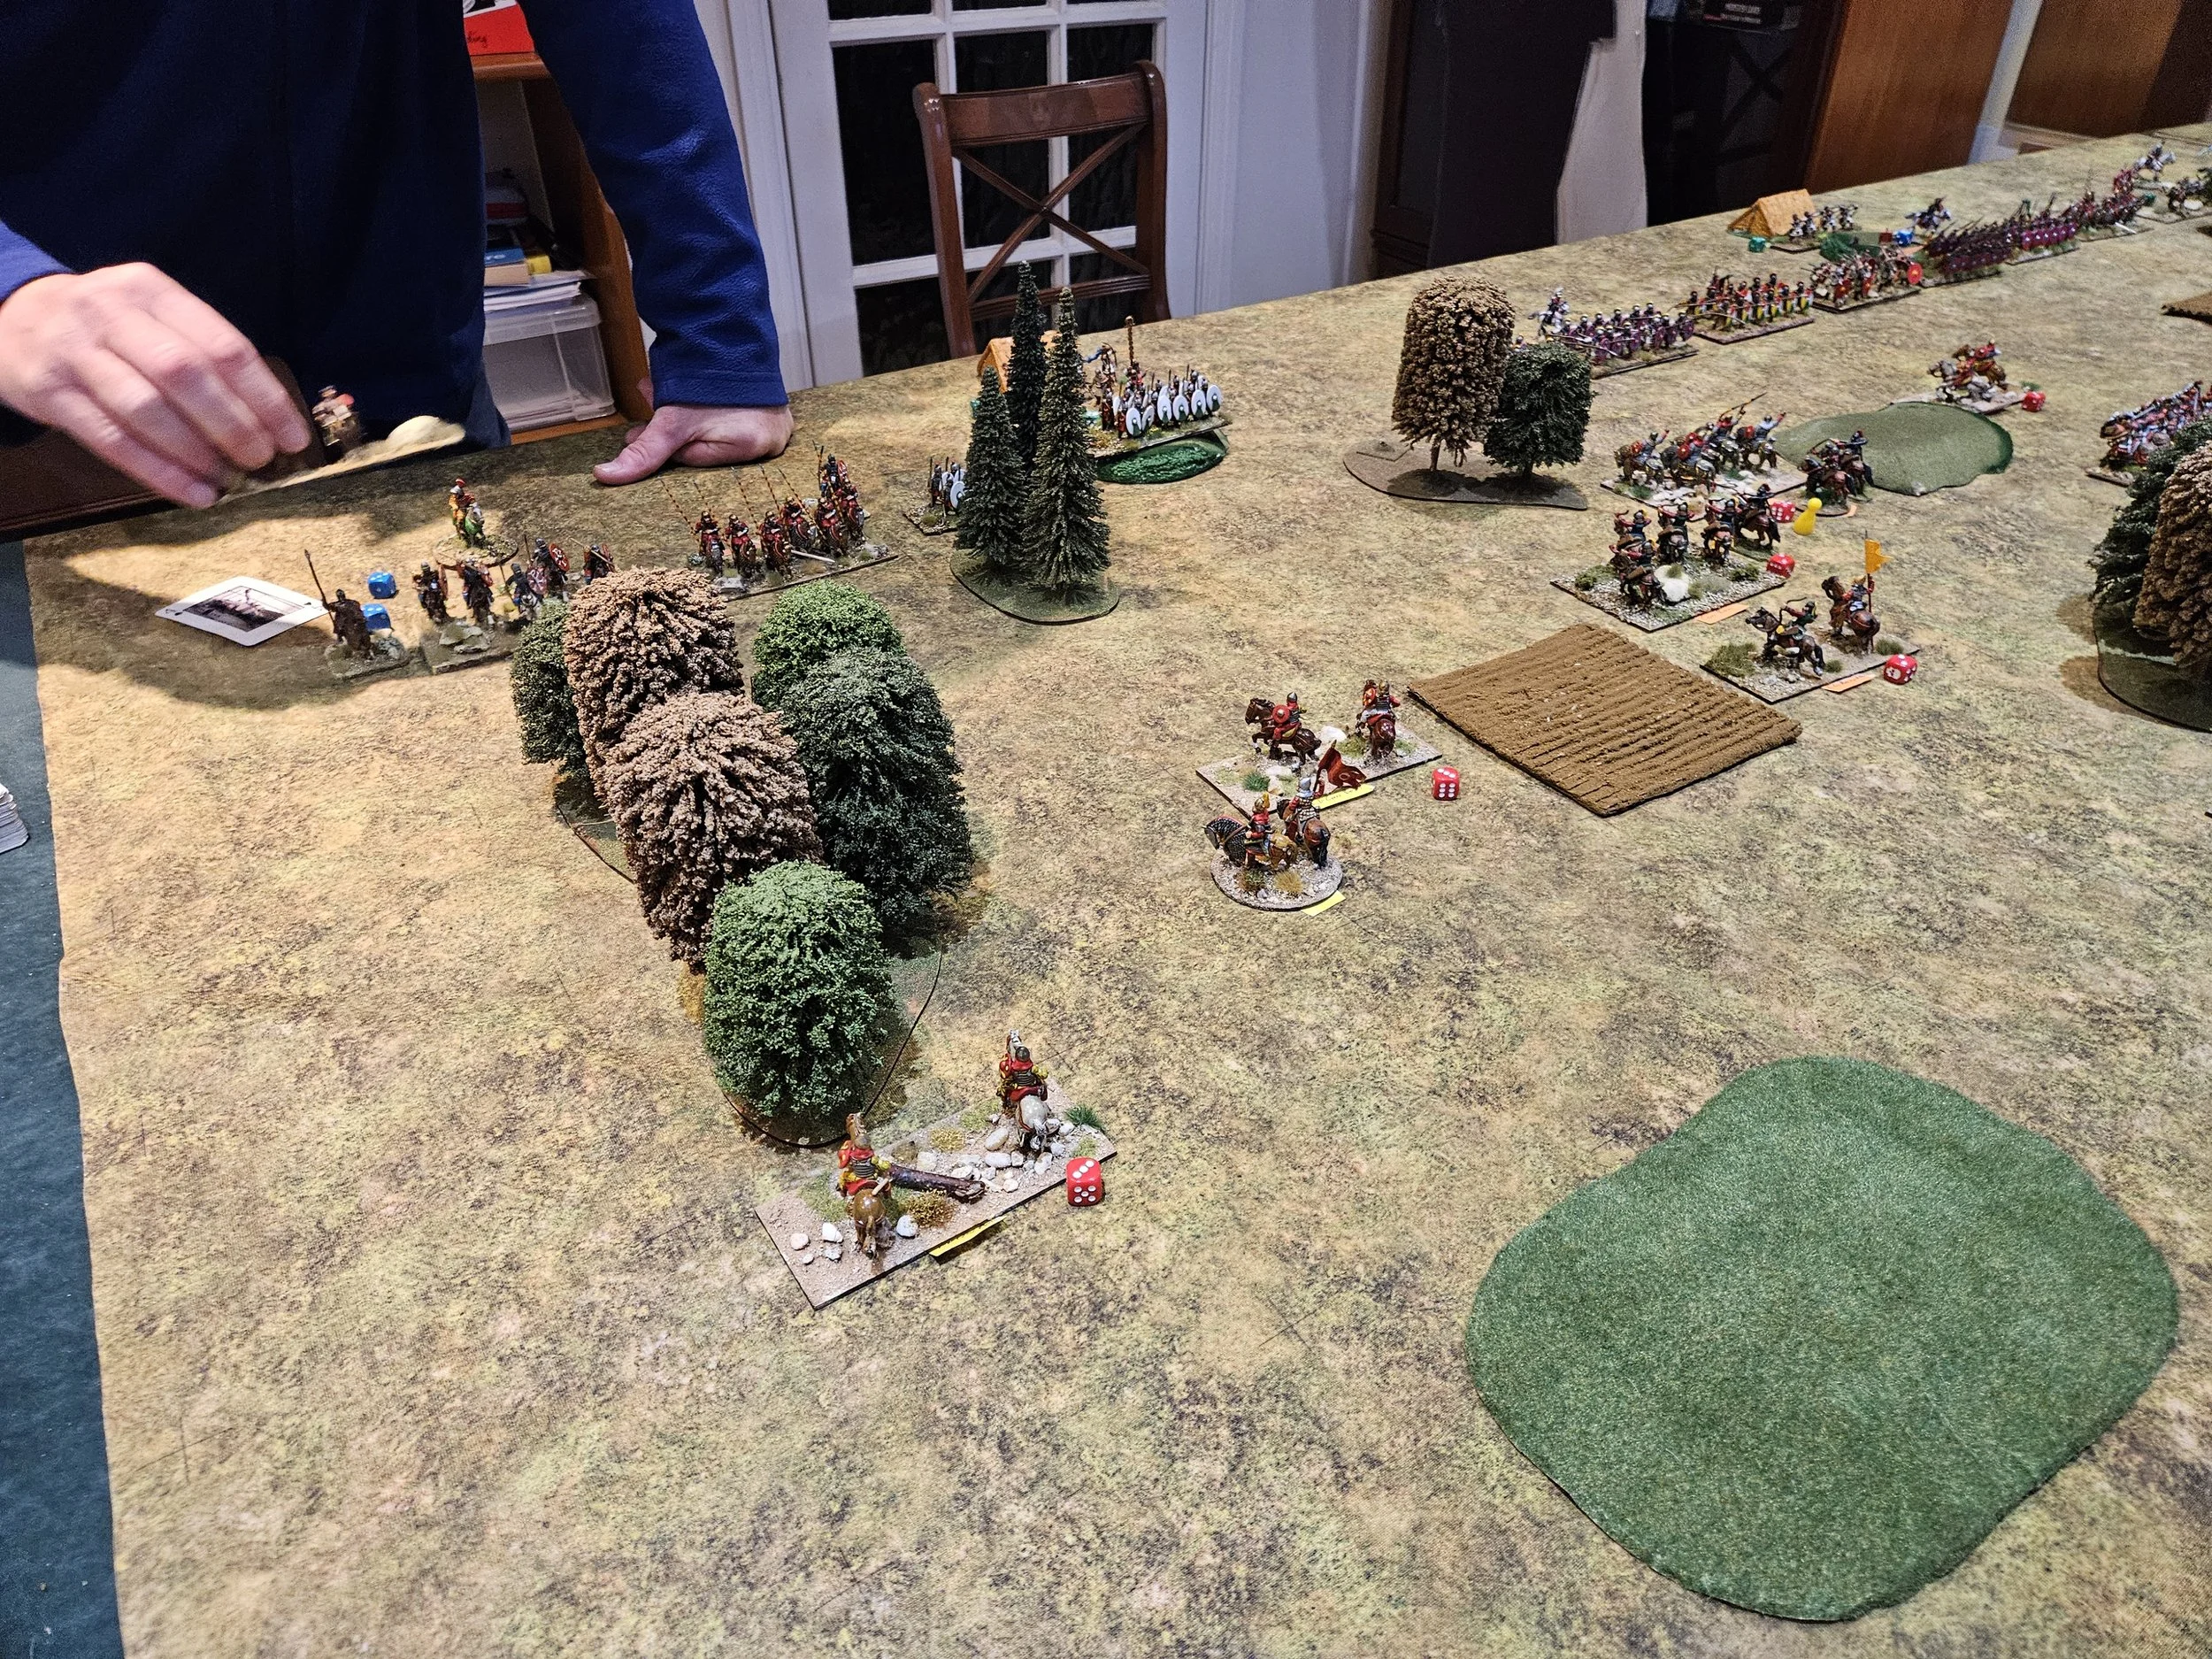
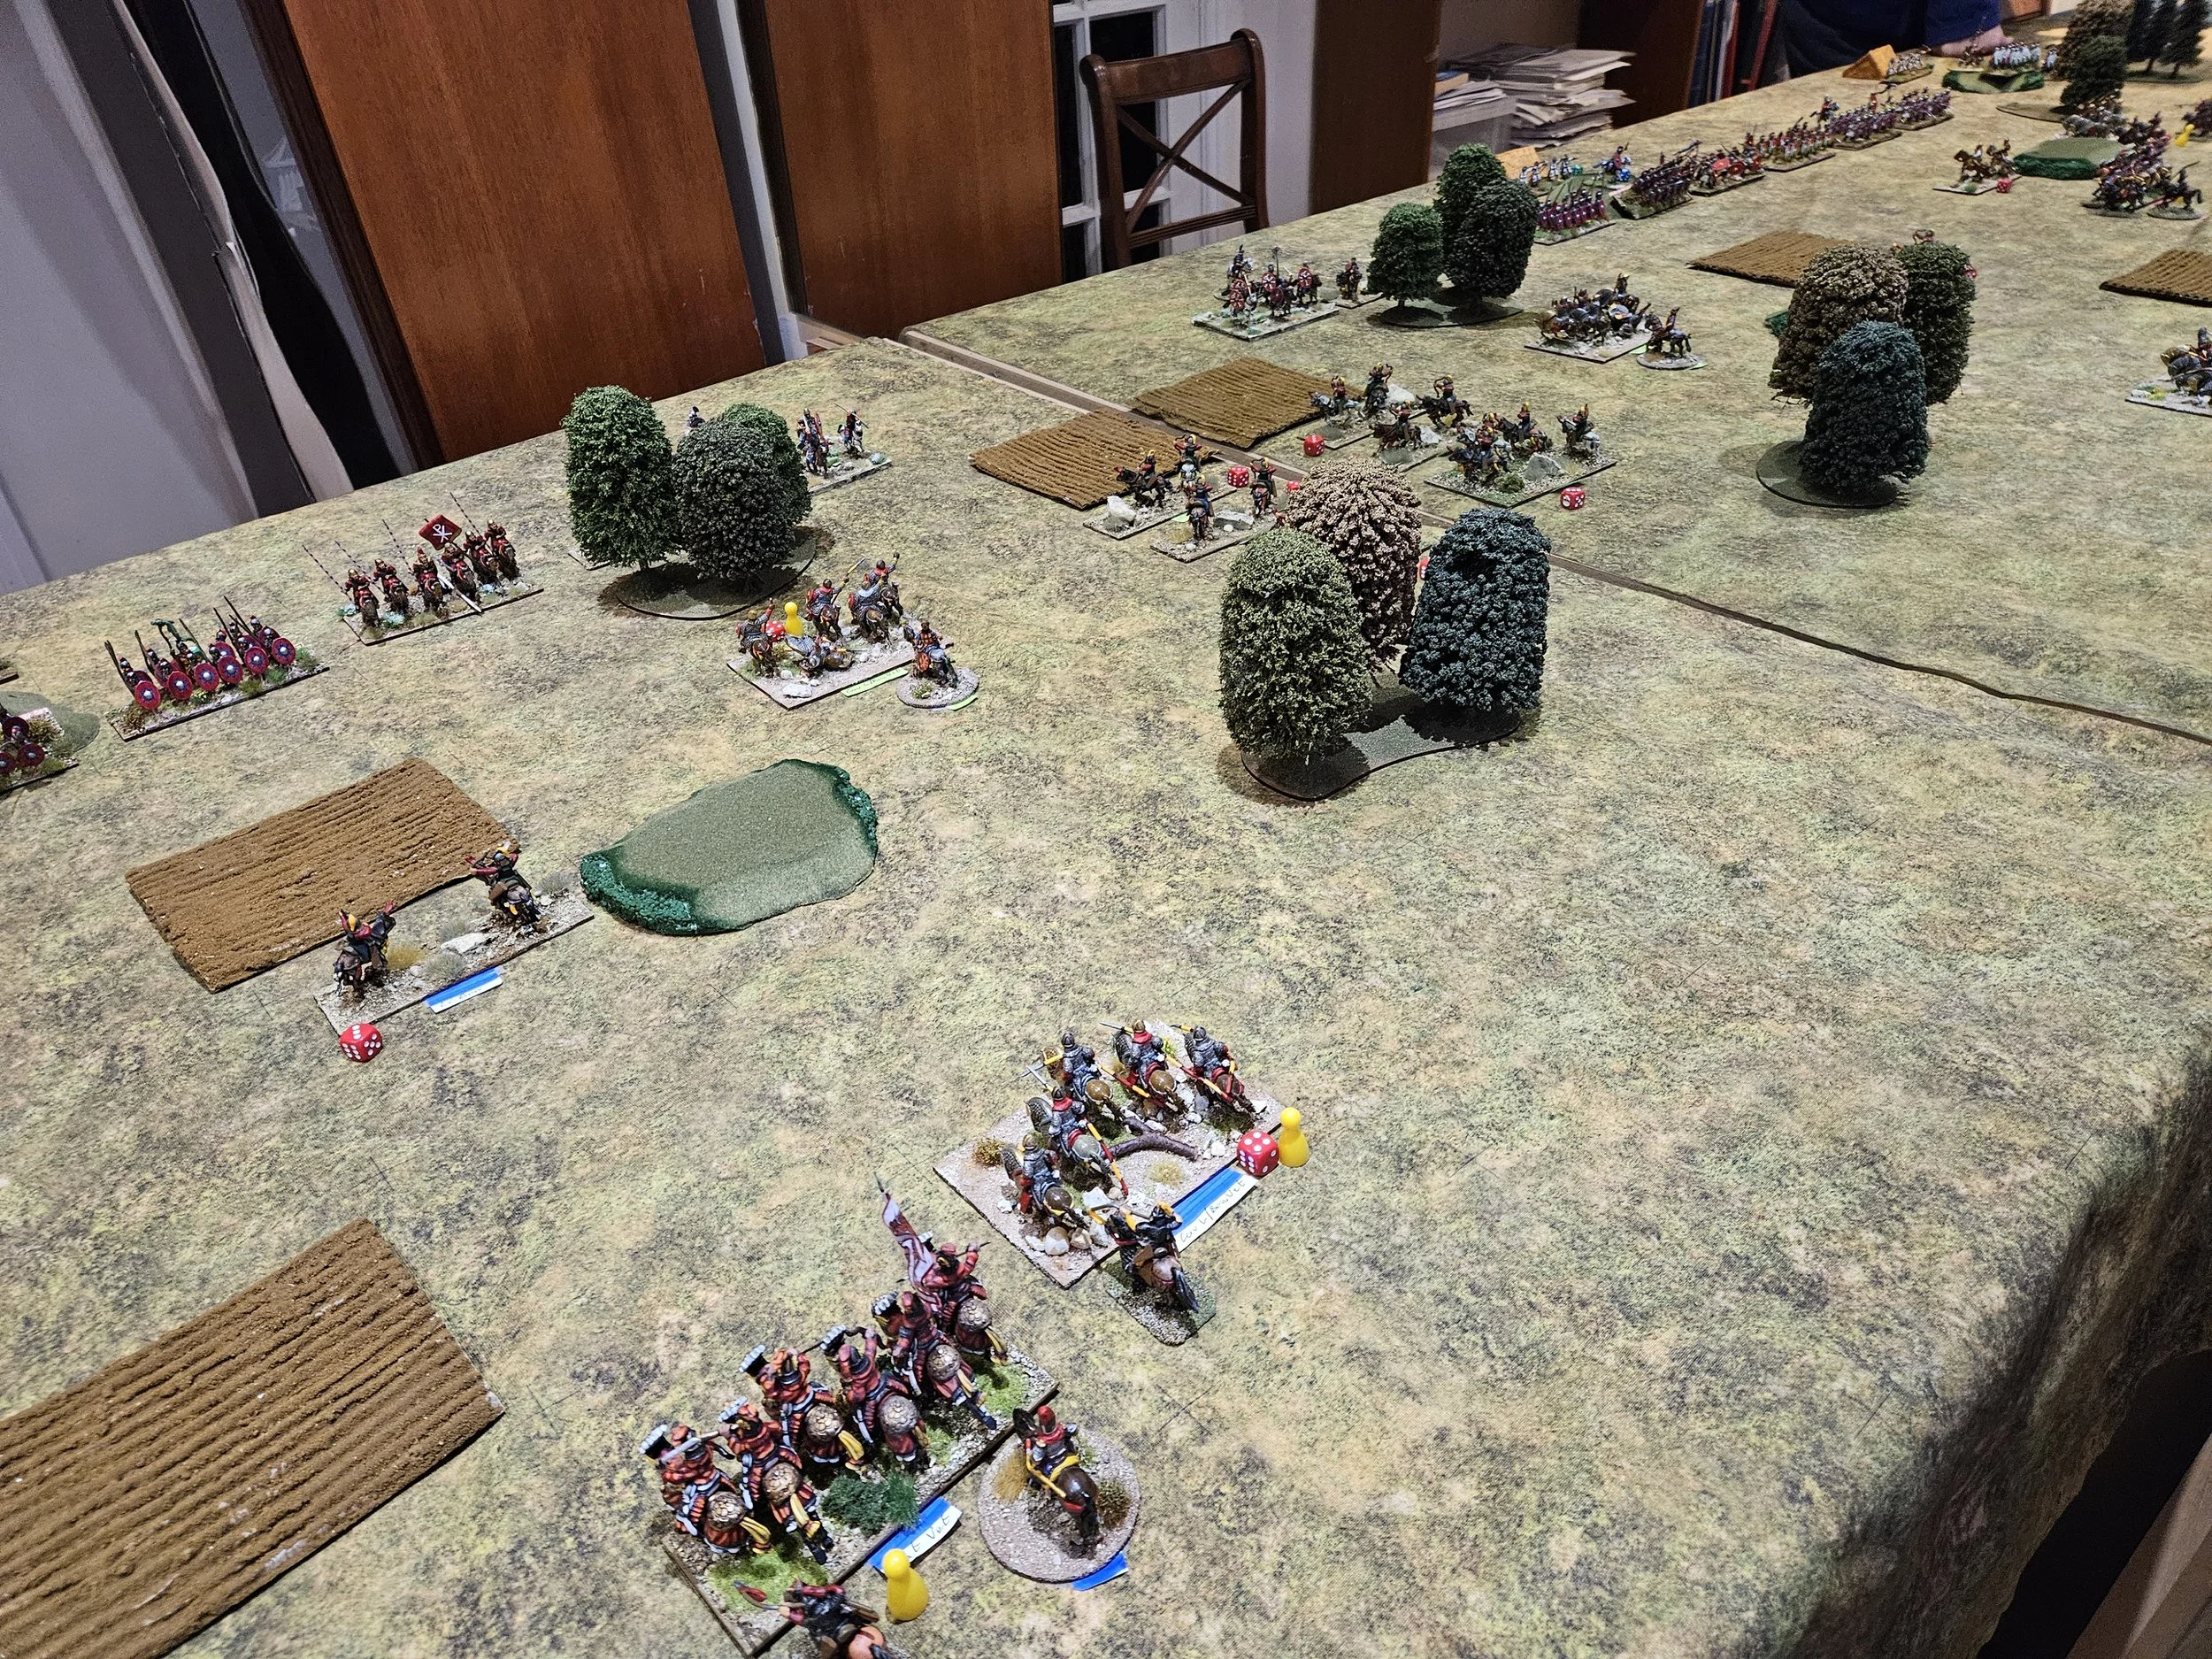
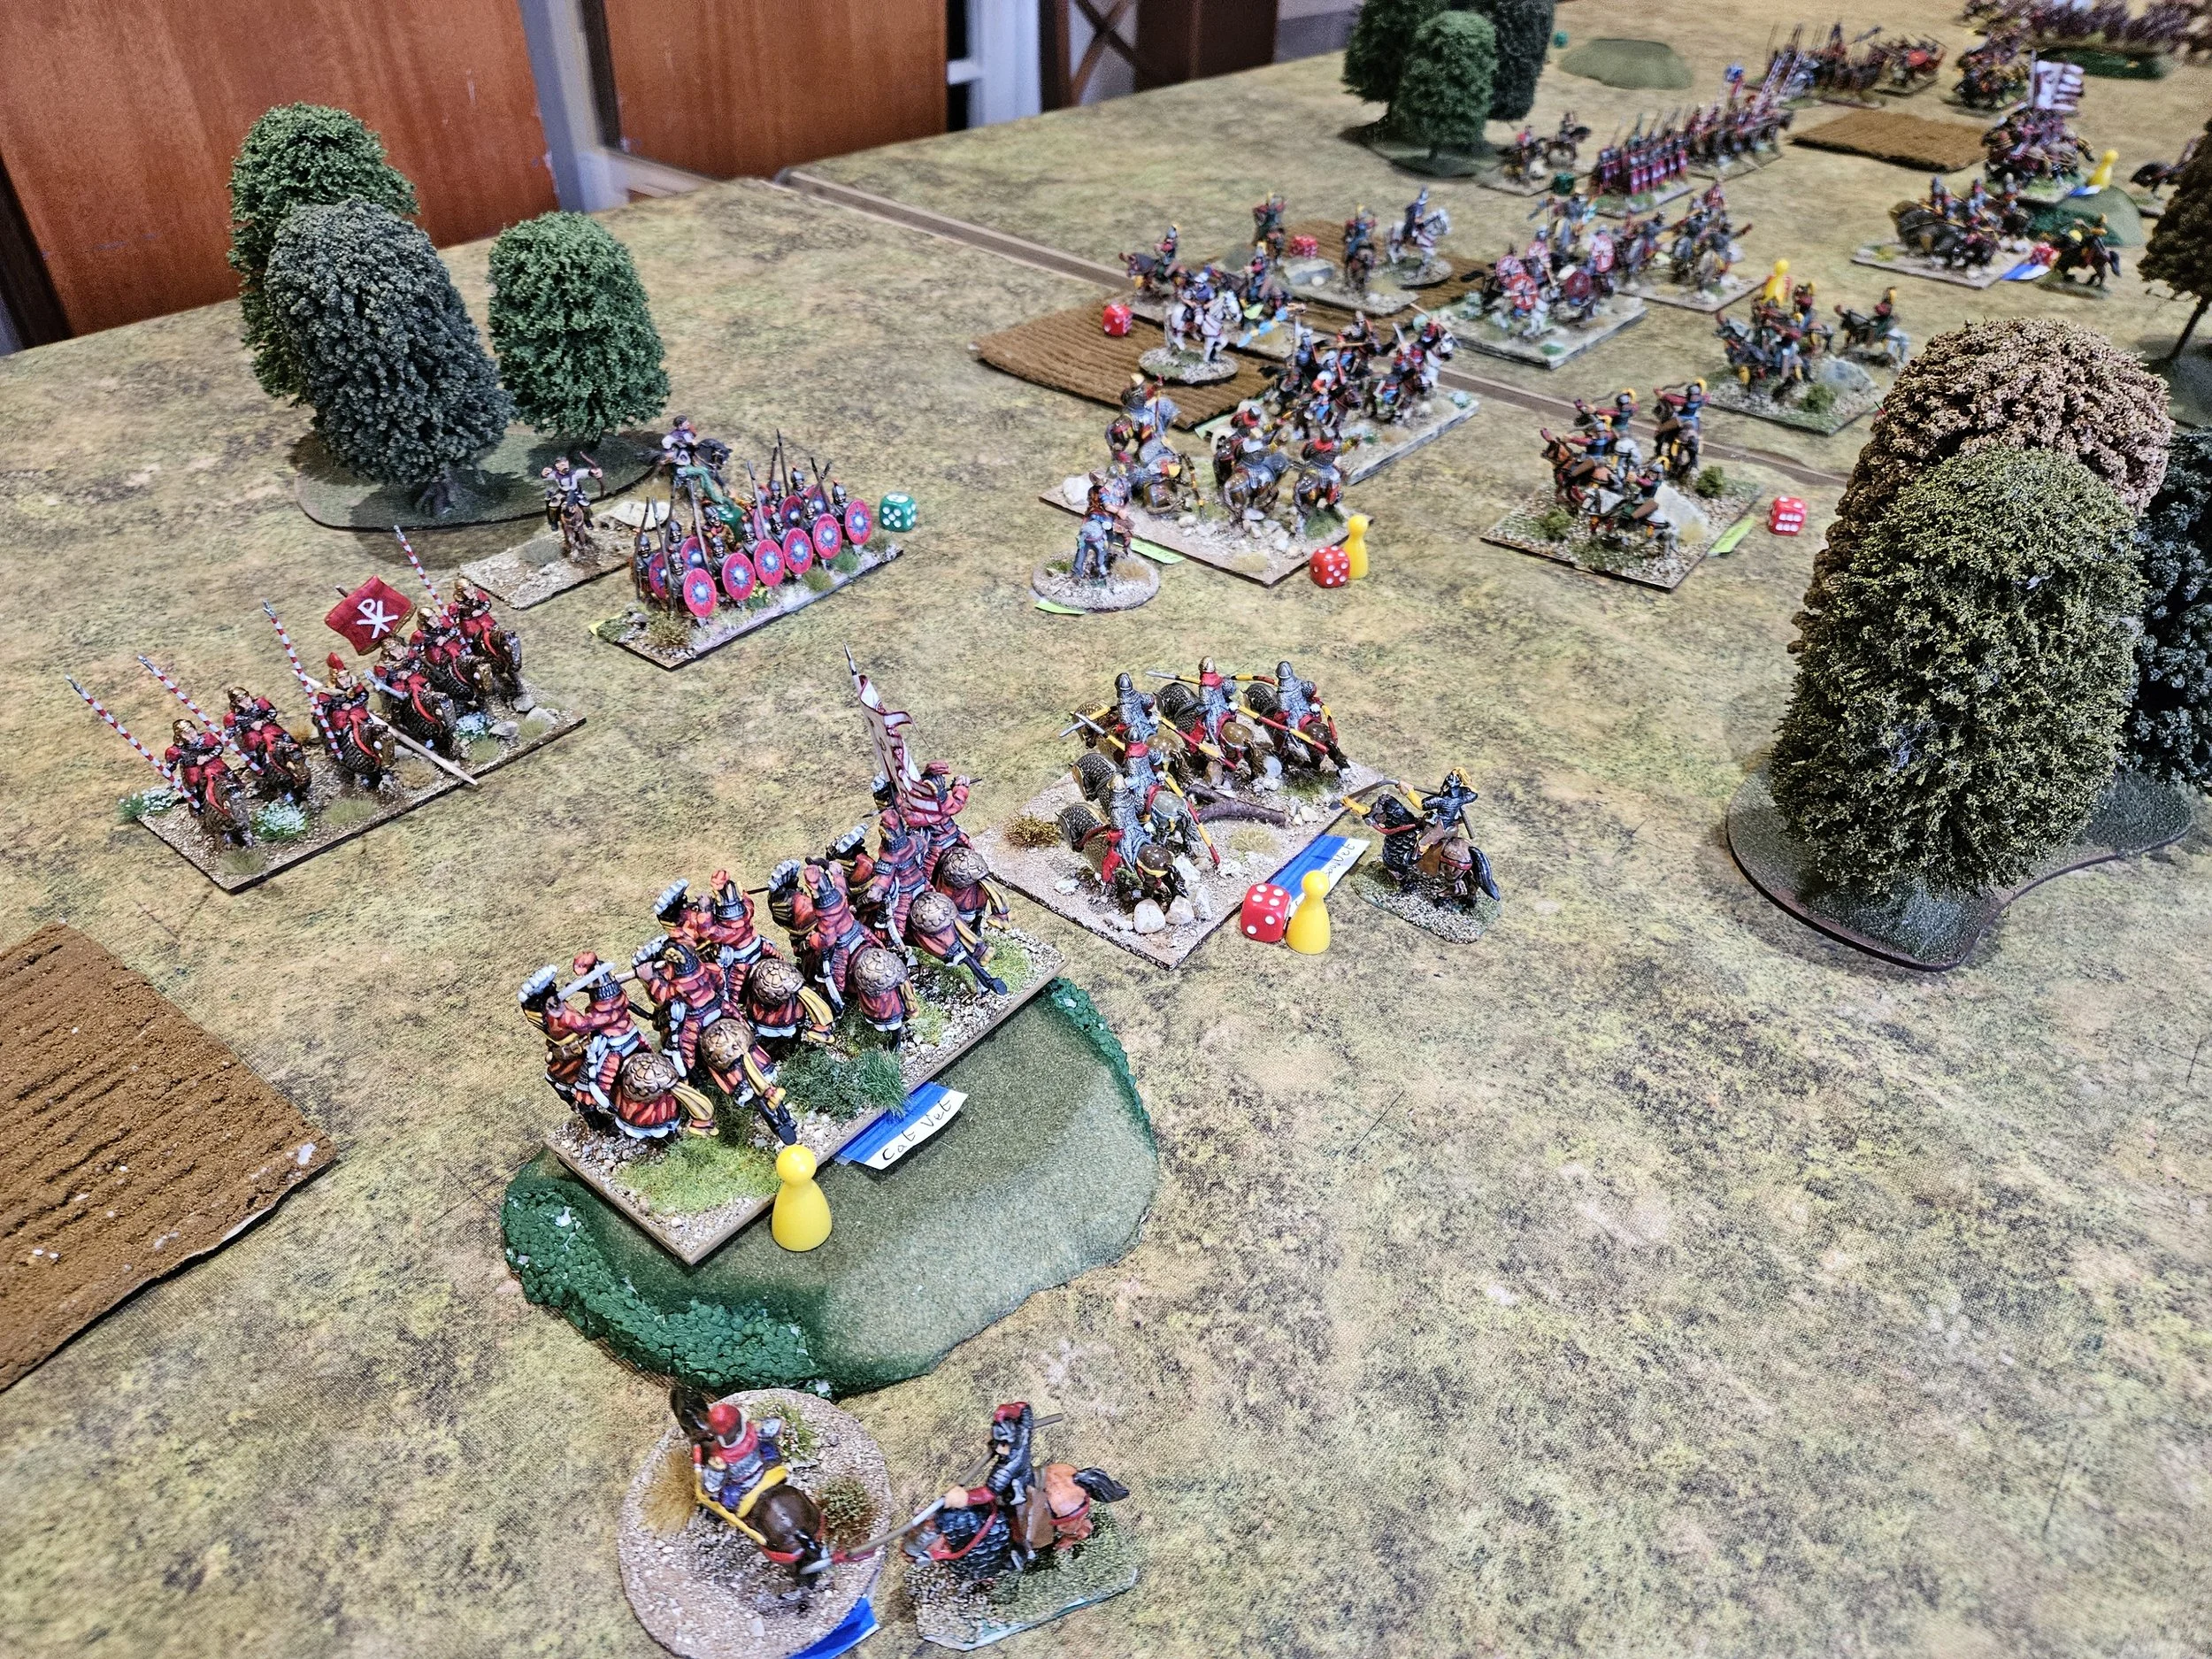
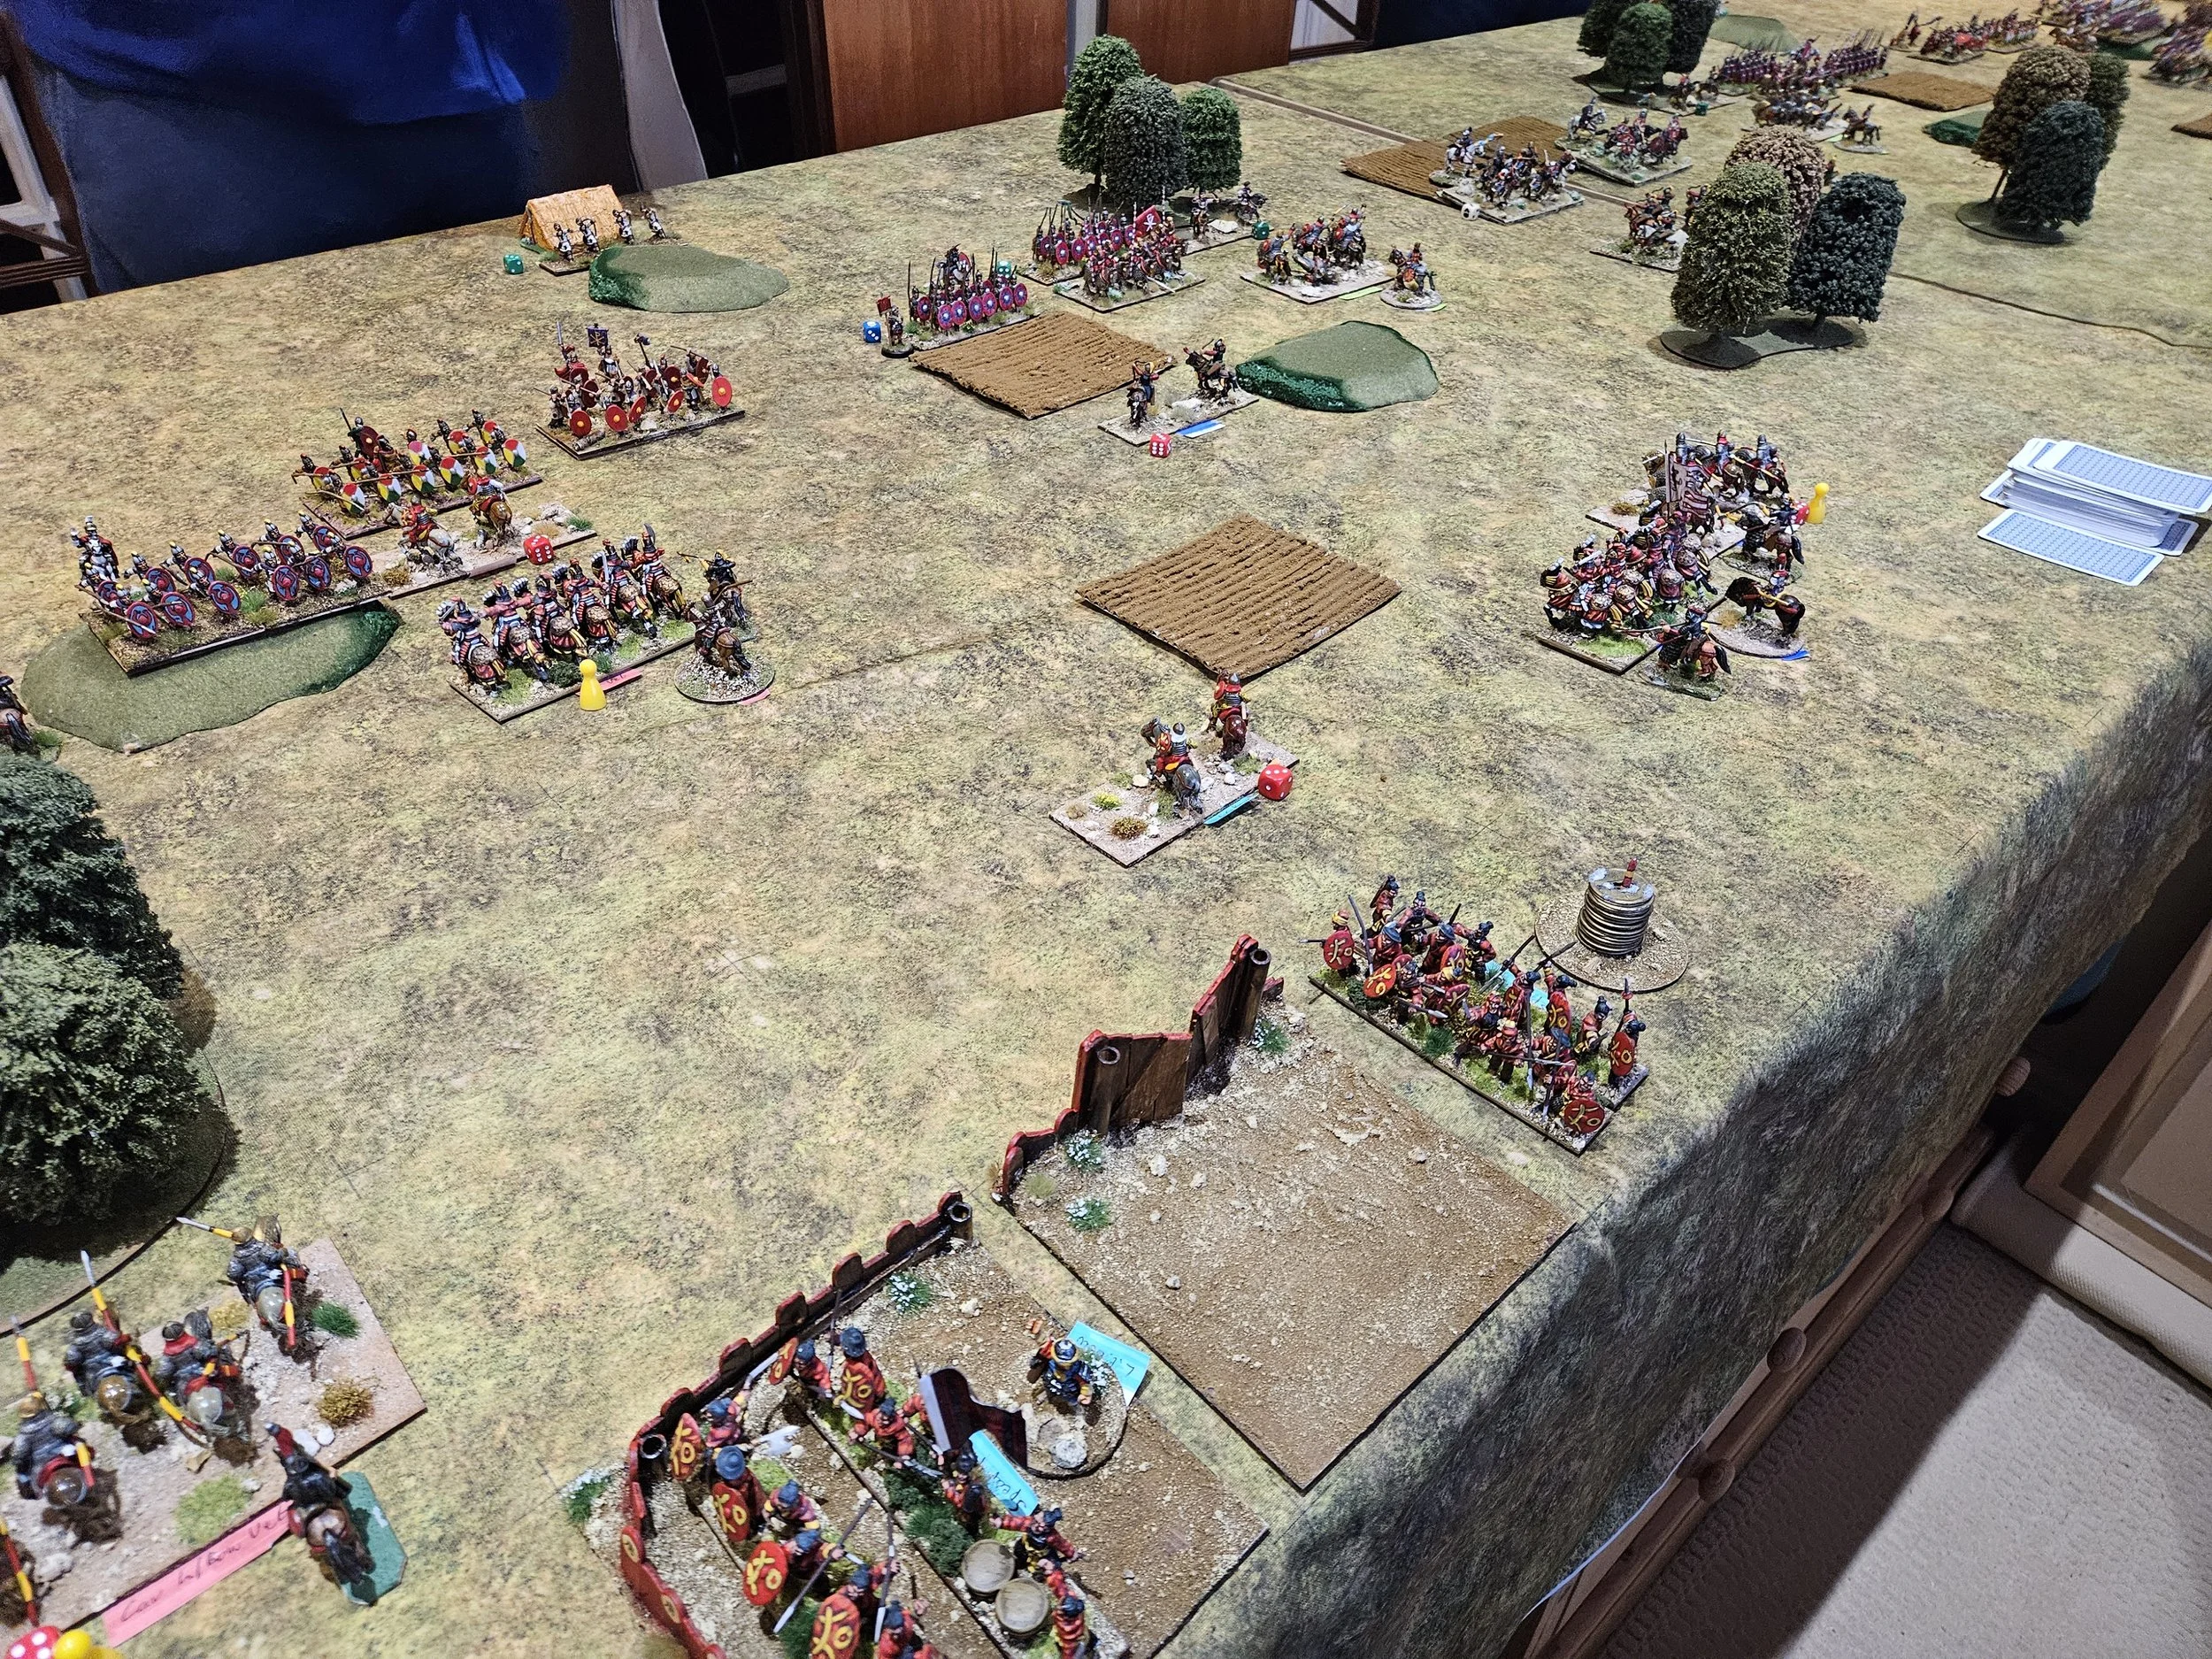
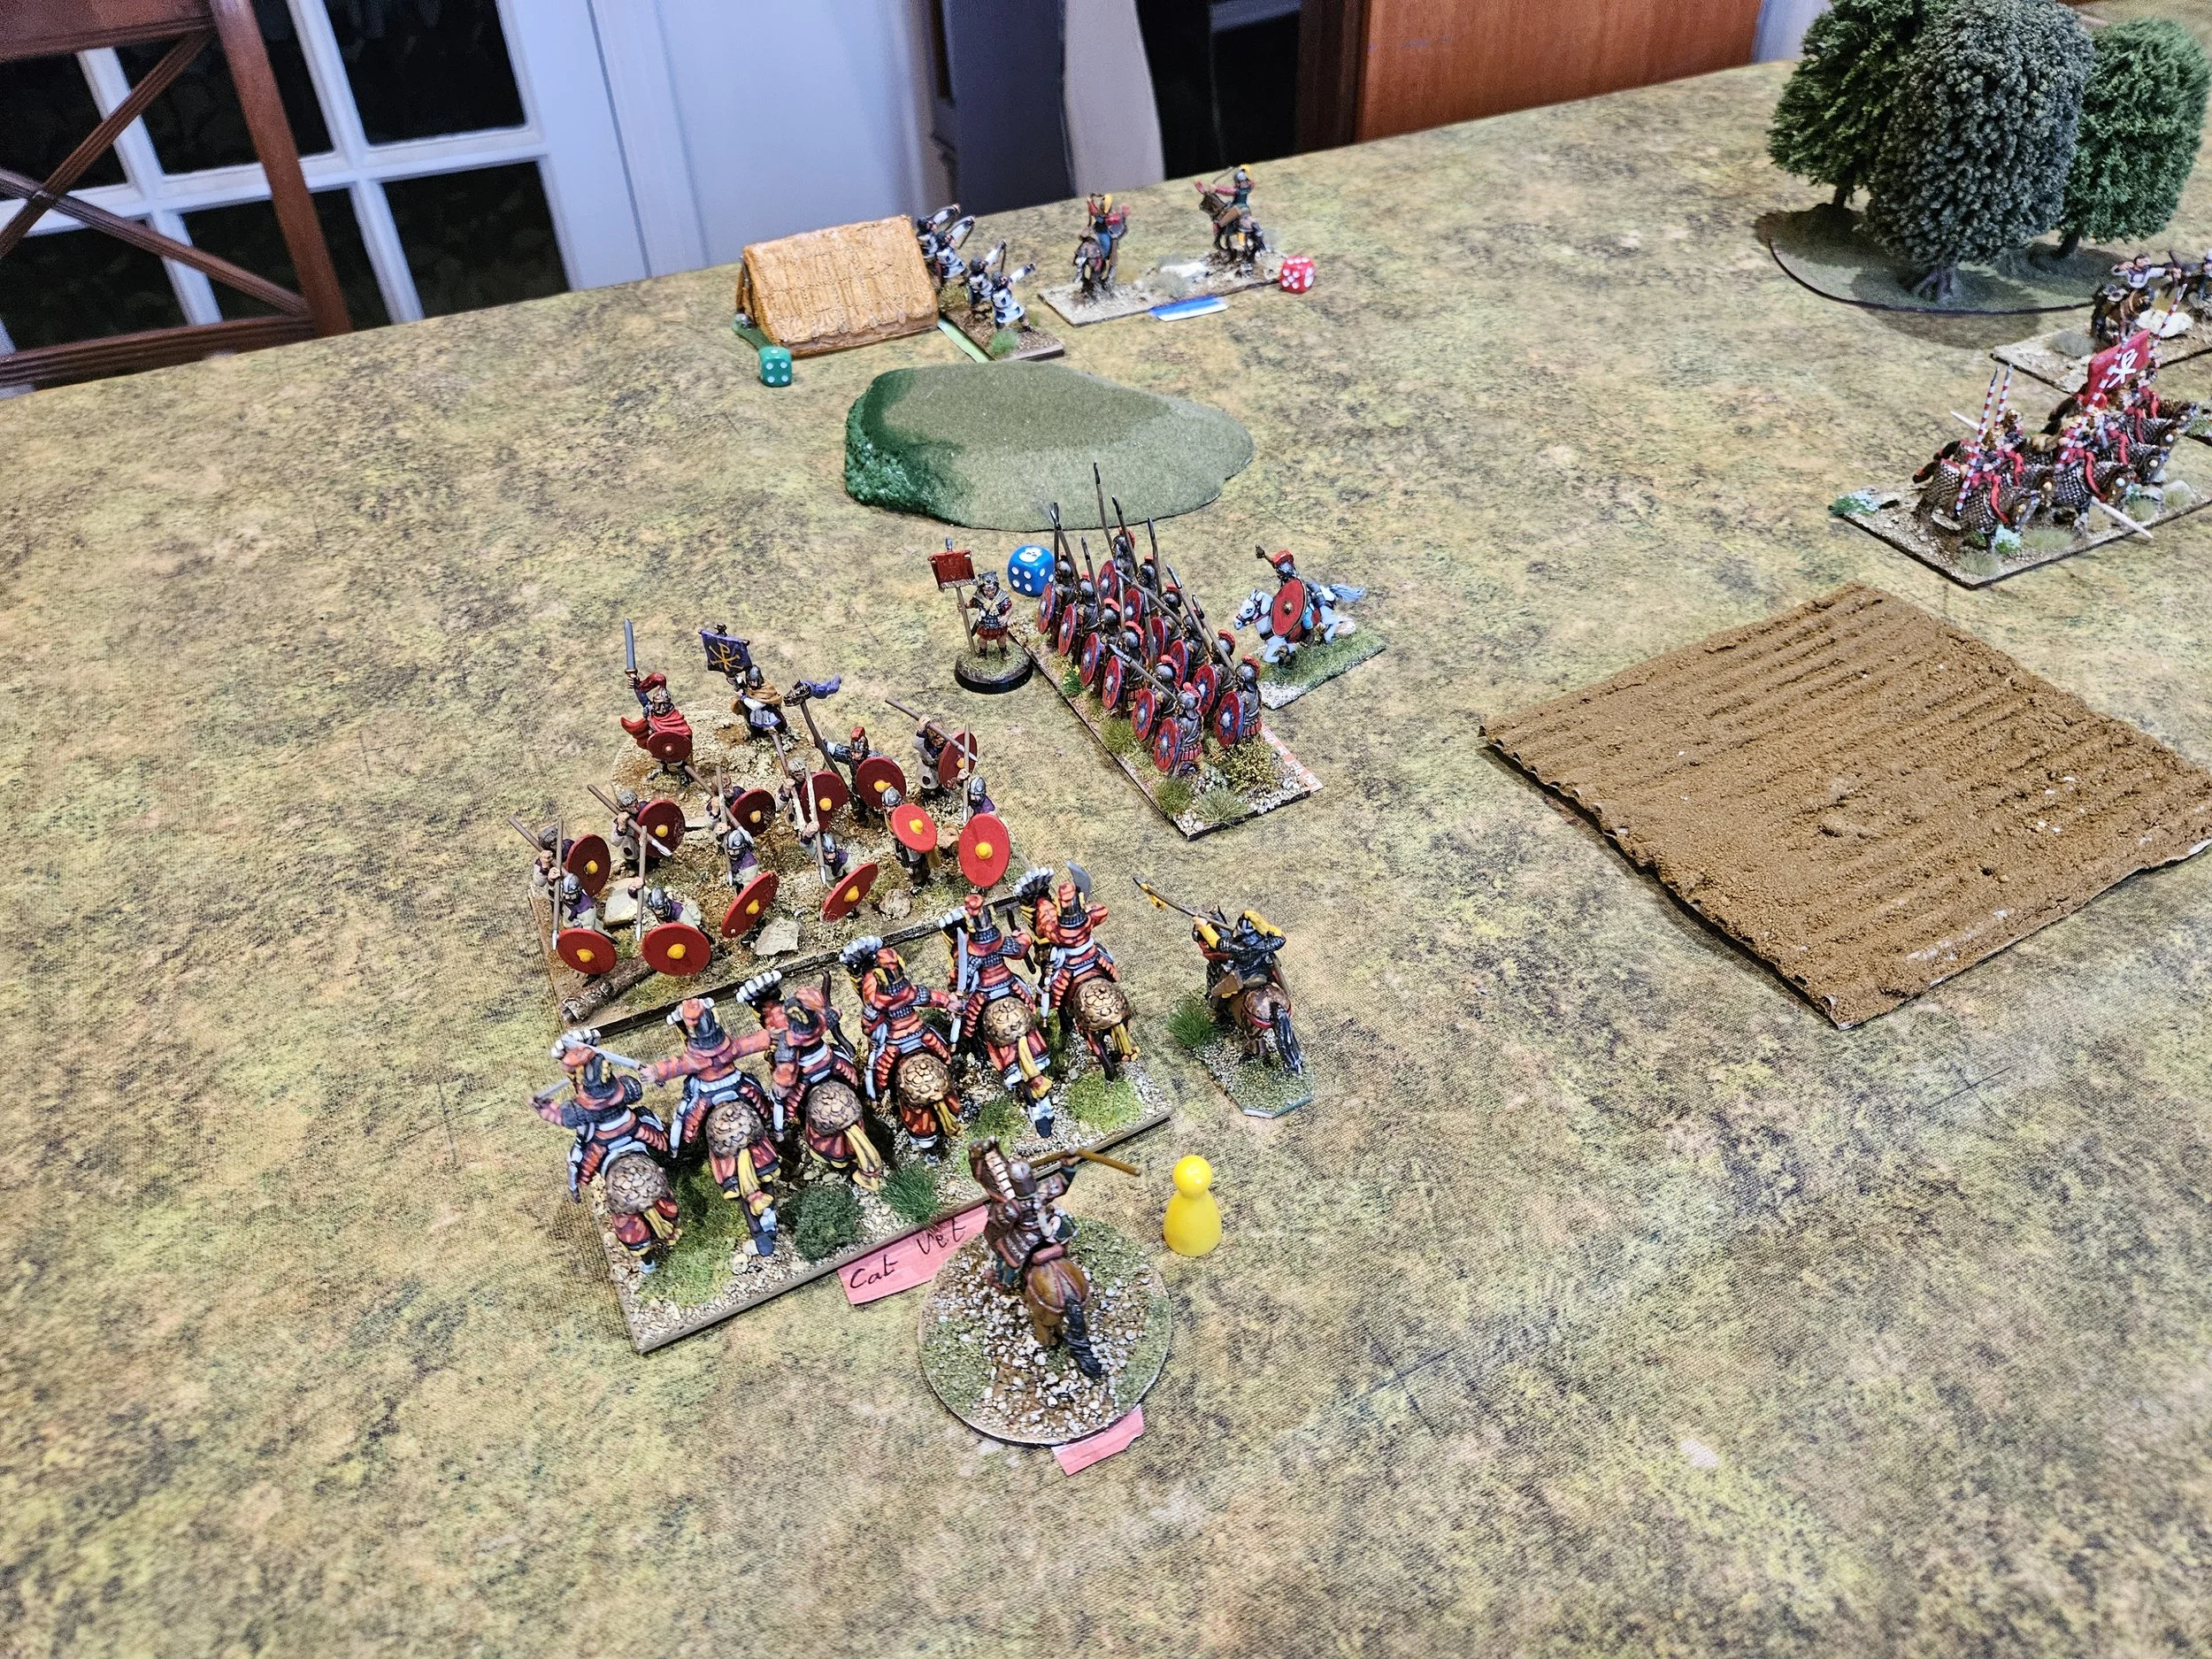
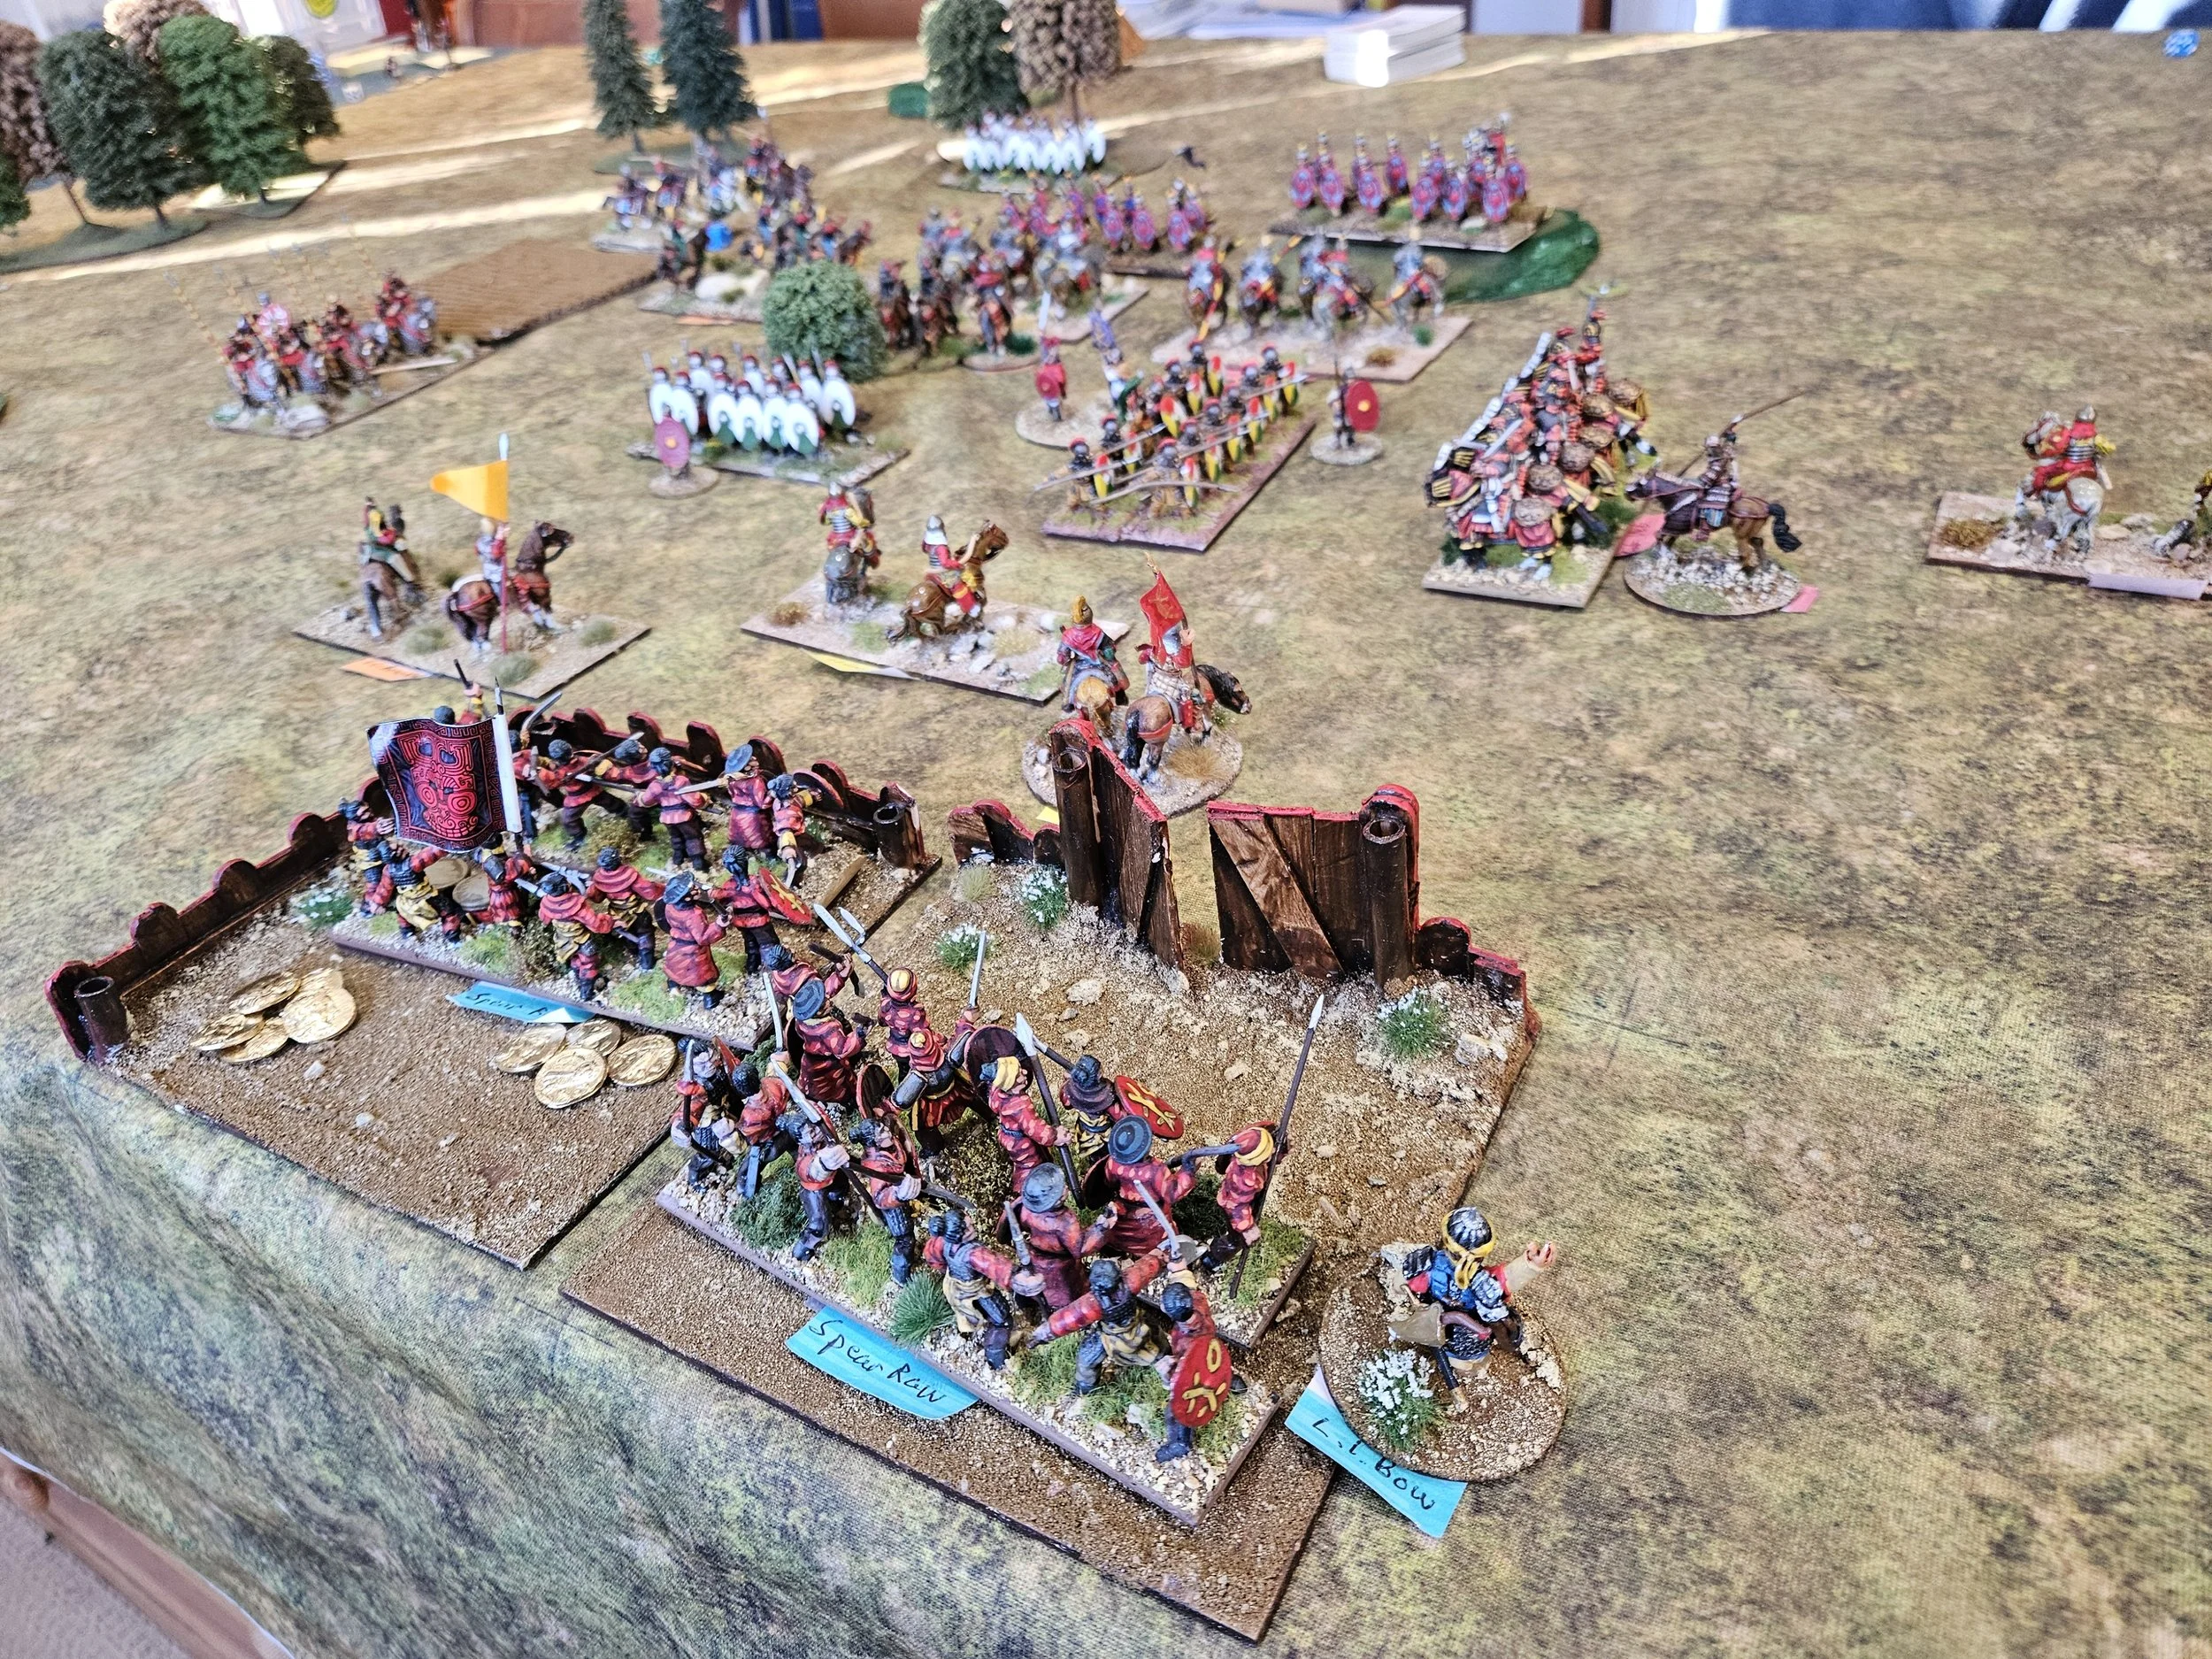
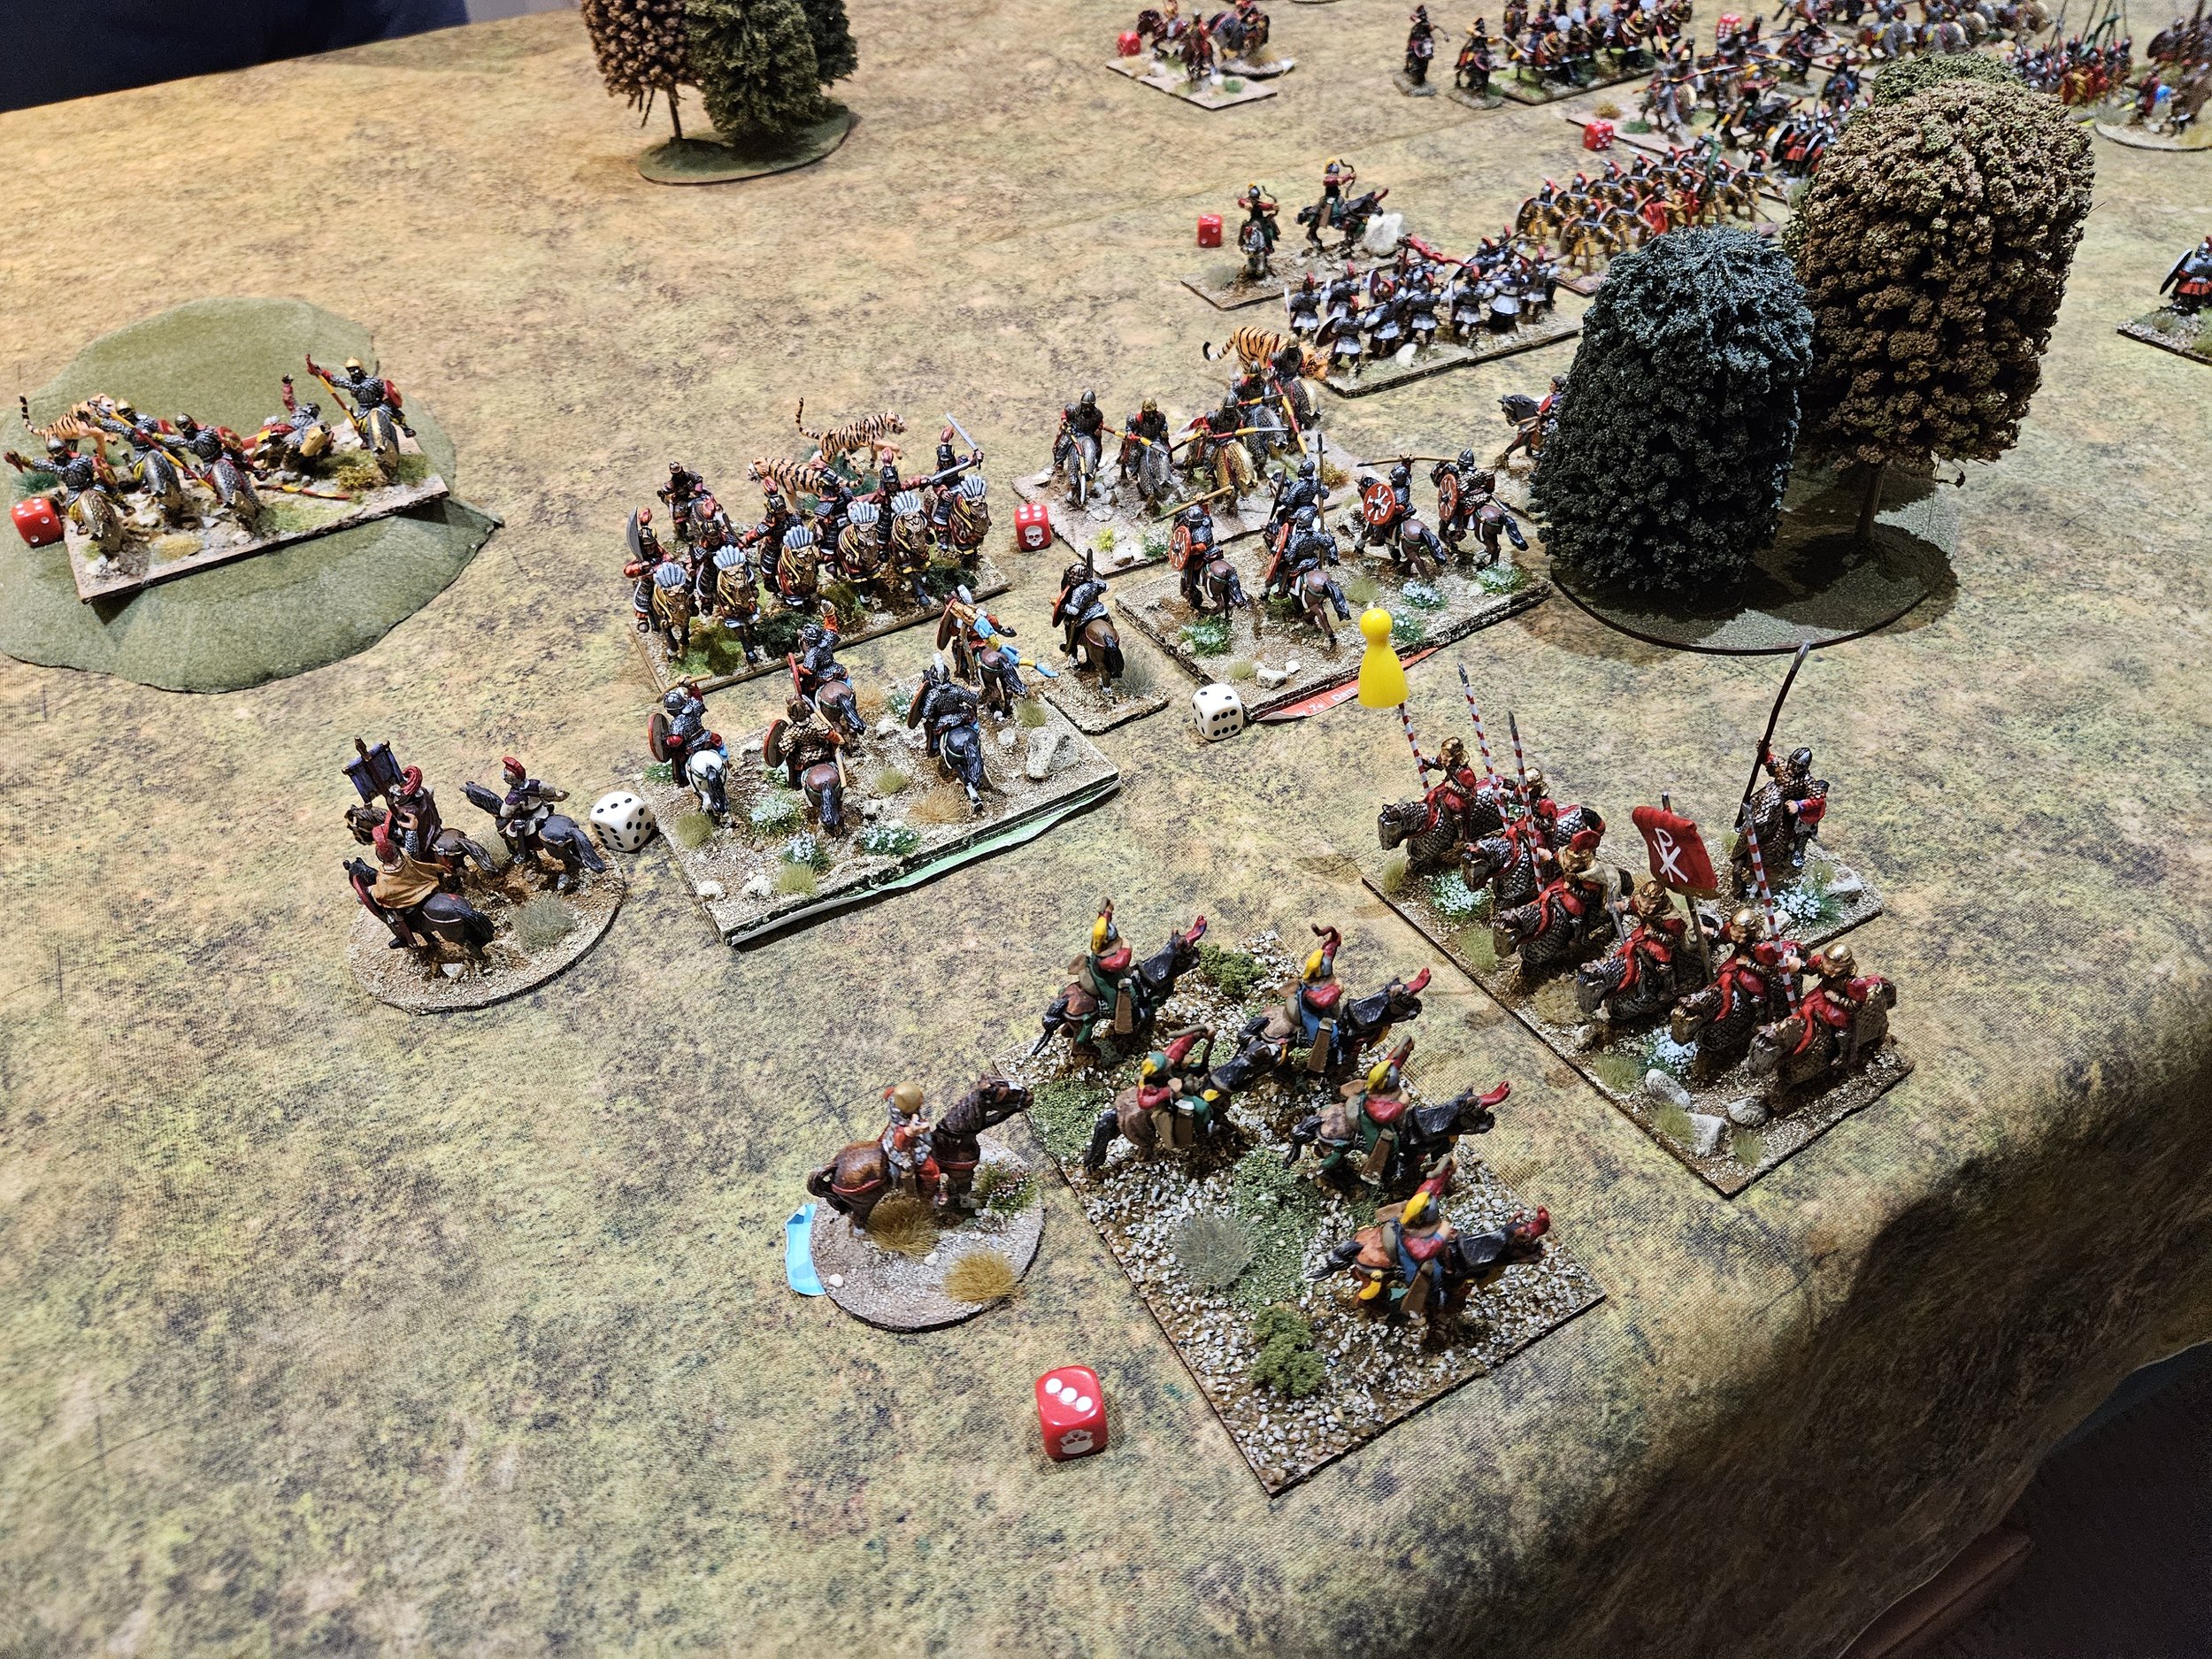
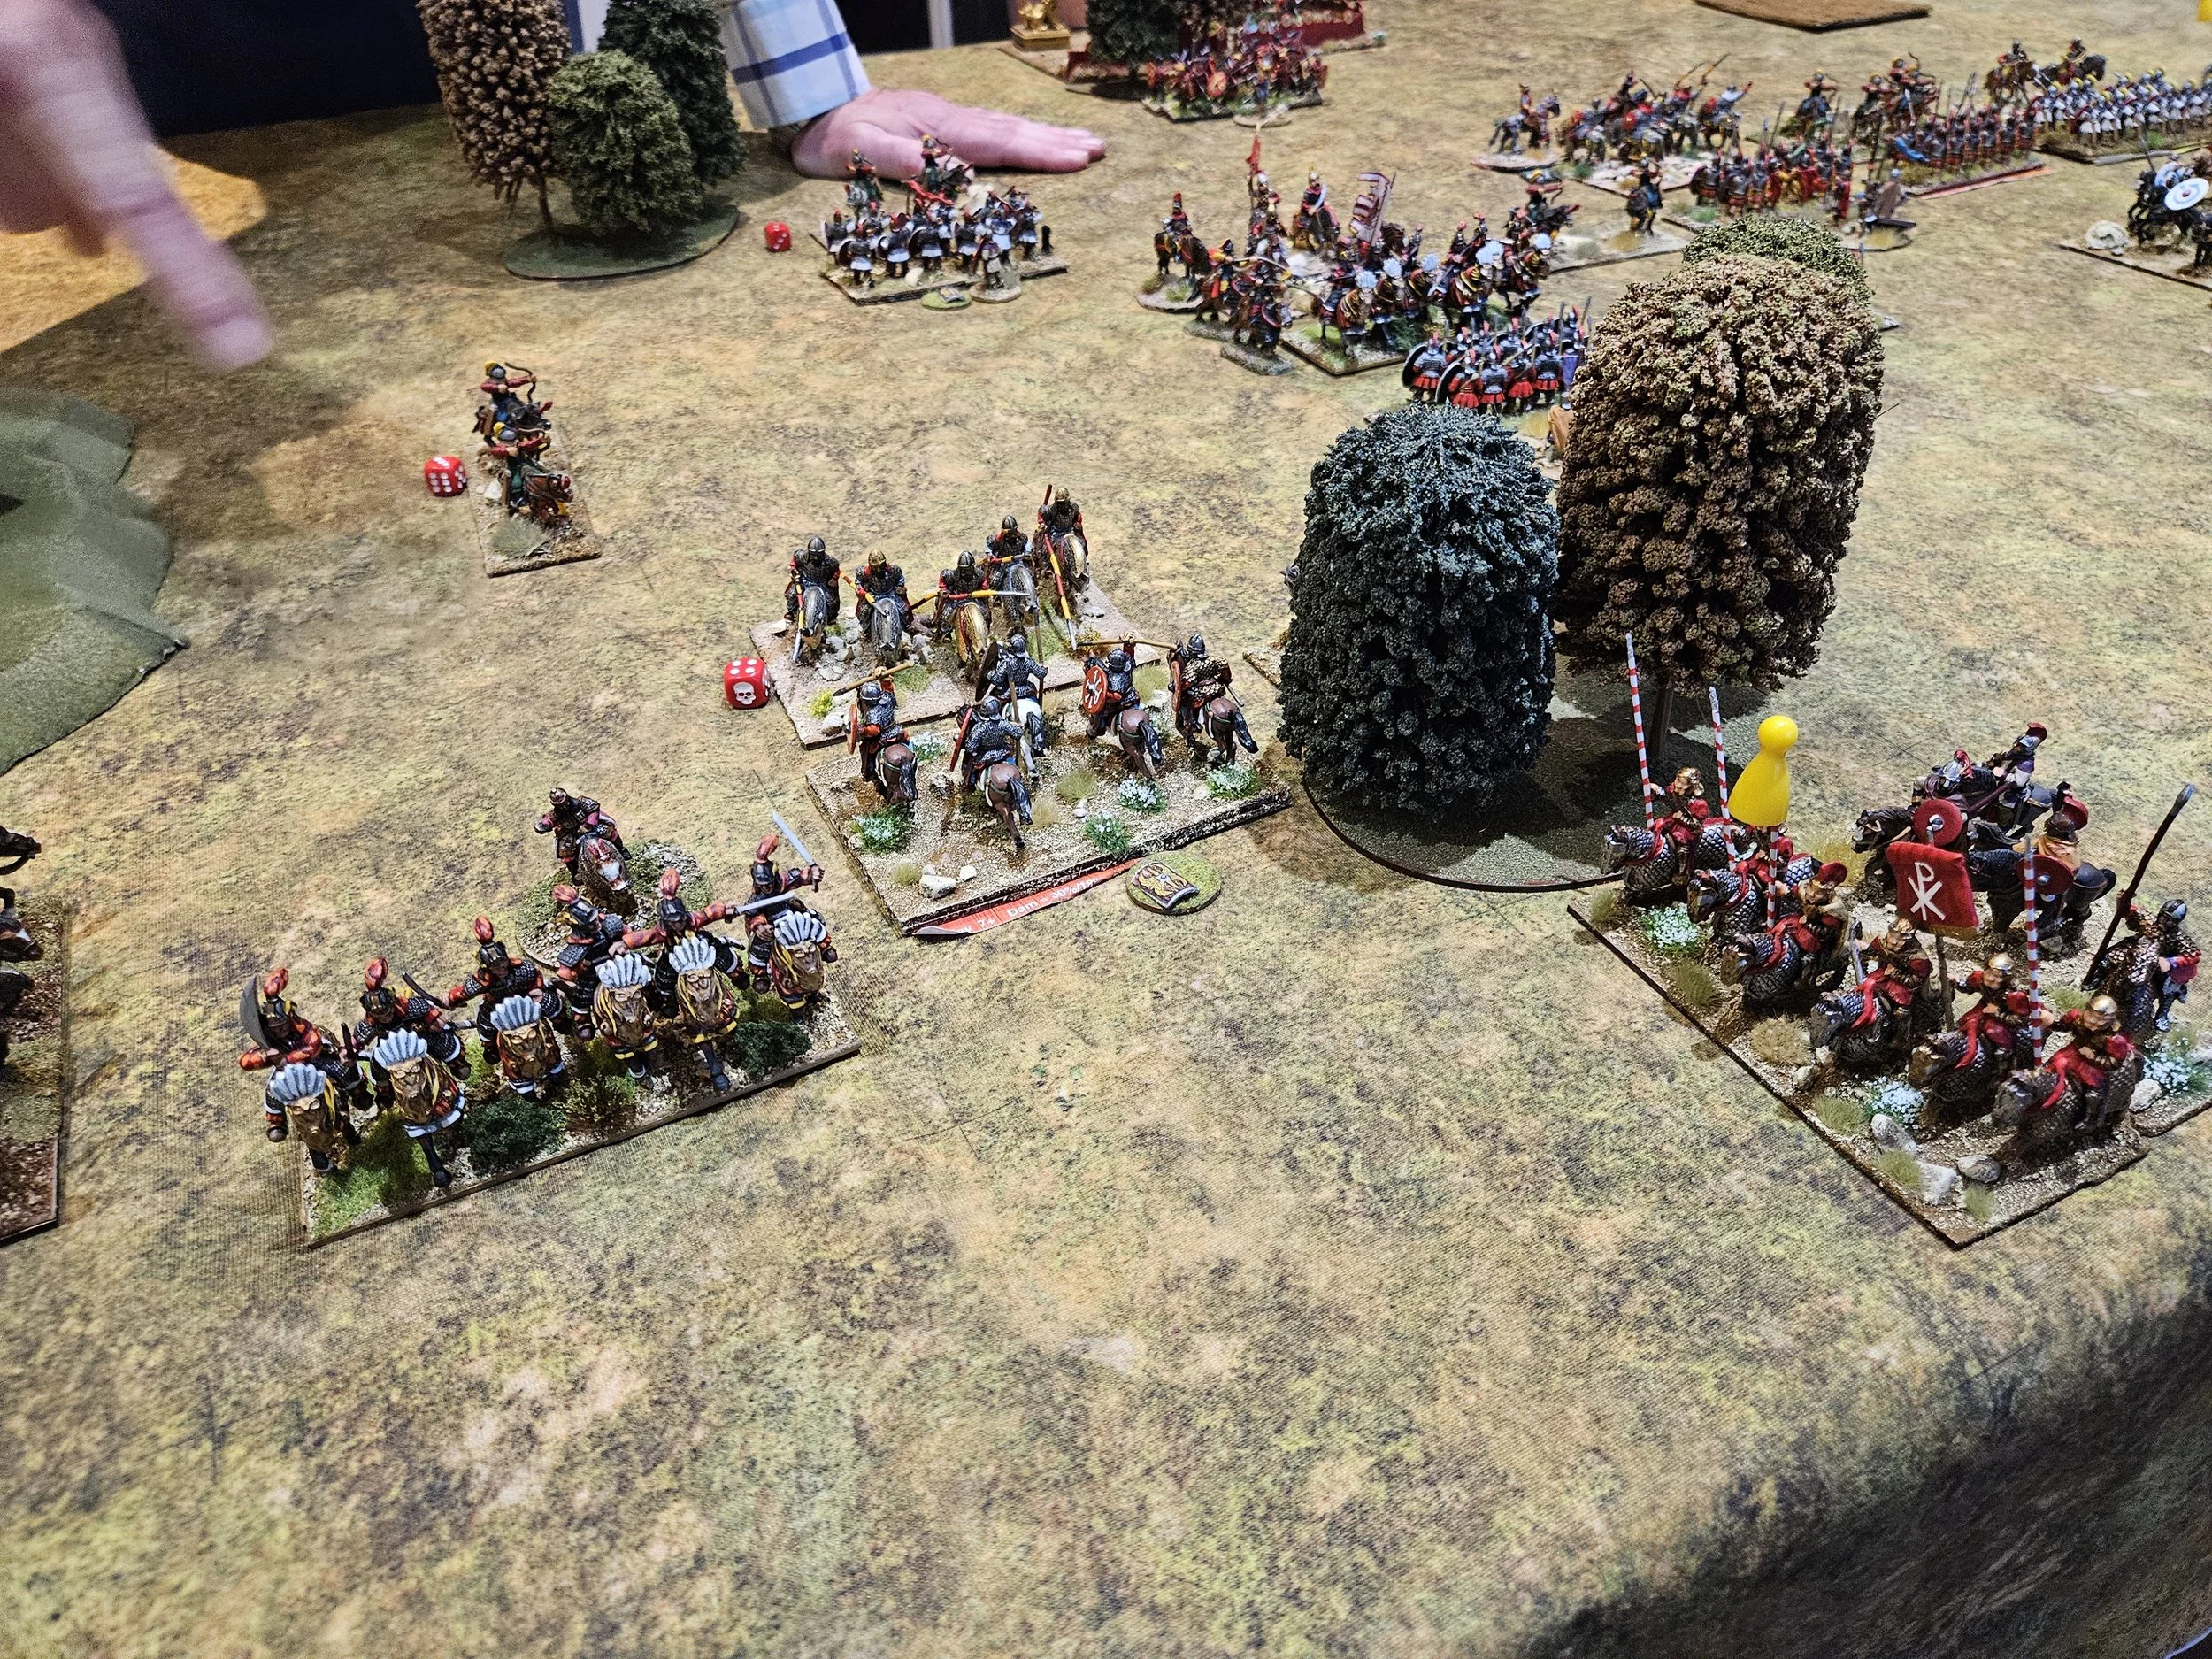
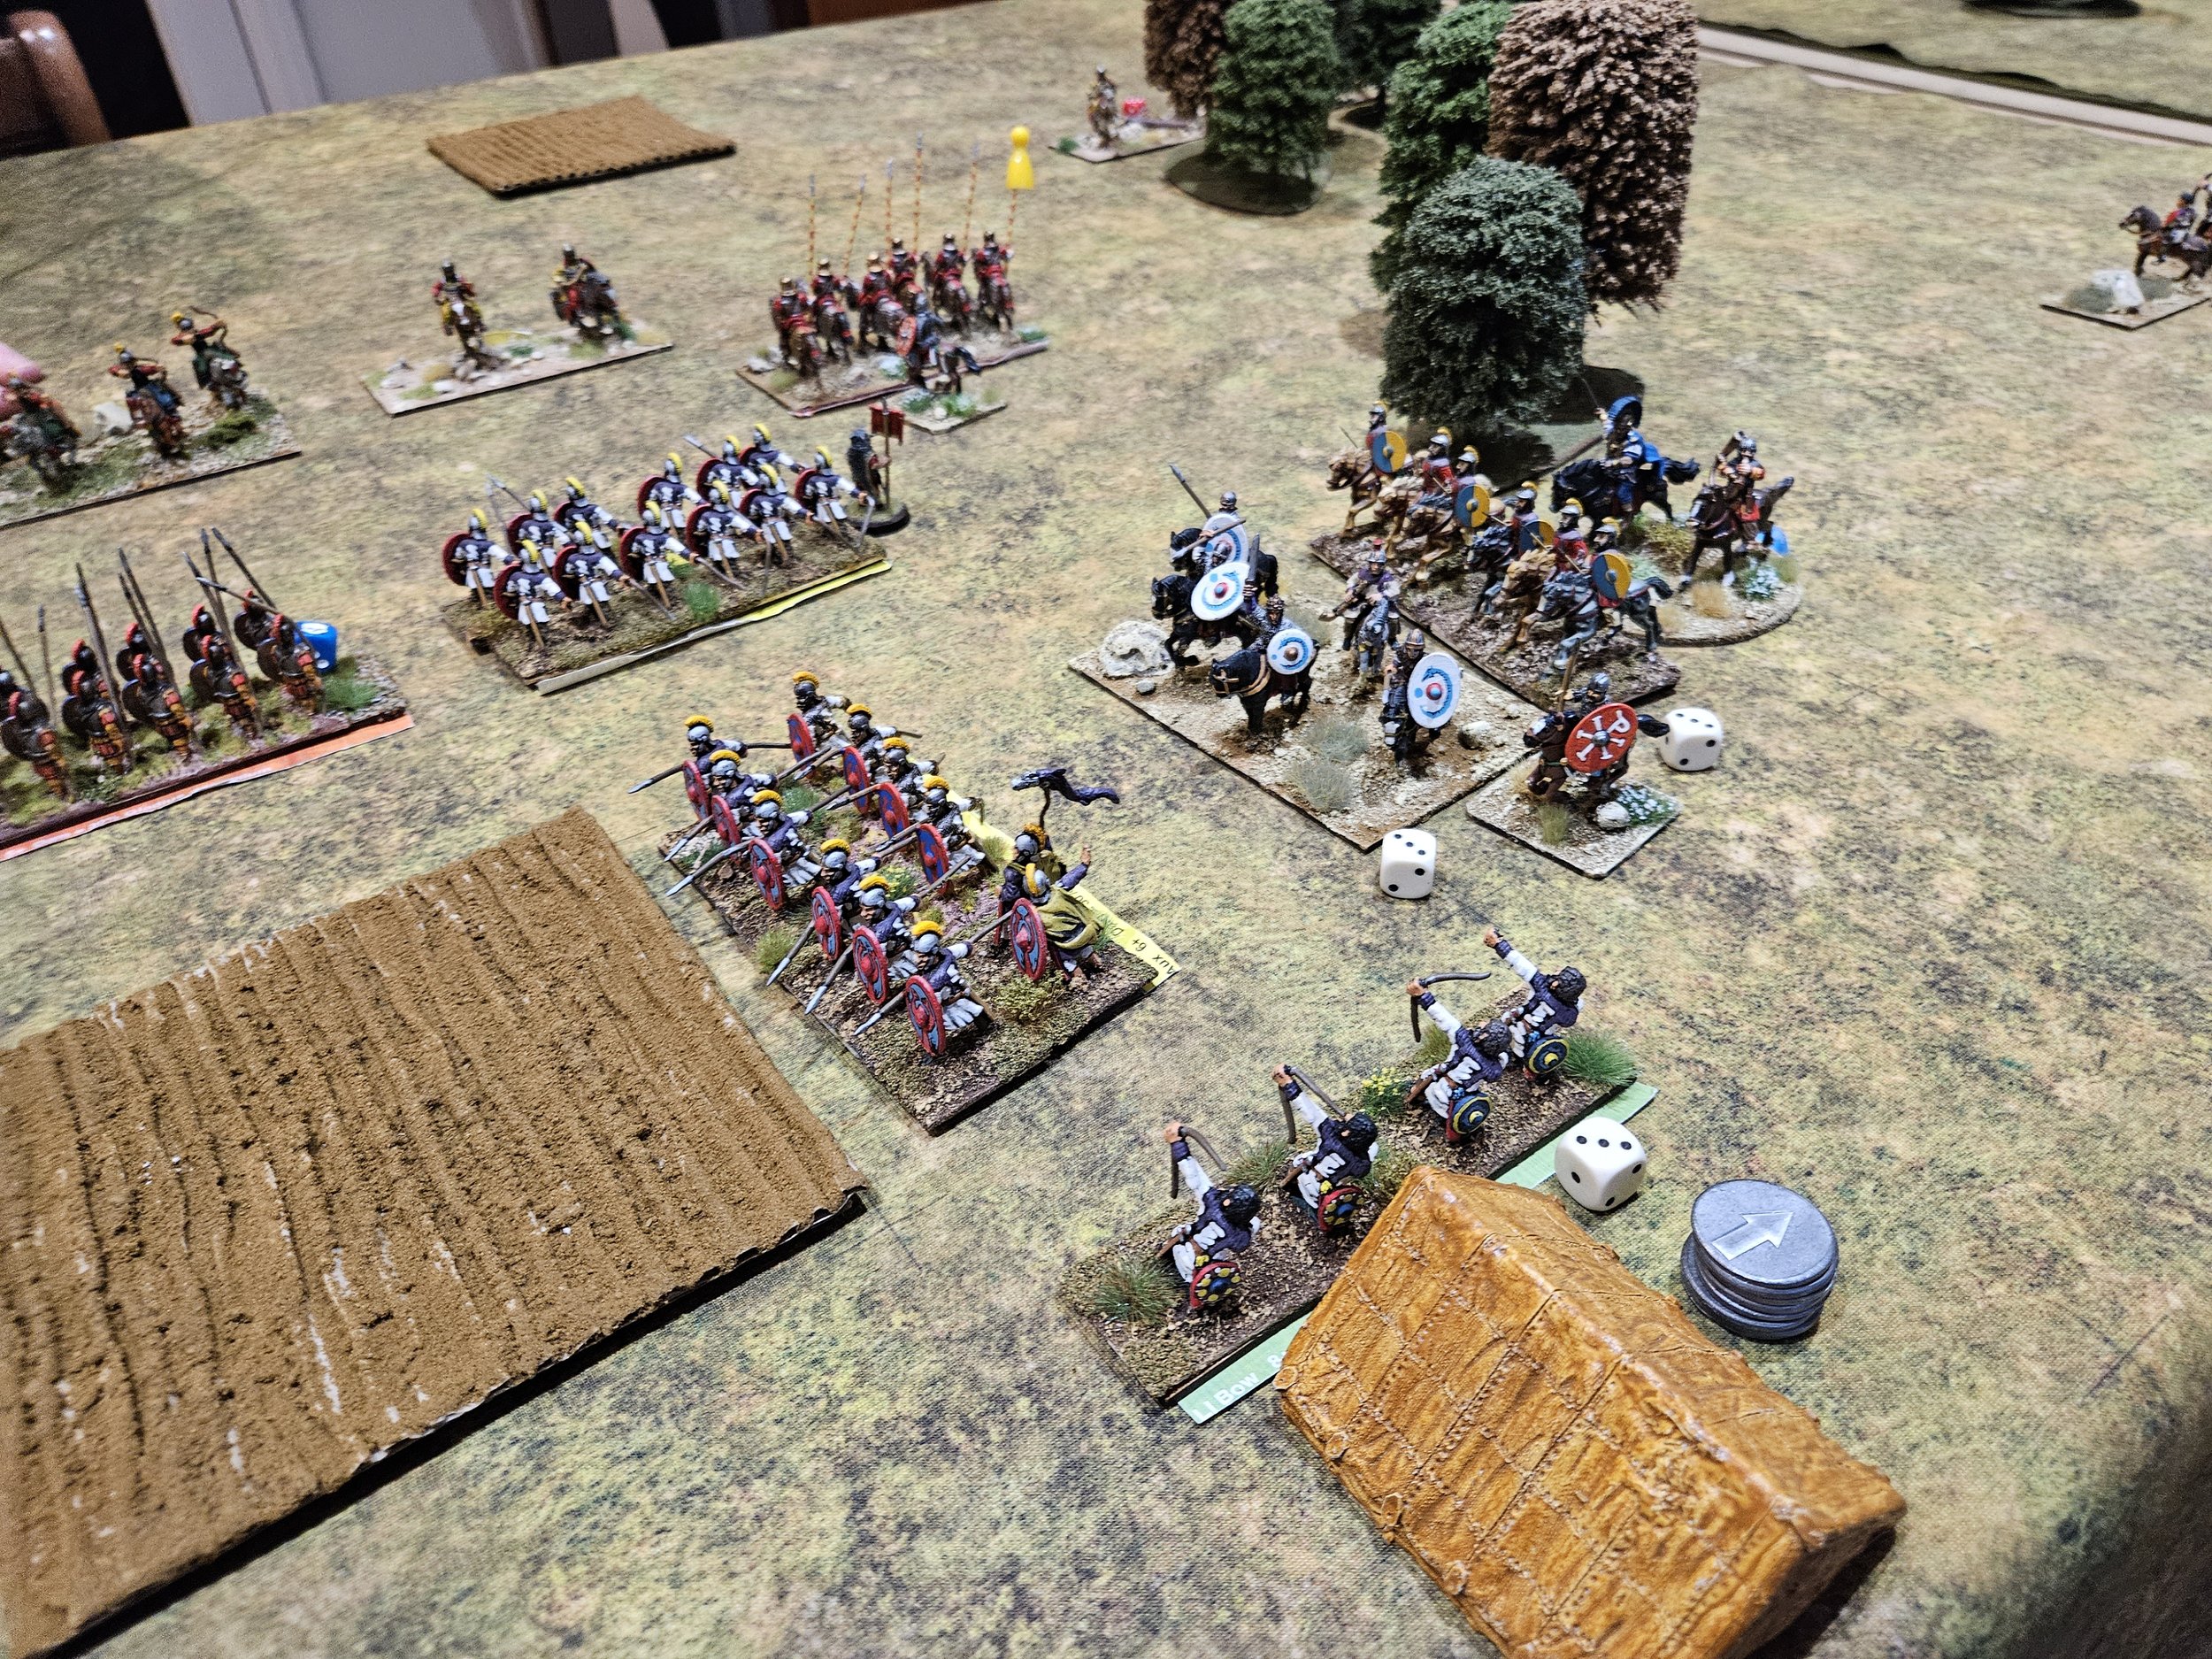
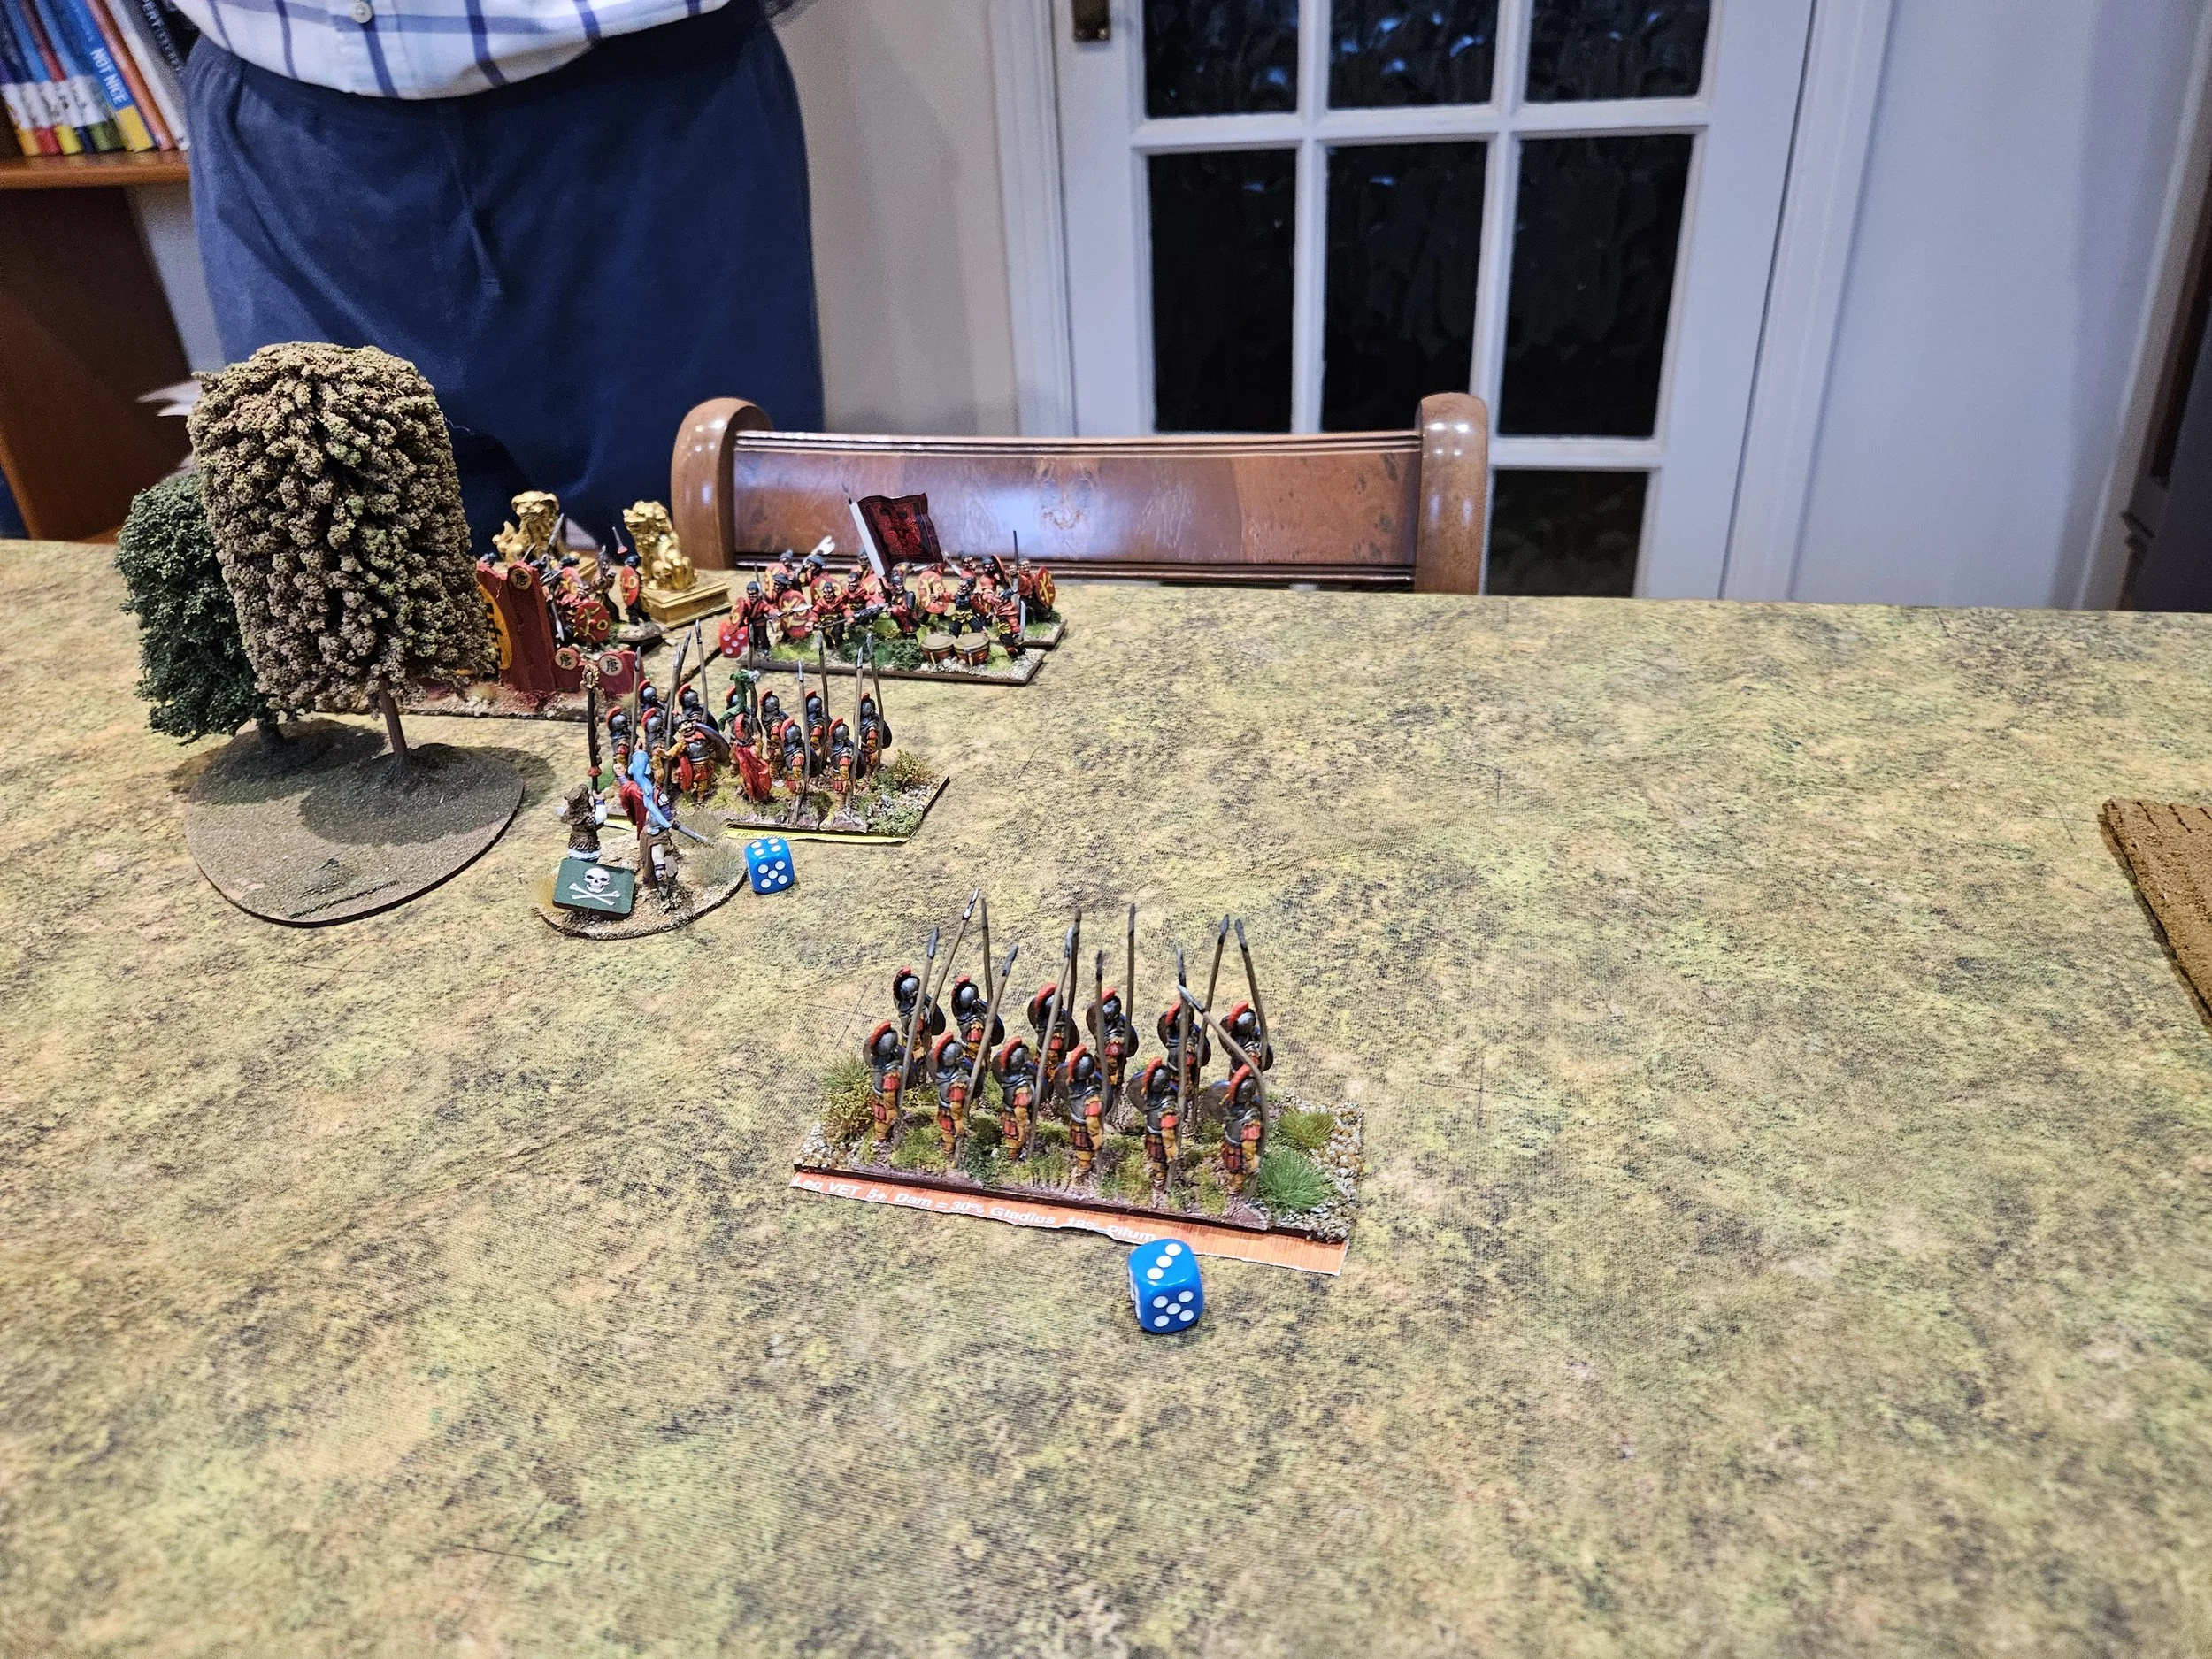
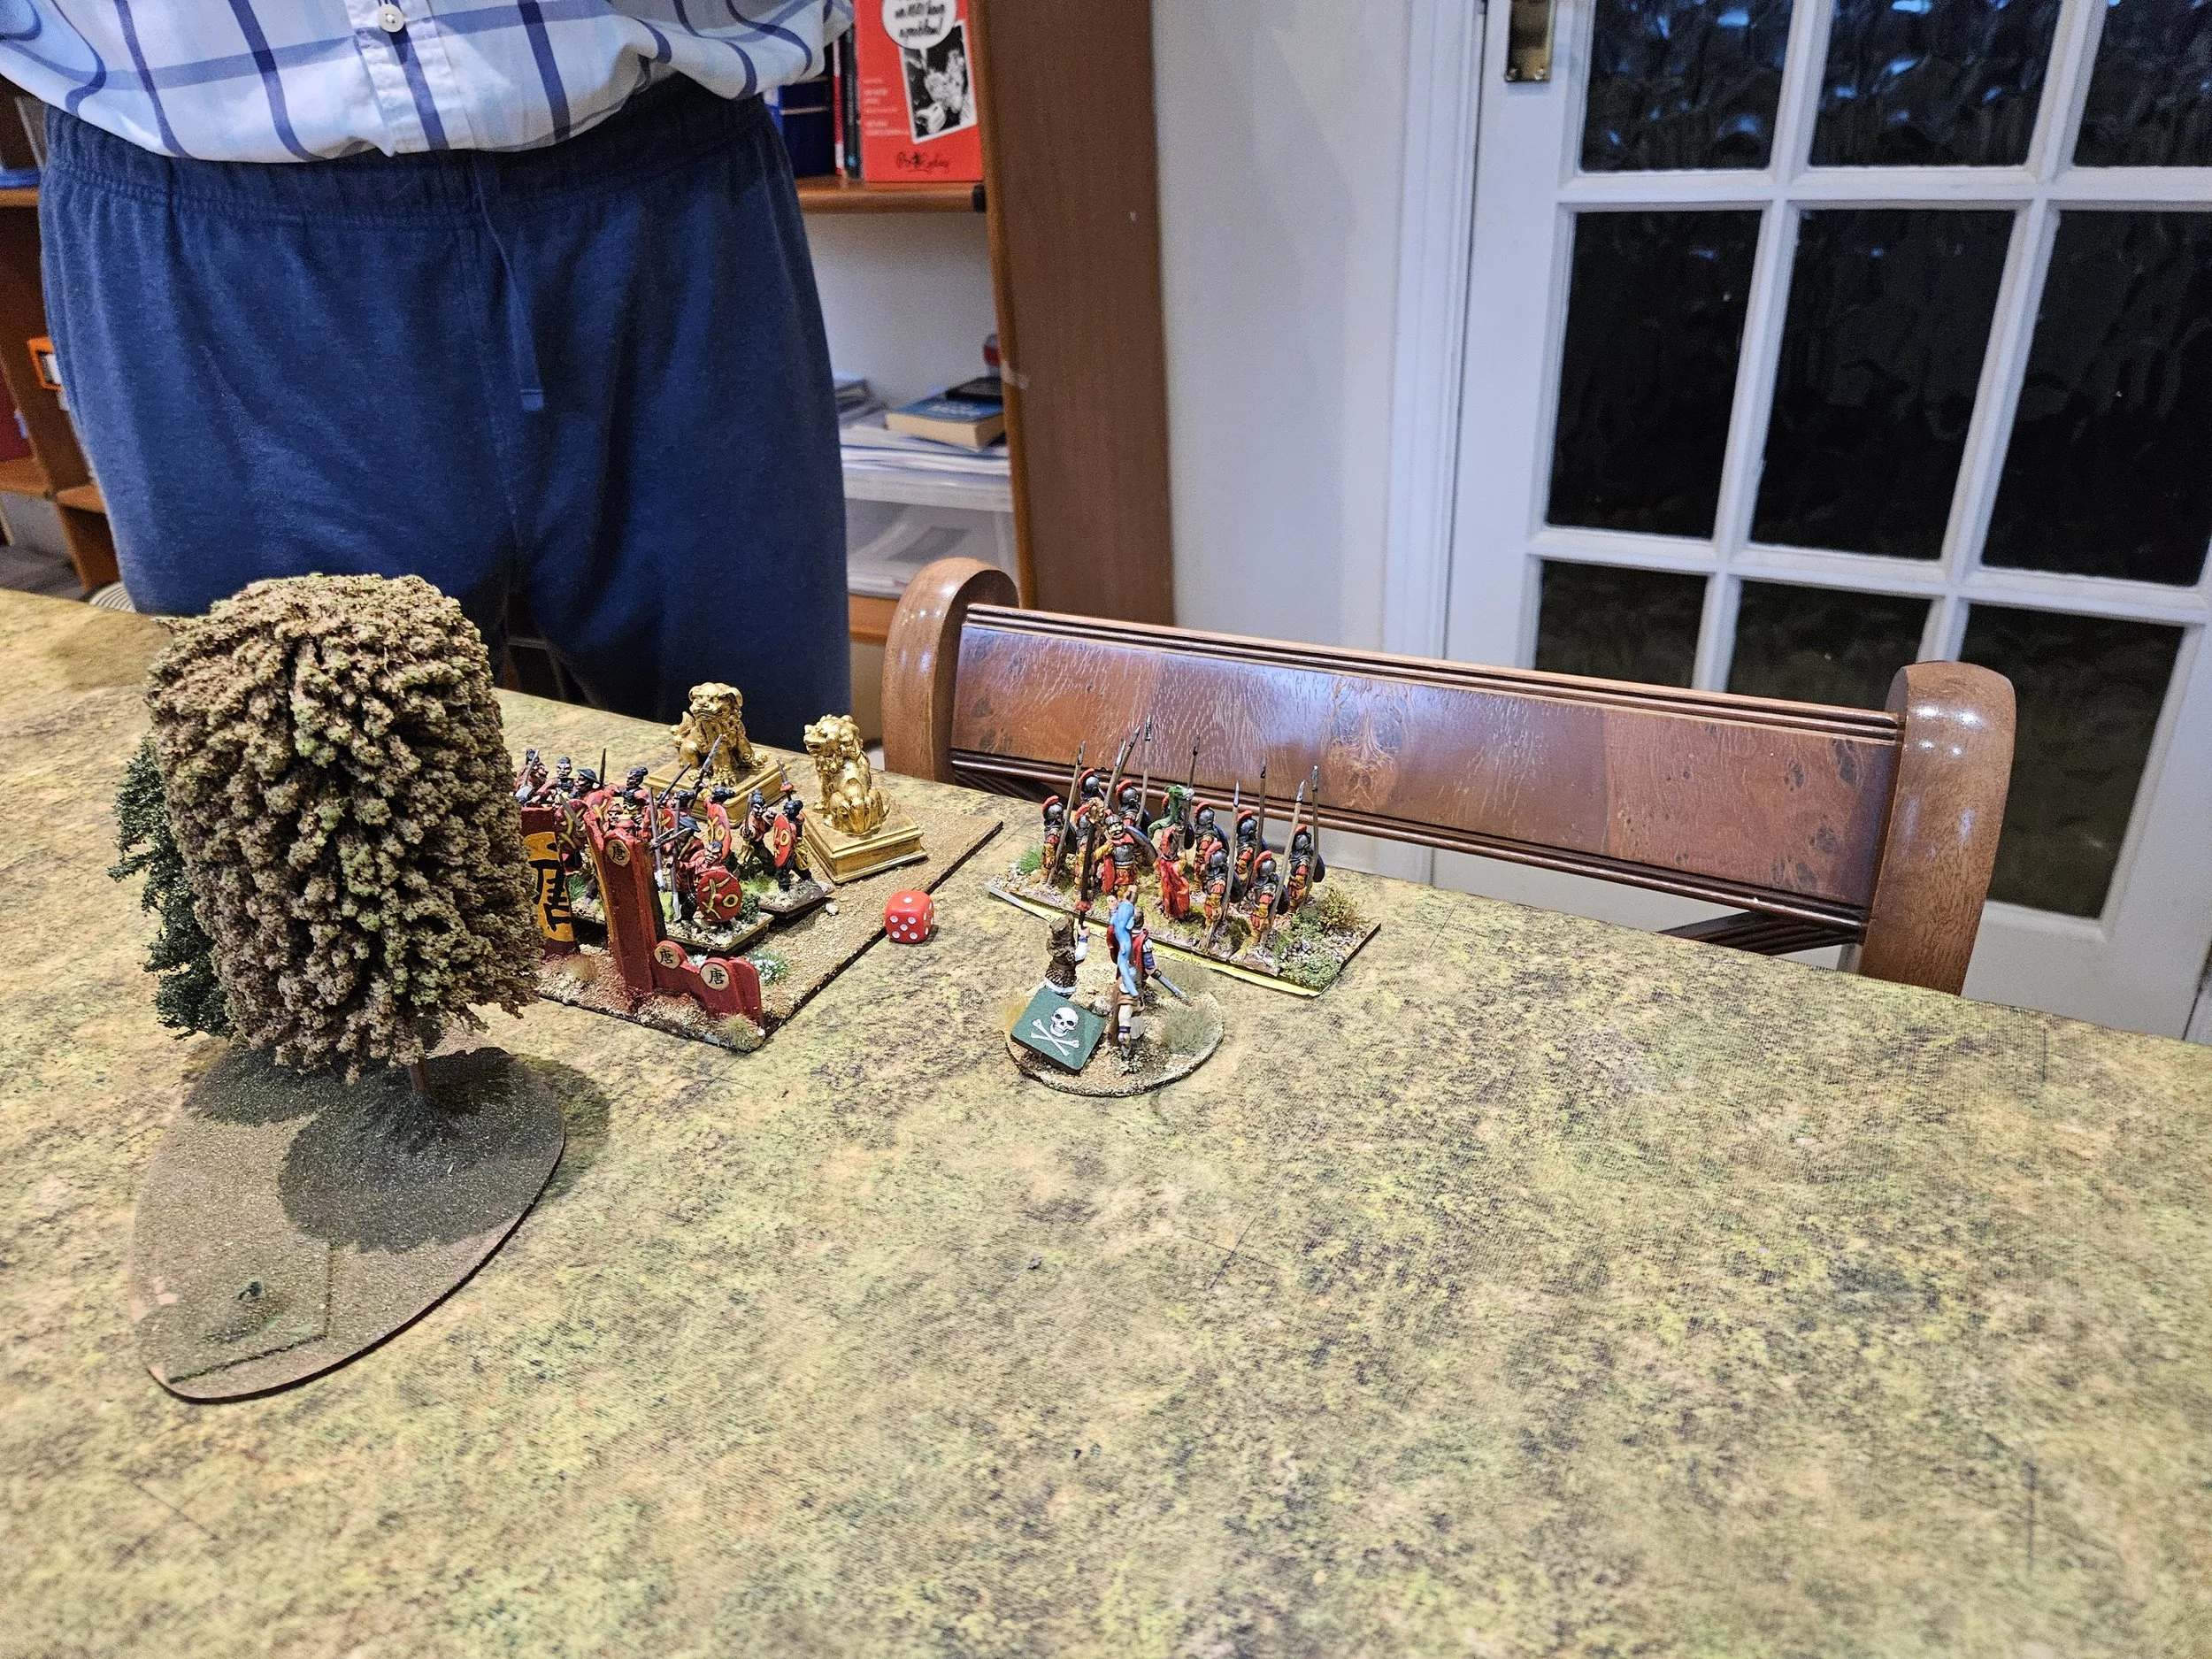
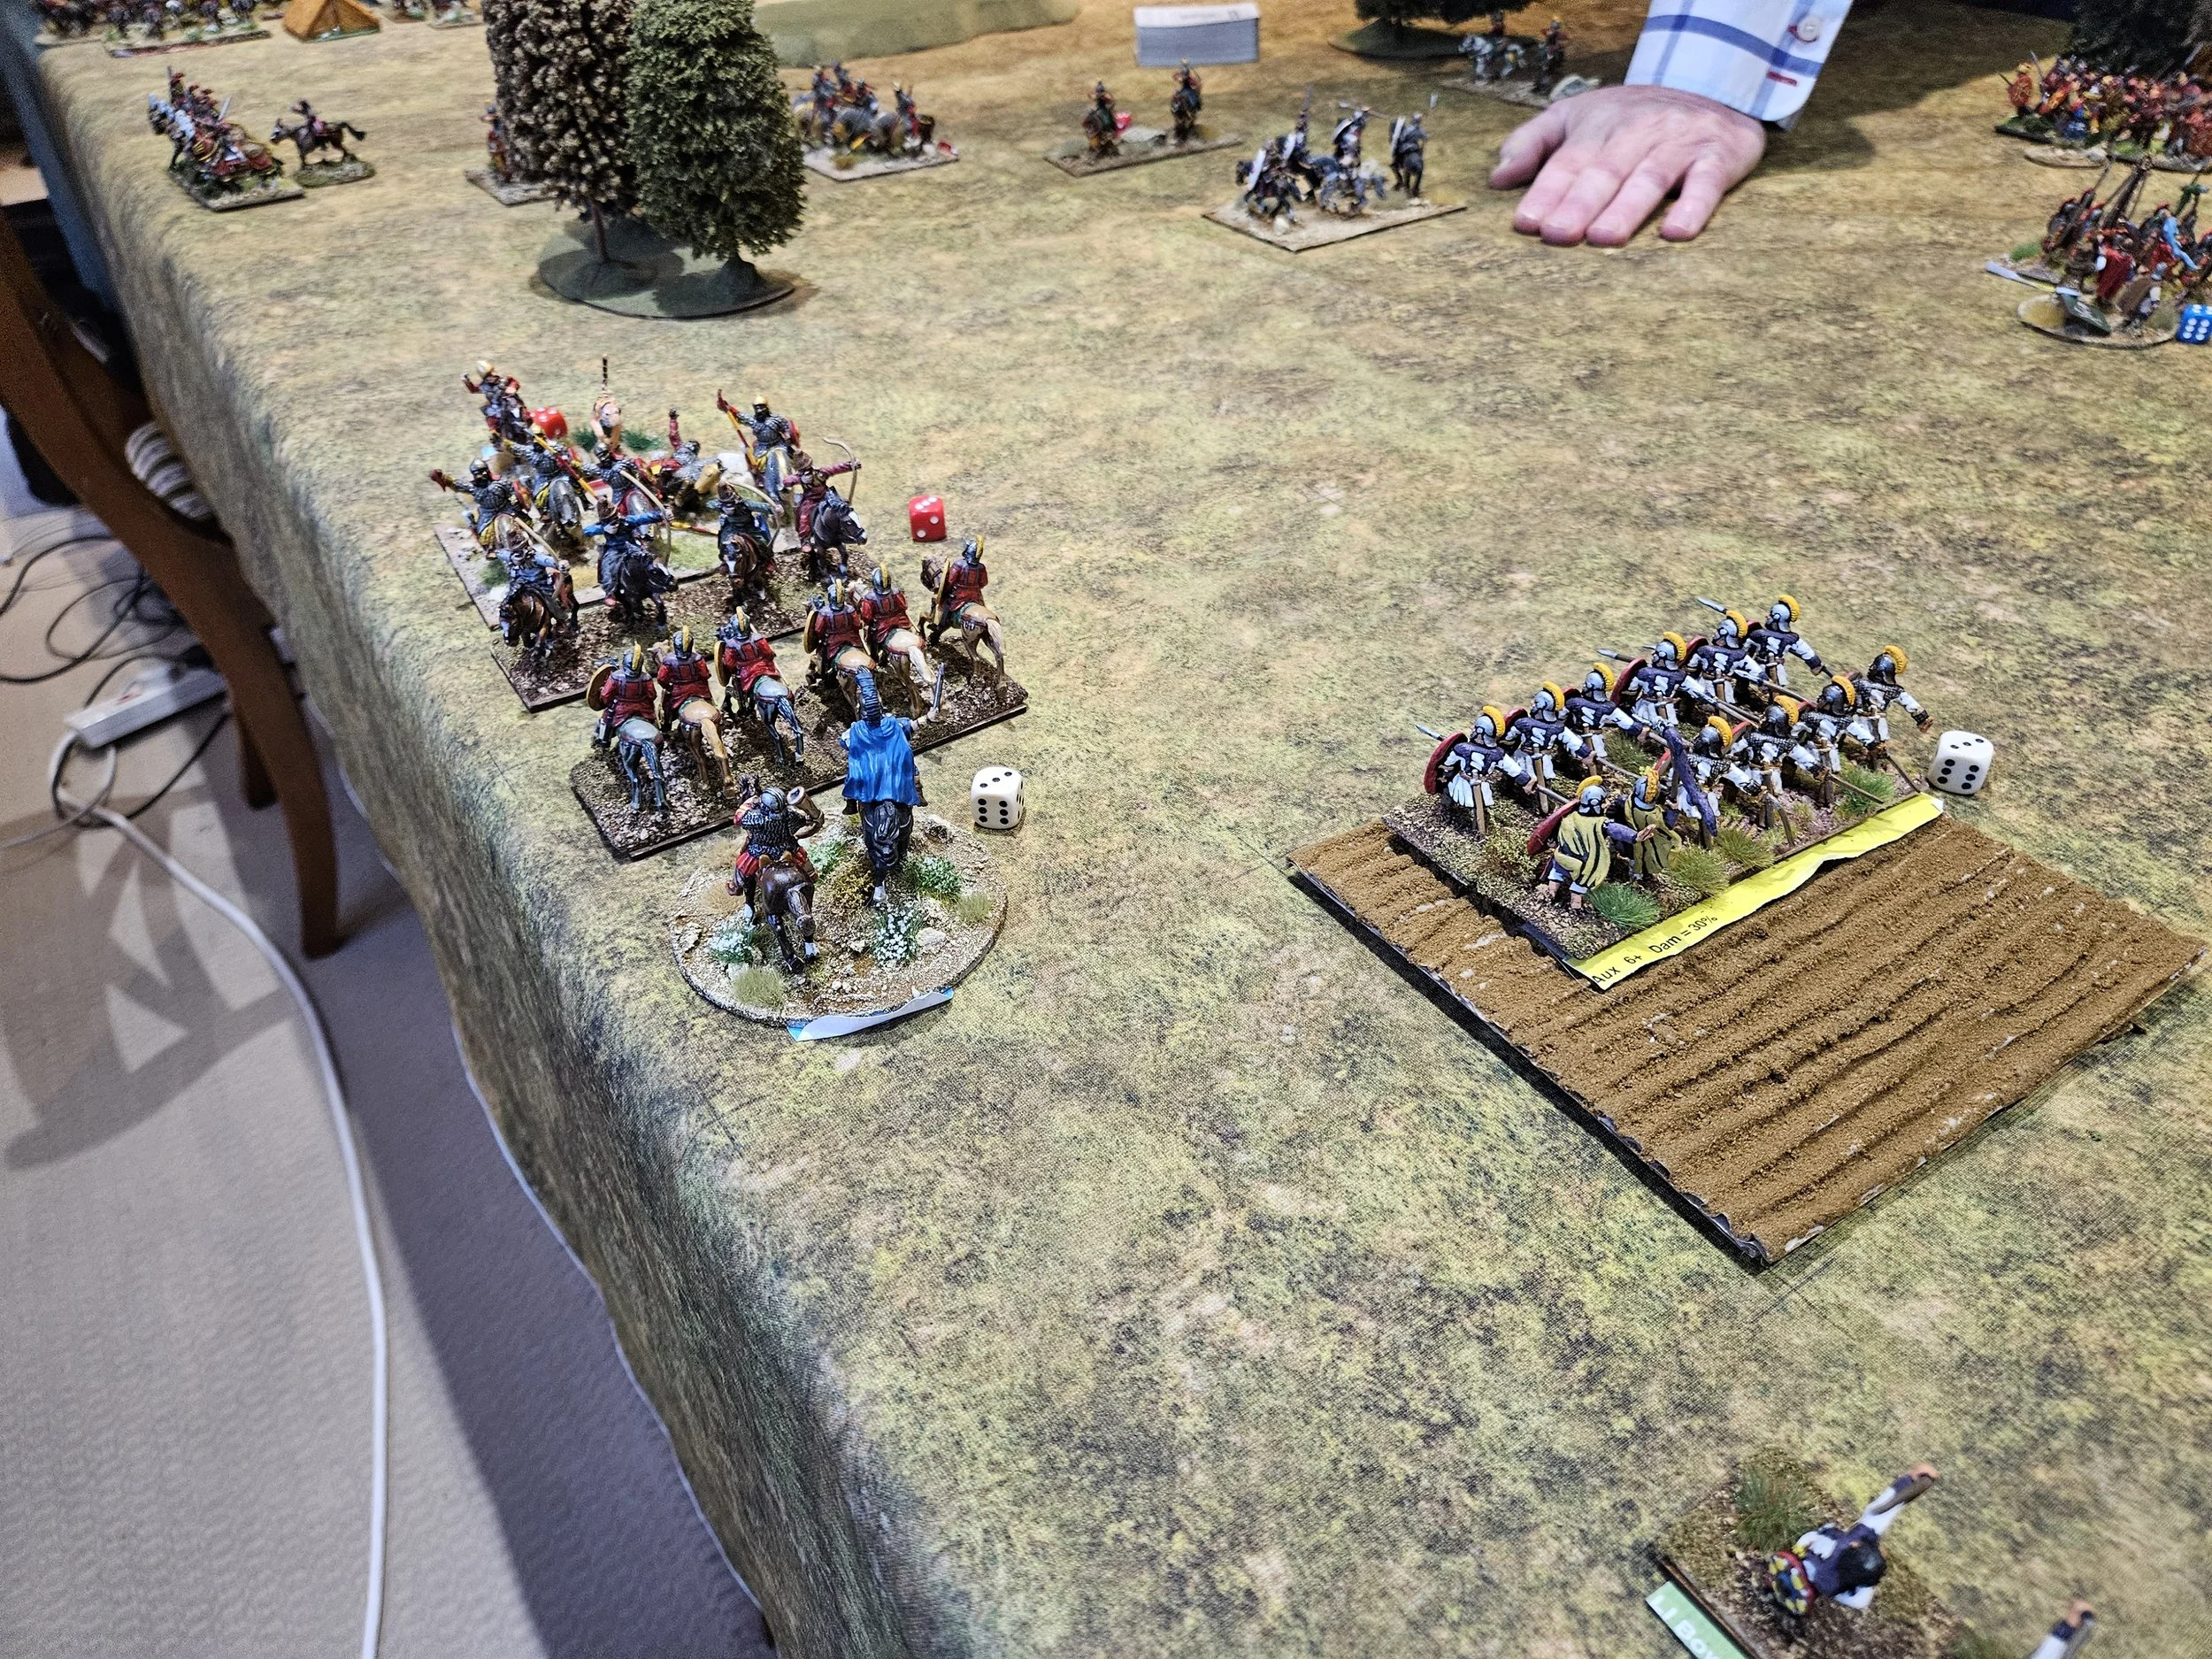
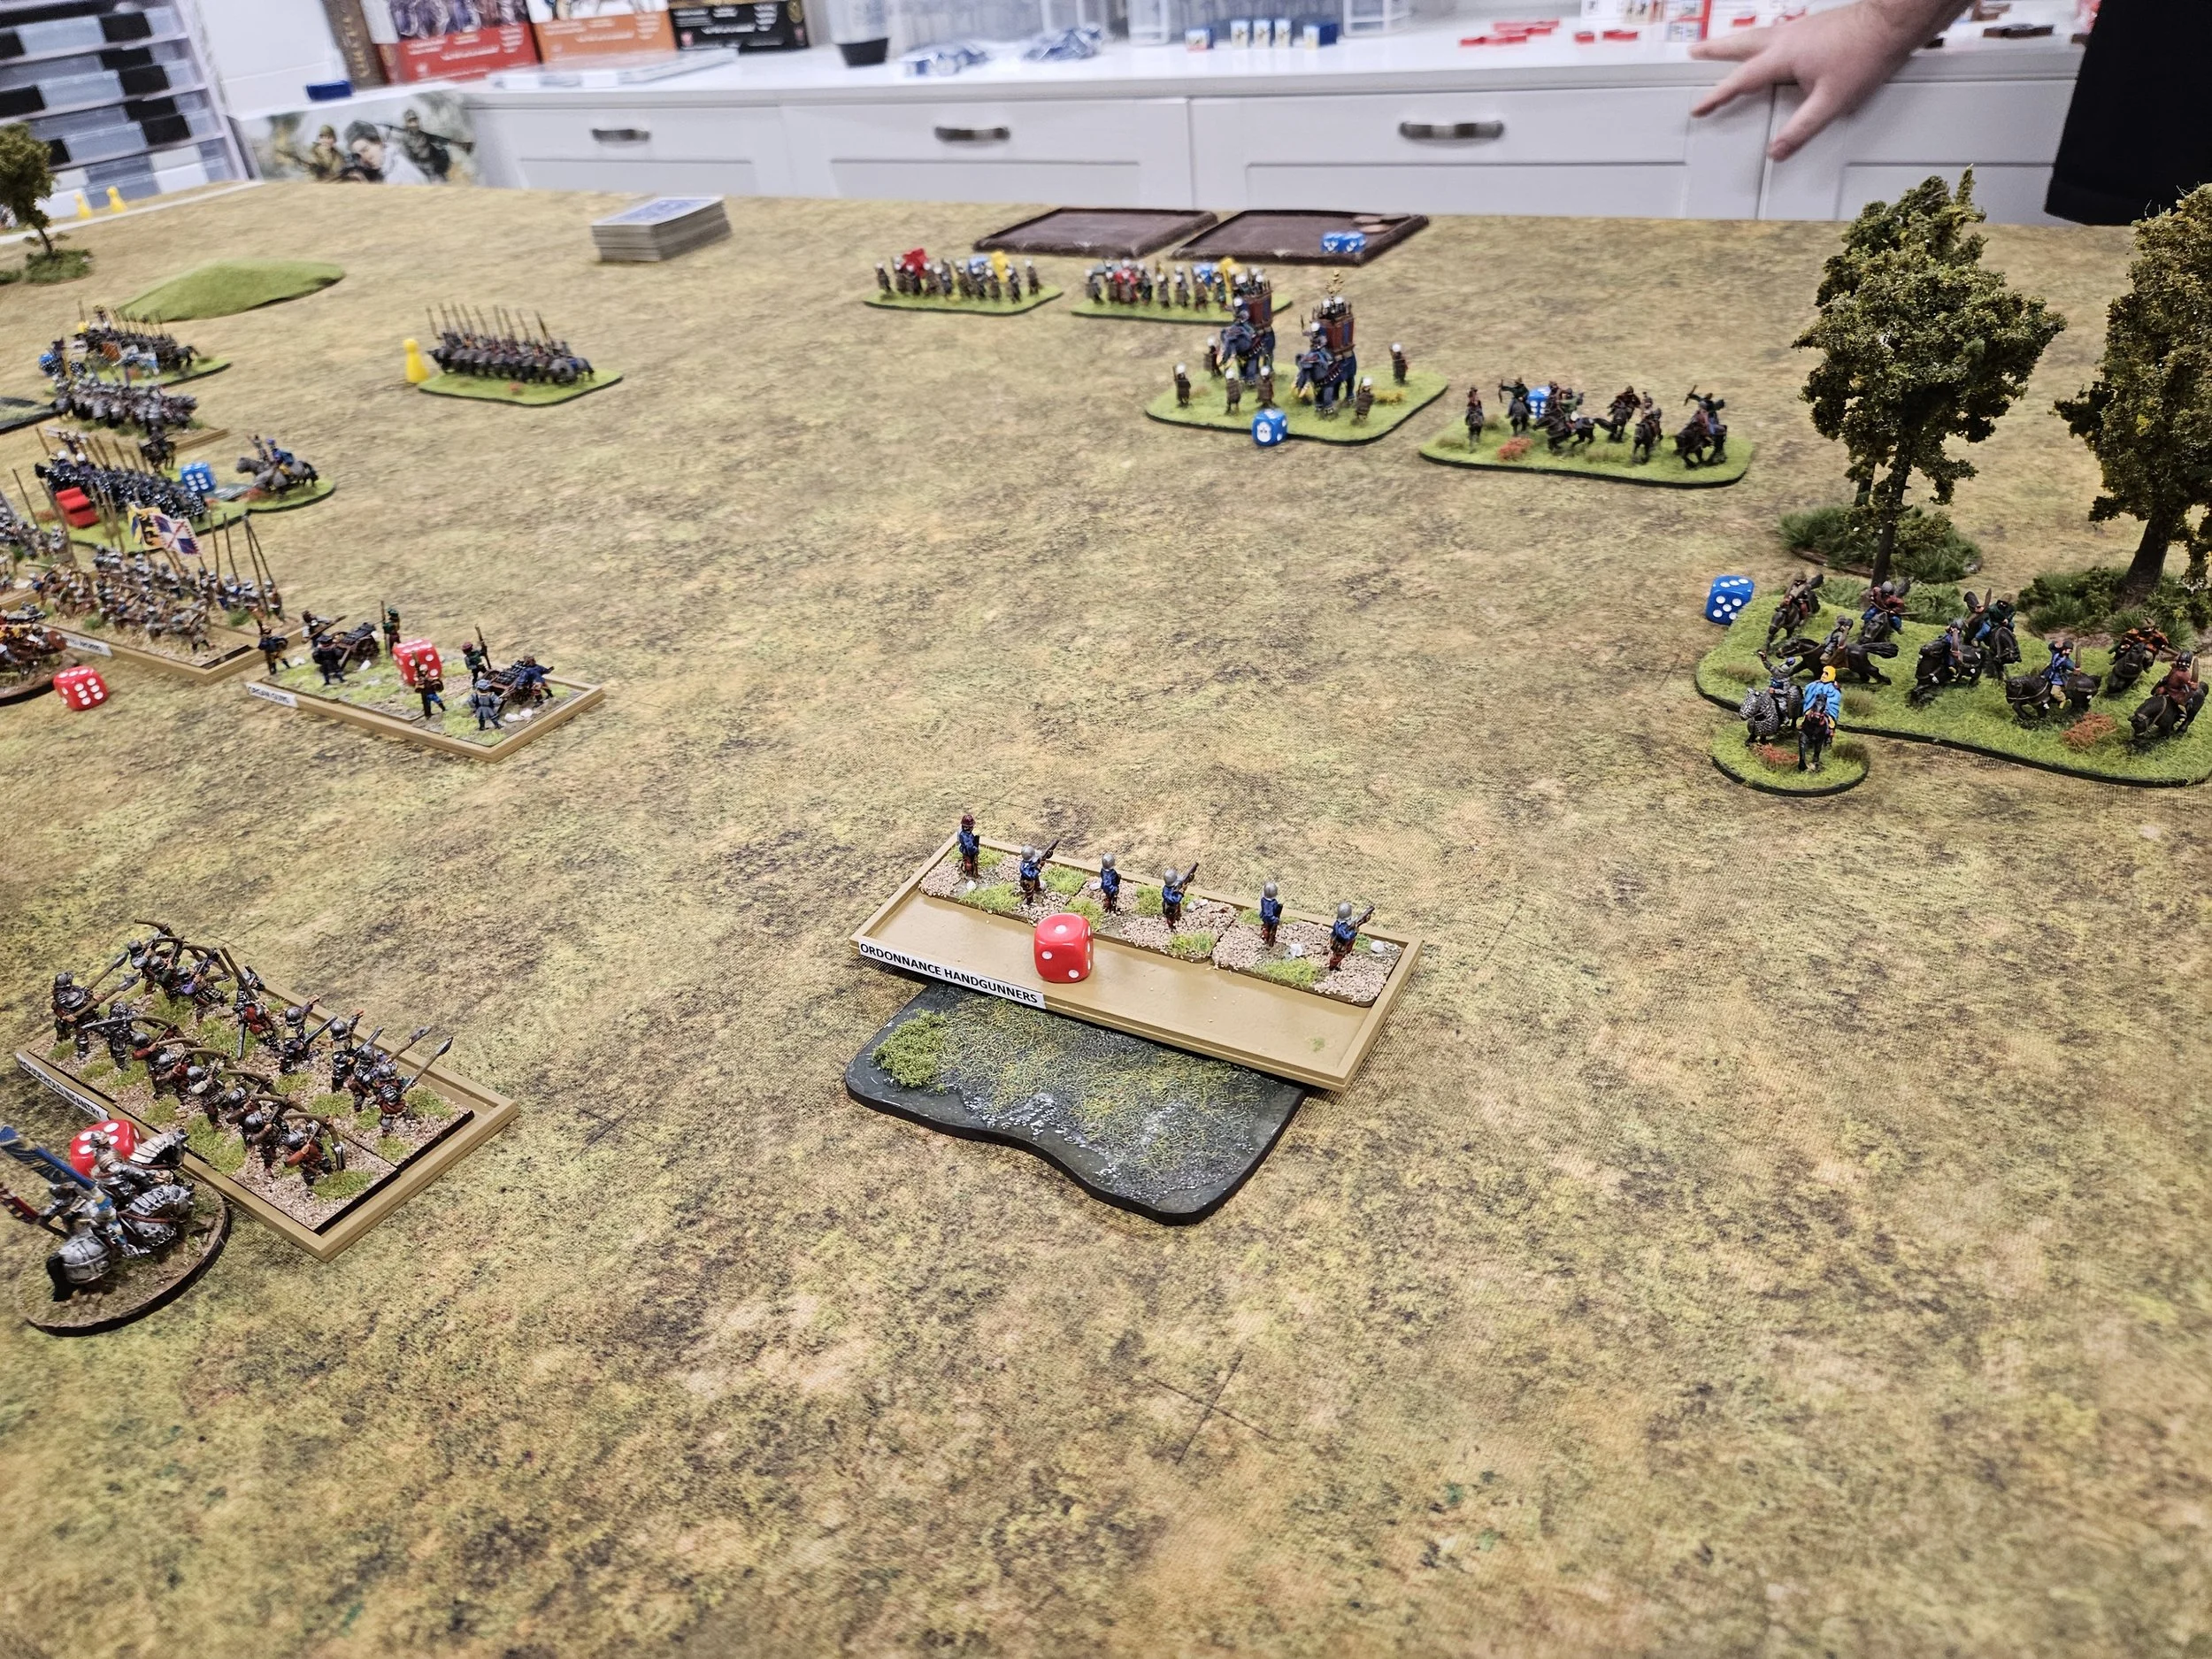
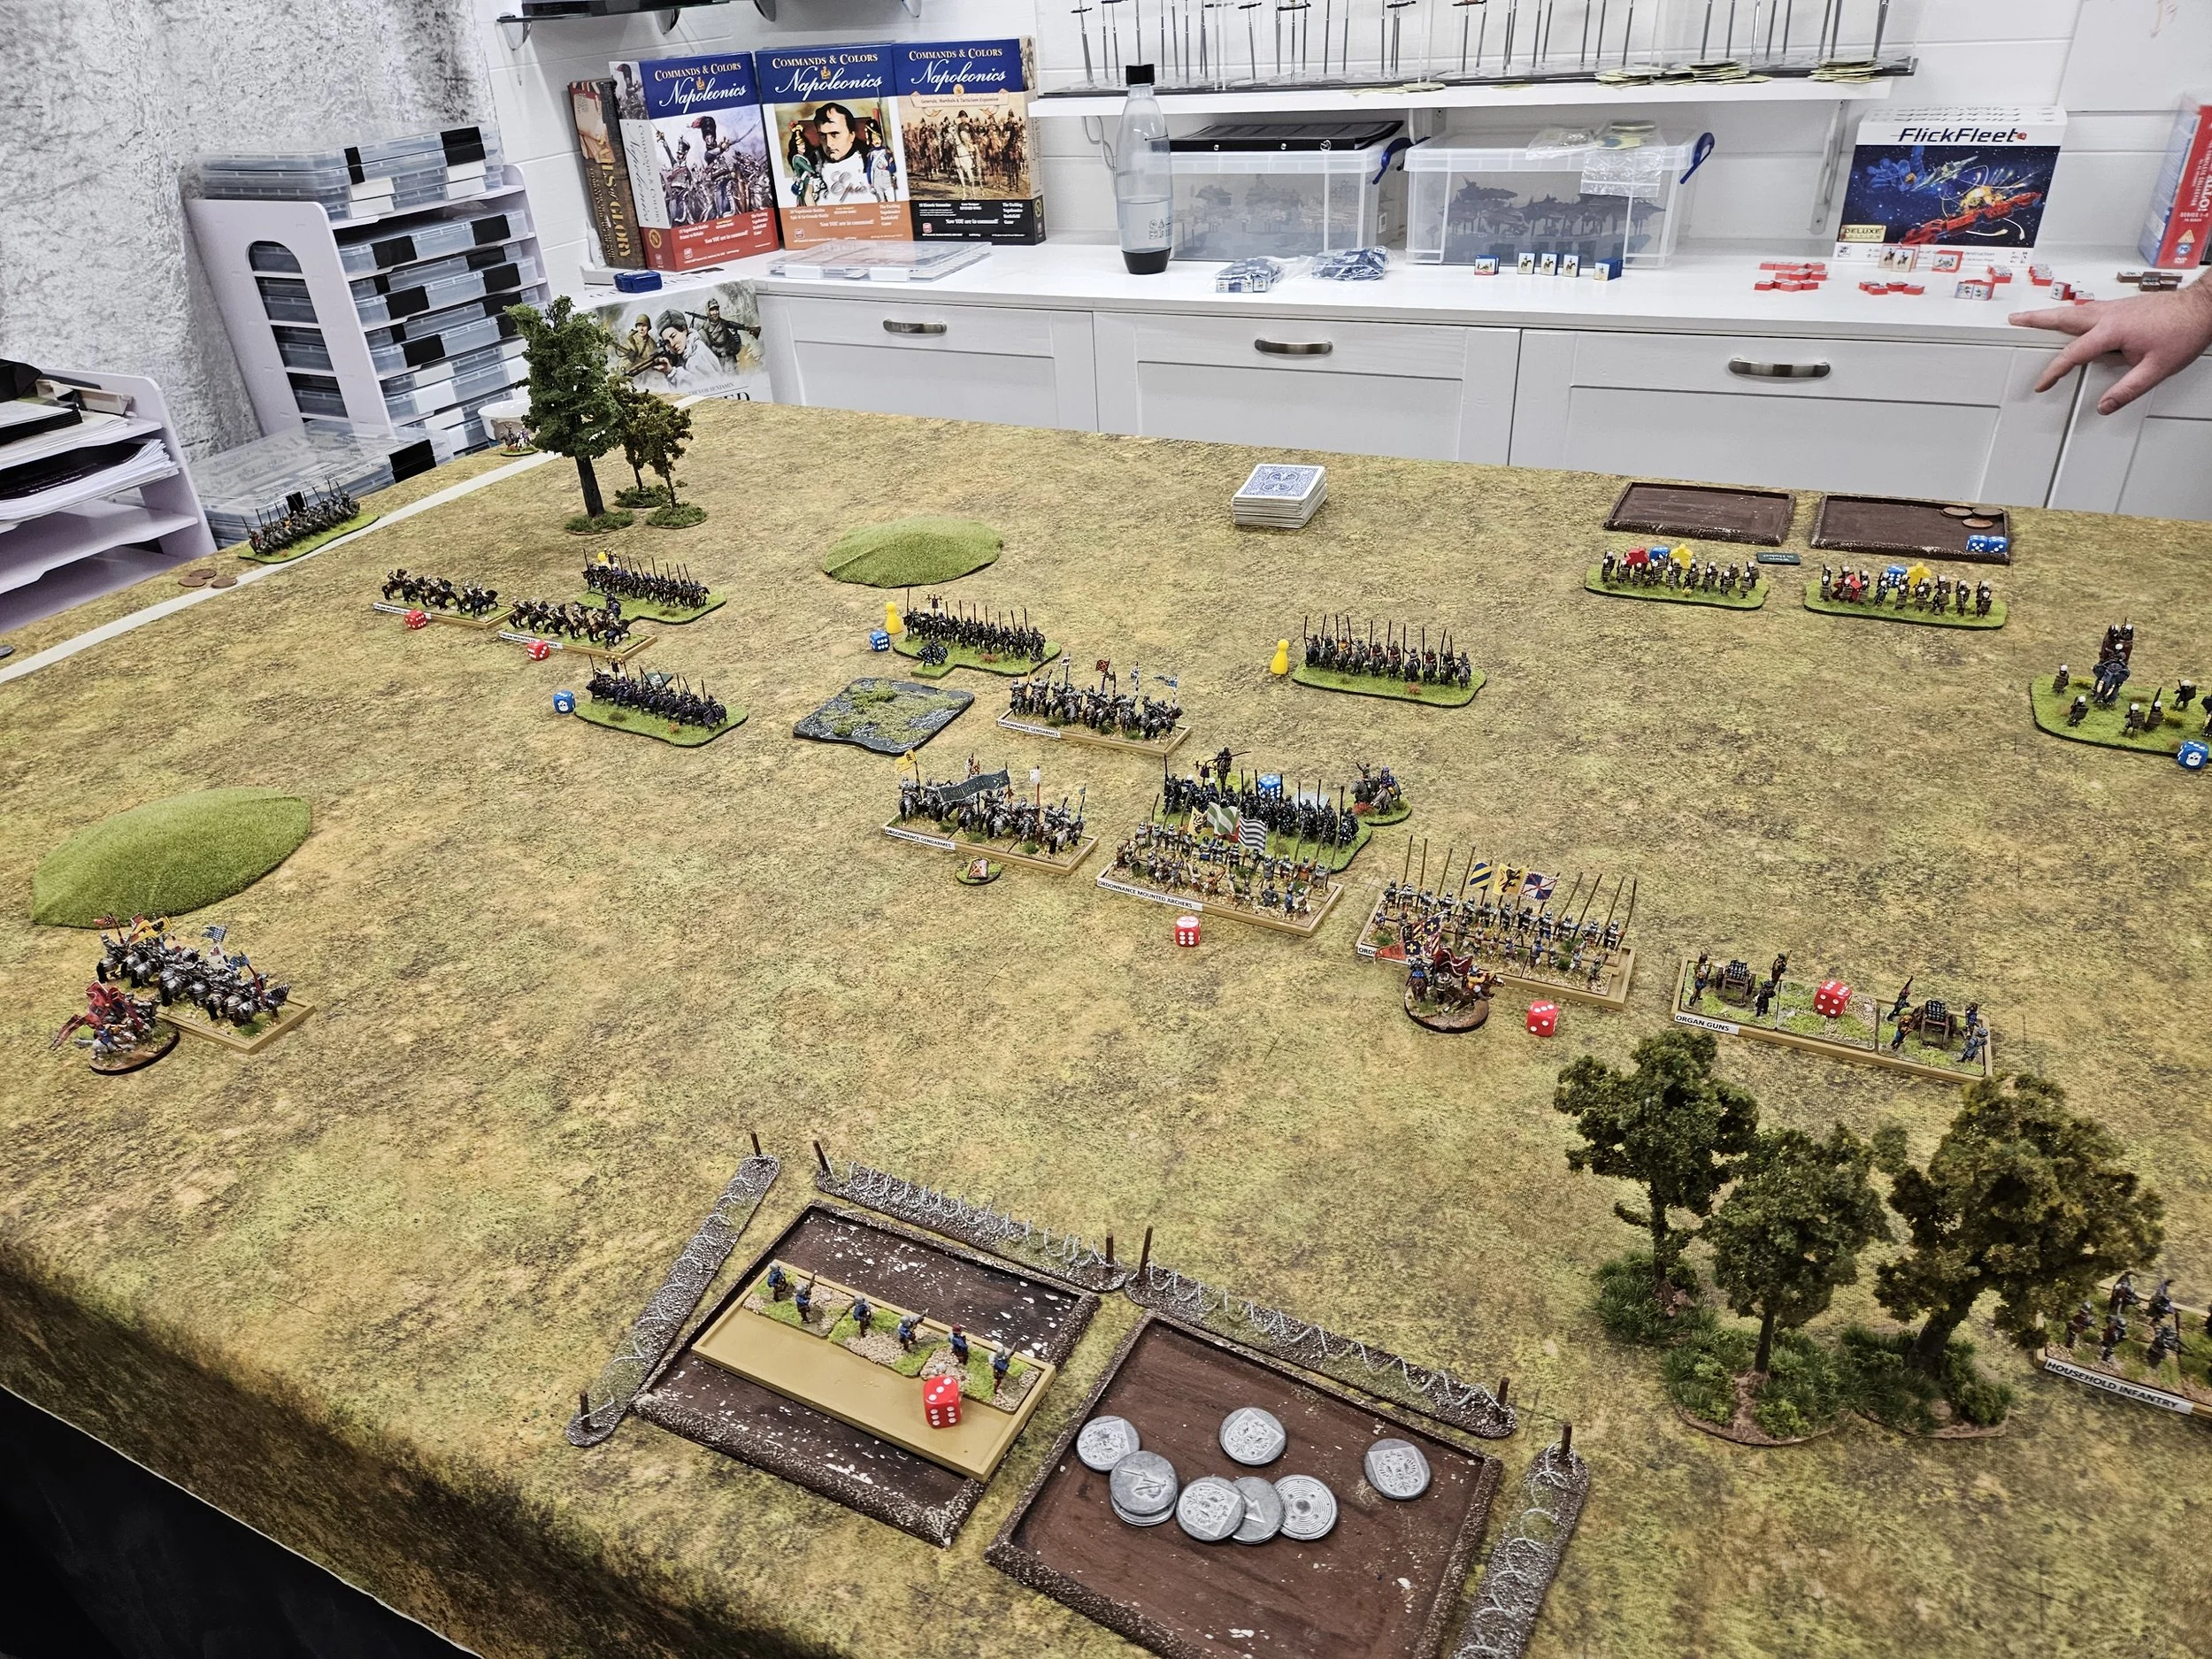
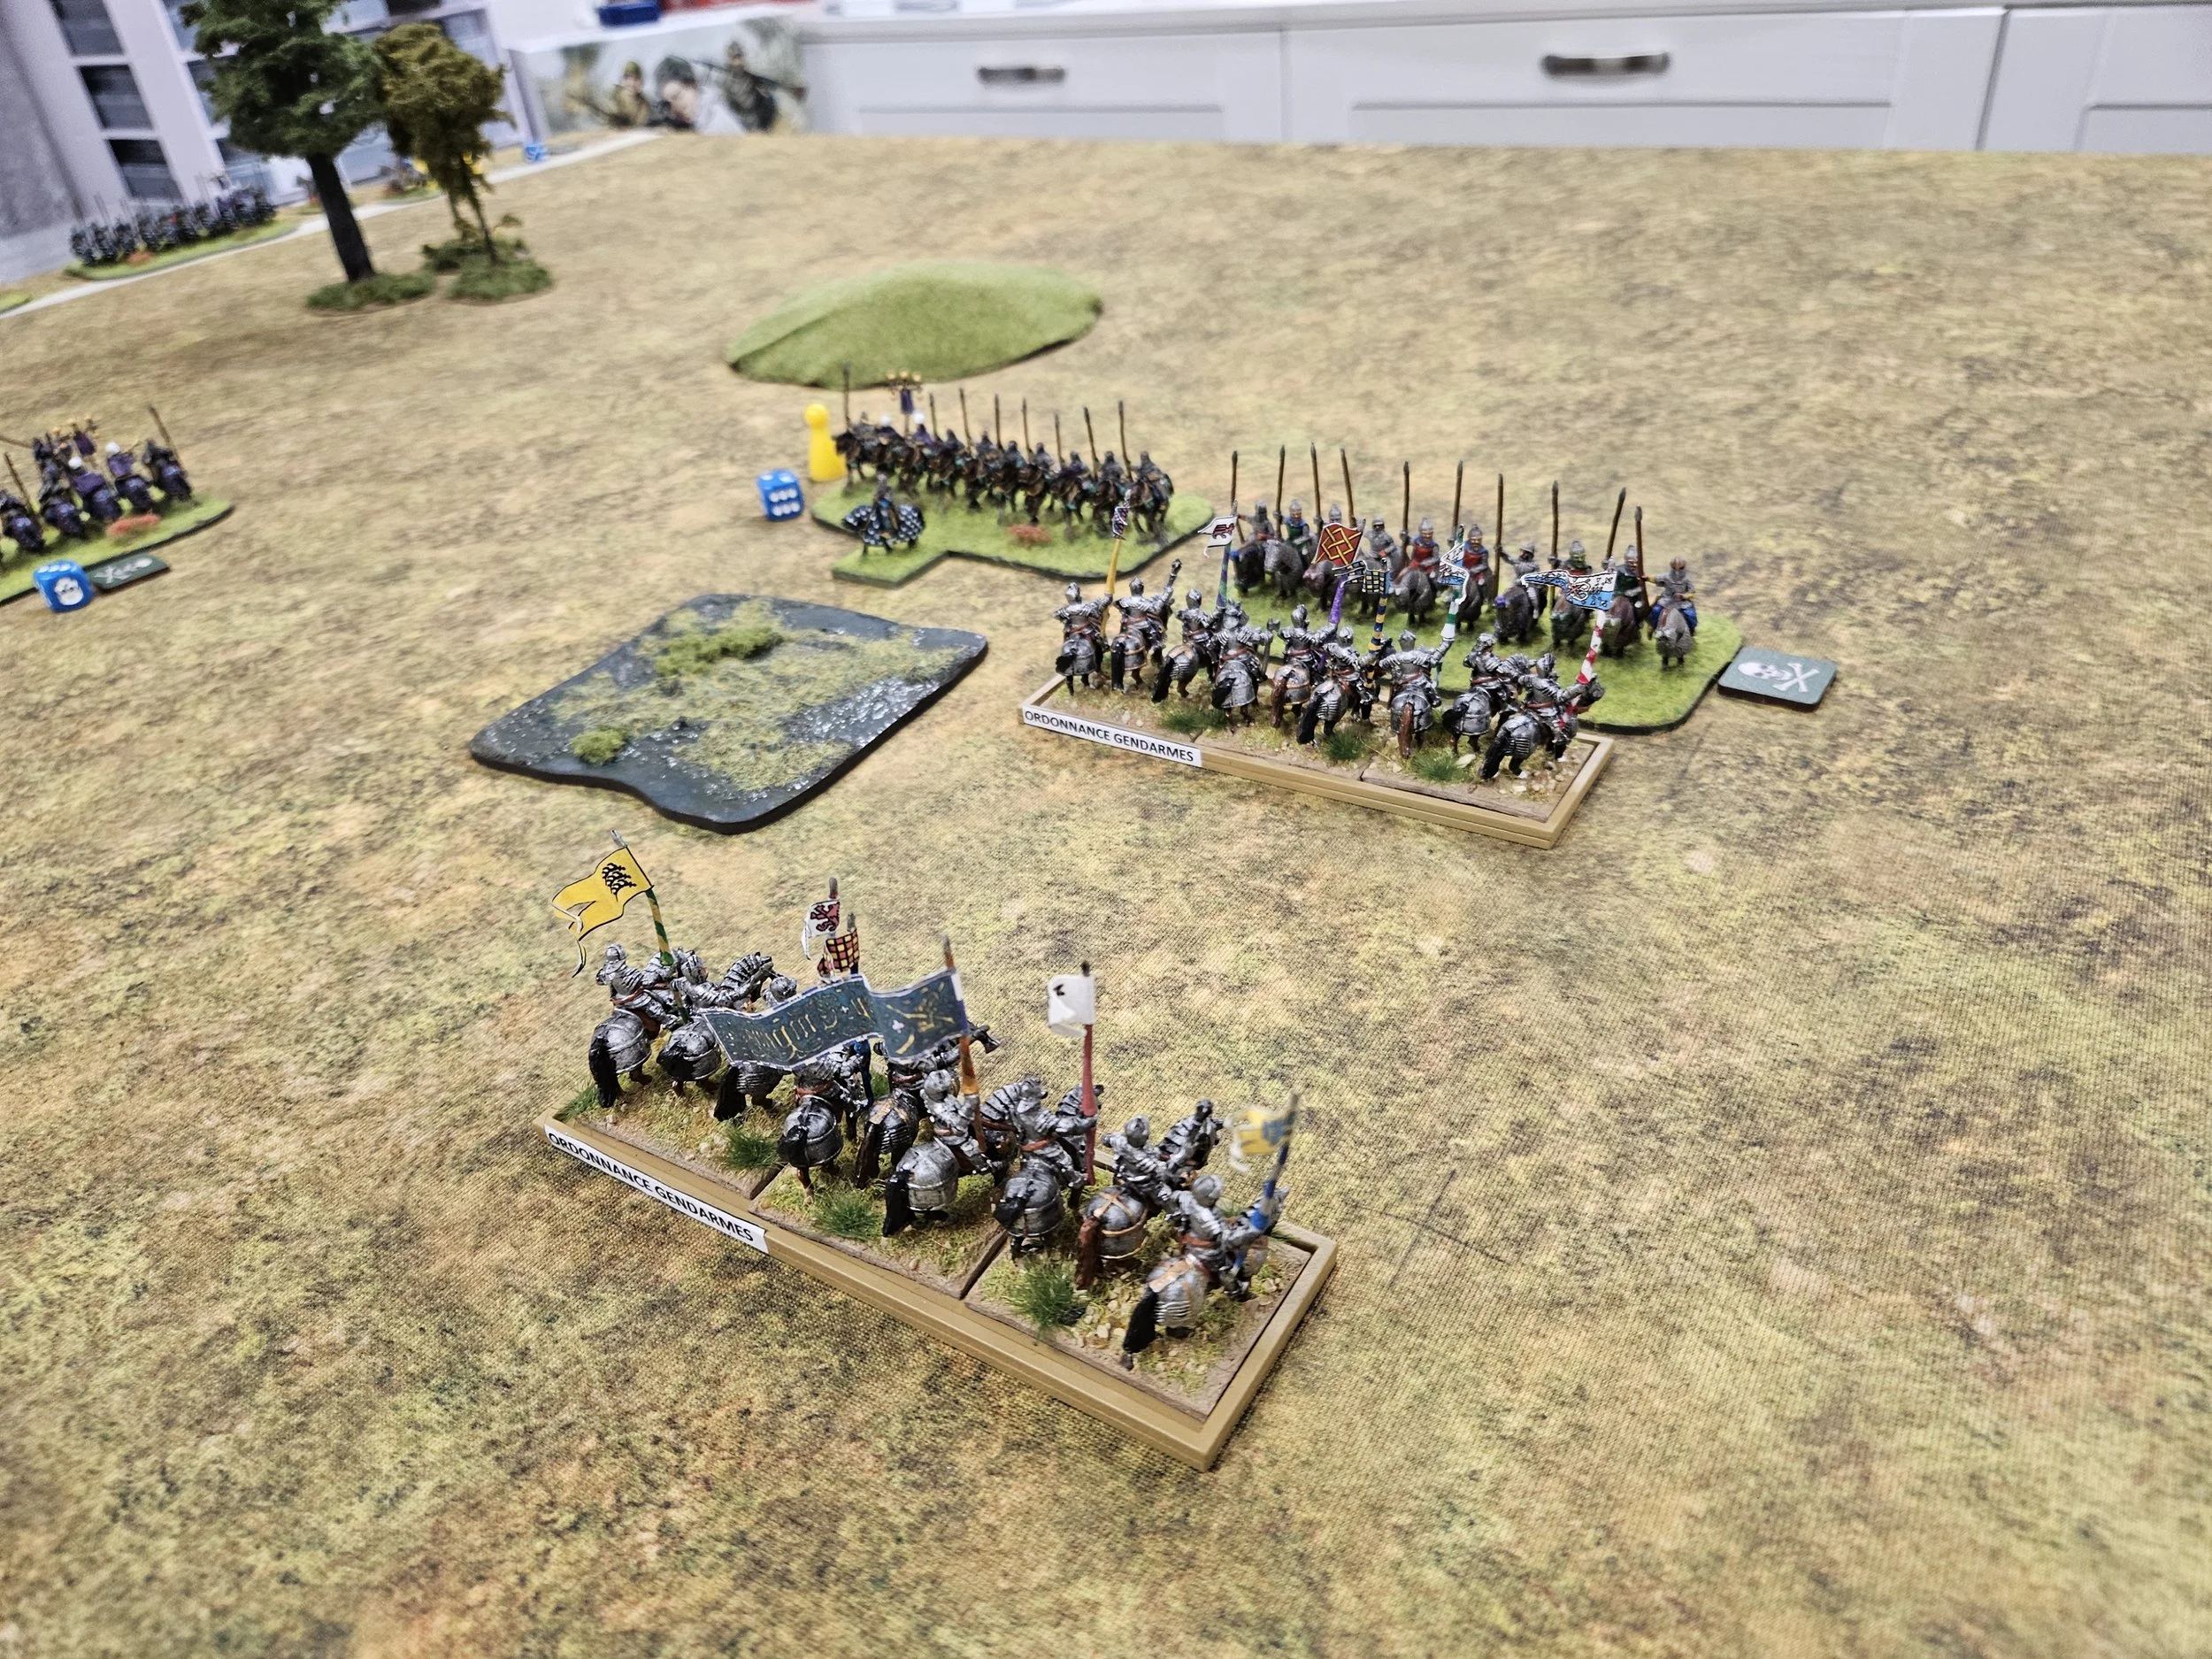
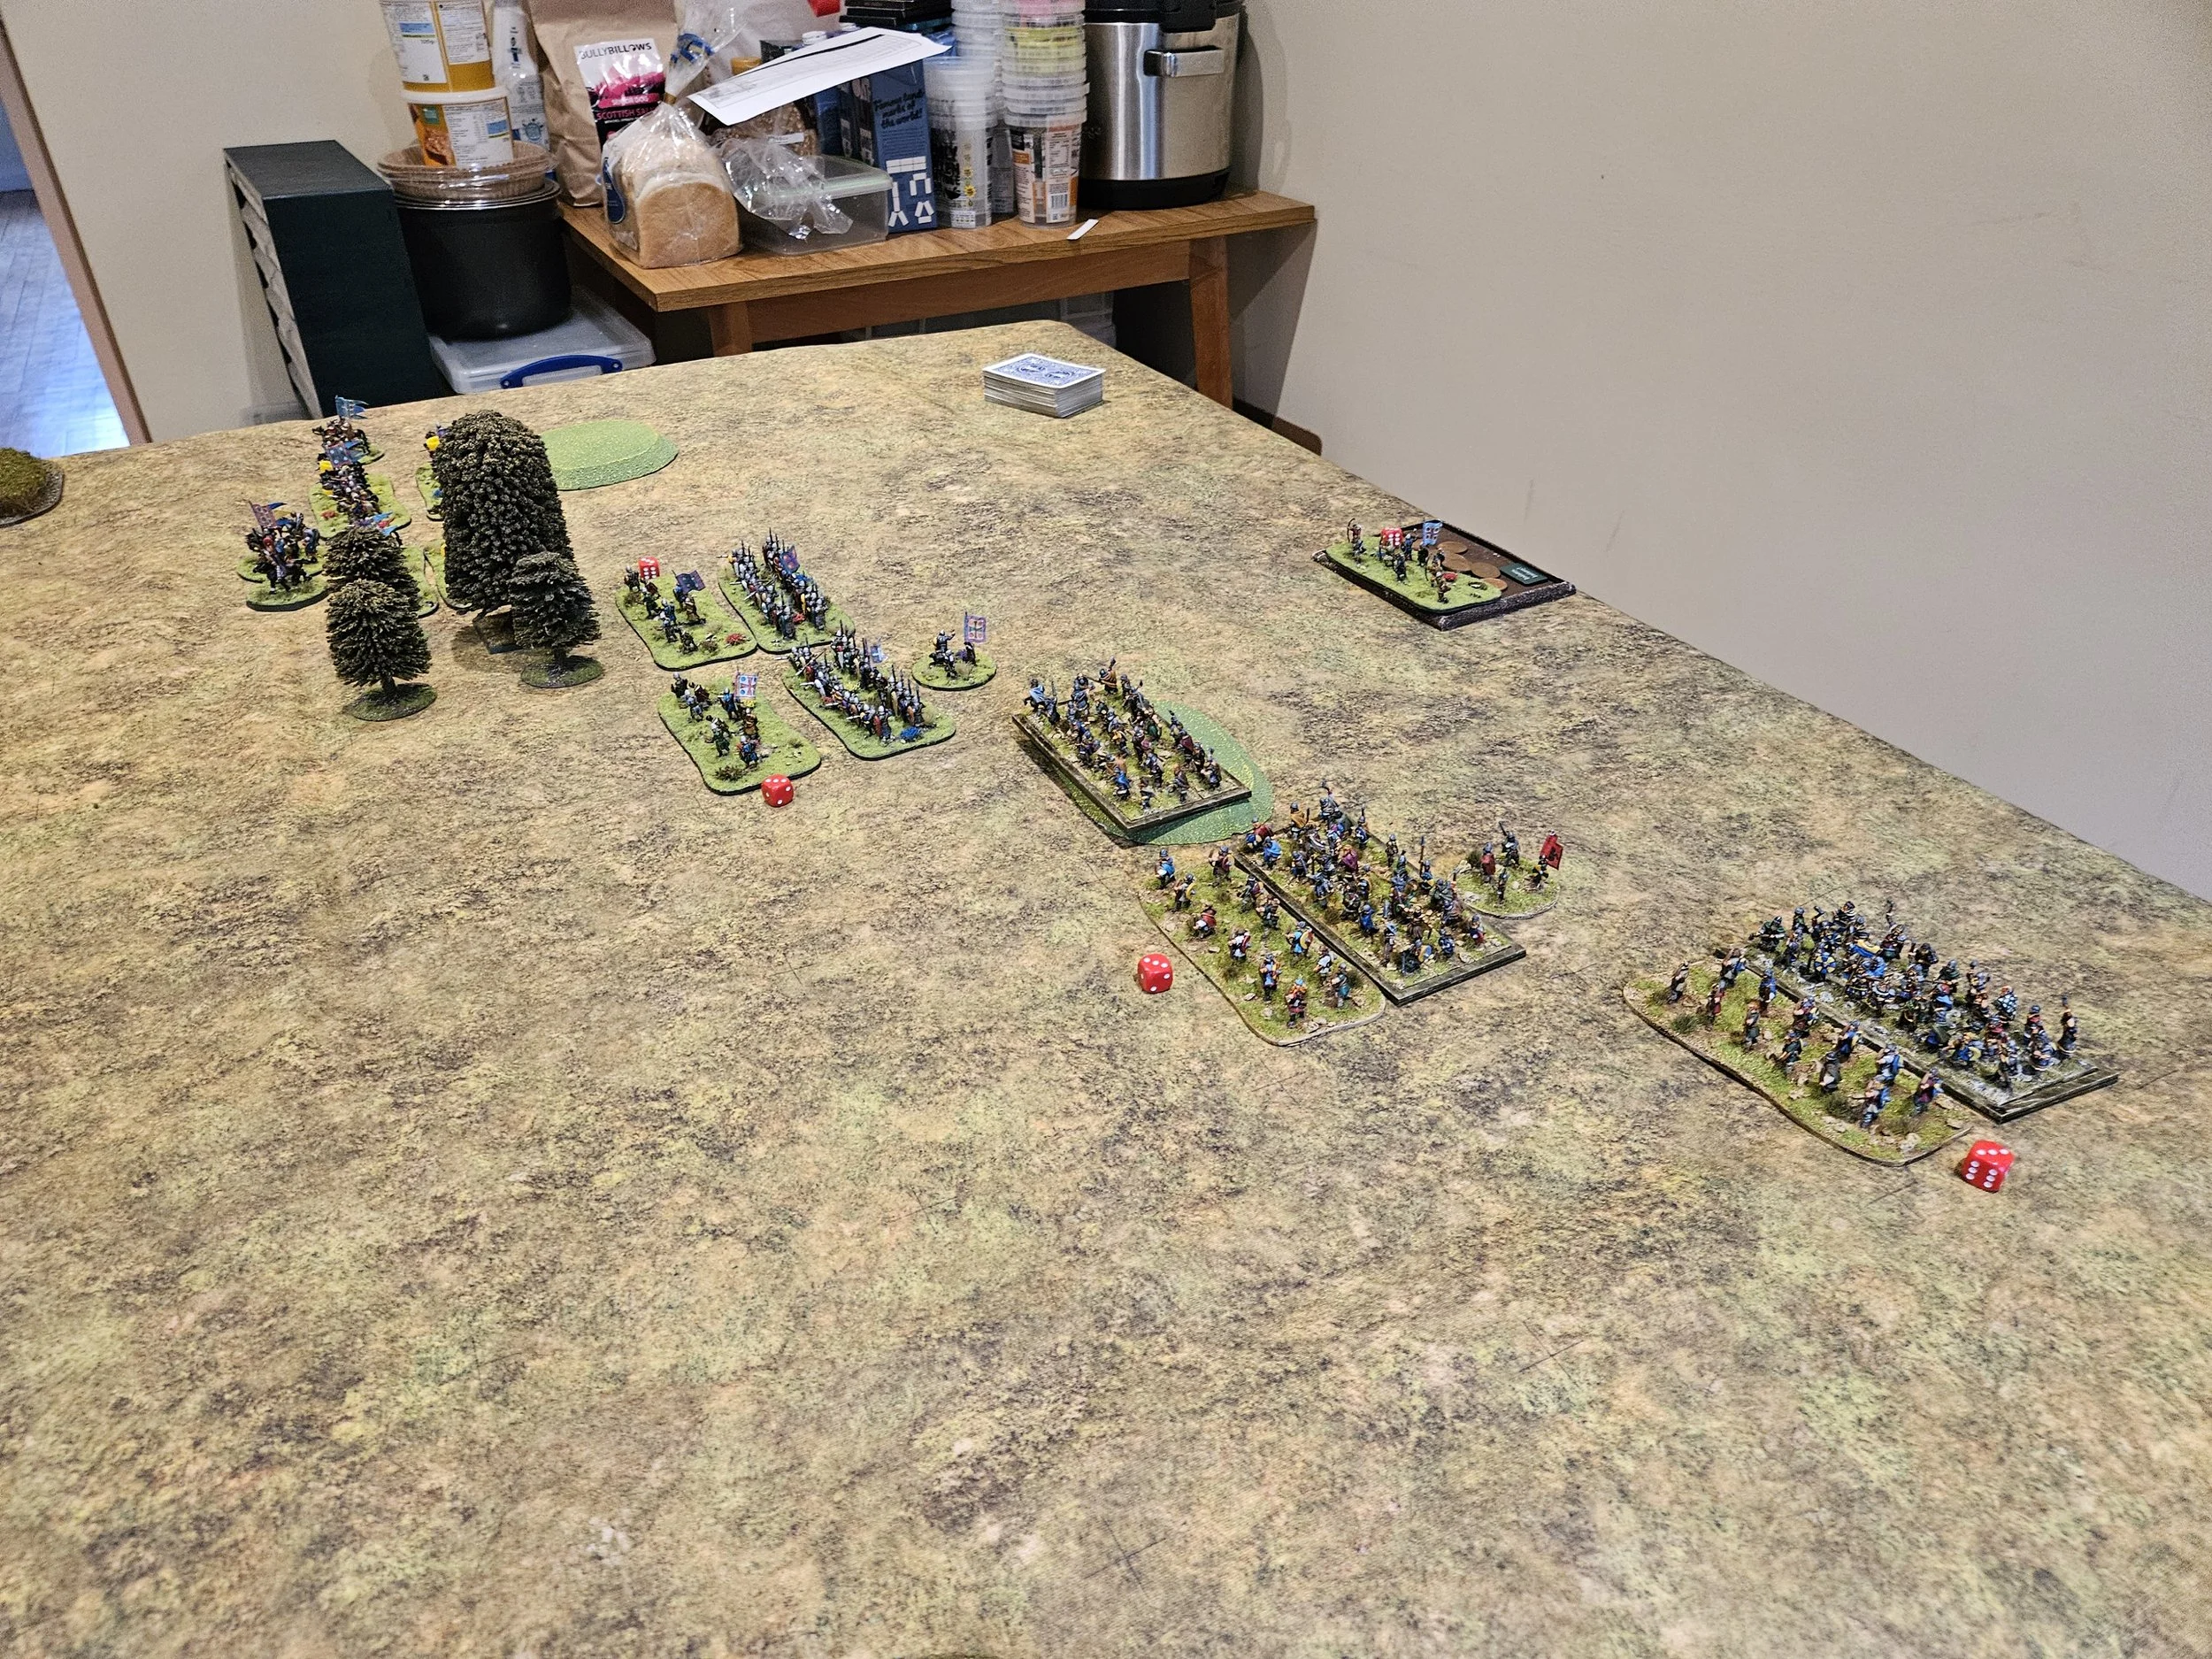
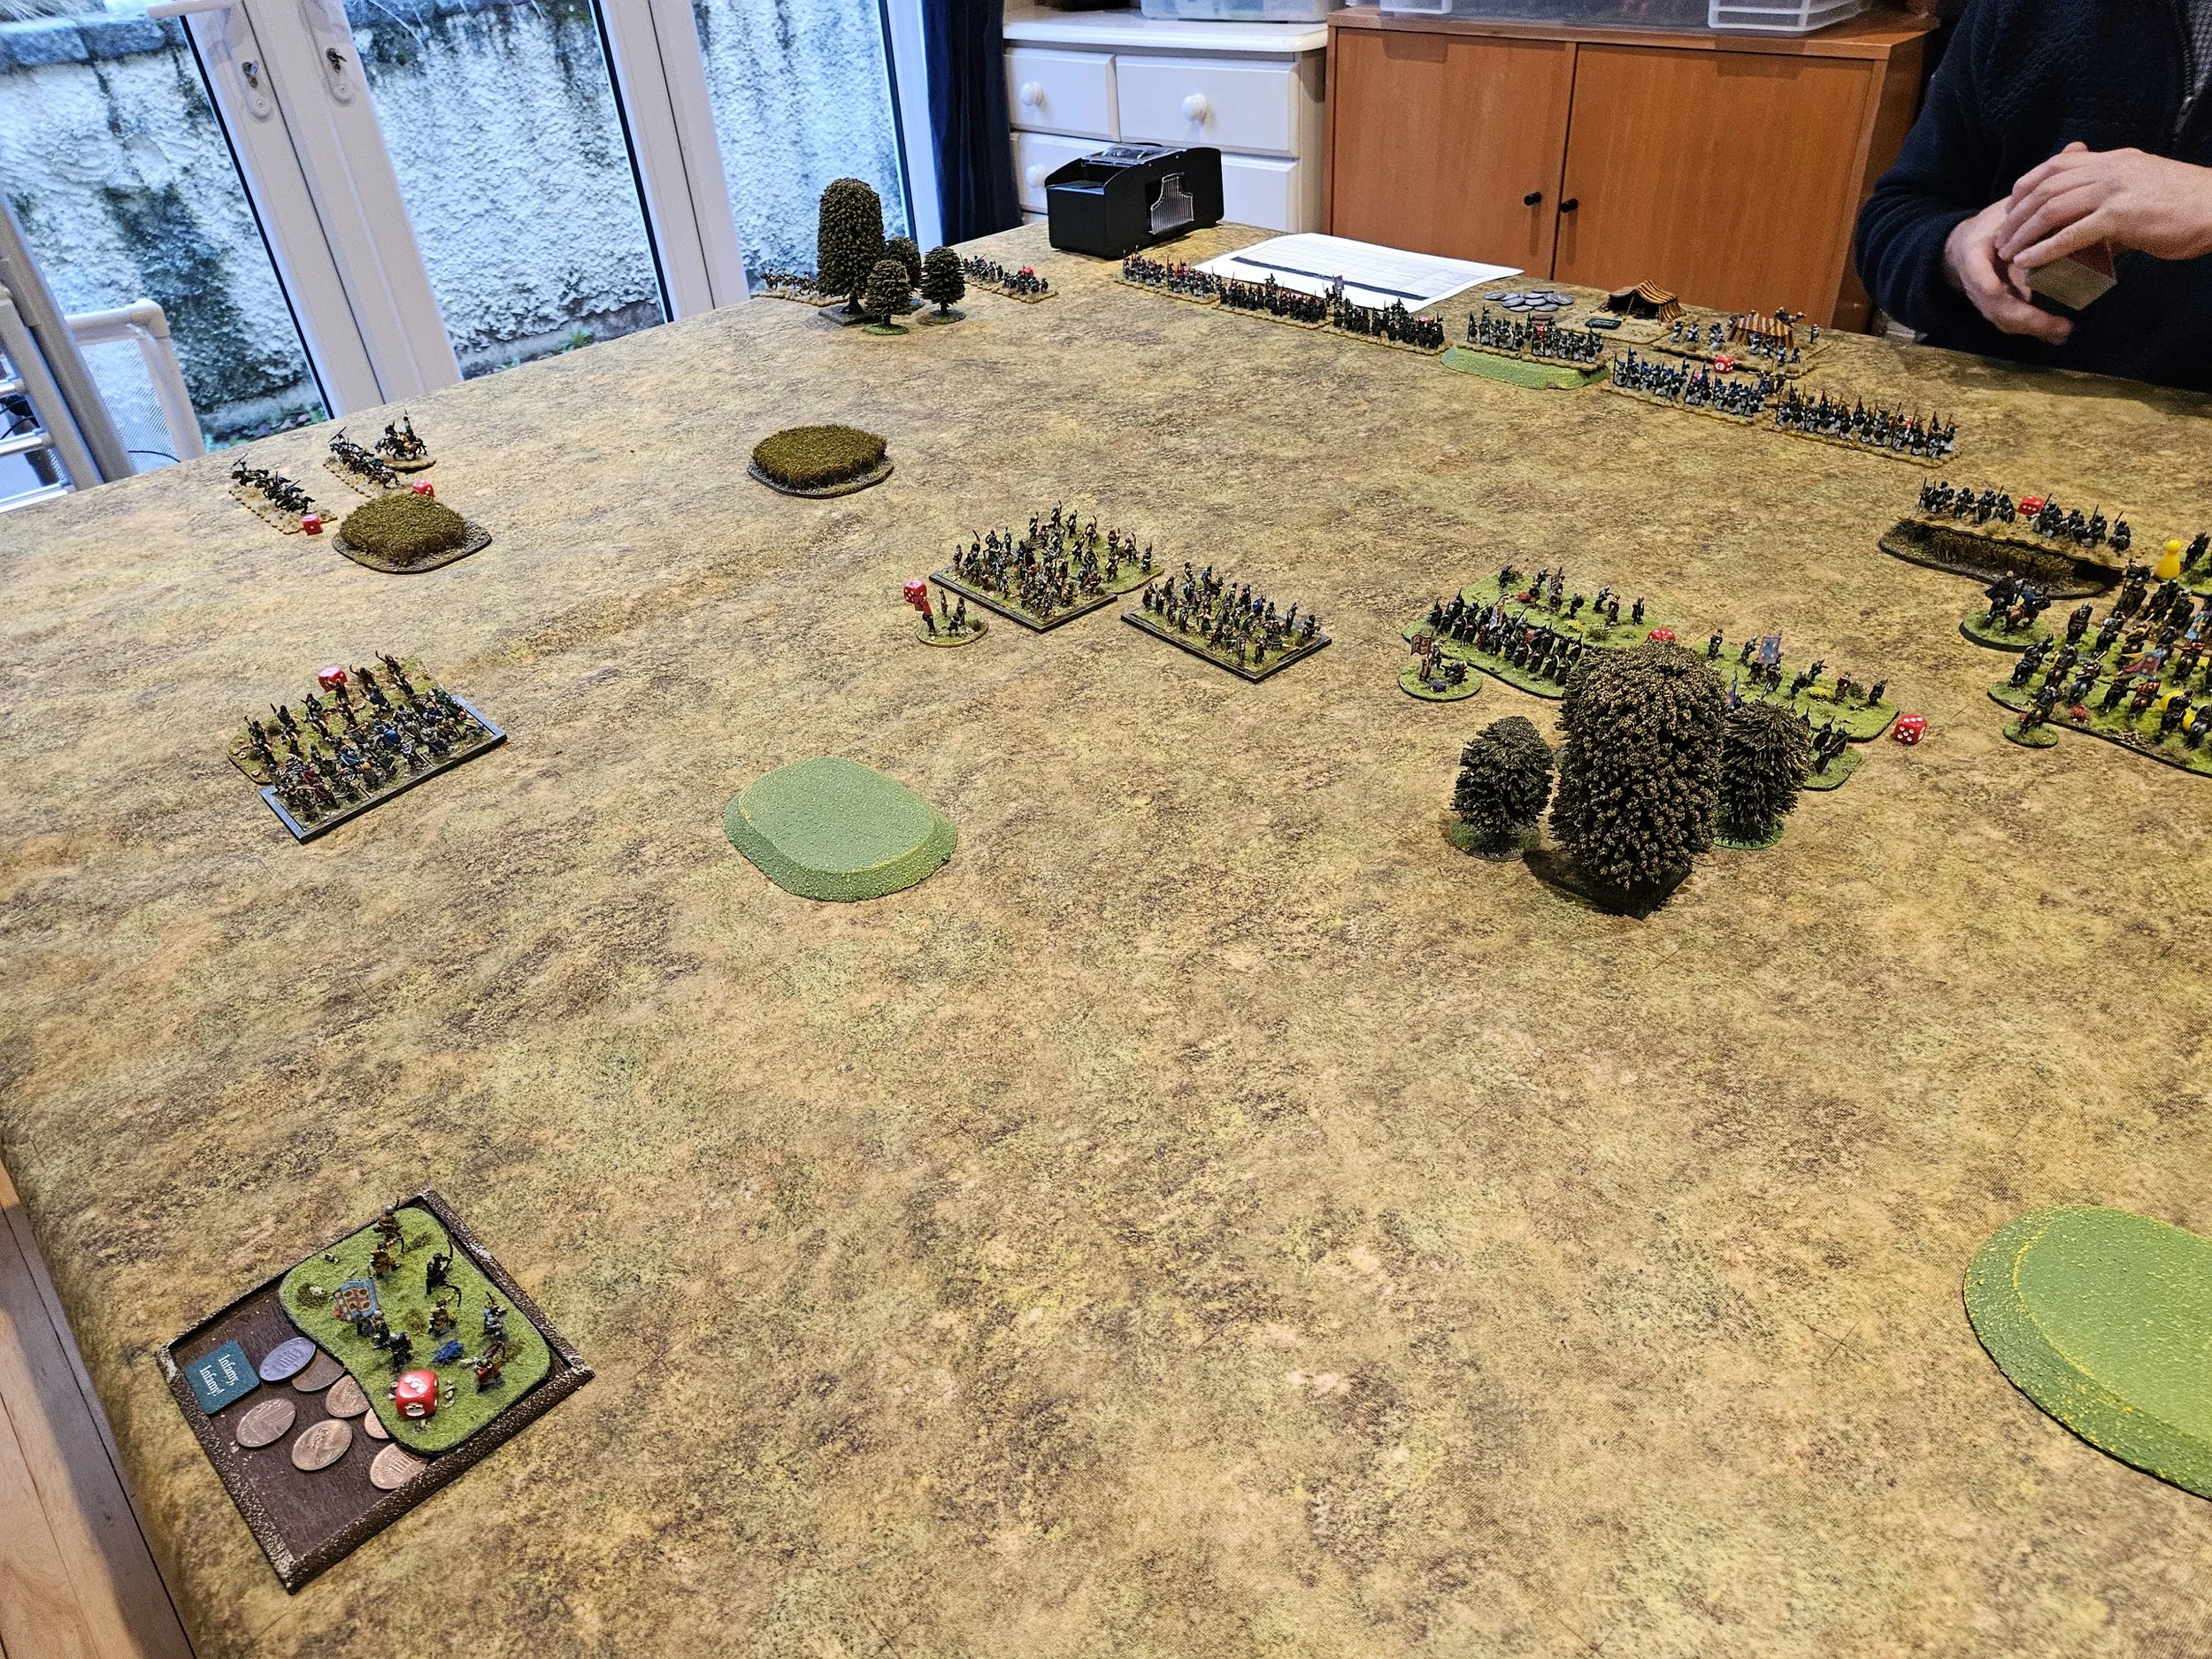
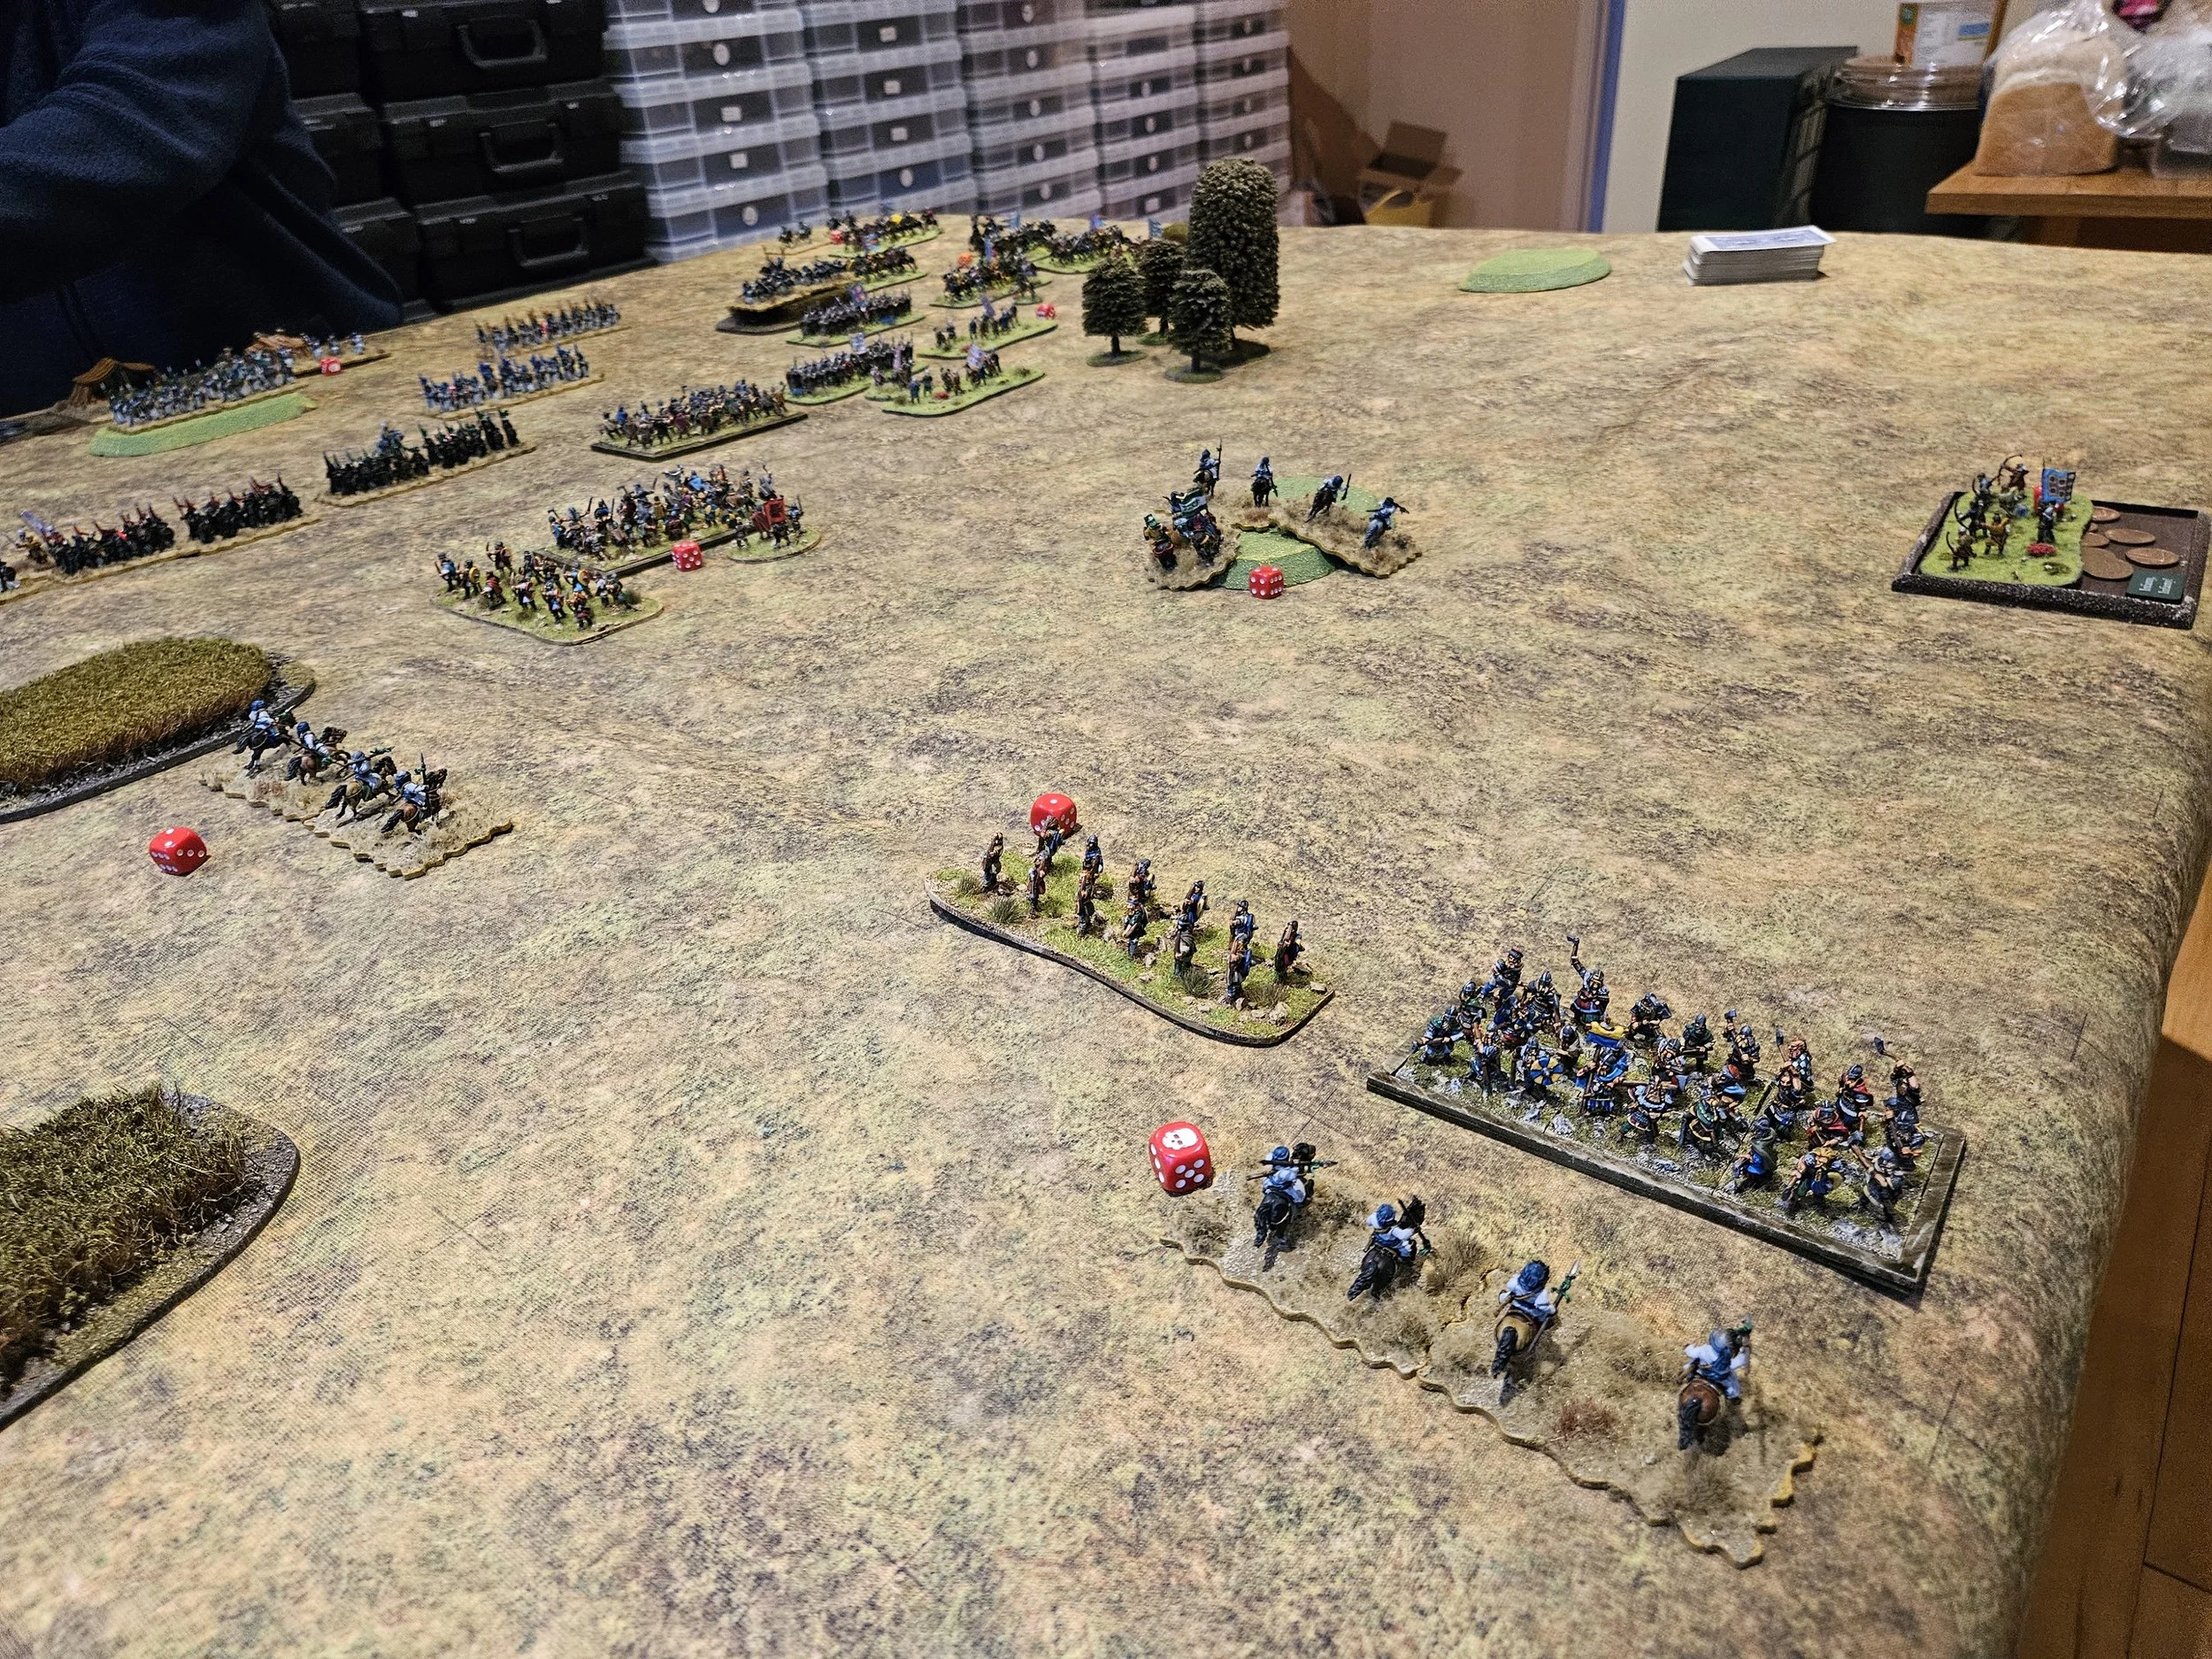
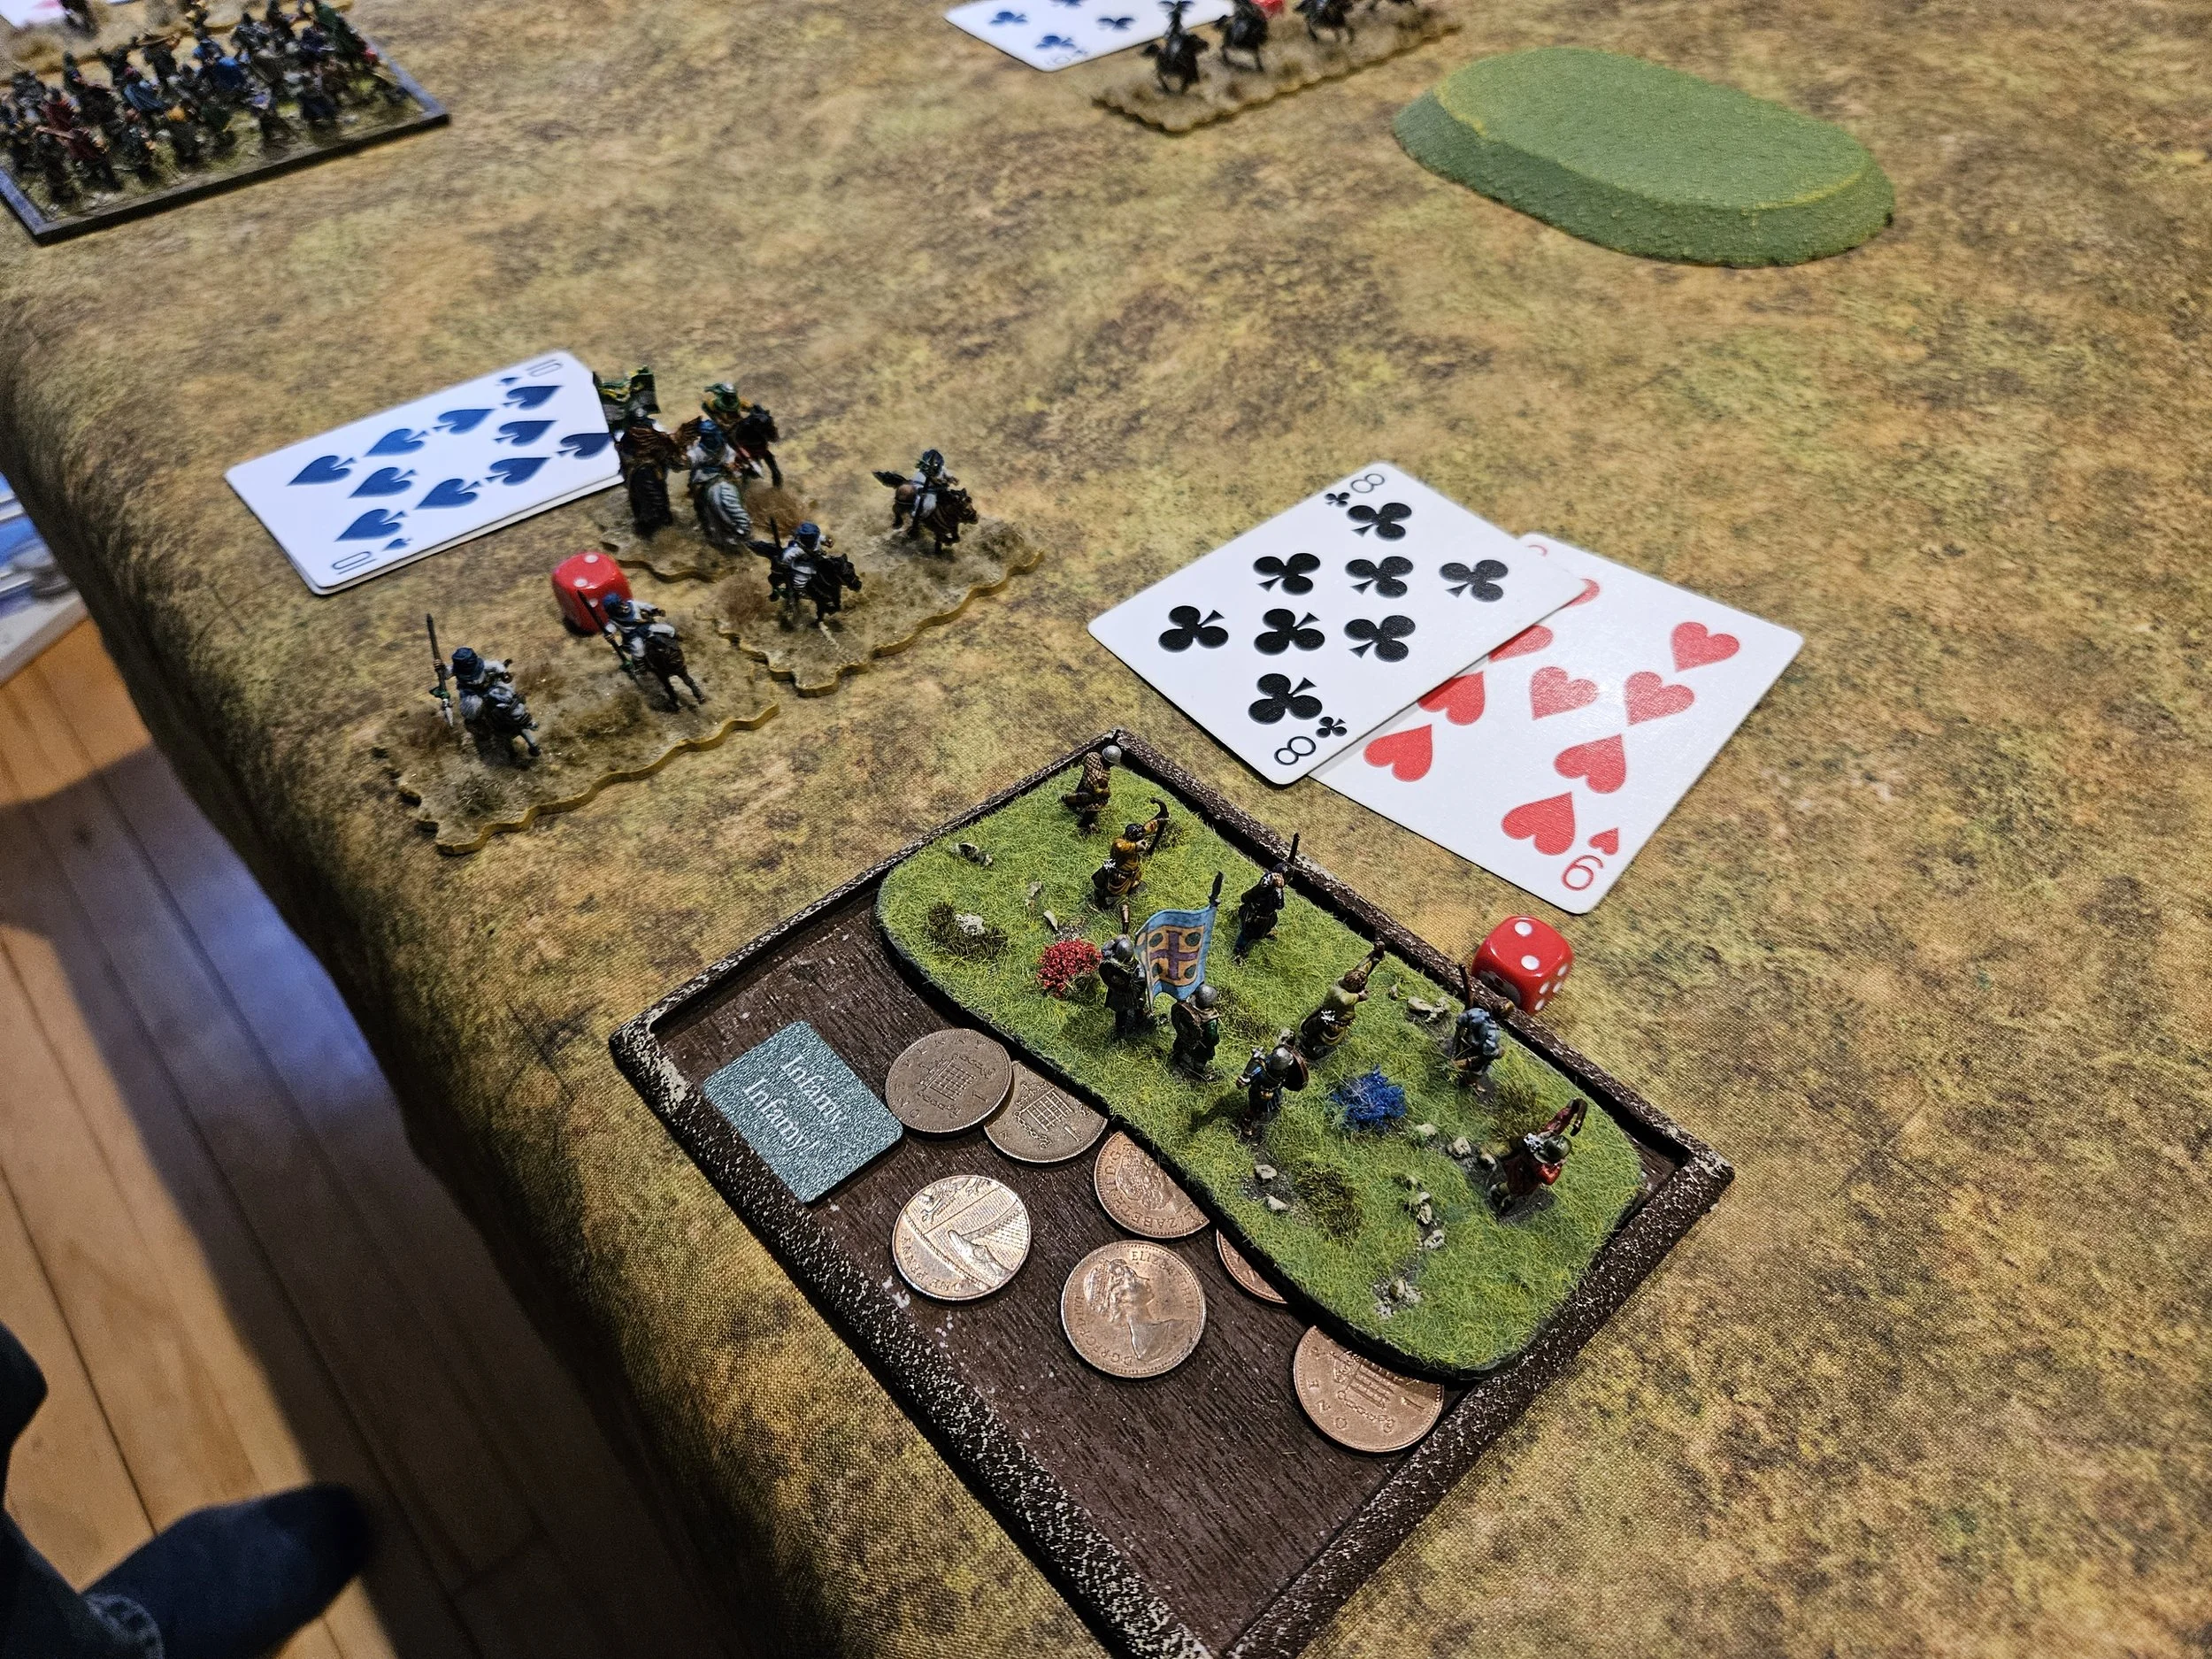
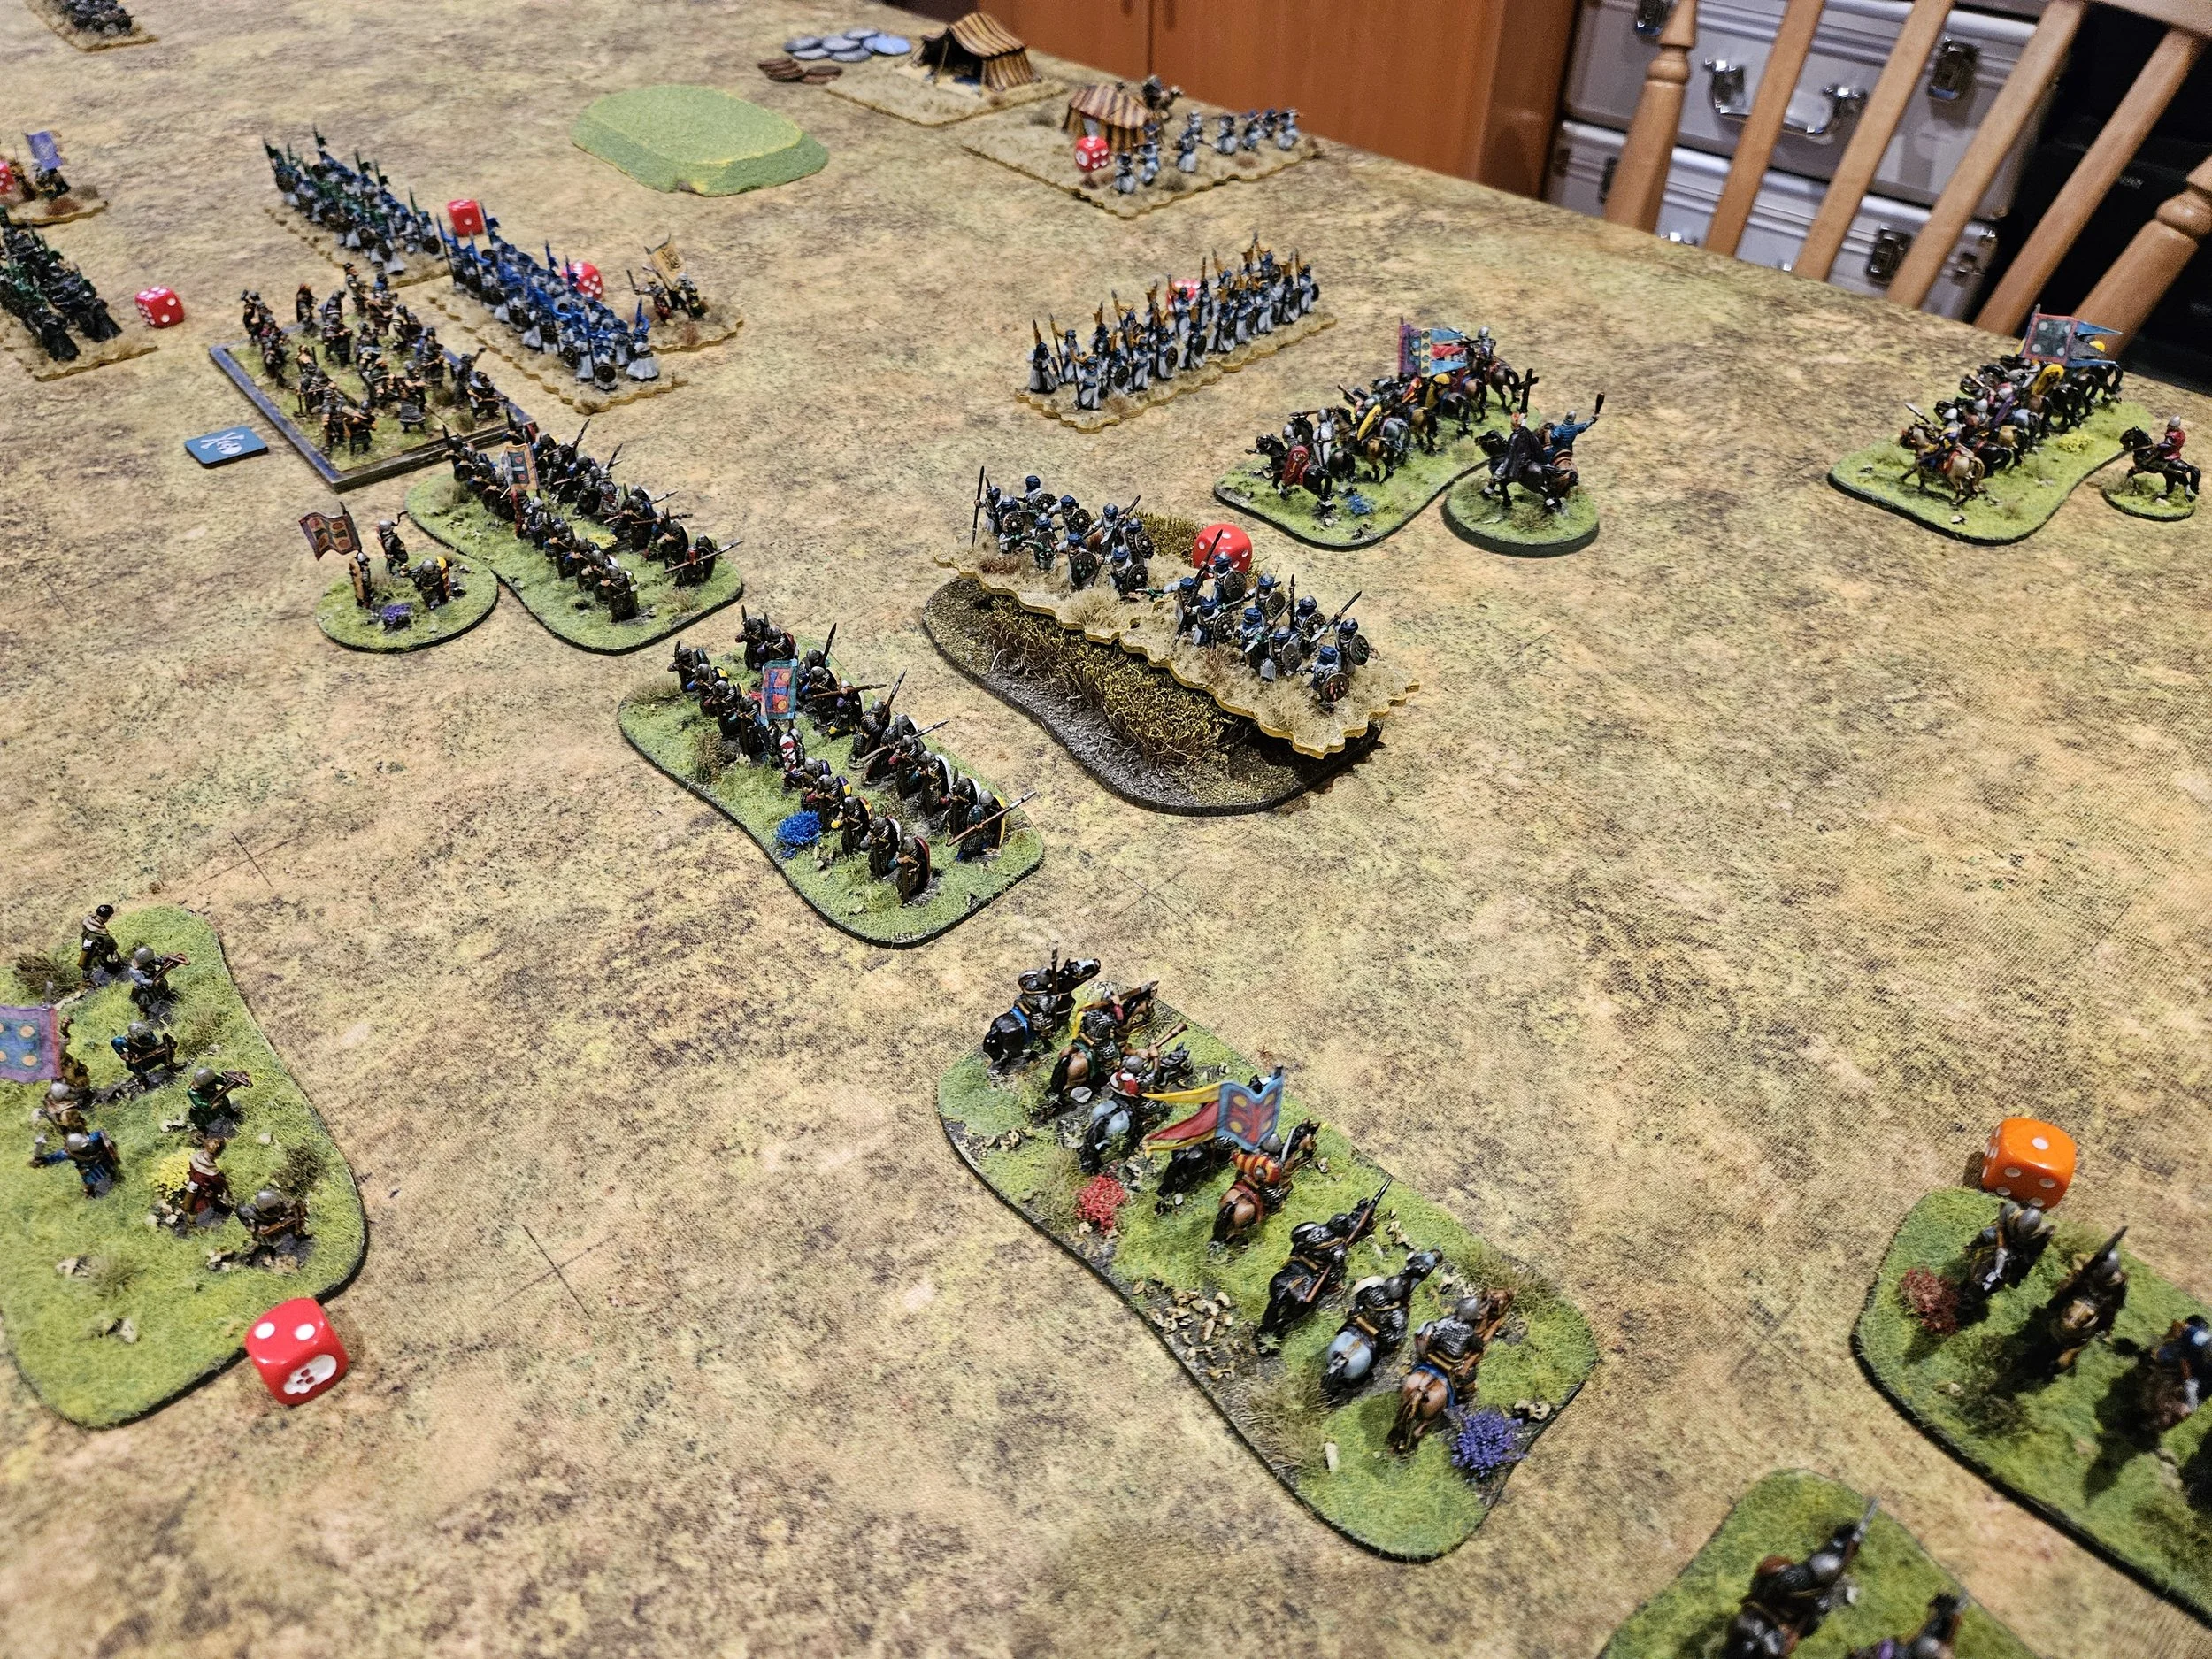
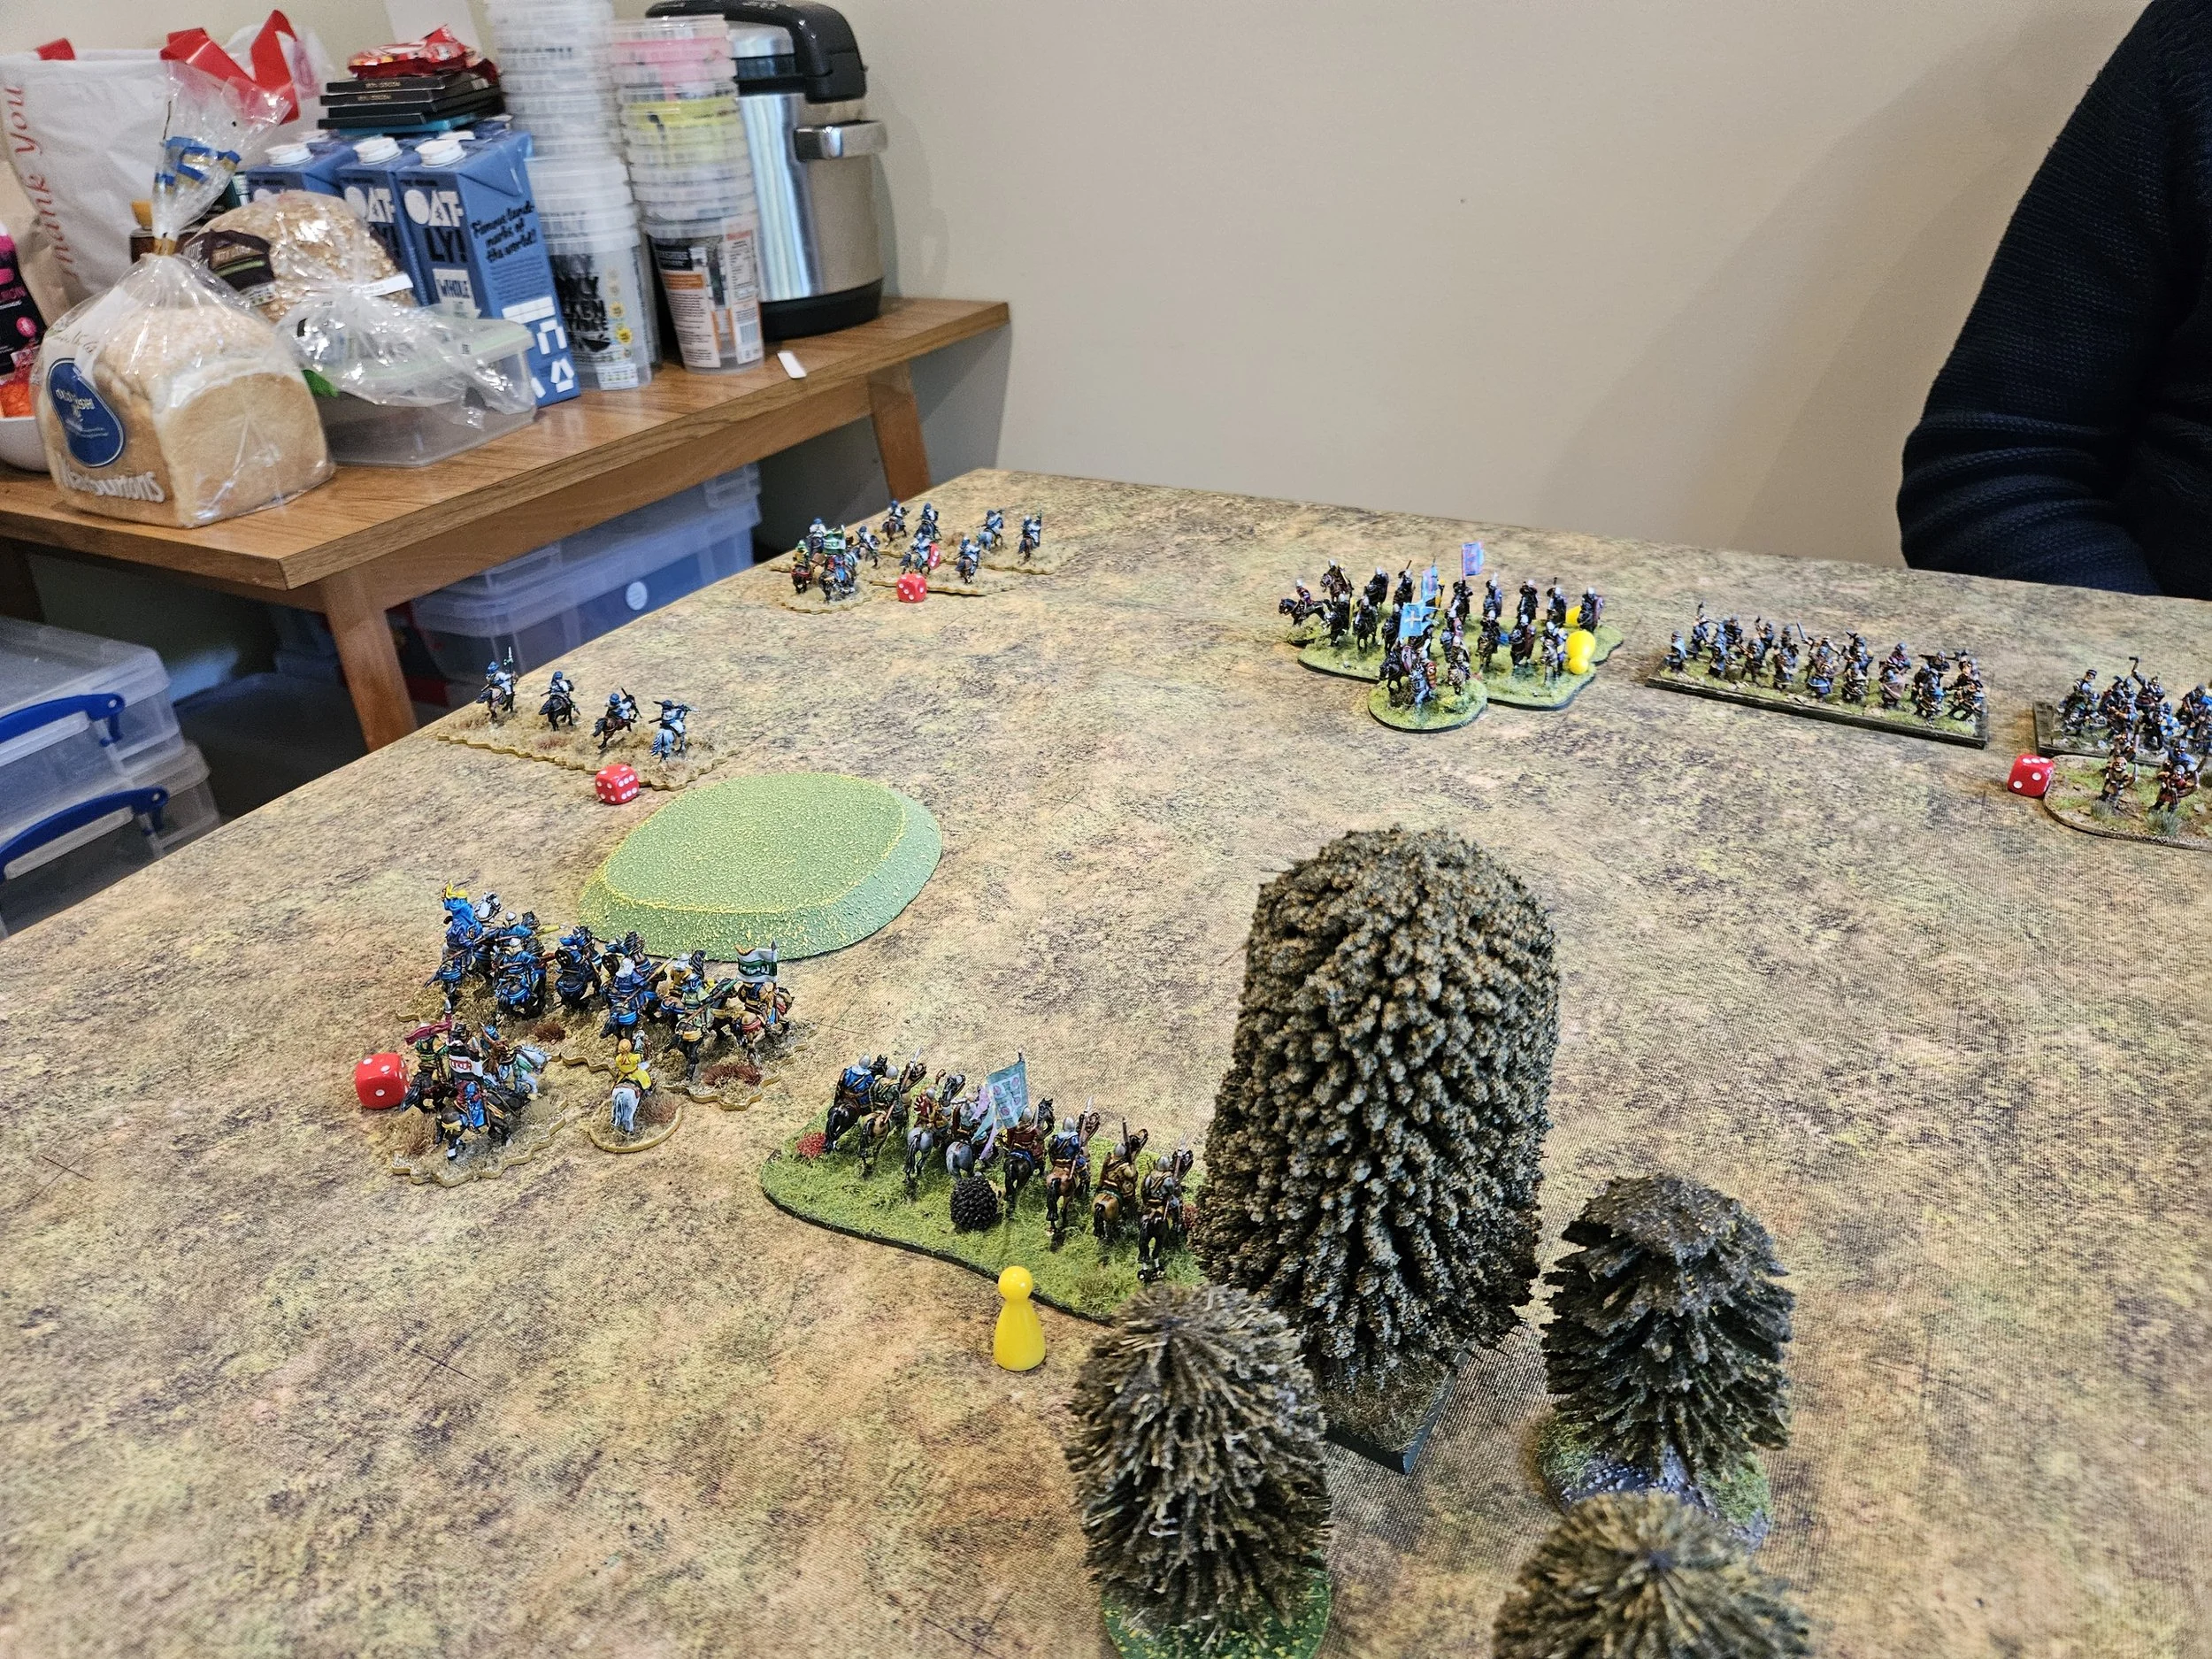
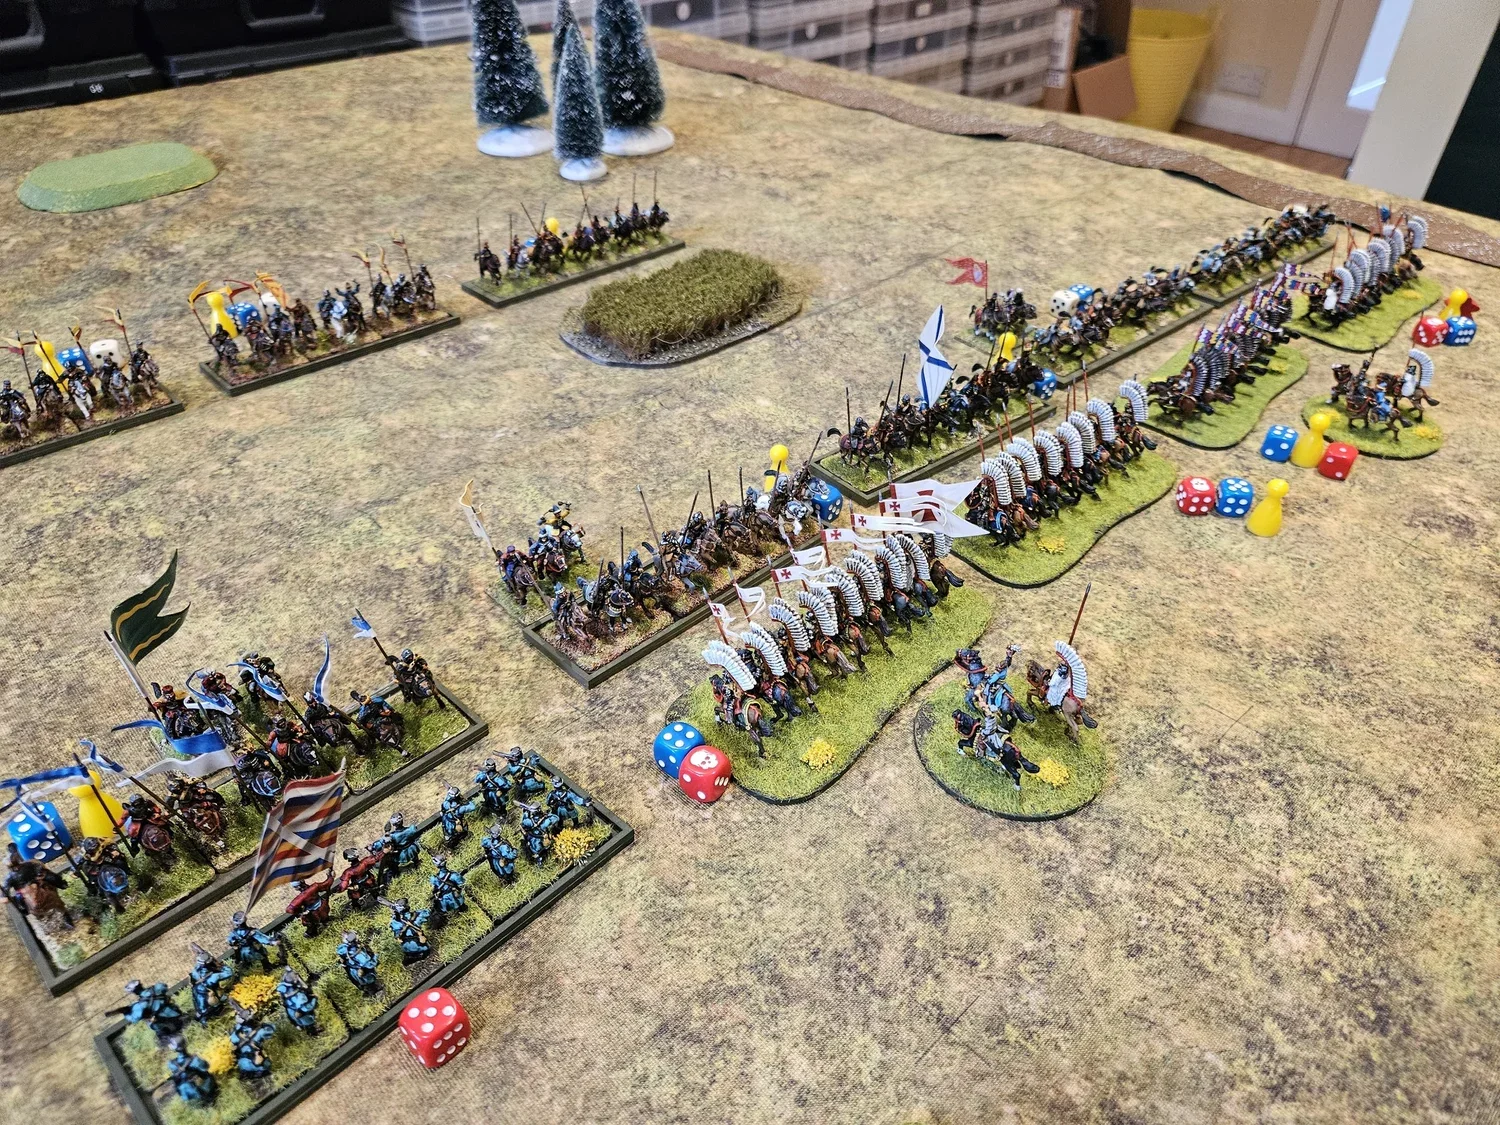
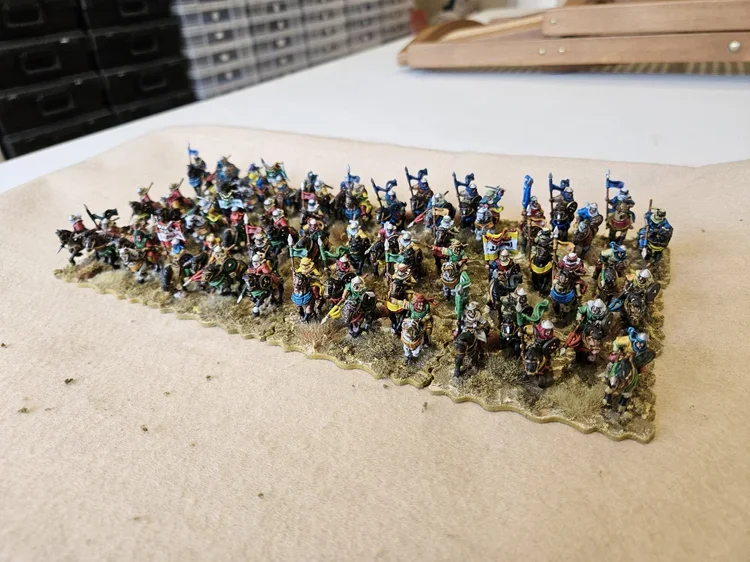
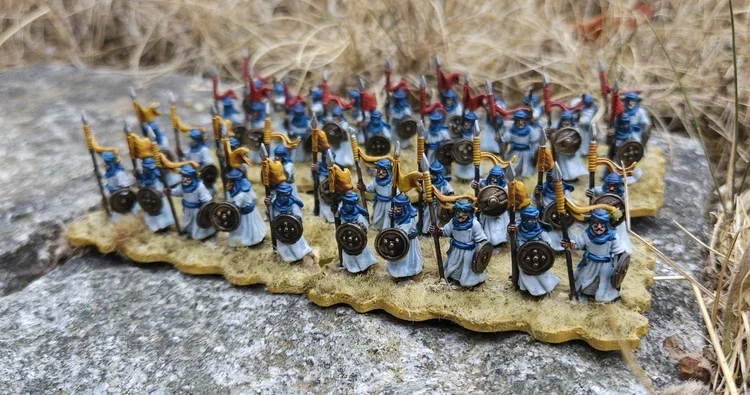
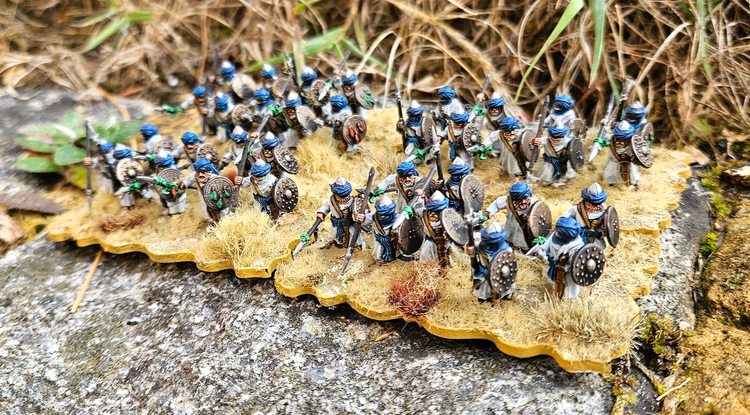
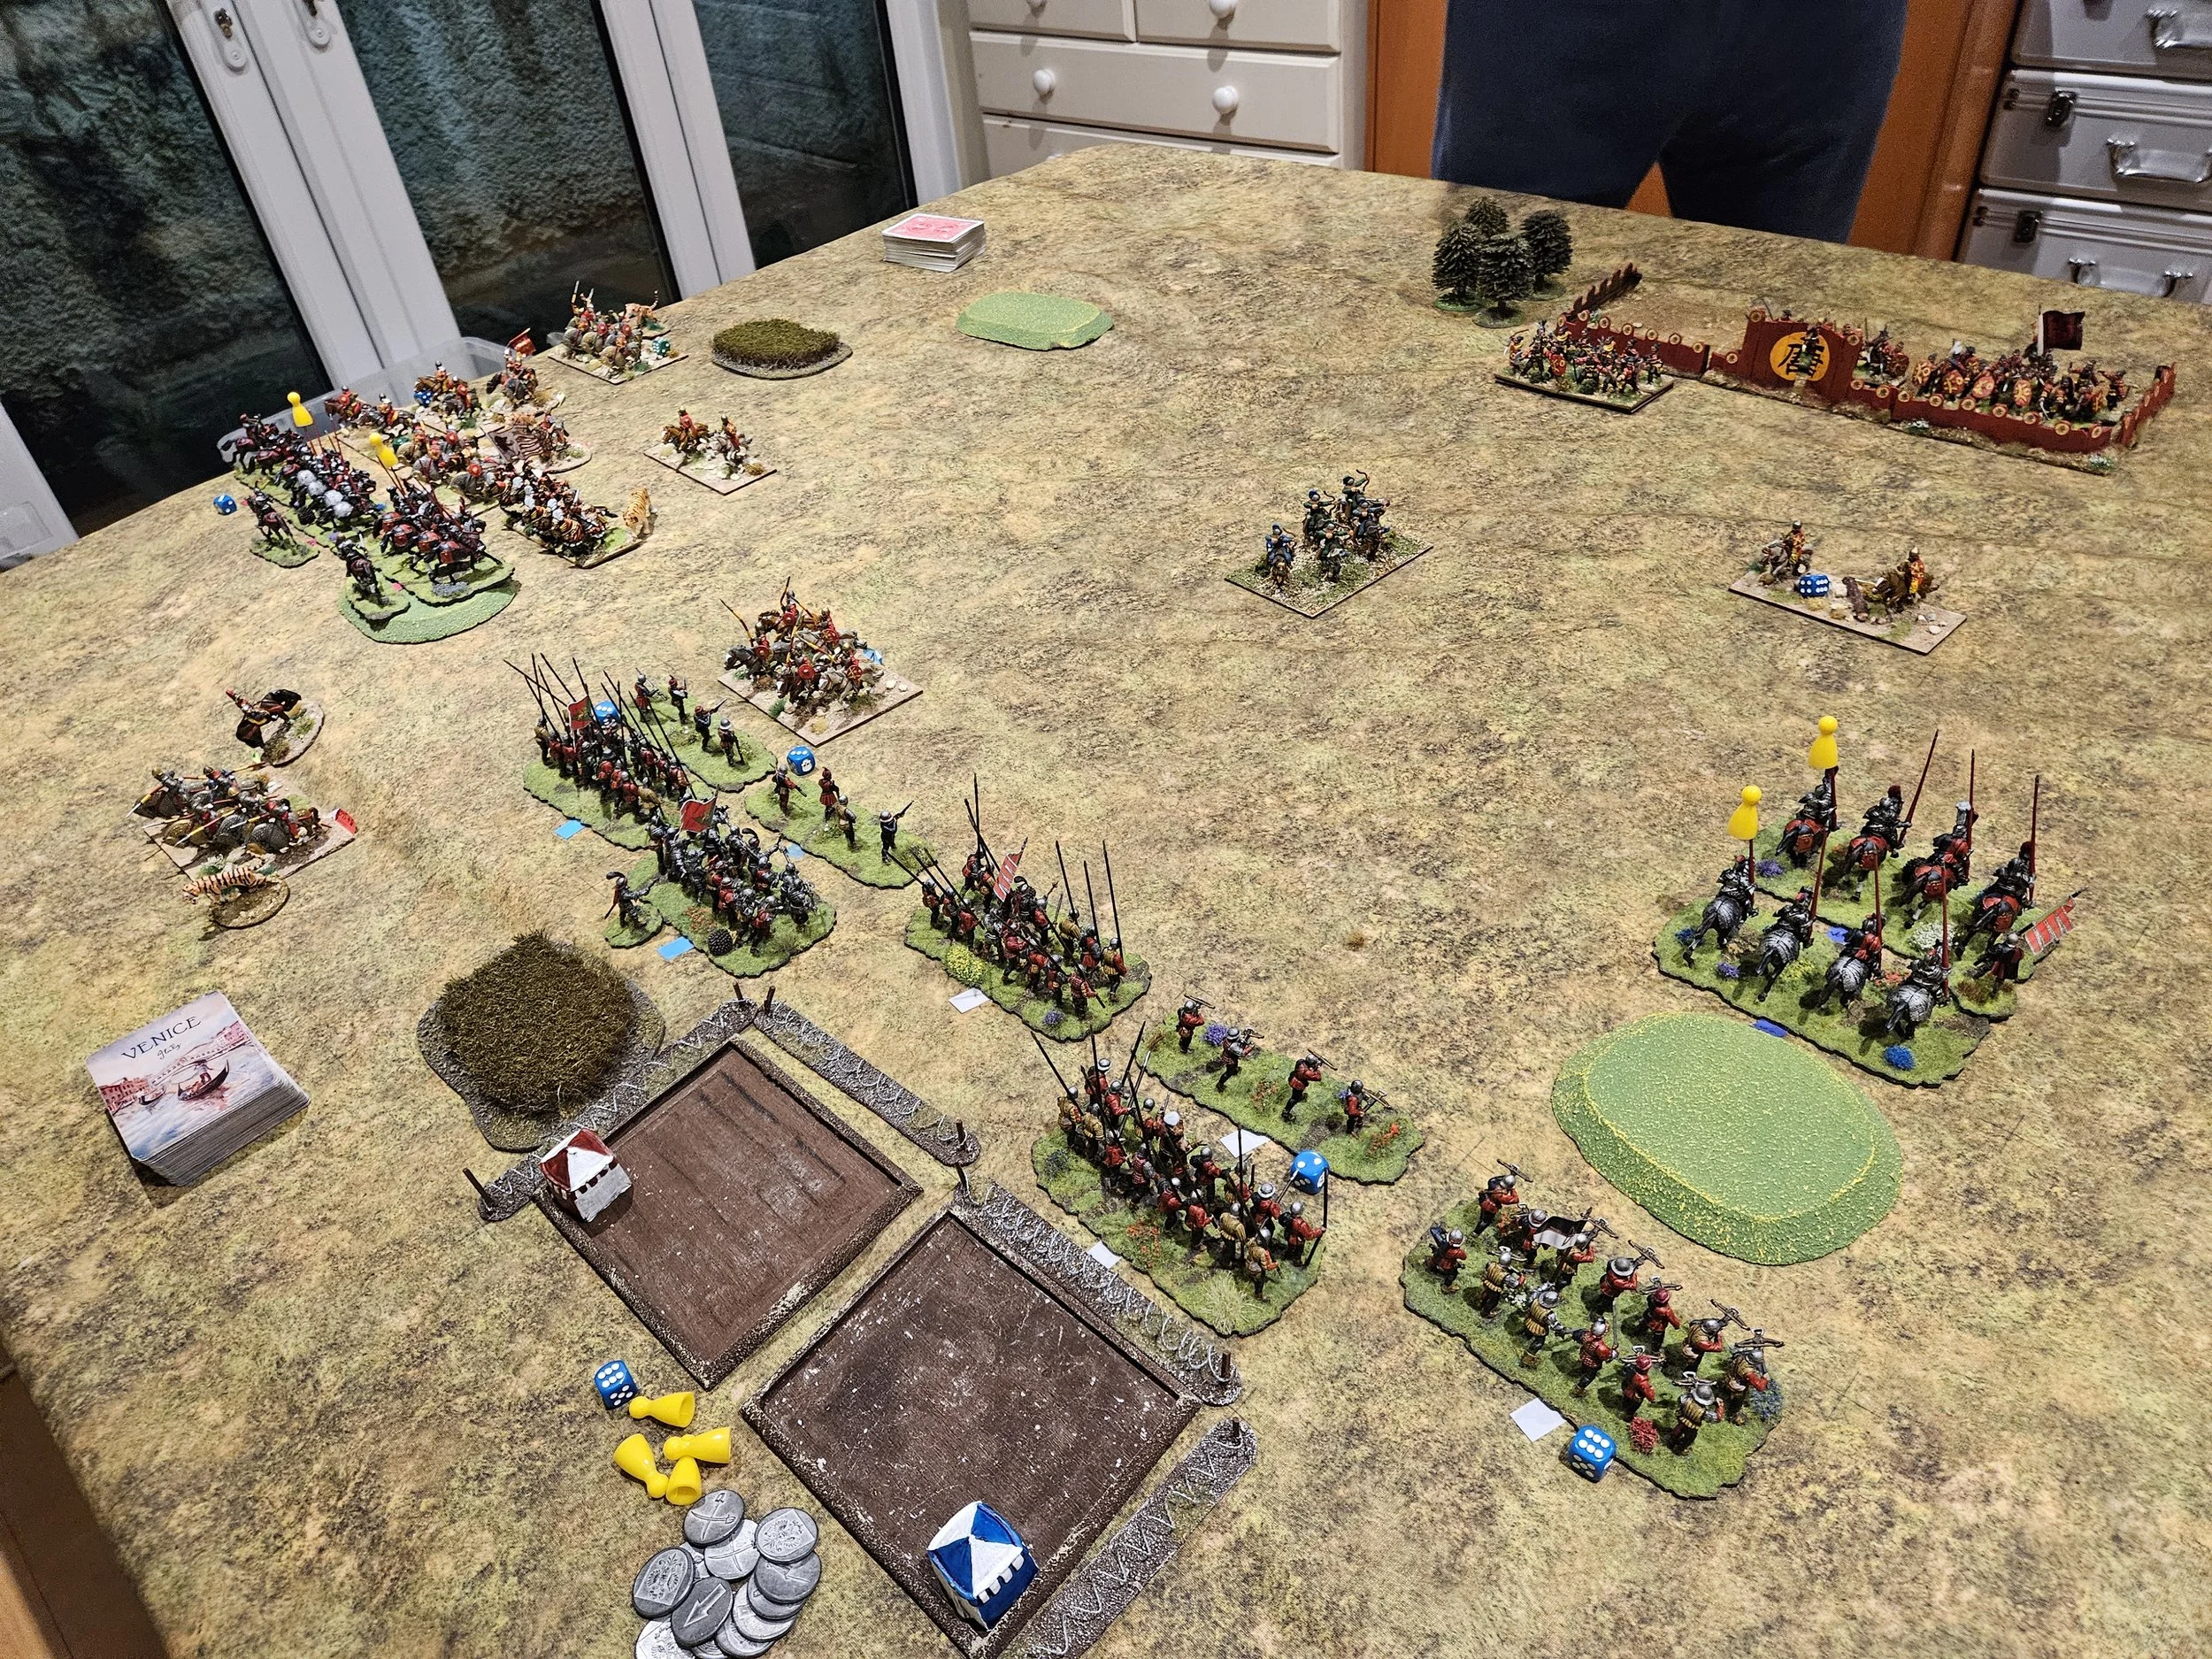
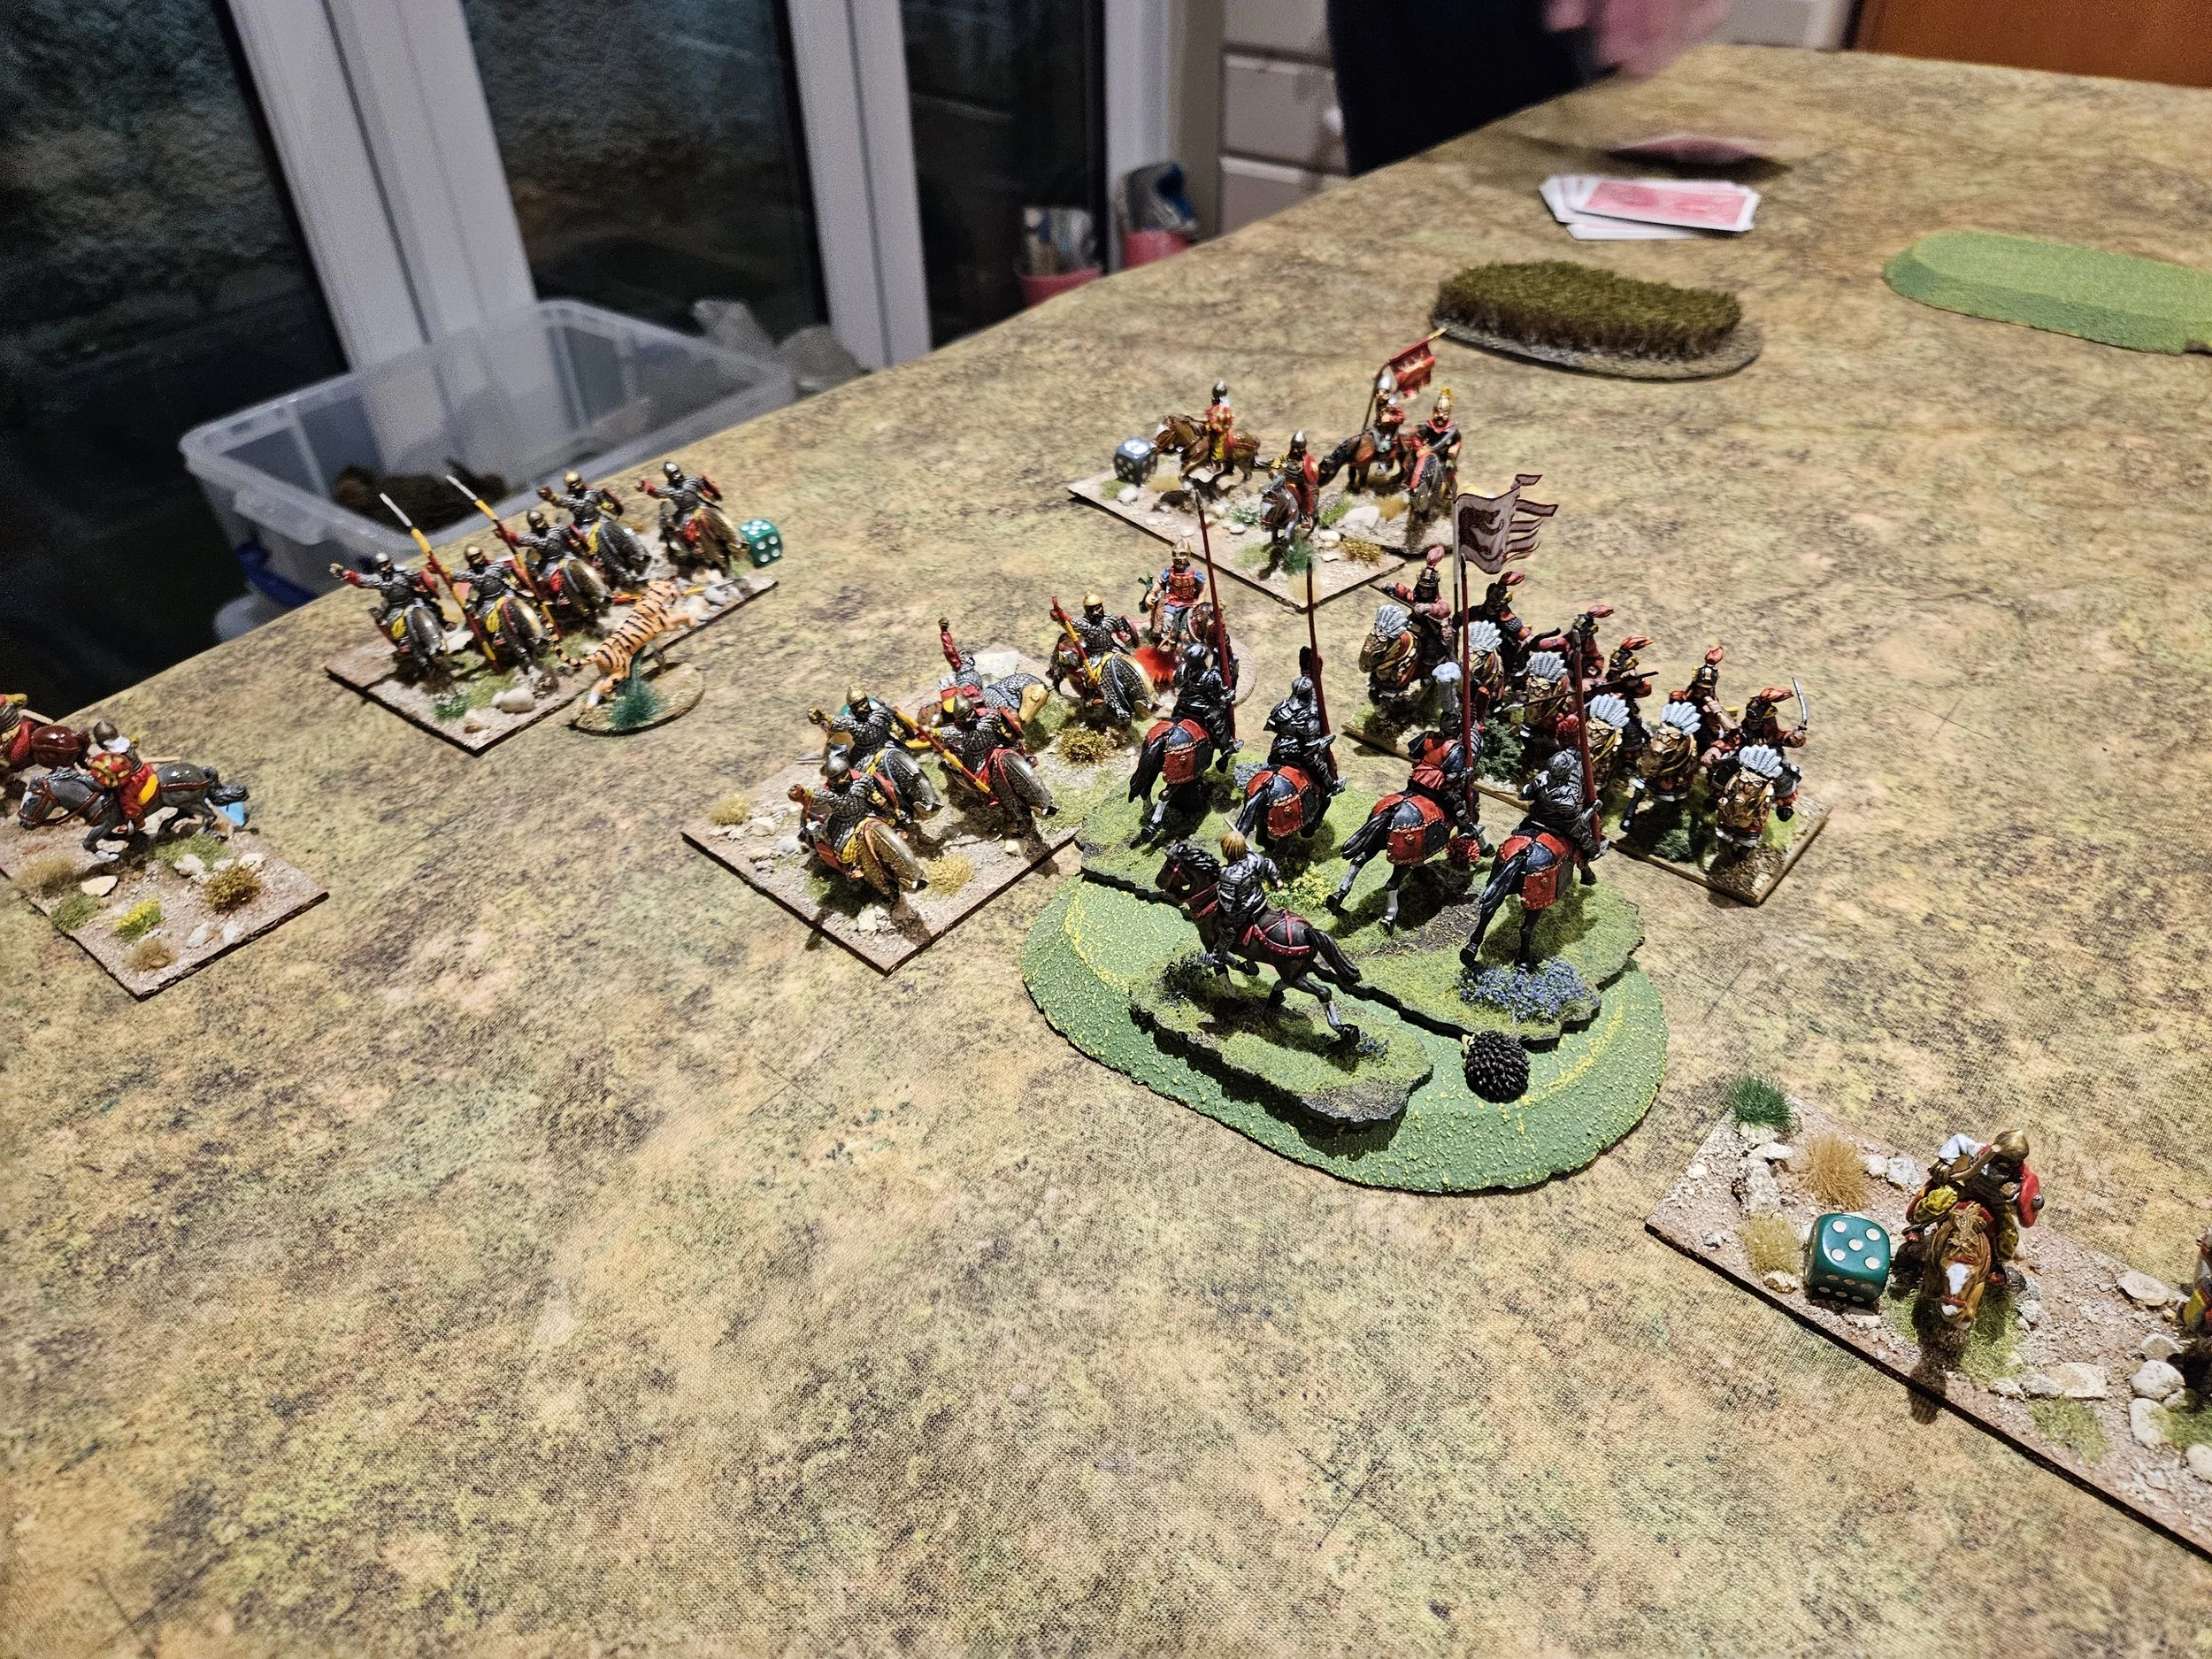
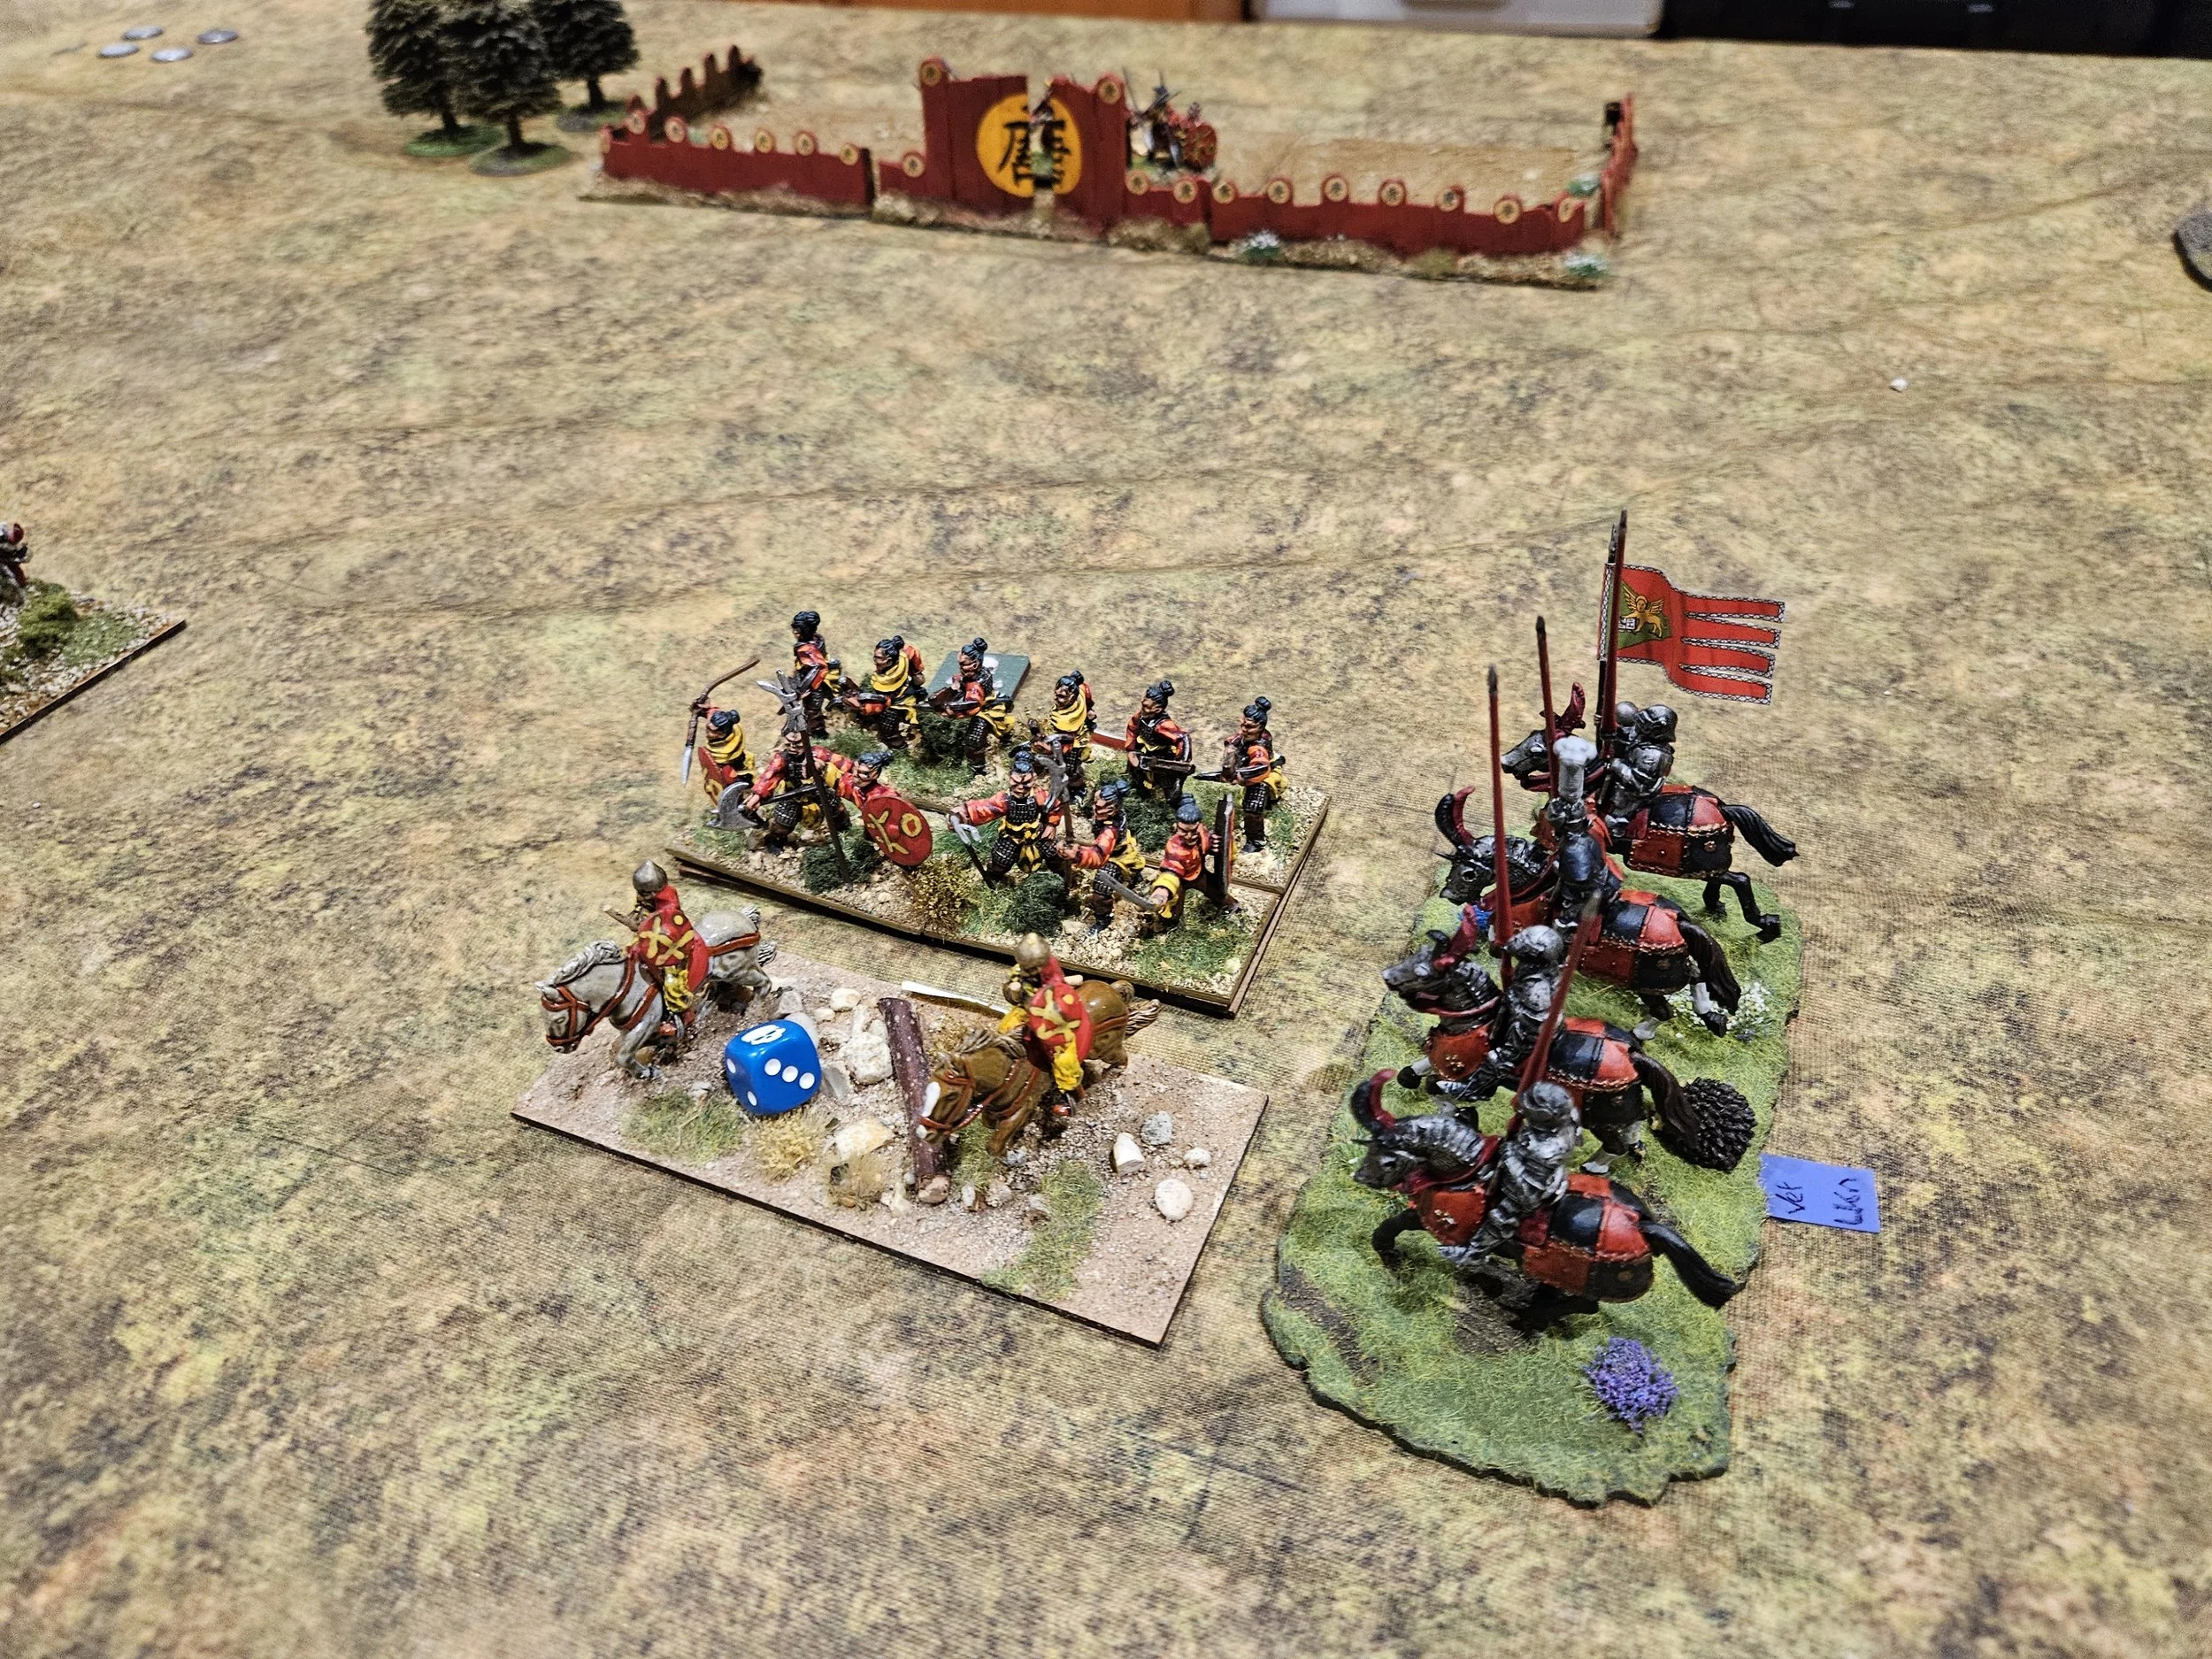
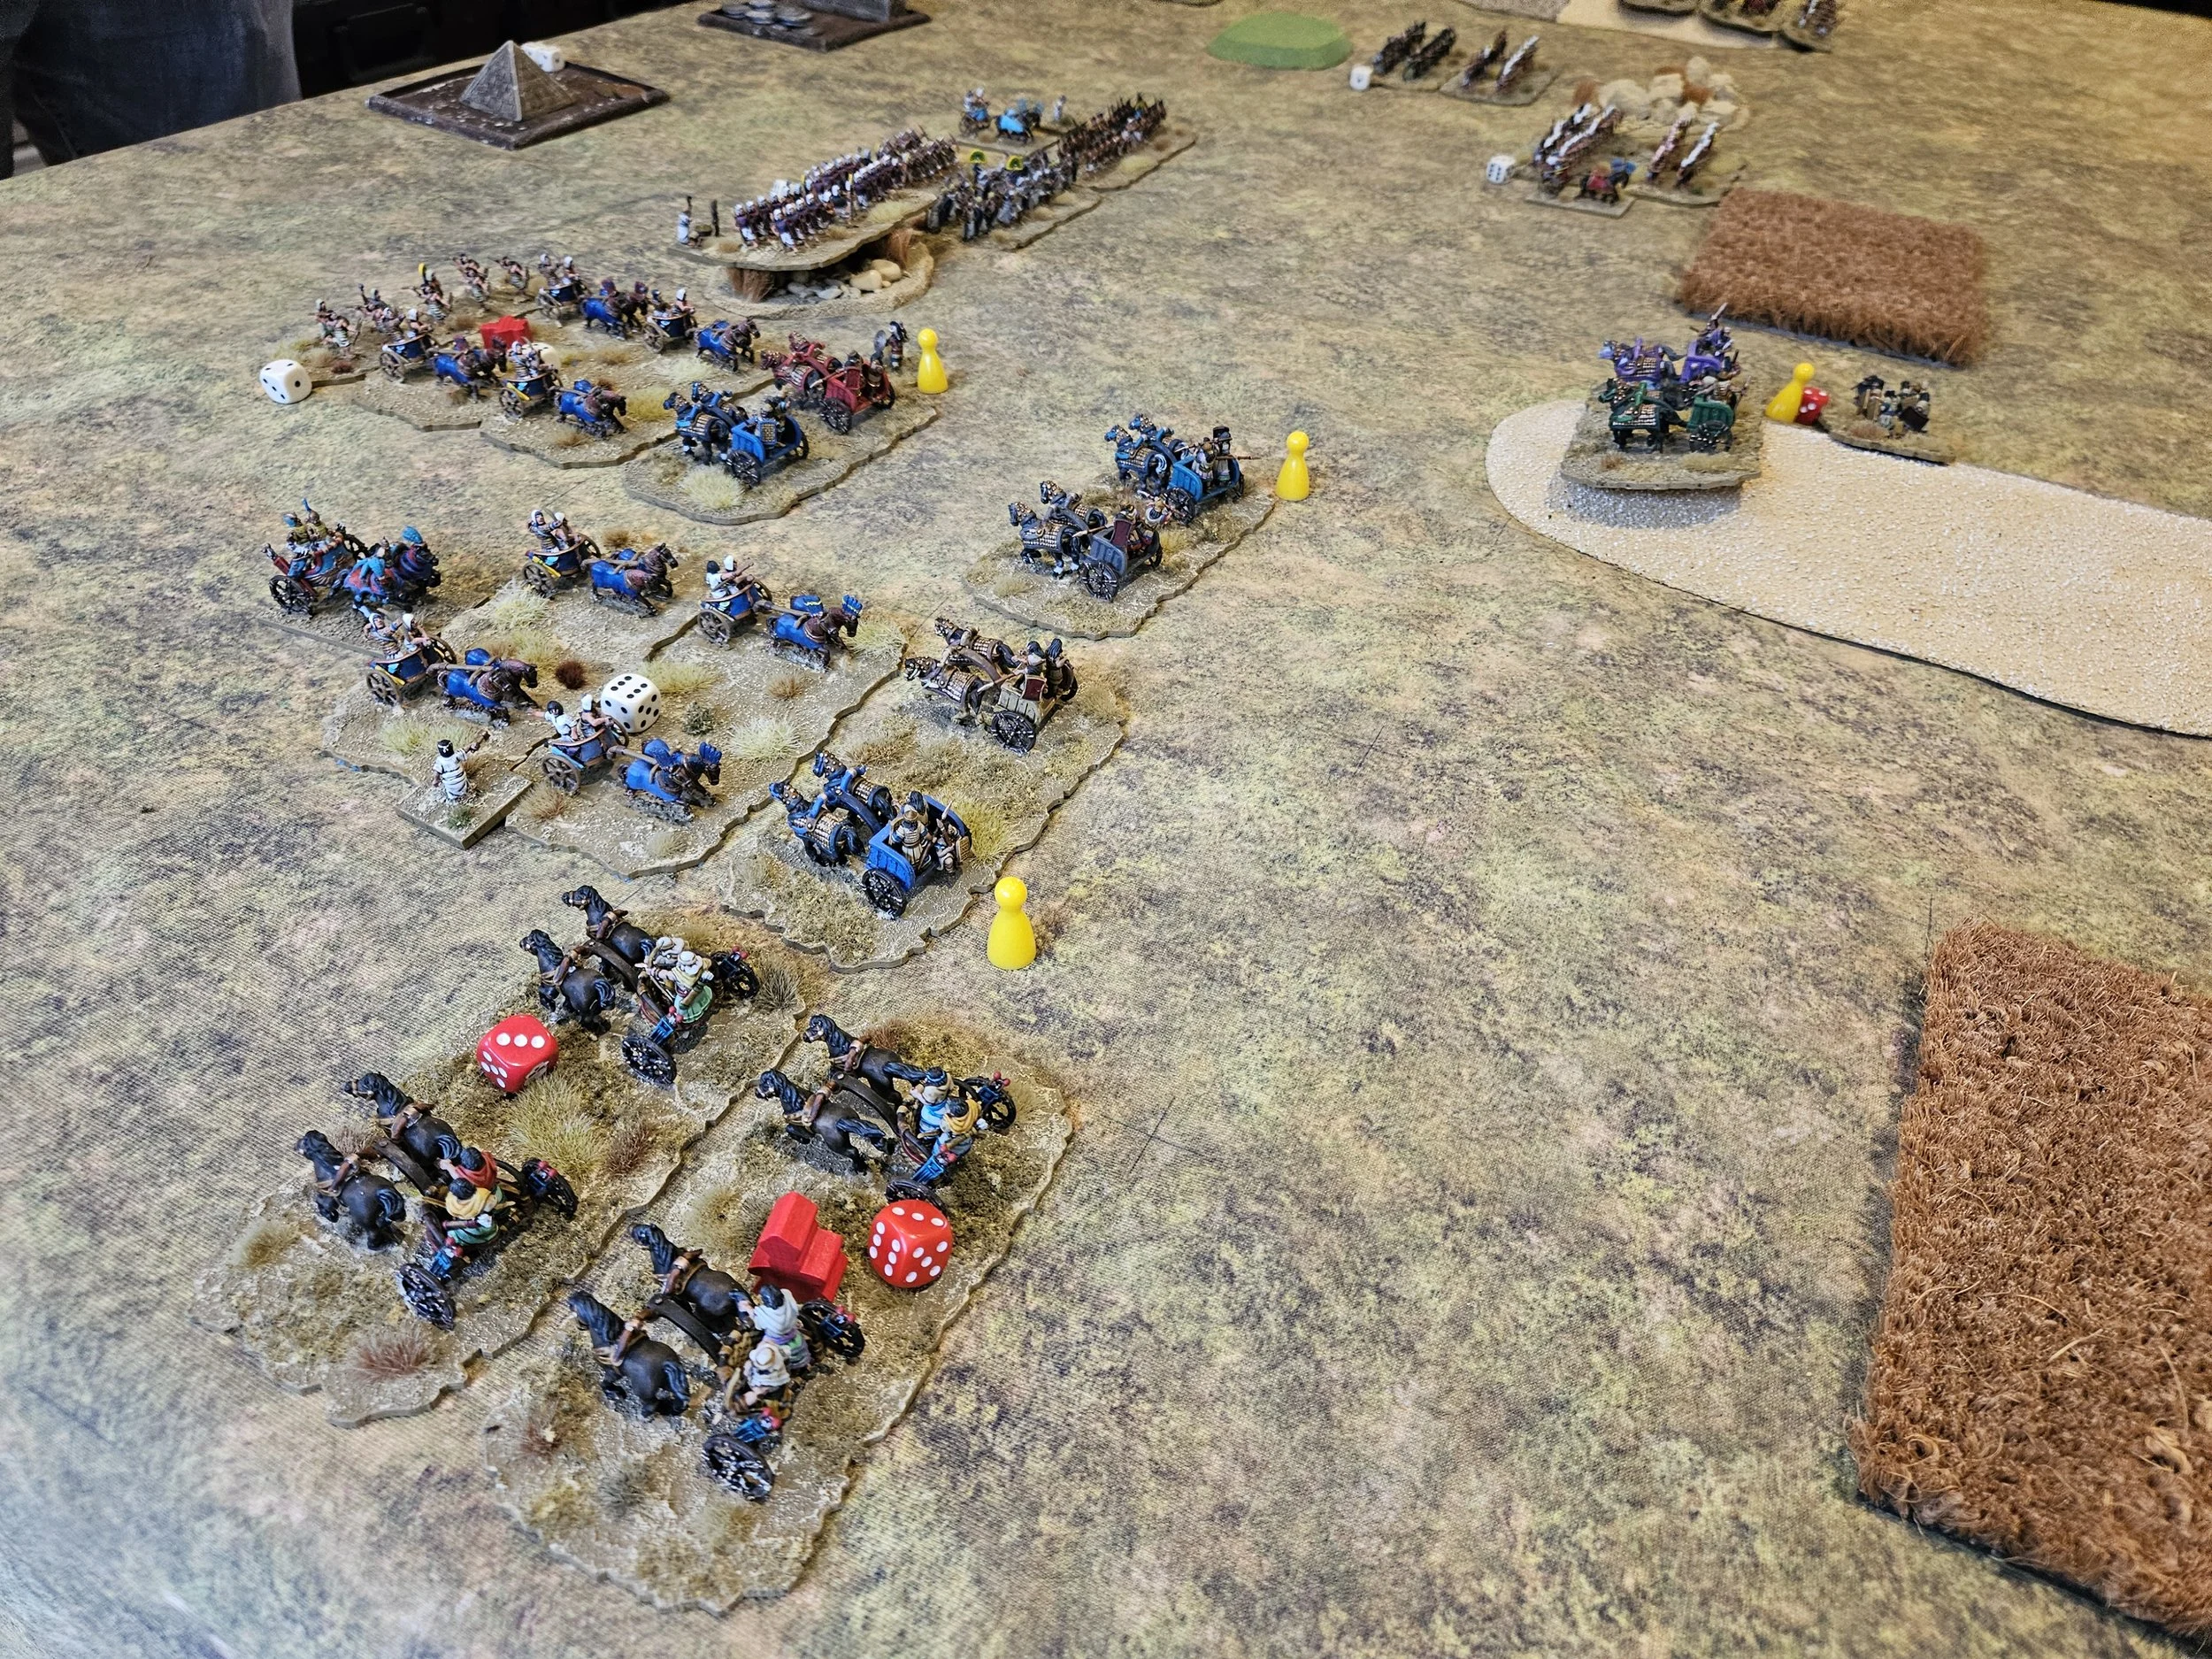
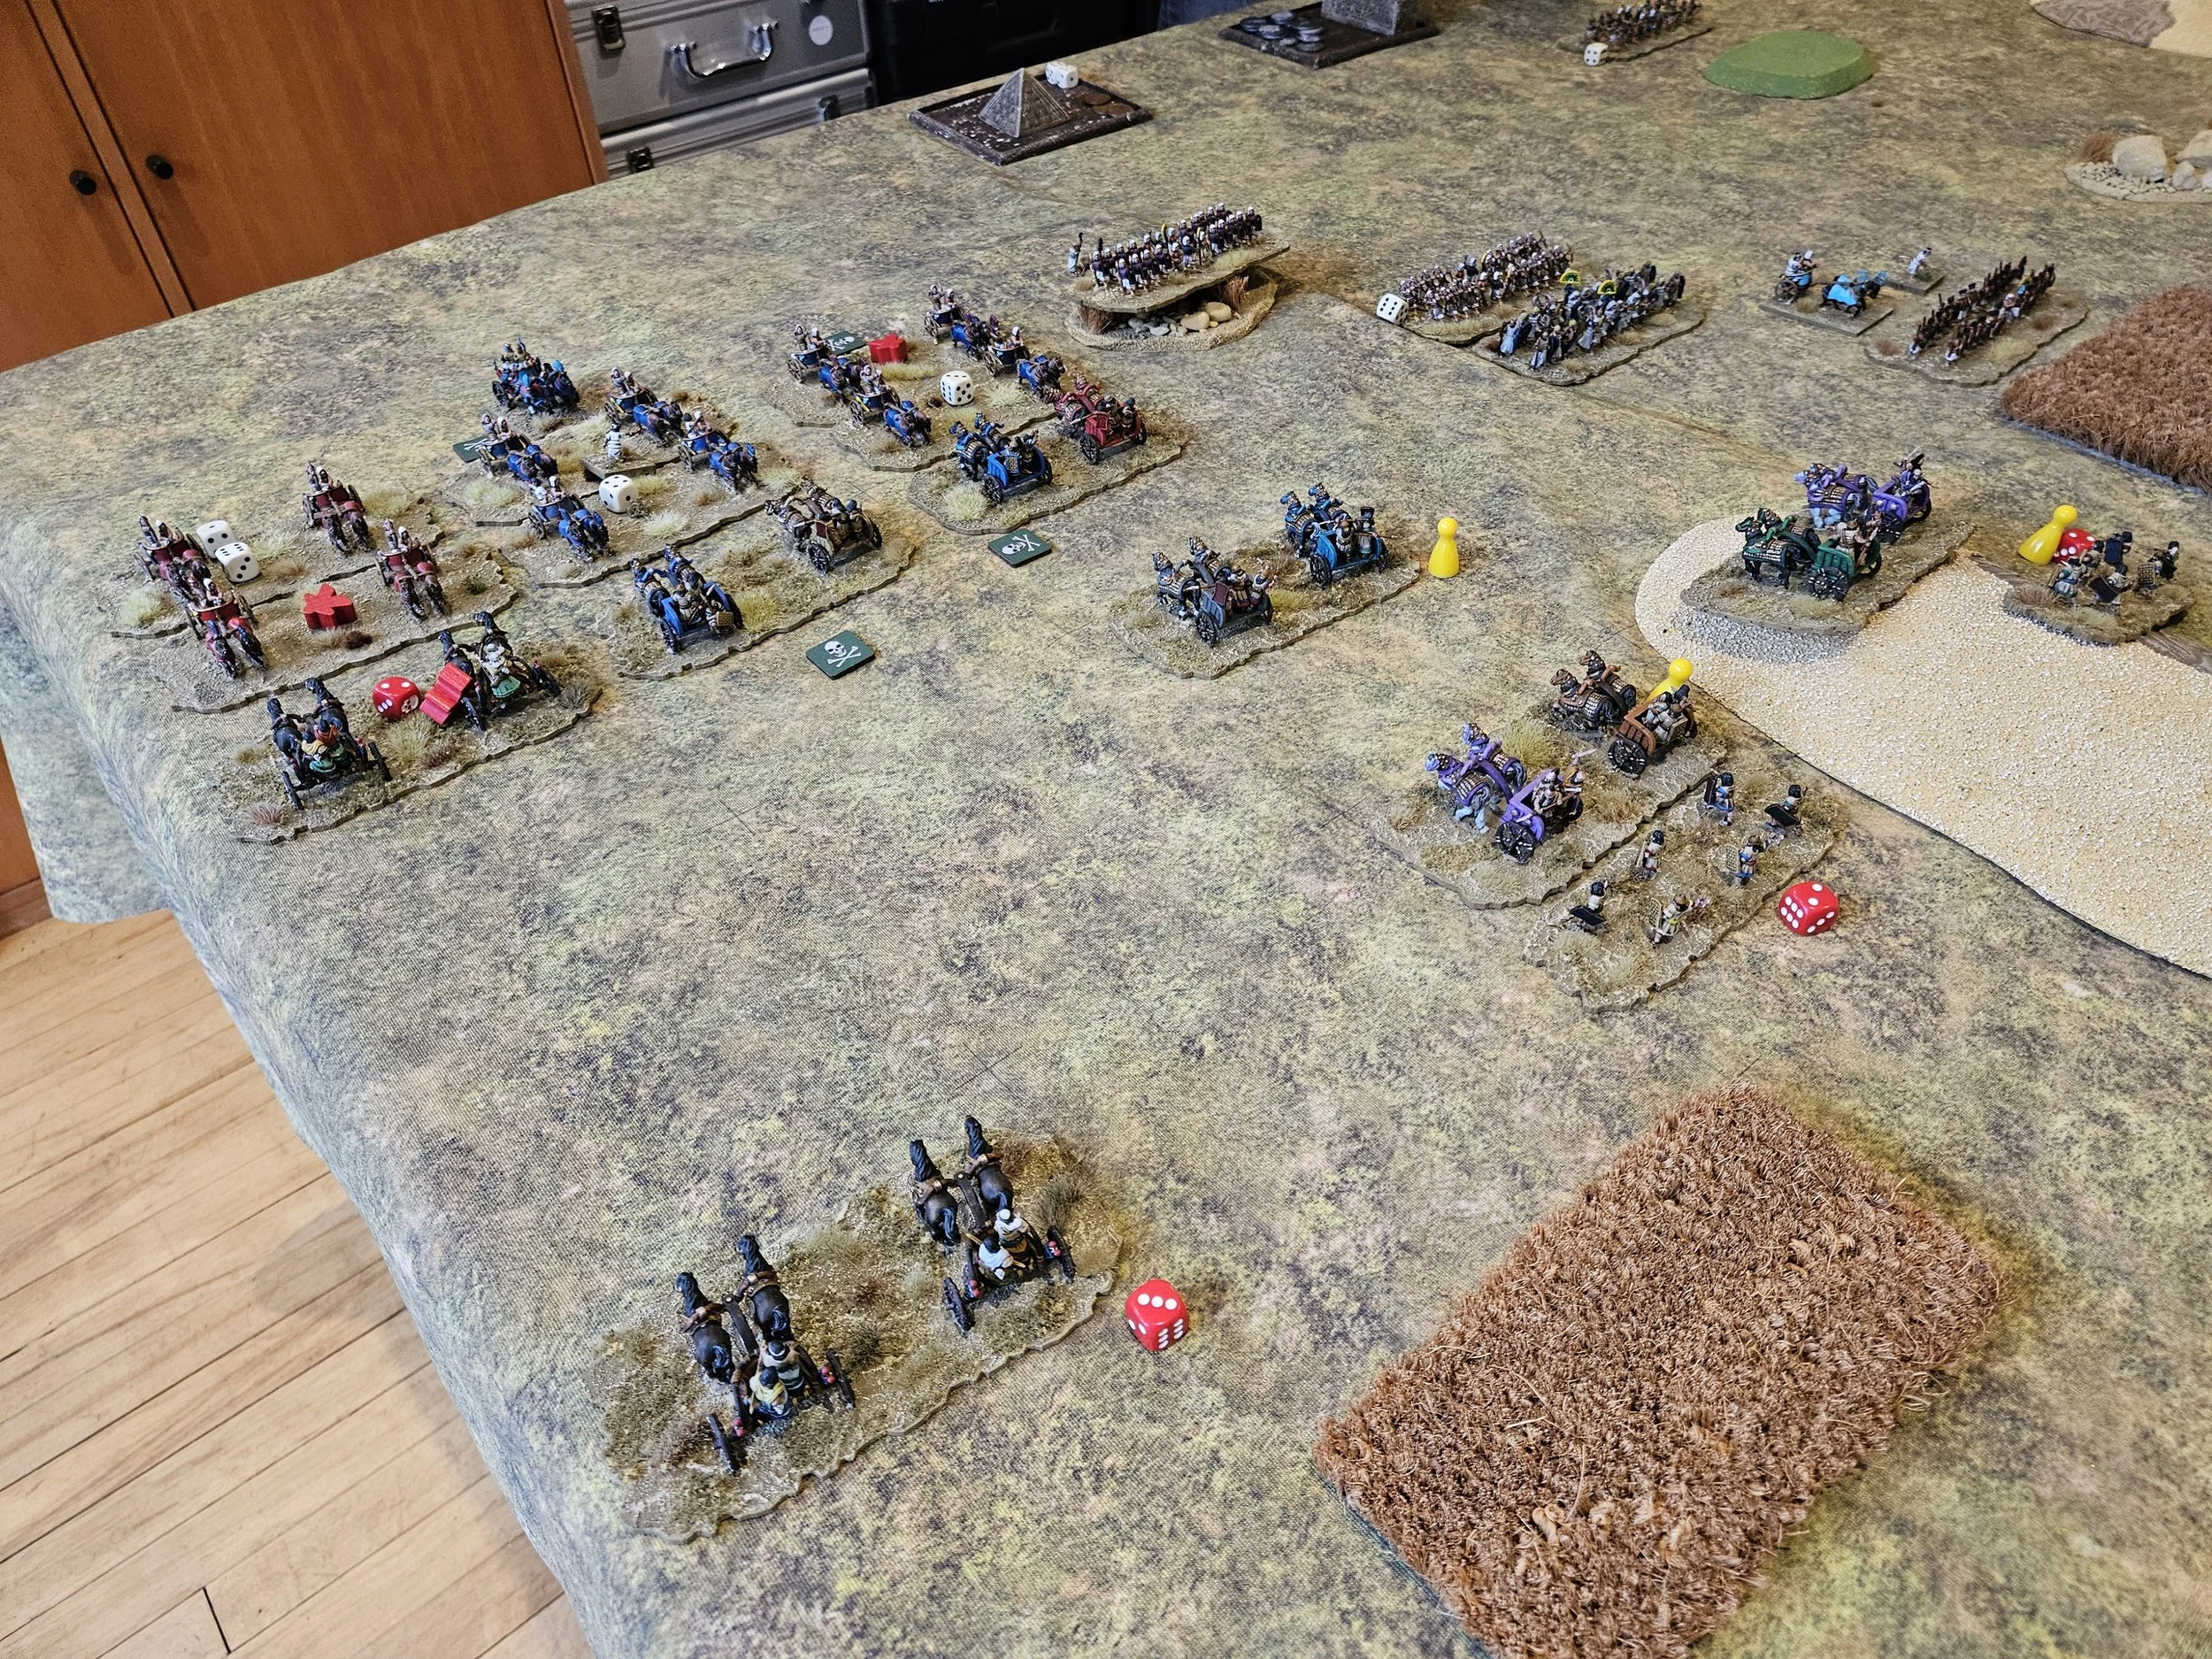
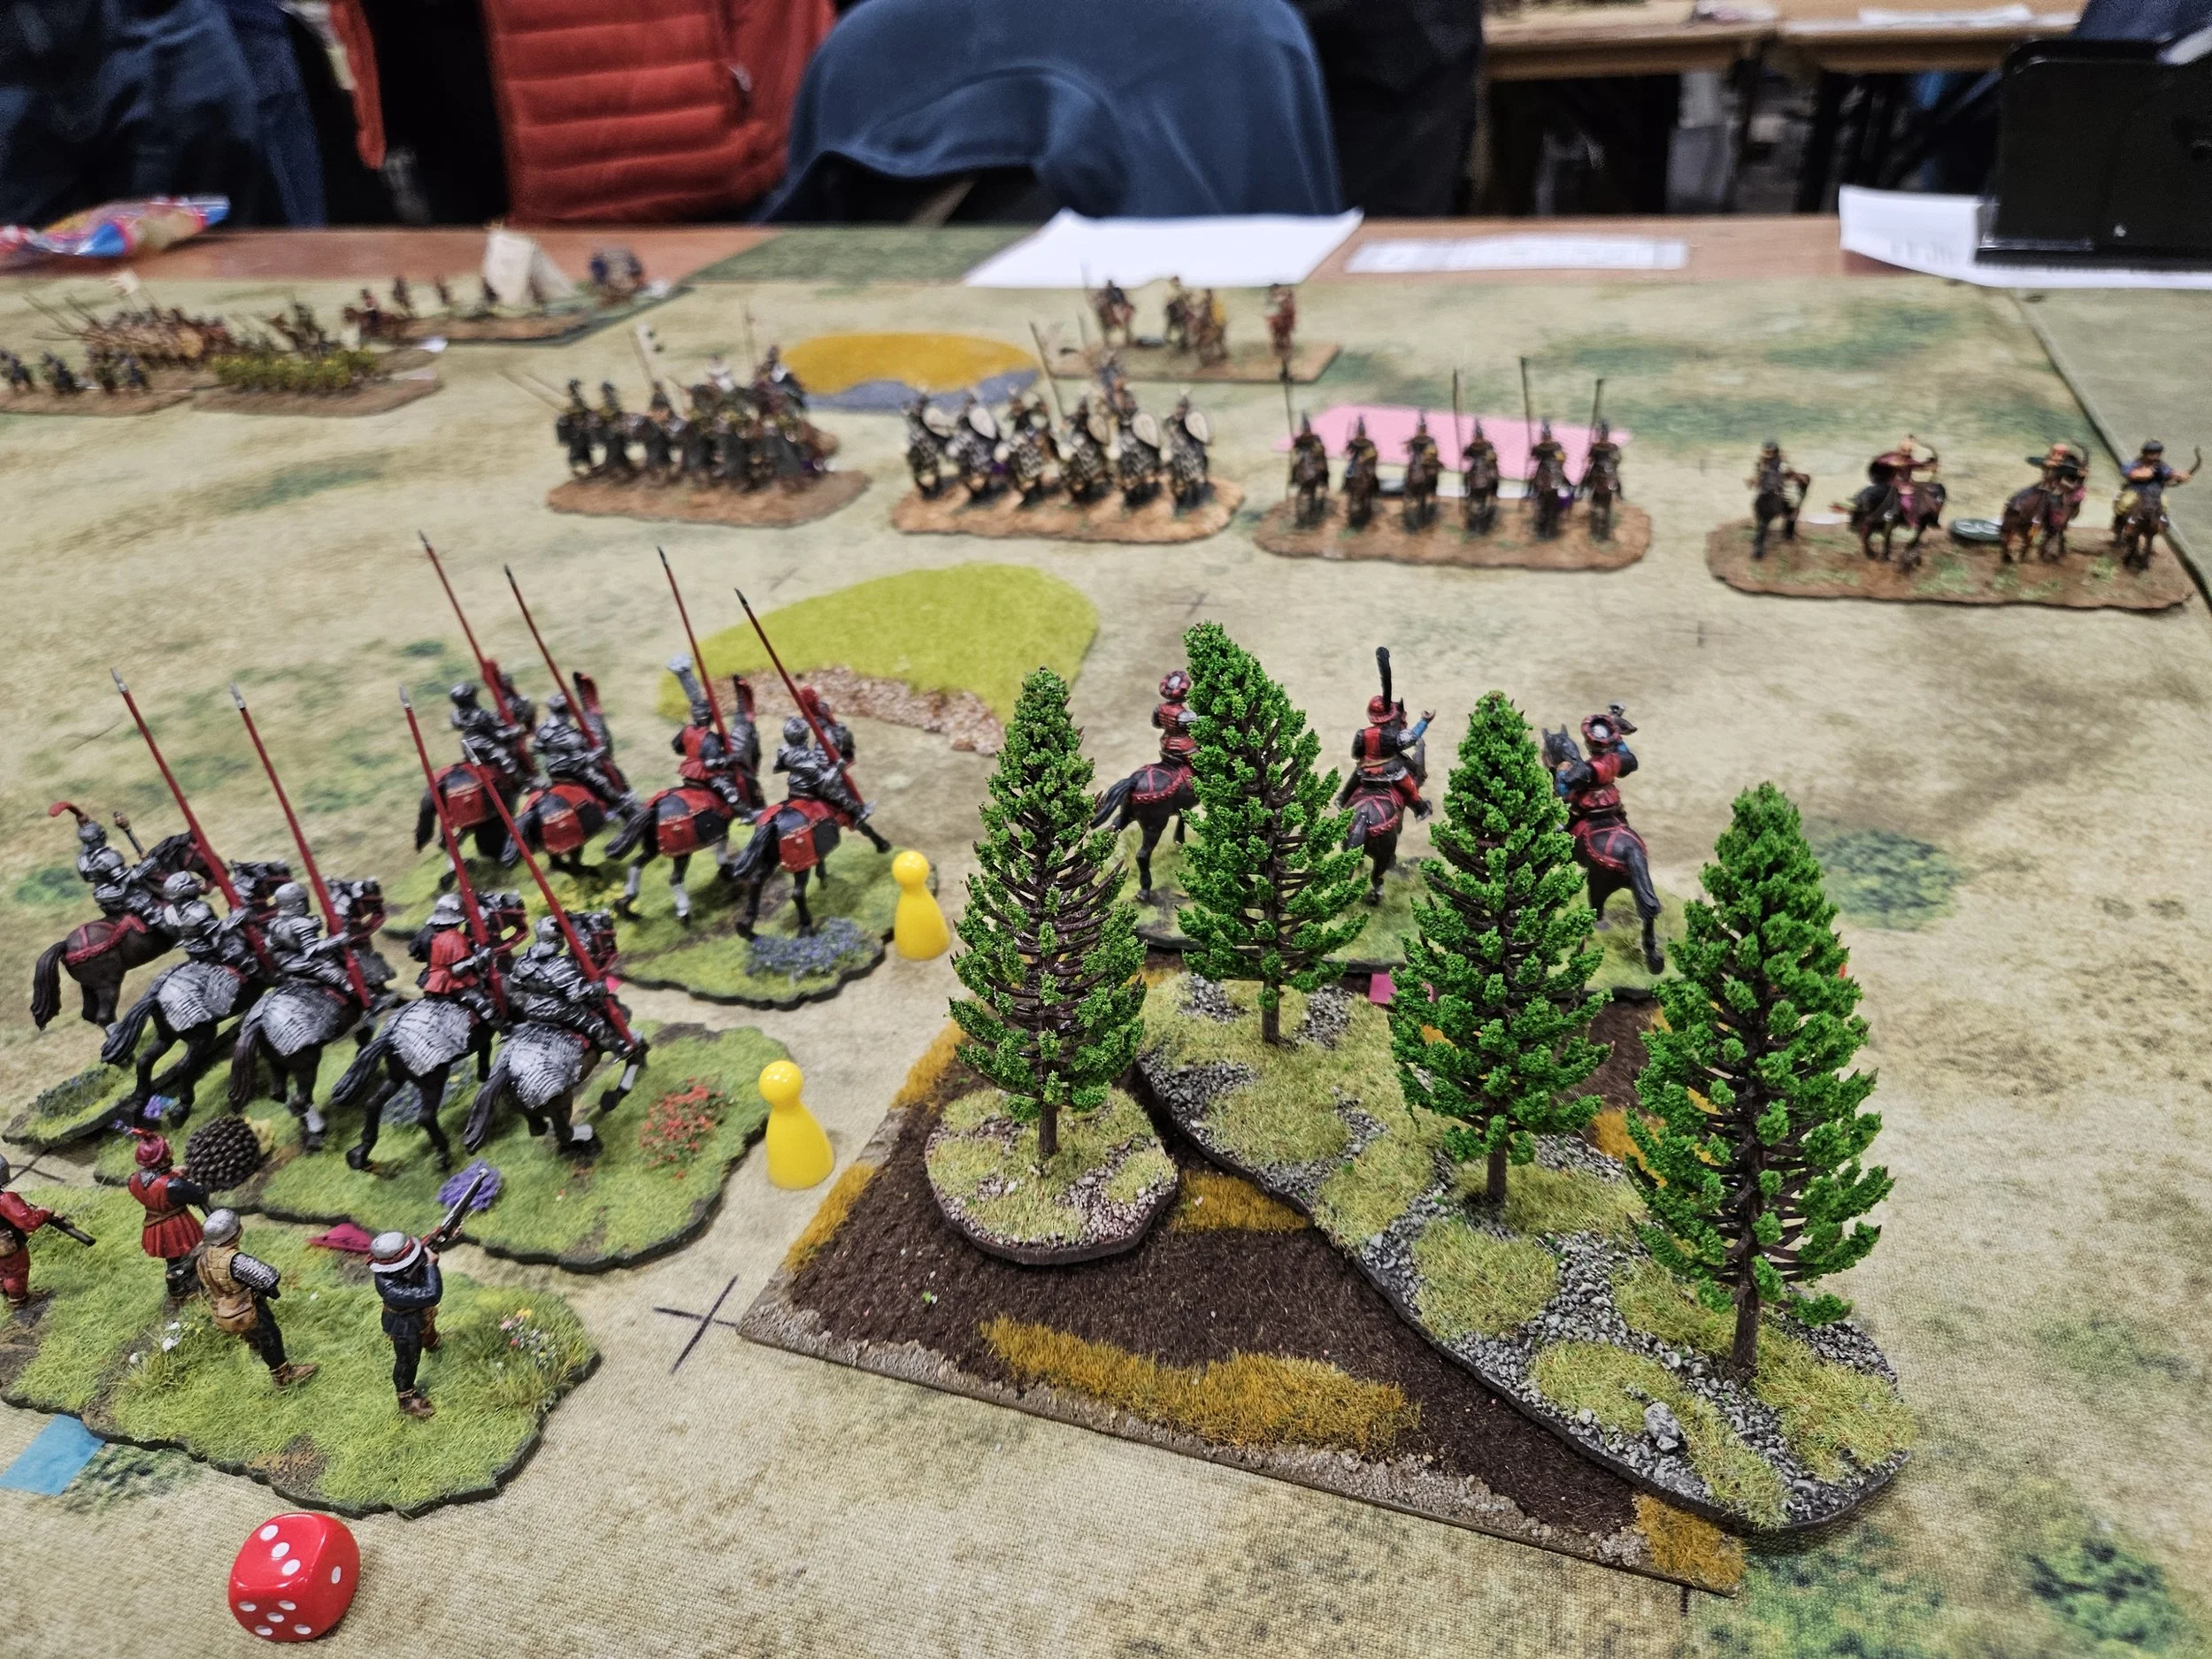
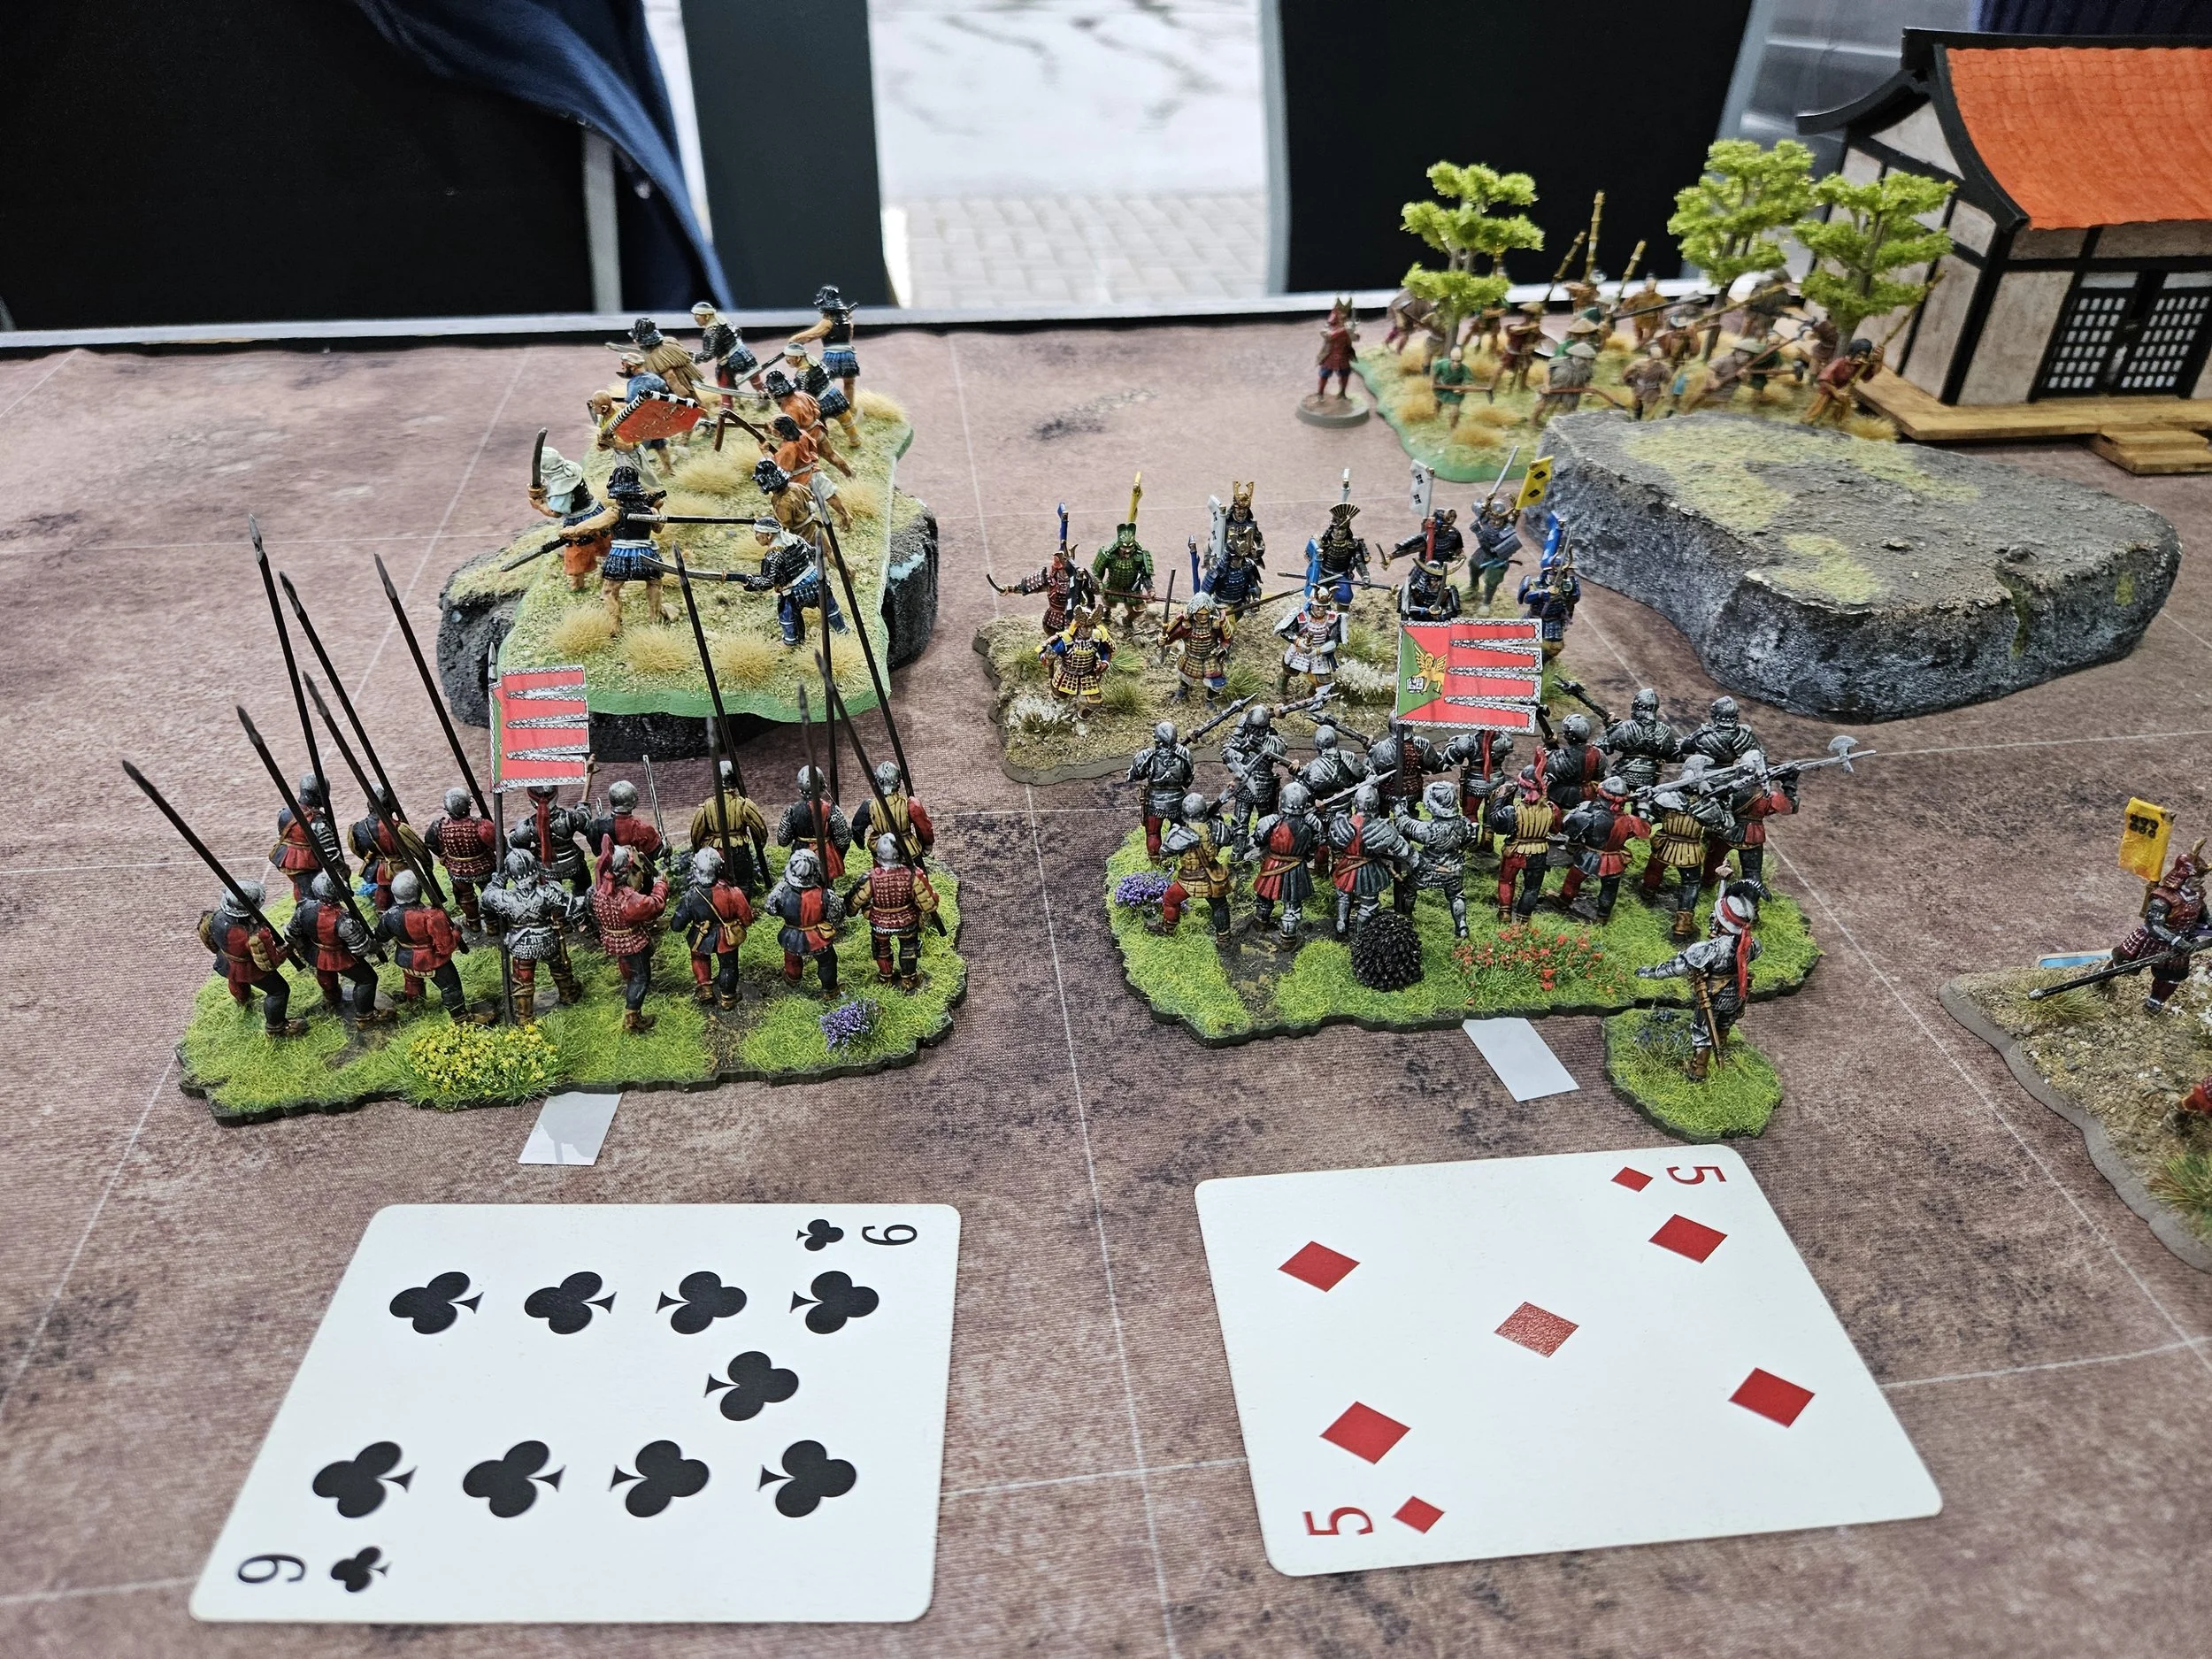
This is an unusual army consisting of a mix of raw and veteran fanatics wielding naginatas and other polearms, supported by a small contingent of fanatical cavalry and the odd unit of bowmen and handgunners.
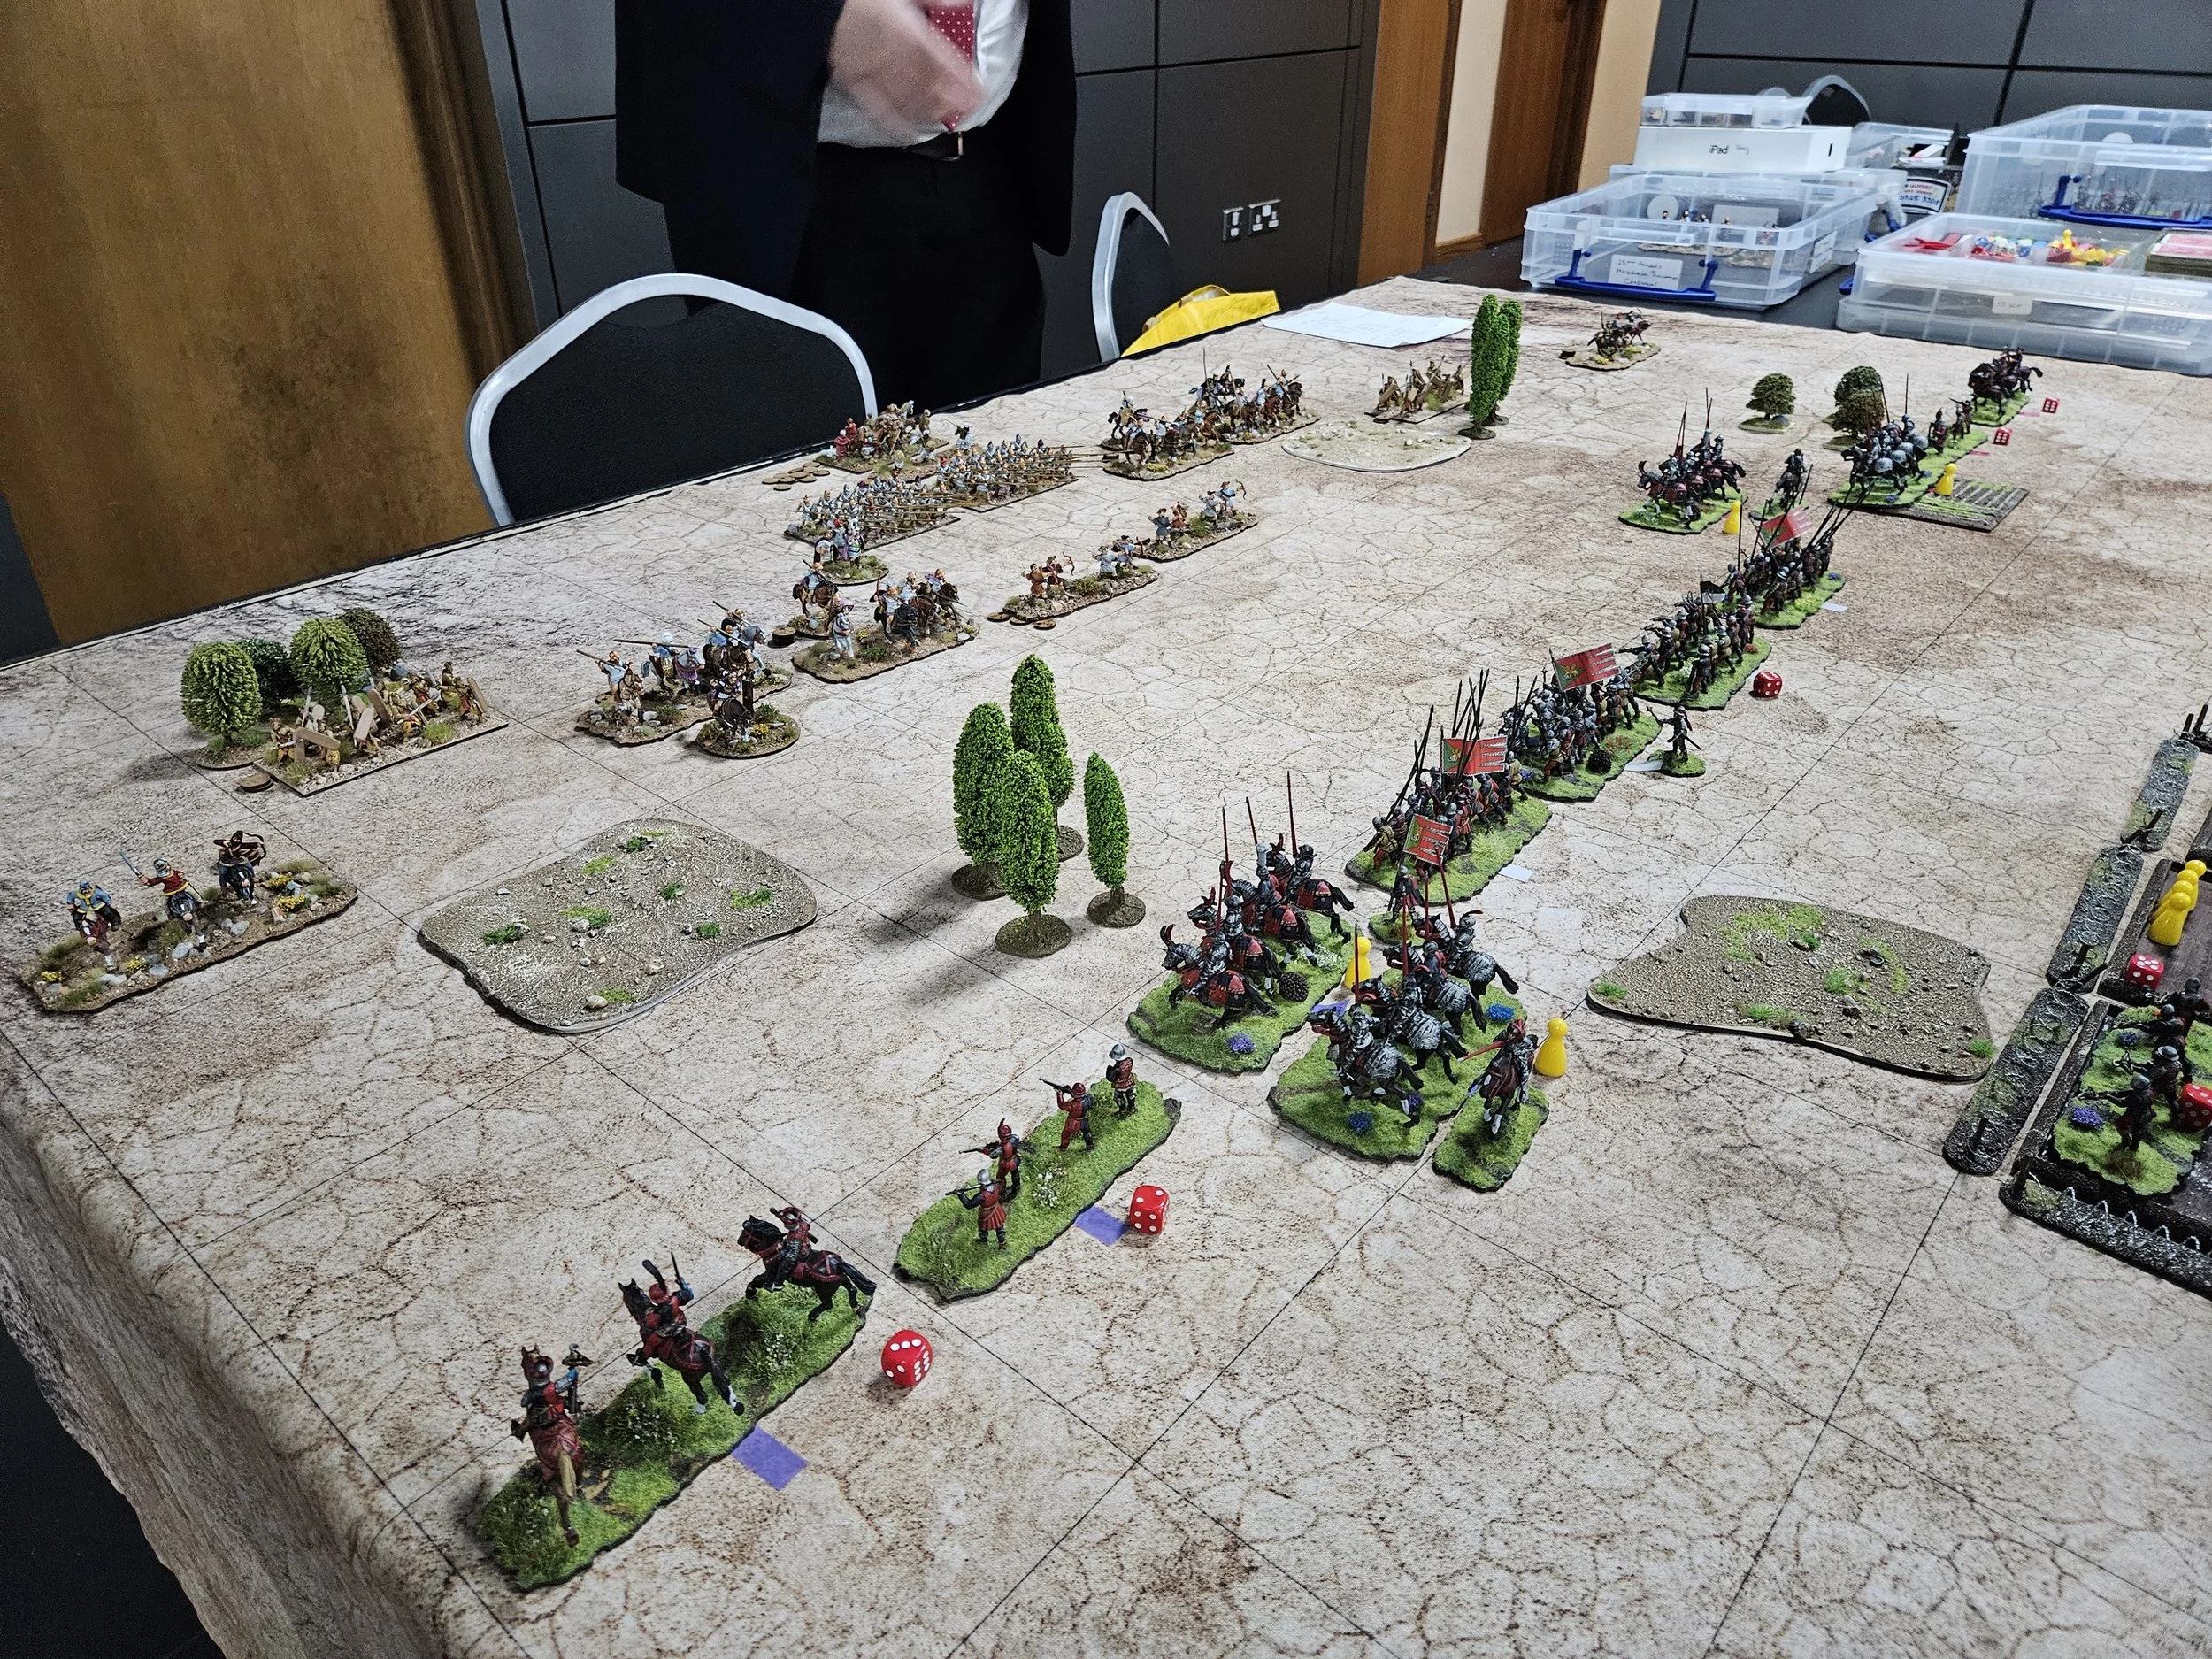
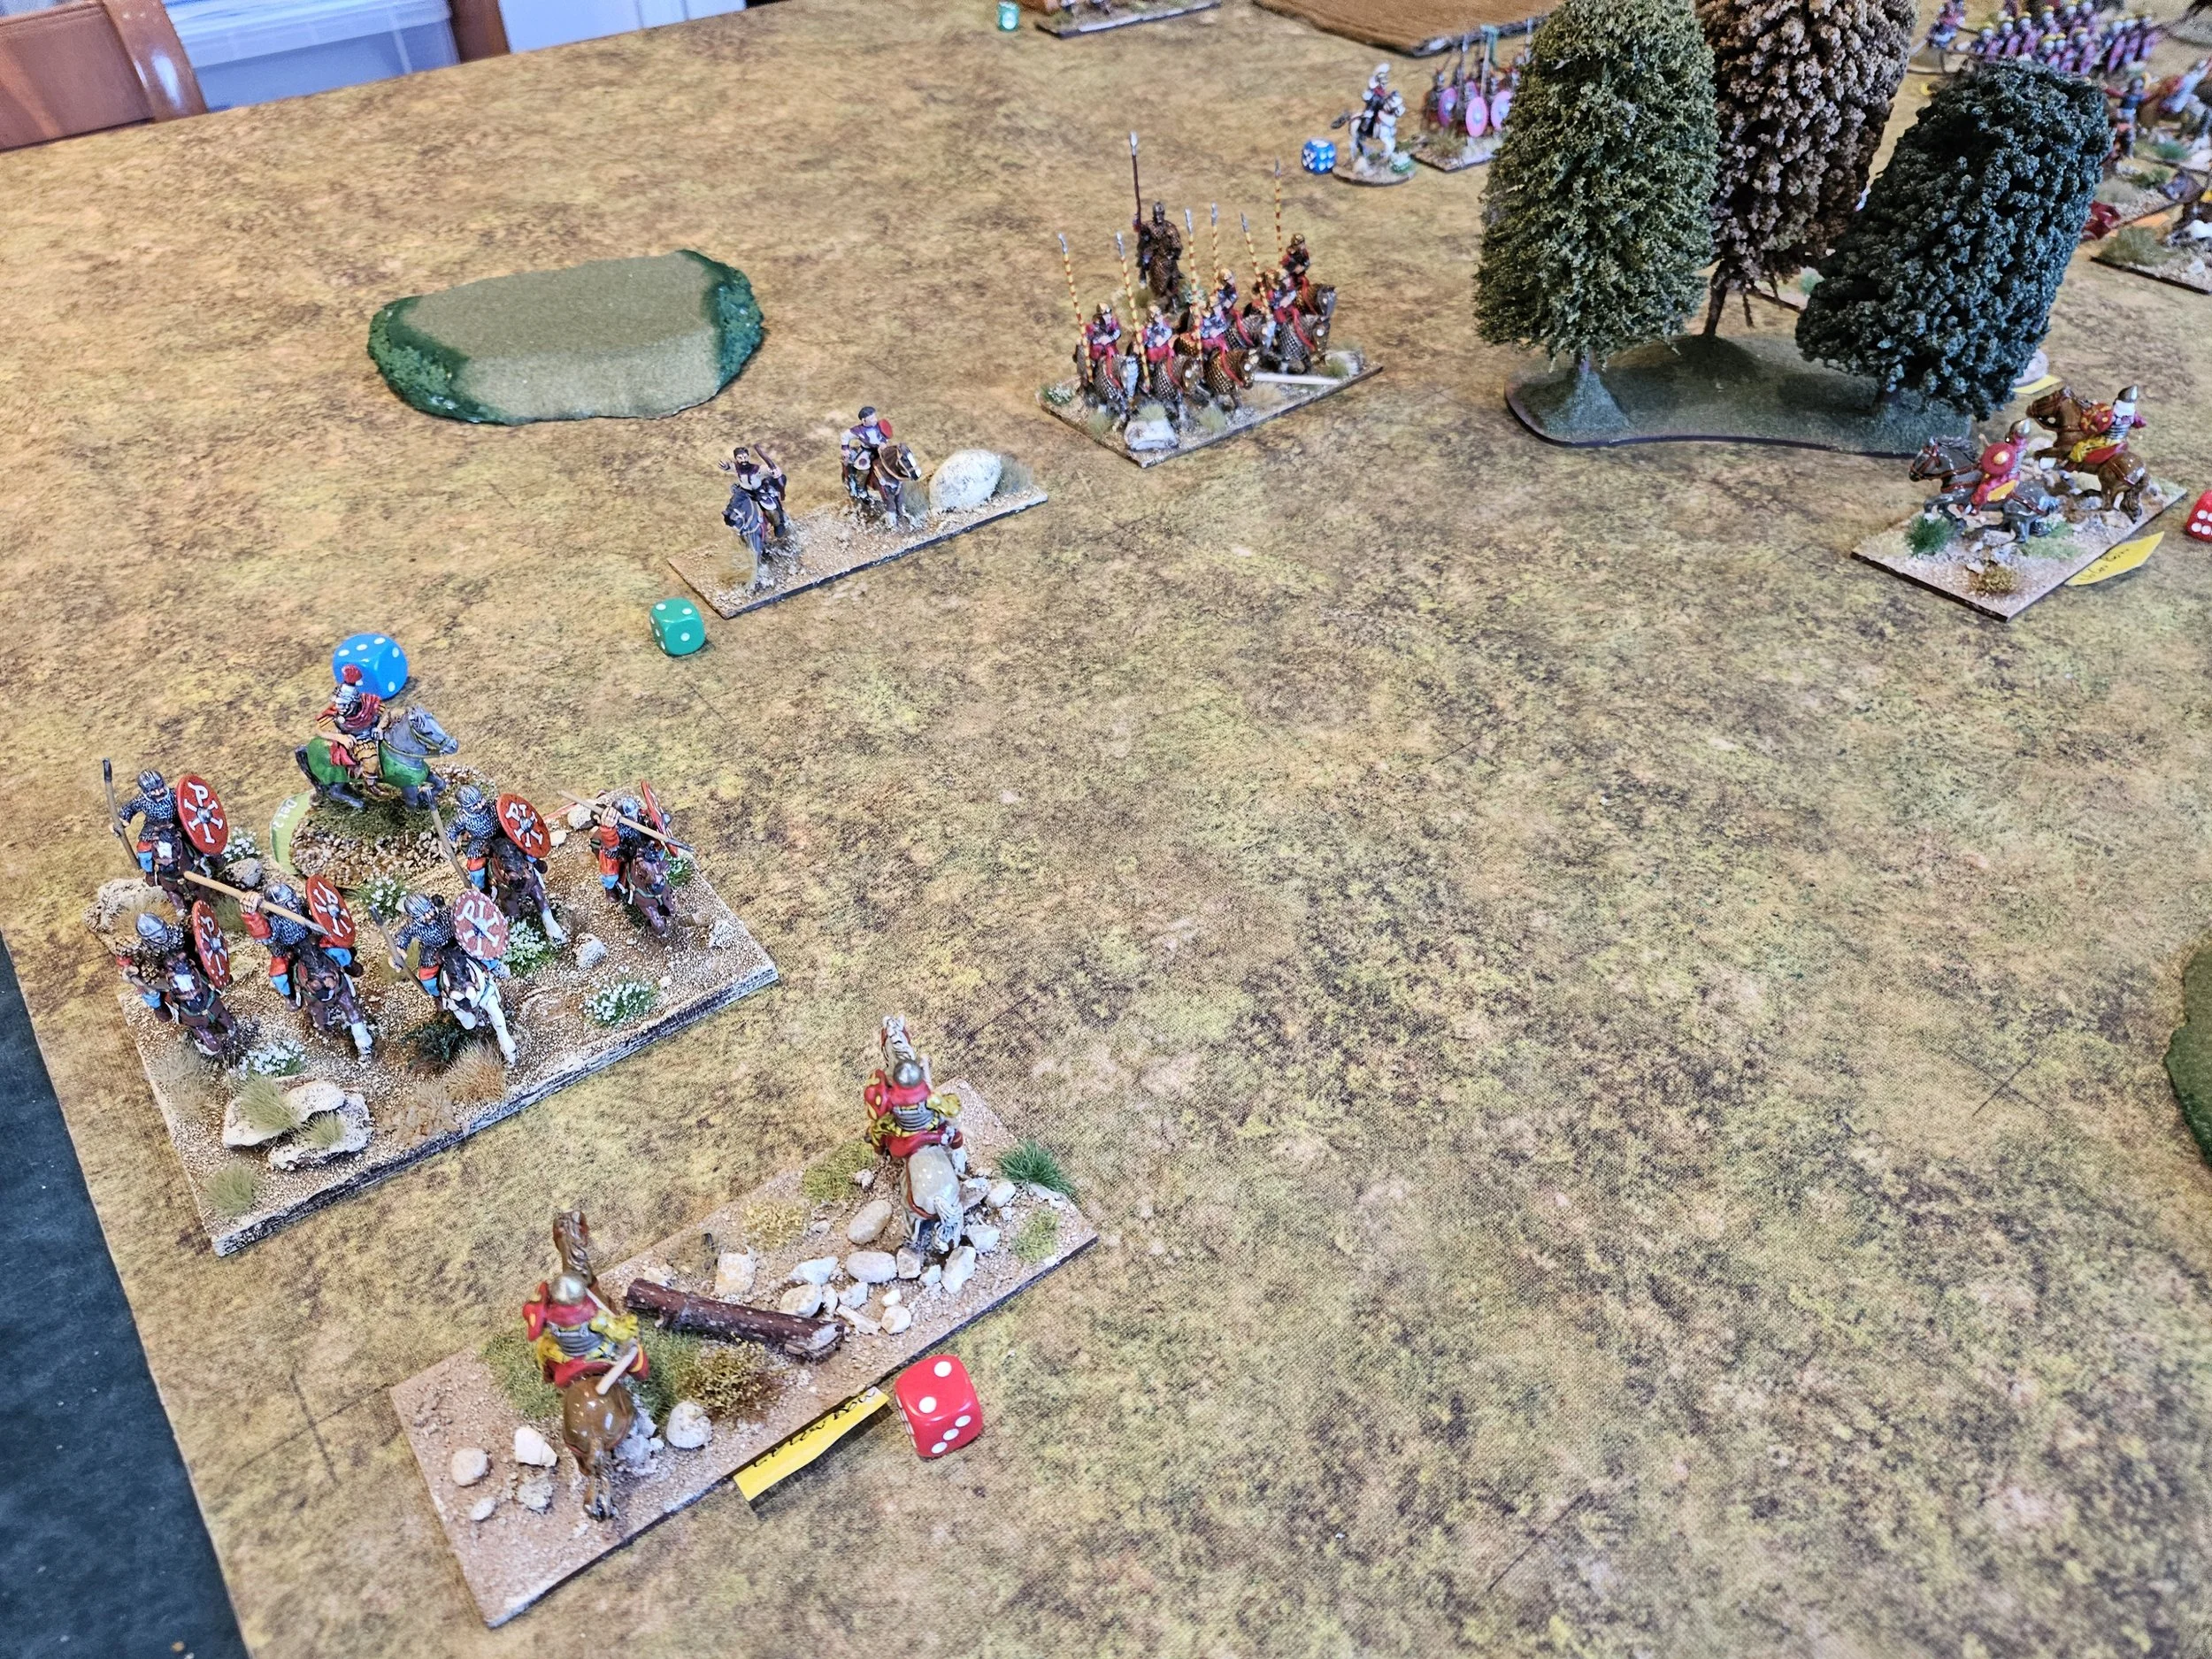
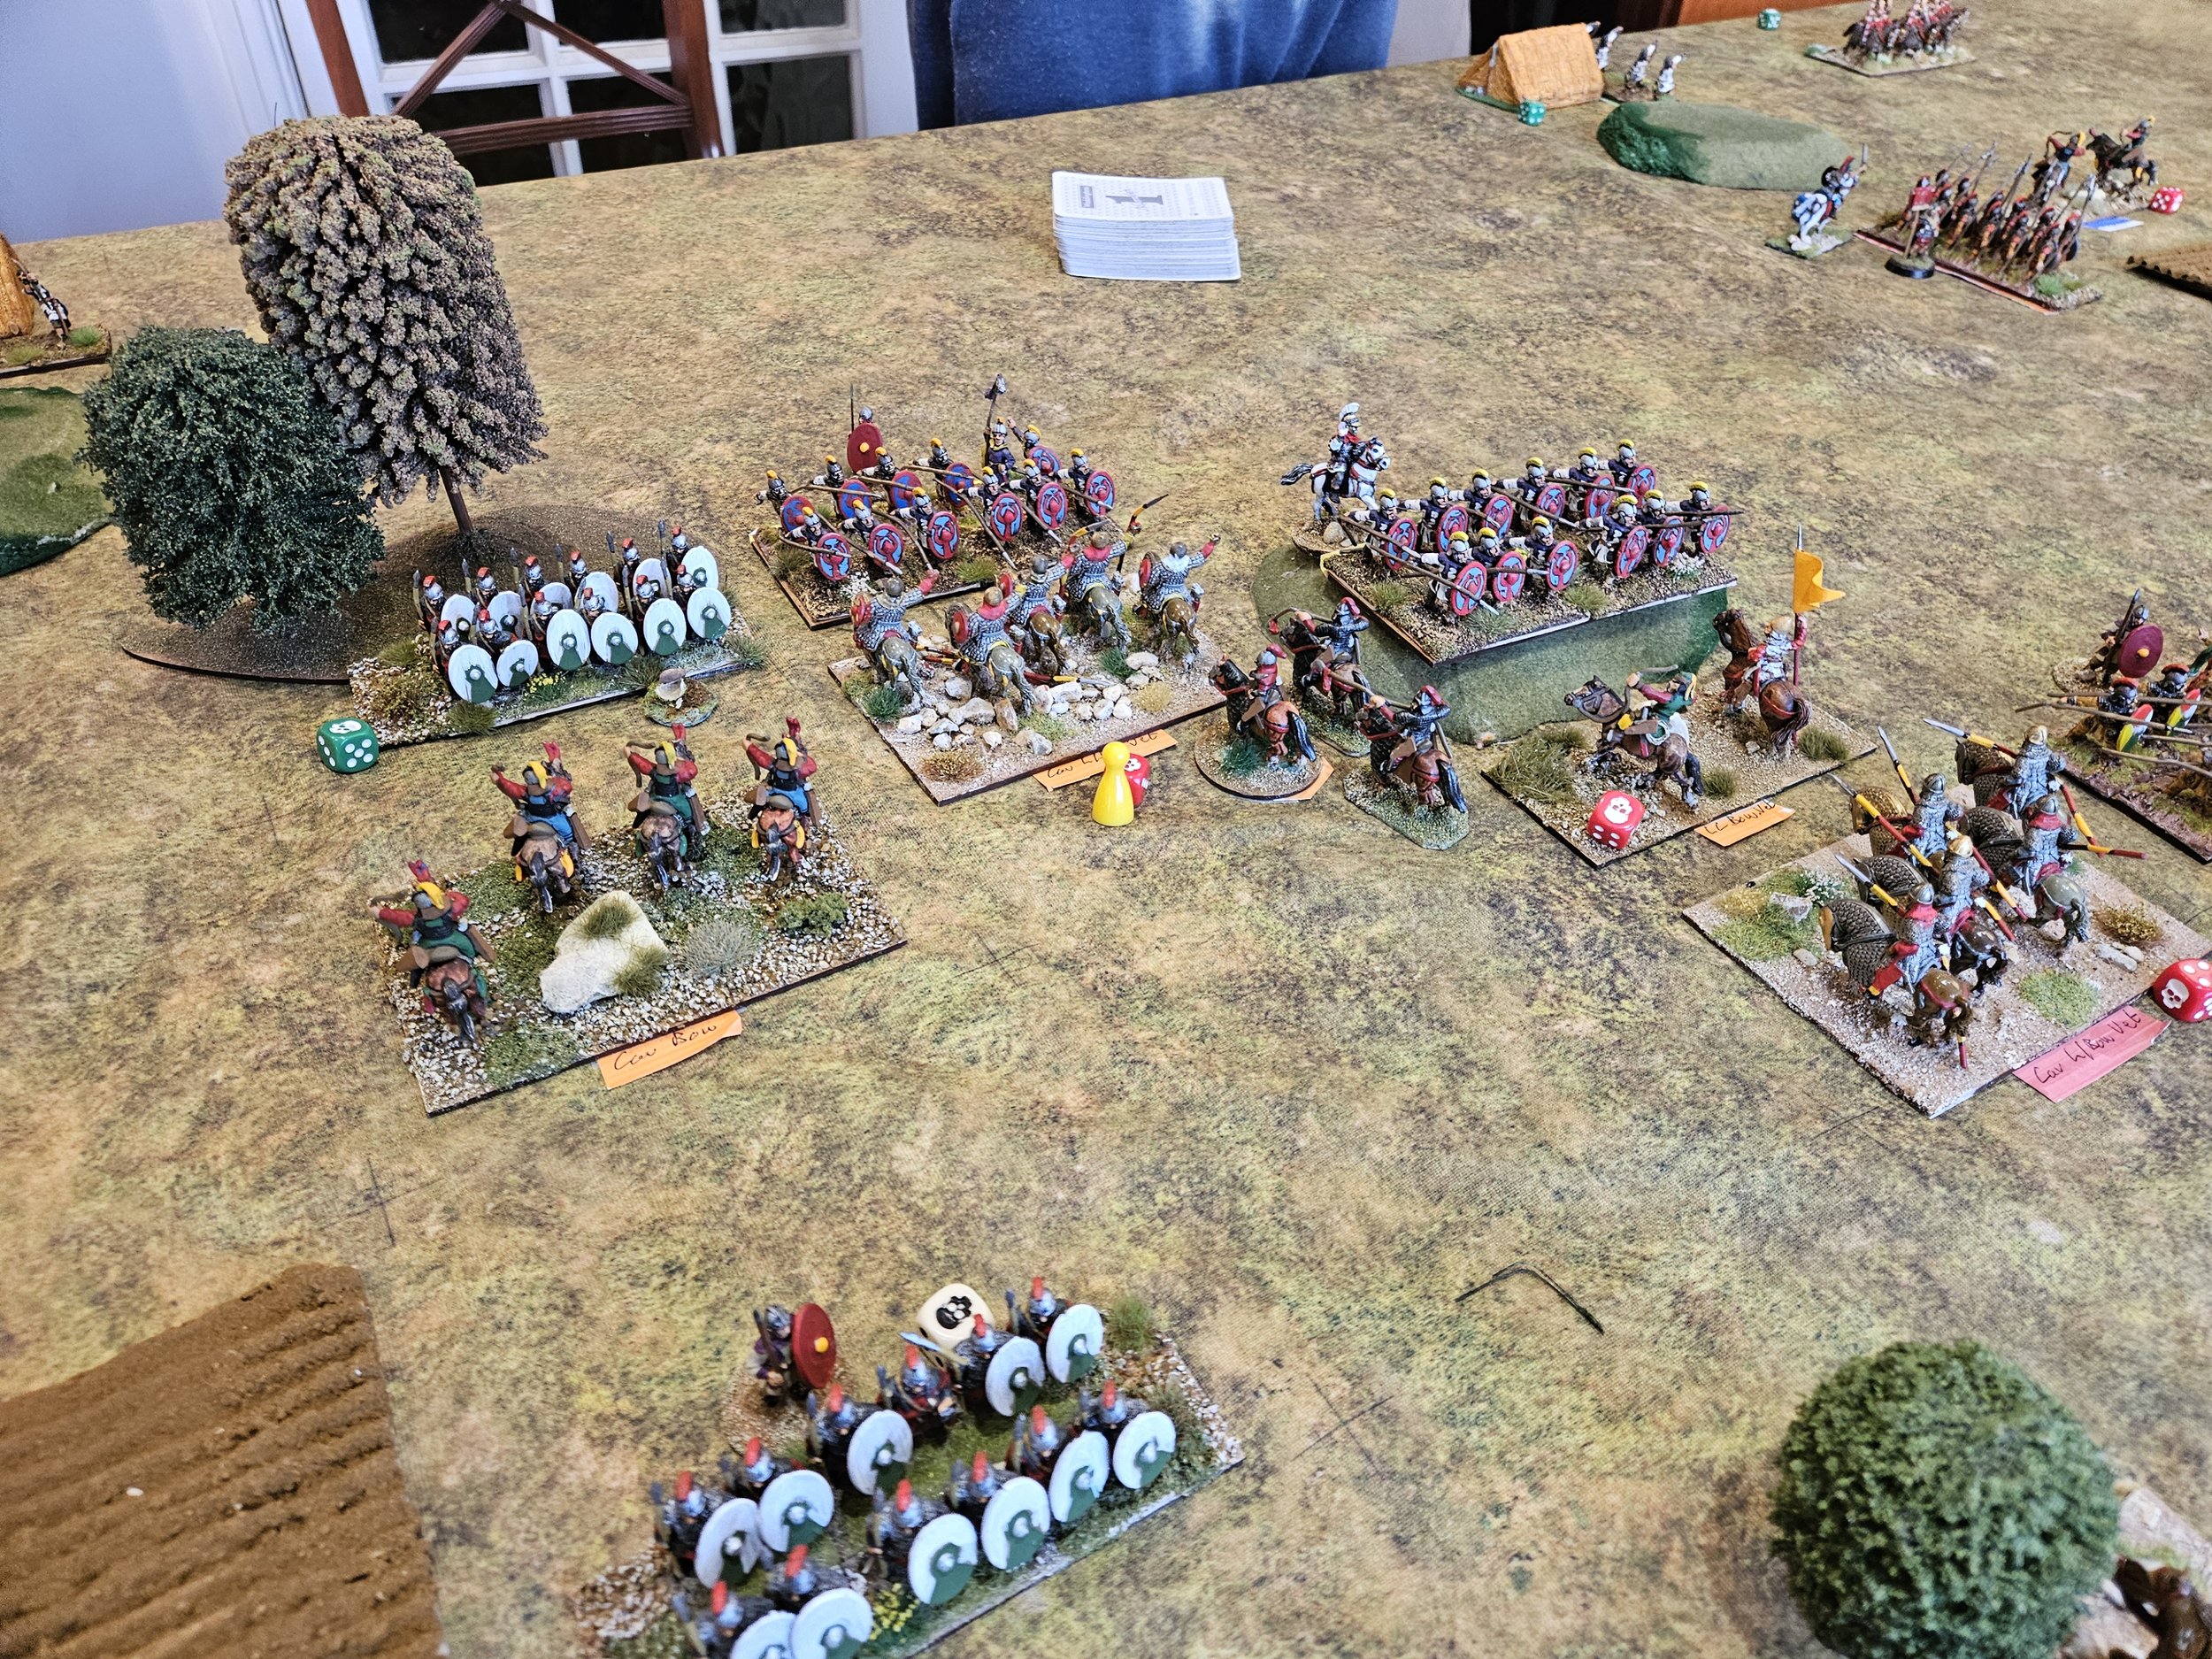
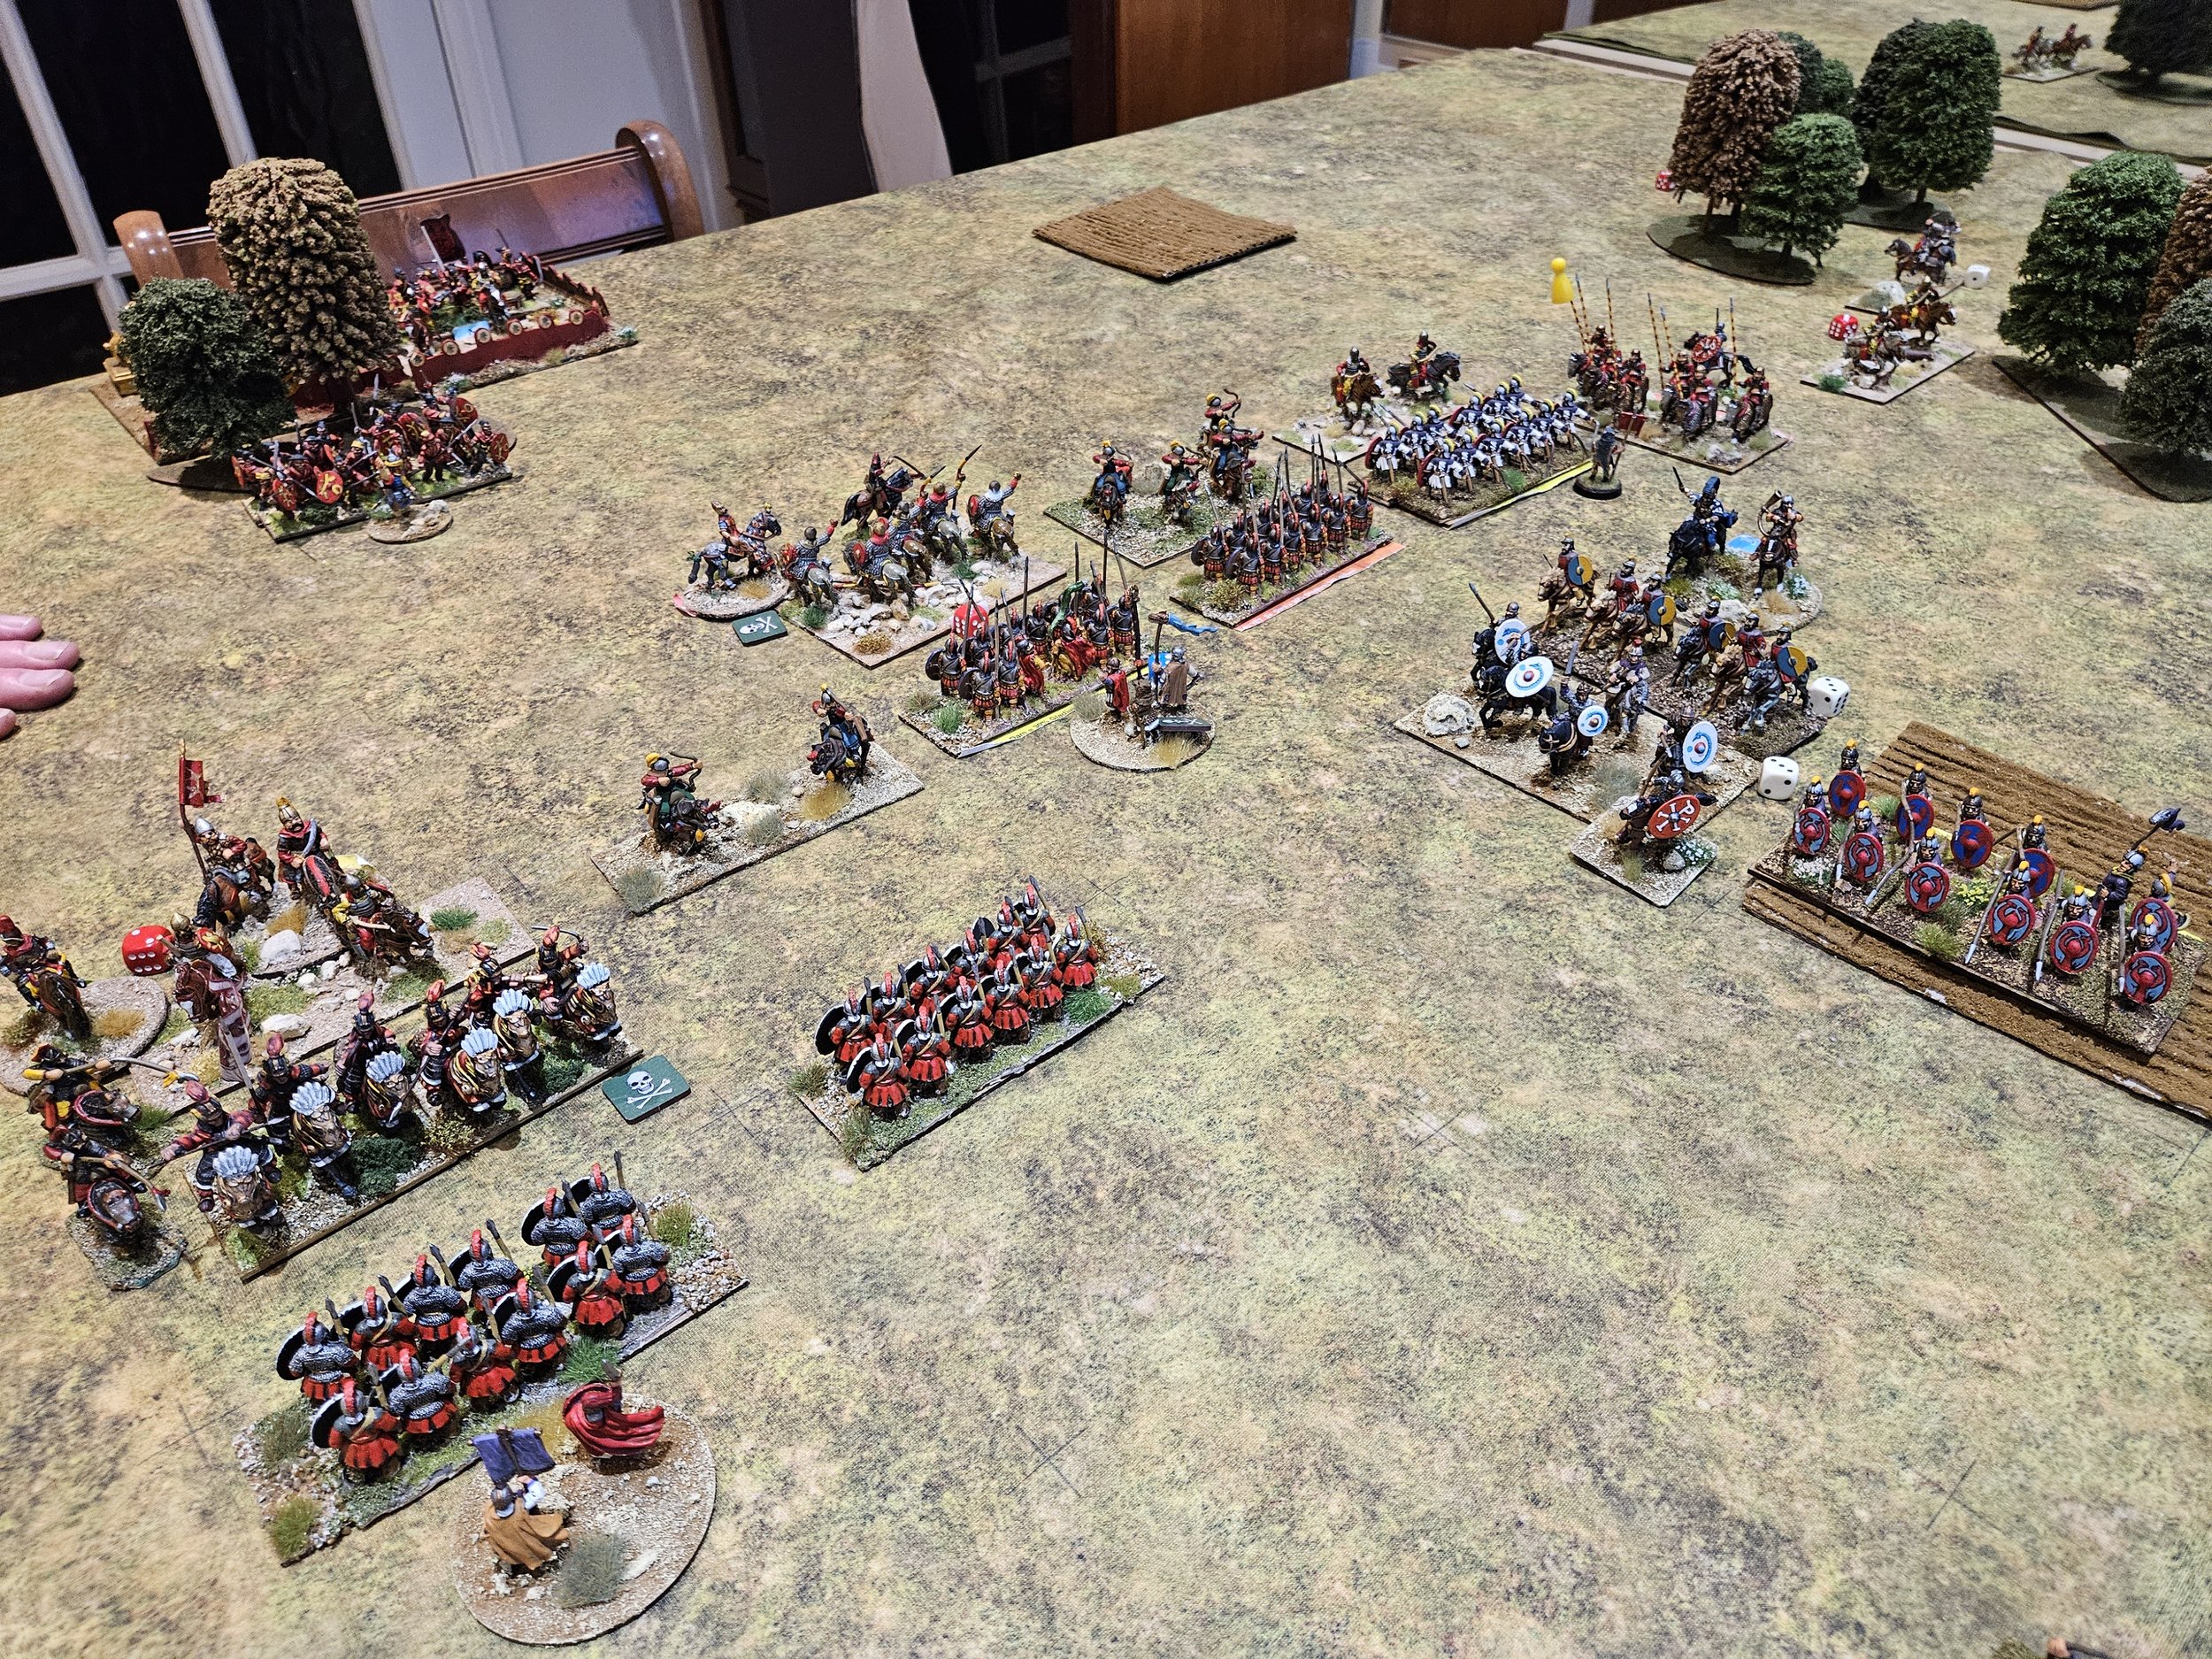
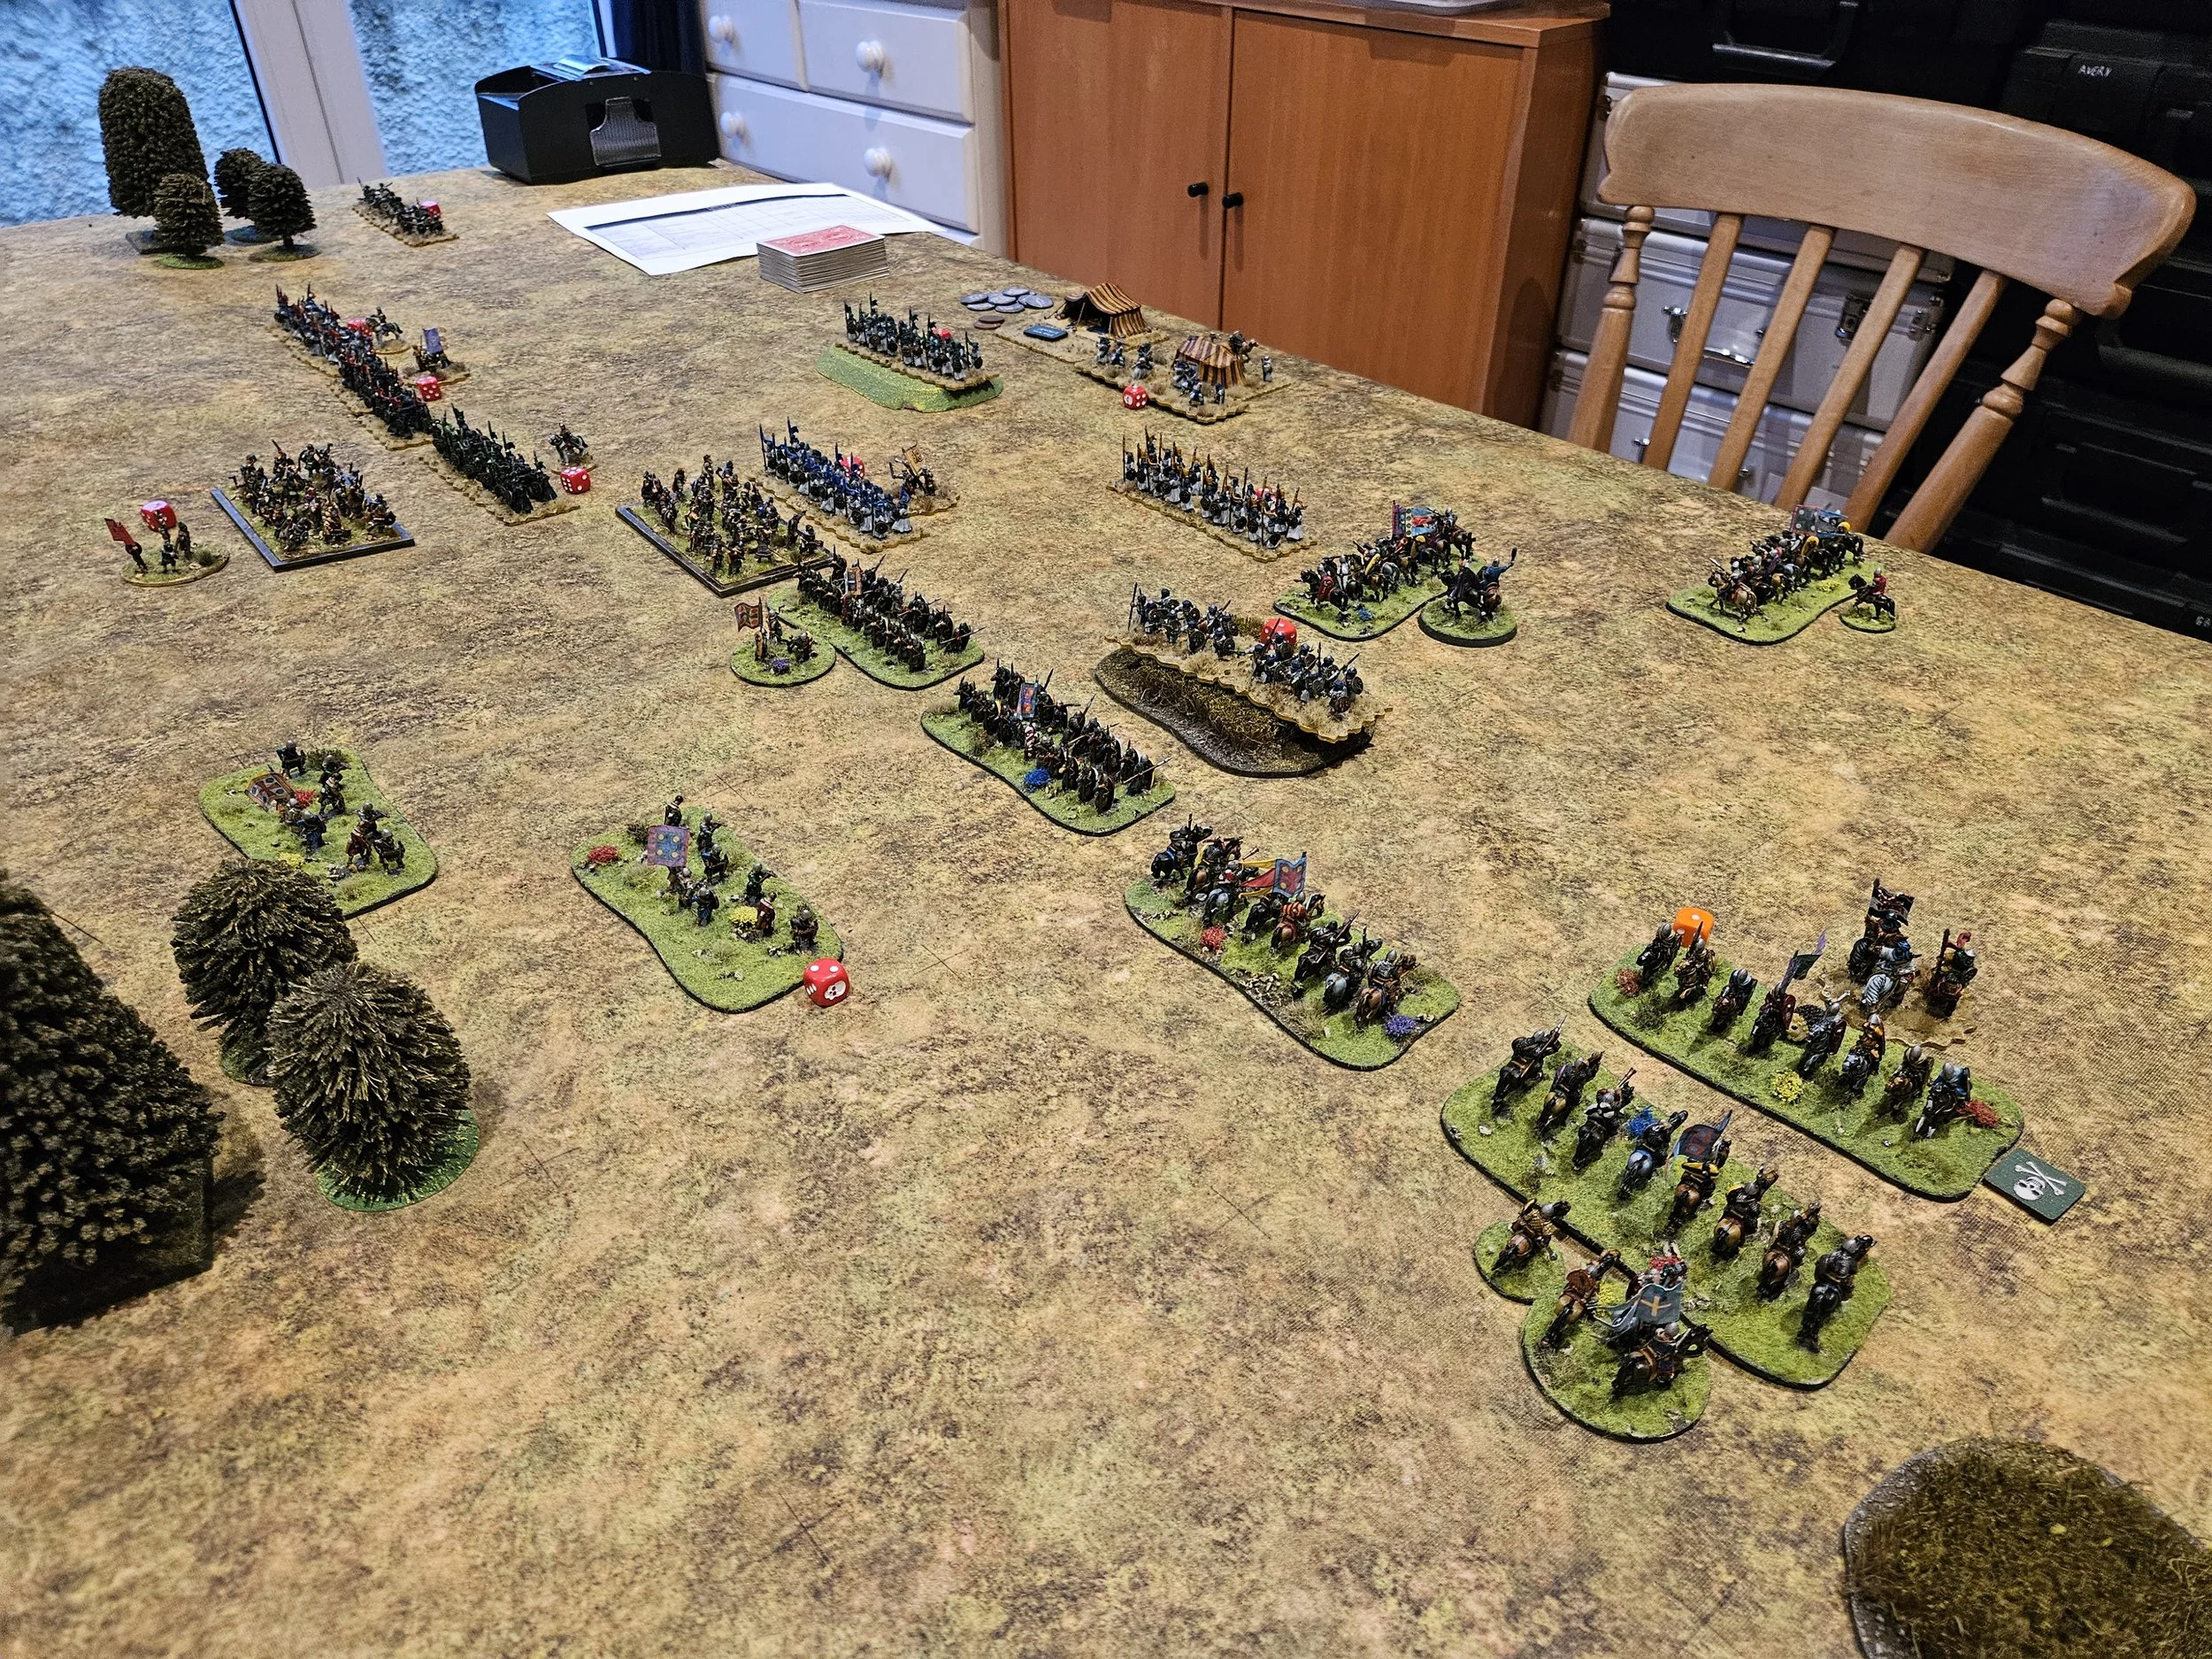
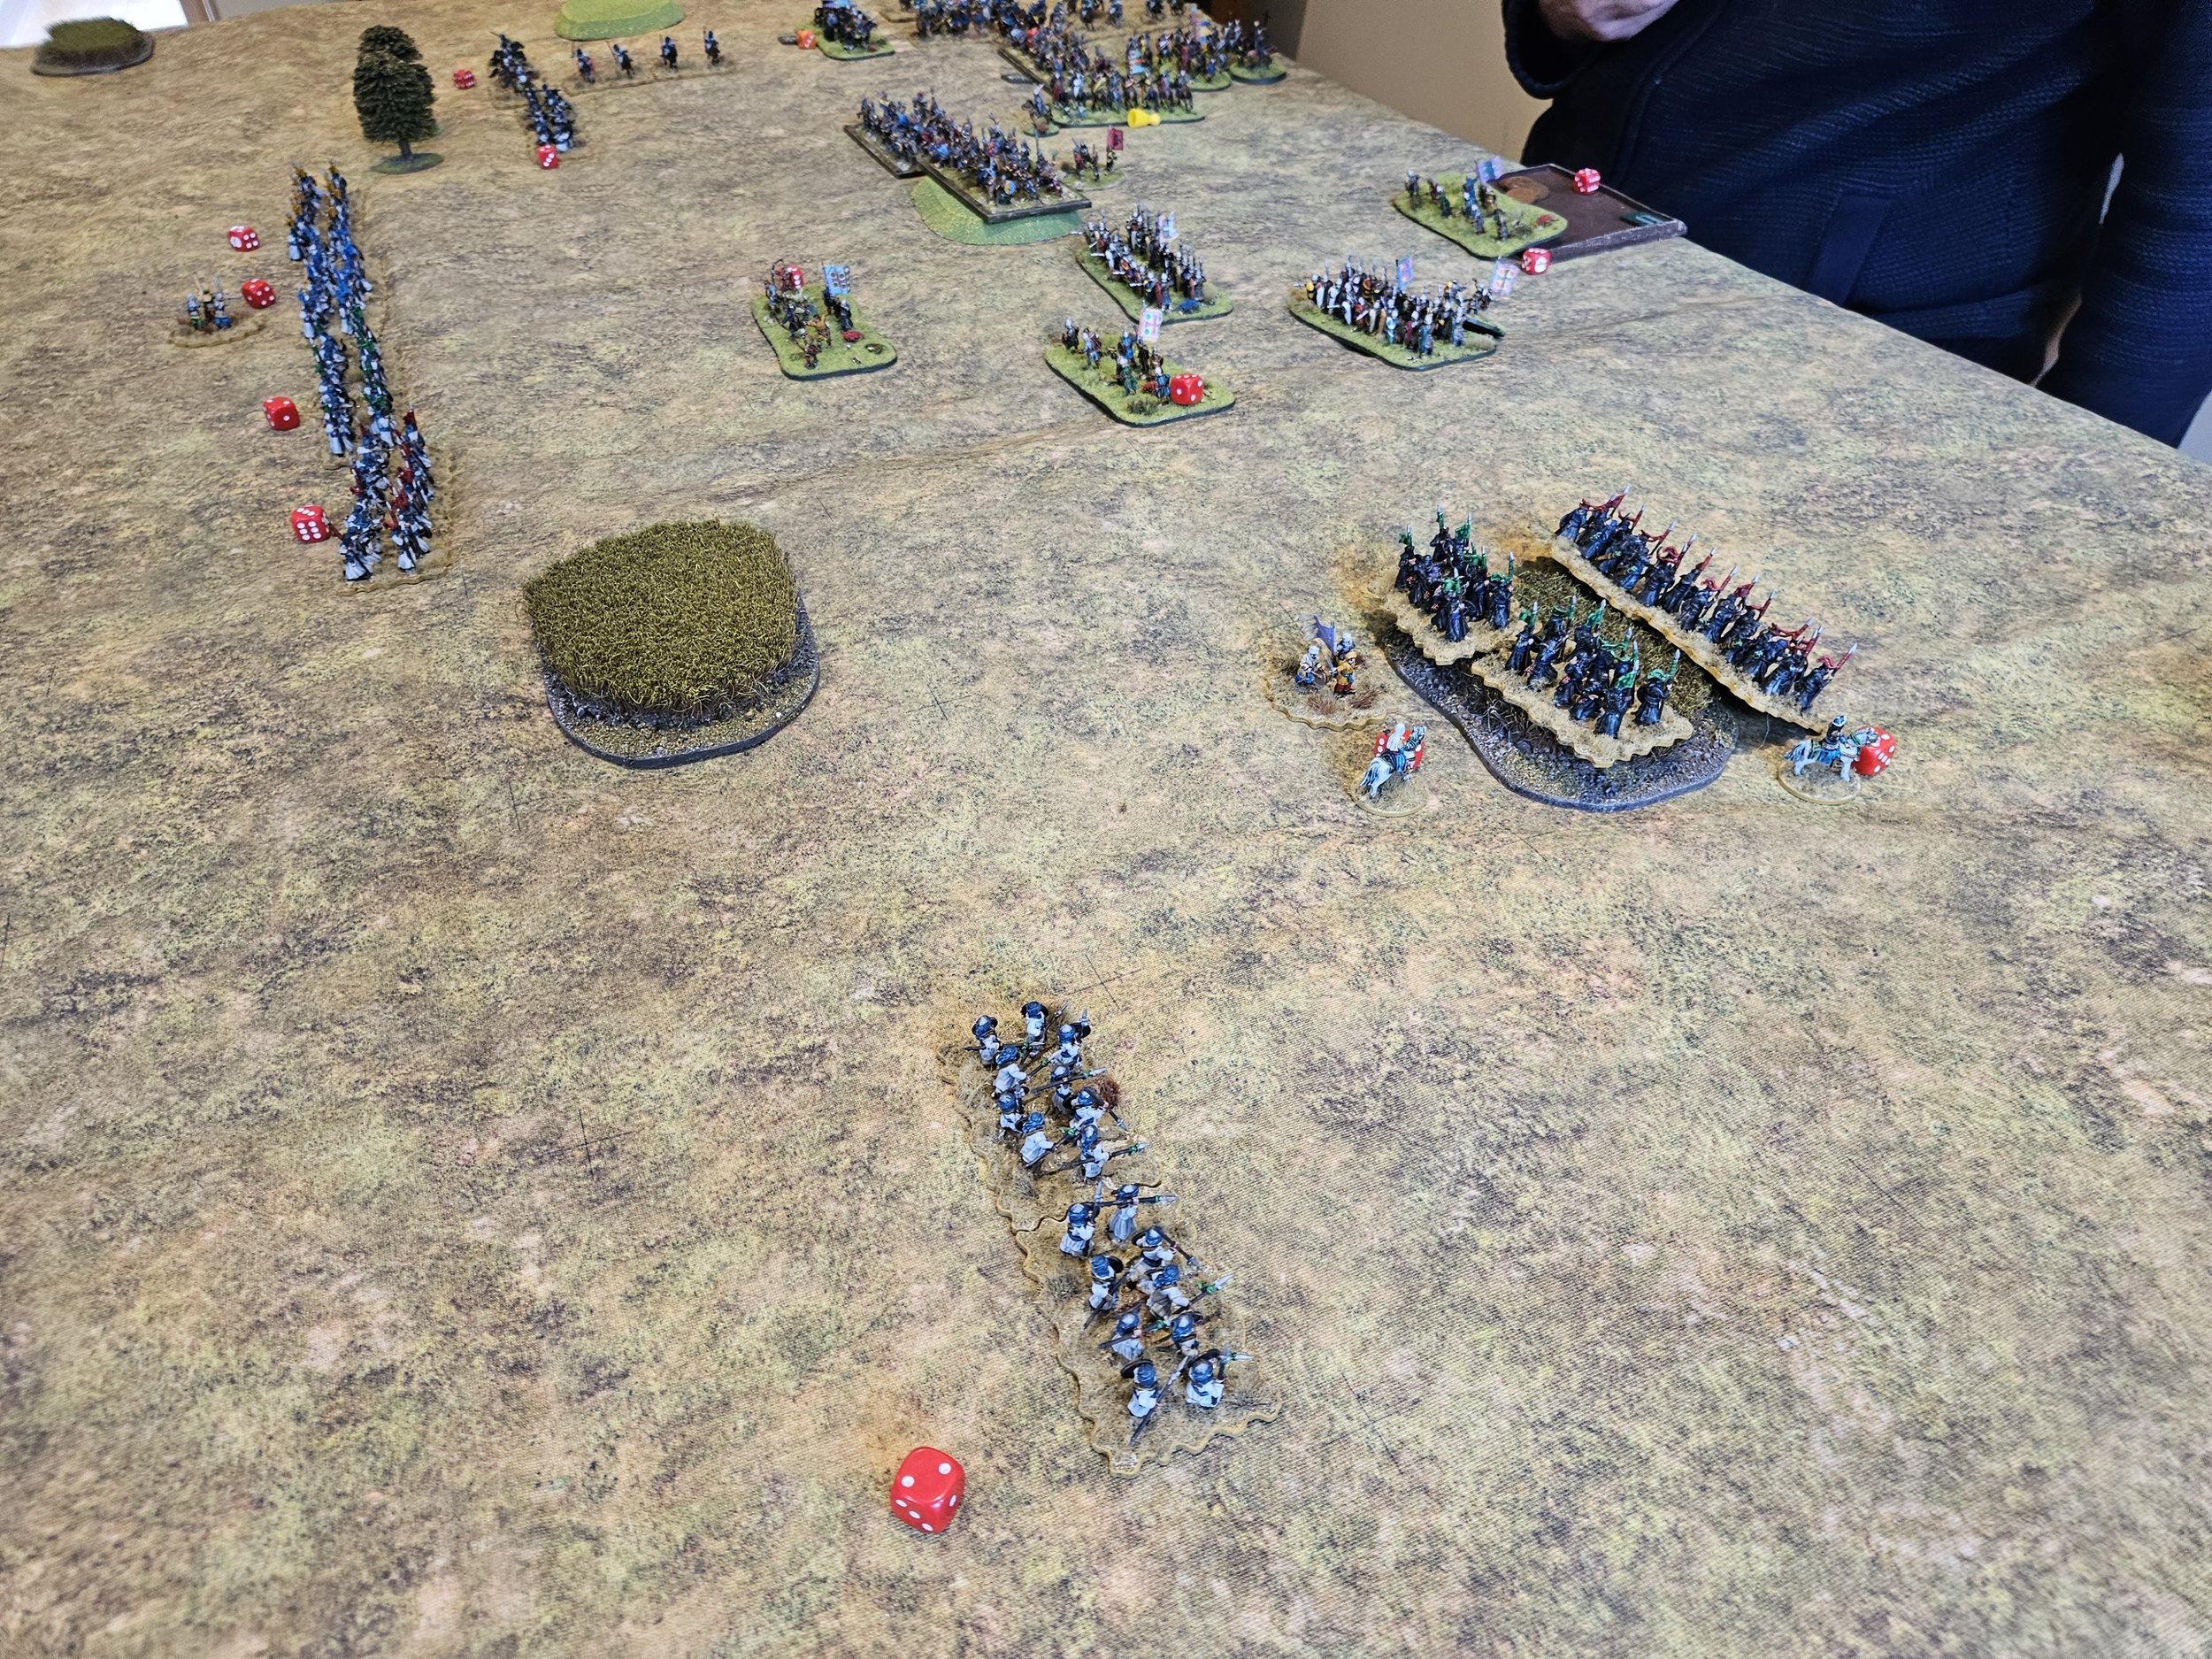
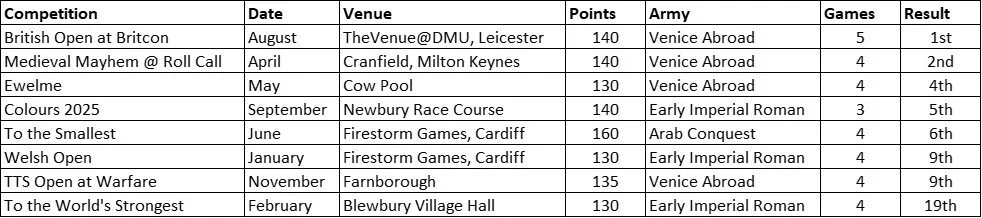
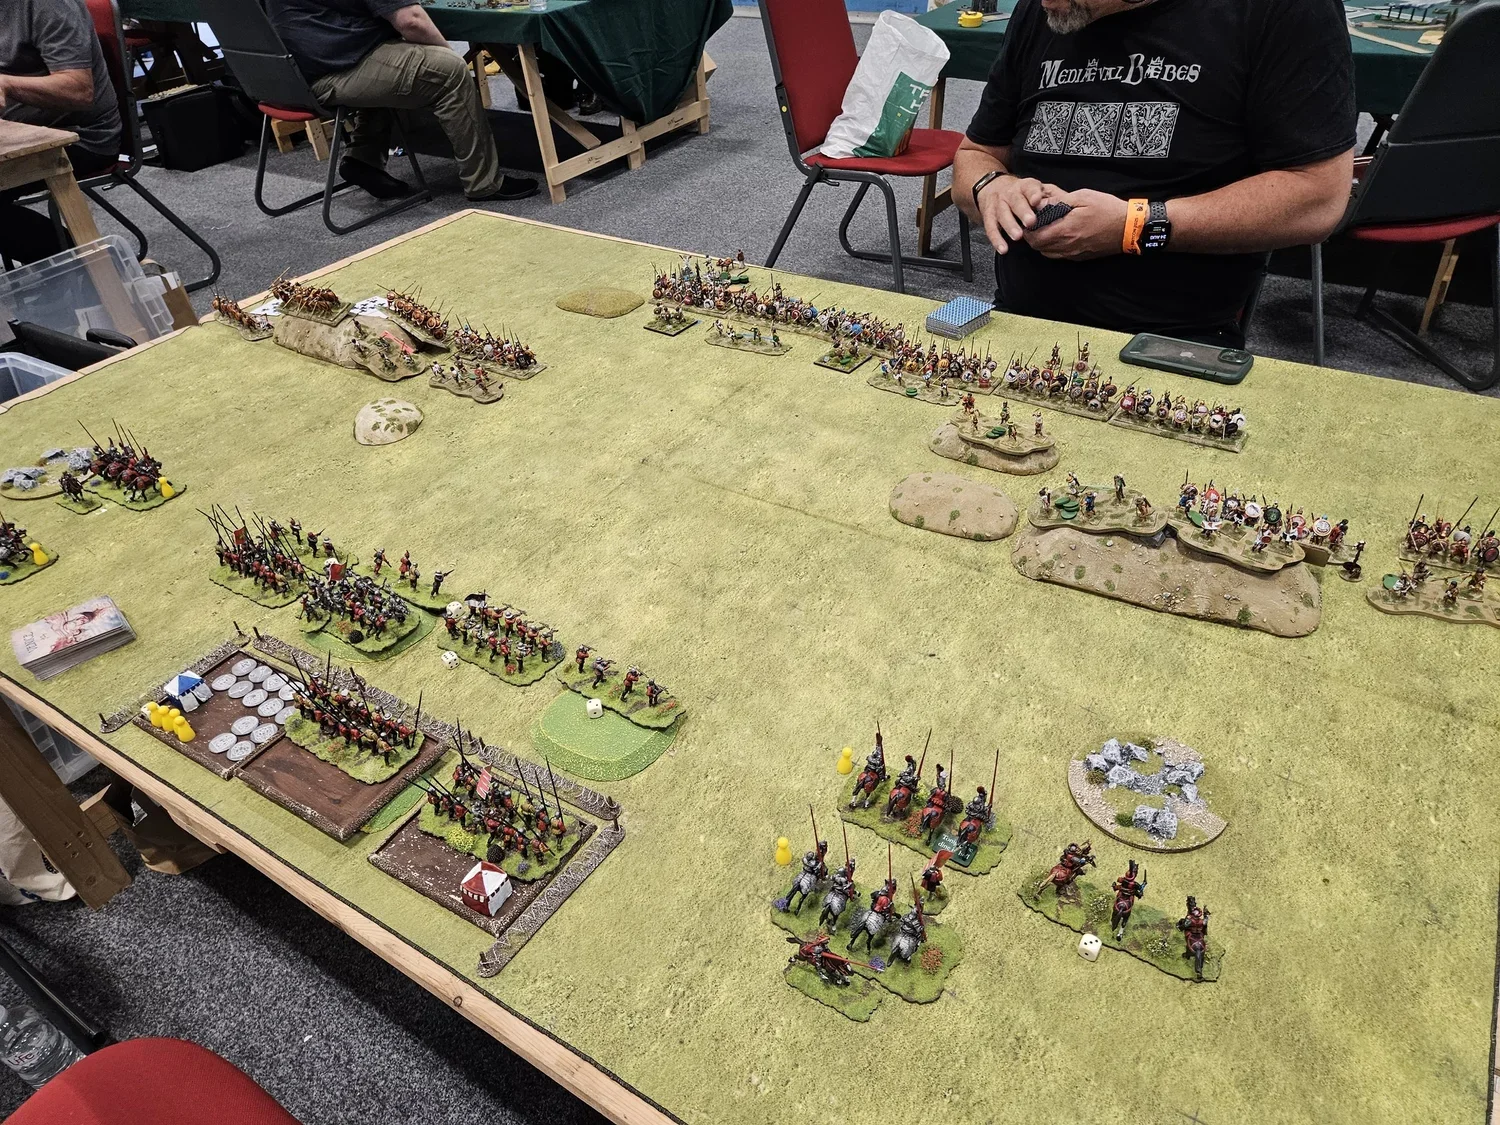
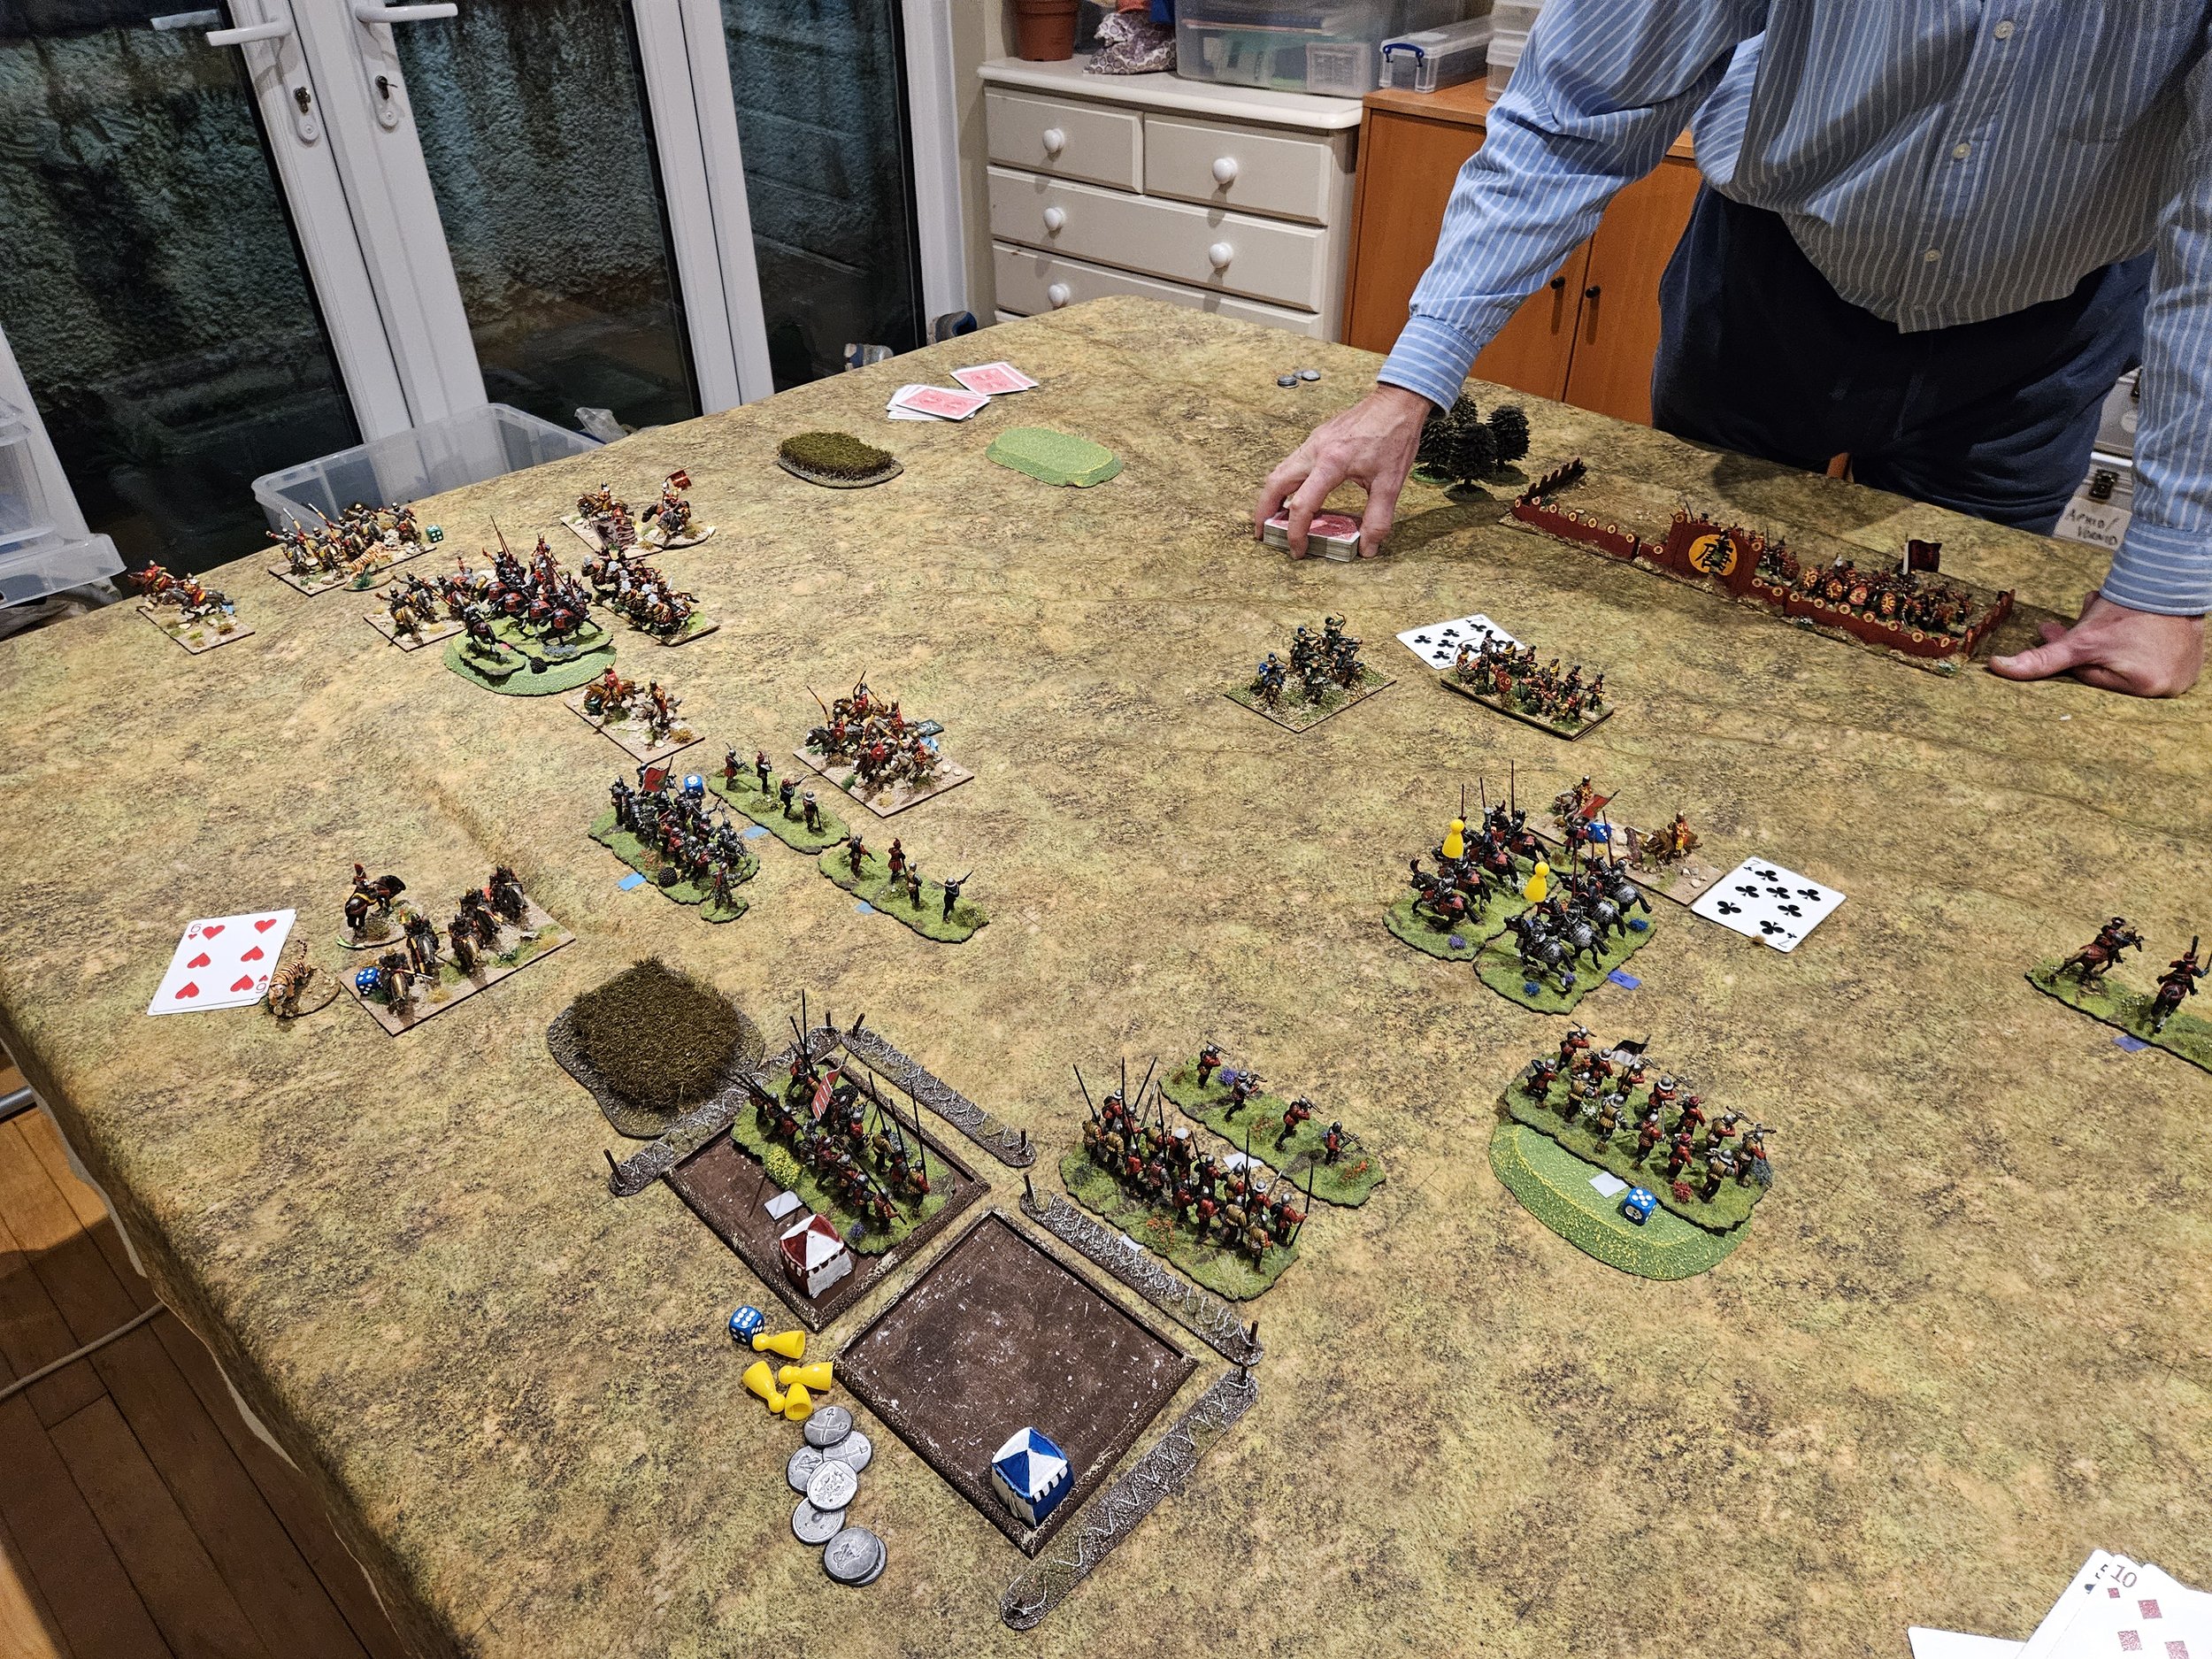
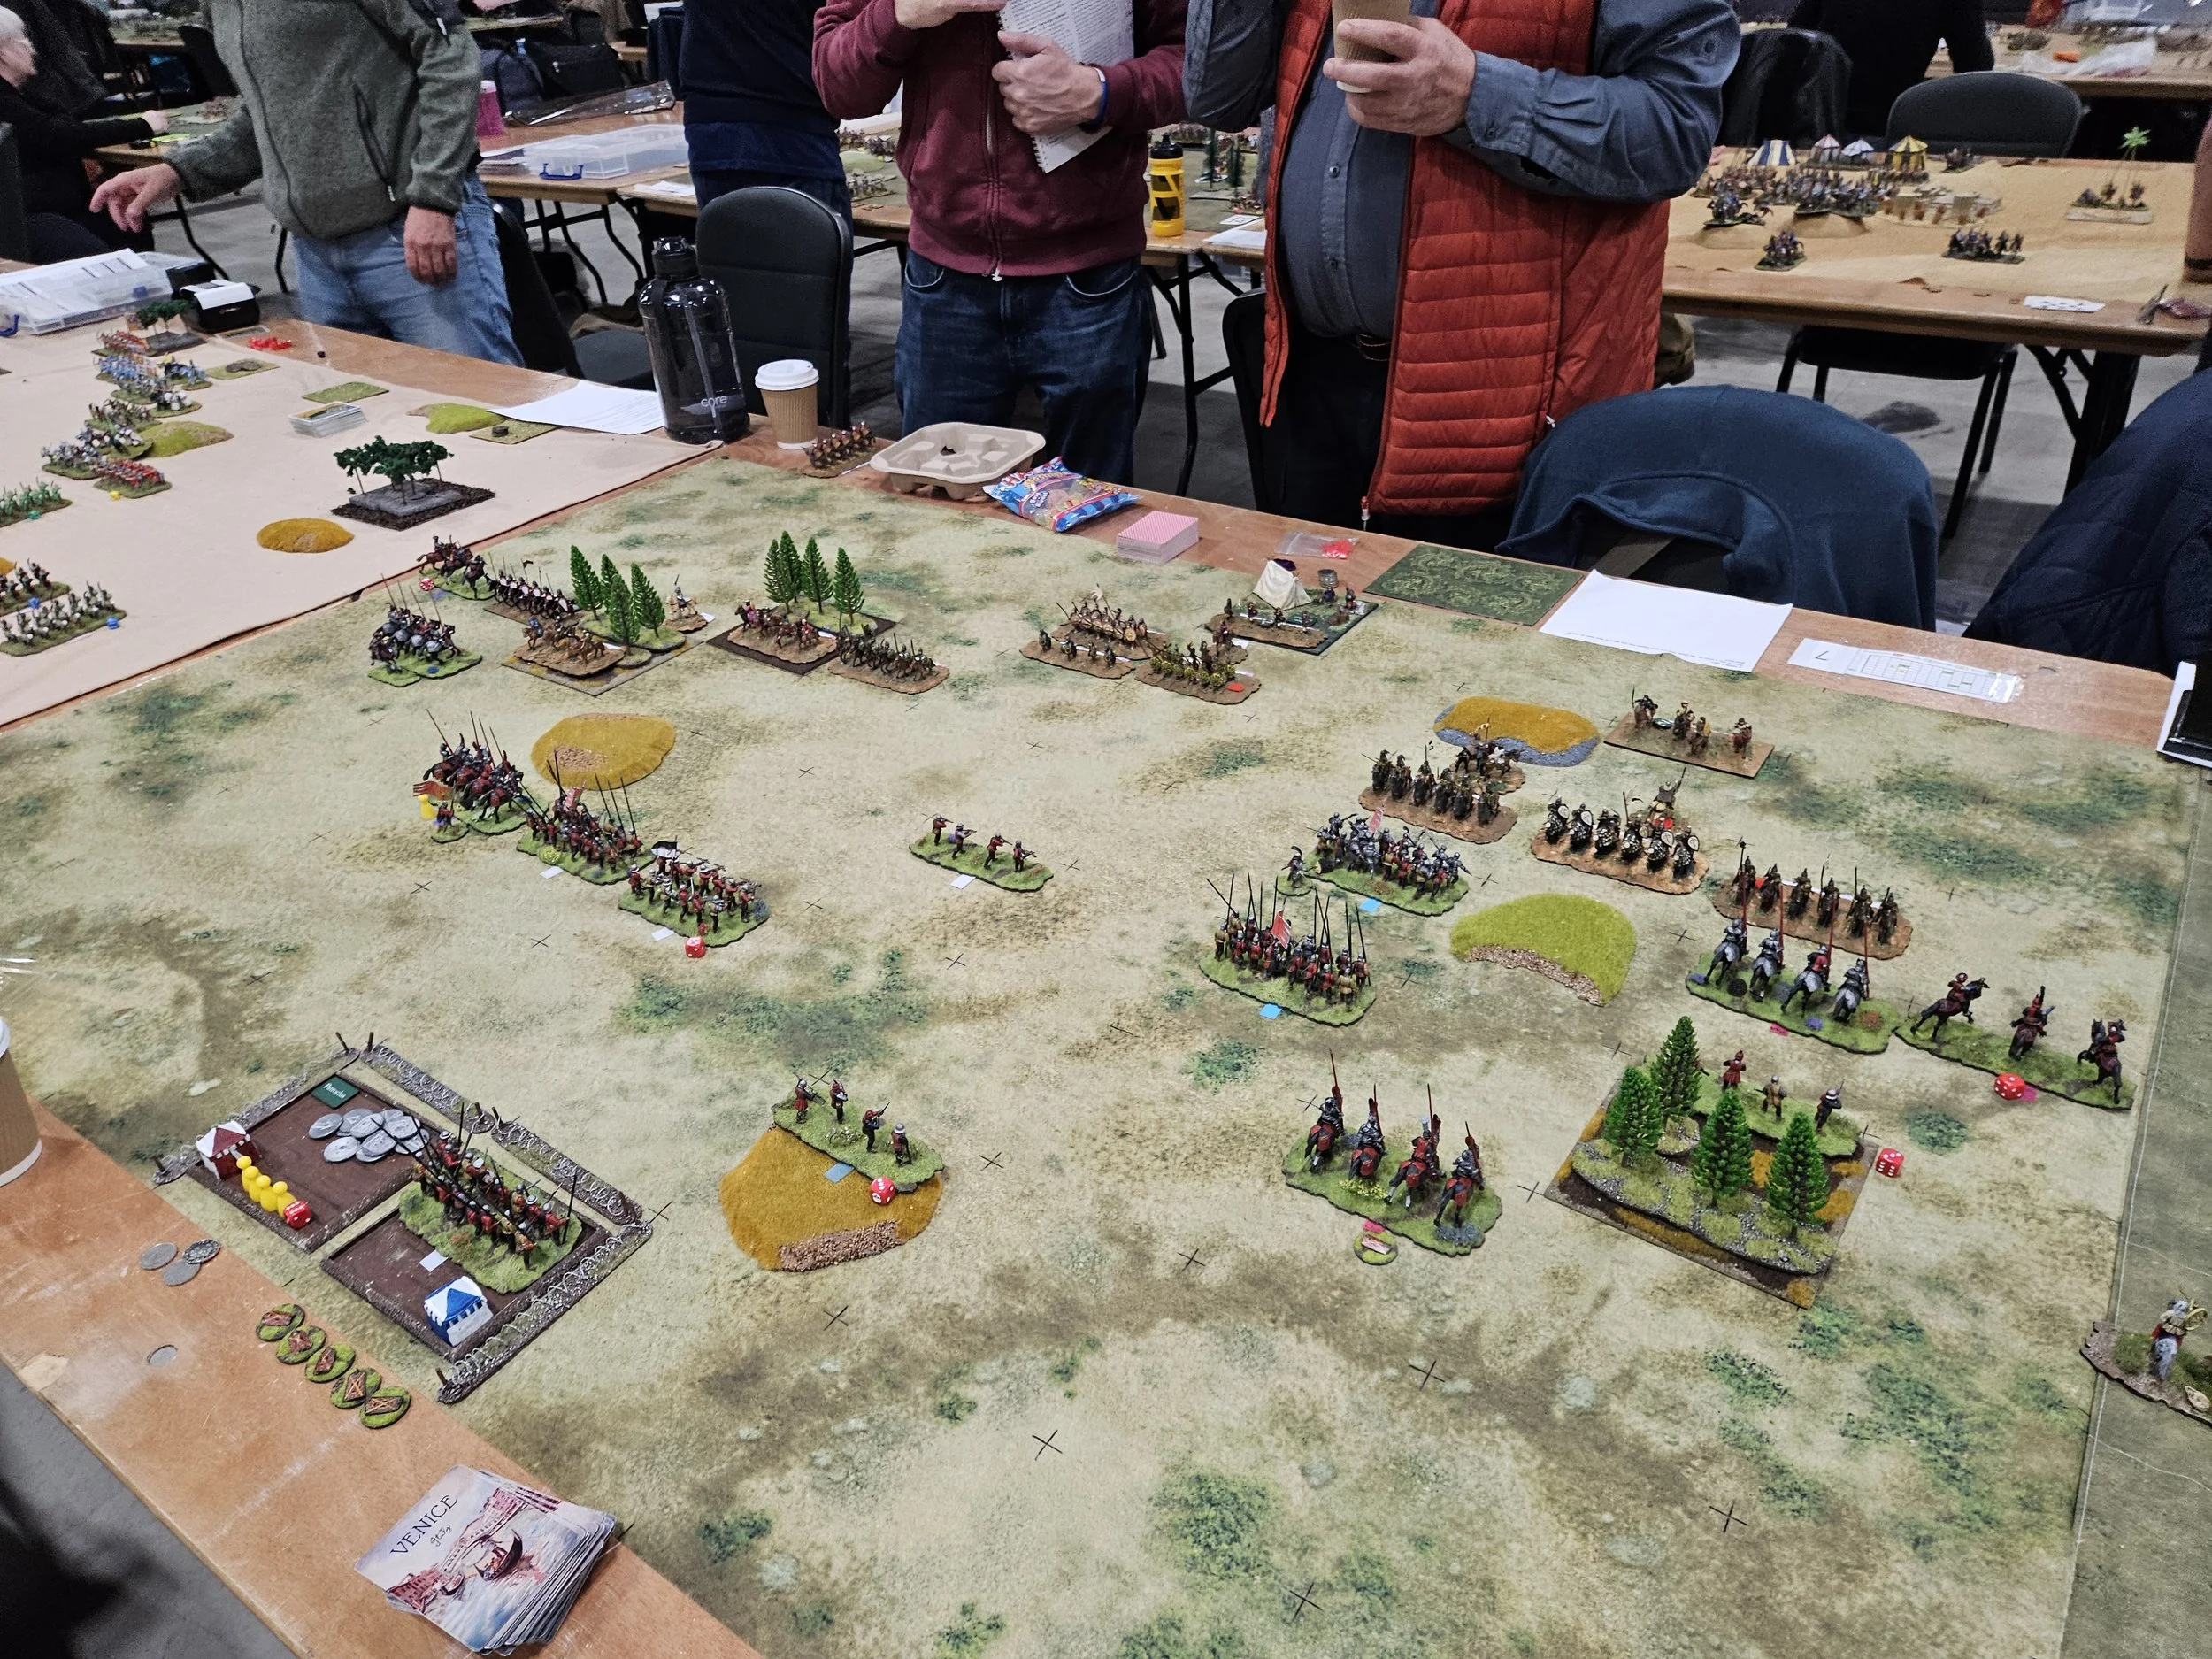
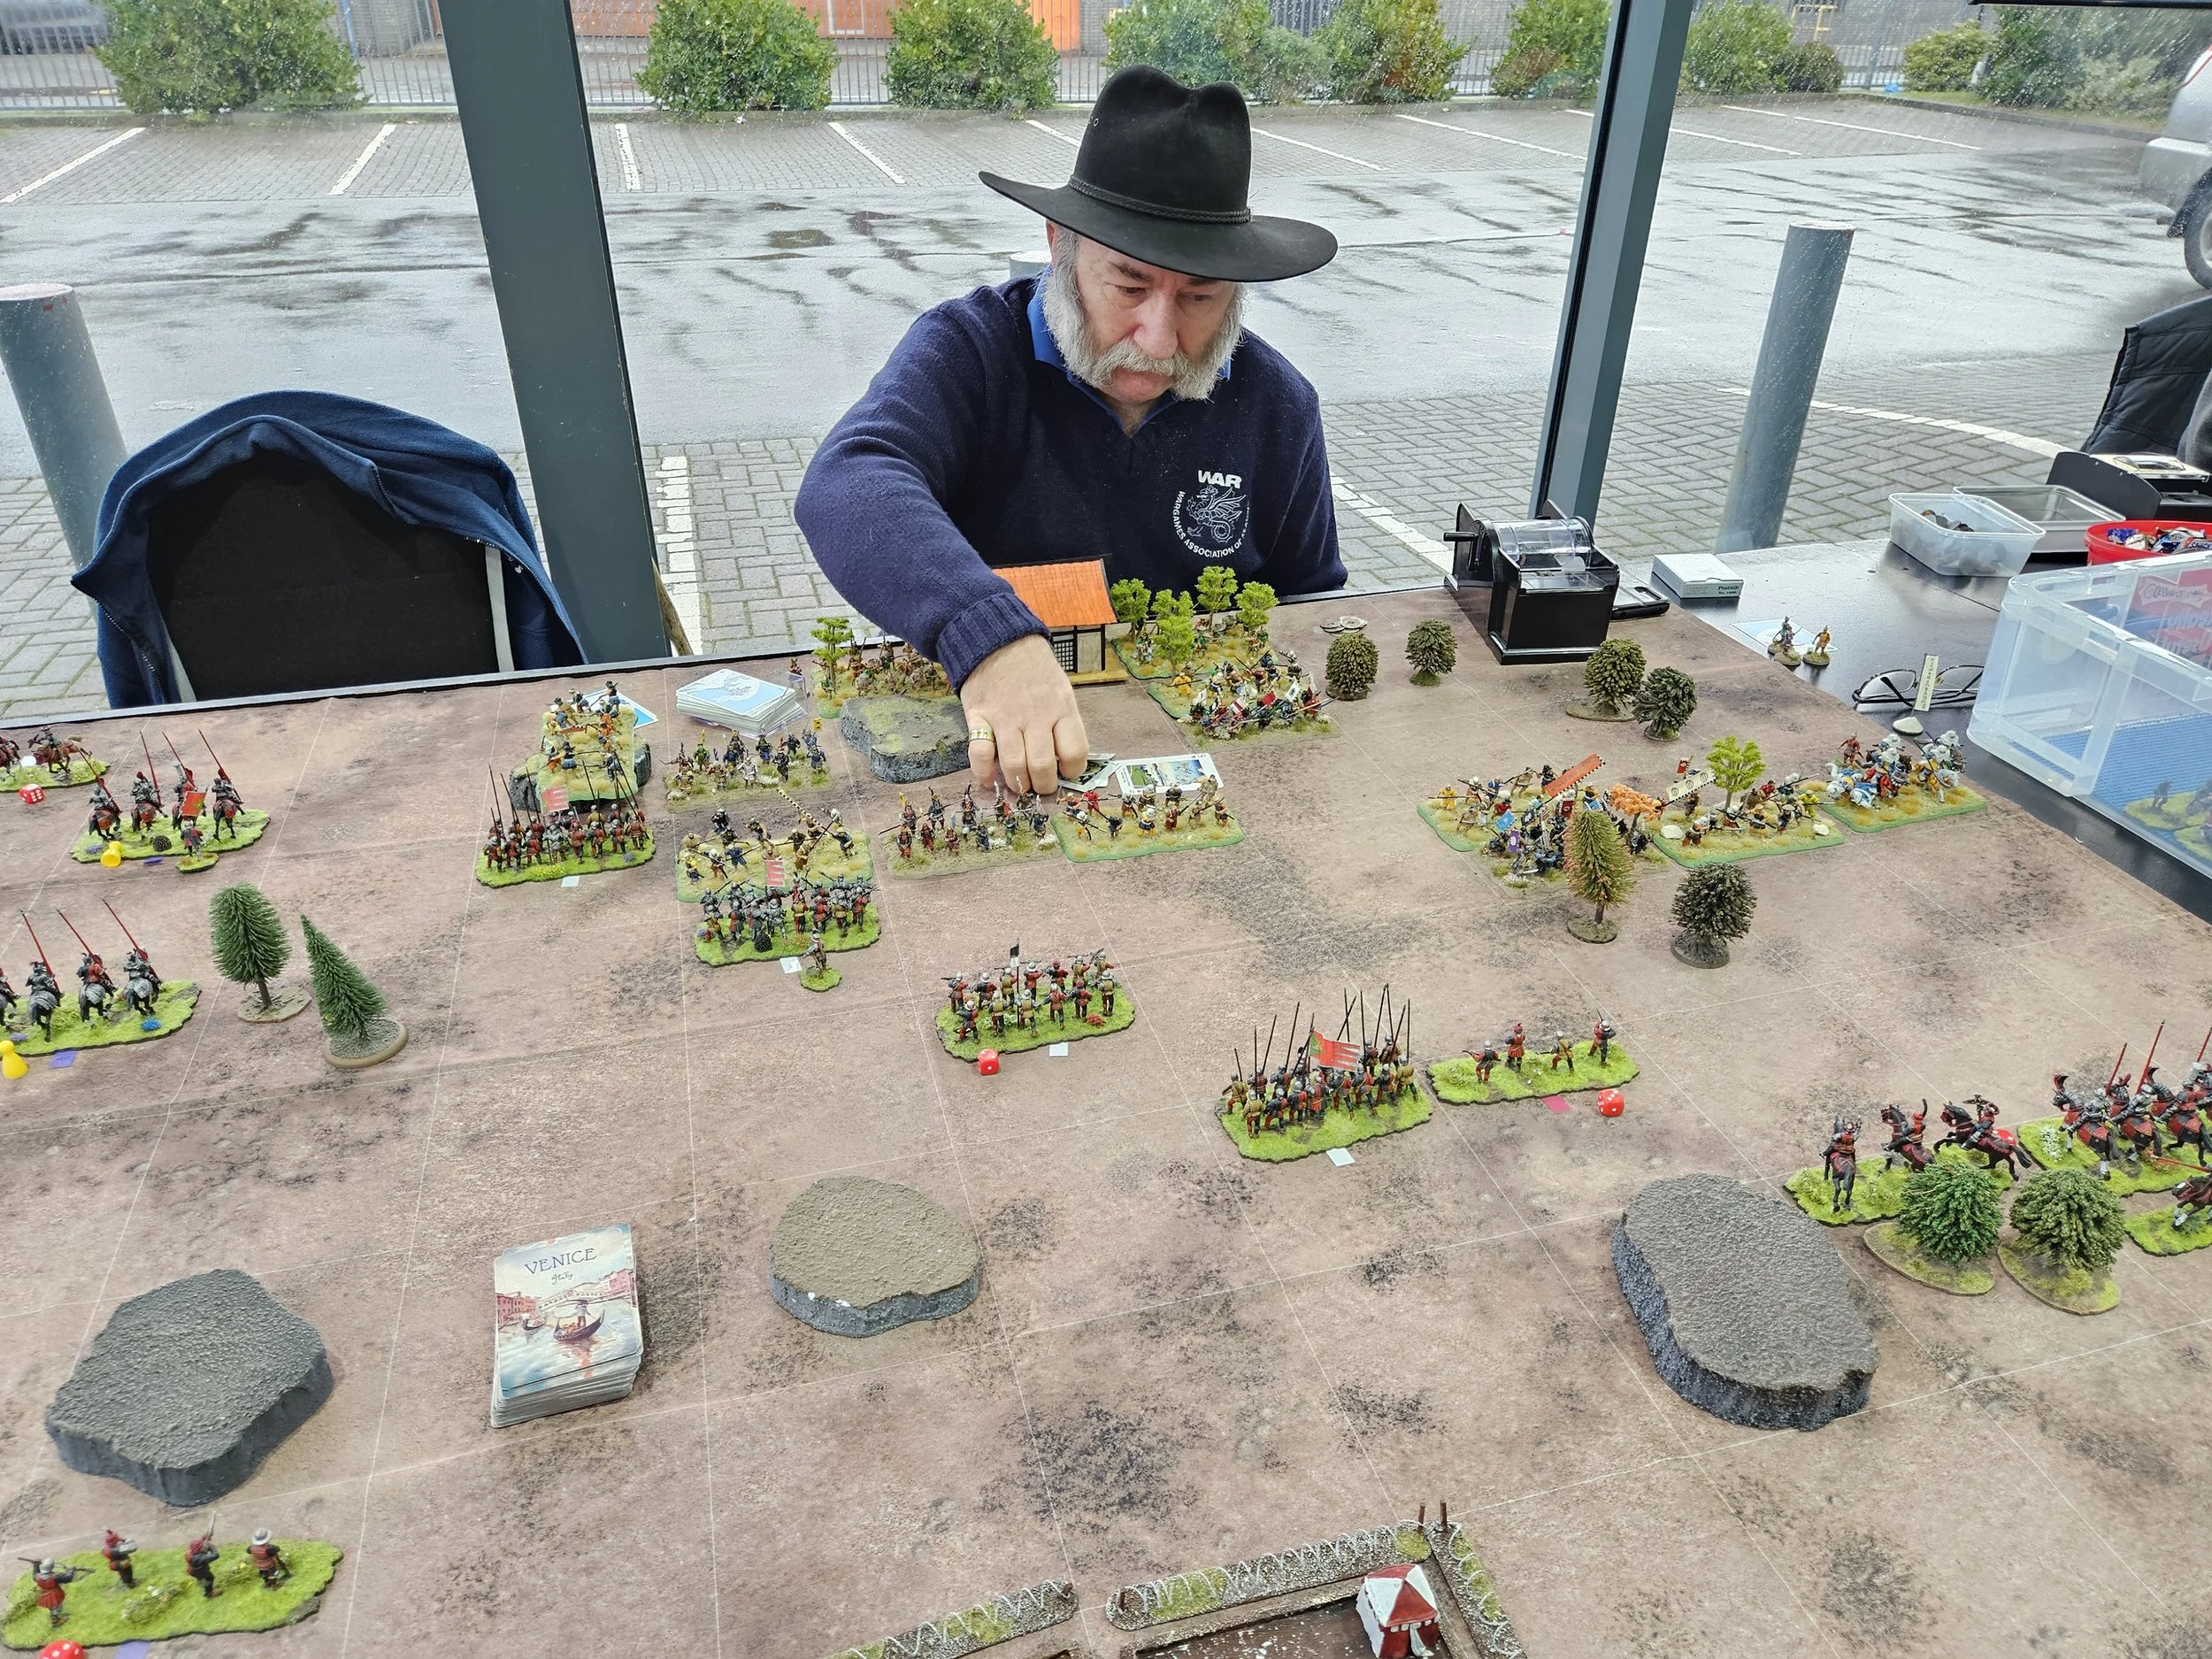
I won the scouting, and was pleased to see Colin set up in one corner of the table, ripe for some kind of outflanking manouevre with my Knights on the left!
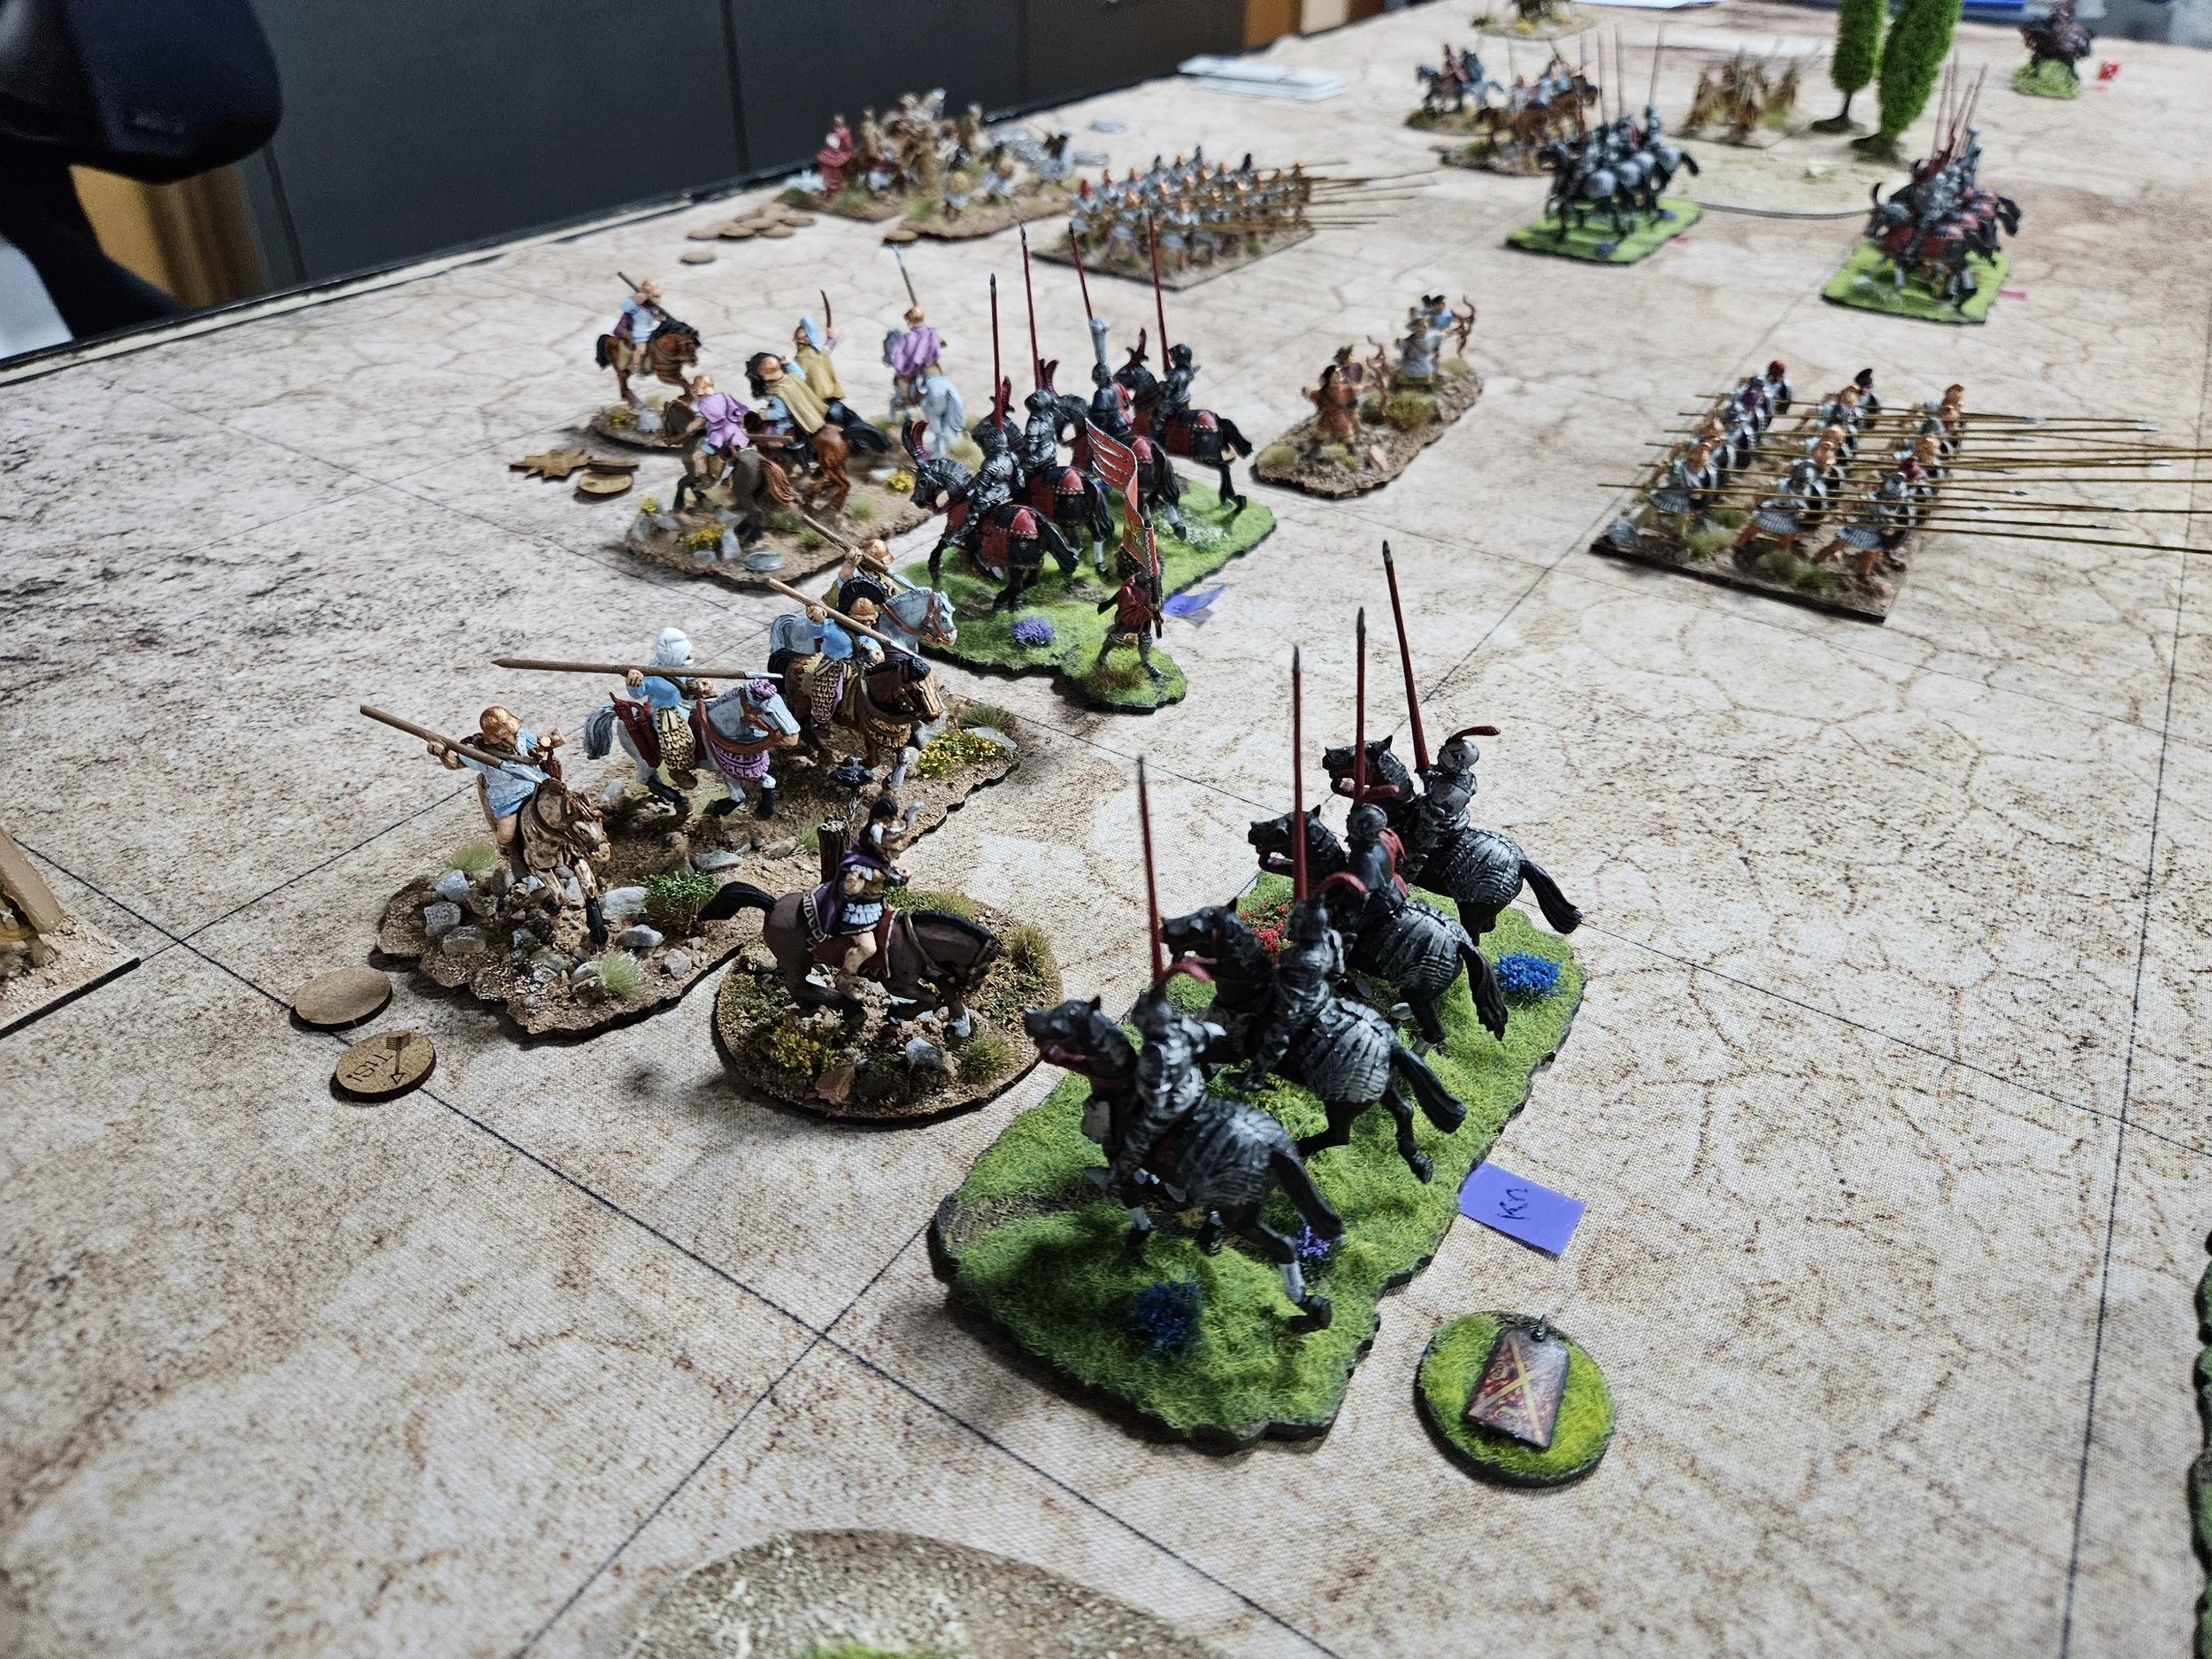
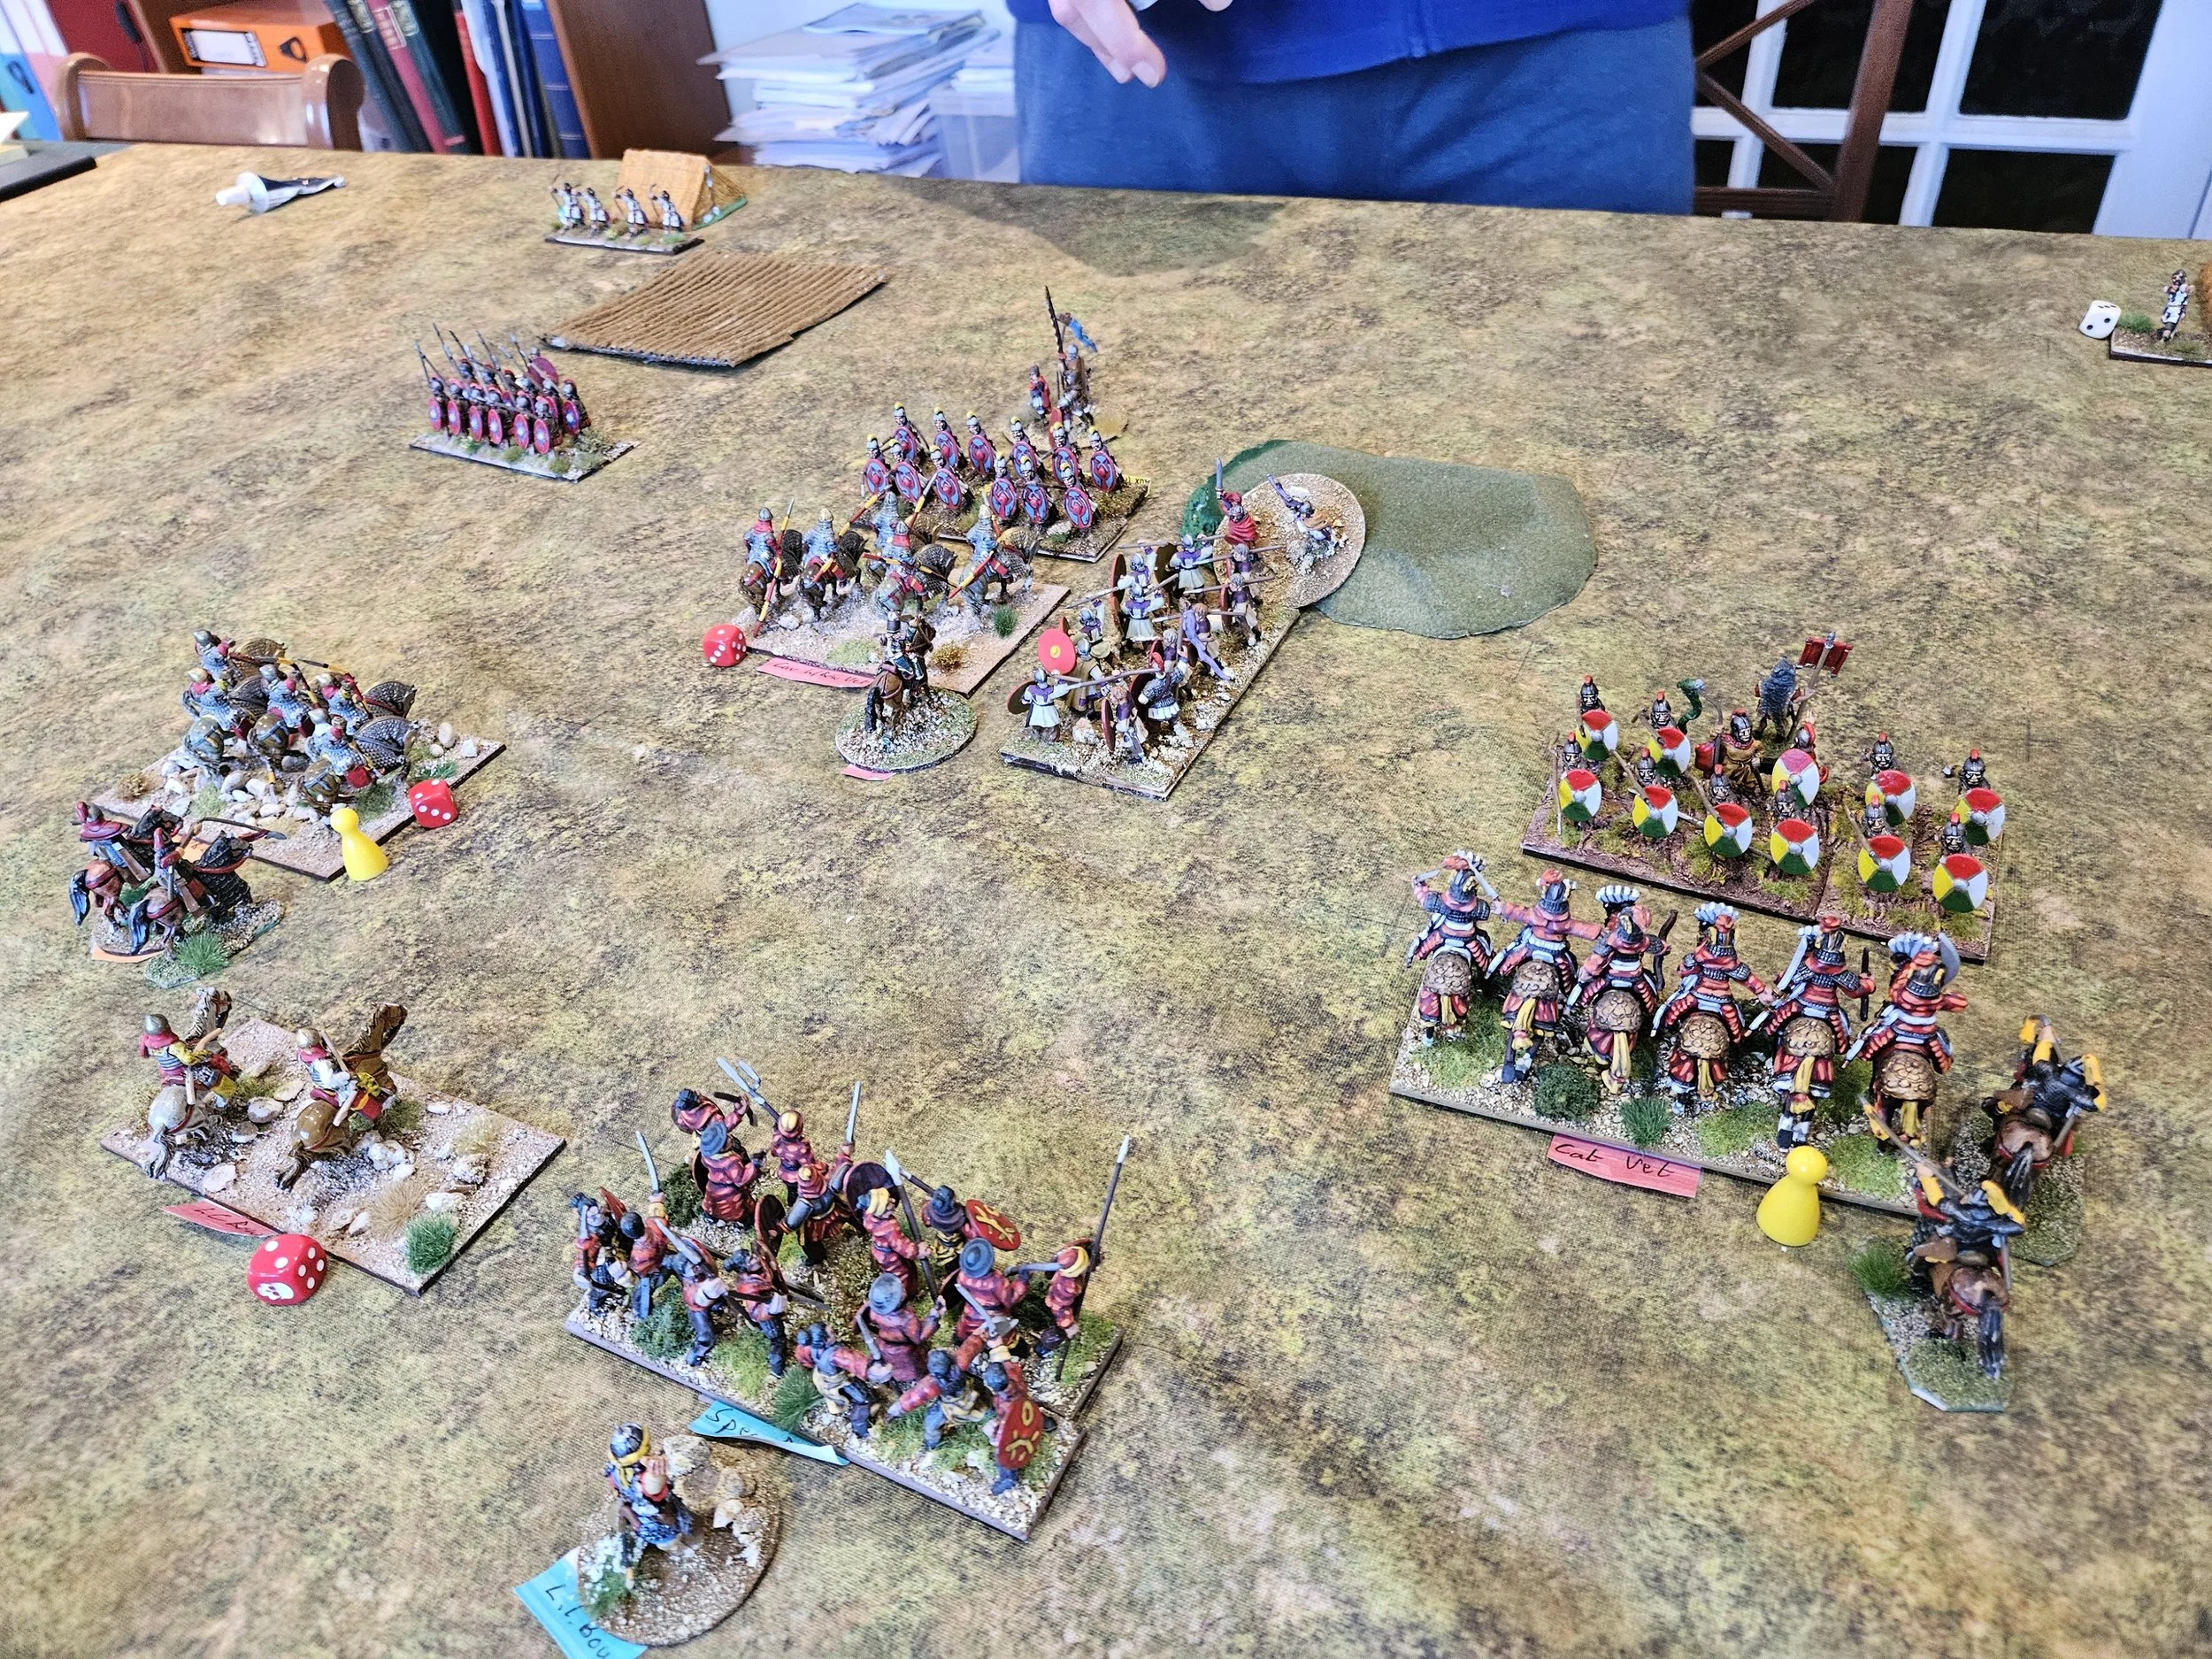
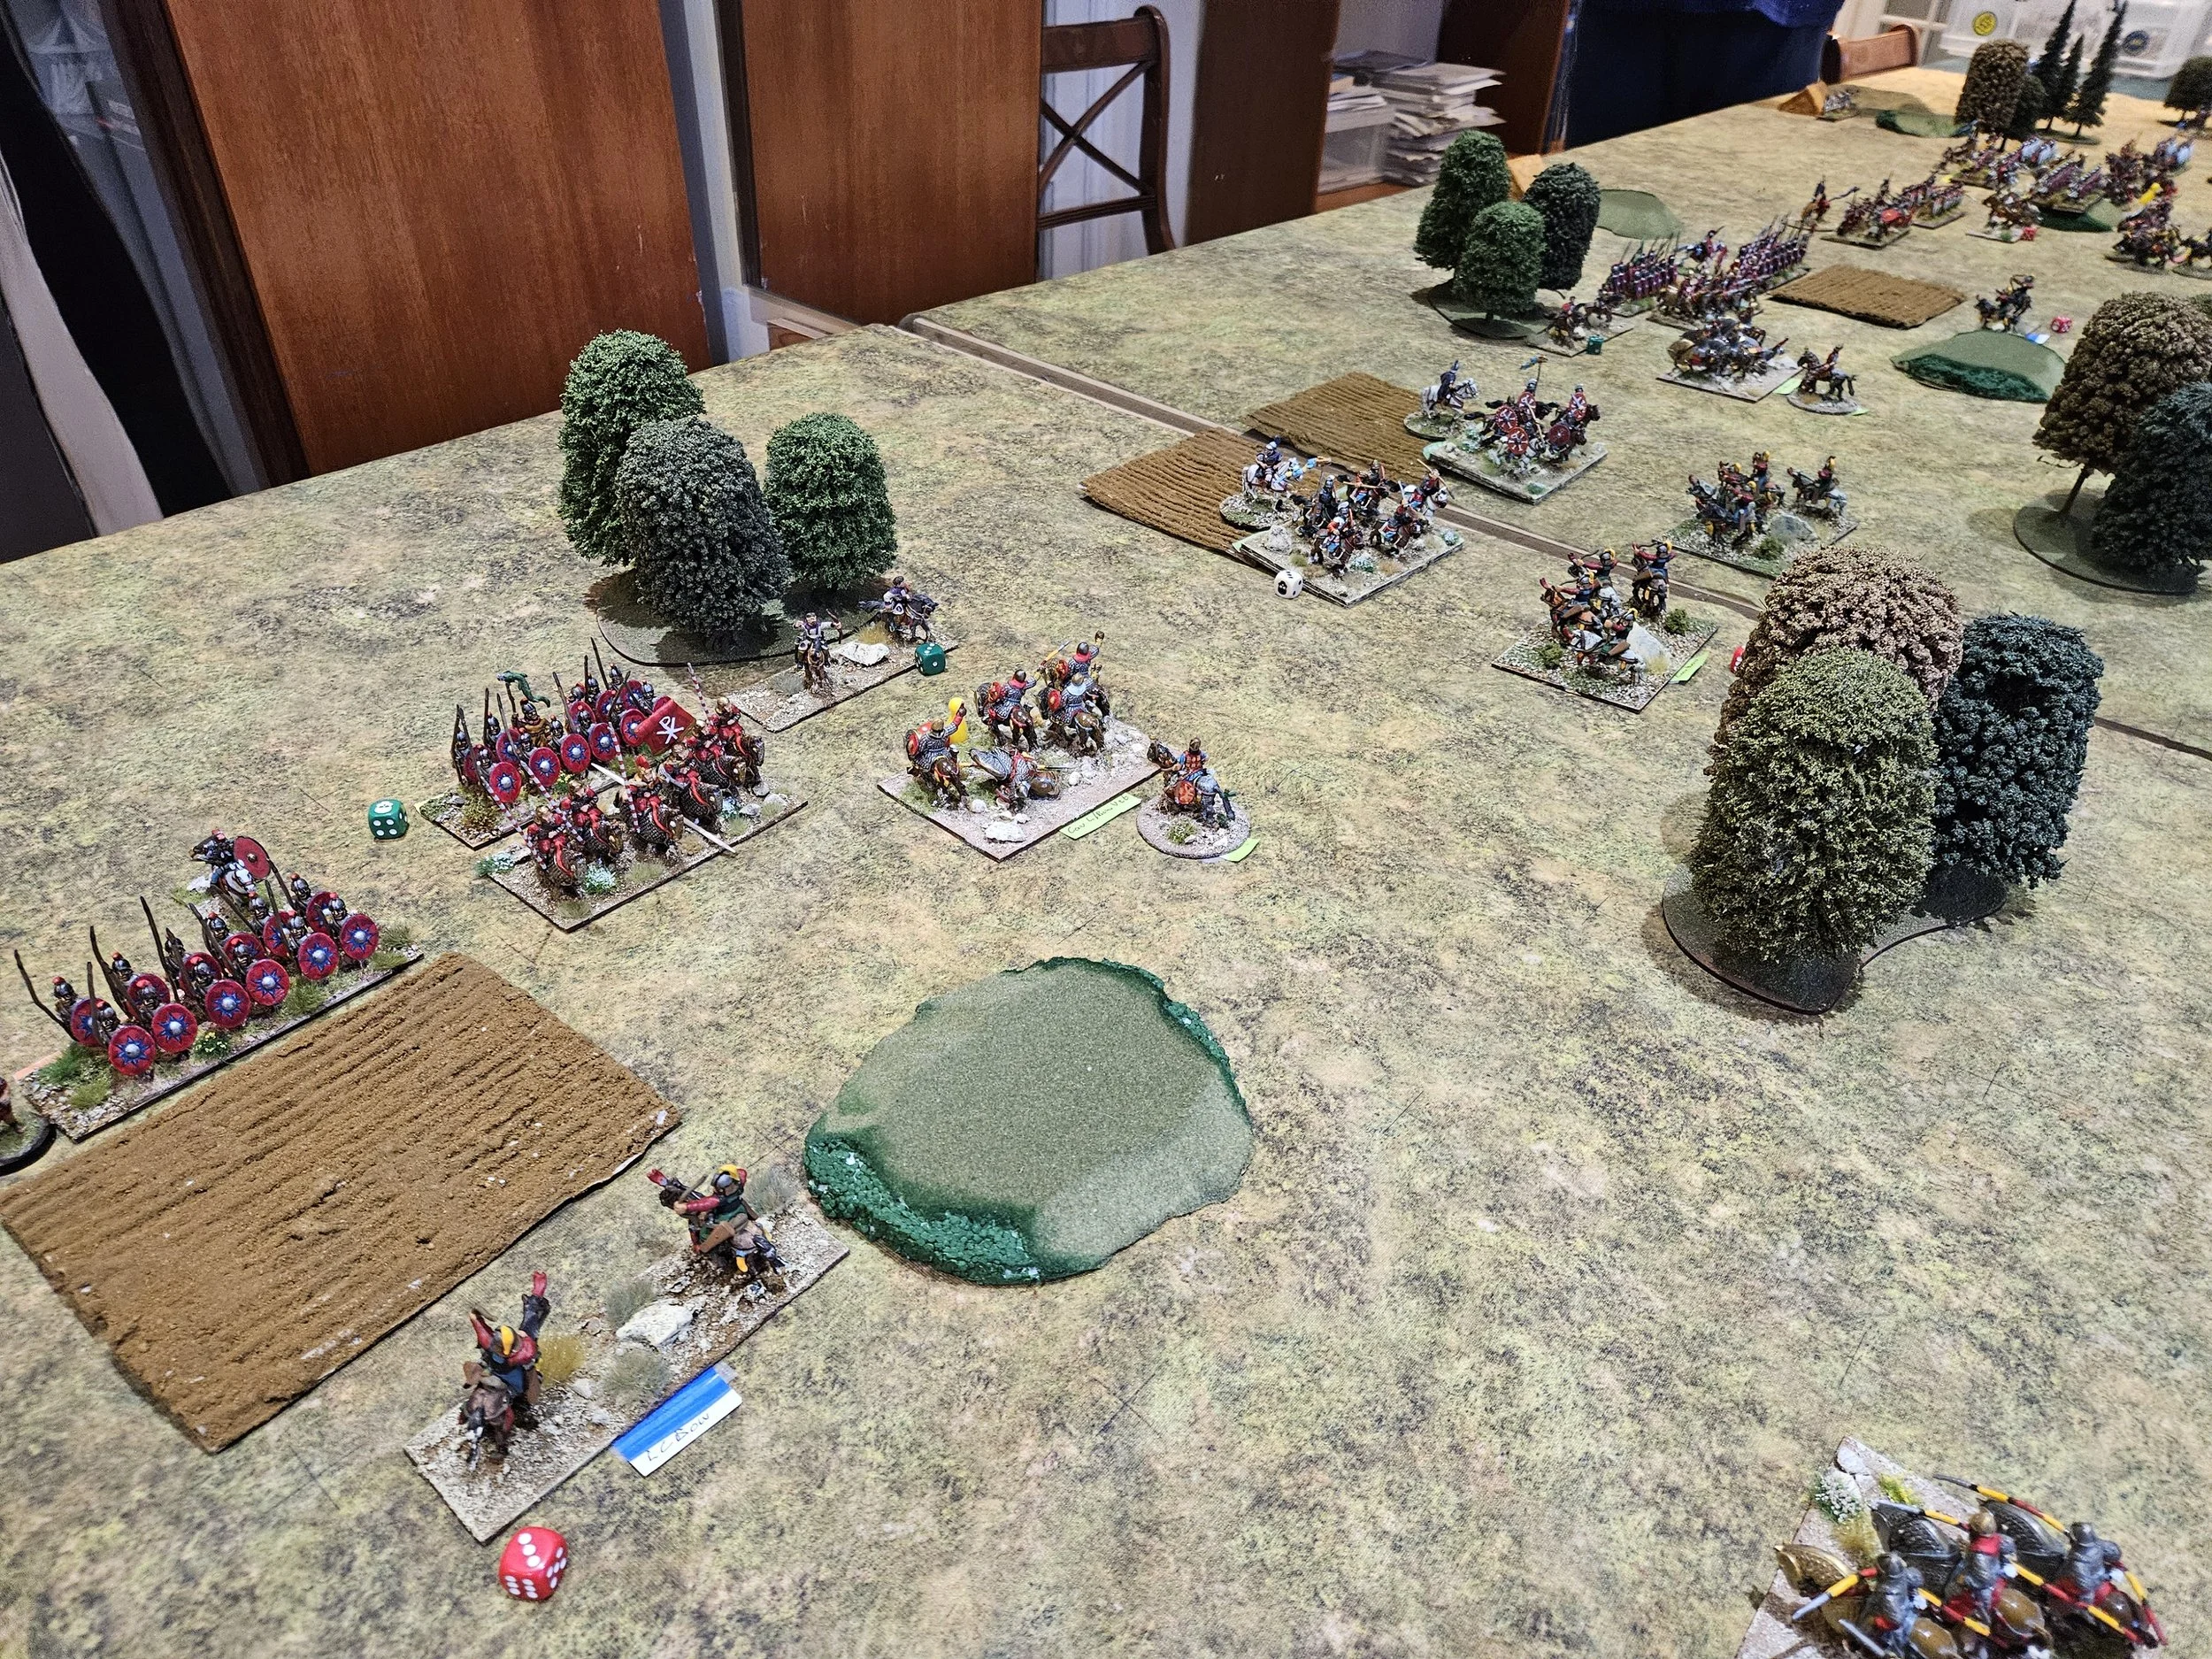
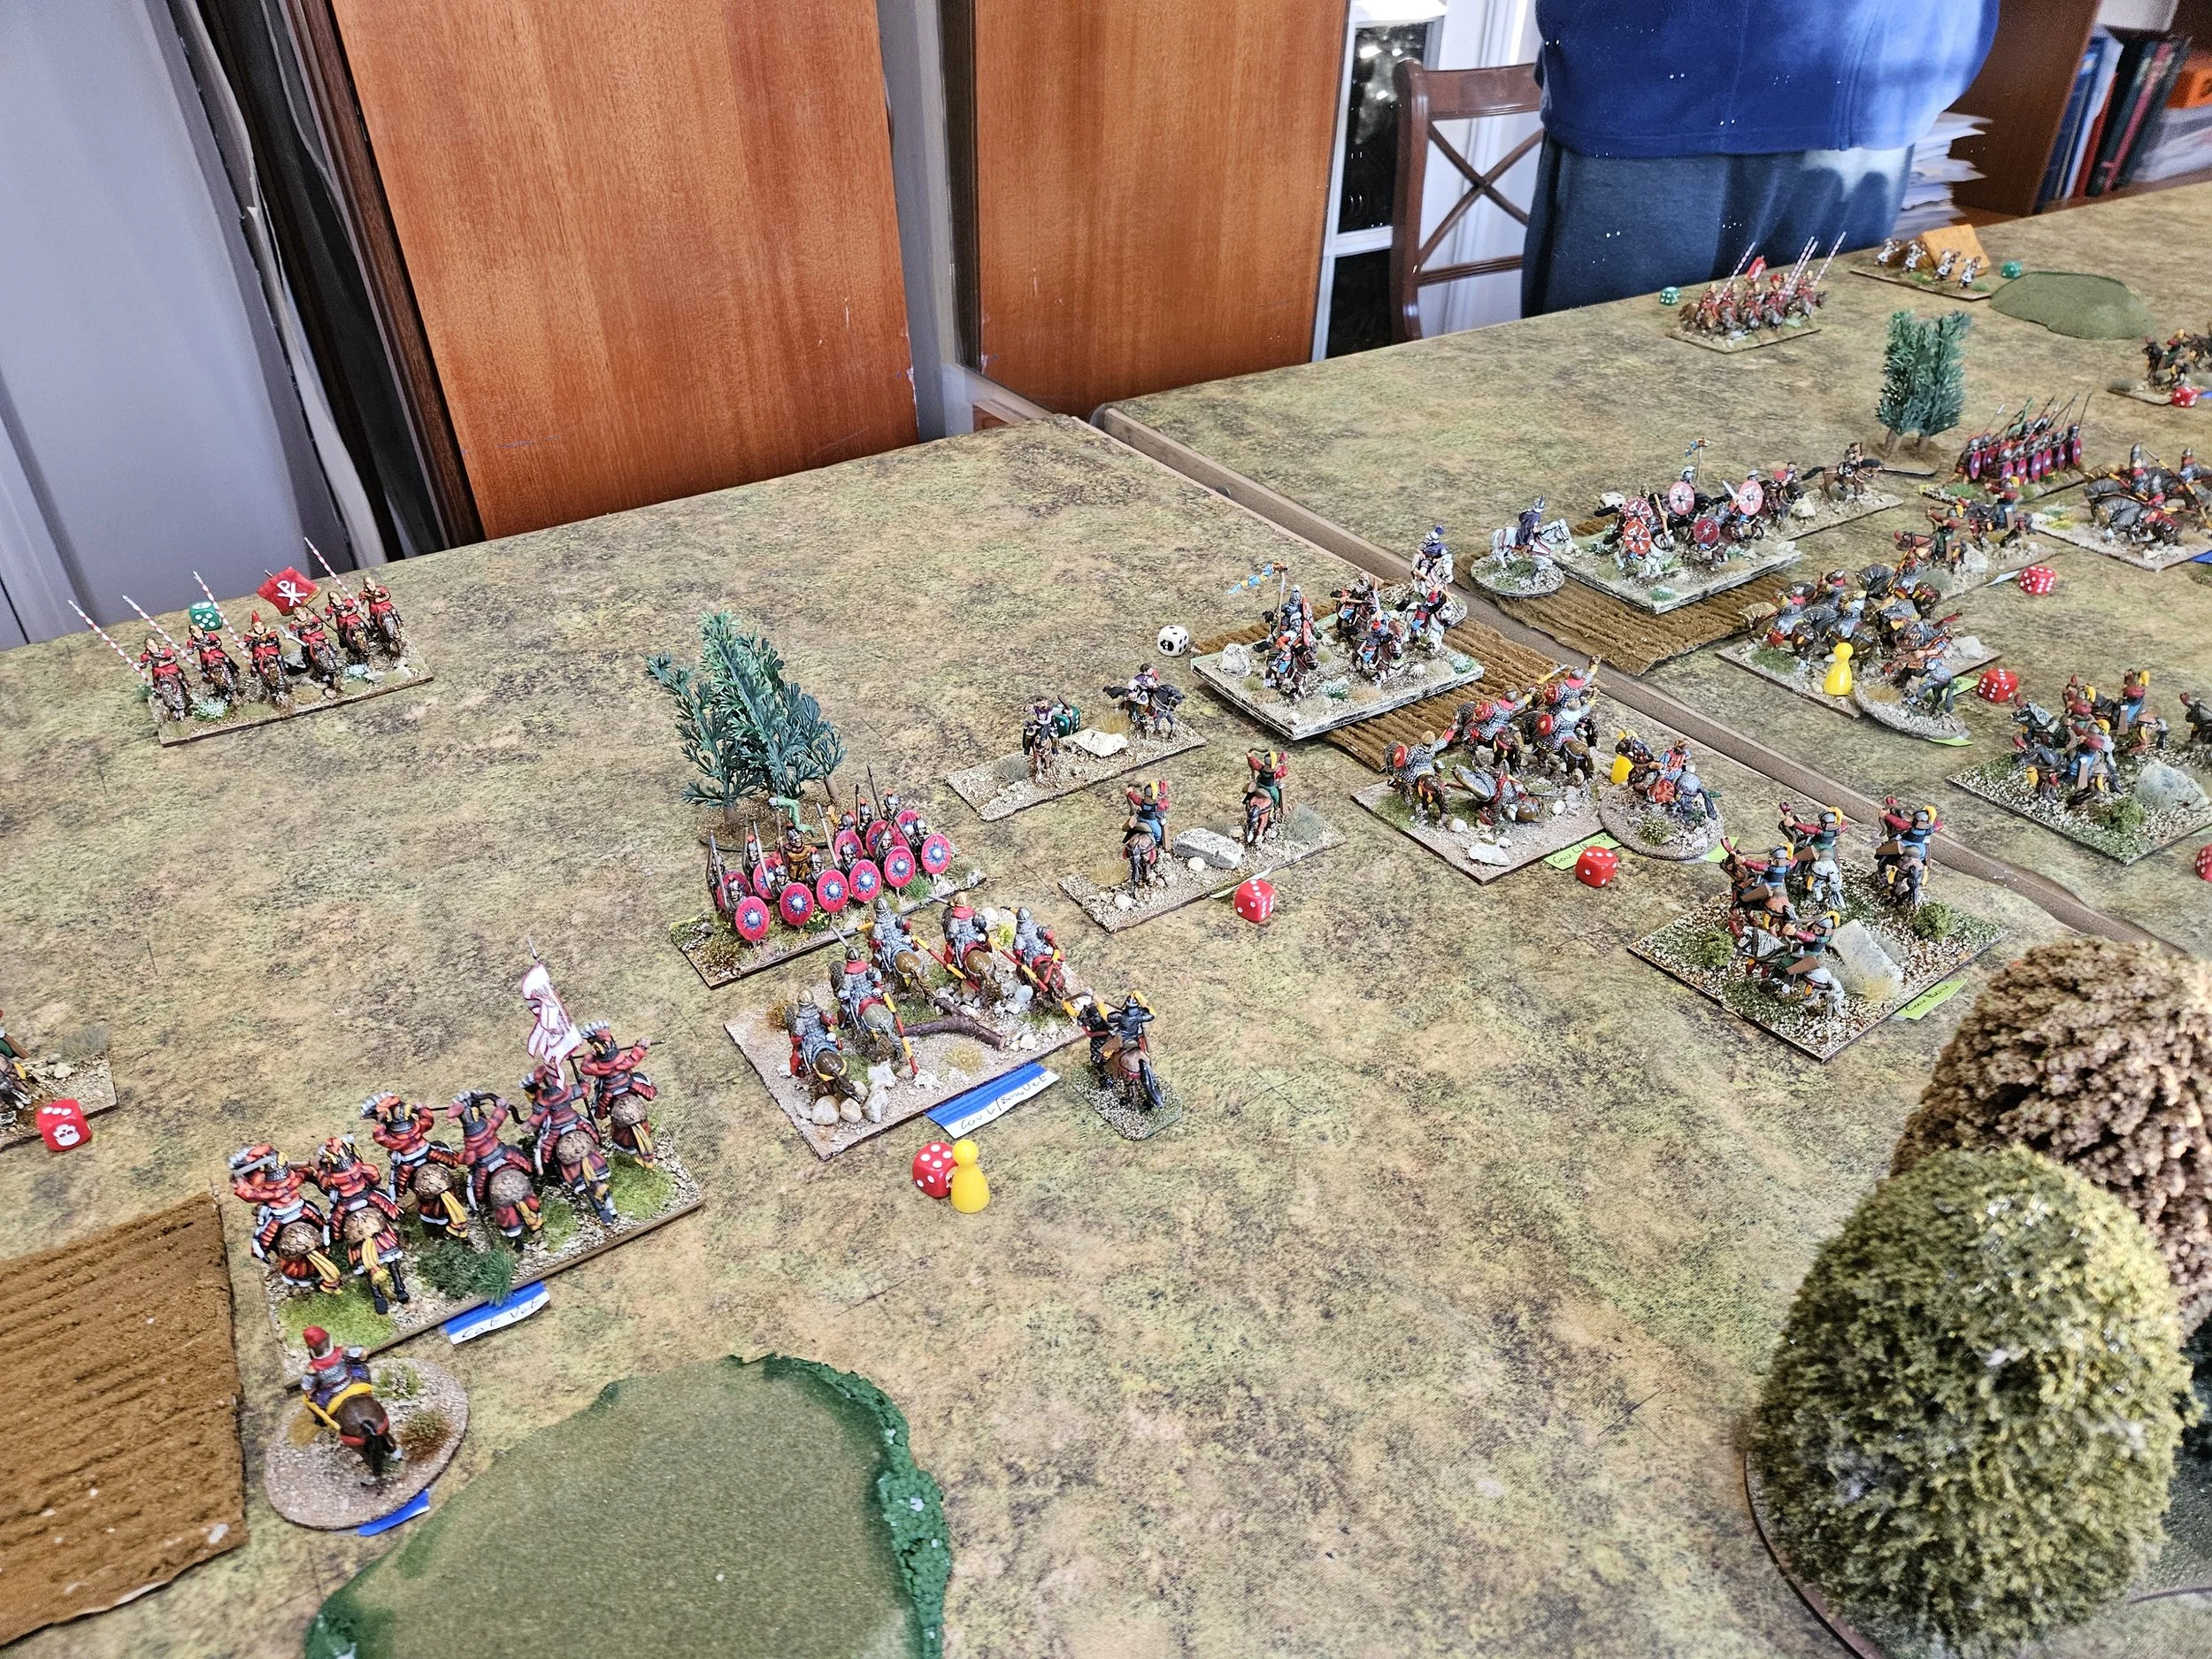
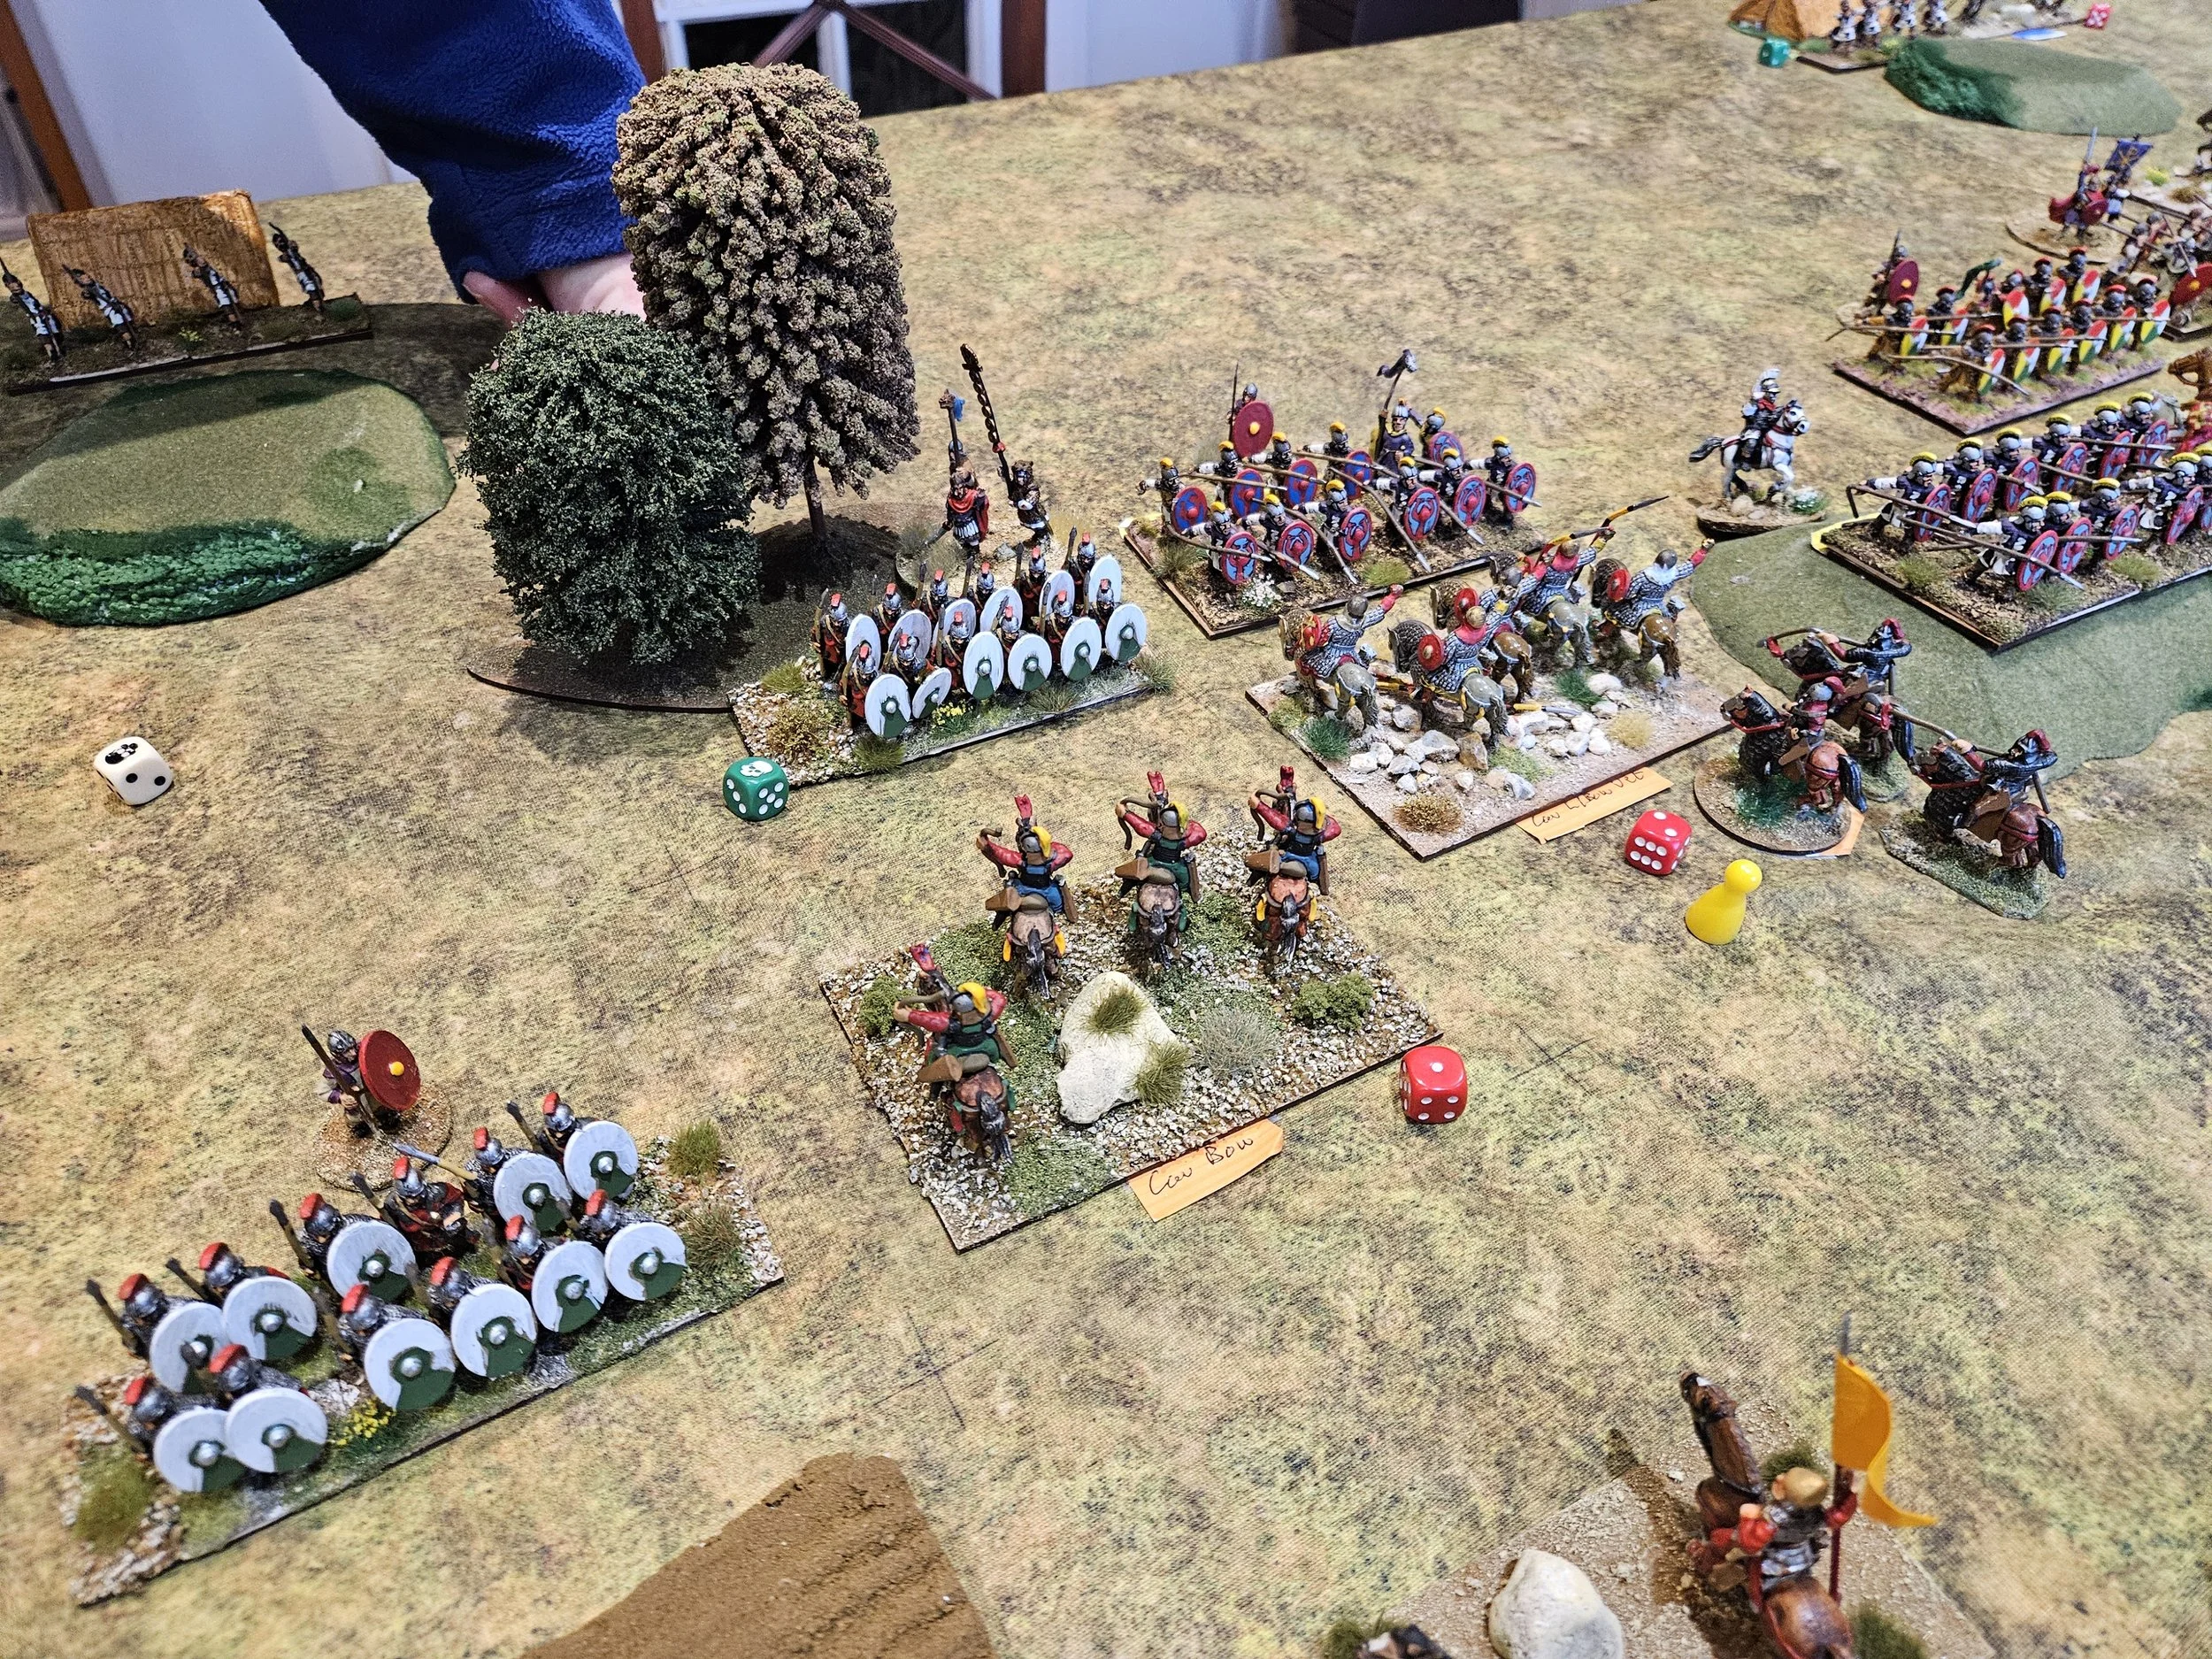
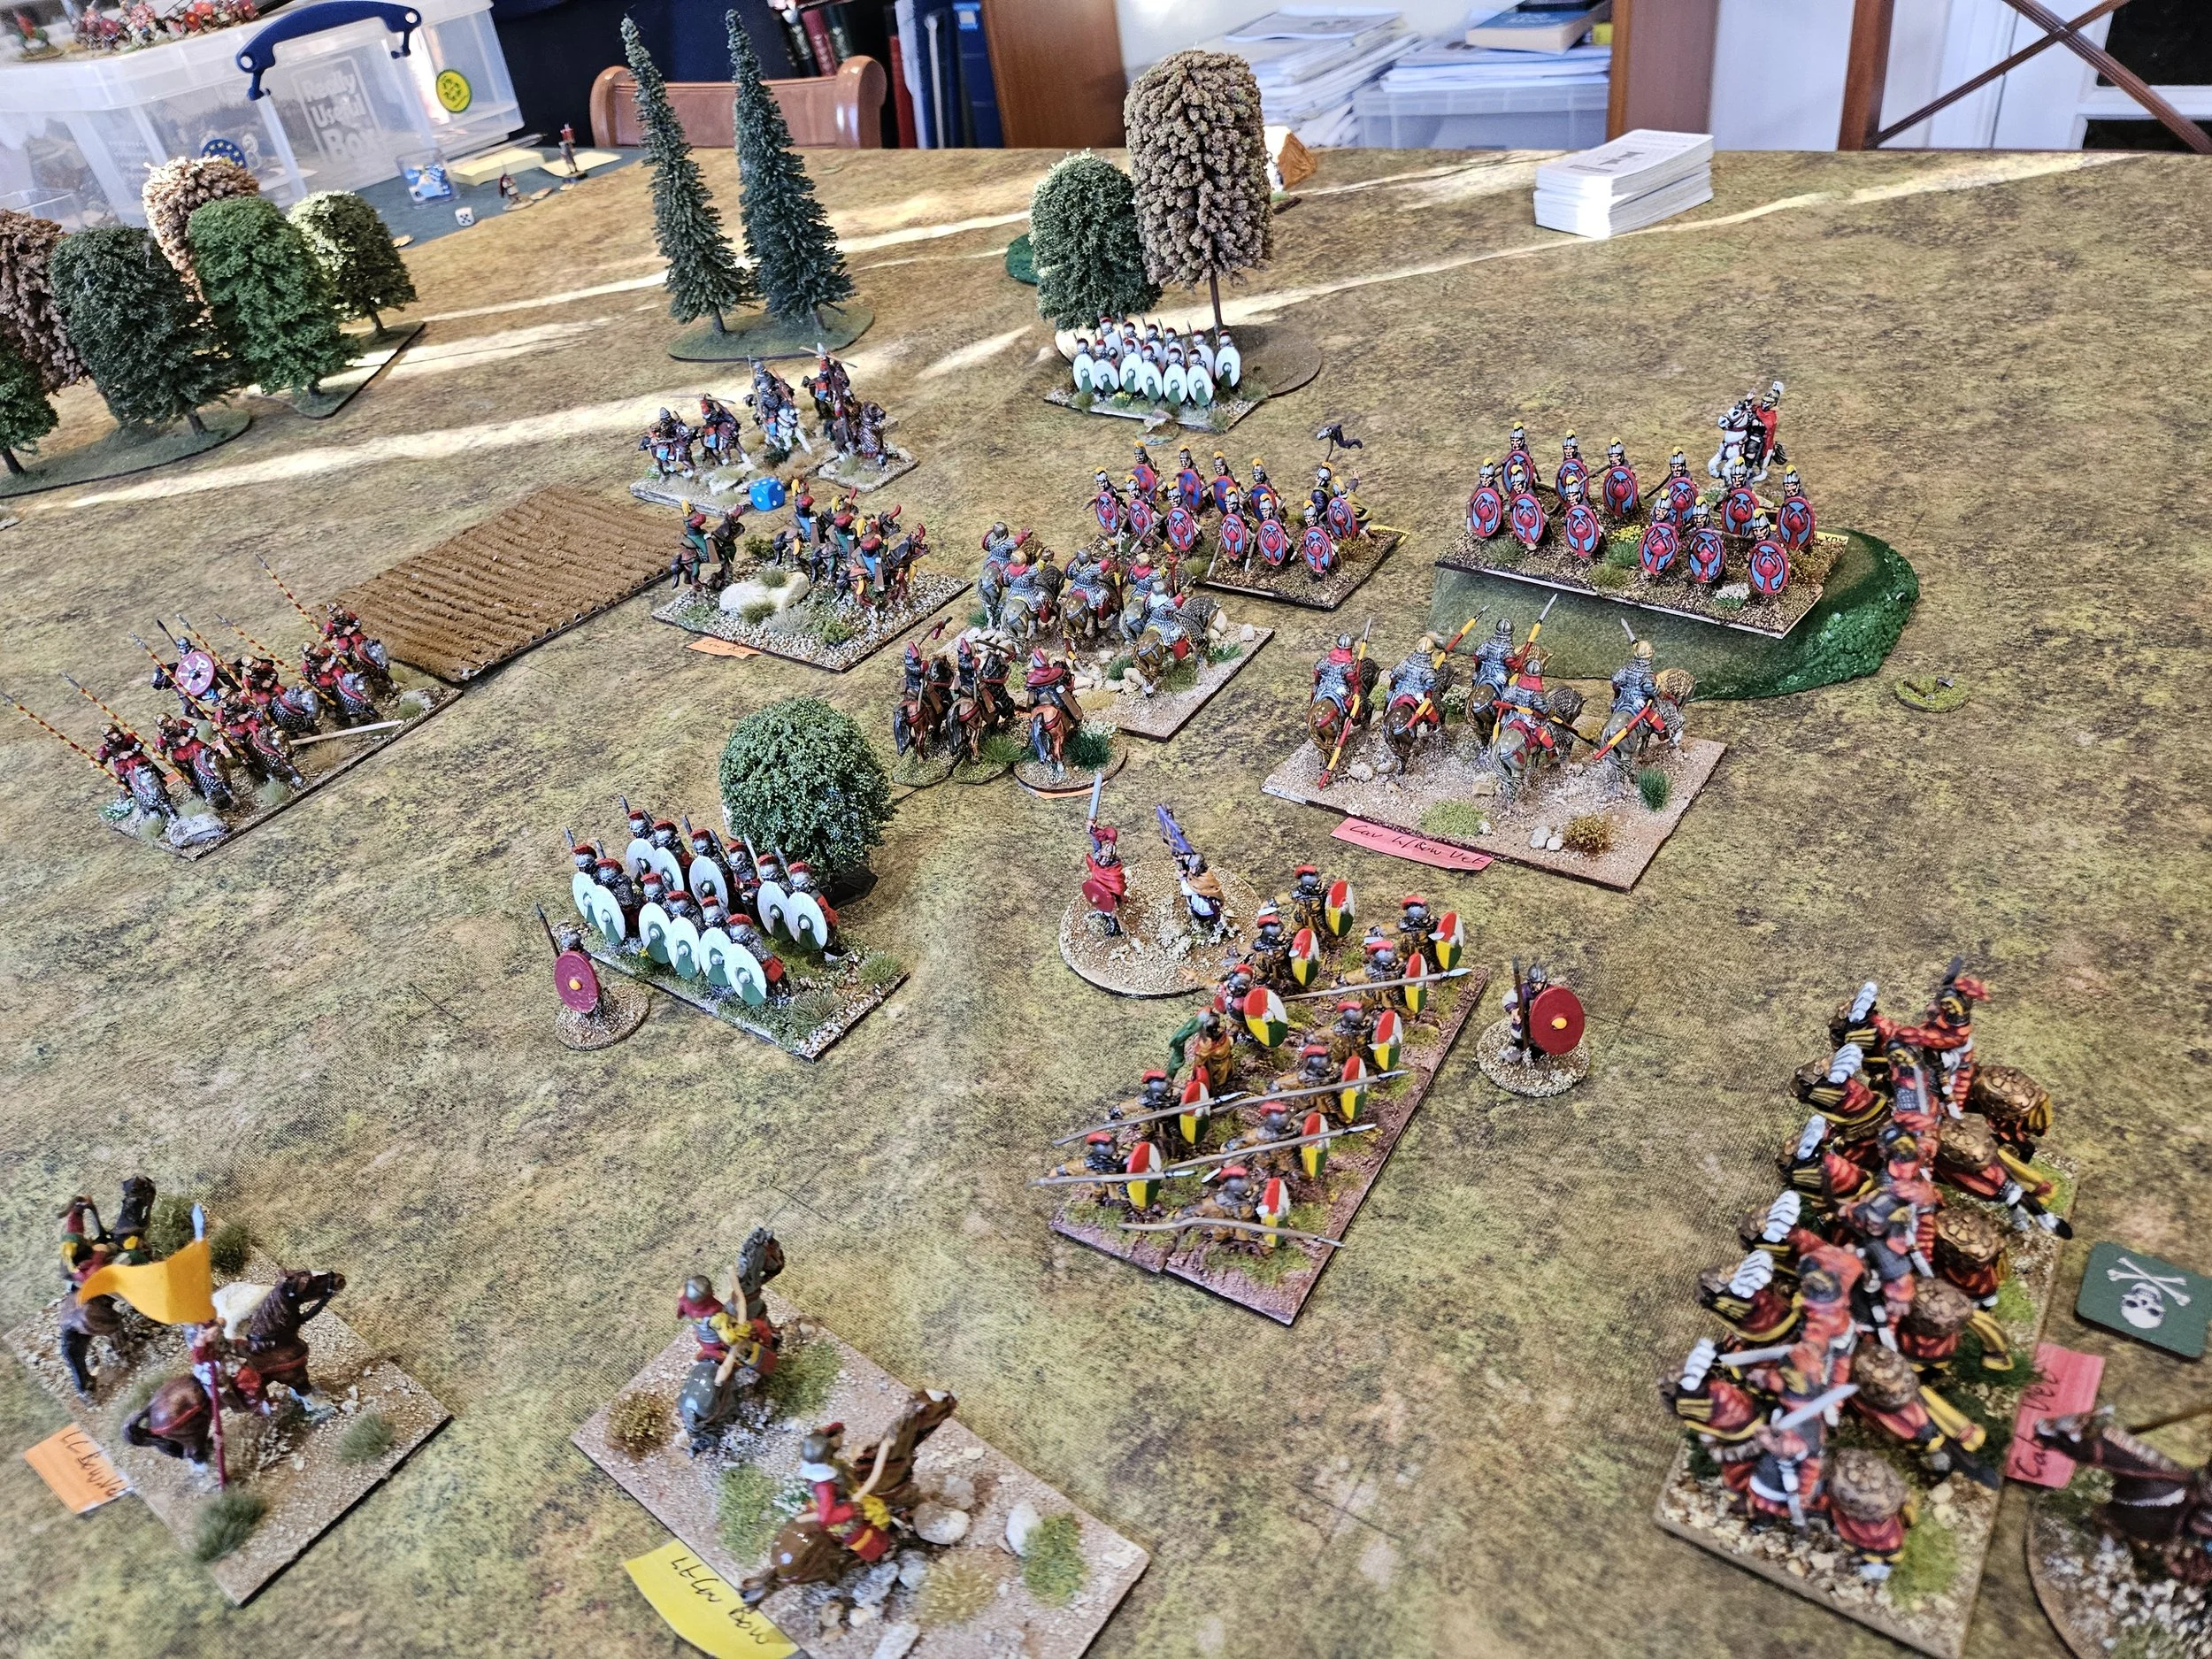
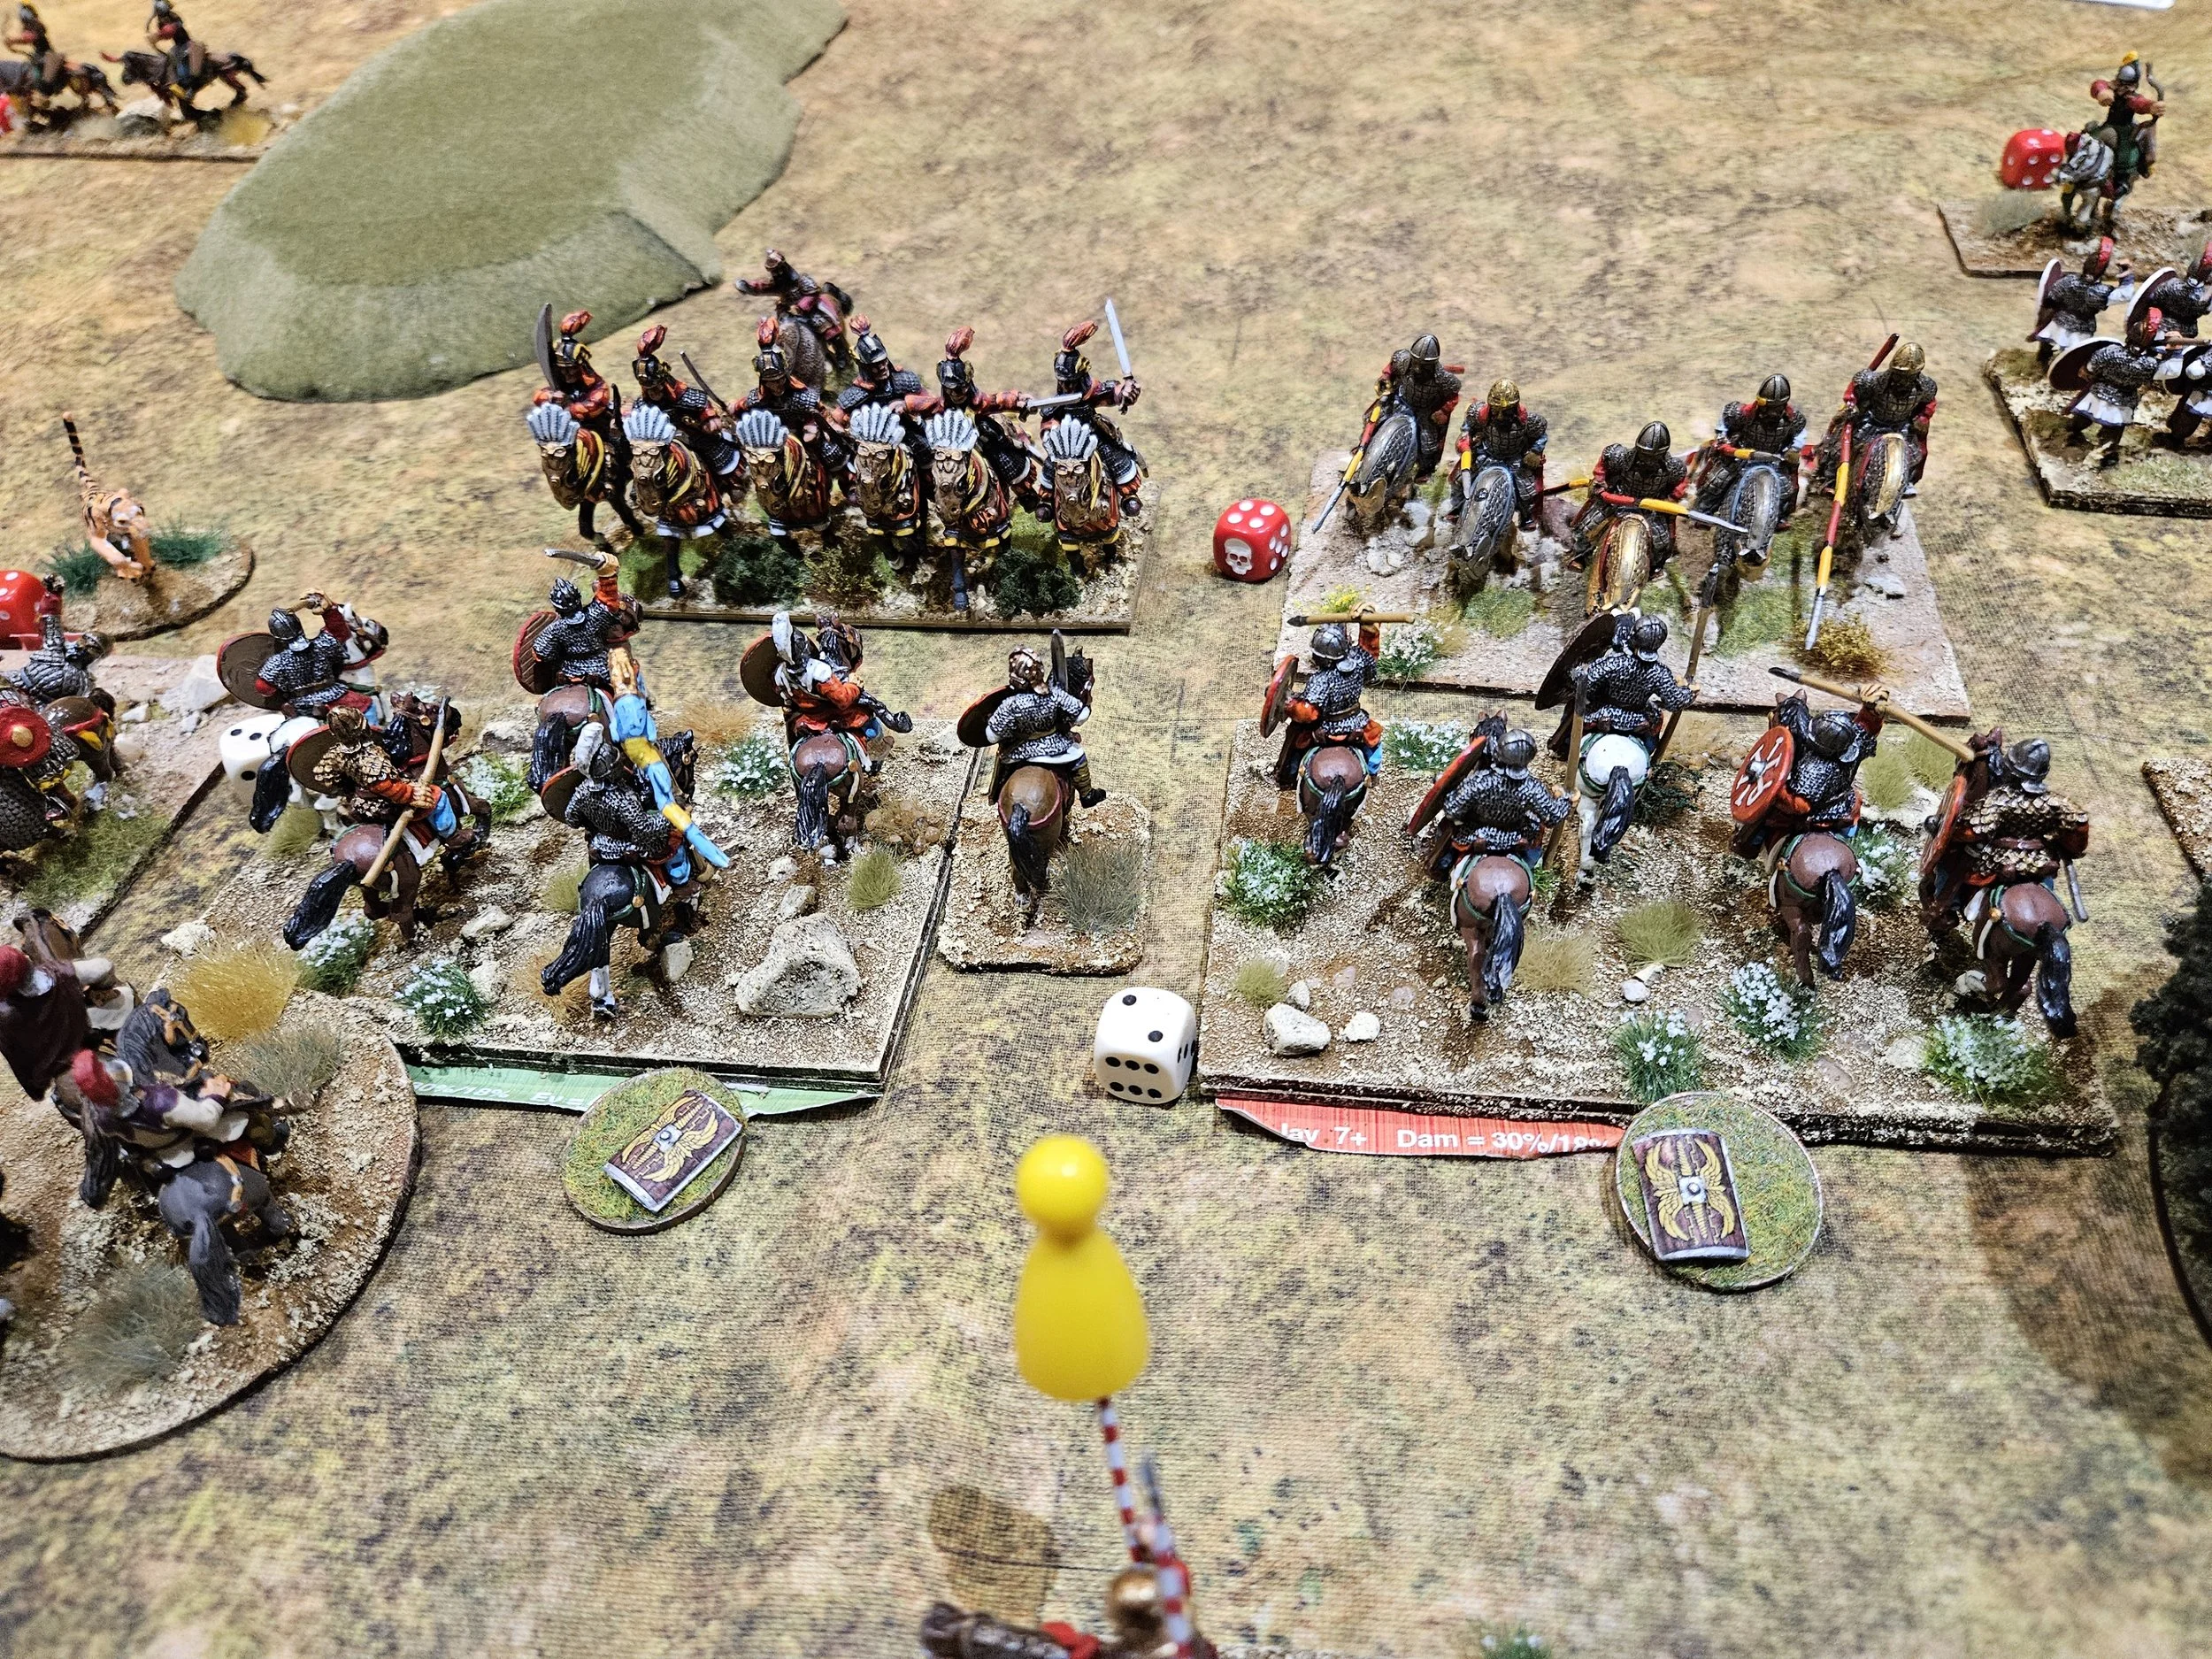
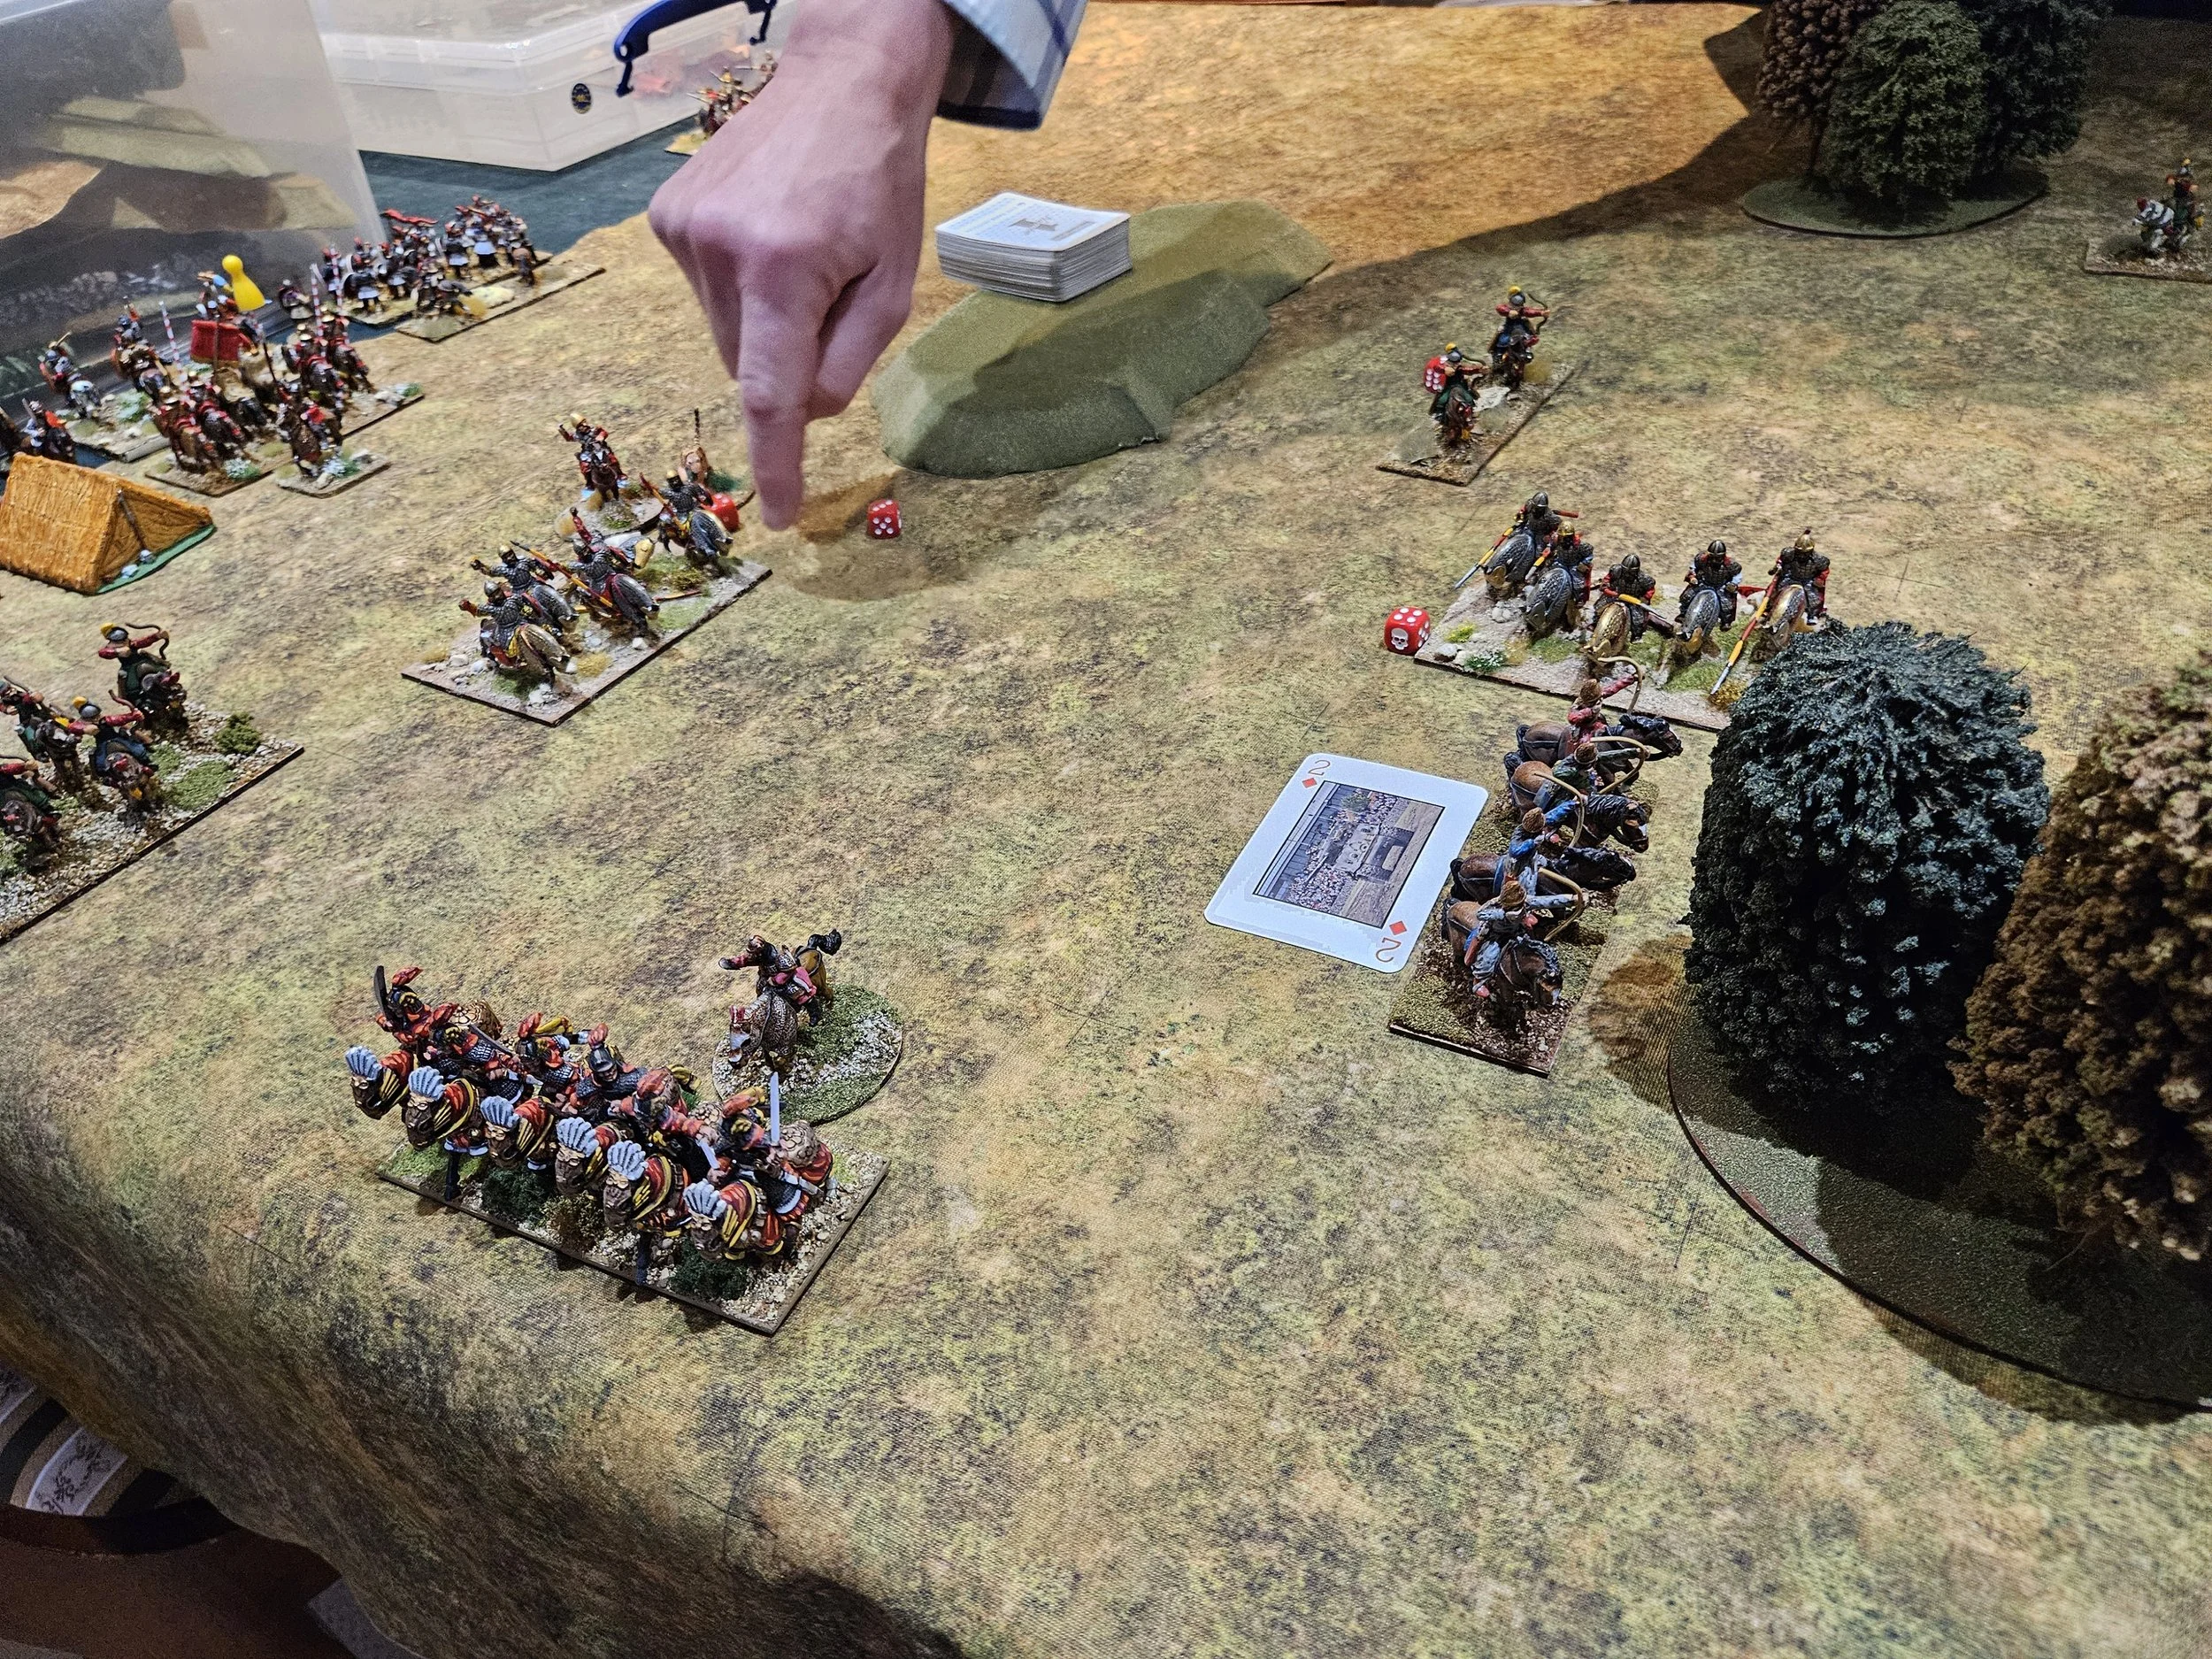
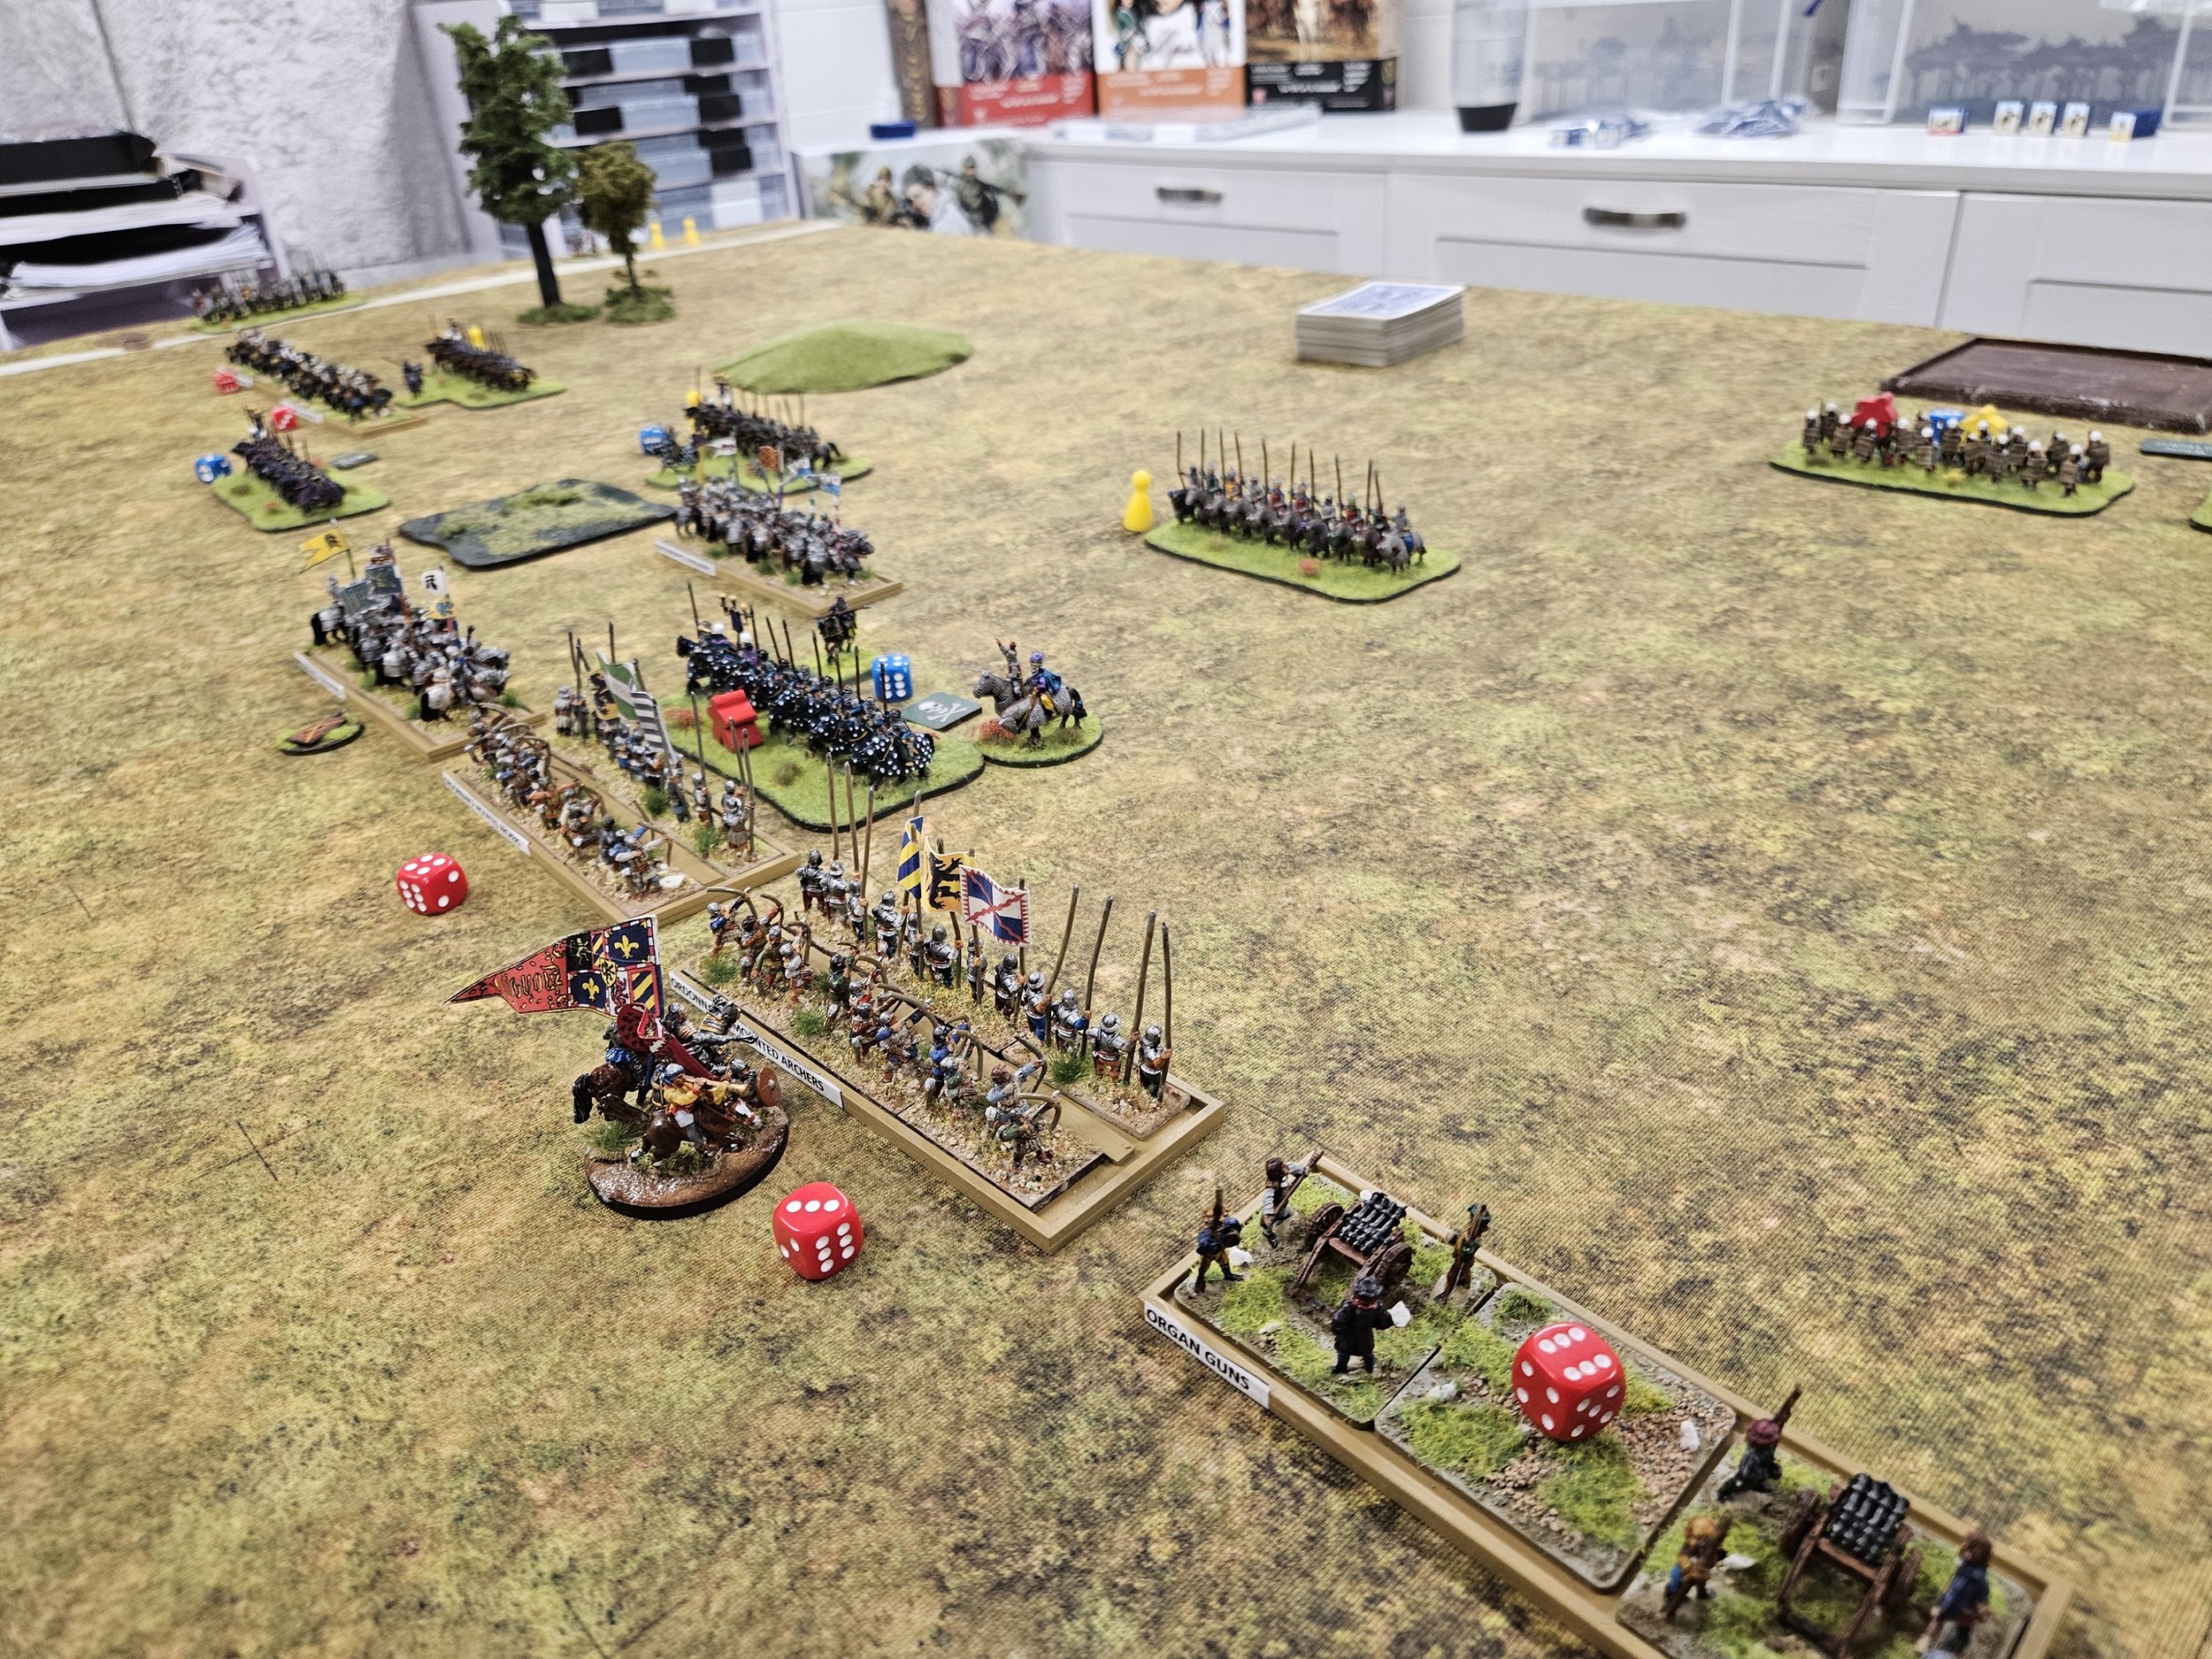
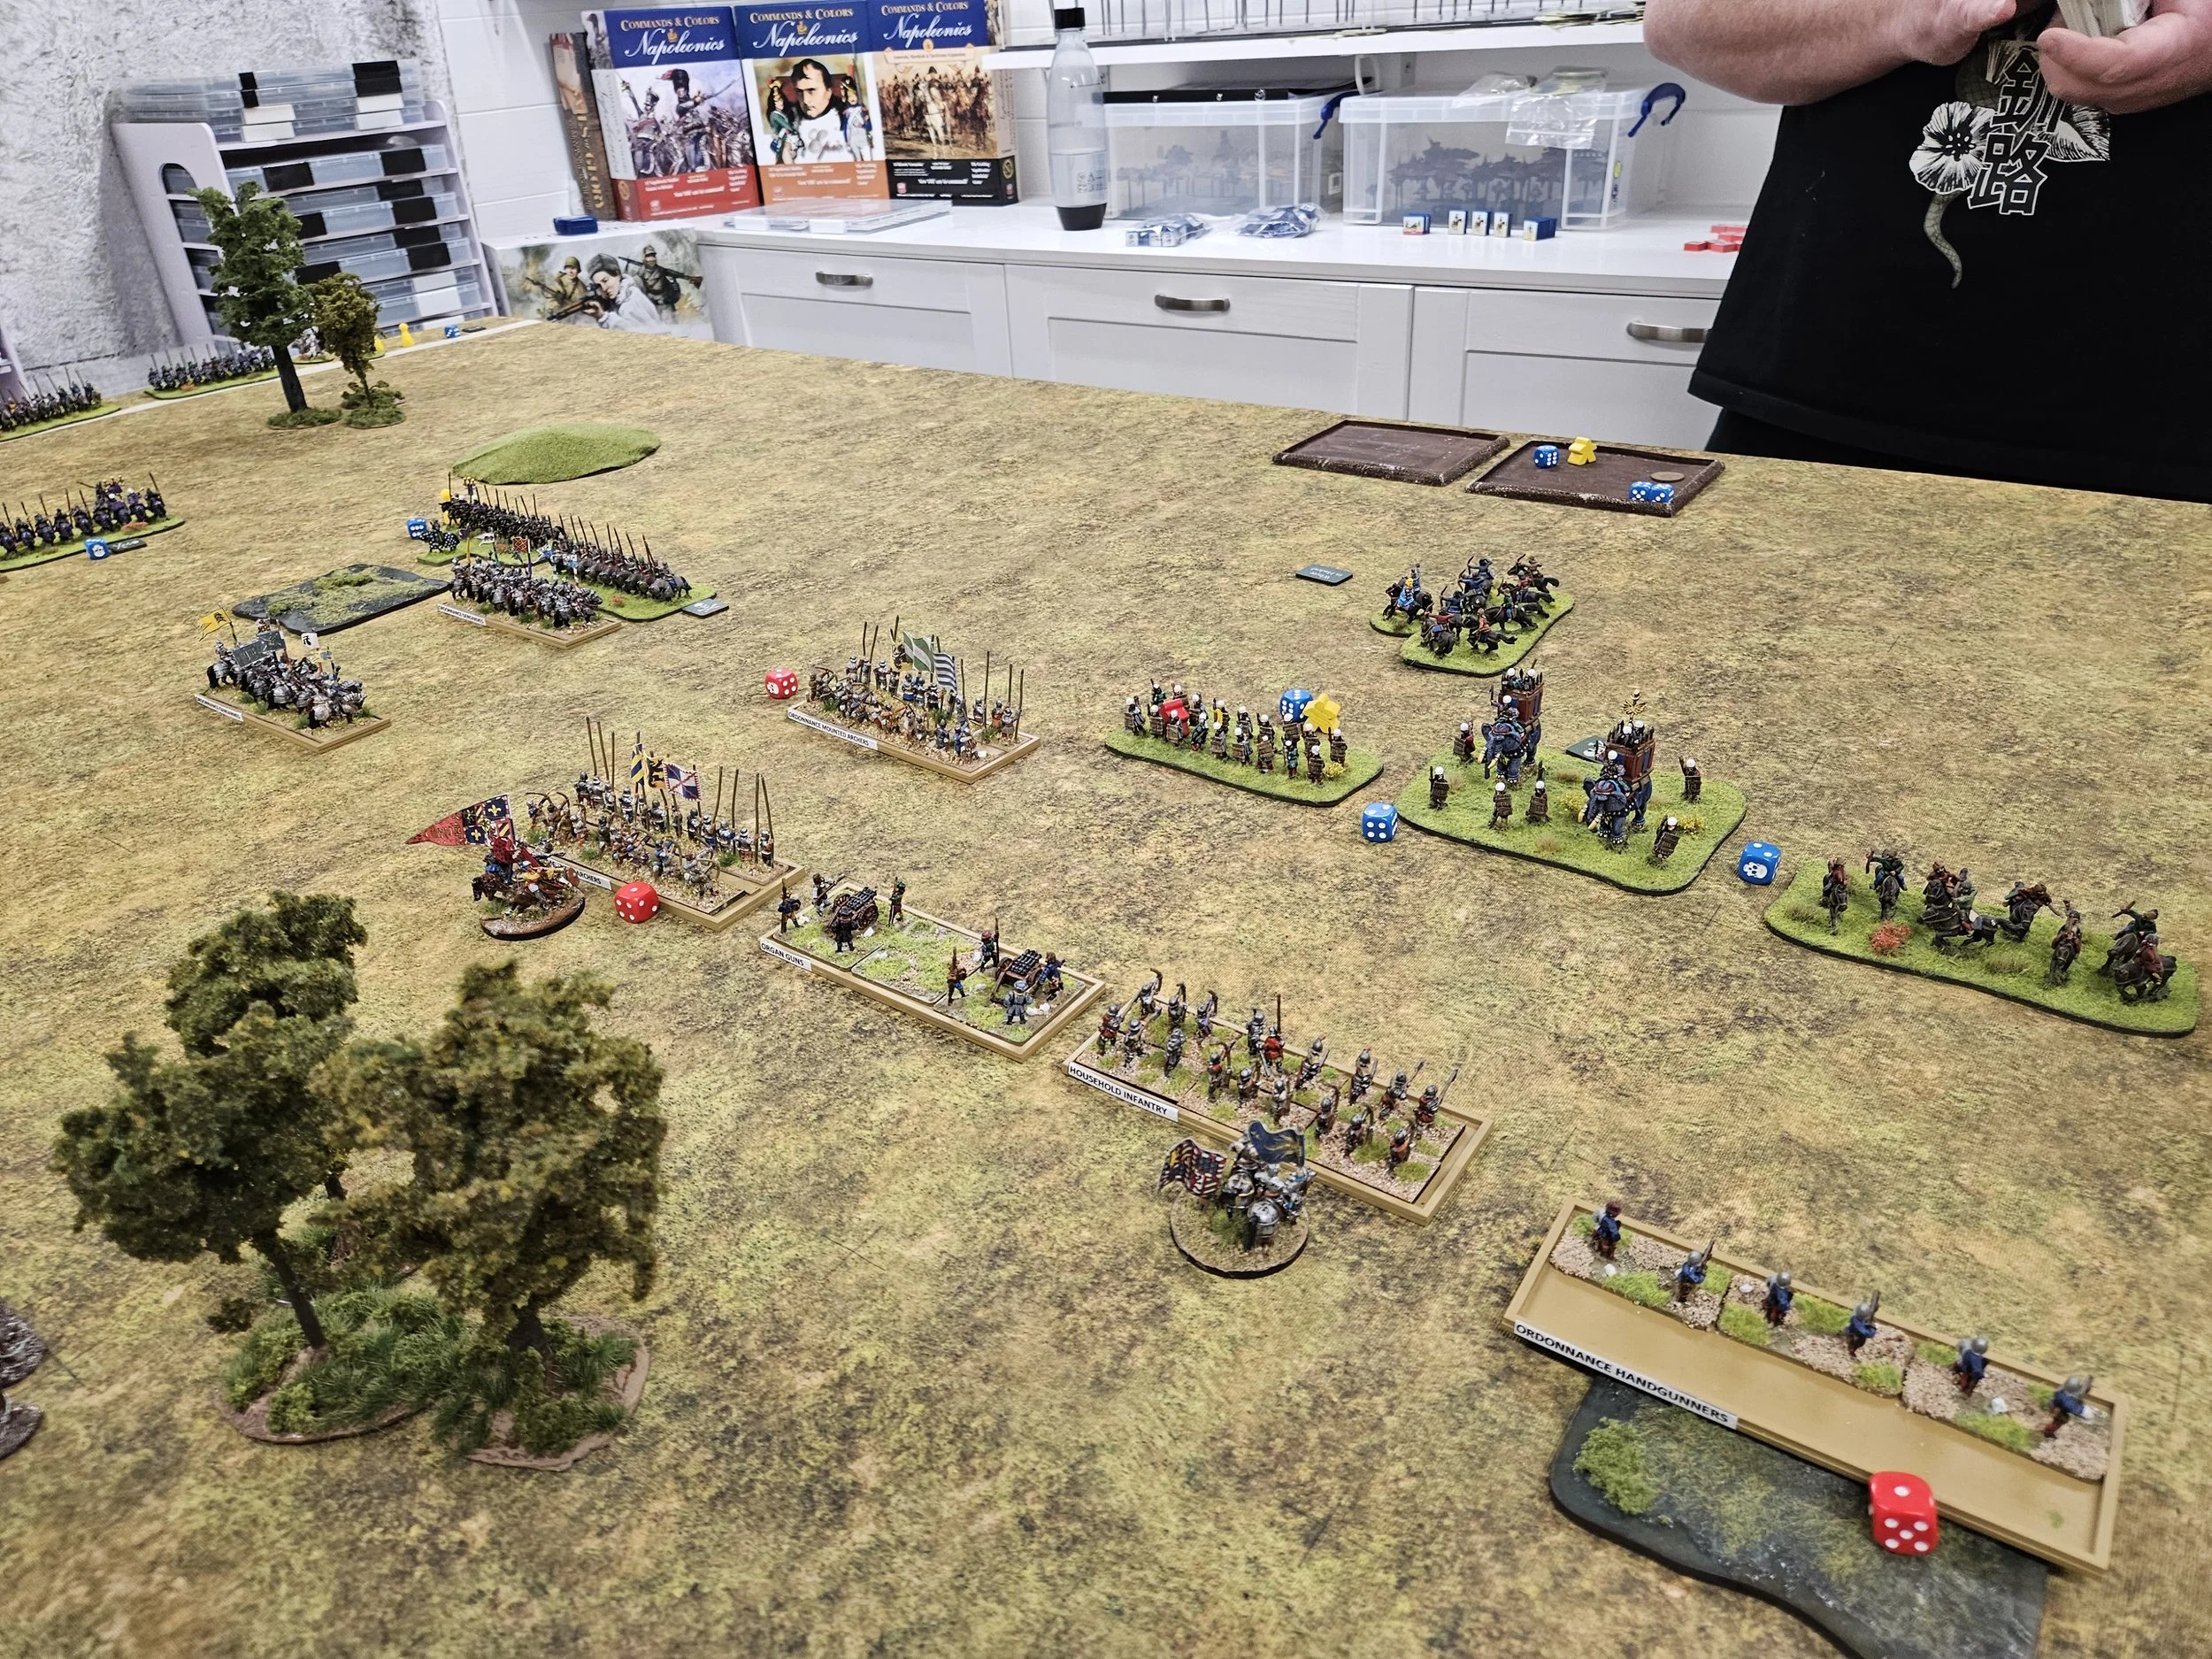
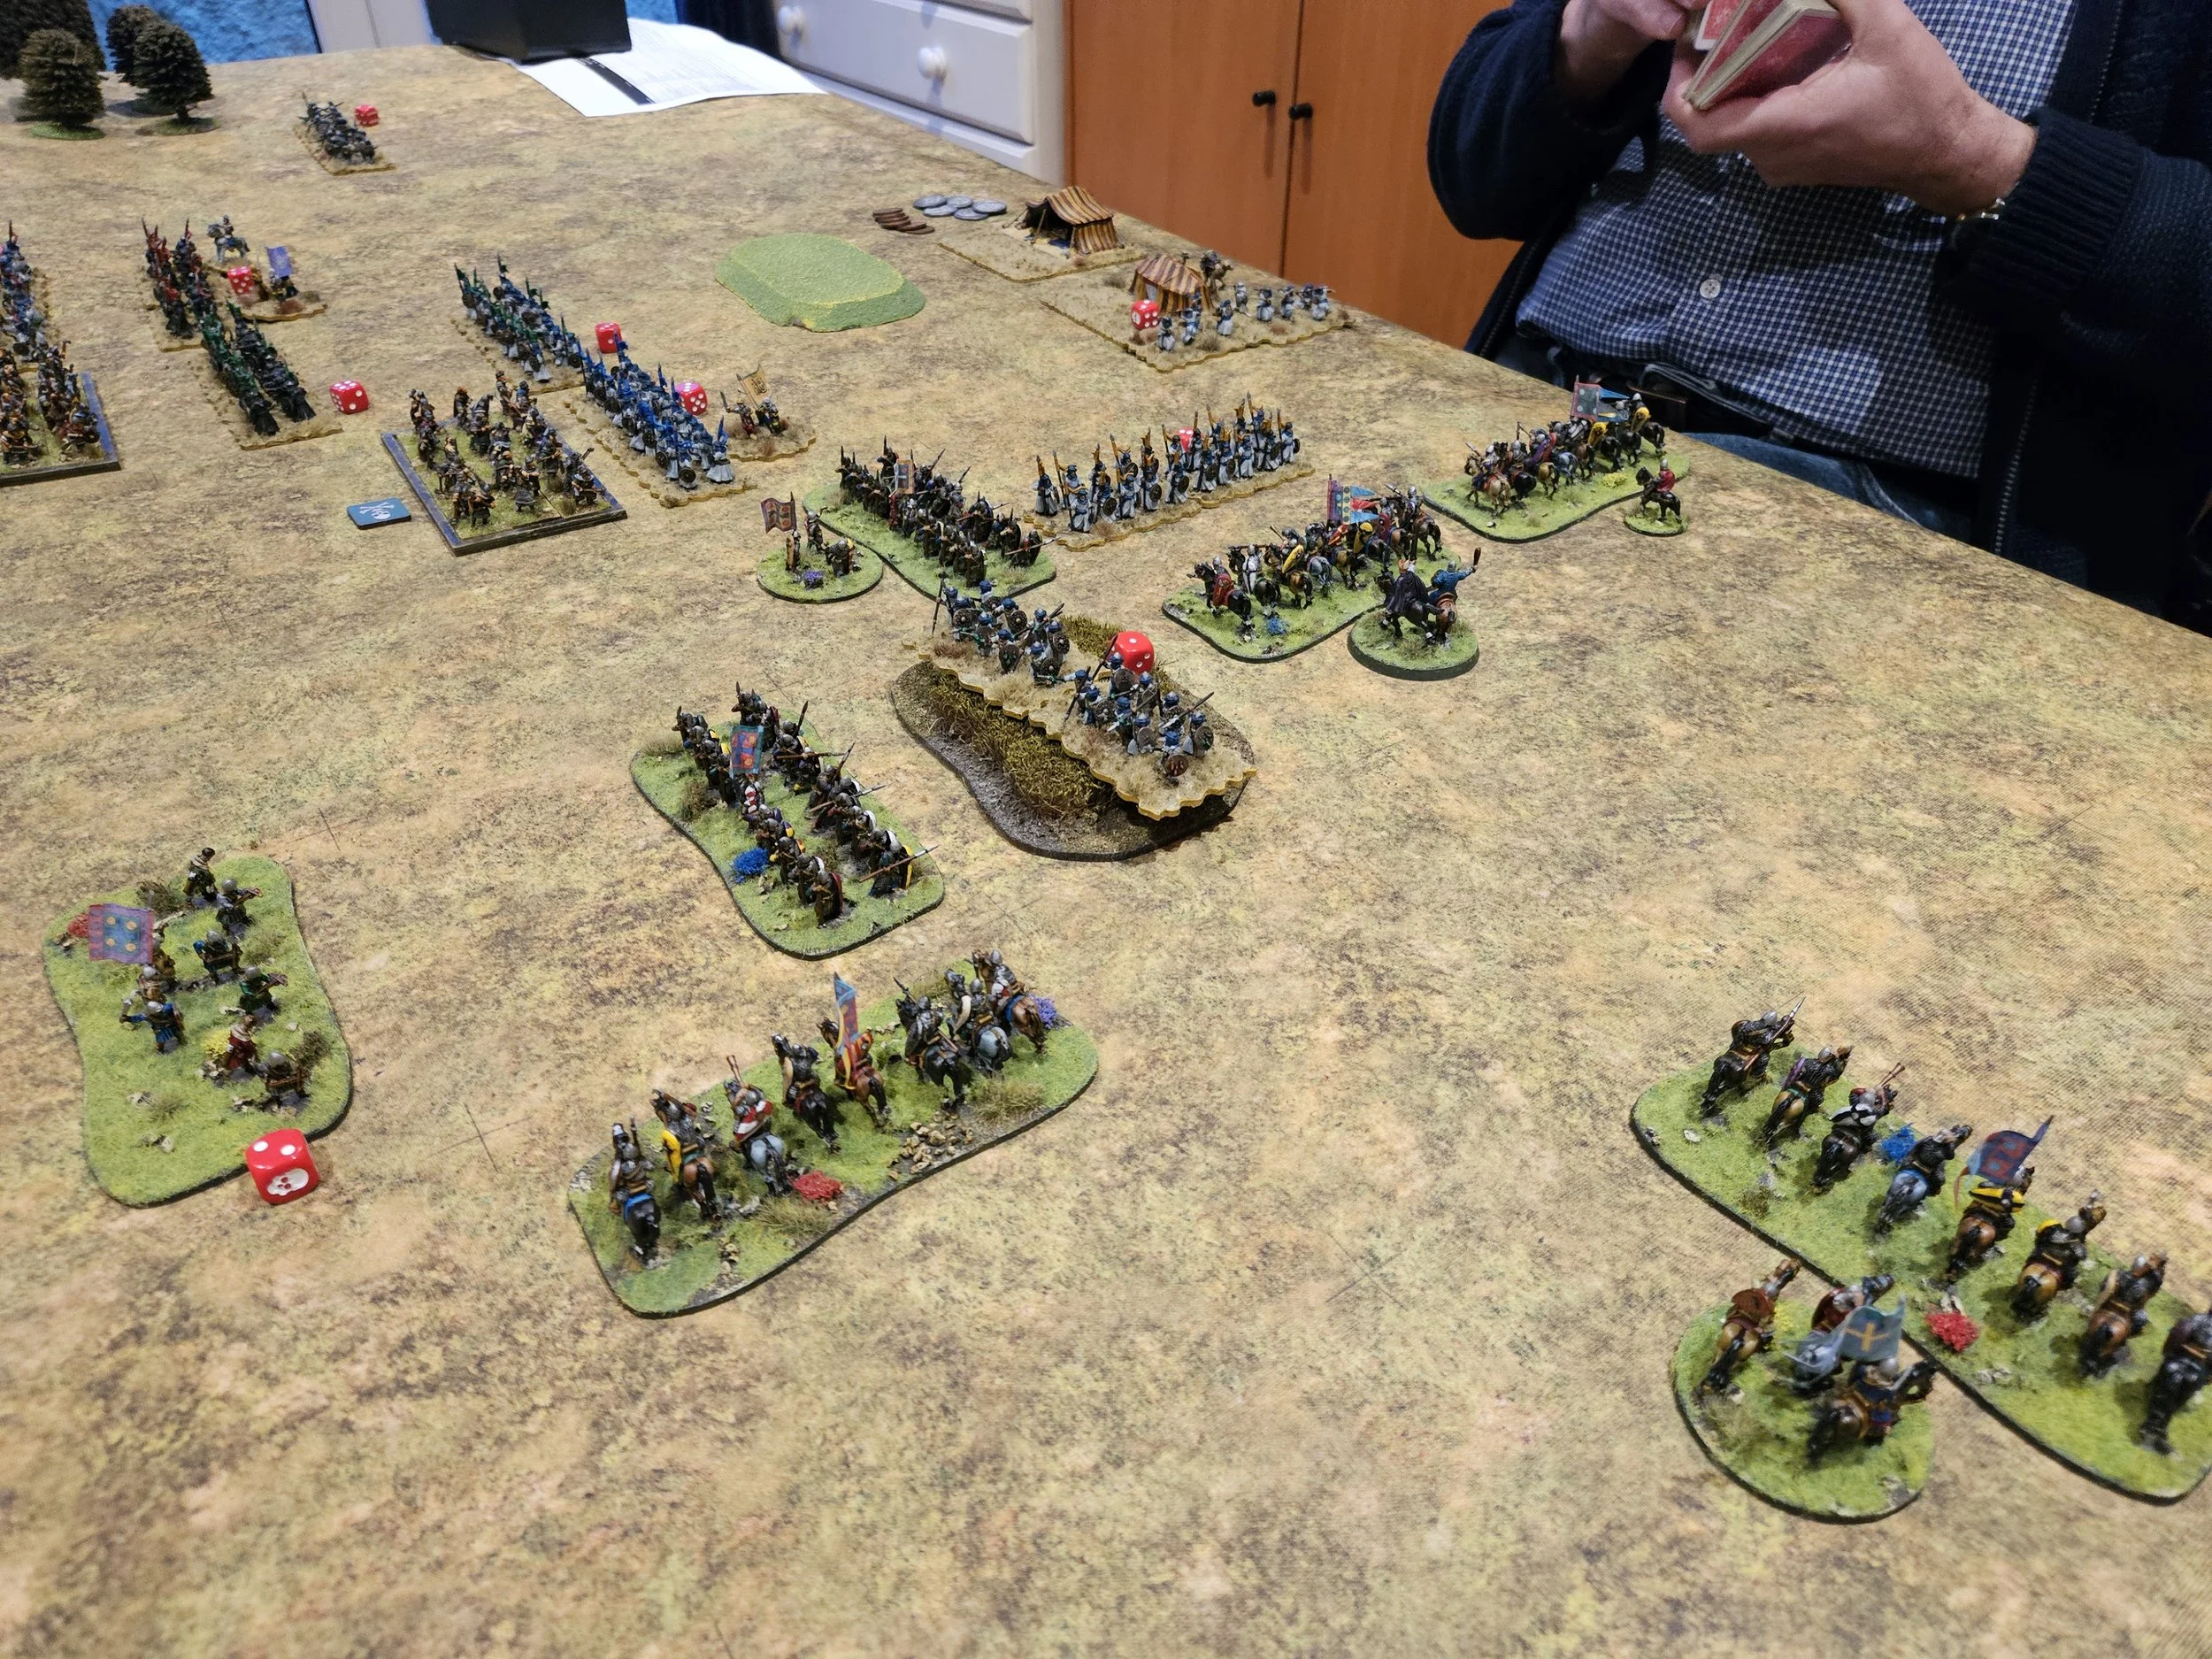
I knew the Ikko-Ikki would come straight at me - that’s what fanatical monks with big choppers do - but I also knew that they would all be very vulnerable to missile fire. I therefore determined to get forward into missile range, then wait for them to come to me as I pelted them with crossbow bolts and fire from my handgunners.
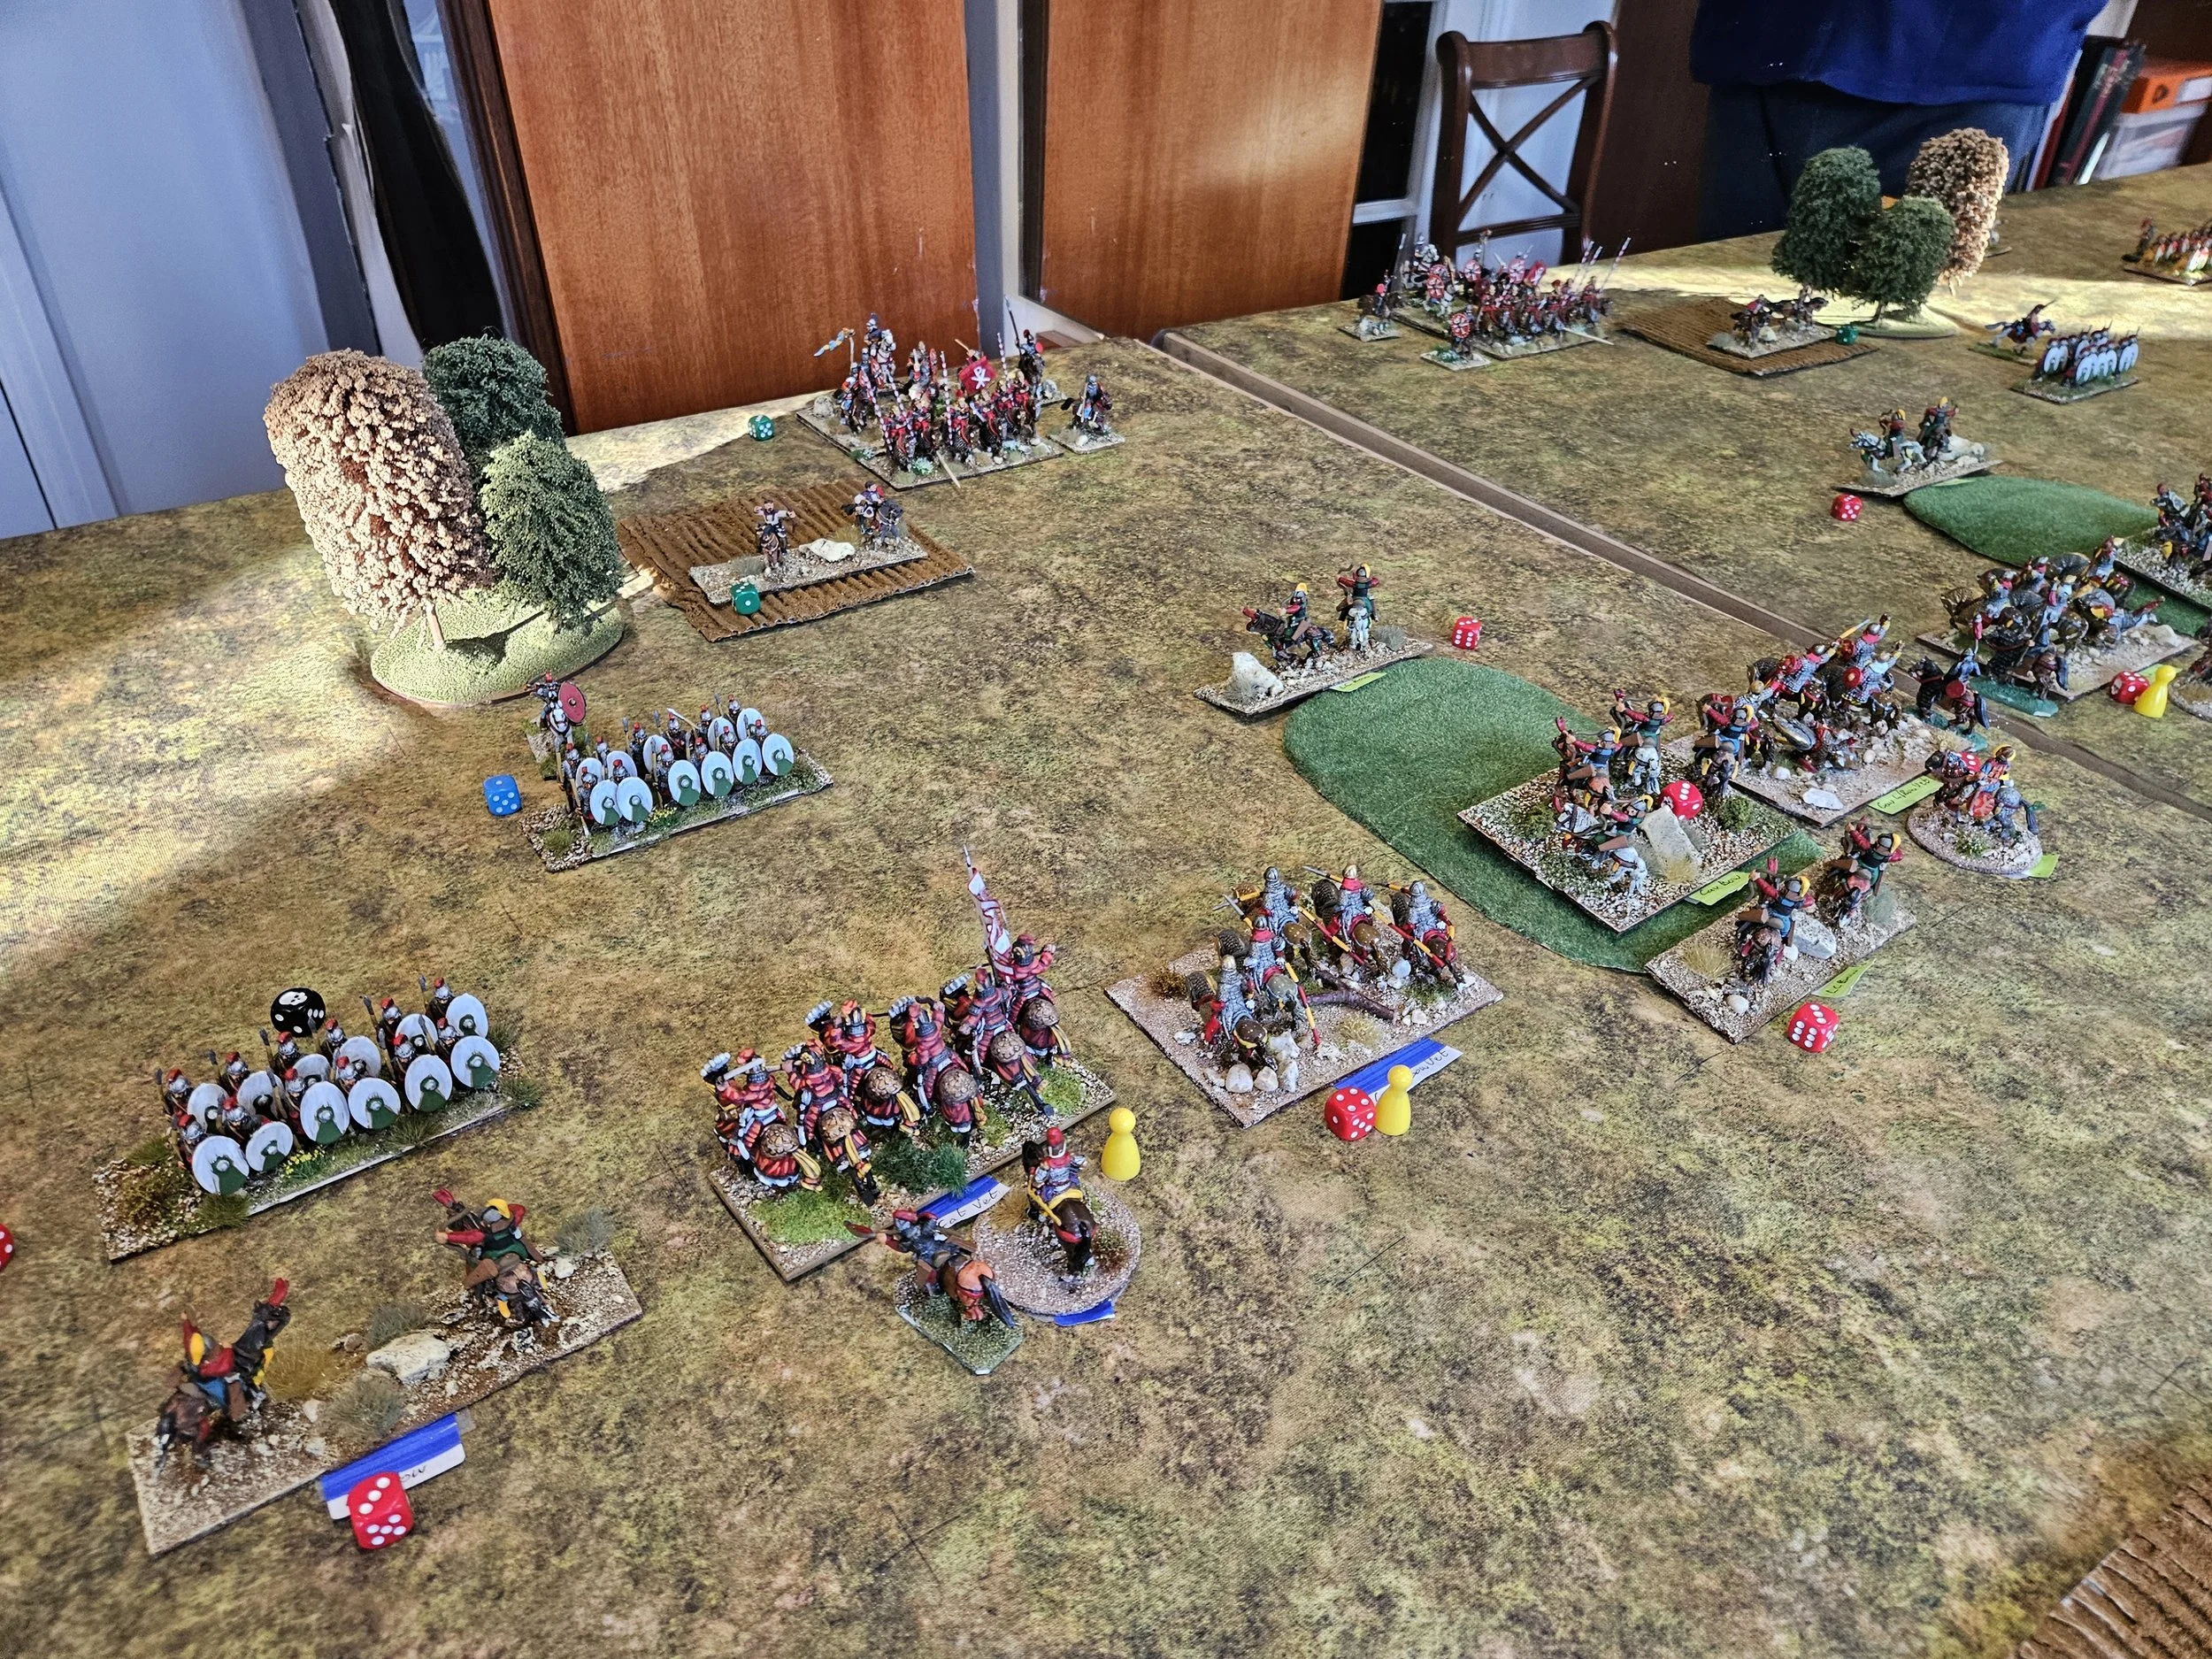
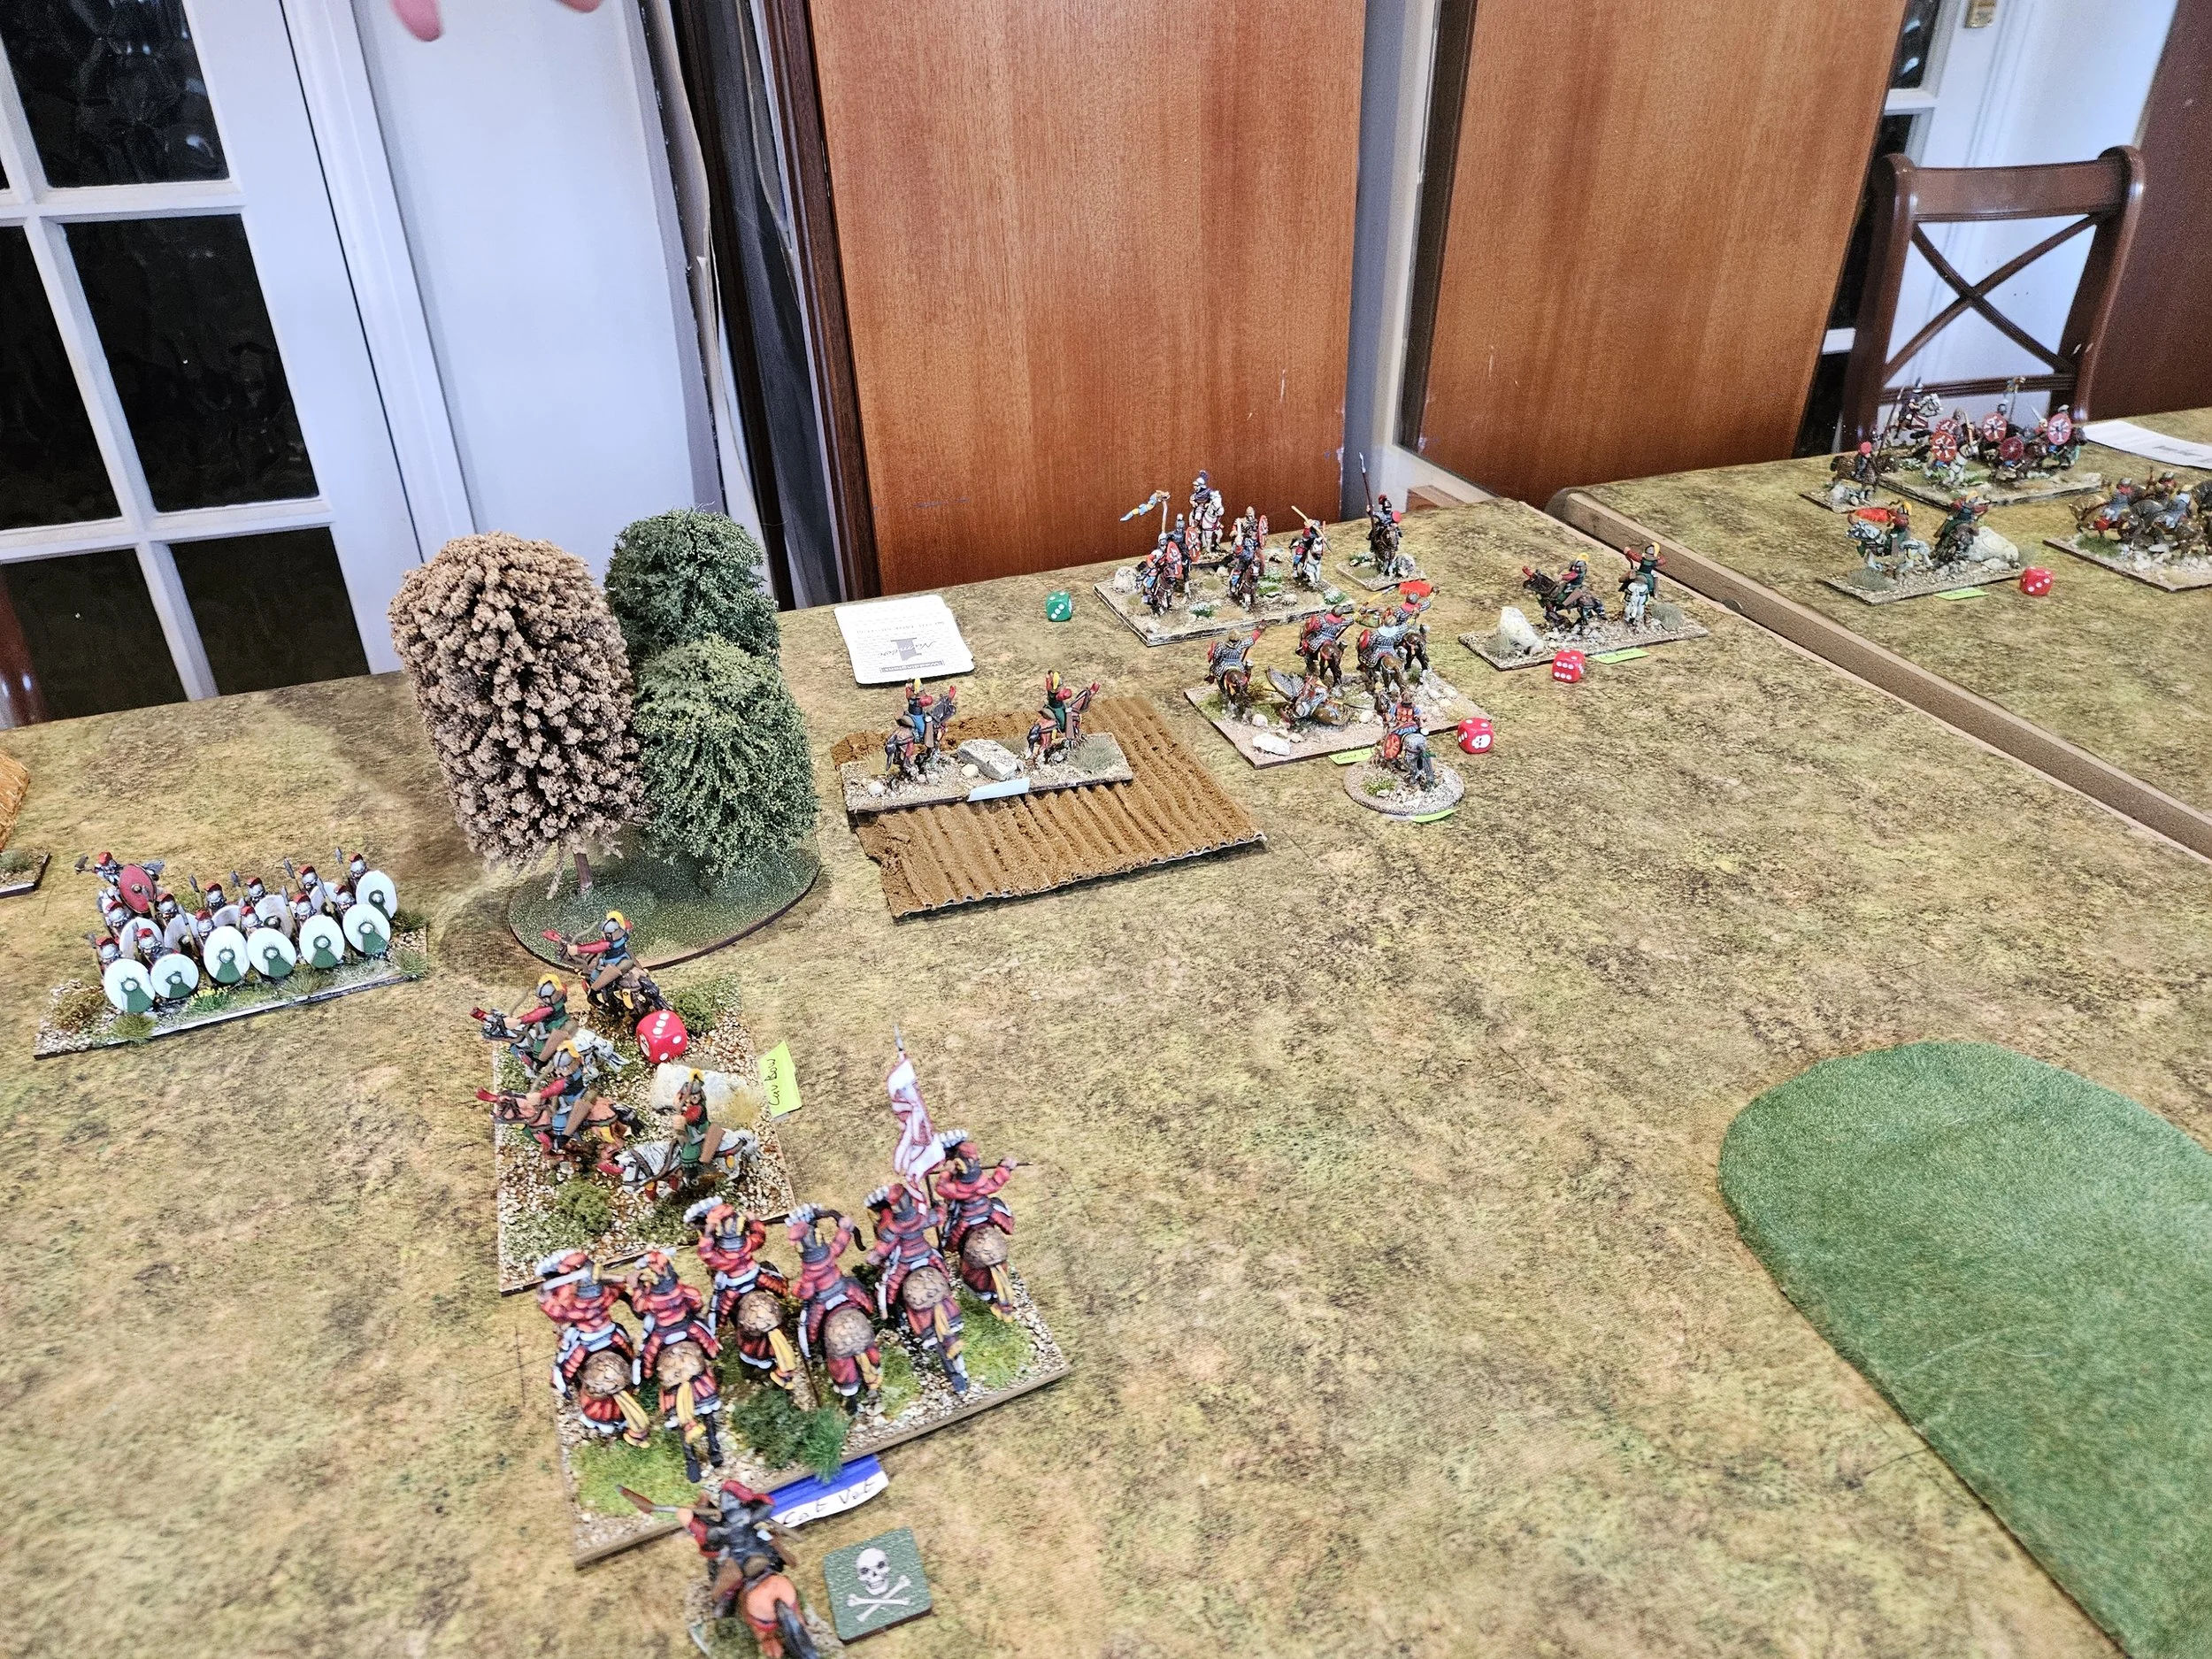
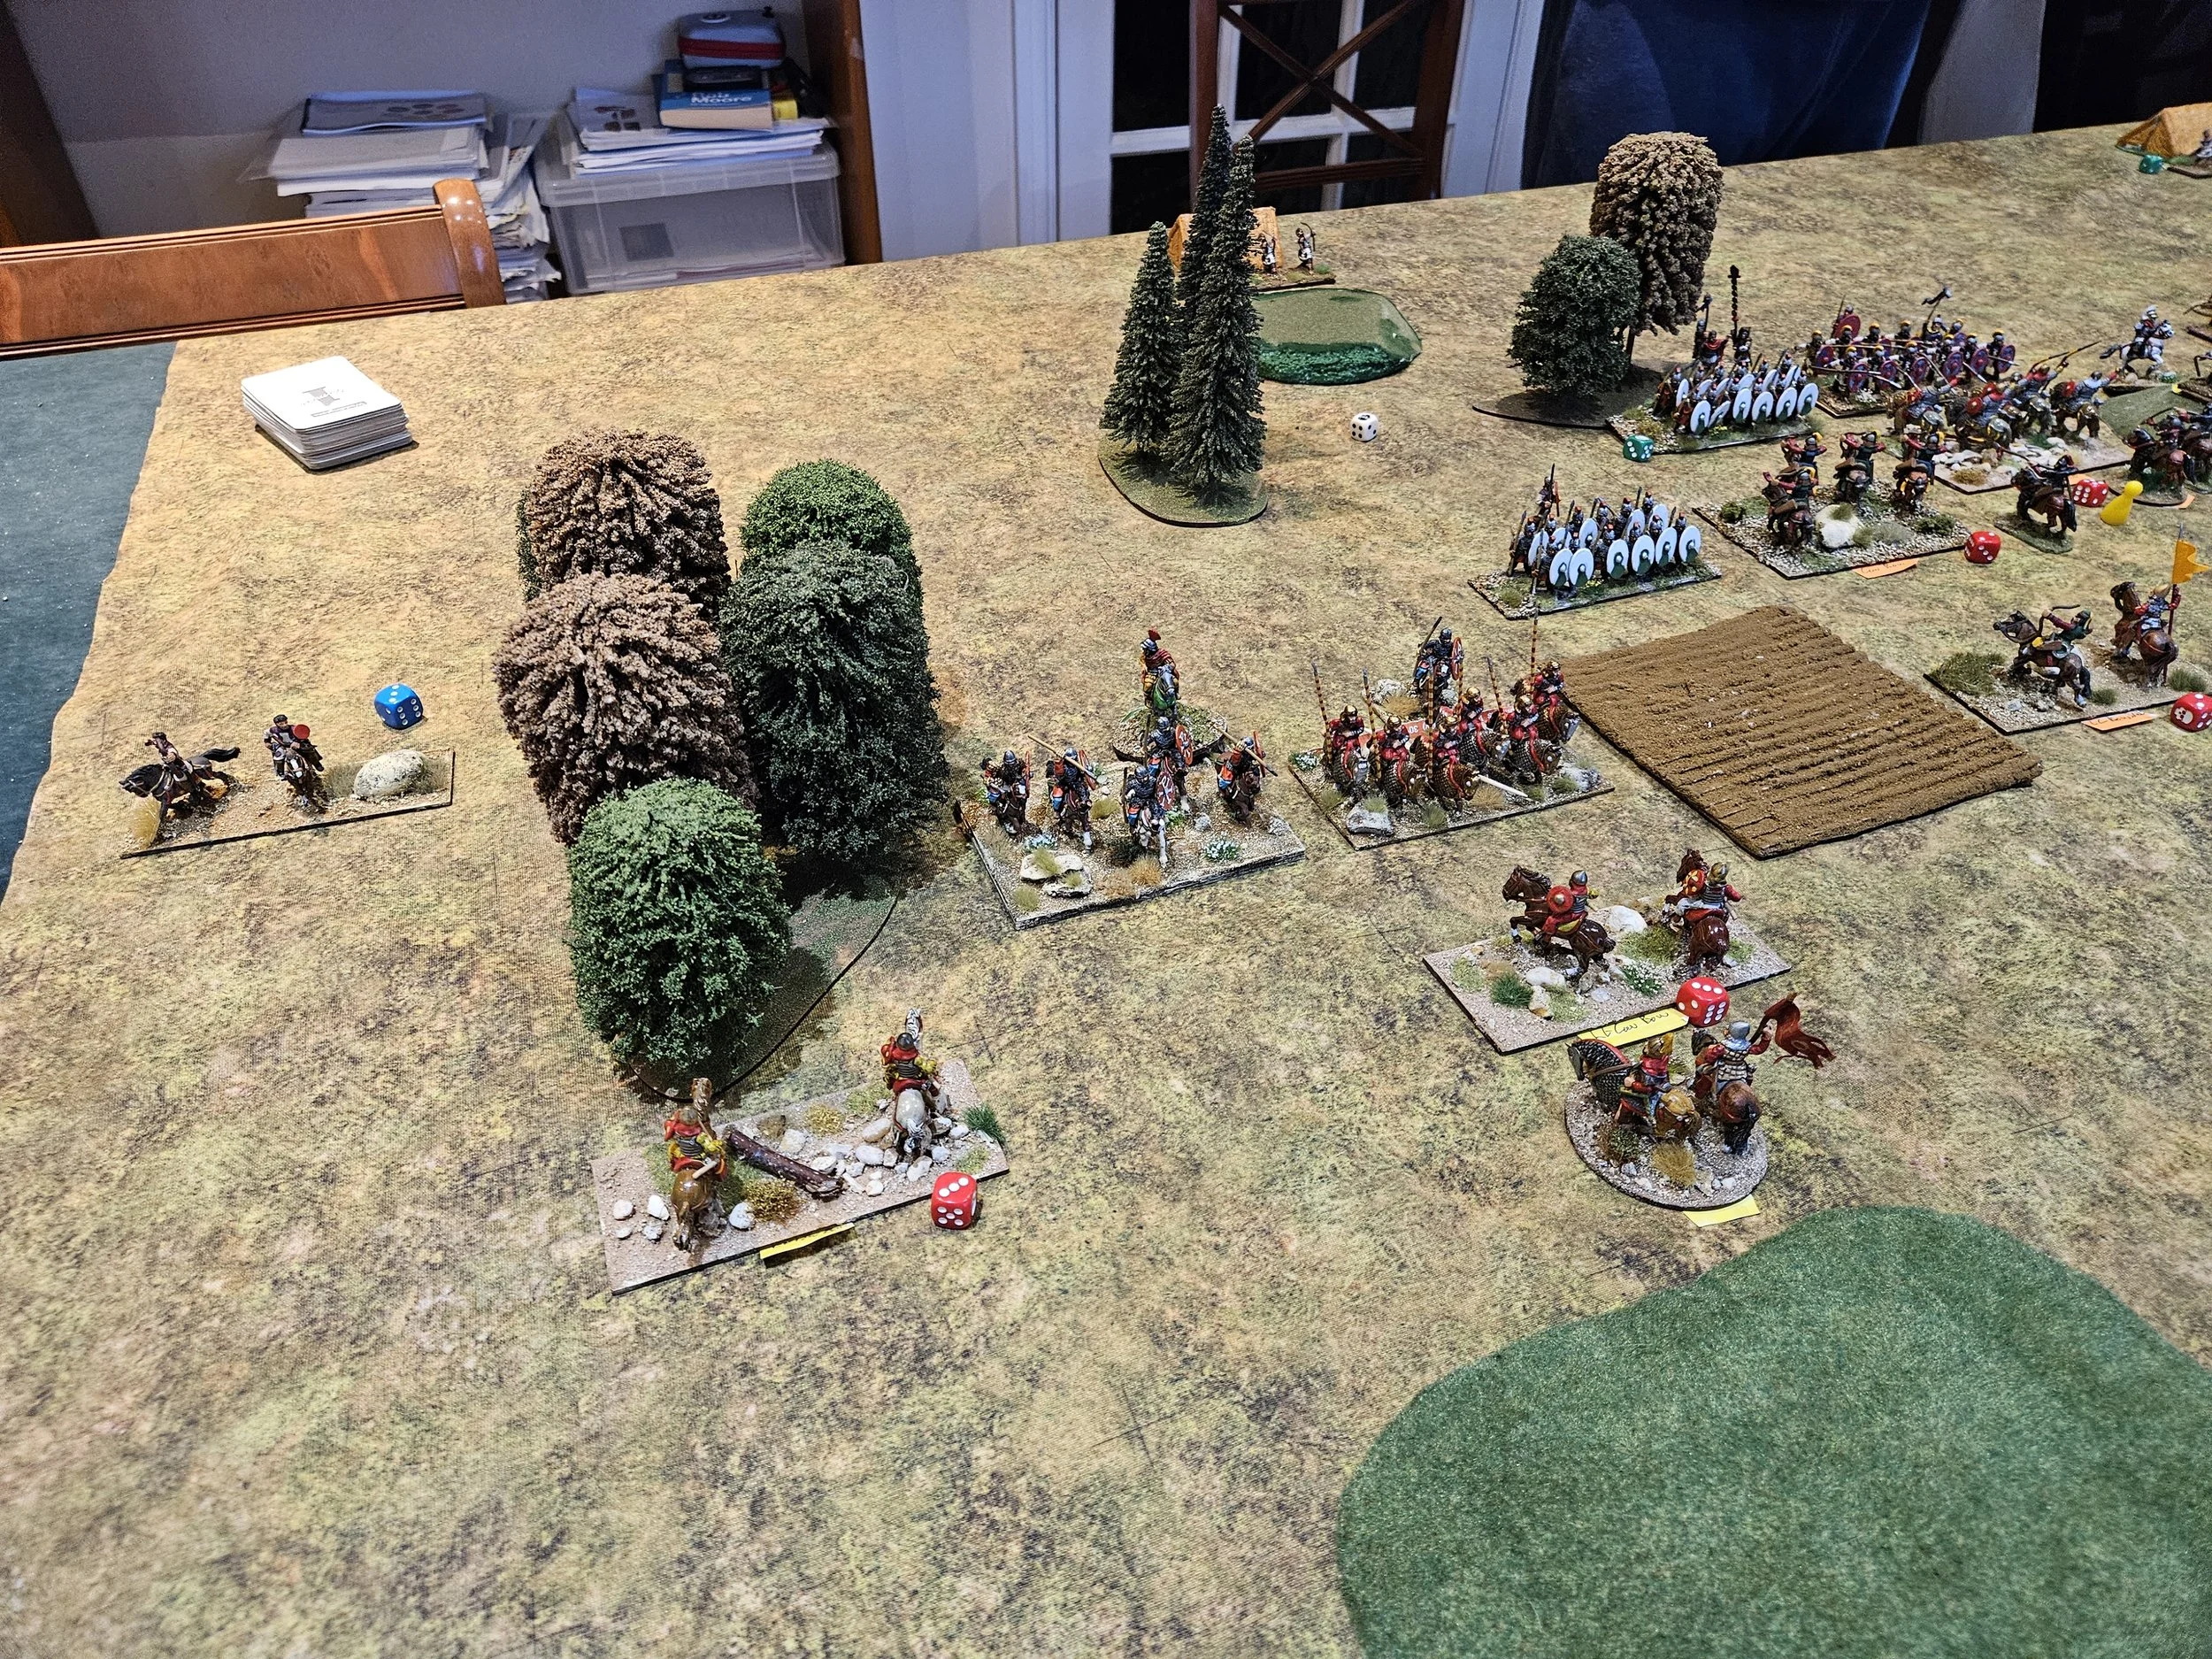
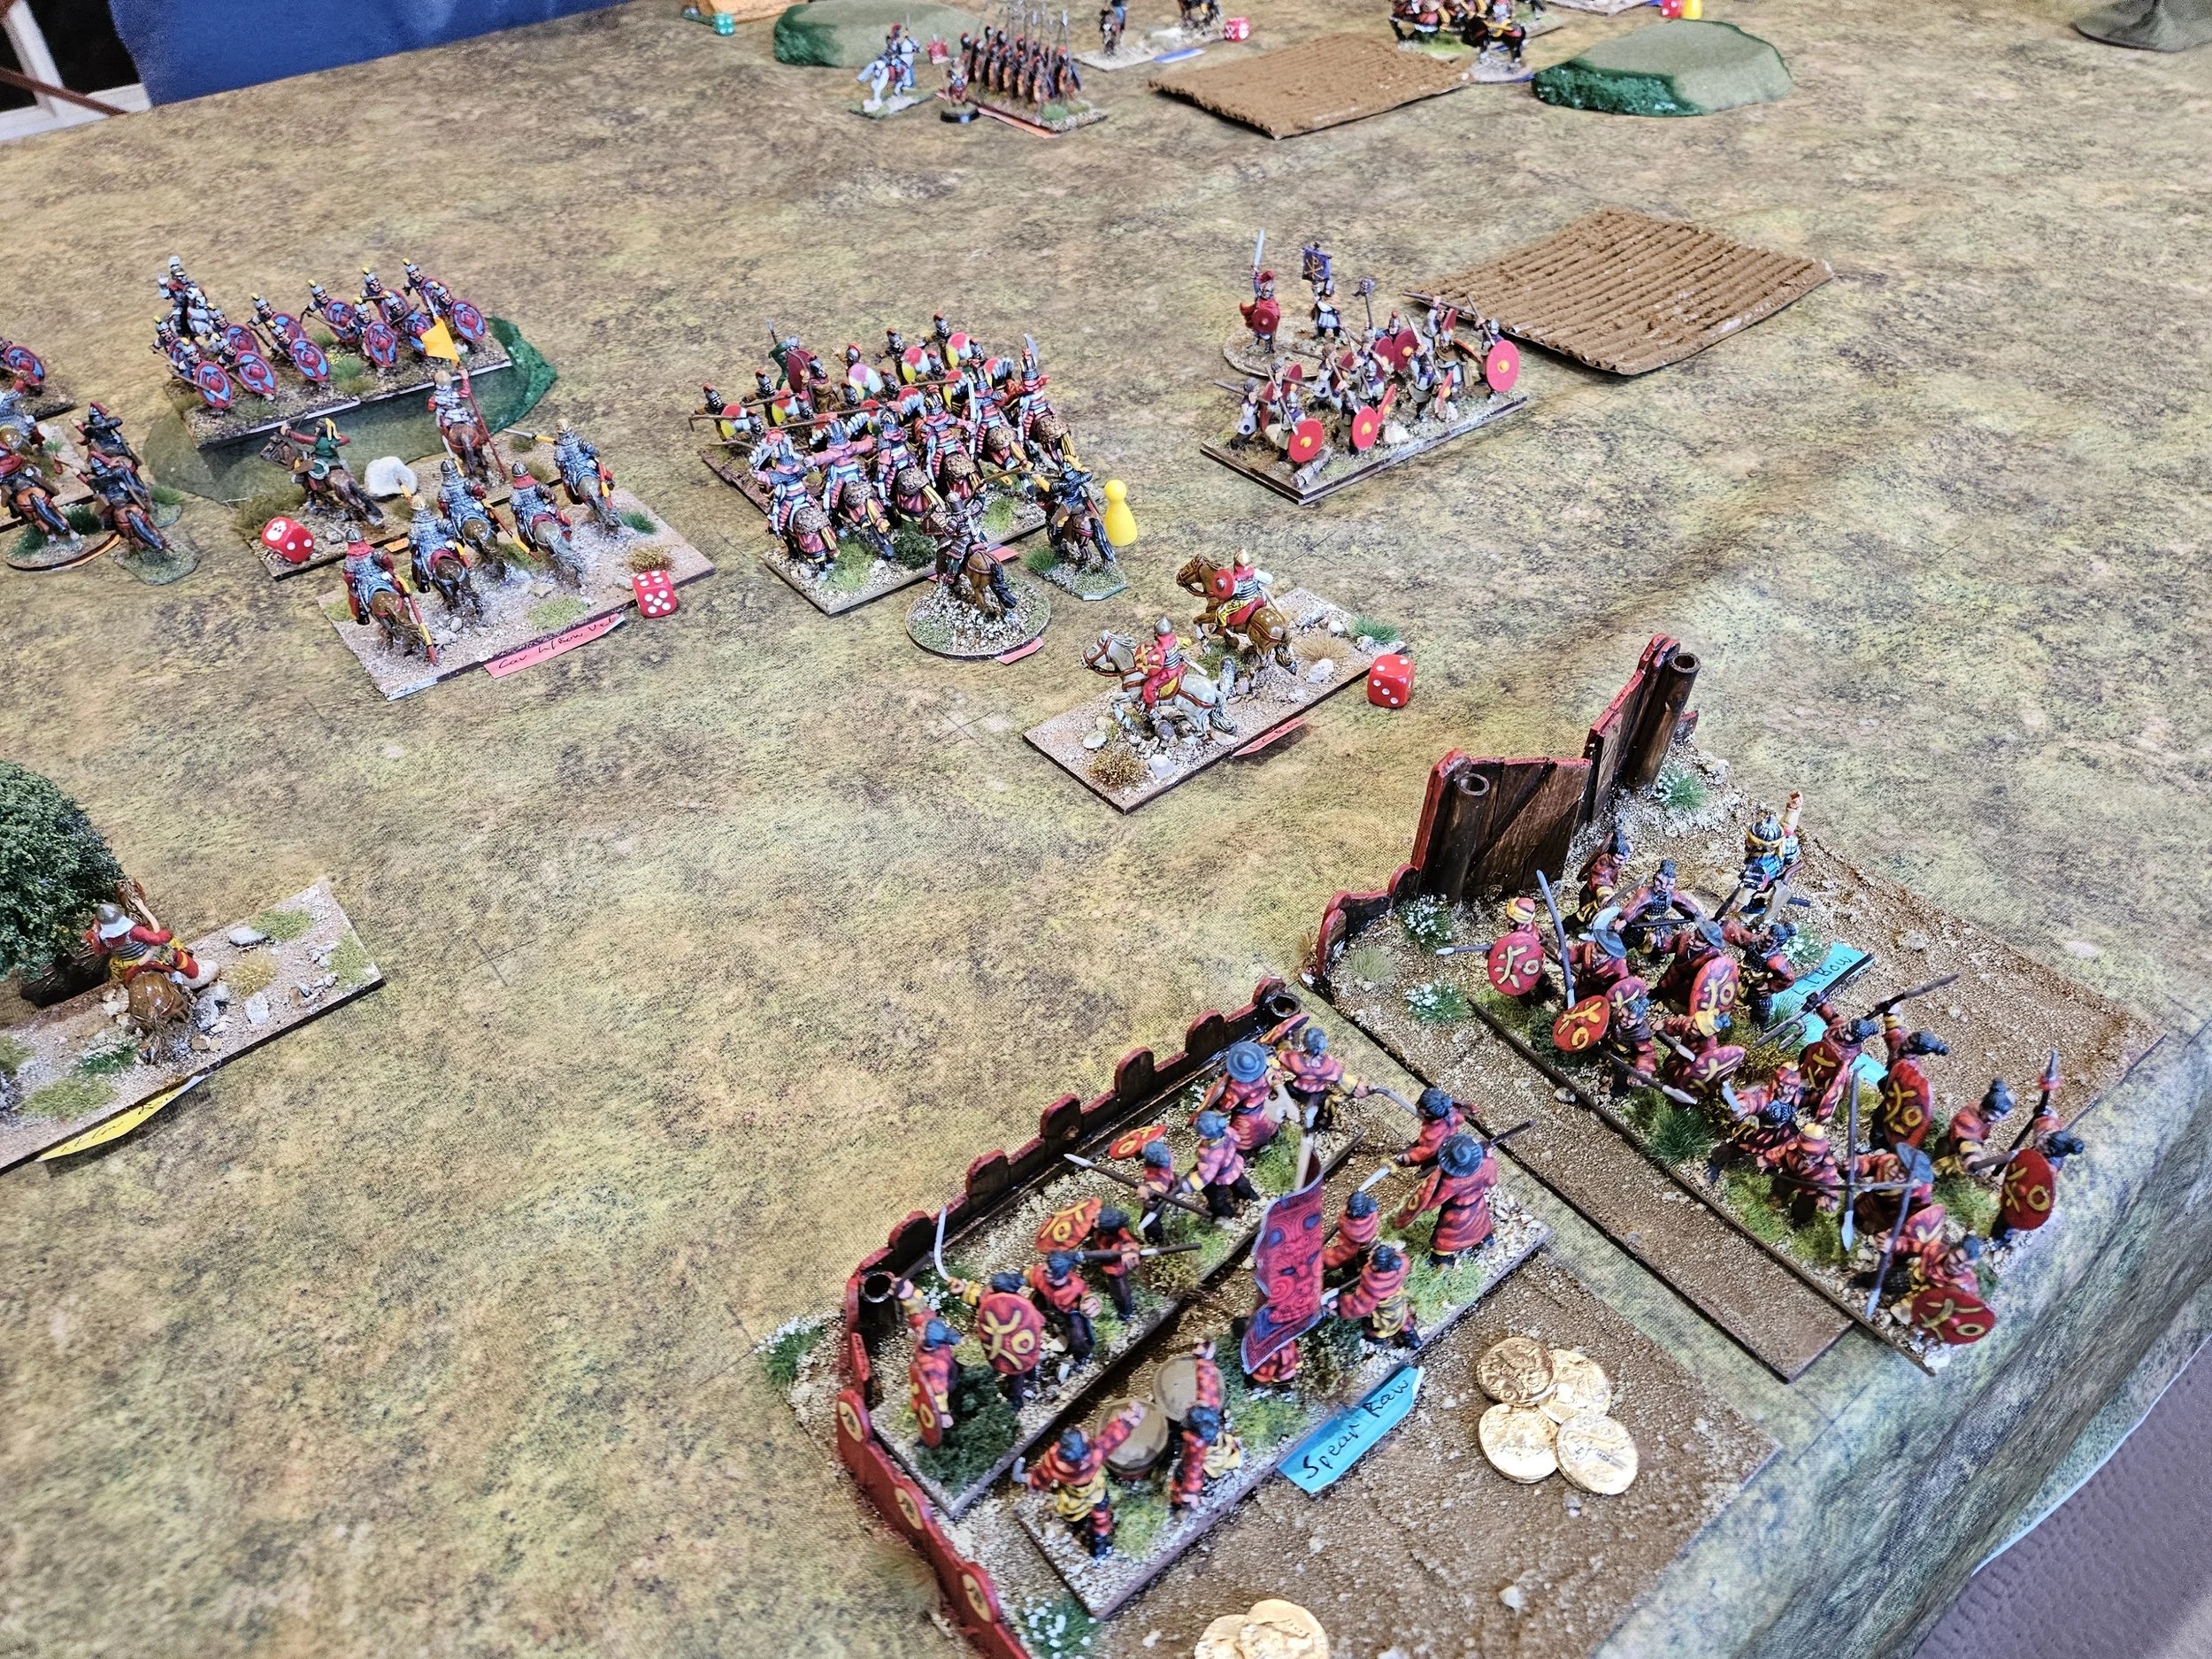
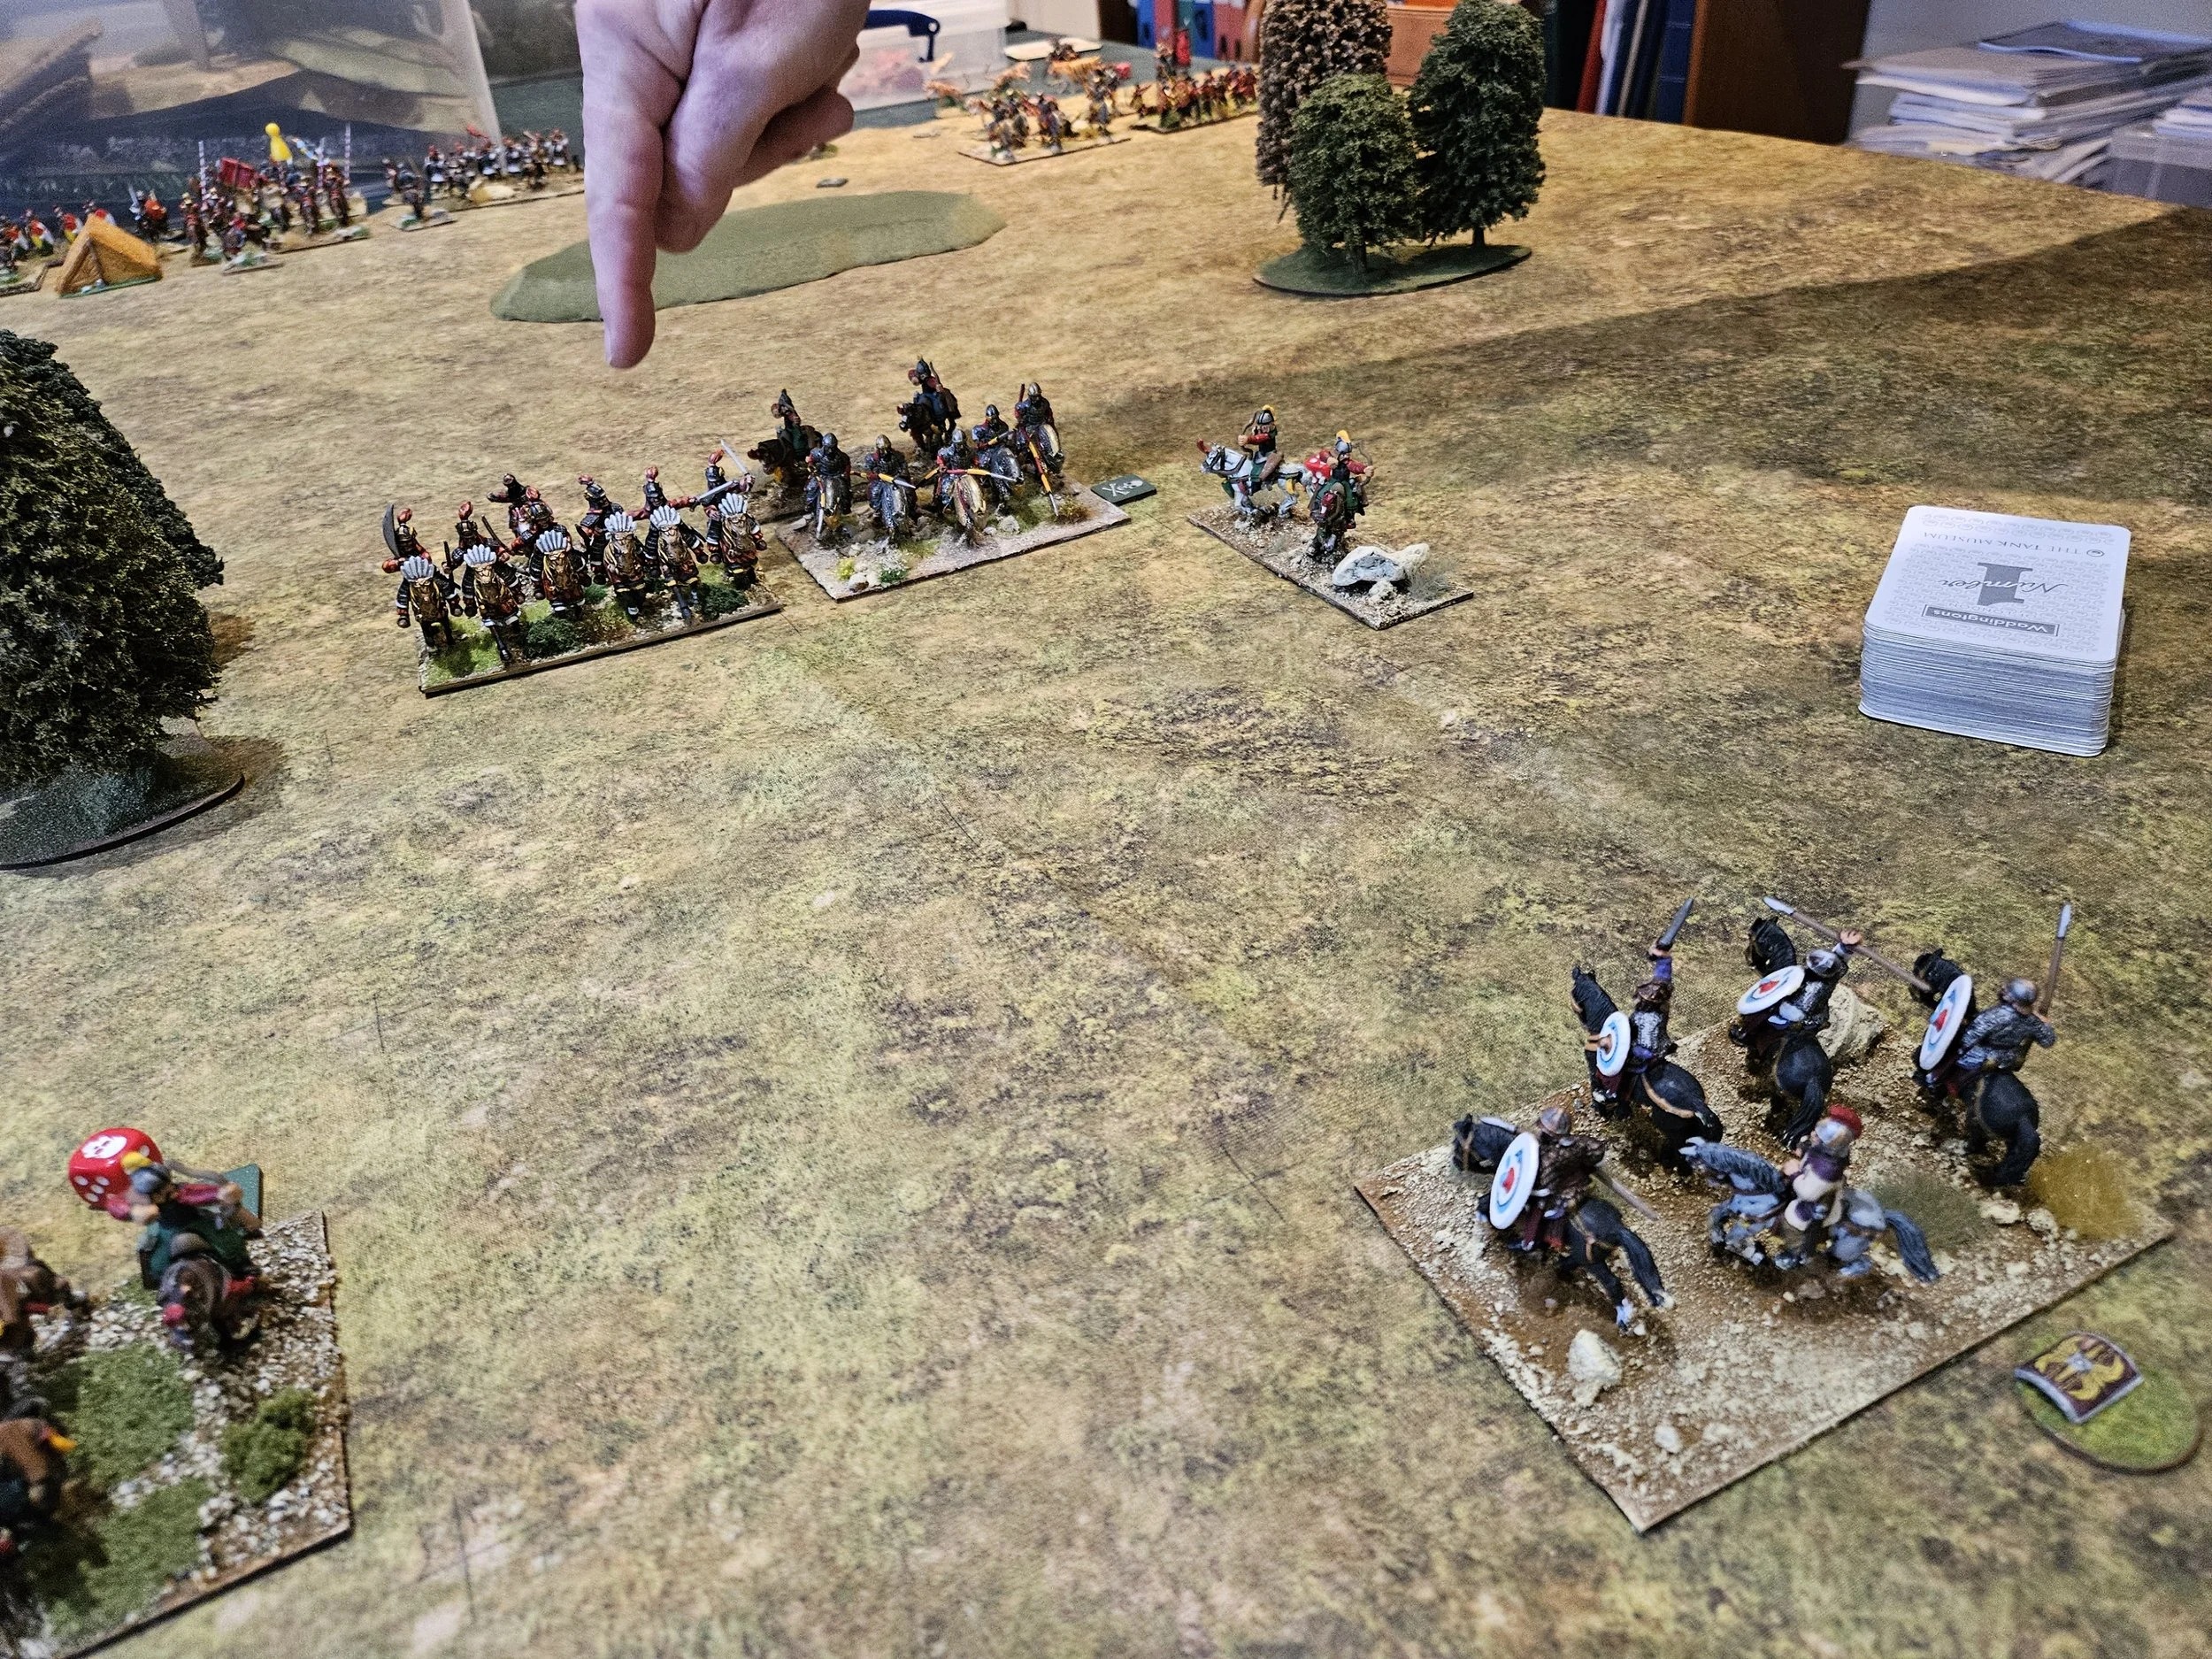
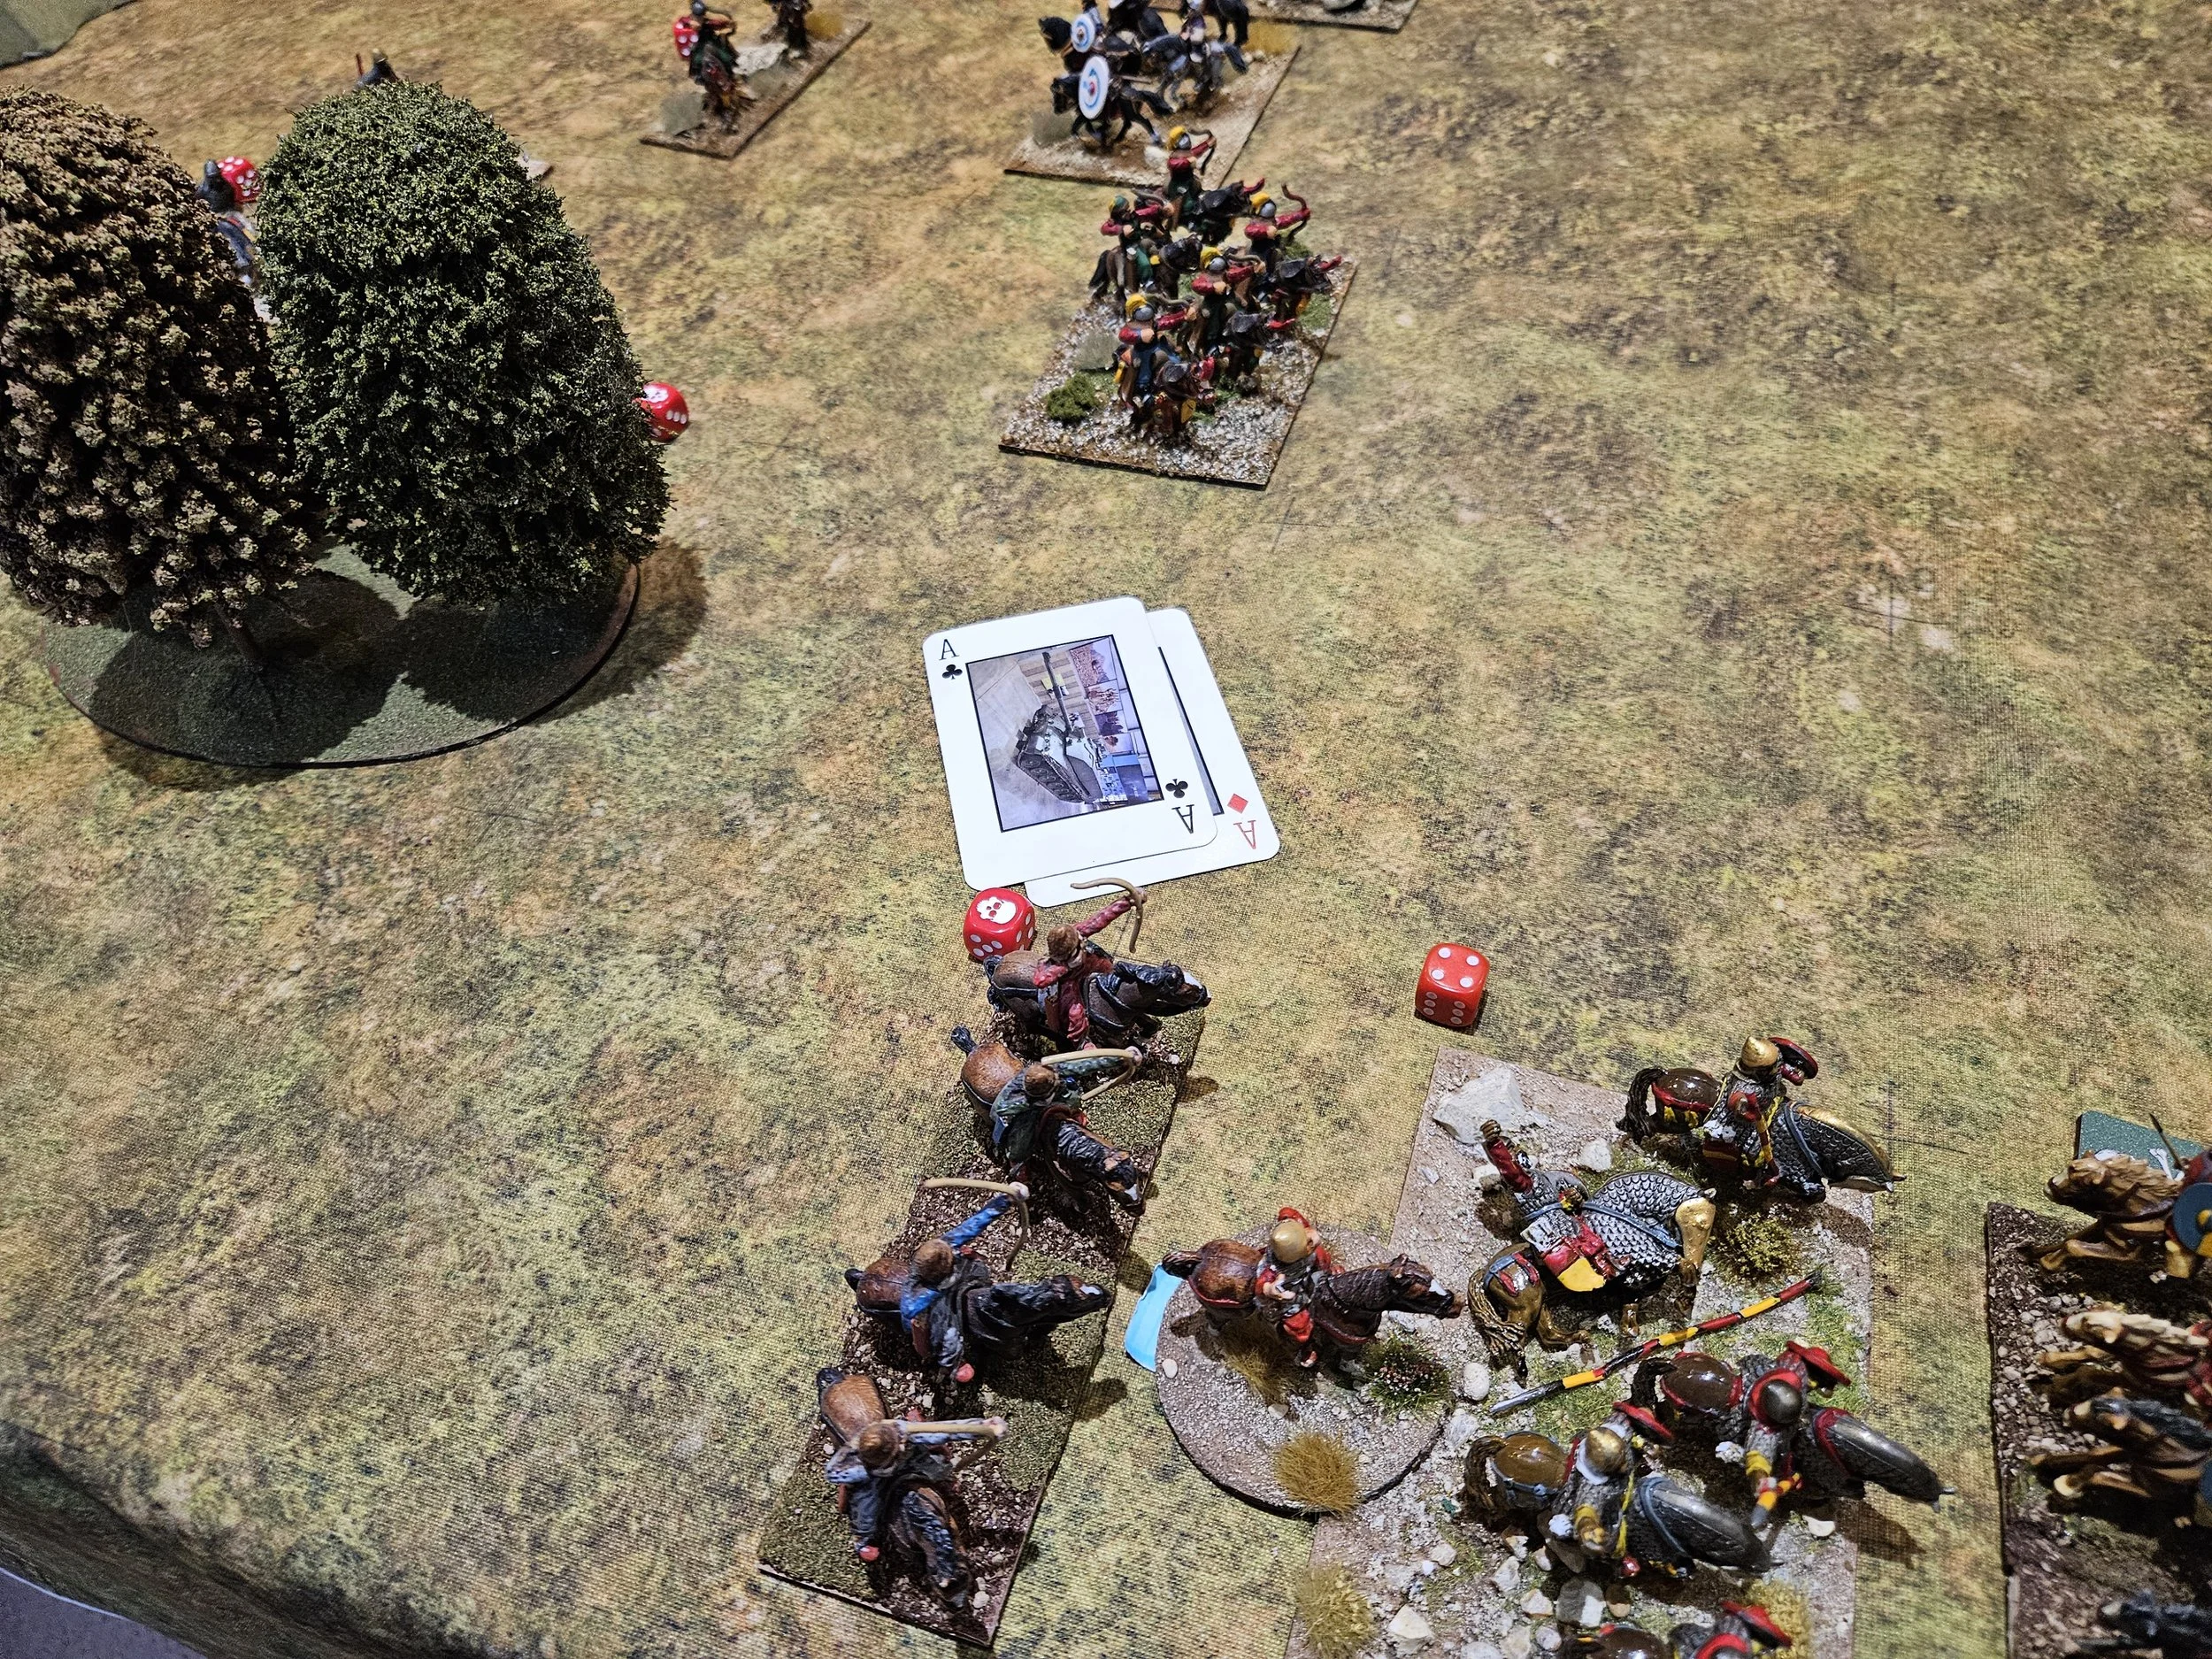
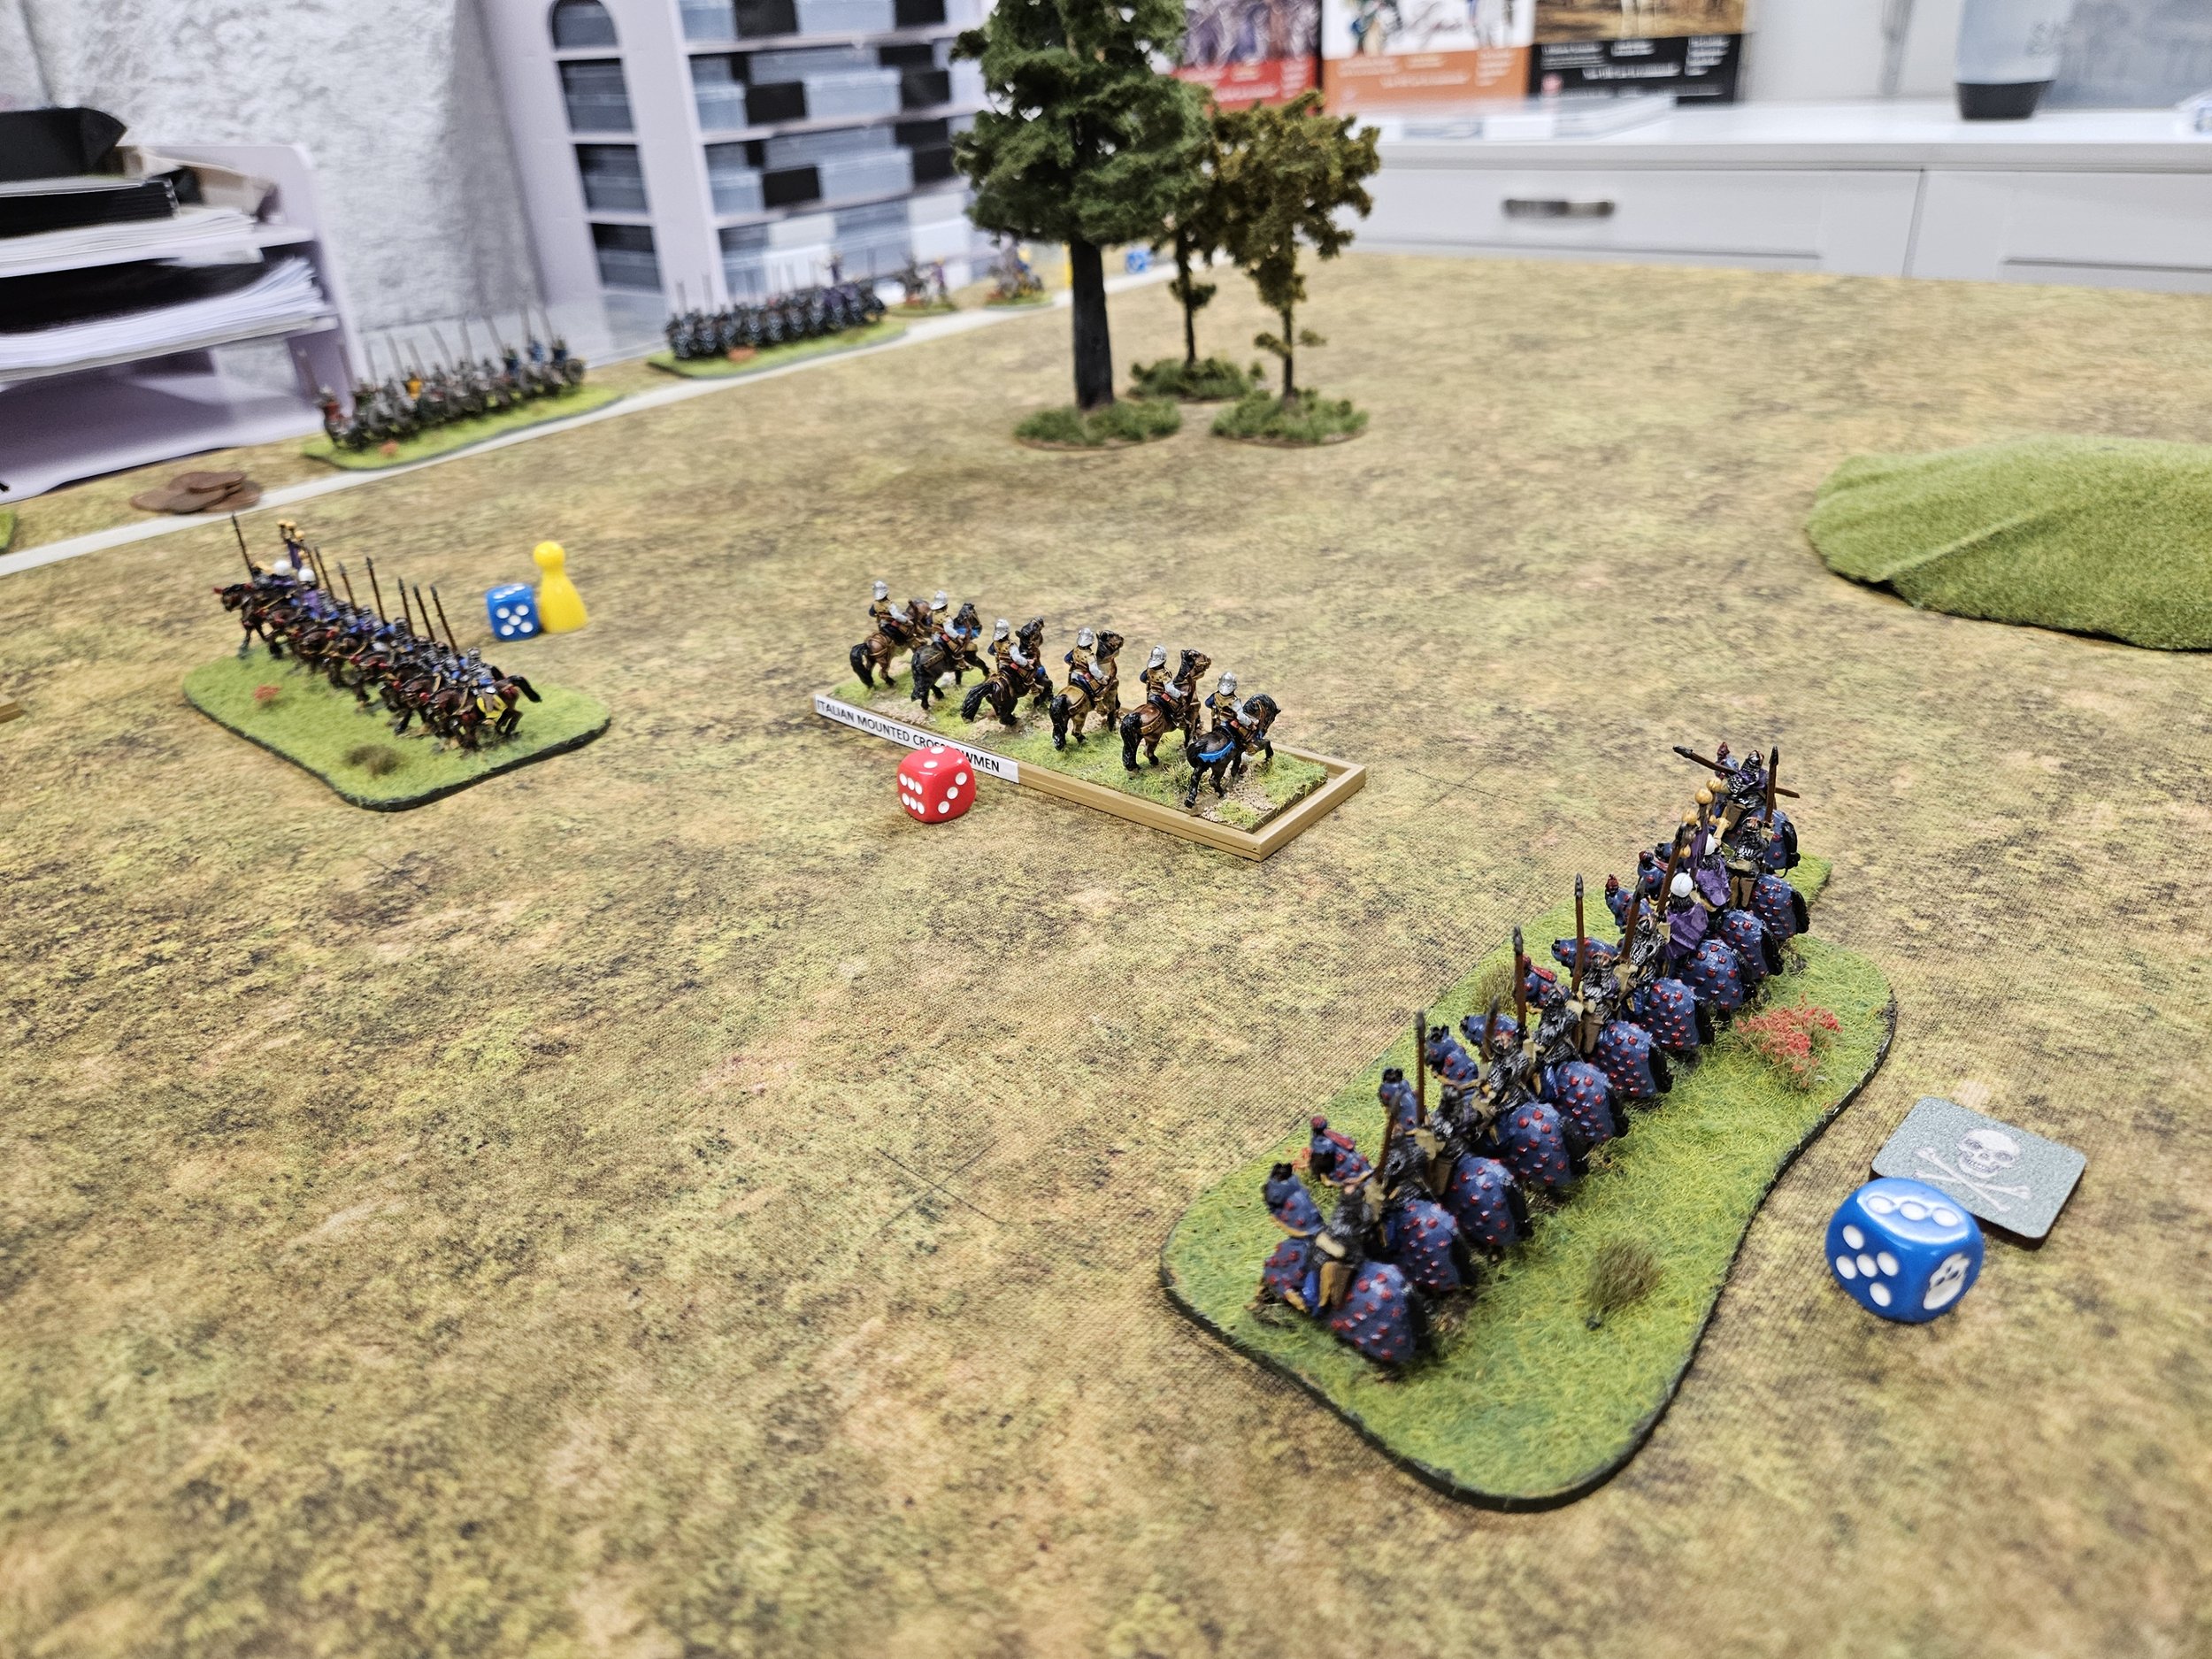
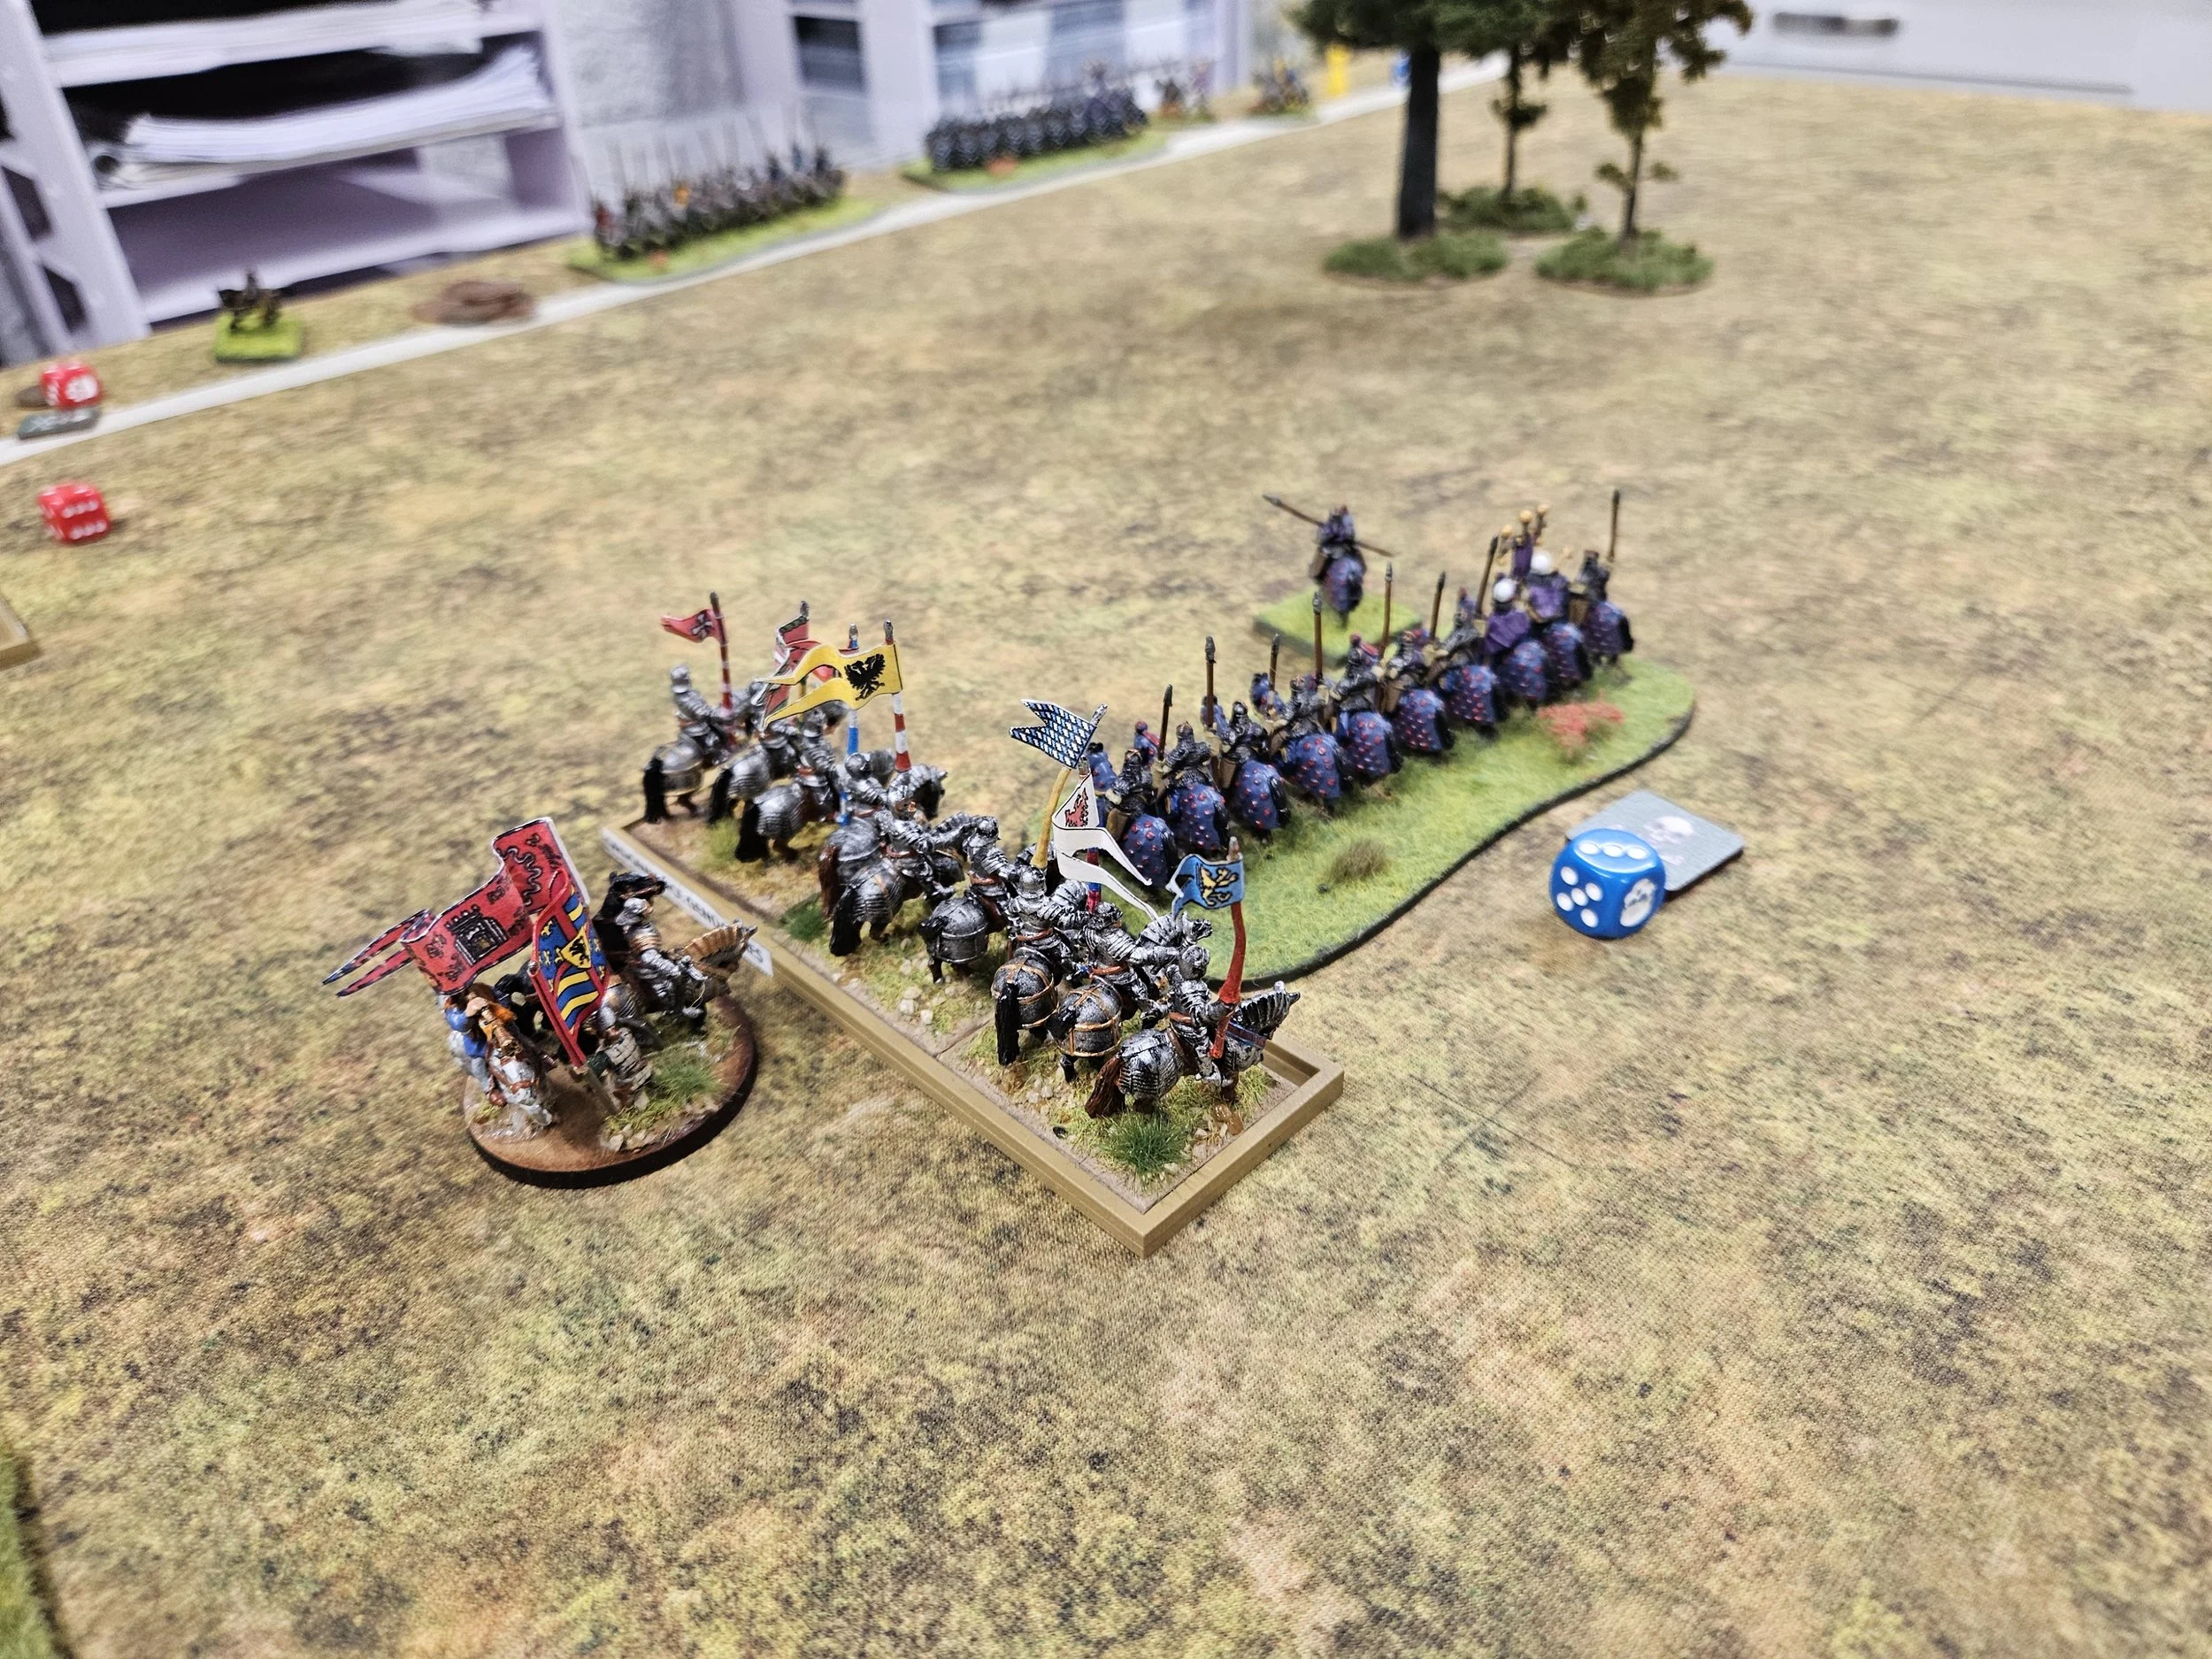
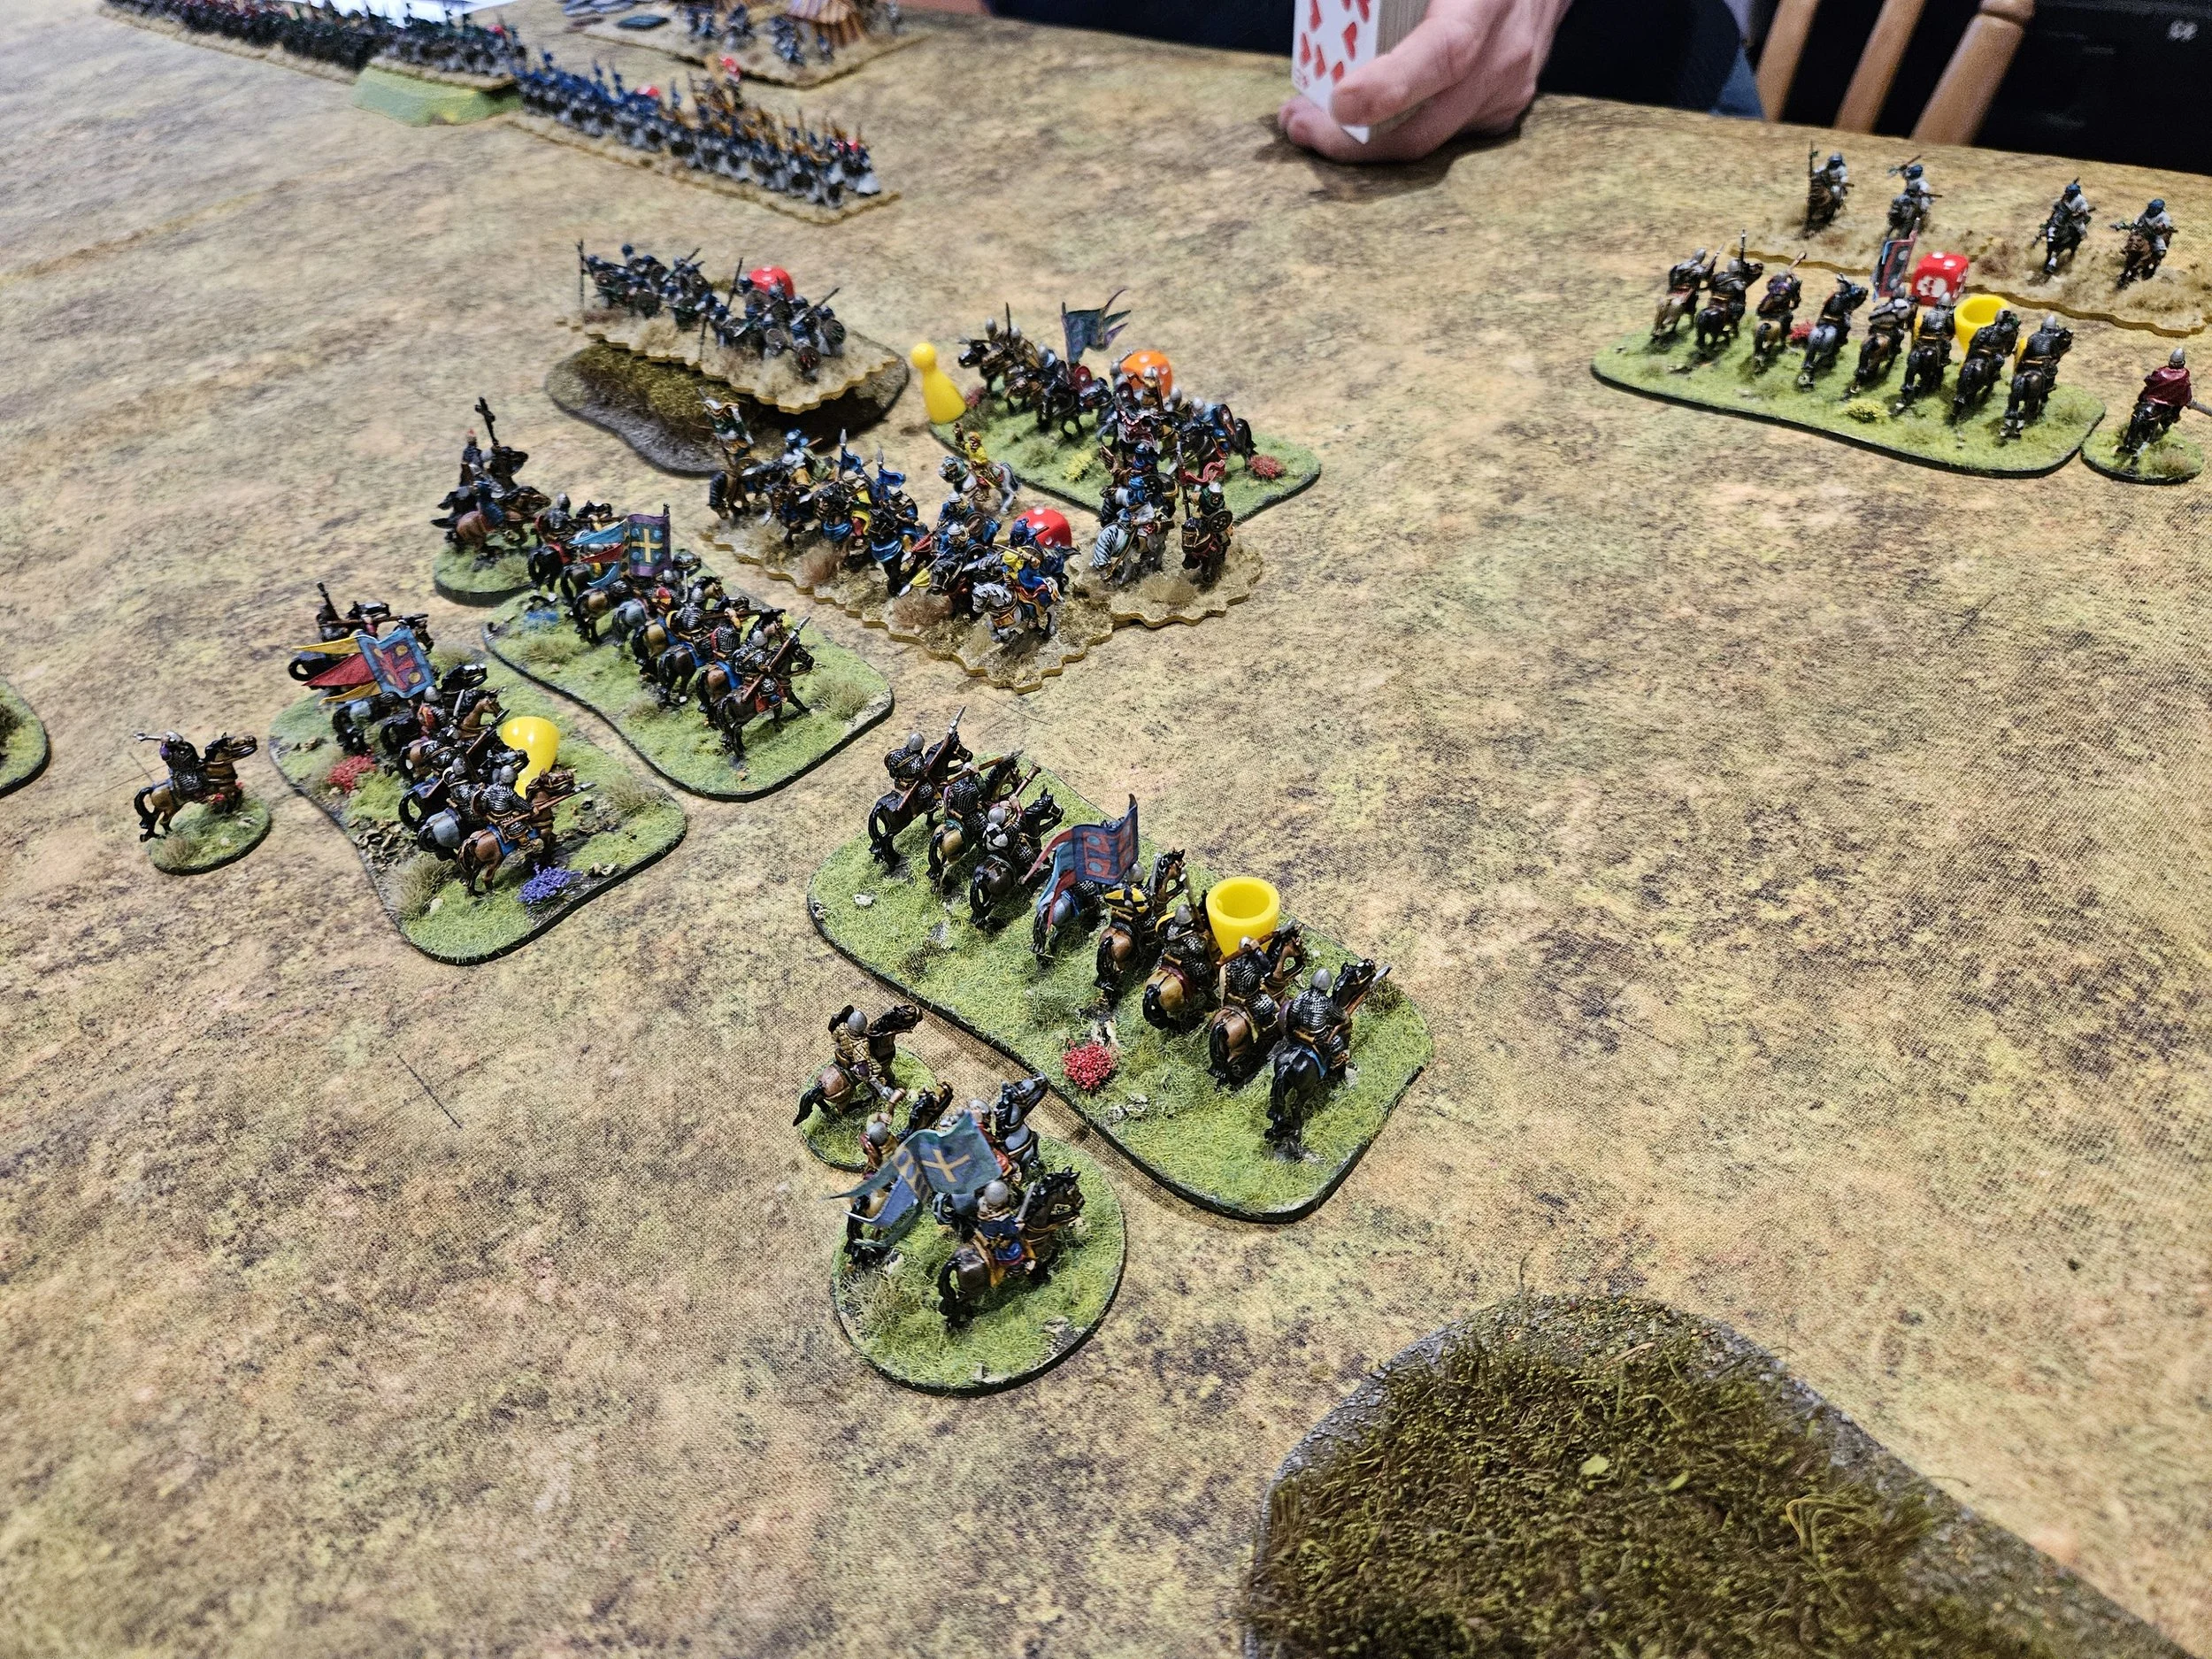
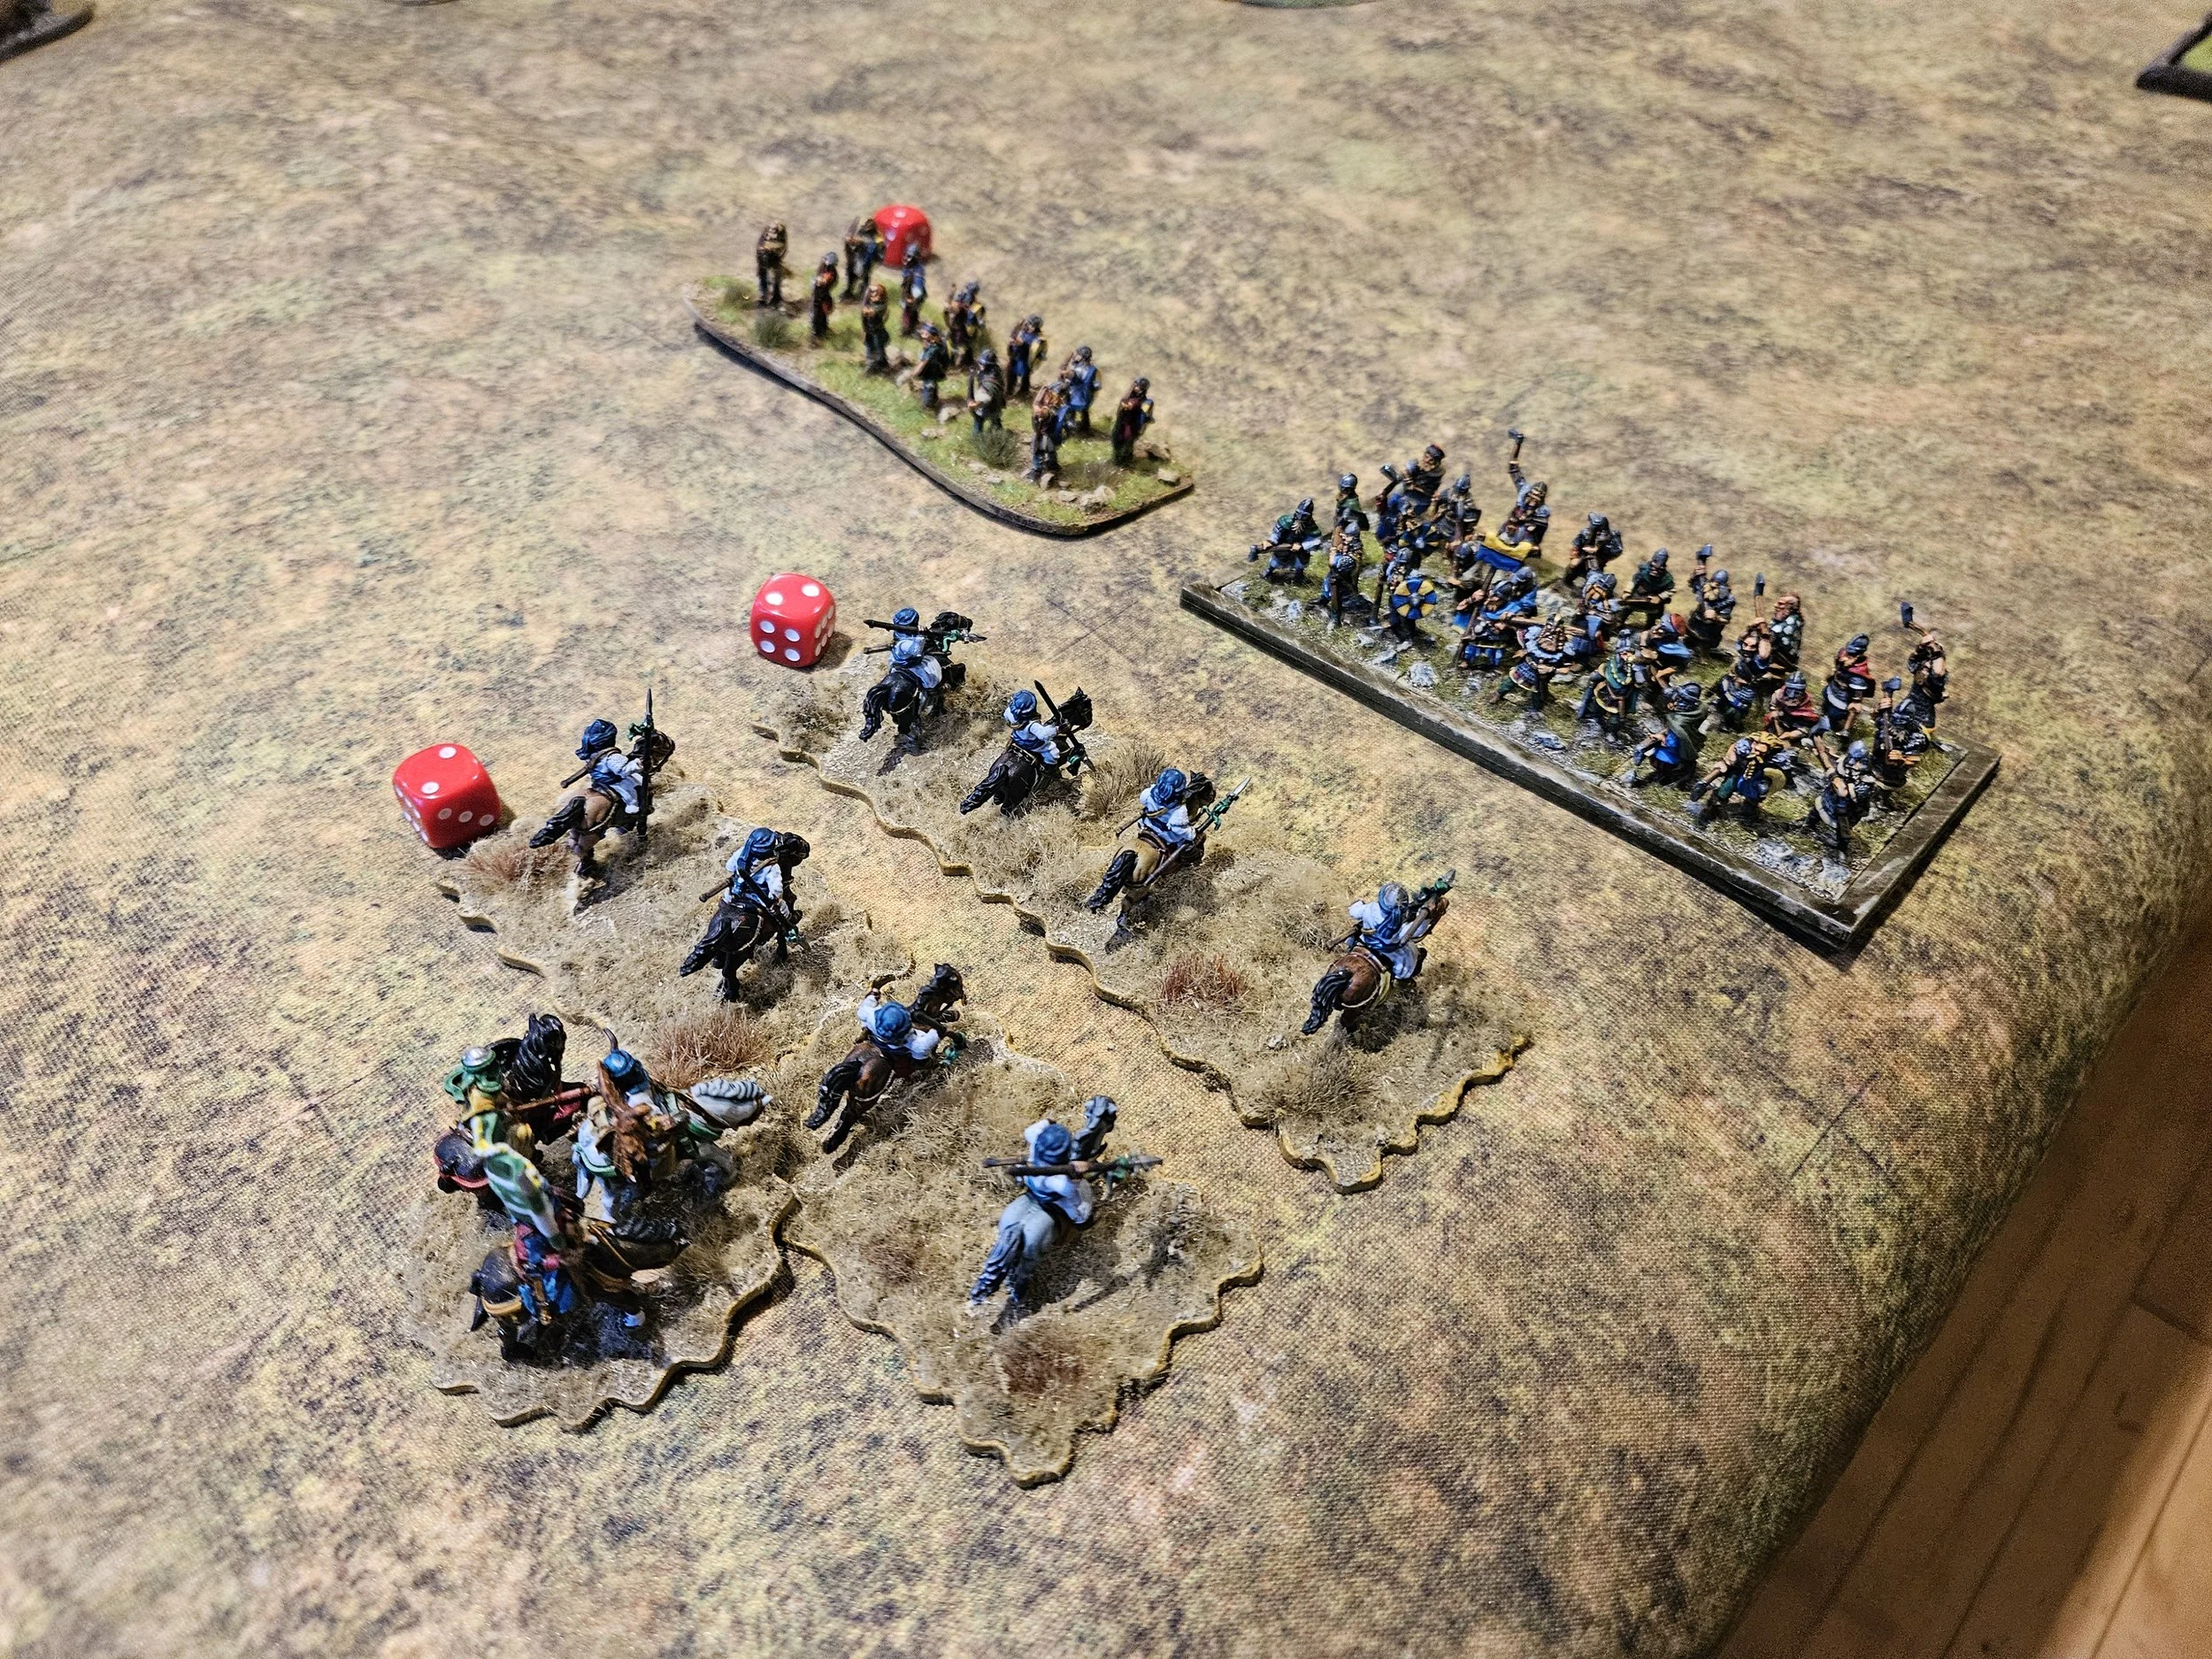
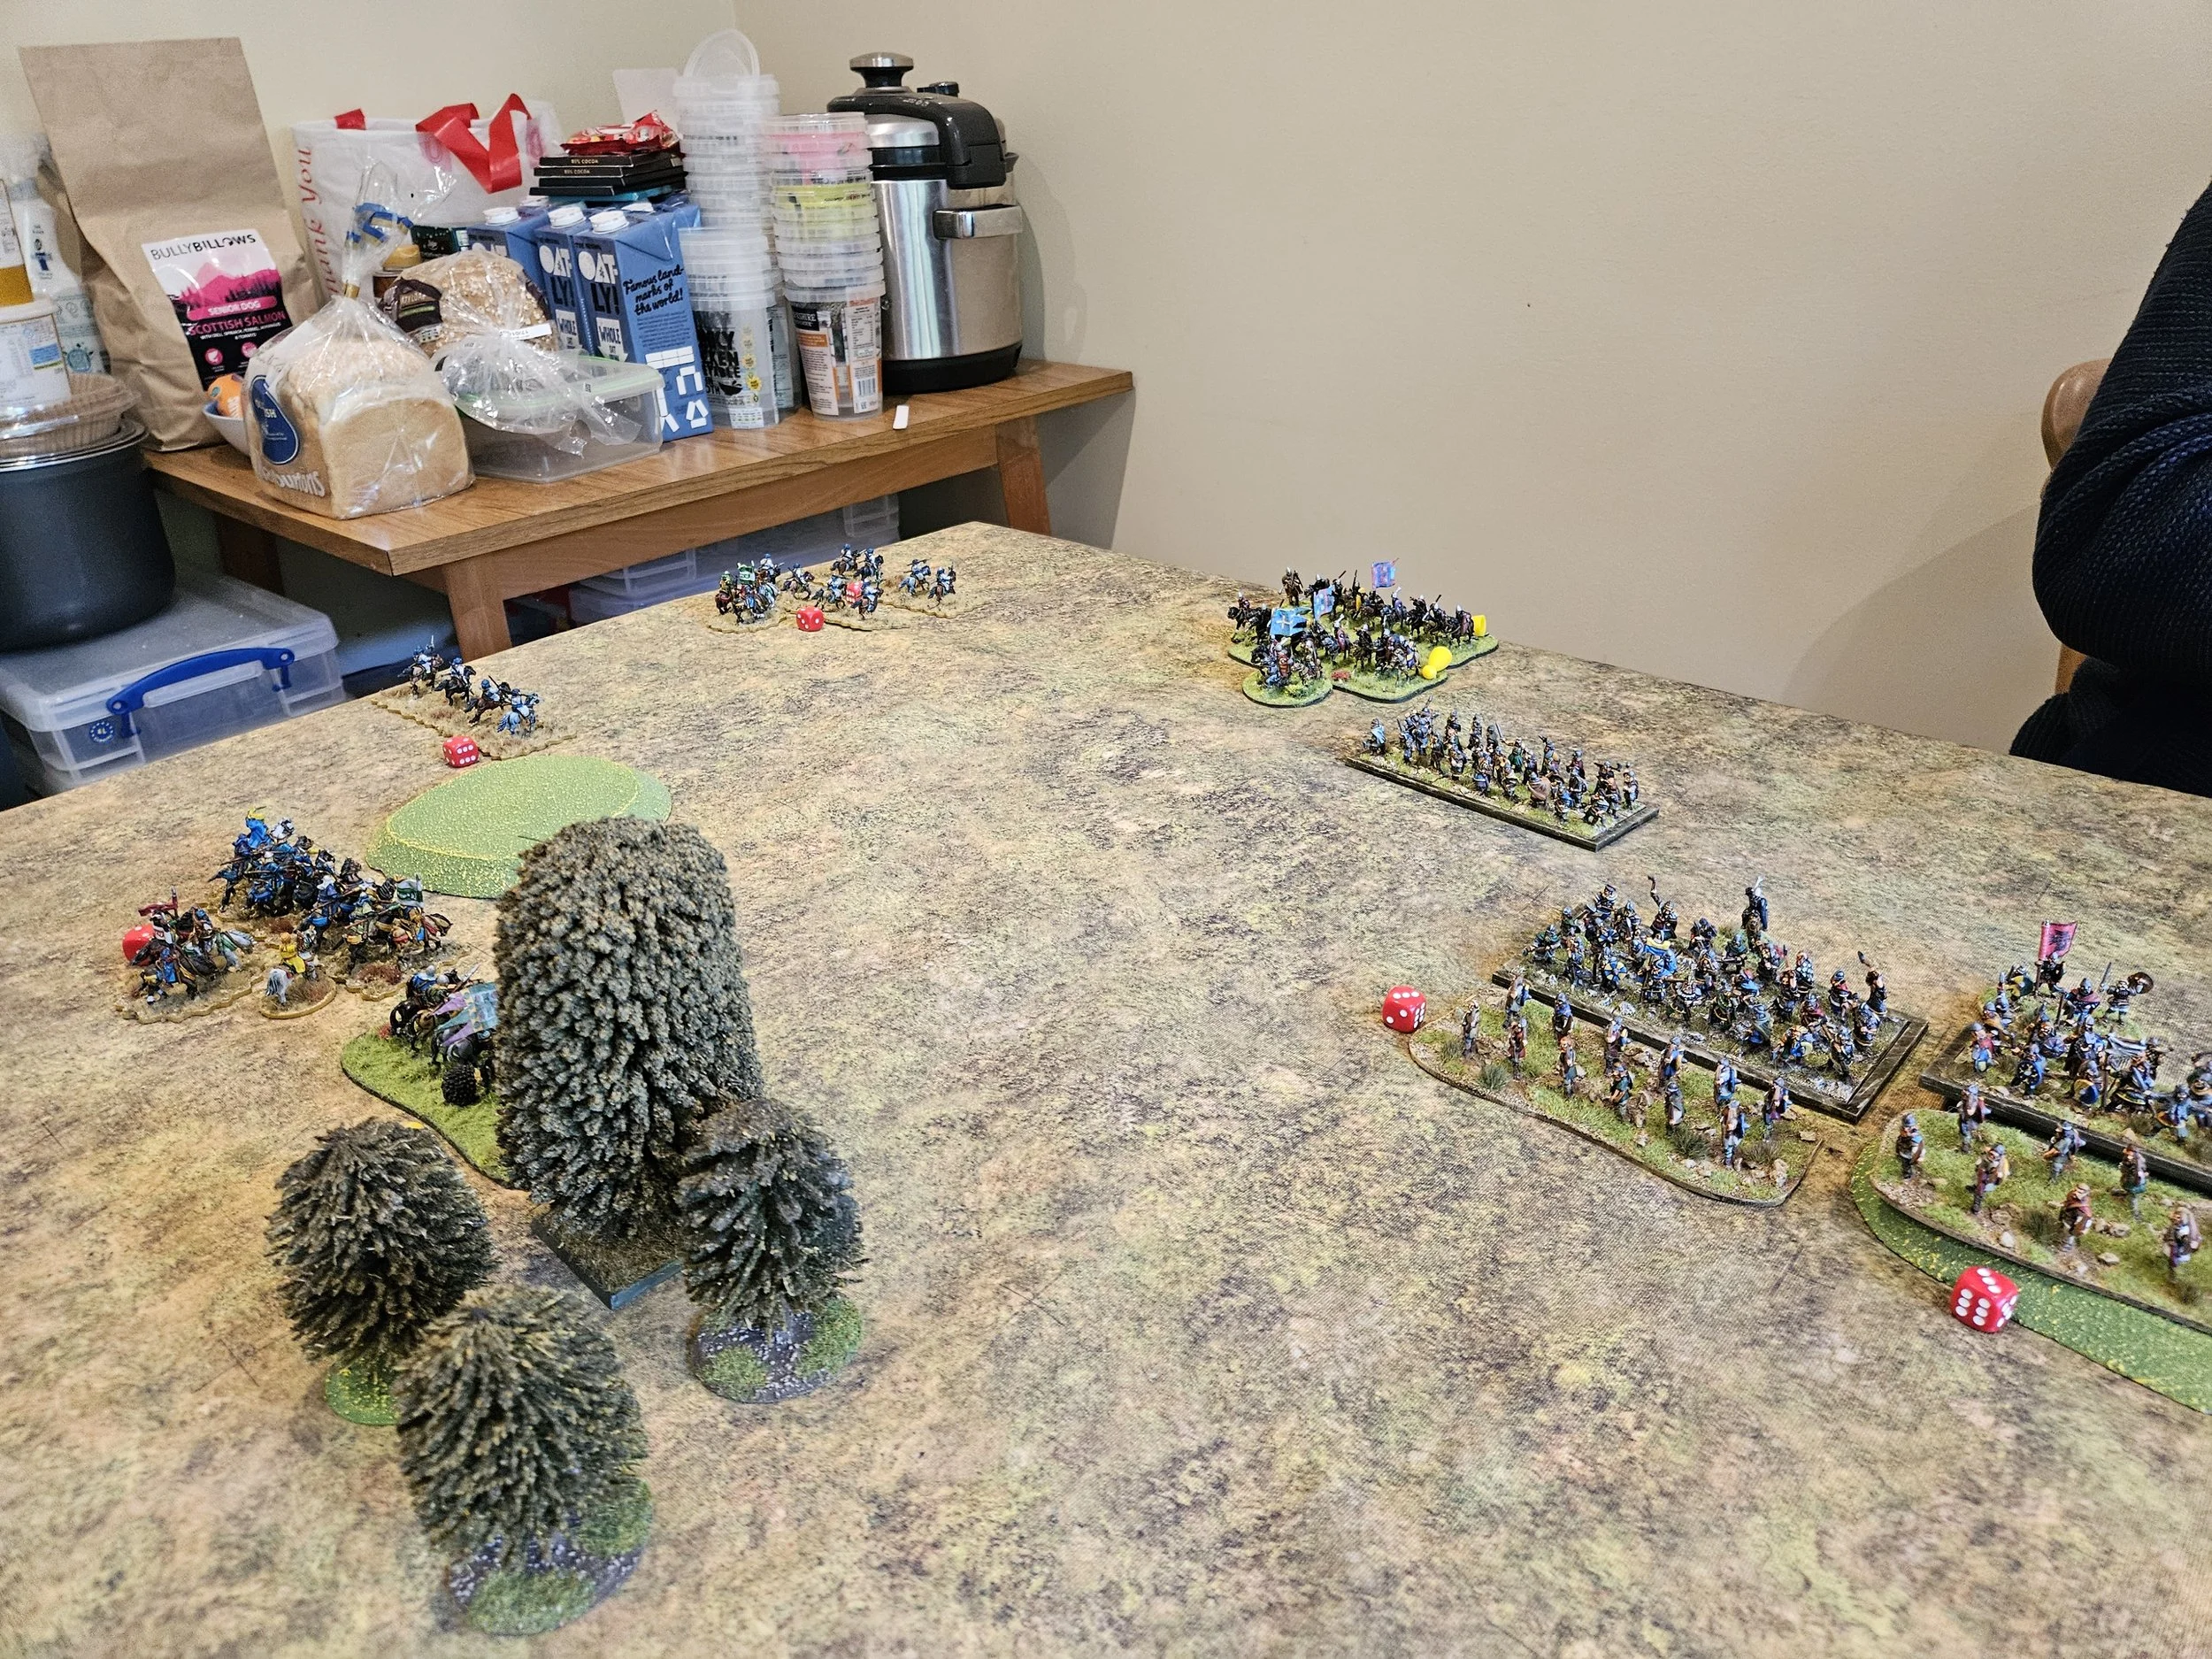
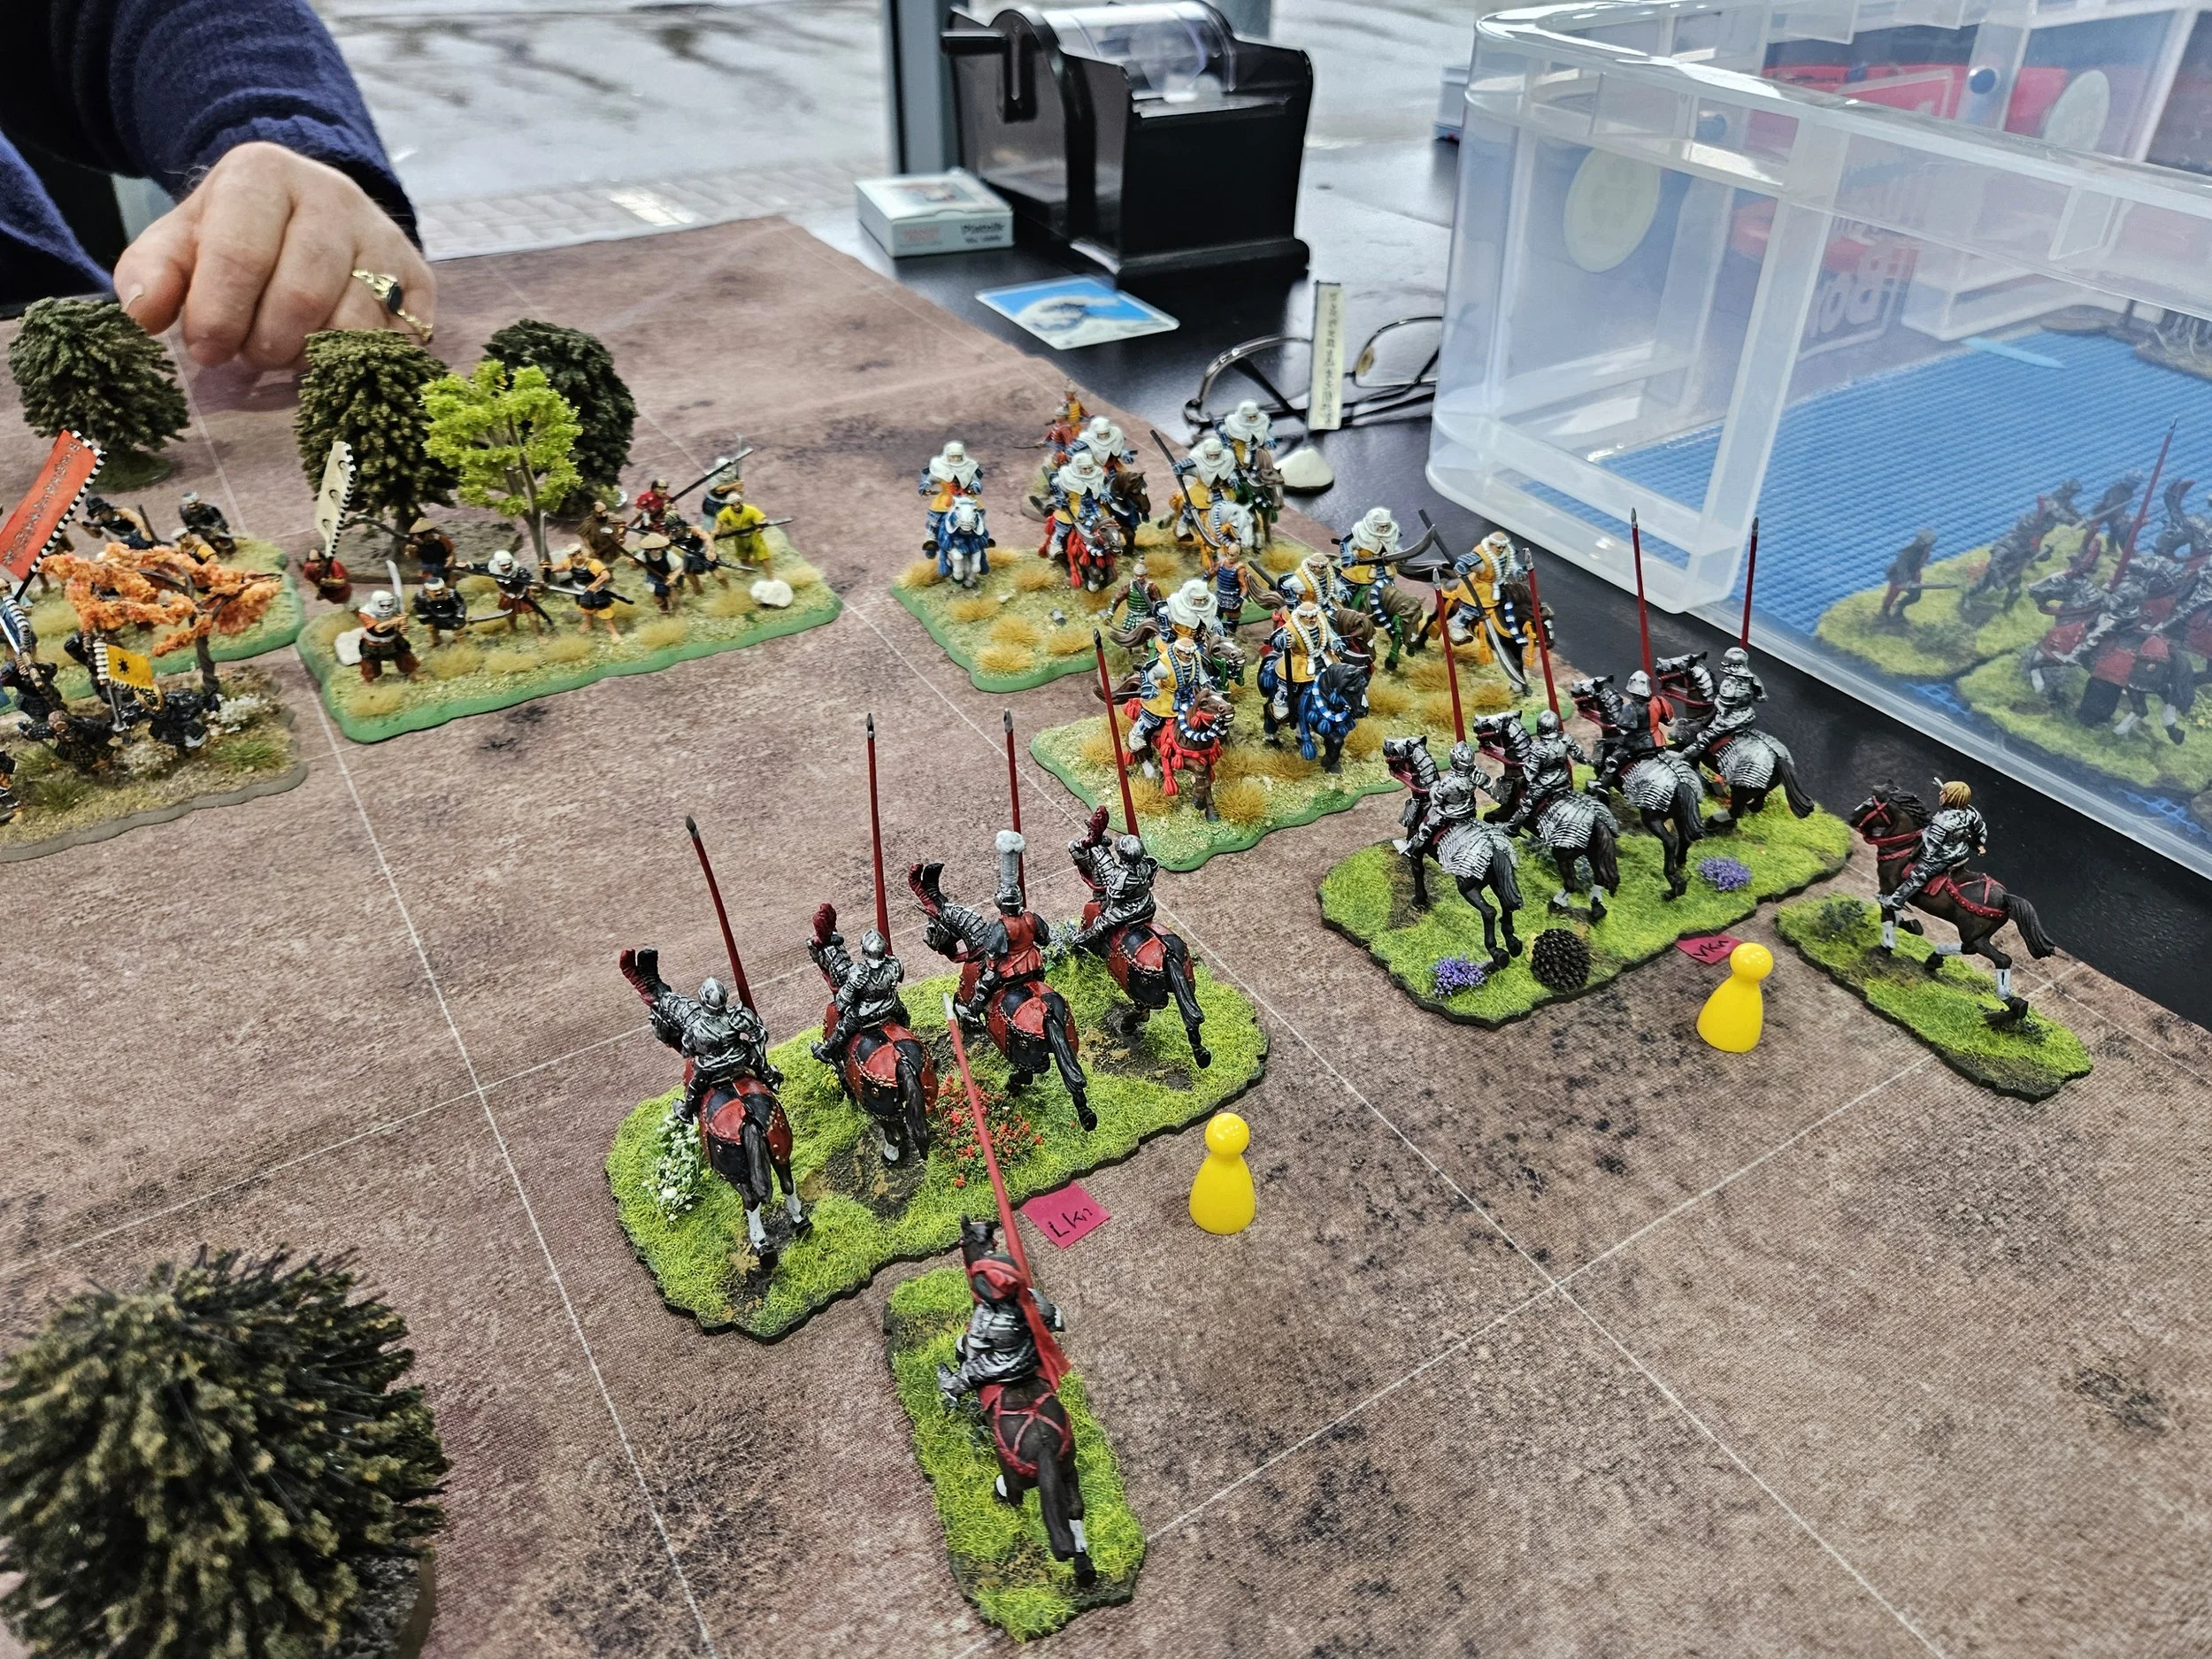
There was also the matter of their cavalry on my right: that was job for my other command of Knights!
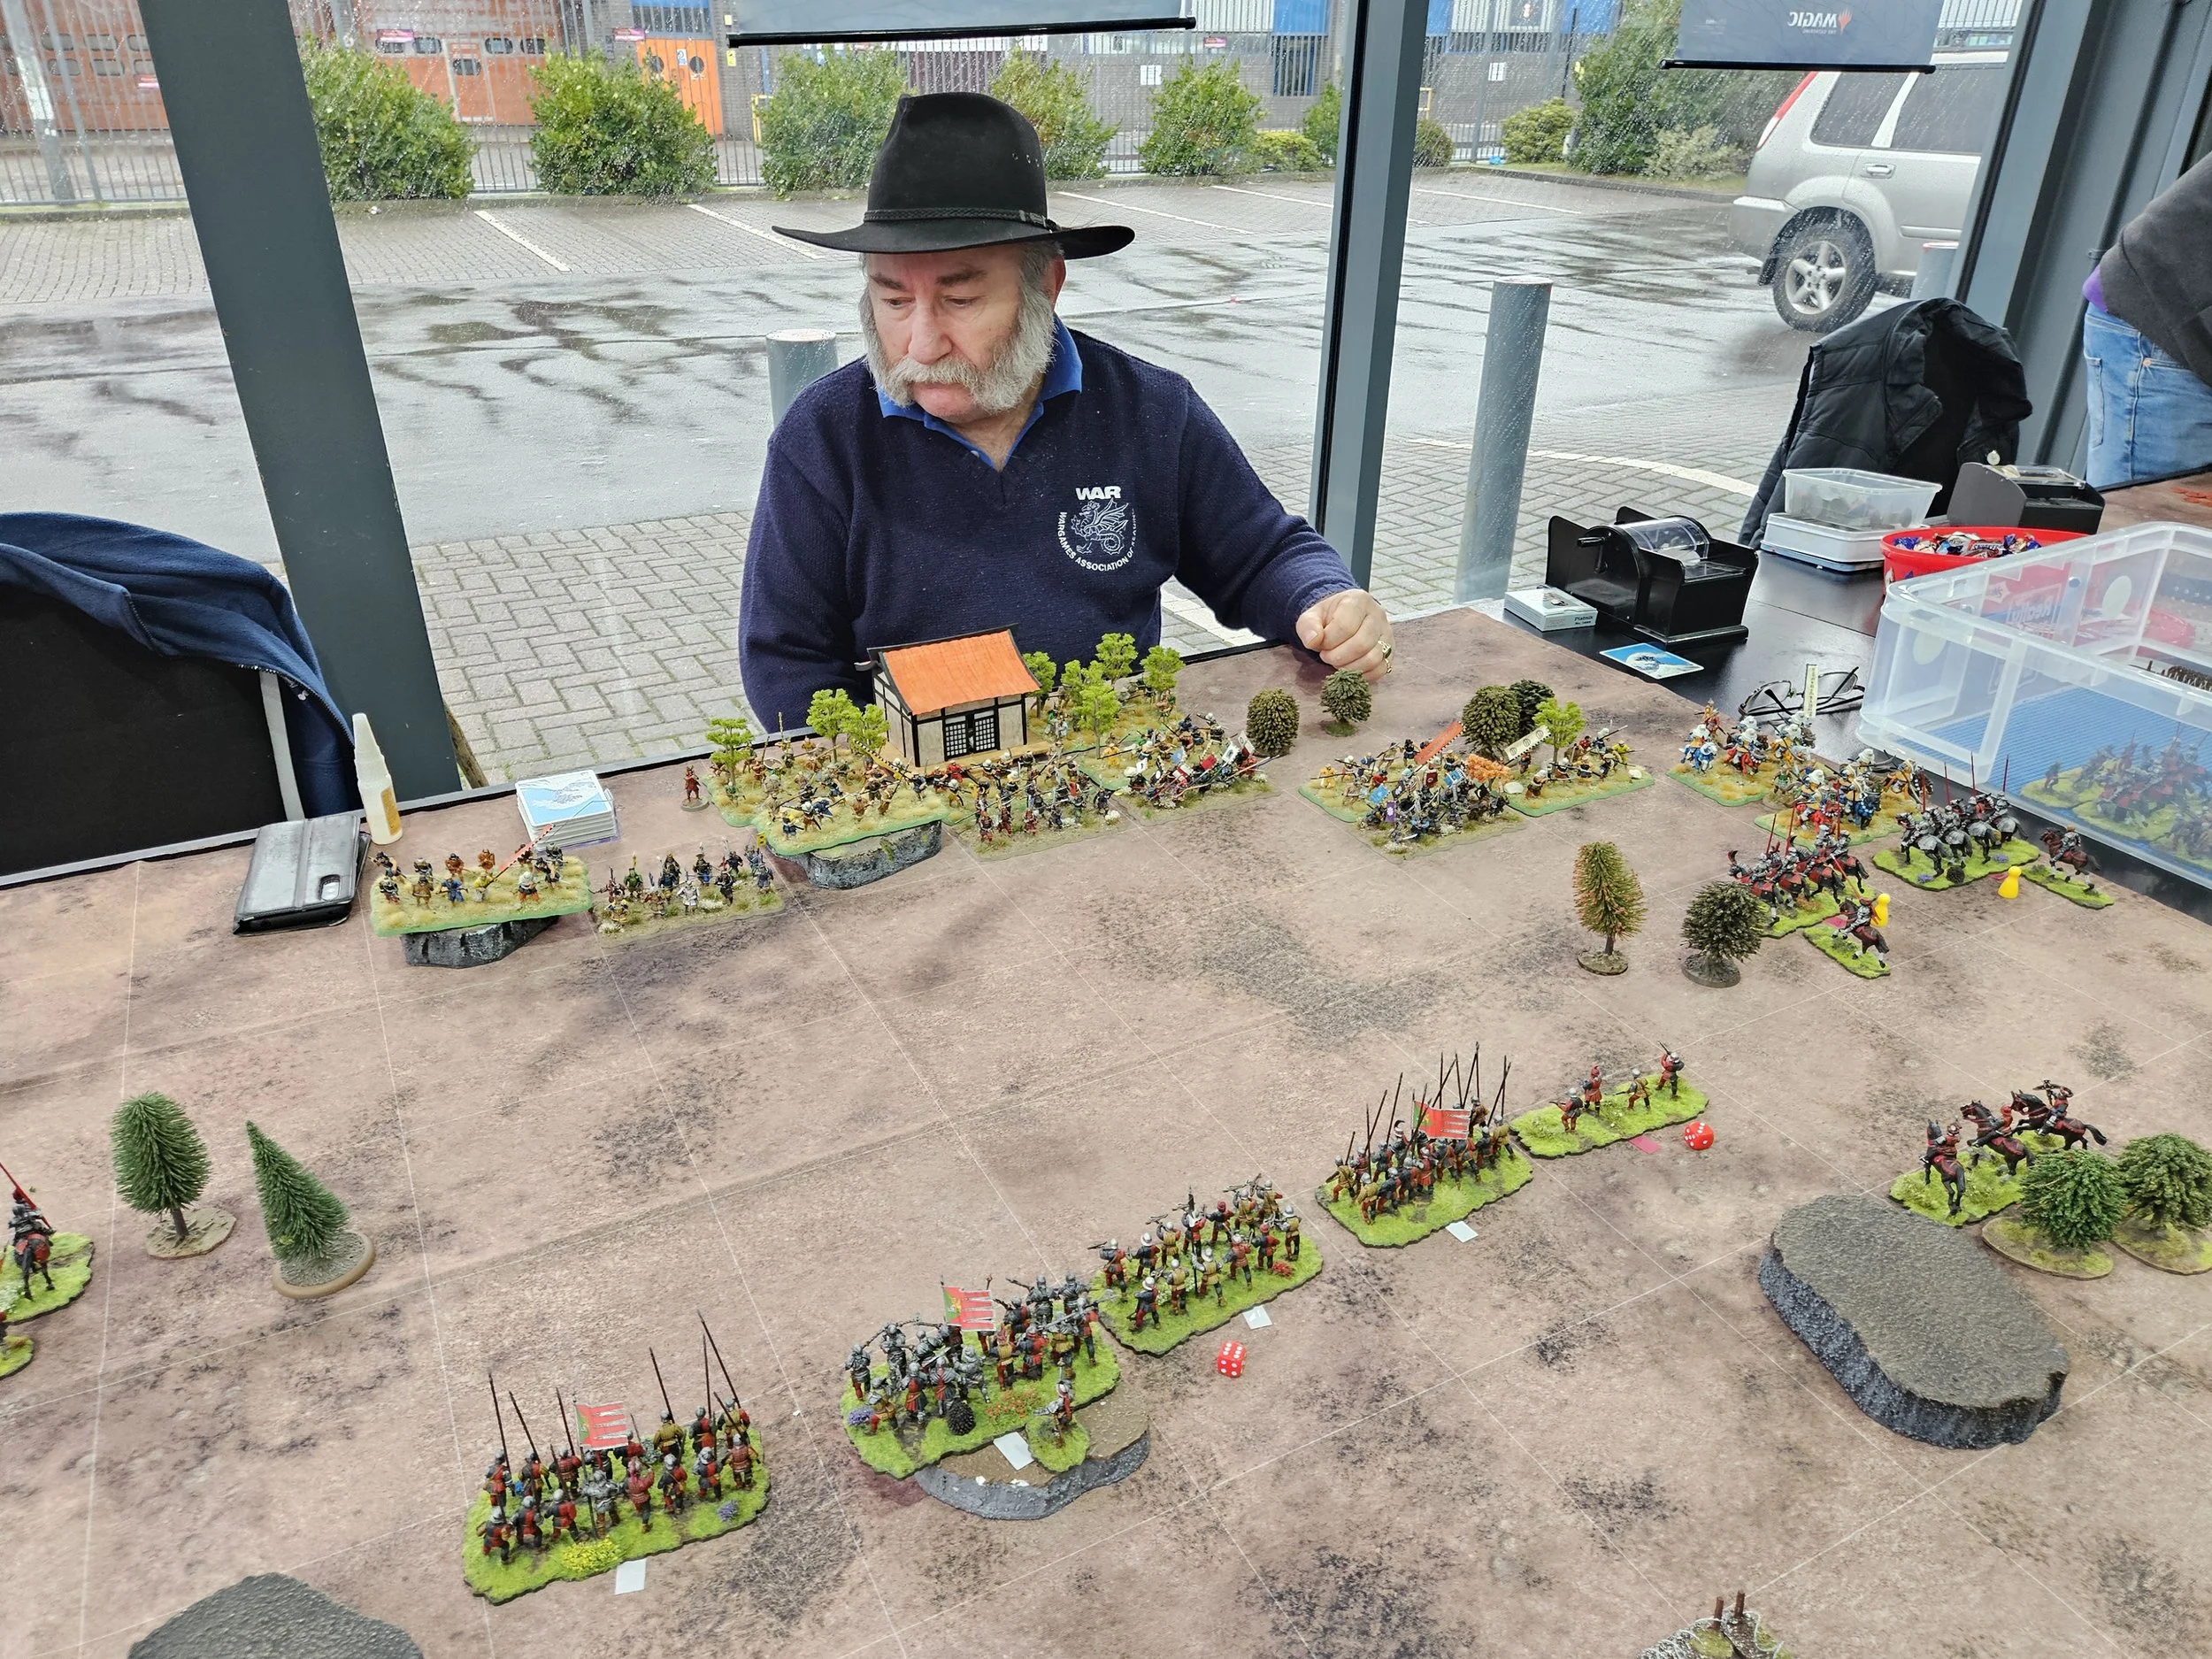
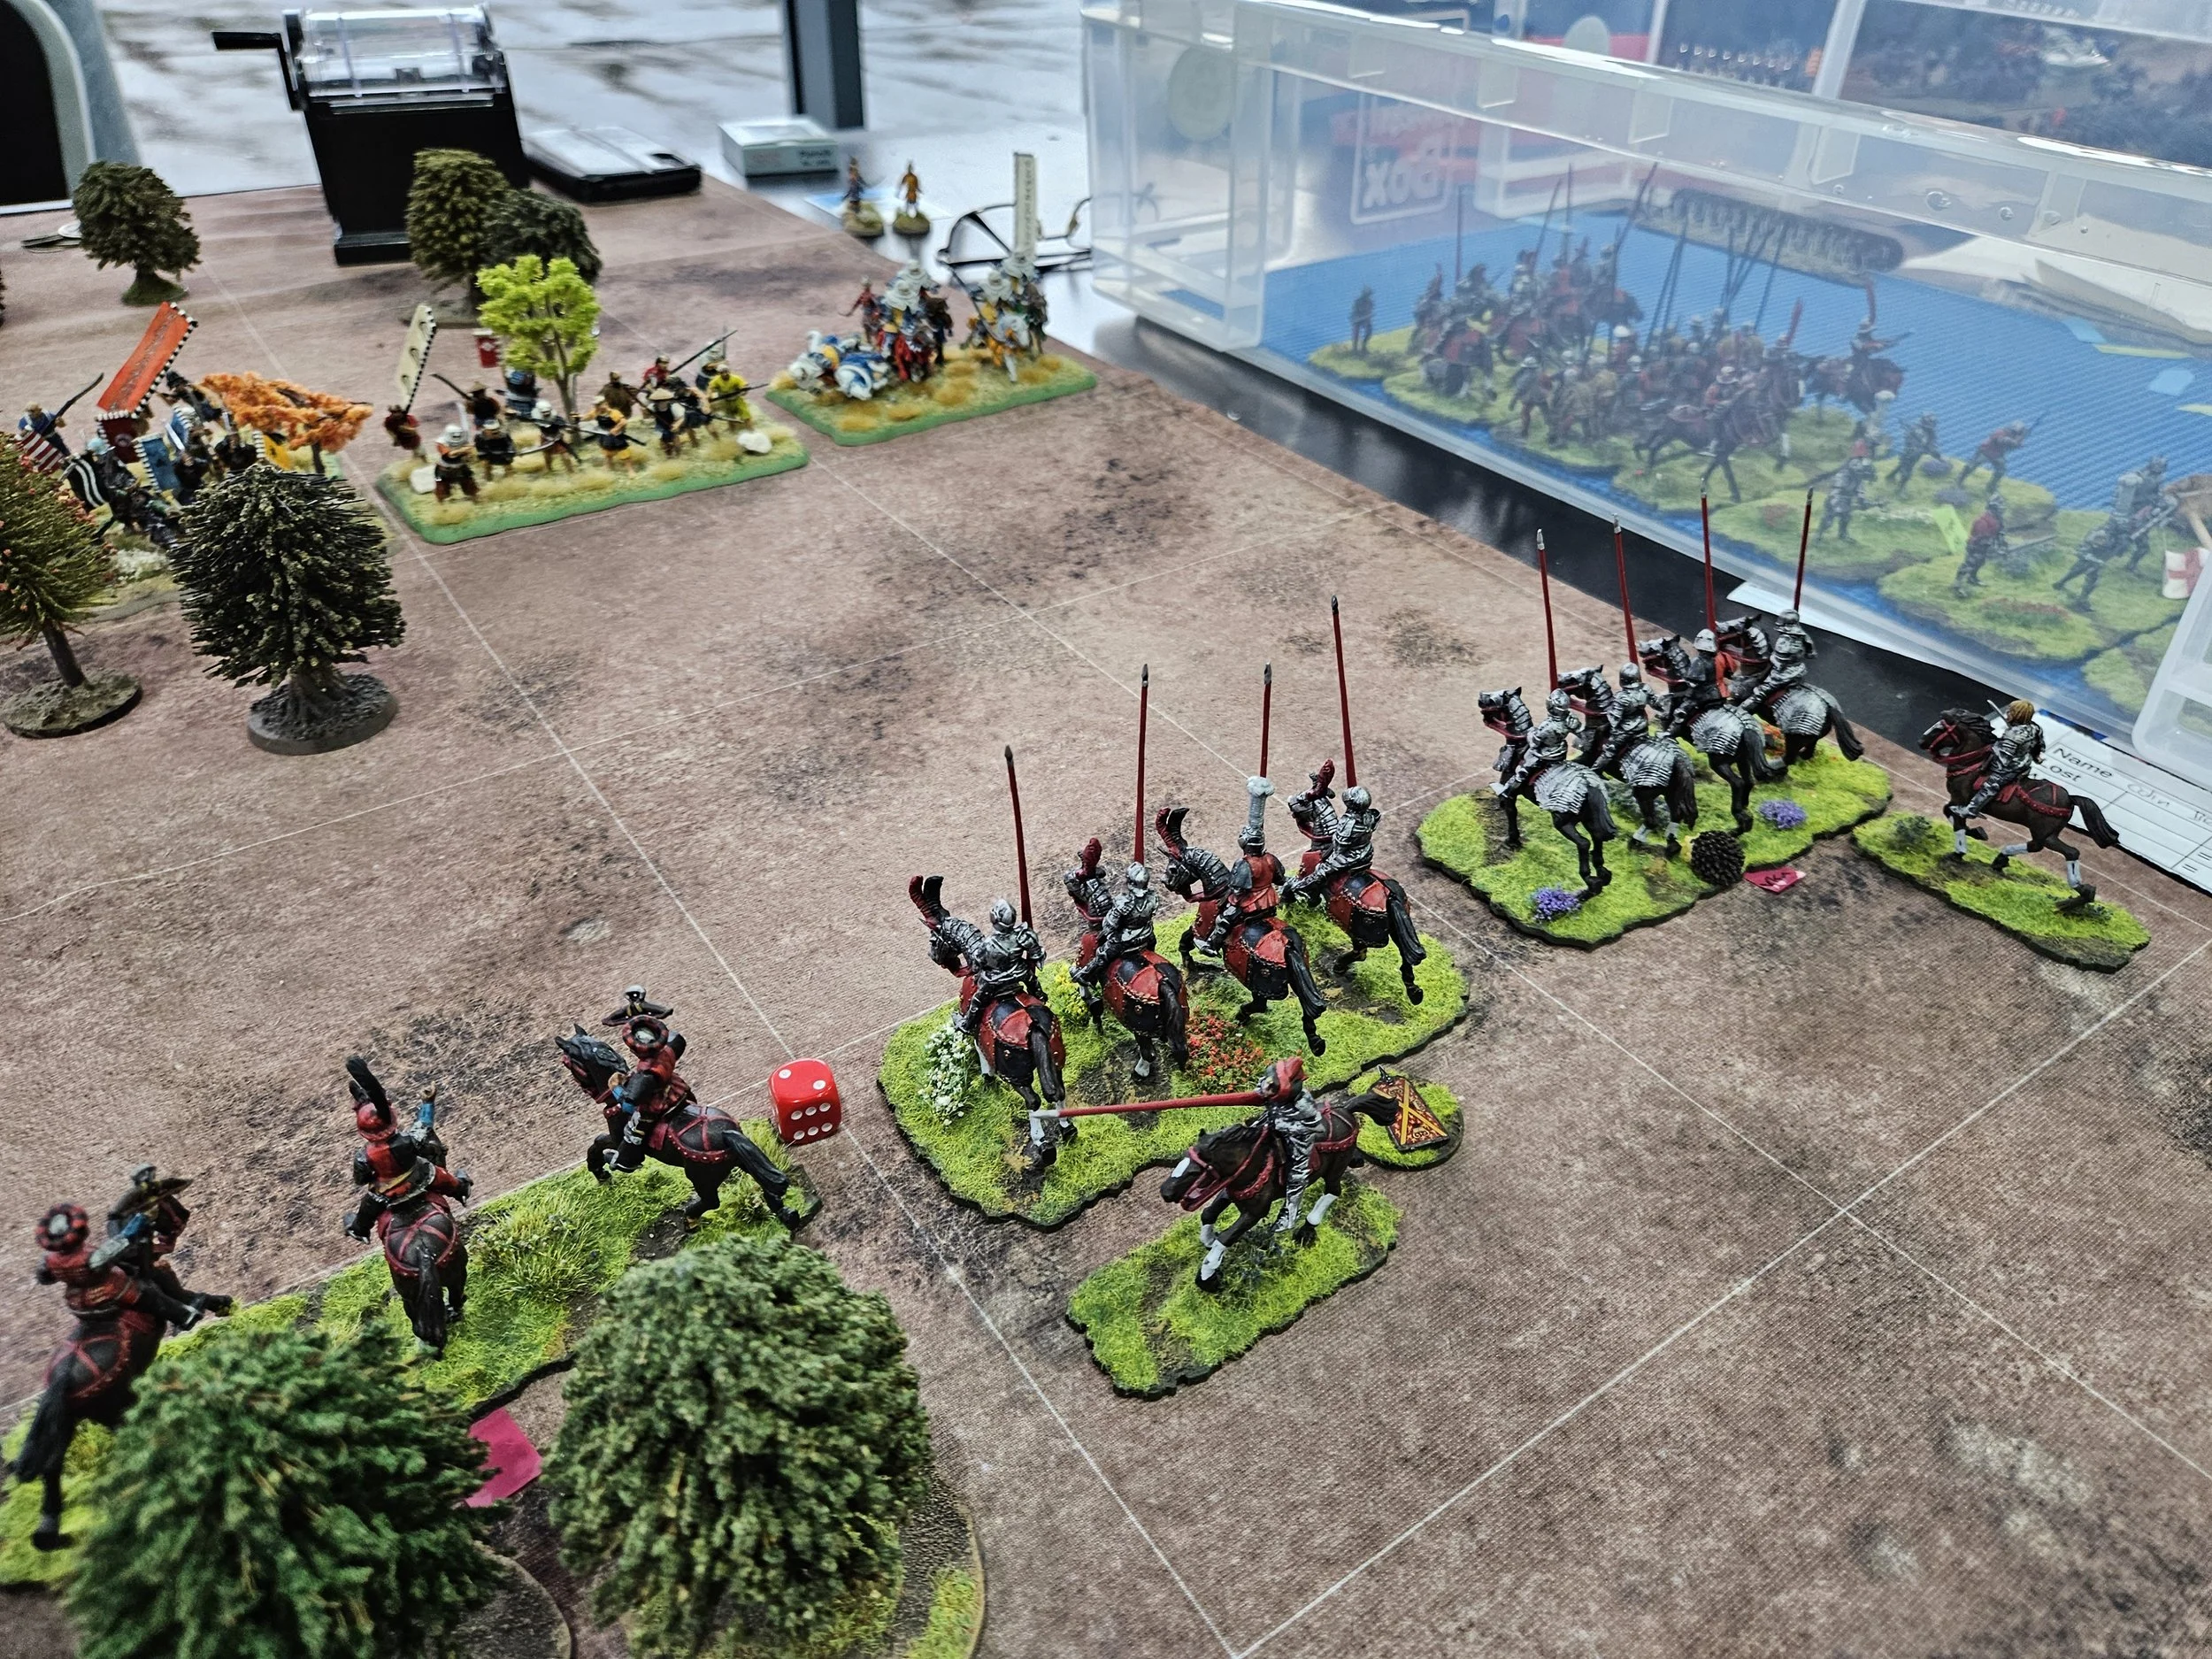
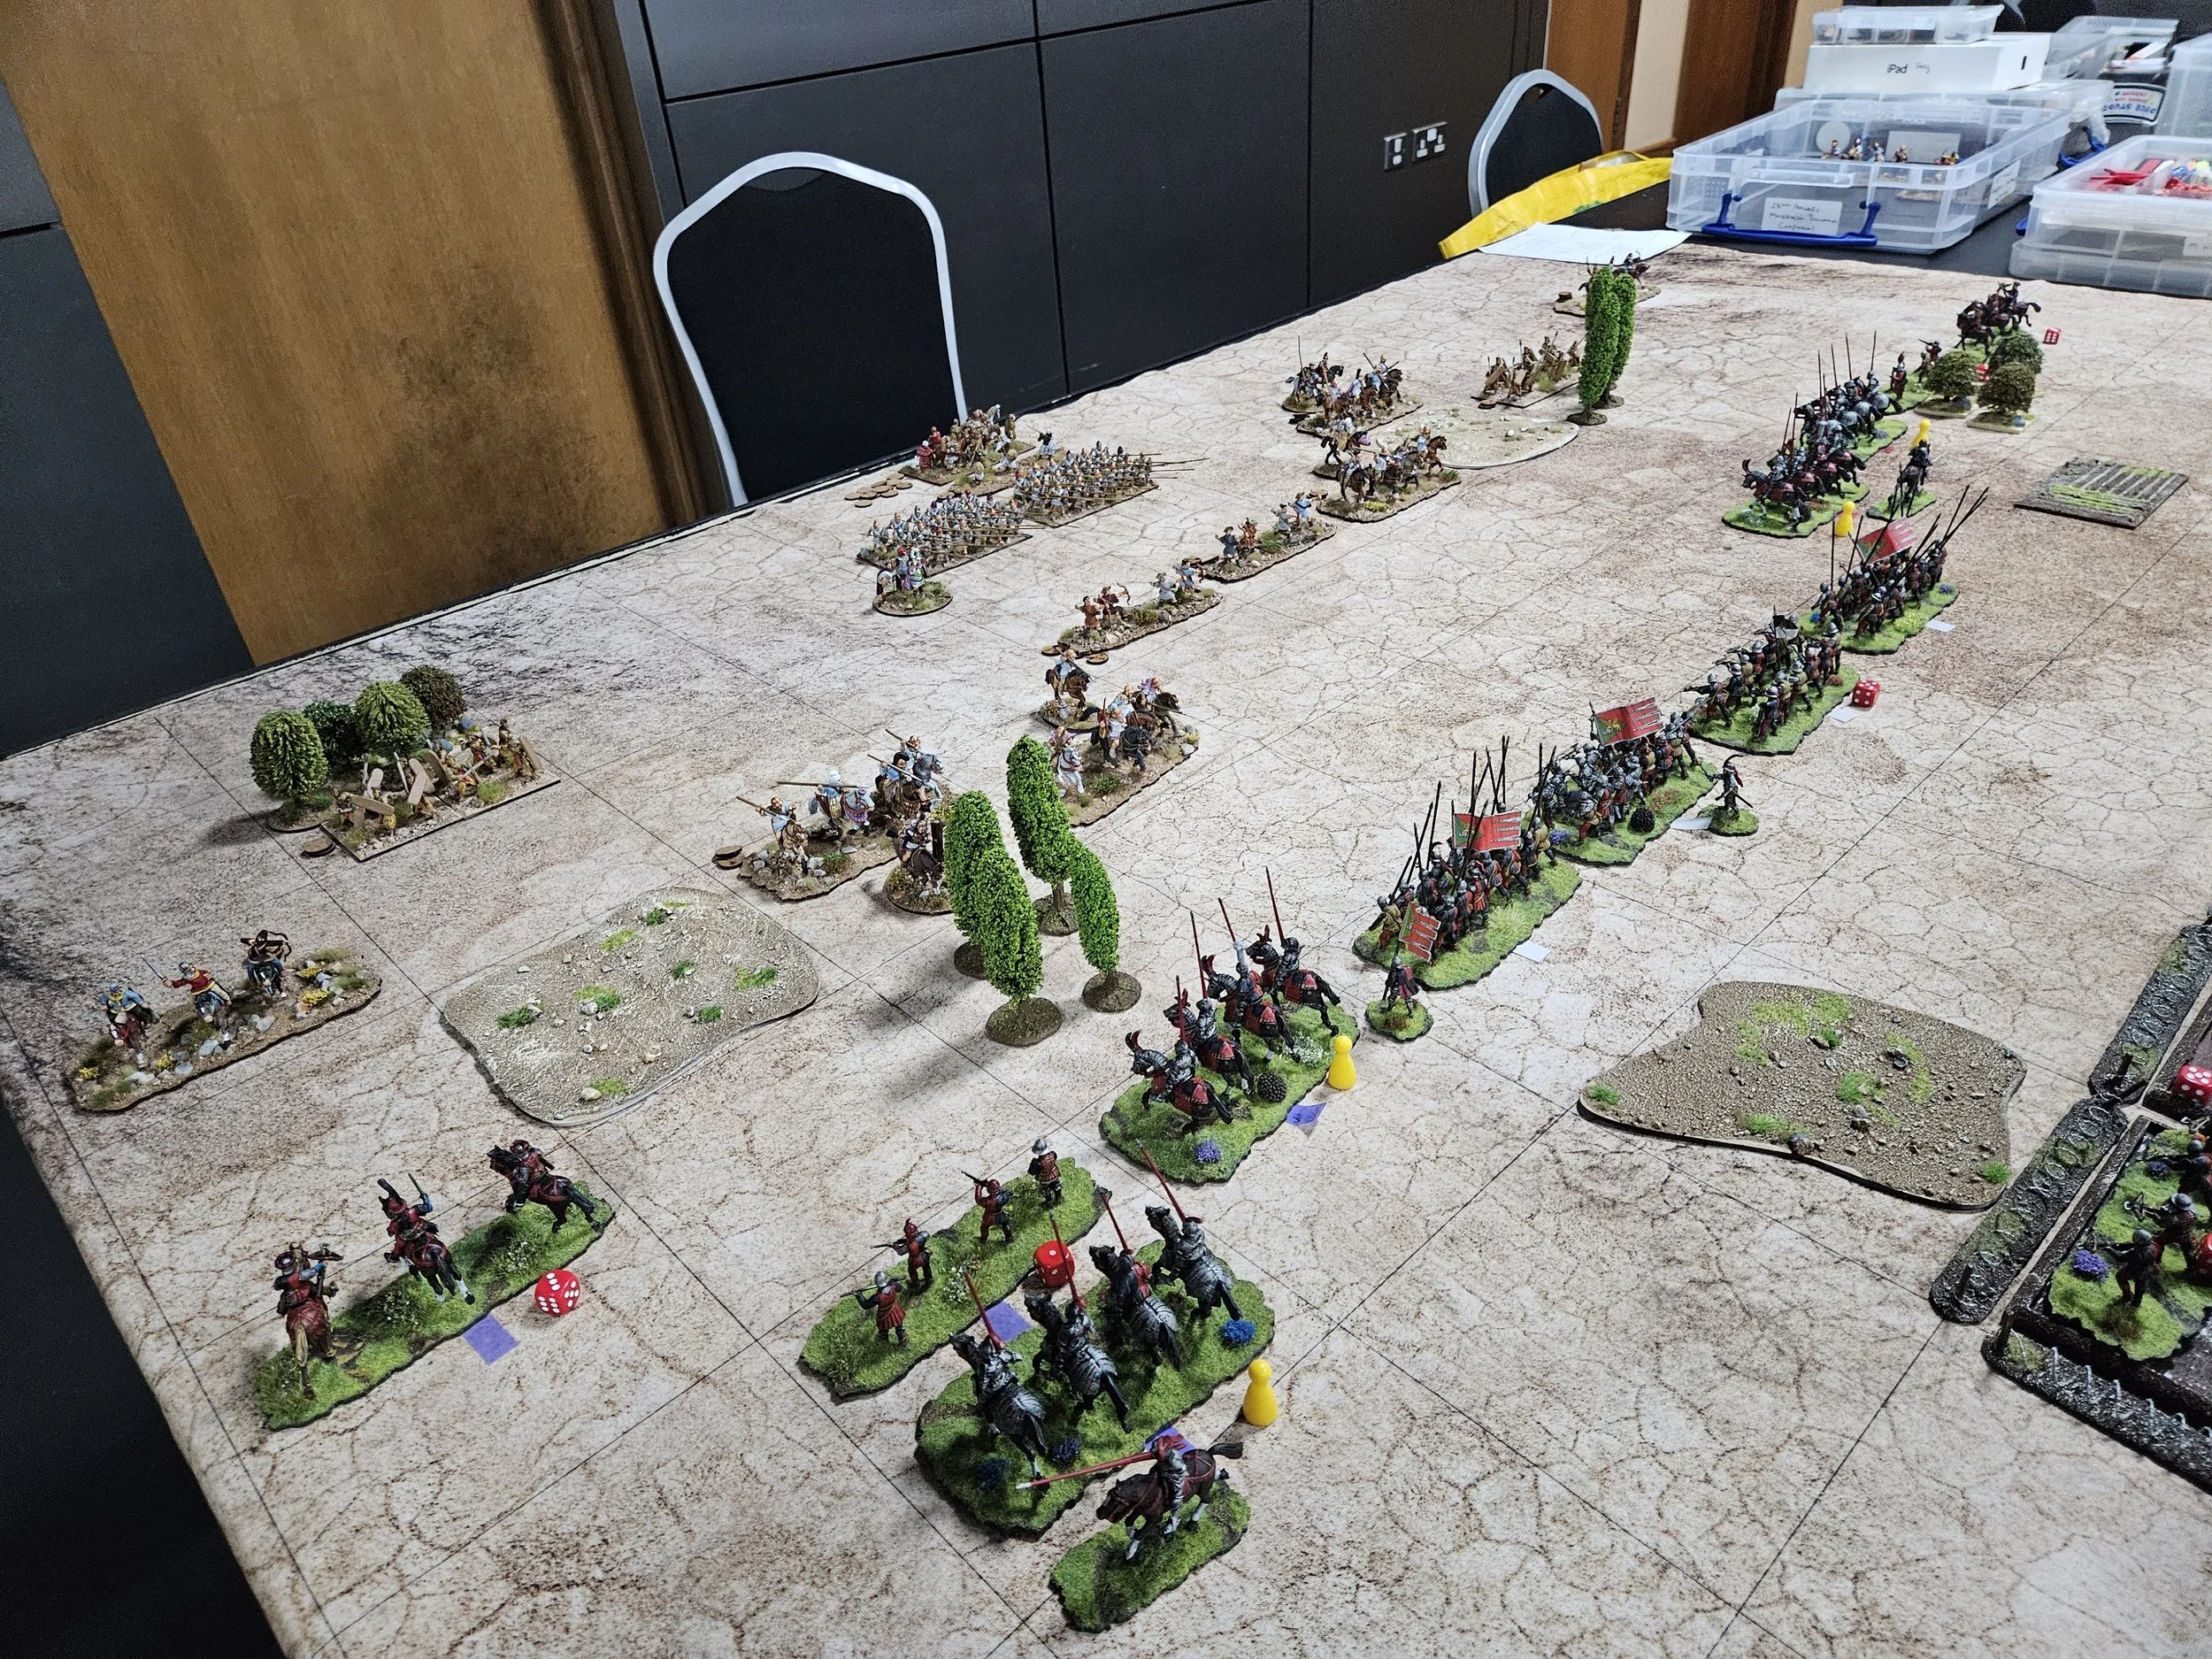
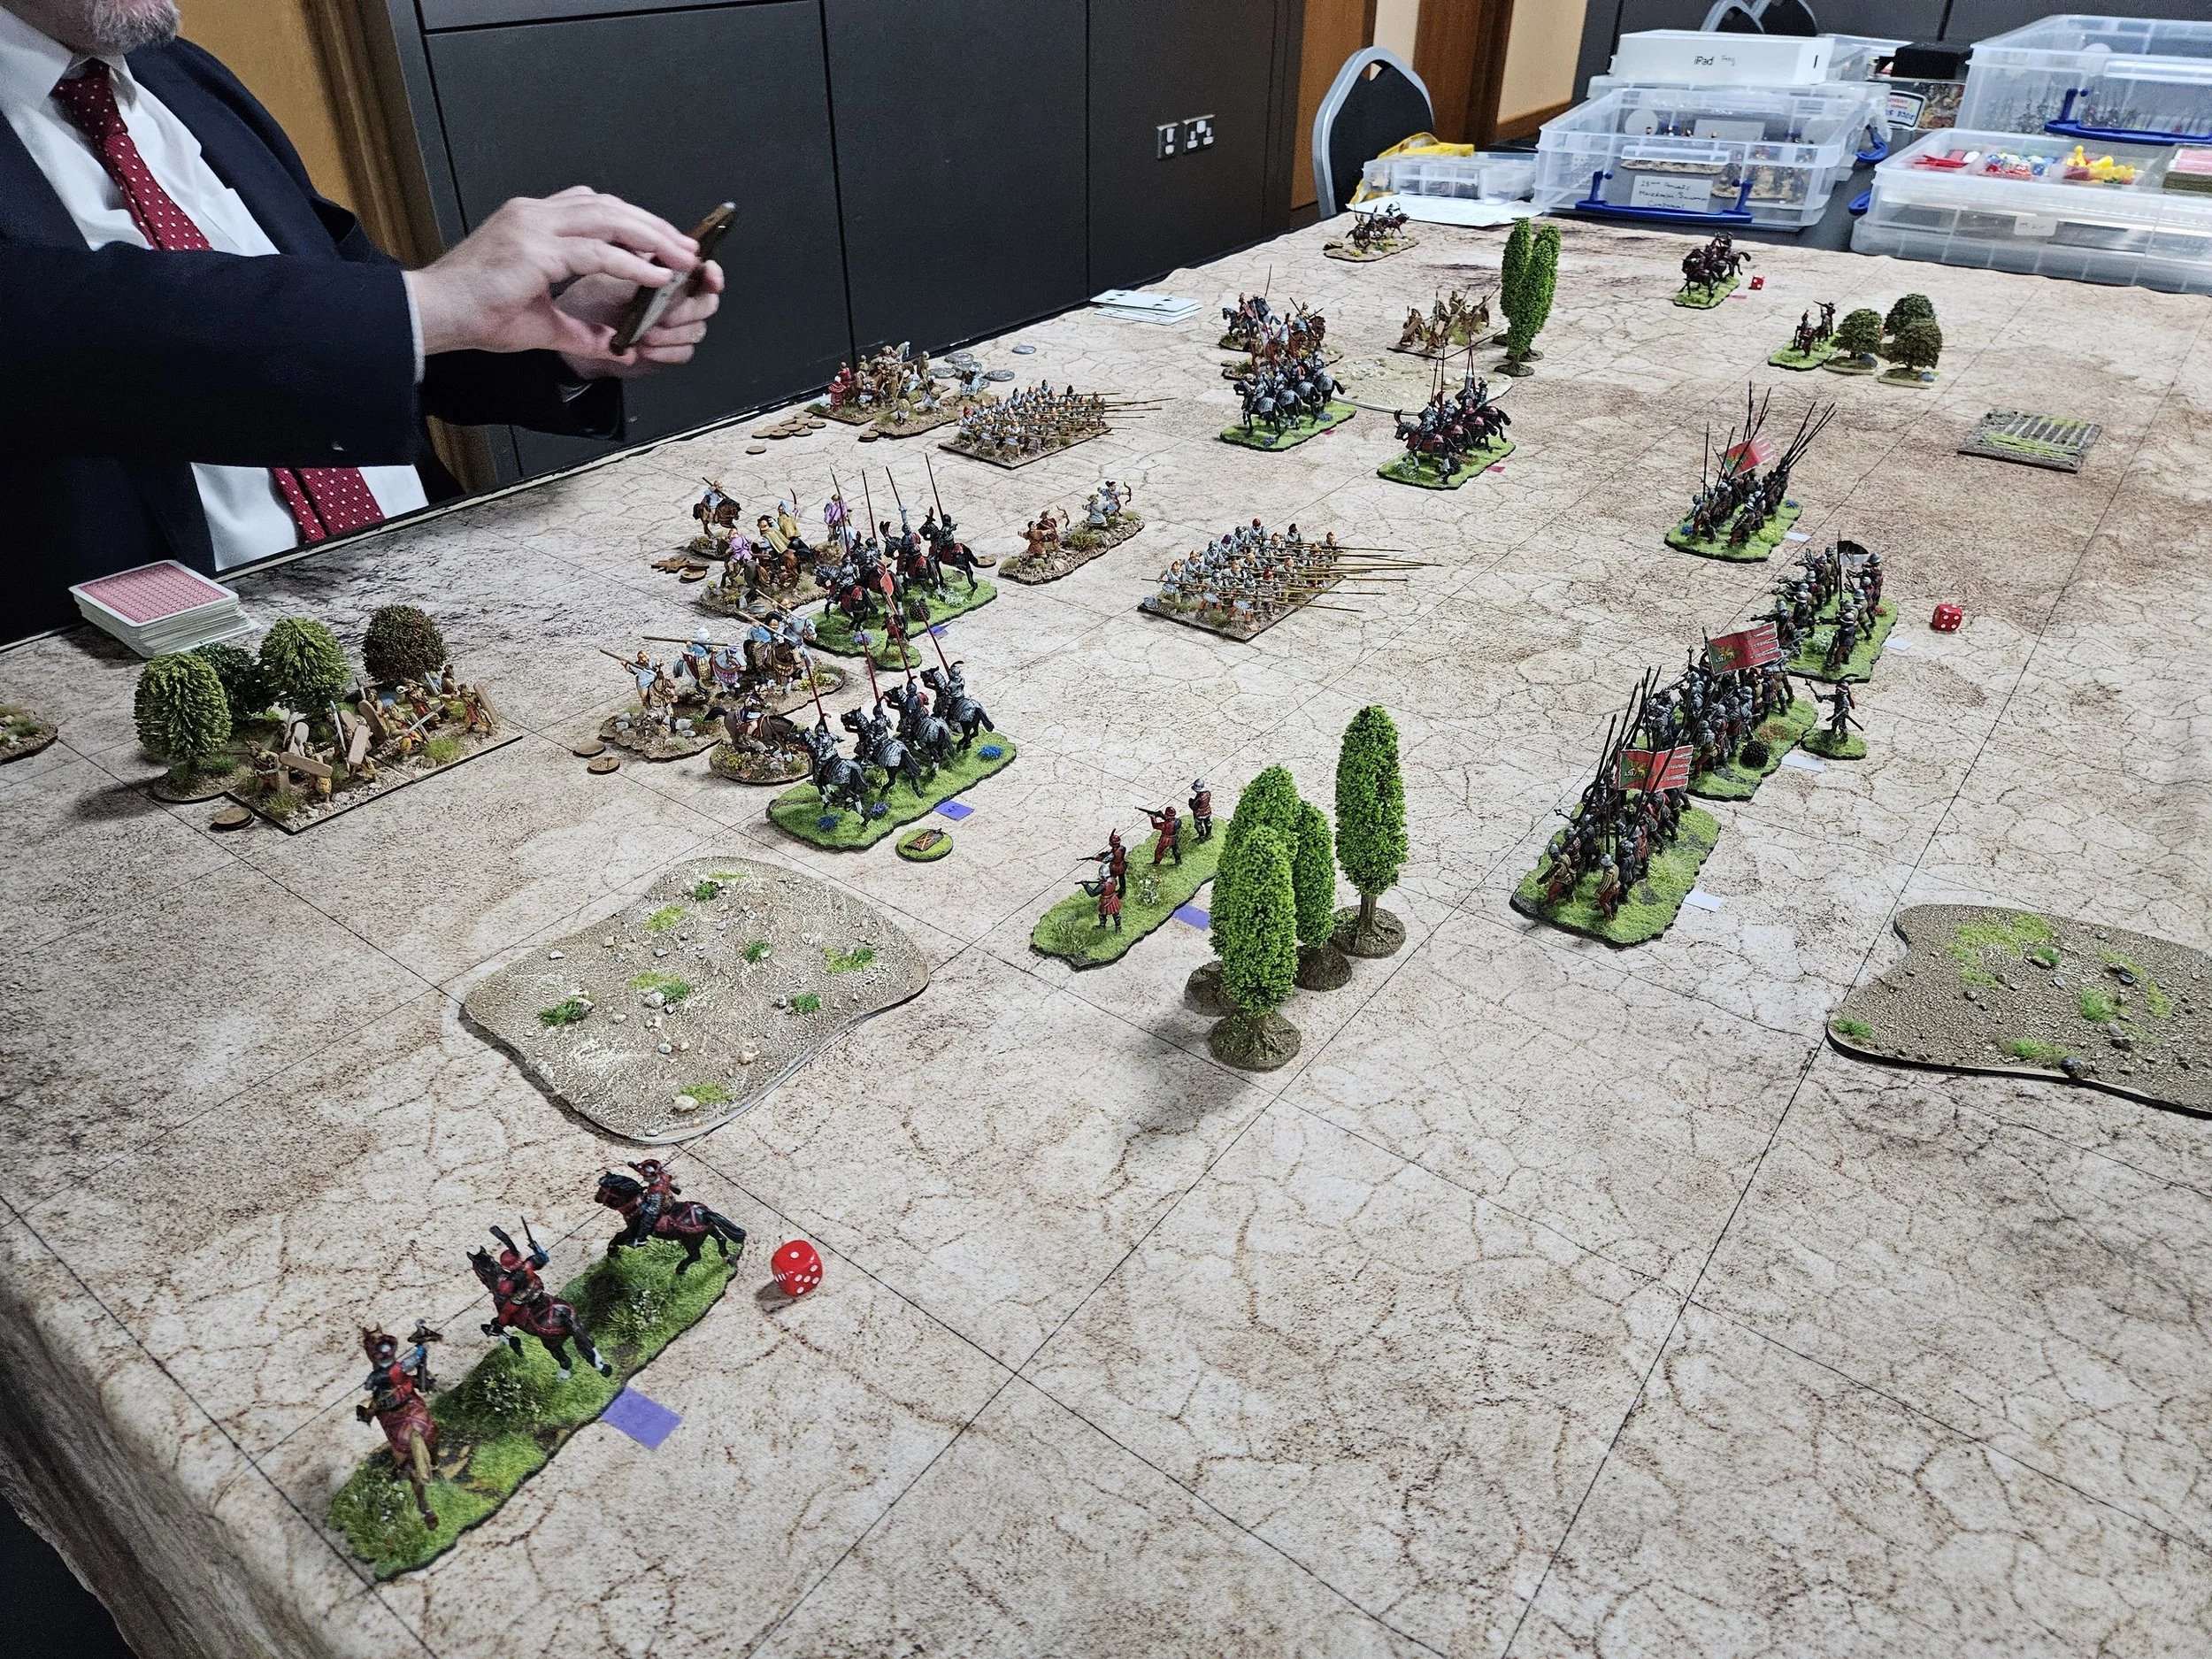
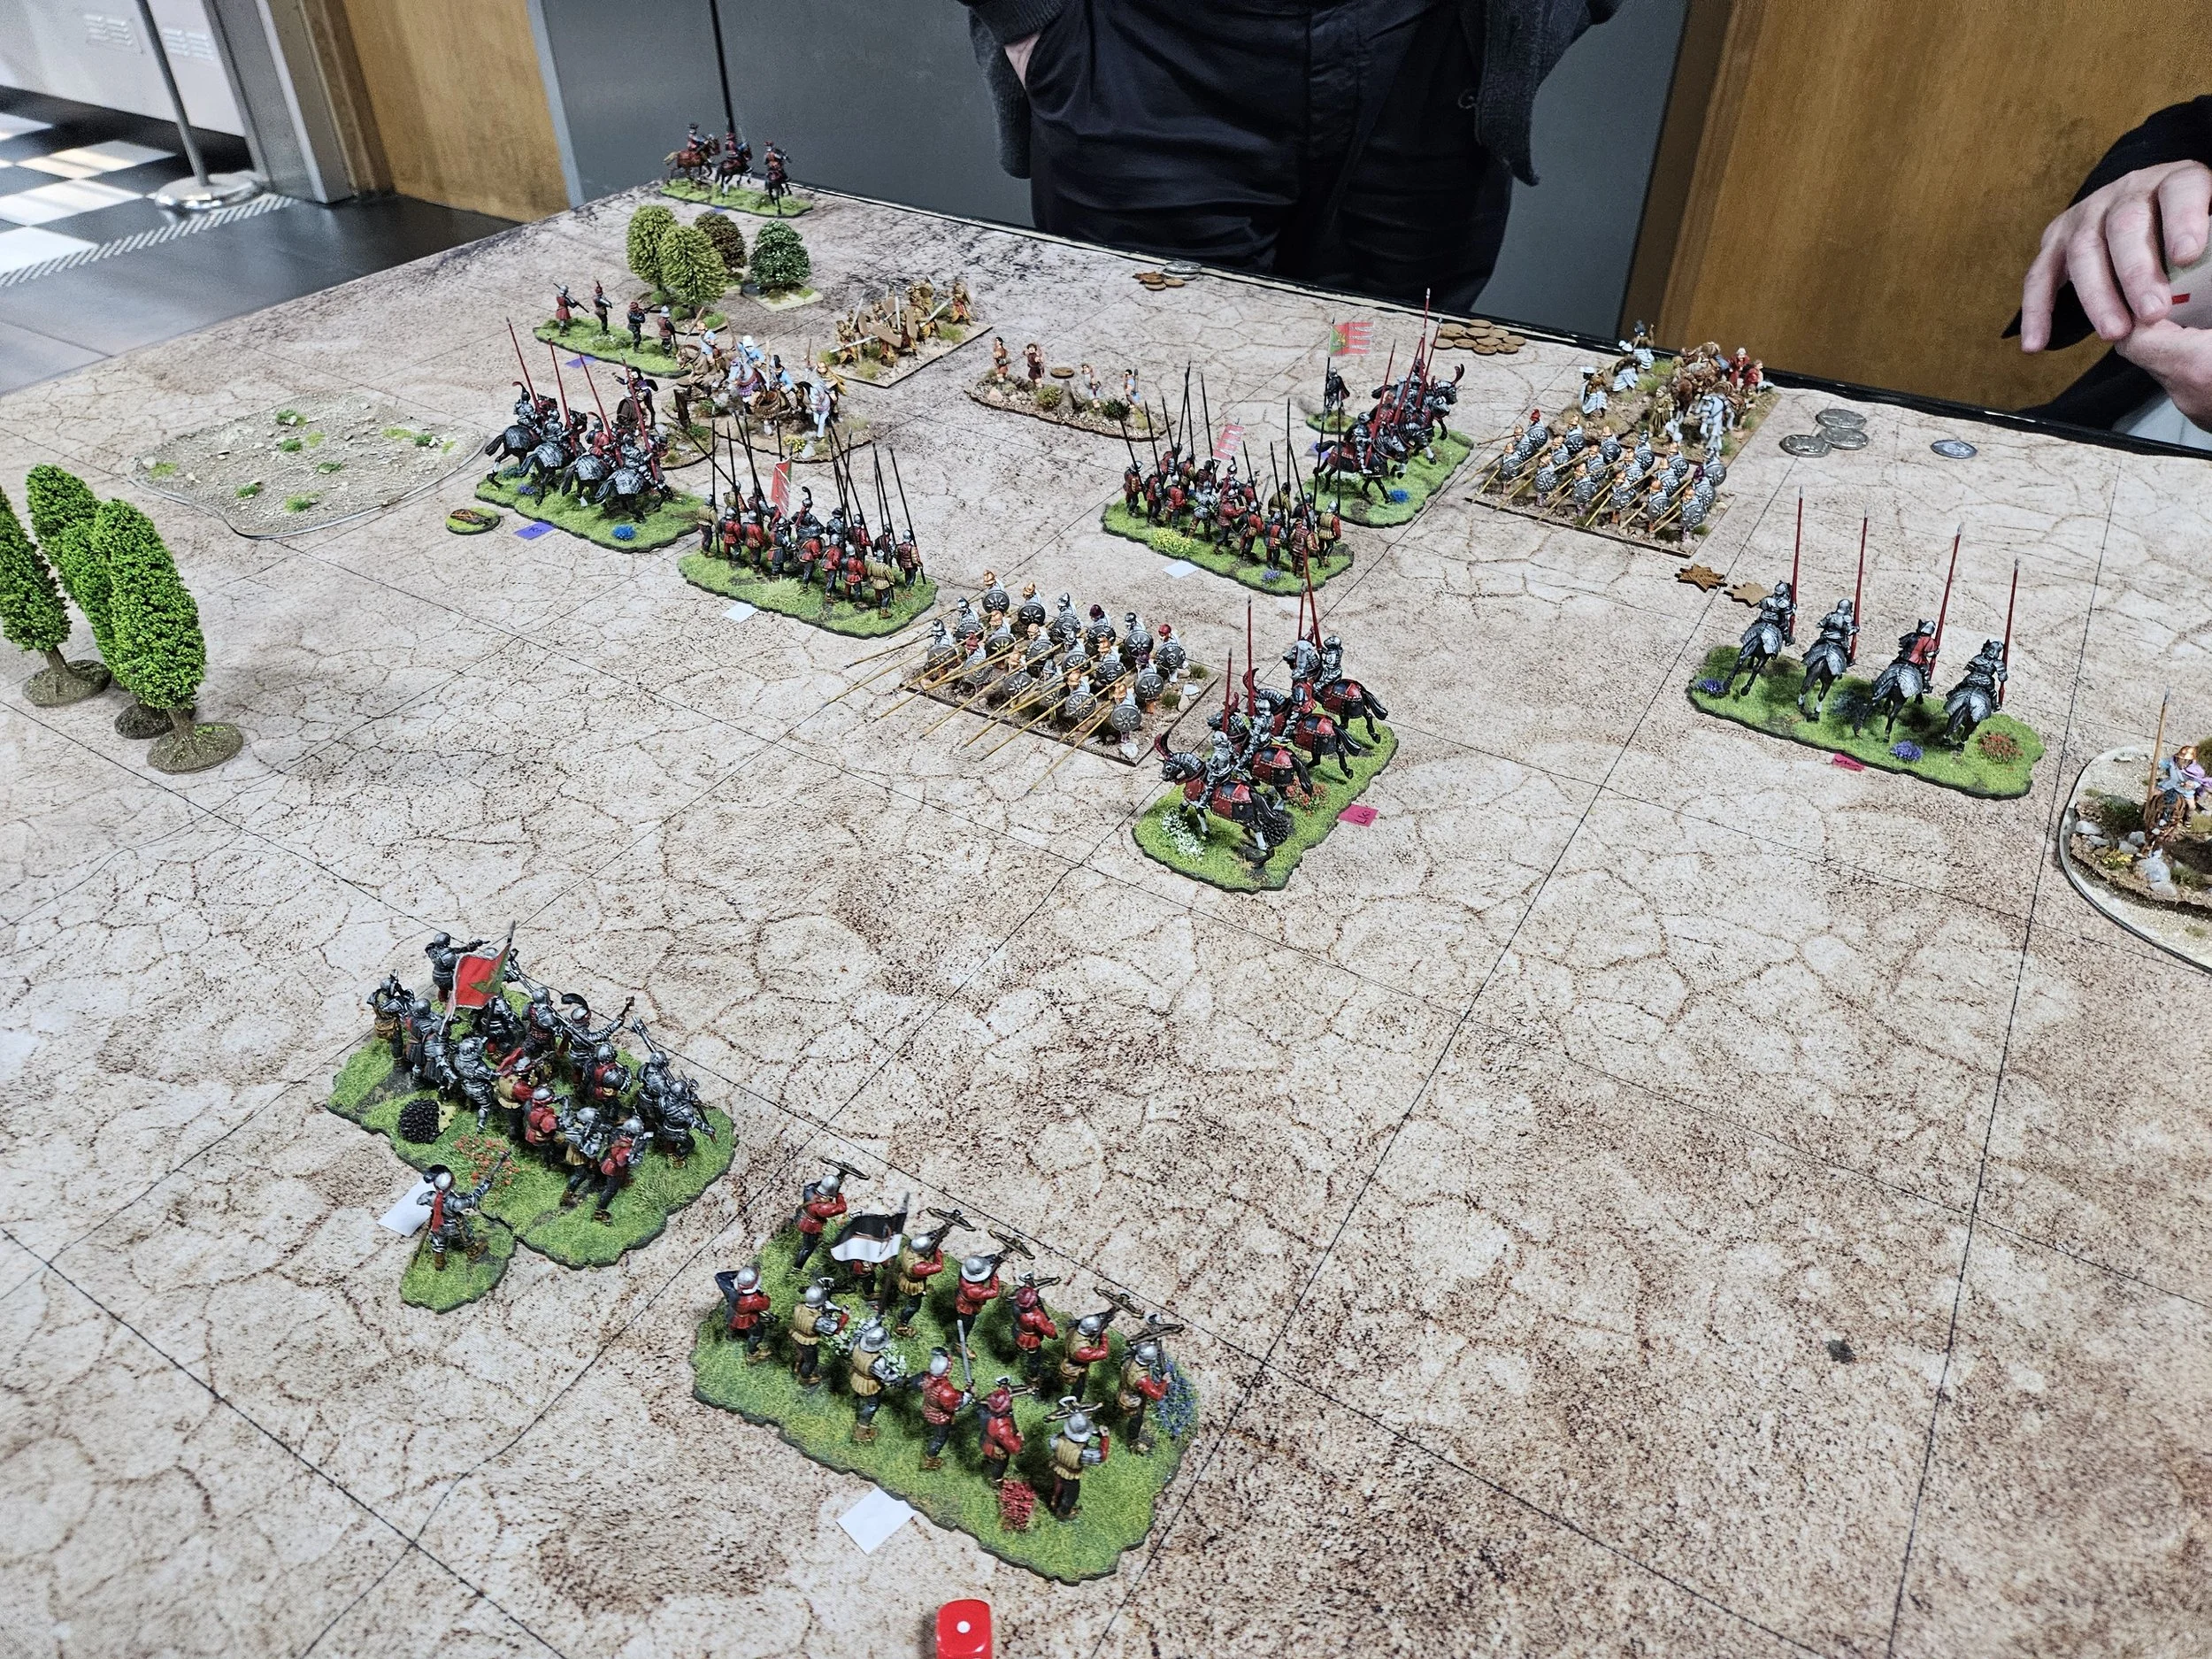
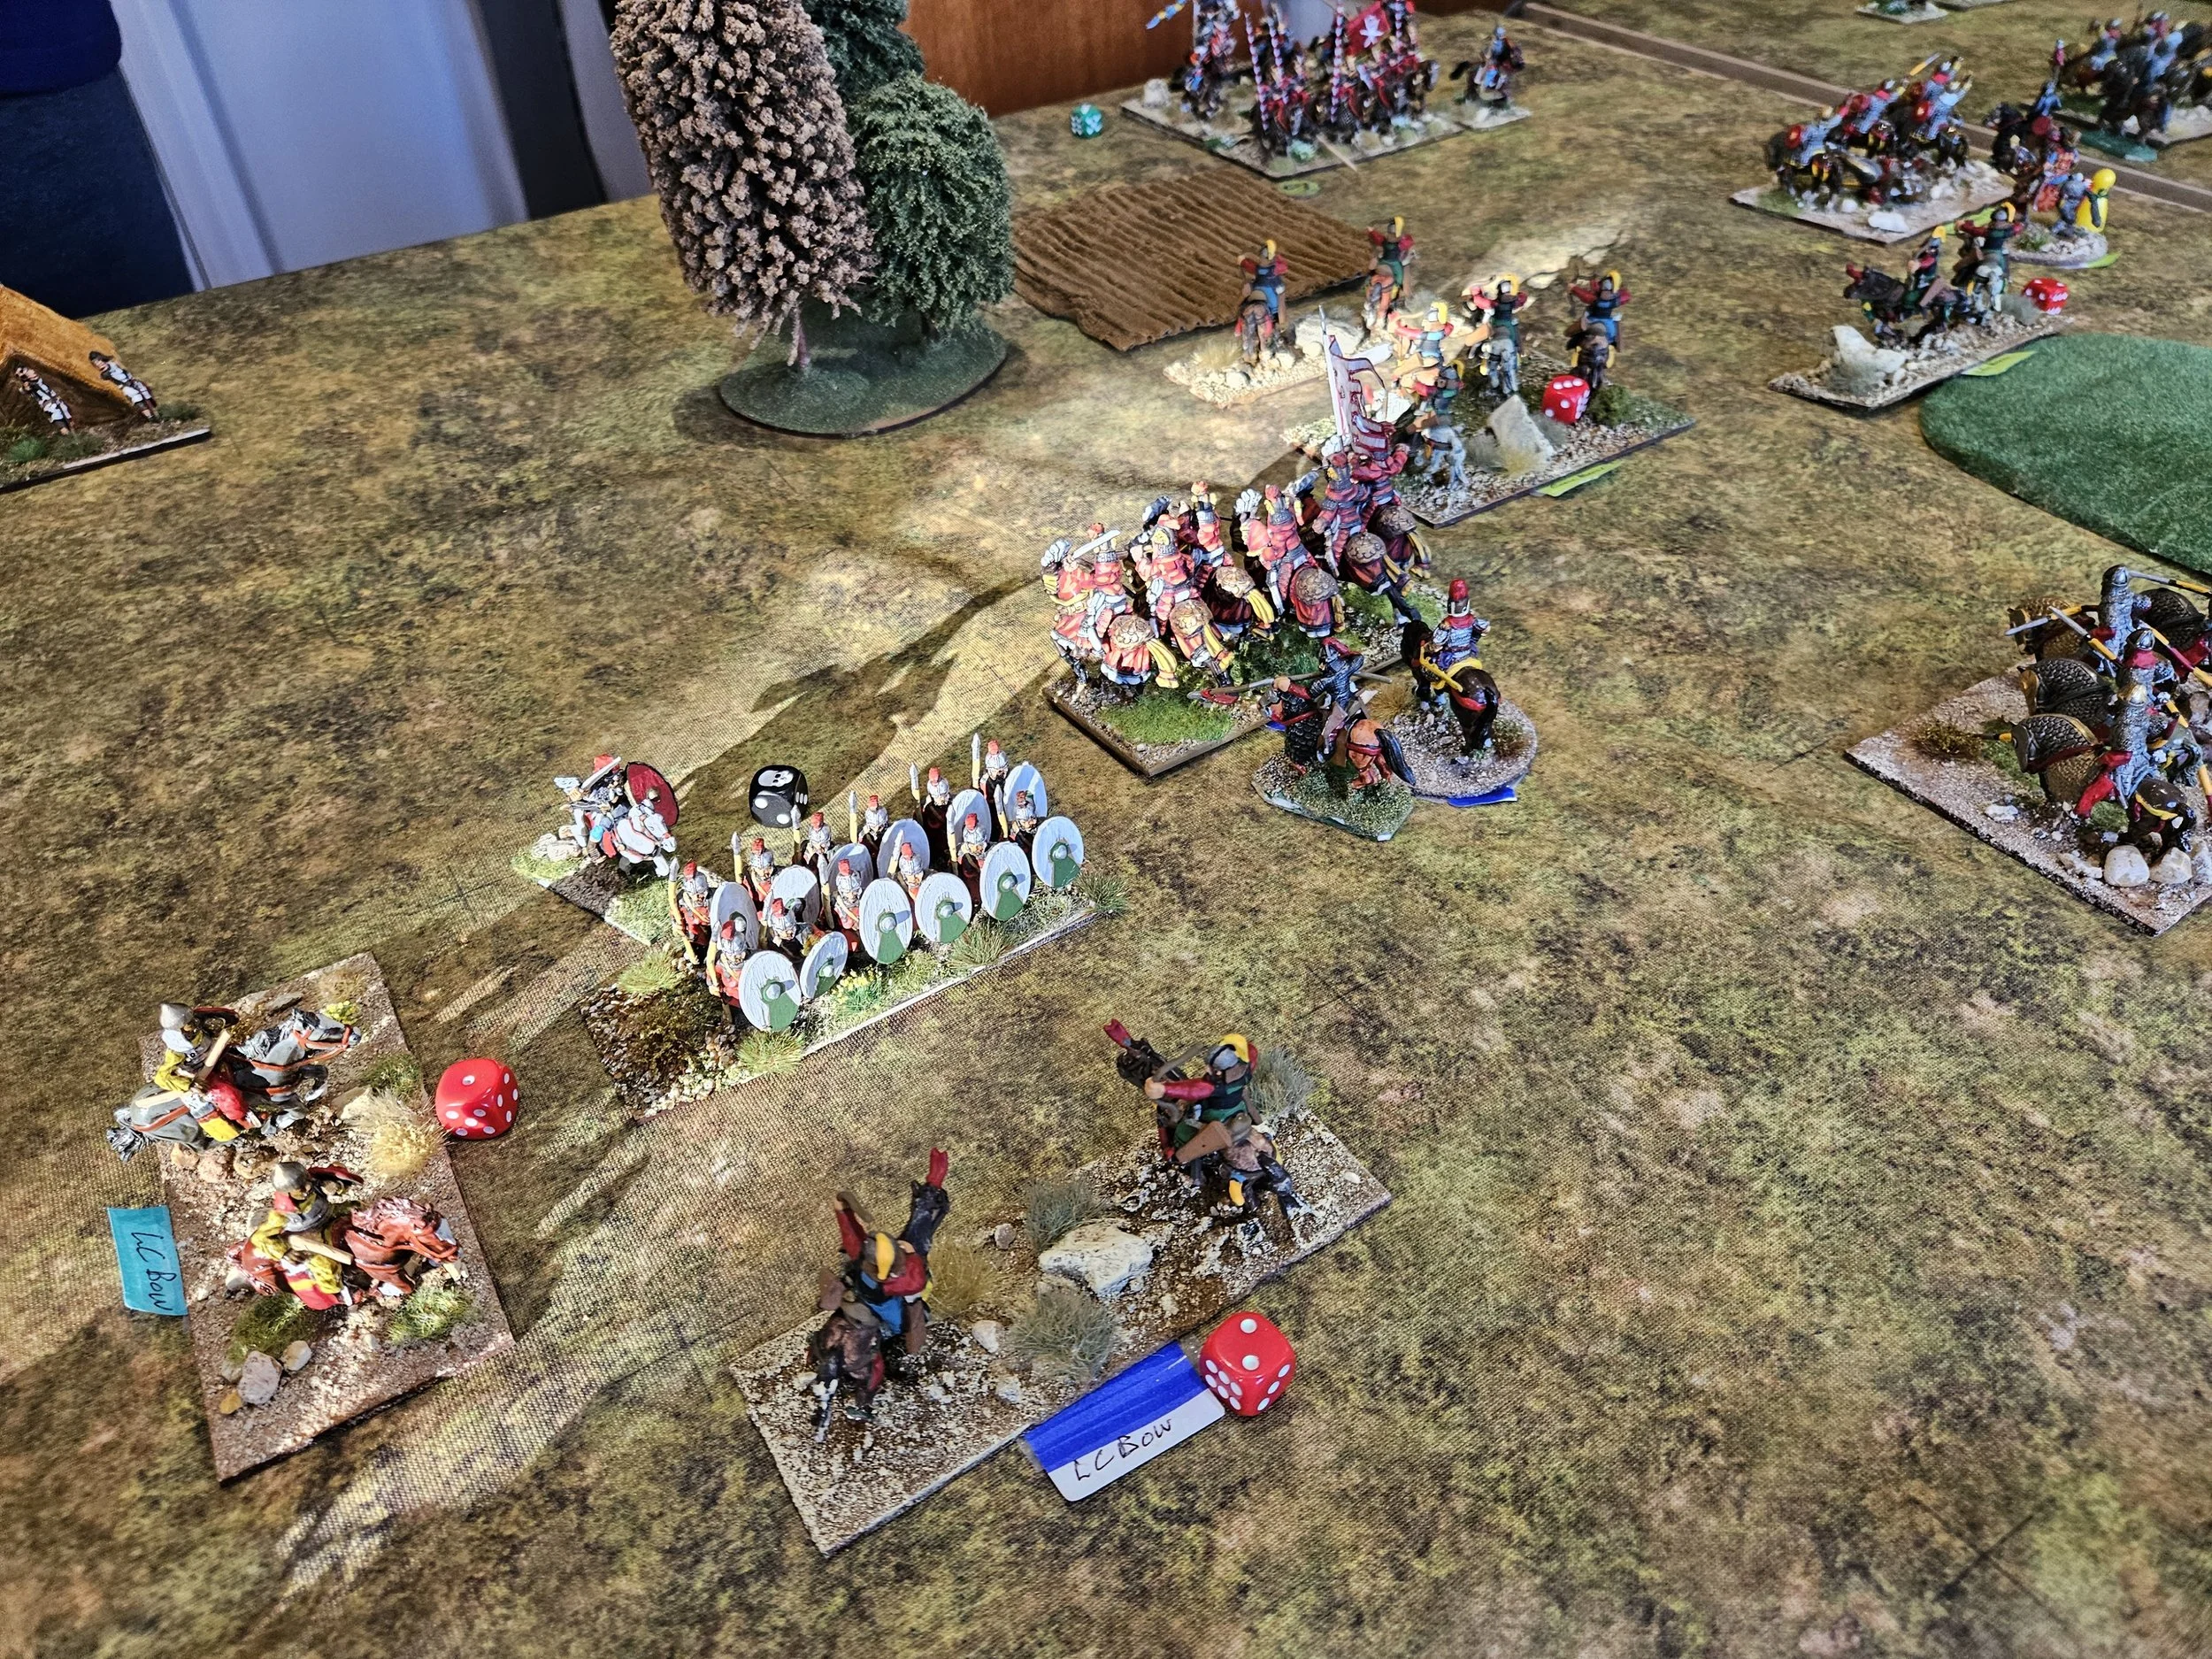
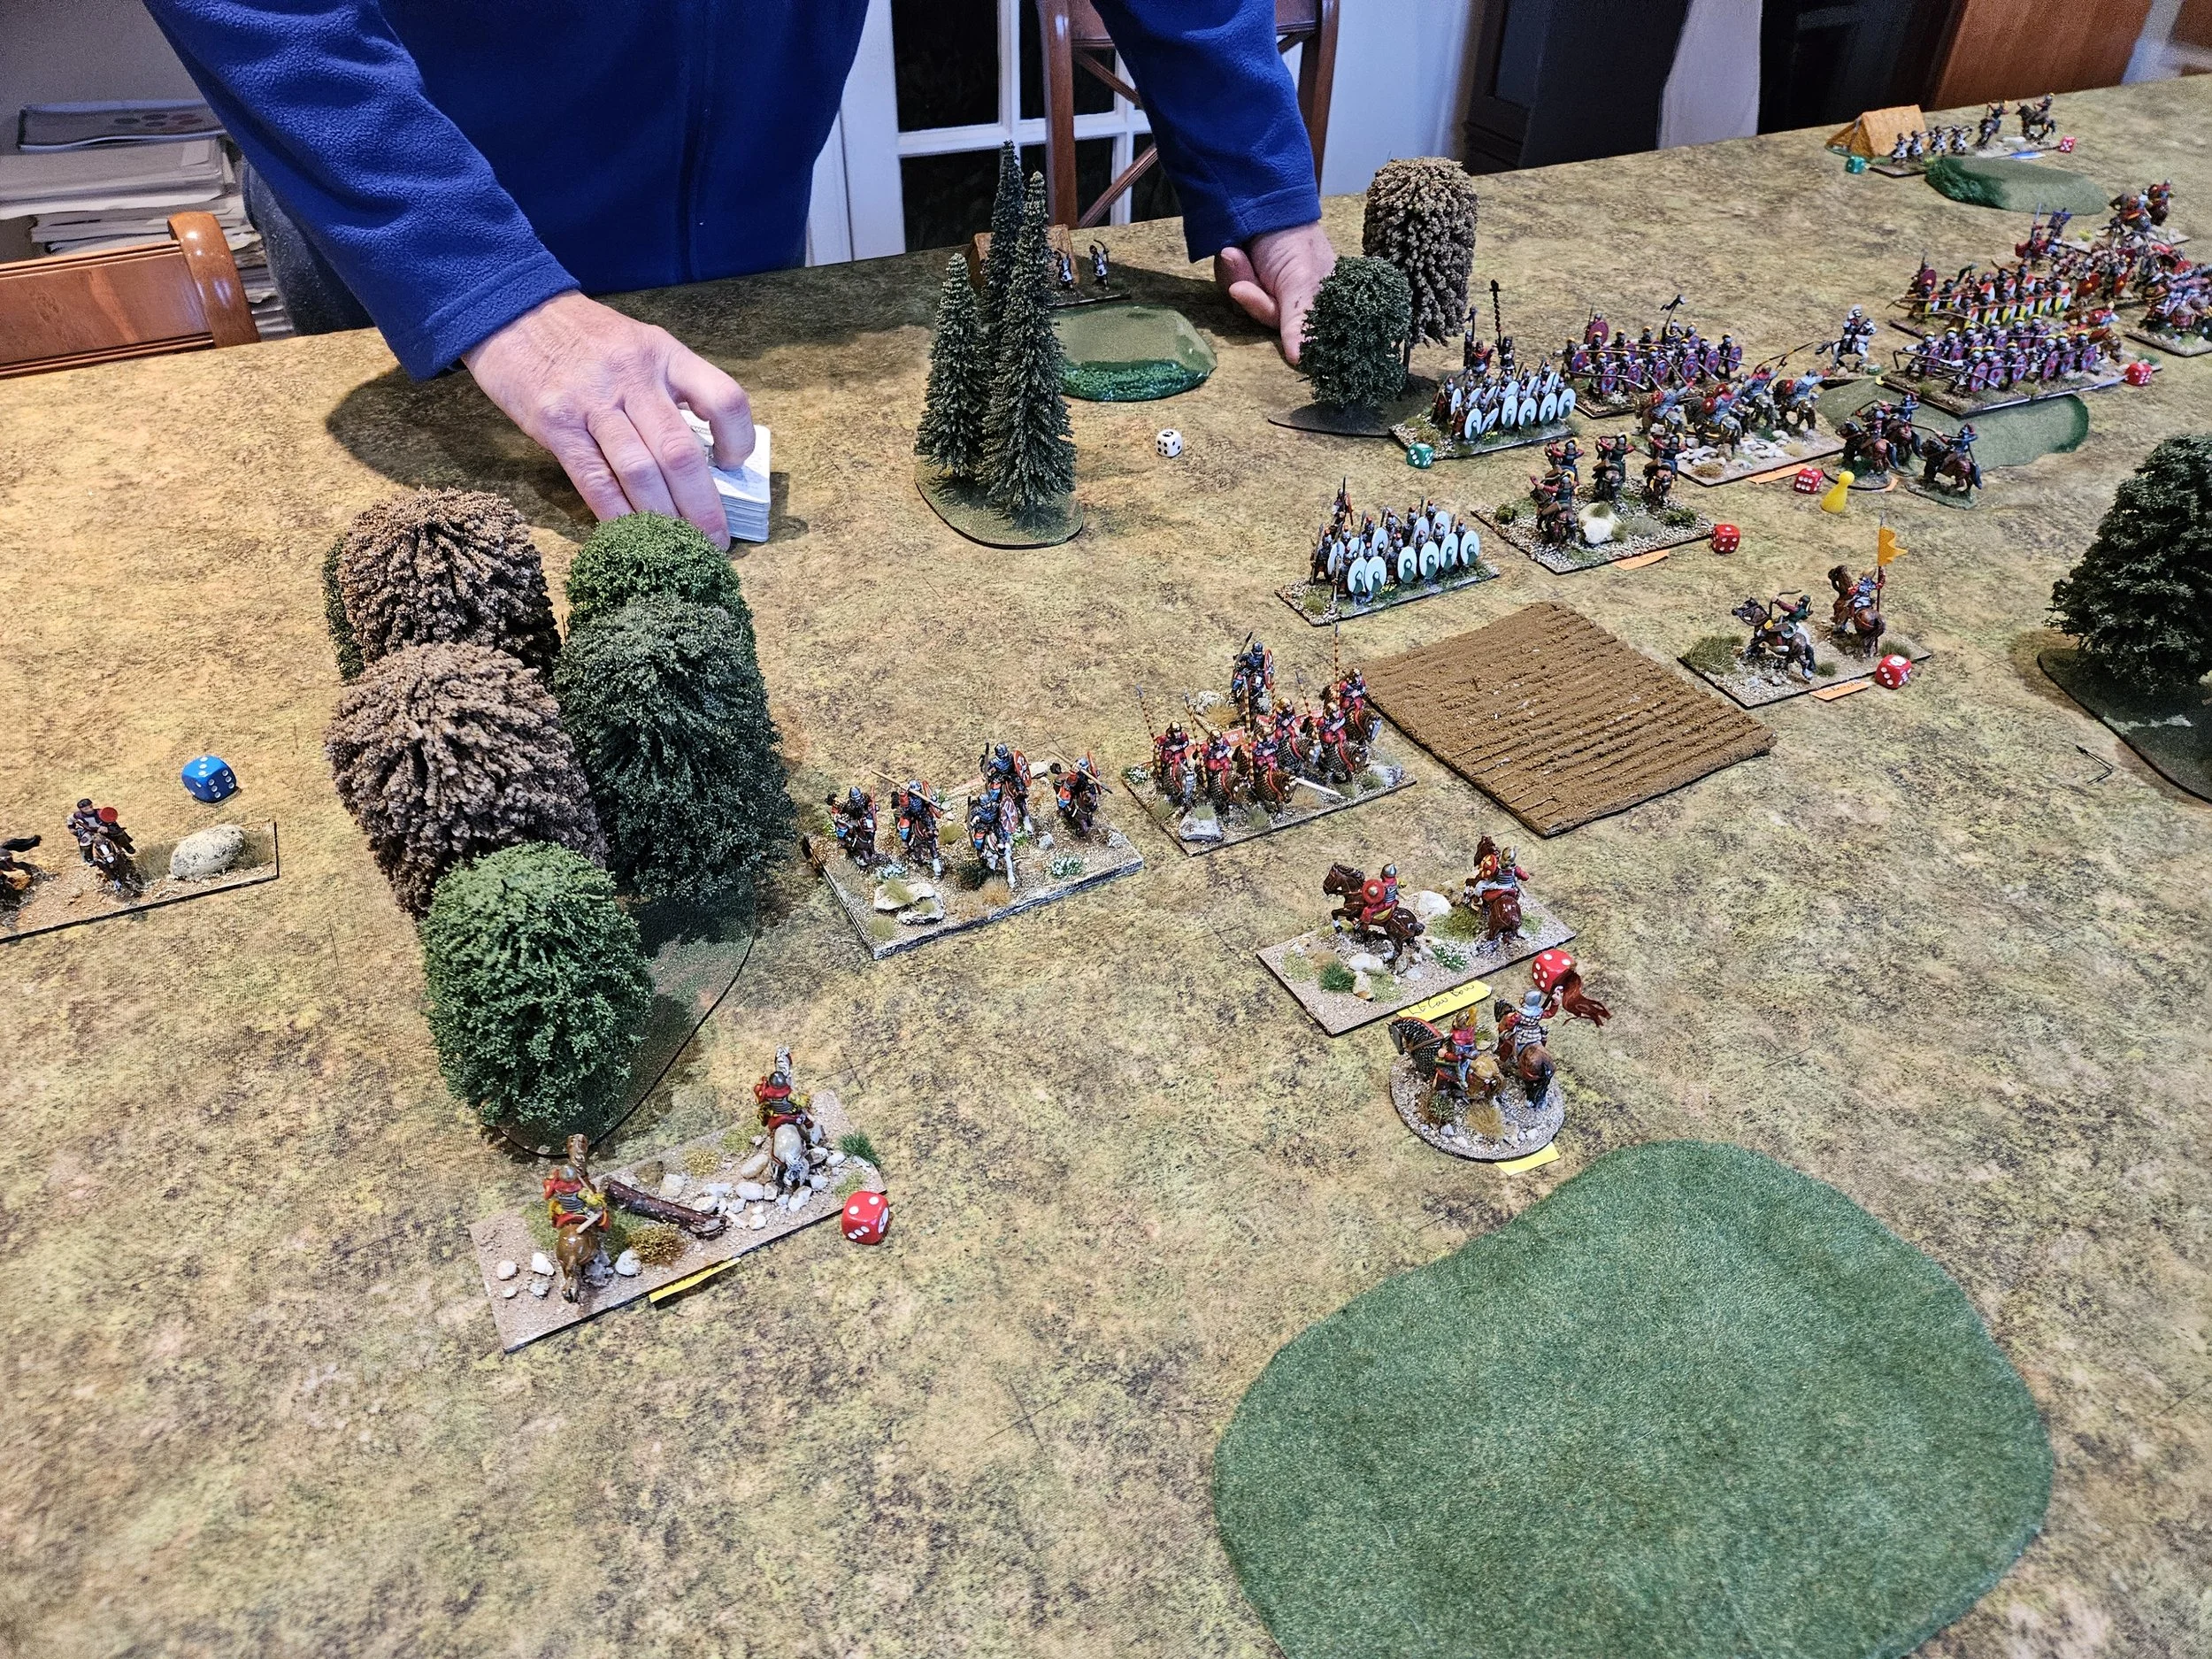
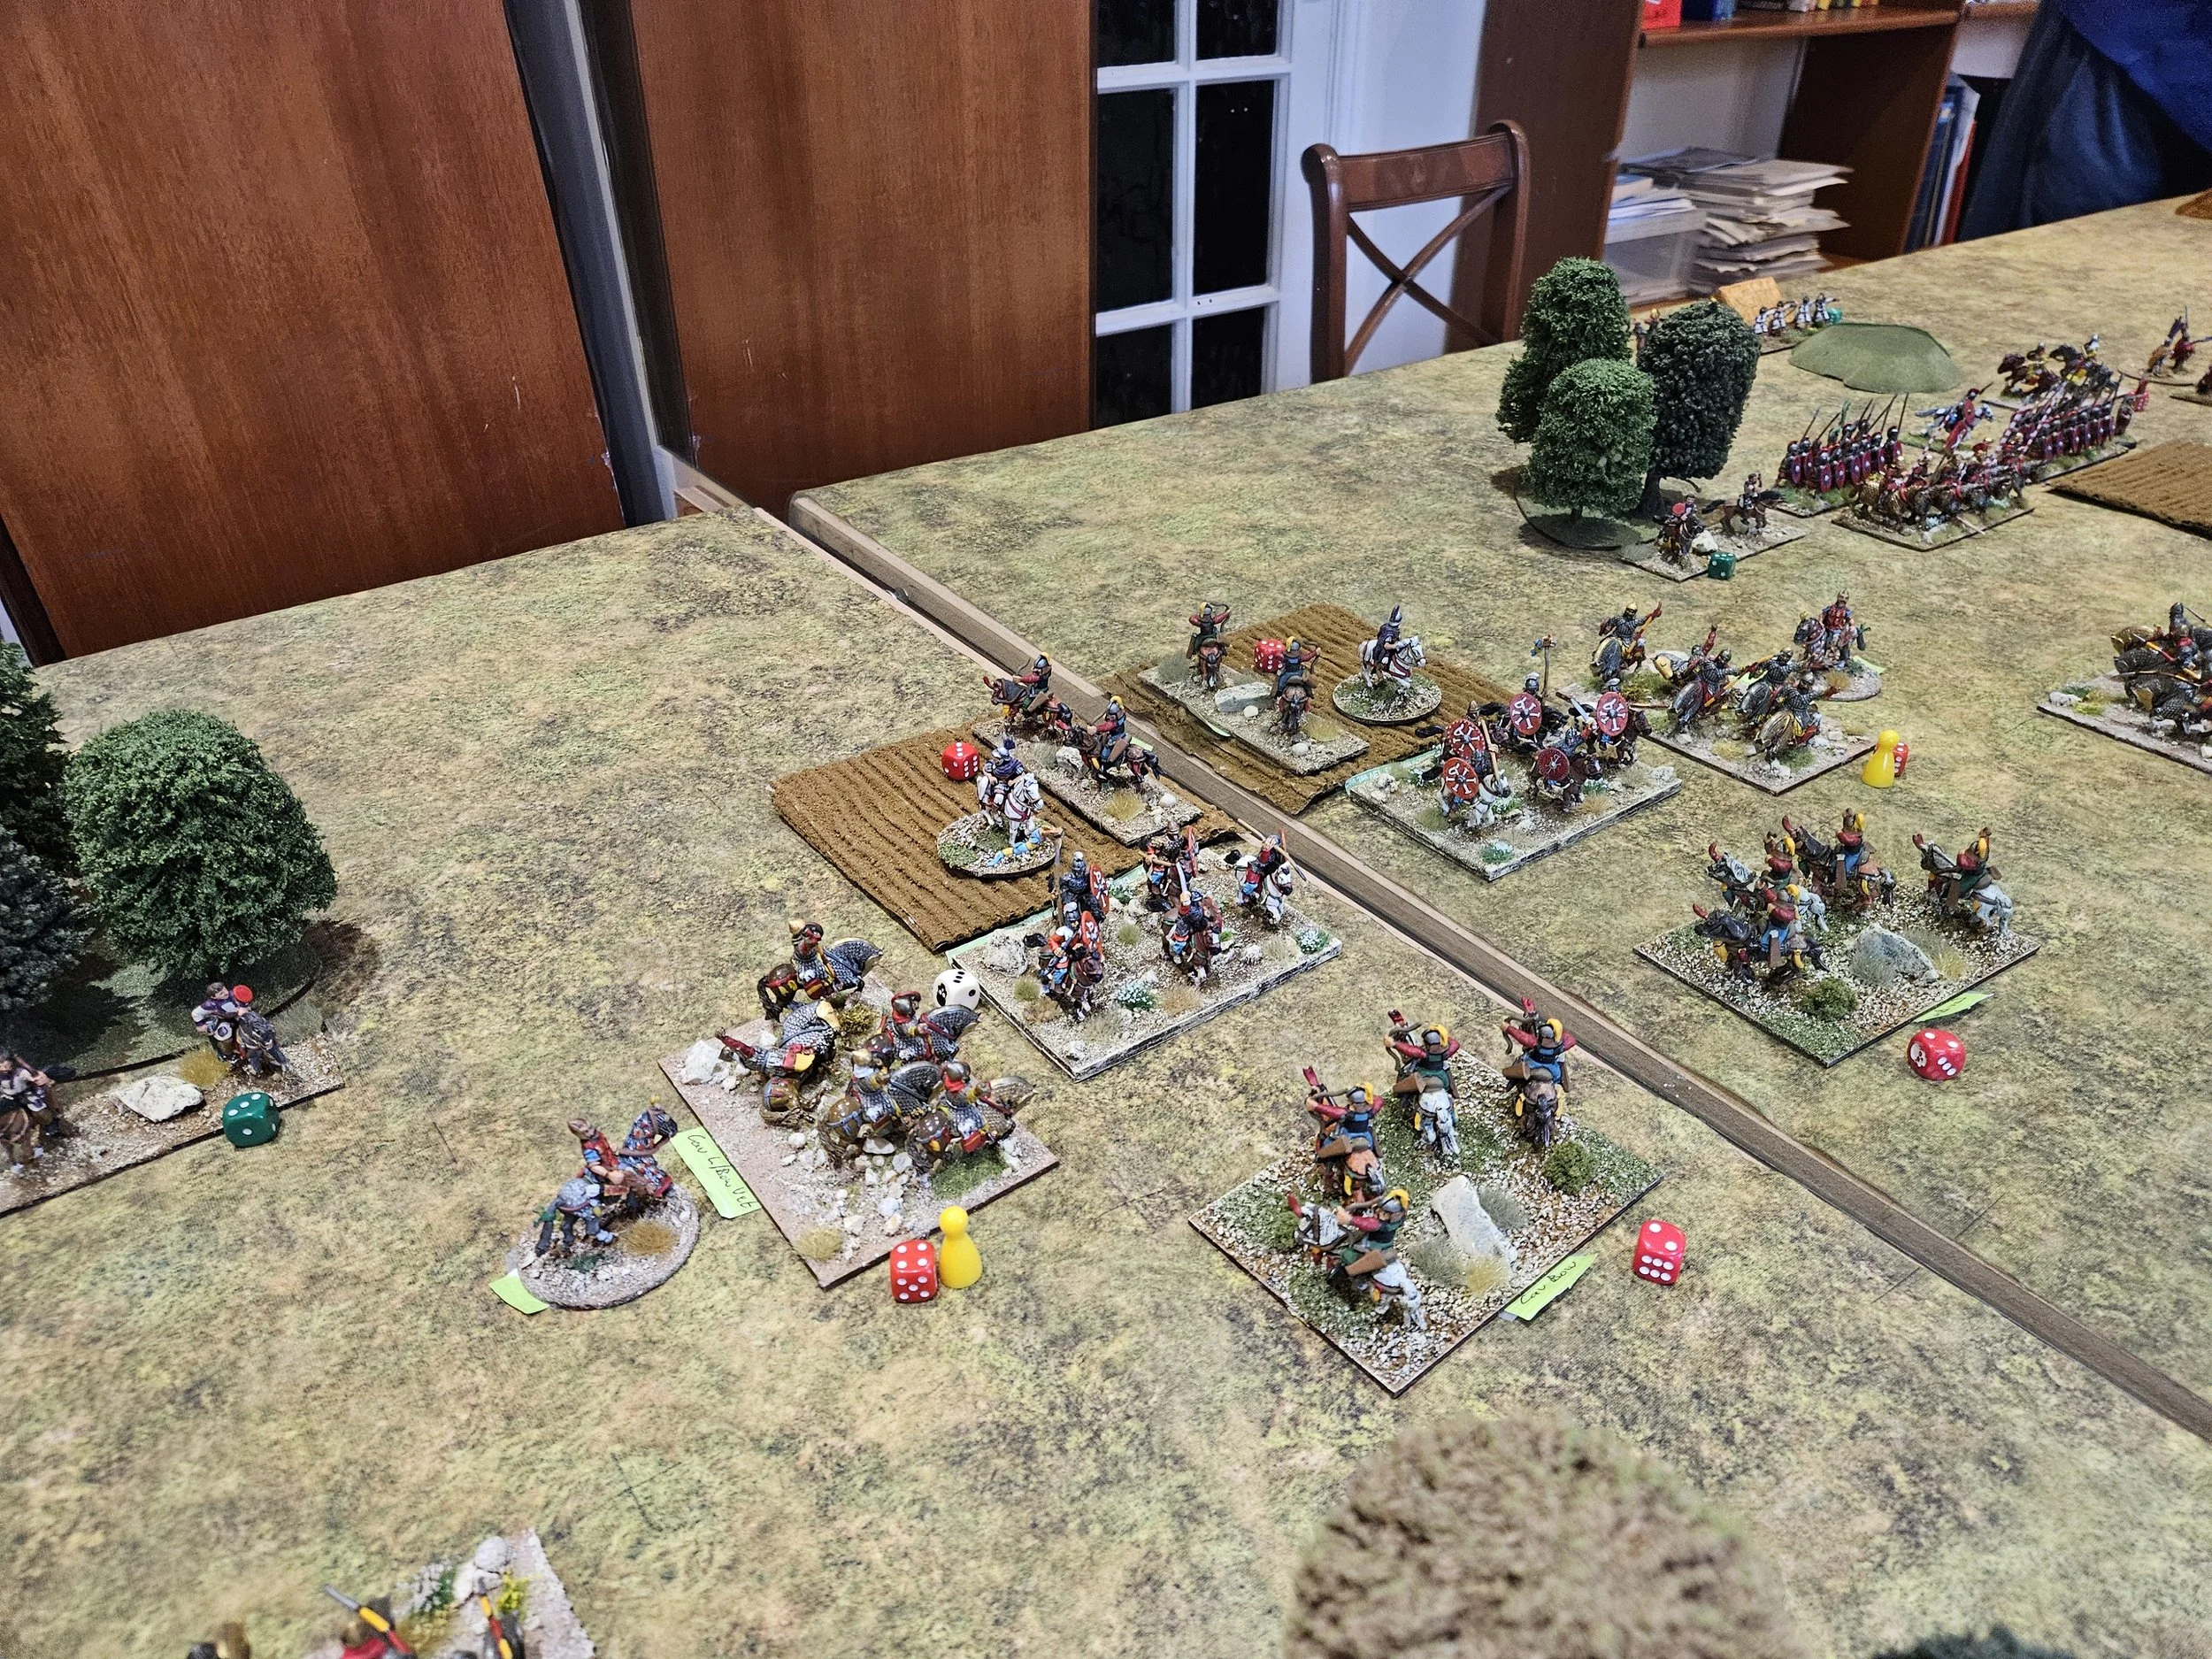
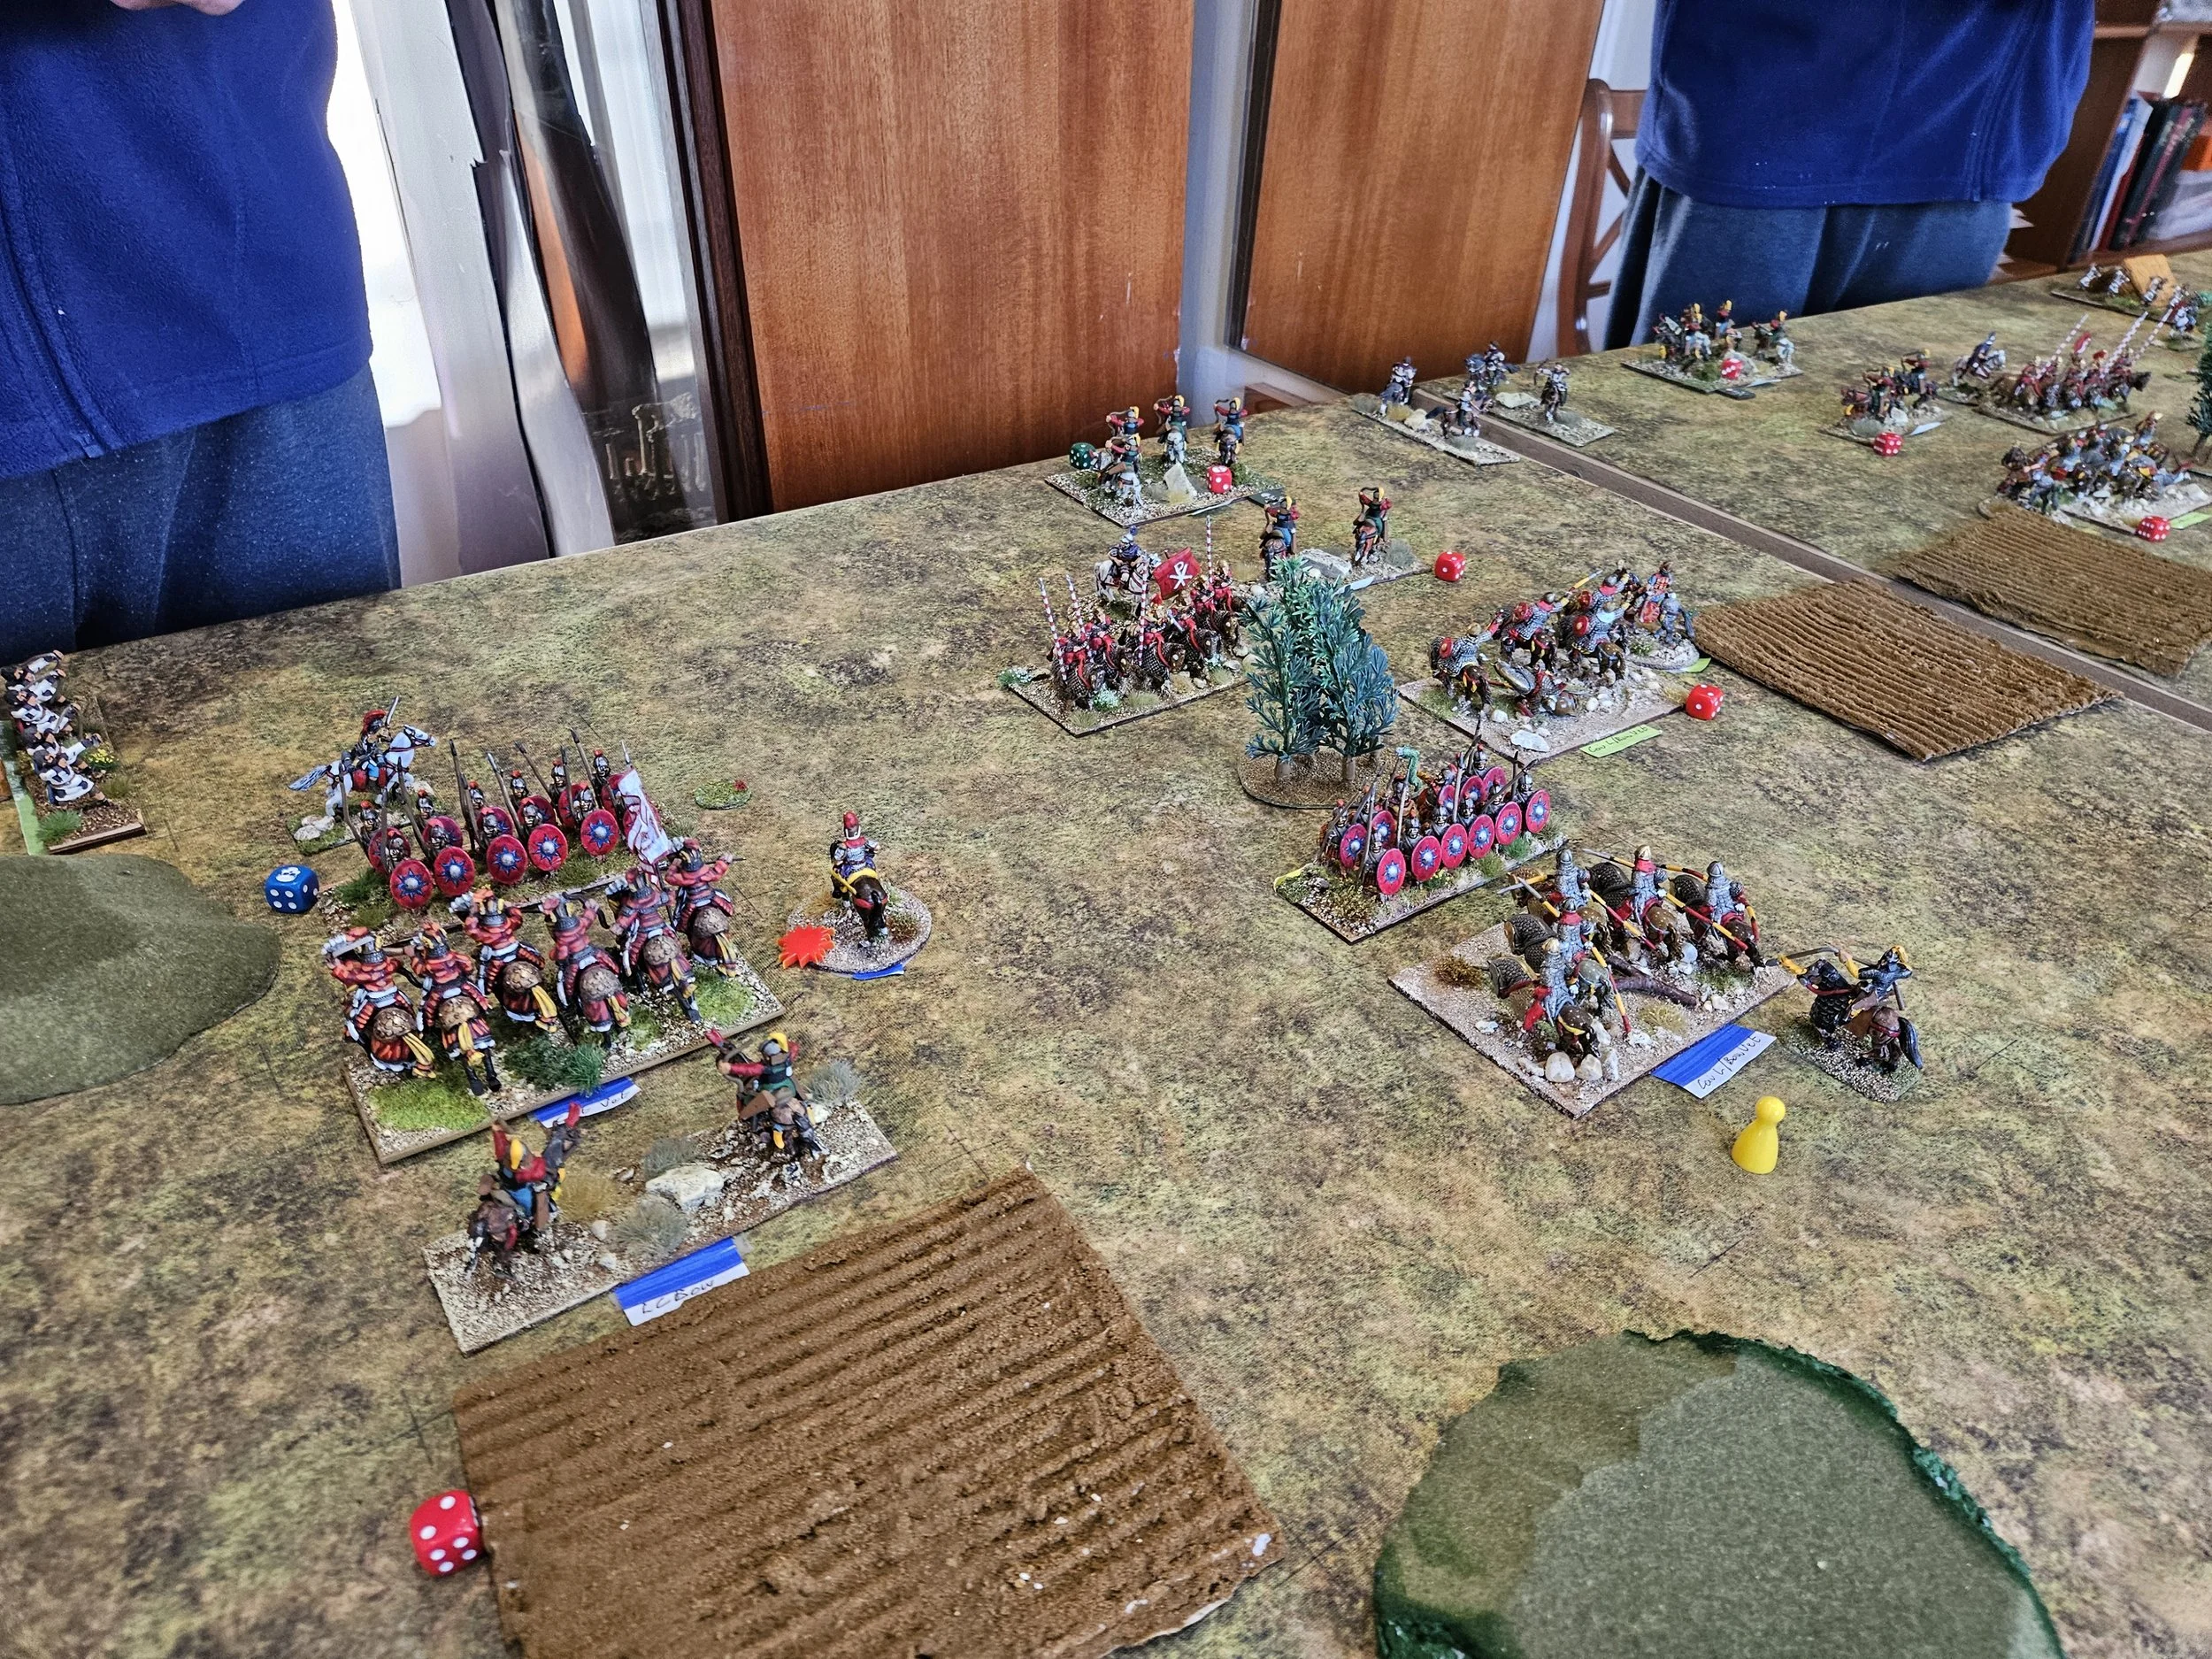
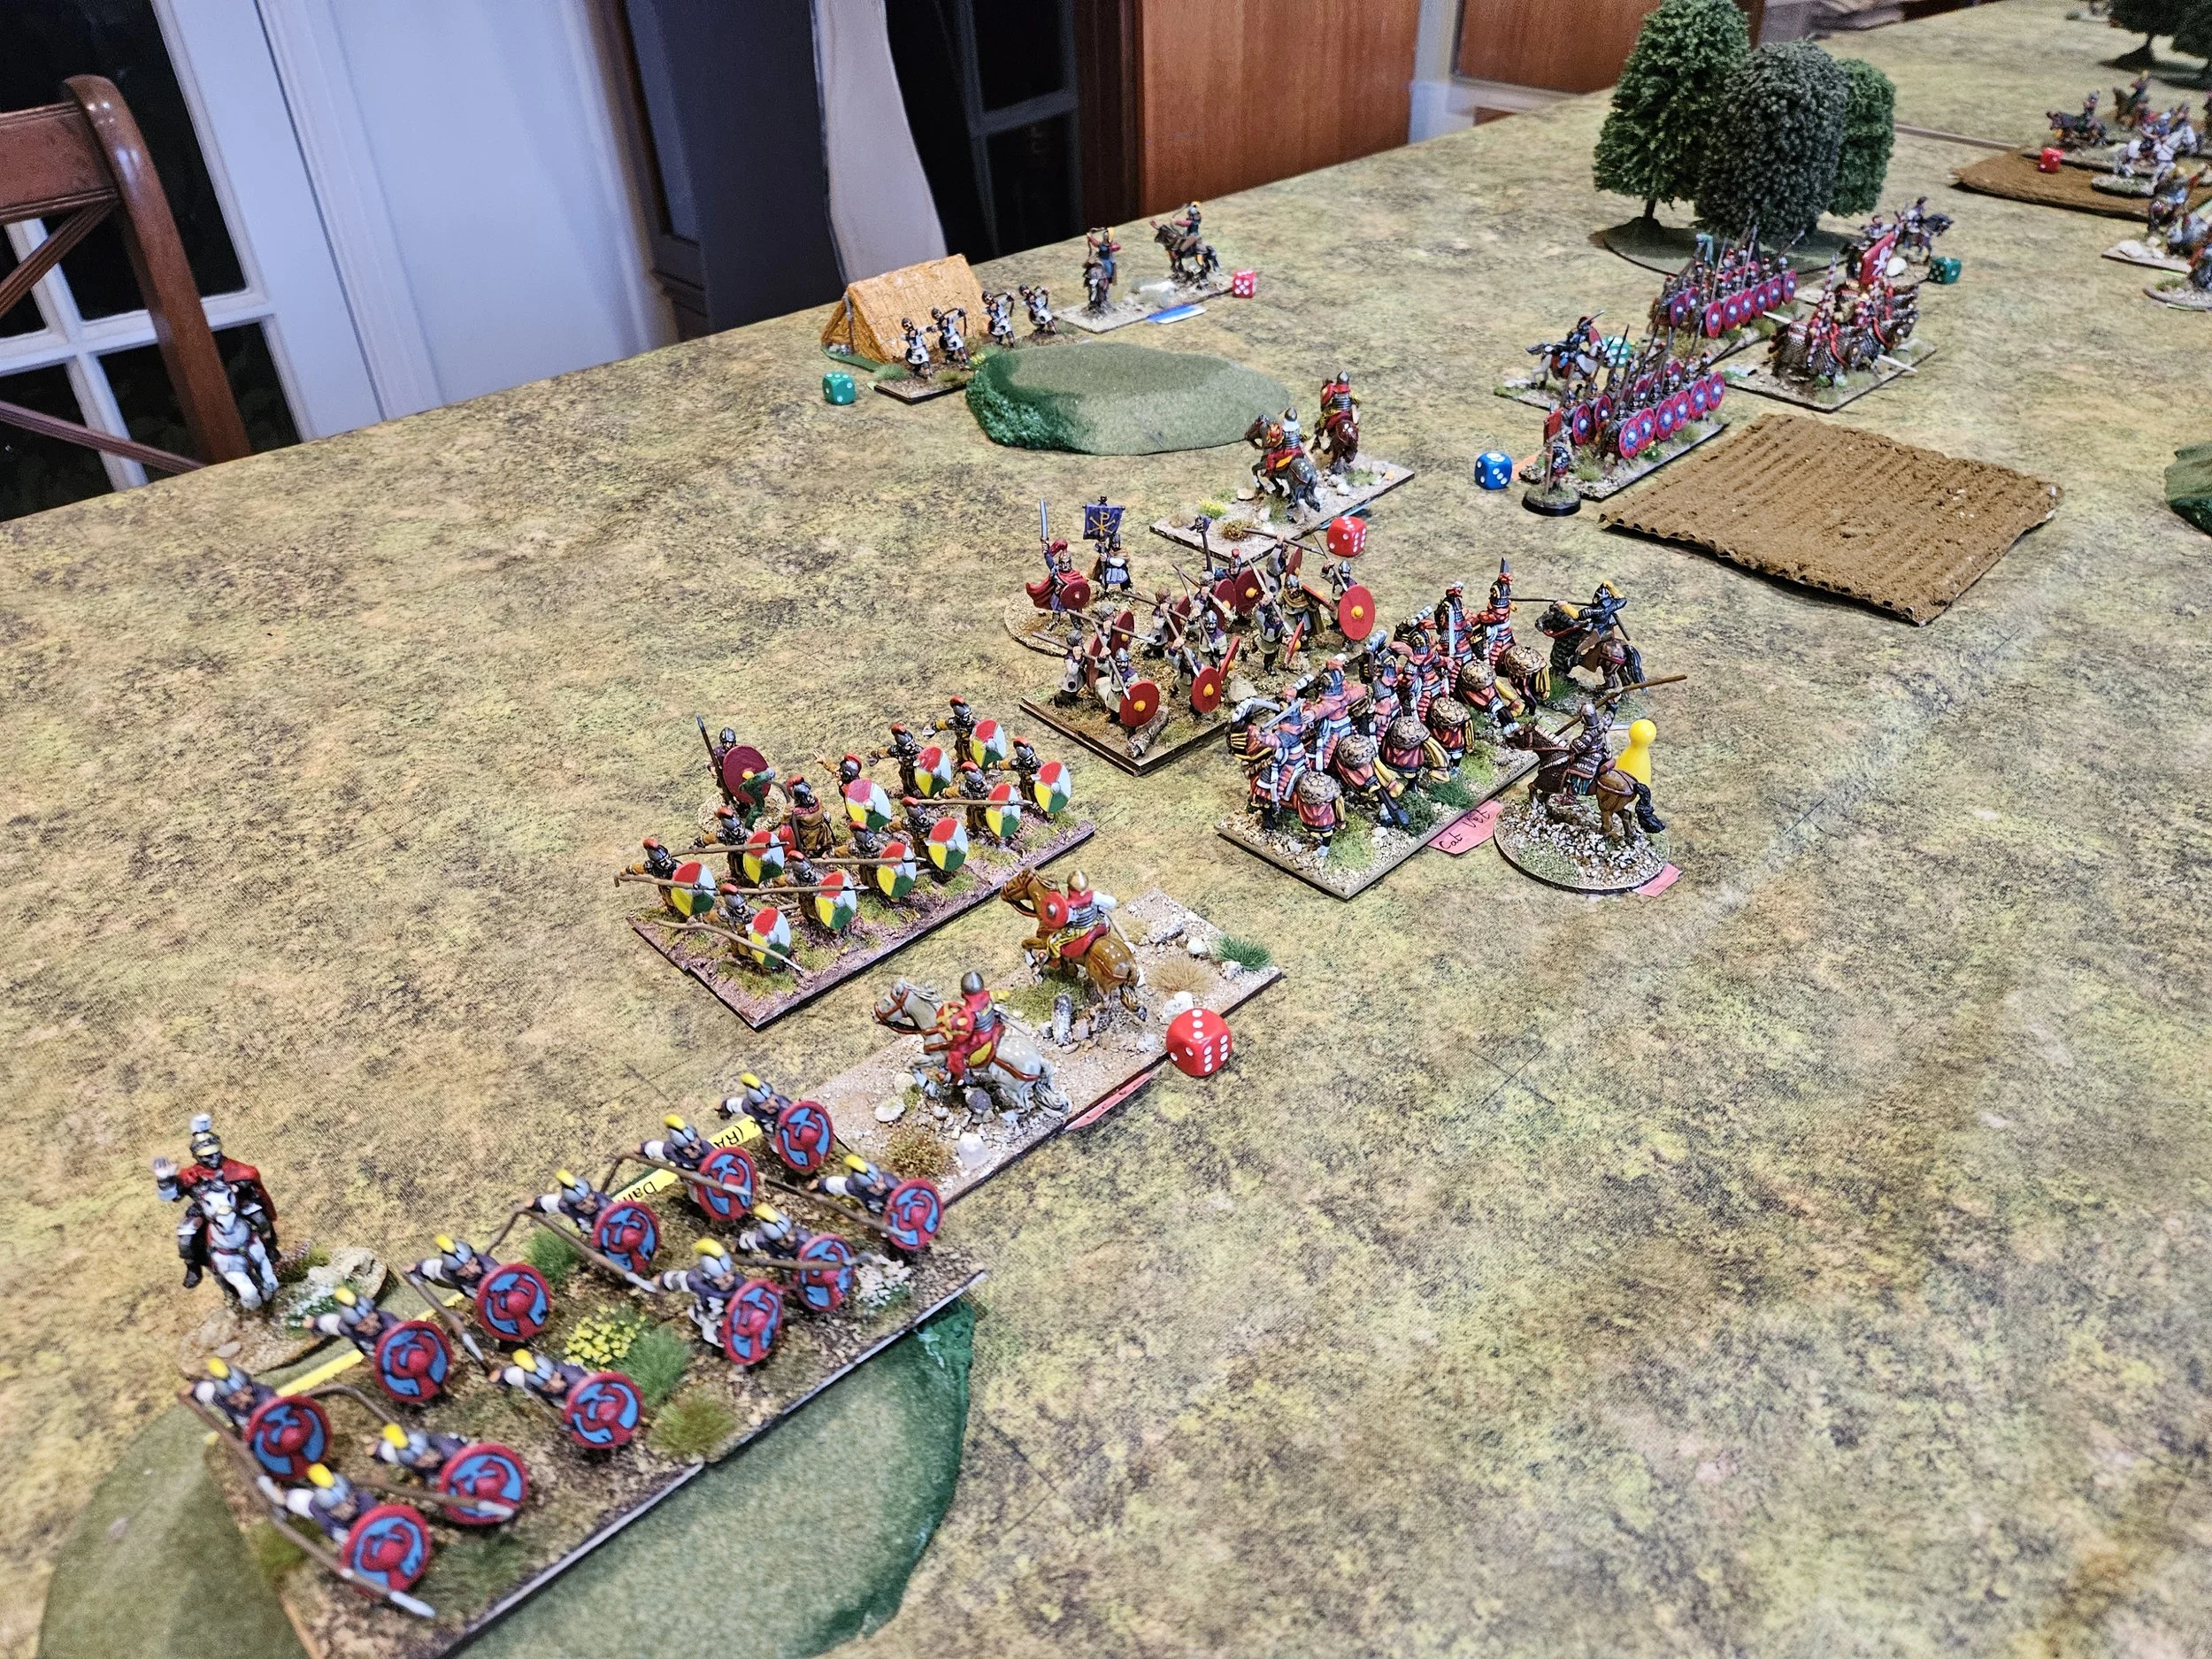
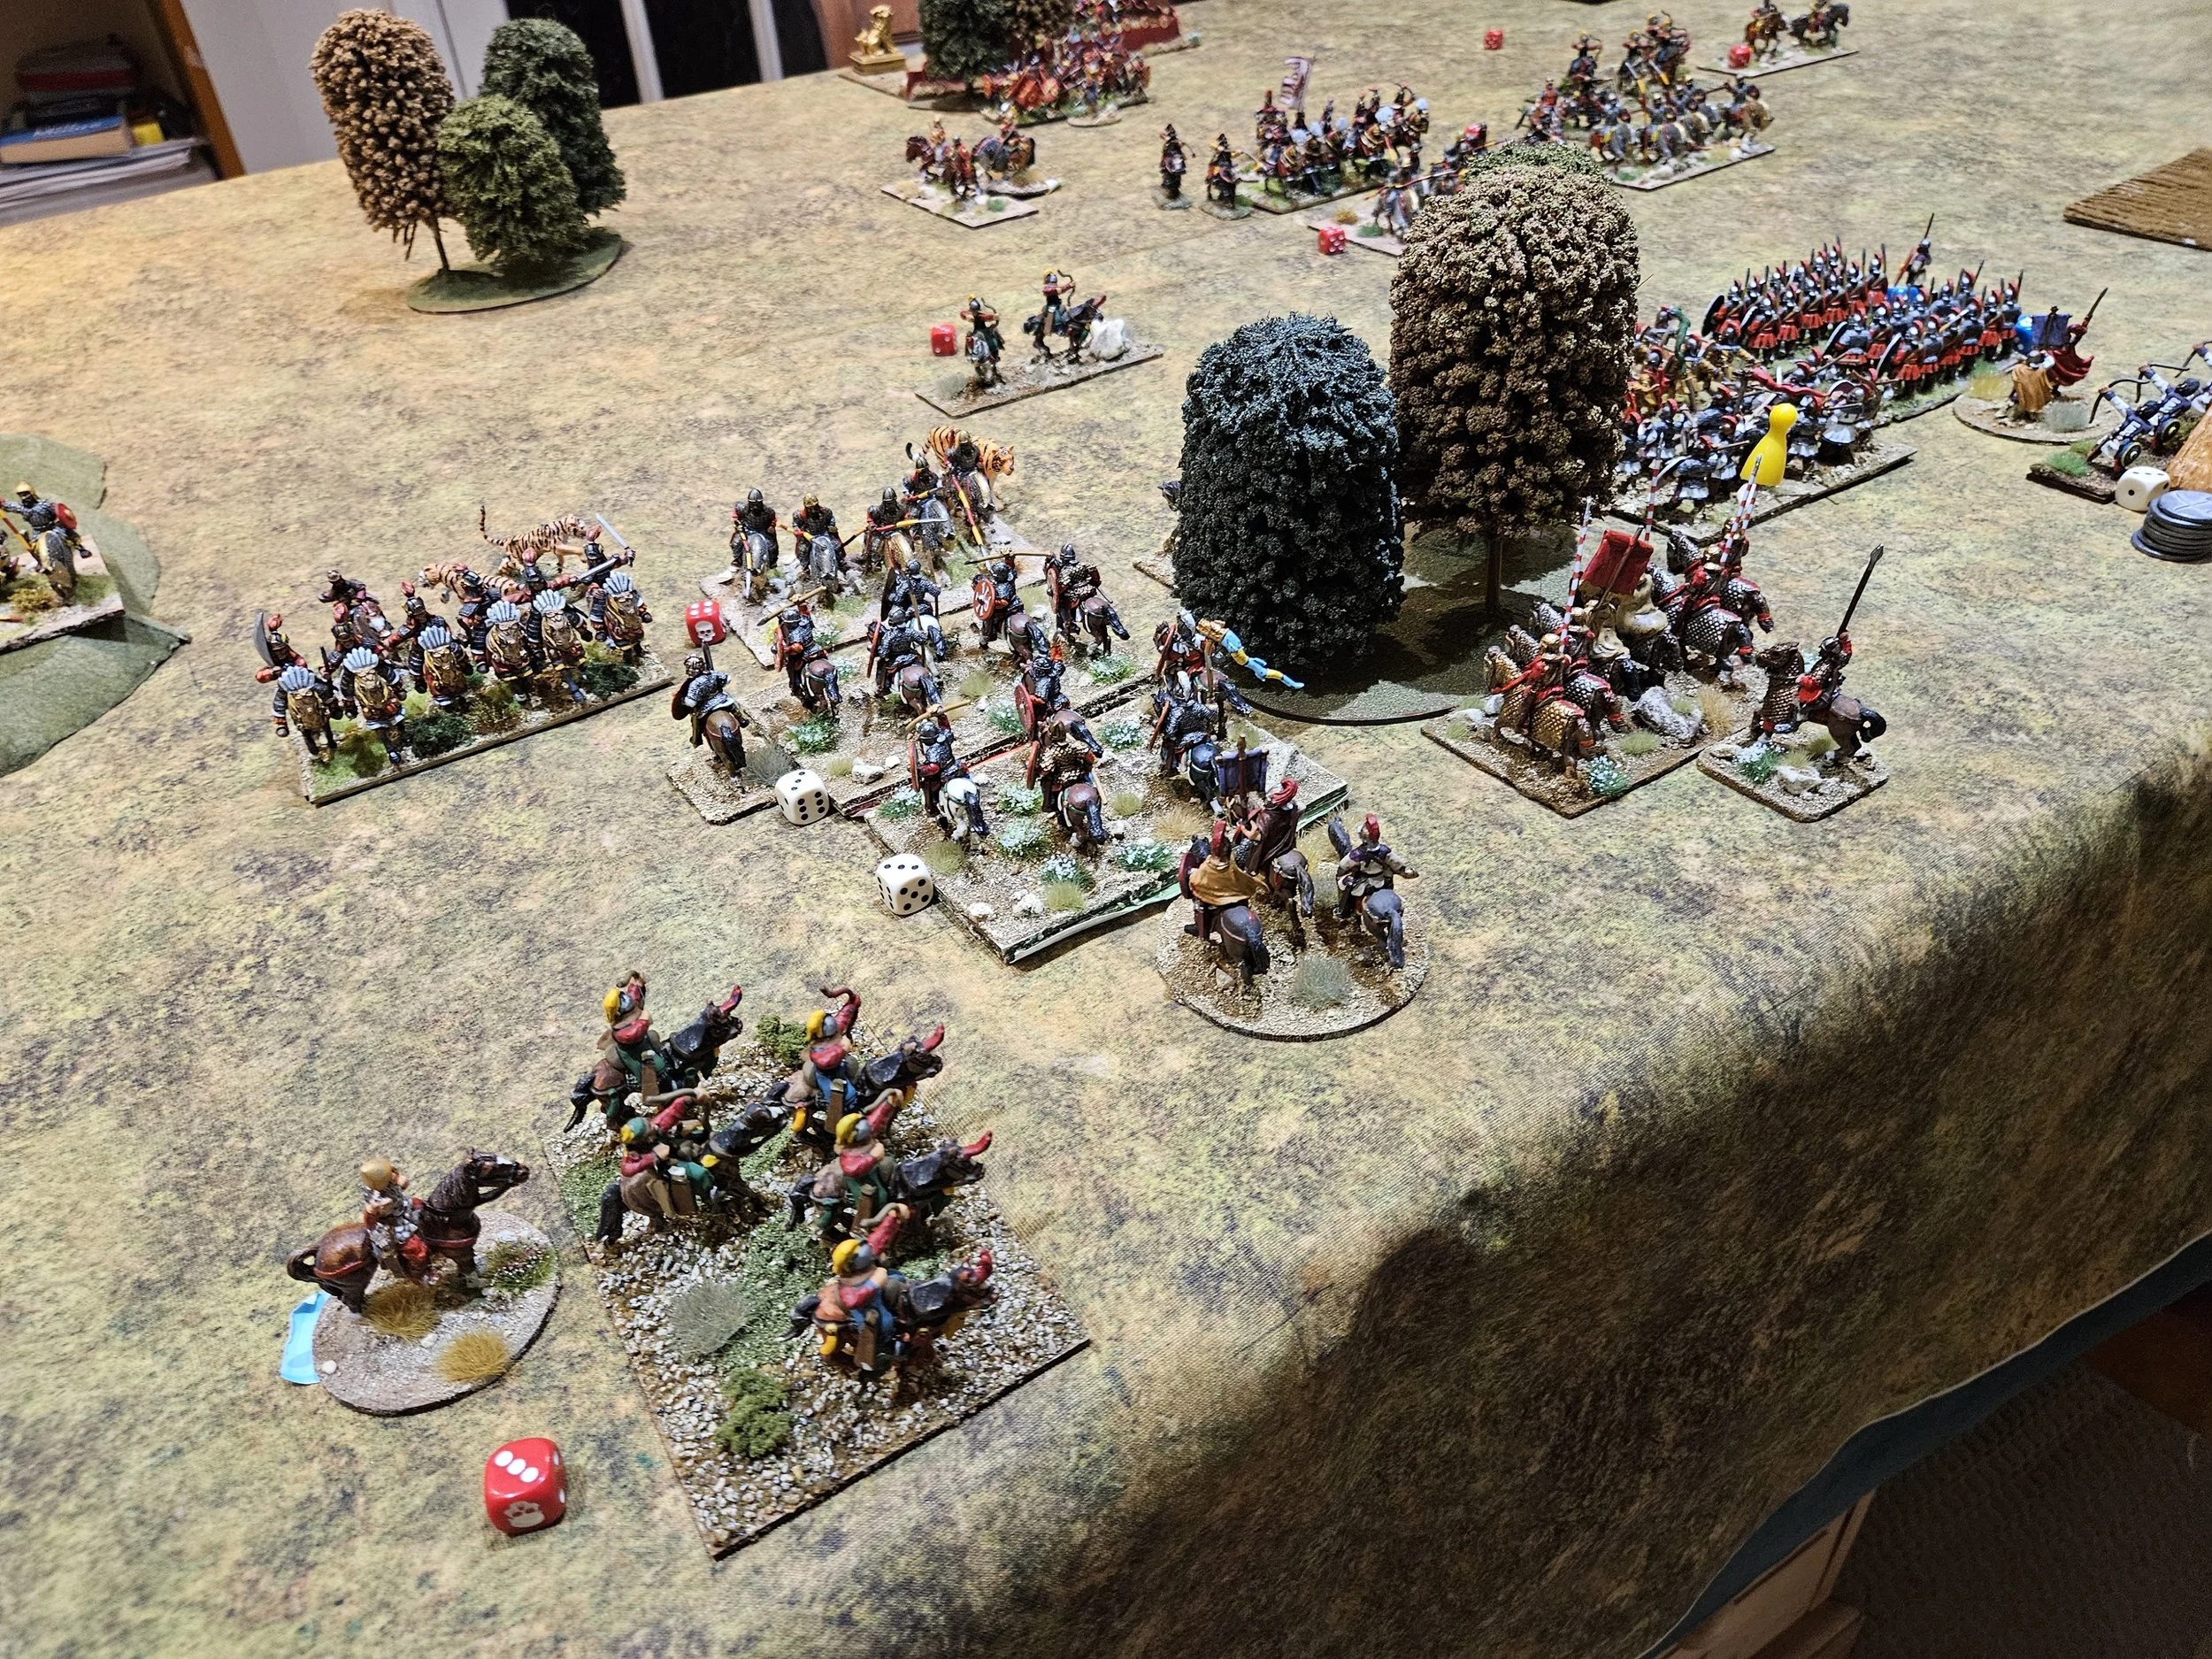
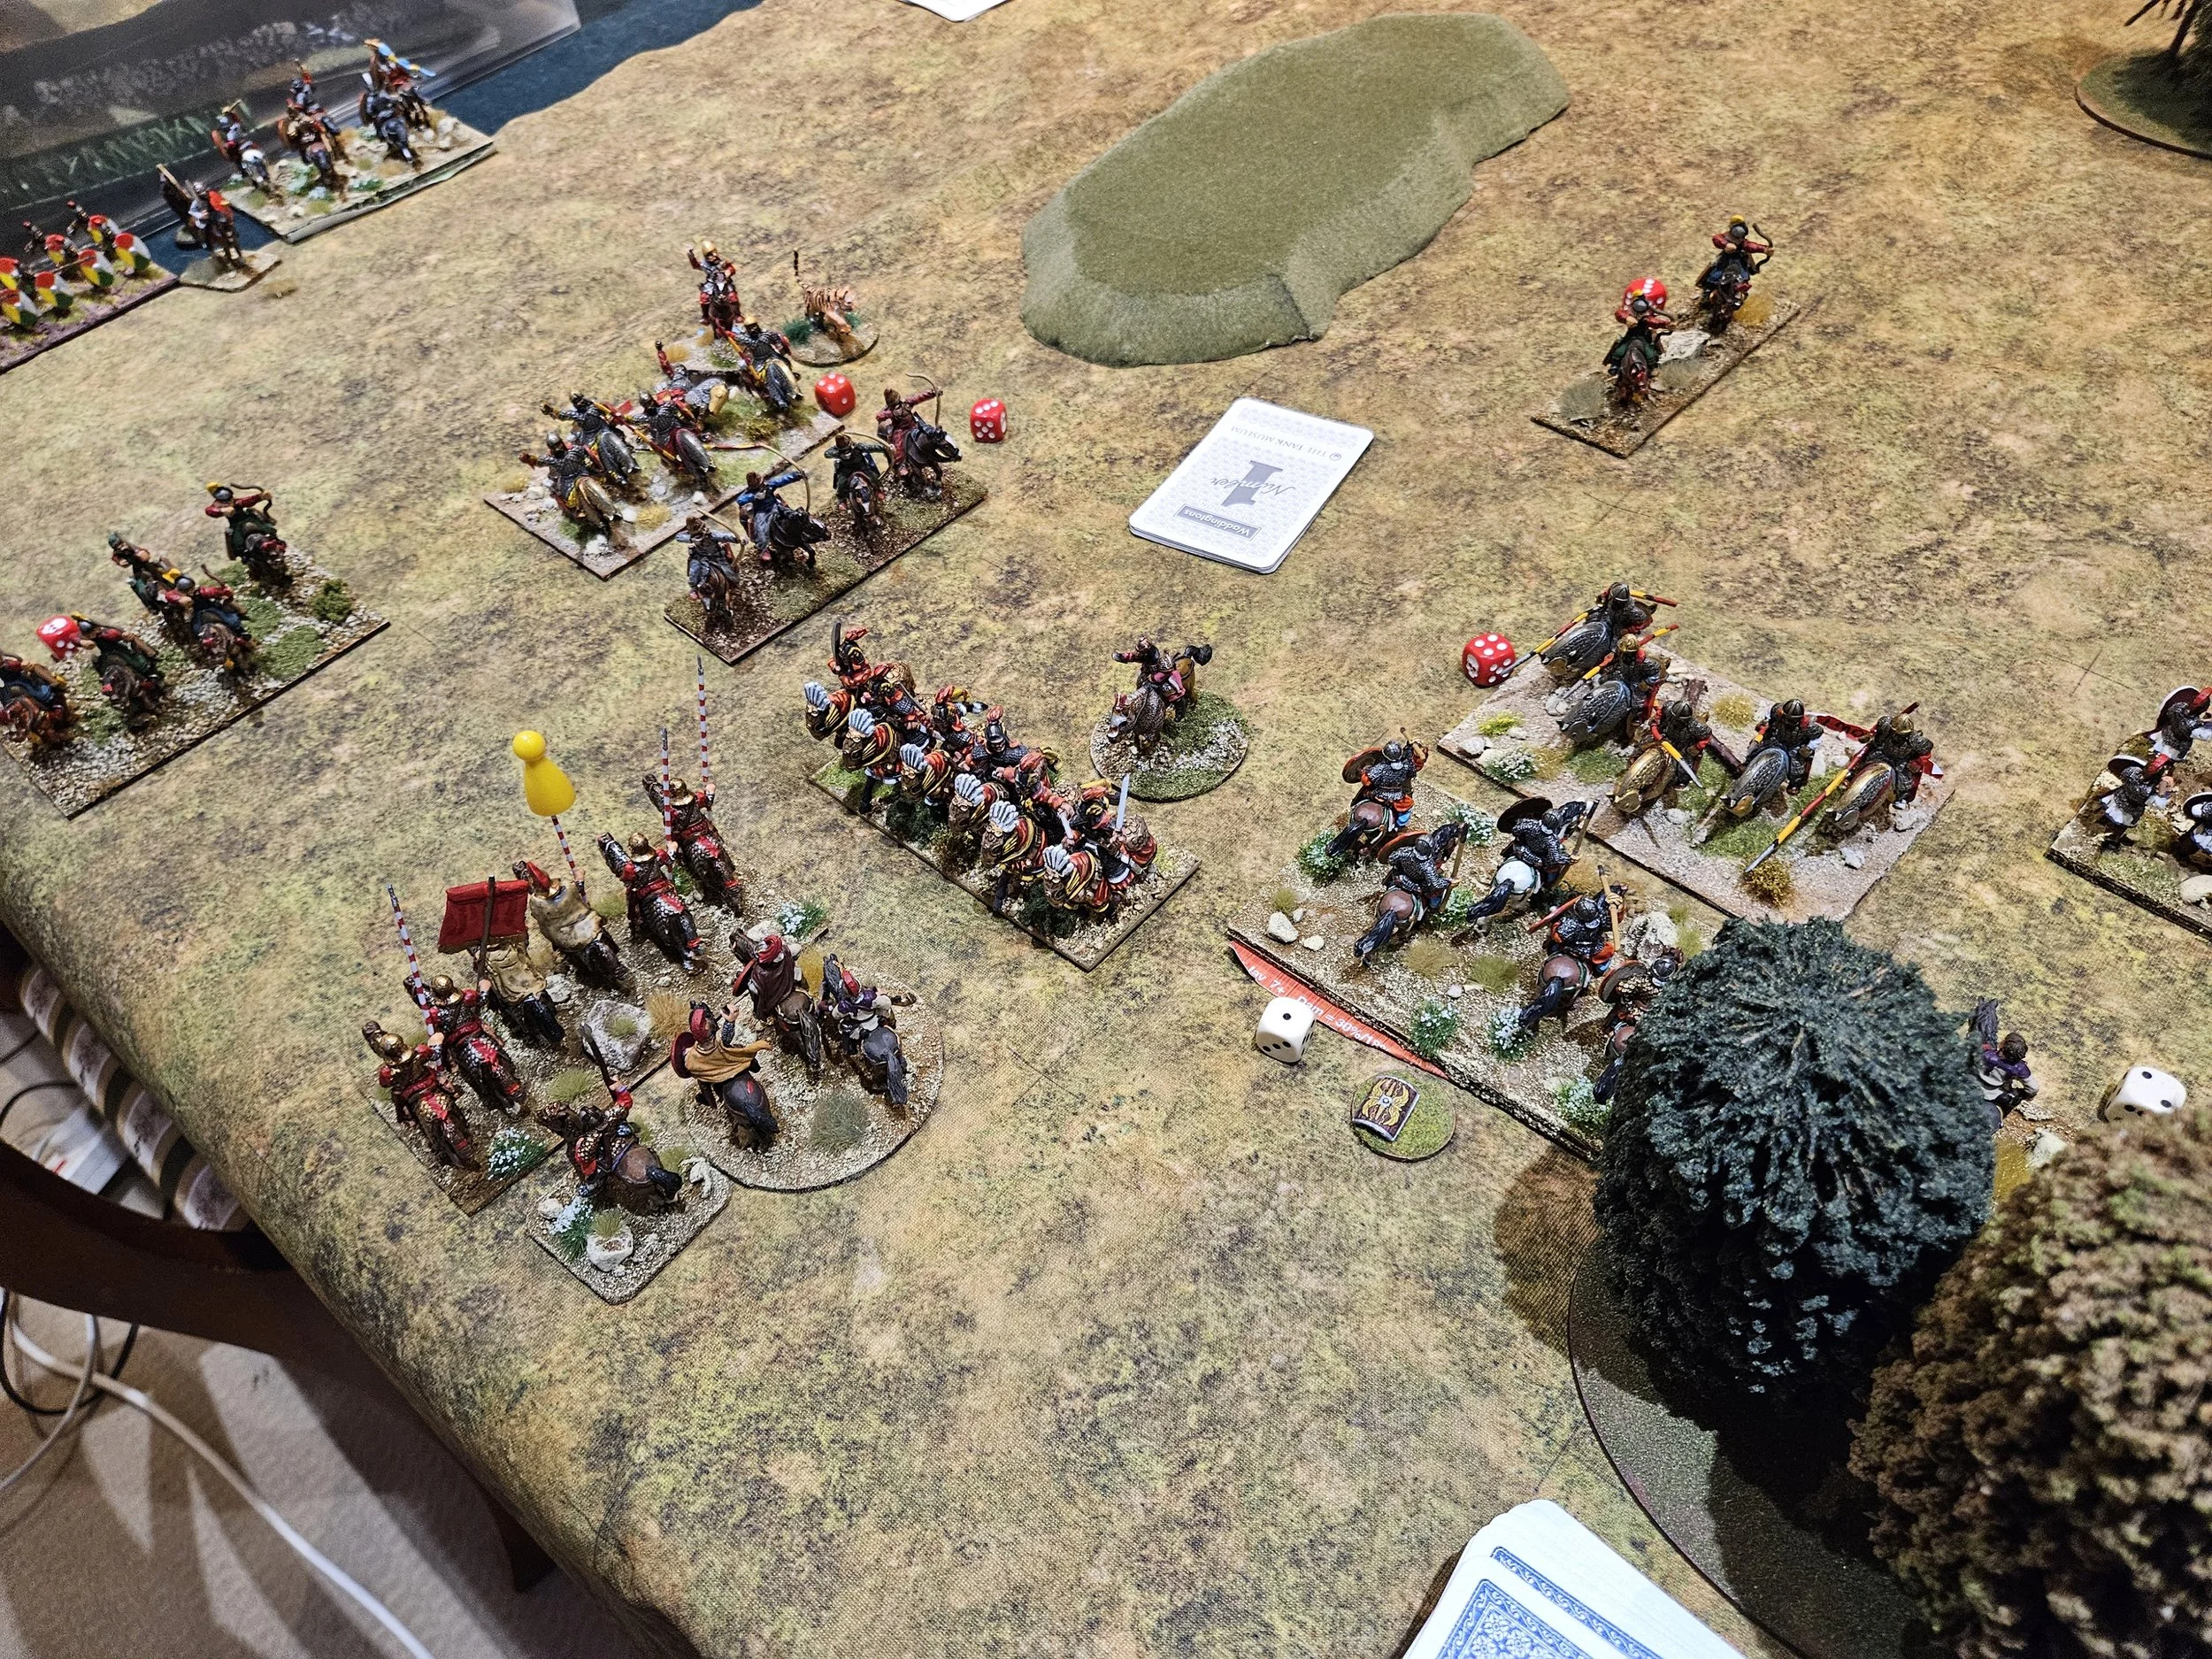
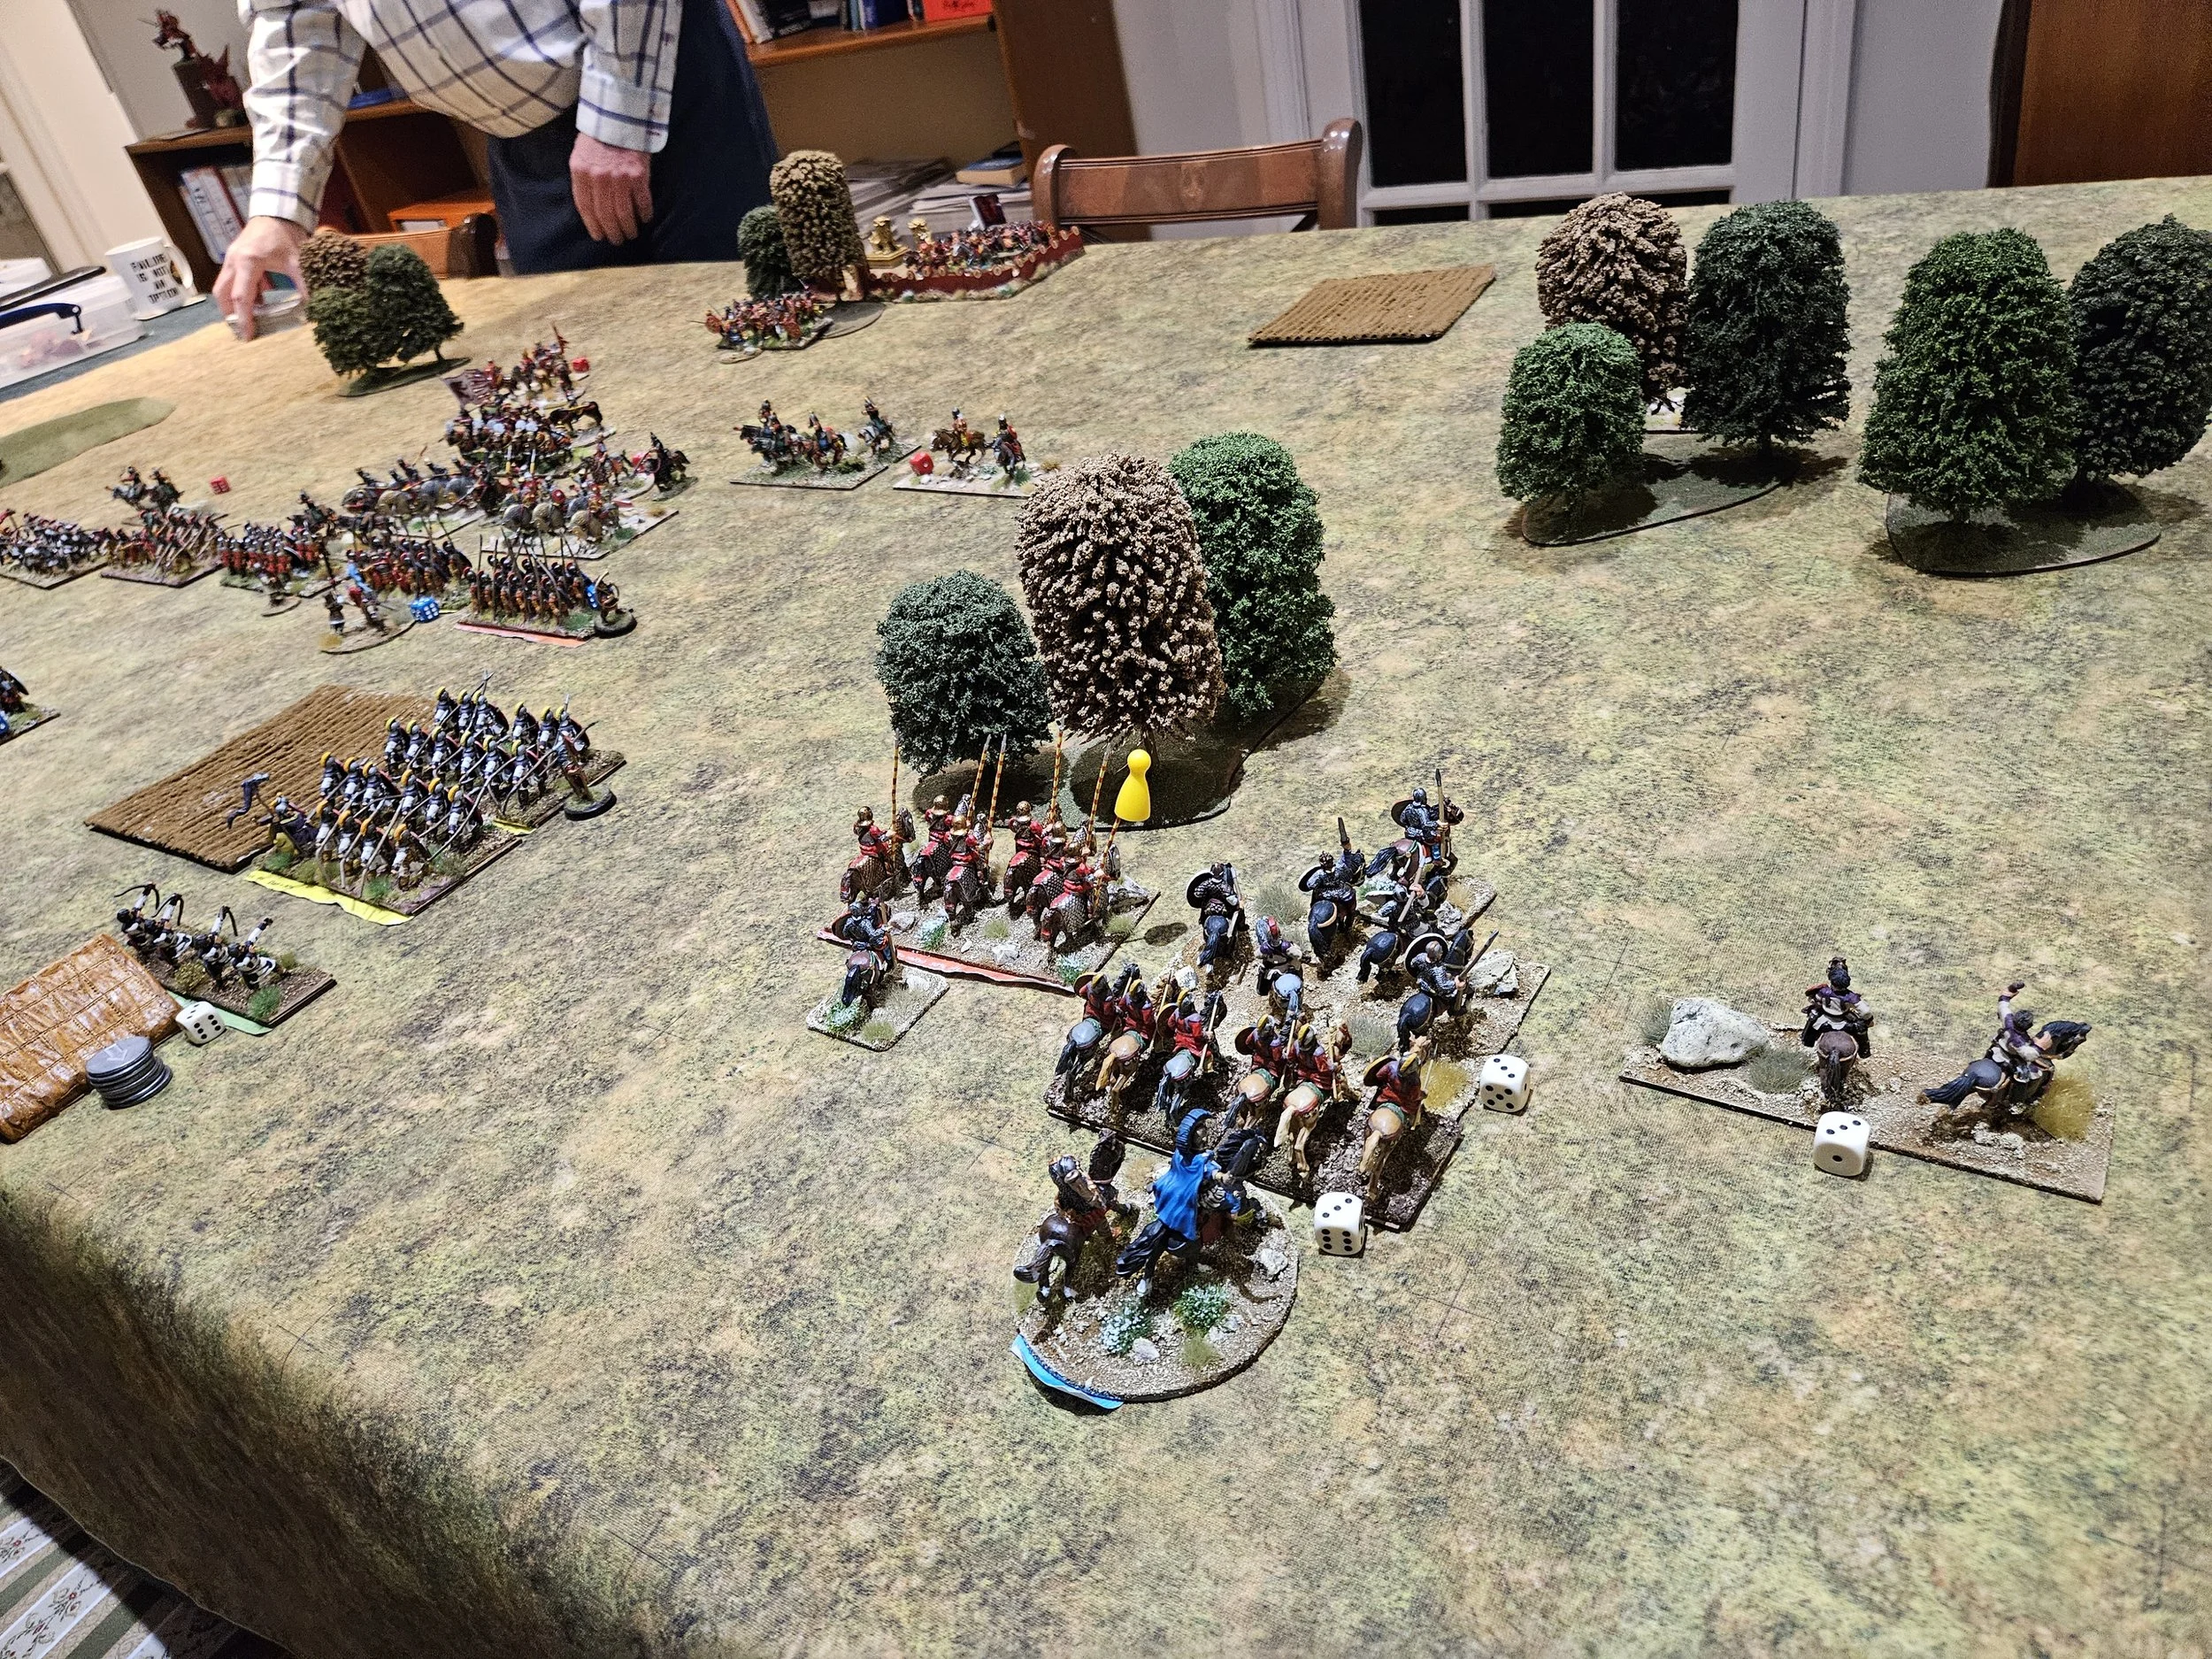
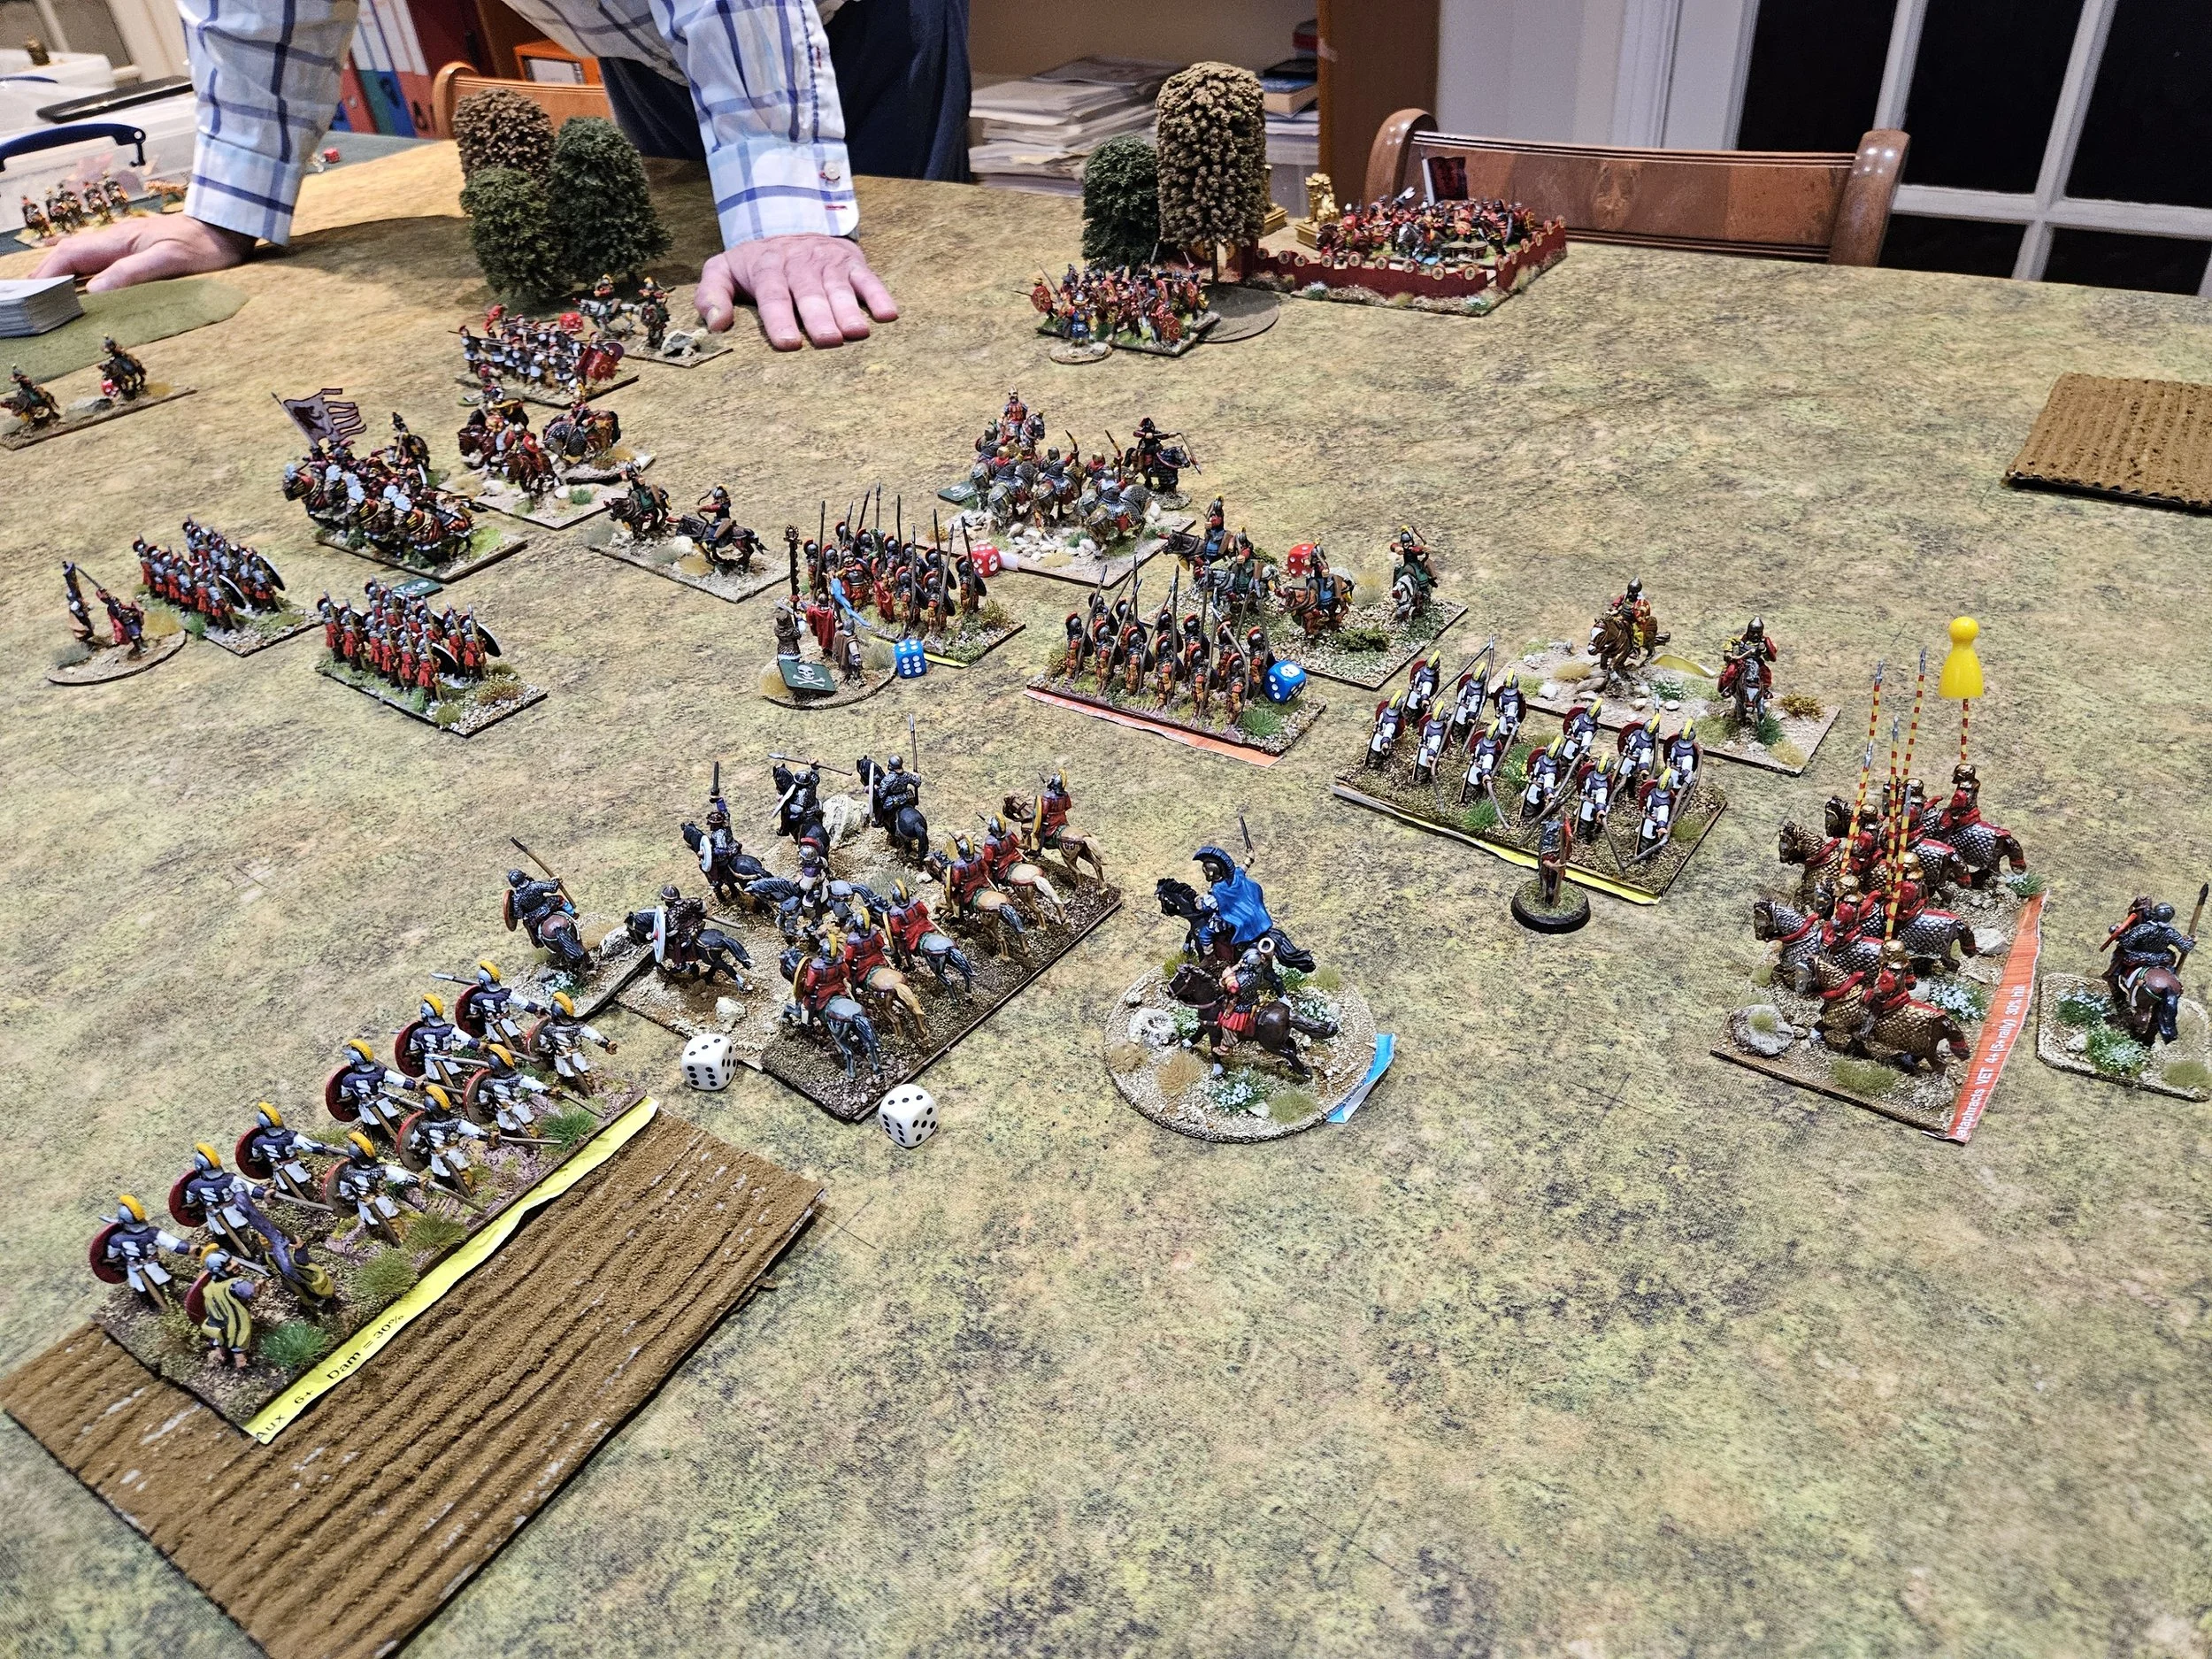
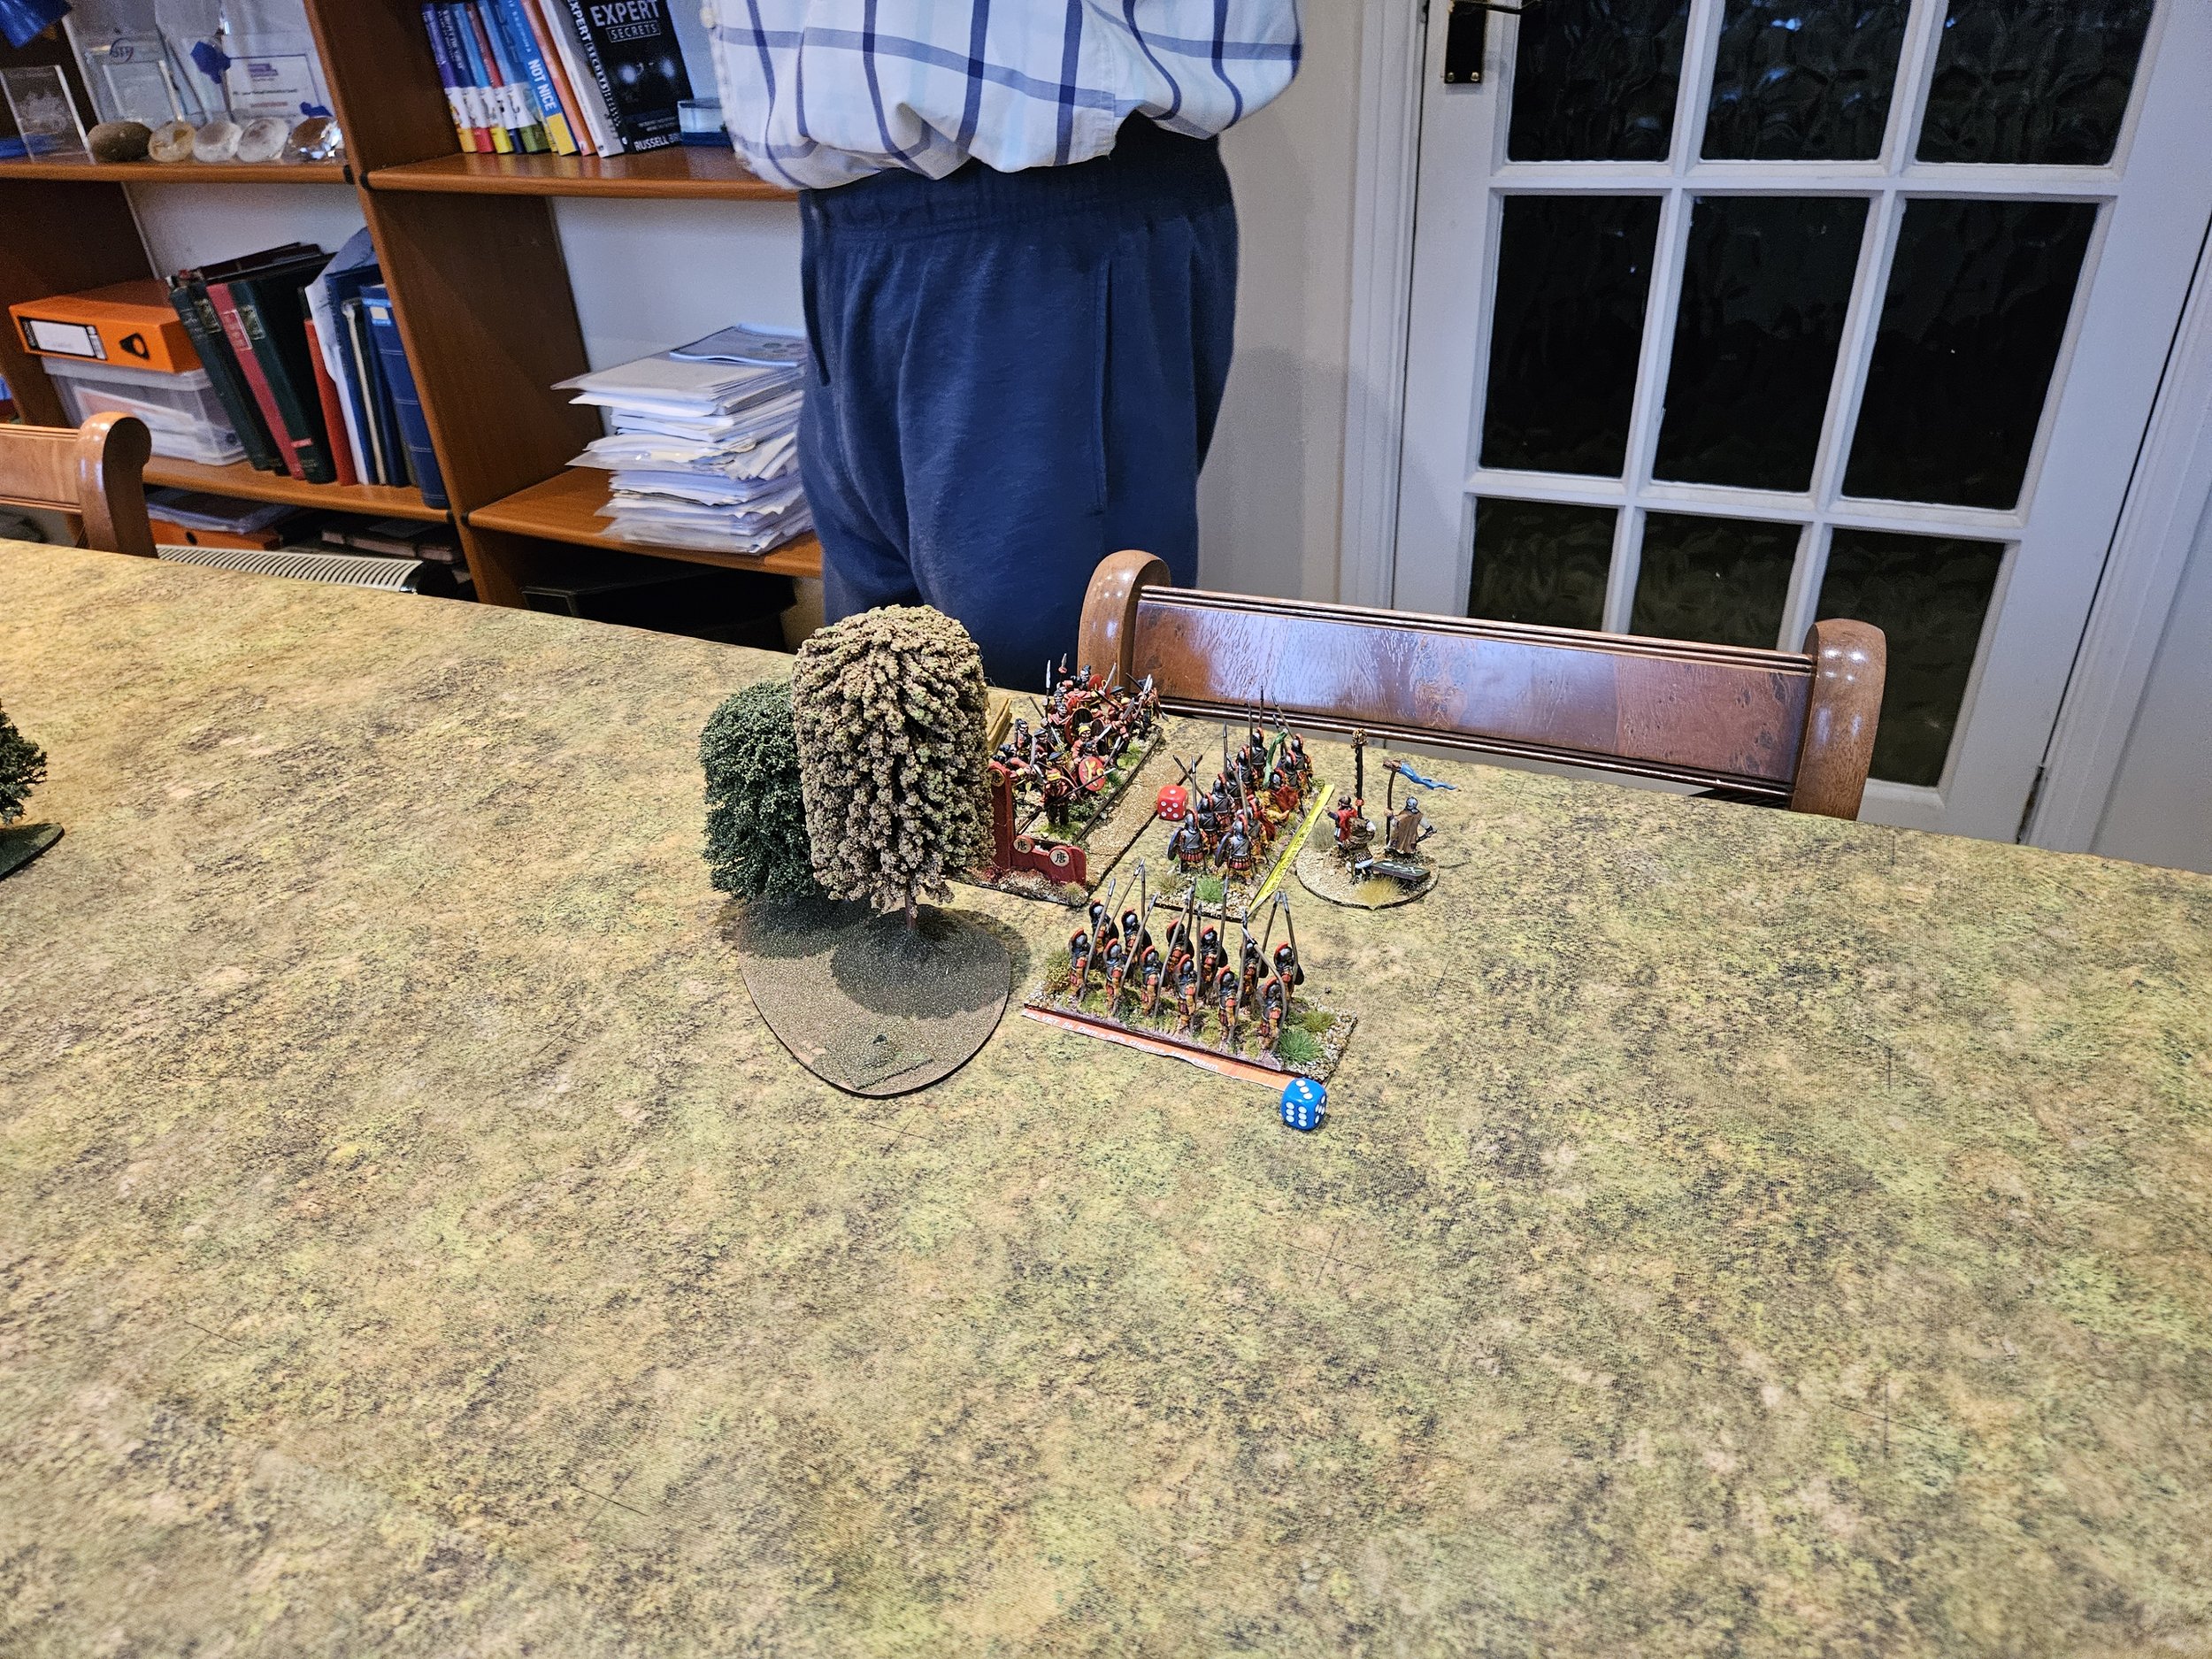
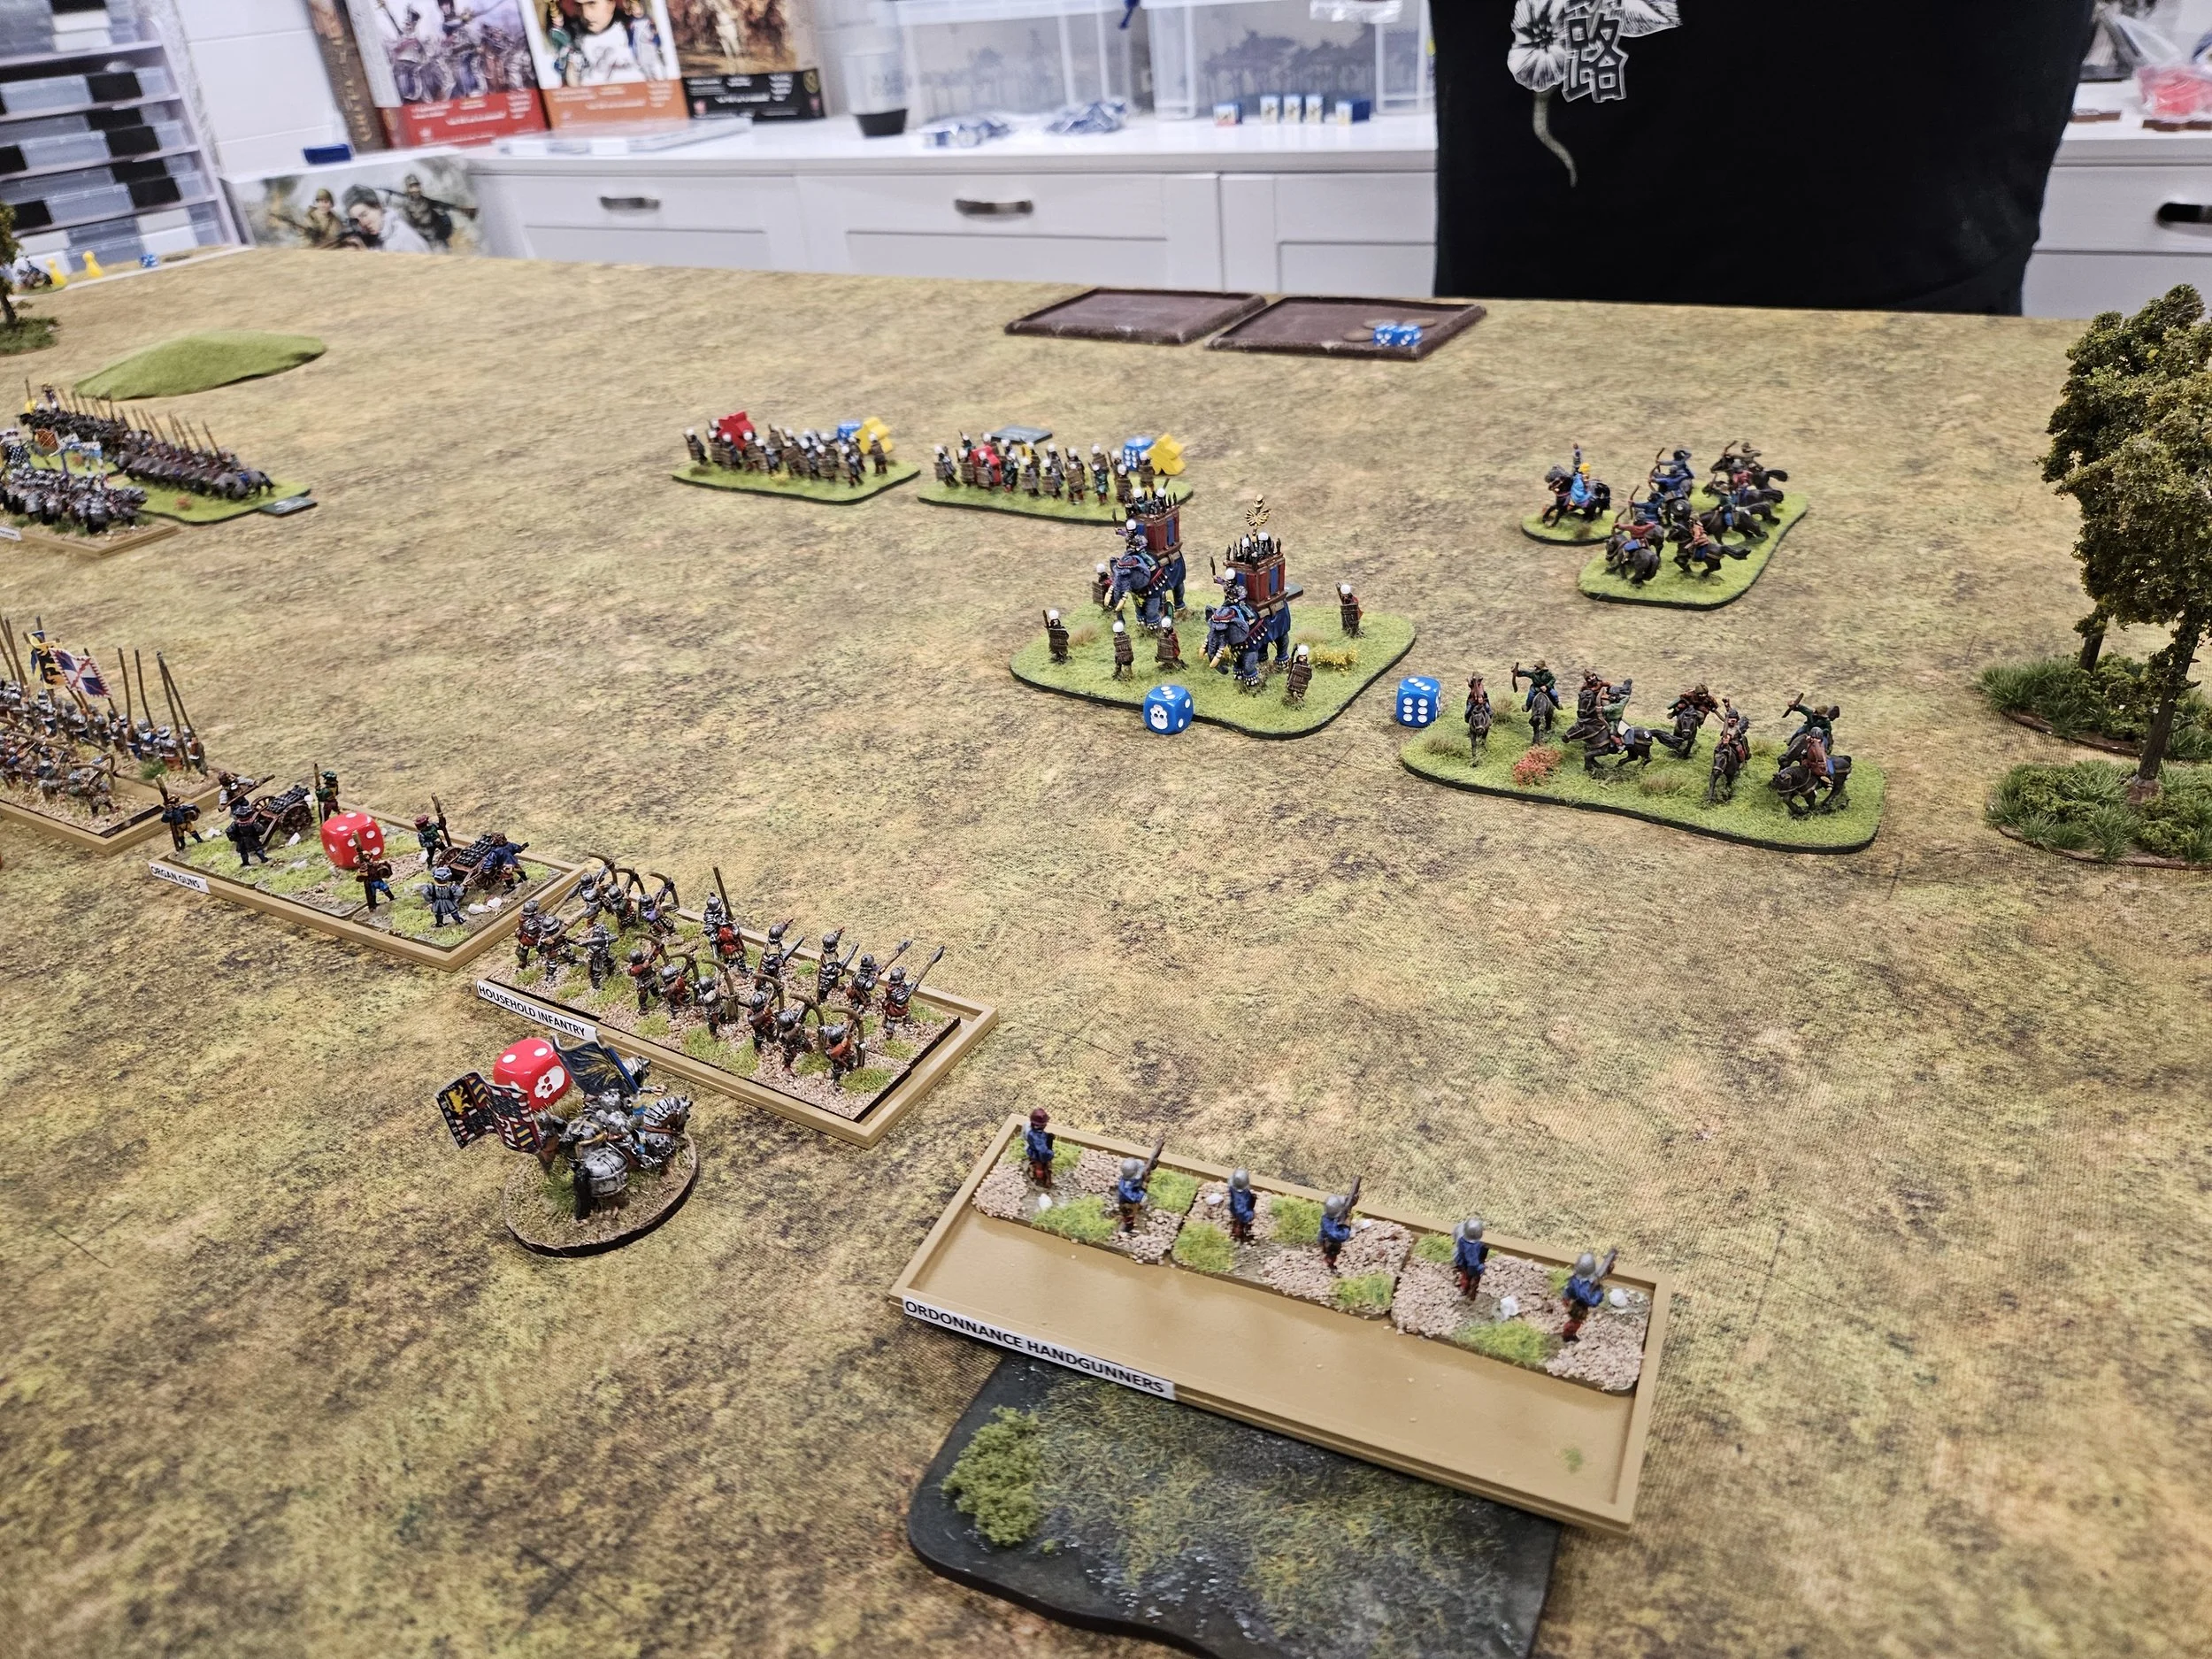
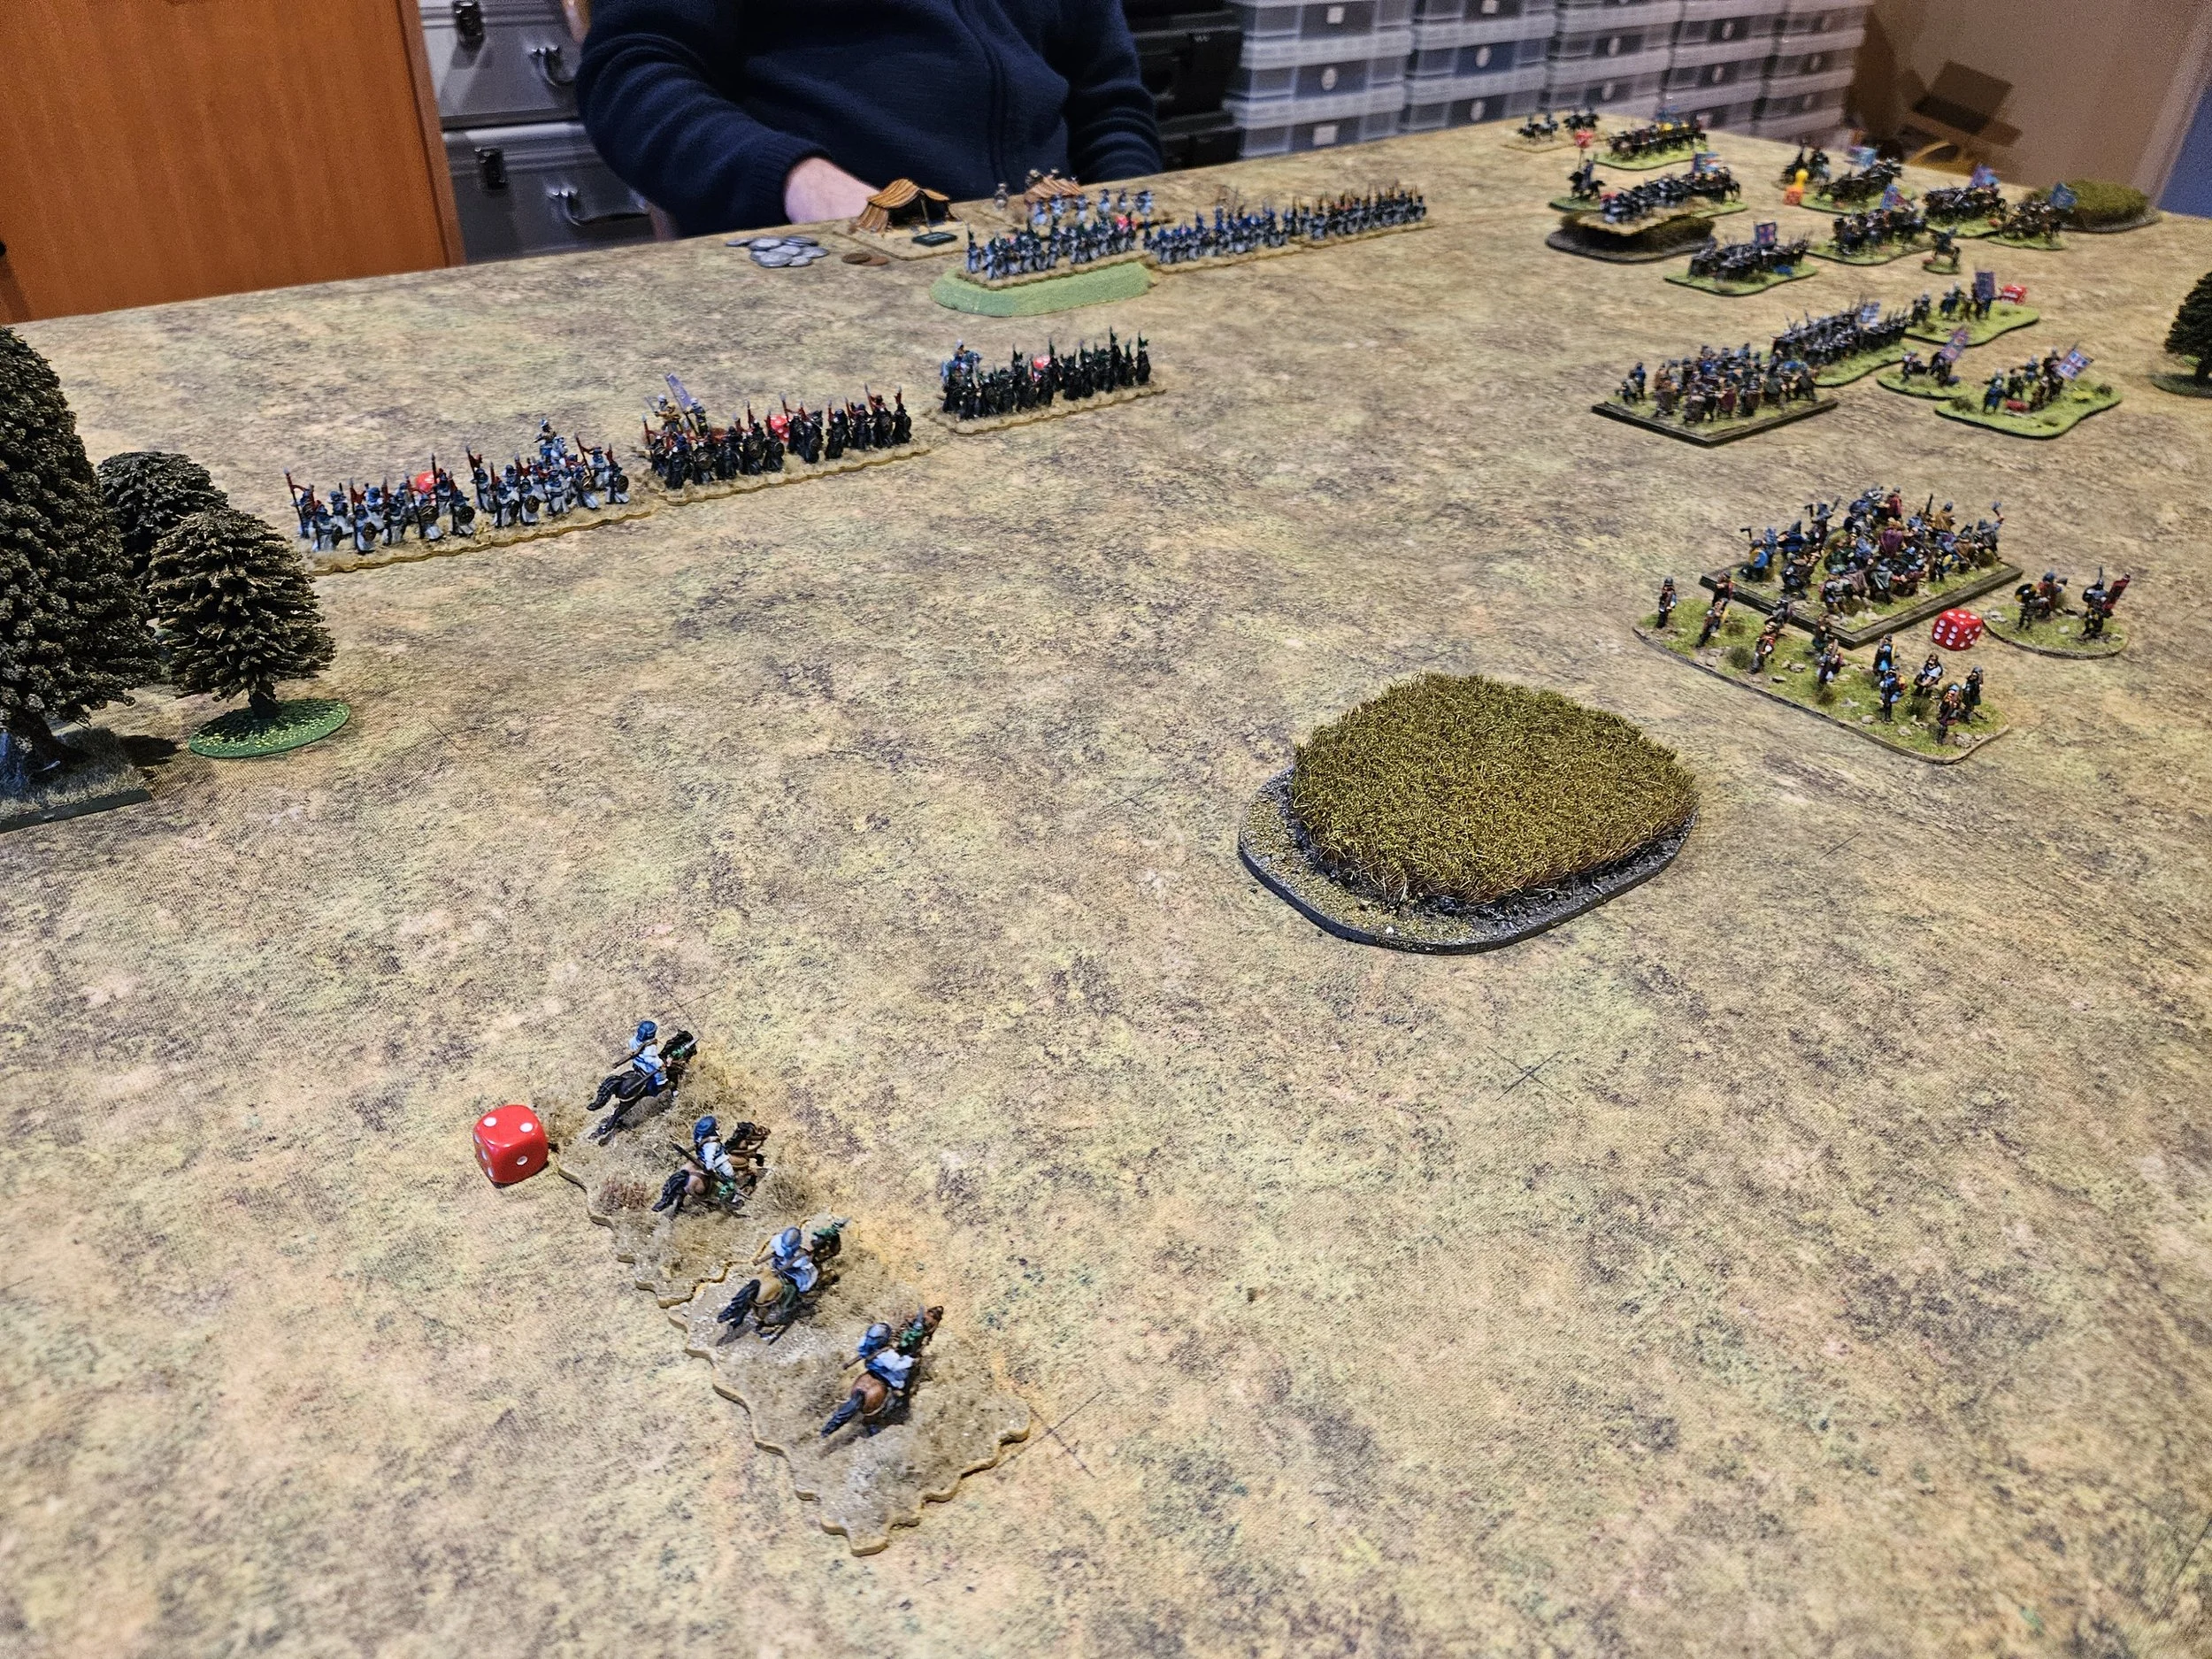
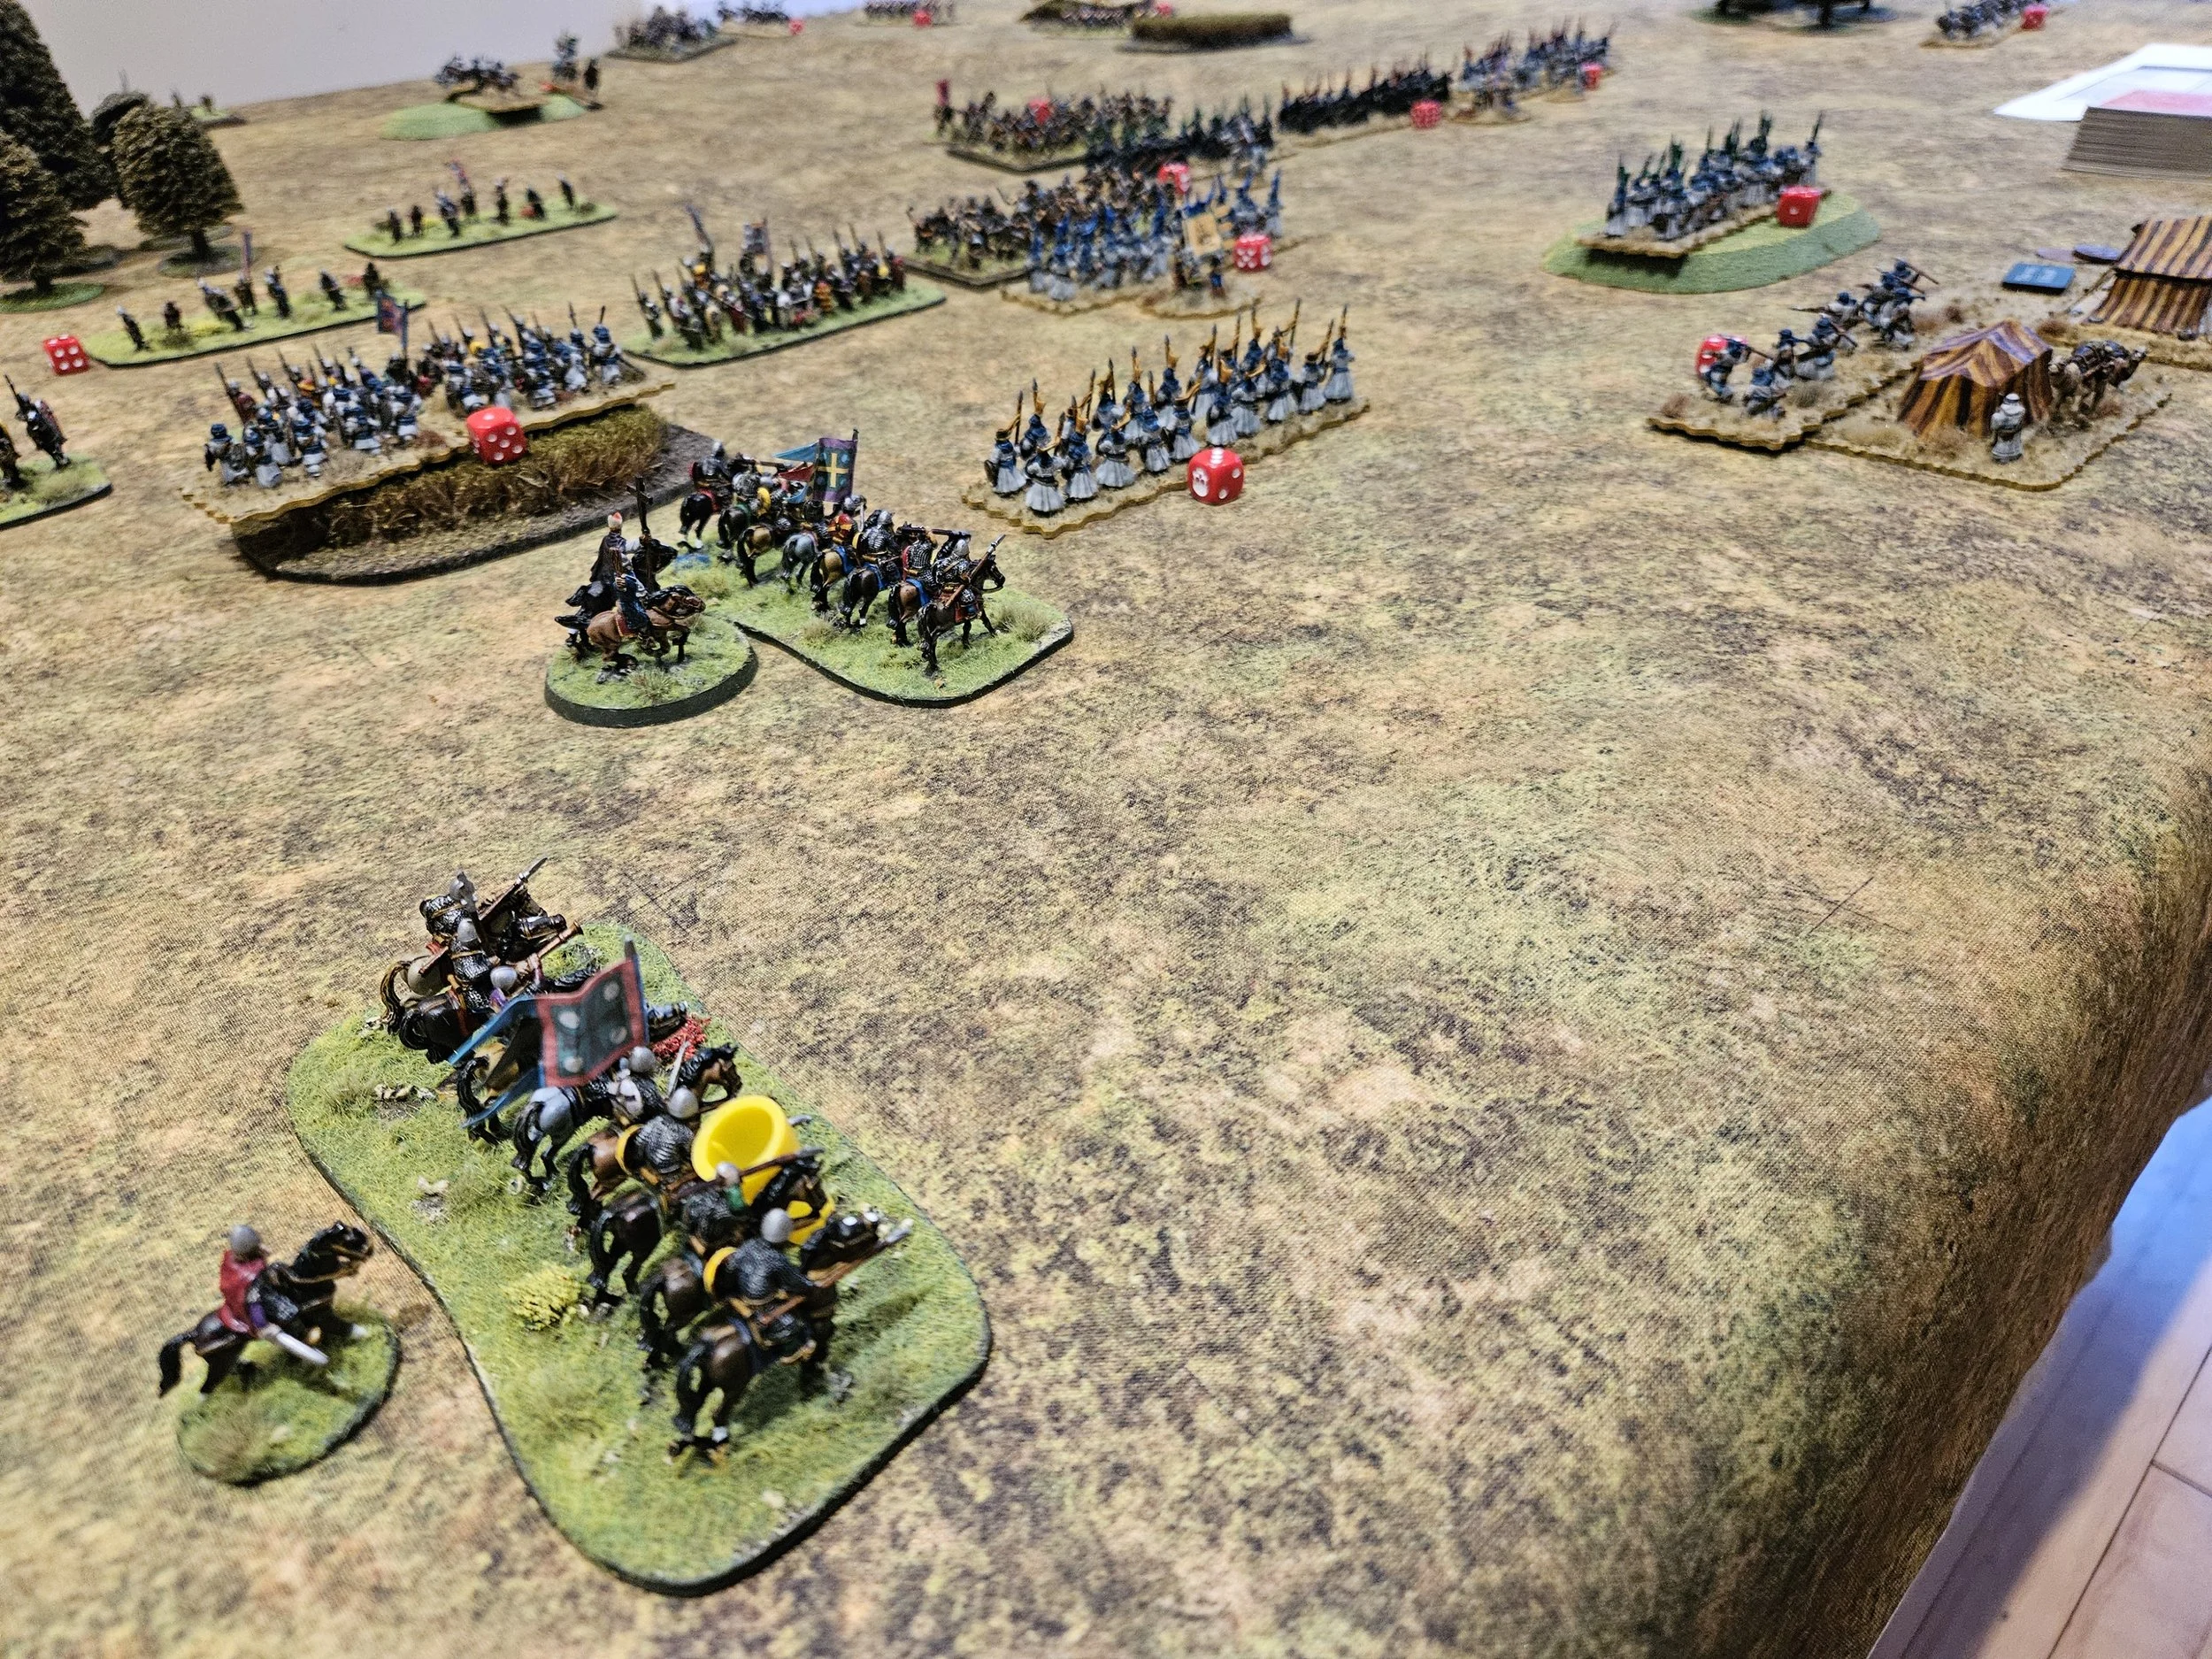
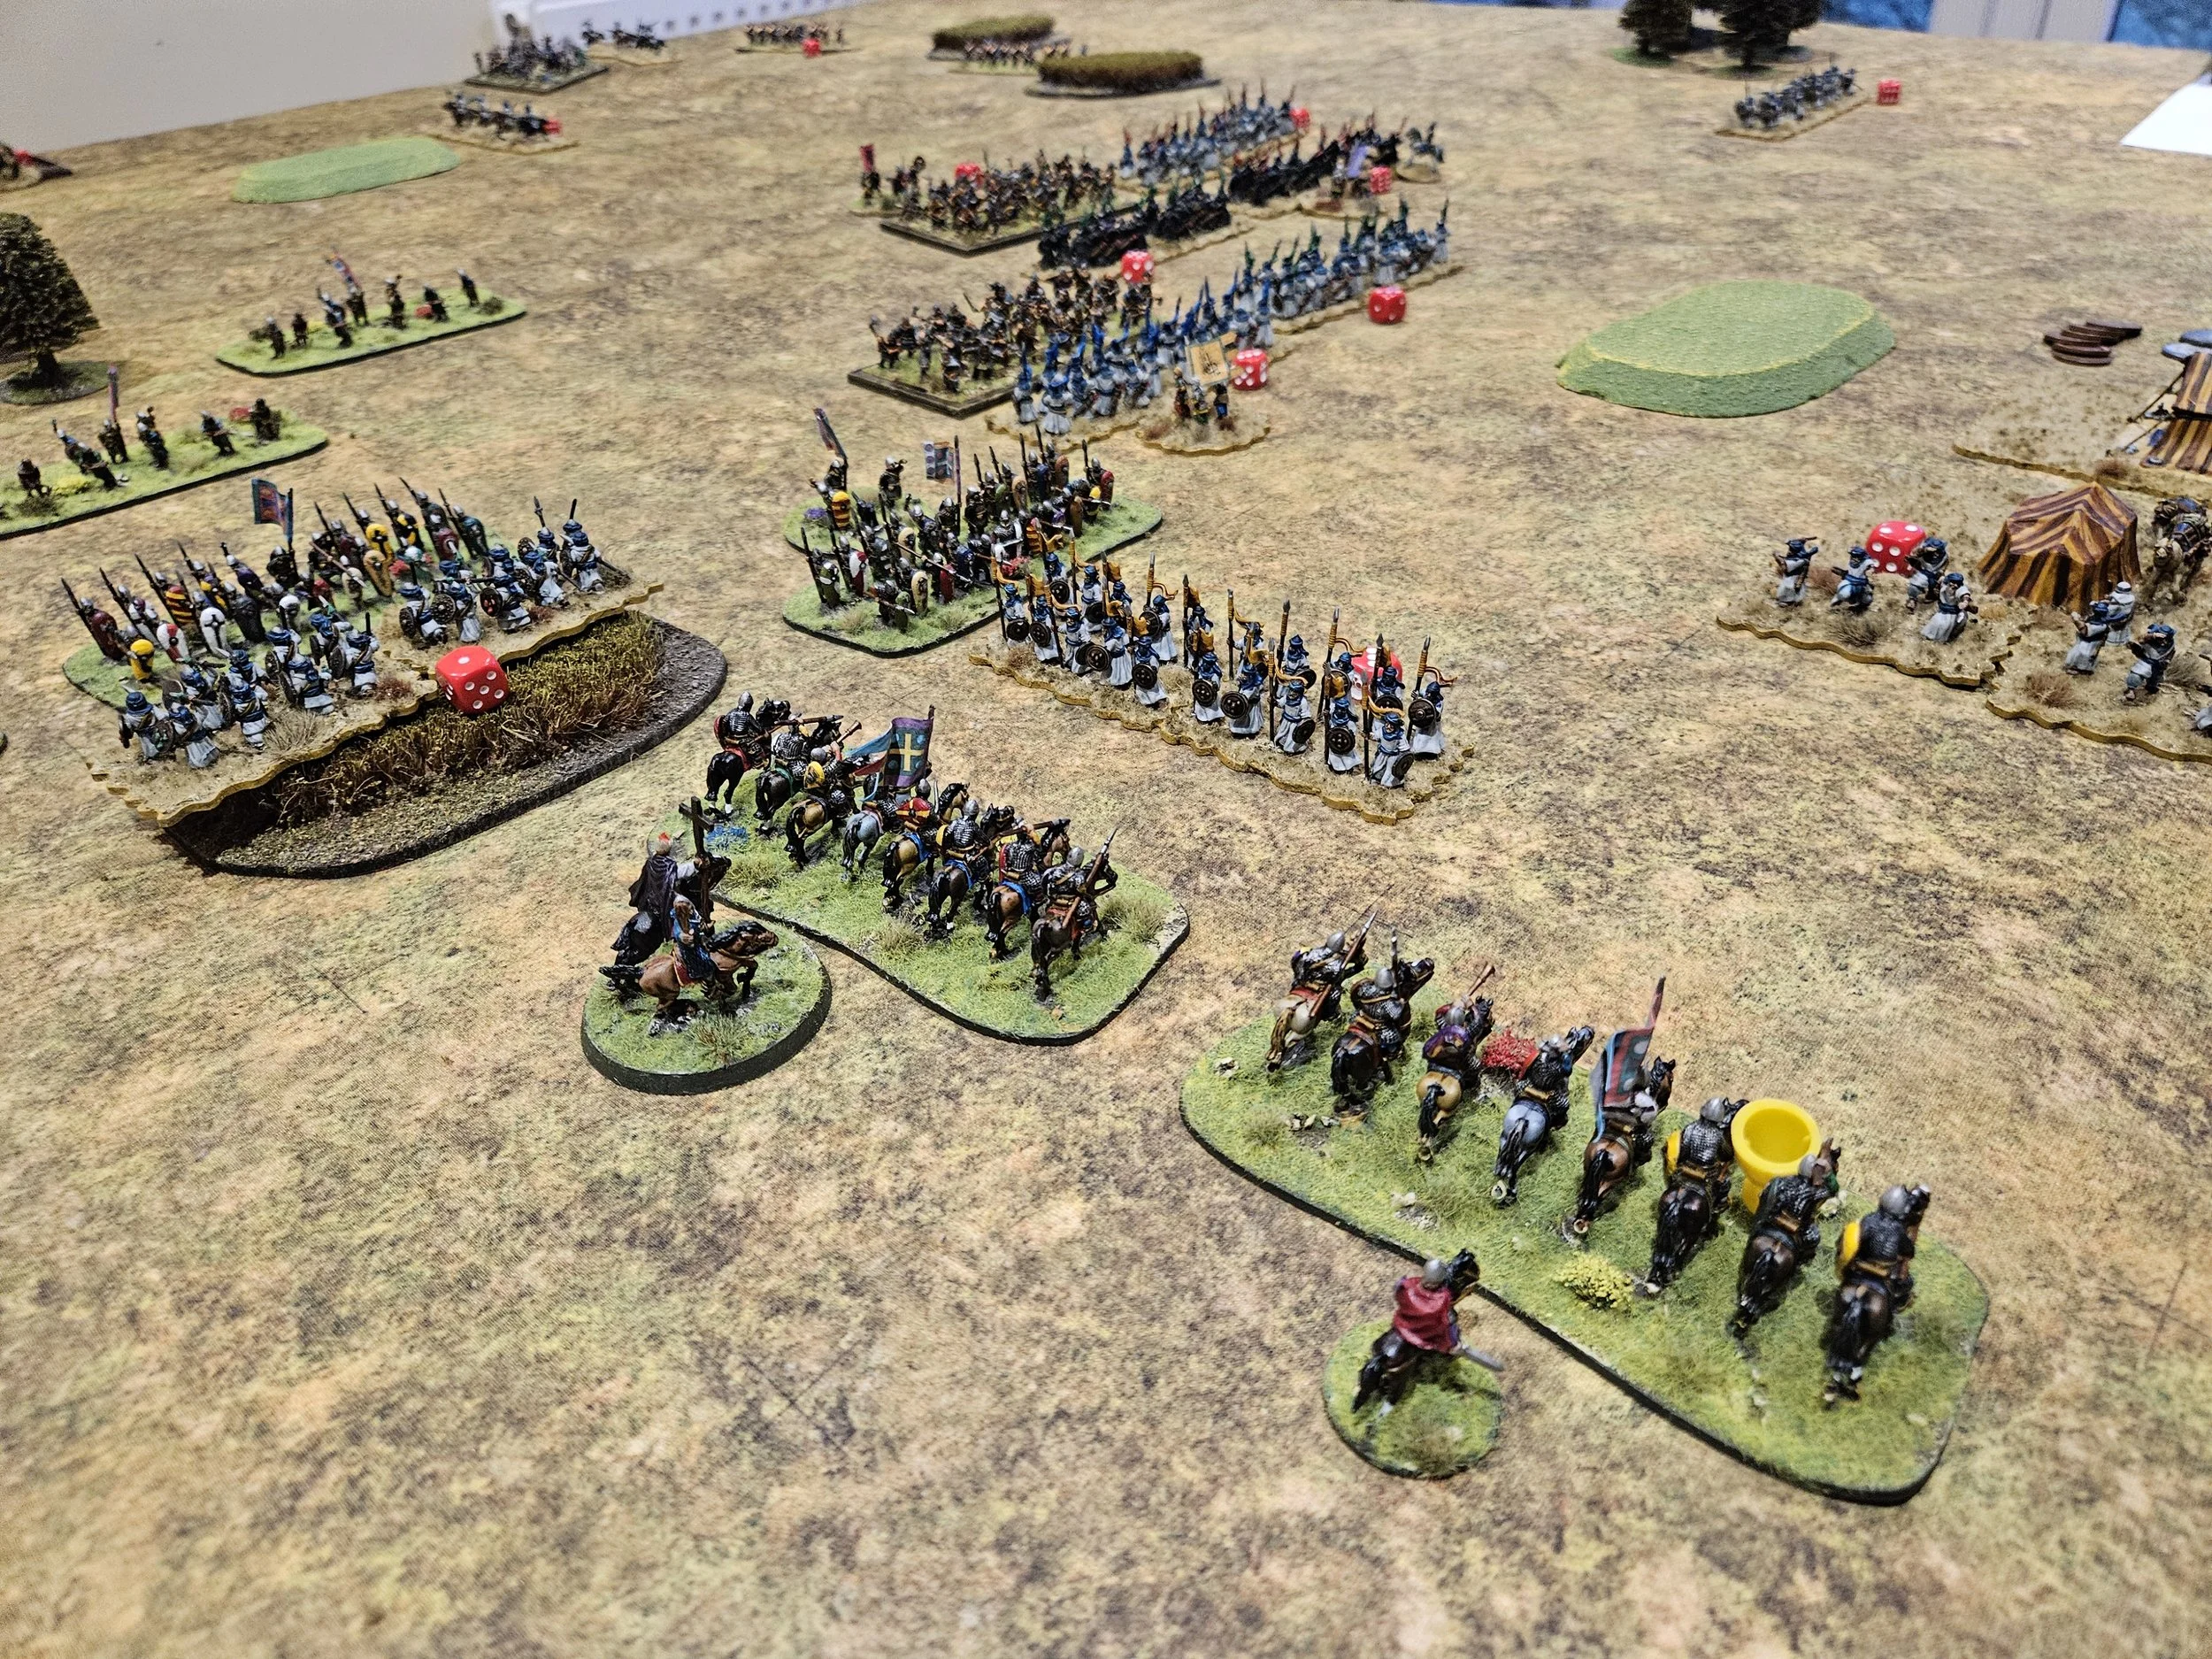
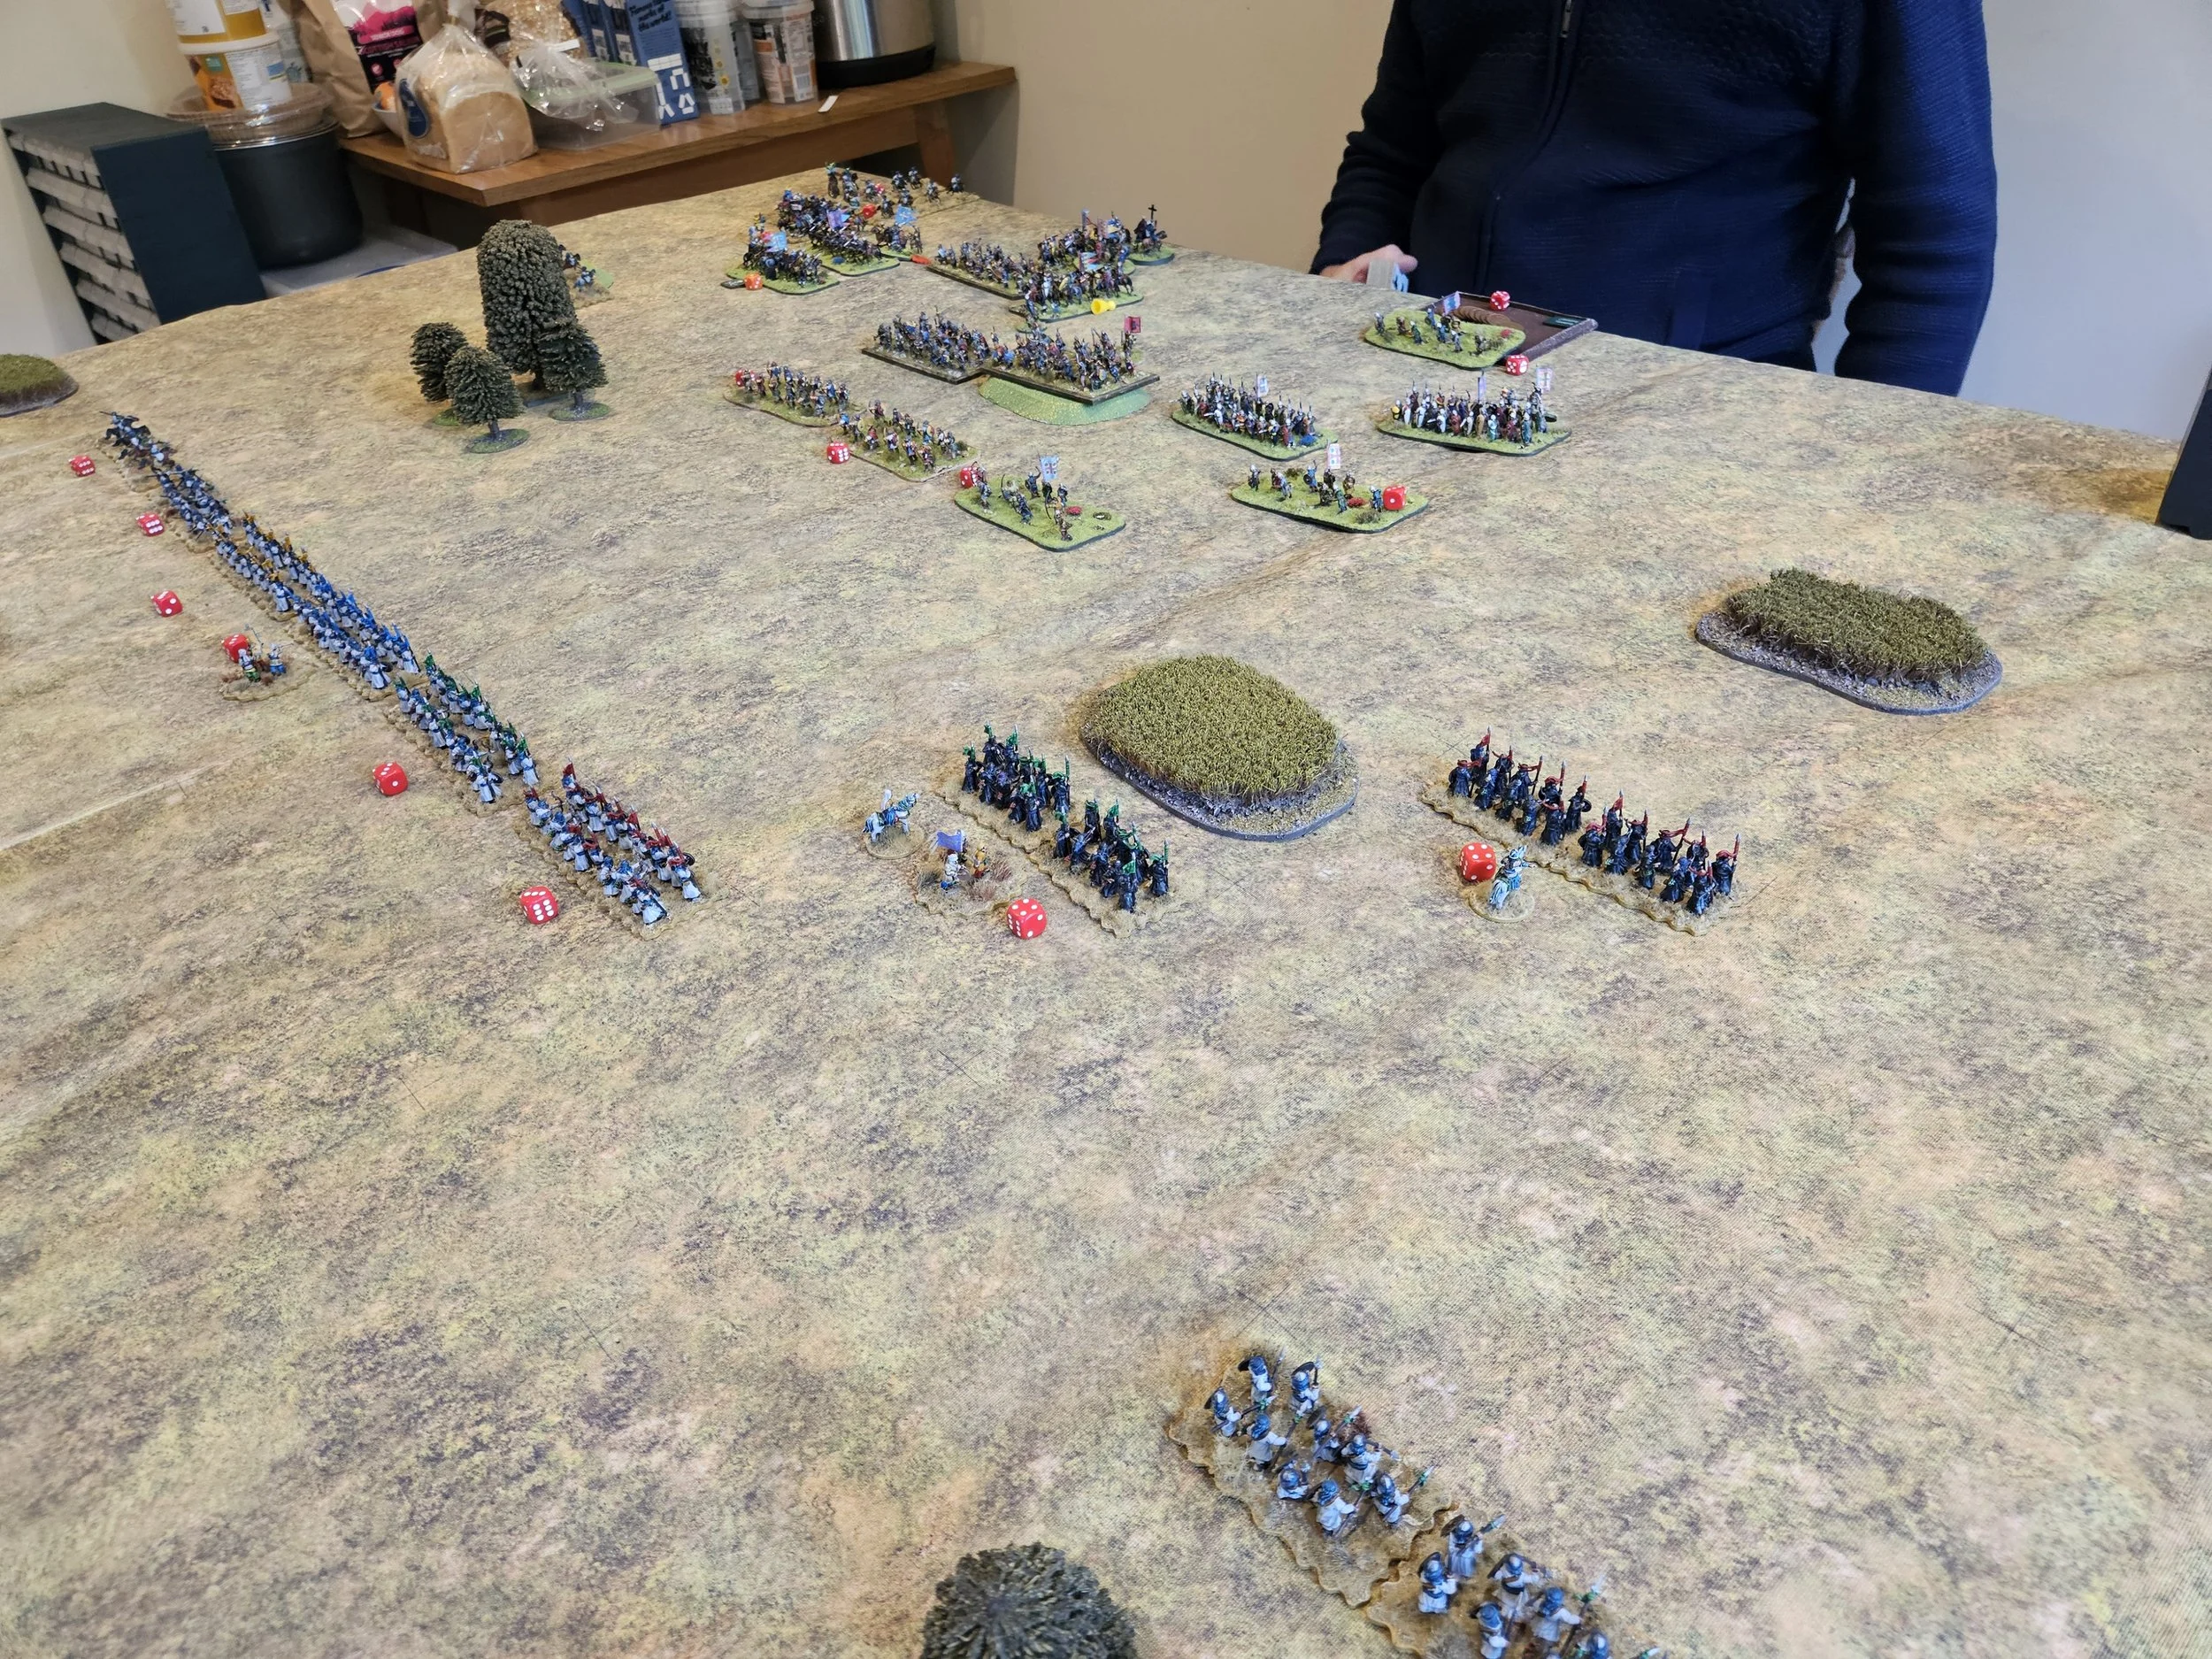
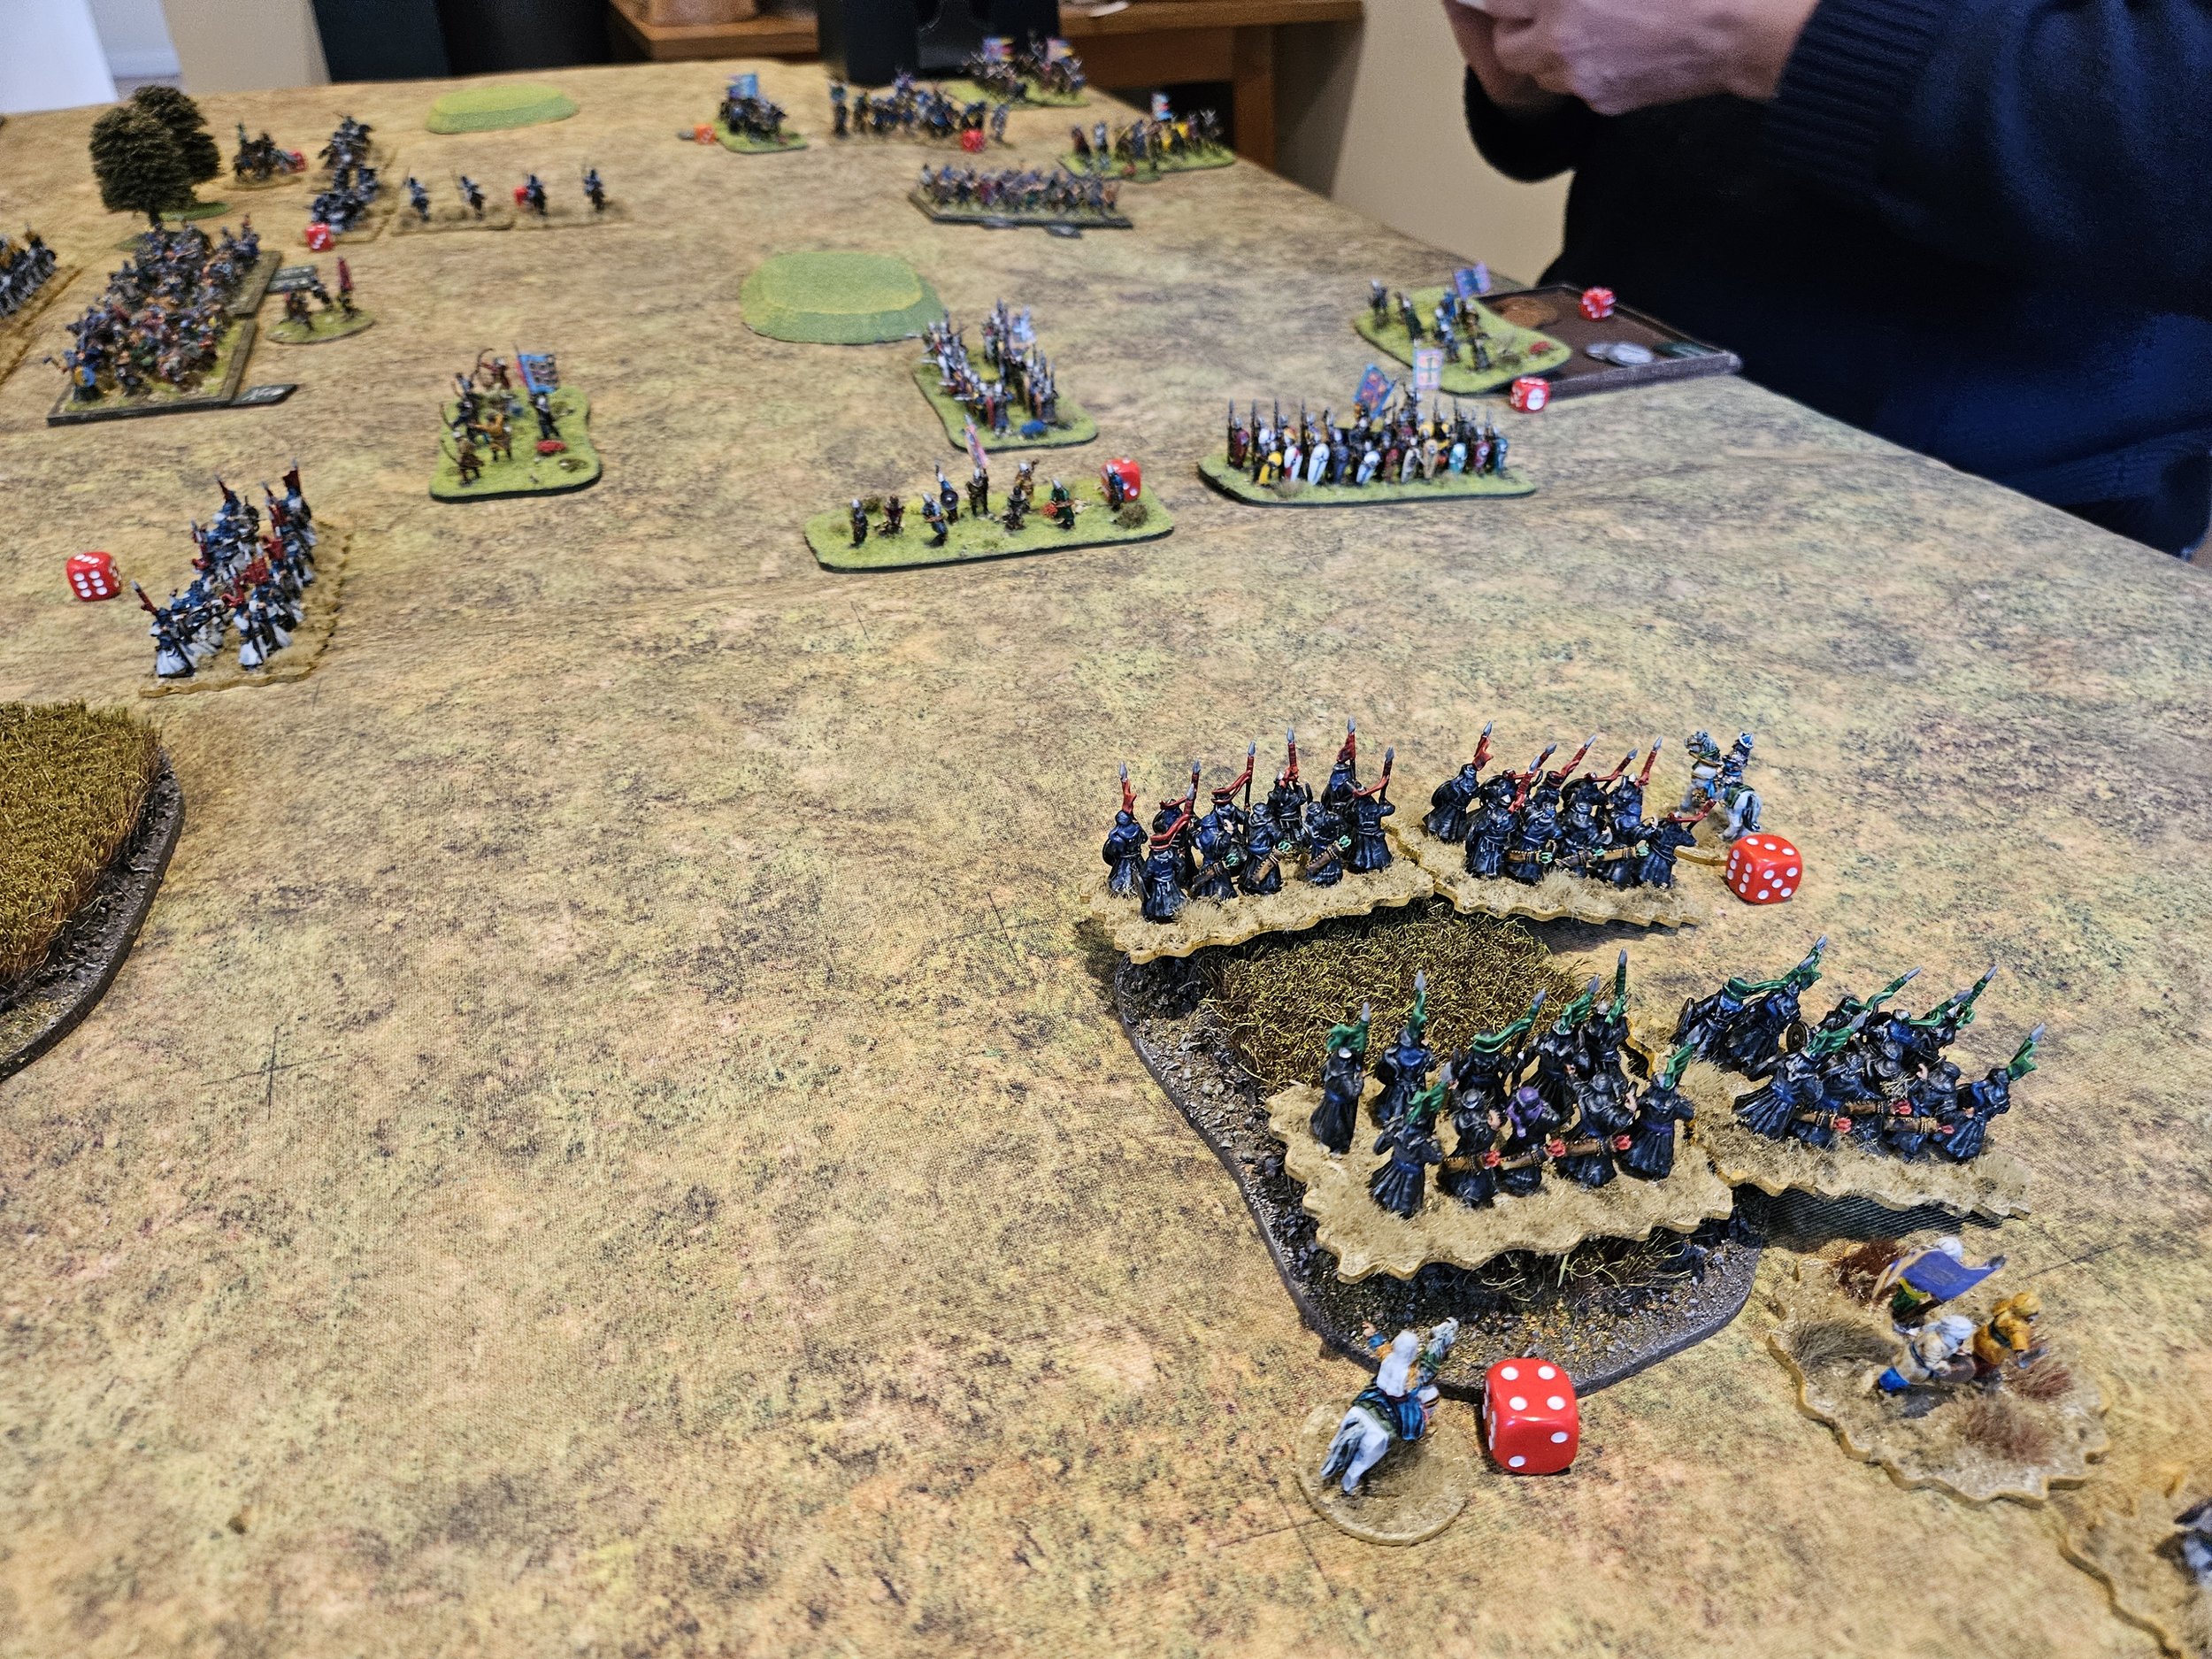
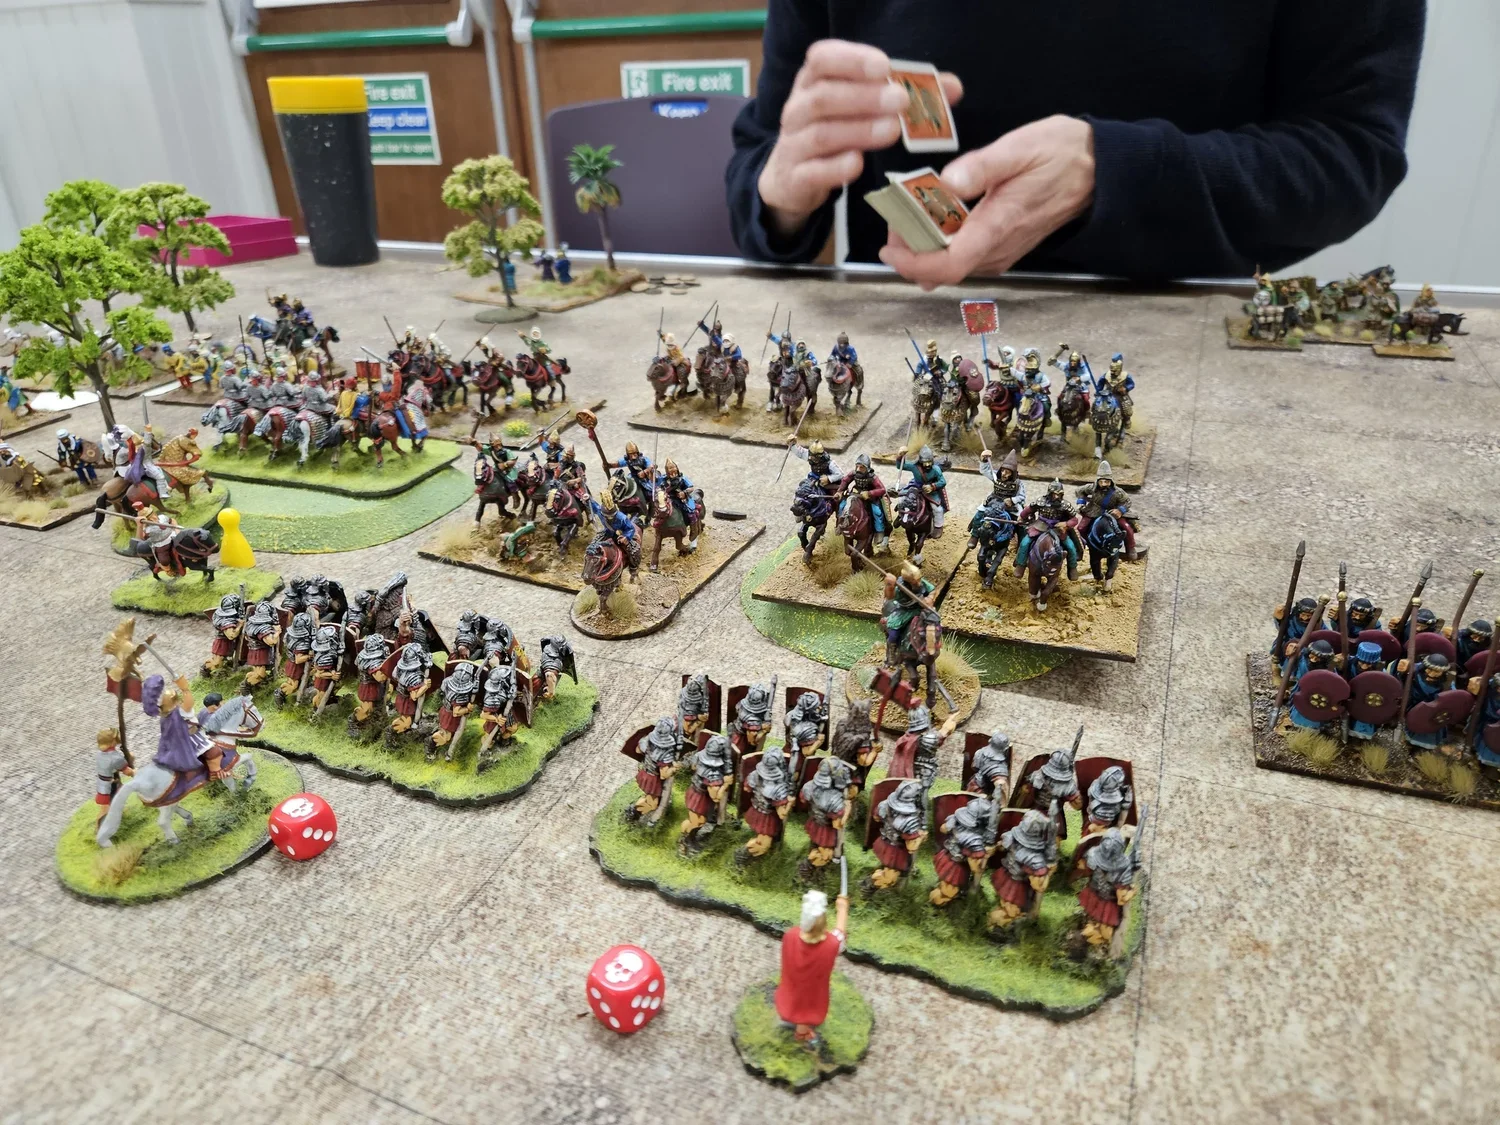
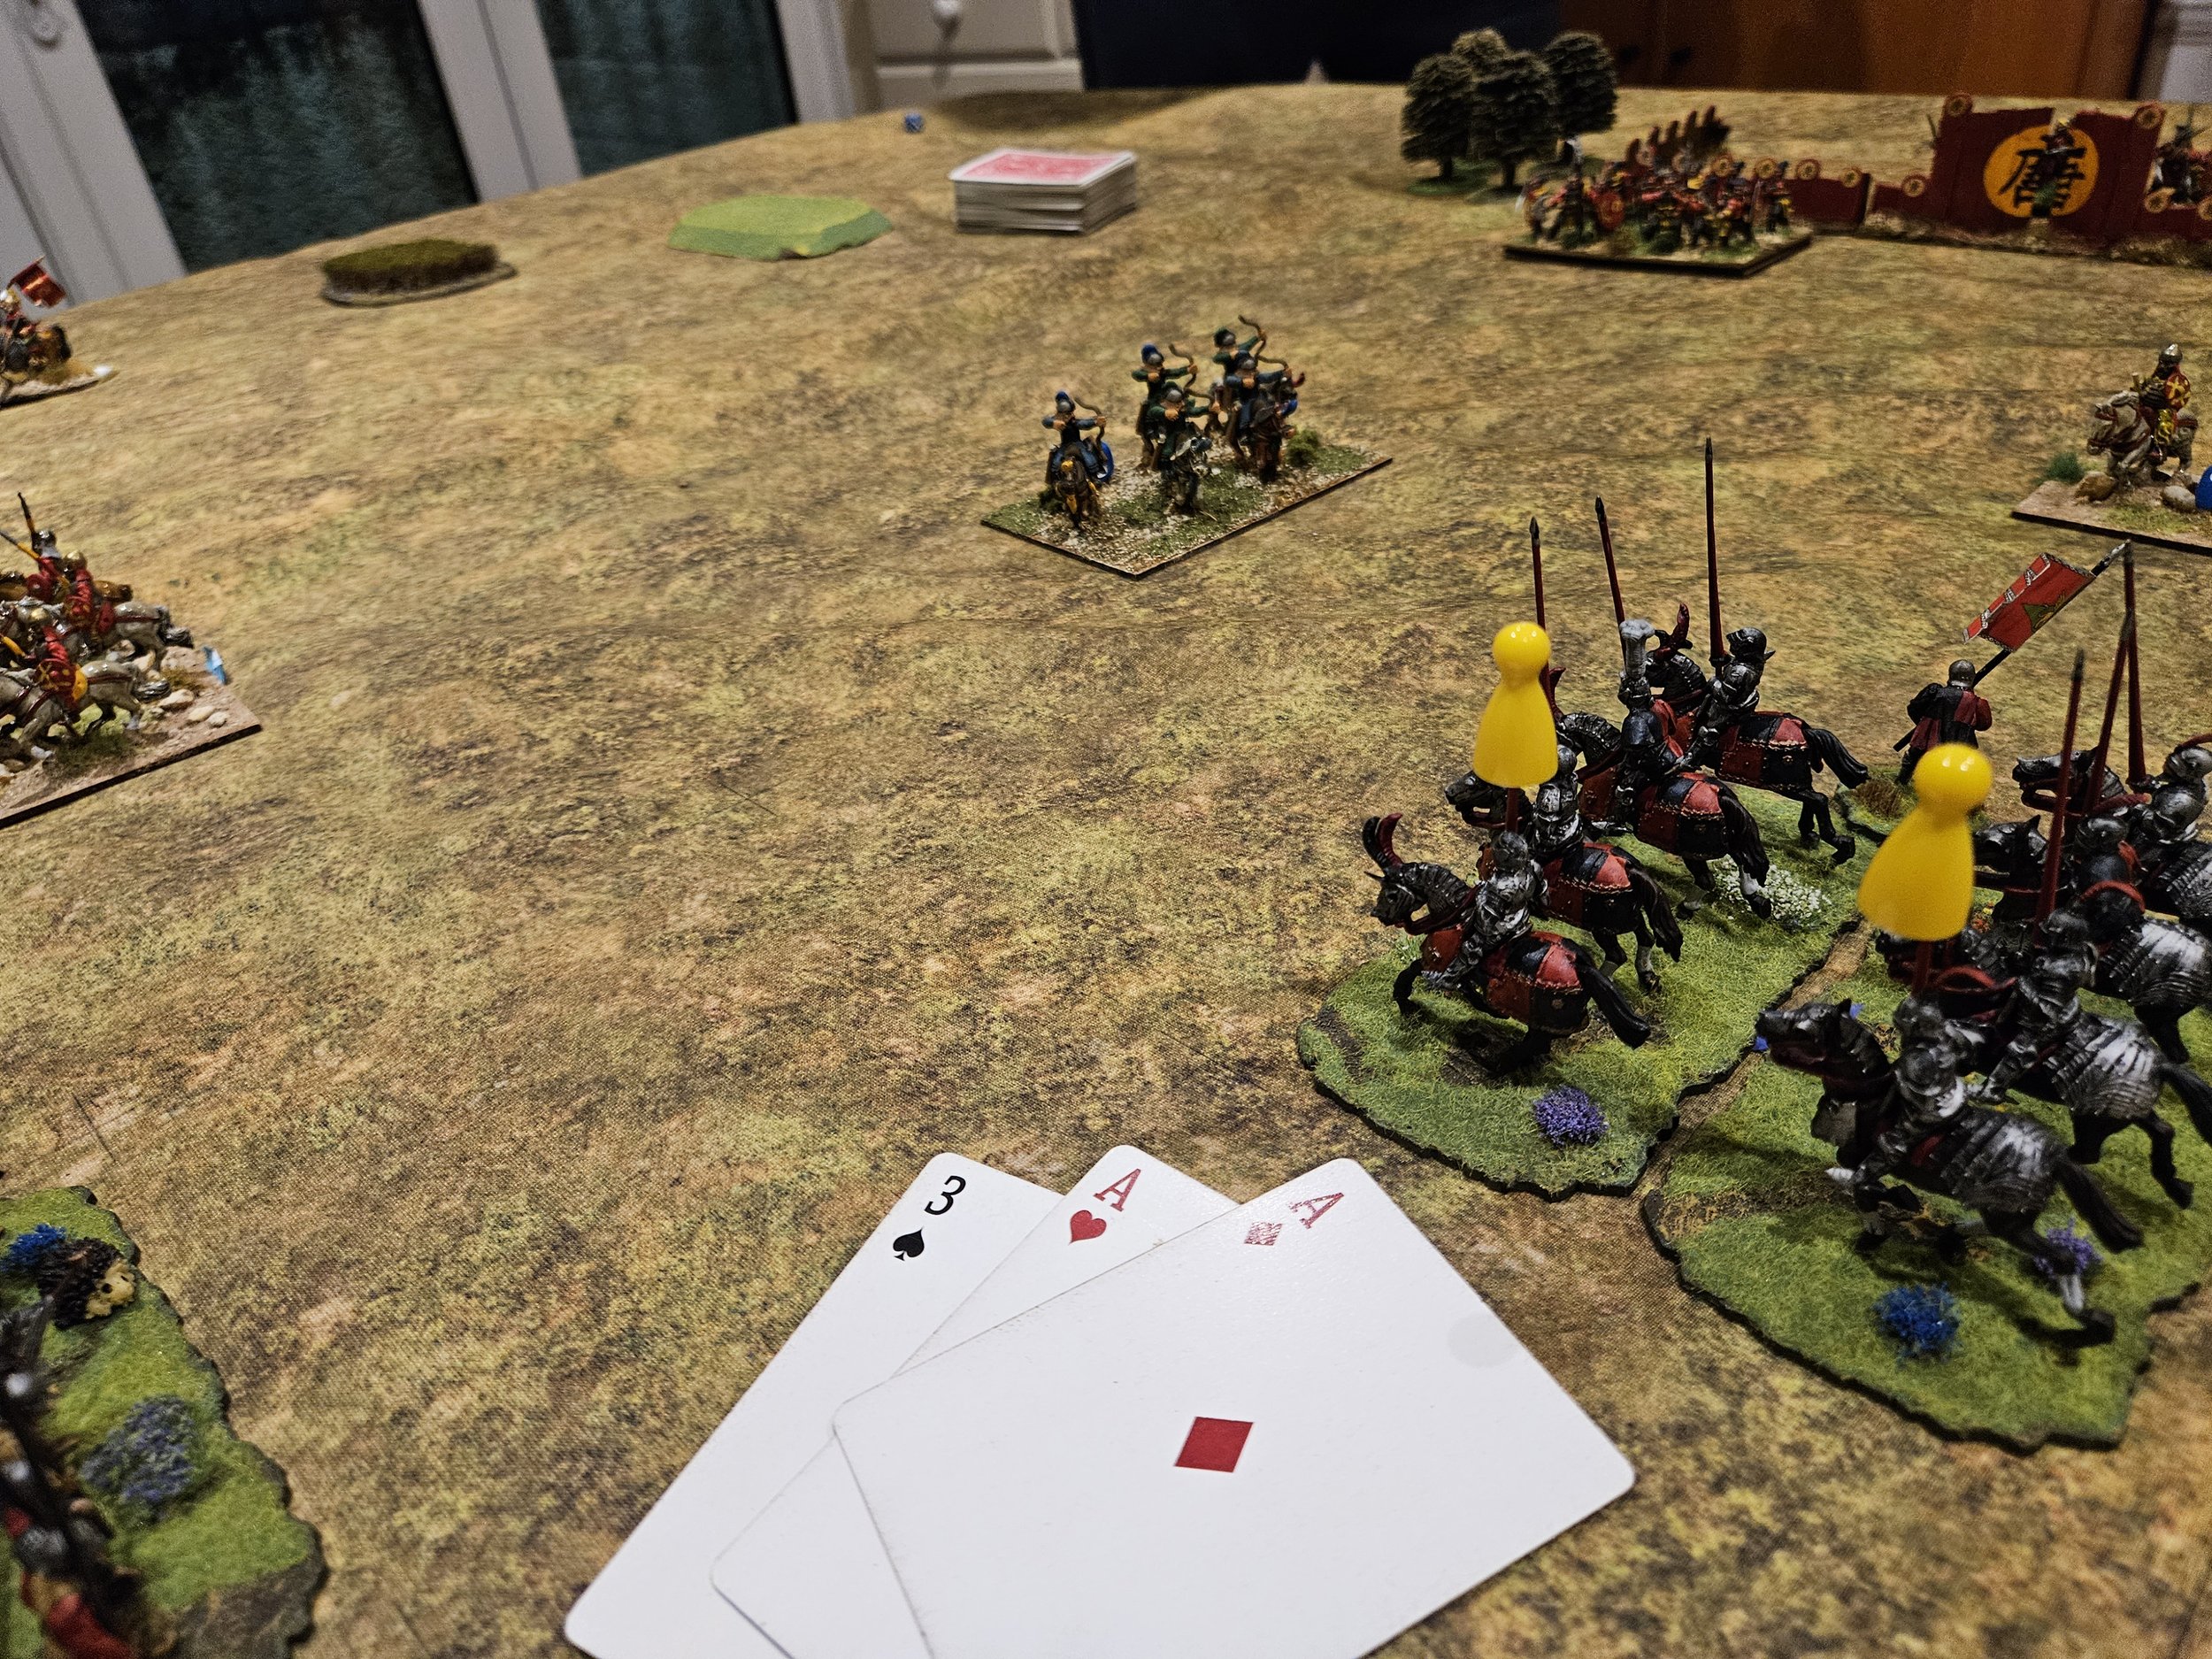
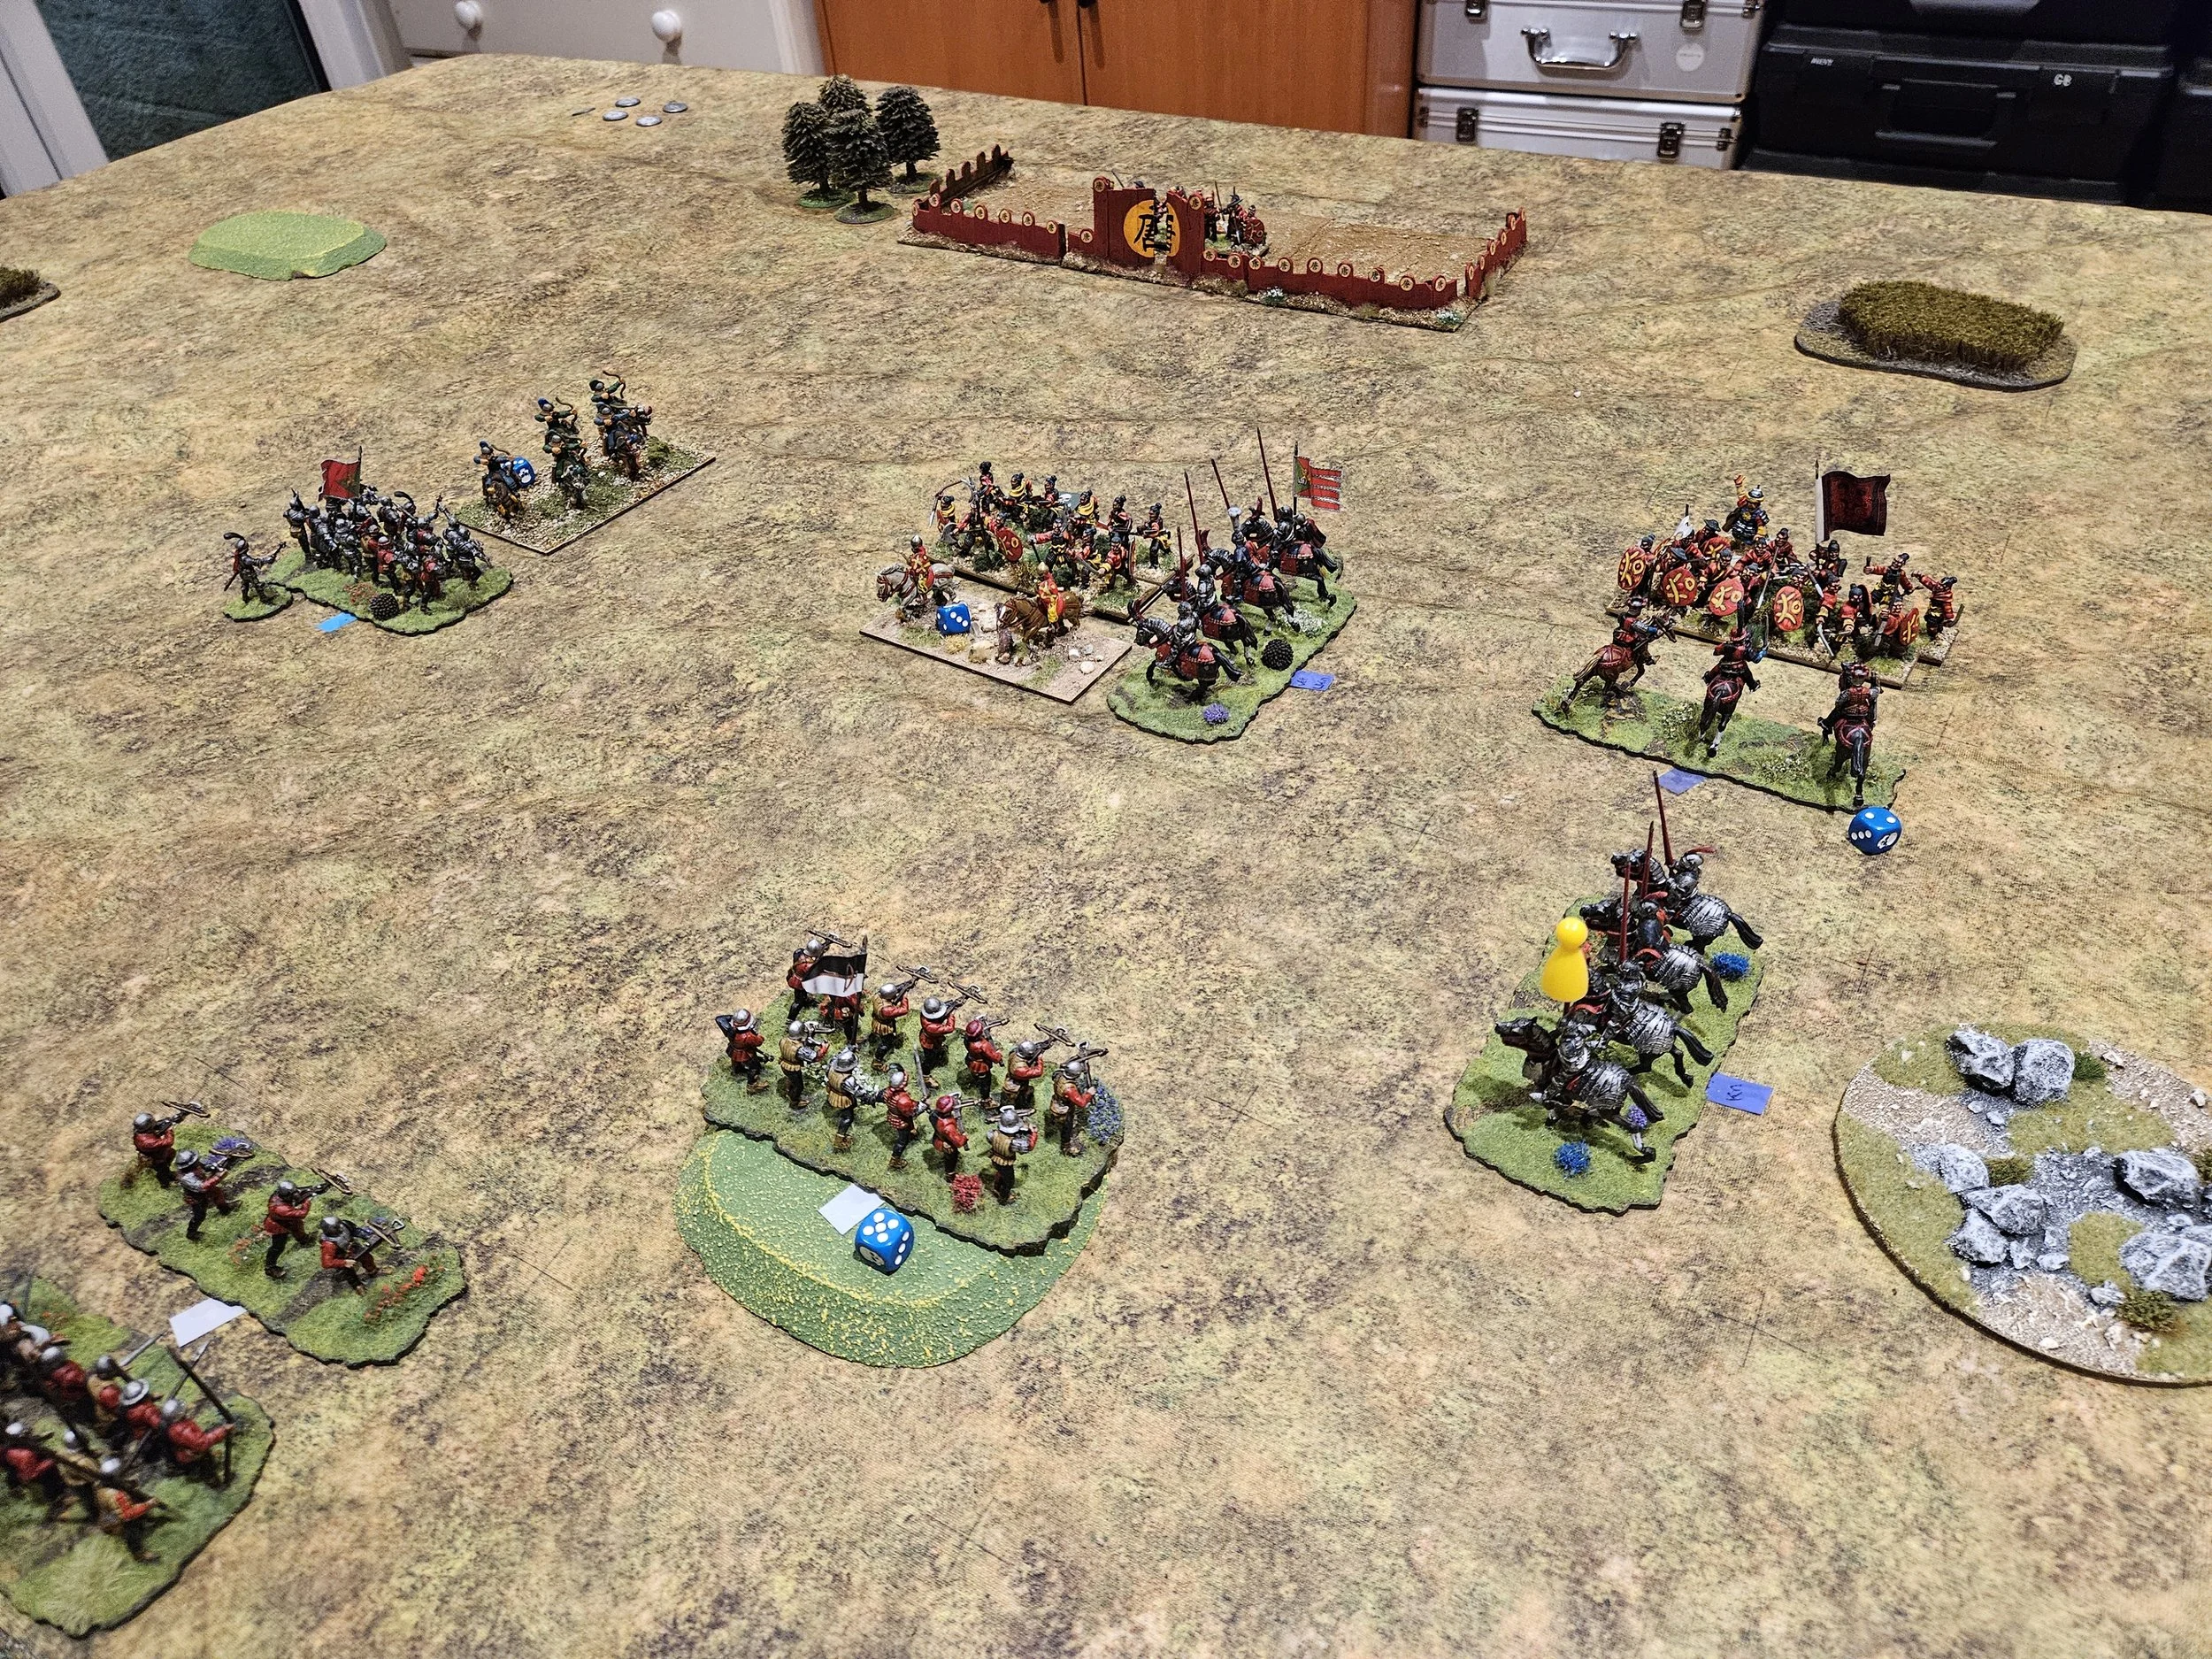
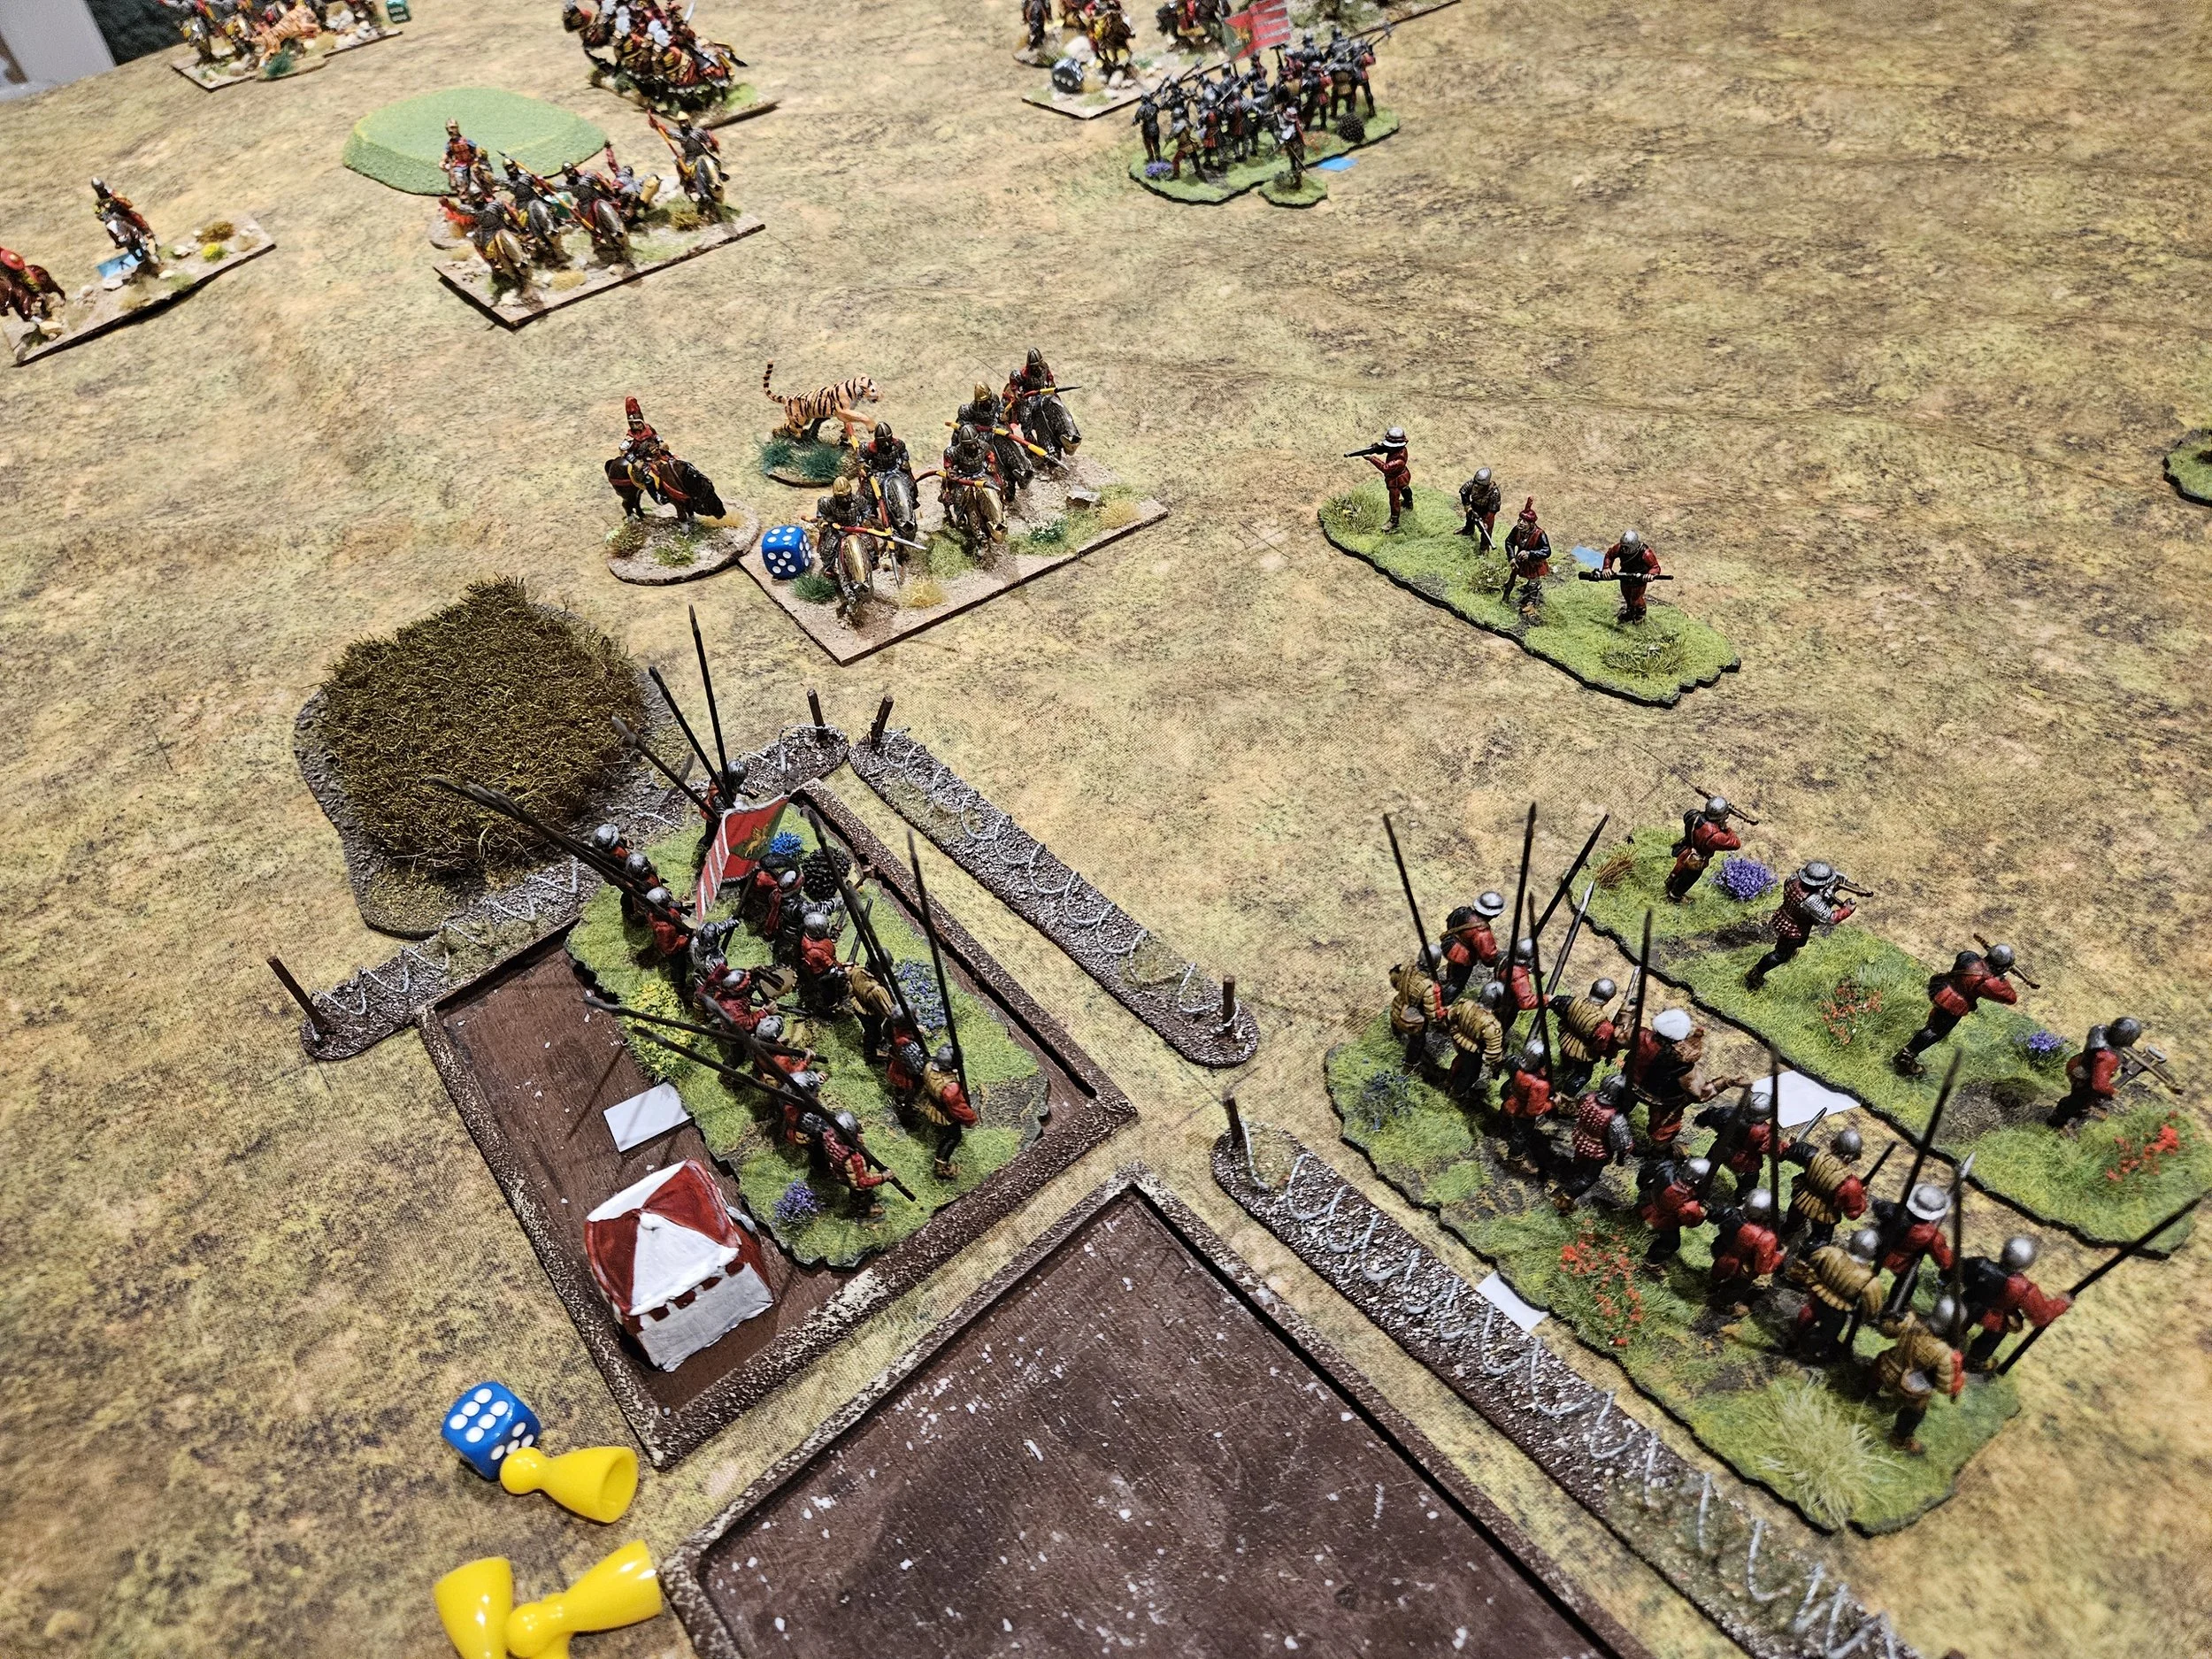
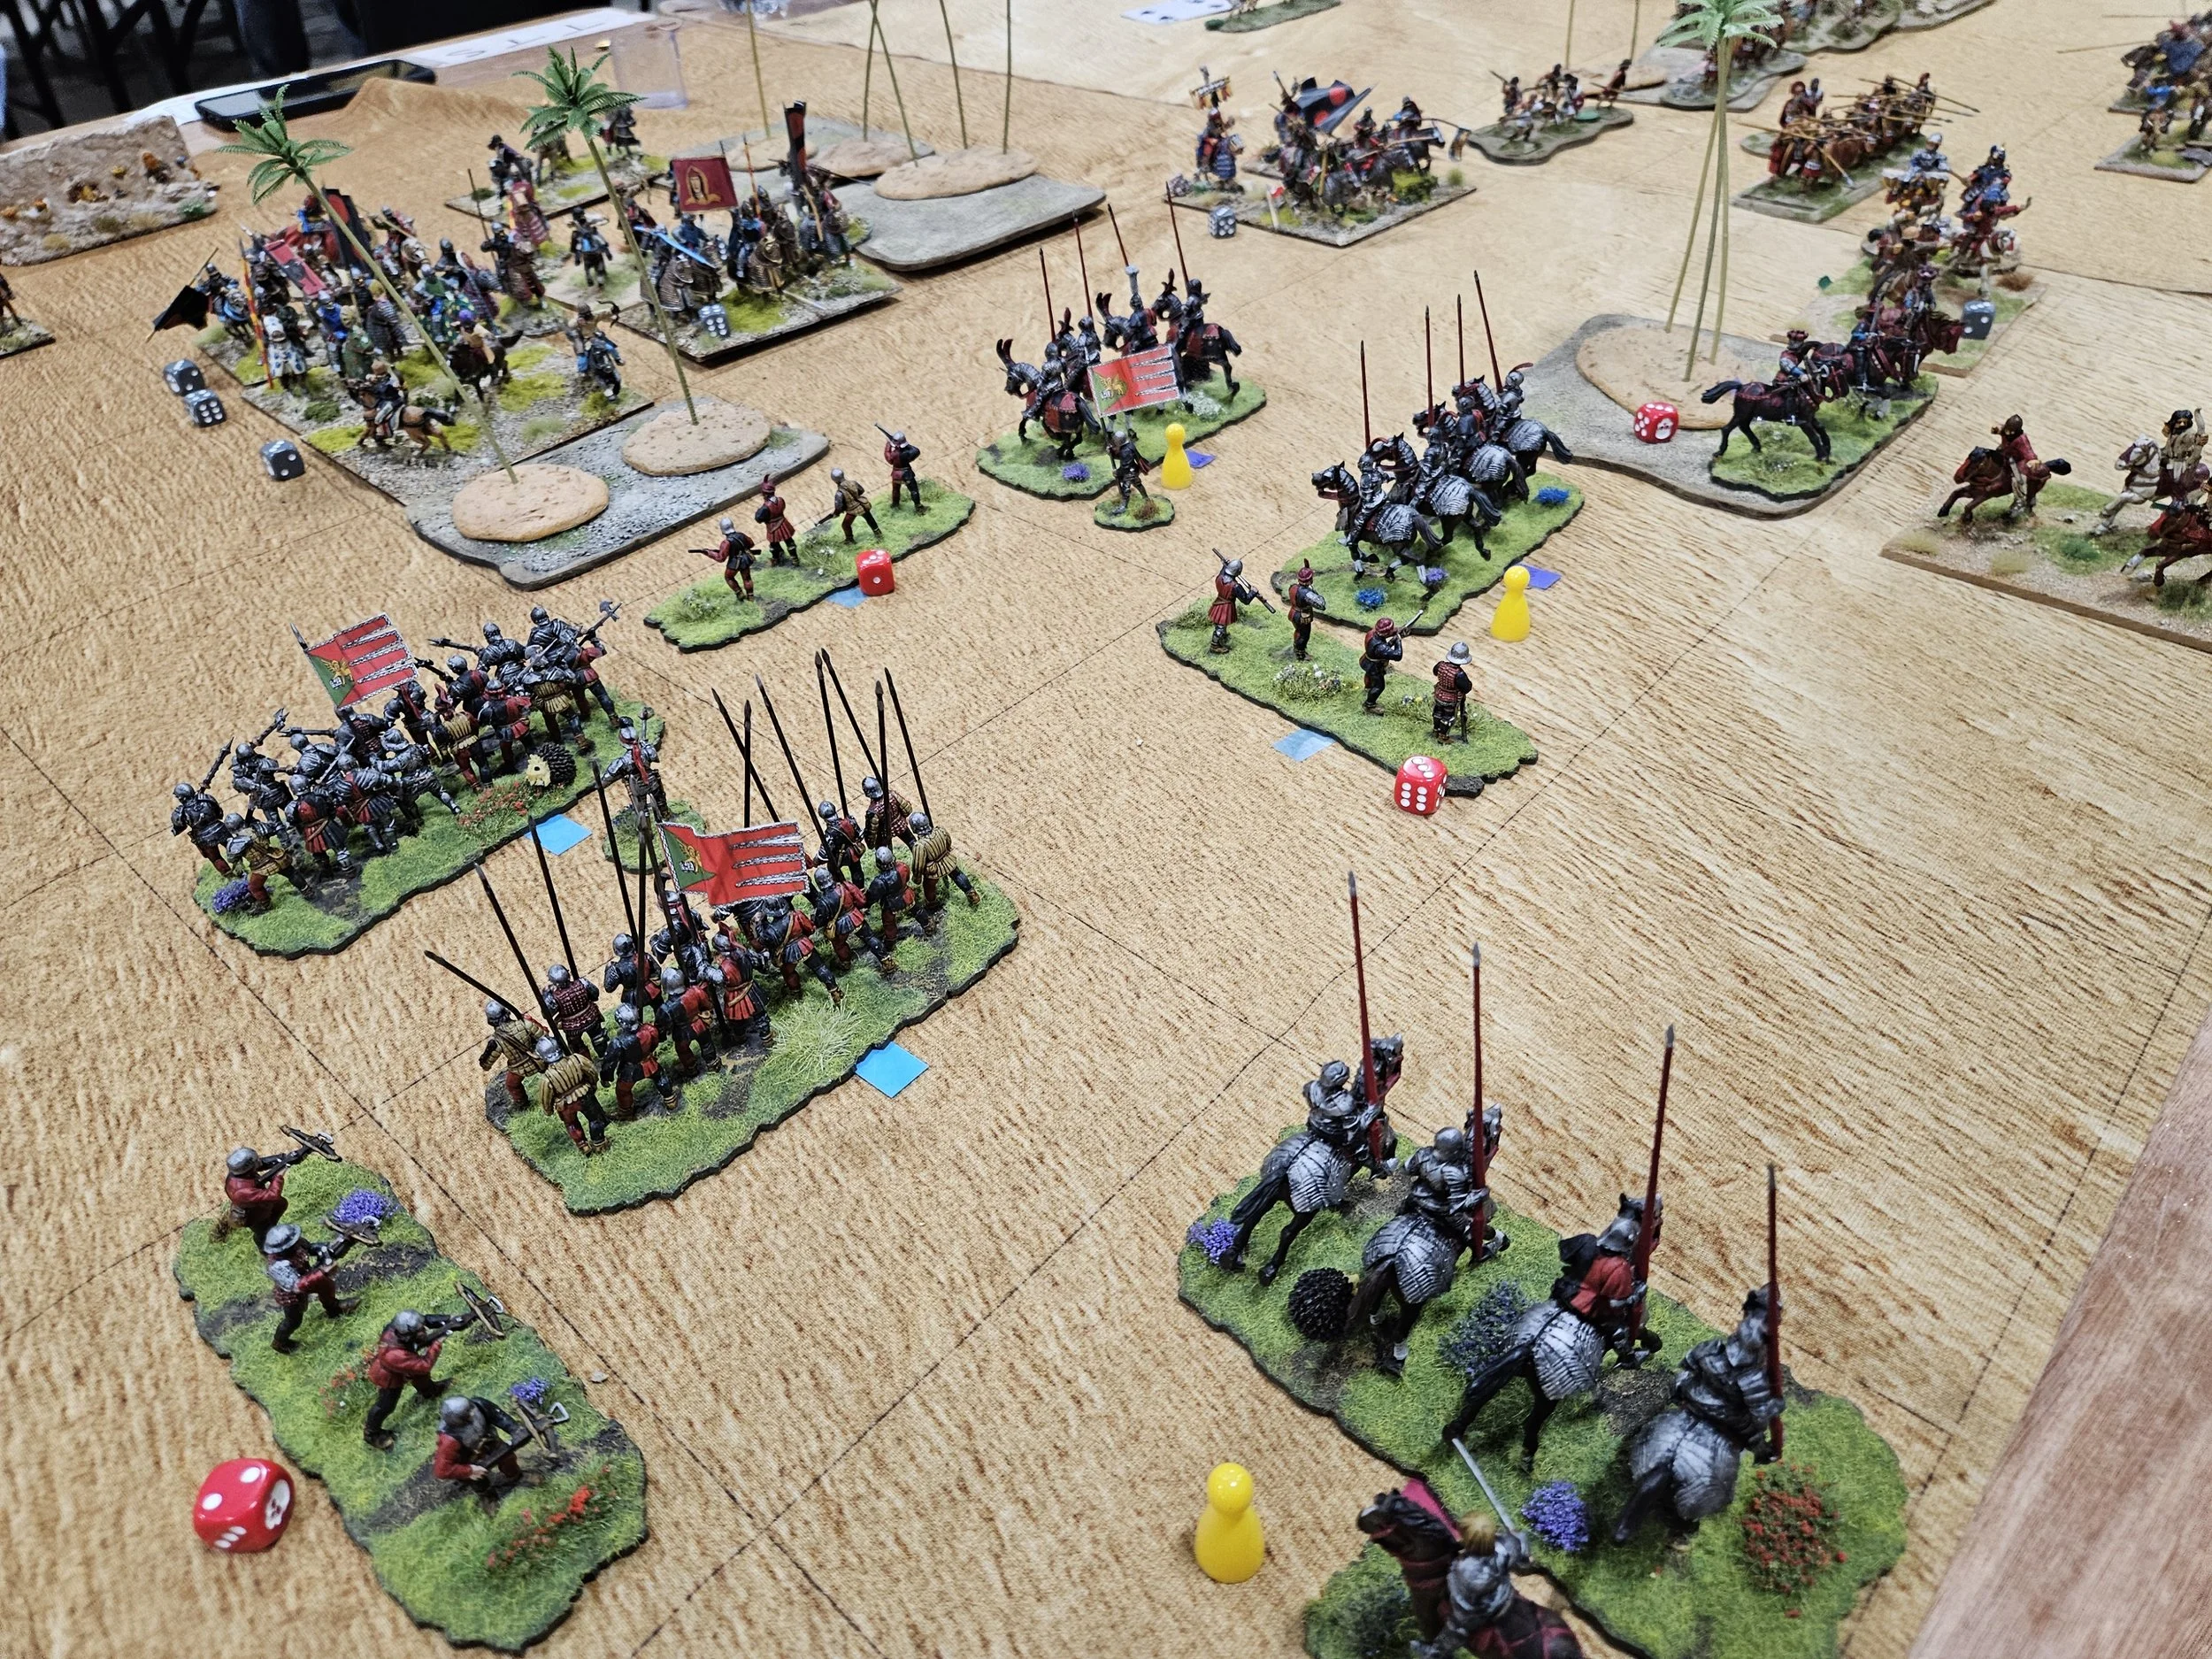
The shooting was also going very well on the right, with a couple of units of raw fanatics neutralised, so I thought it was safe to send the infantry forward to distract Colin’s main line whilst I developed my flank attack on the left.
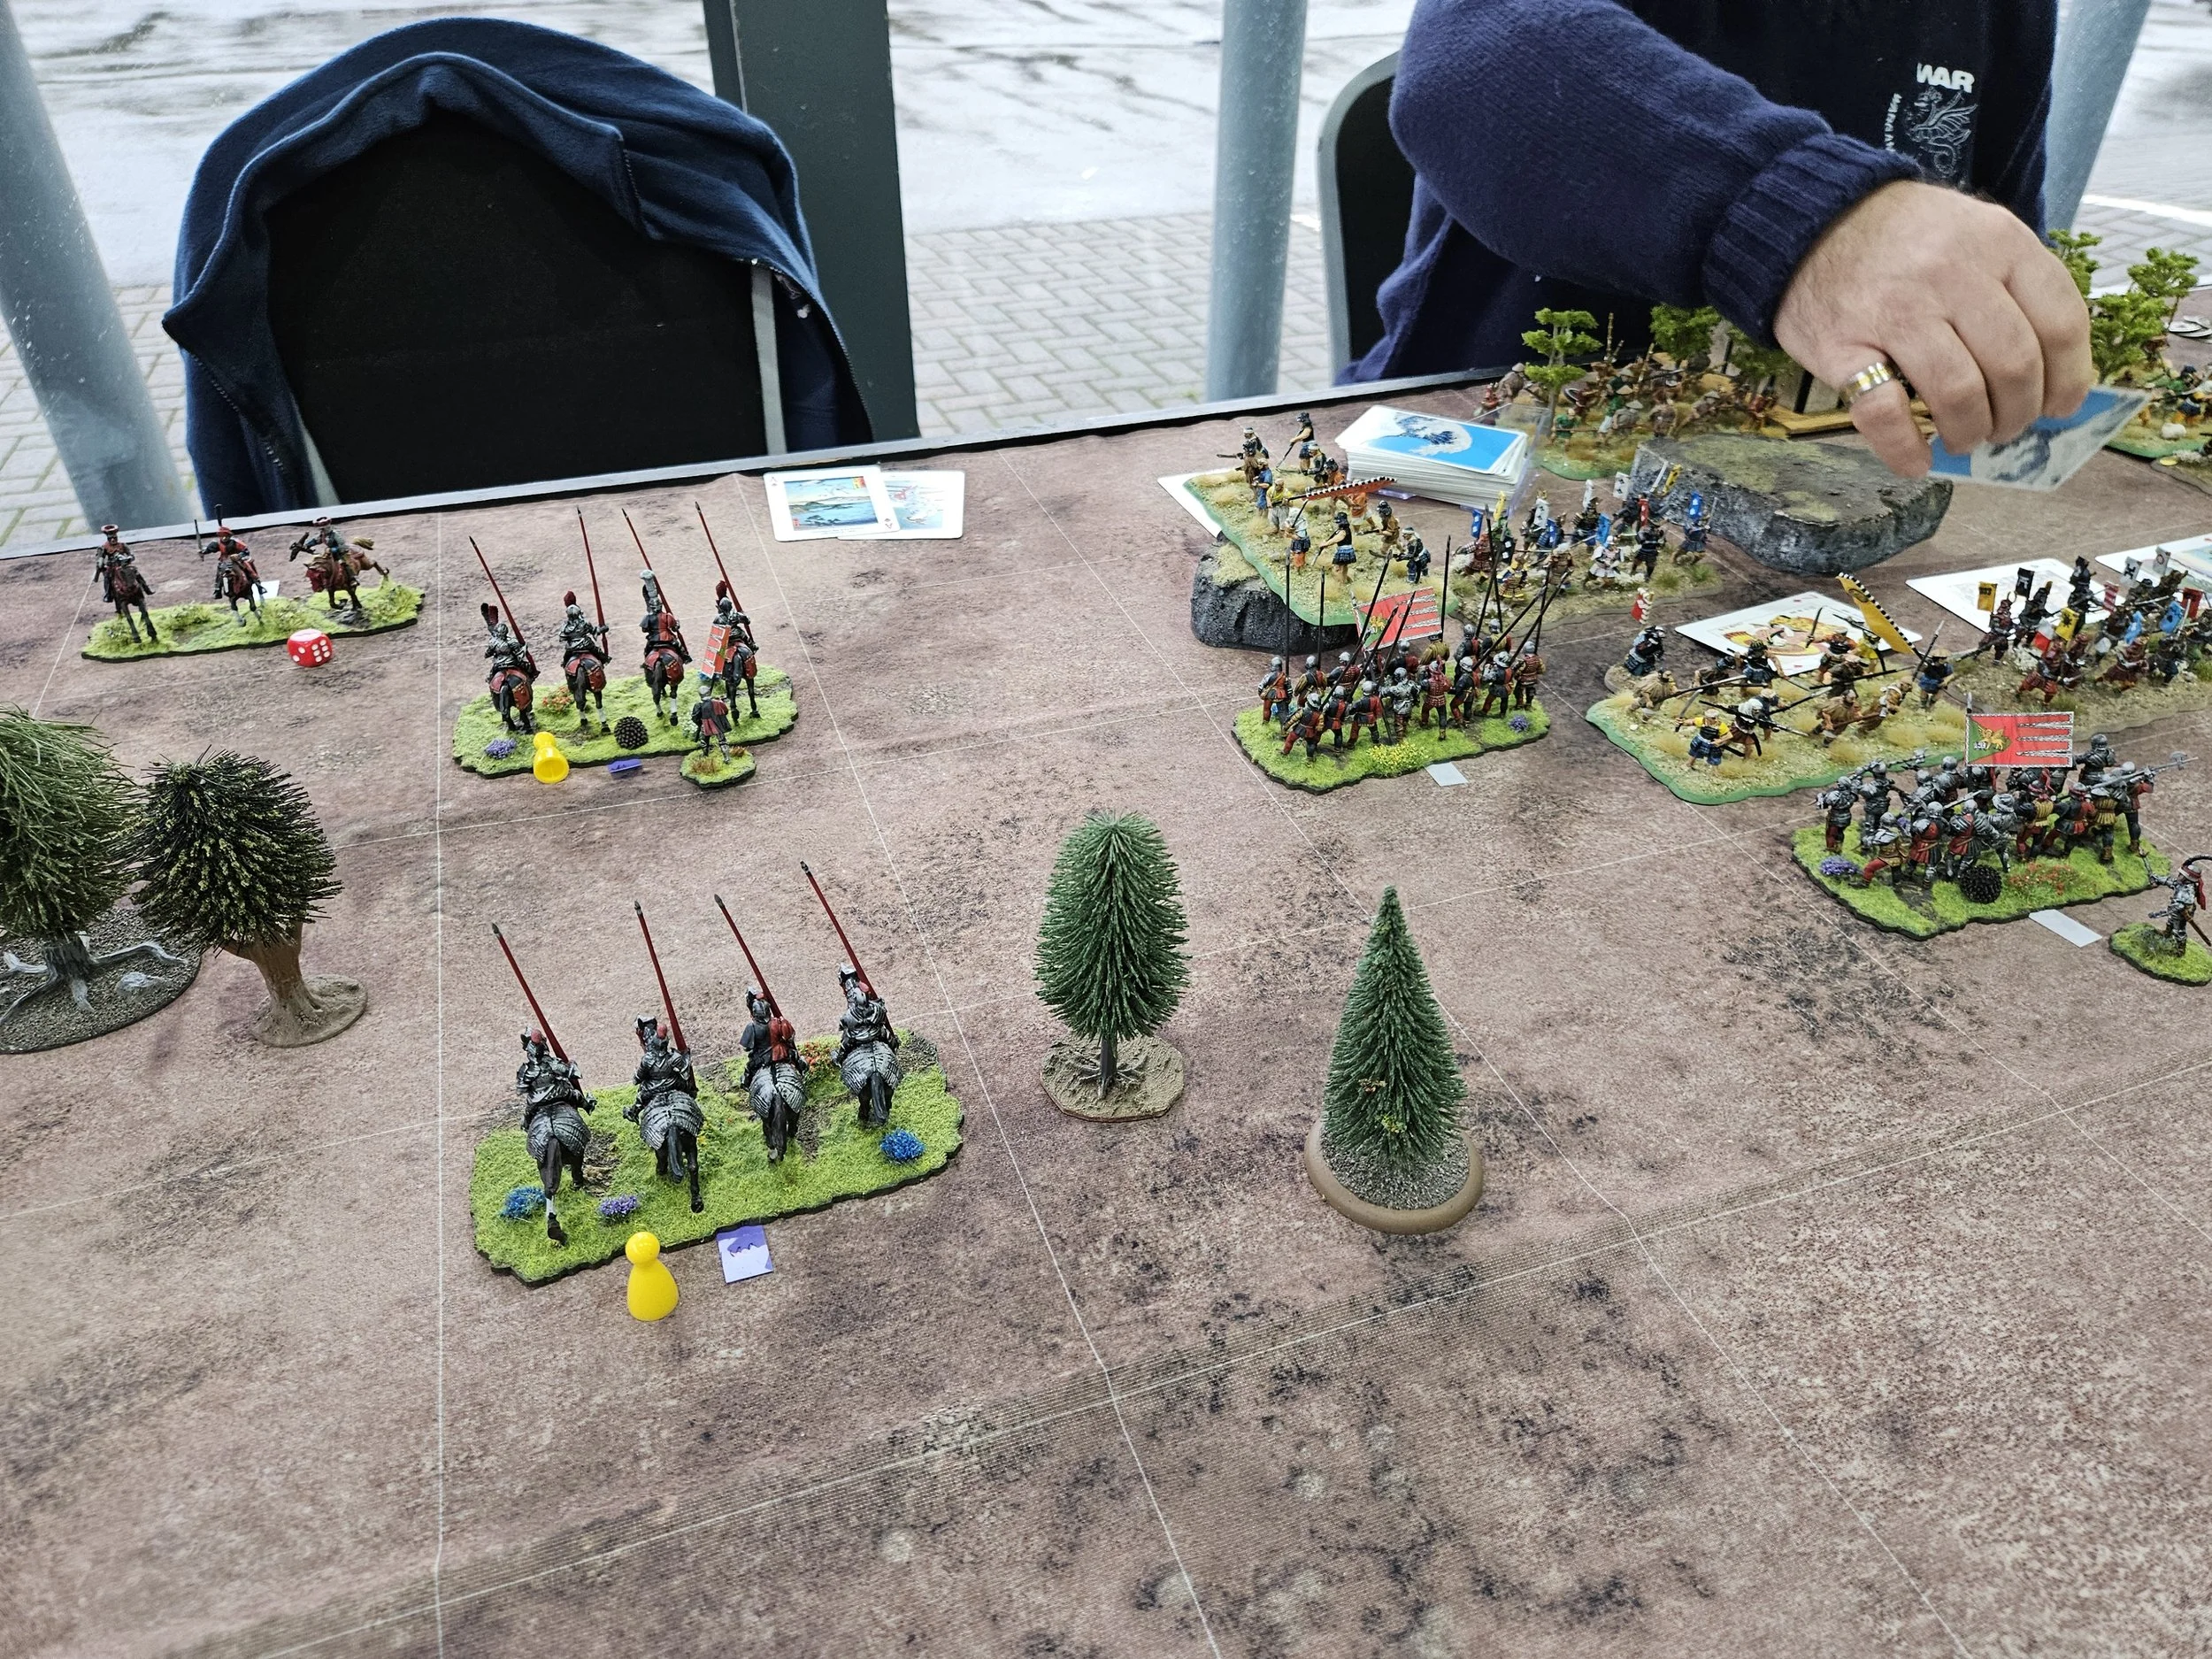
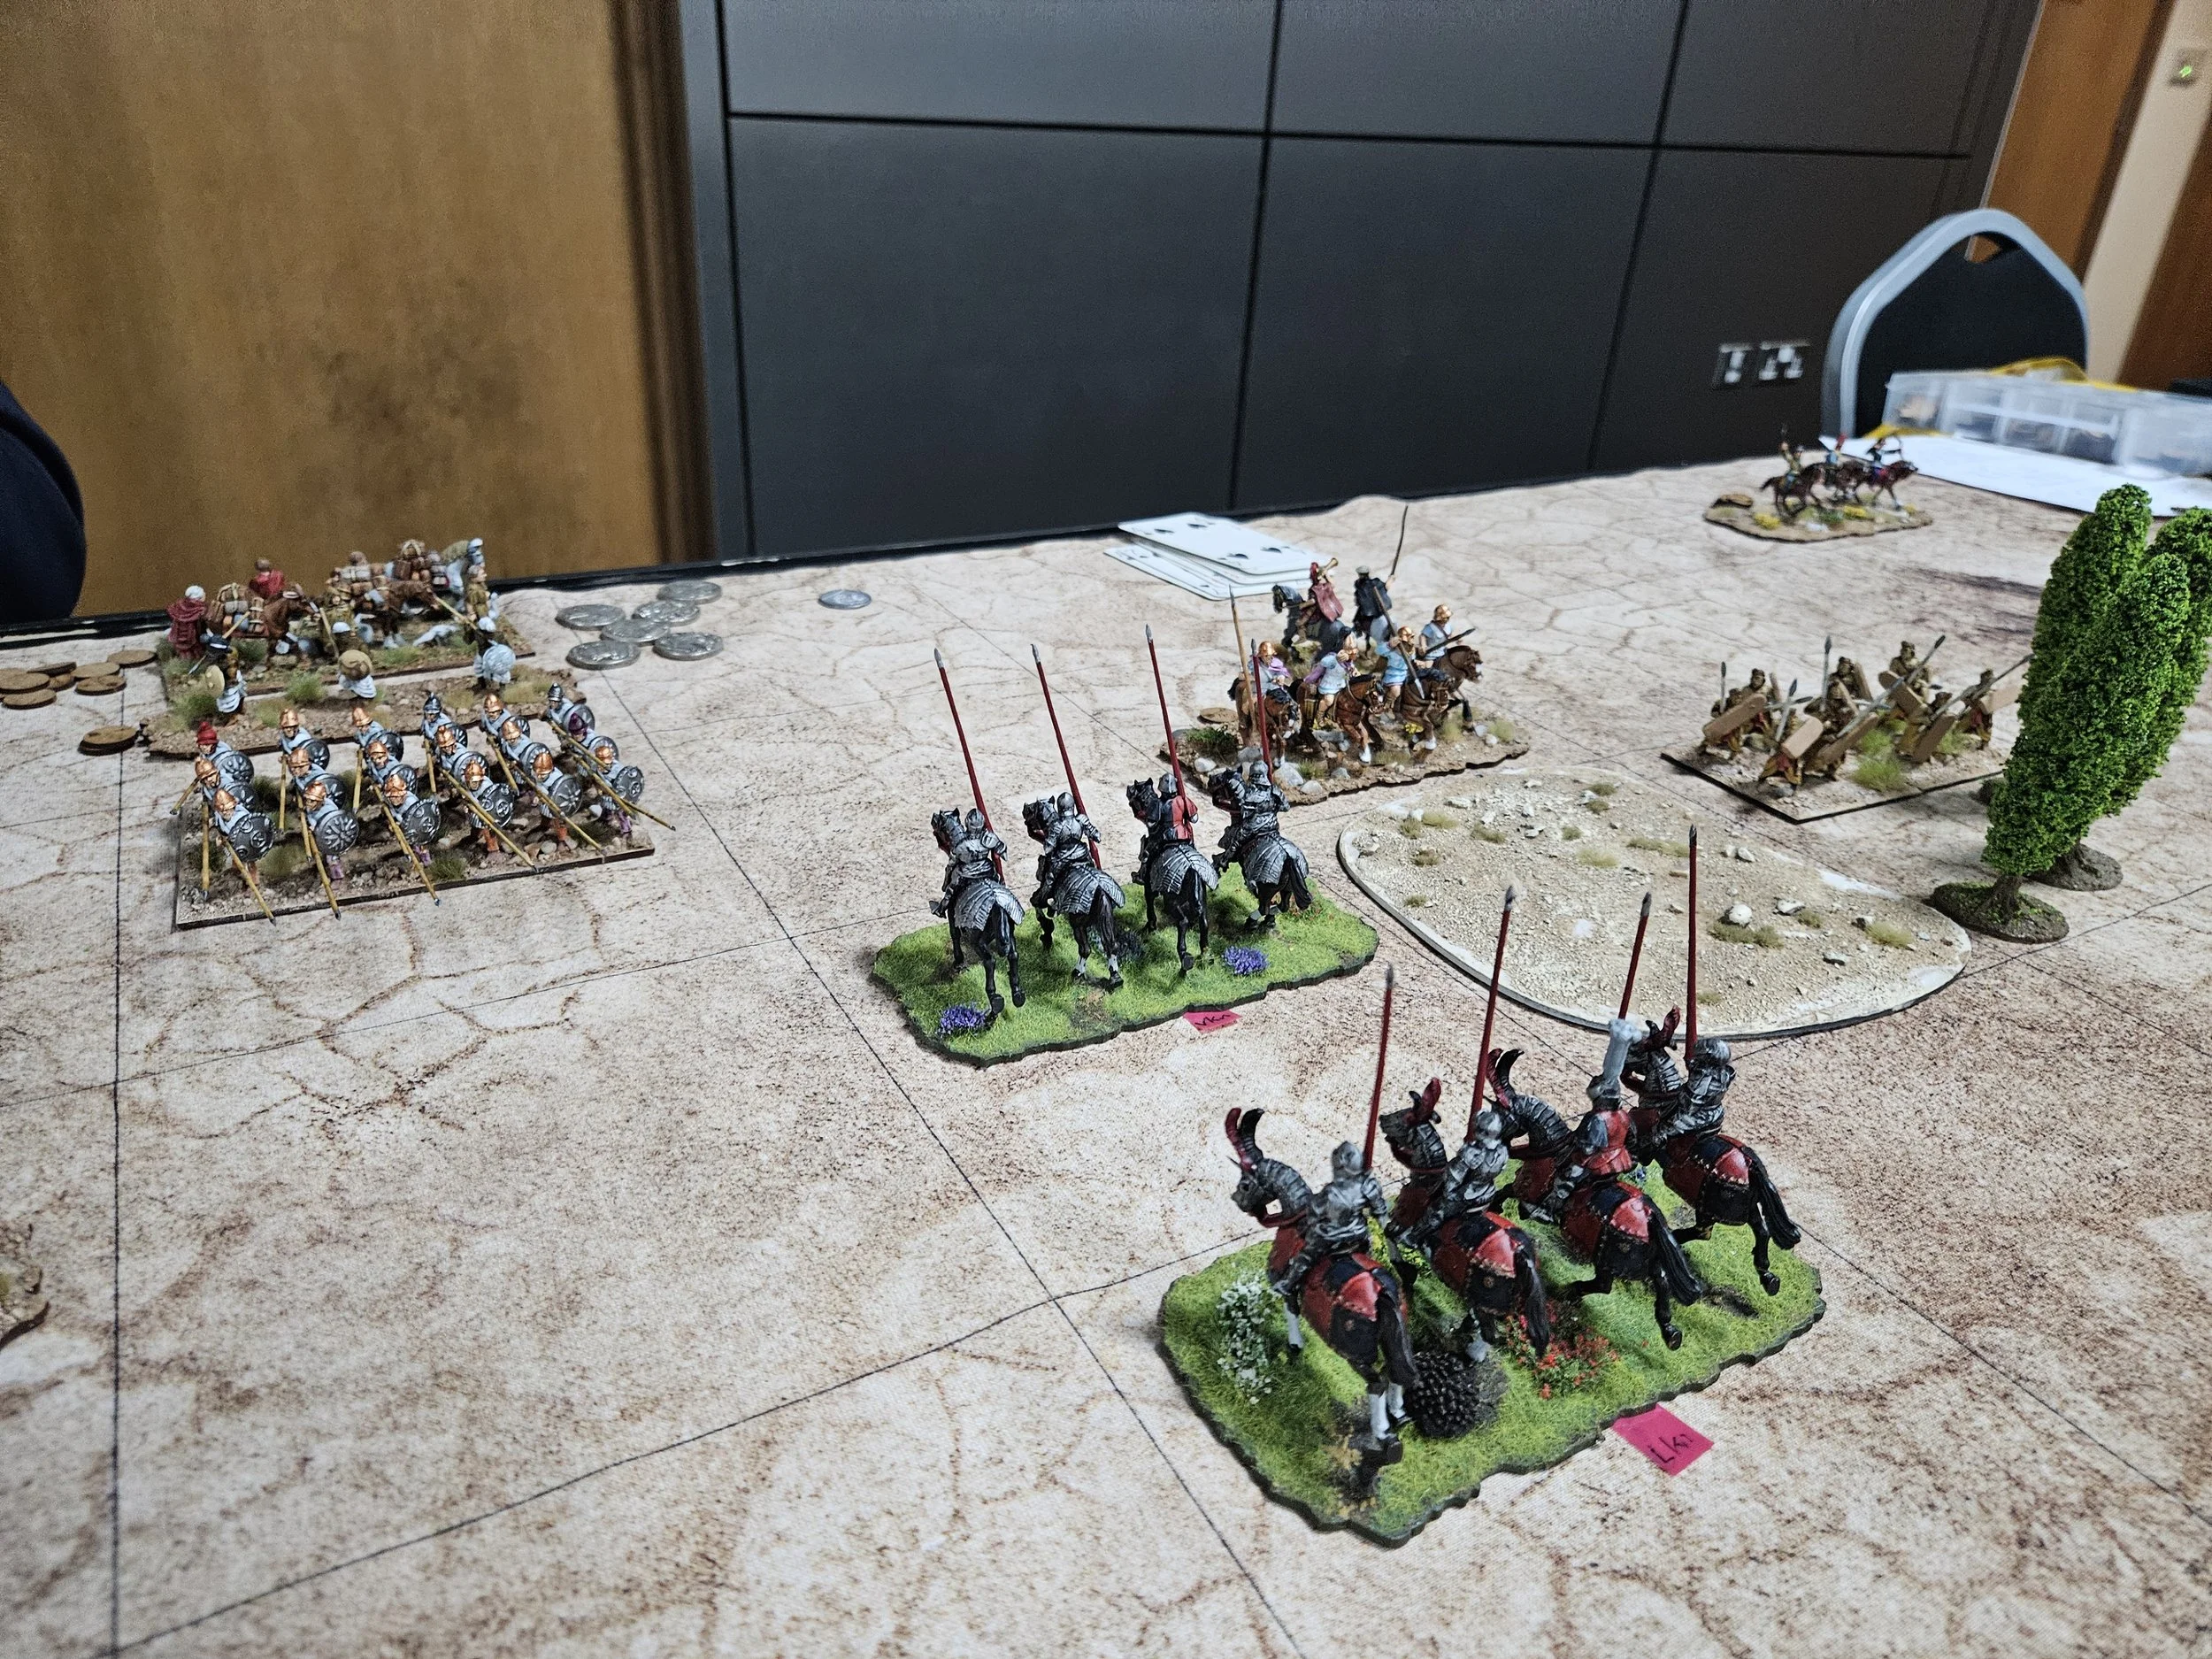
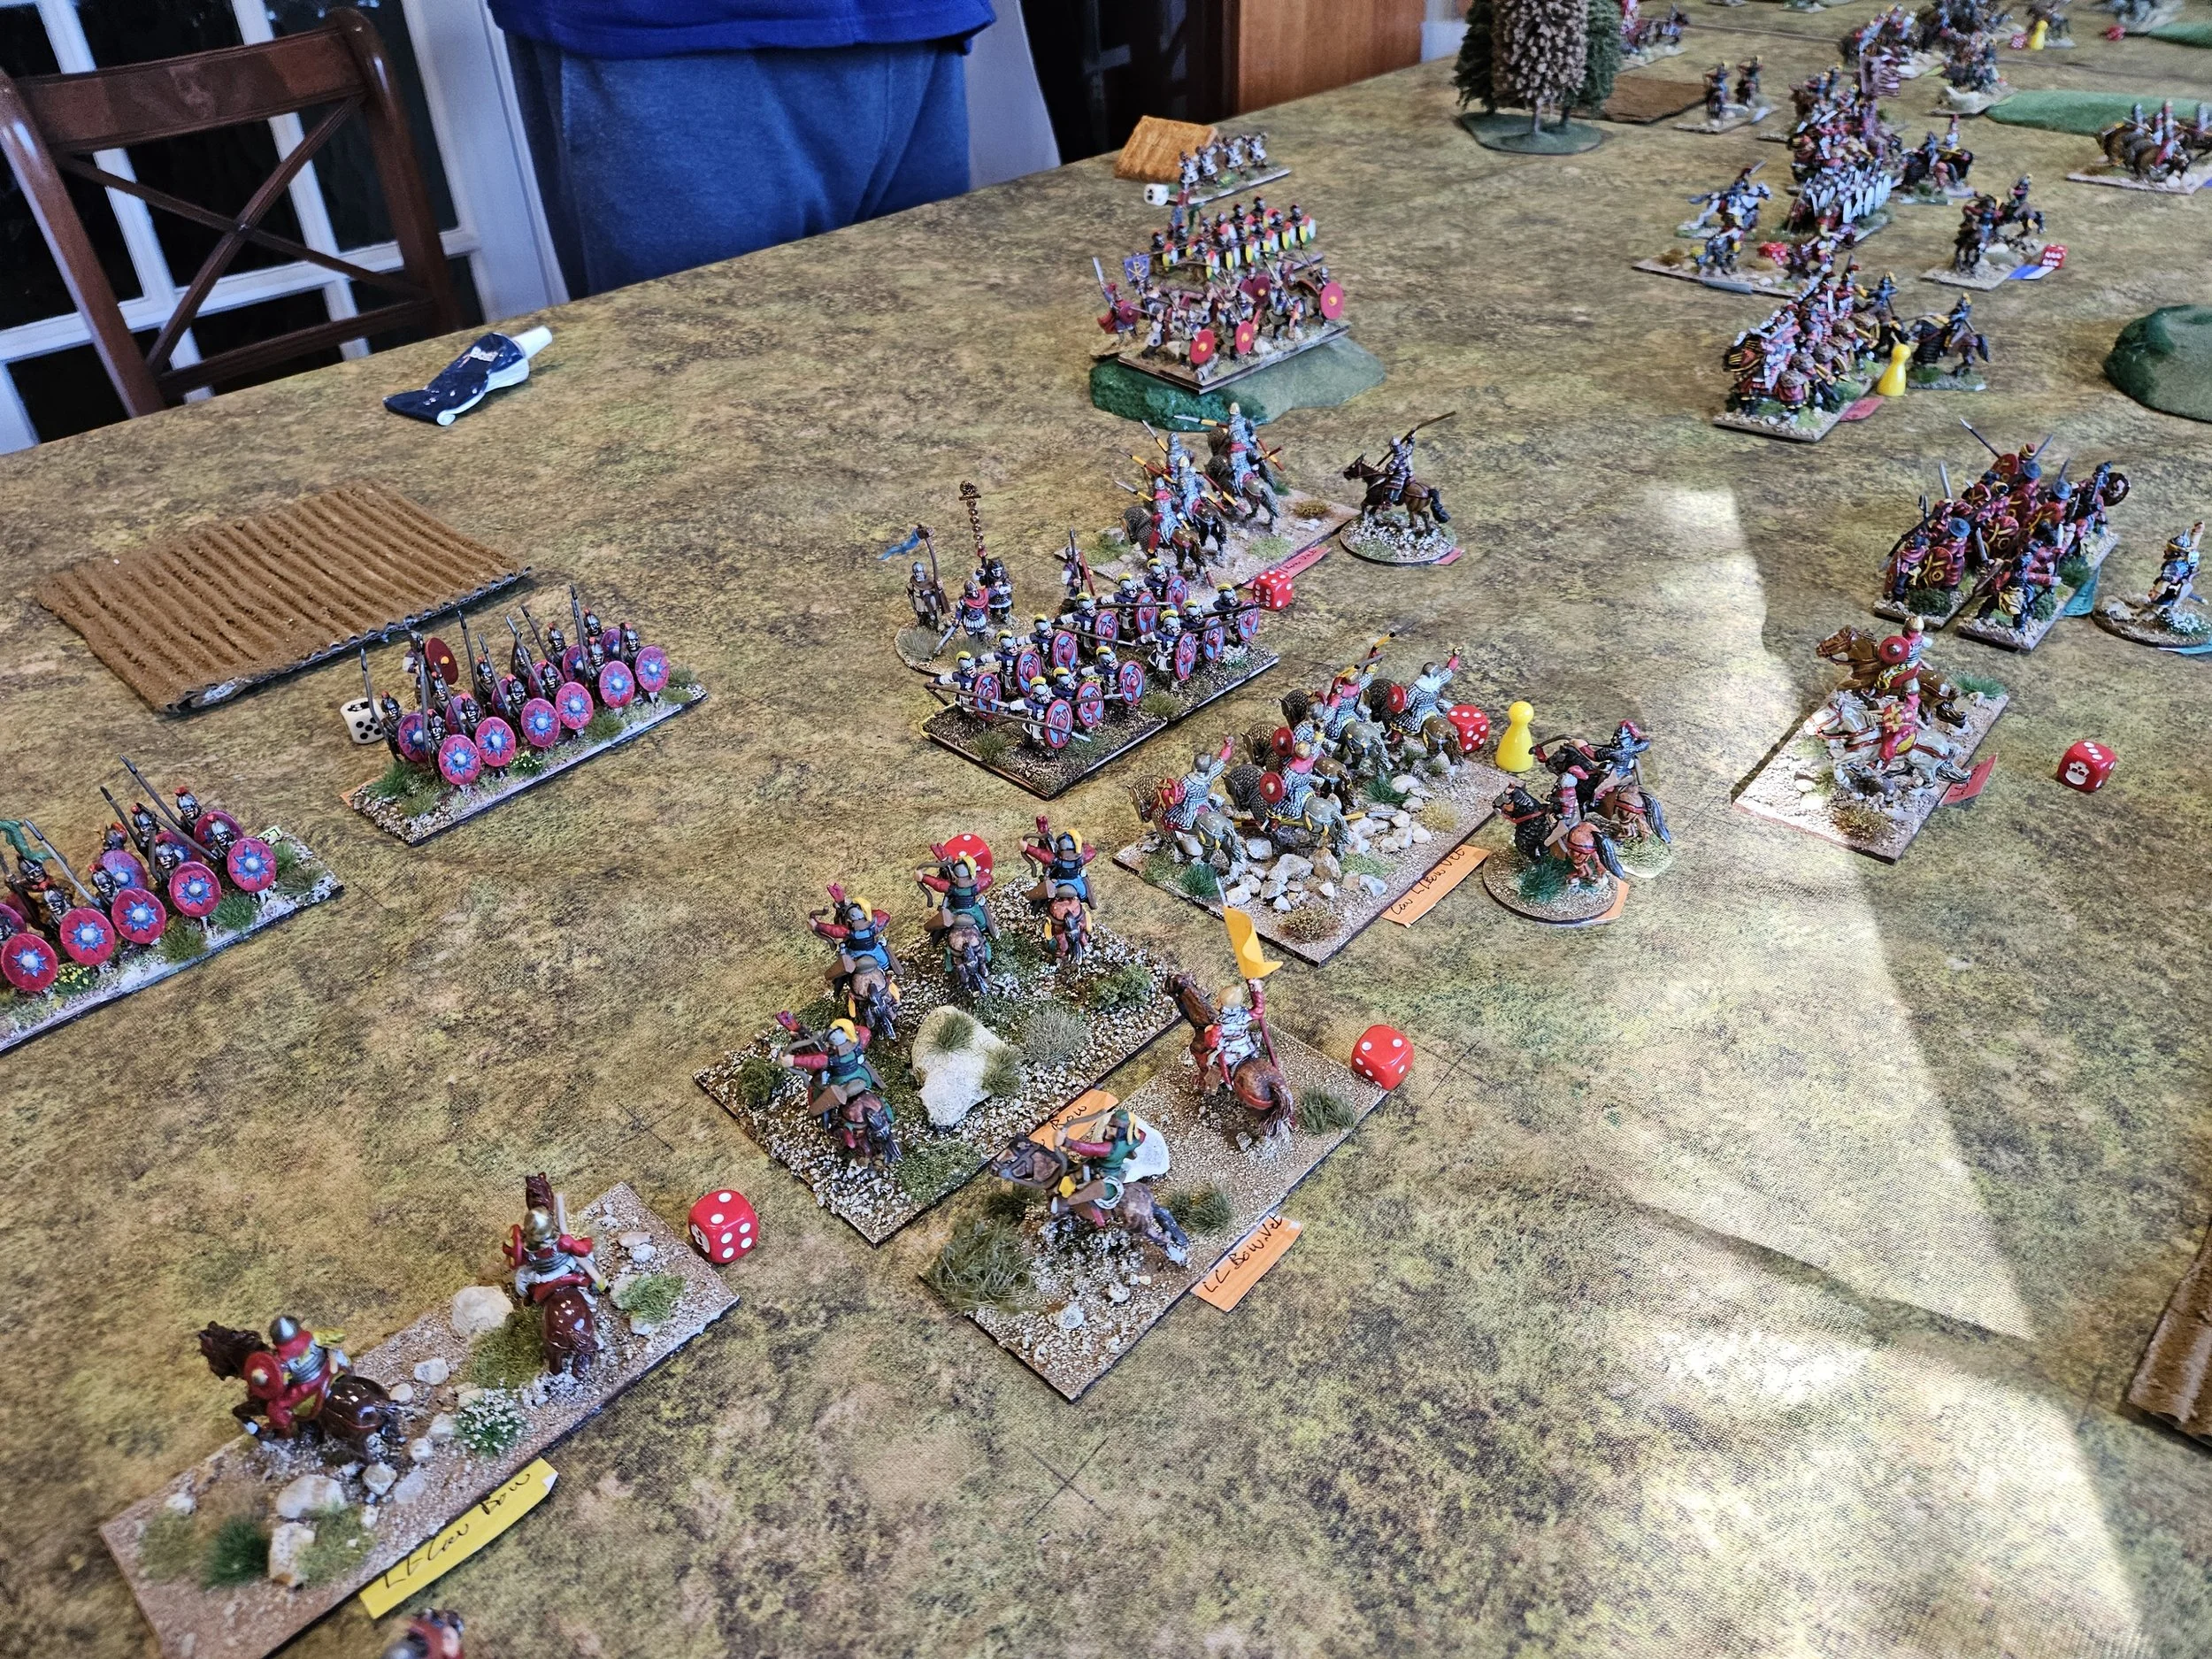
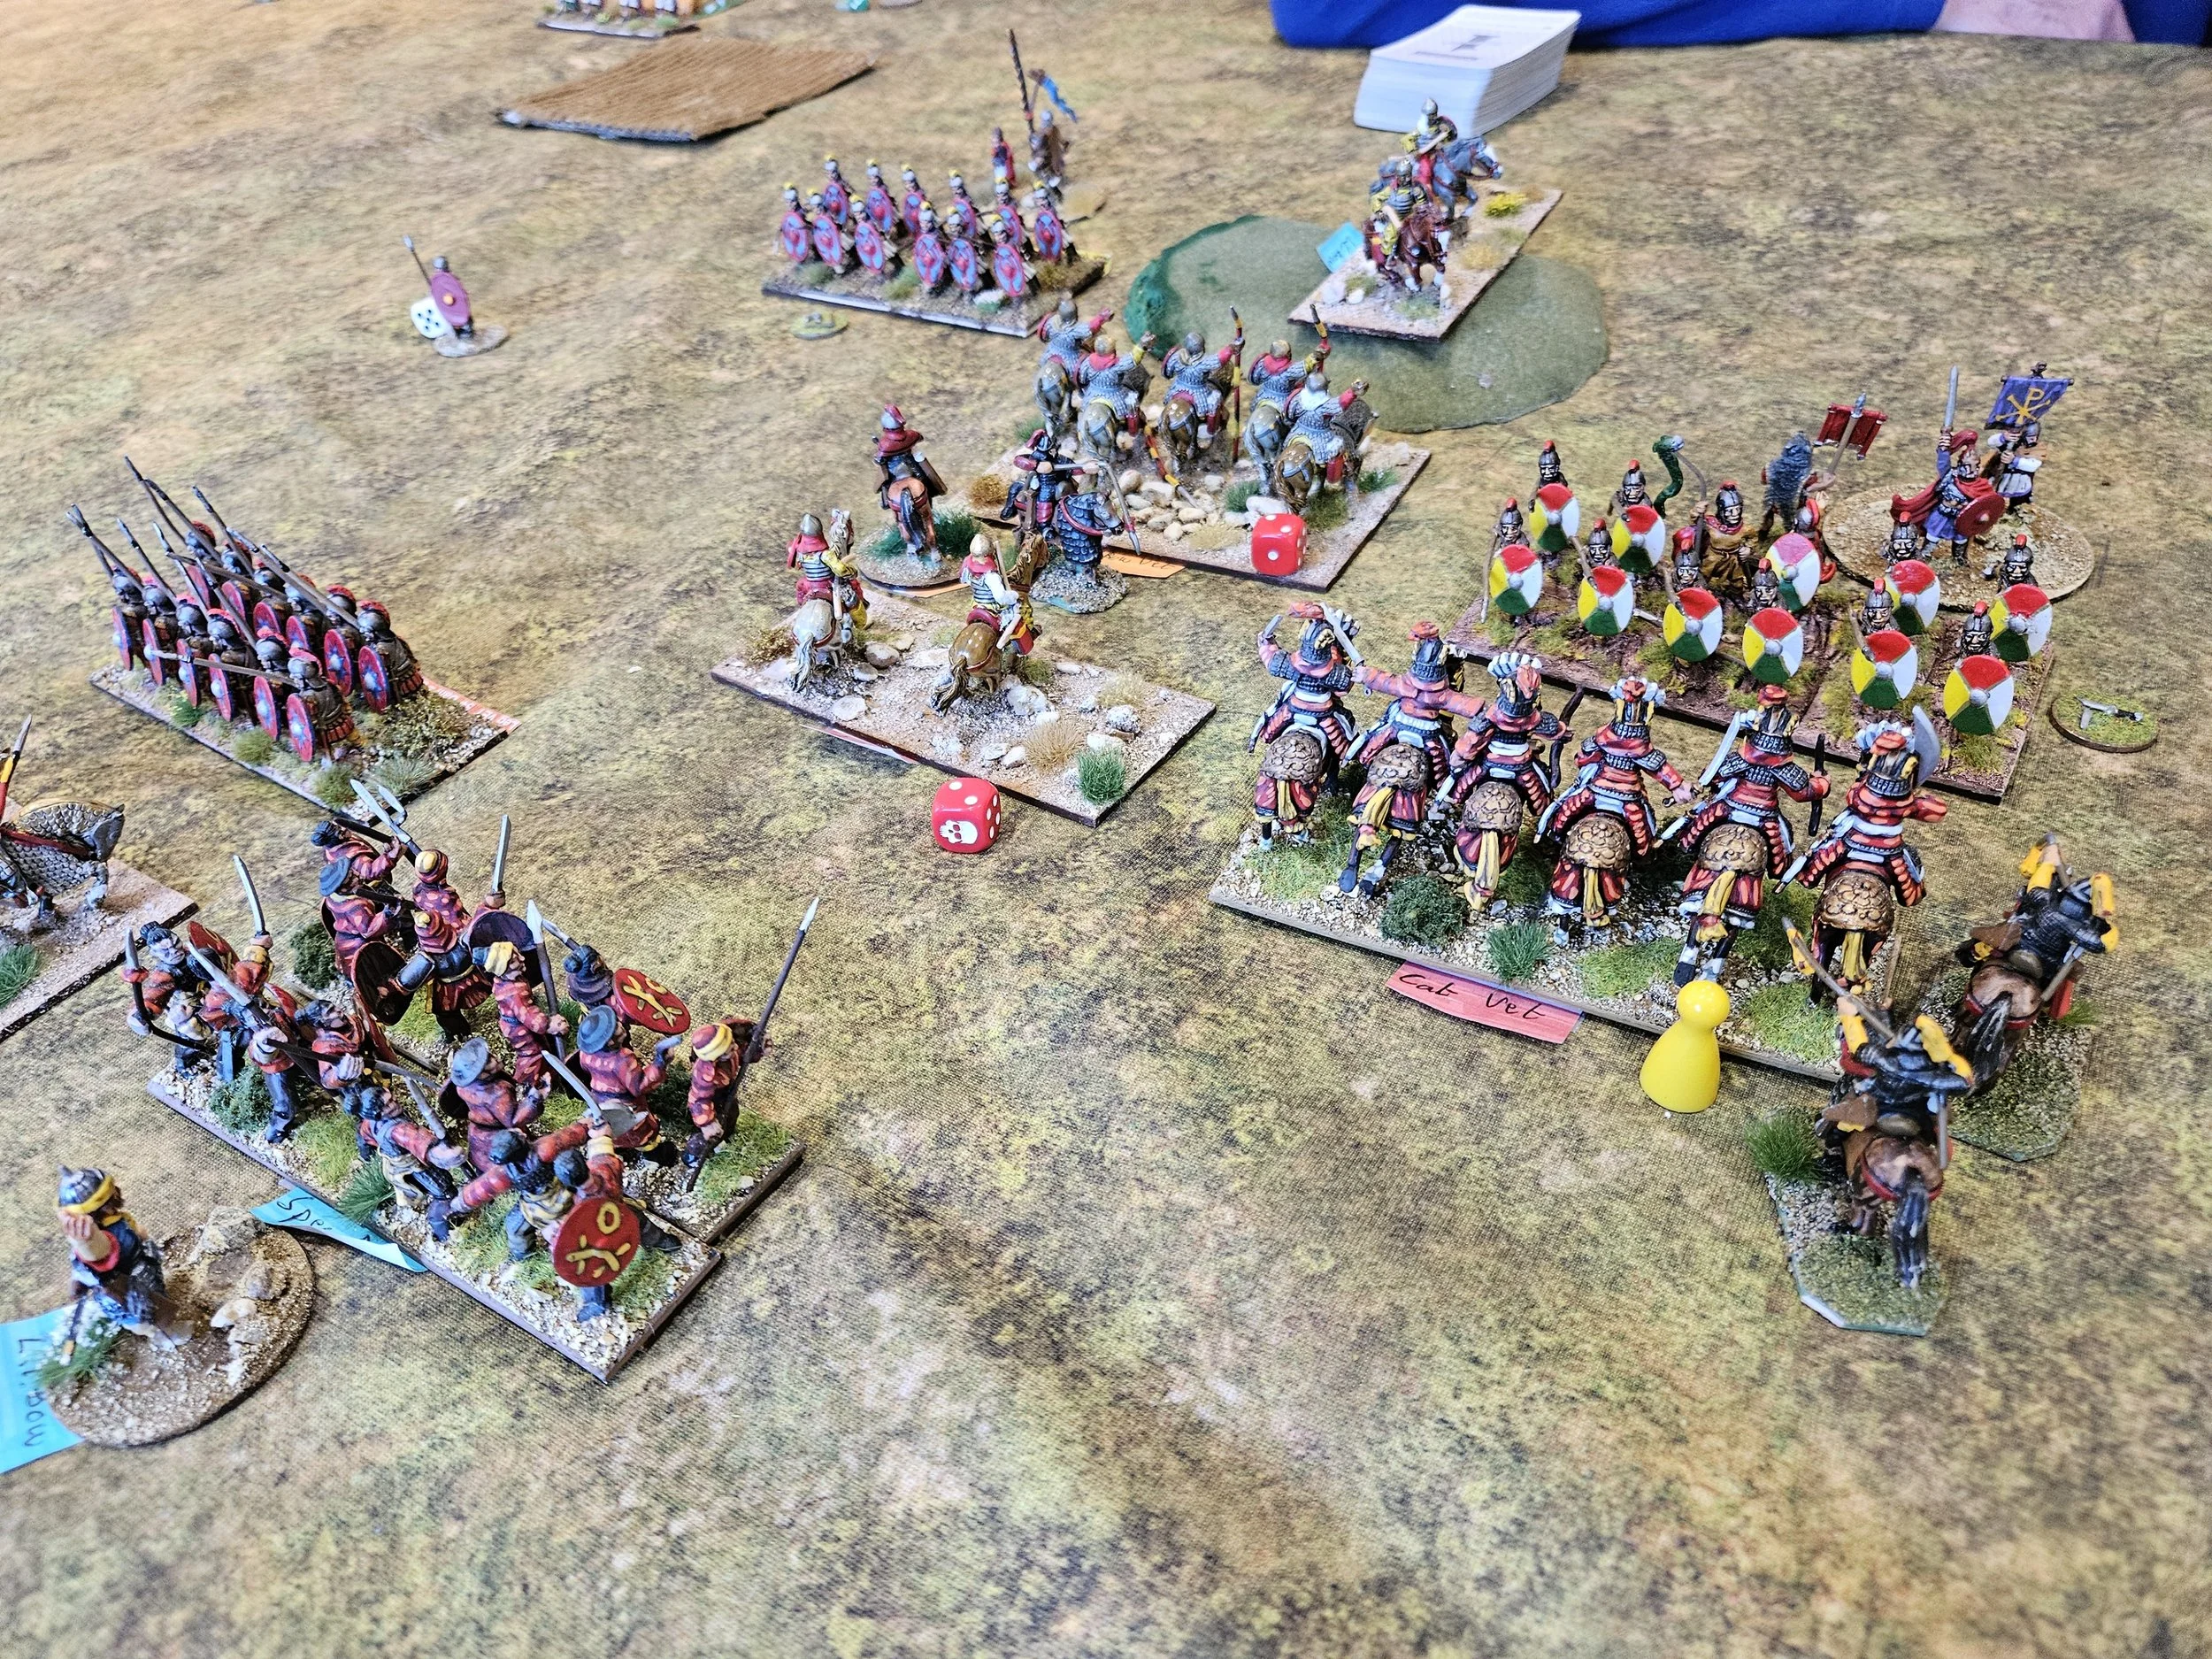
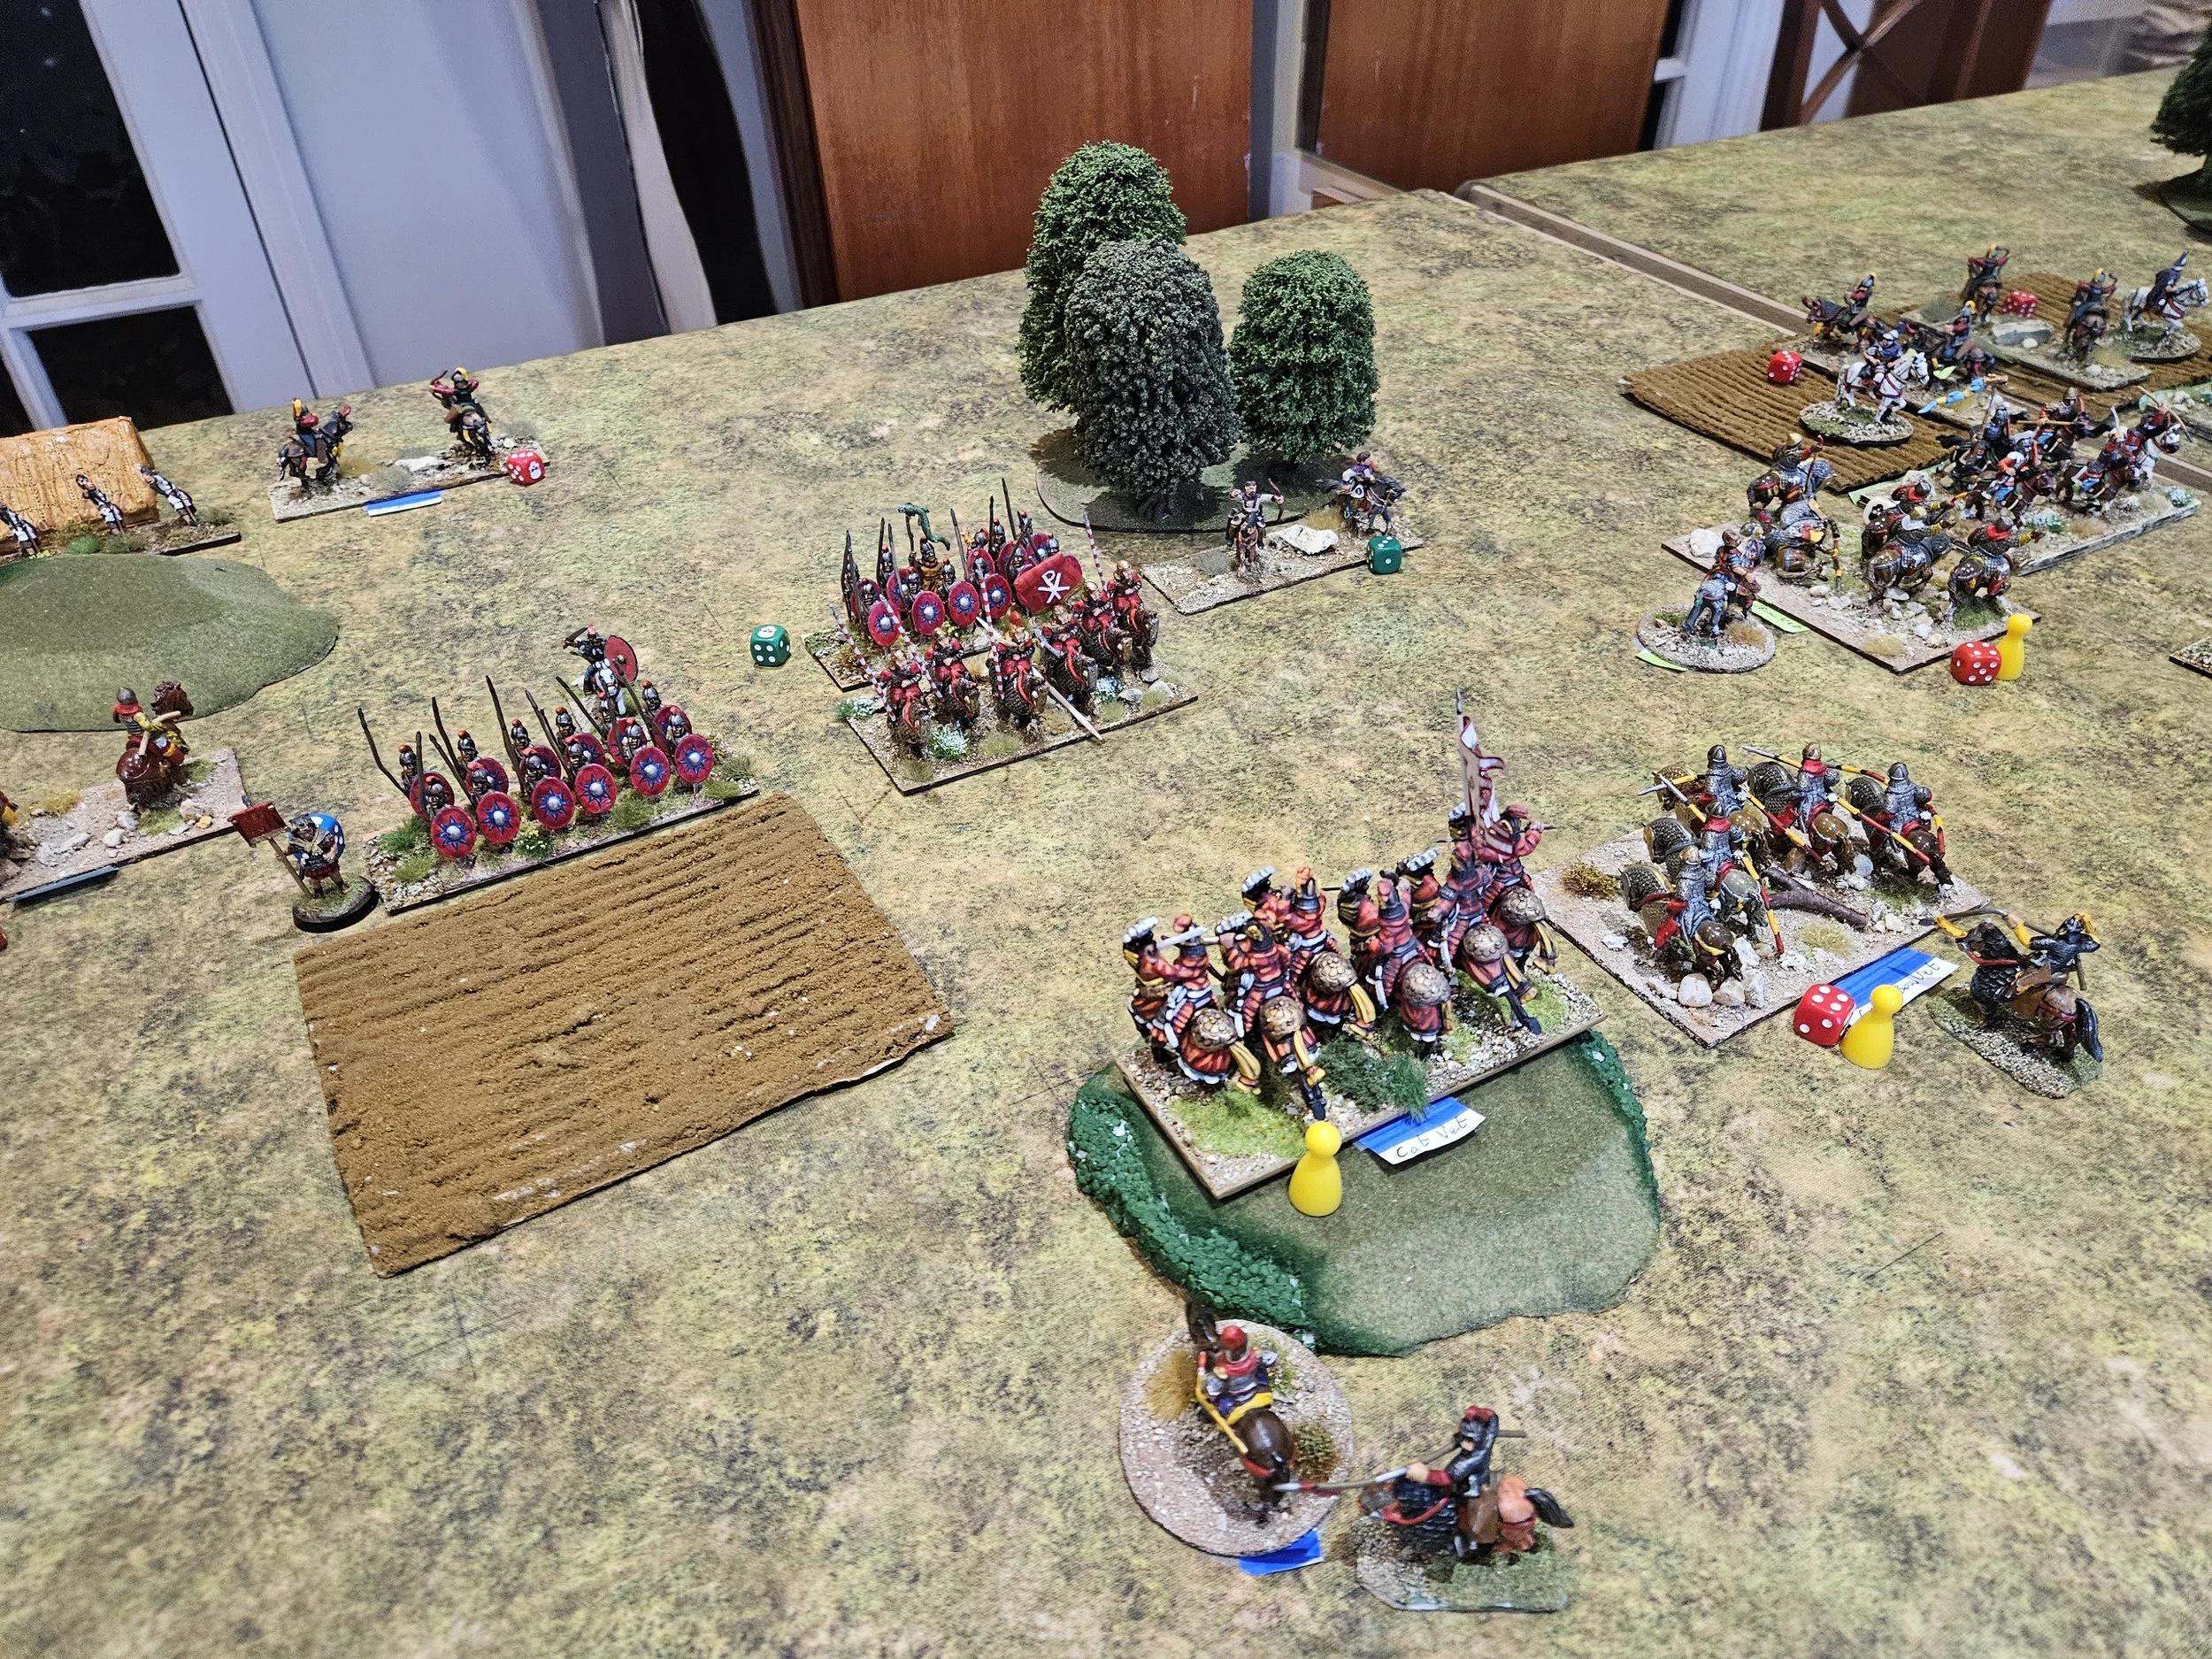
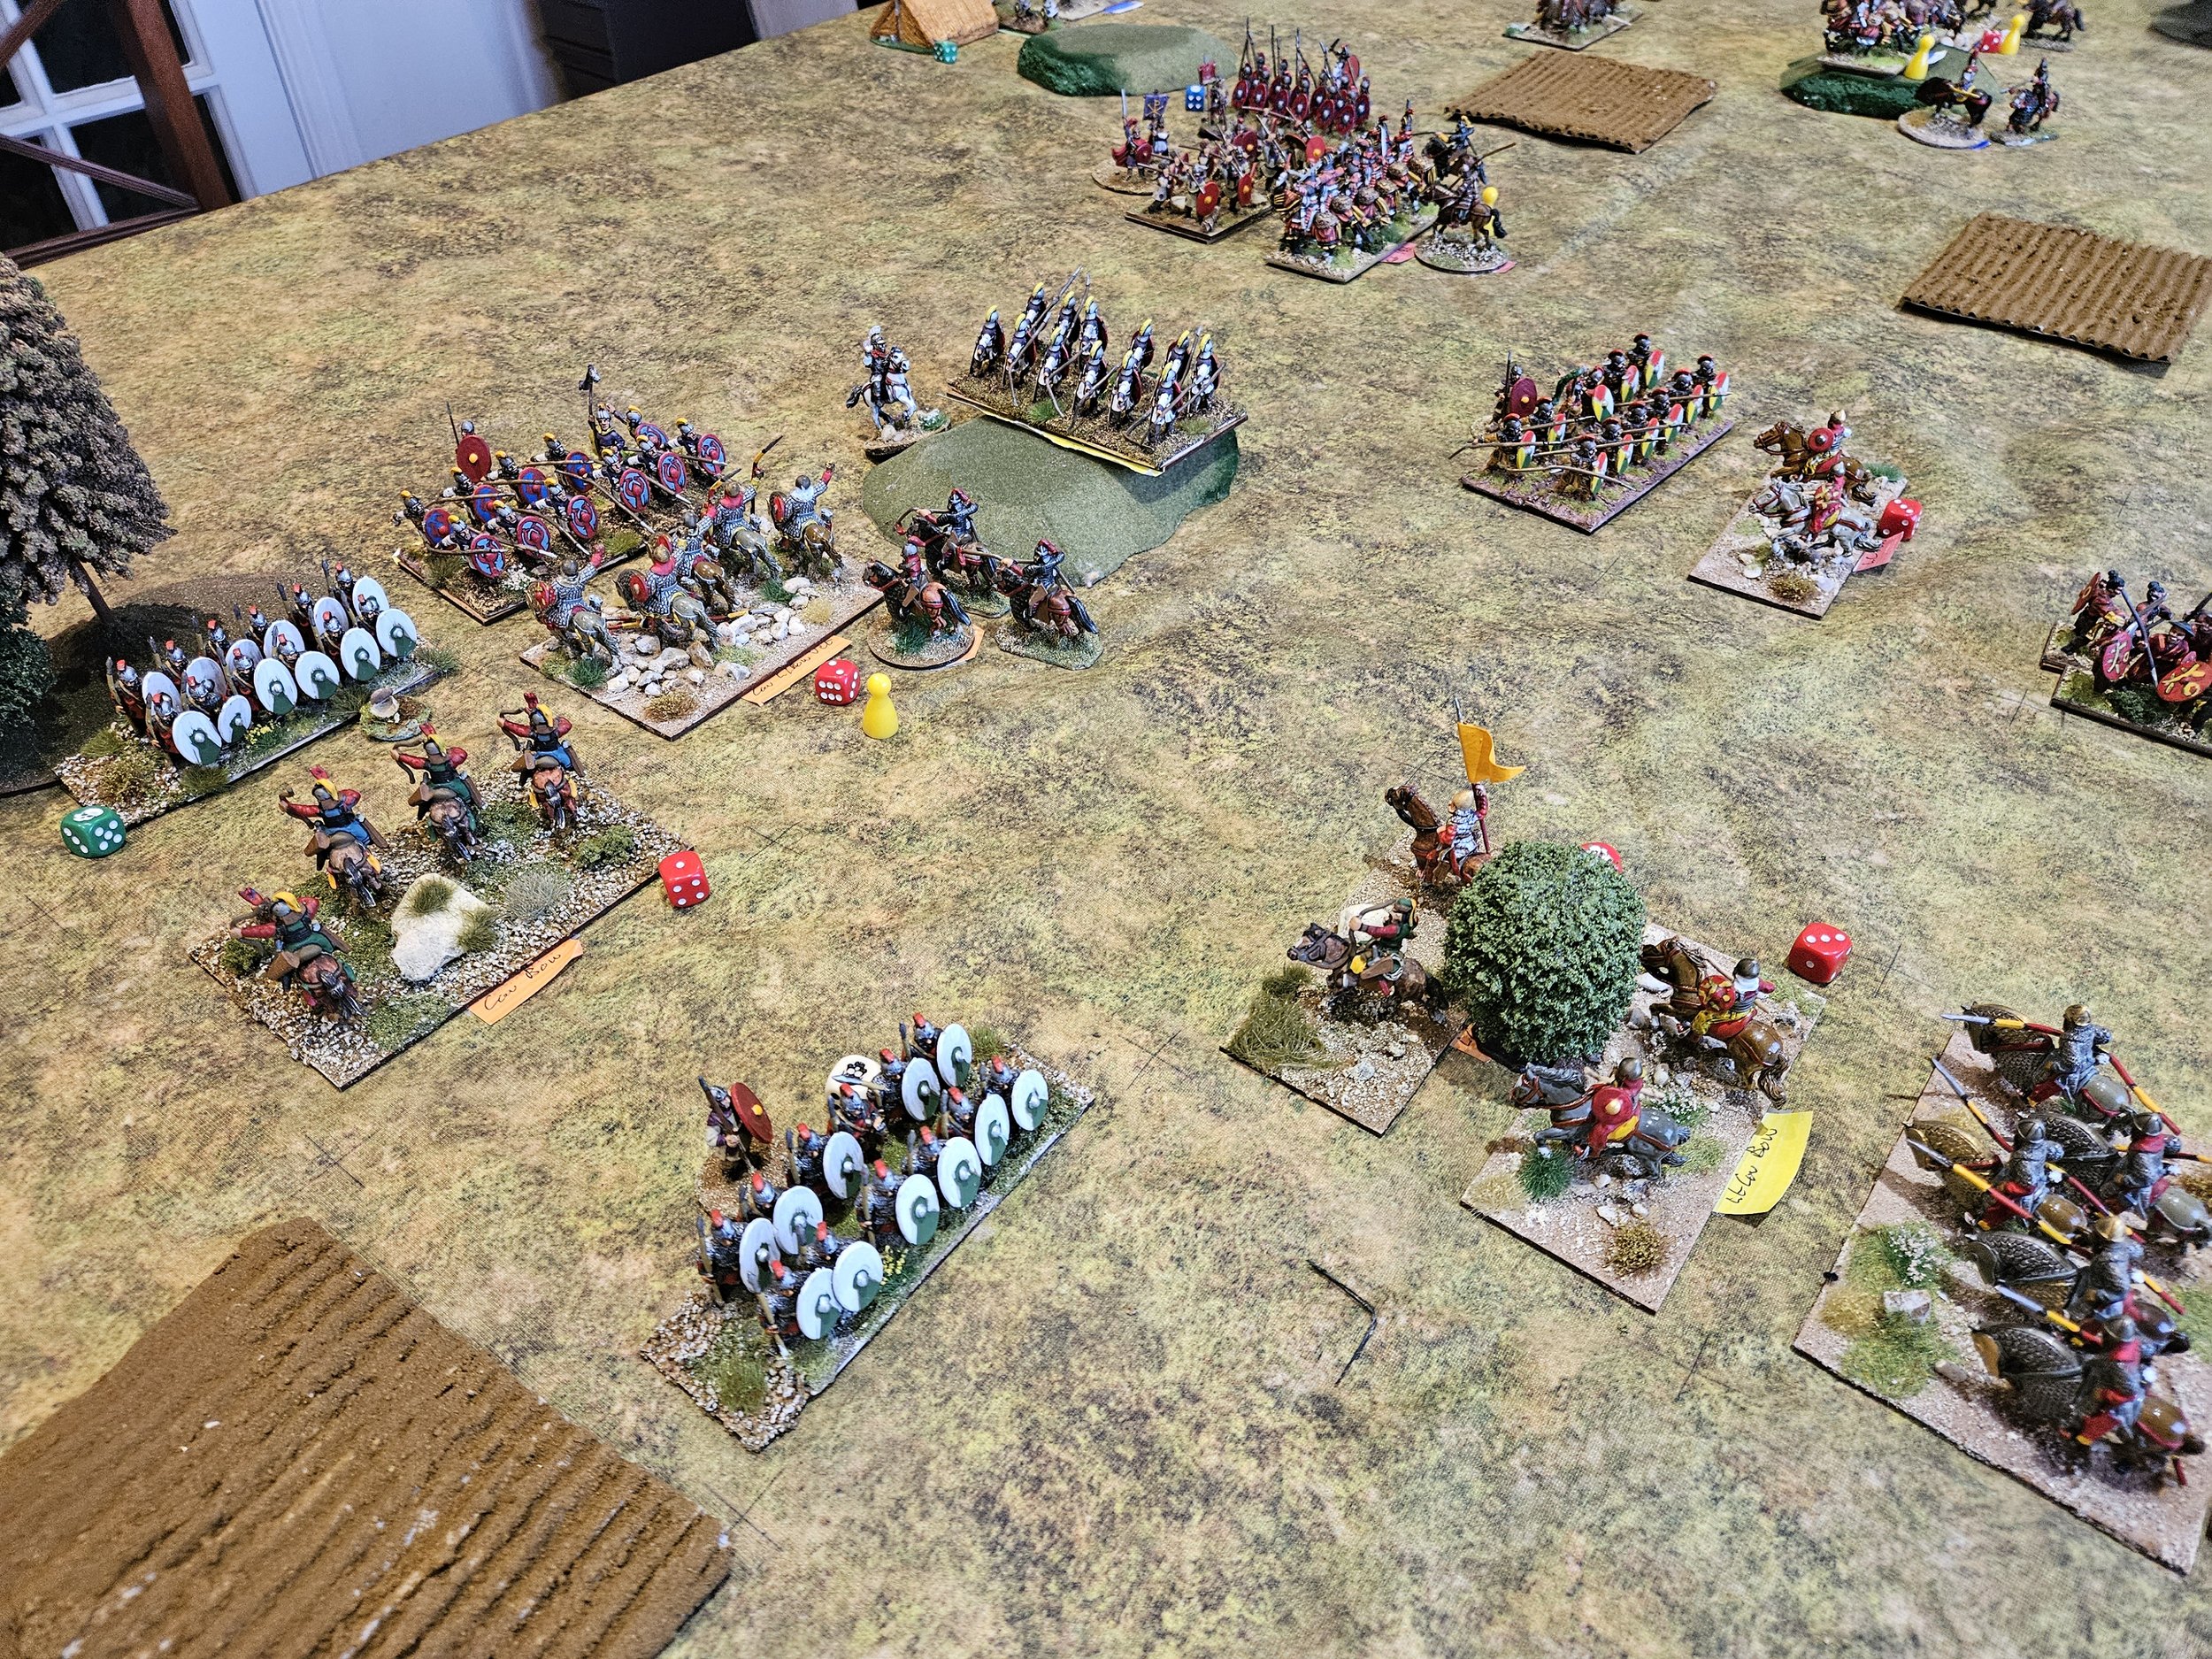
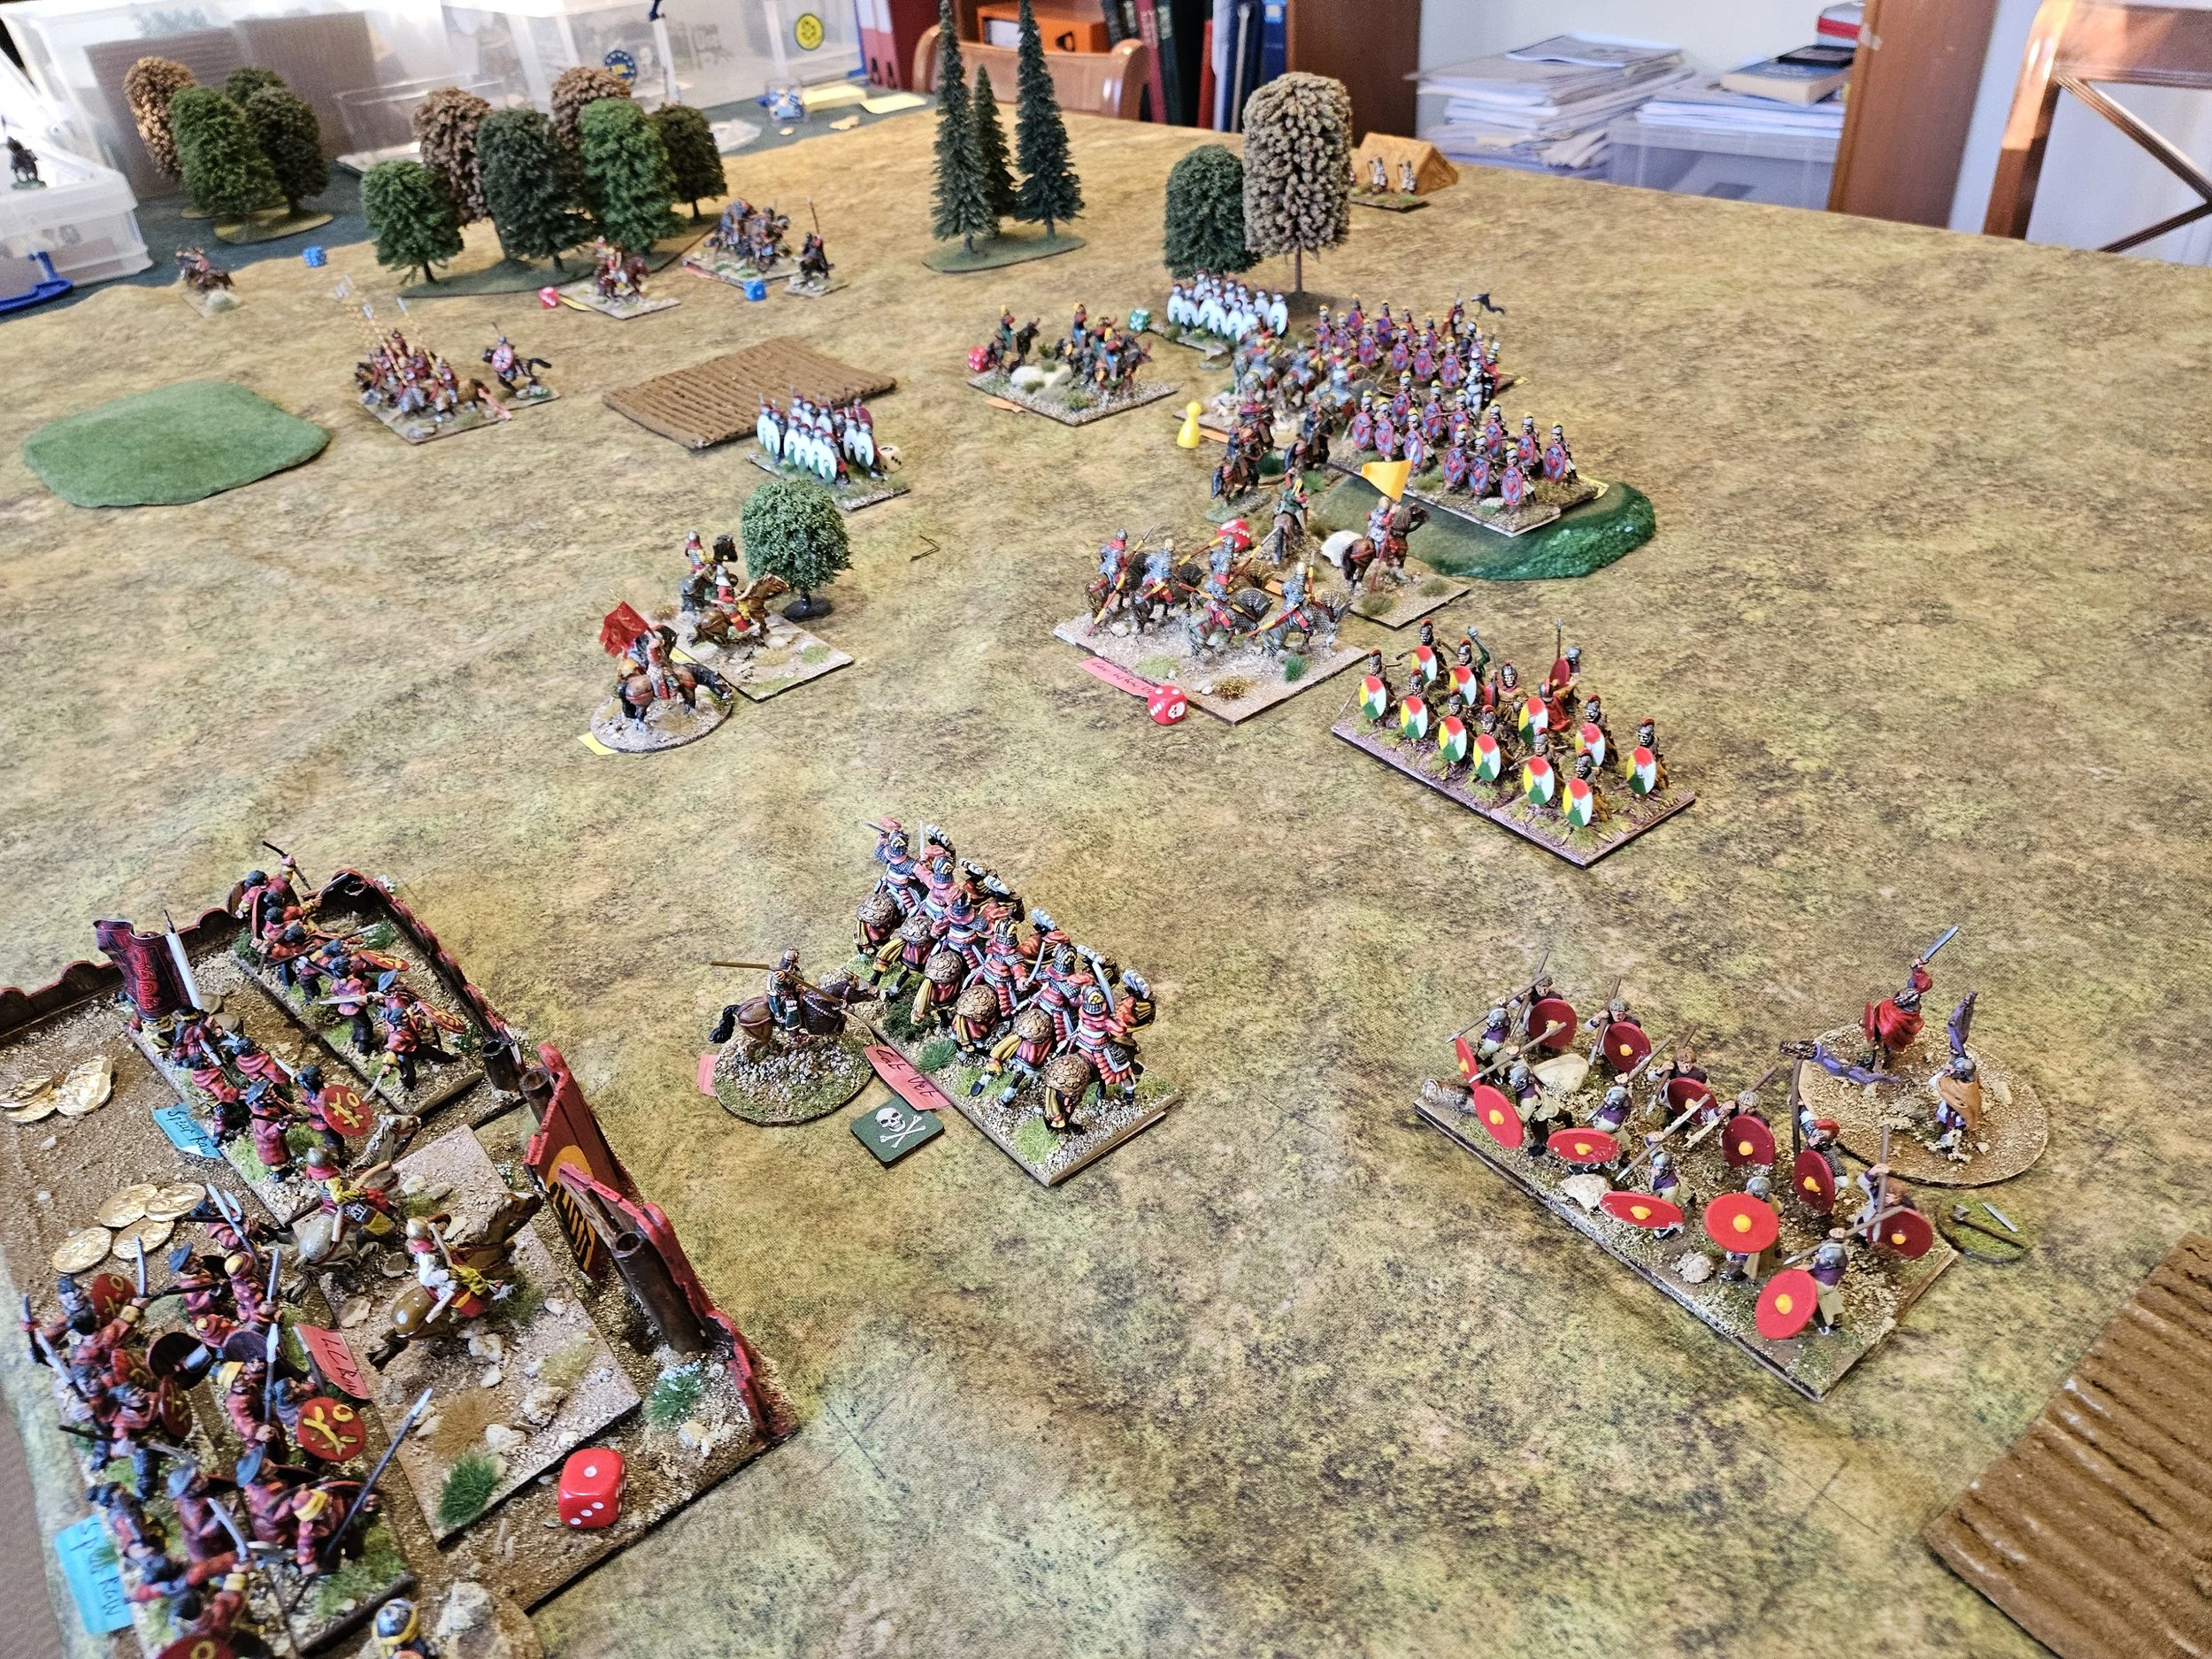
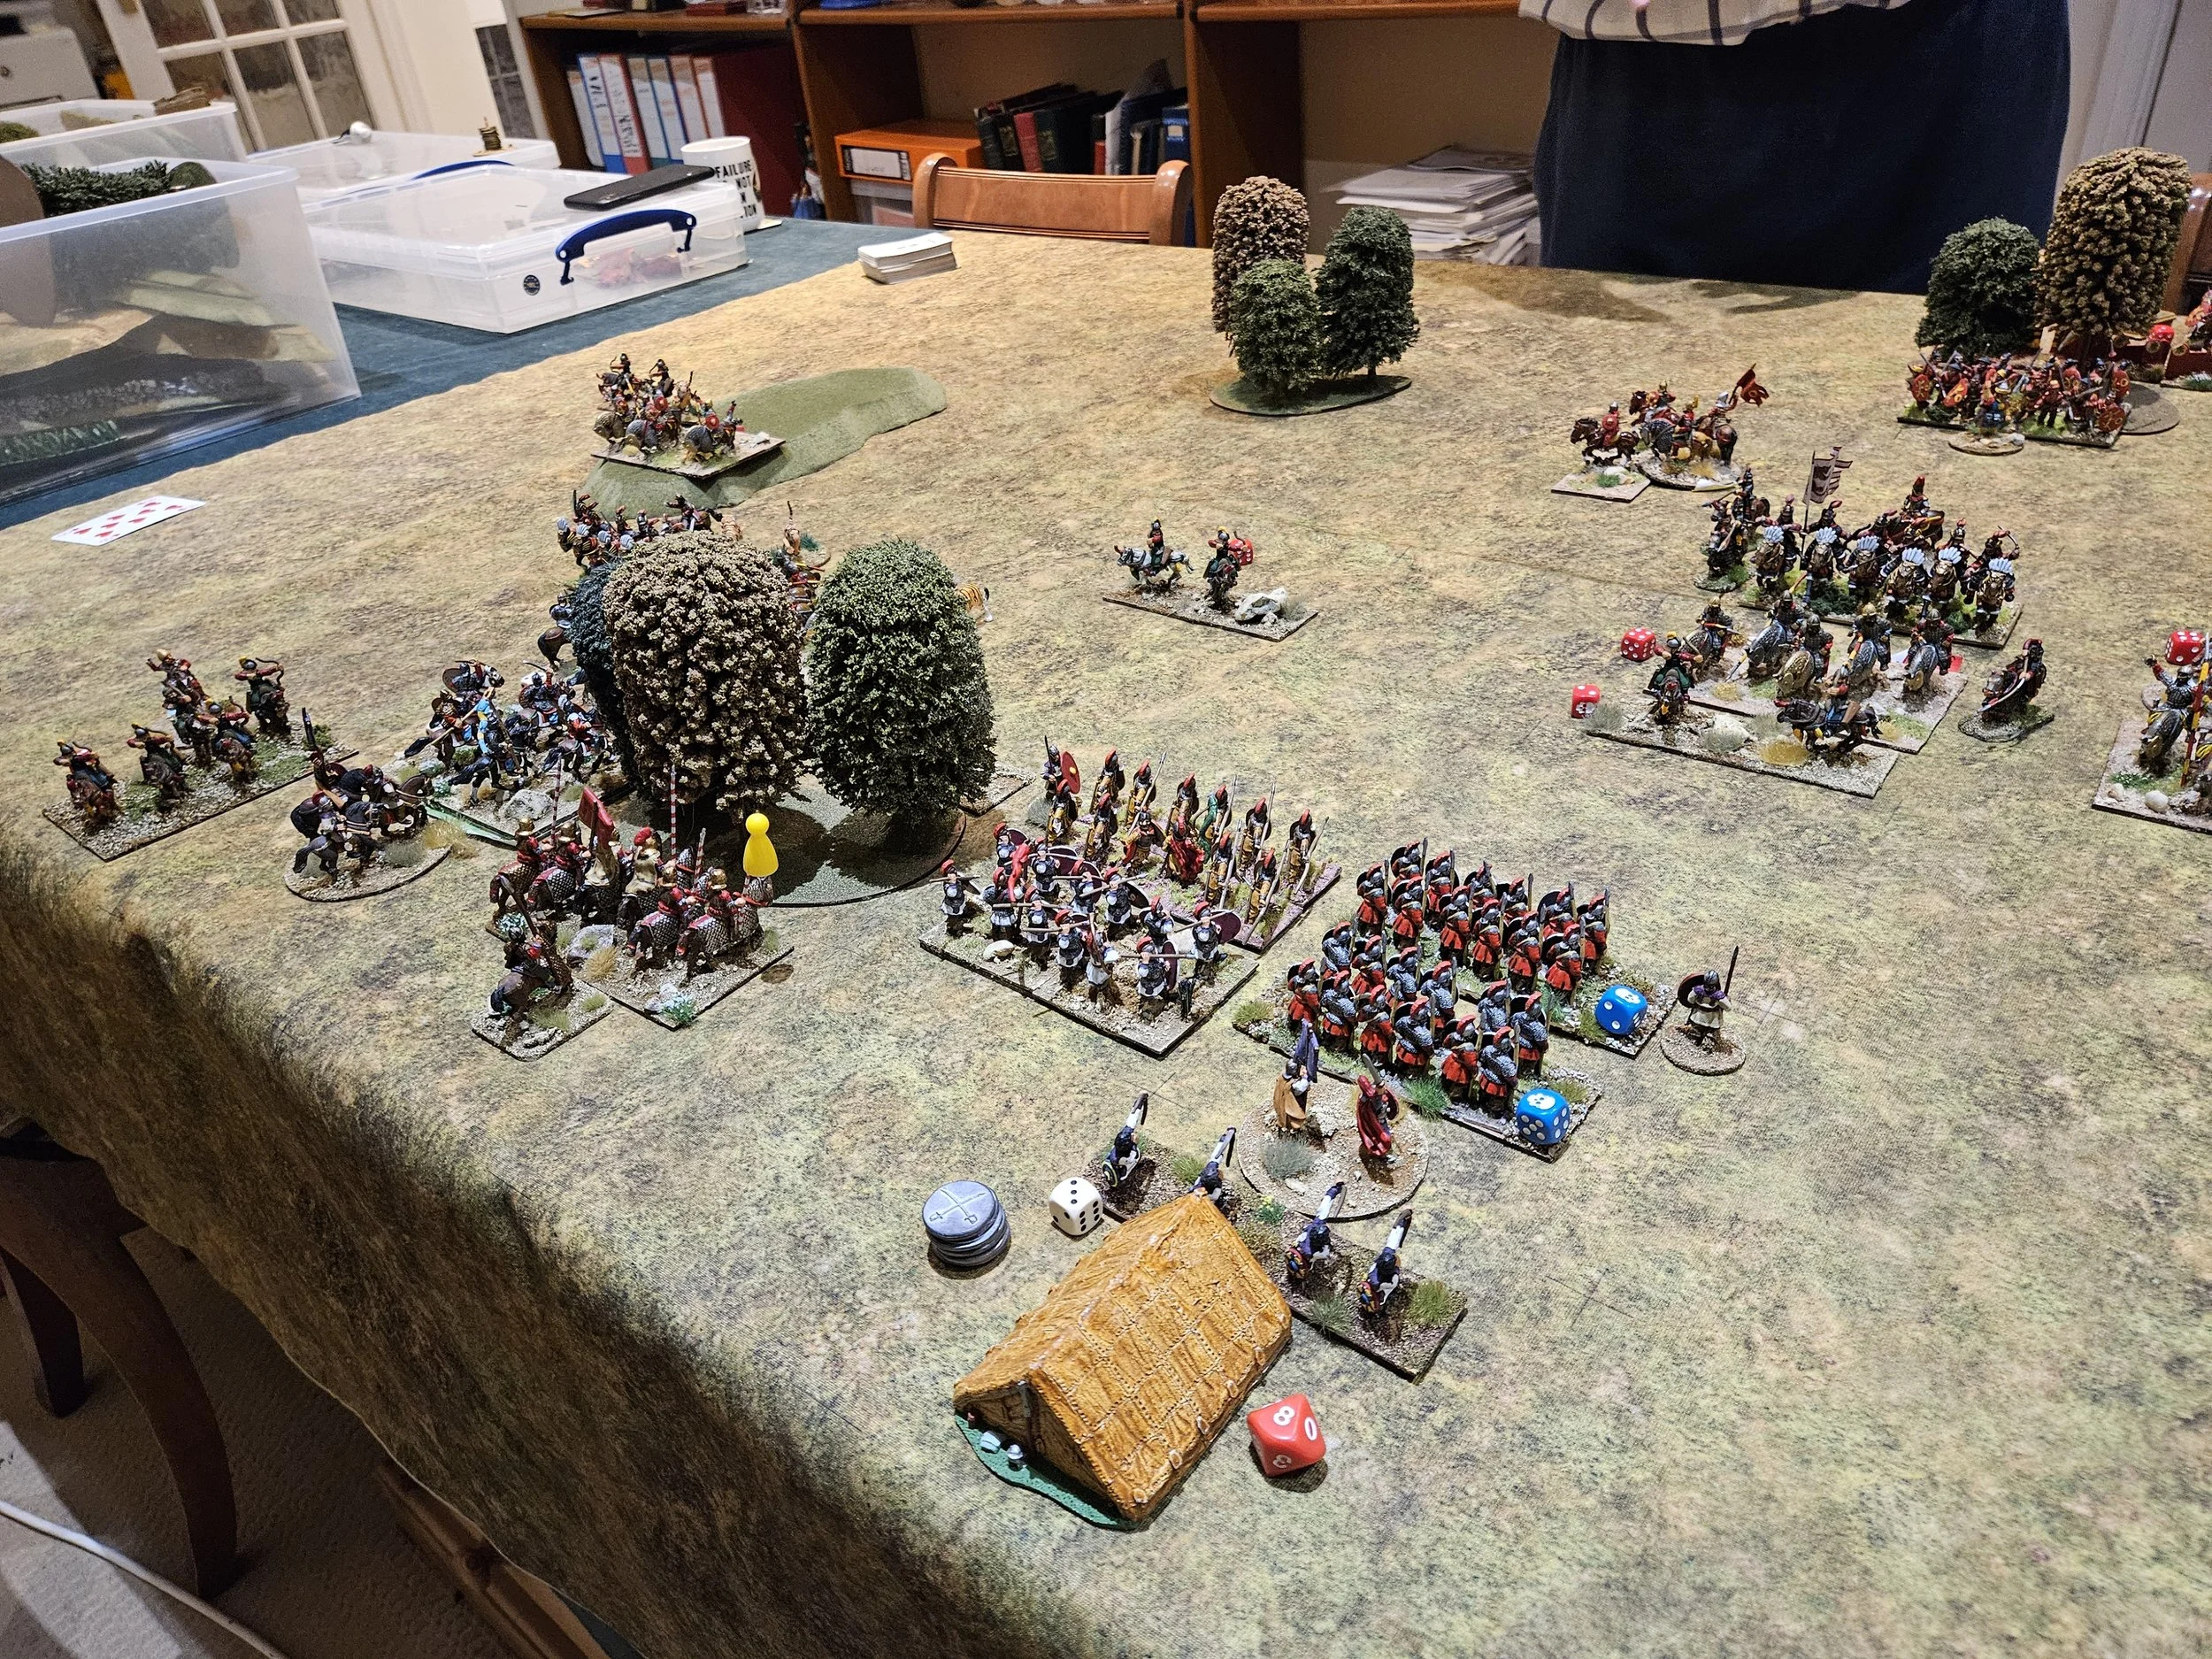
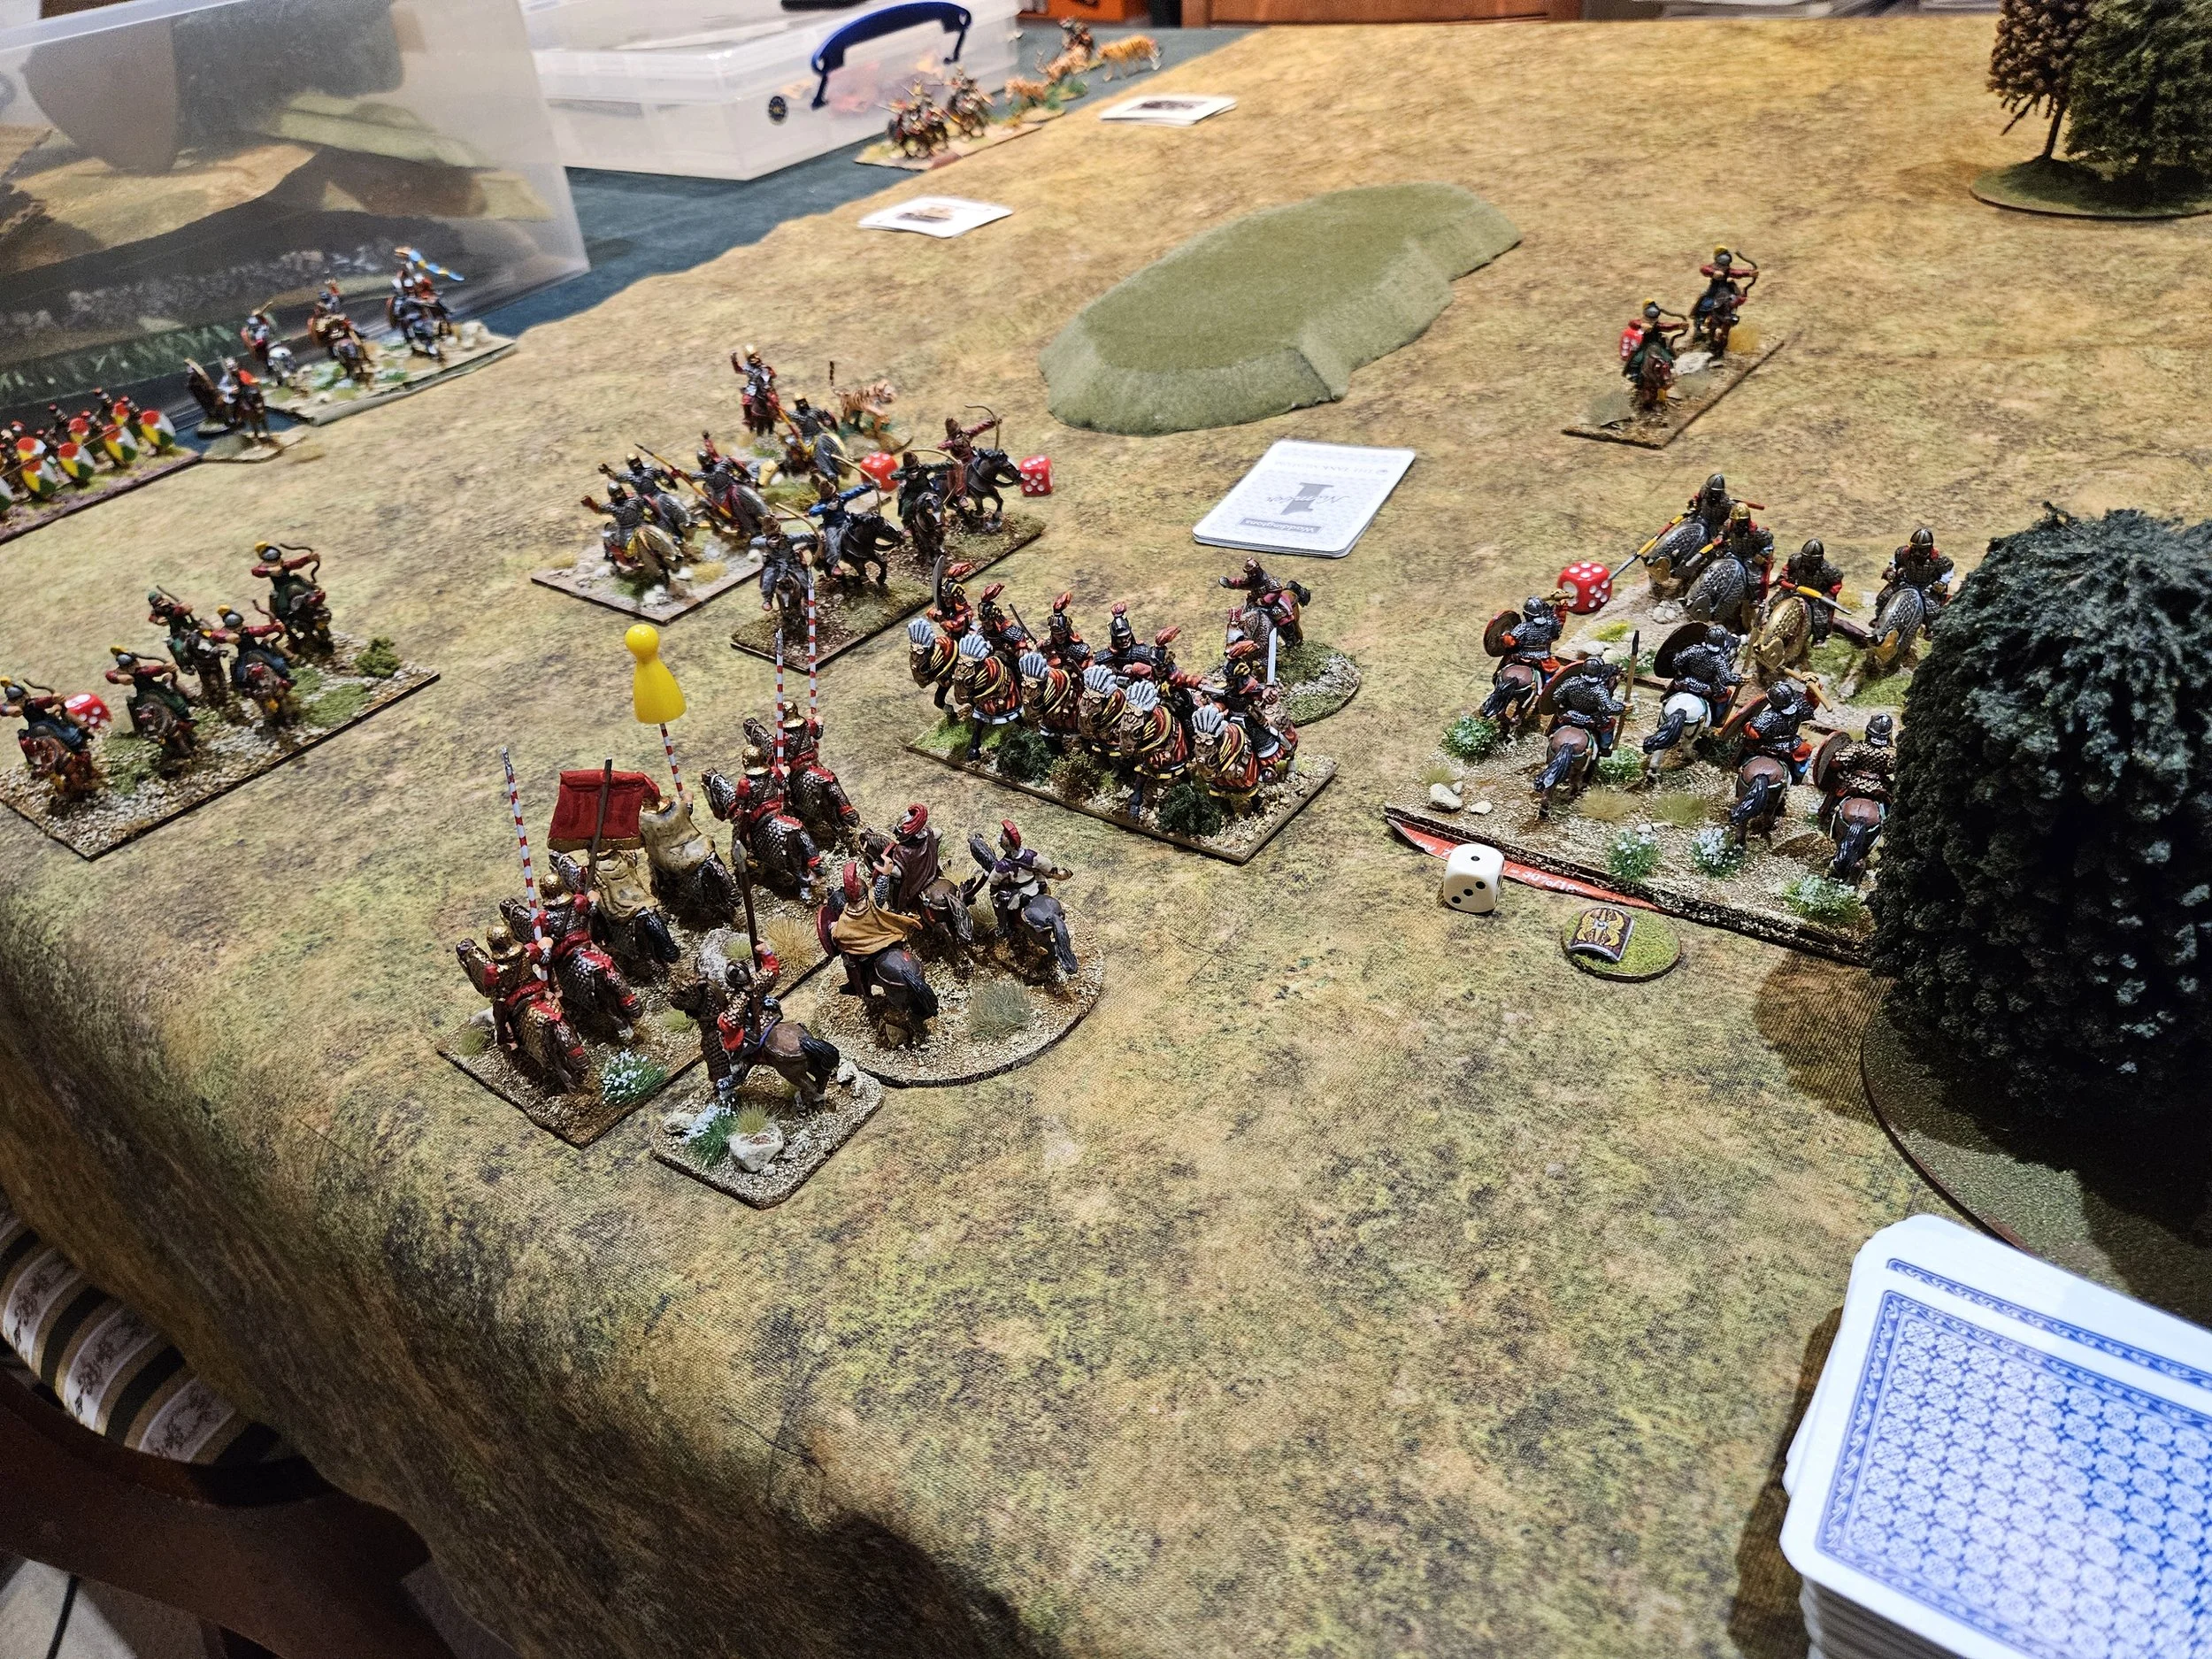
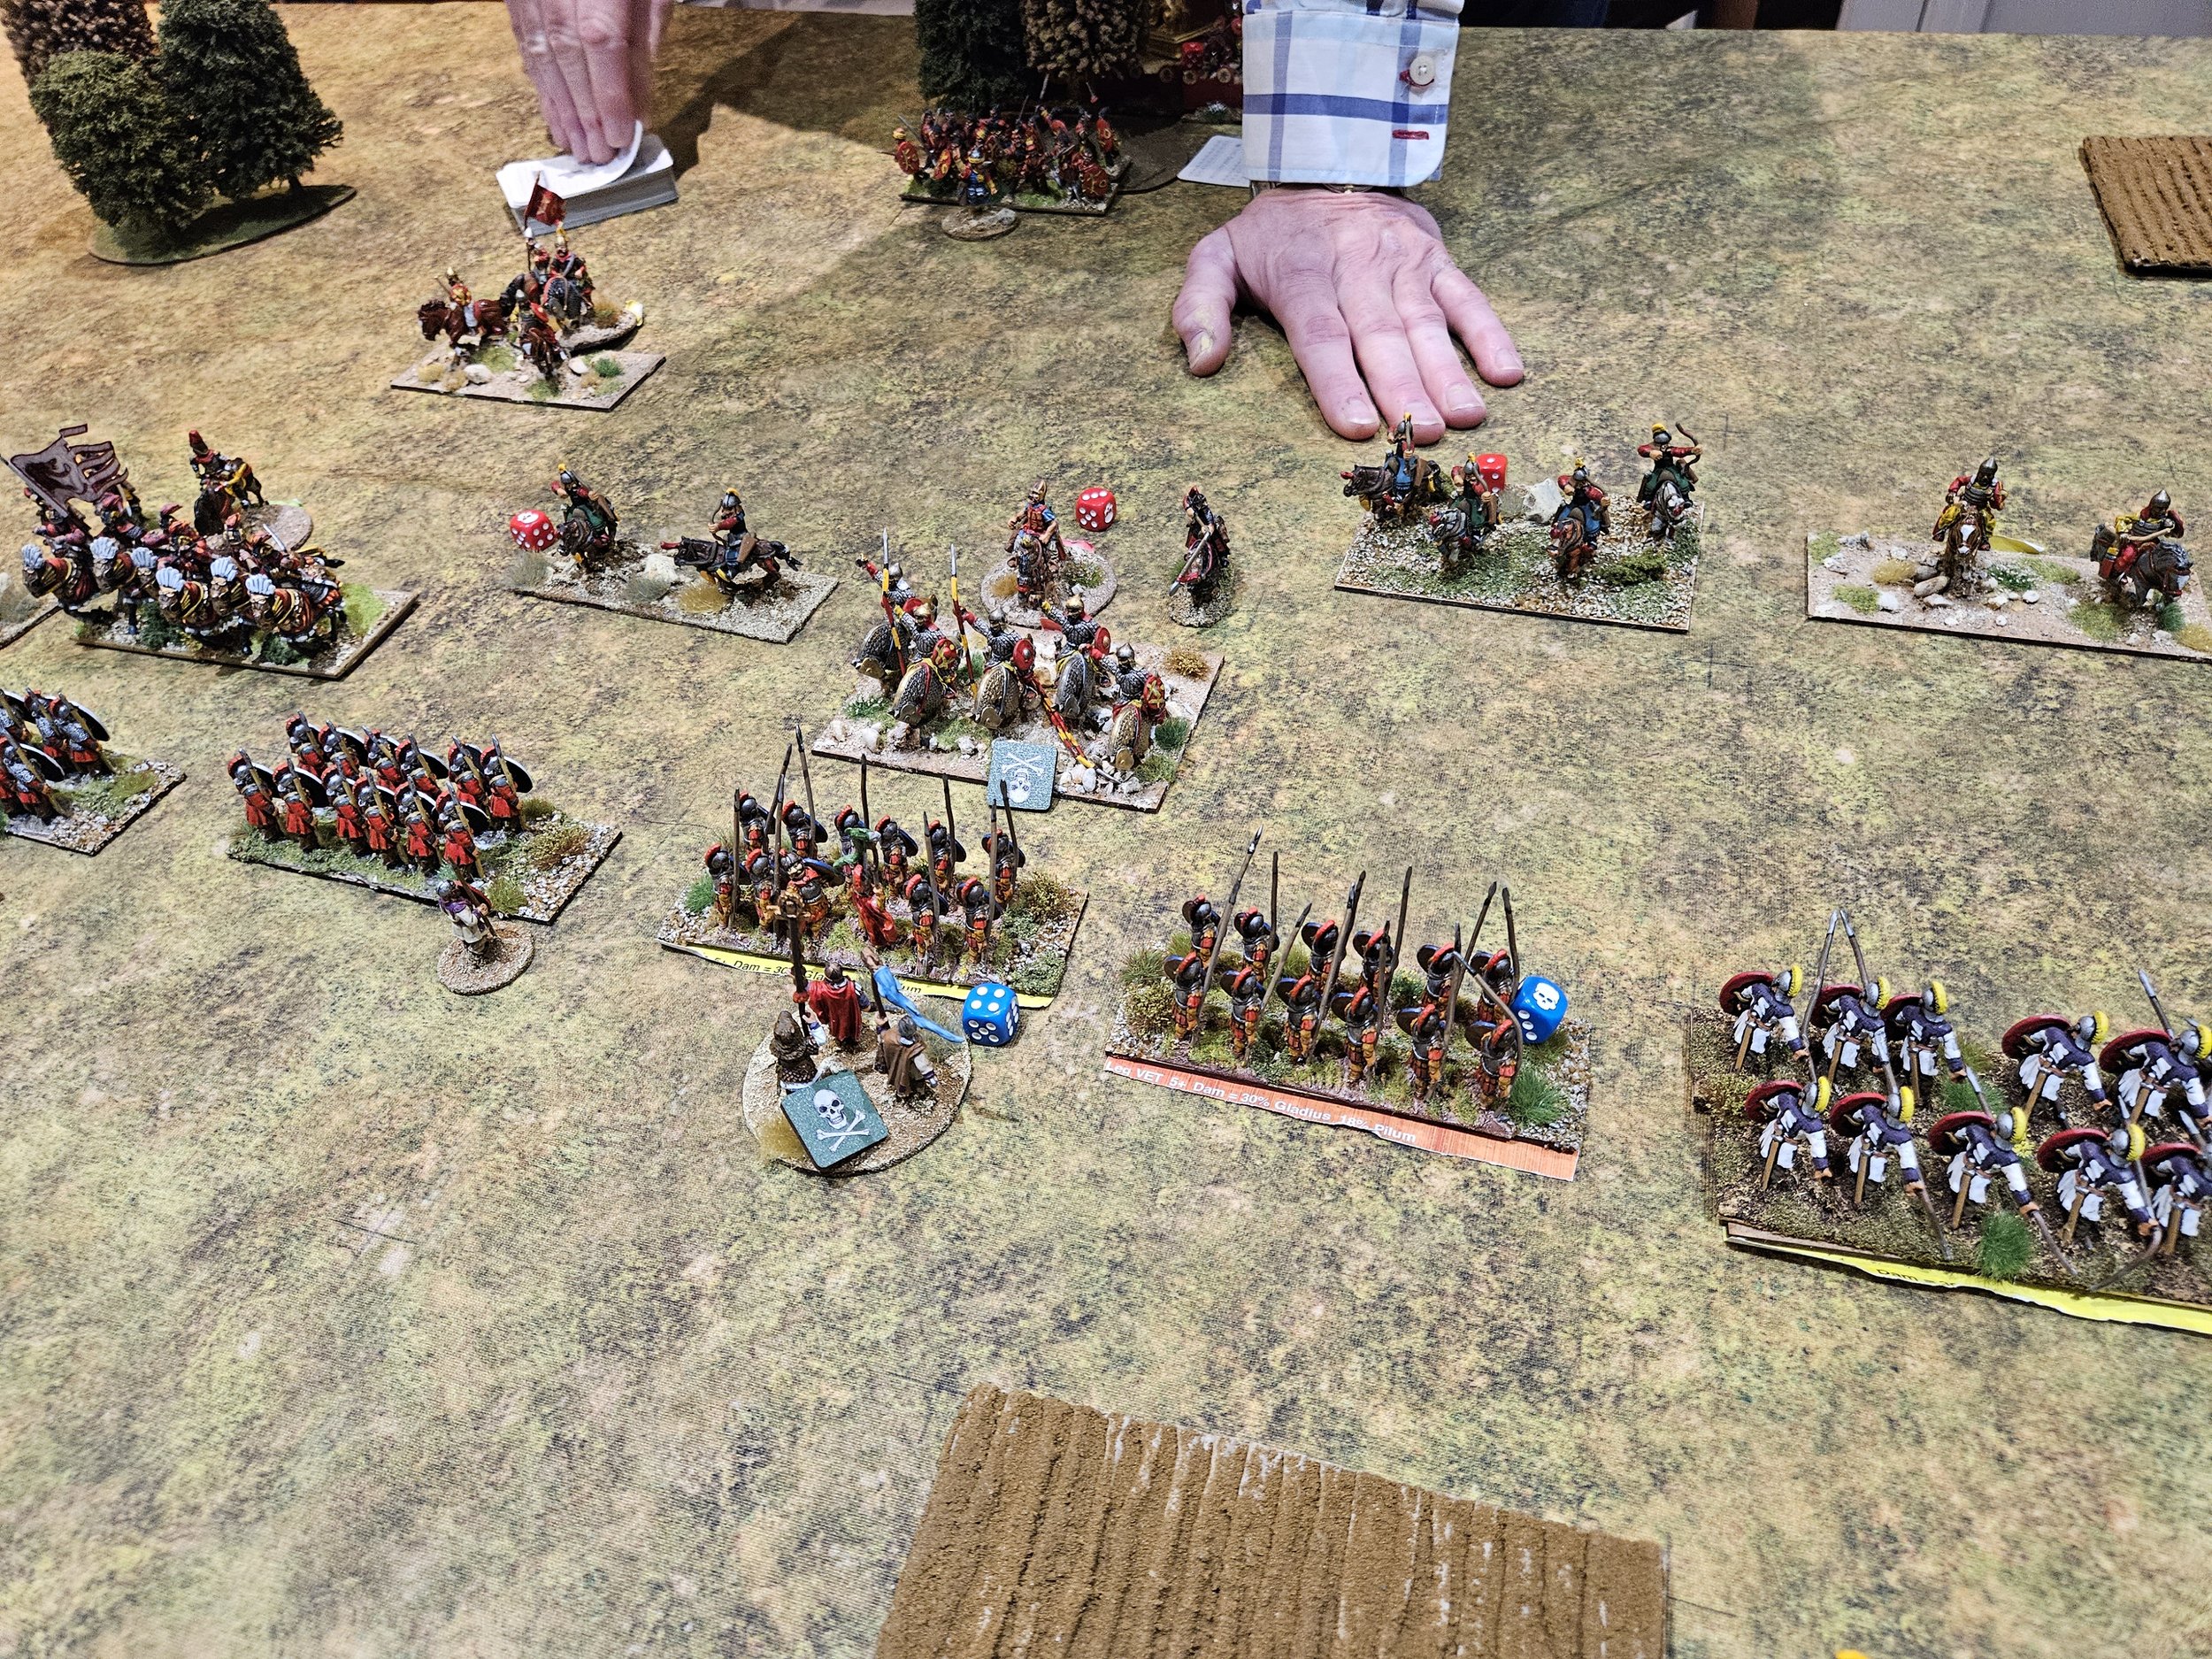
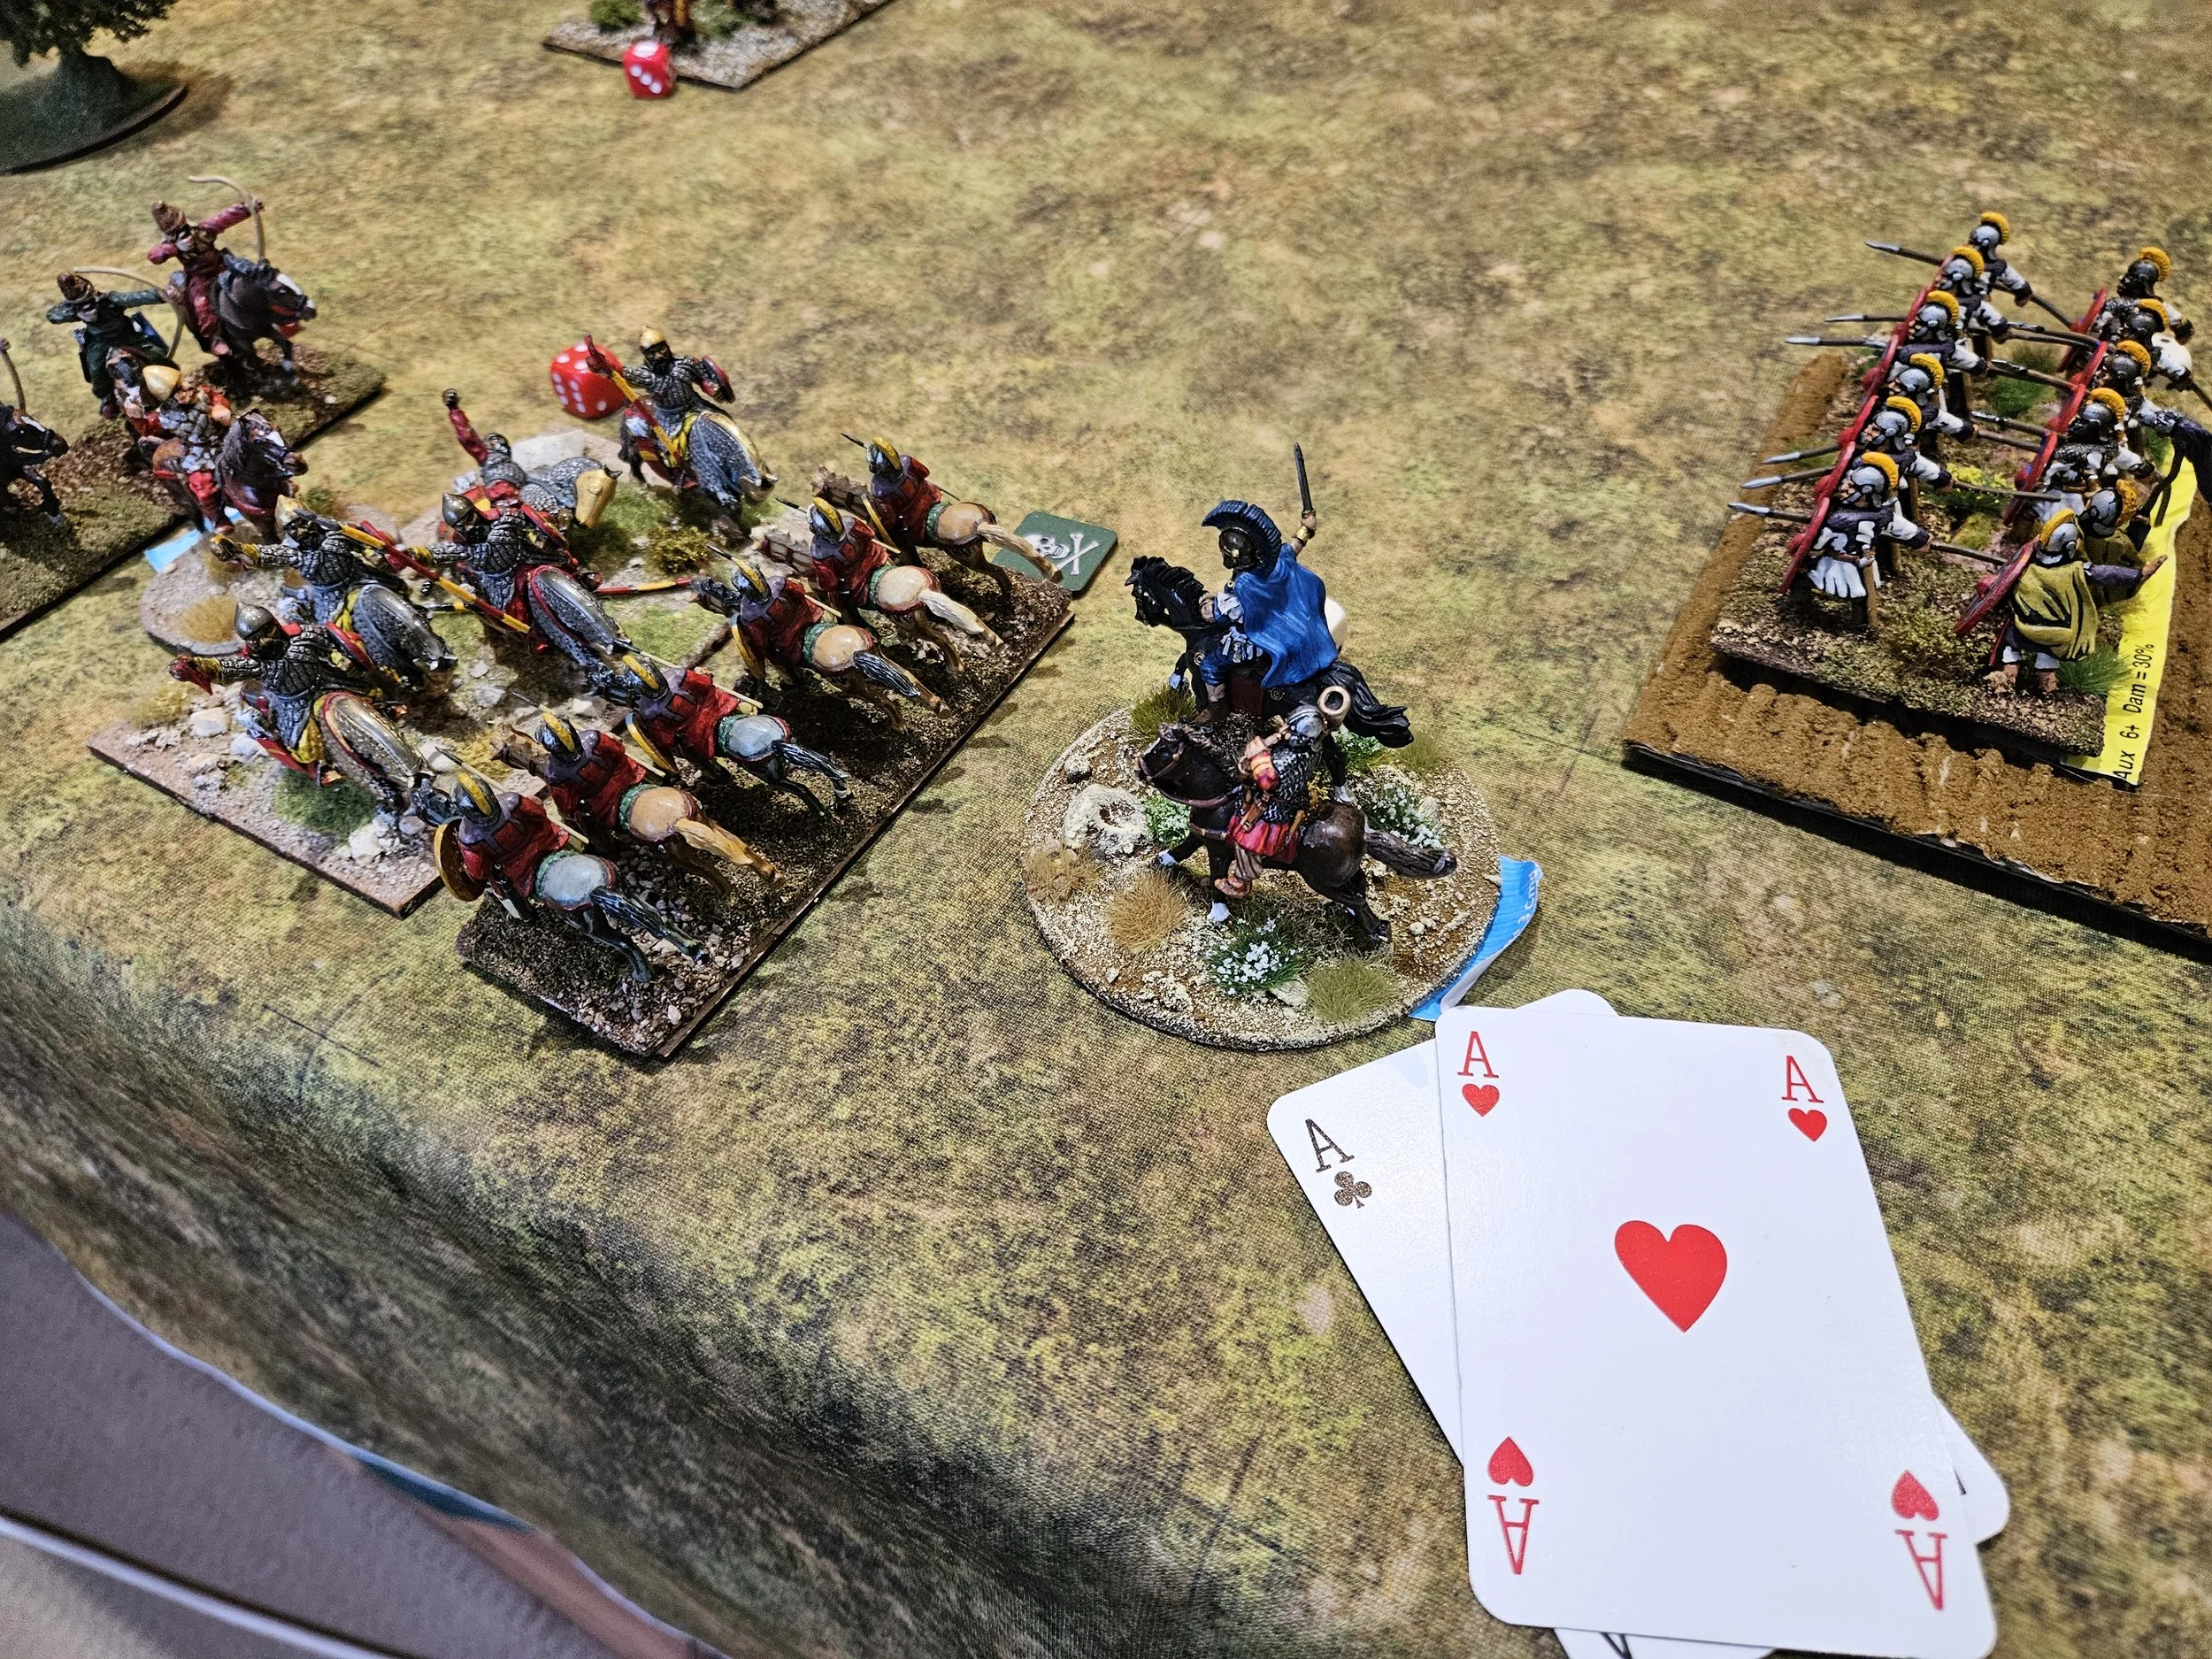
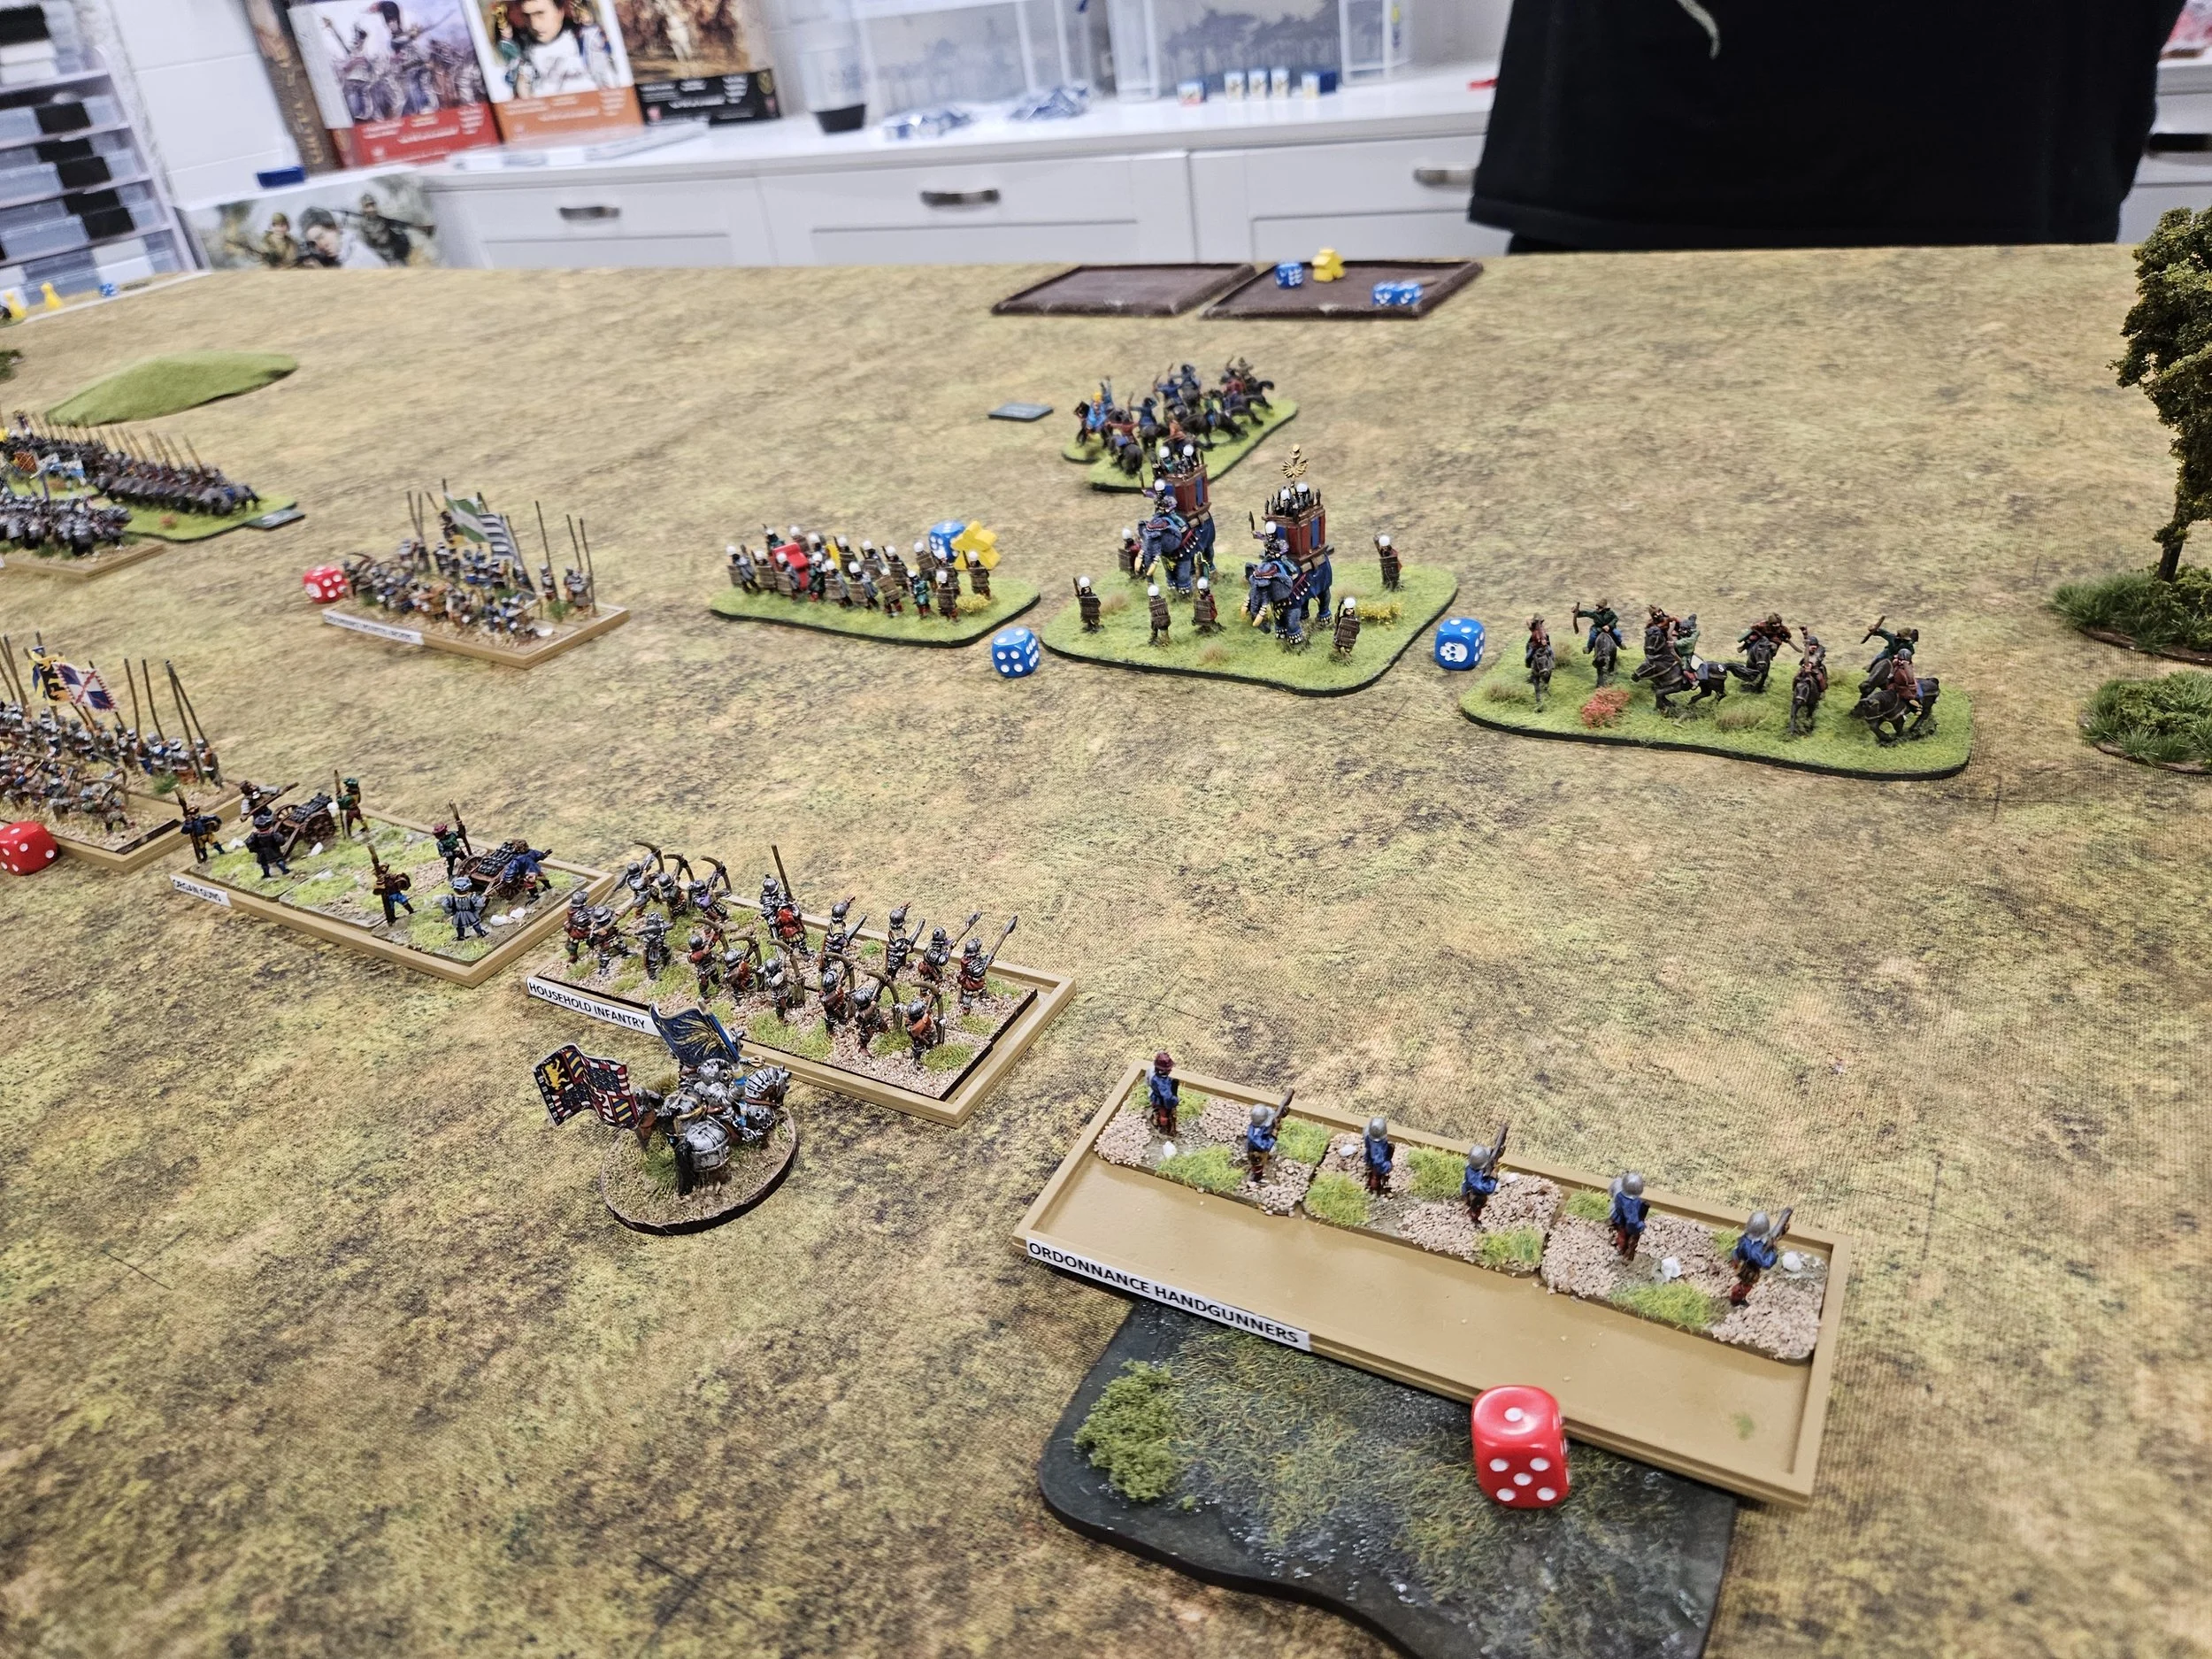
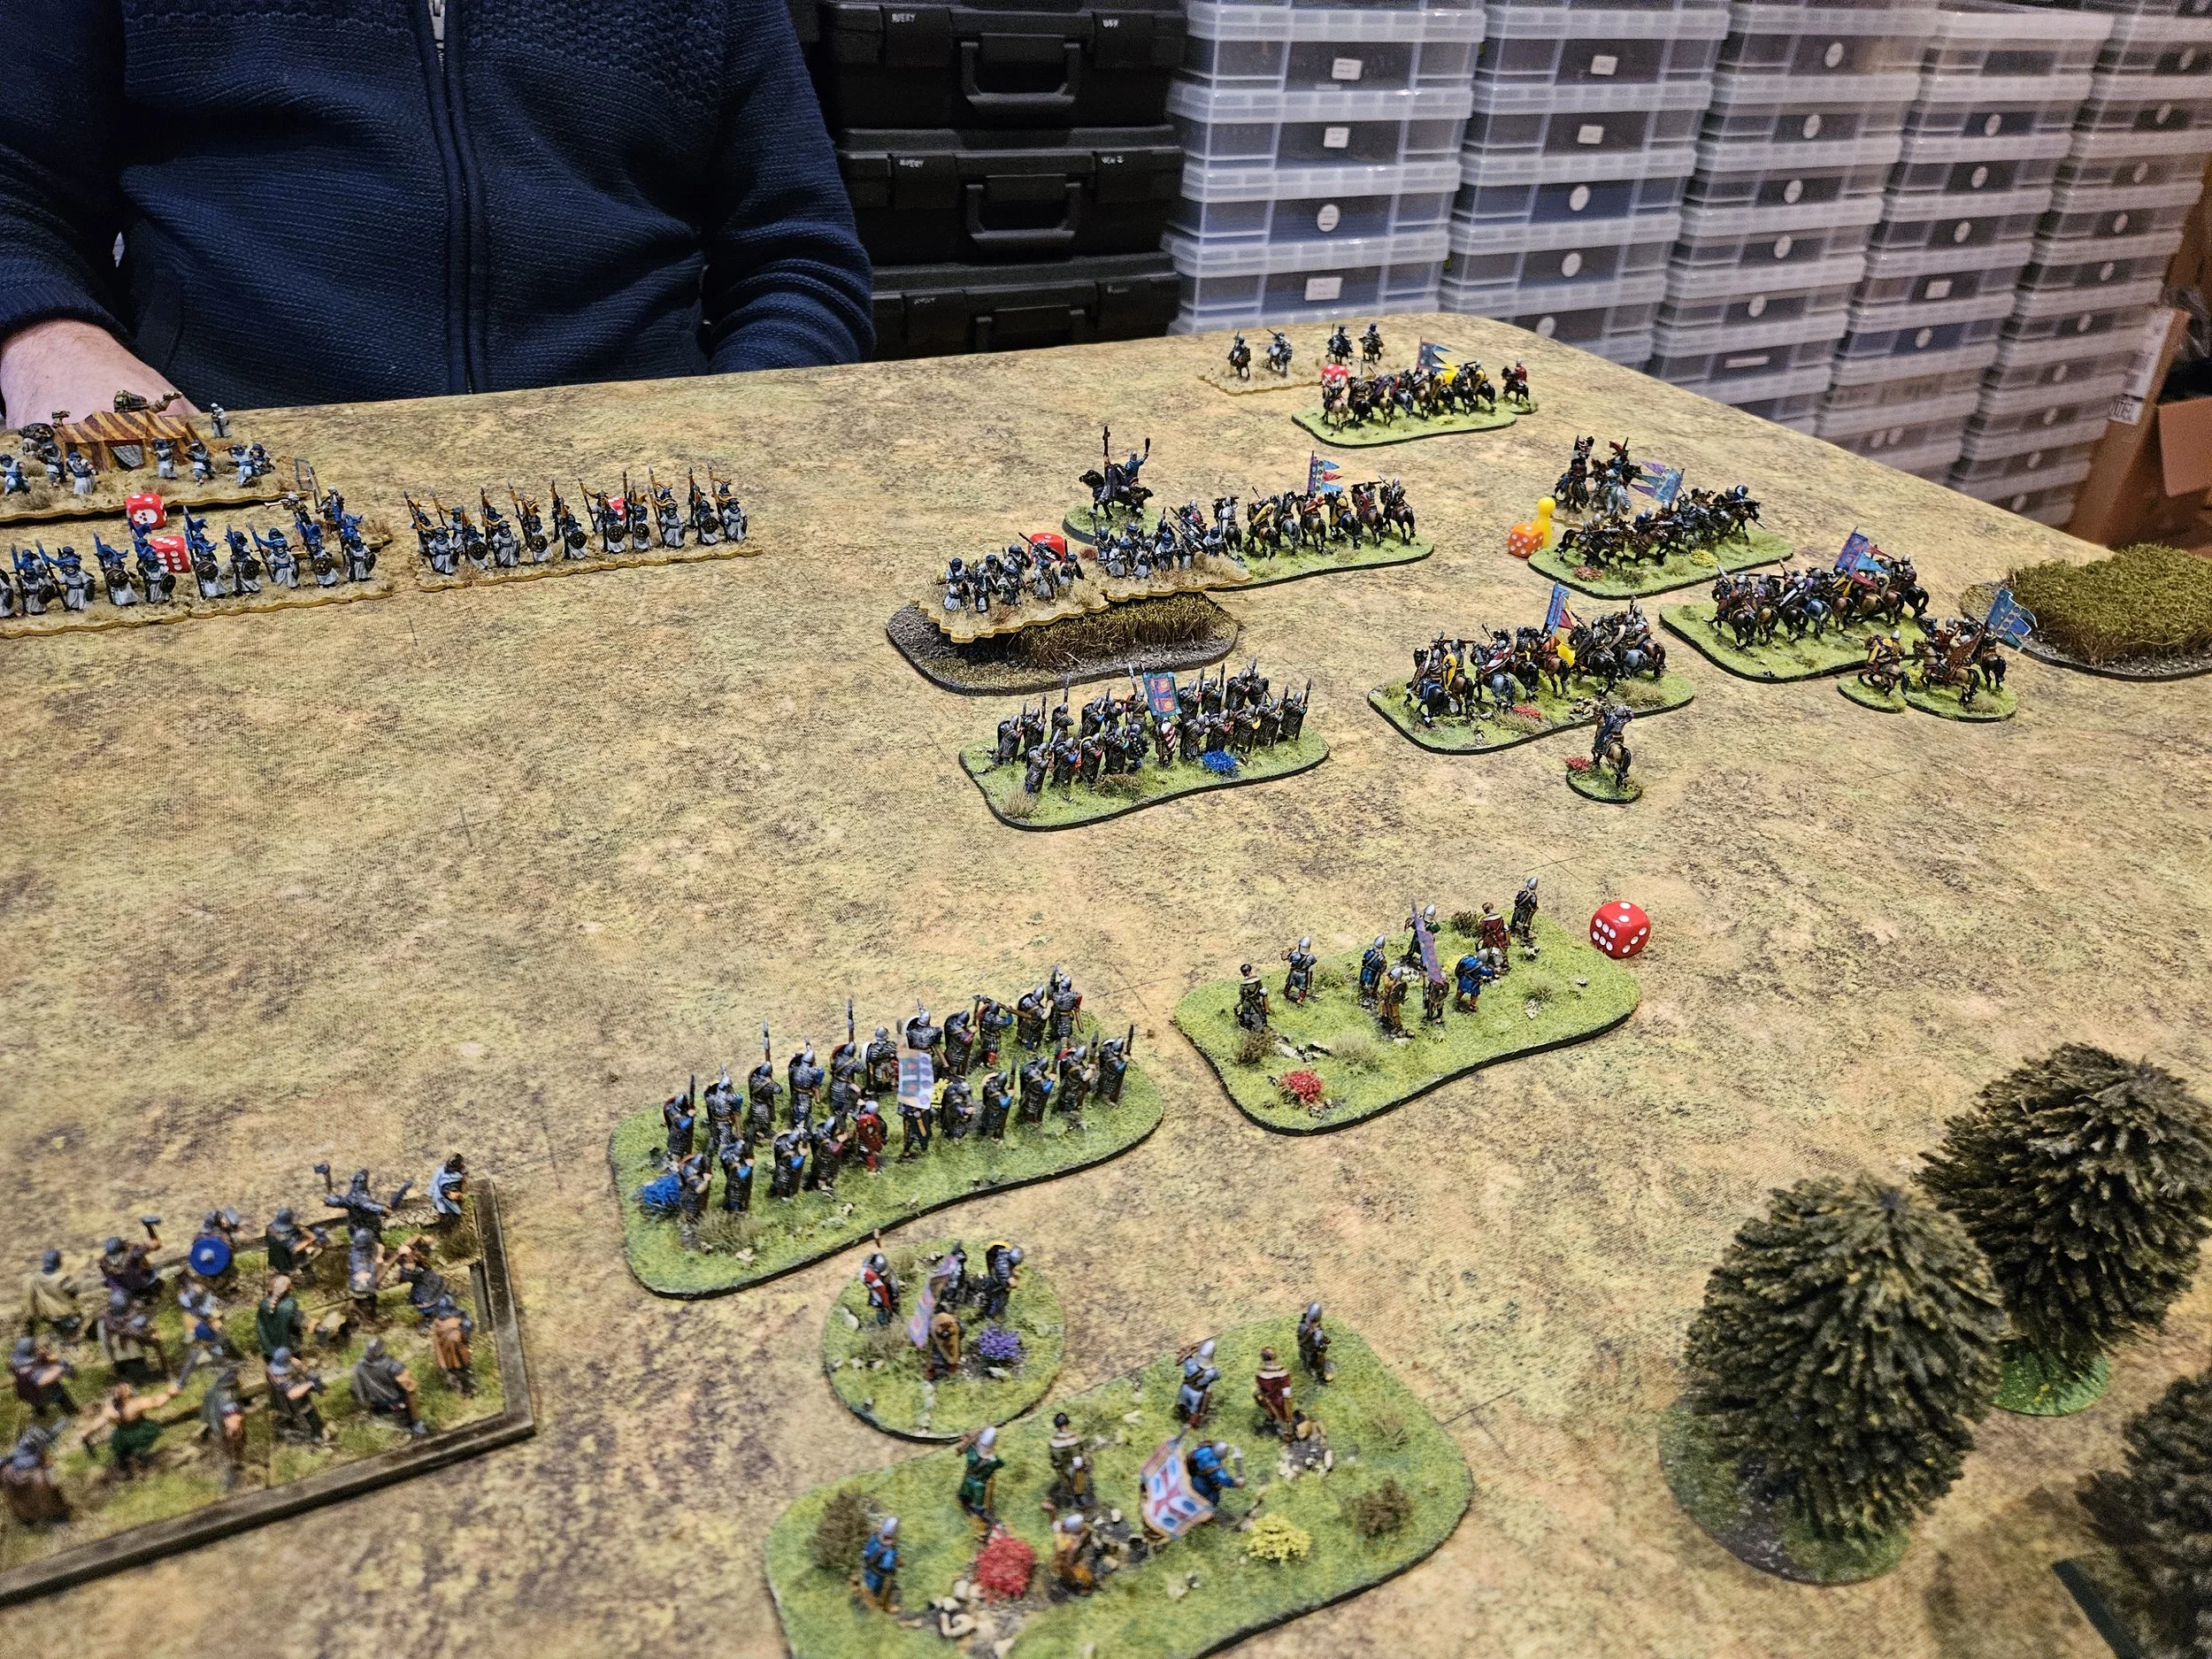
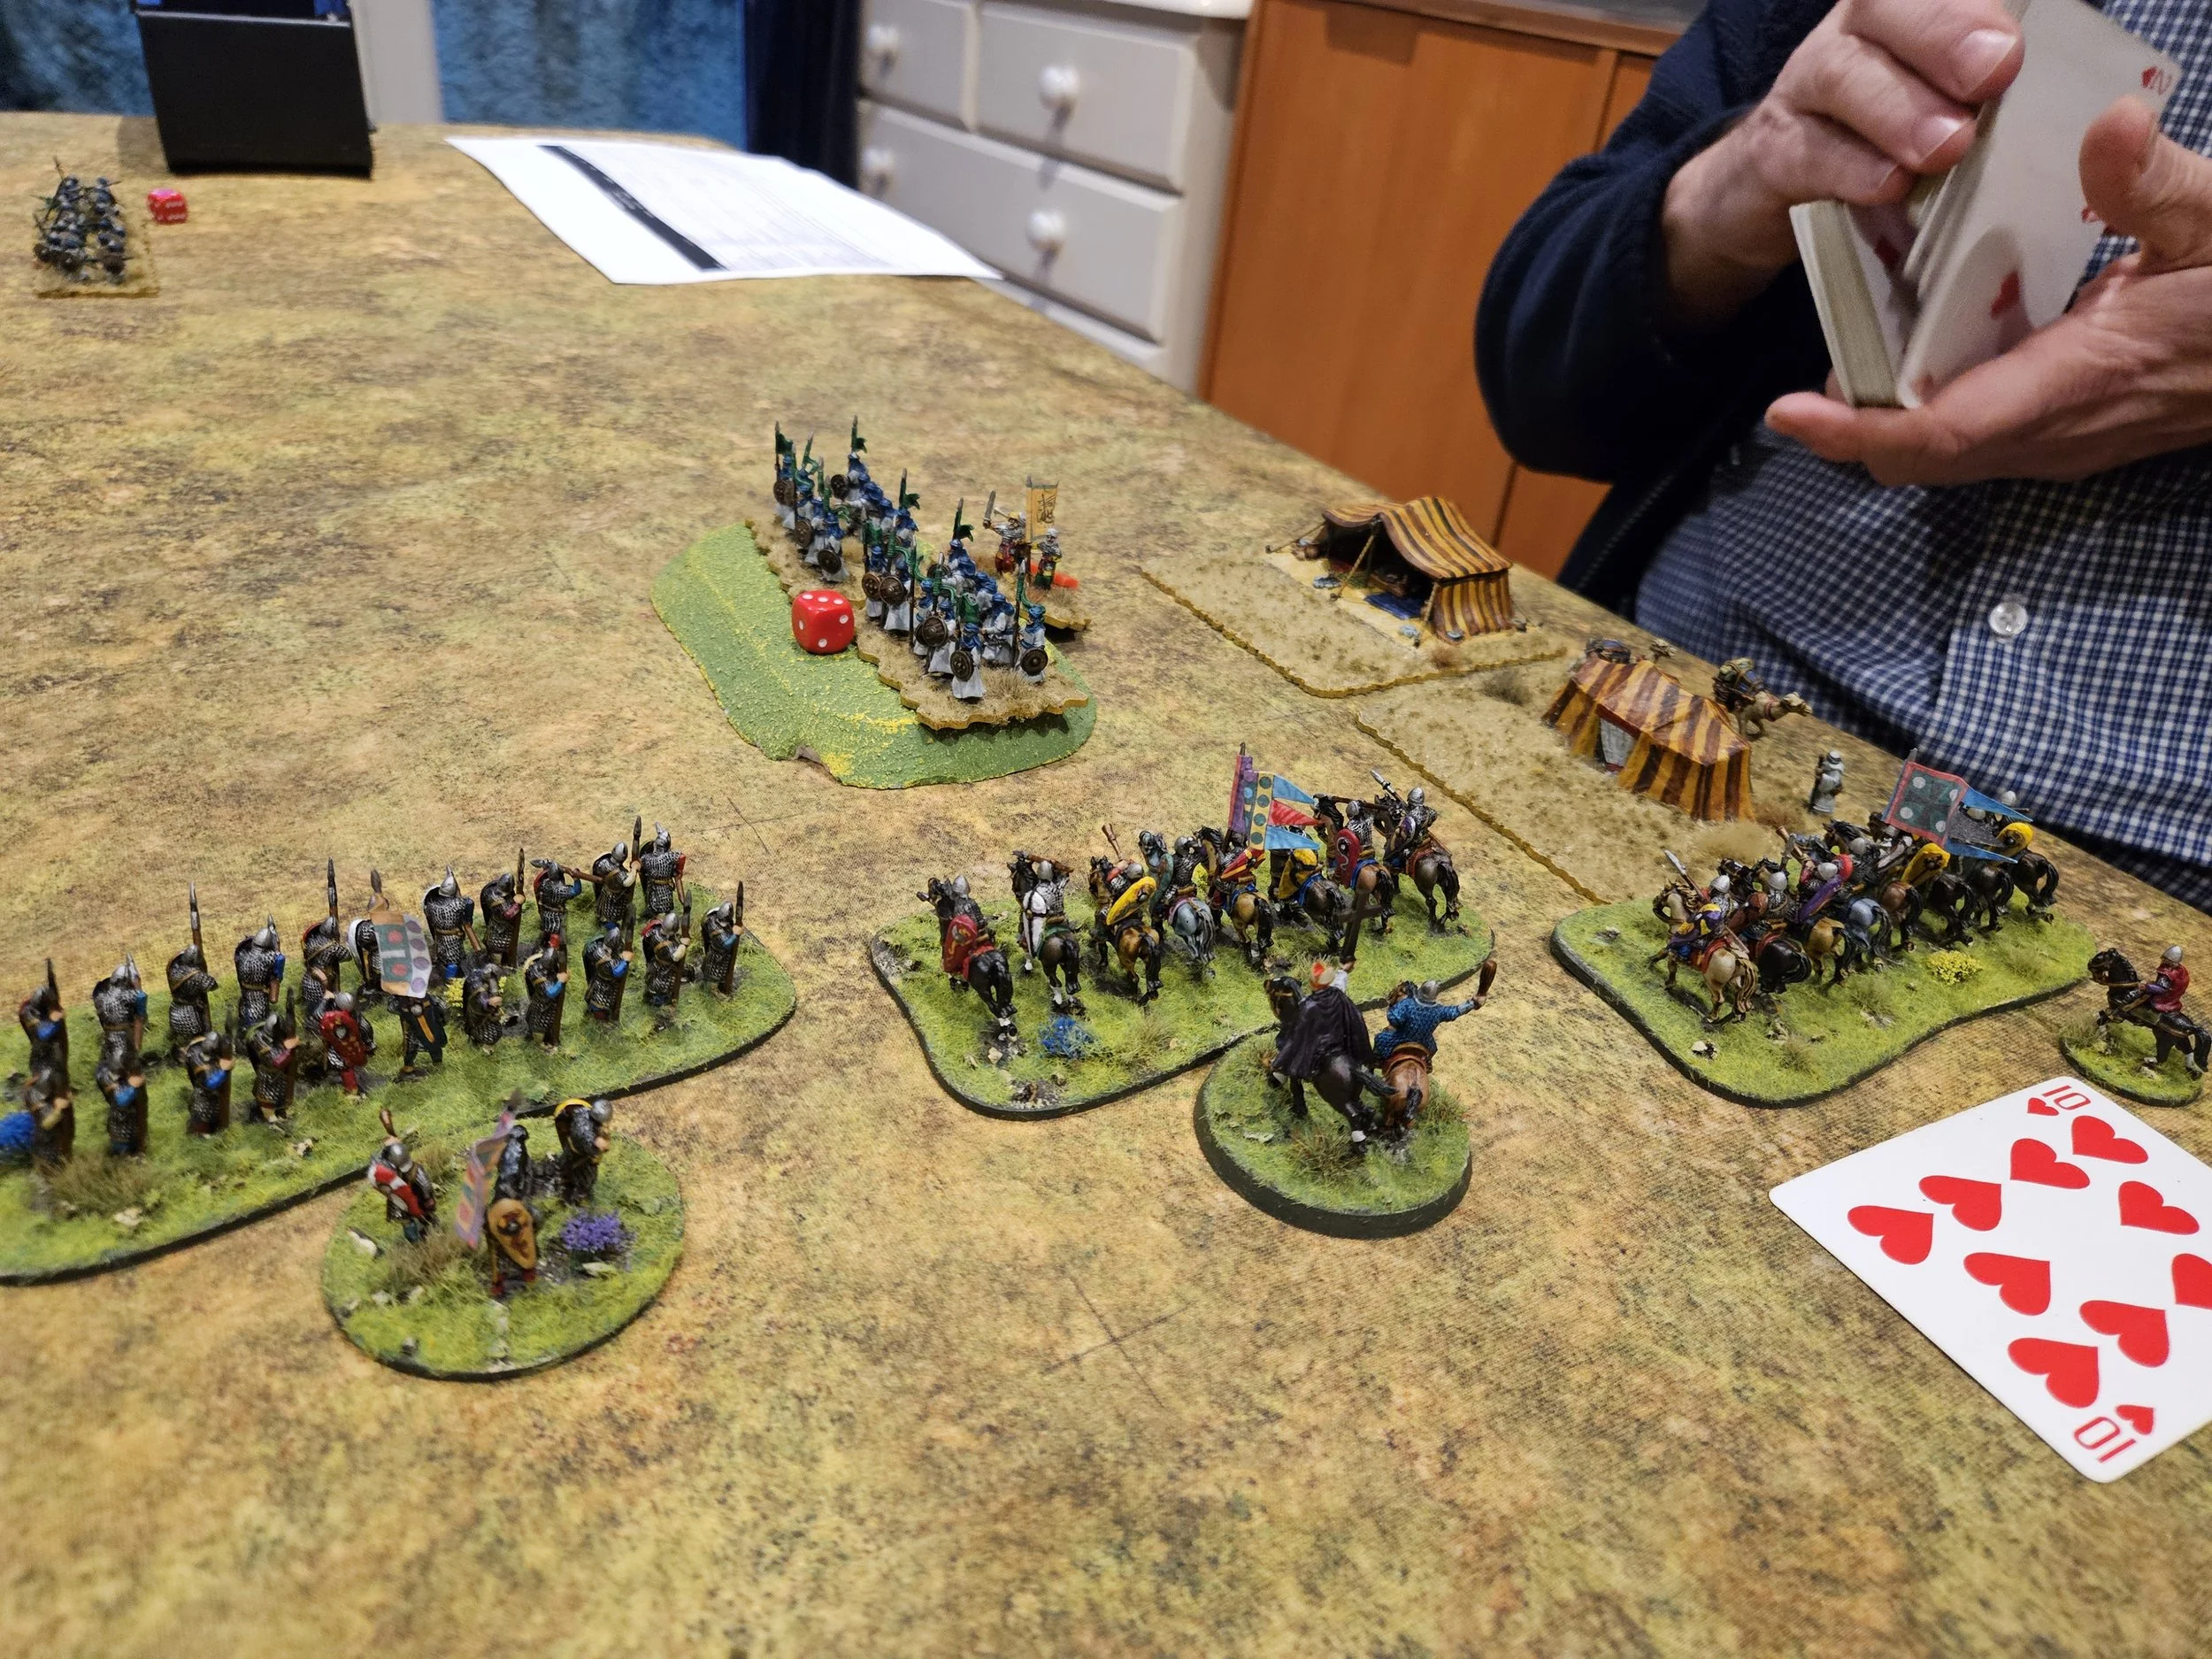
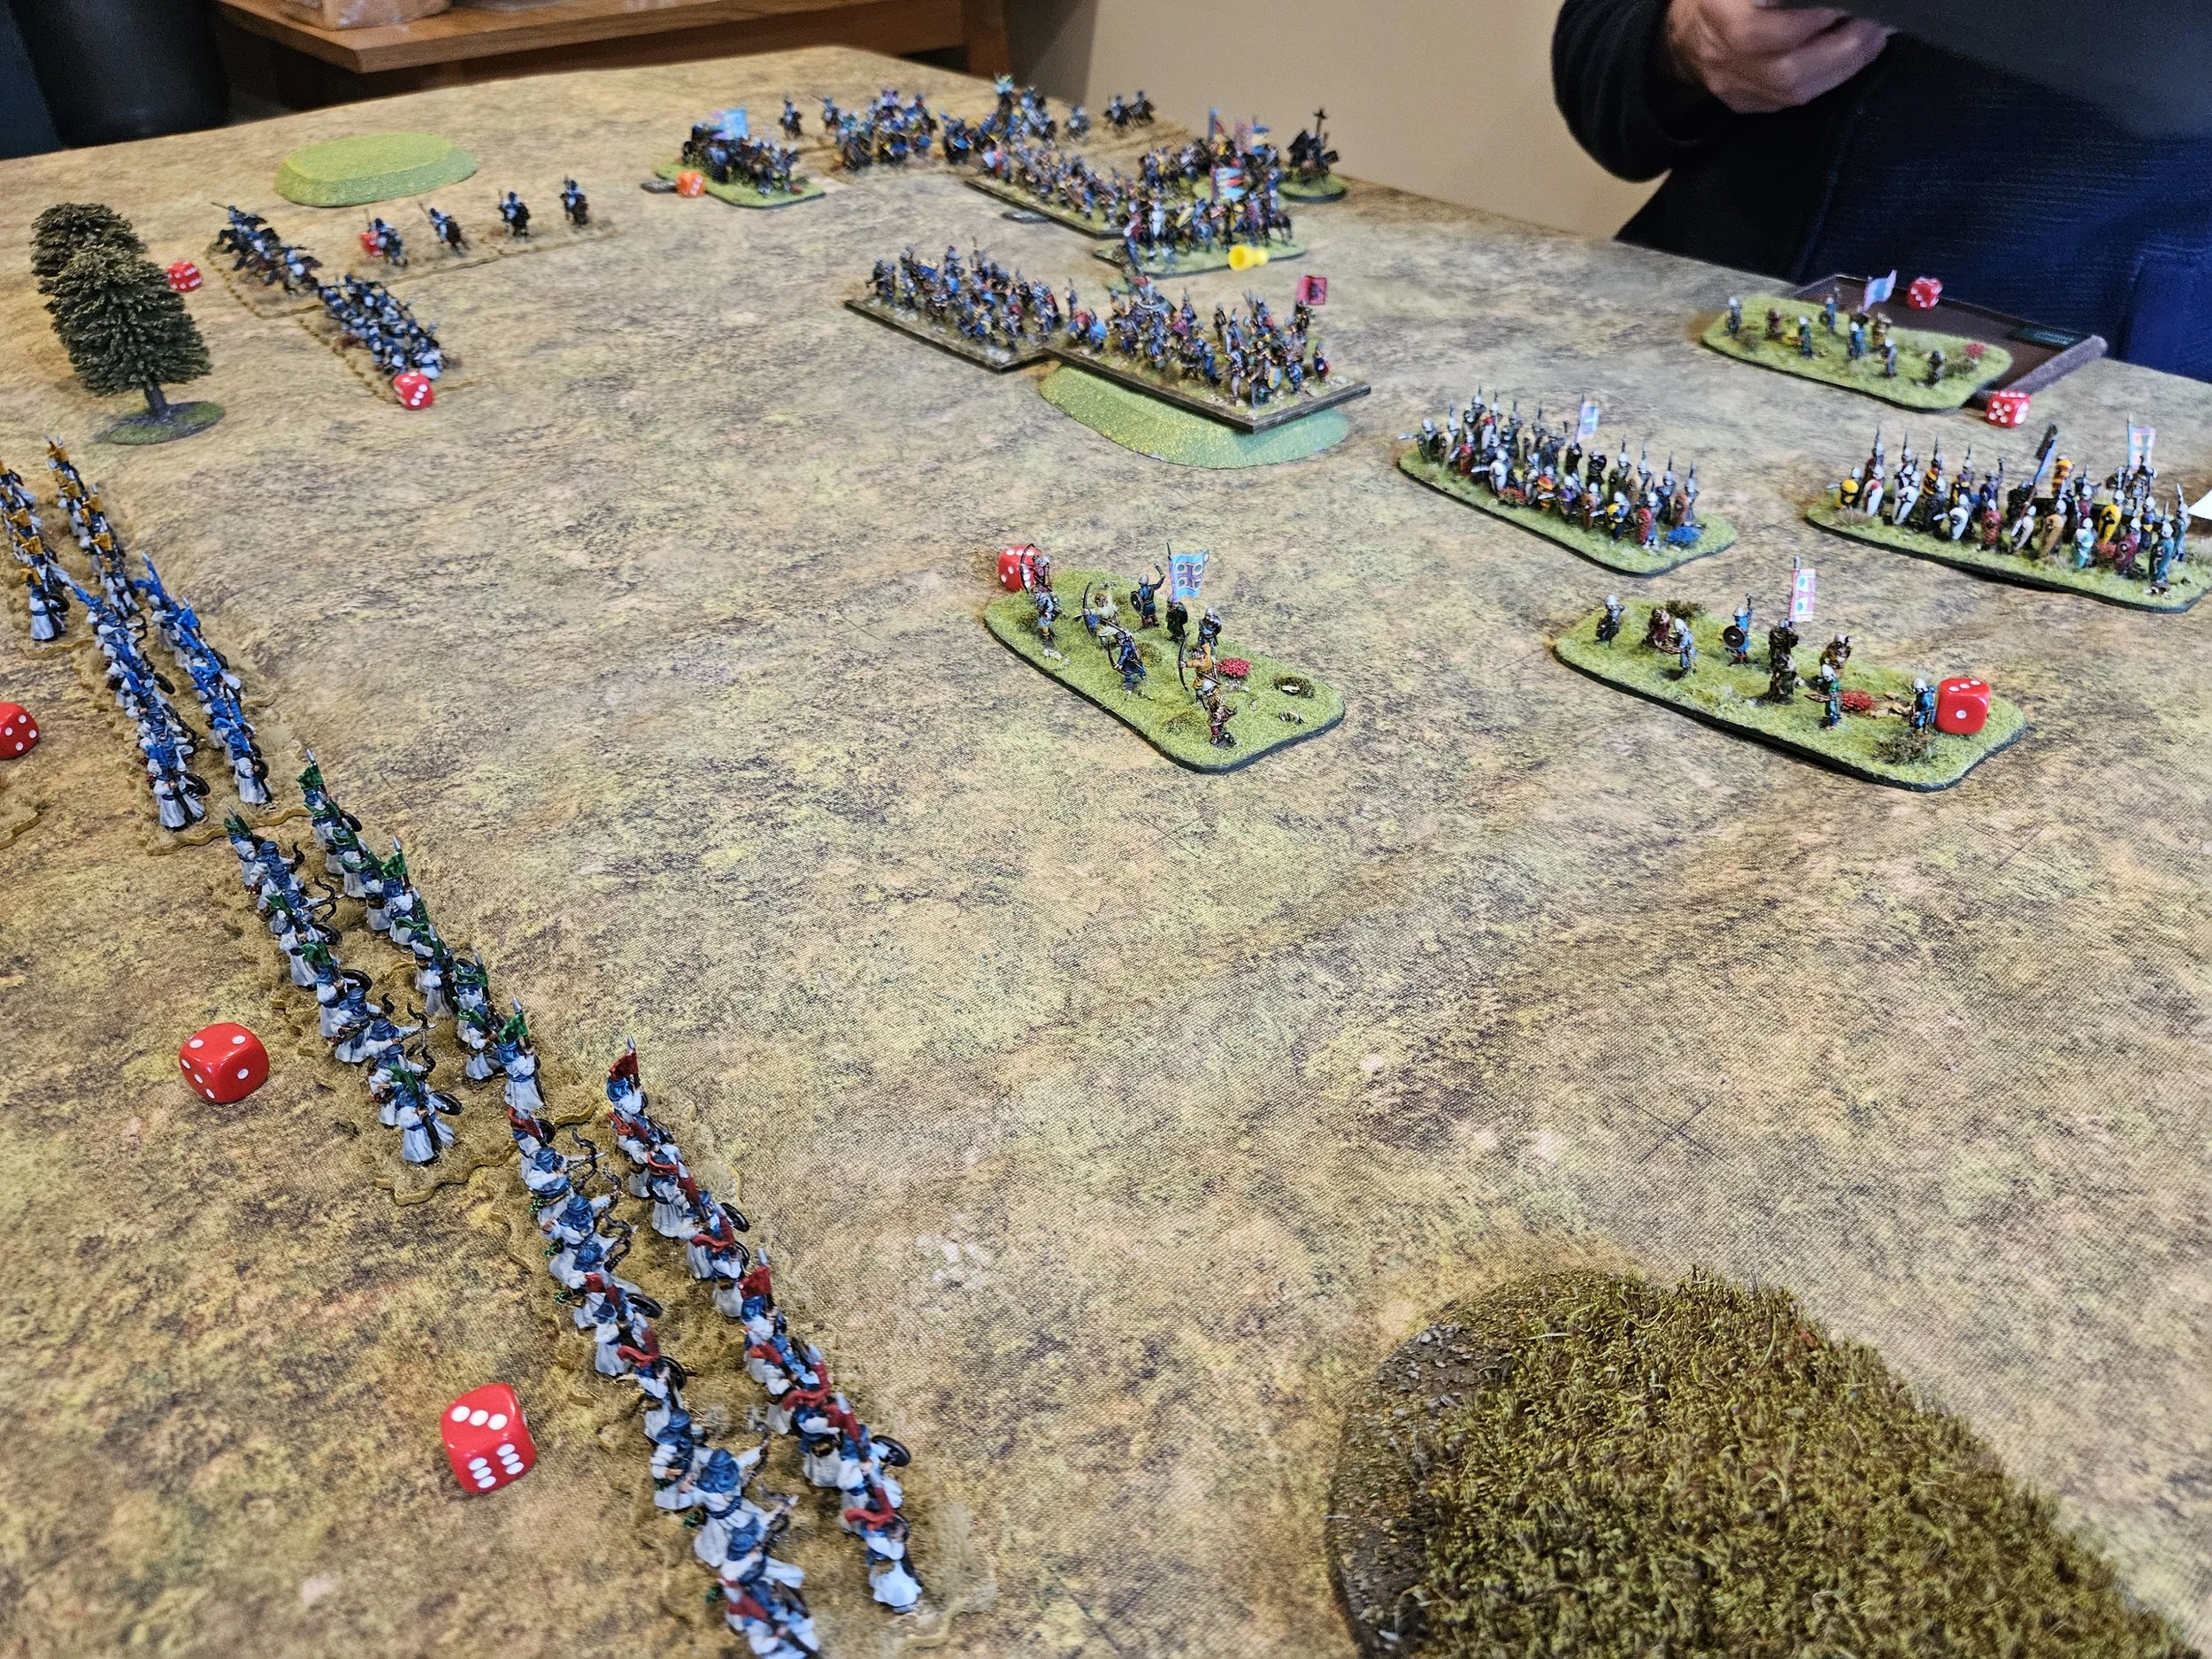
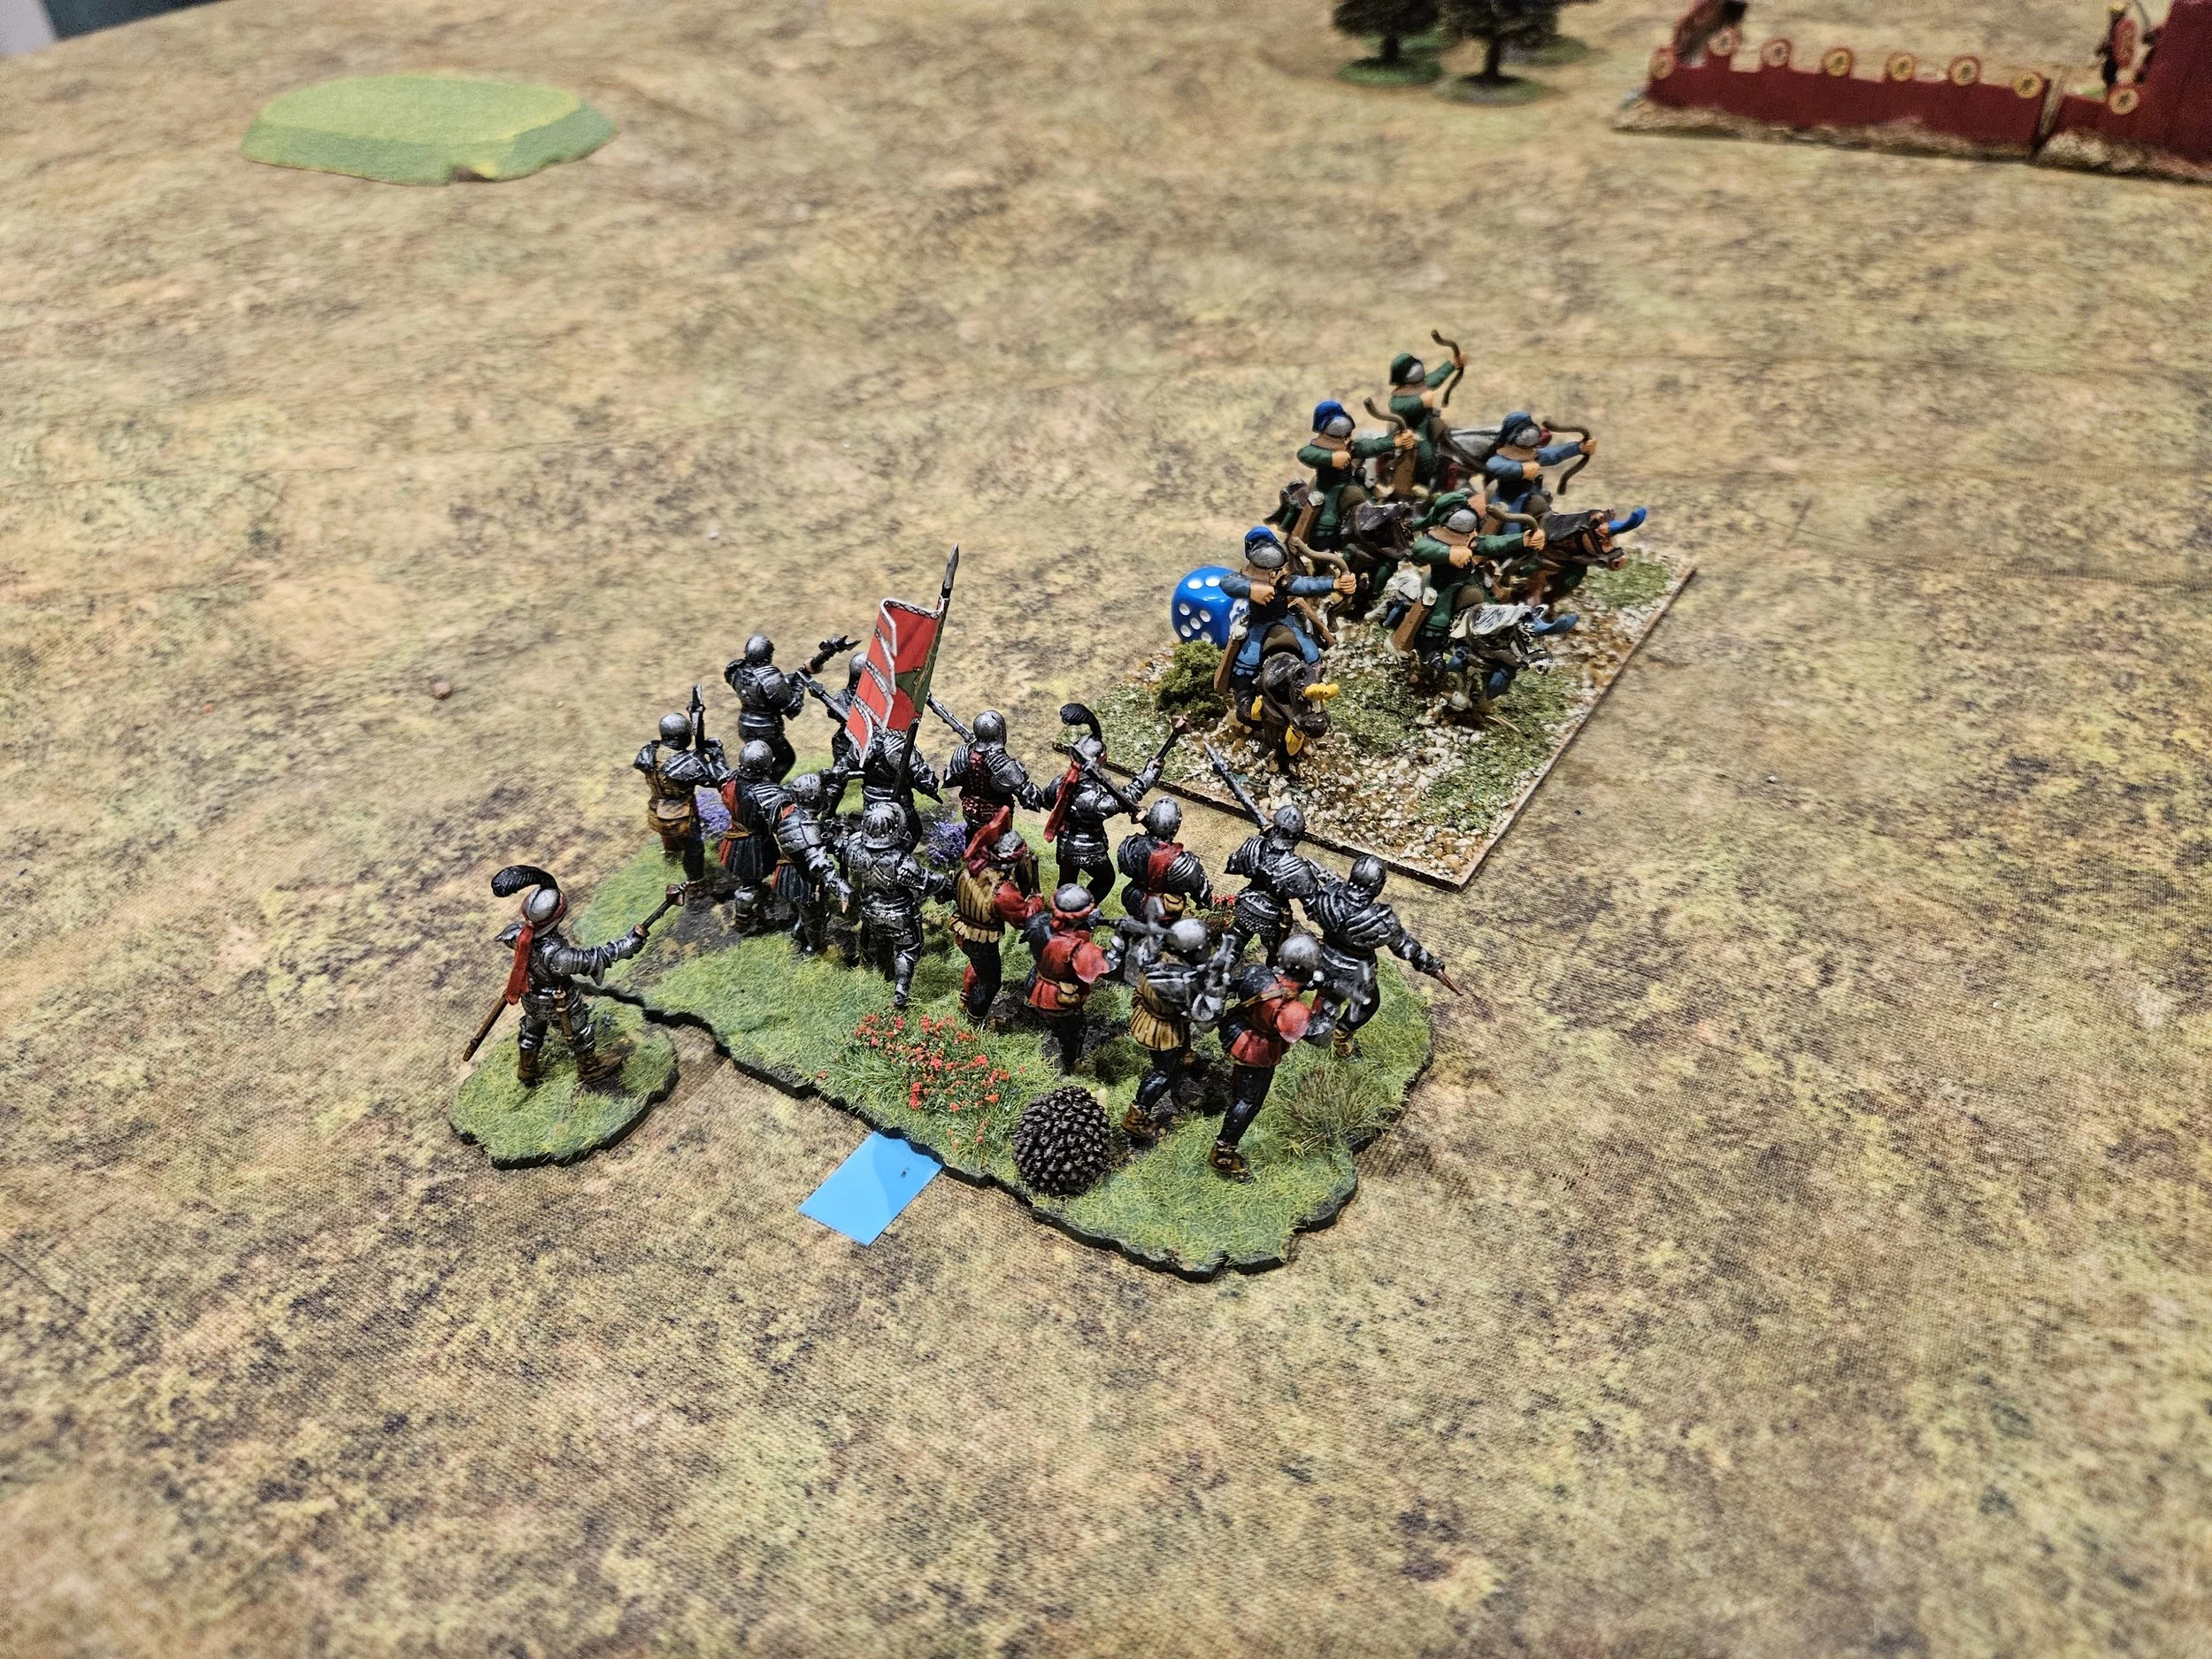
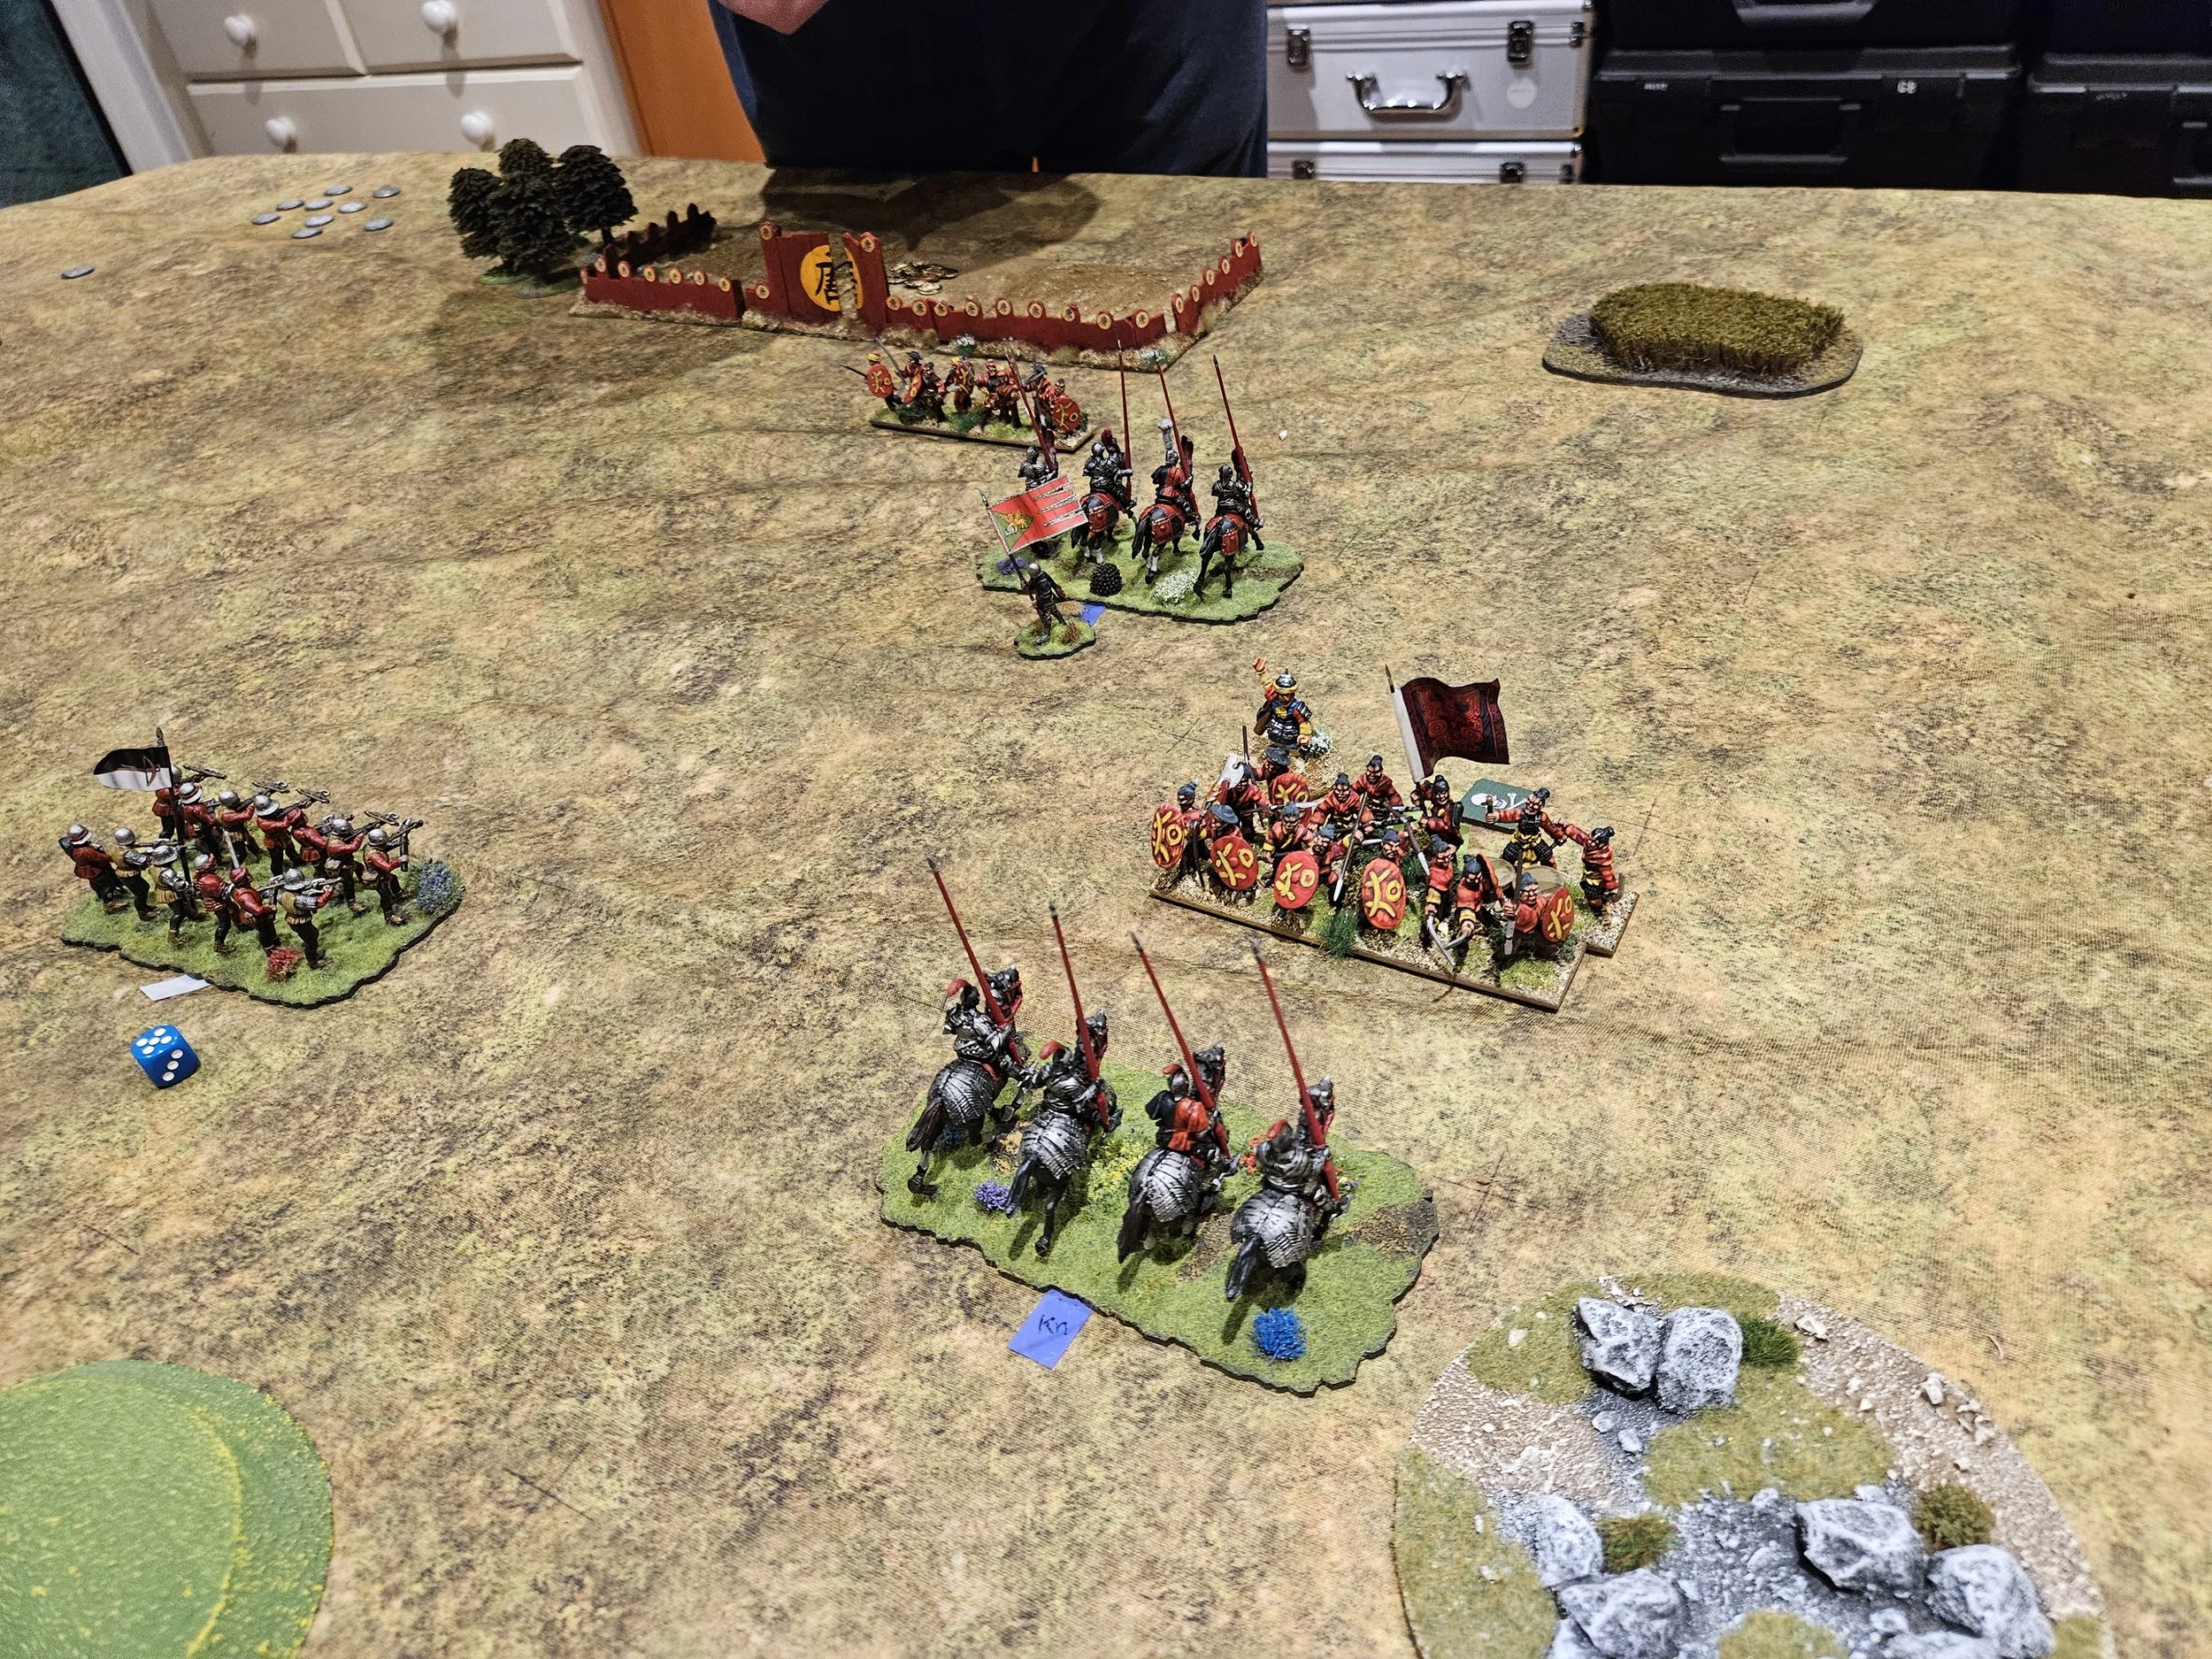
This worked surprisingly well: with last of the Ikko-Ikki disposed of by the Knights on the right, an attack by Lancieri Spearmen on the side of one unit that had swivelled to face my flank attack was enough to knock their target off the table and give me a 14-2 victory without my left-hand flank attack even going in.
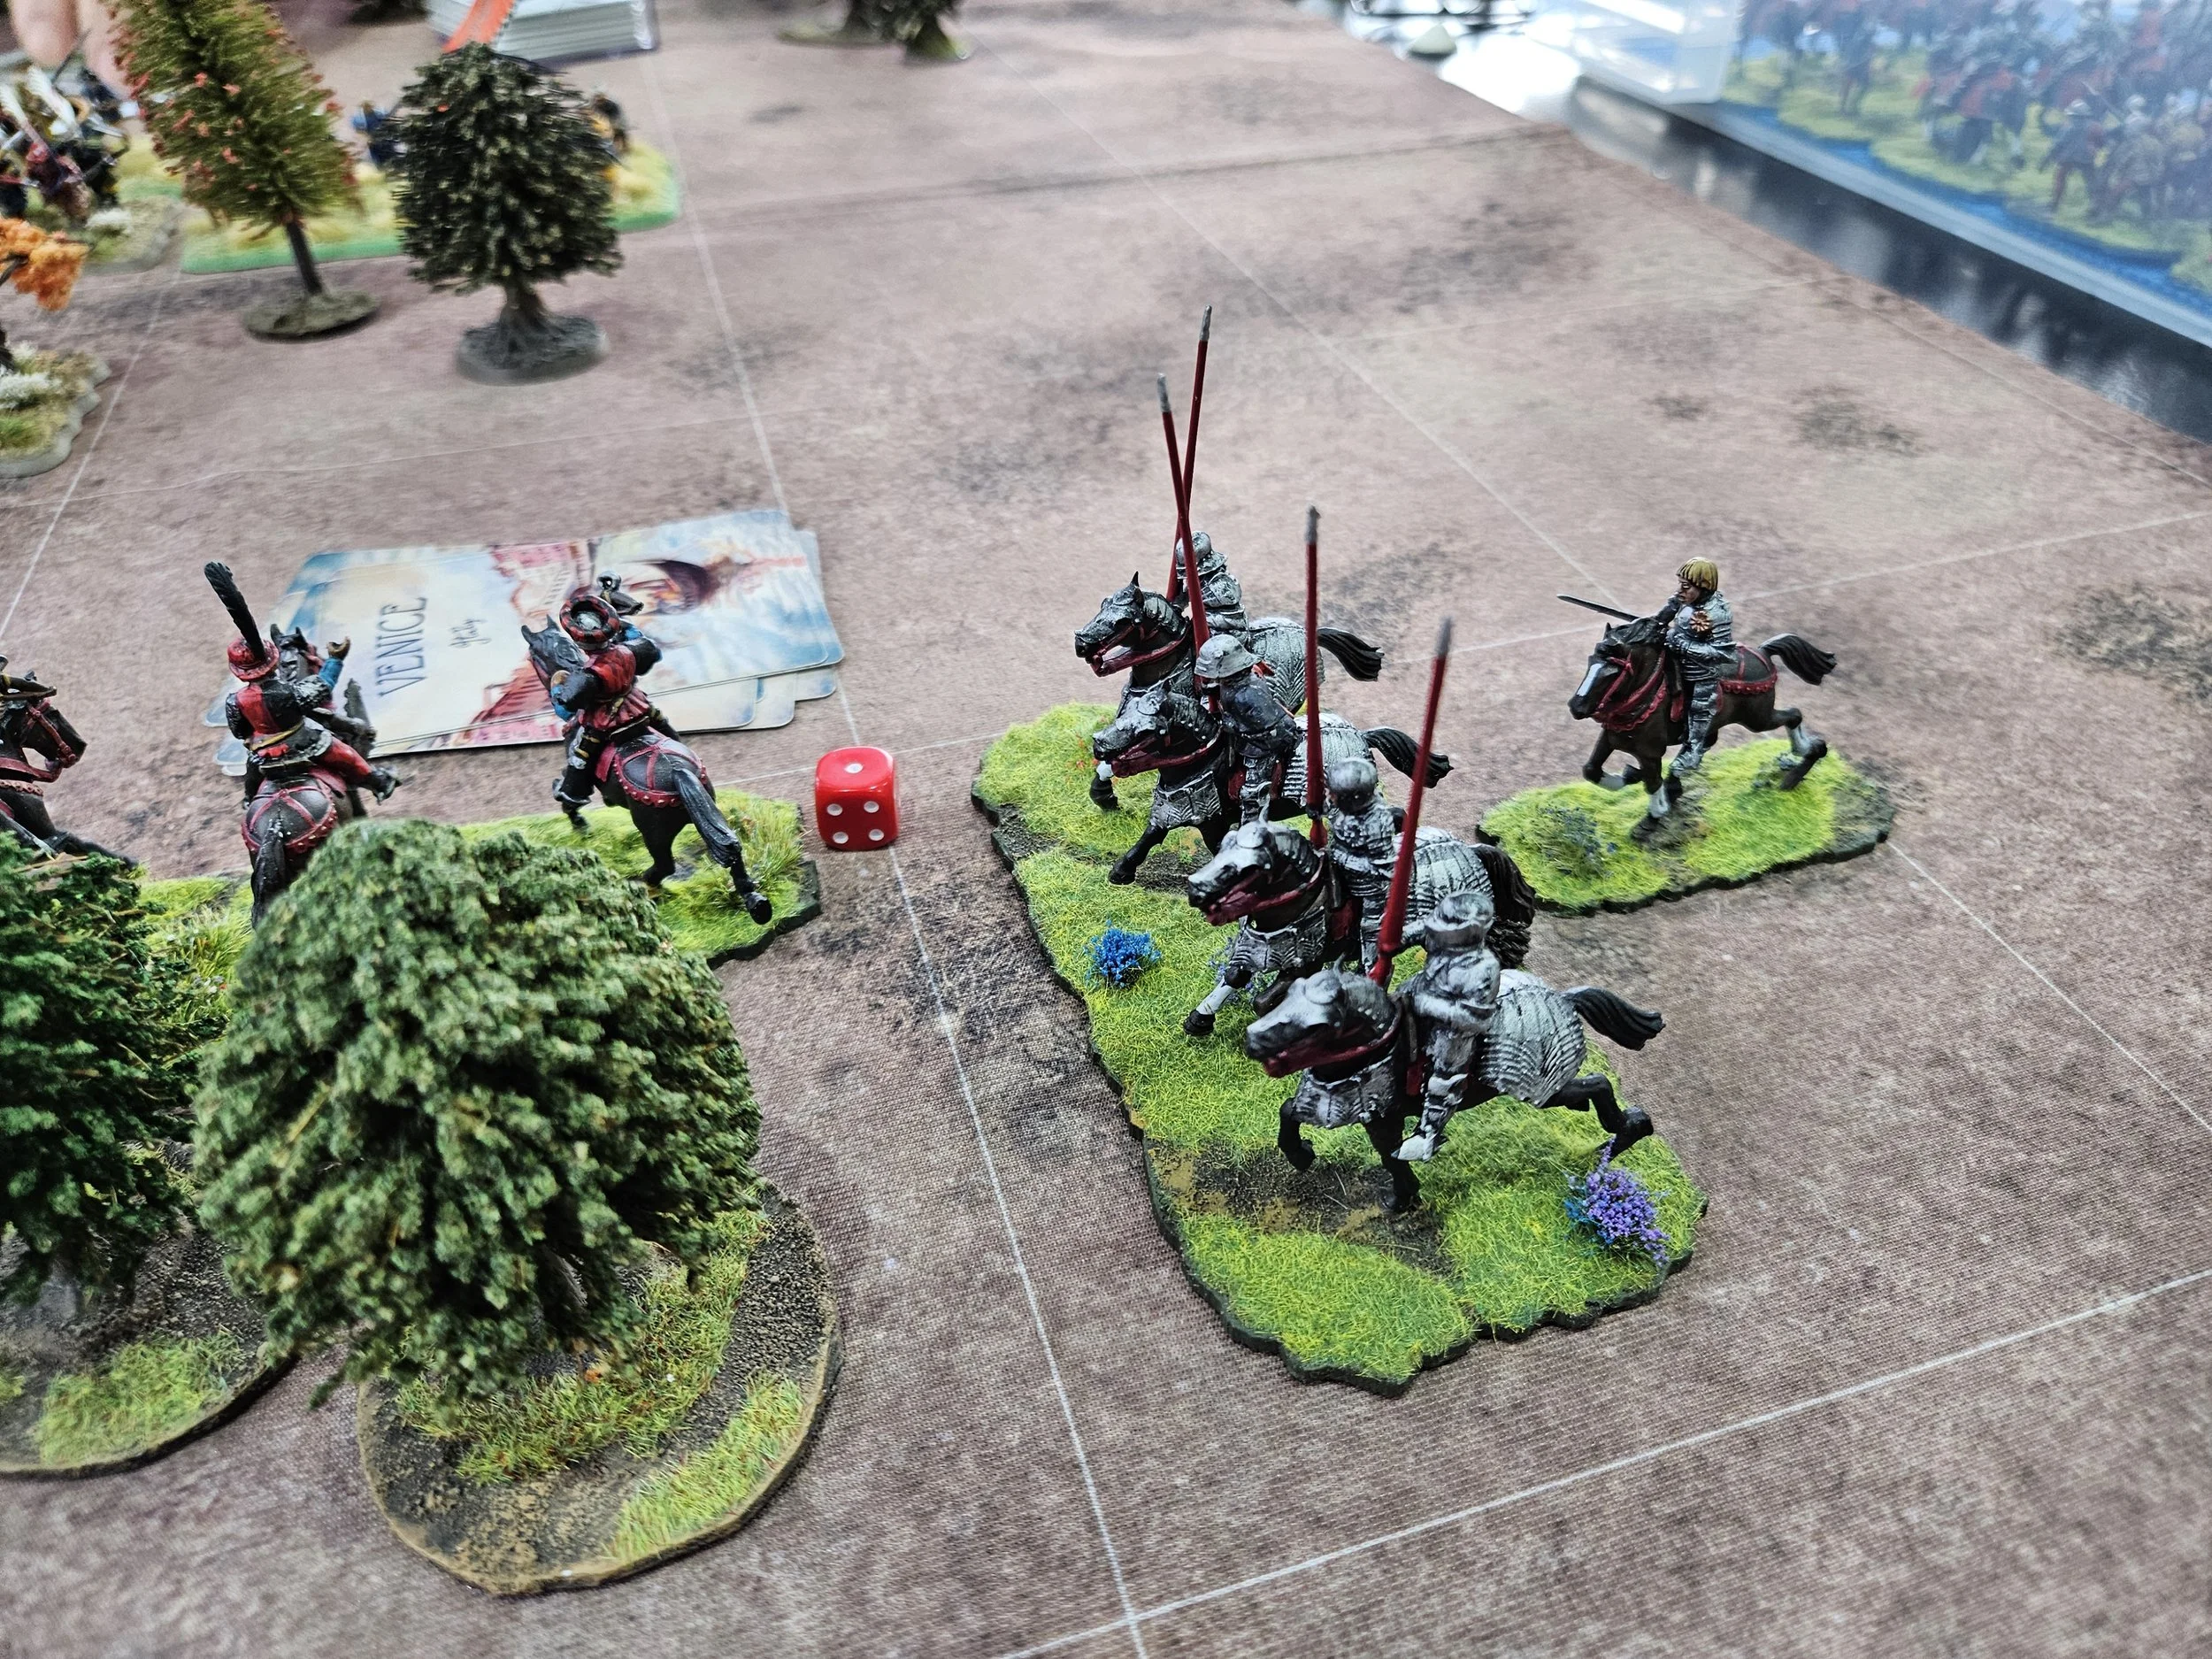
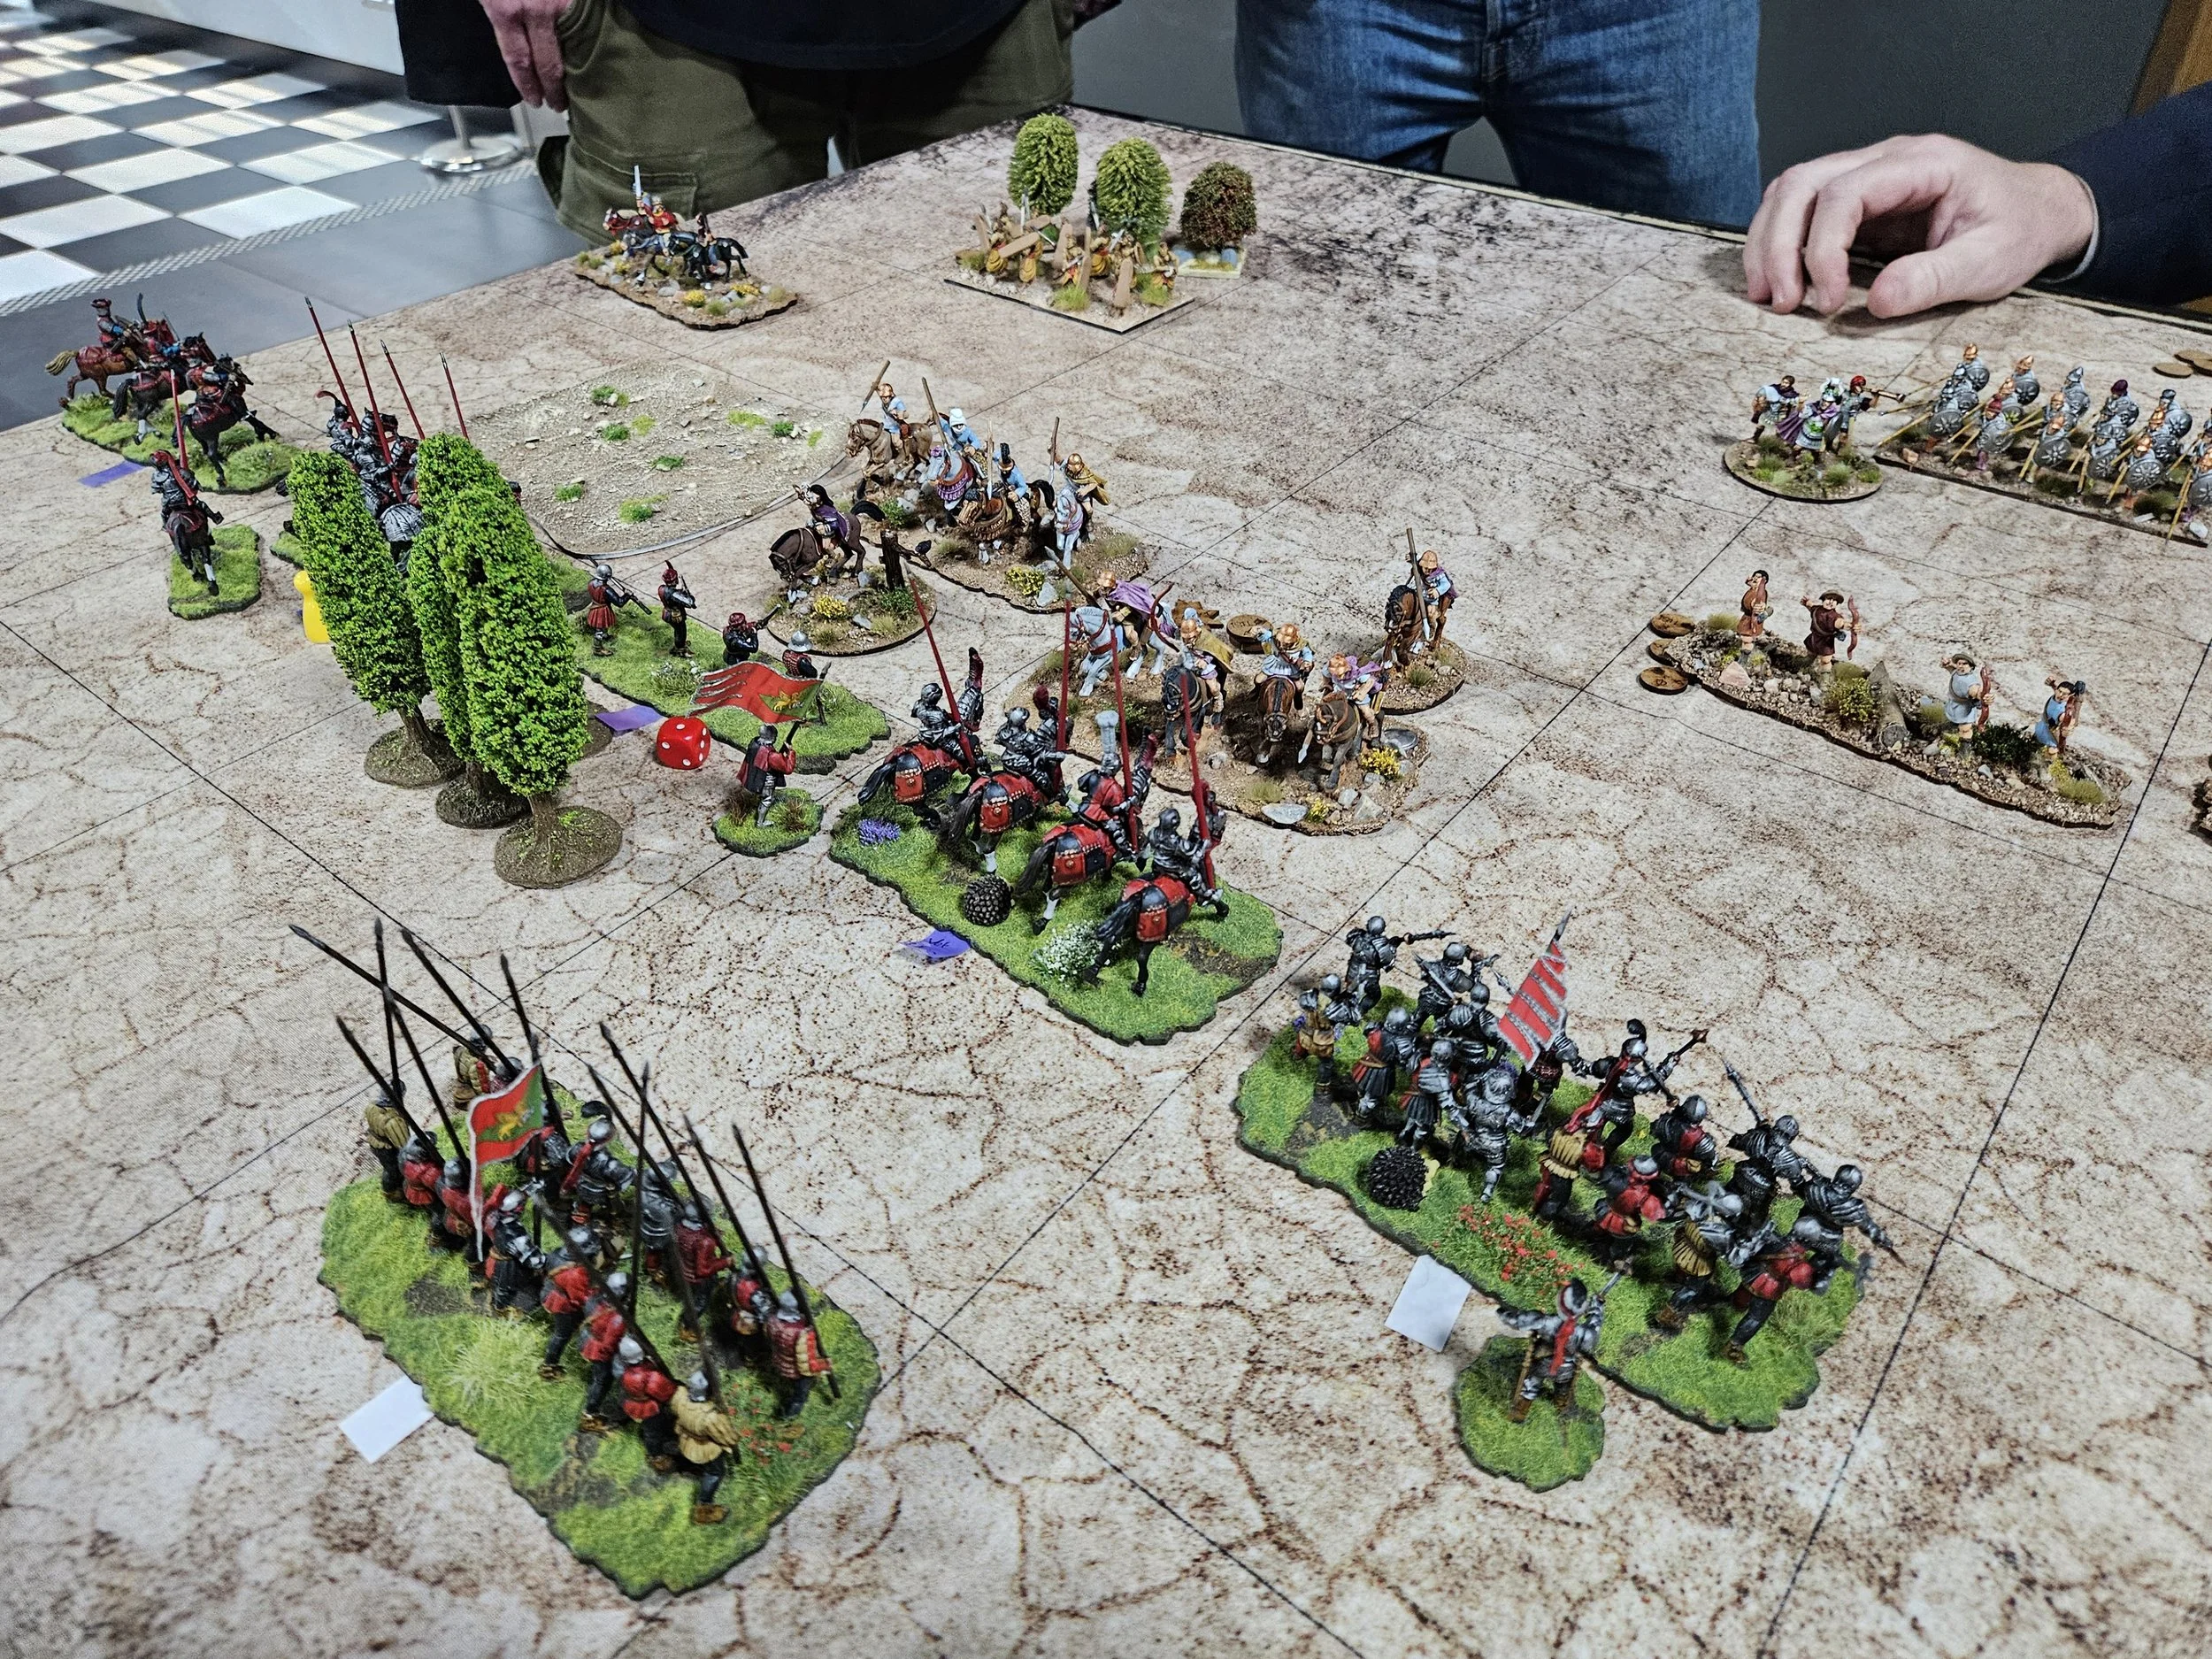
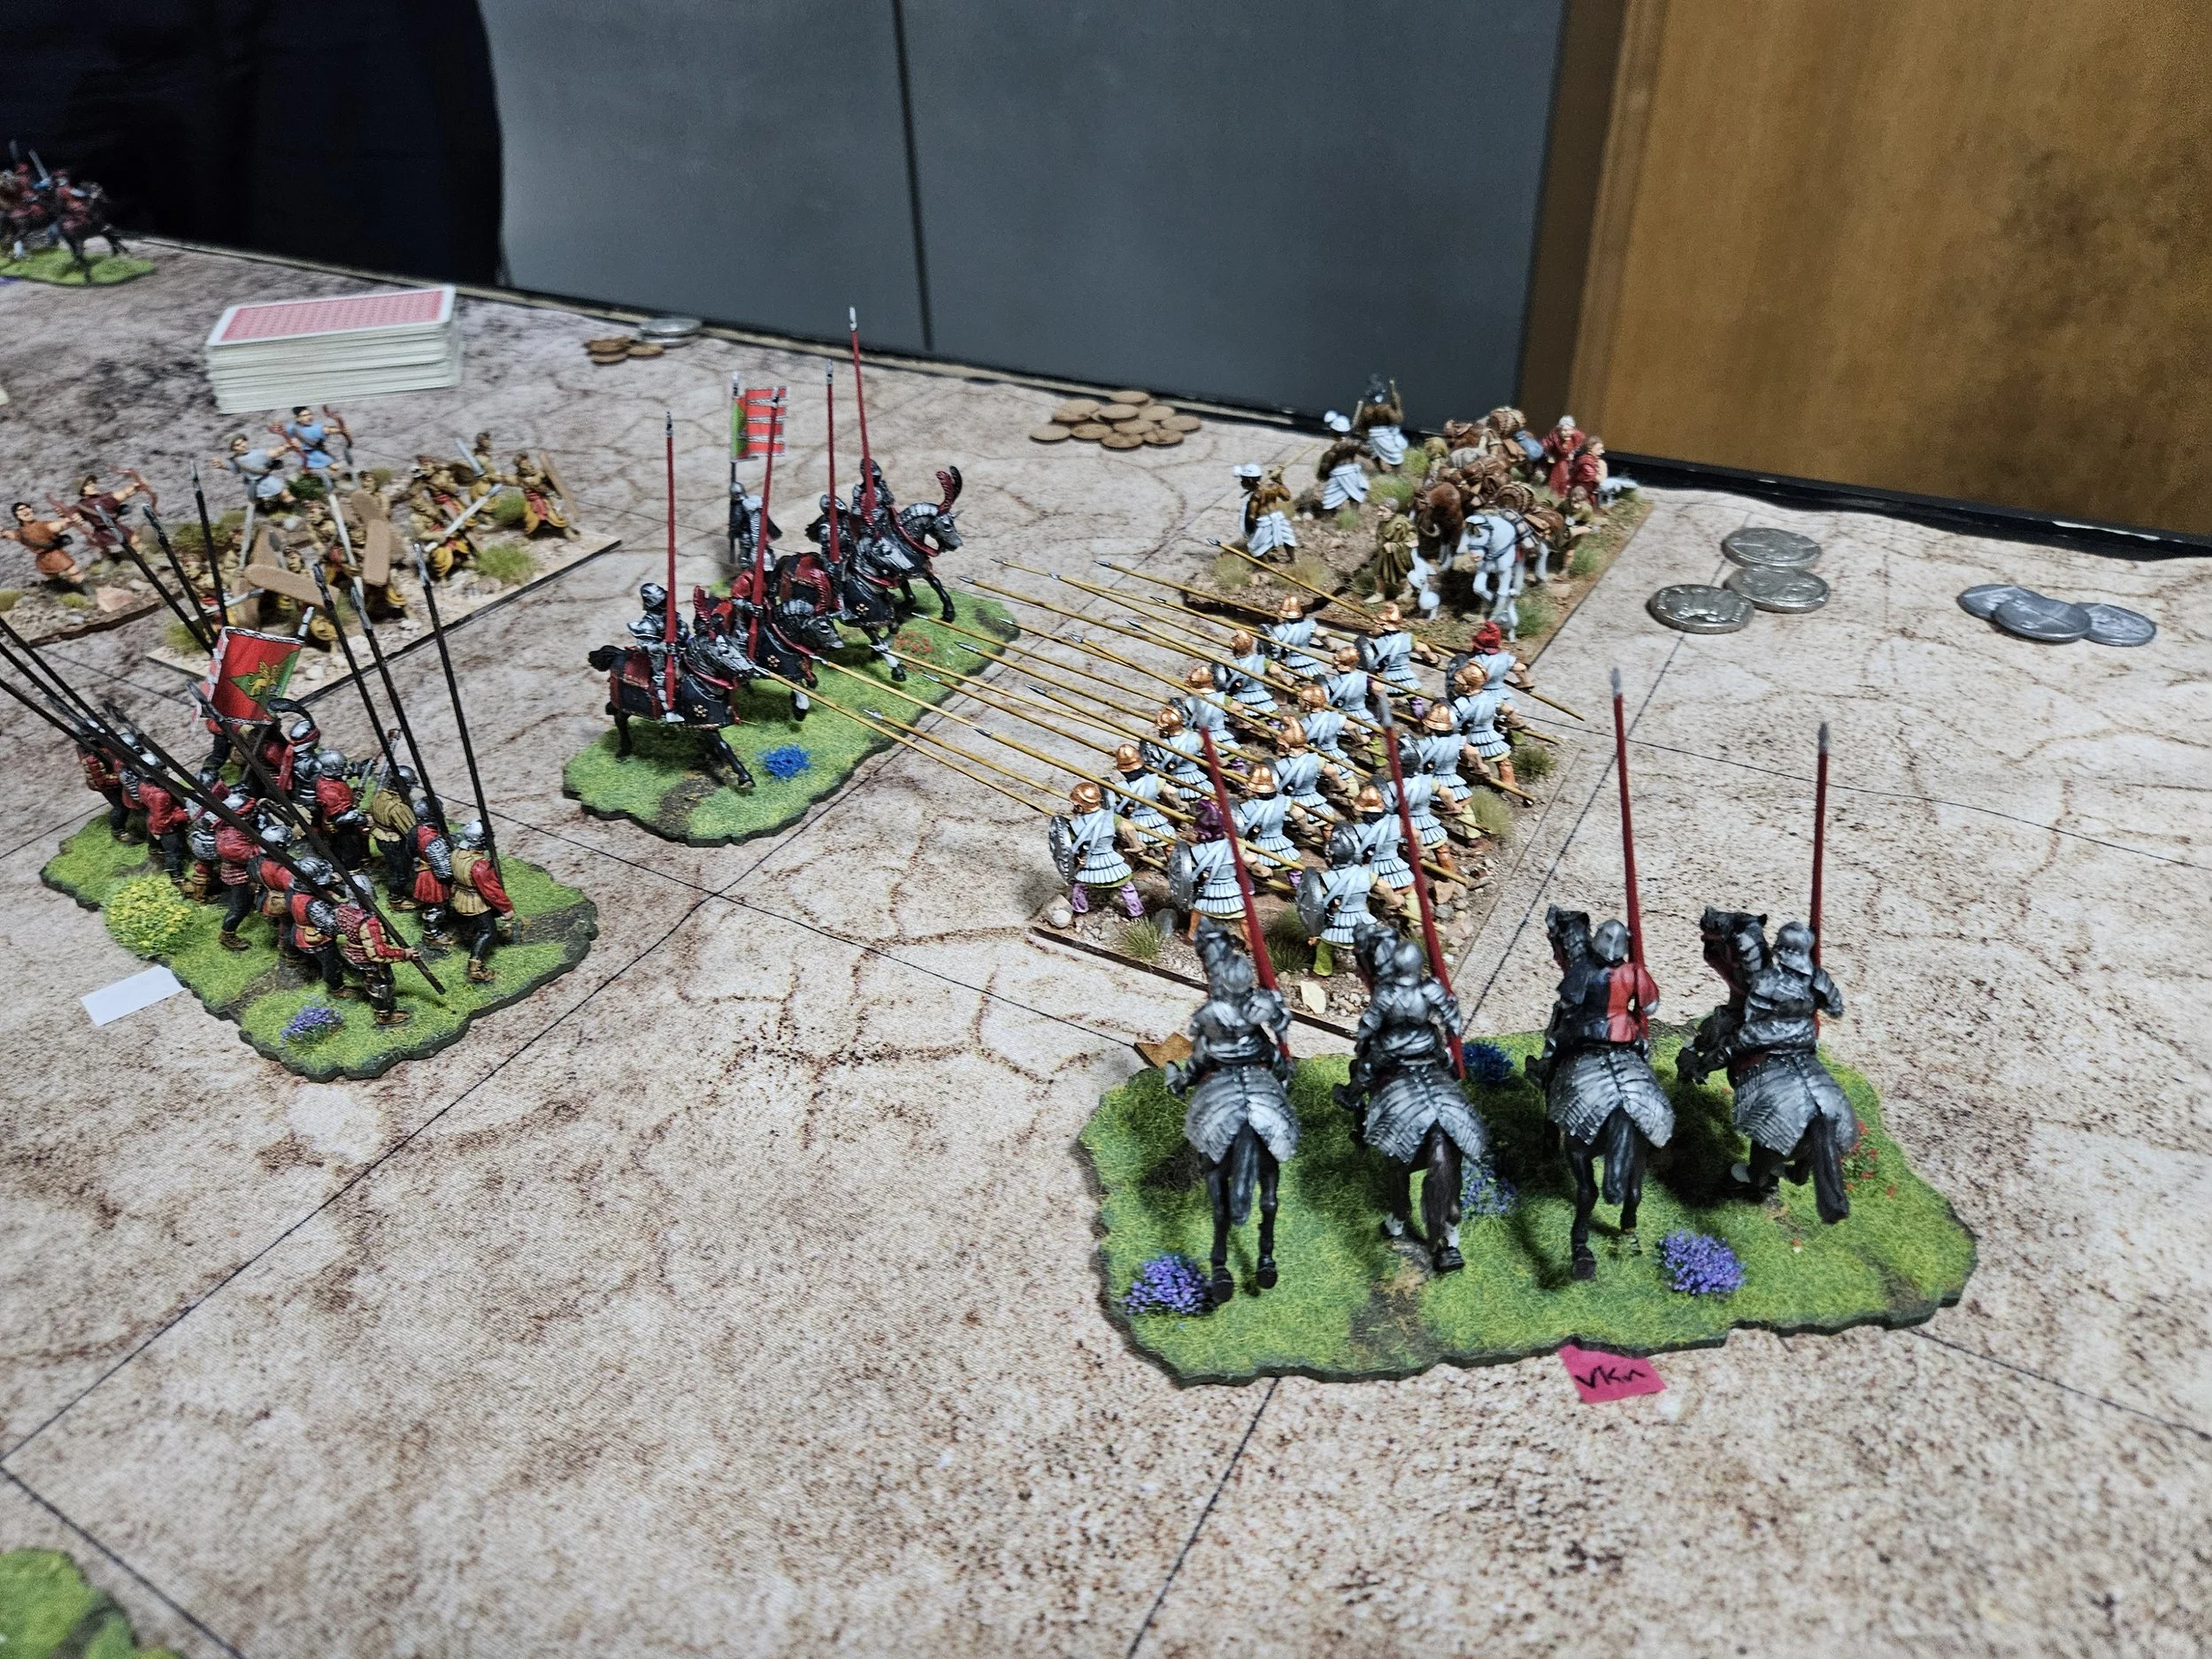
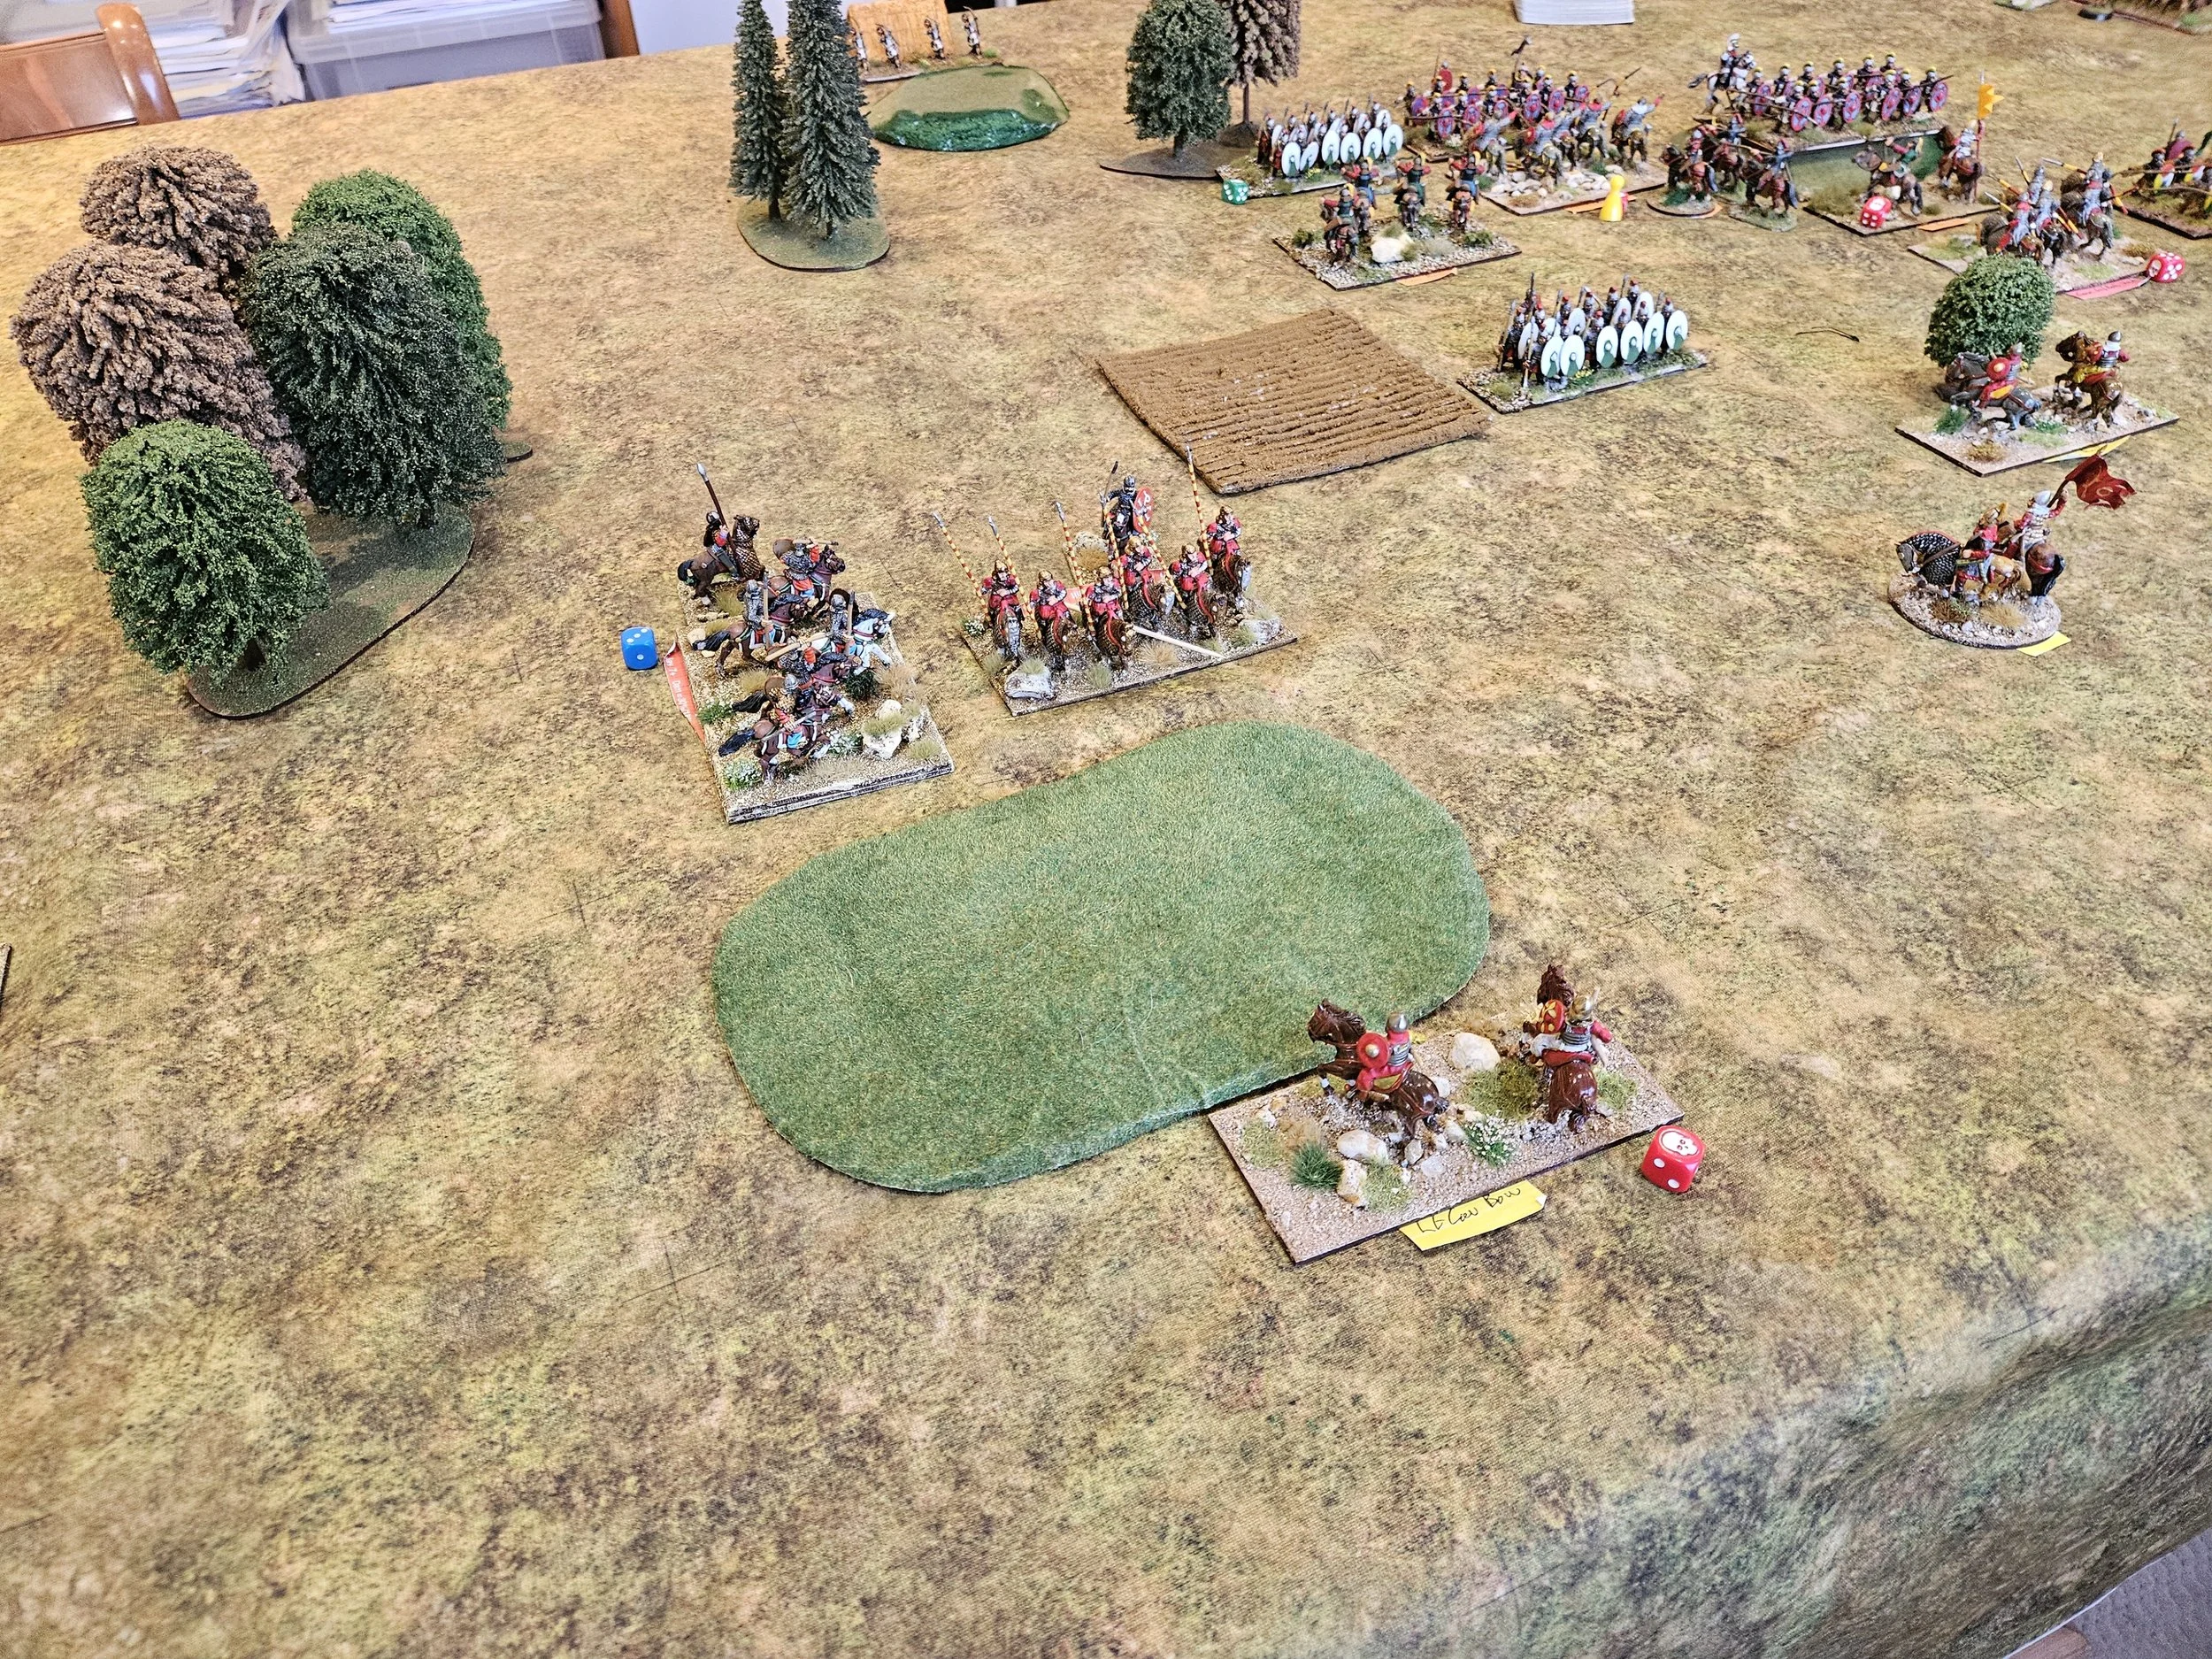
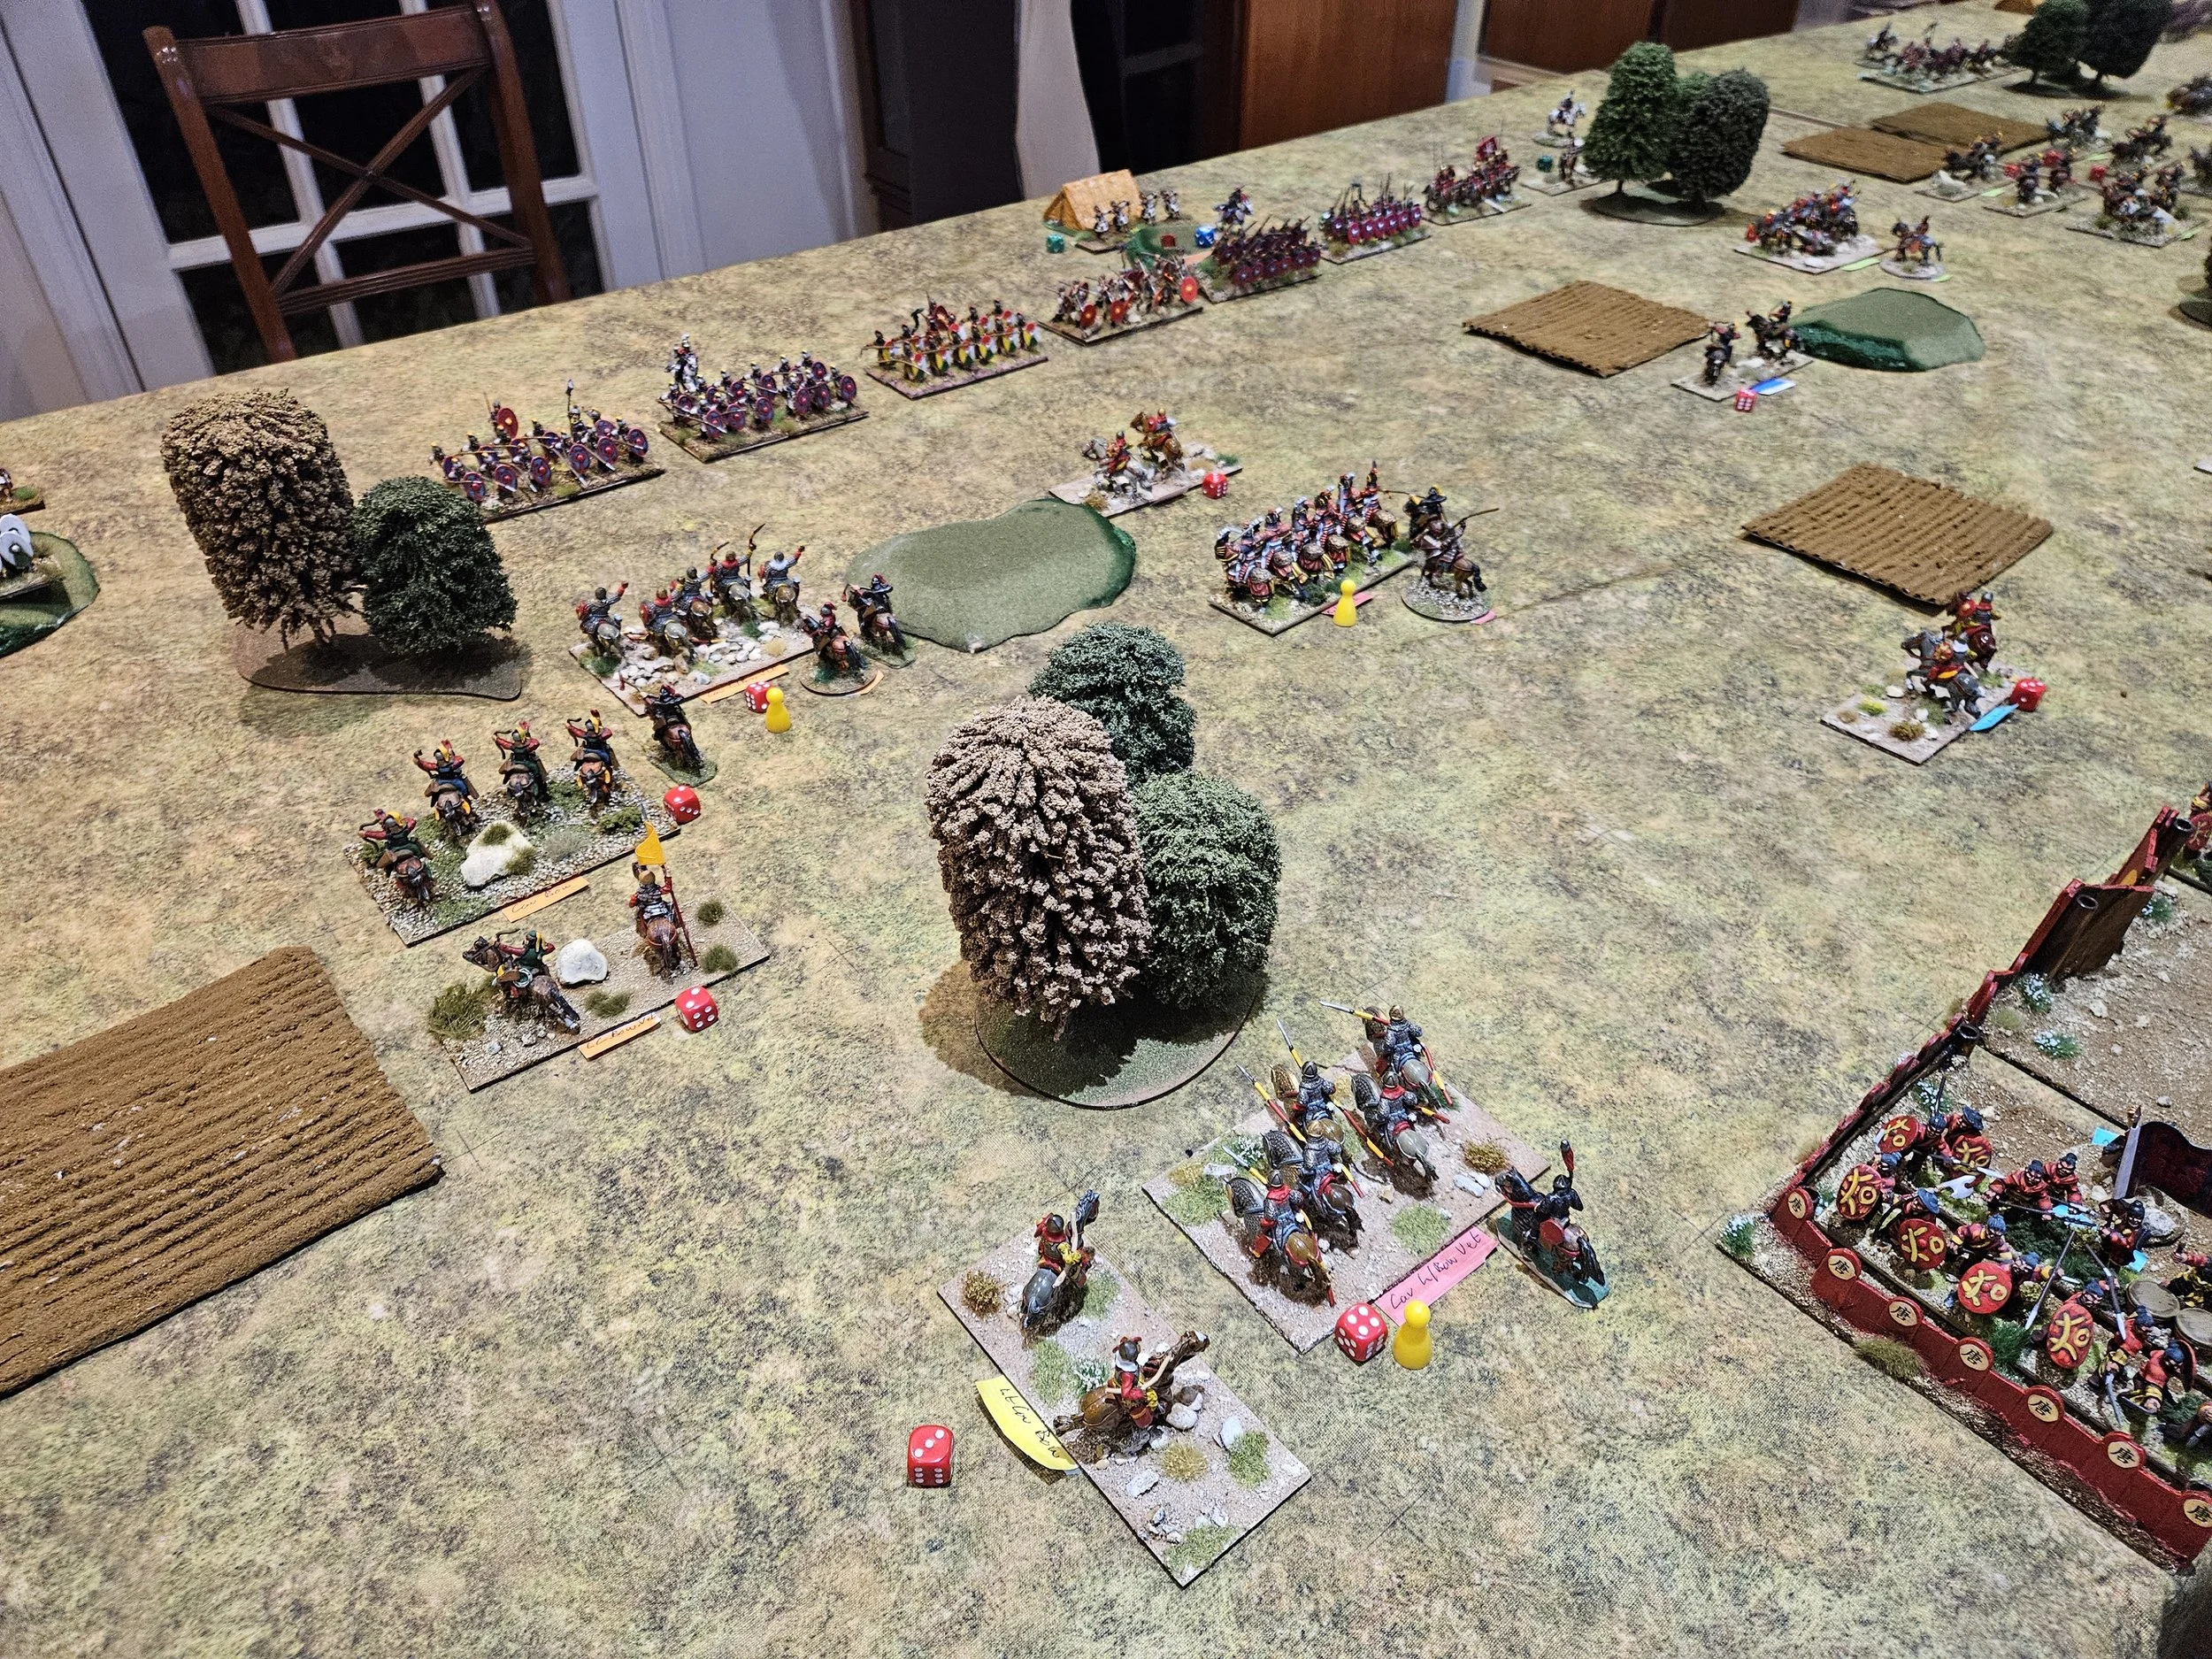
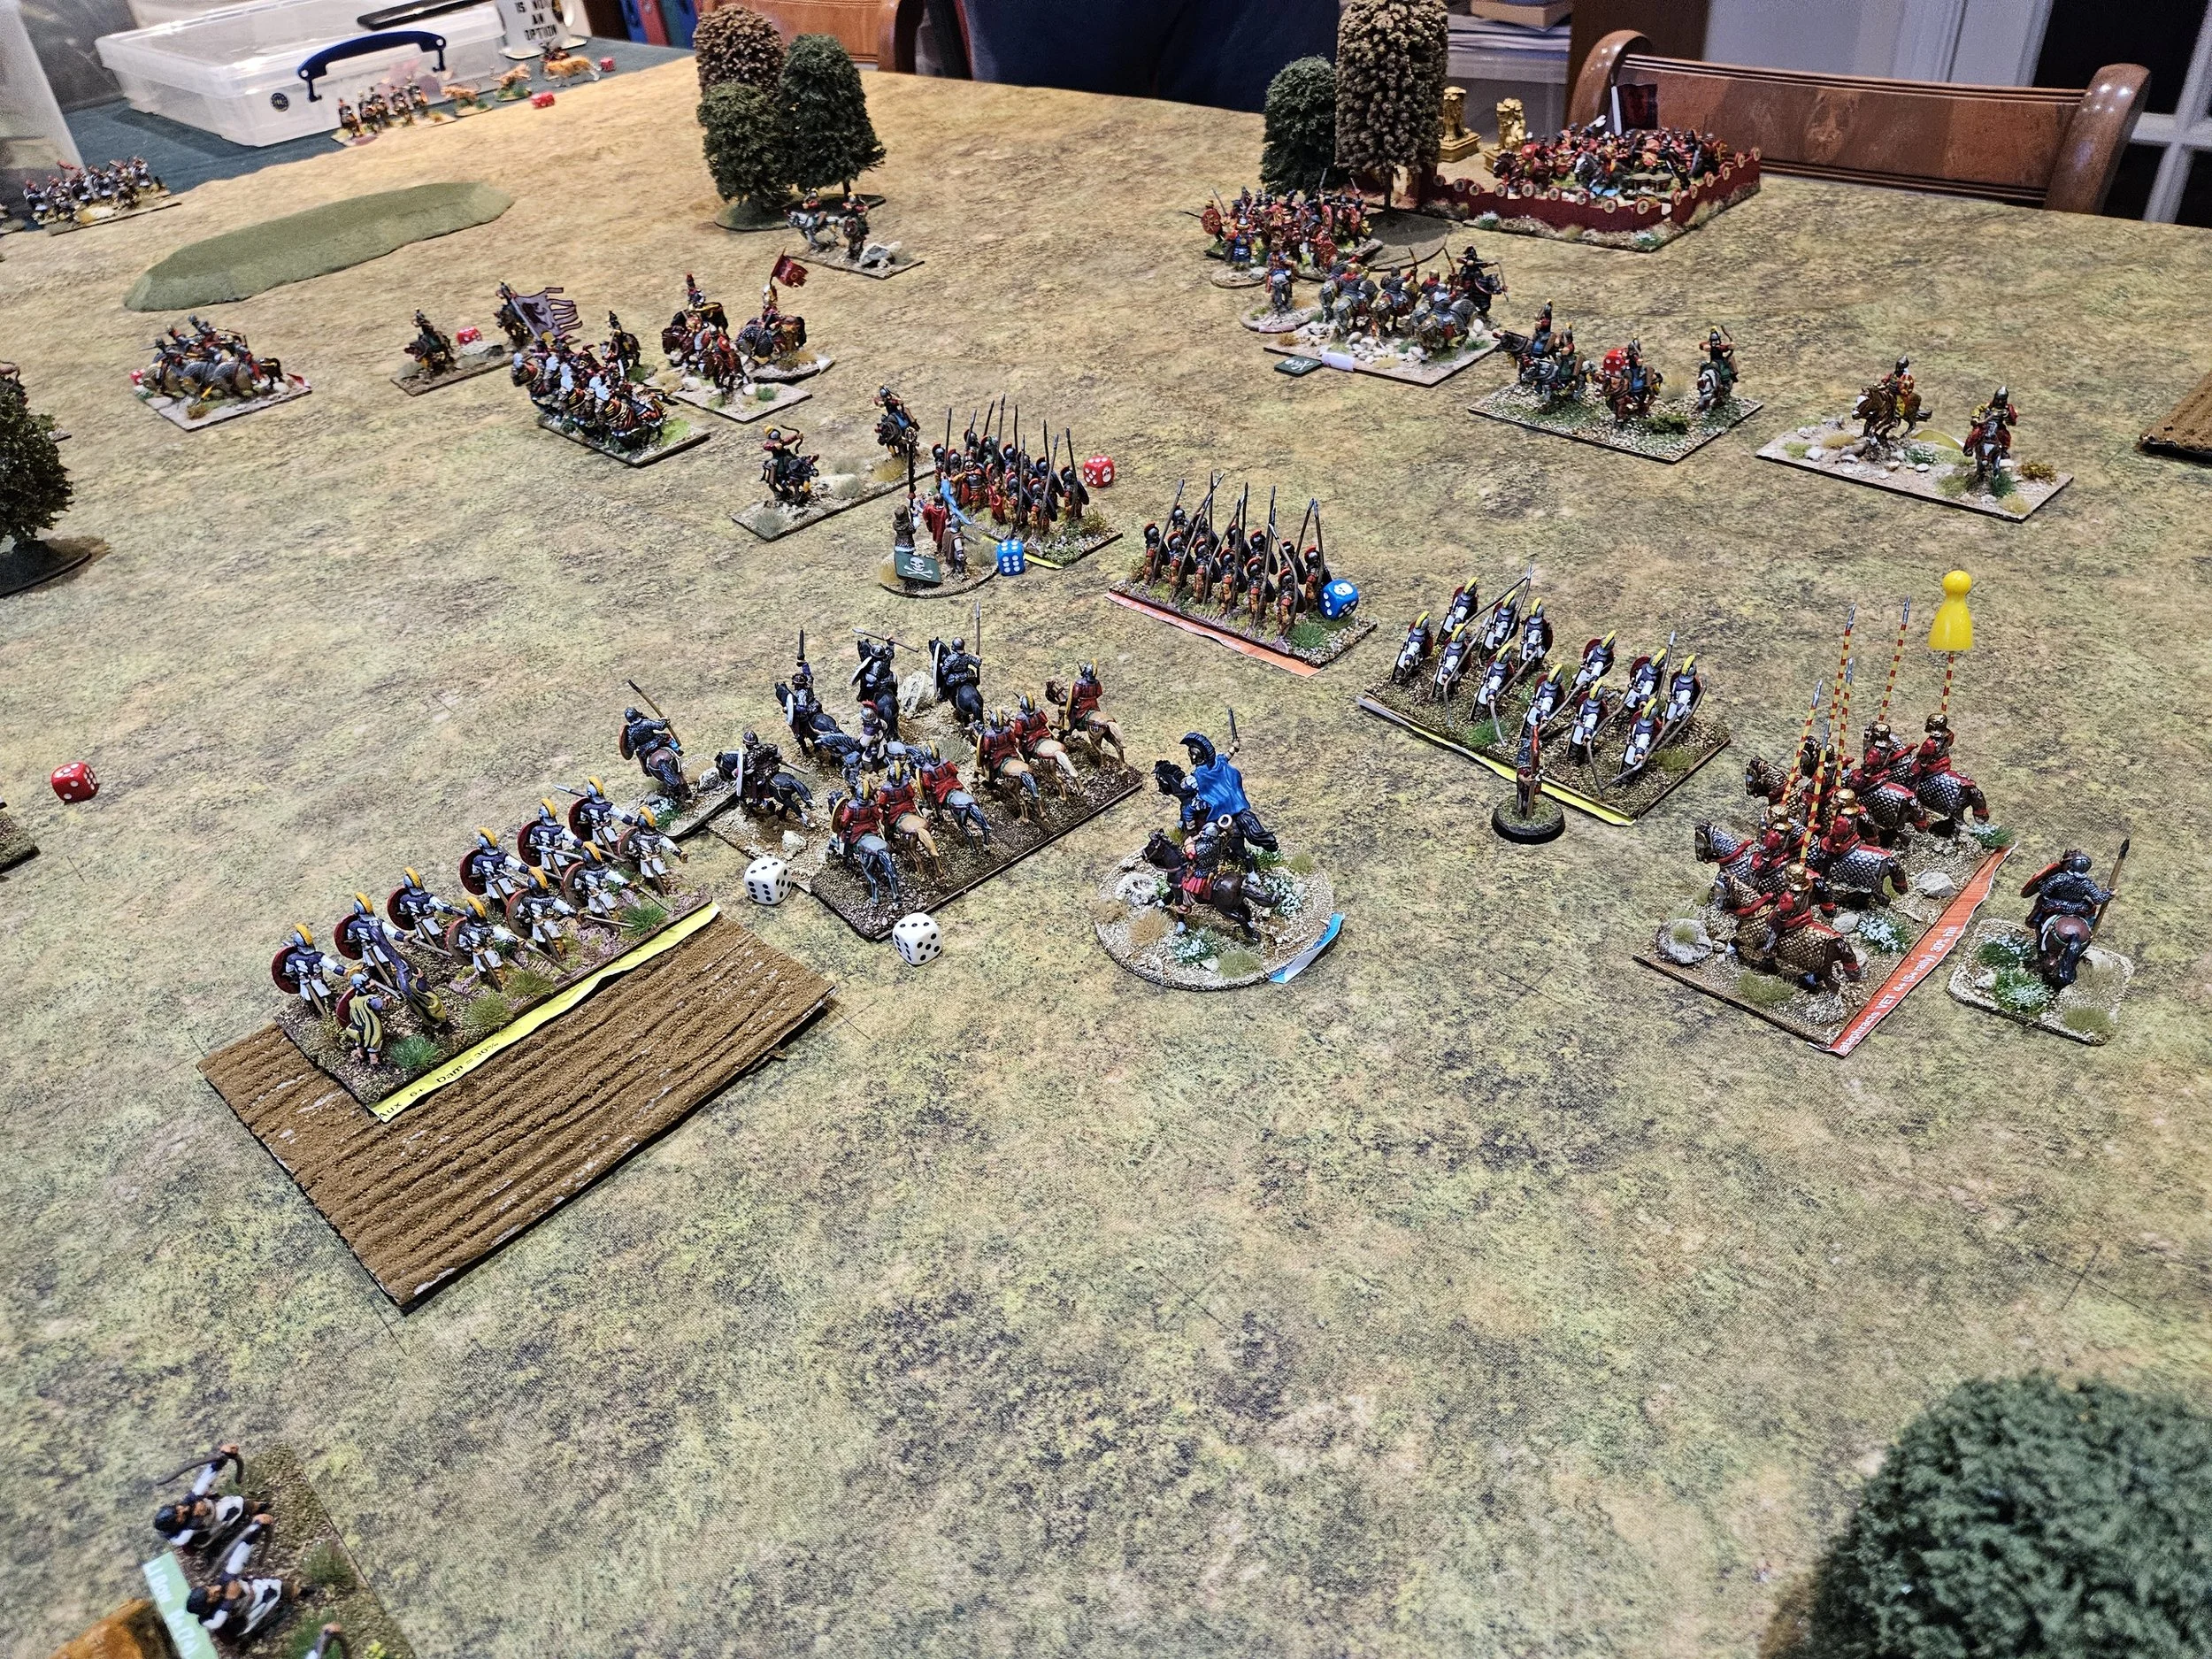
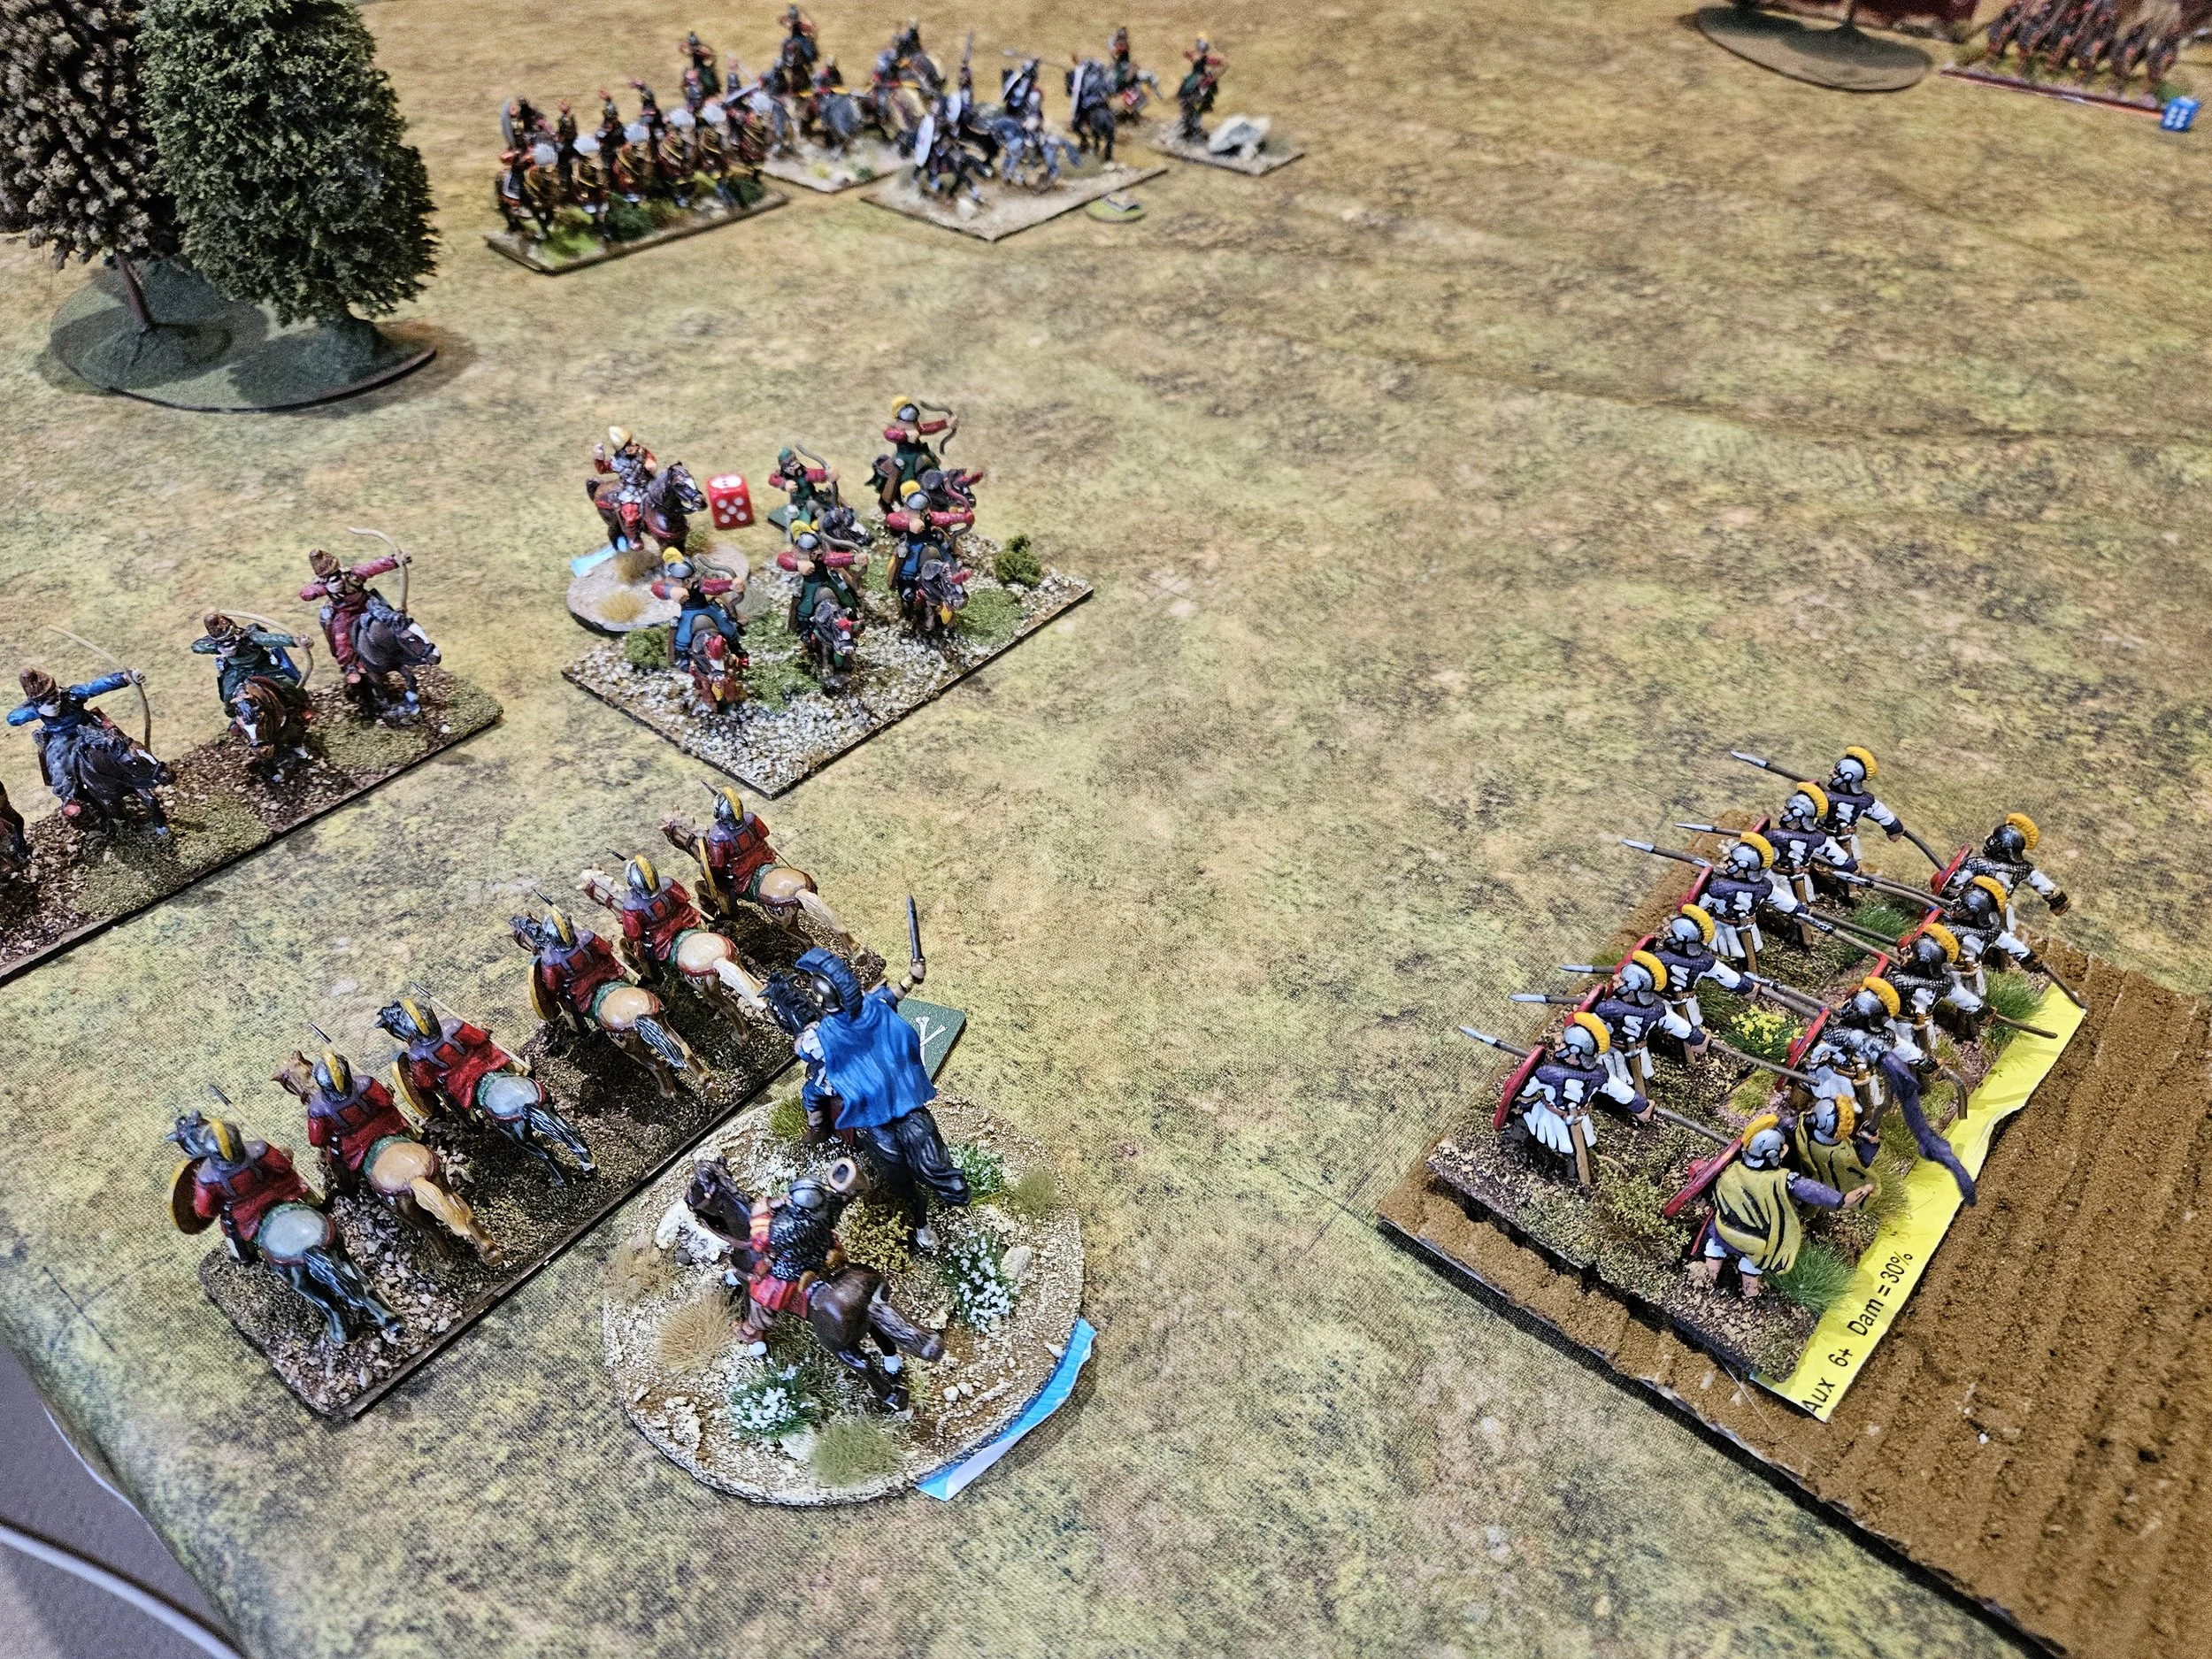
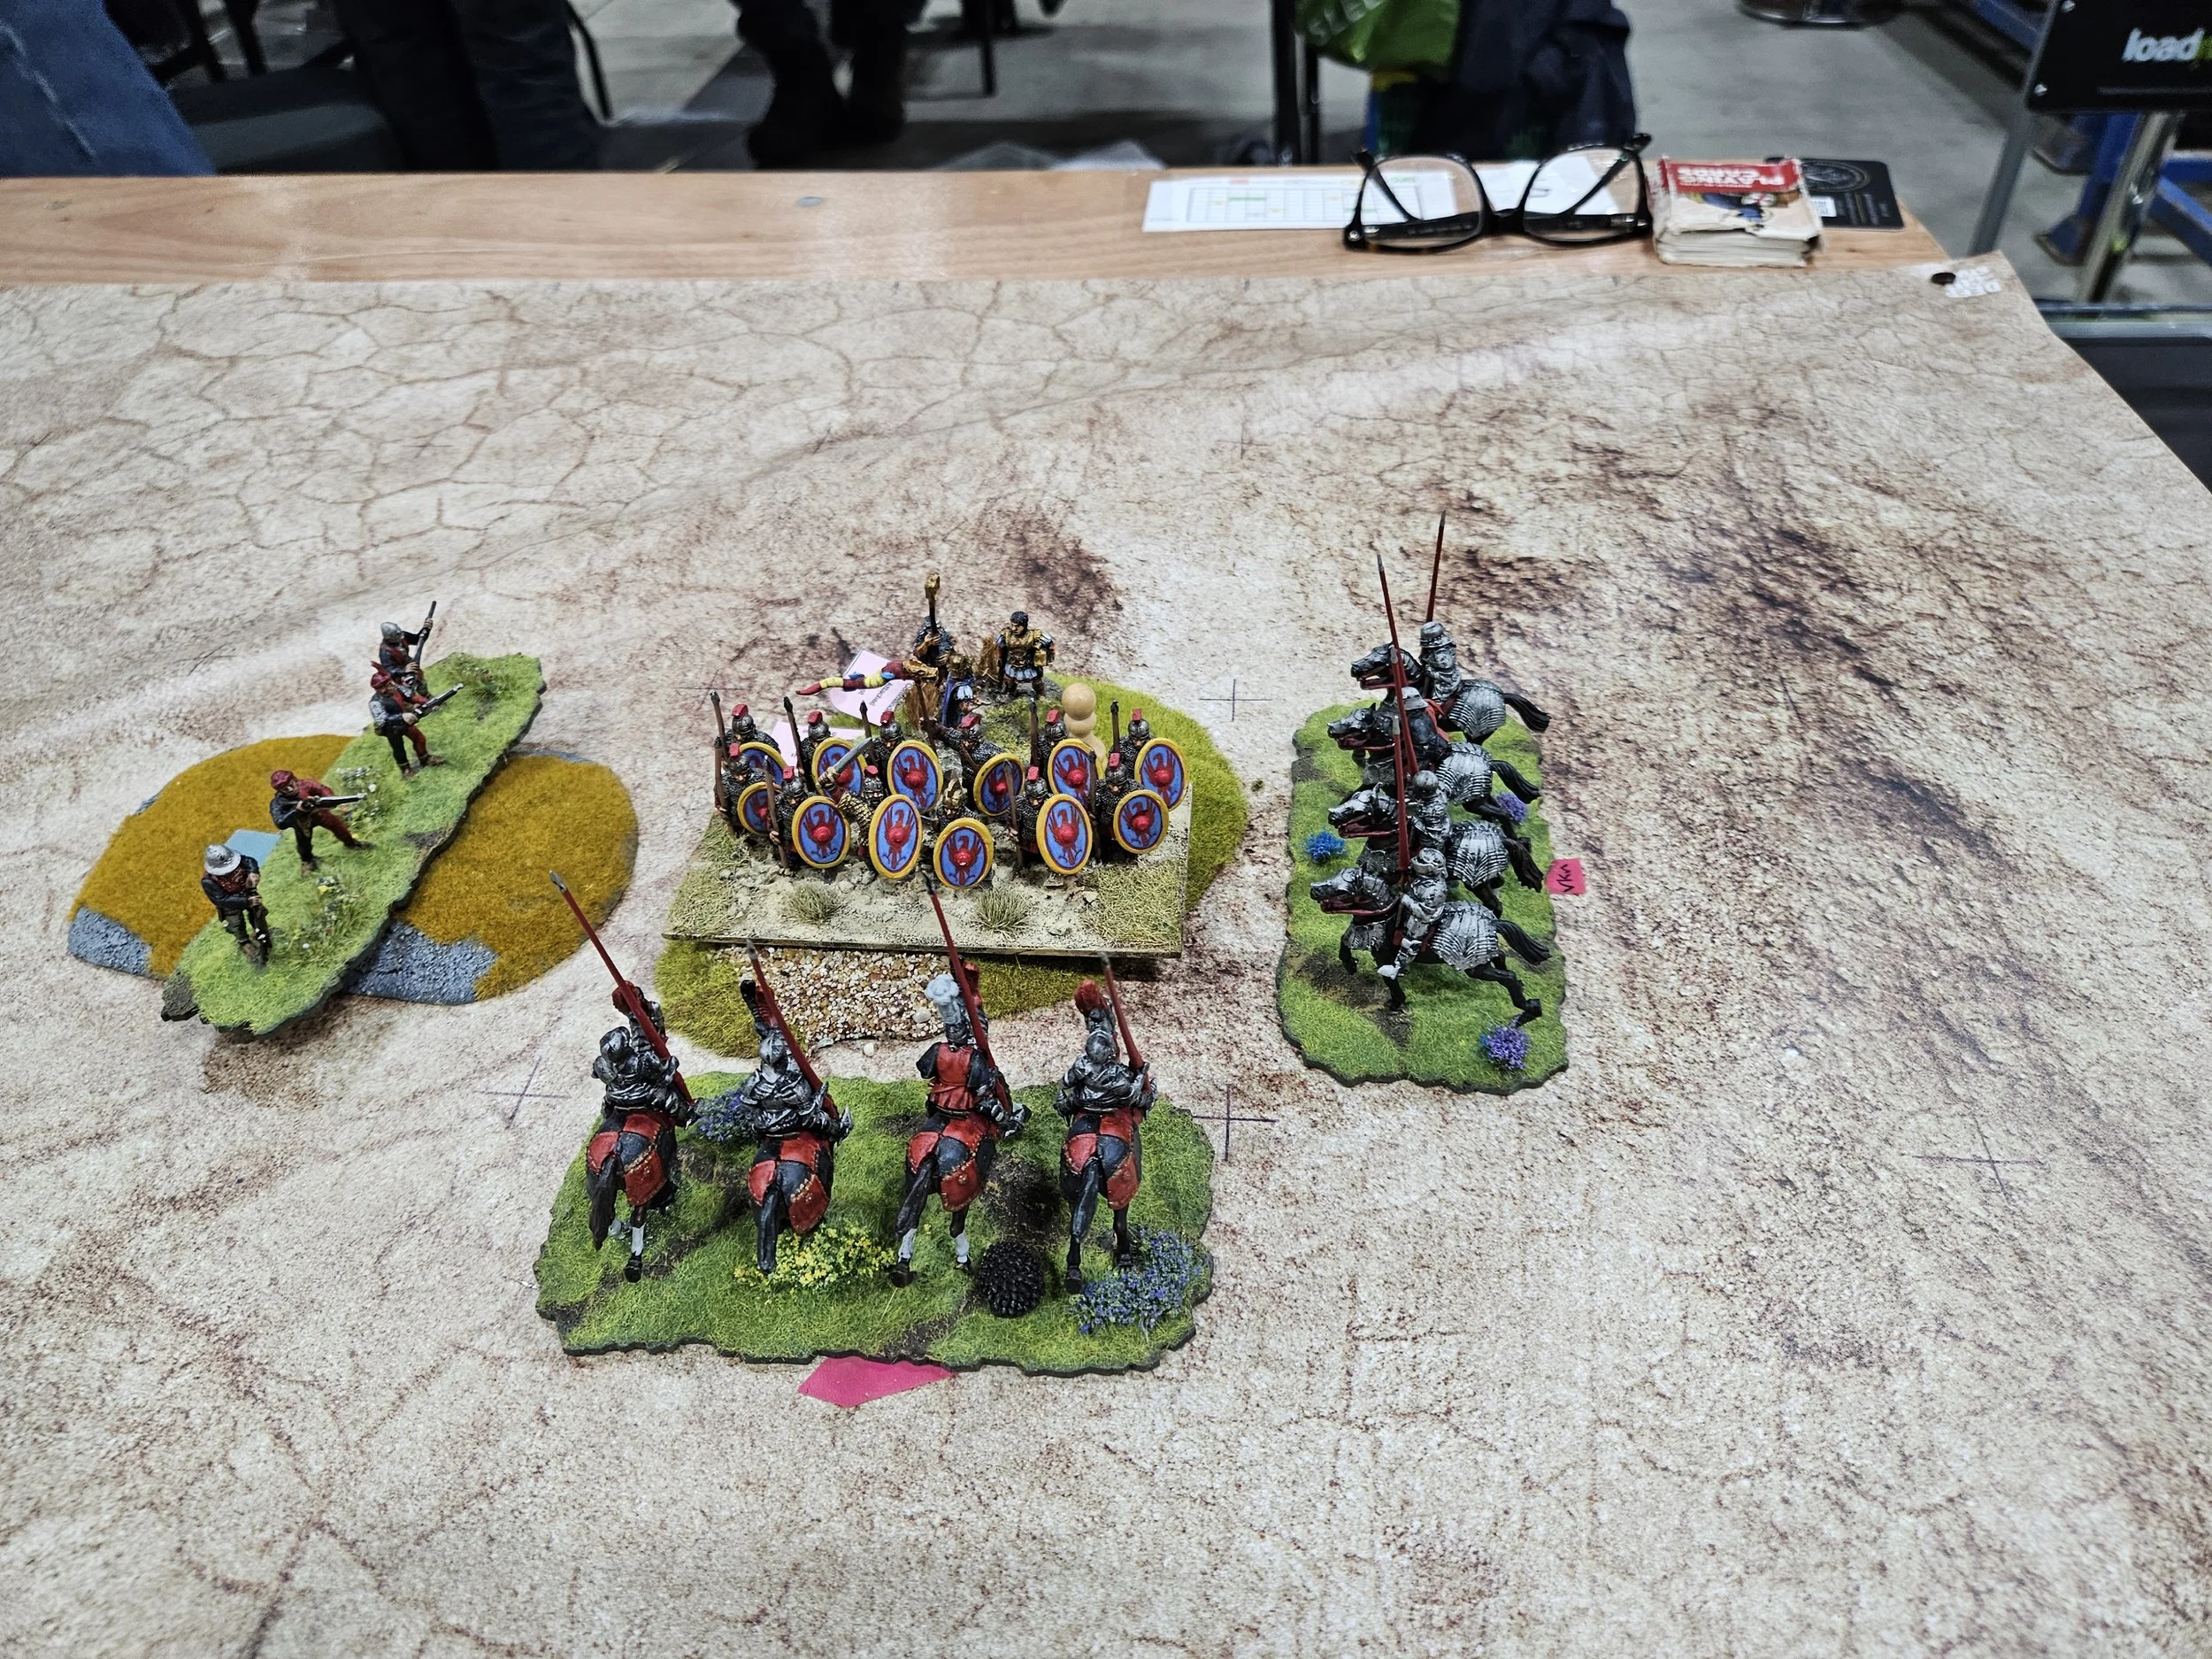
All in all, a succesful start to the tournament. It has to be said that Colin was unlucky with his saves against my missile fire and, as you can probably deduce from the pictures above, did manage to kill my one unit of Later Knights on the right.
Facing a solid wall of polearm-wielding, fanatical infantry and cavalry is terrifying, by the way, and I was pleased I never had to properly close with them throughout!