Practice for 2TS: Game Three
/This was the third game in Peter and I’s practice game for the forthcoming 2TS Doubles tournament (already past by the time this post gets published).
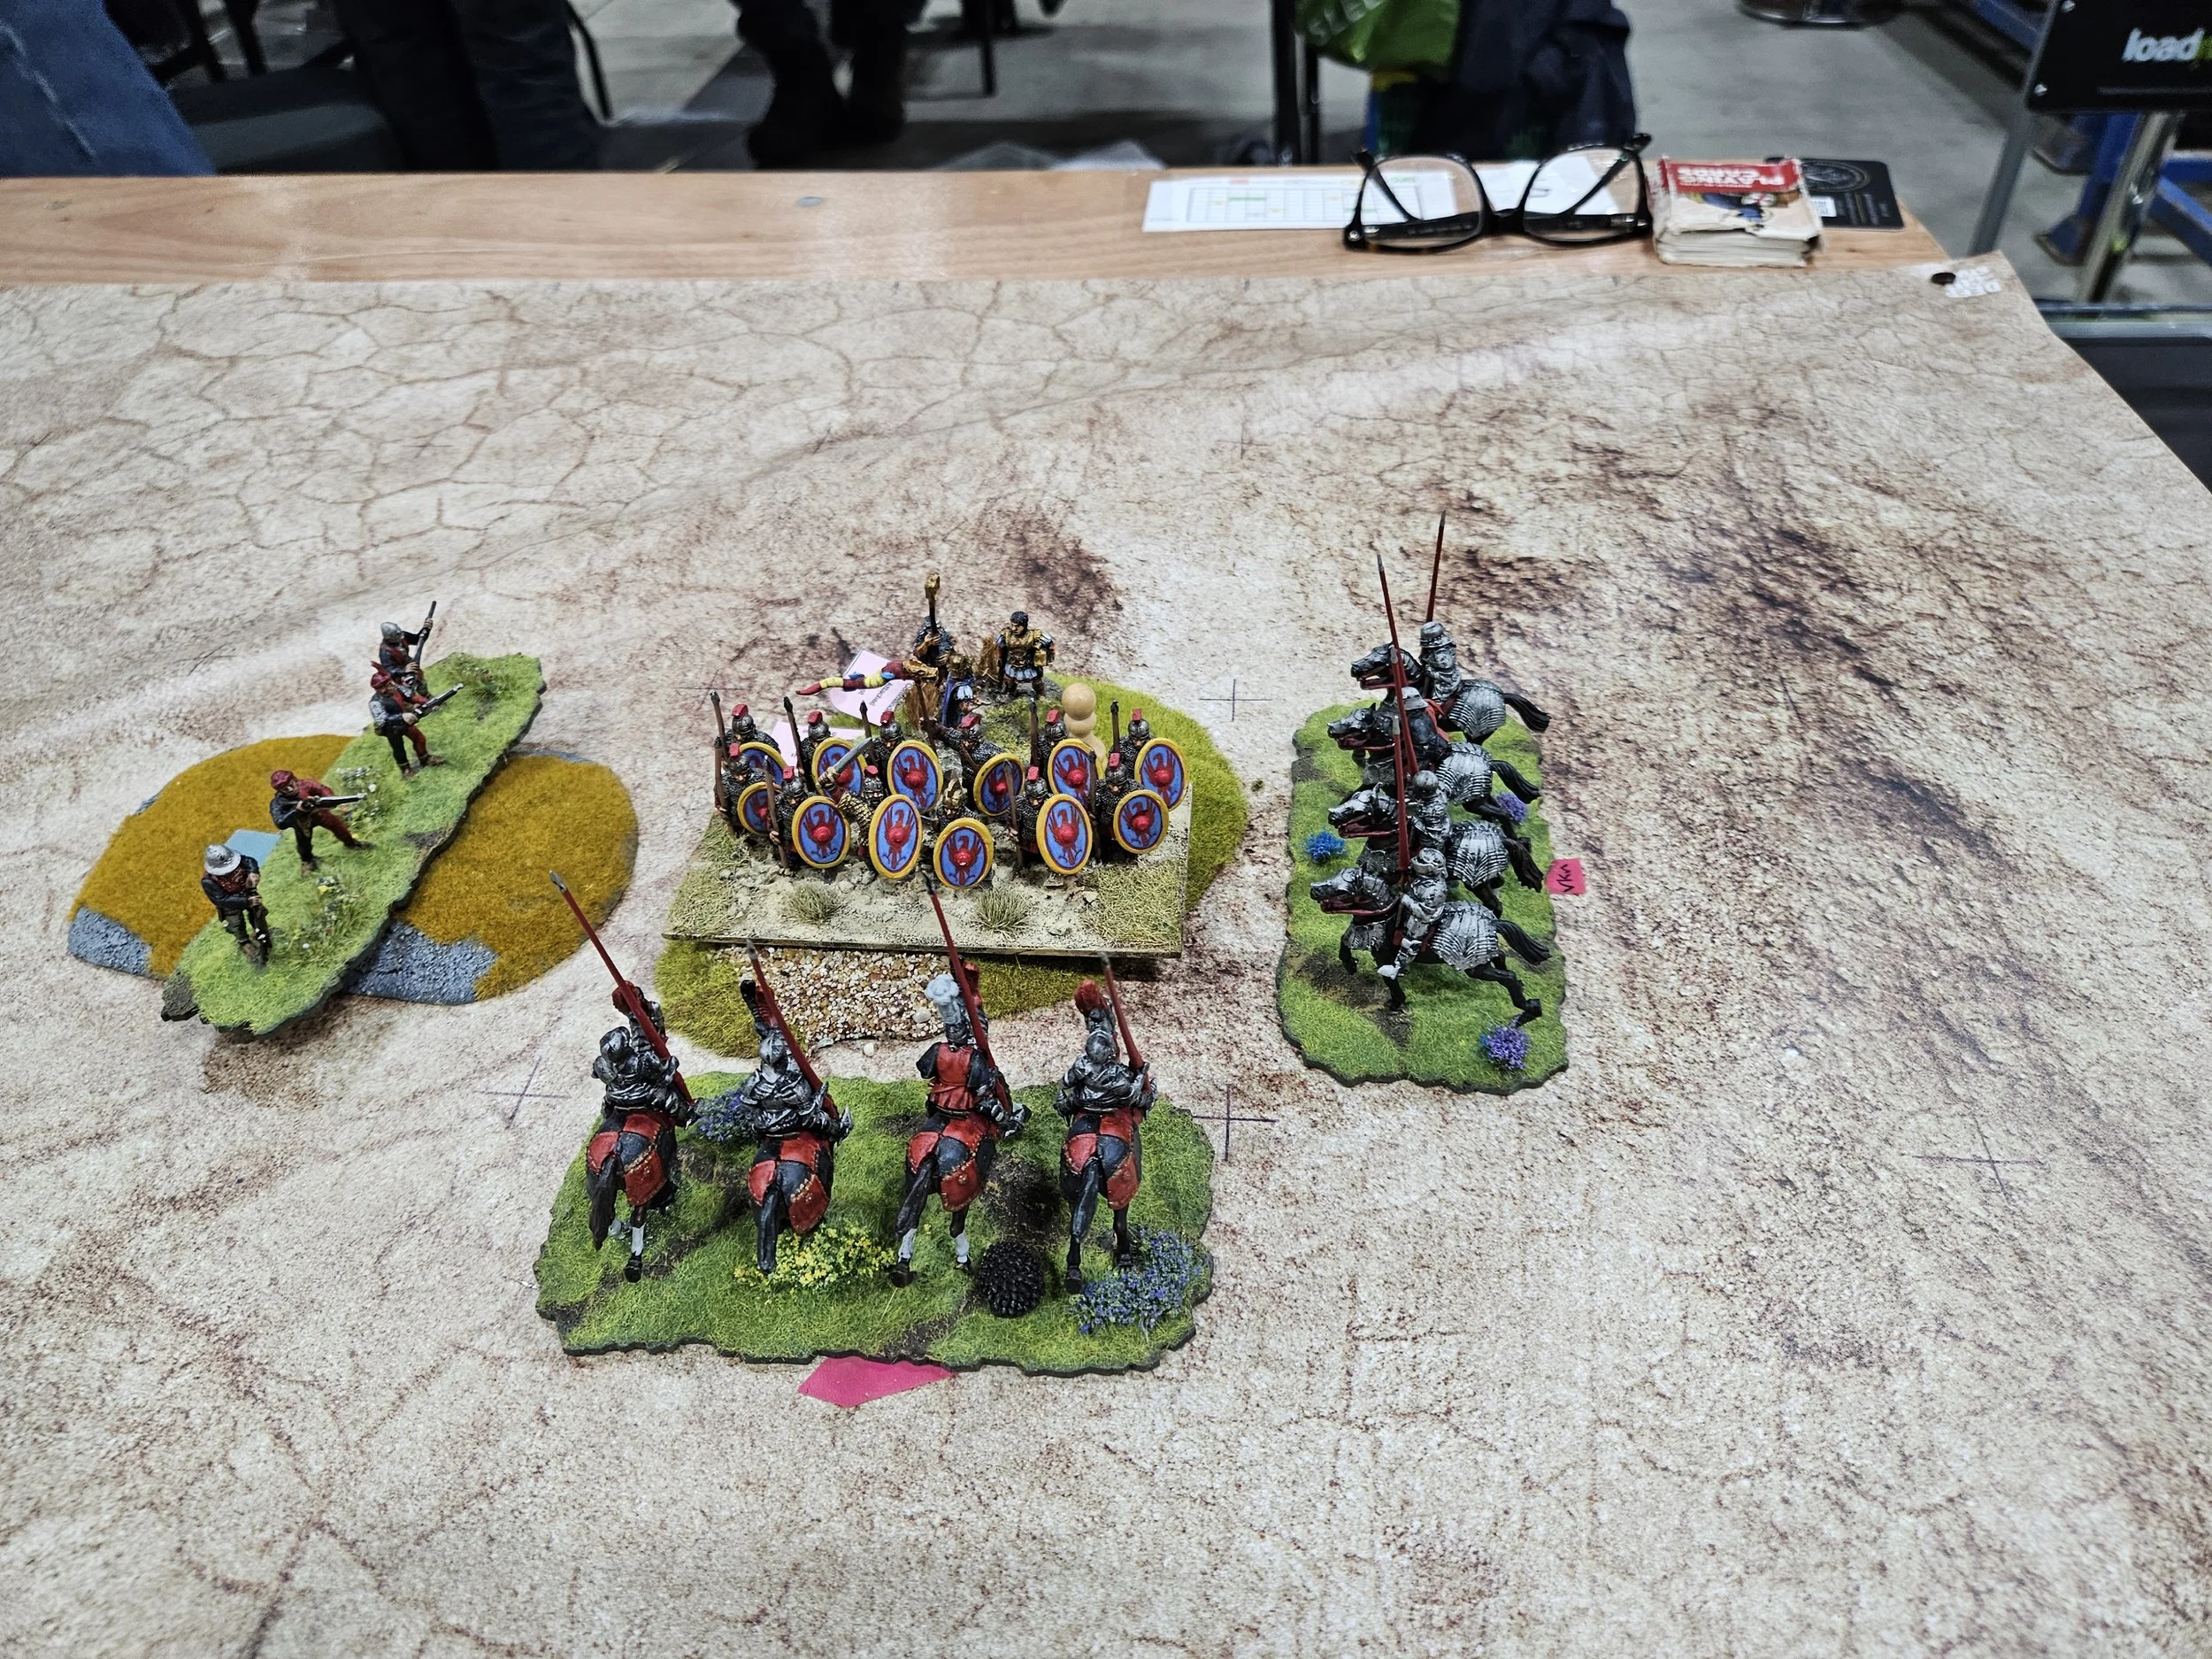
Preparations had been intense: morning fitness sessions; a strict dietary regime; classroom sessions on strategy, tactics and the rules; and, of course, a series of practice games of which this one was the third. Again, I would take the Northern Dynasties Chinese, and Peter would field Later Romans.
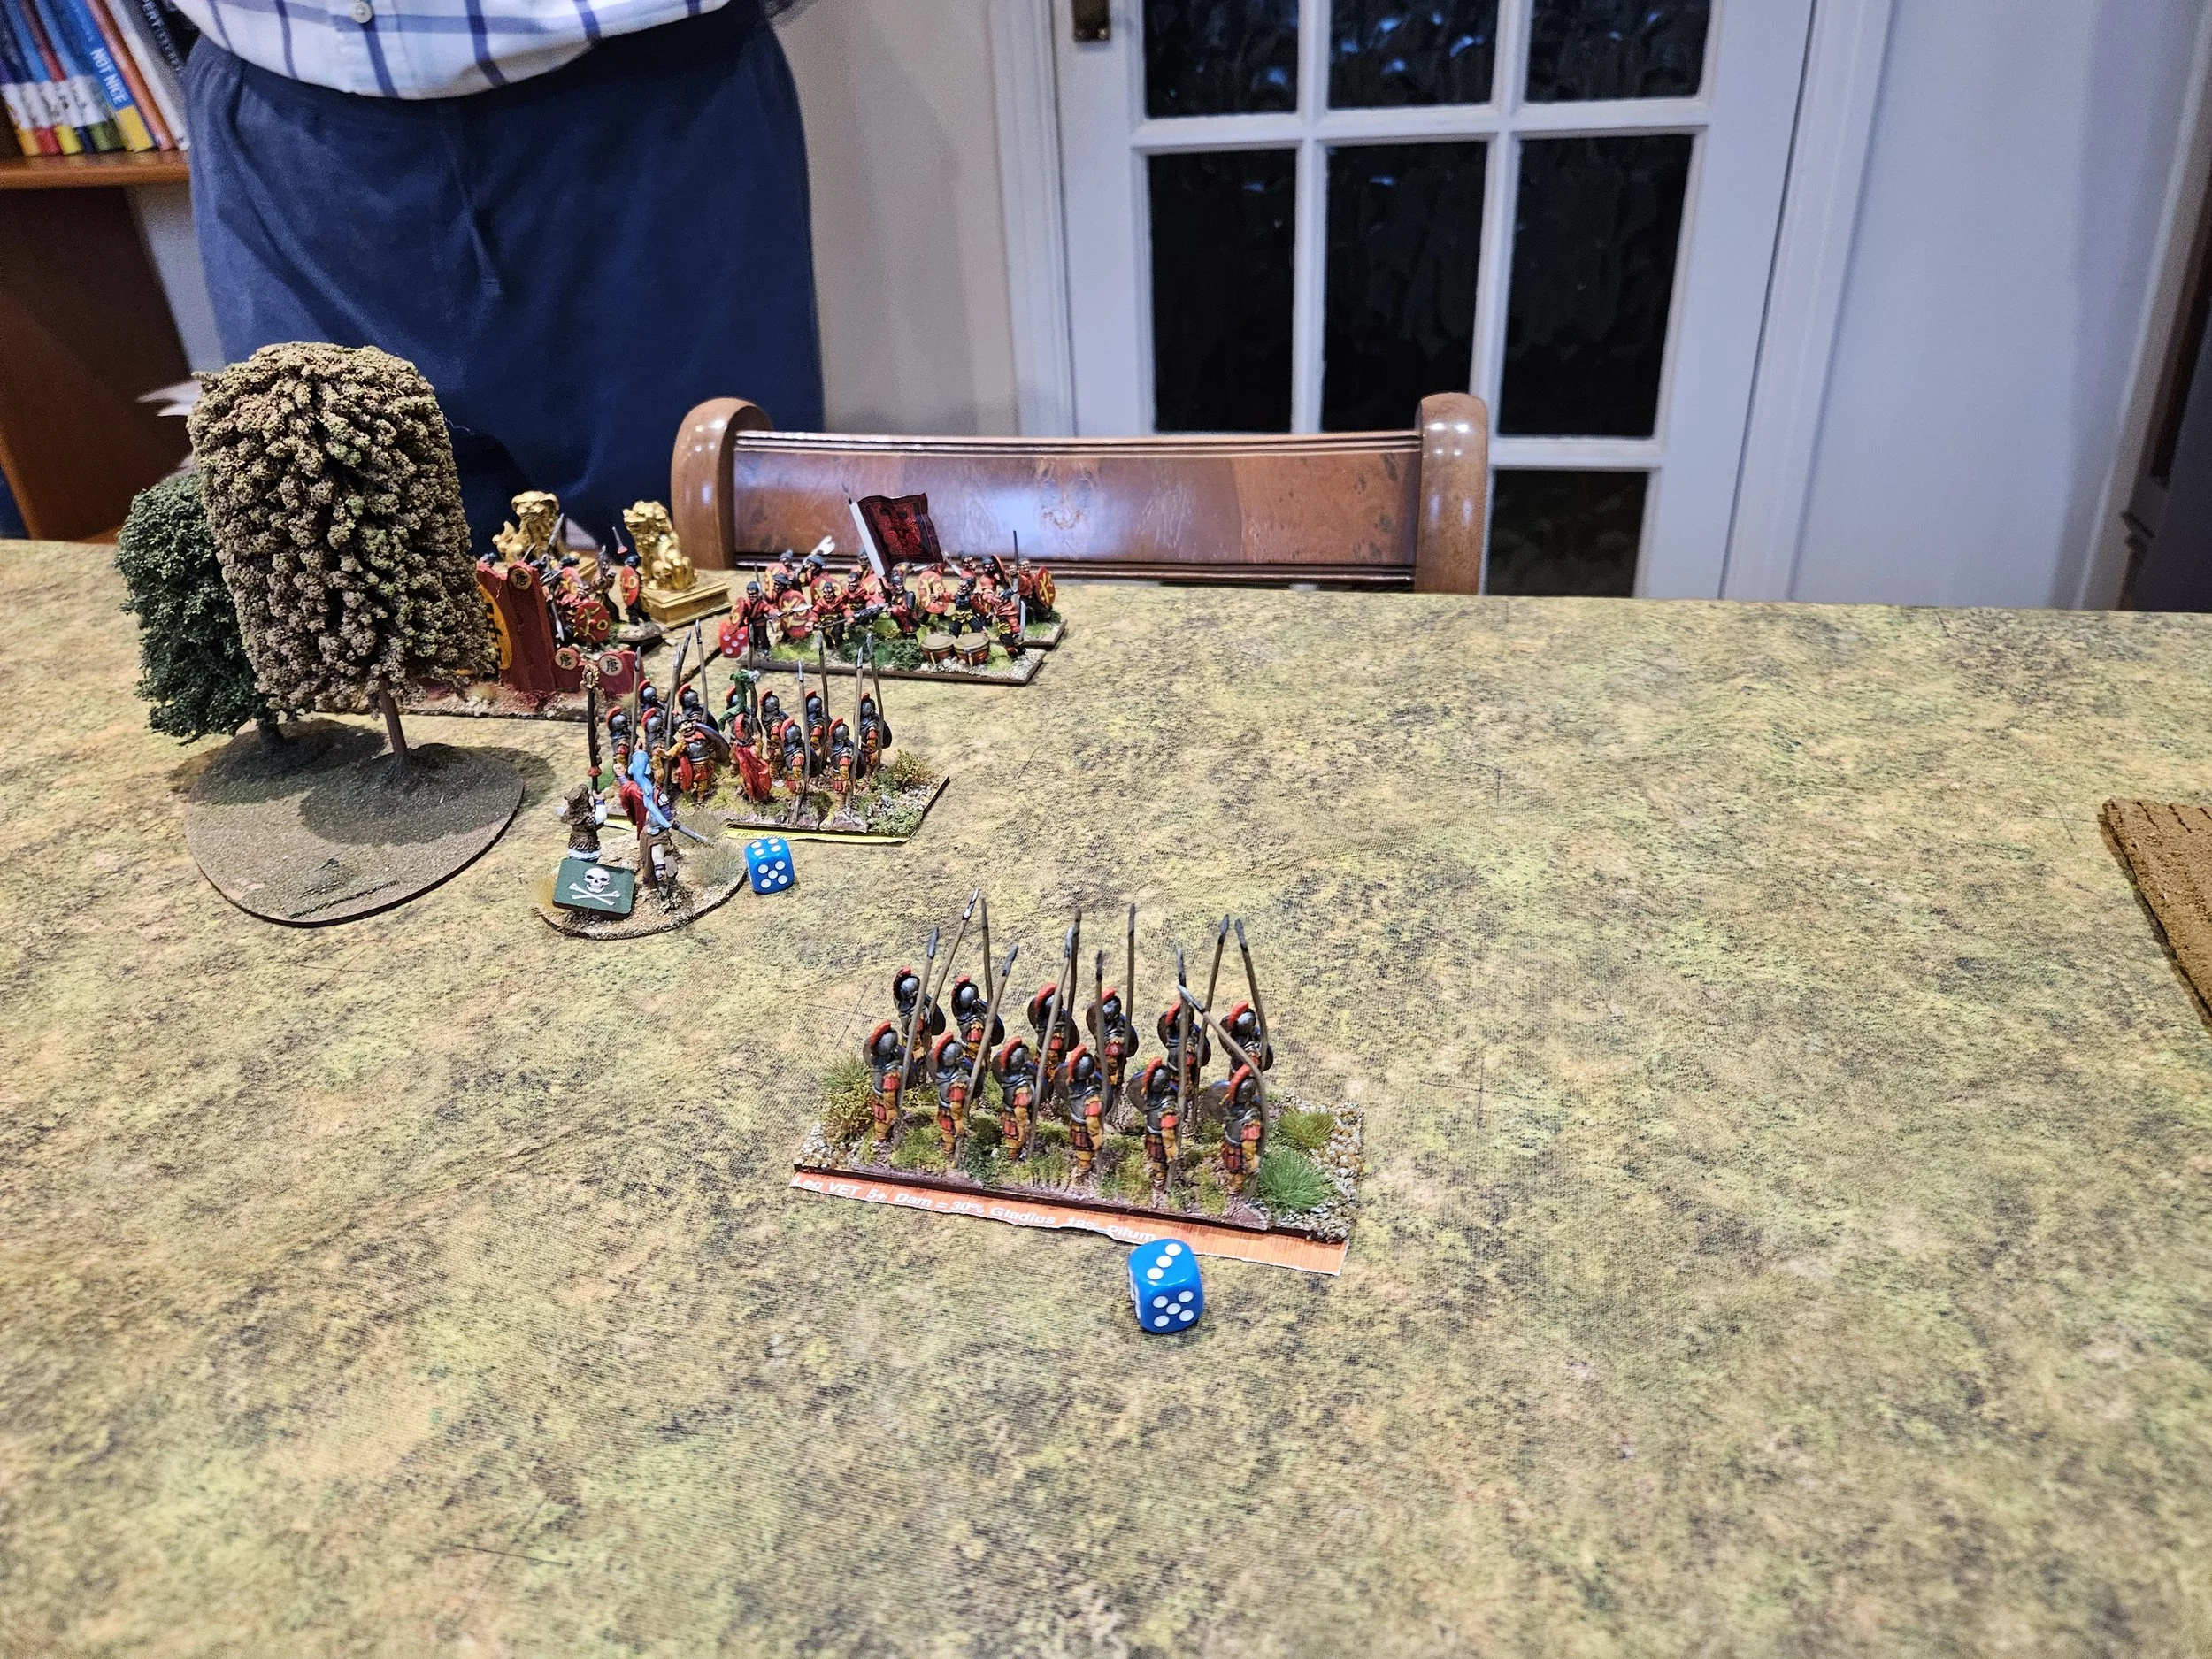
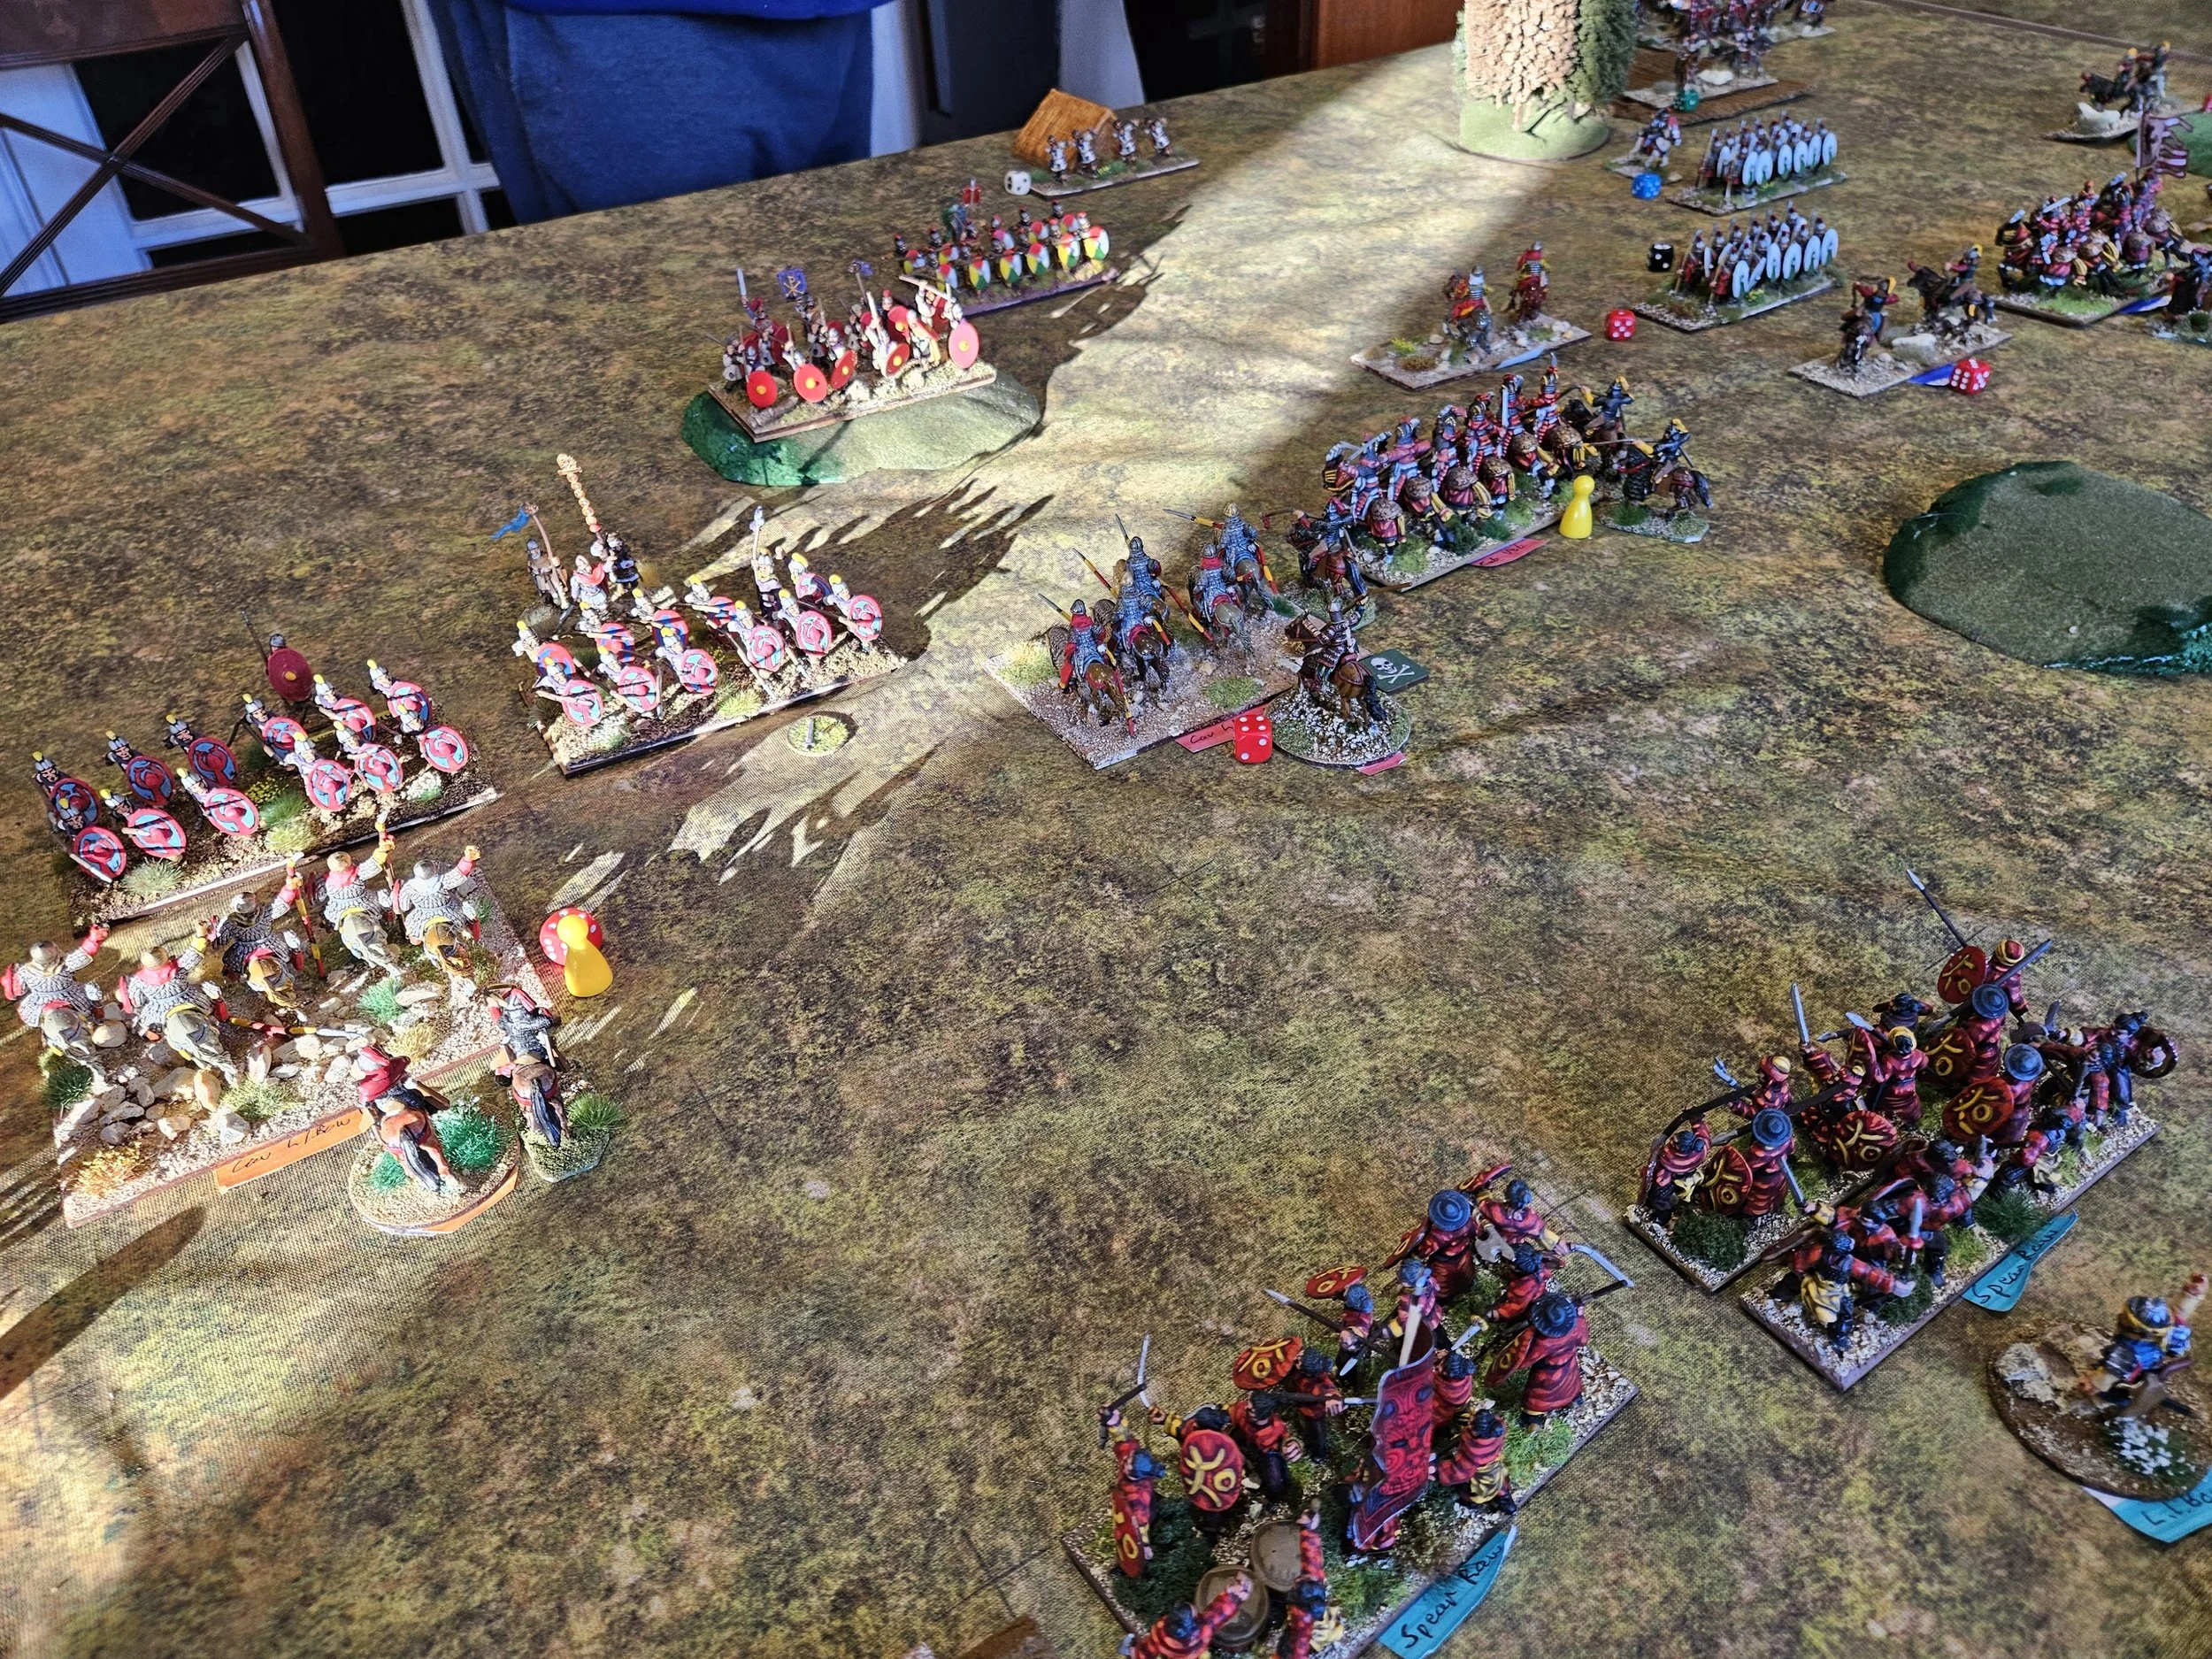
I won the scouting and, again, forced the Romans to deploy across the table to protect their flanks.
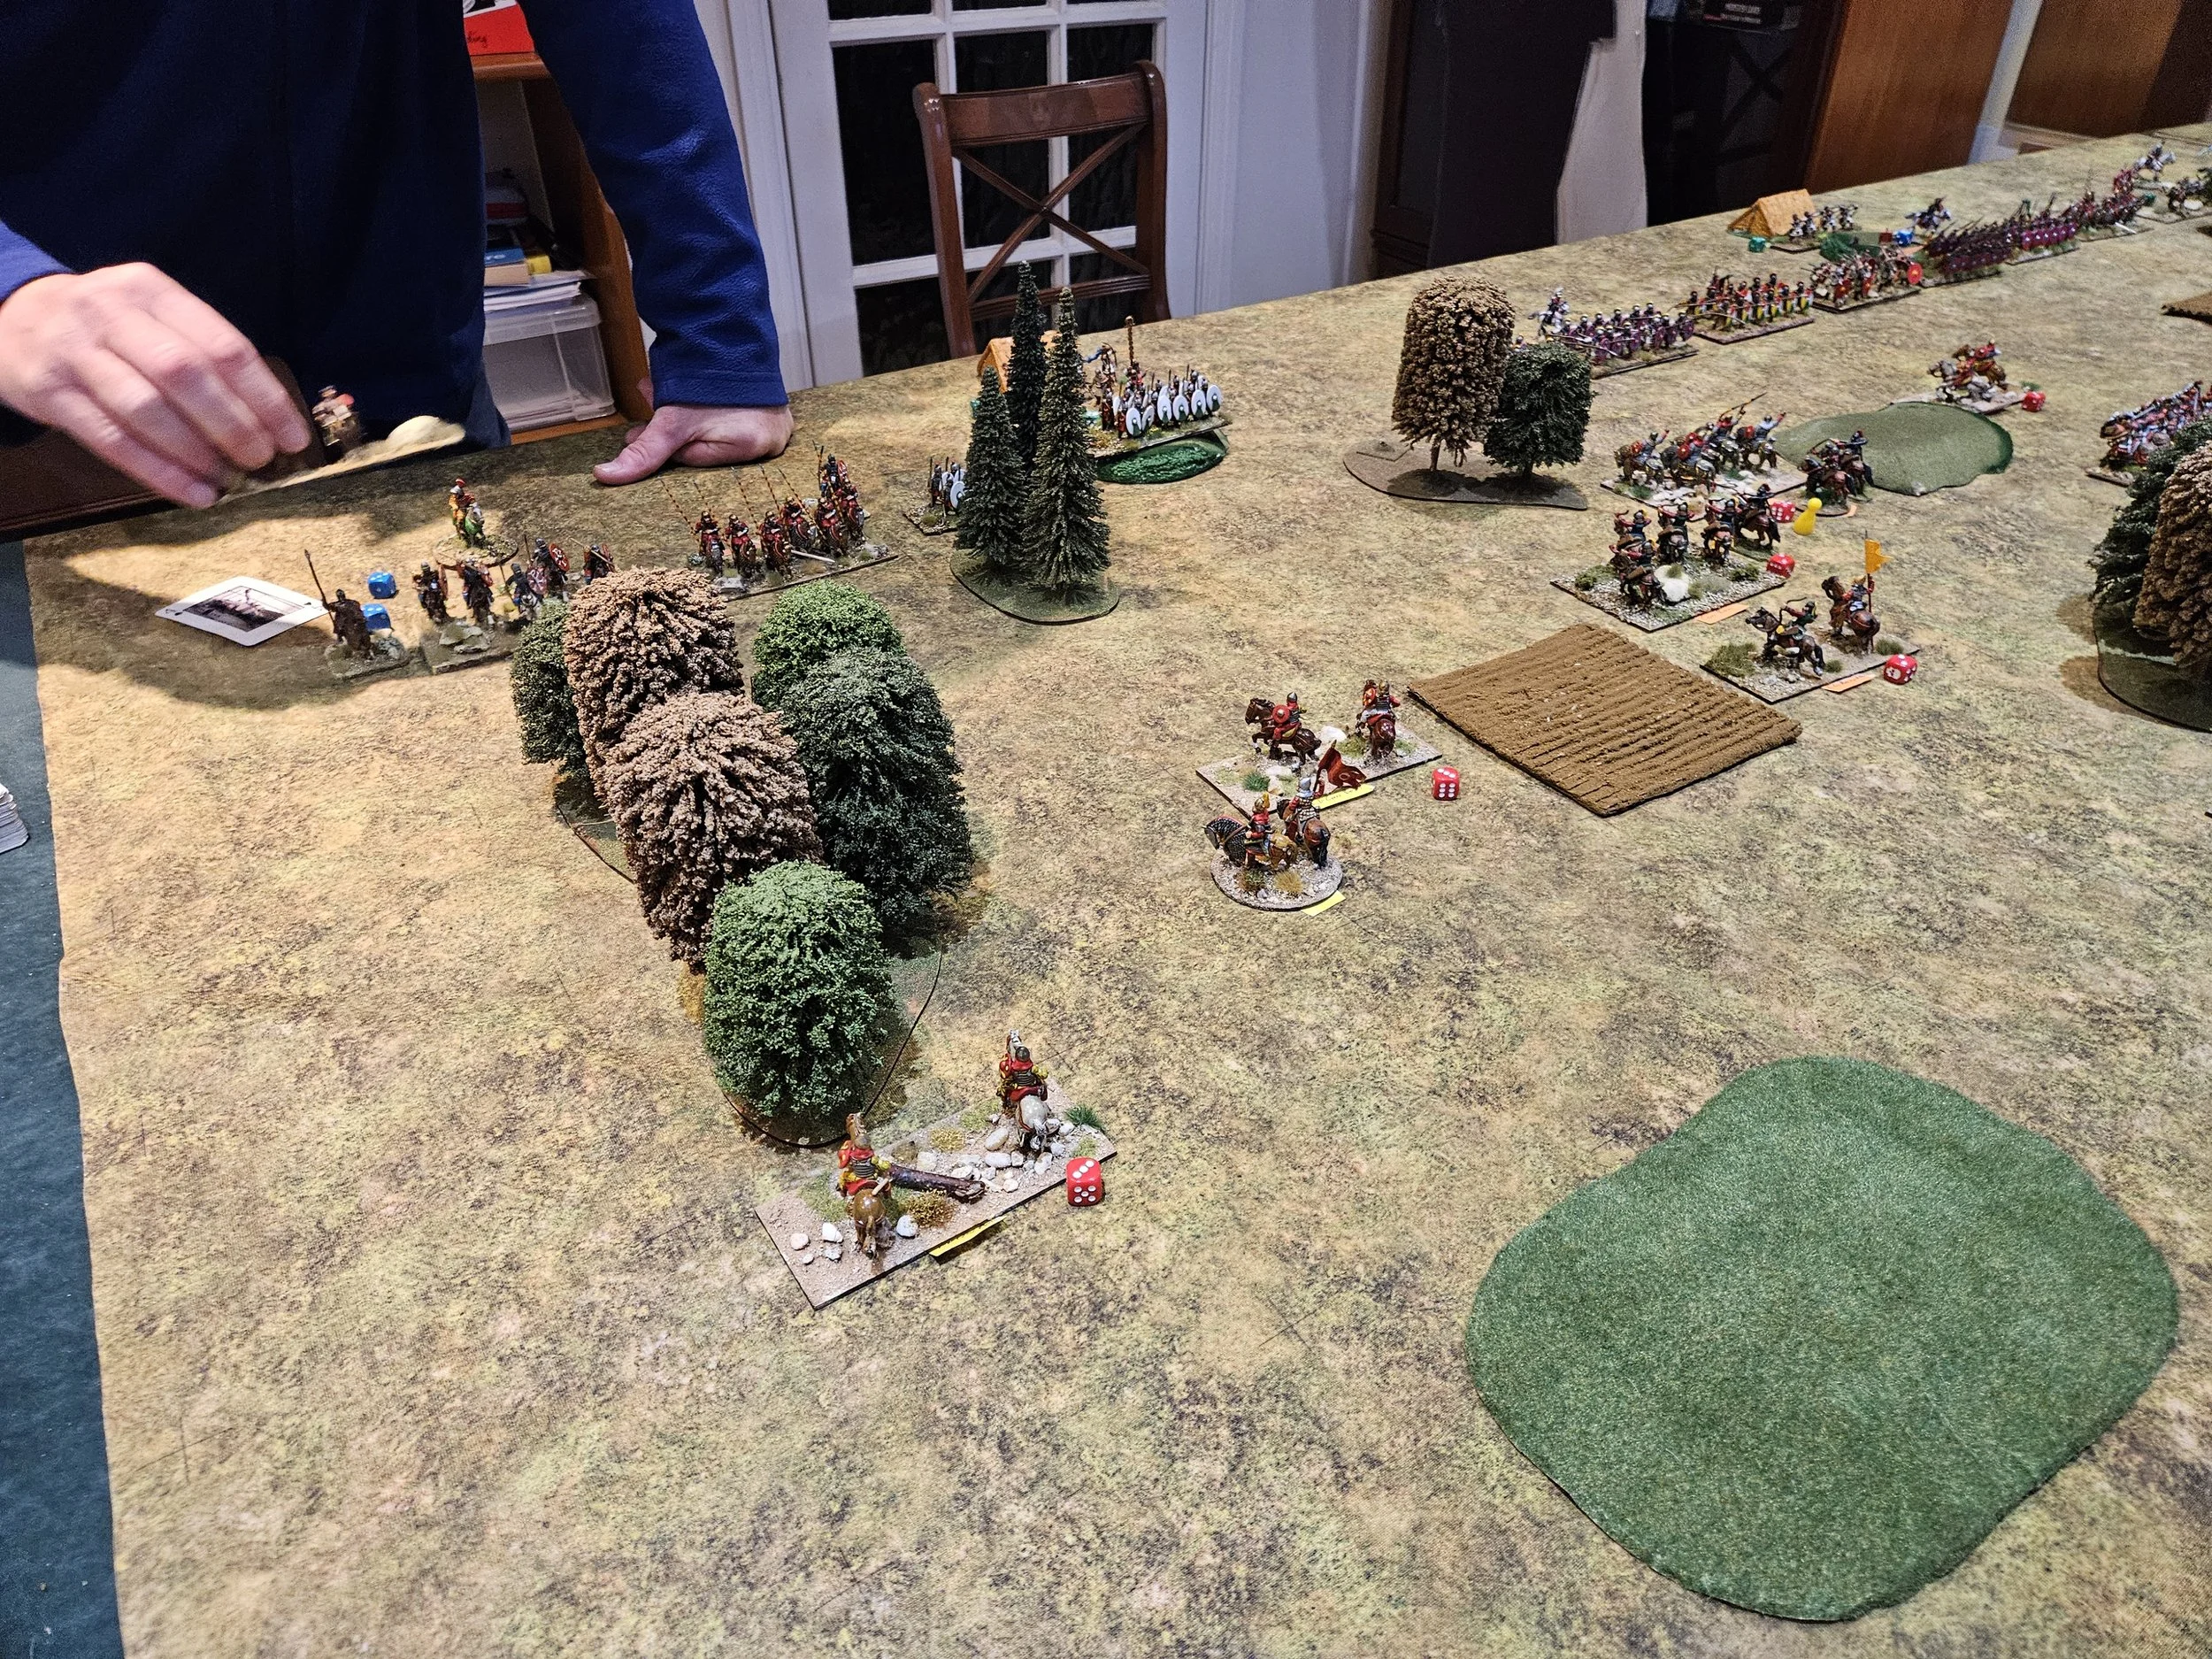
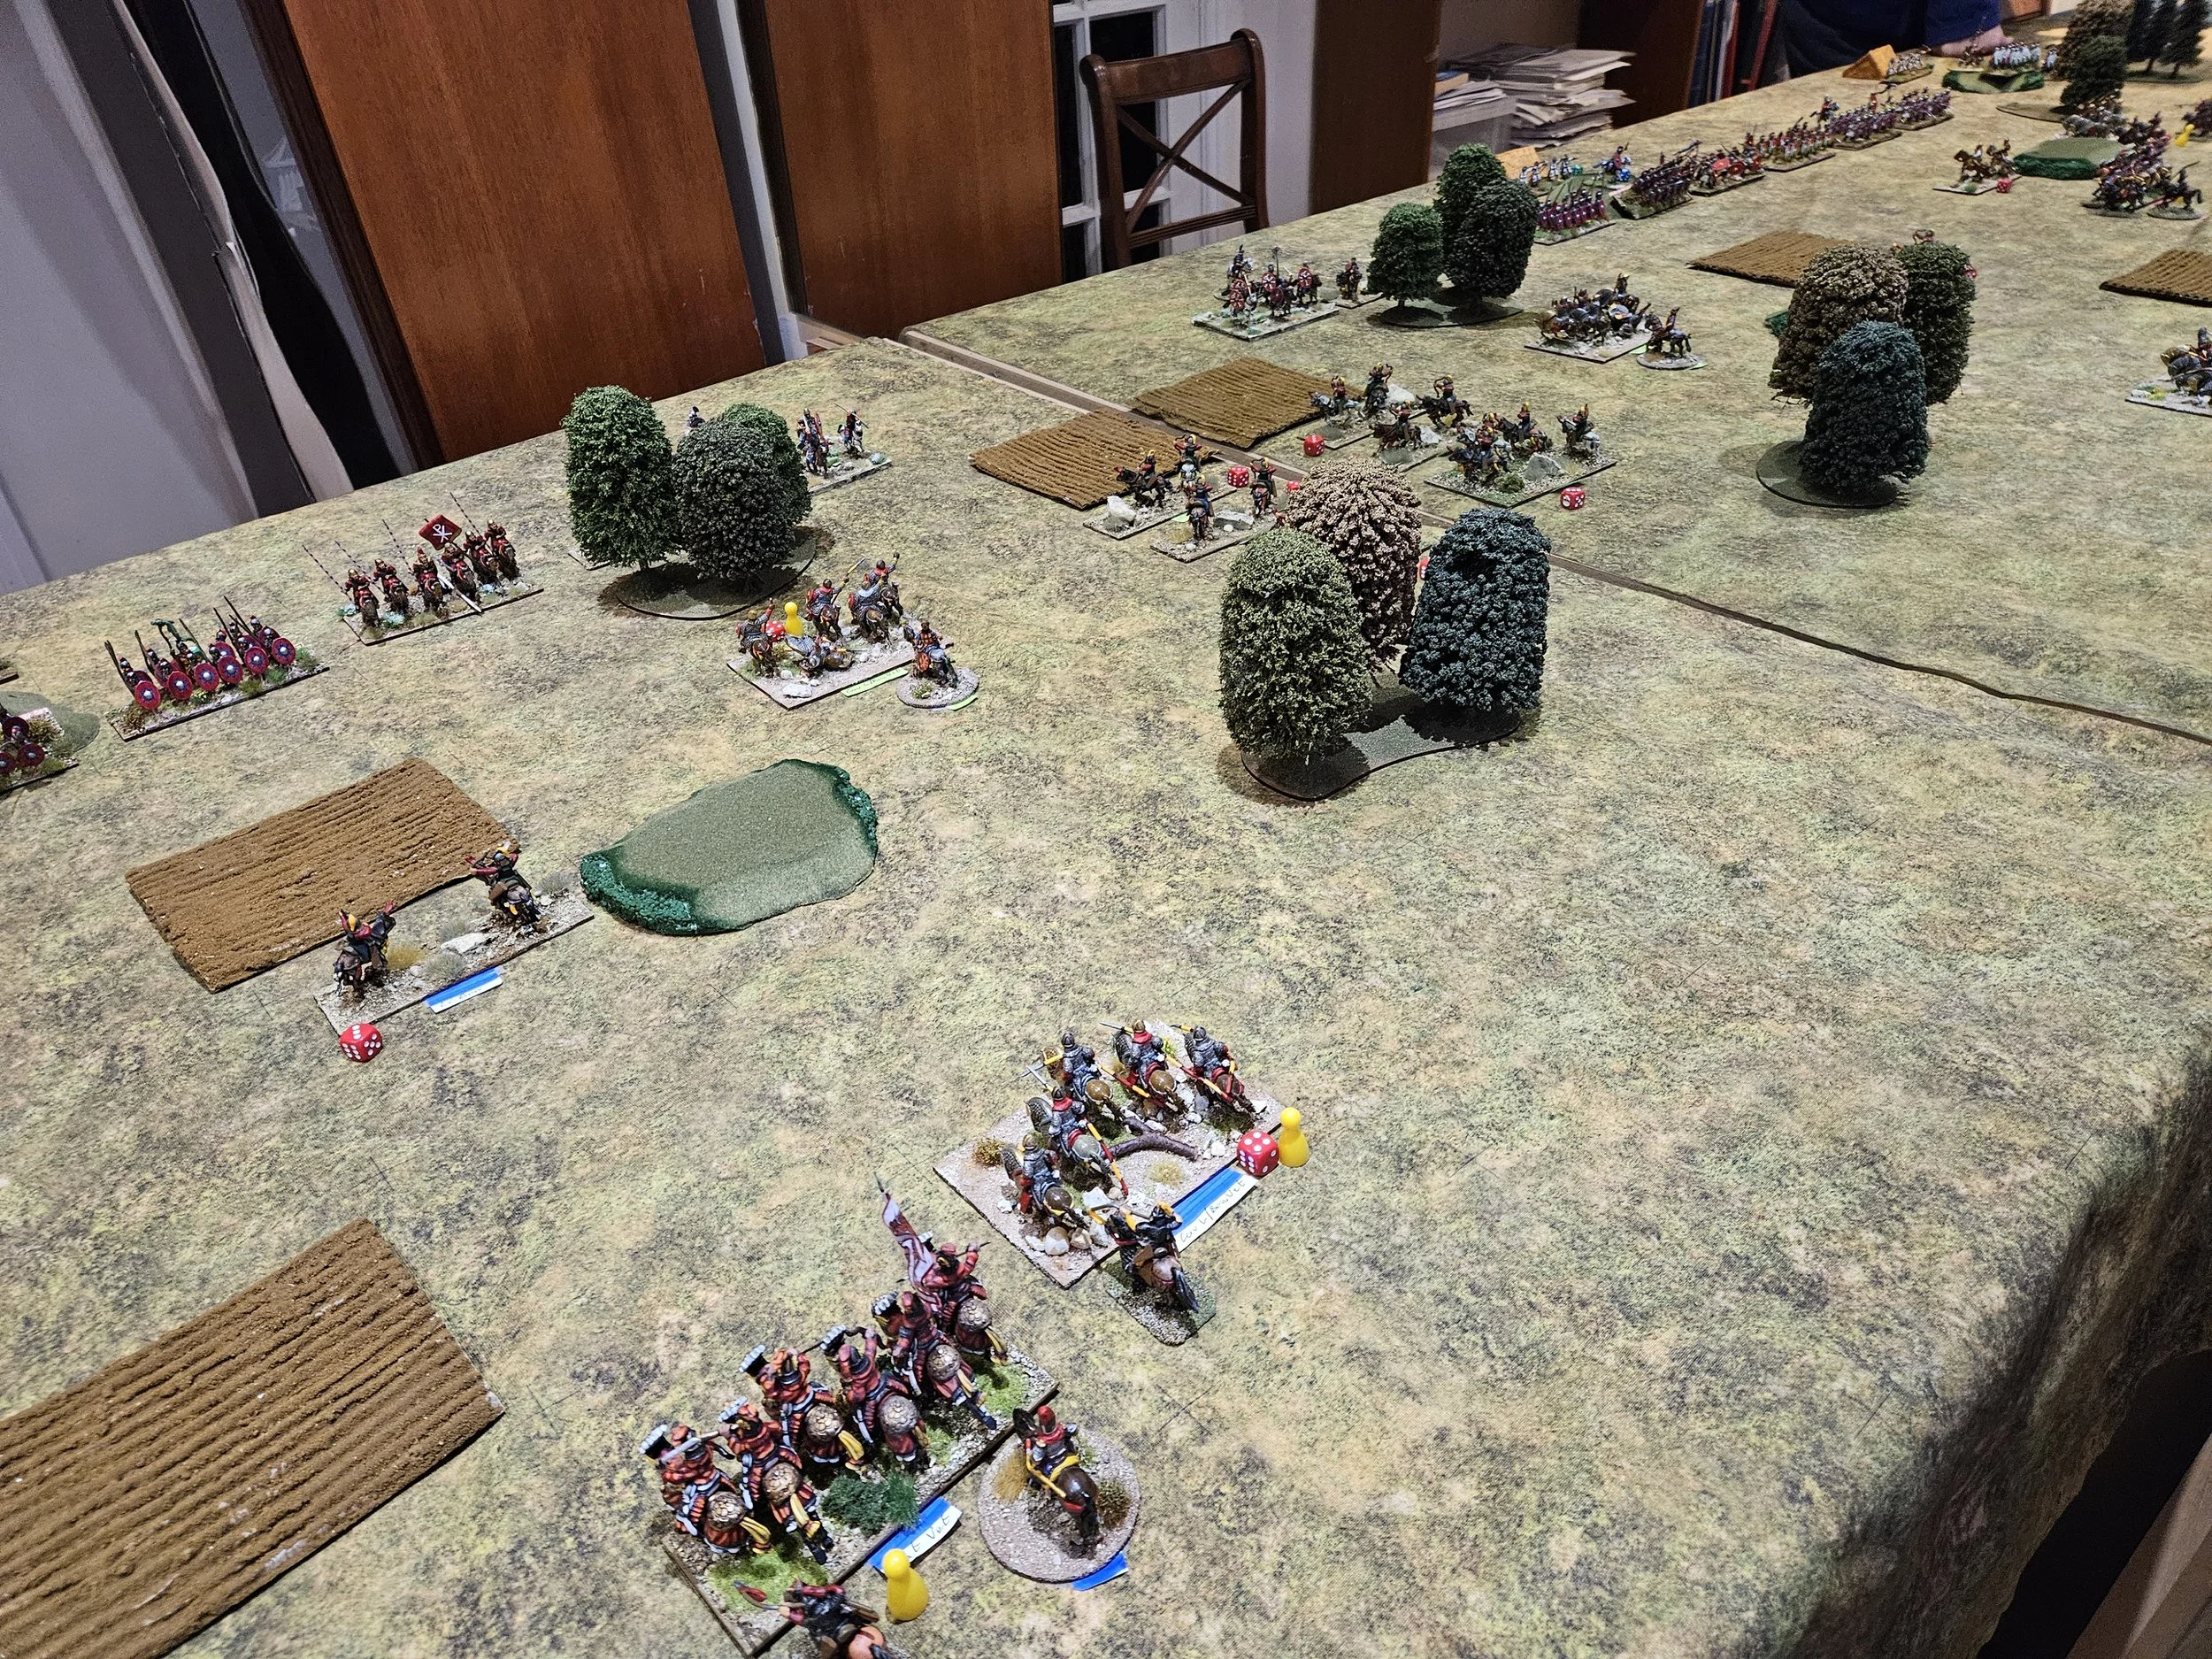
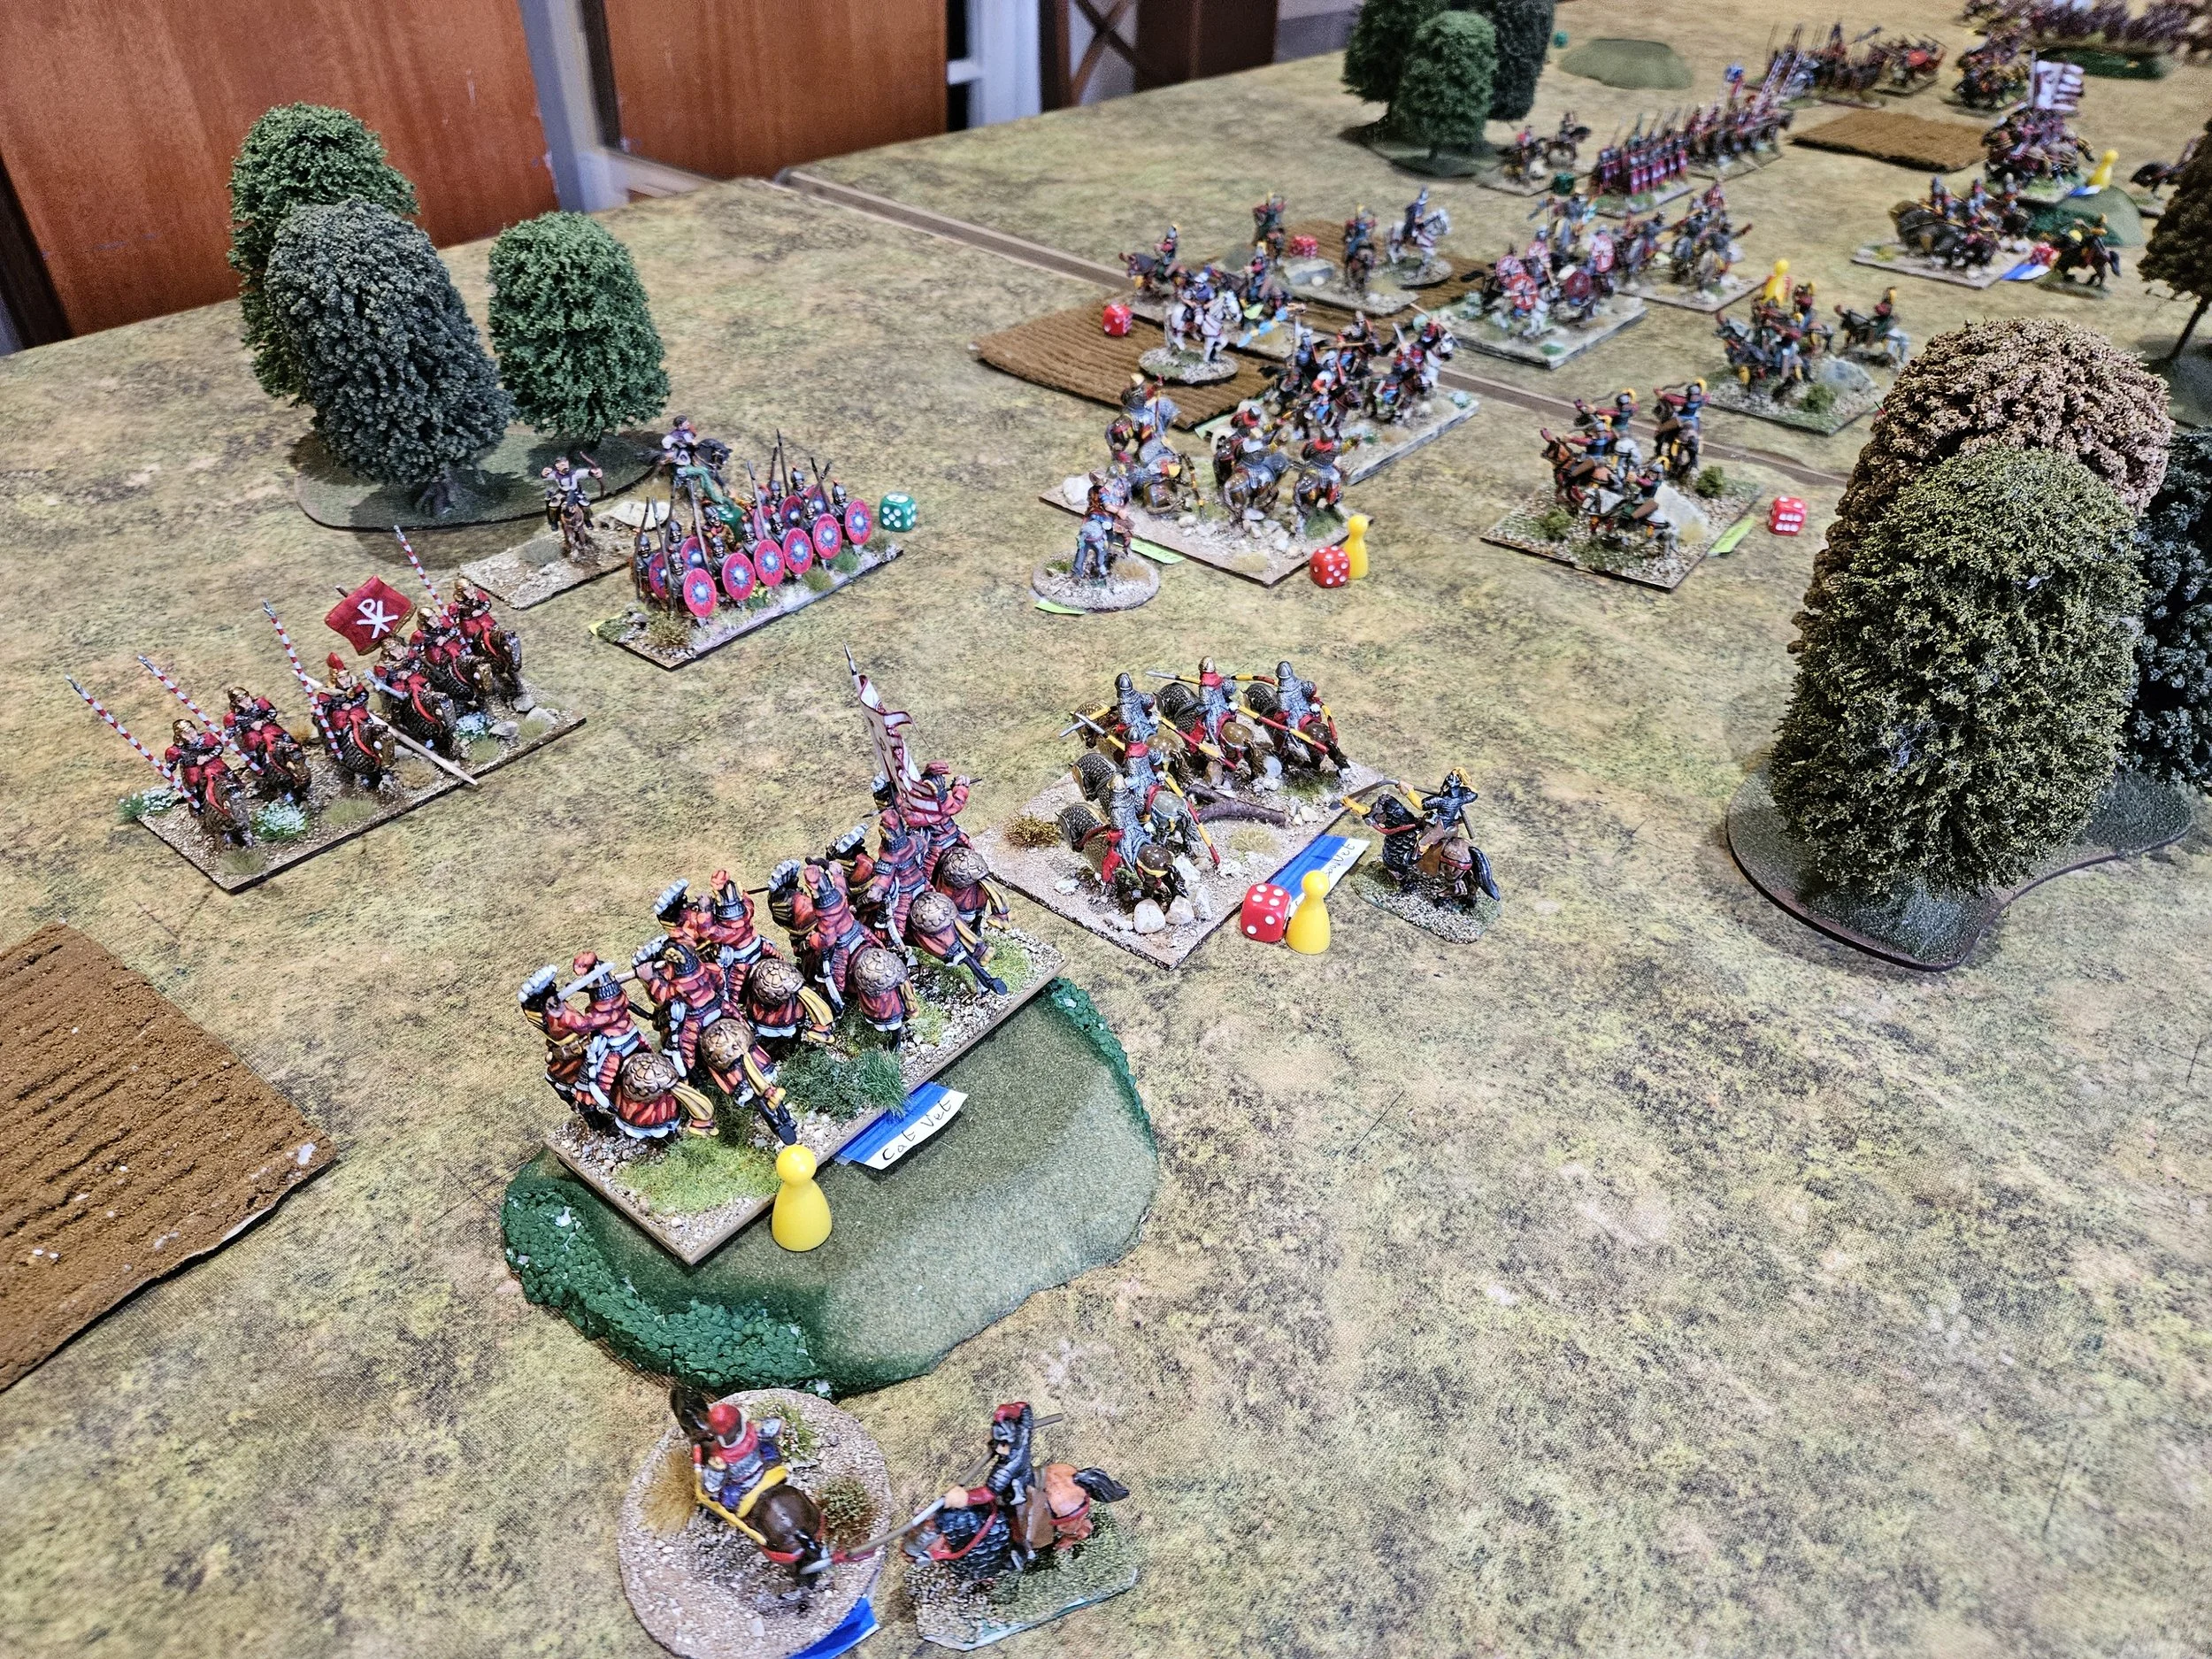
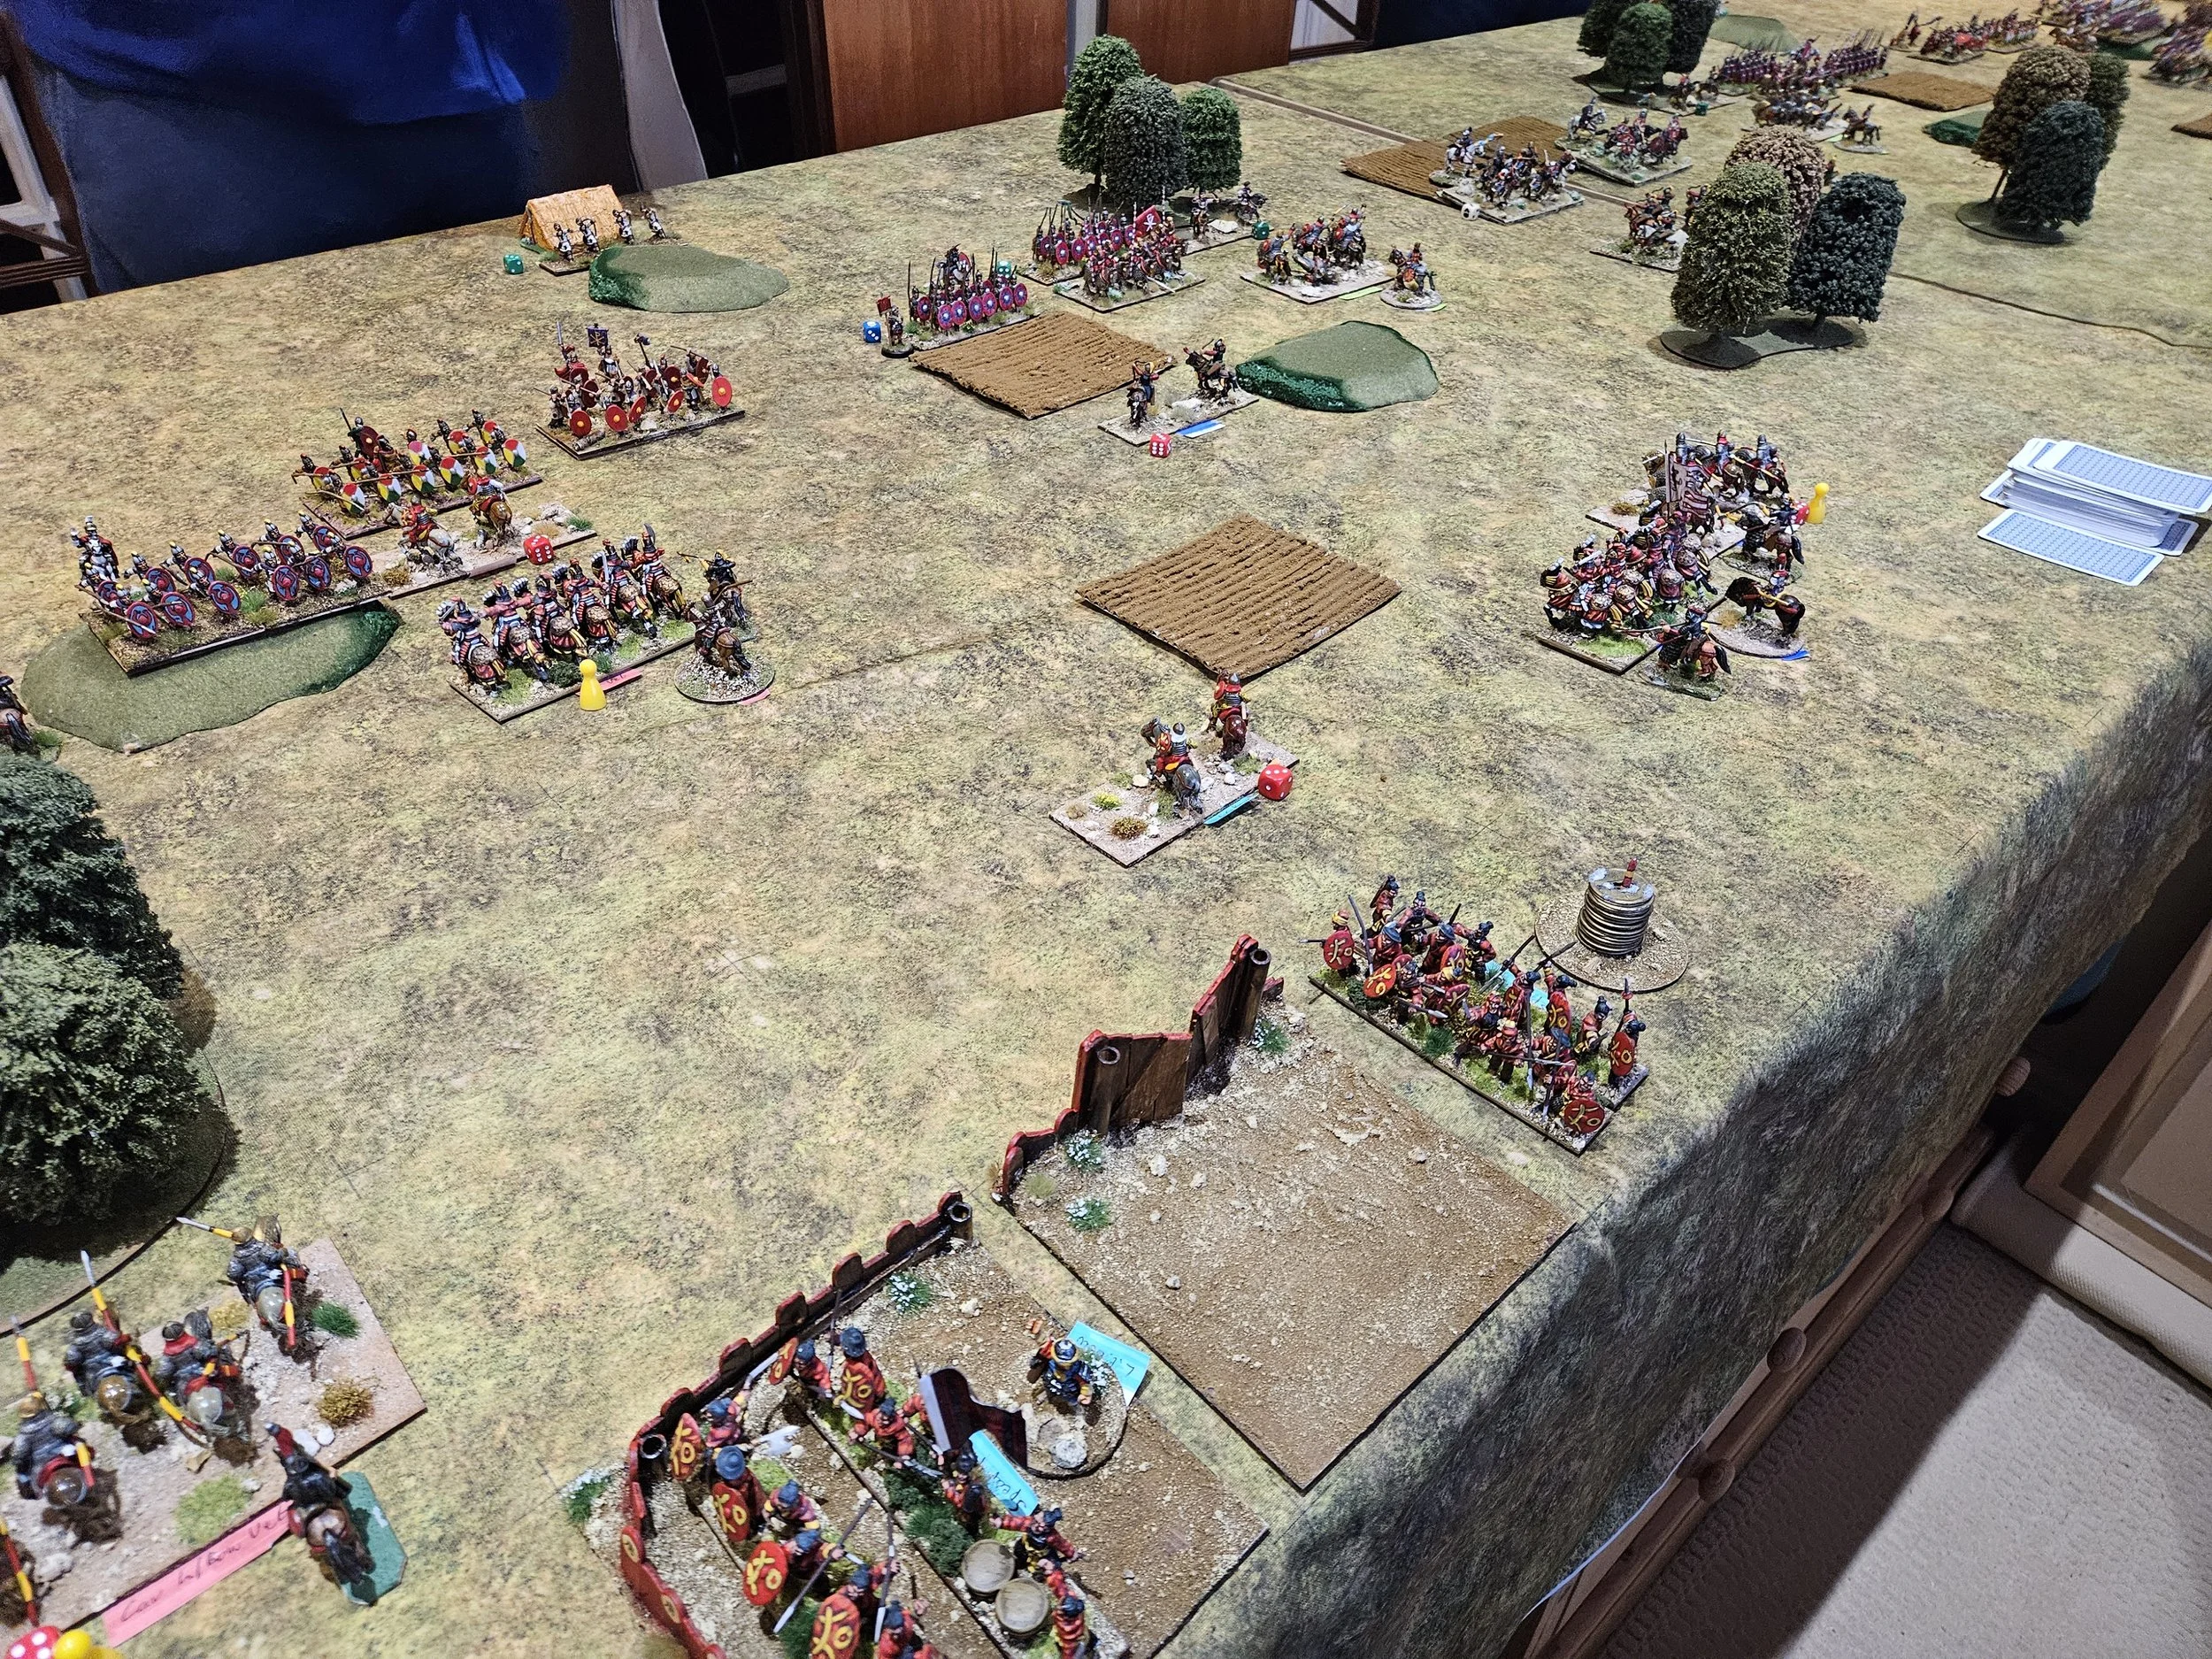
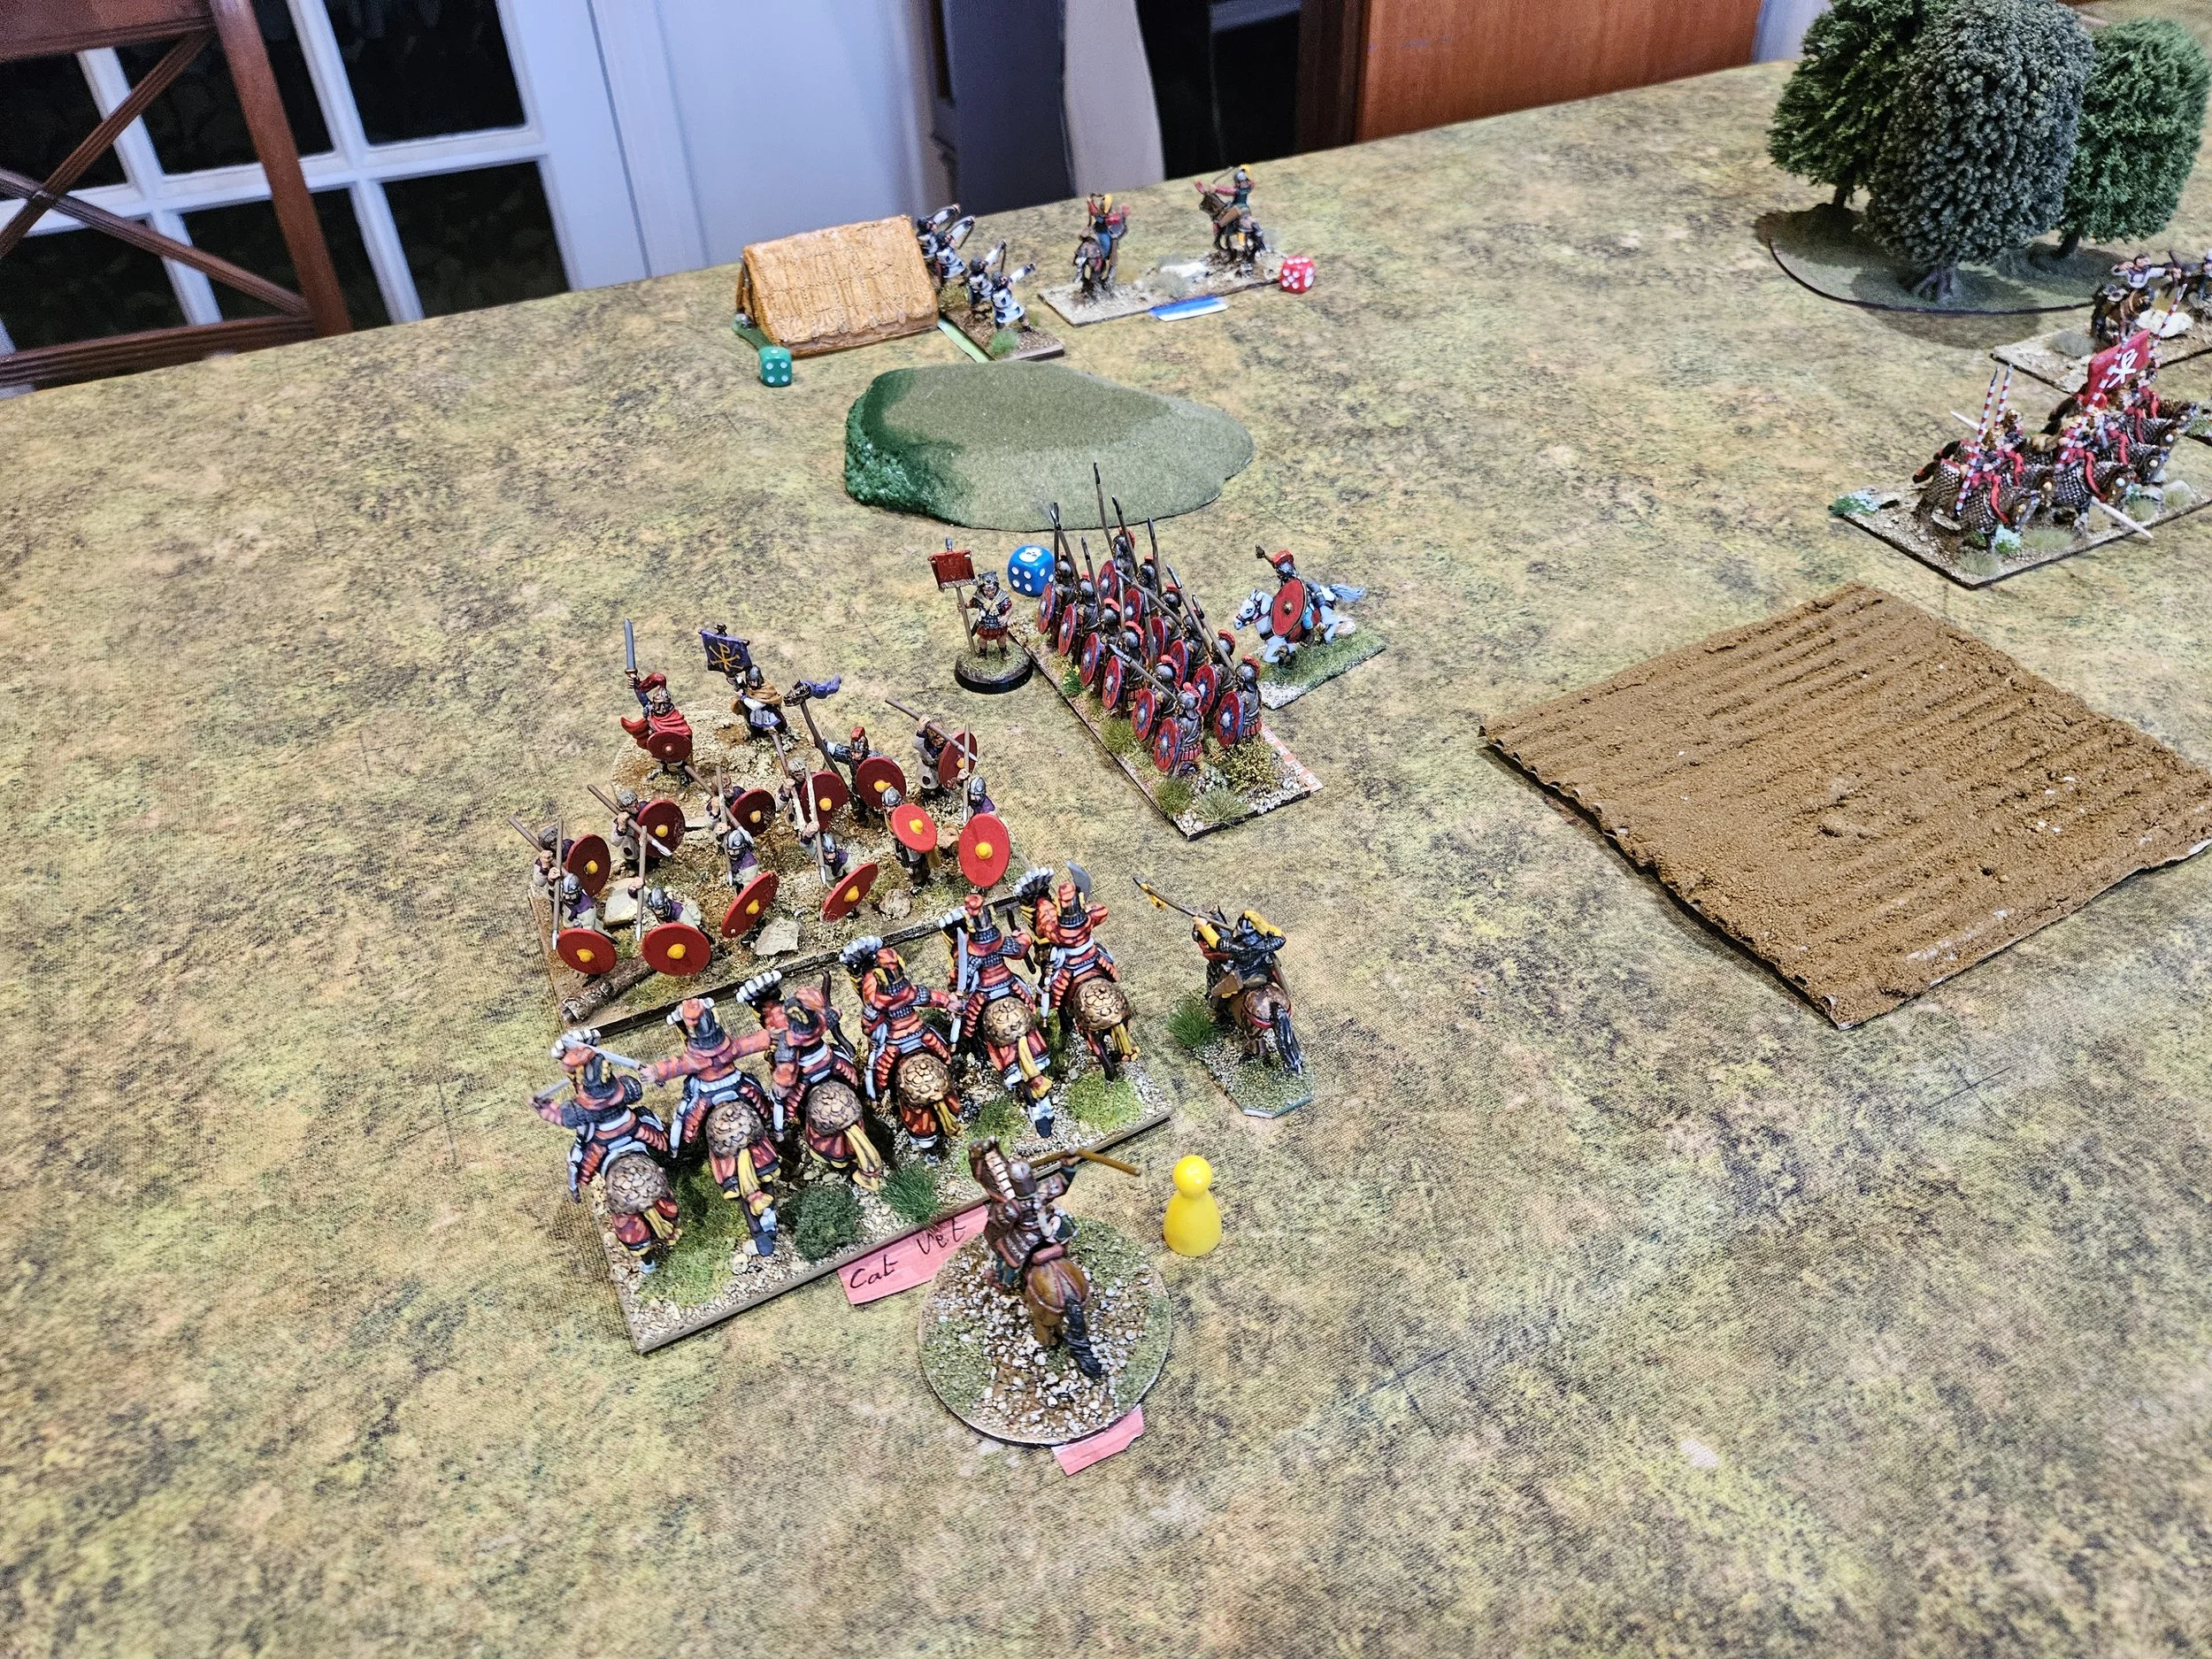
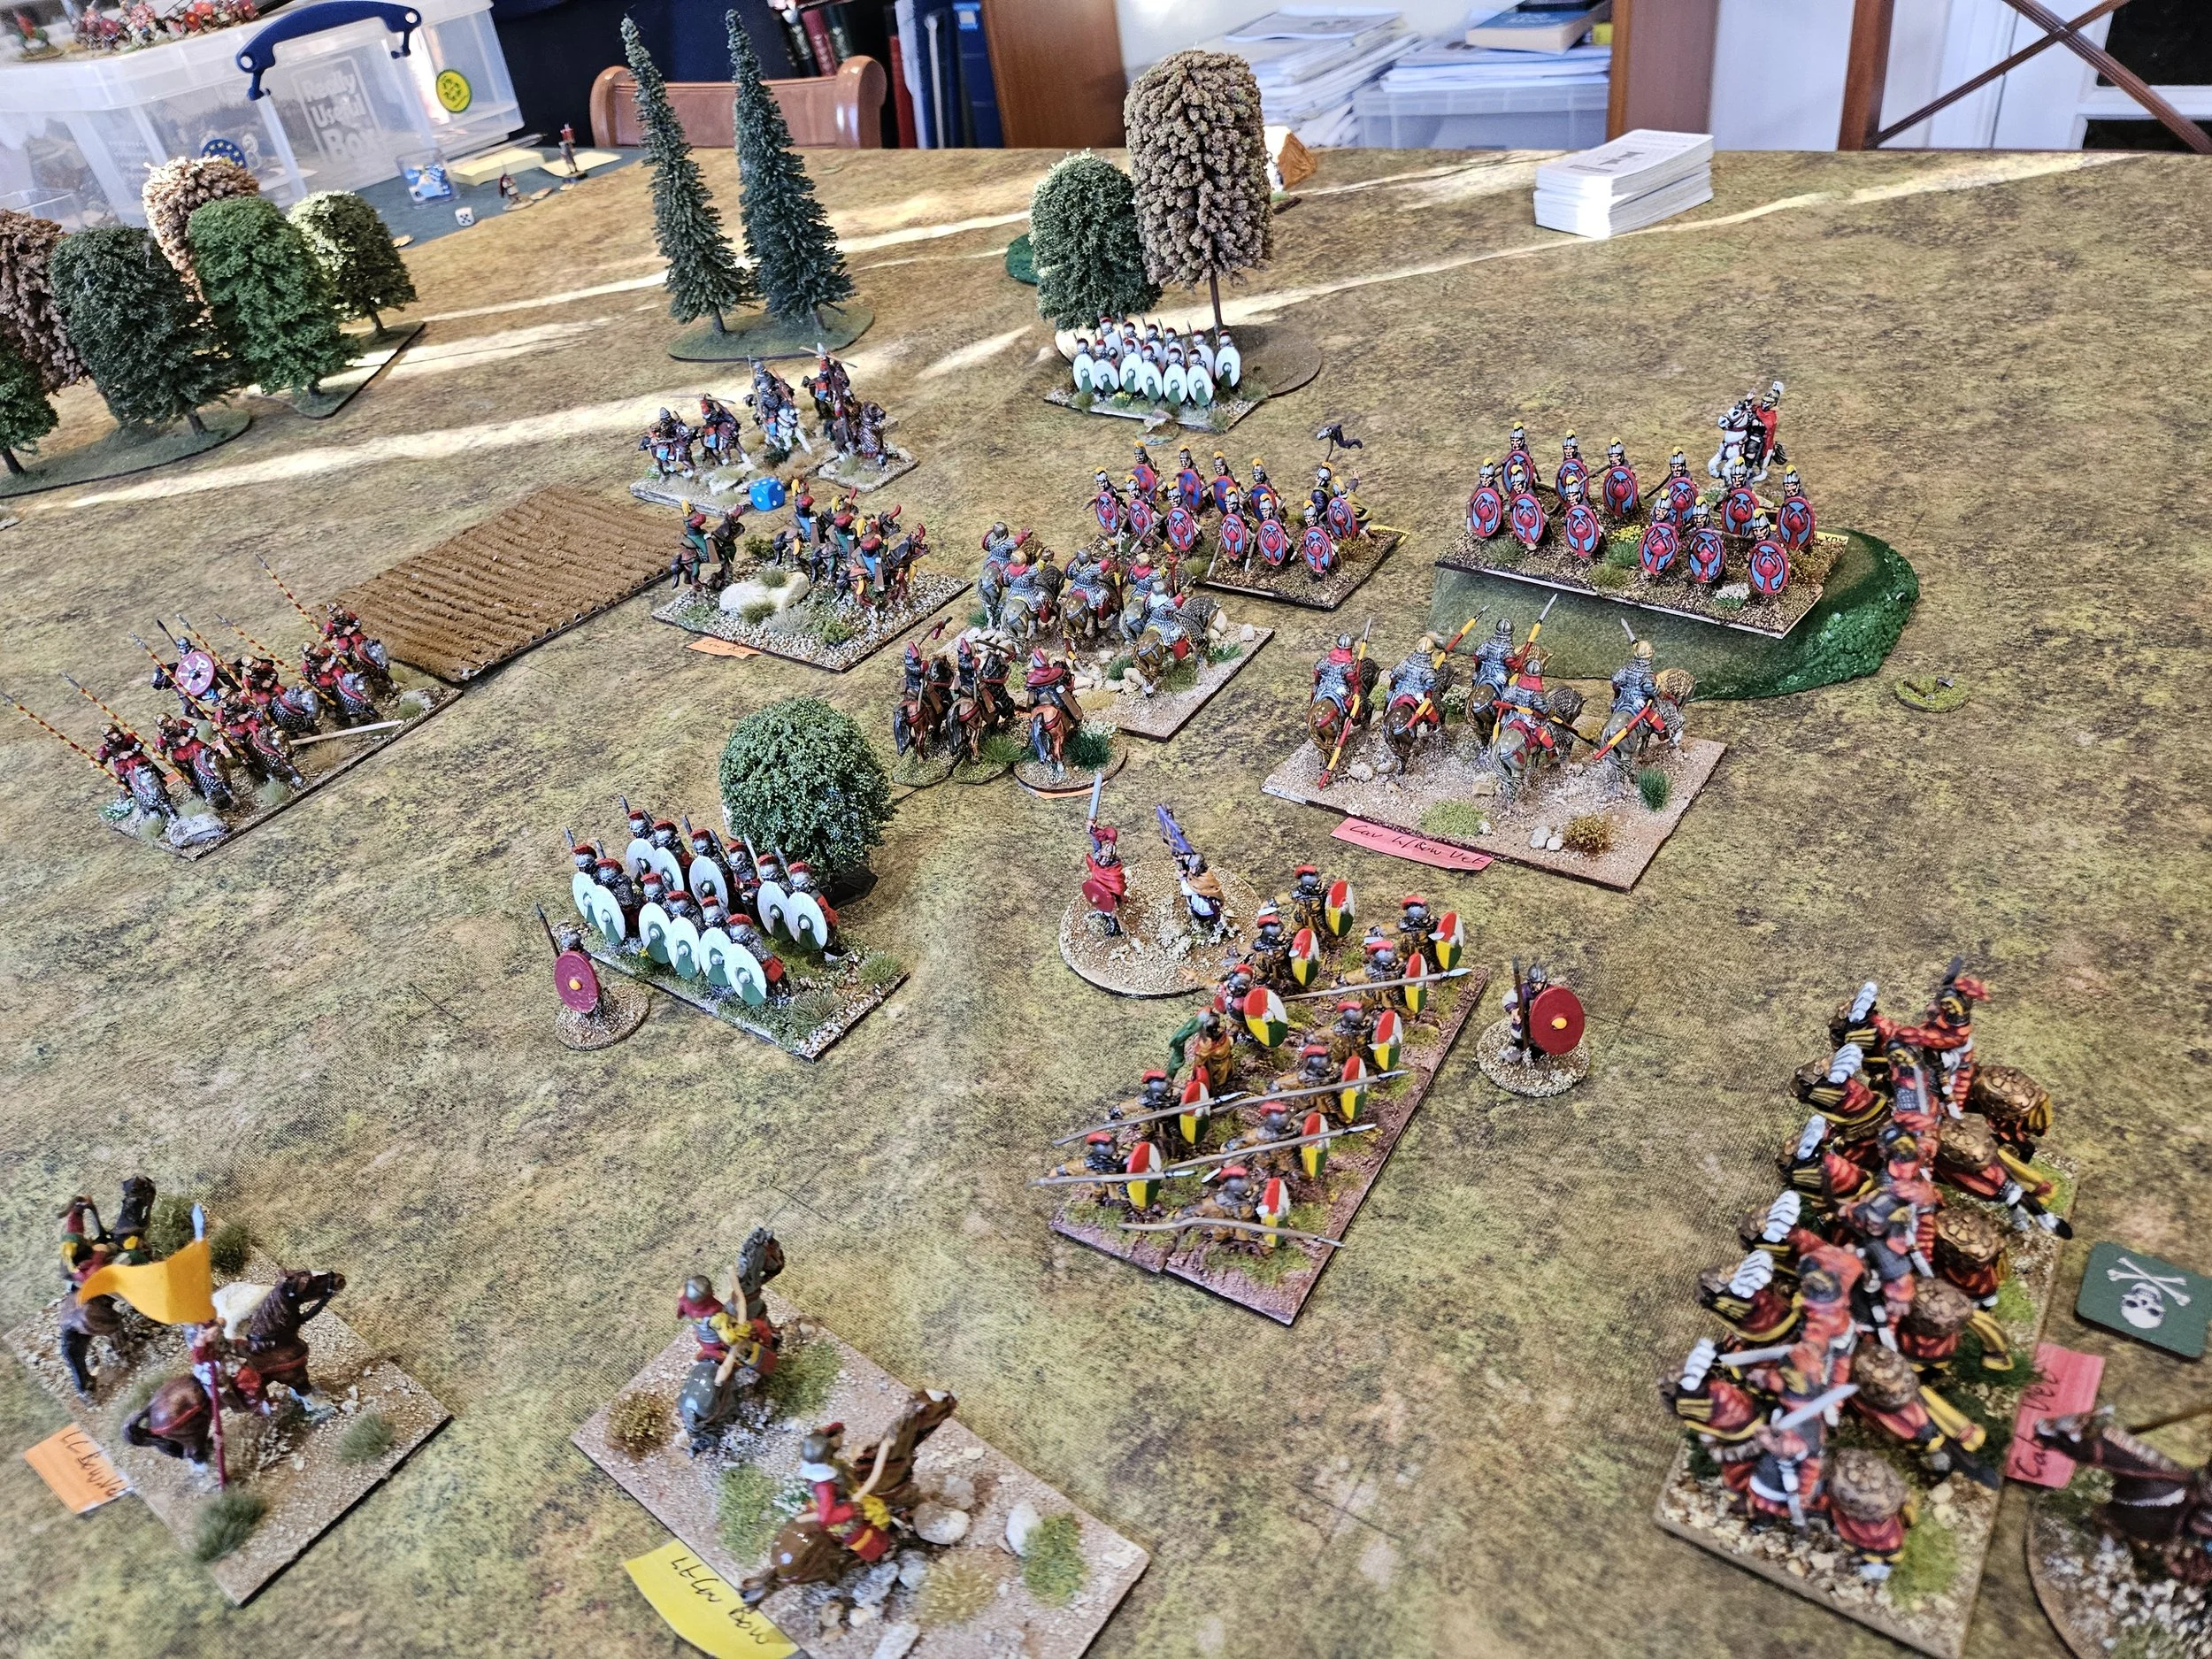
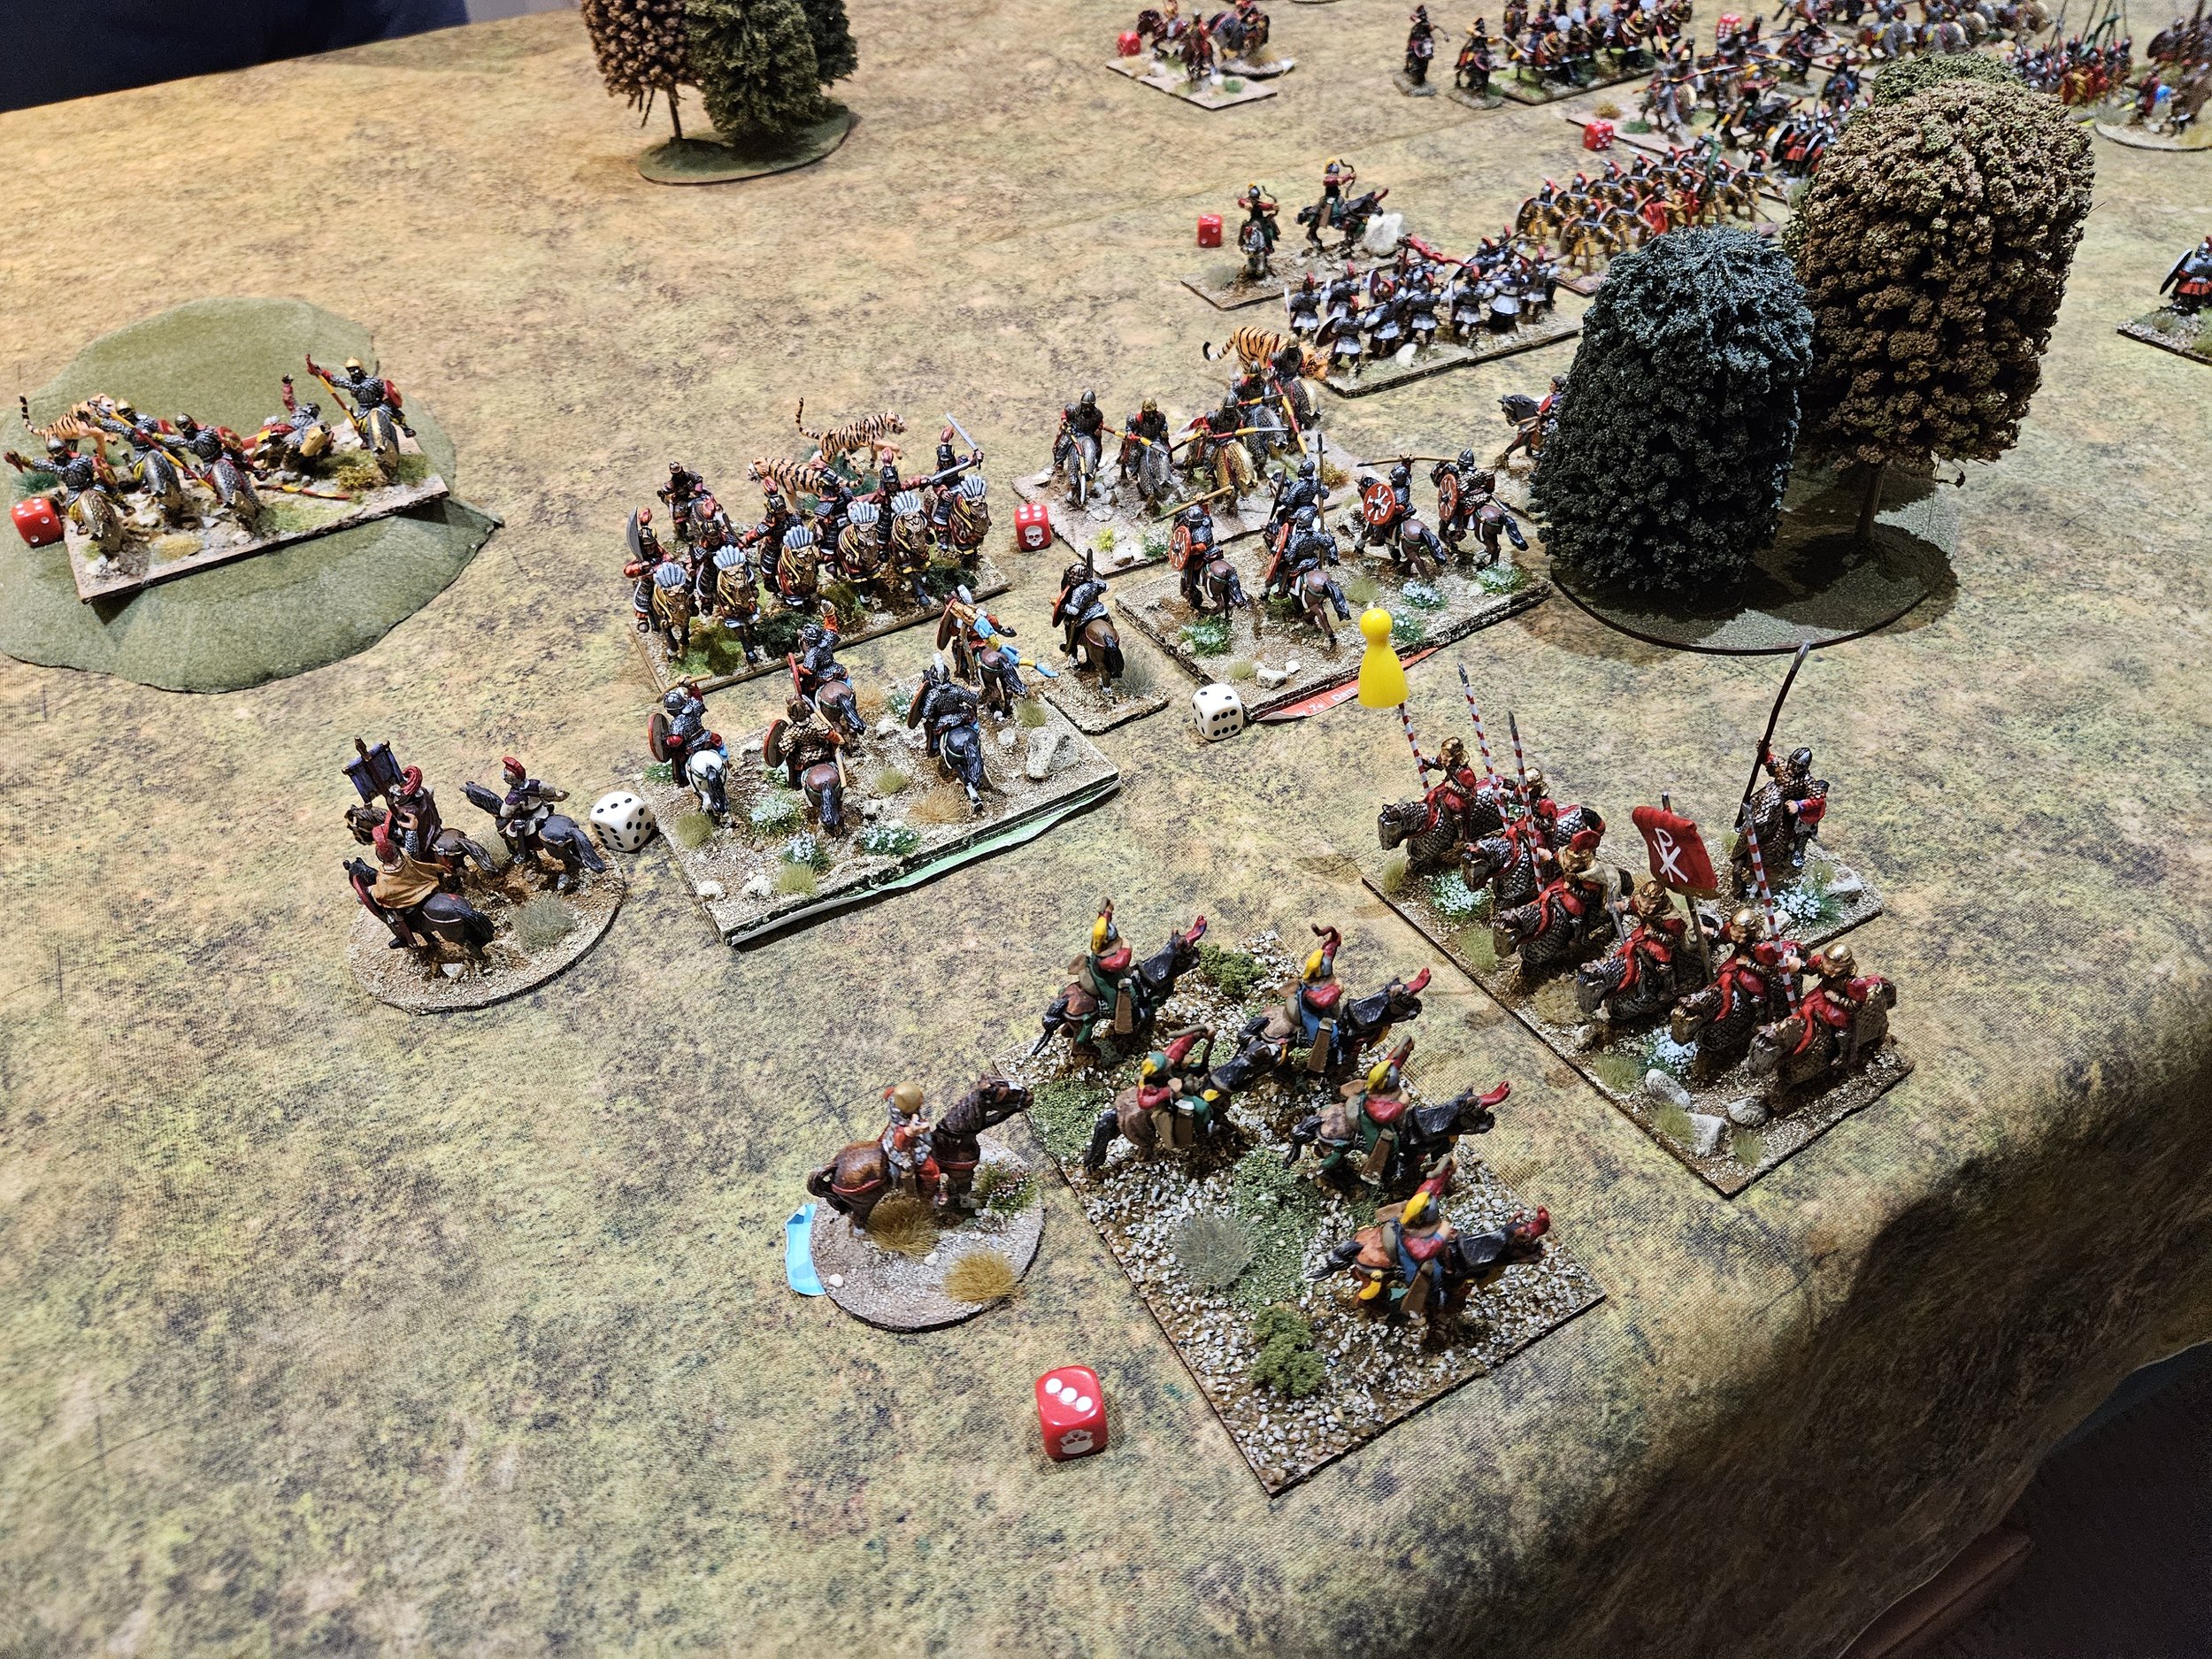
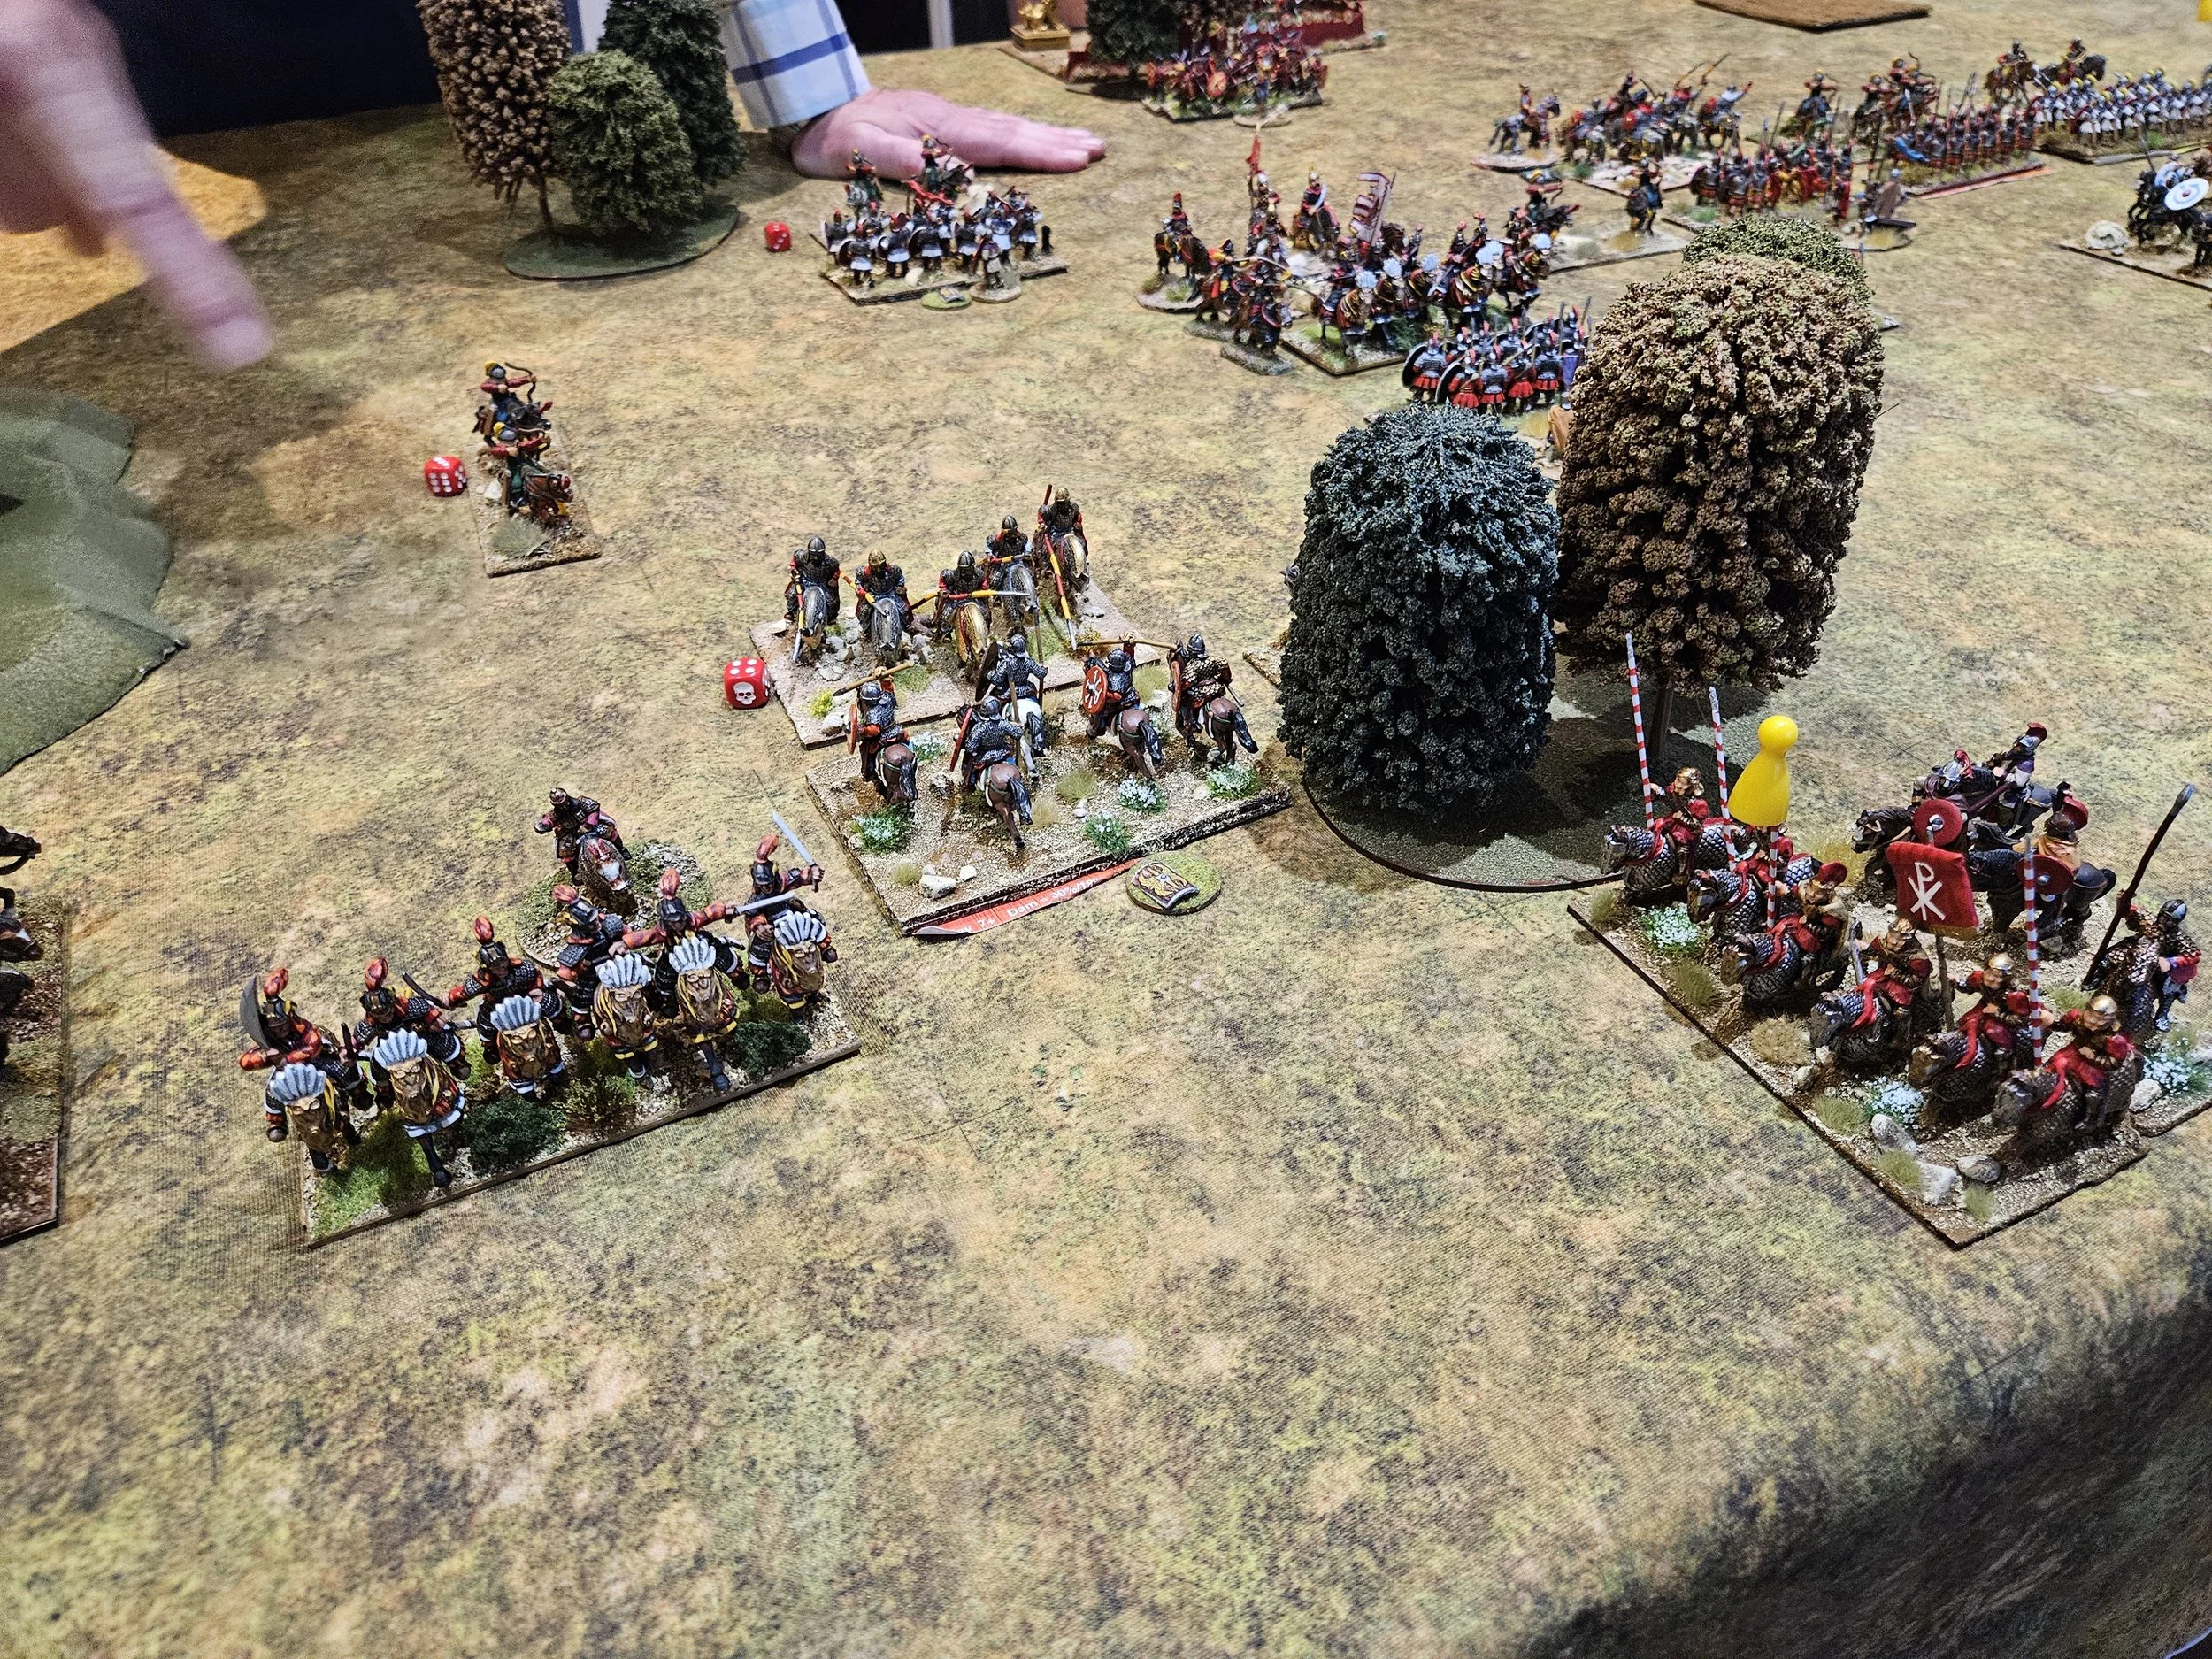
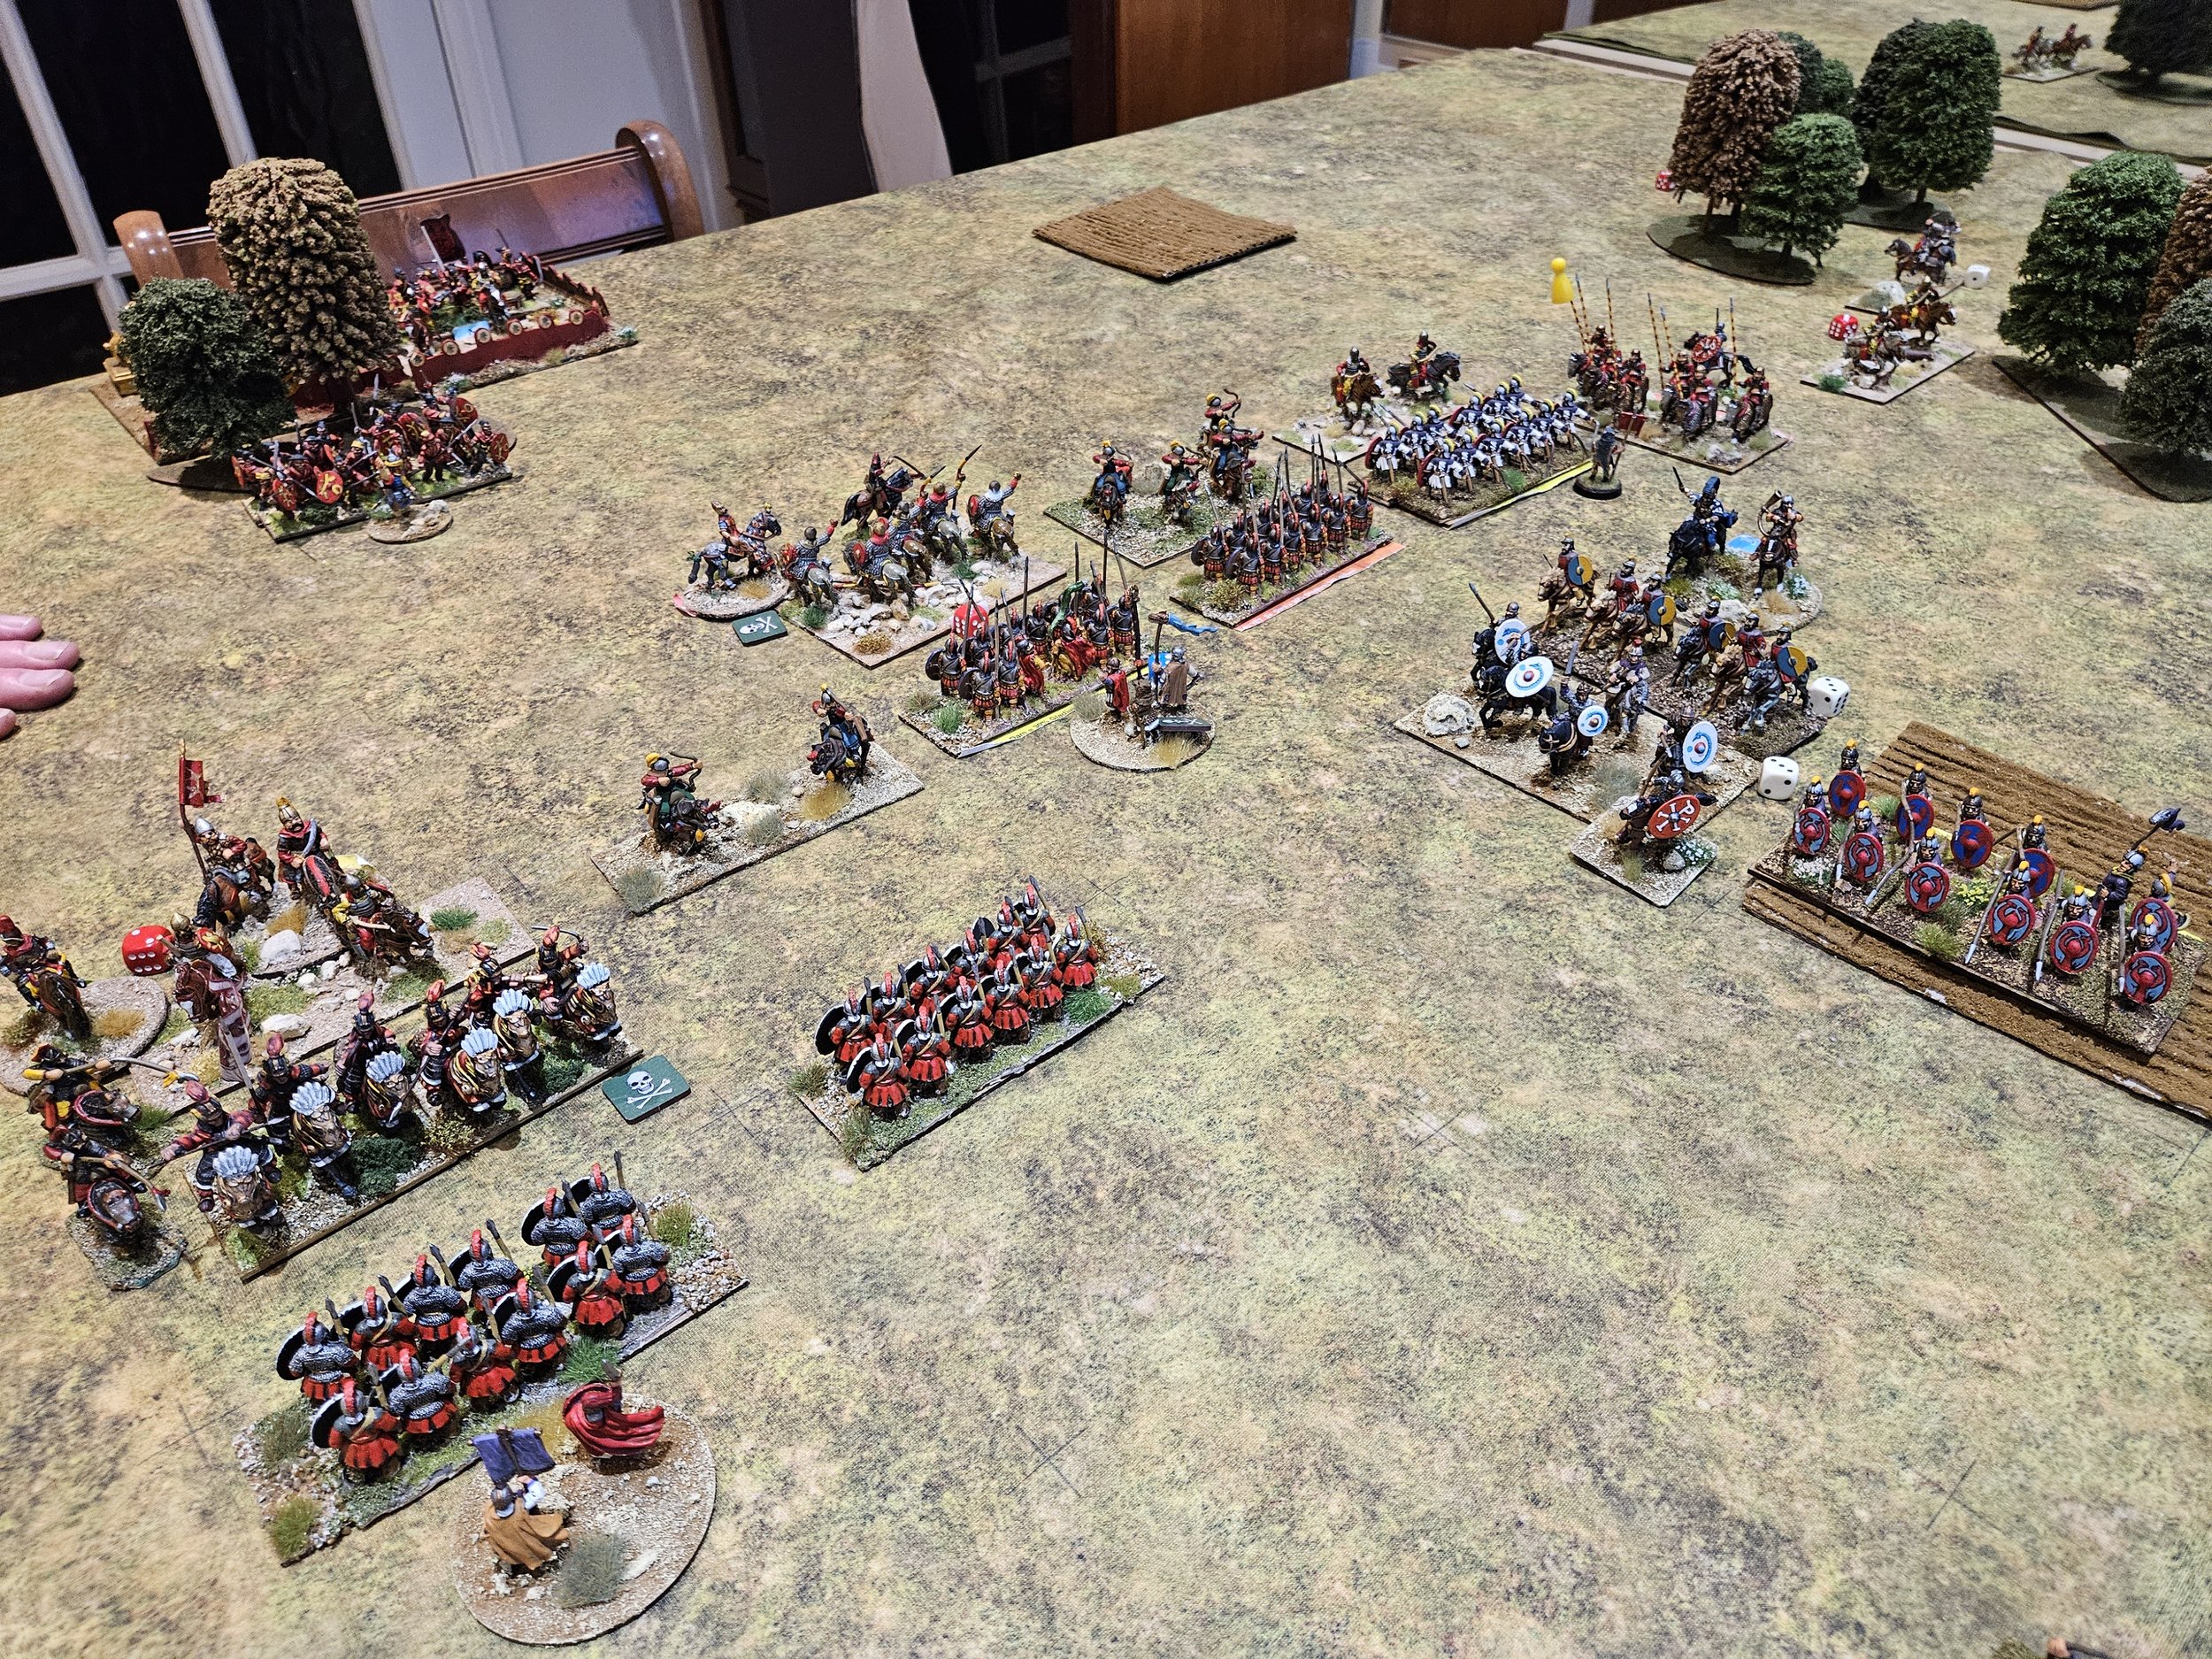
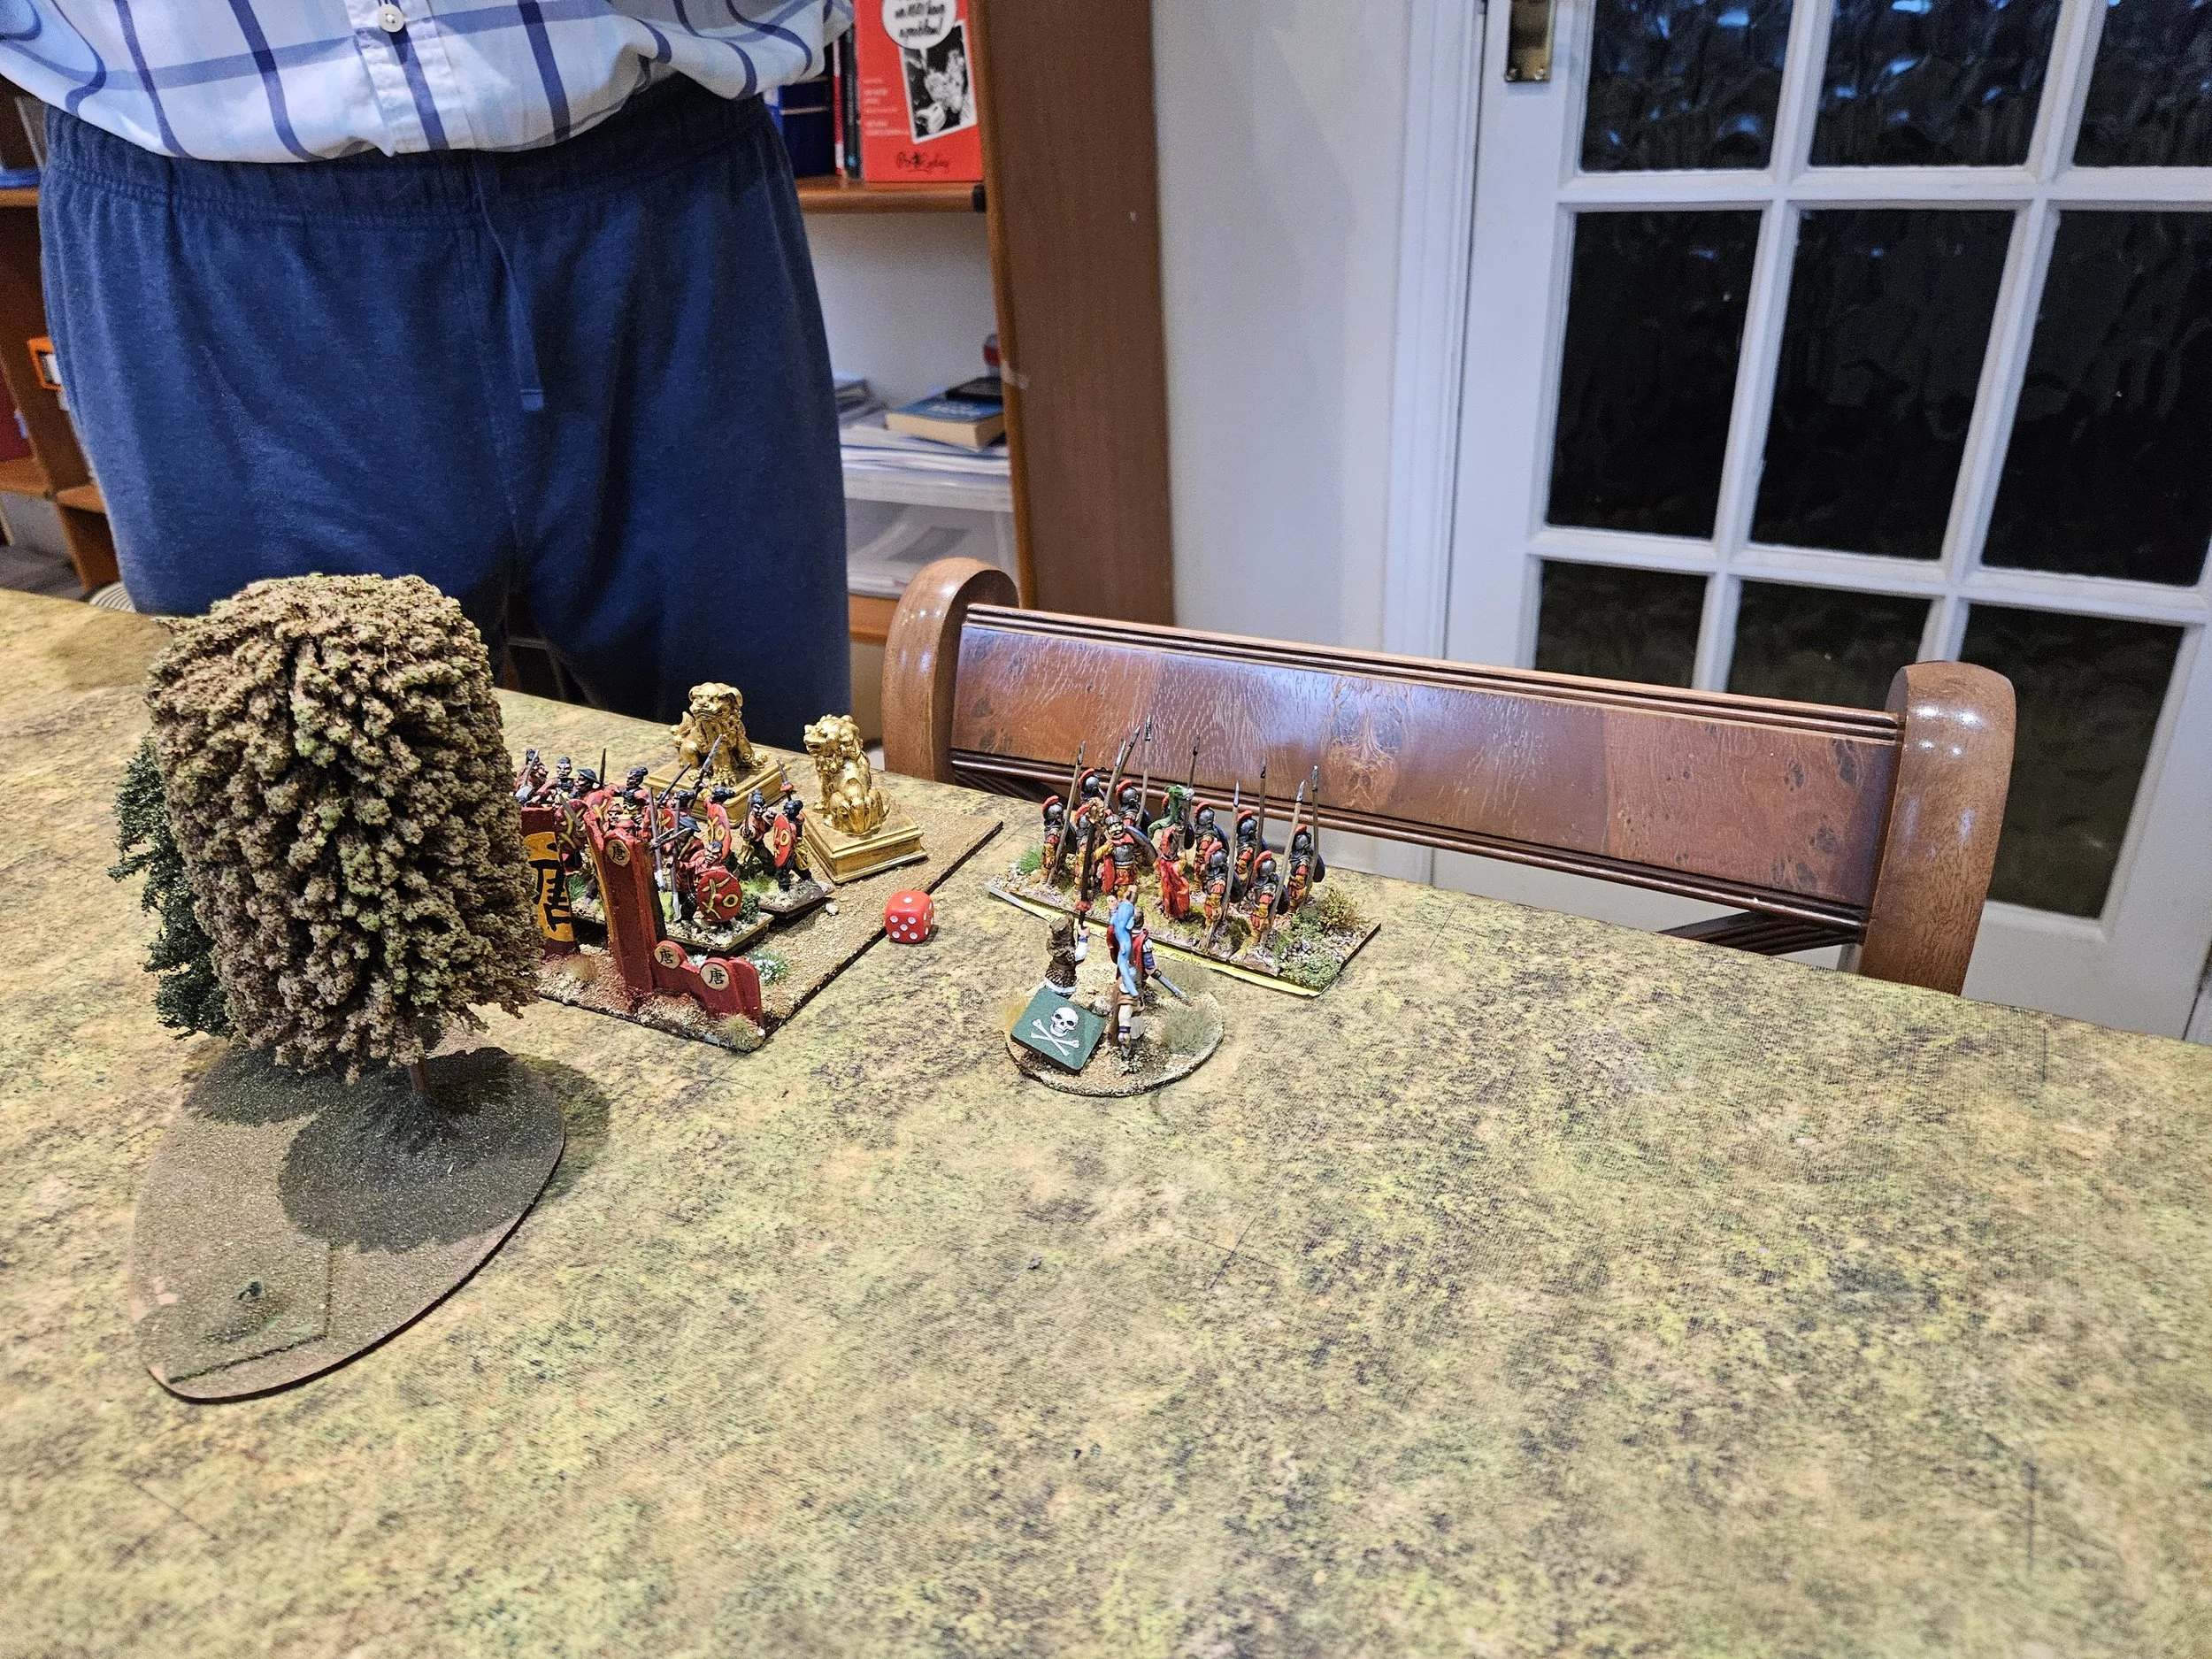
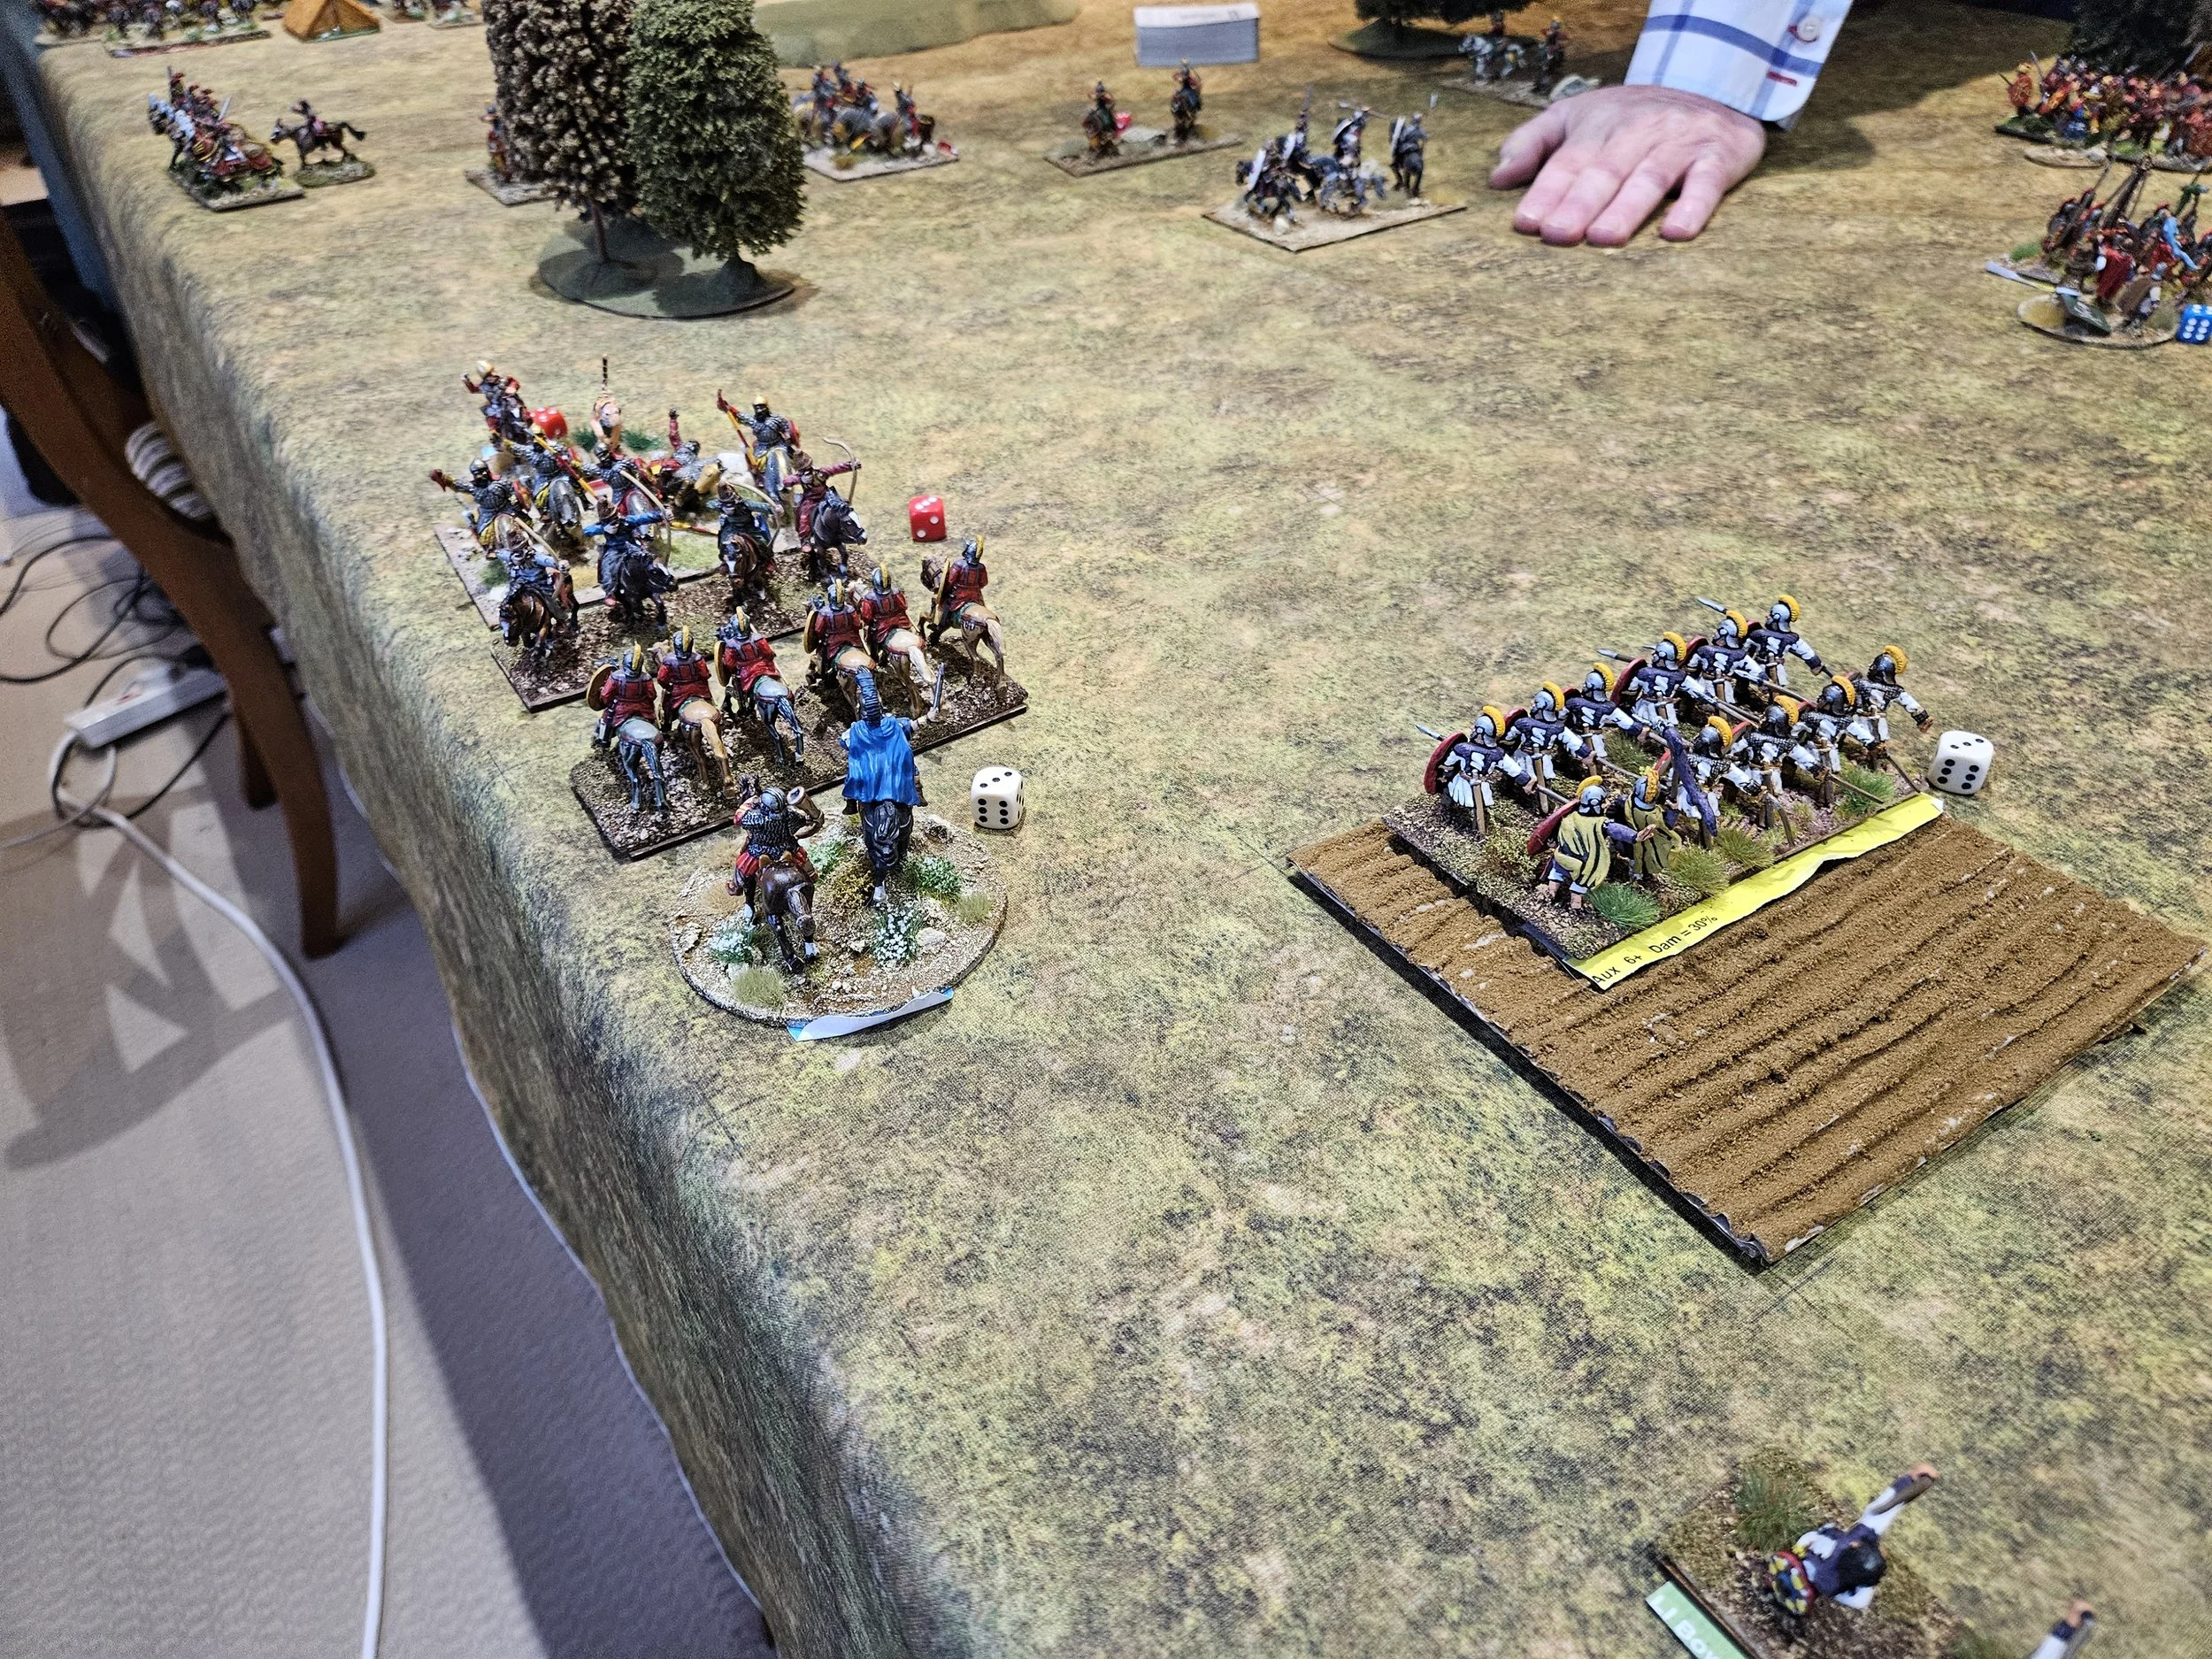
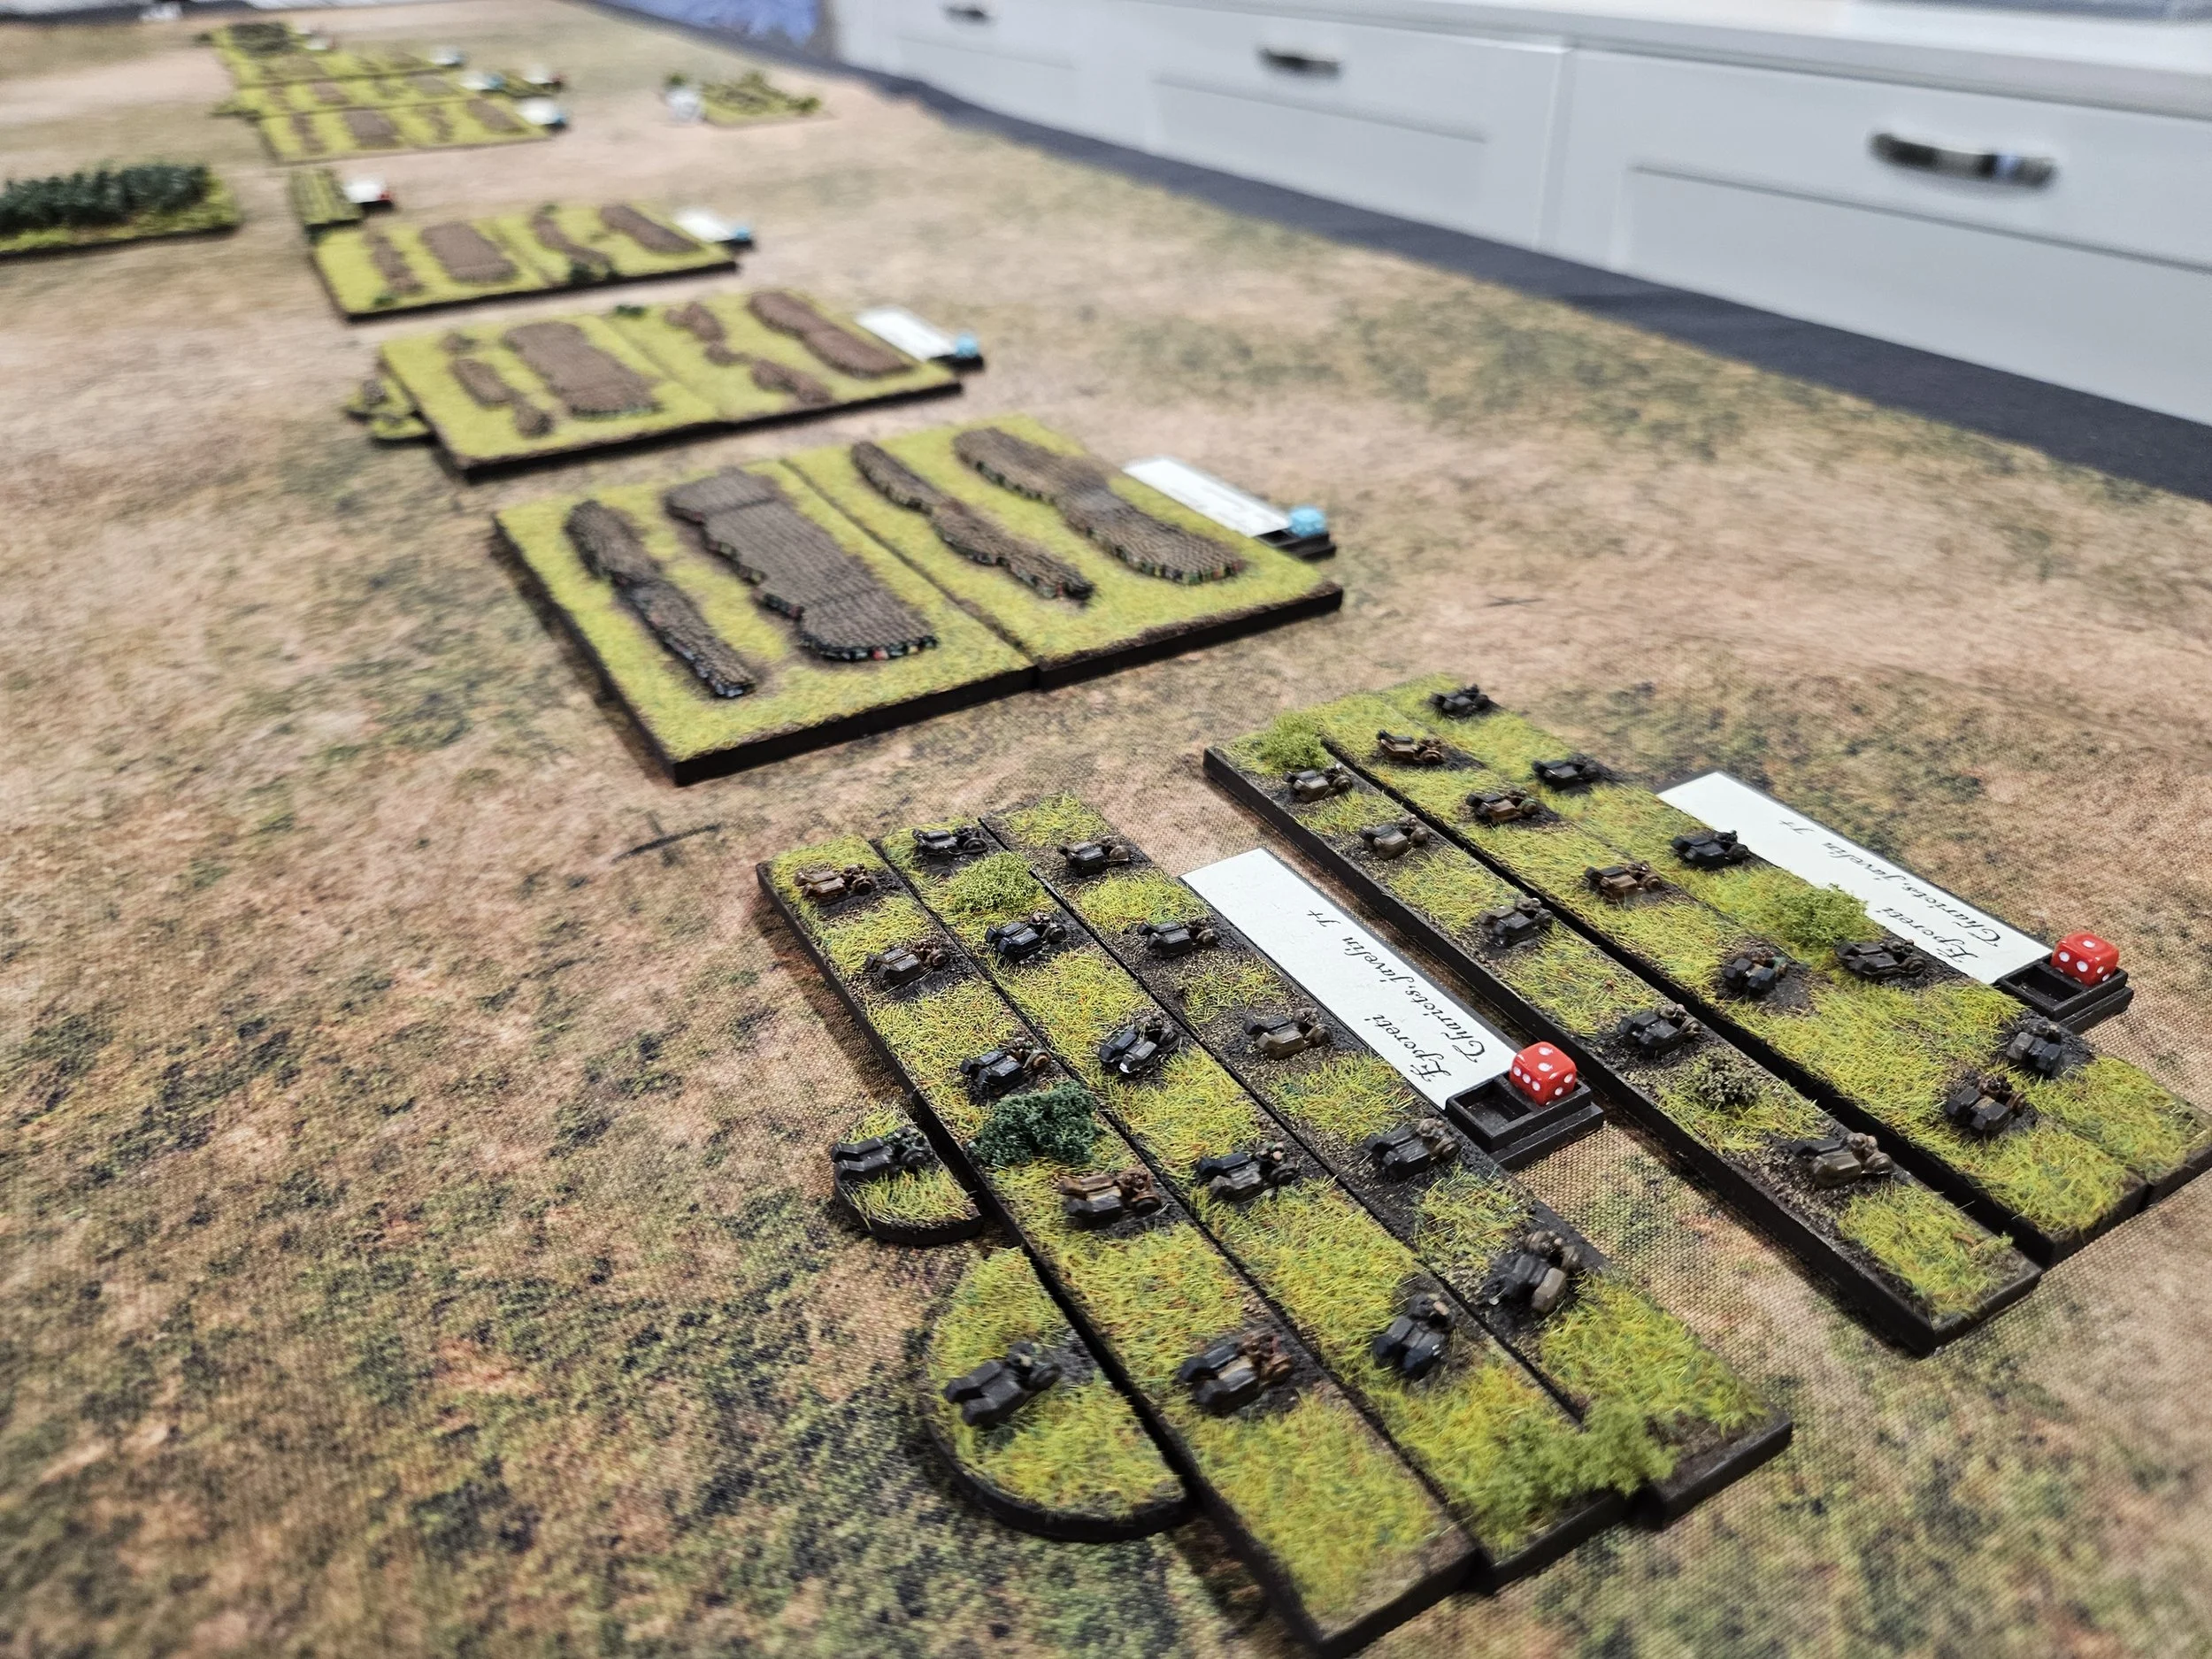
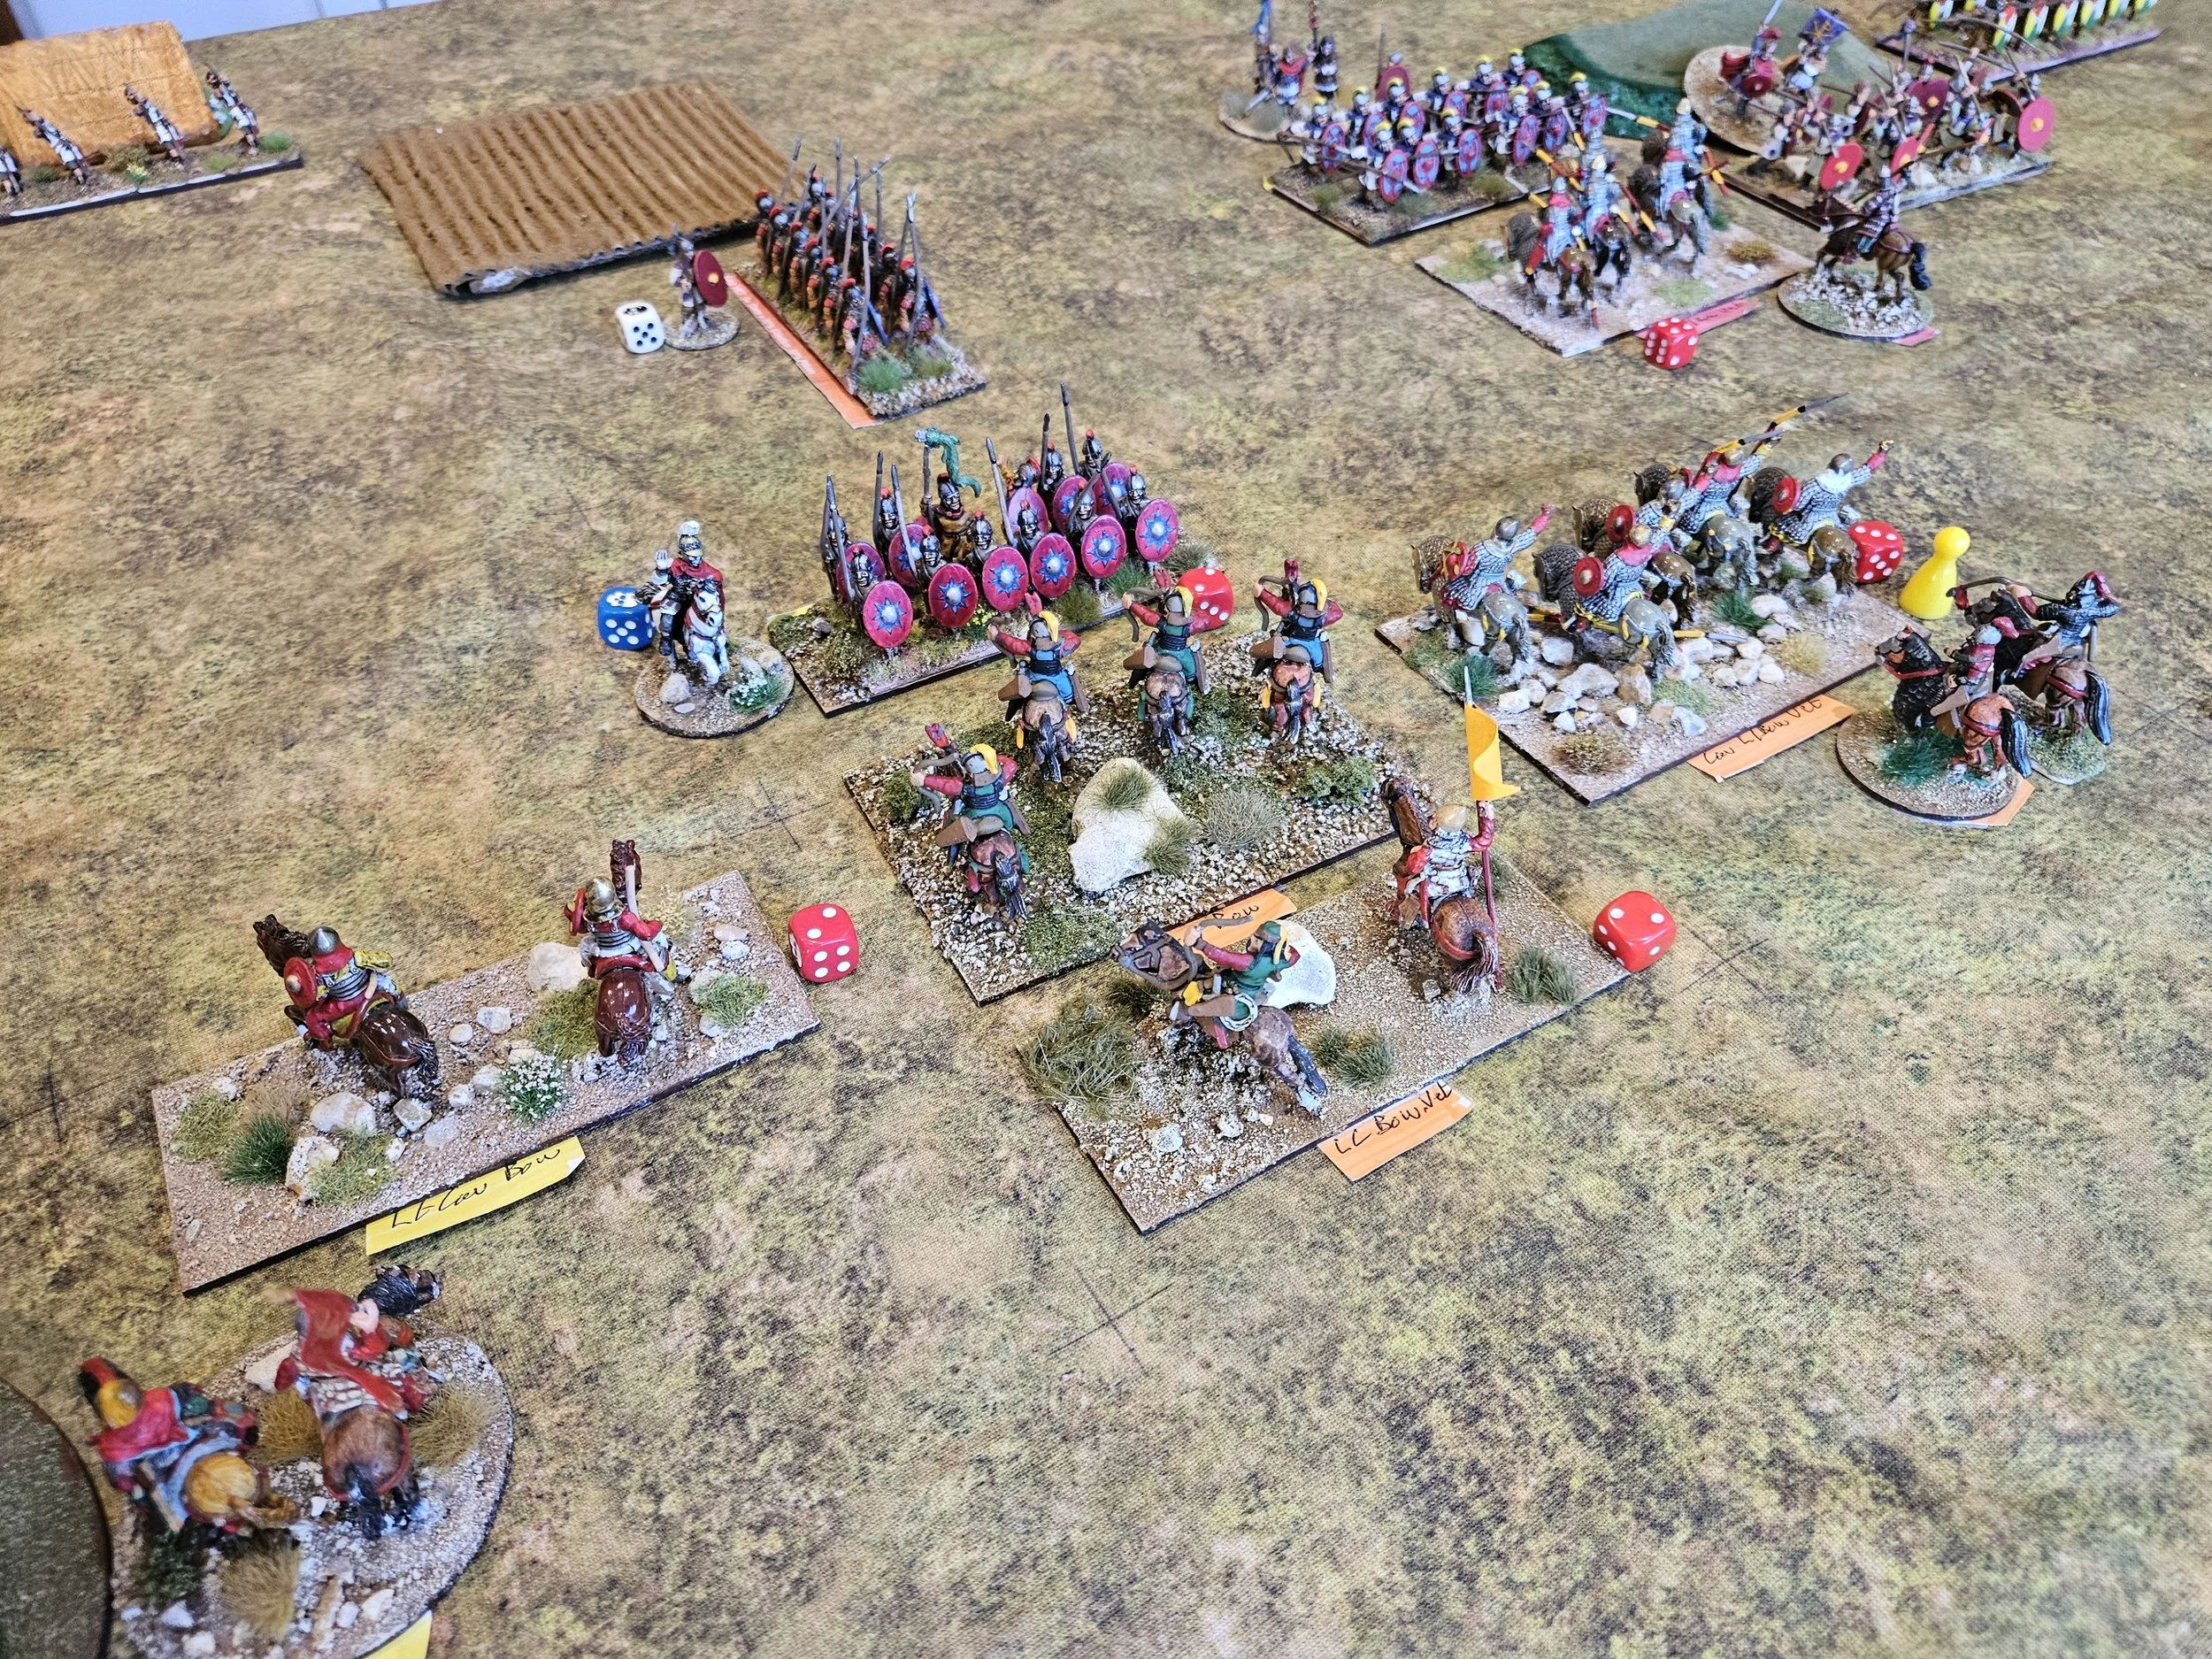
I then advanced forward with my main strength on the right and centre, intending to overwhelm him there and then turn and roll up the Roman line from that direction. Left to right, the situation before the two lines closed was now as follows:
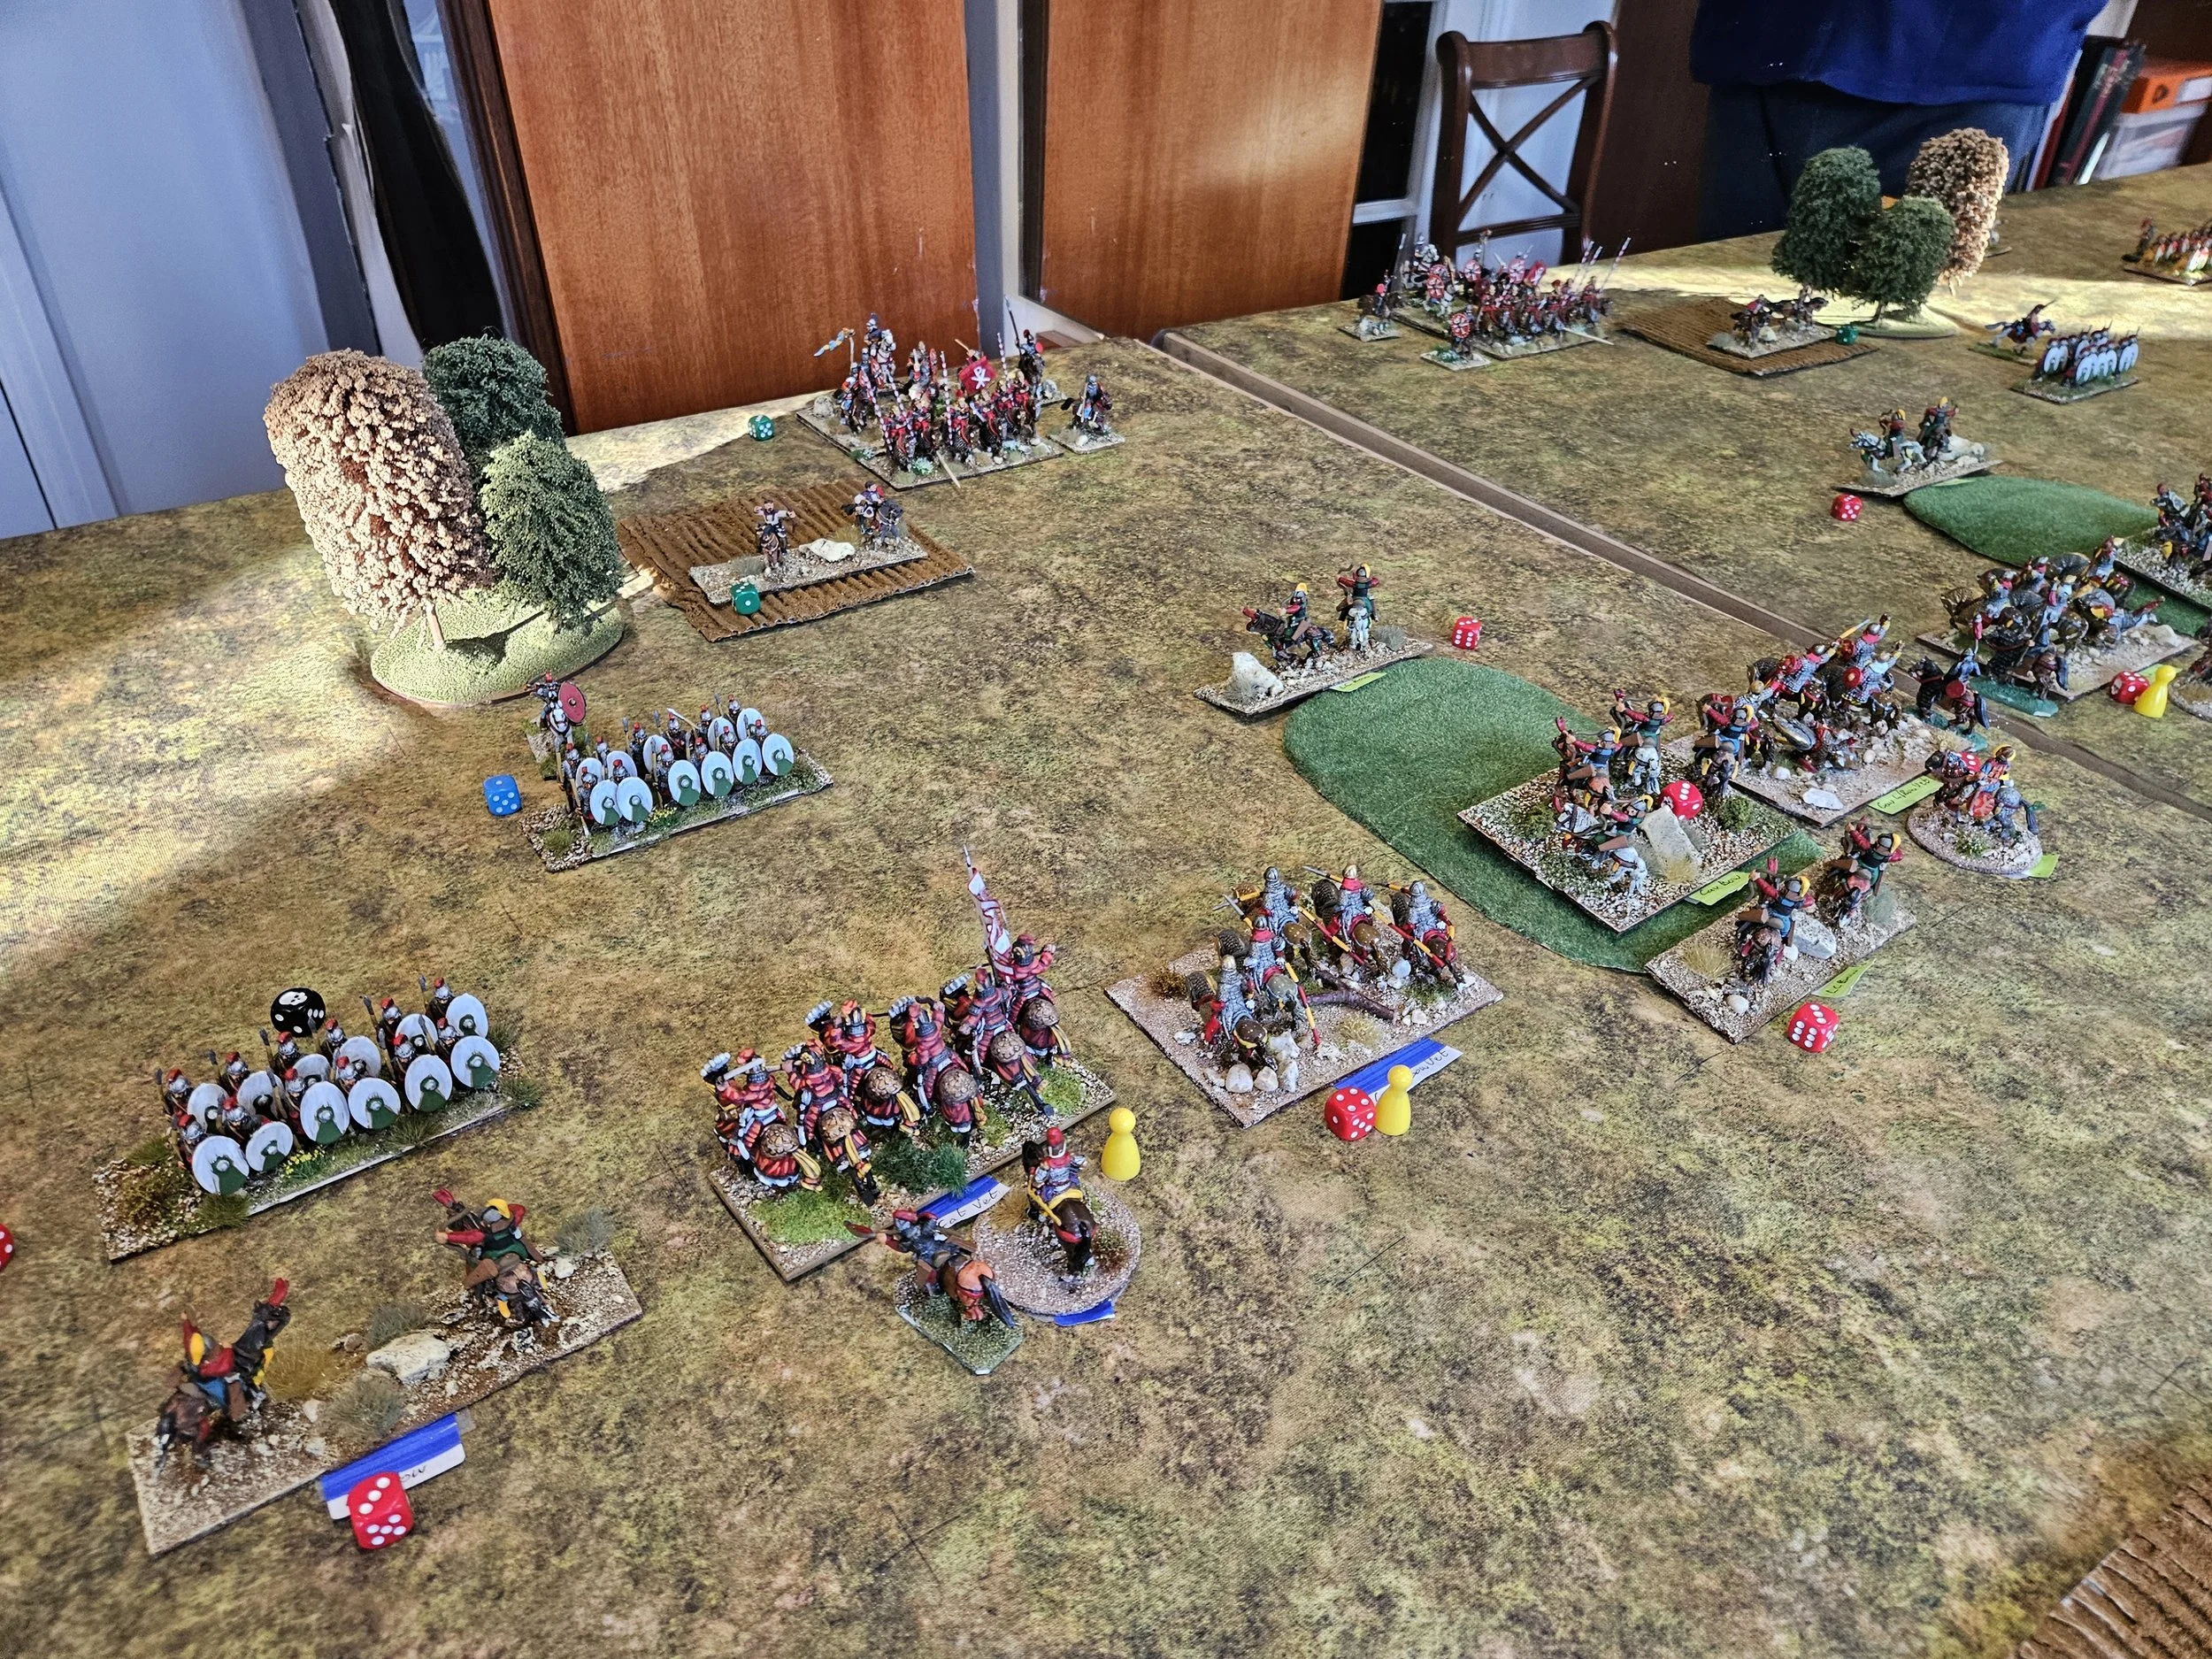
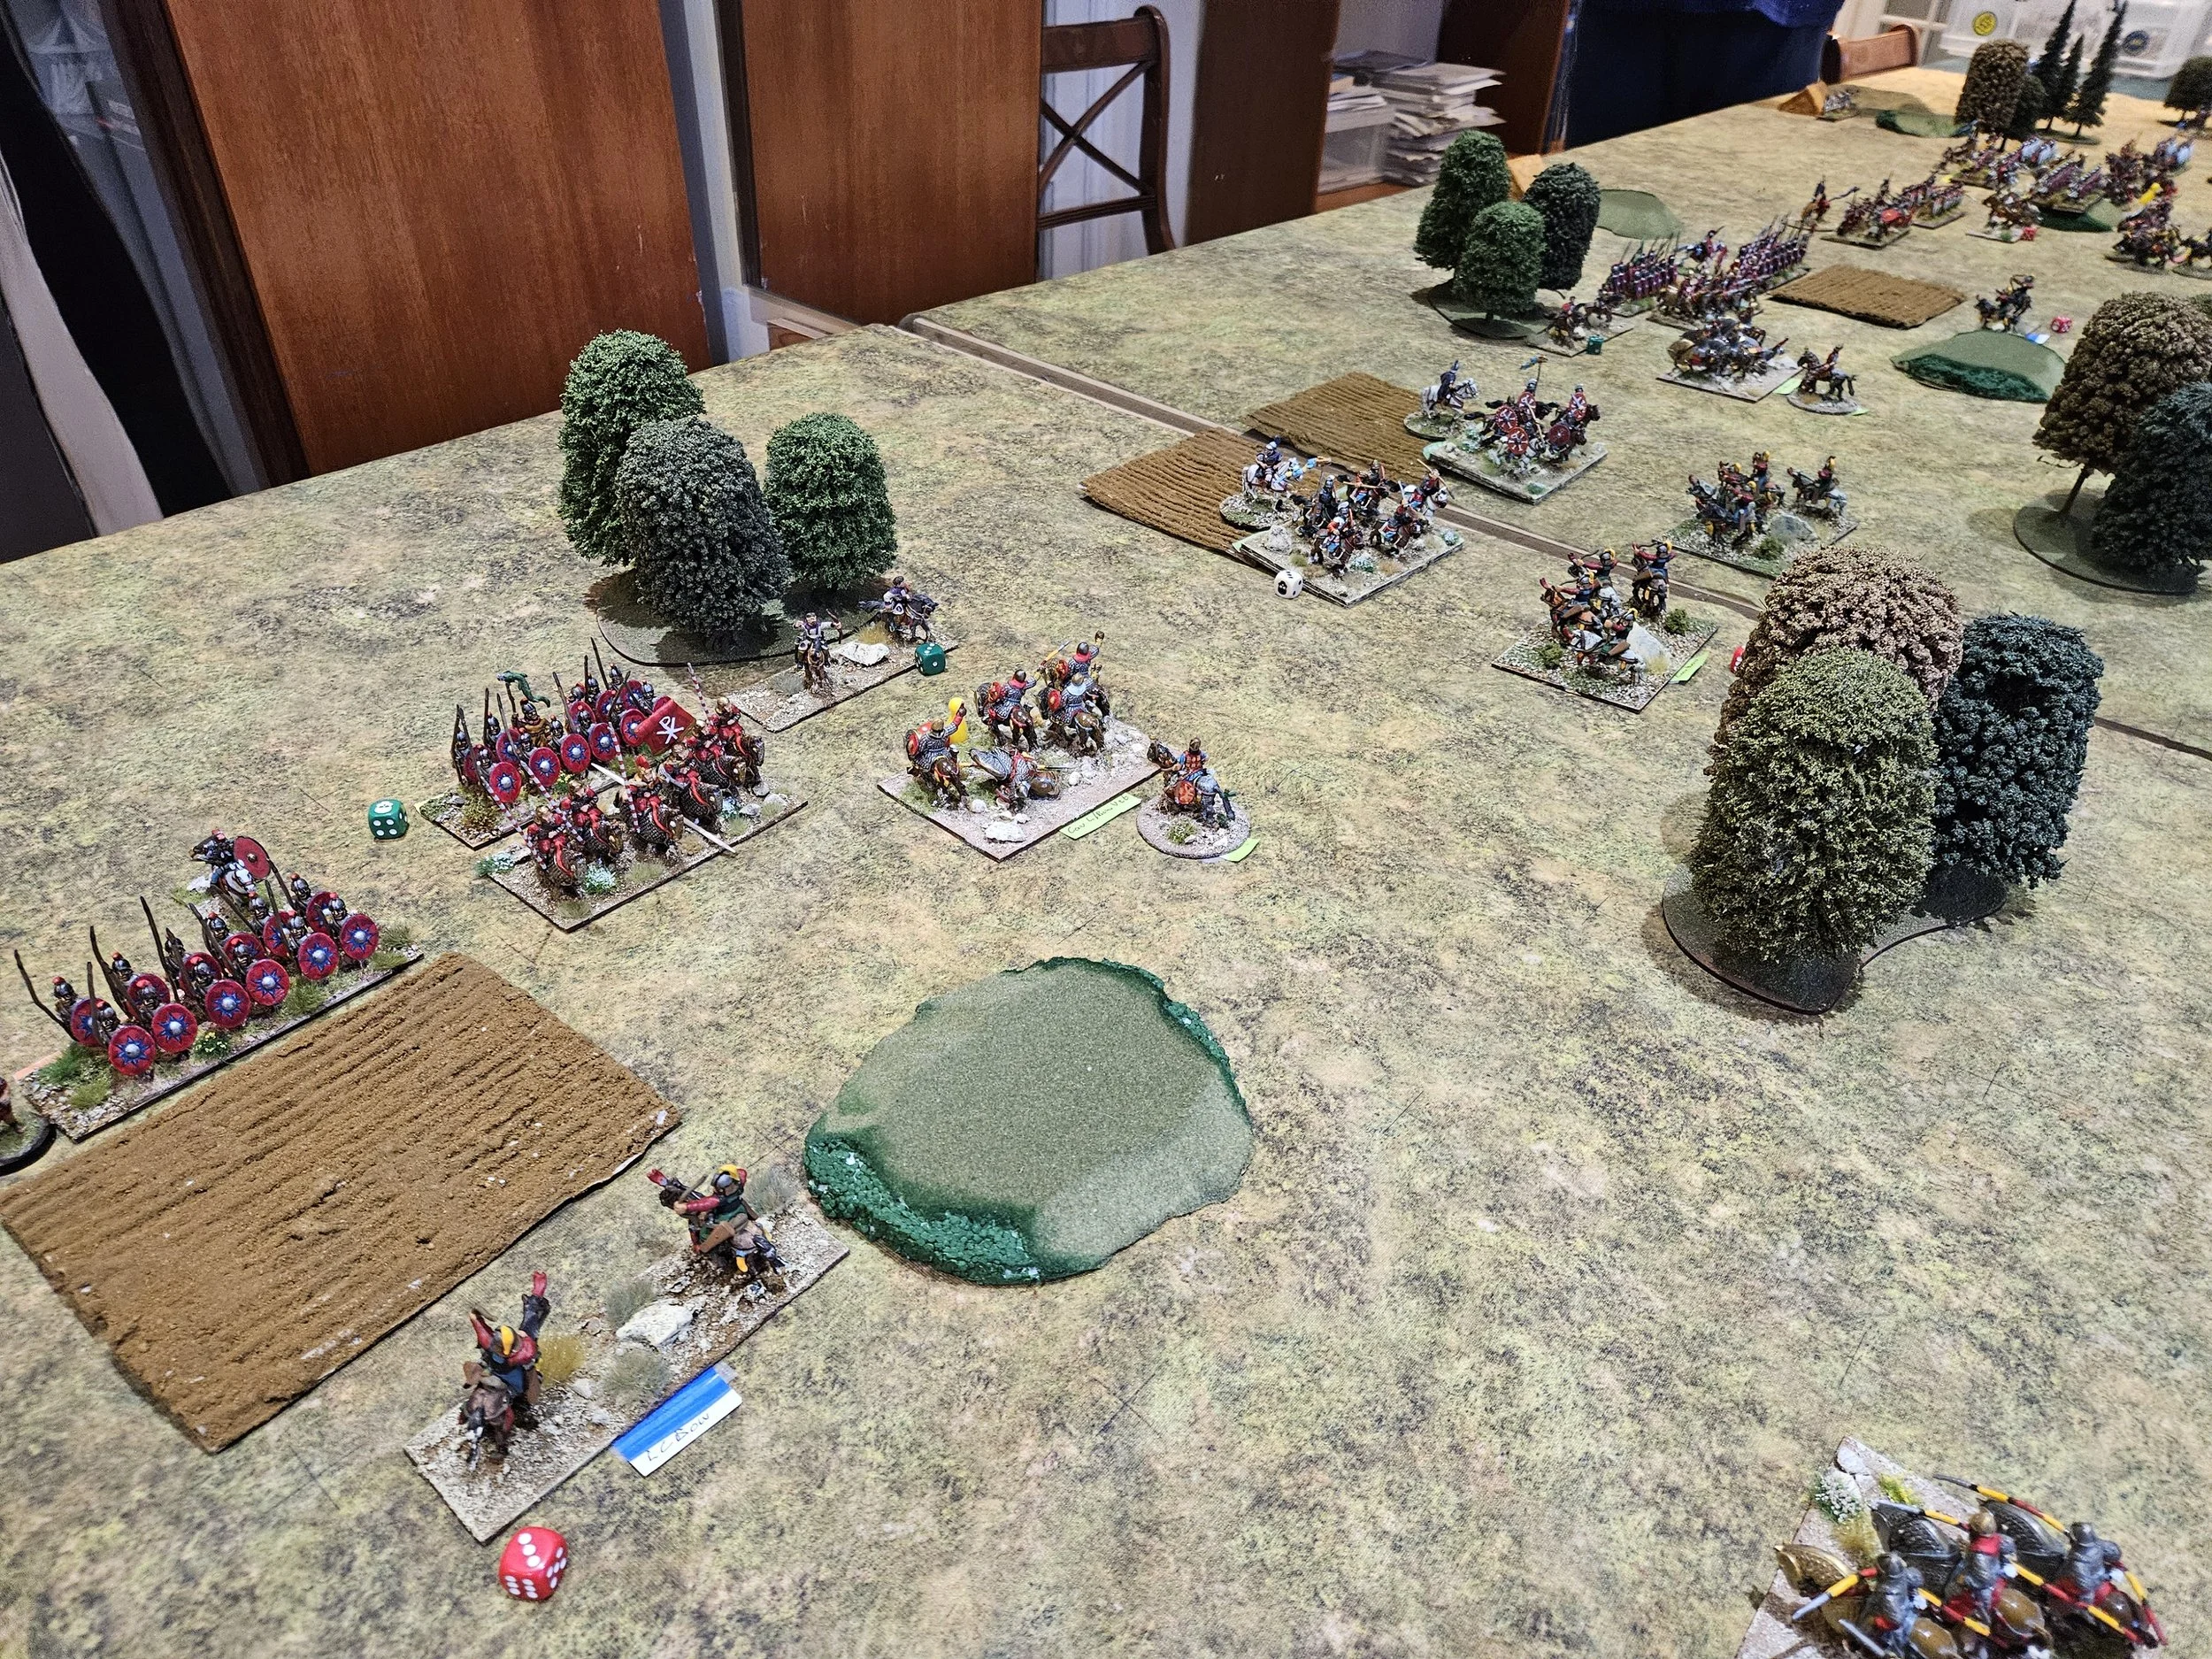
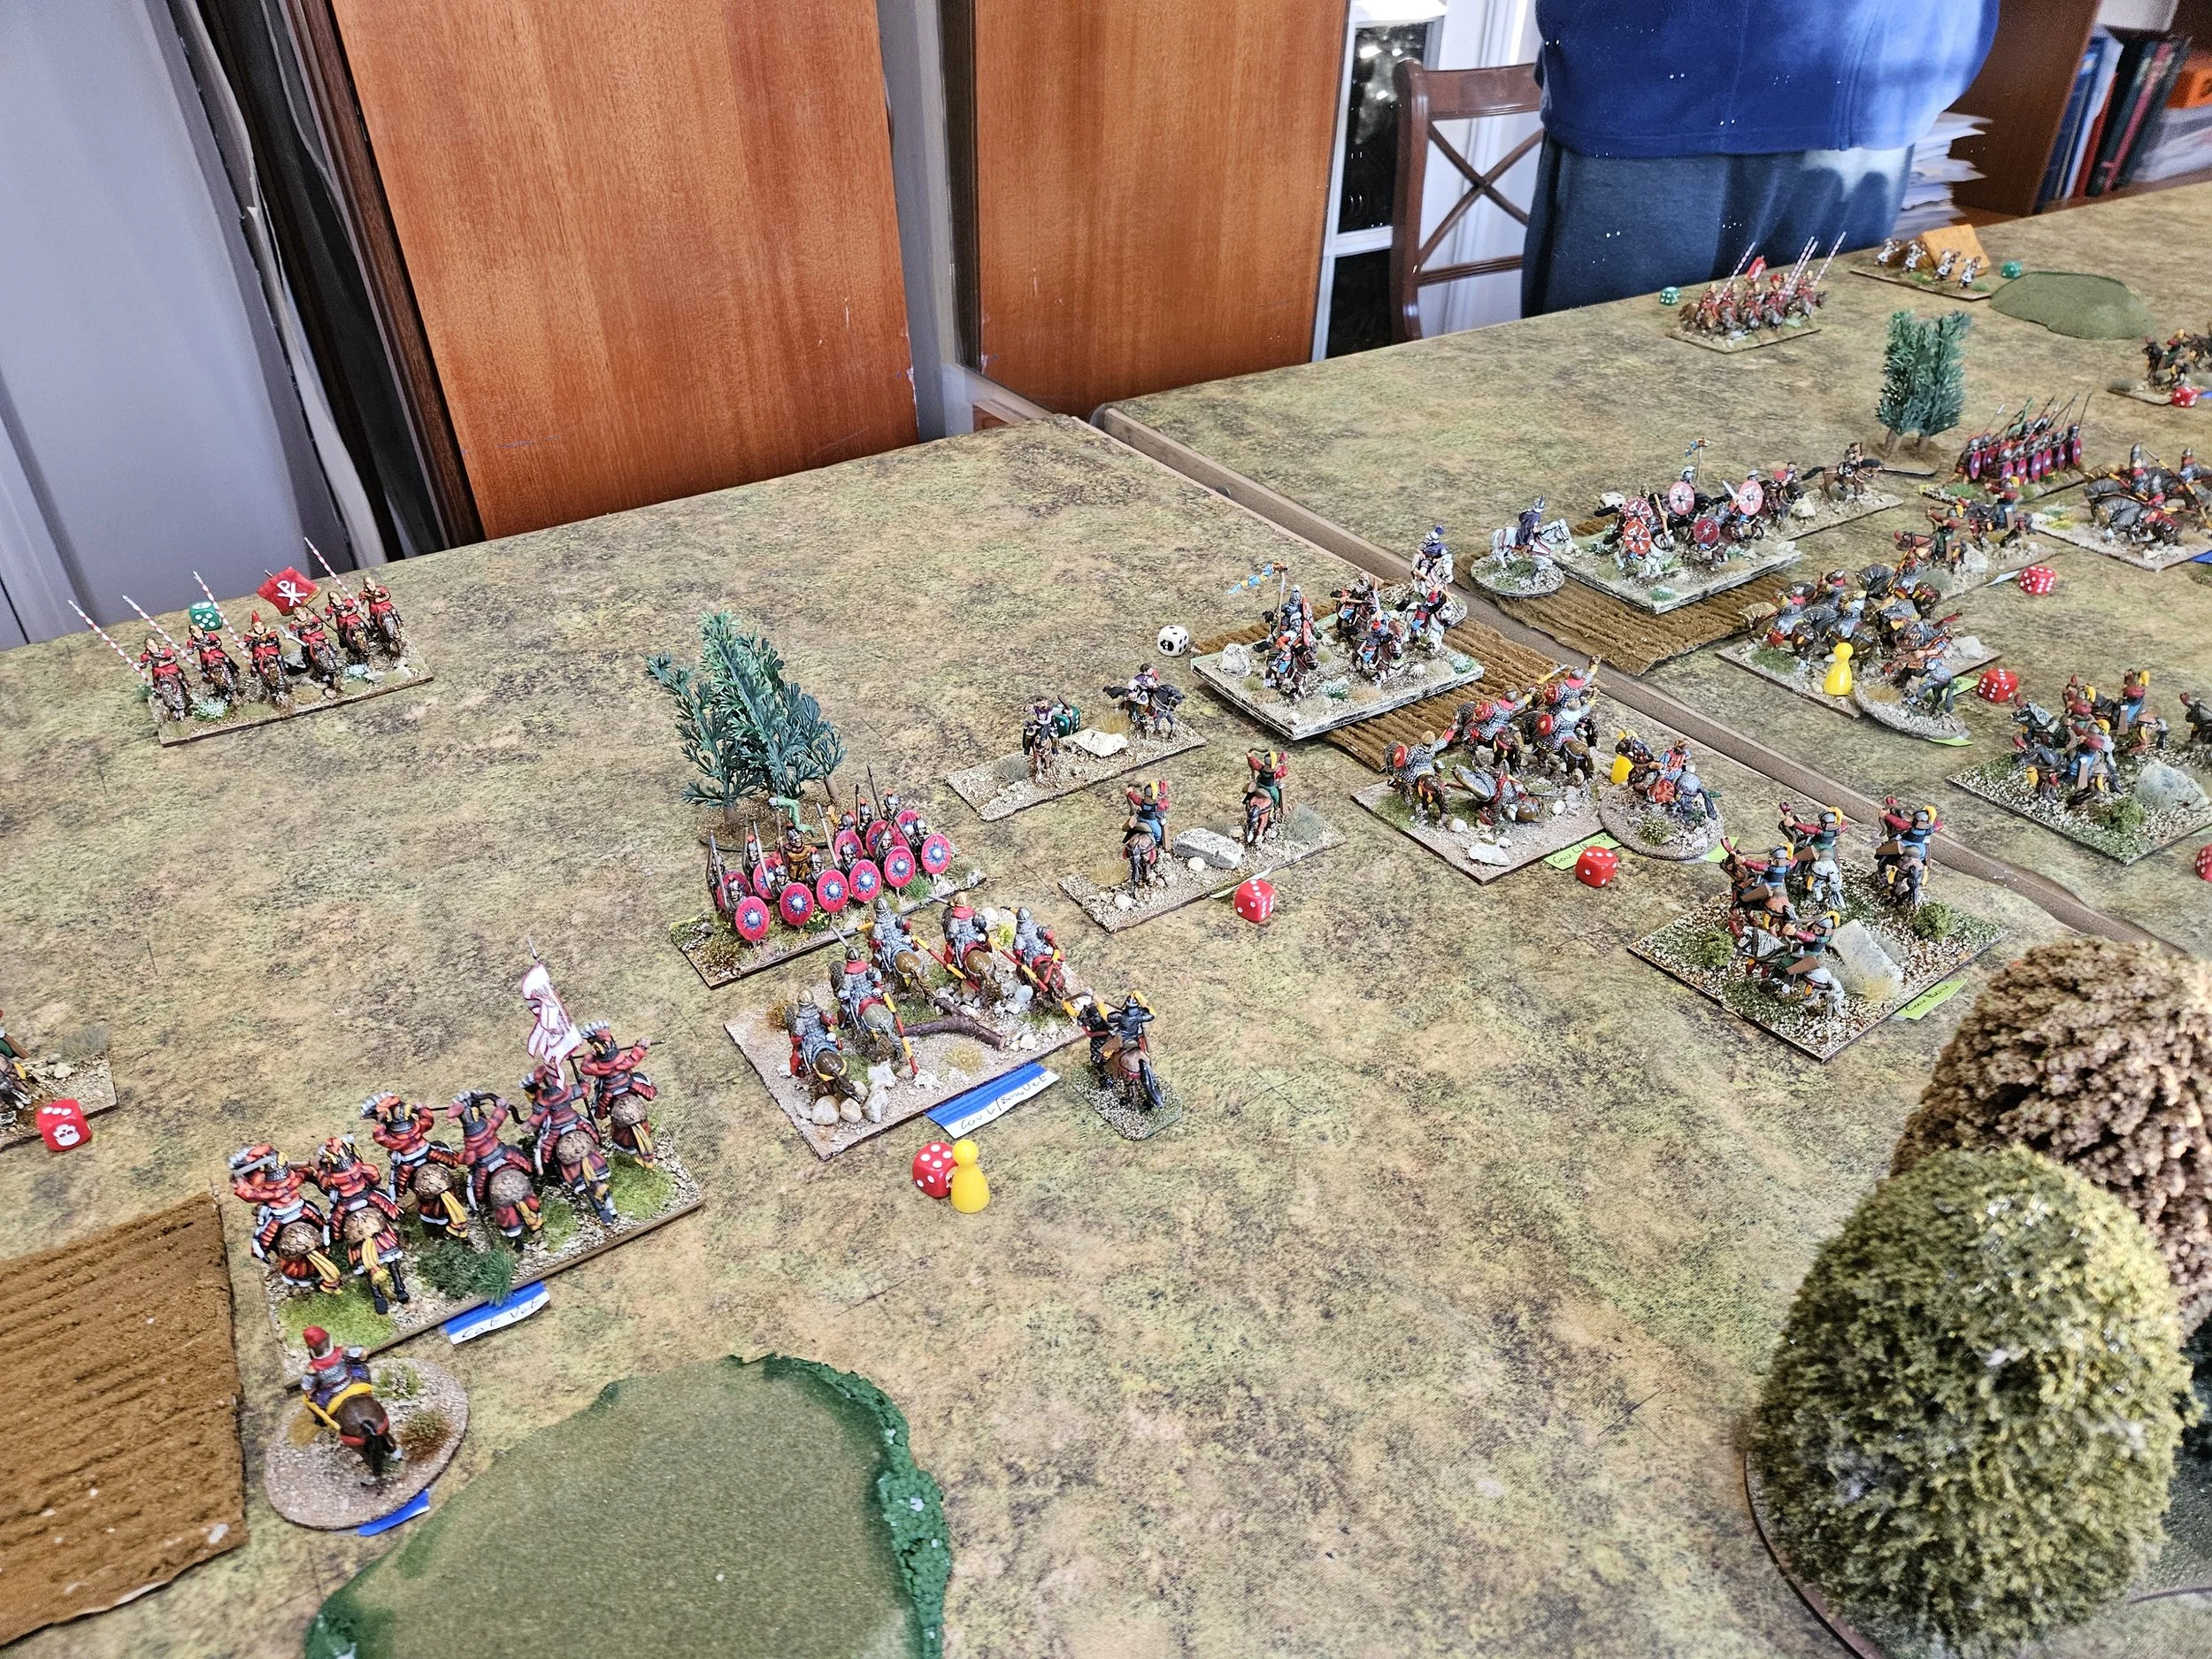
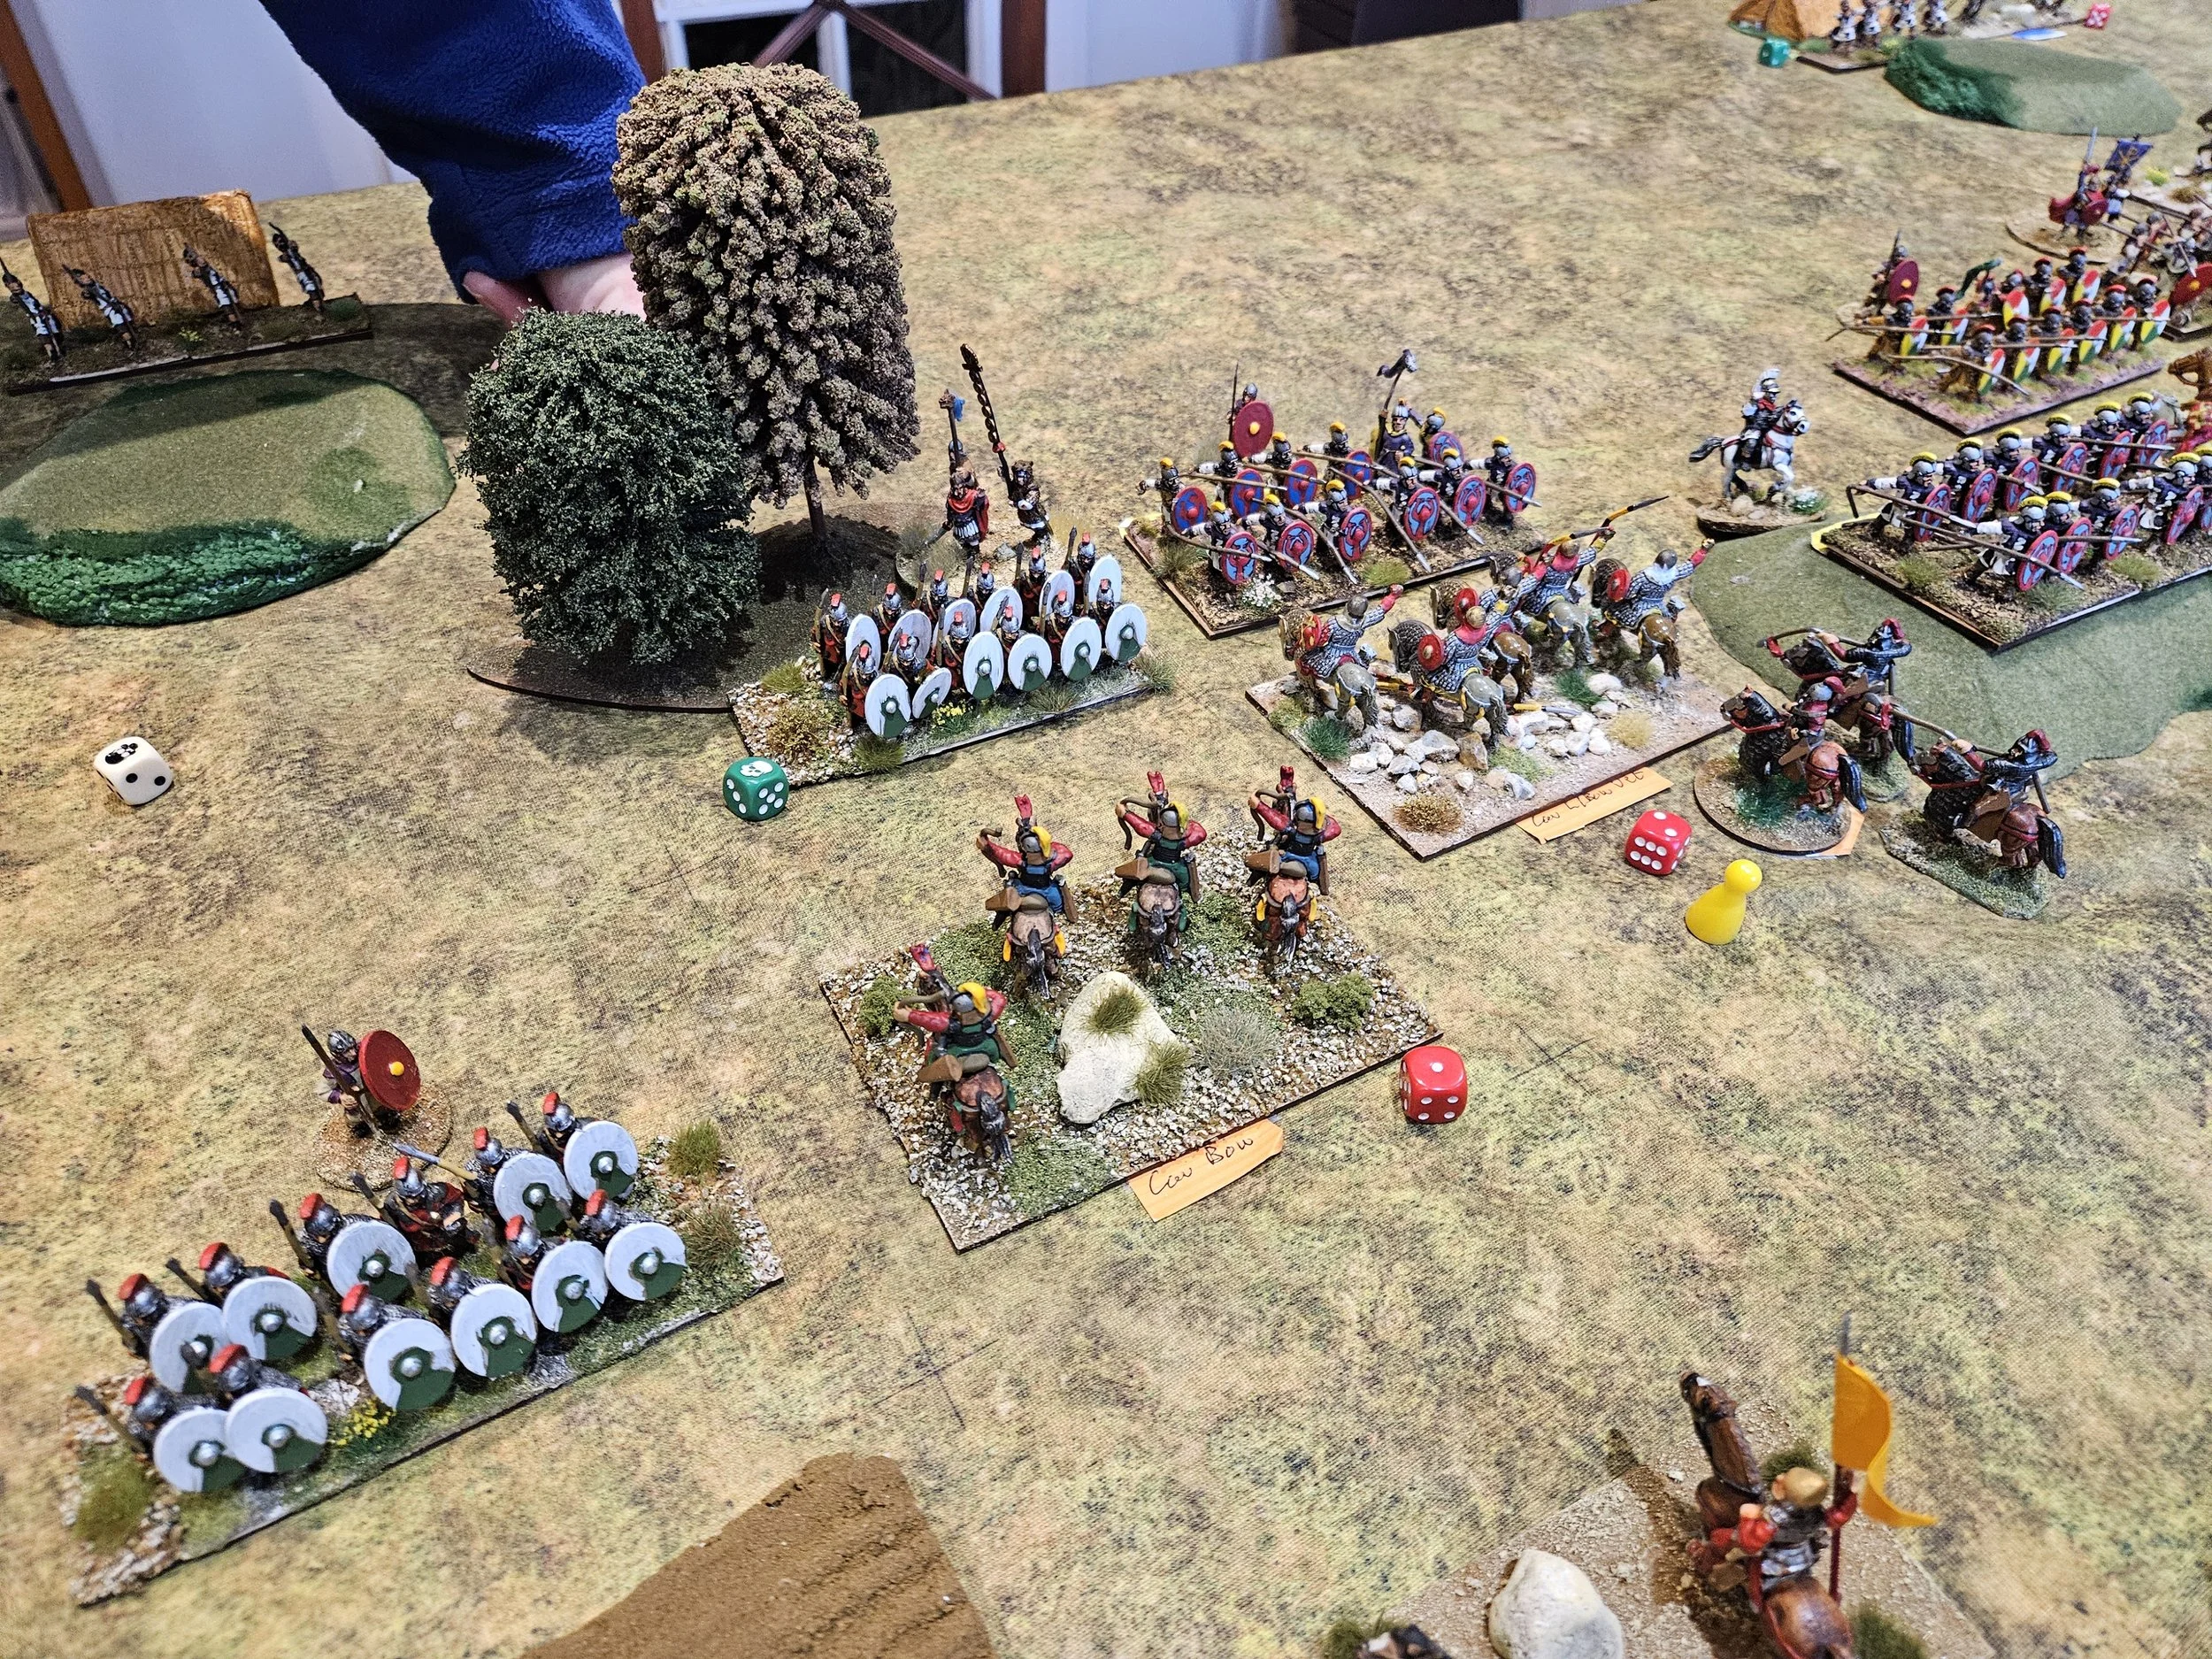
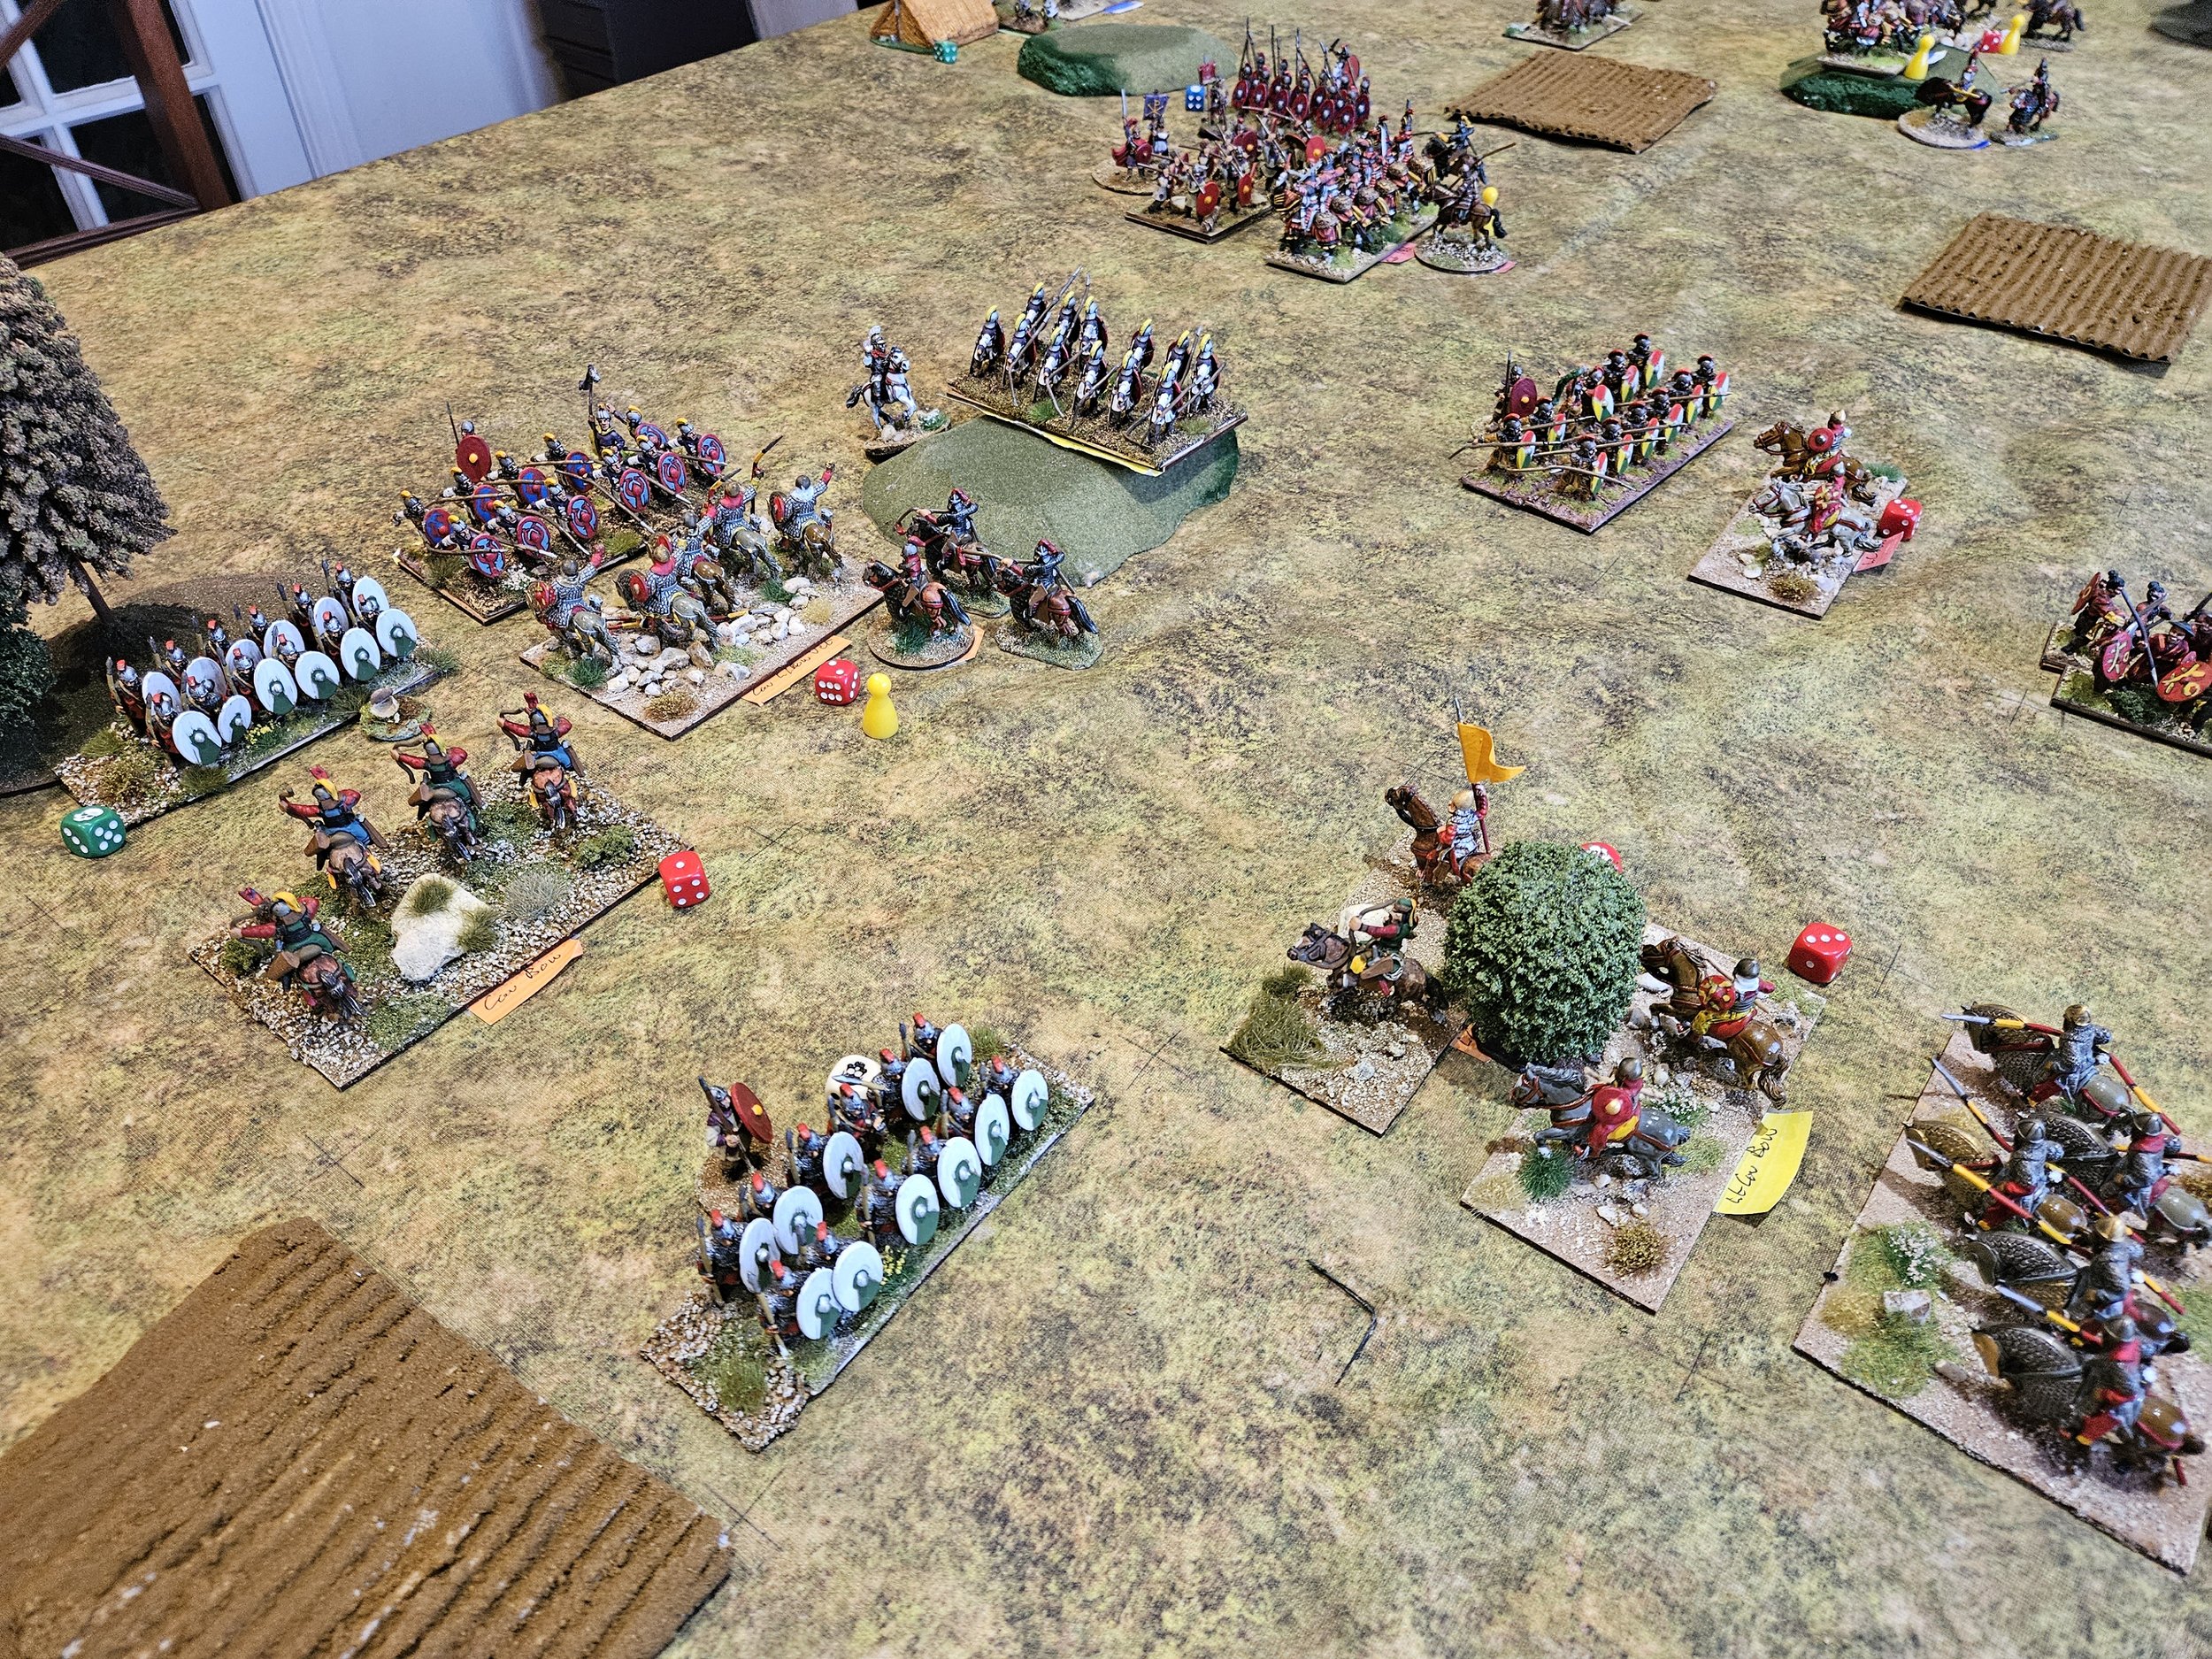
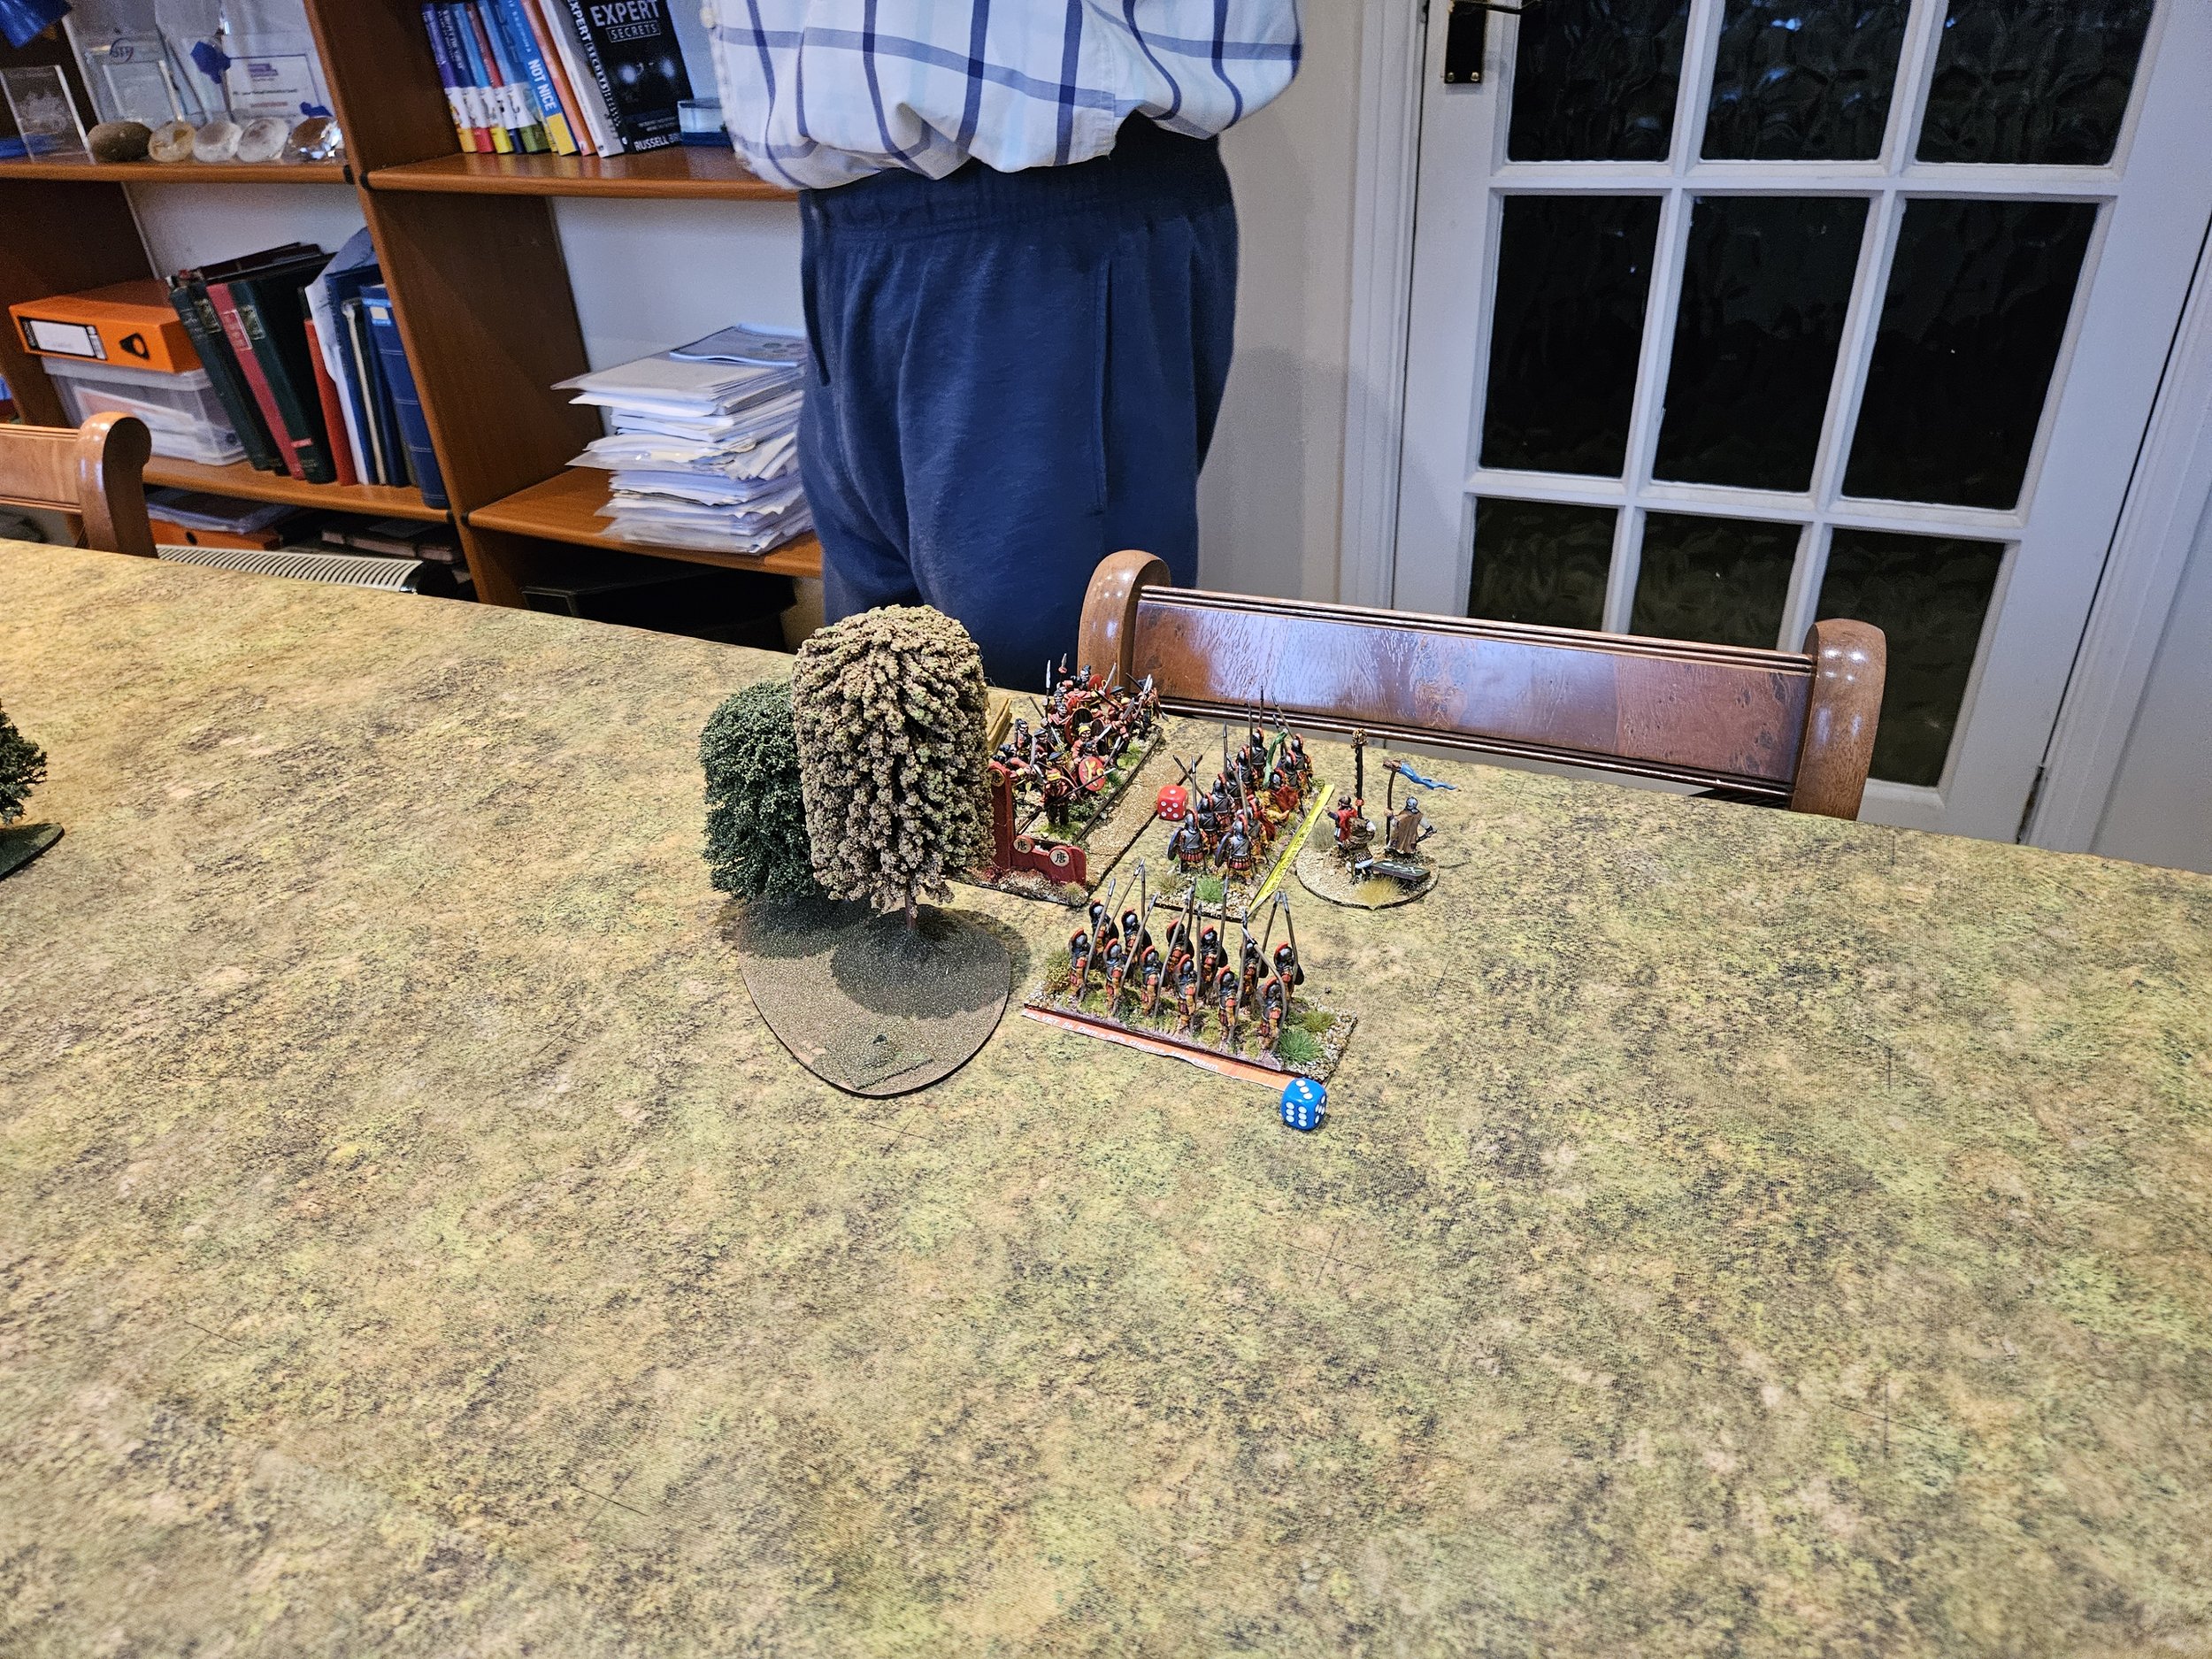
Keen to avoid the consequences of my cunning plan, the Romans pulled back on the right. In the centre, a hail of arrows hit their steadily advancing infantry, with light cavalry harassing their flanks.
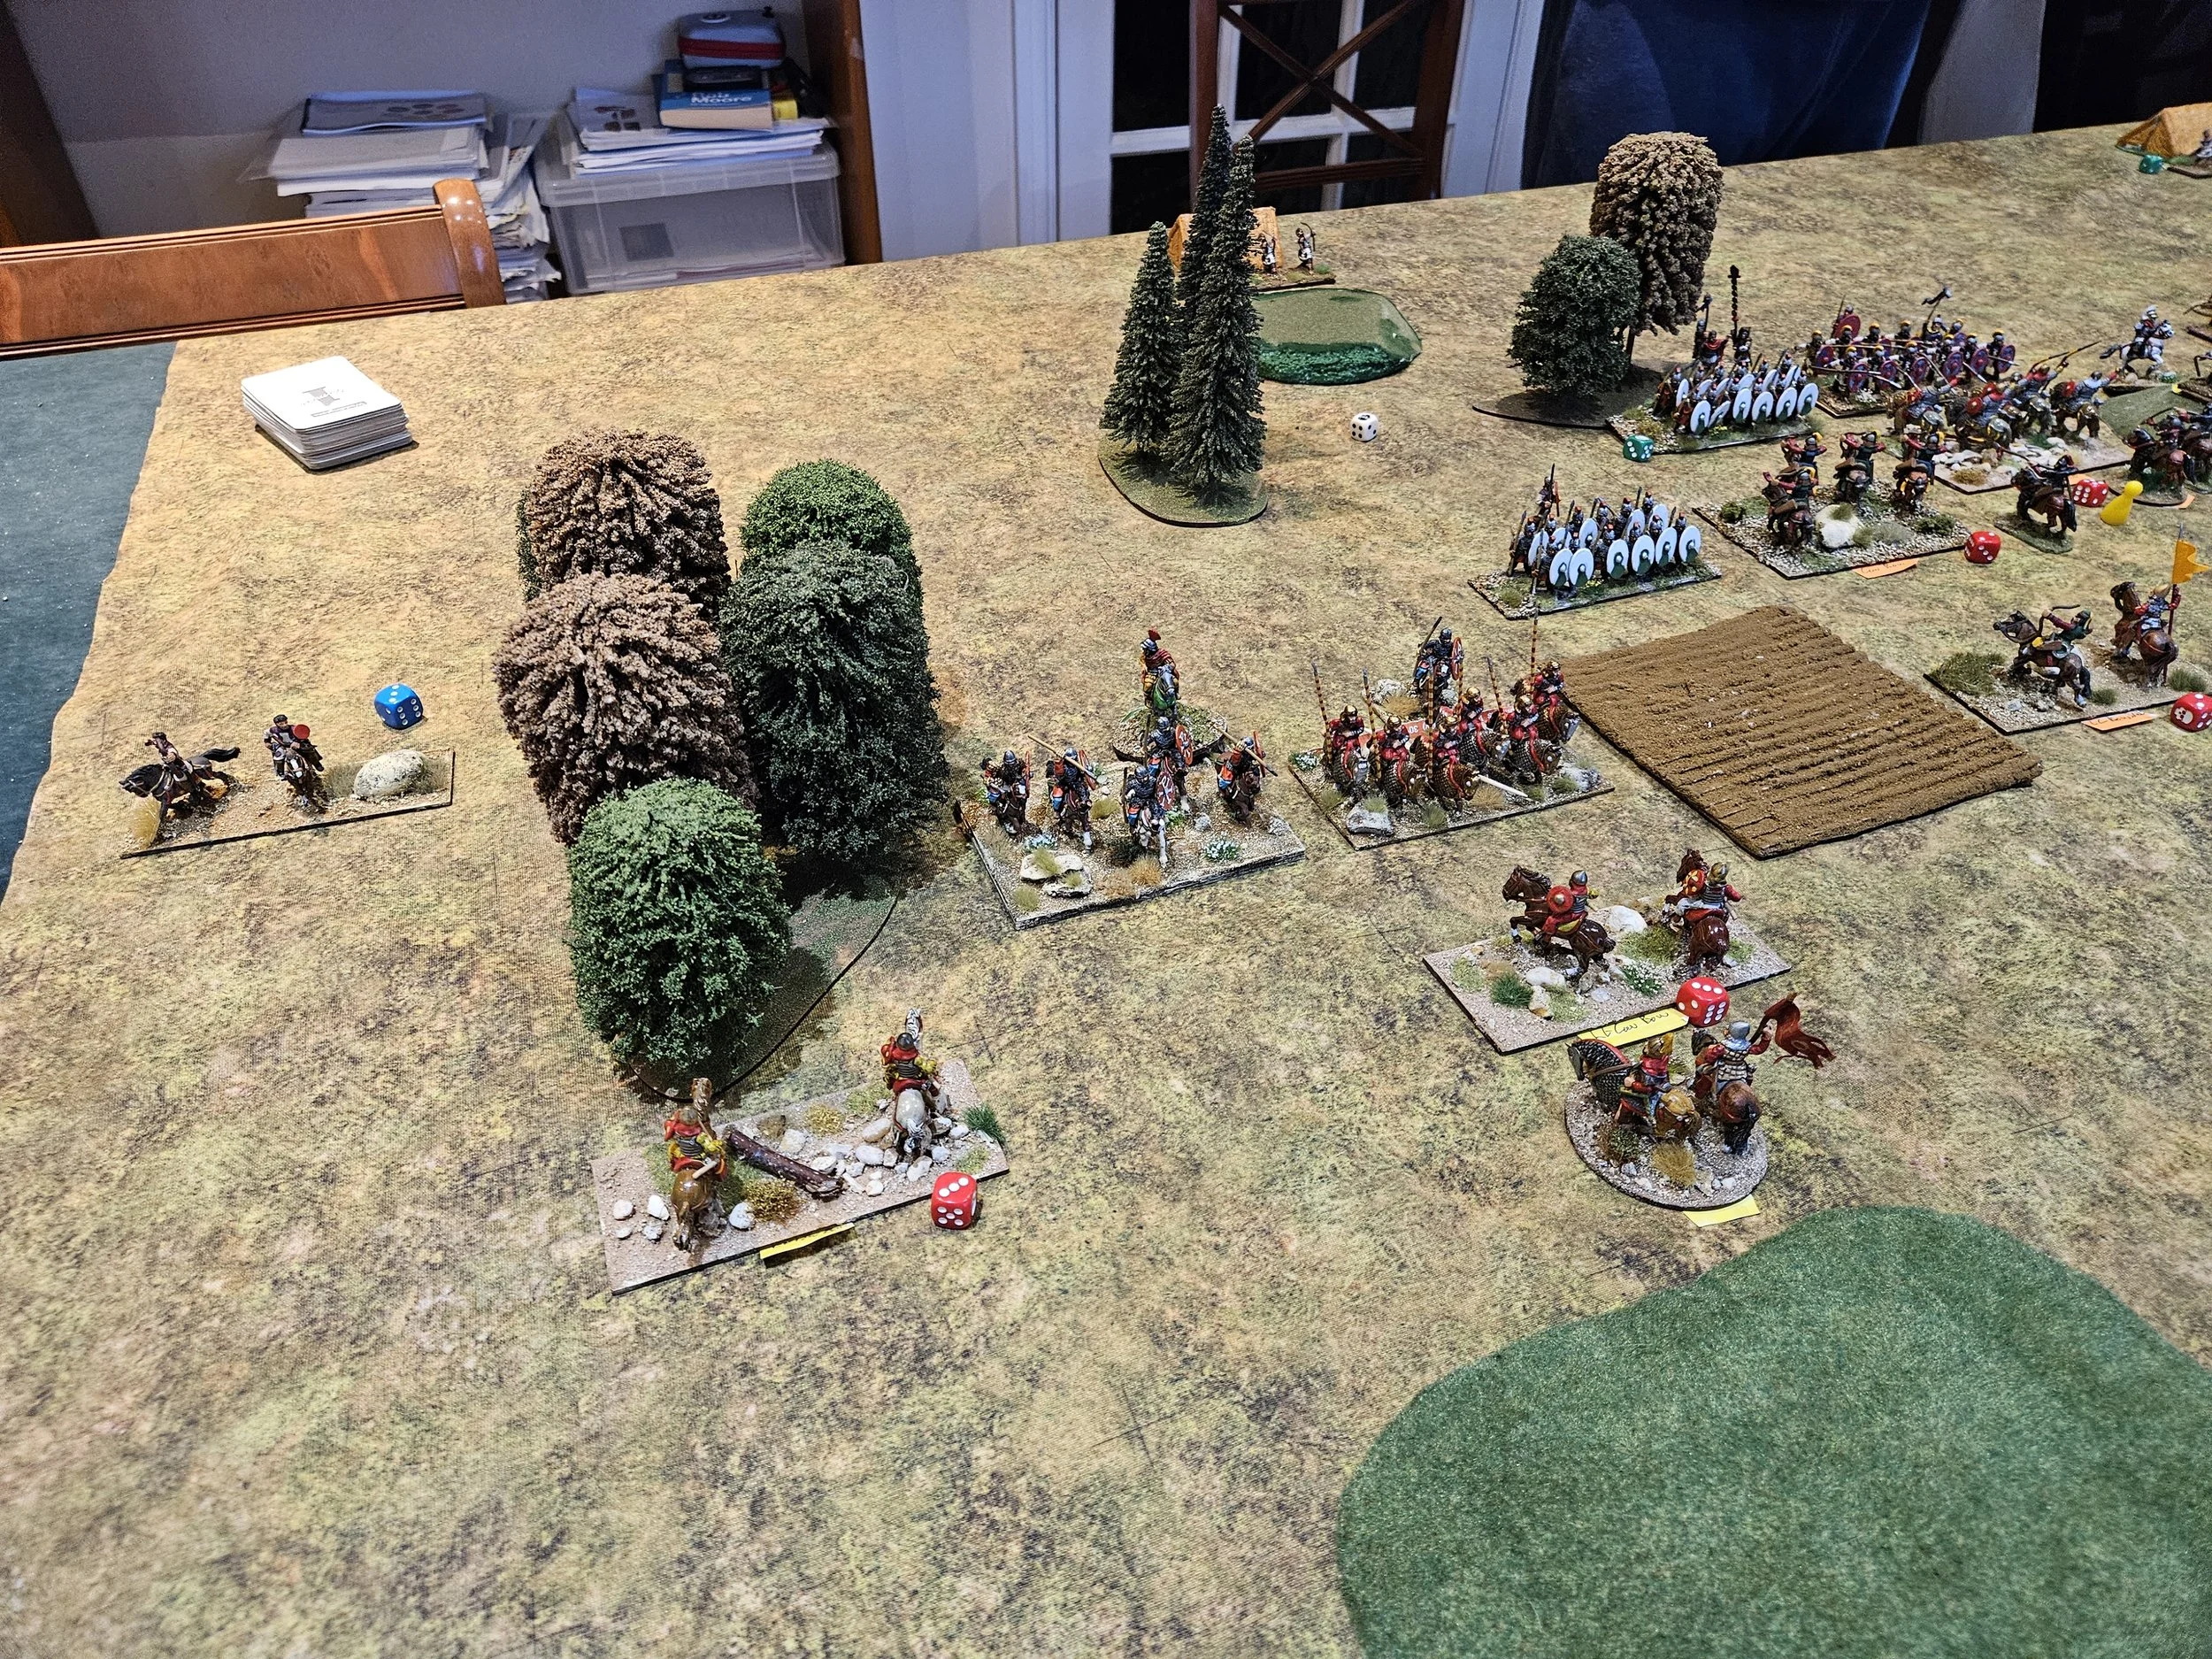
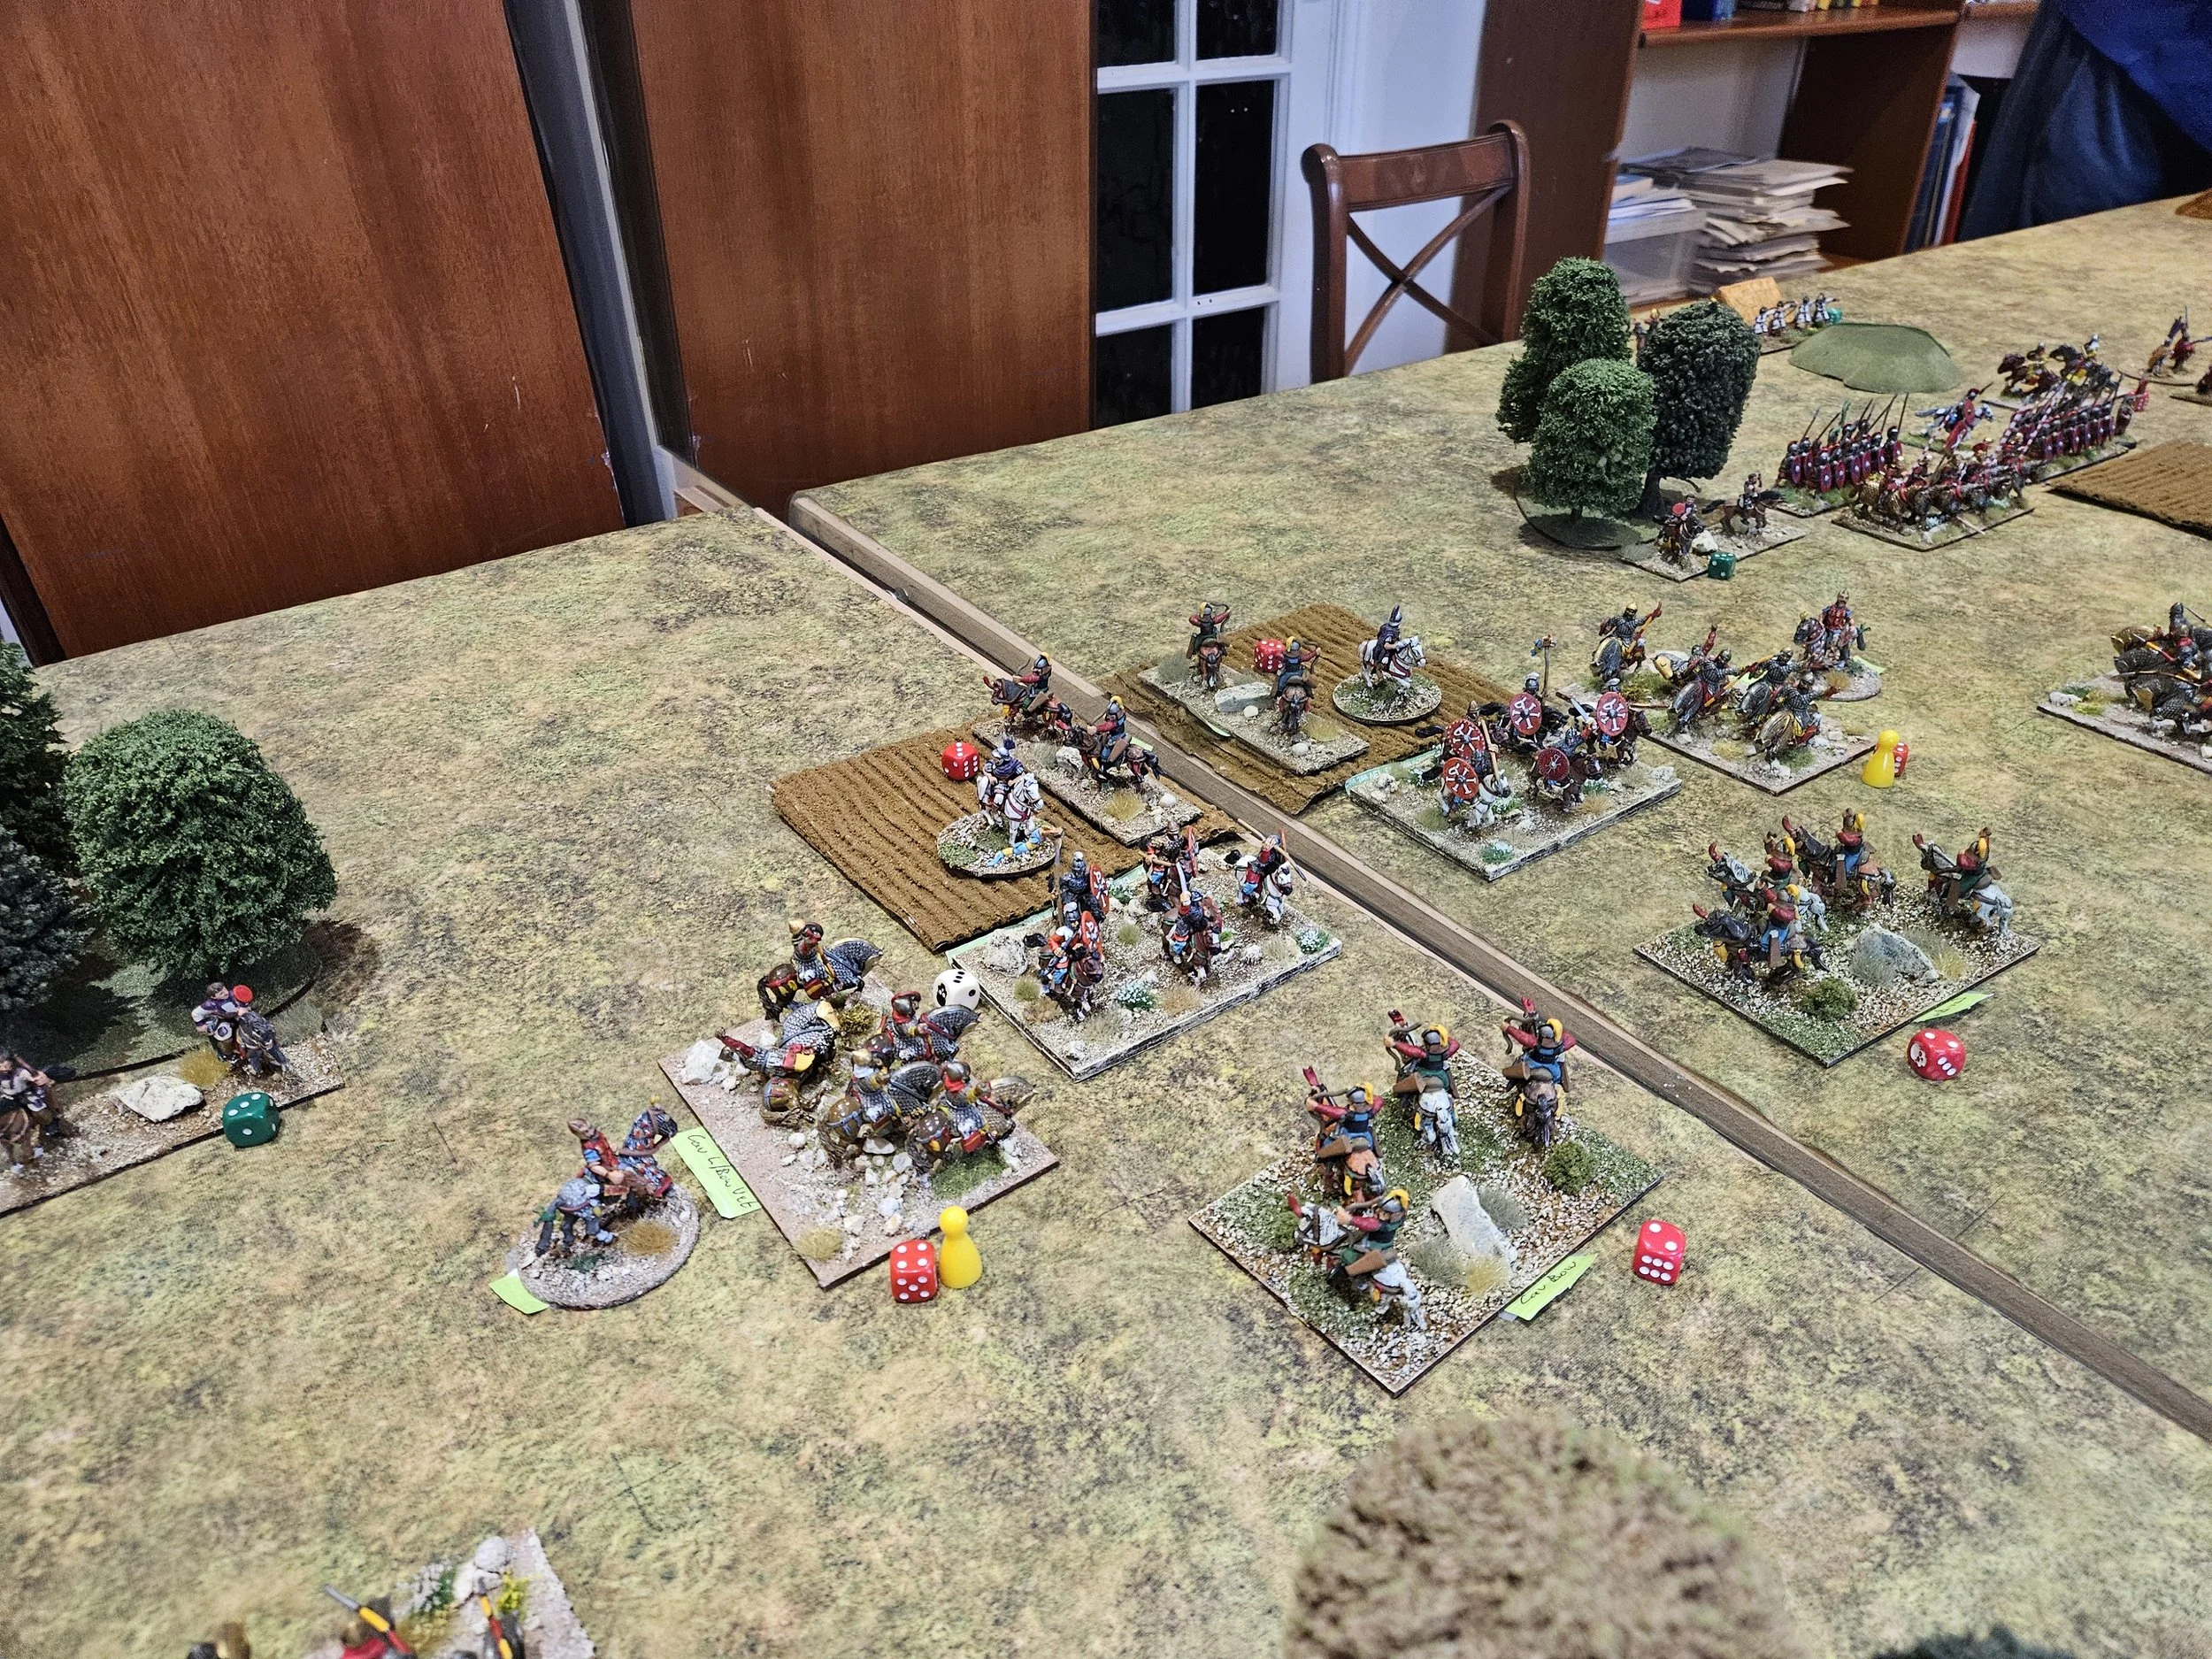
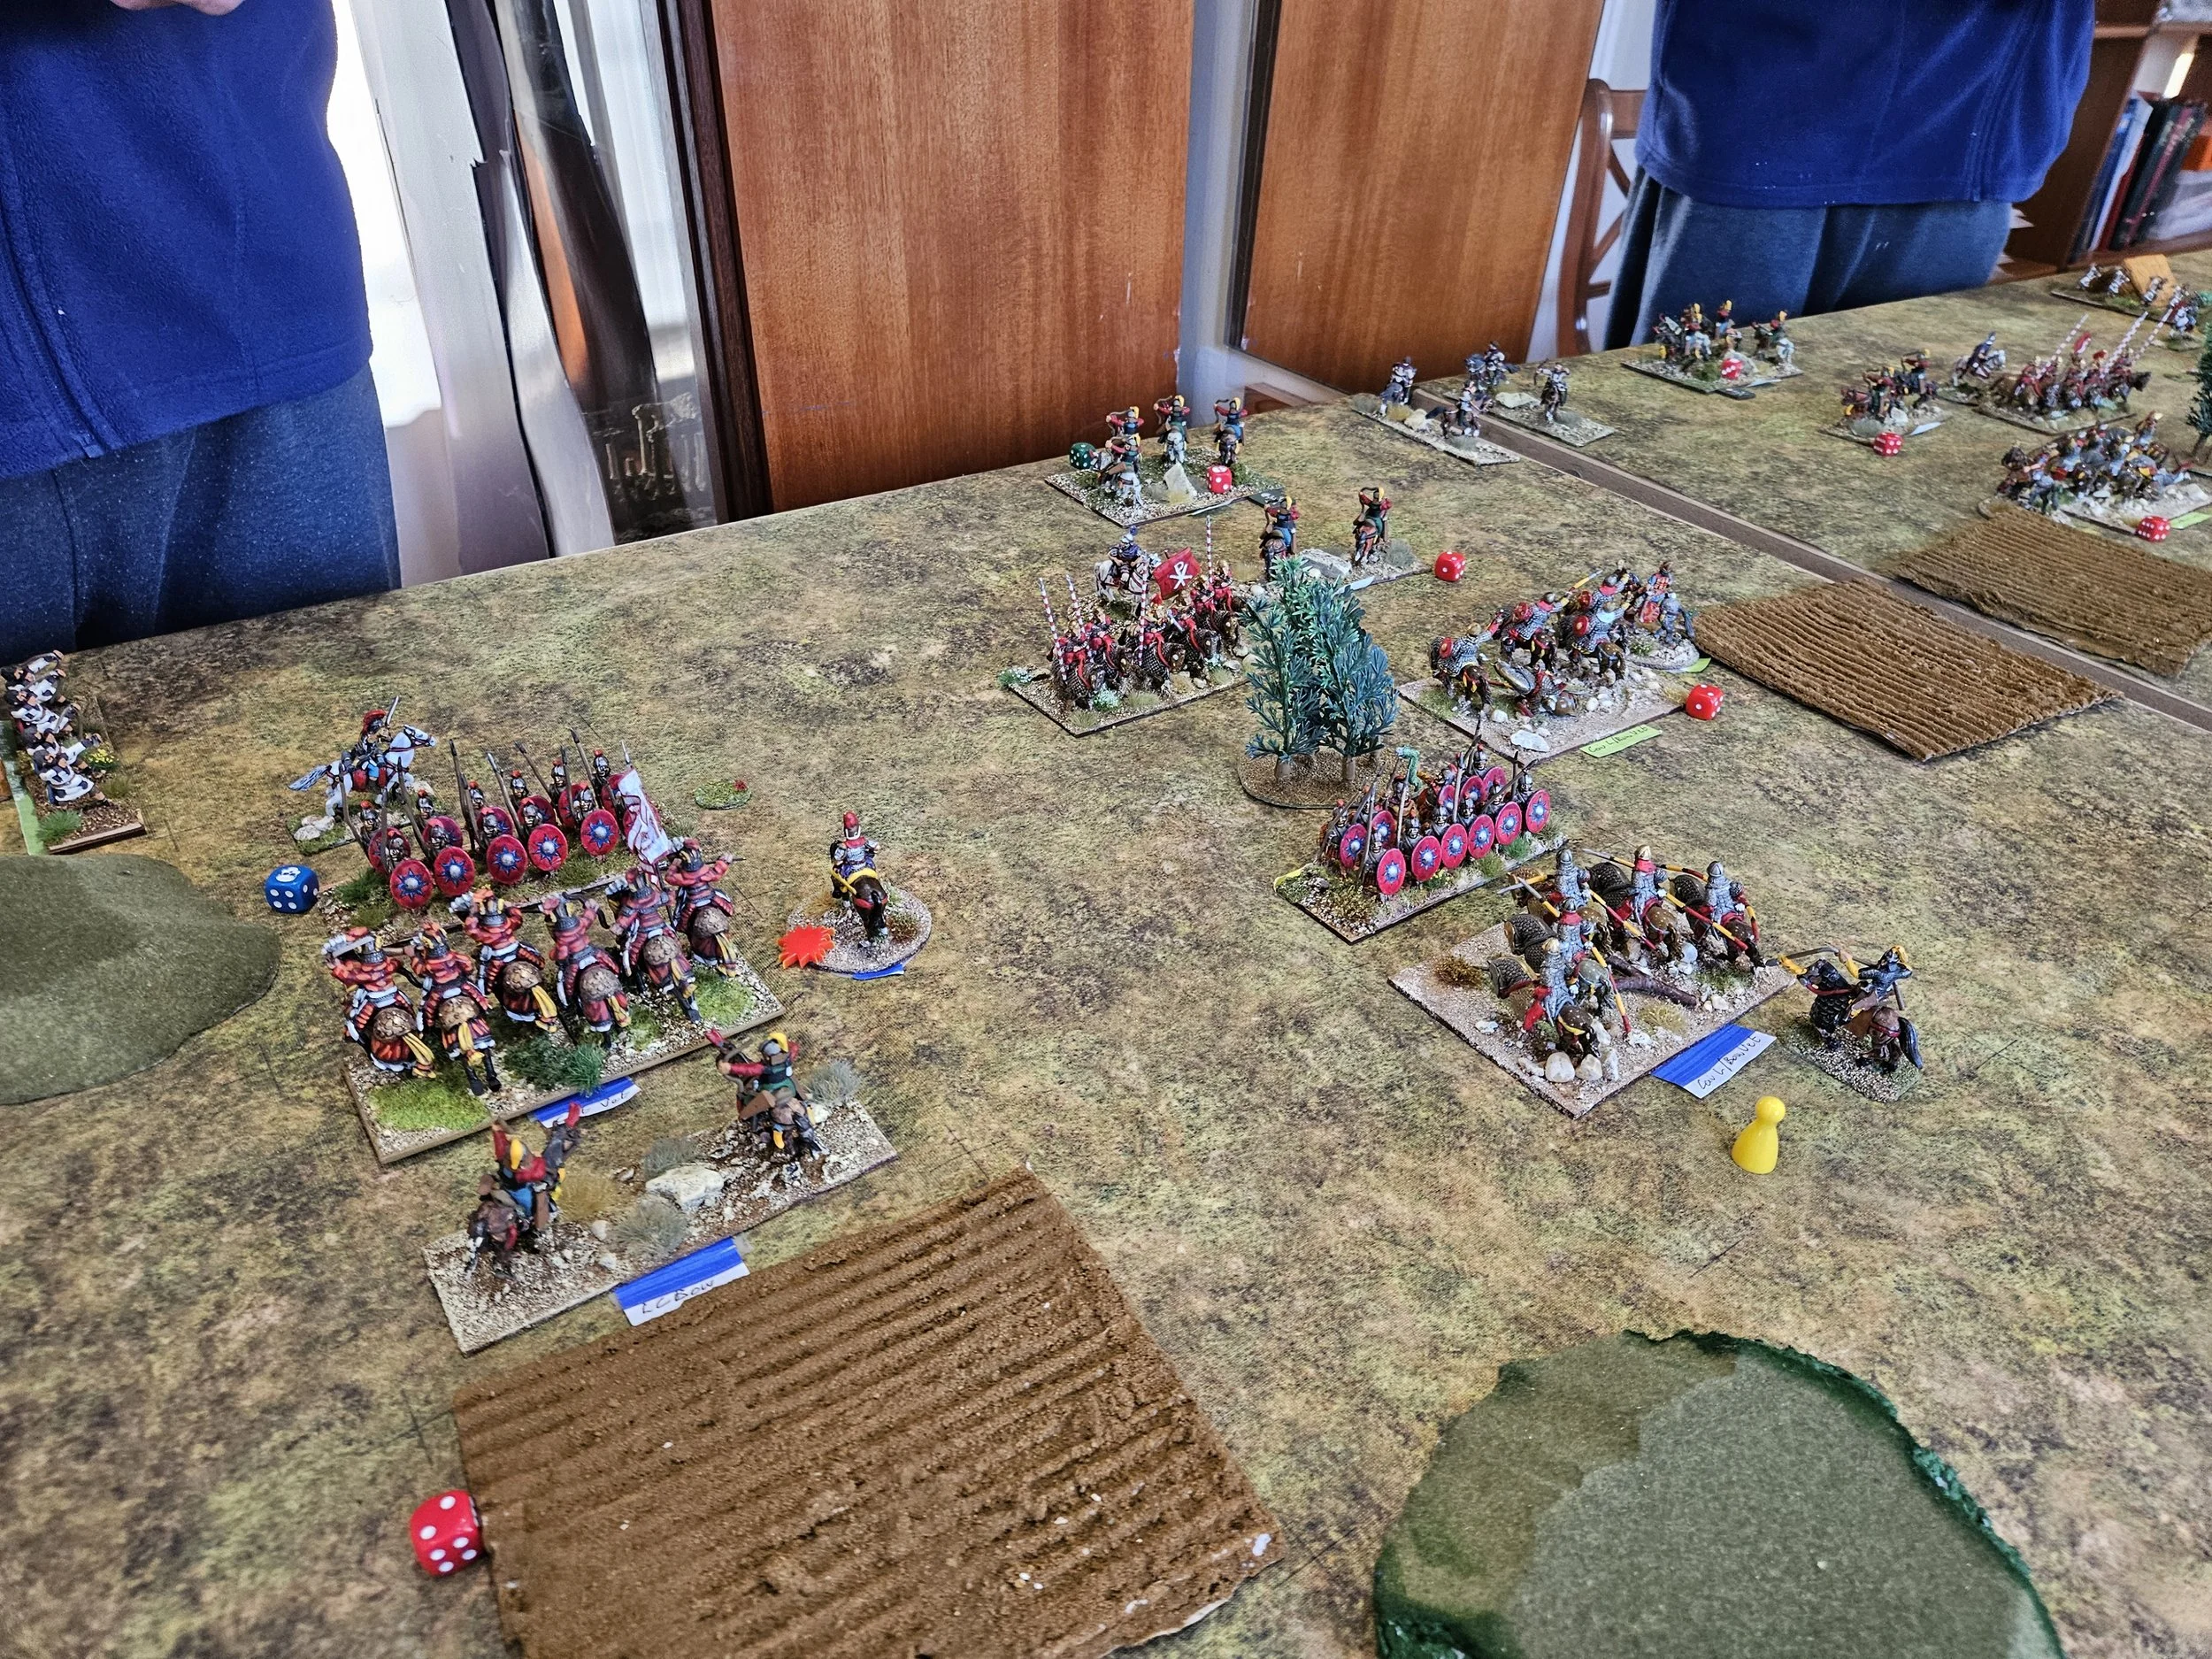
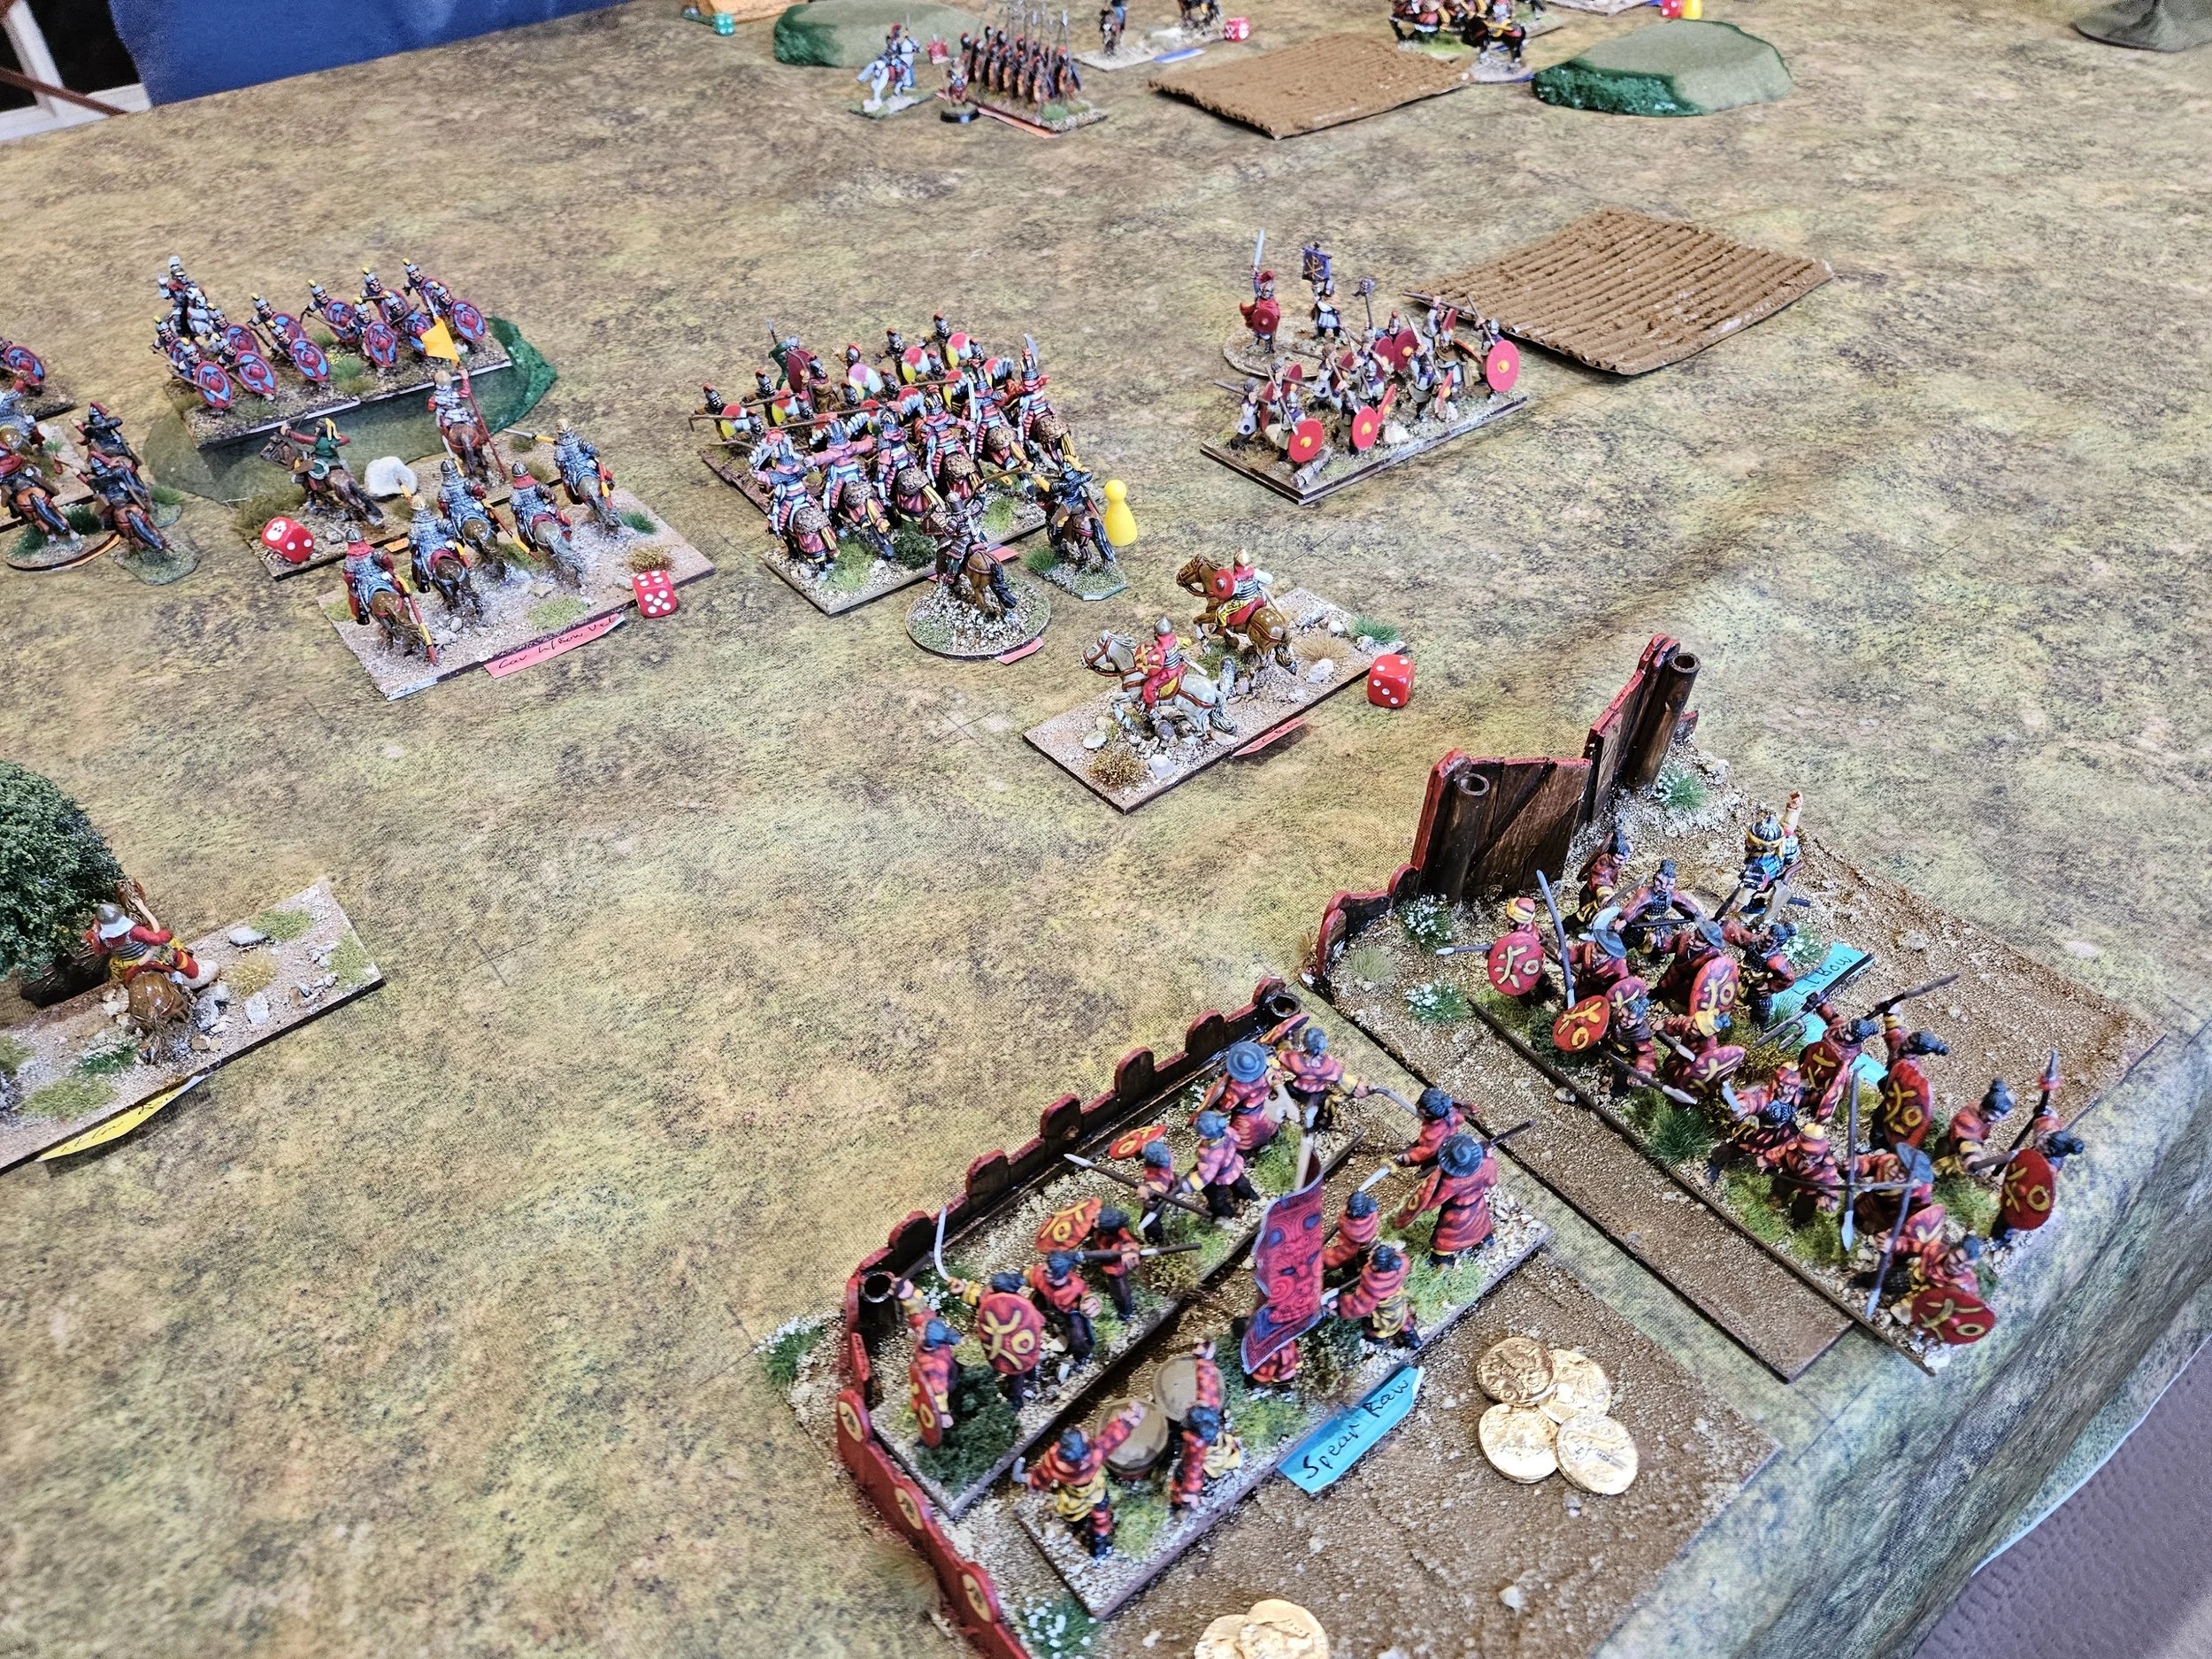
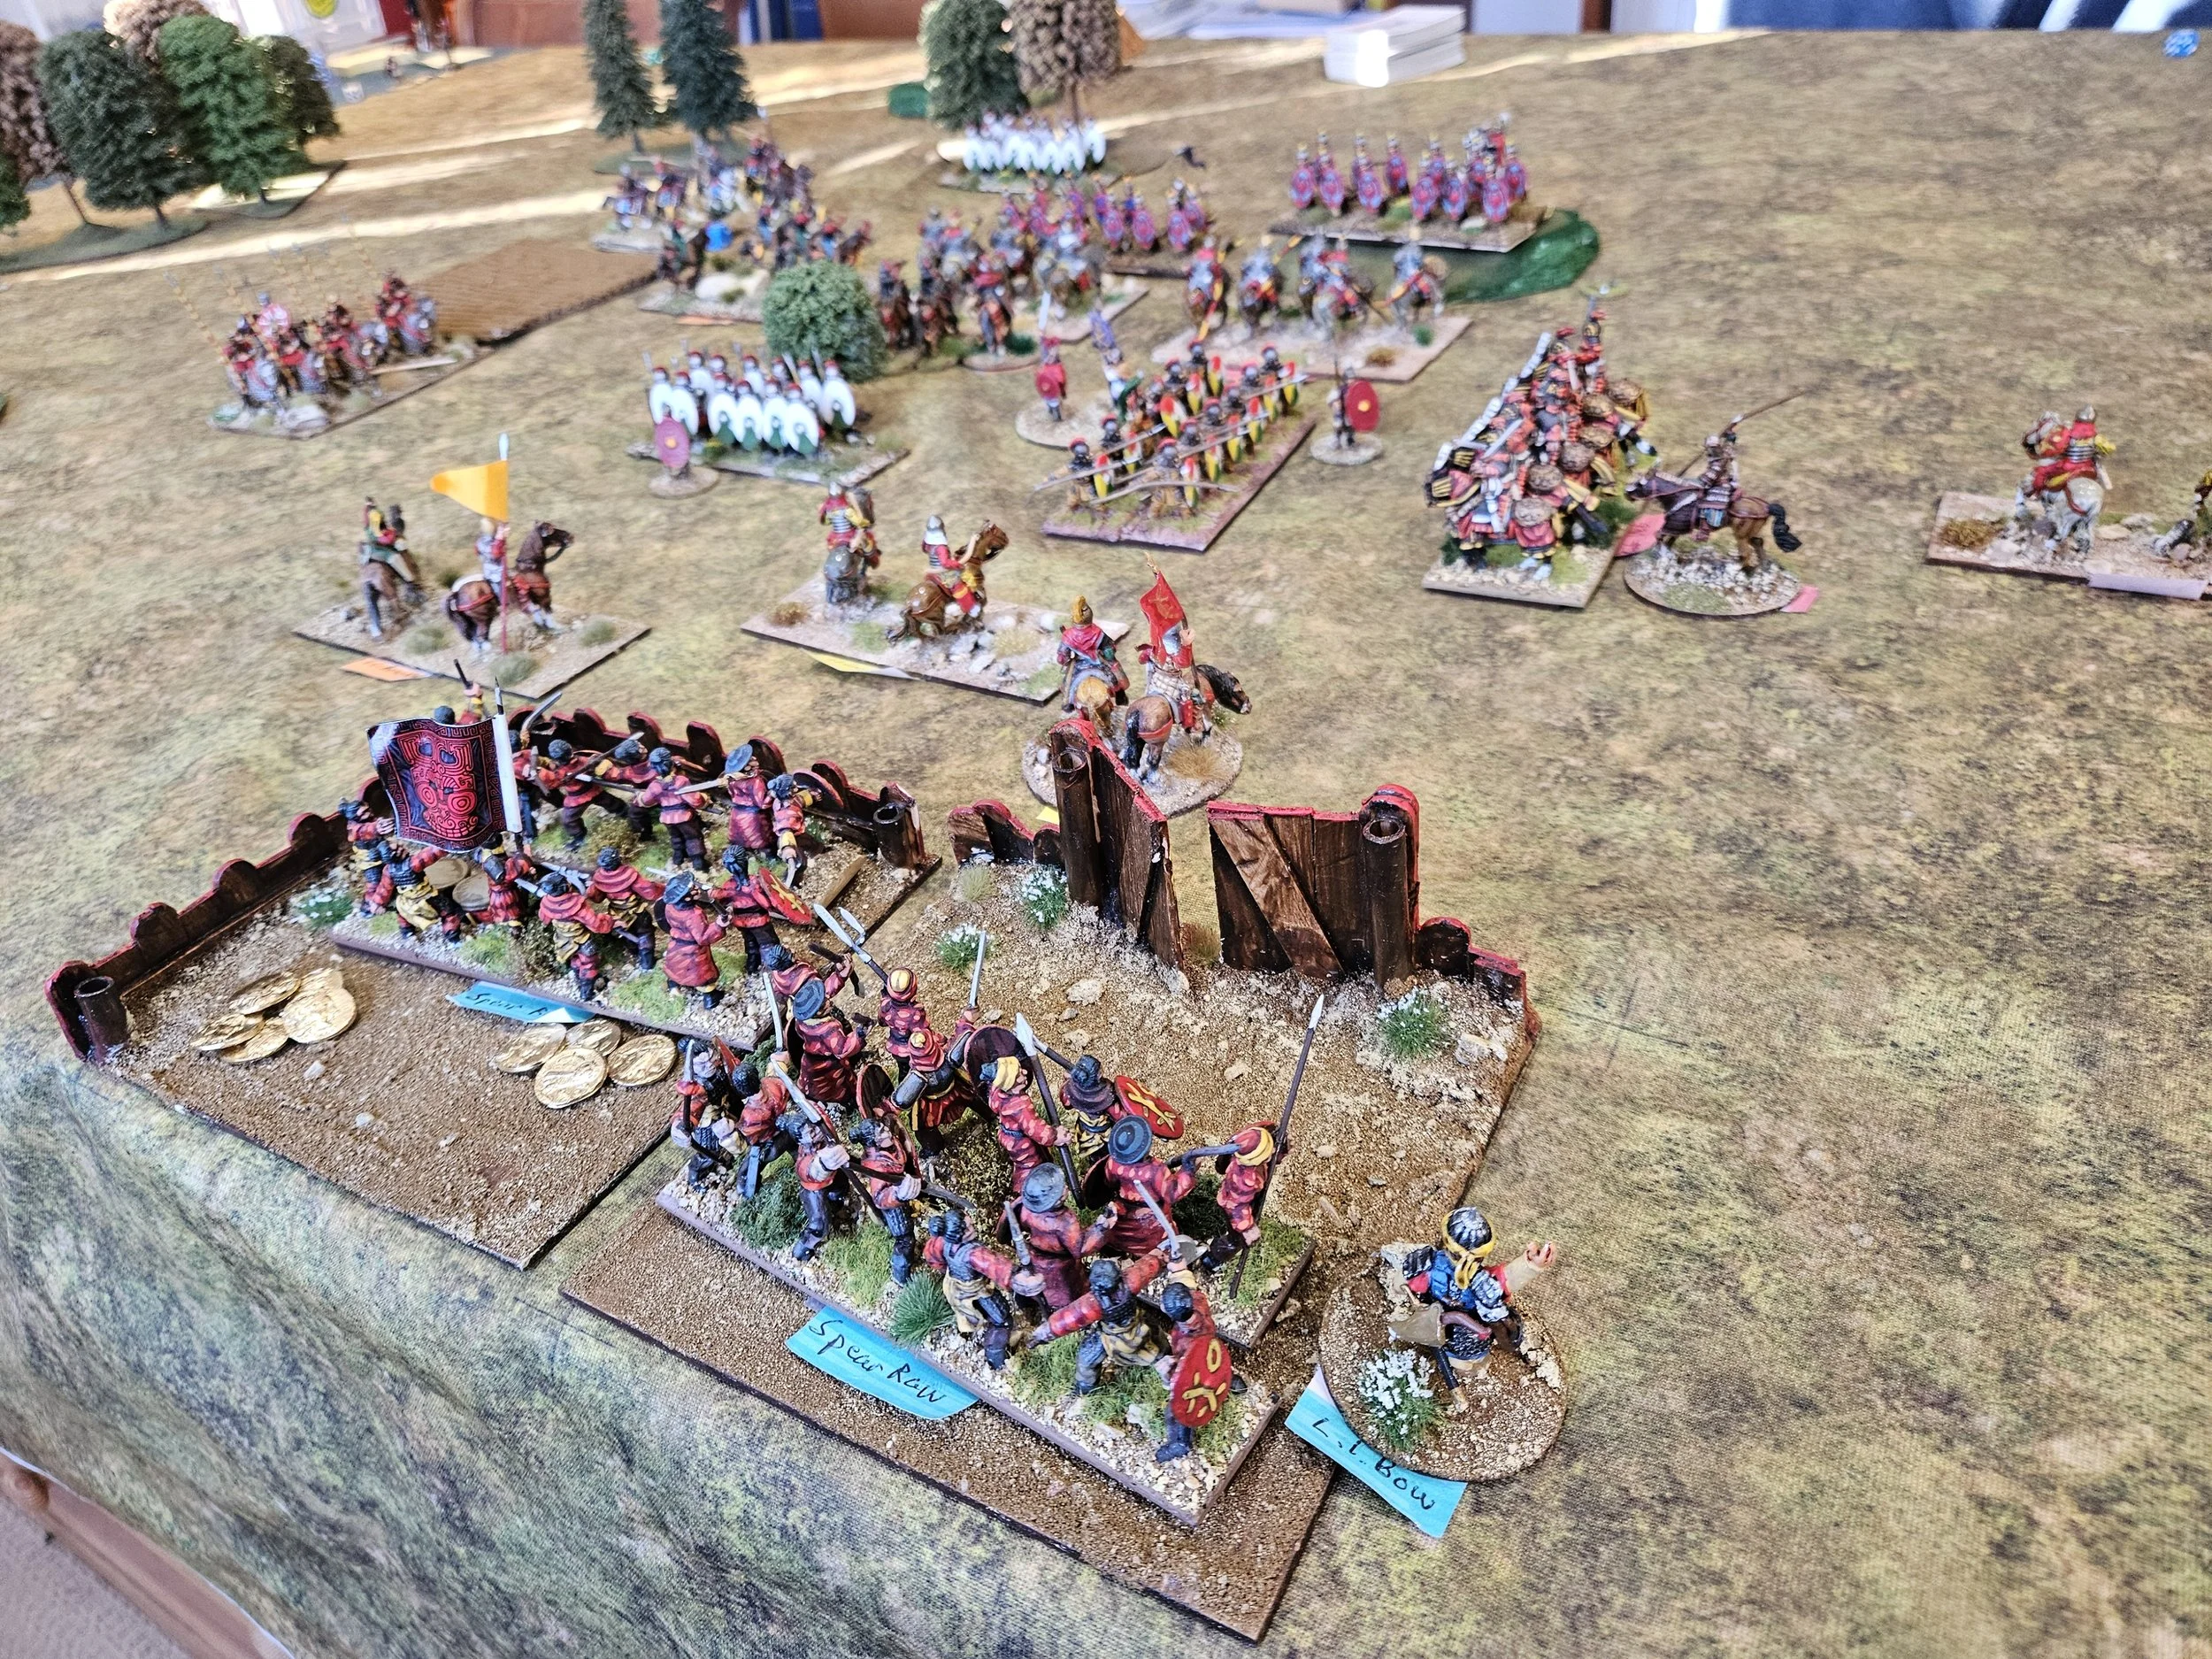
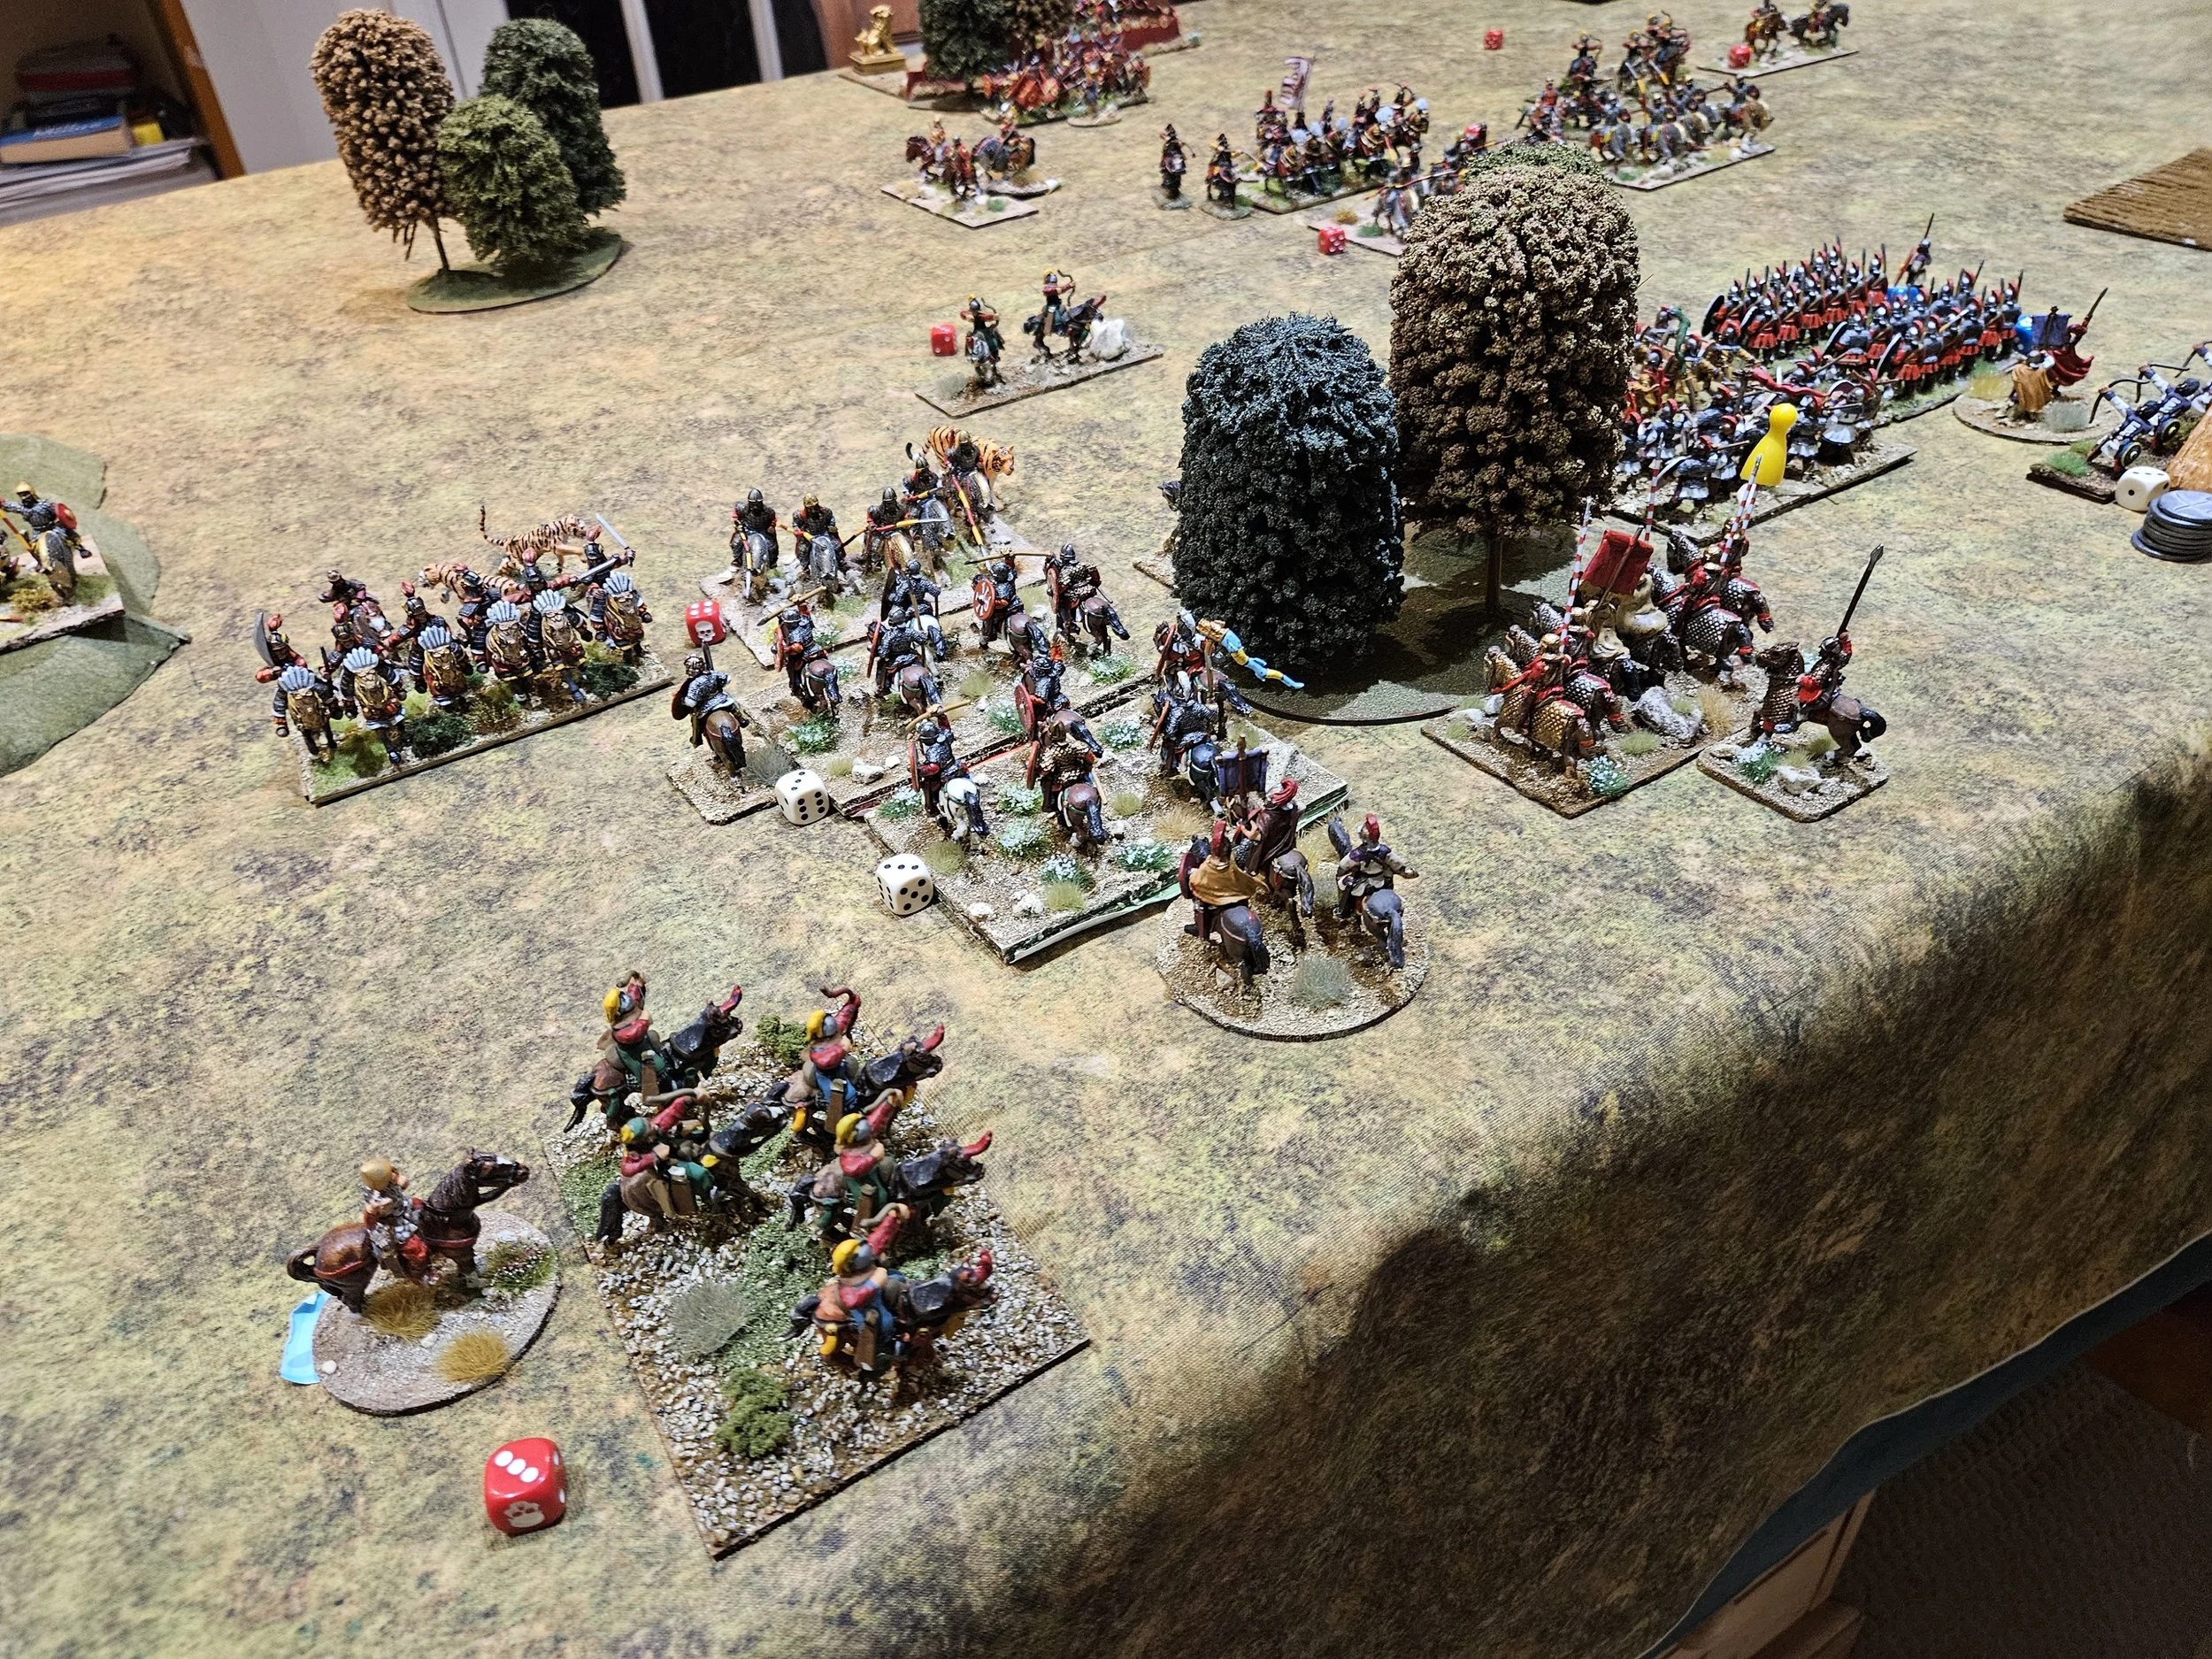
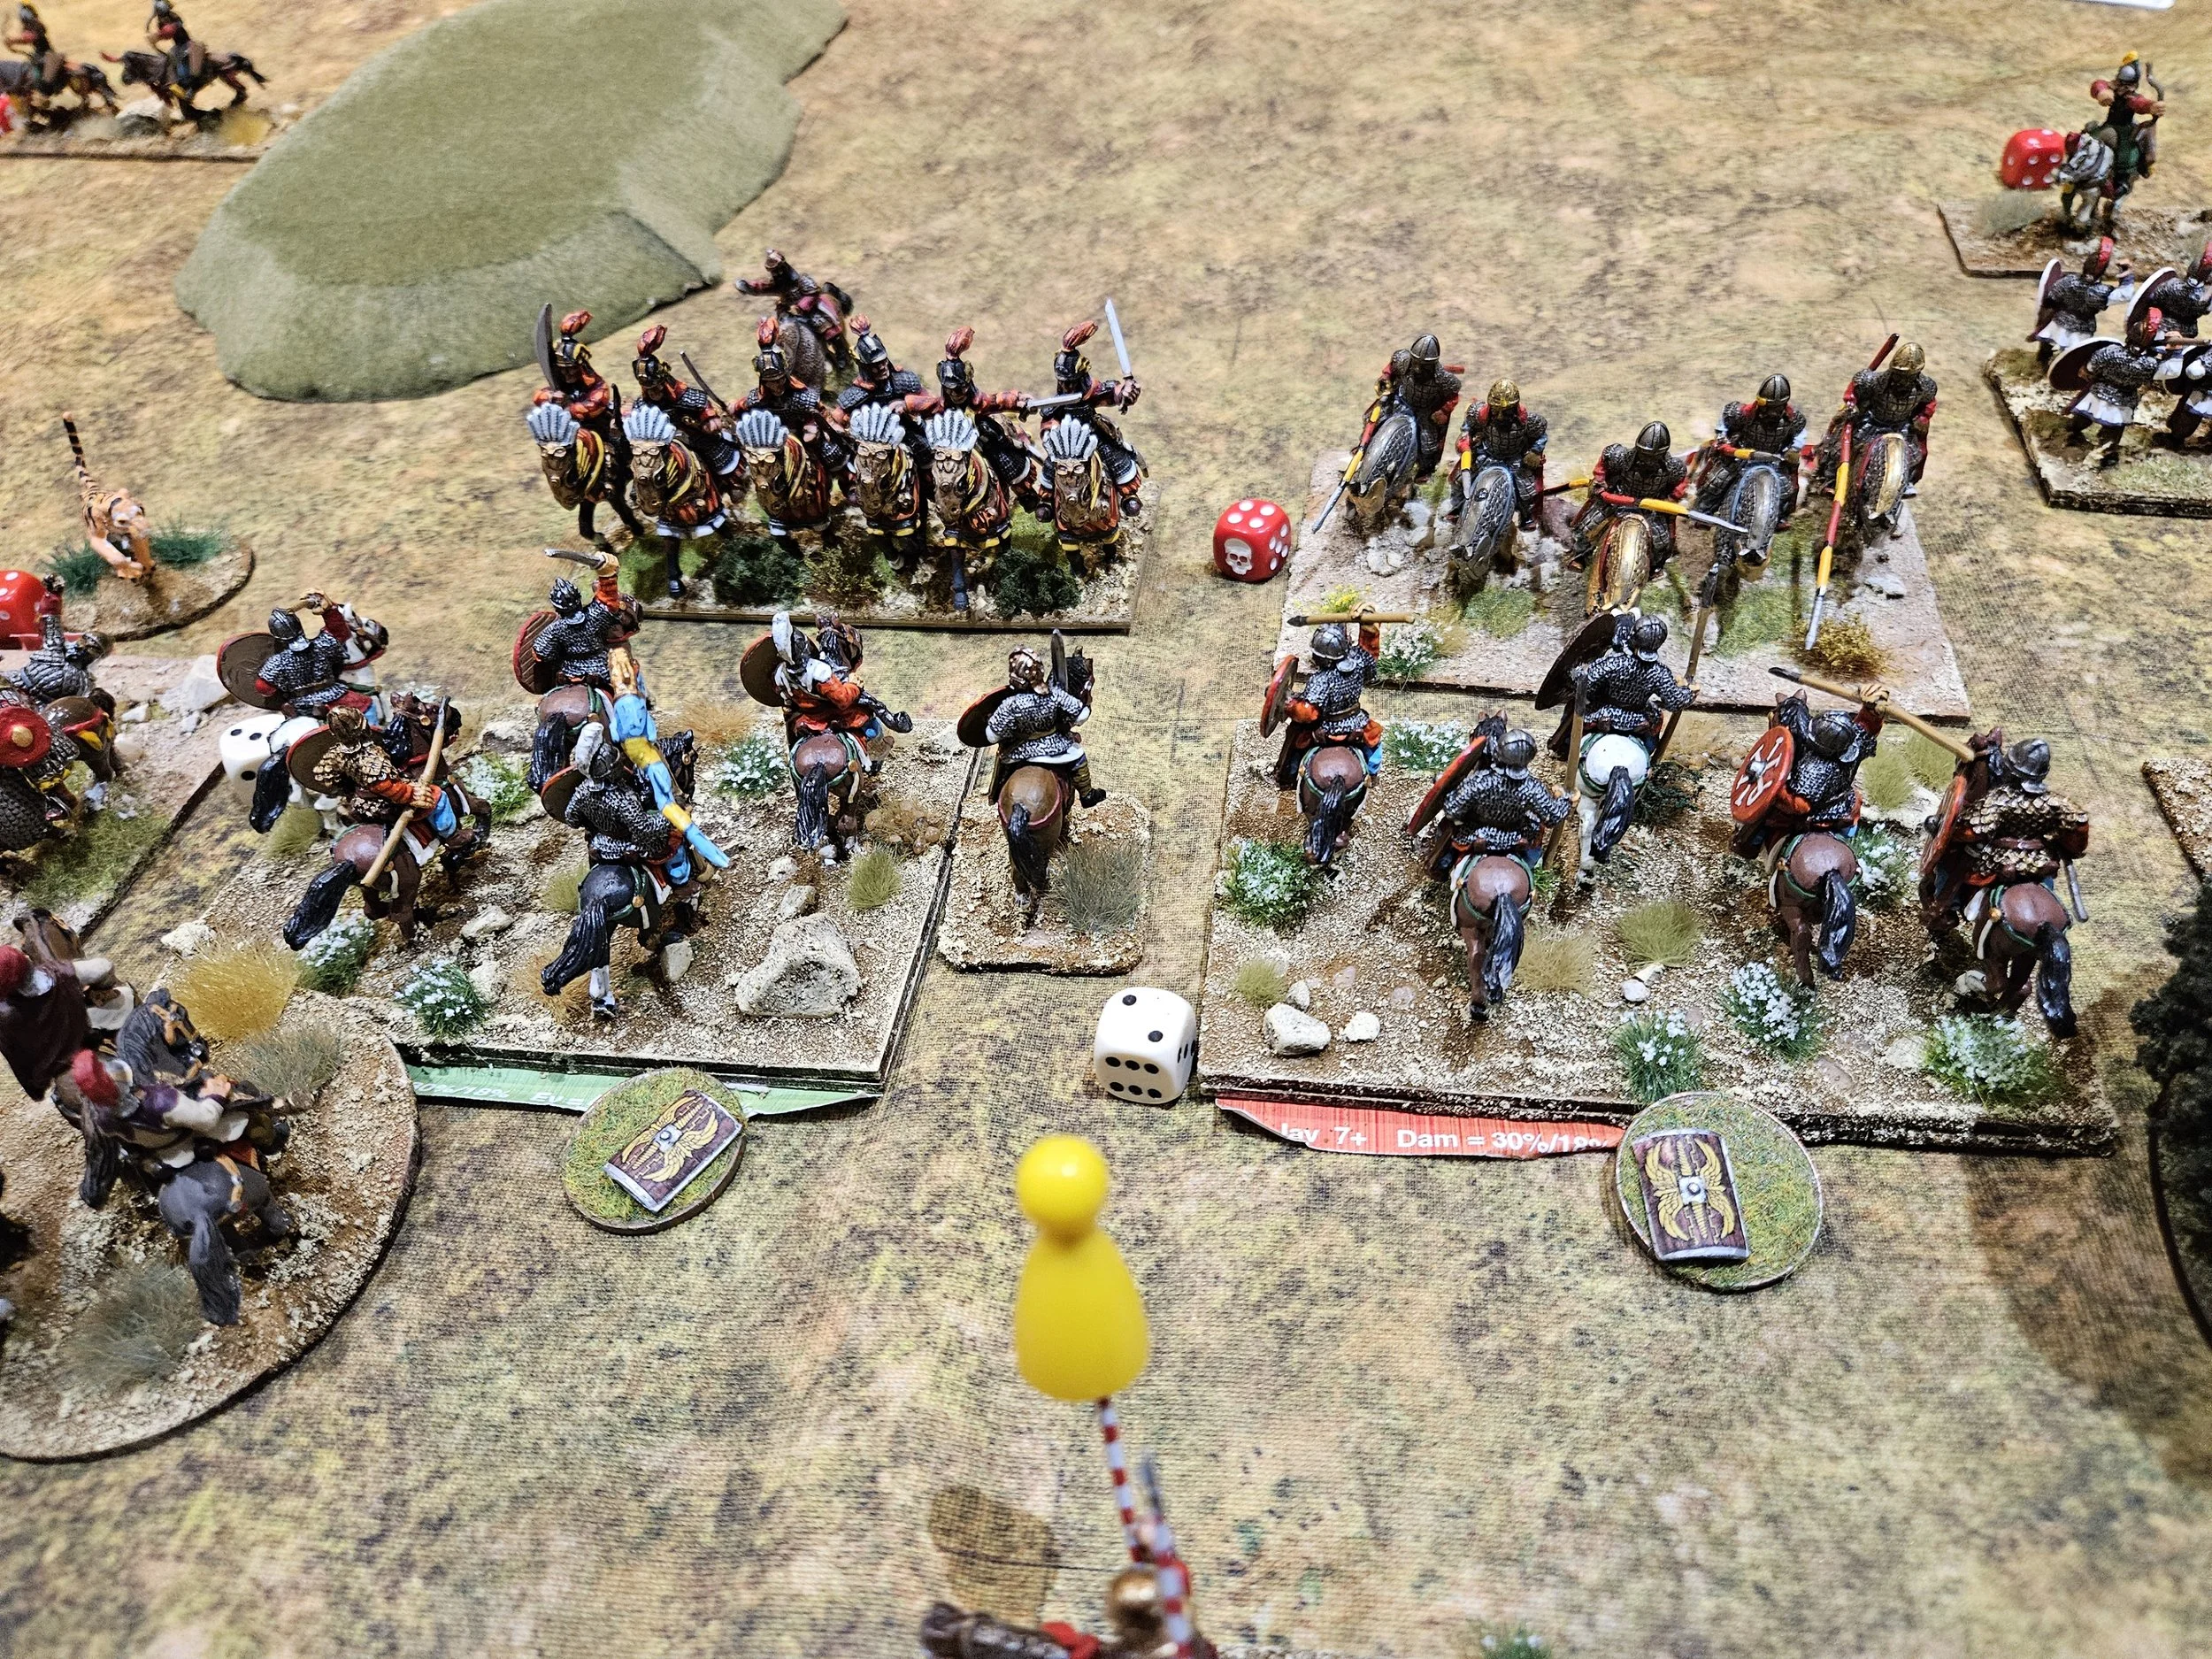
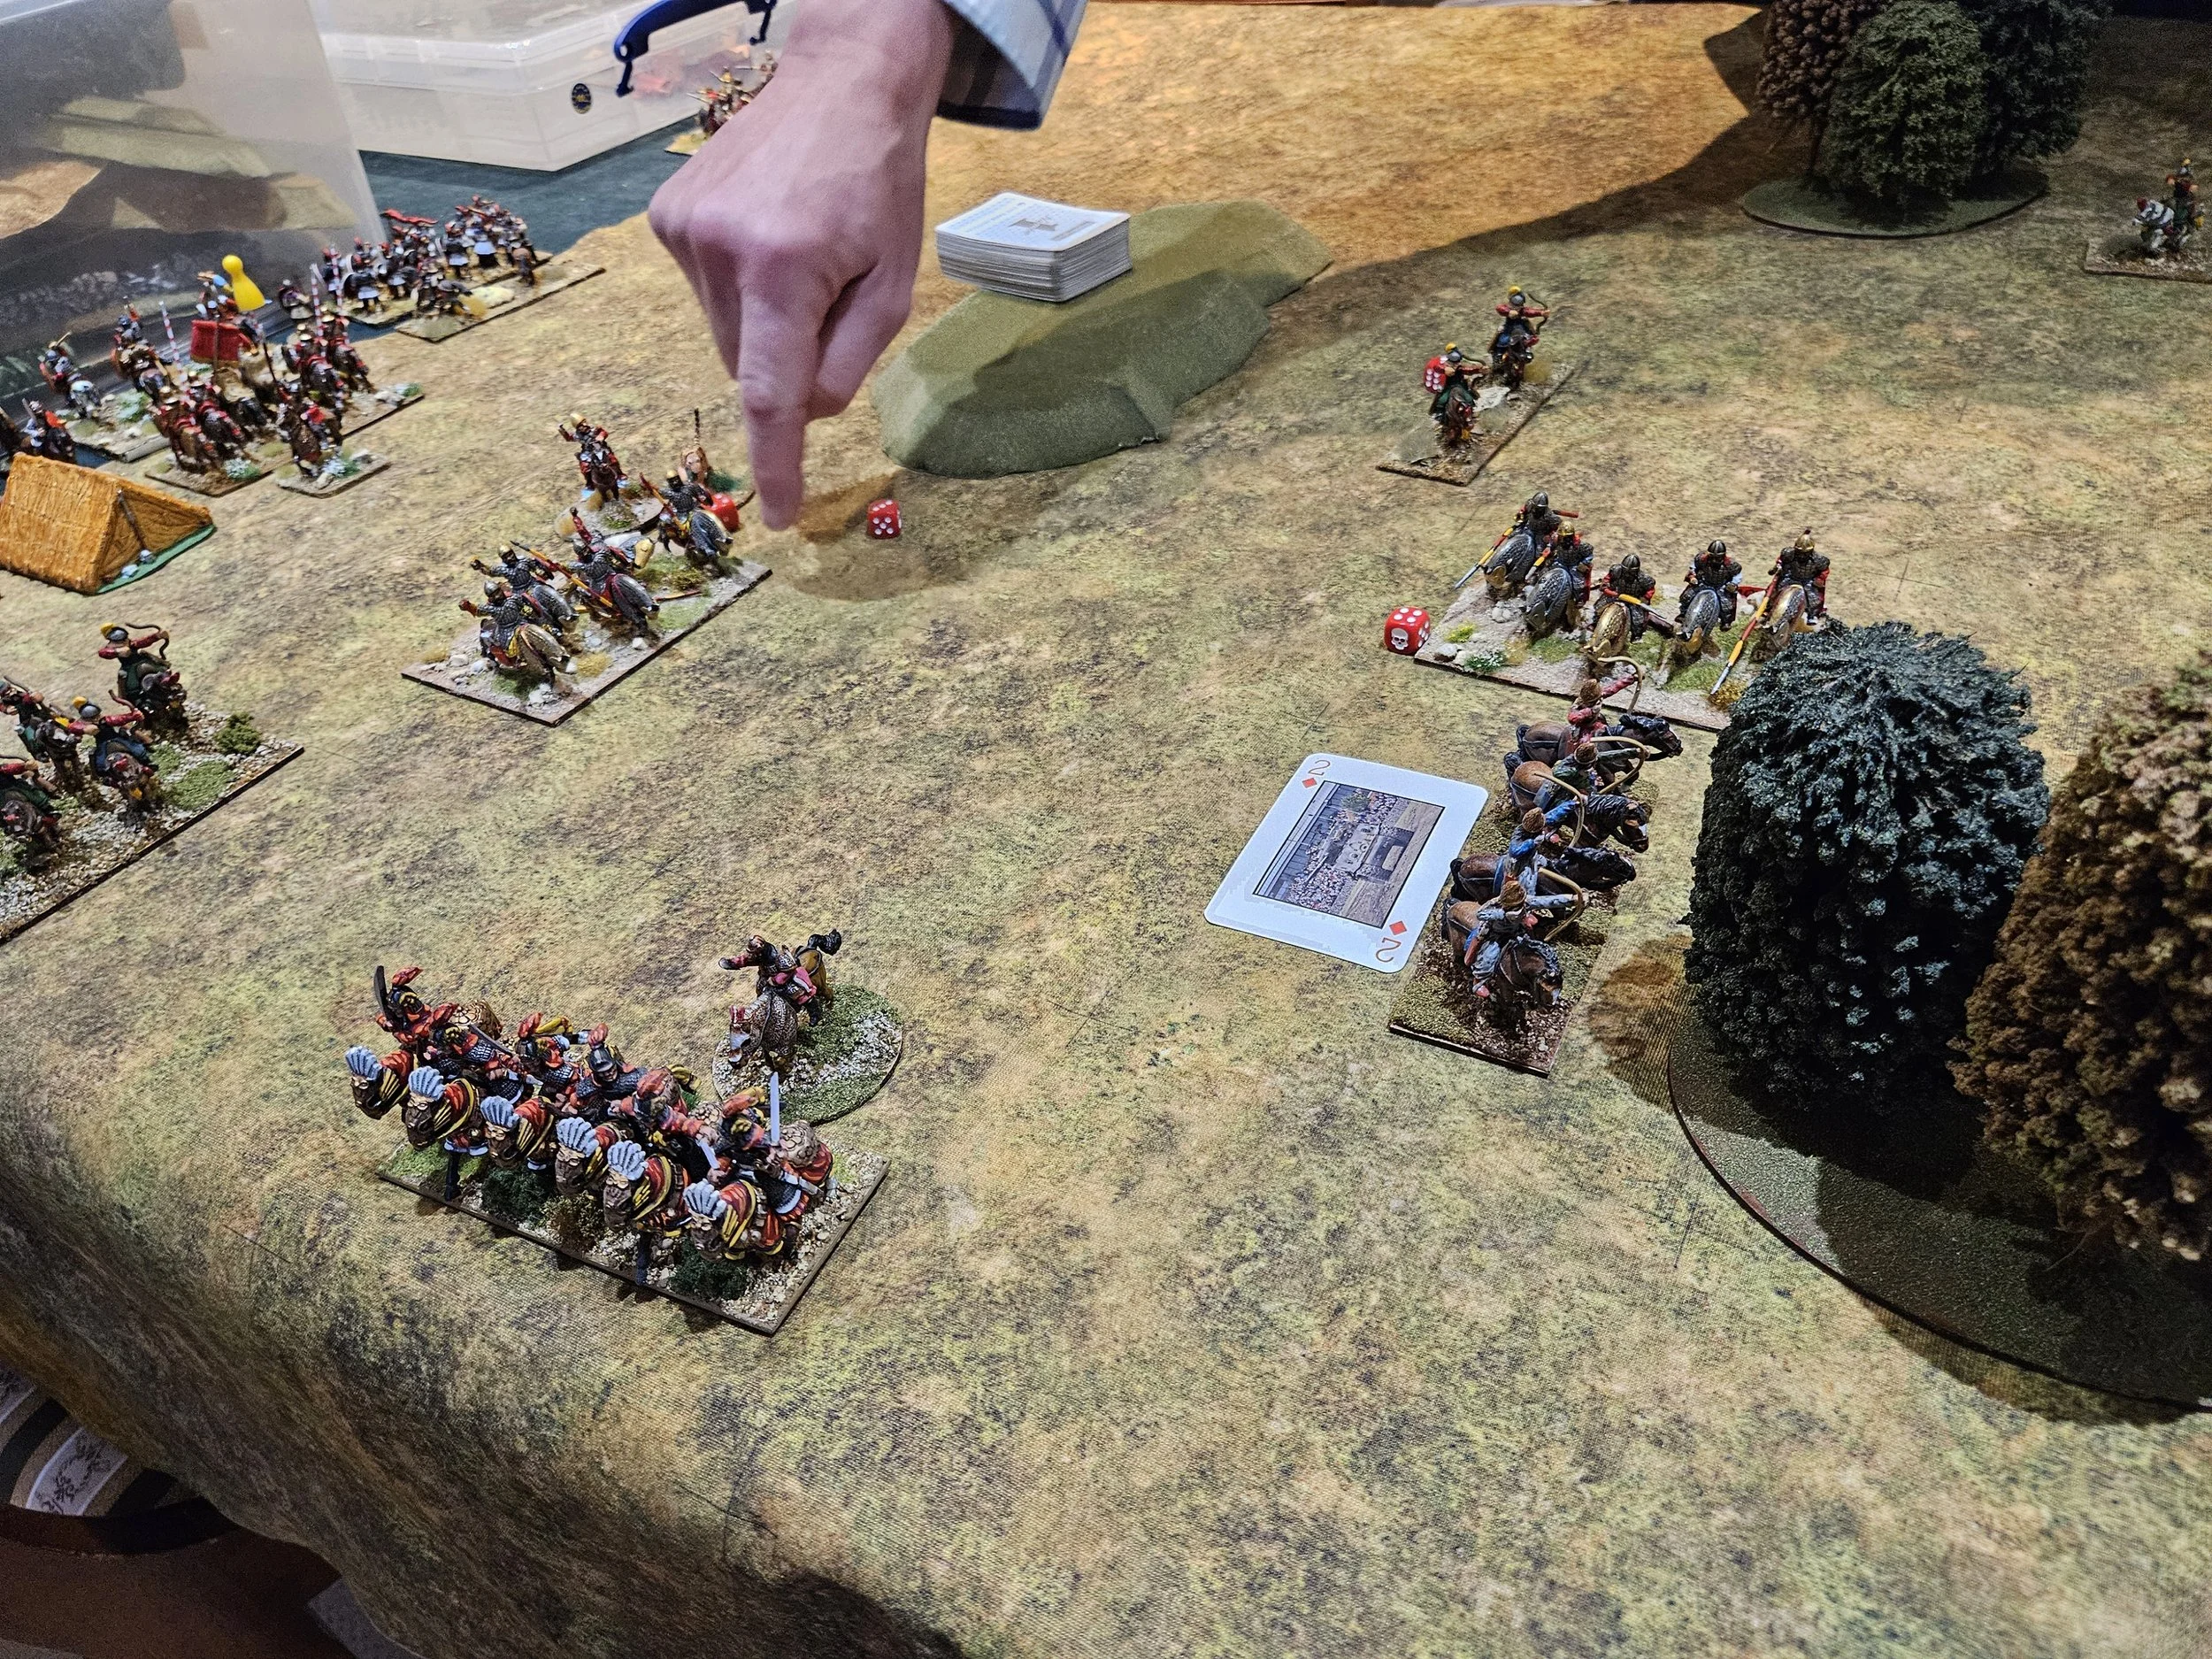
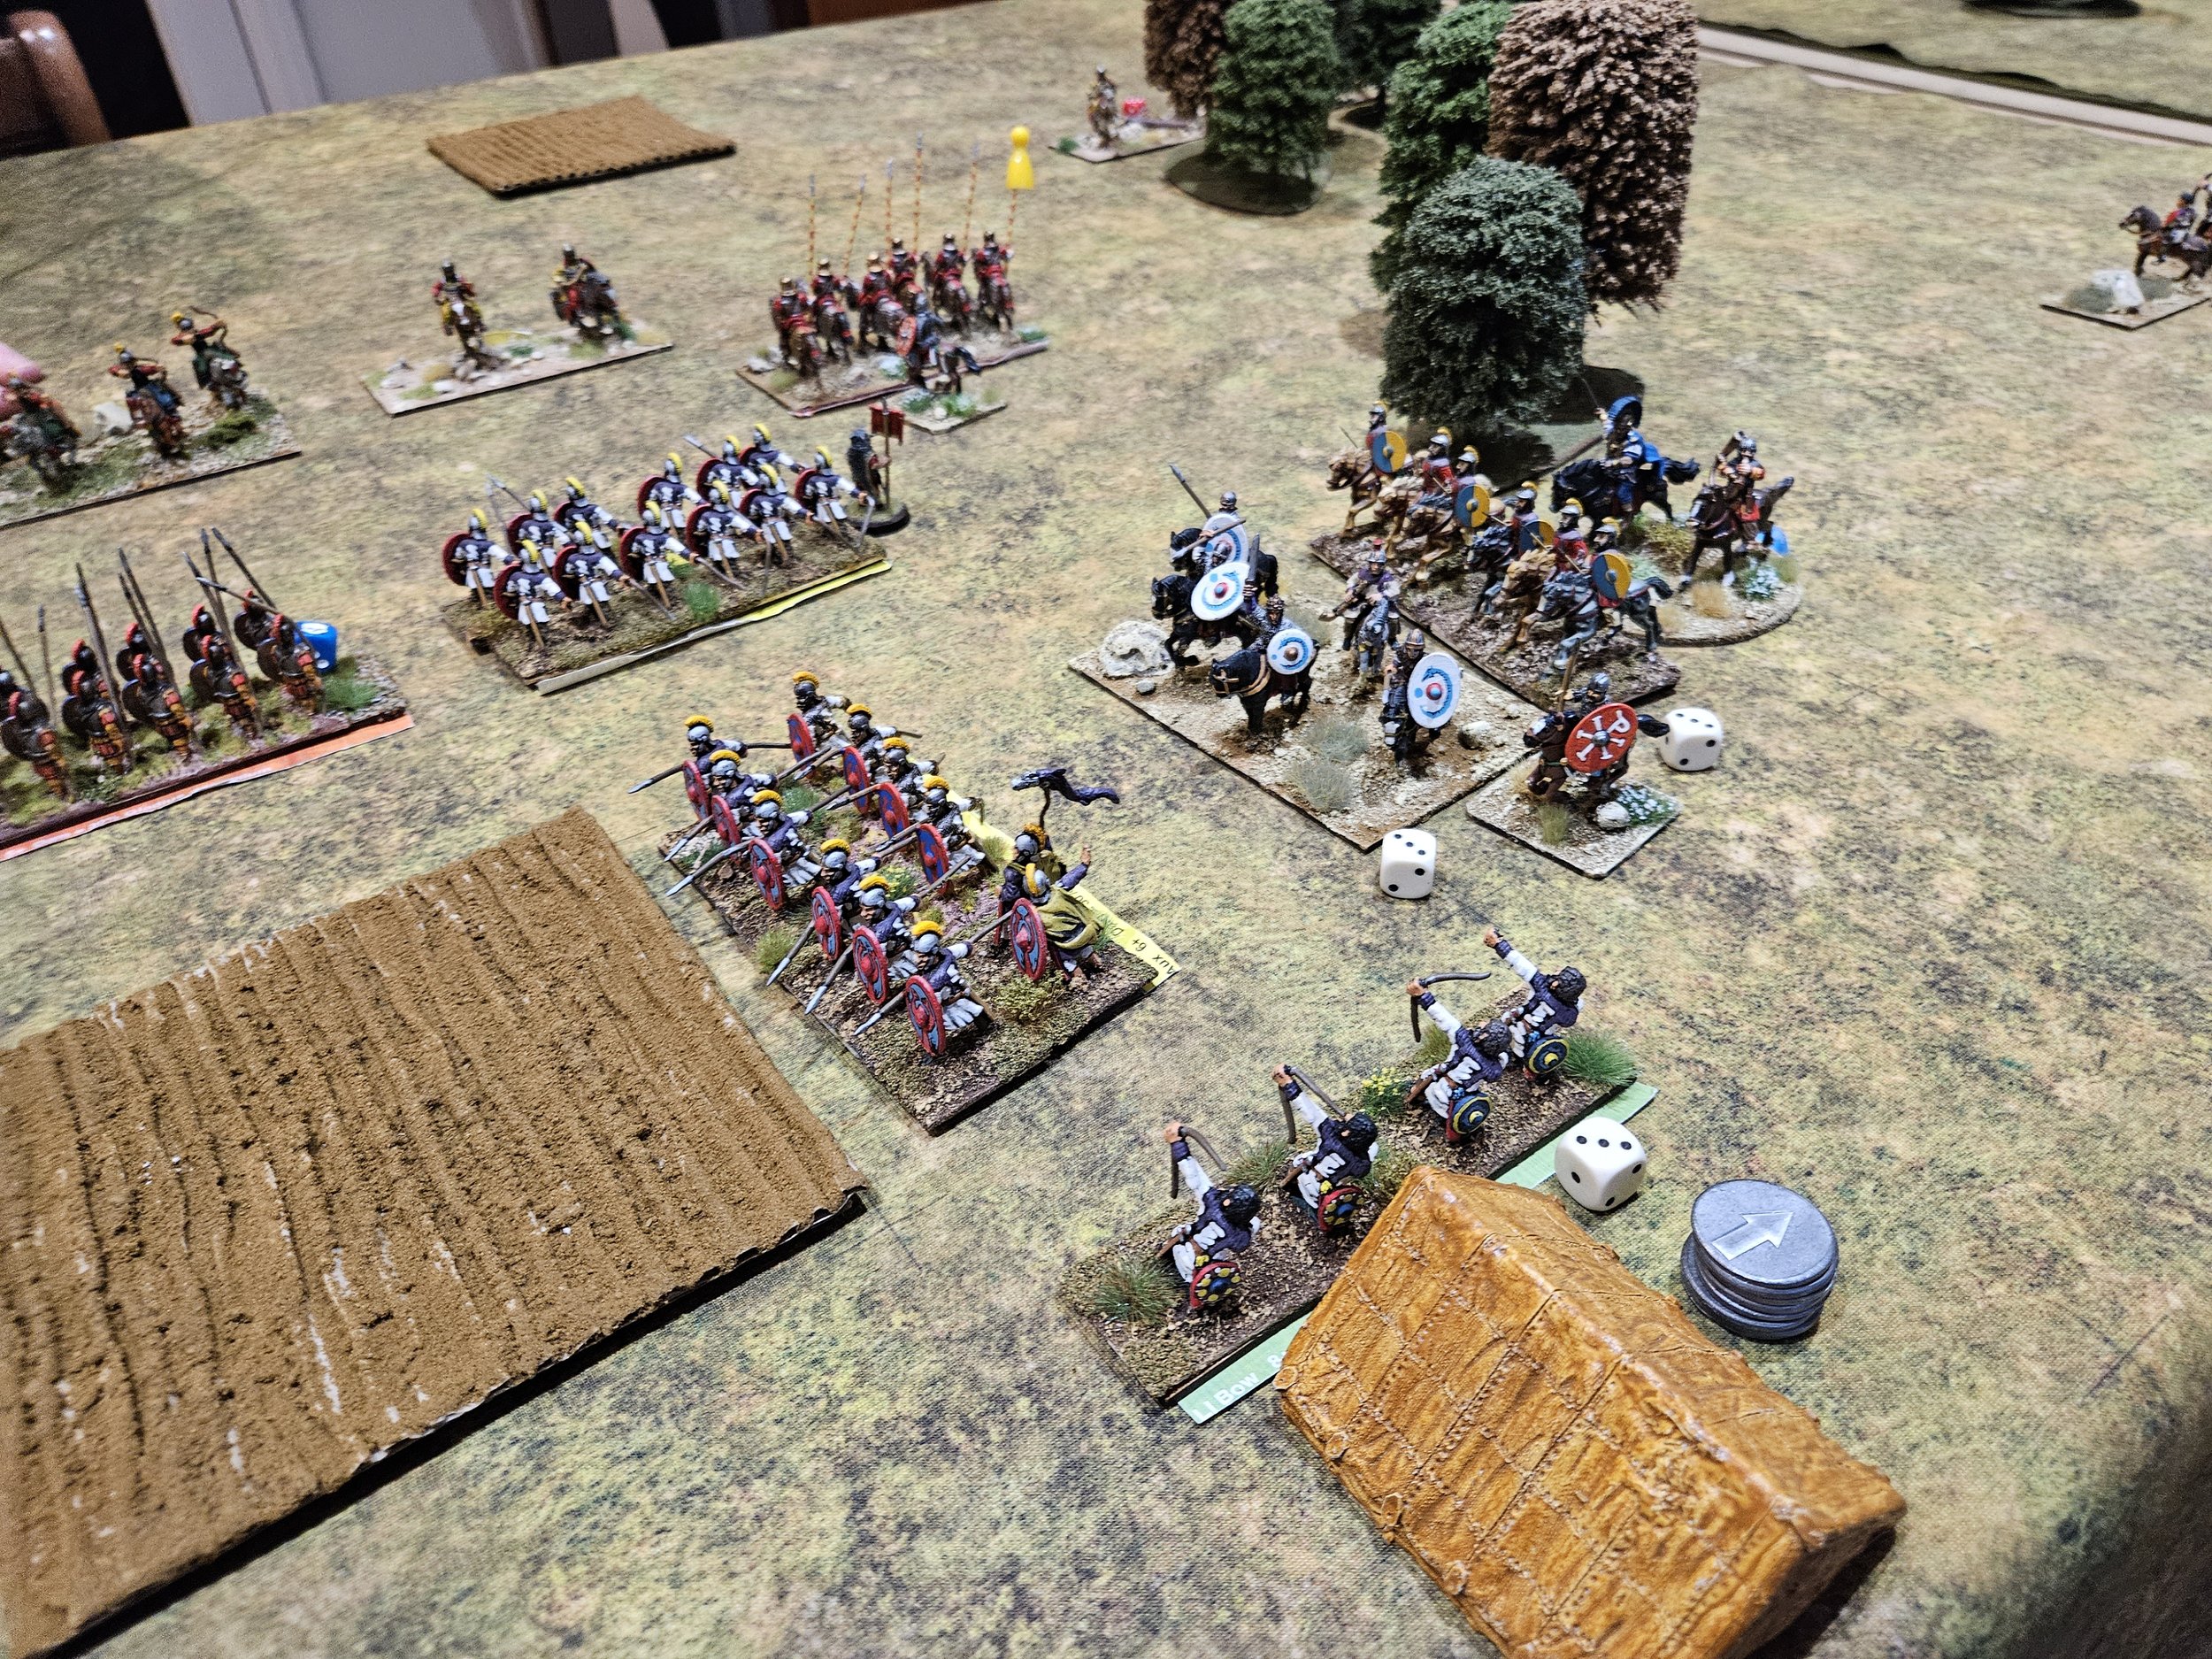
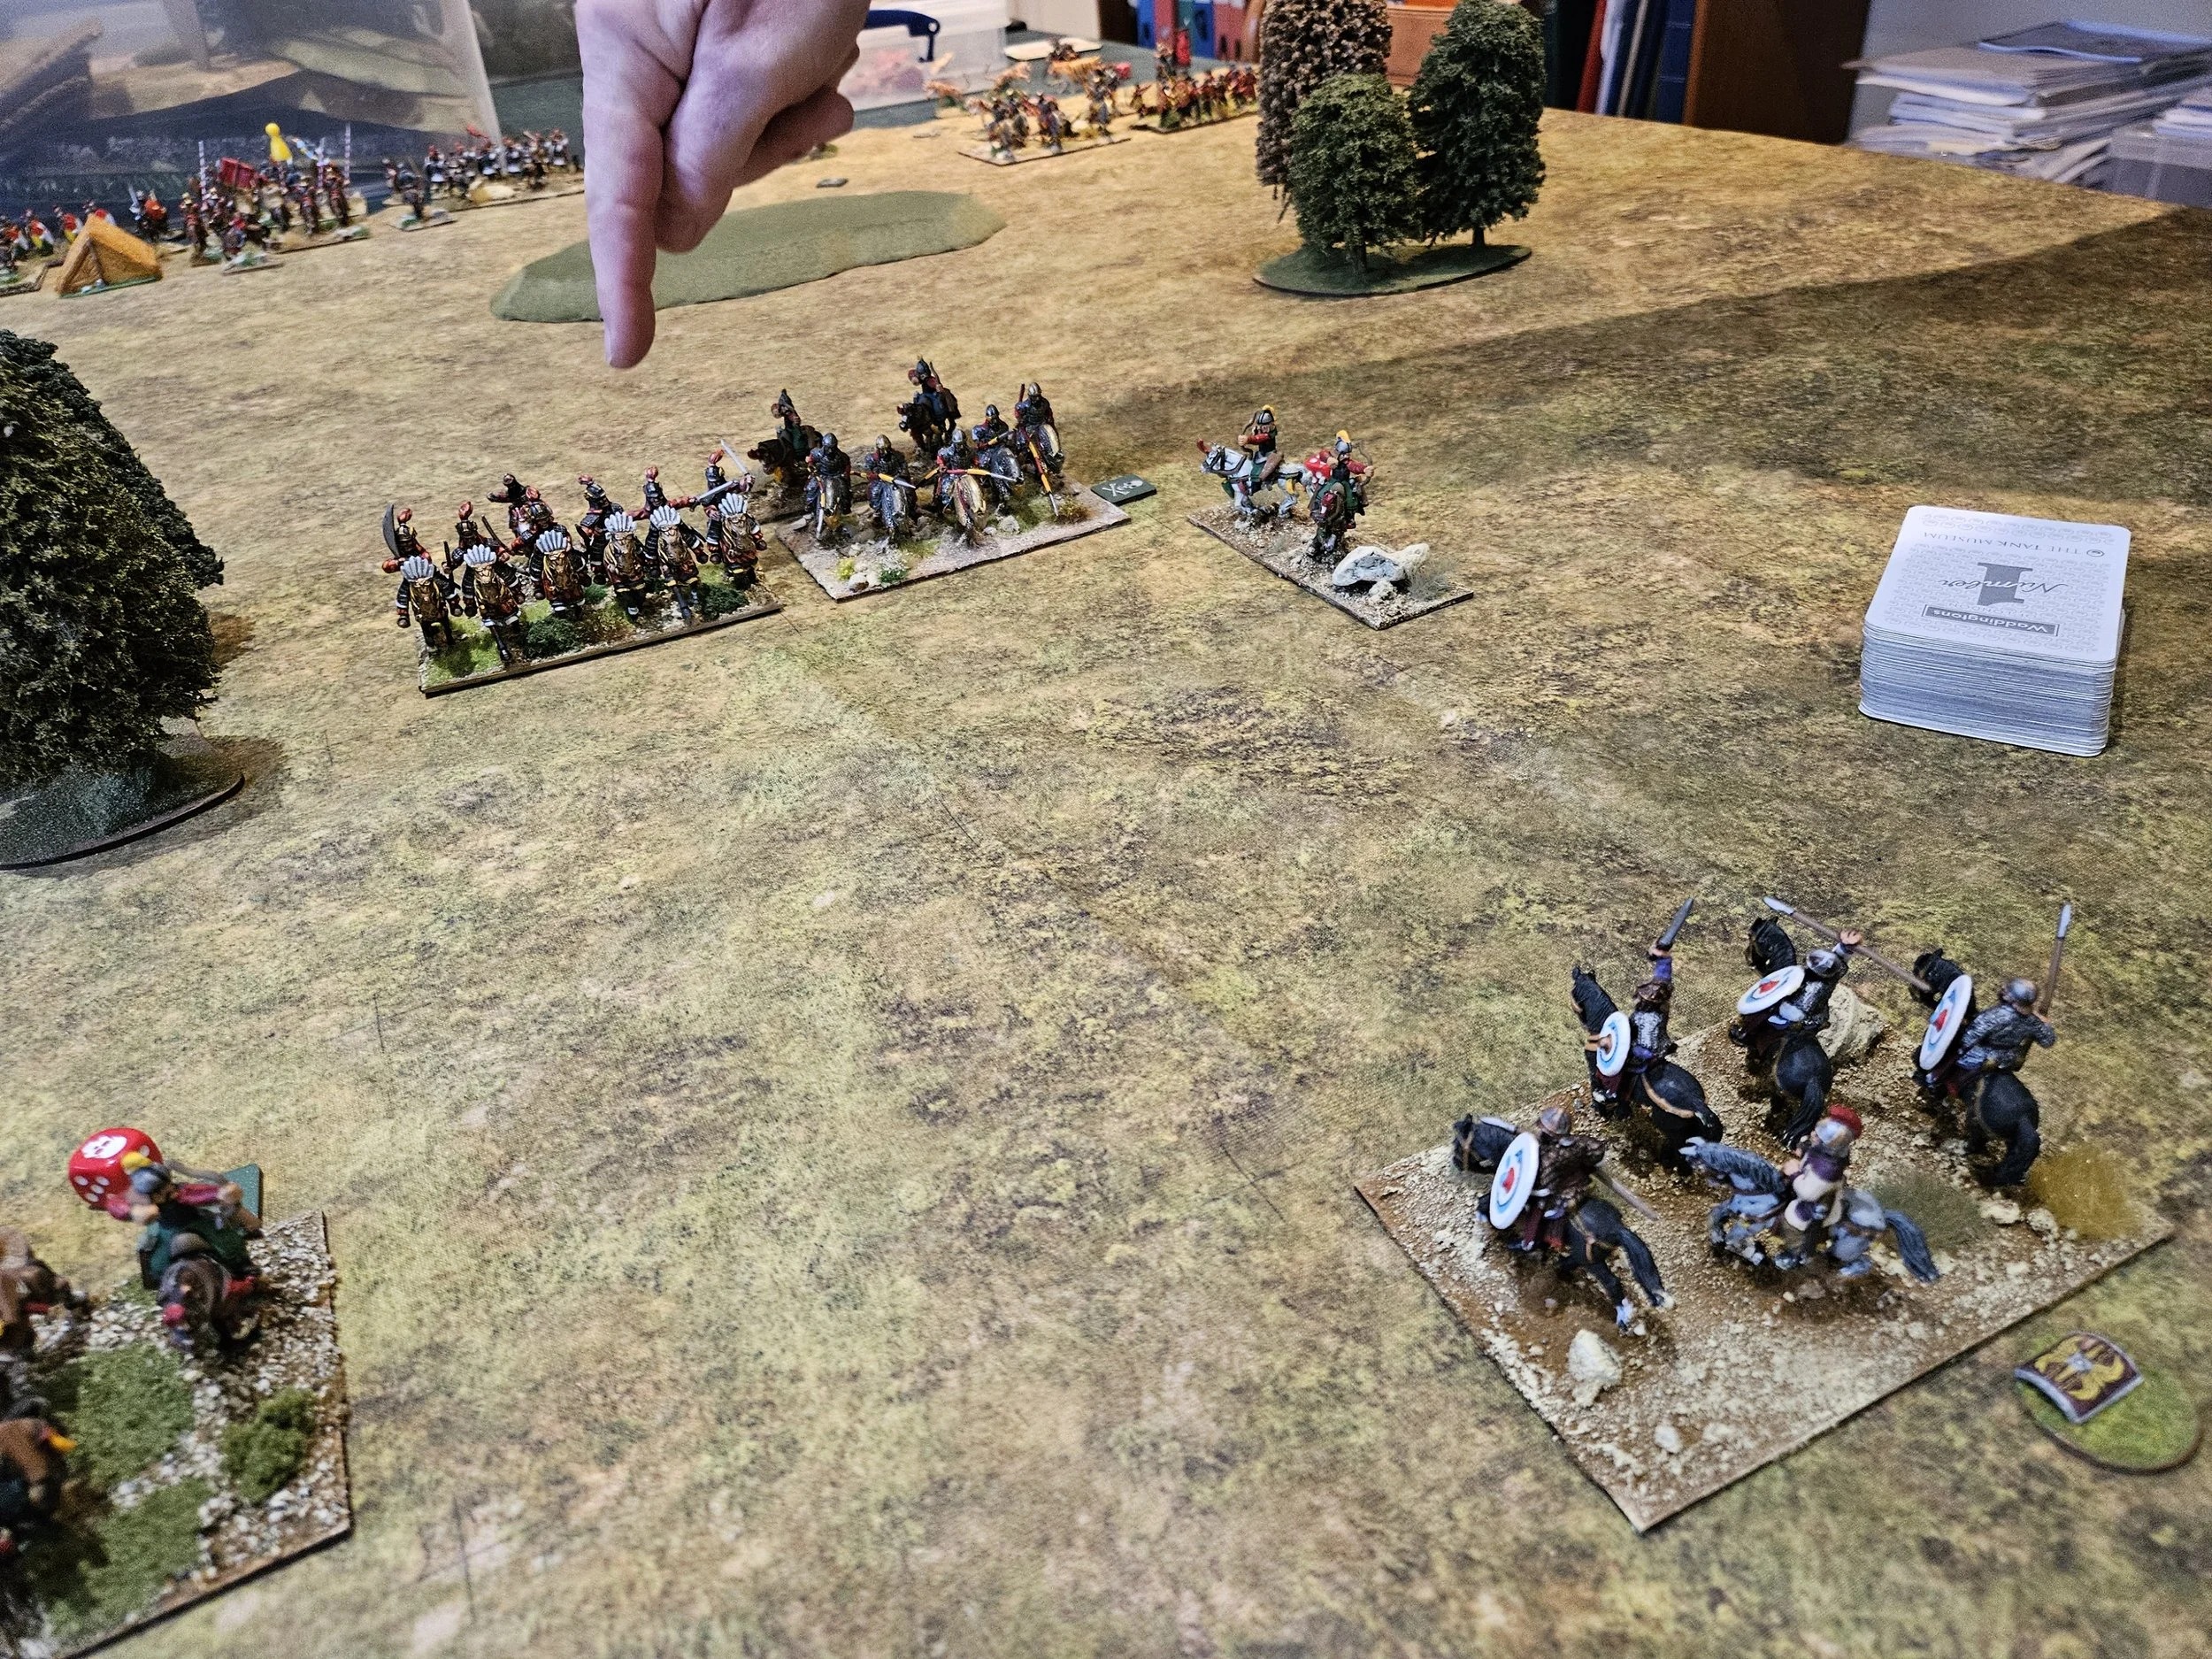
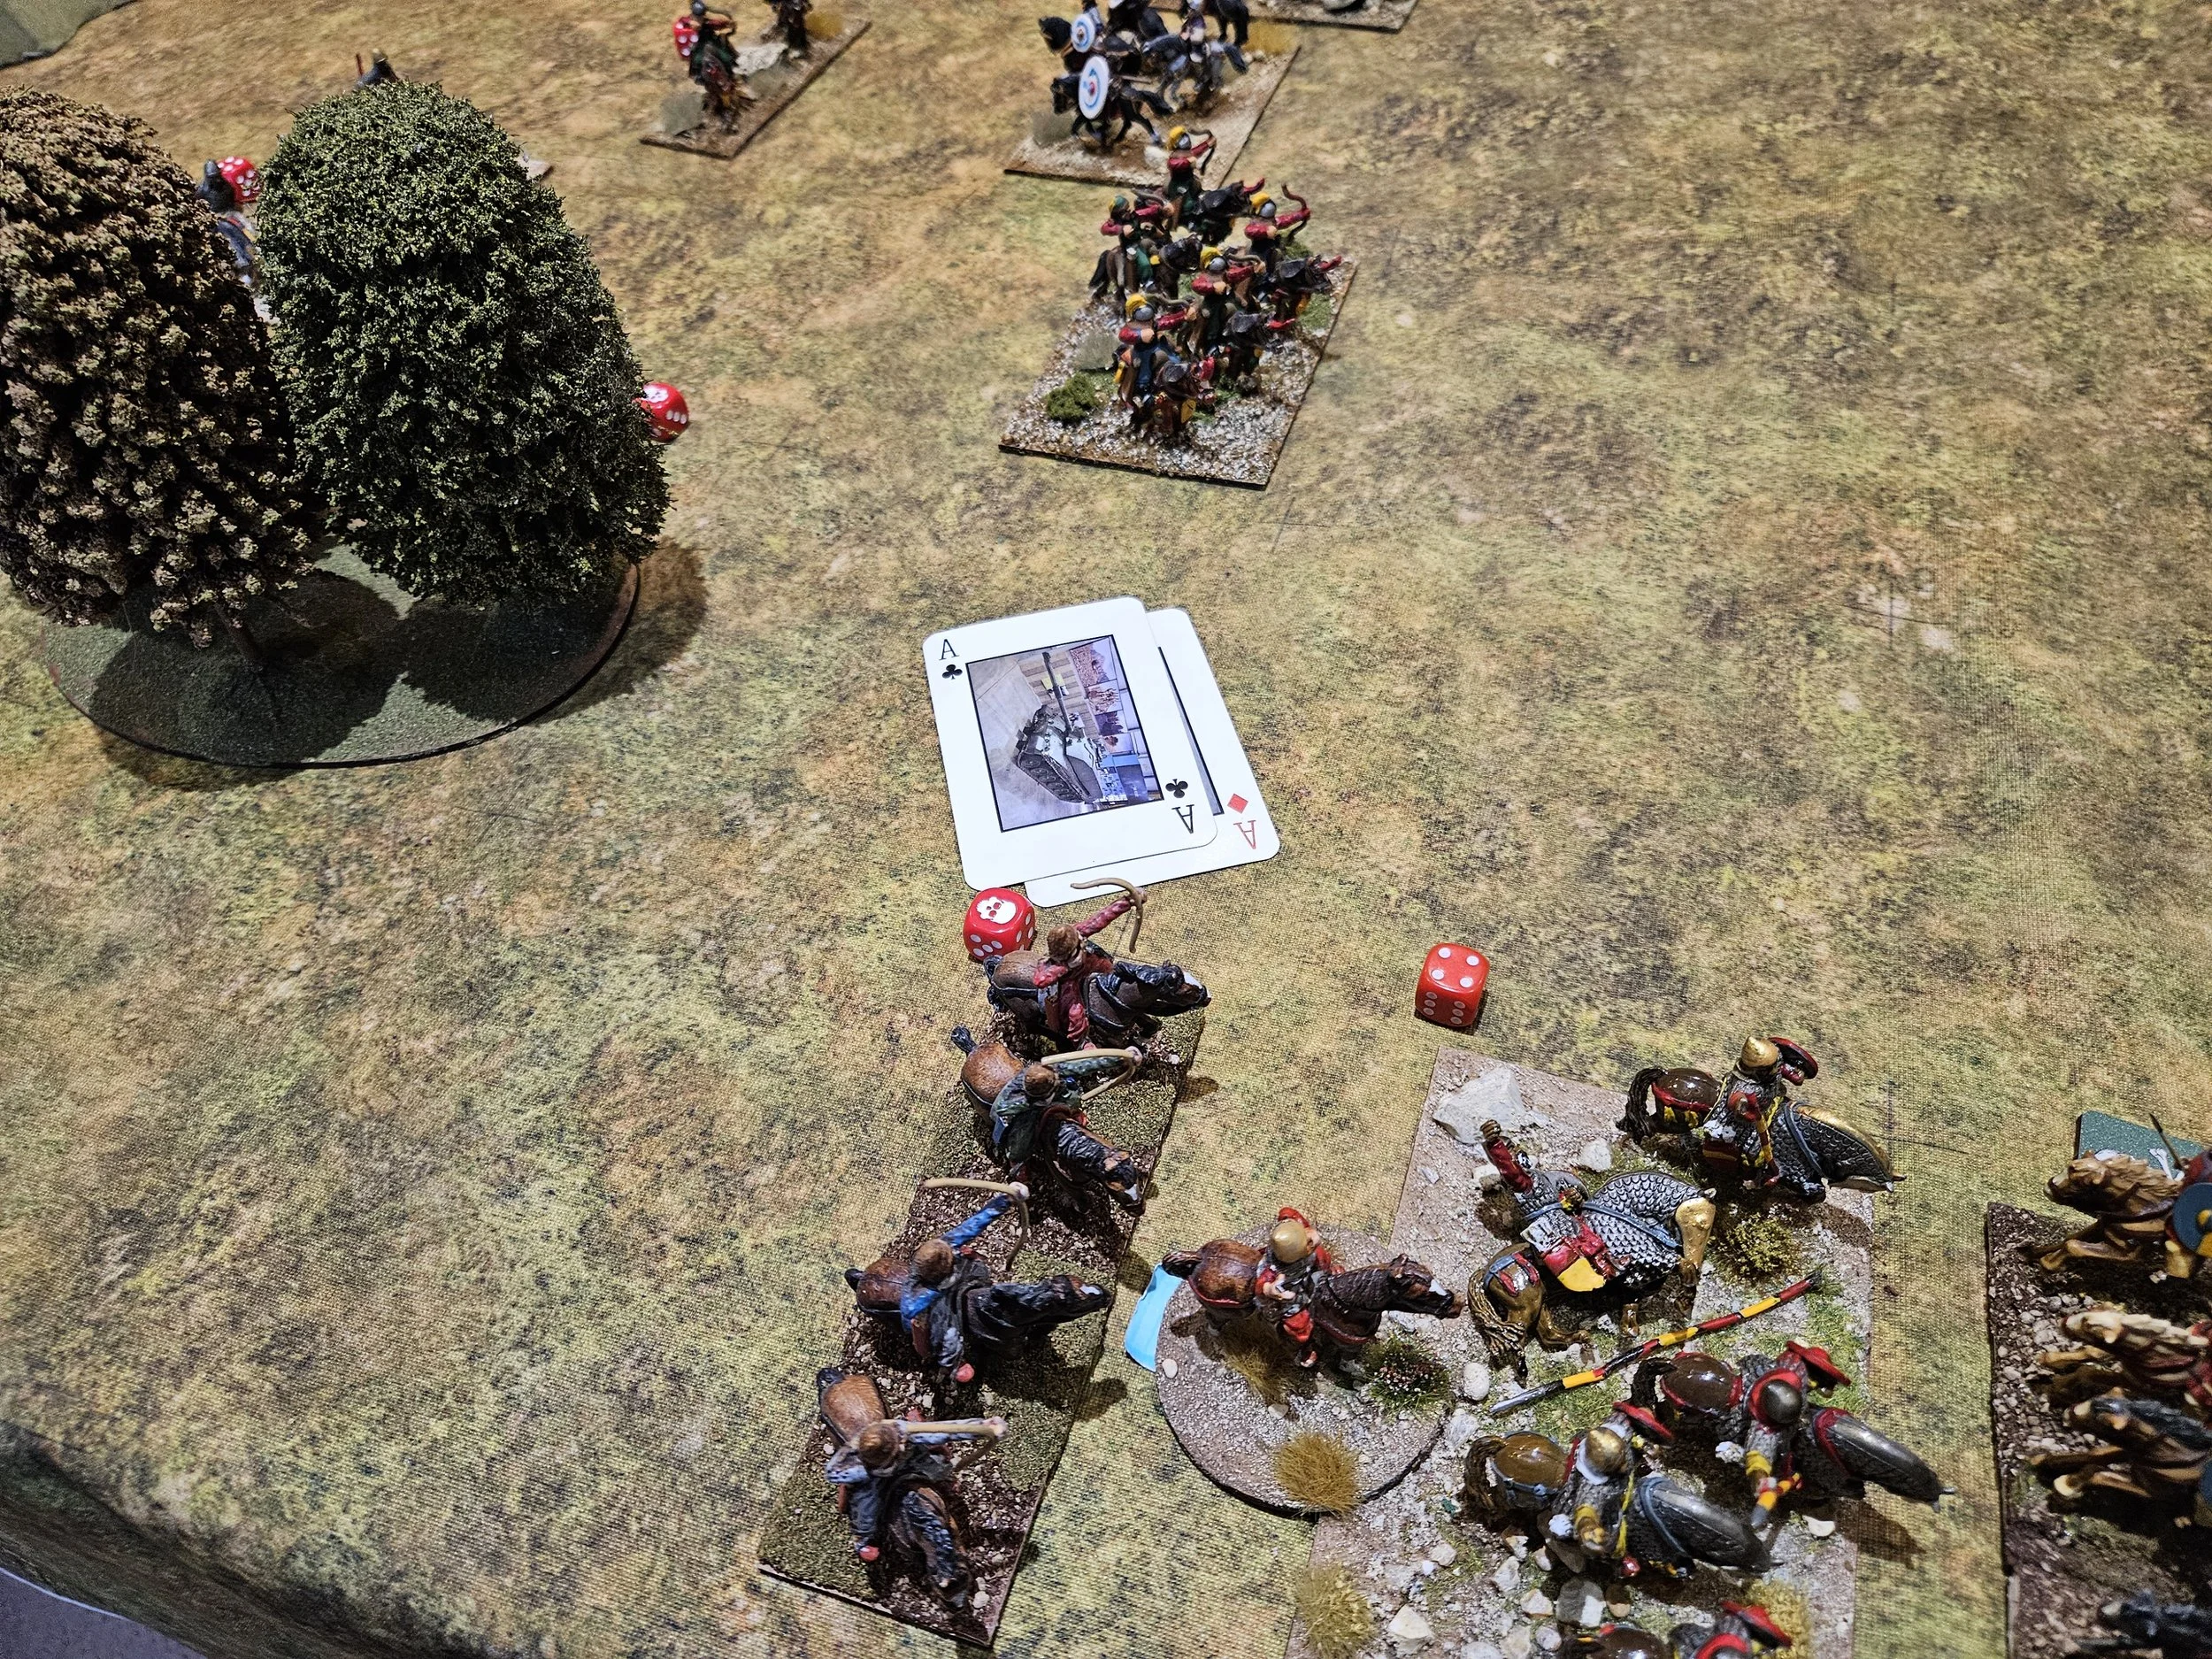
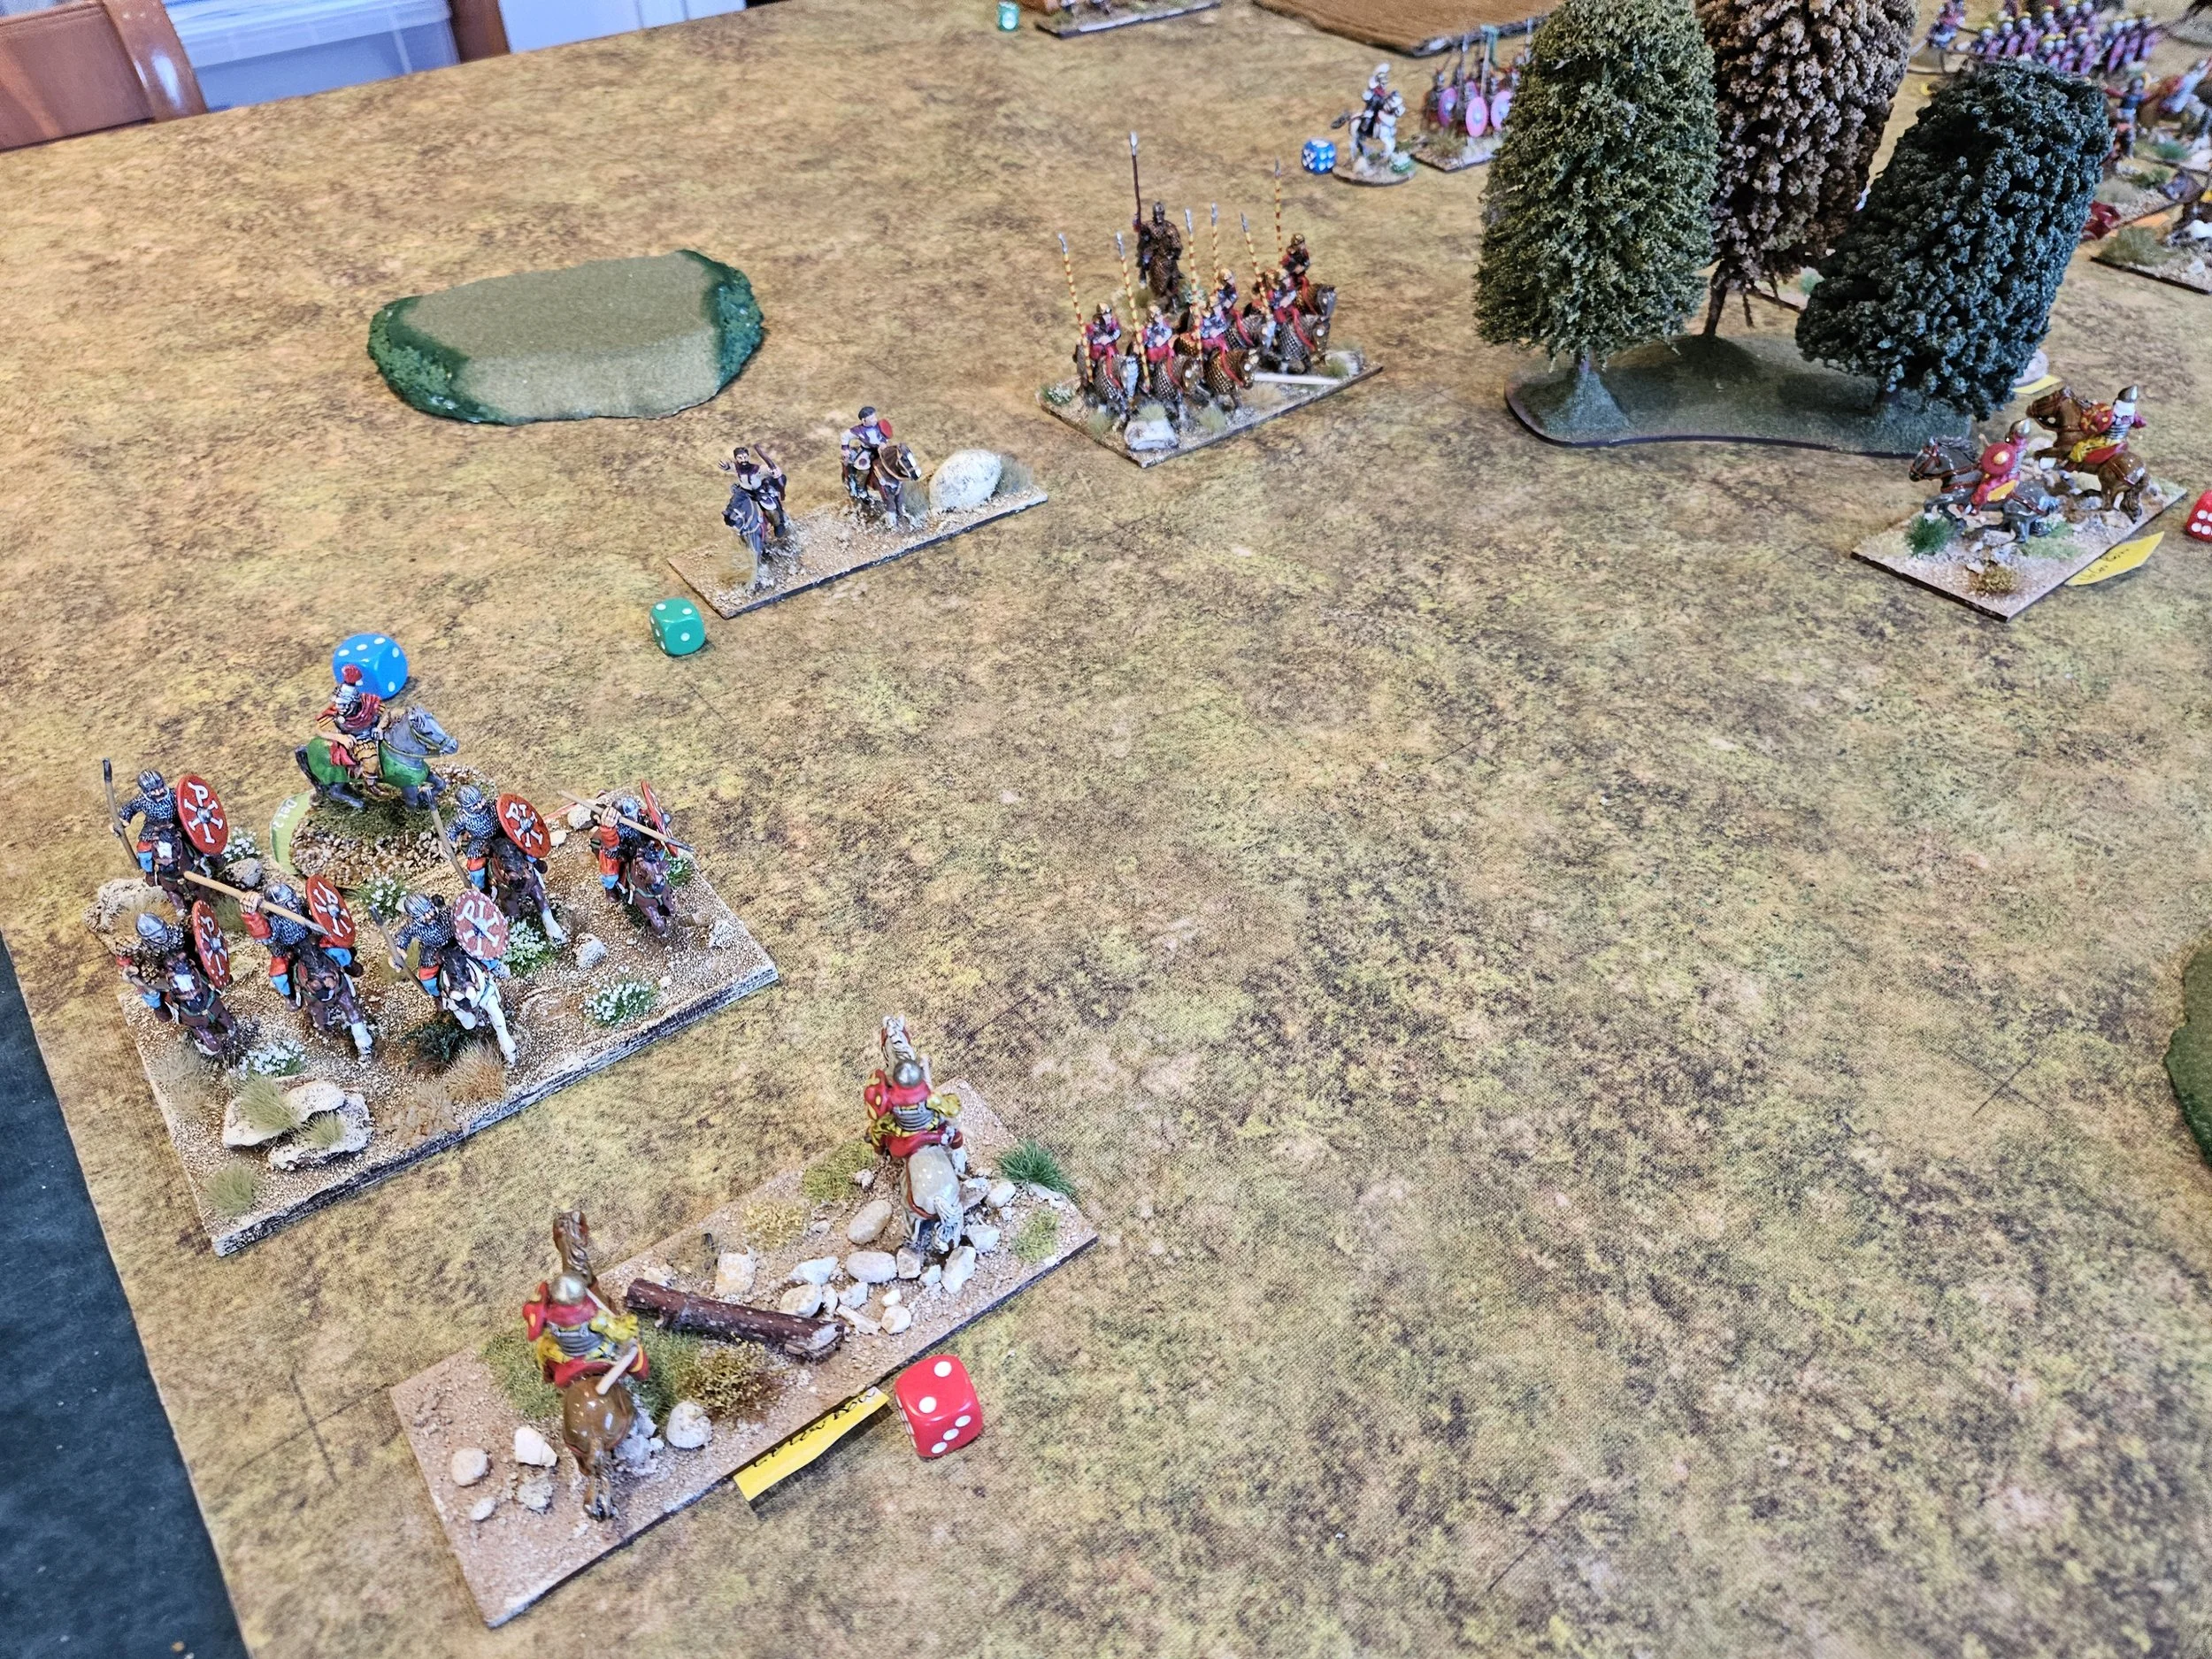
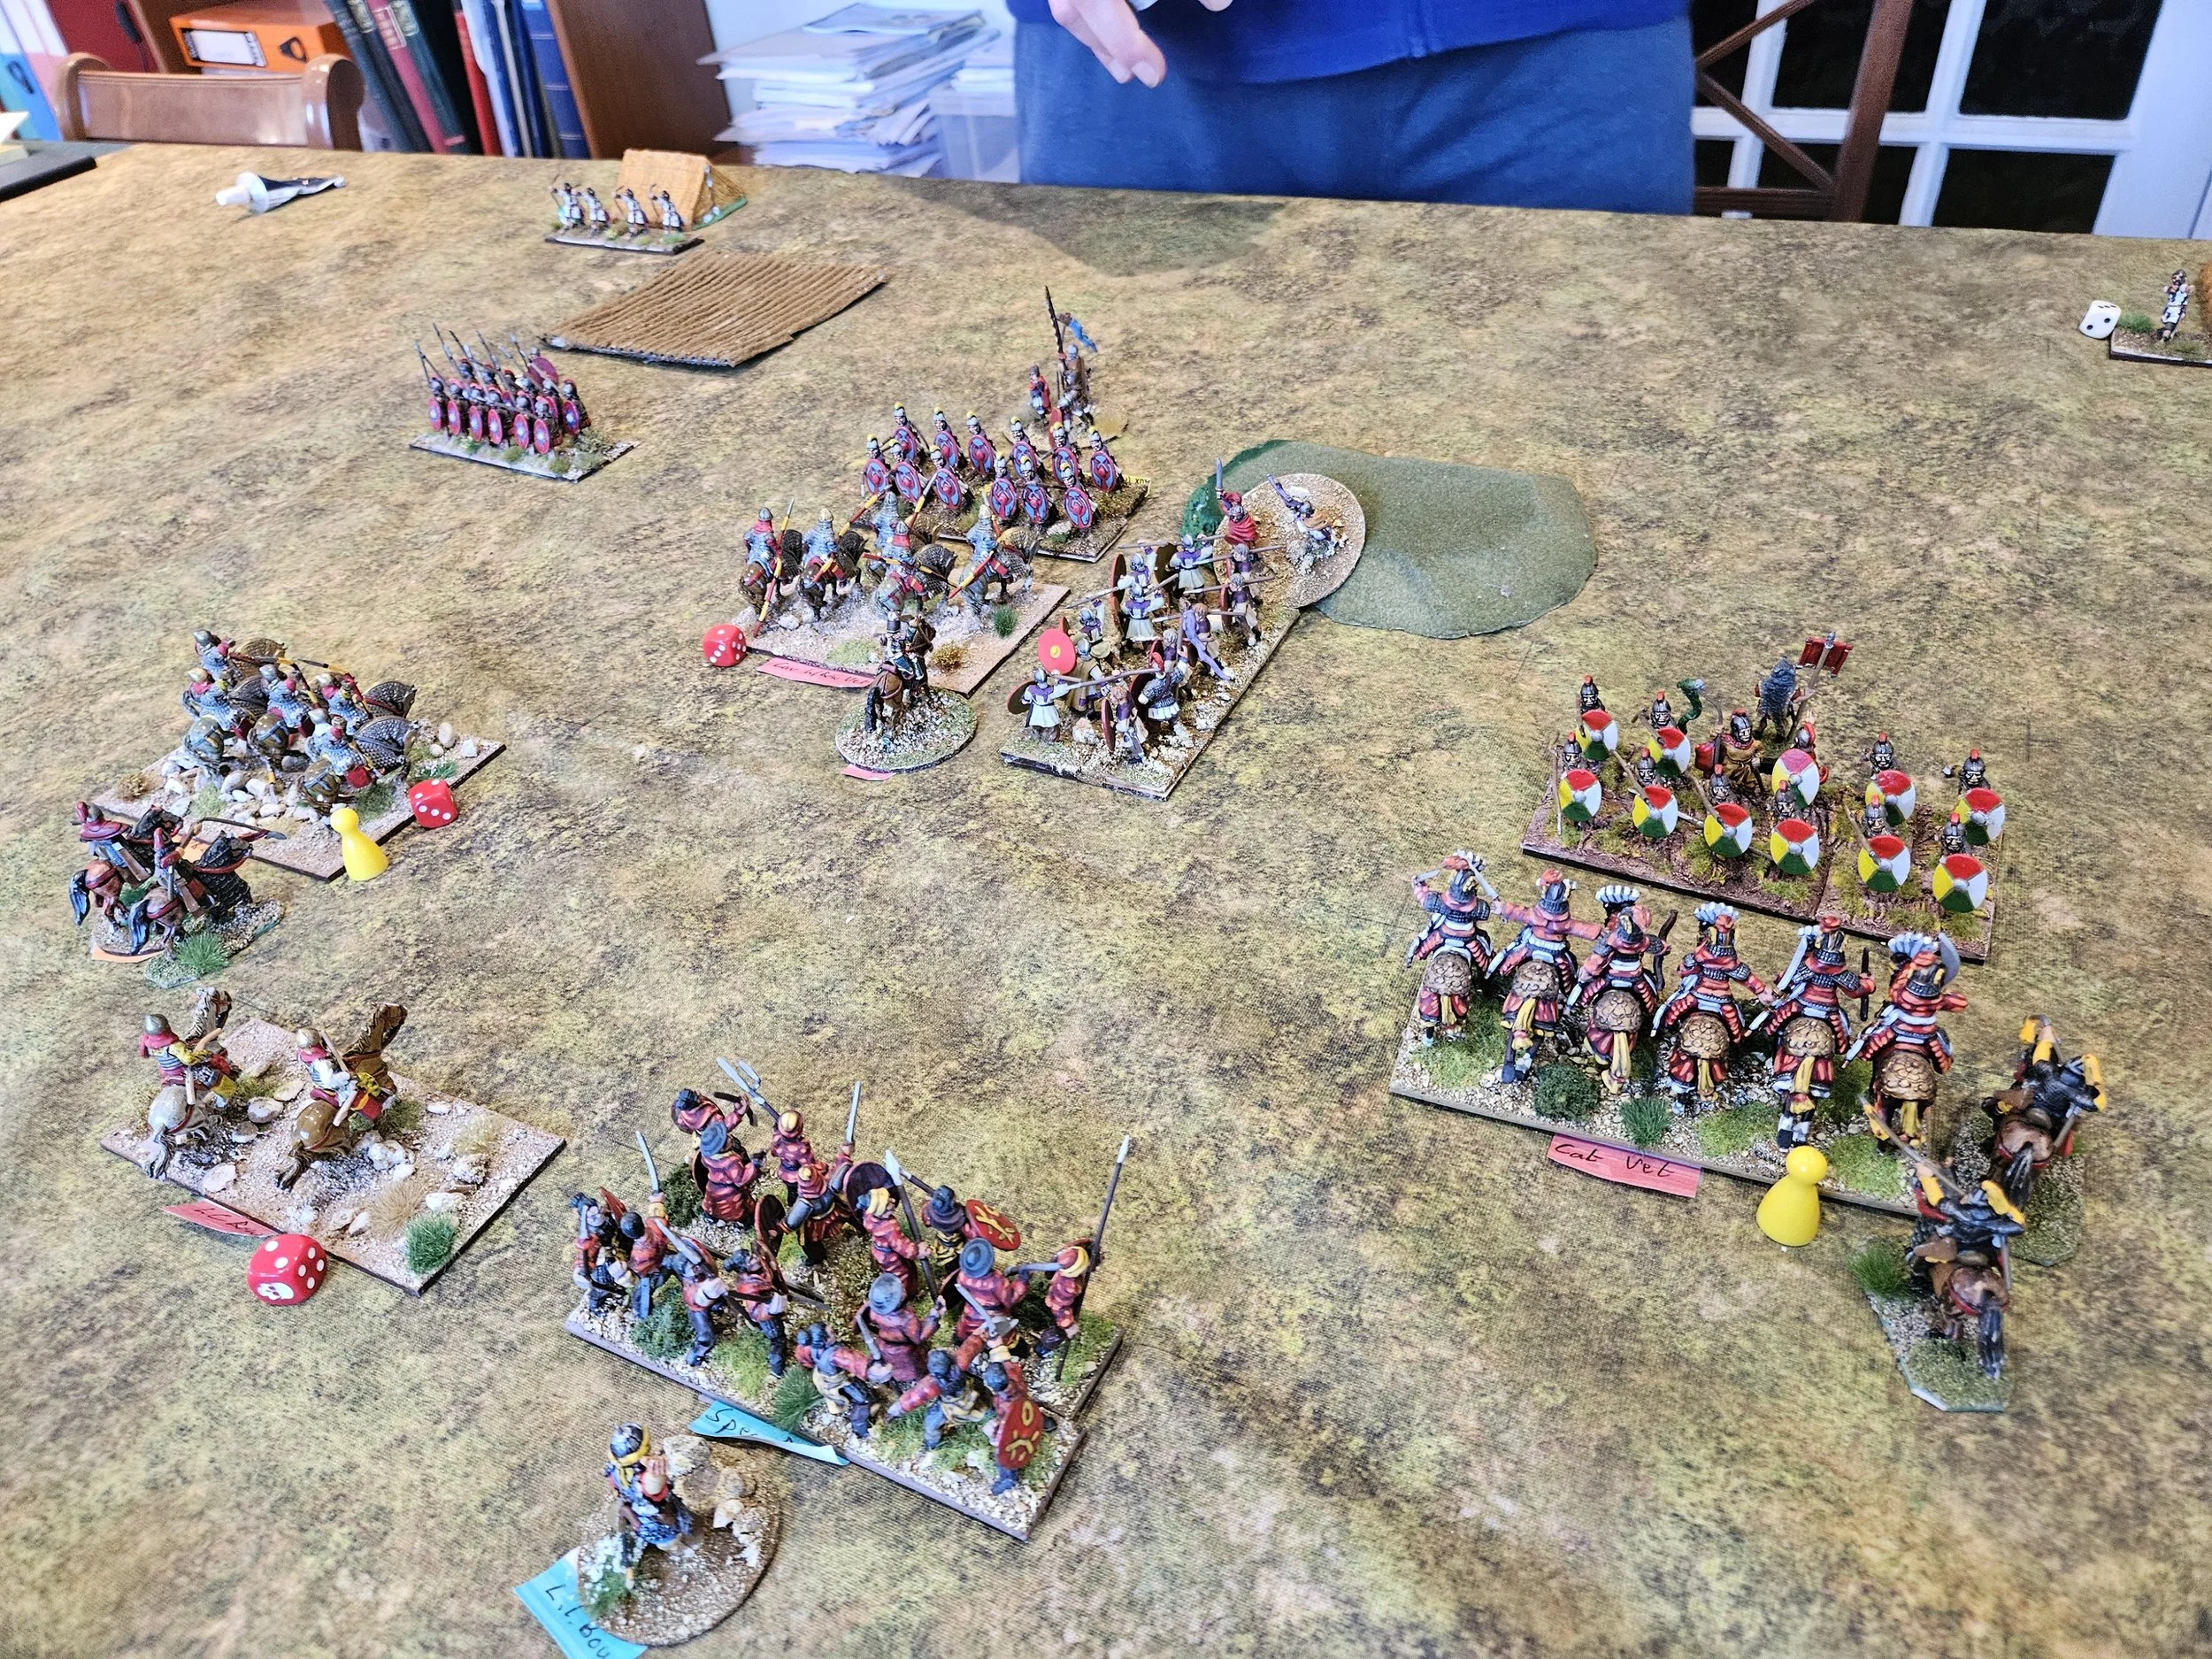
All was reasonably going to plan, and the Romans were slowly getting battered…but then disaster struck as their cavalry finally arrived from the left, heading straight for my lightly defended camps!
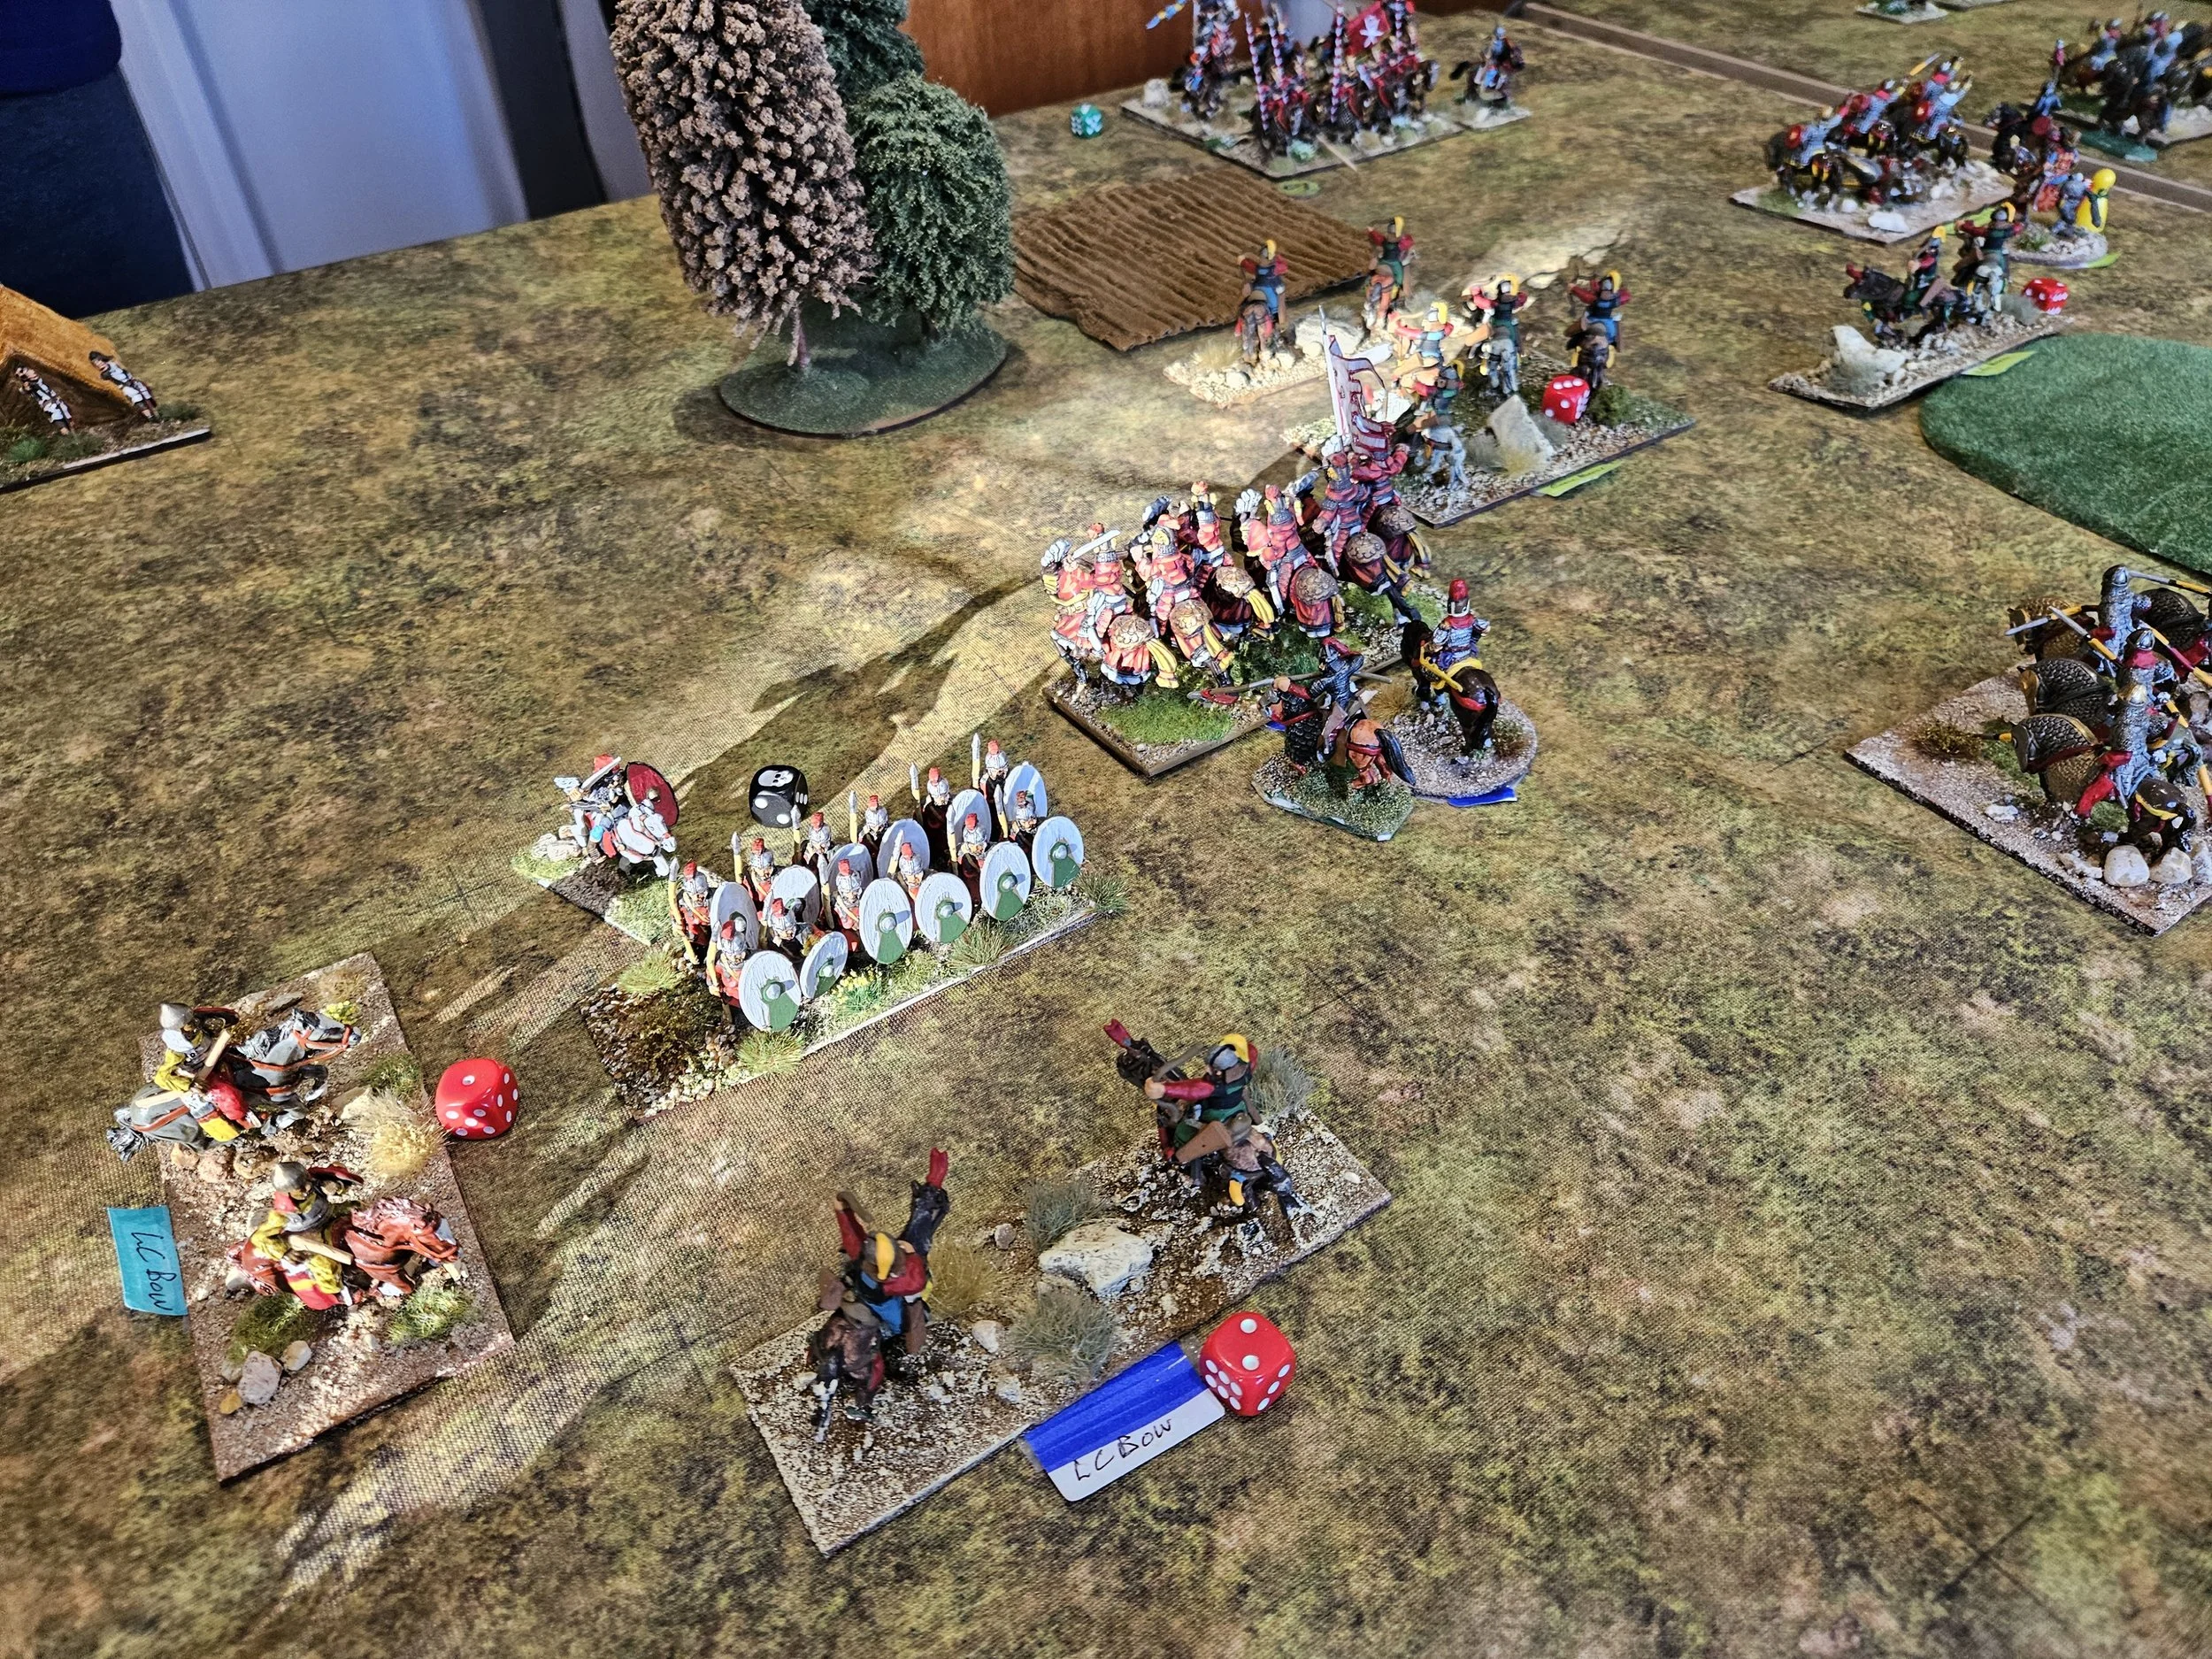
A ferocious melee broke out around the left side of my camp, but somehow my cavalry, armed only with bows, and a unit of horse-archers held back the veteran Roman lancers.
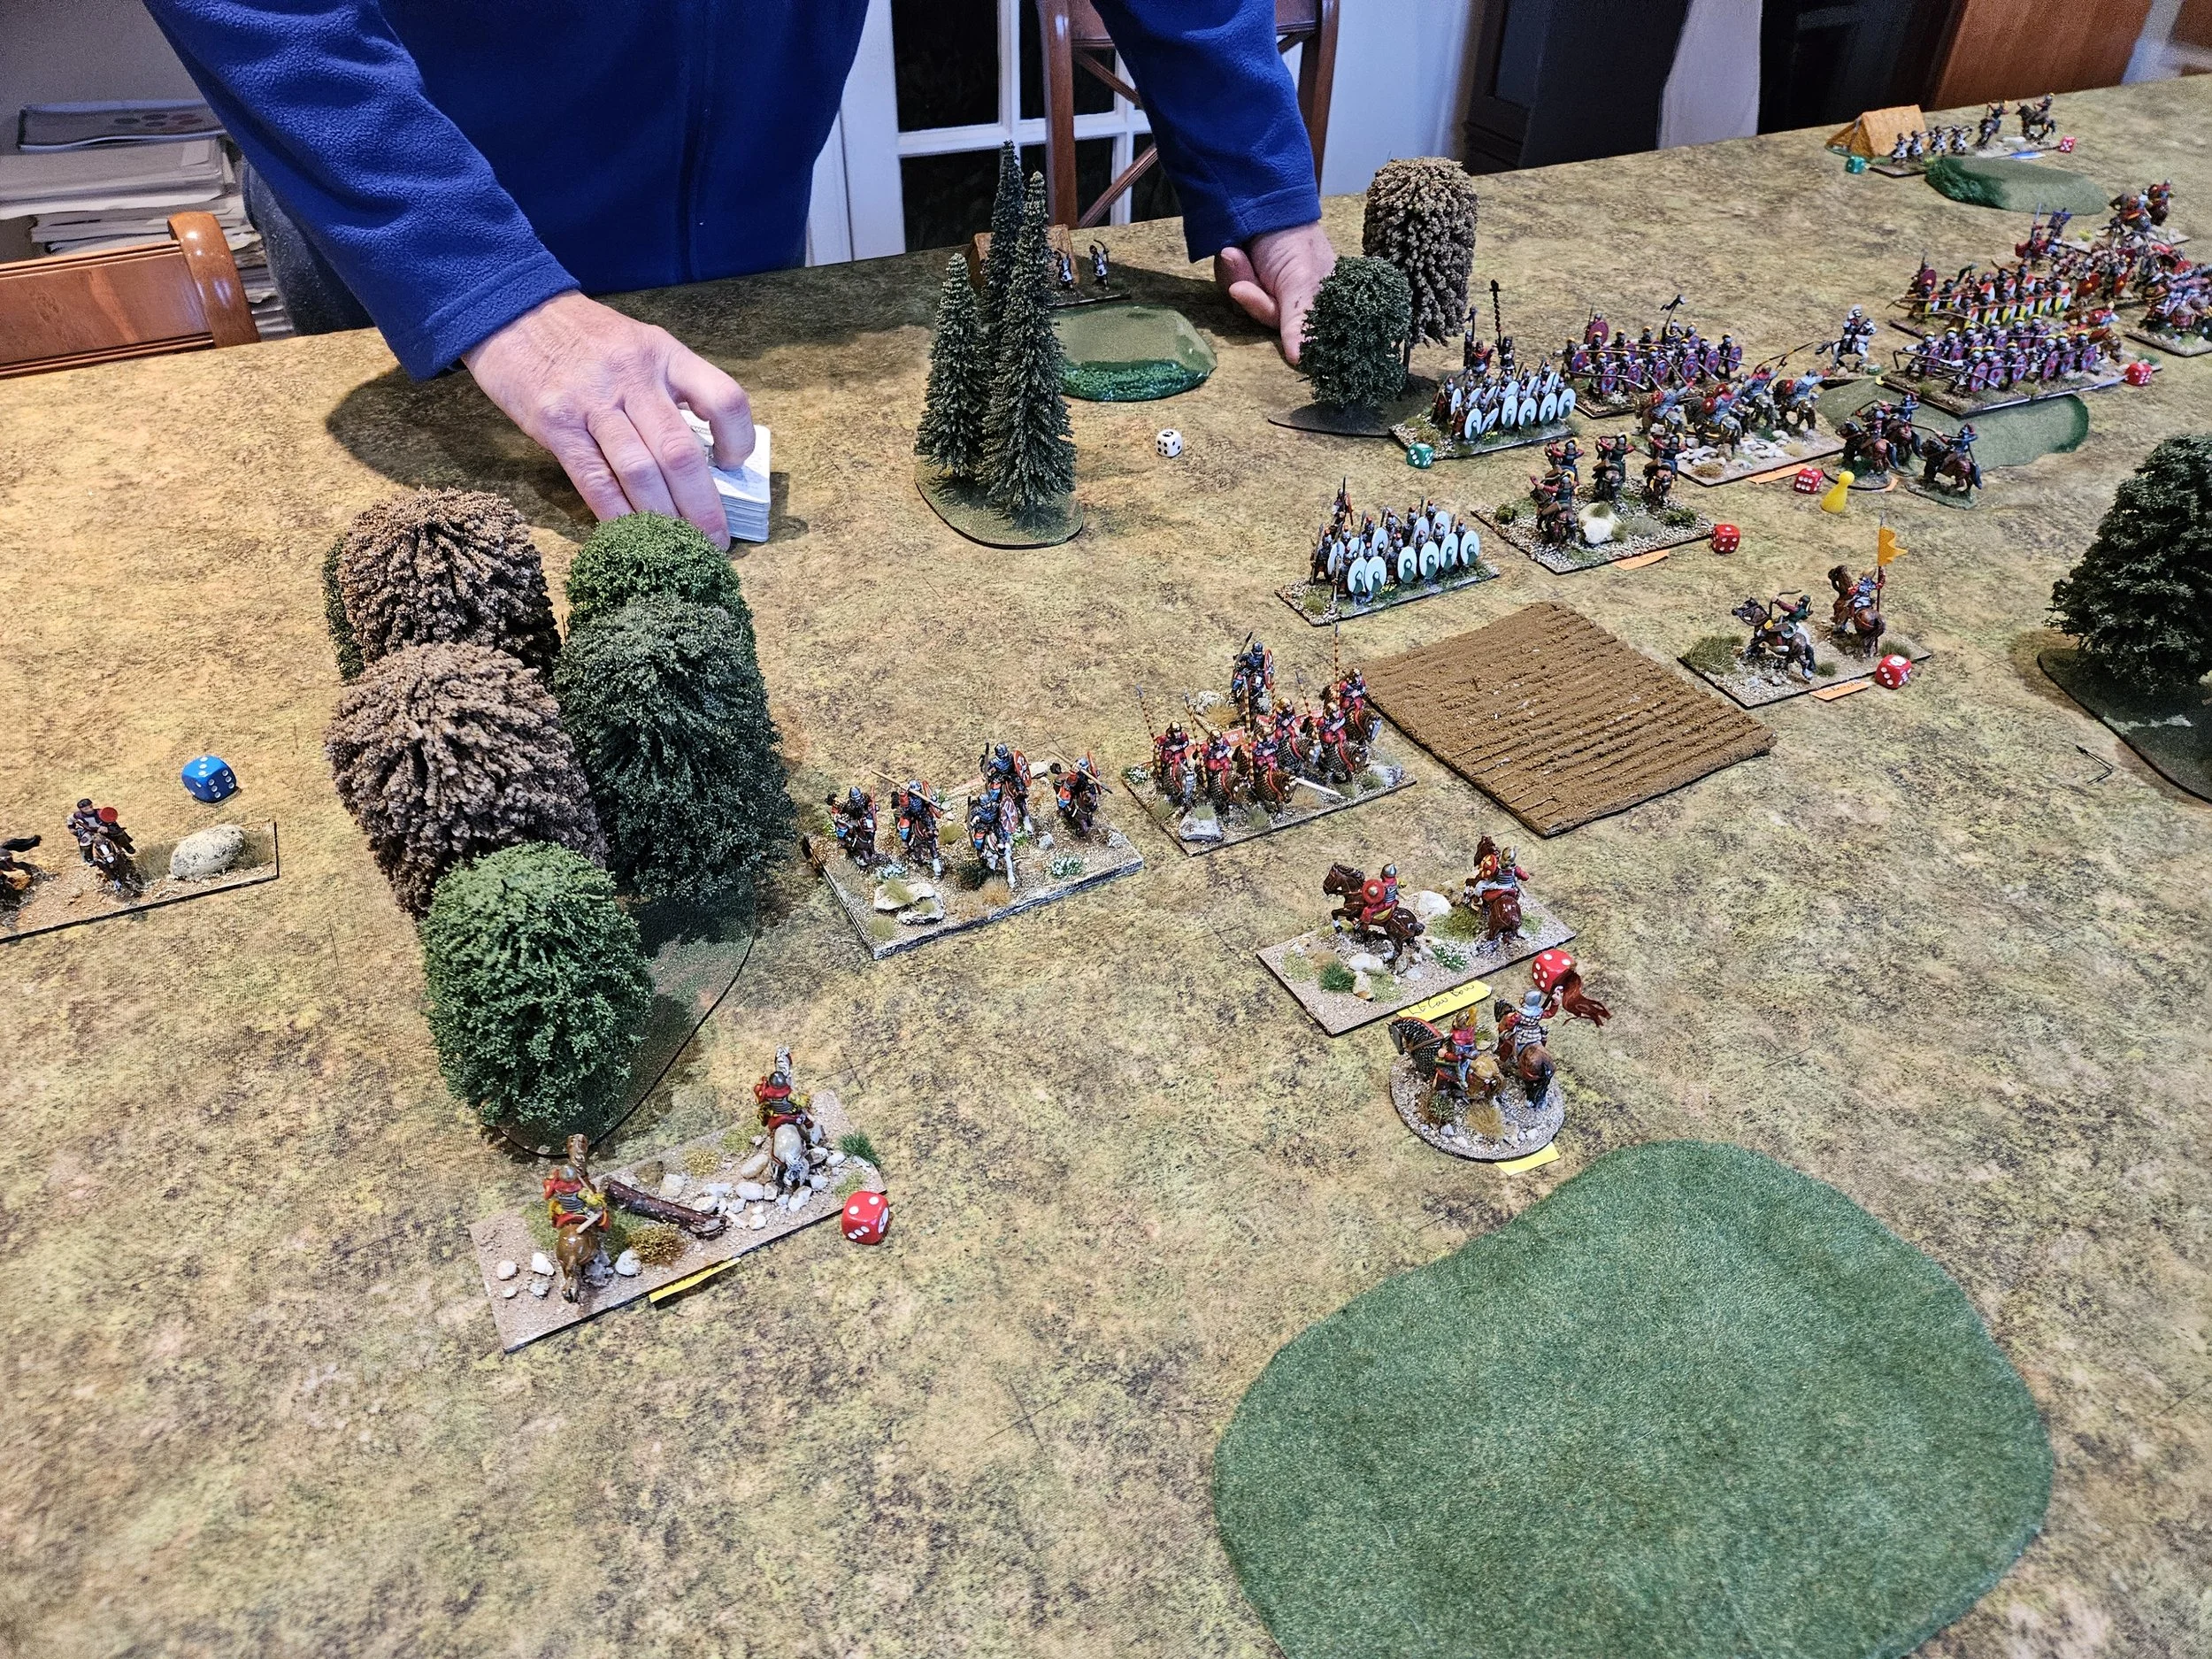
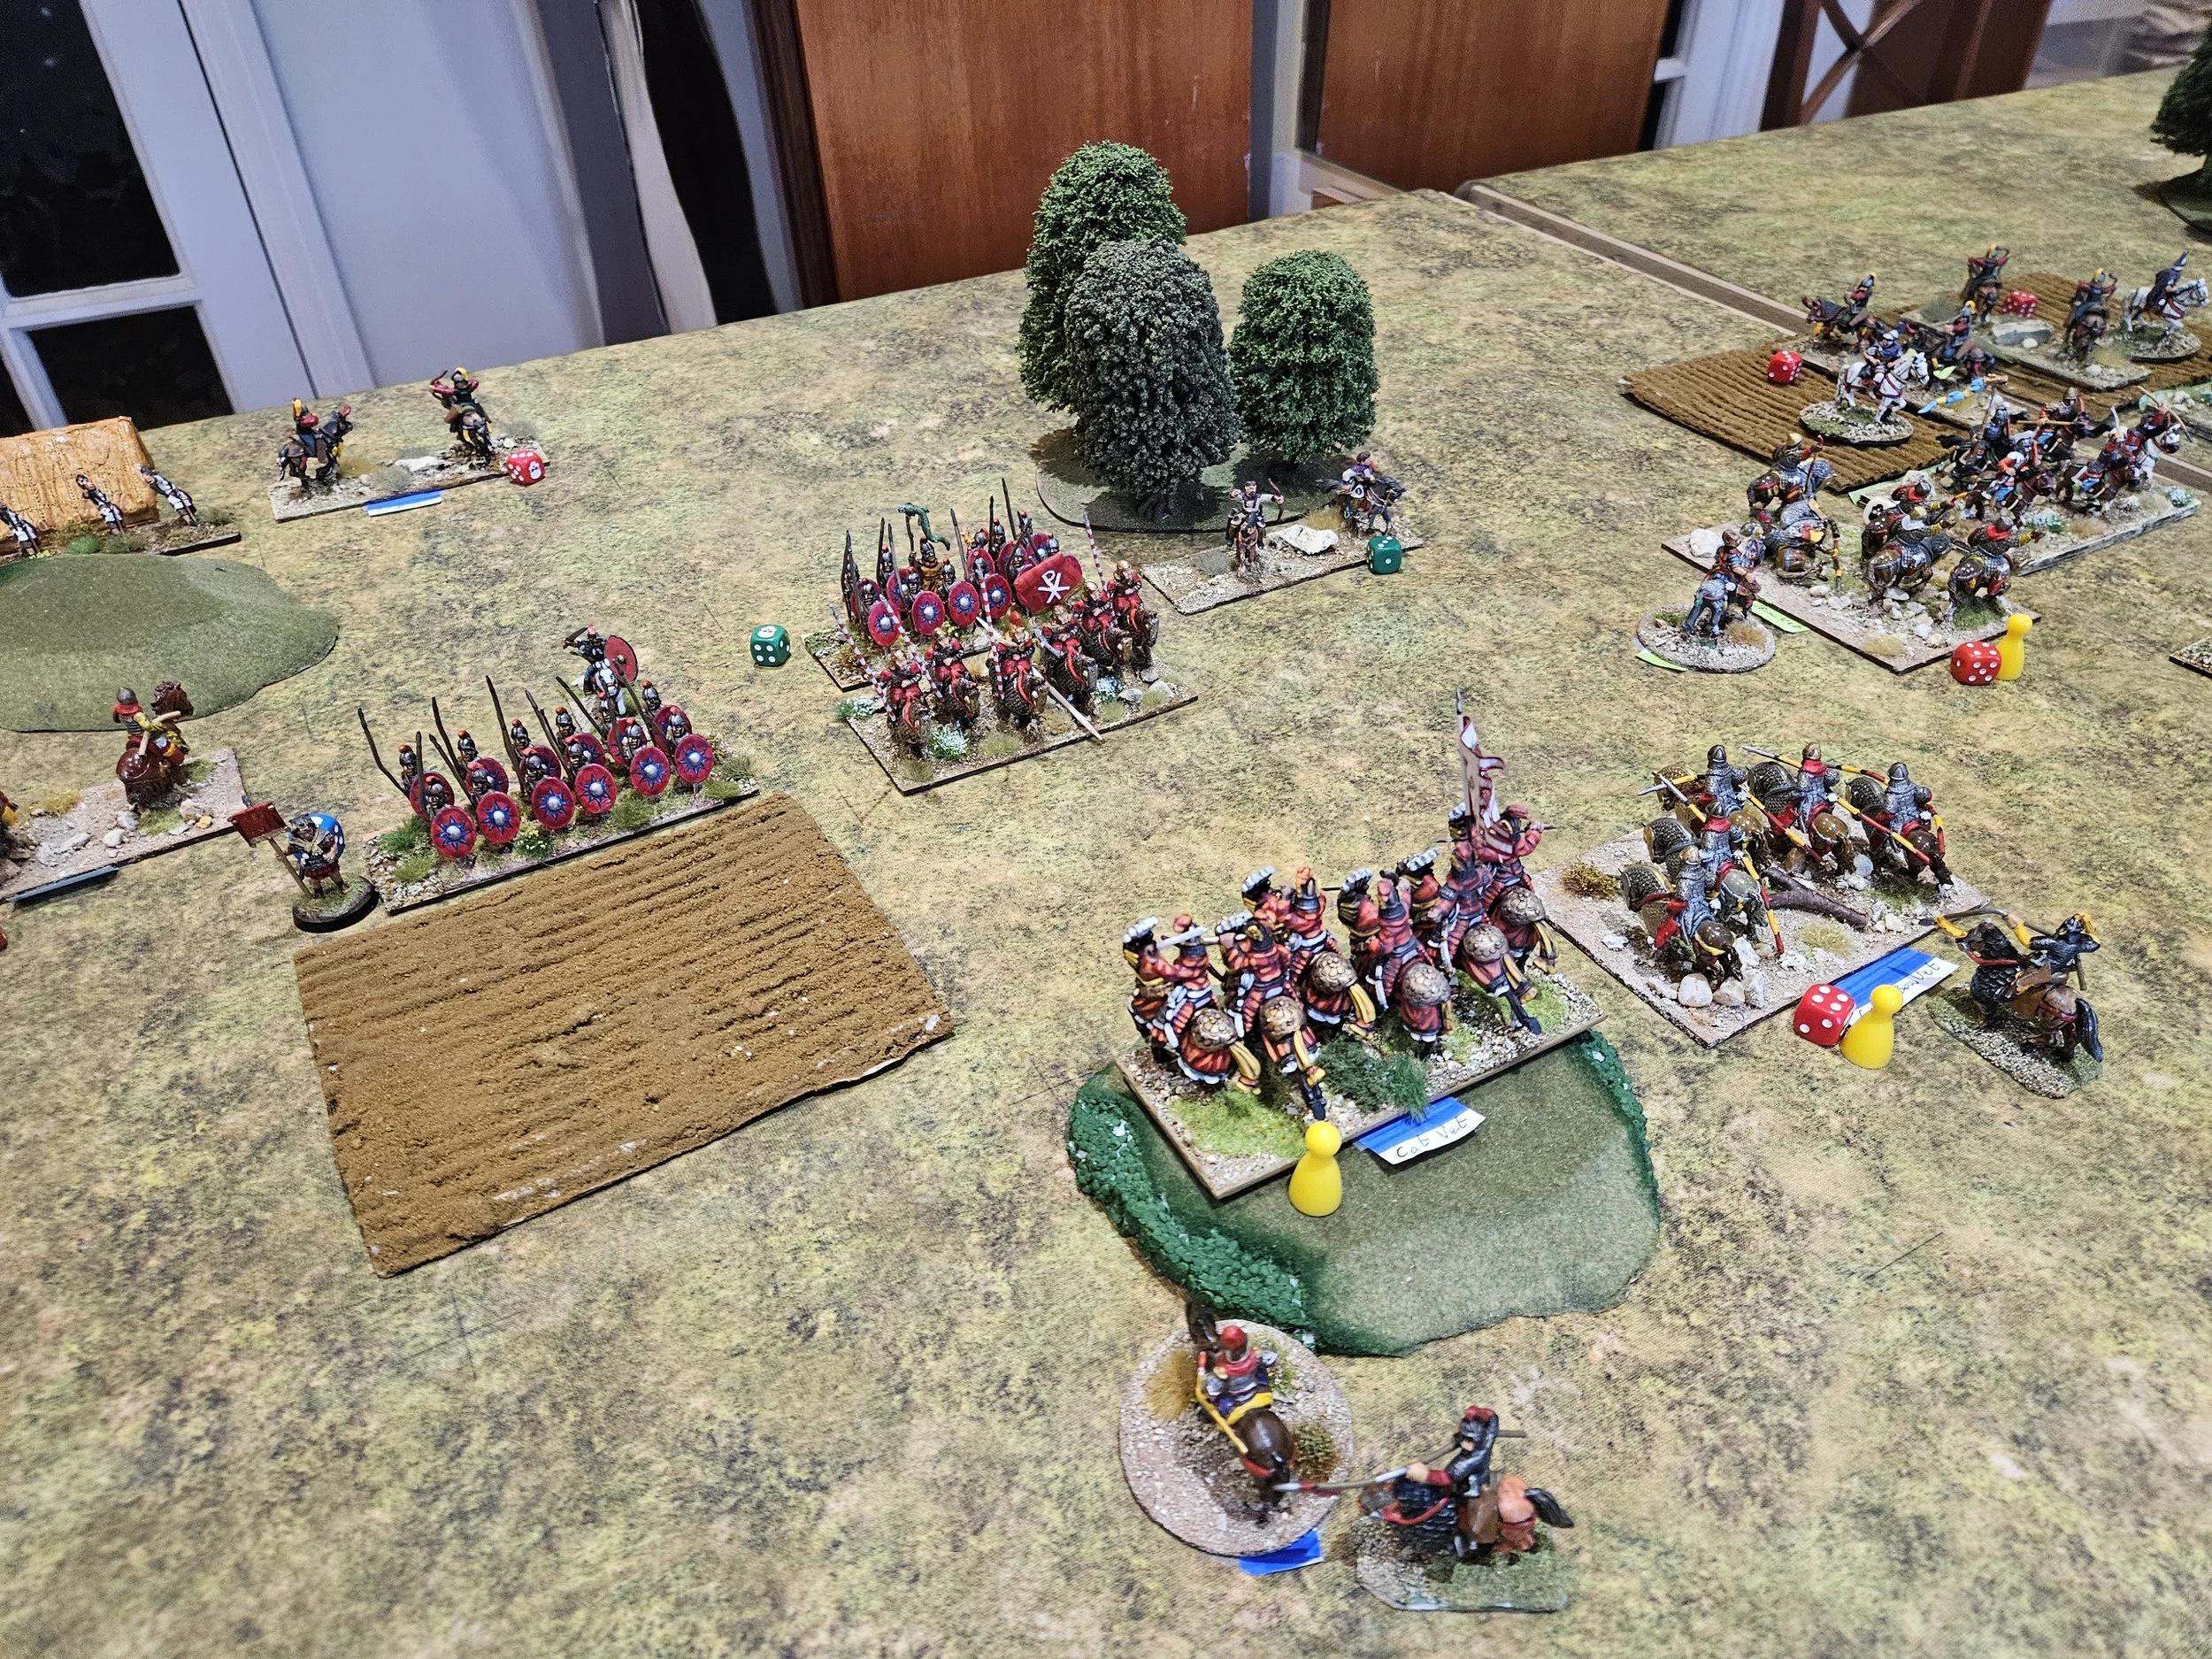
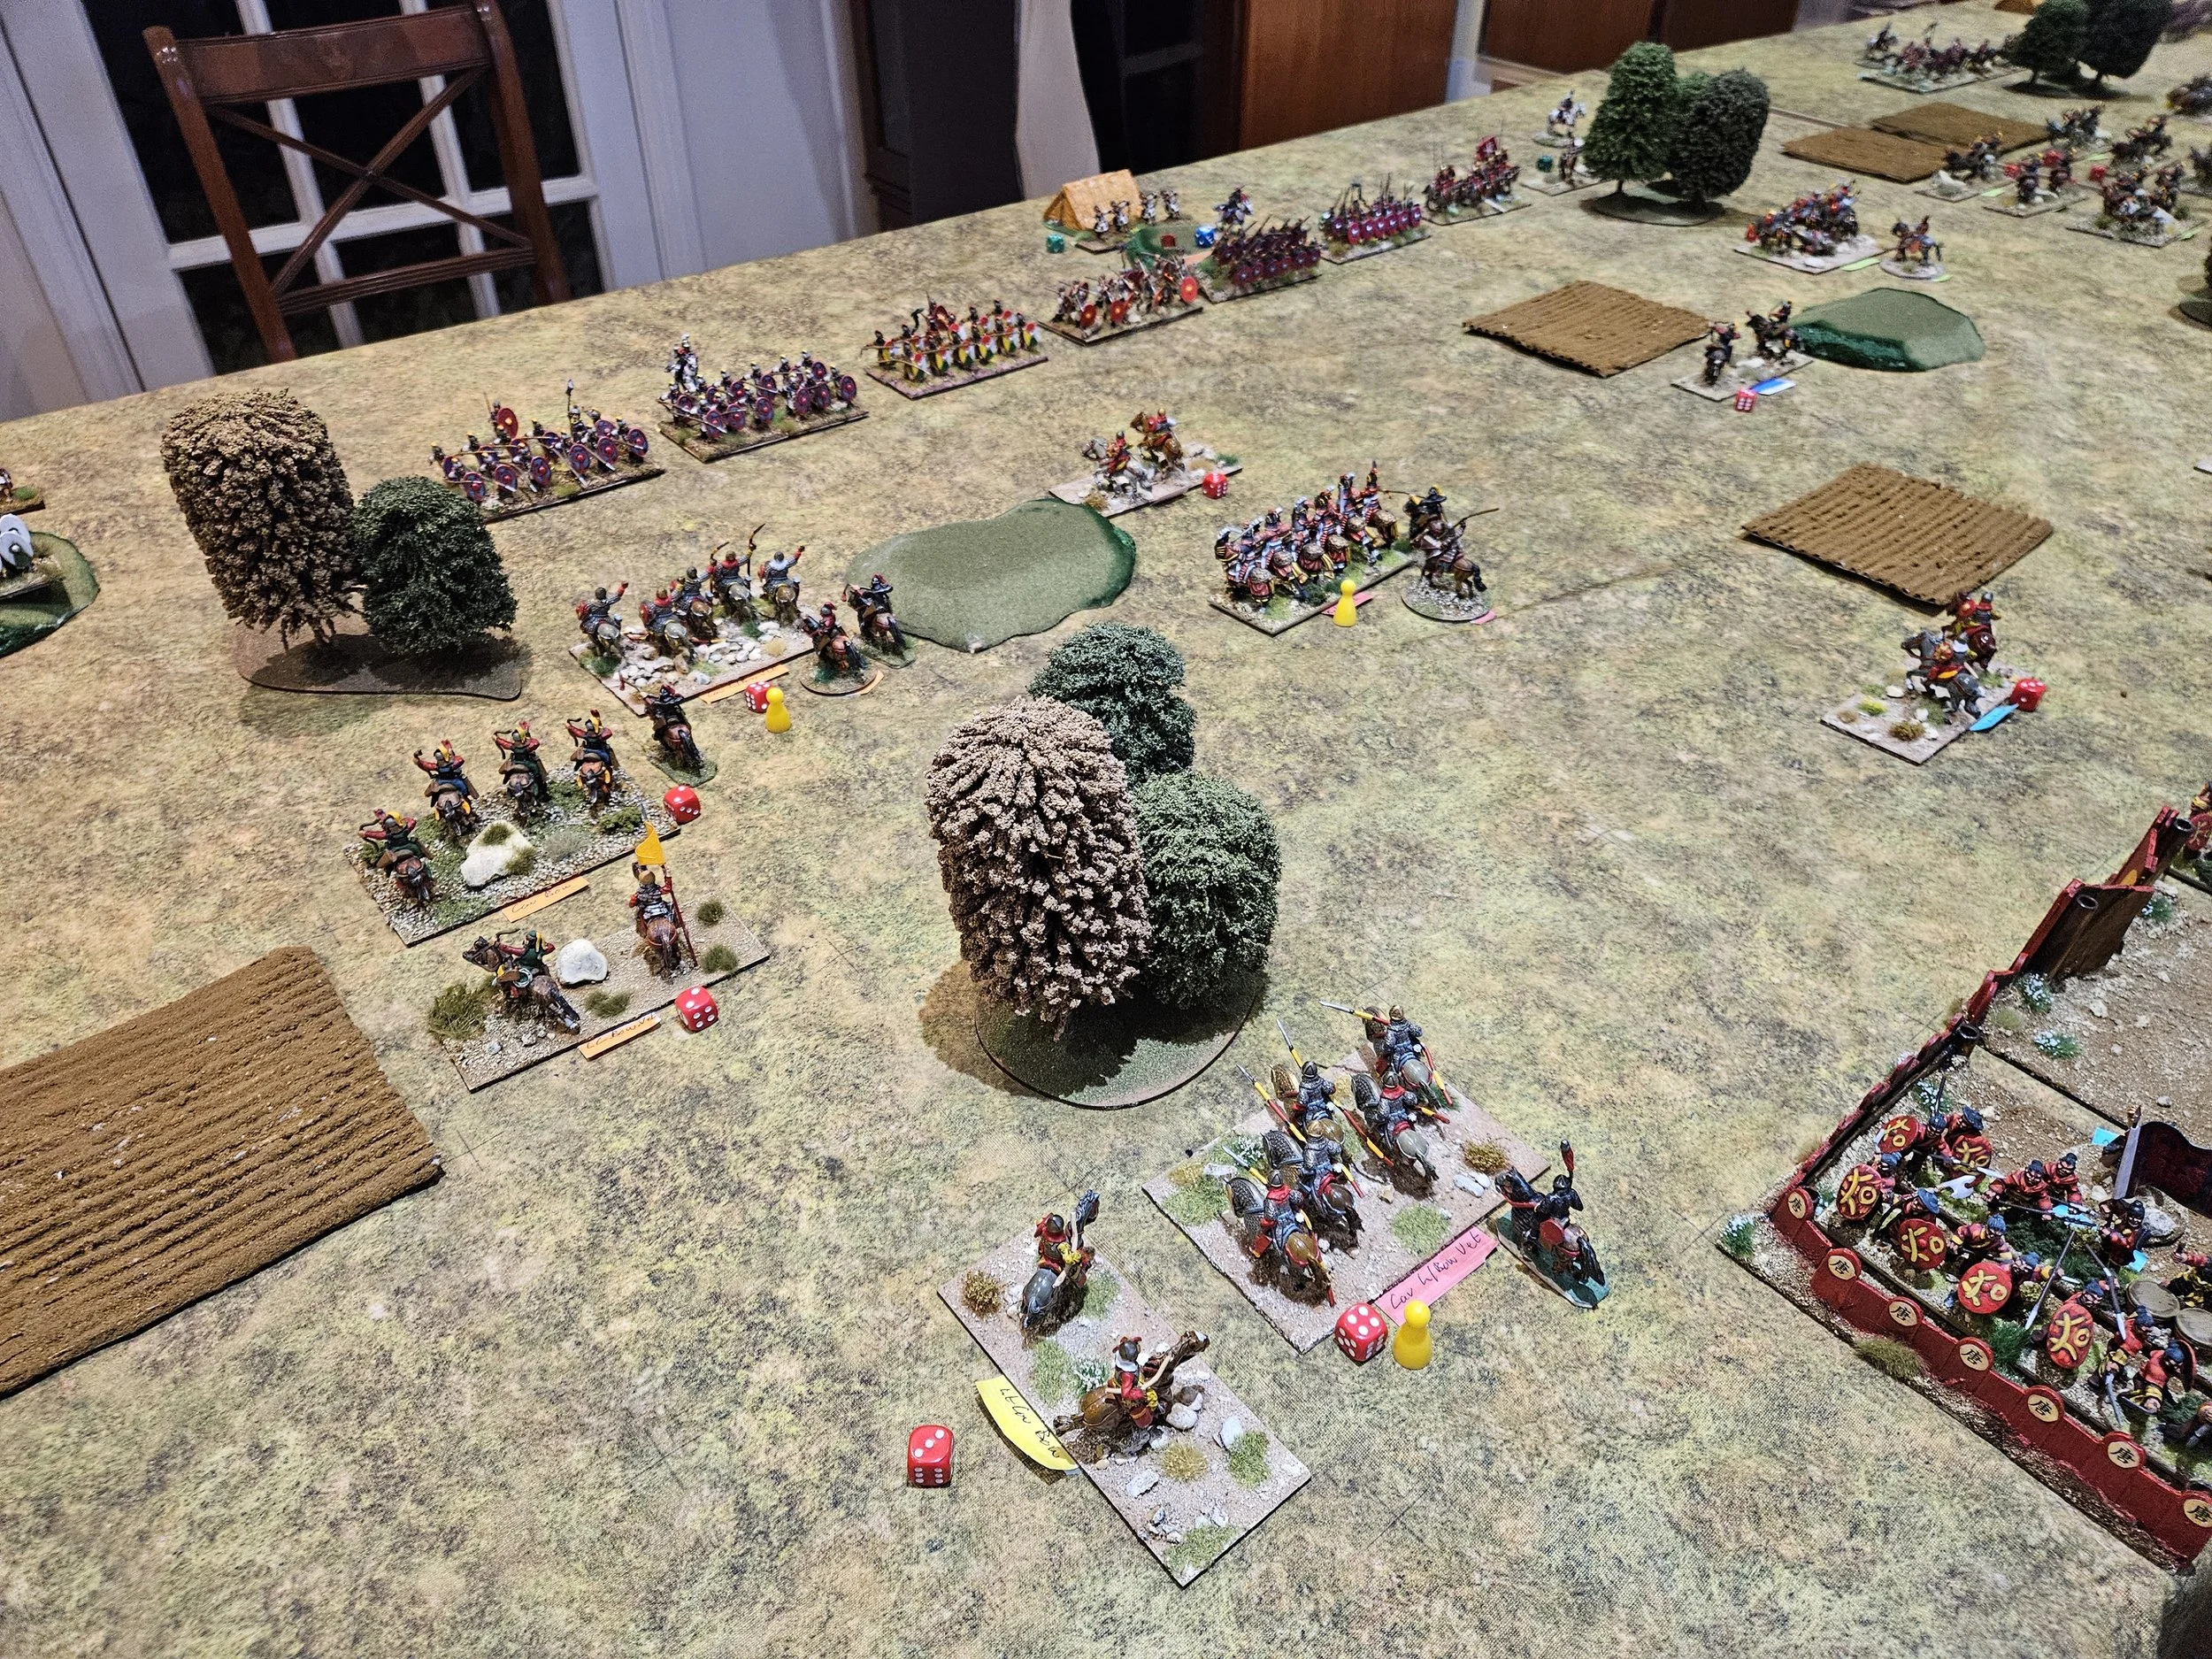
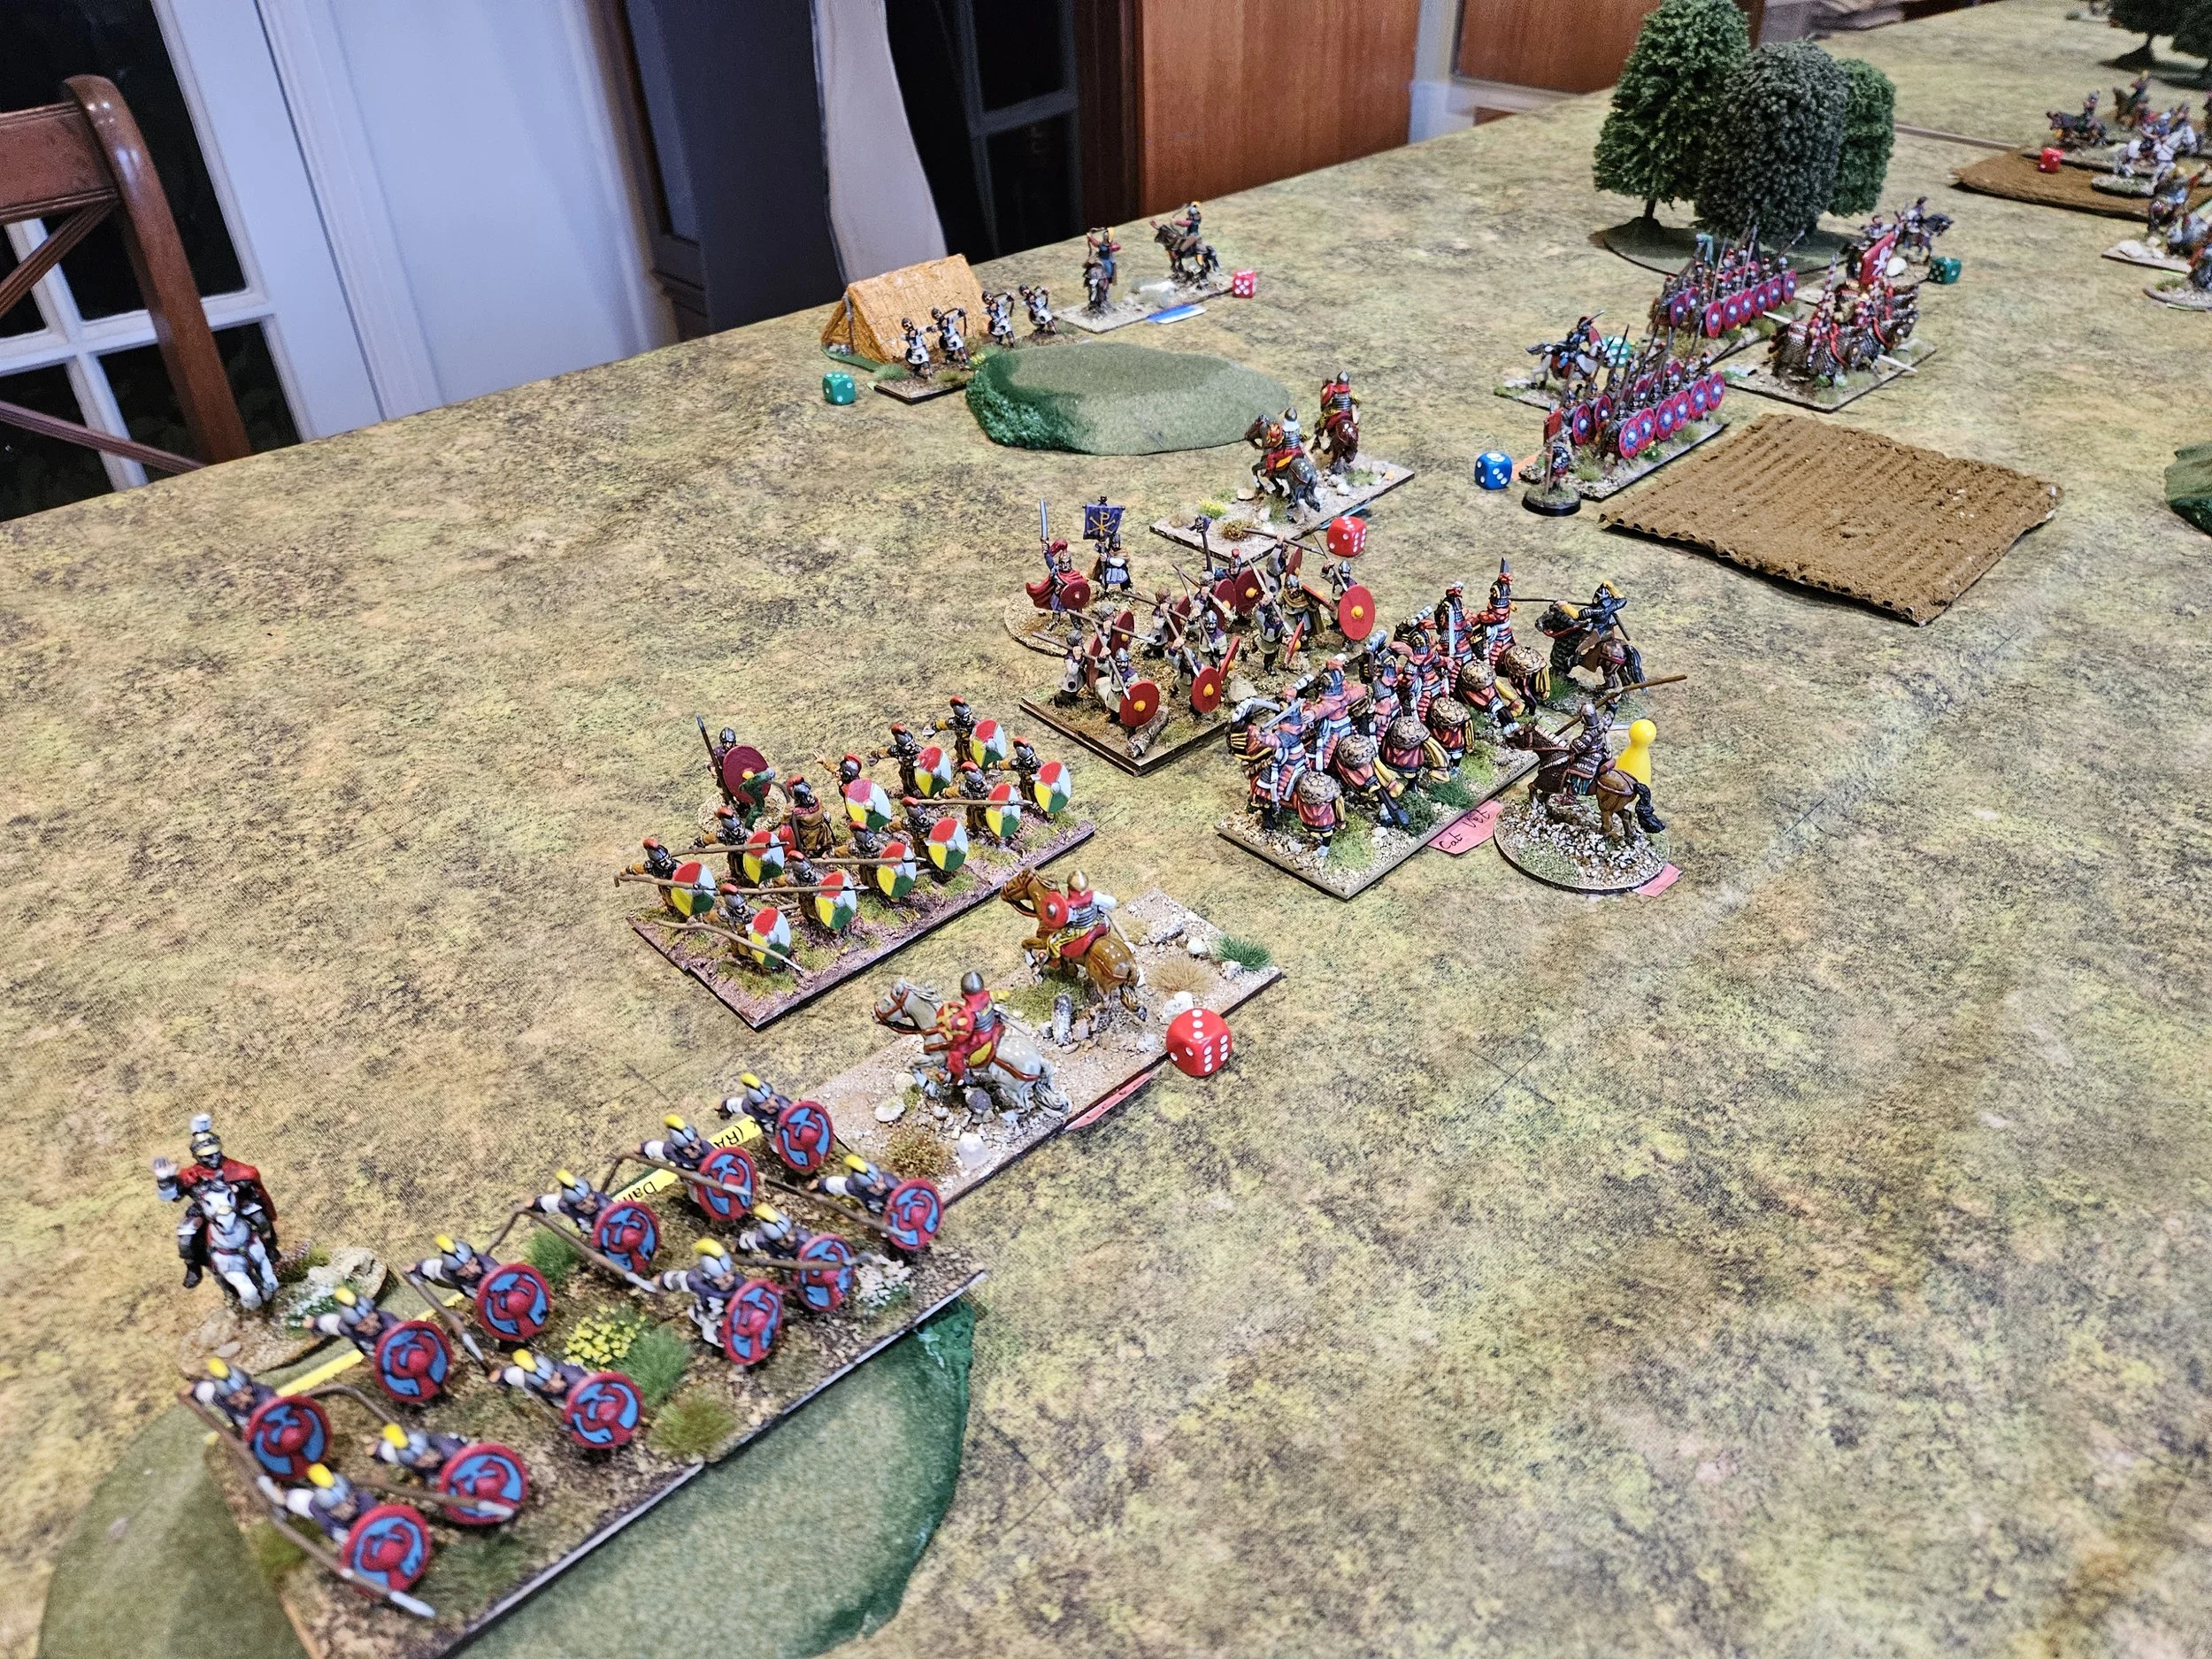
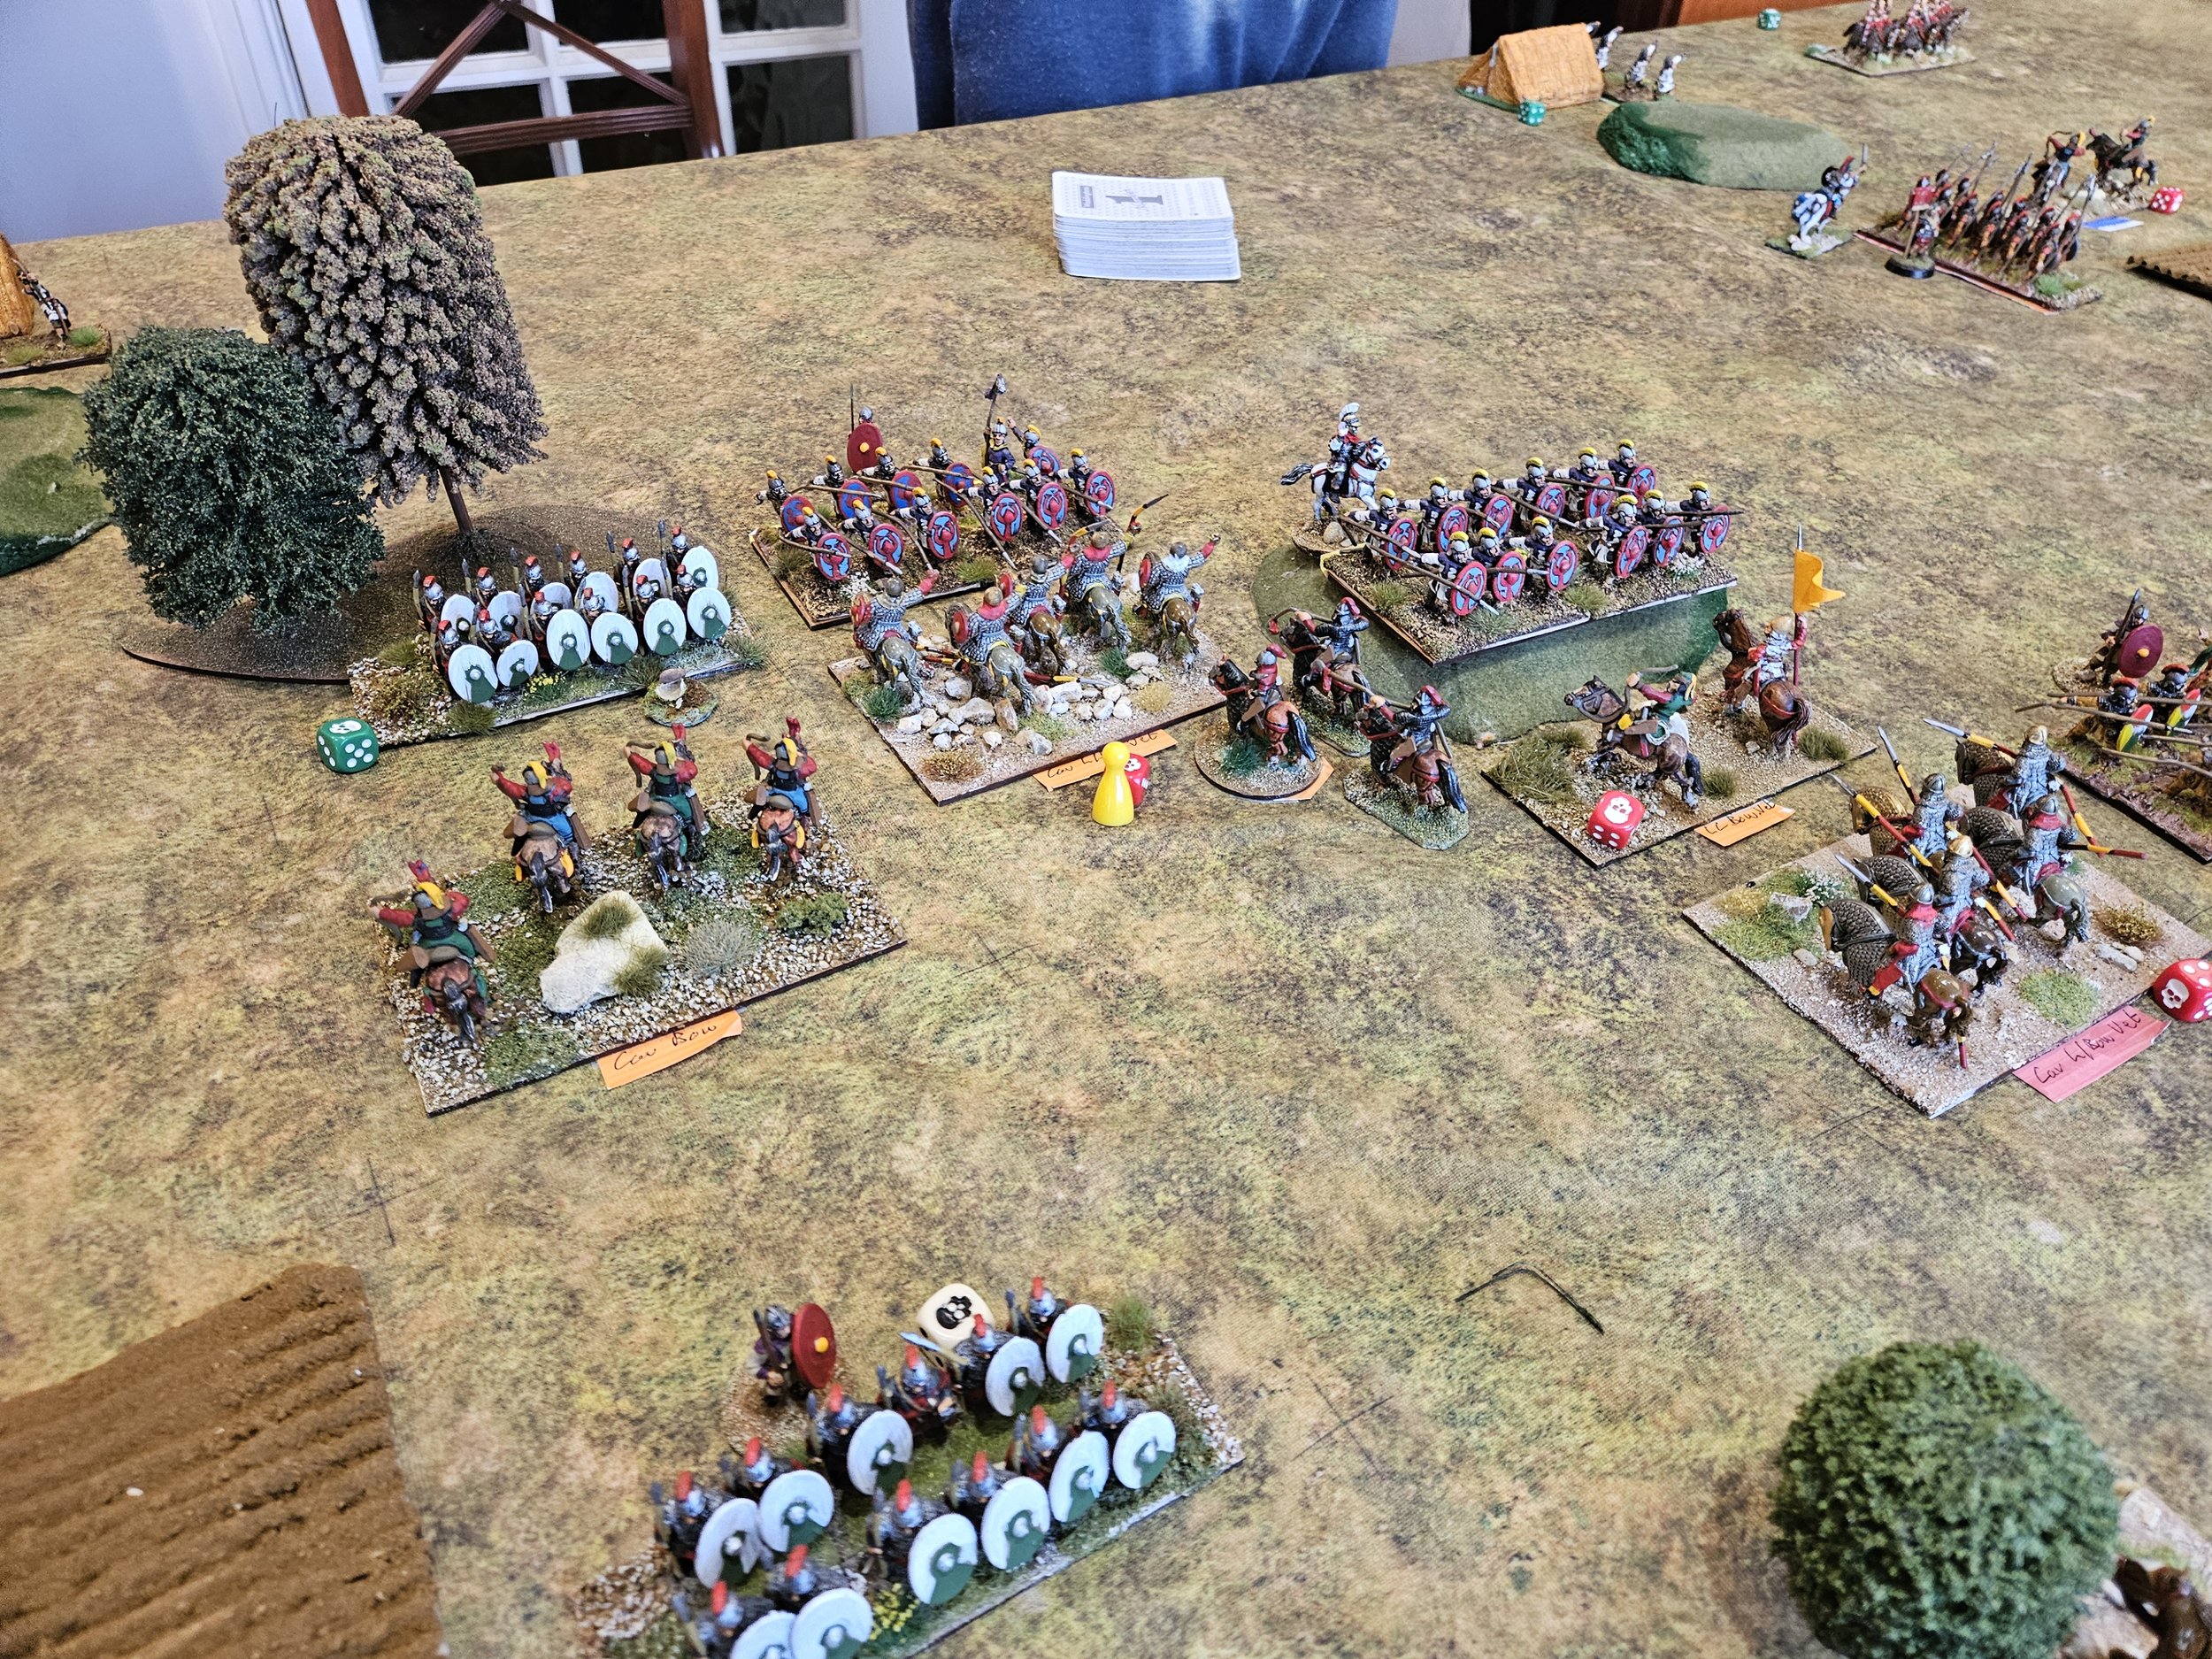
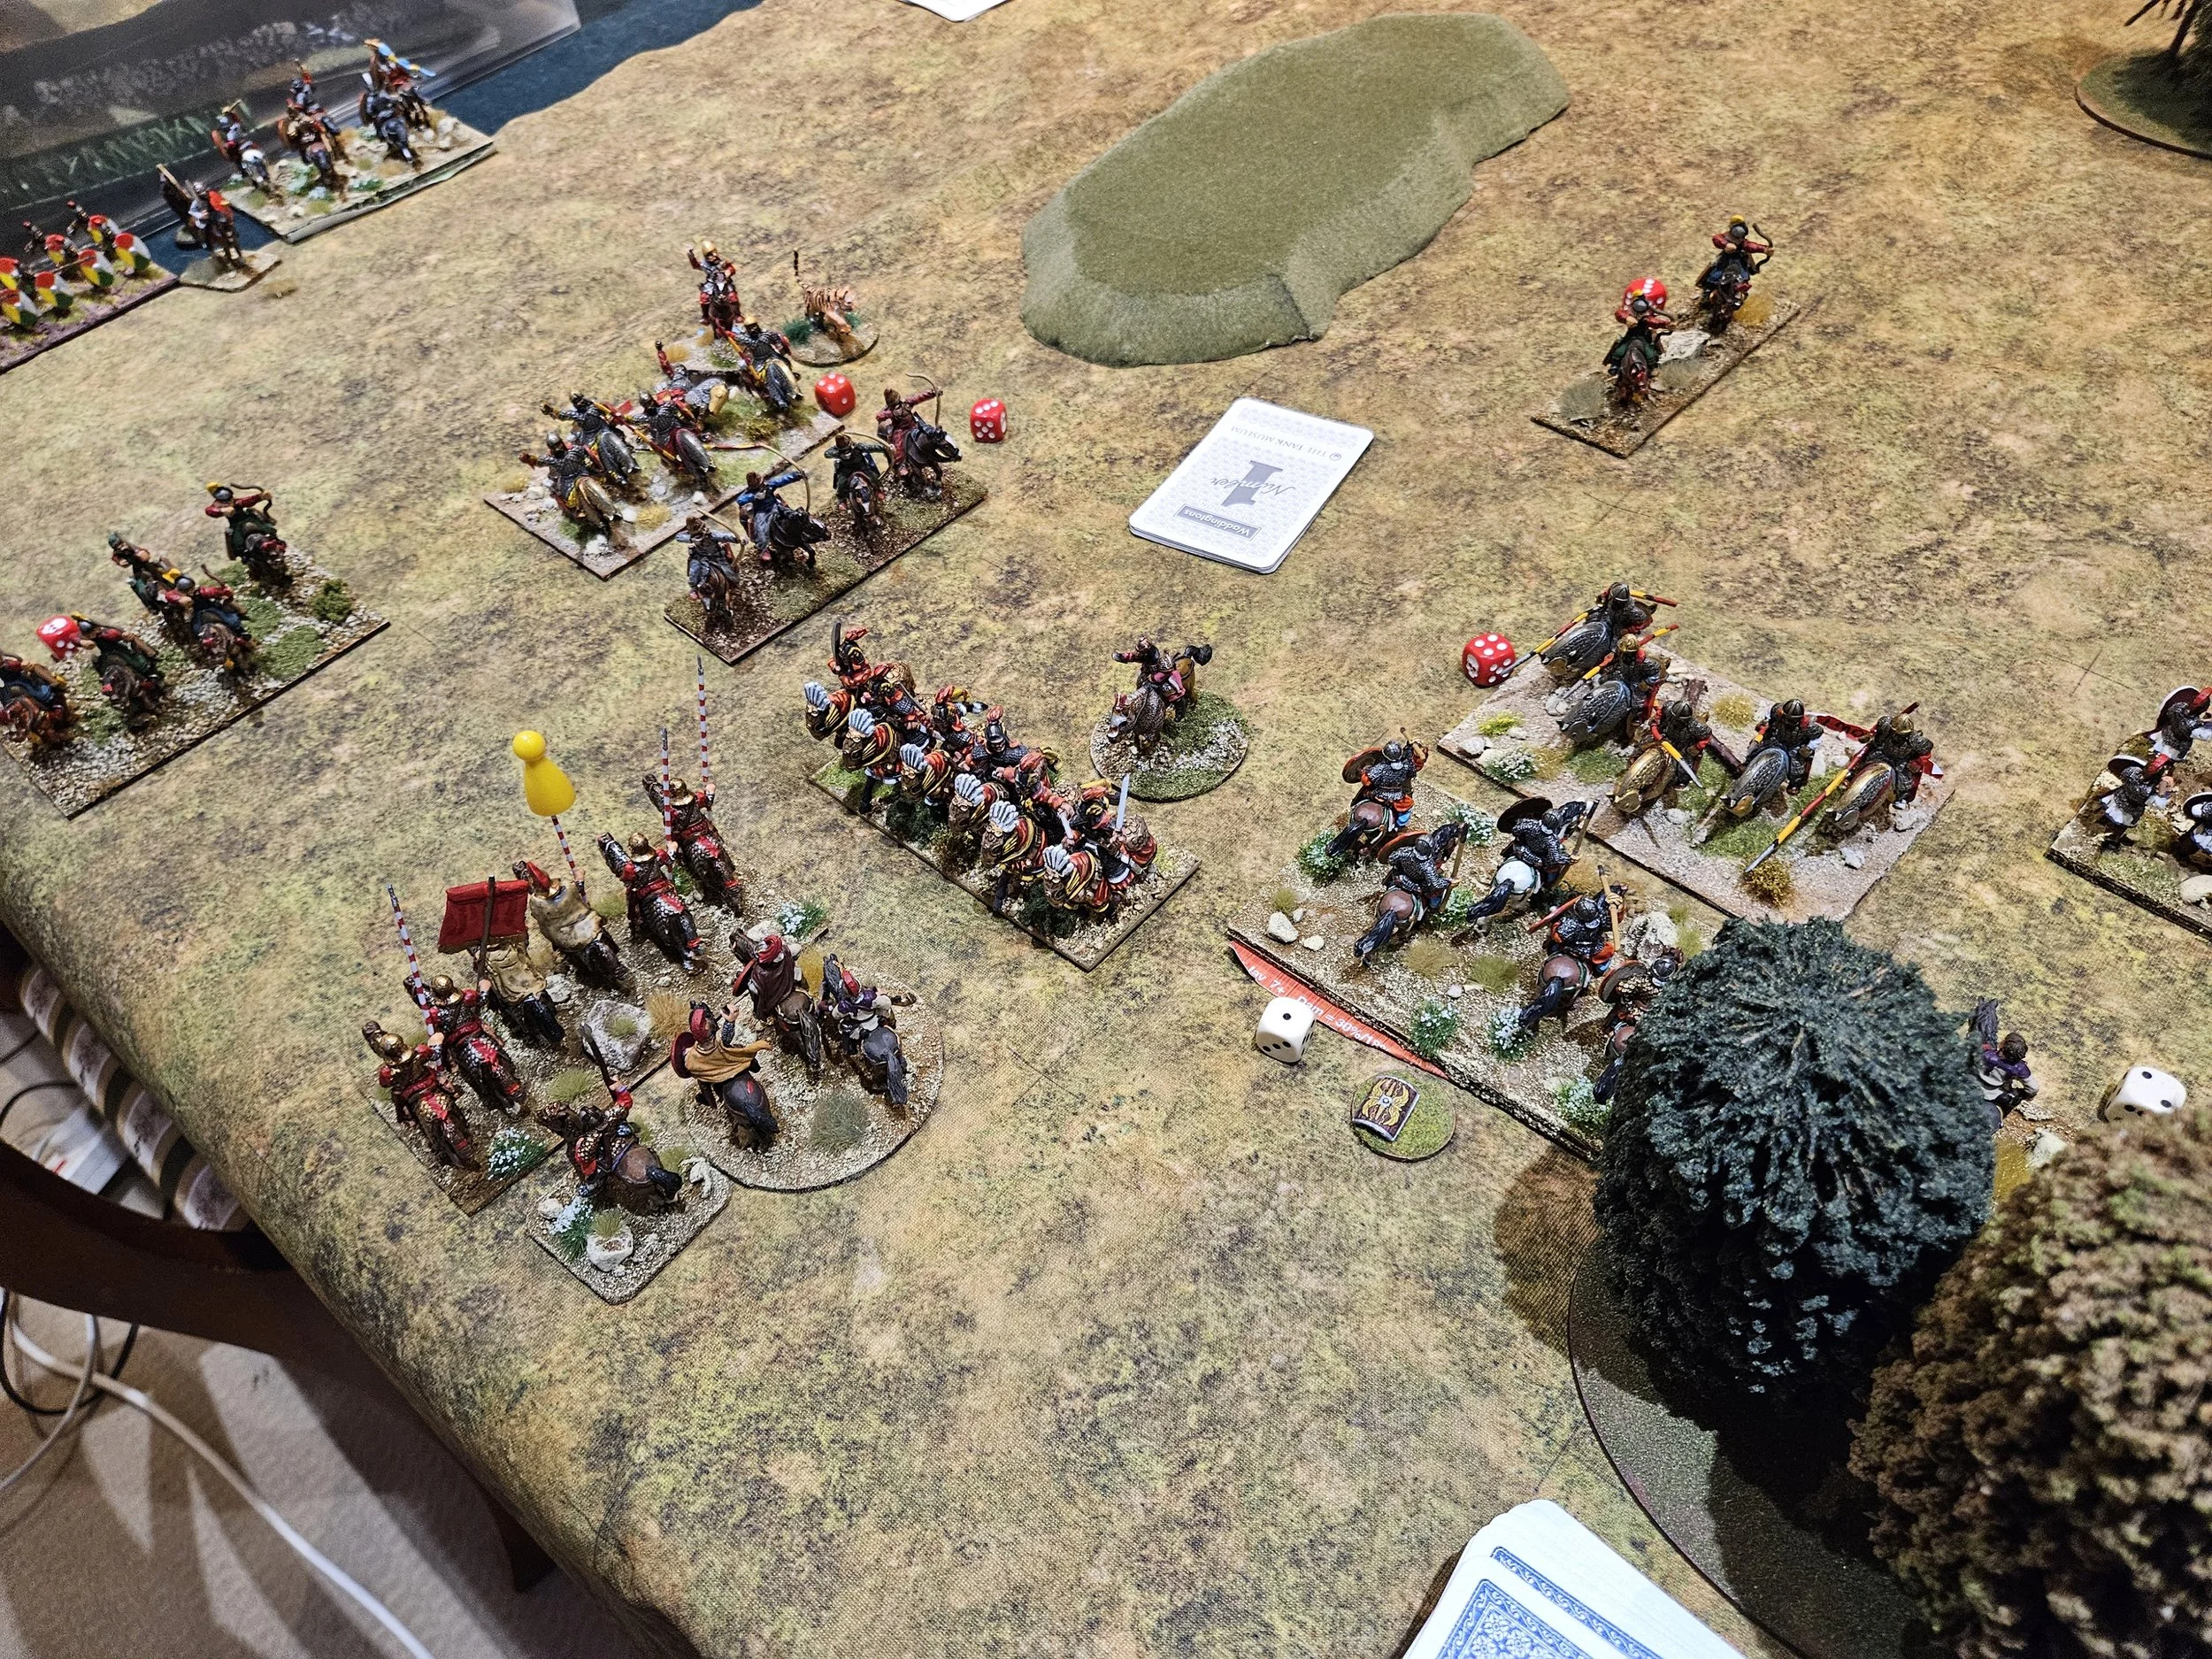
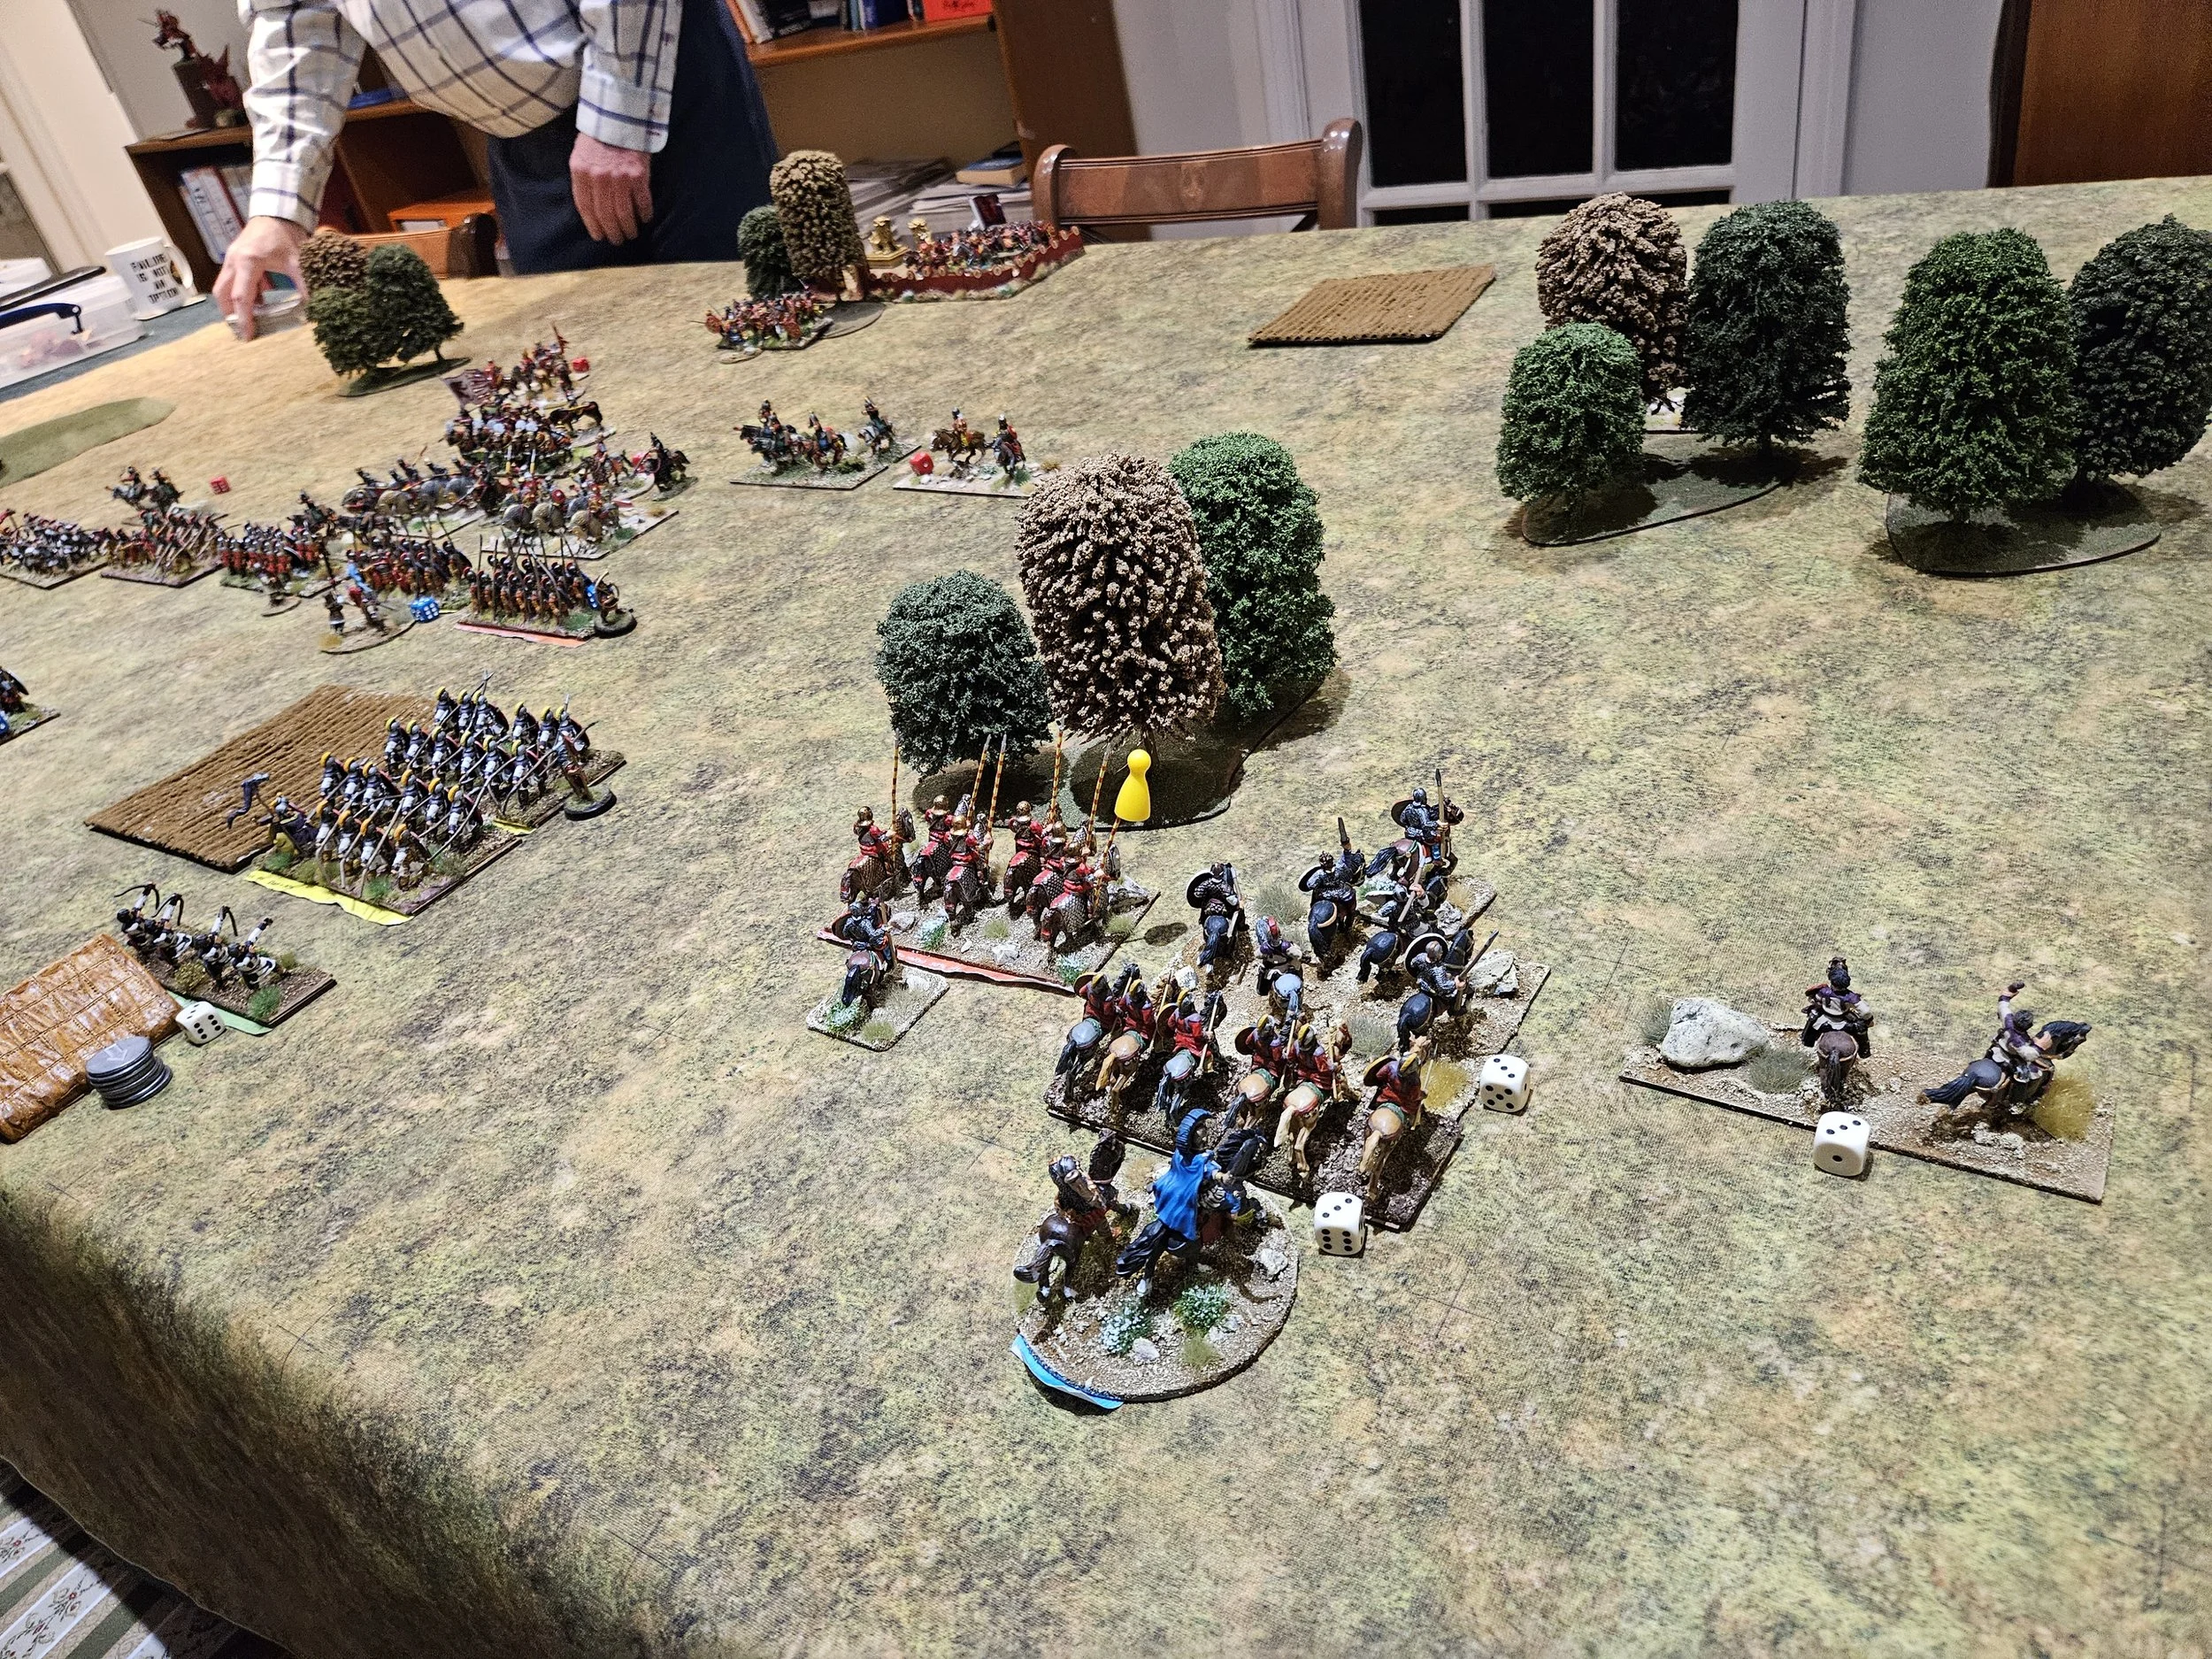
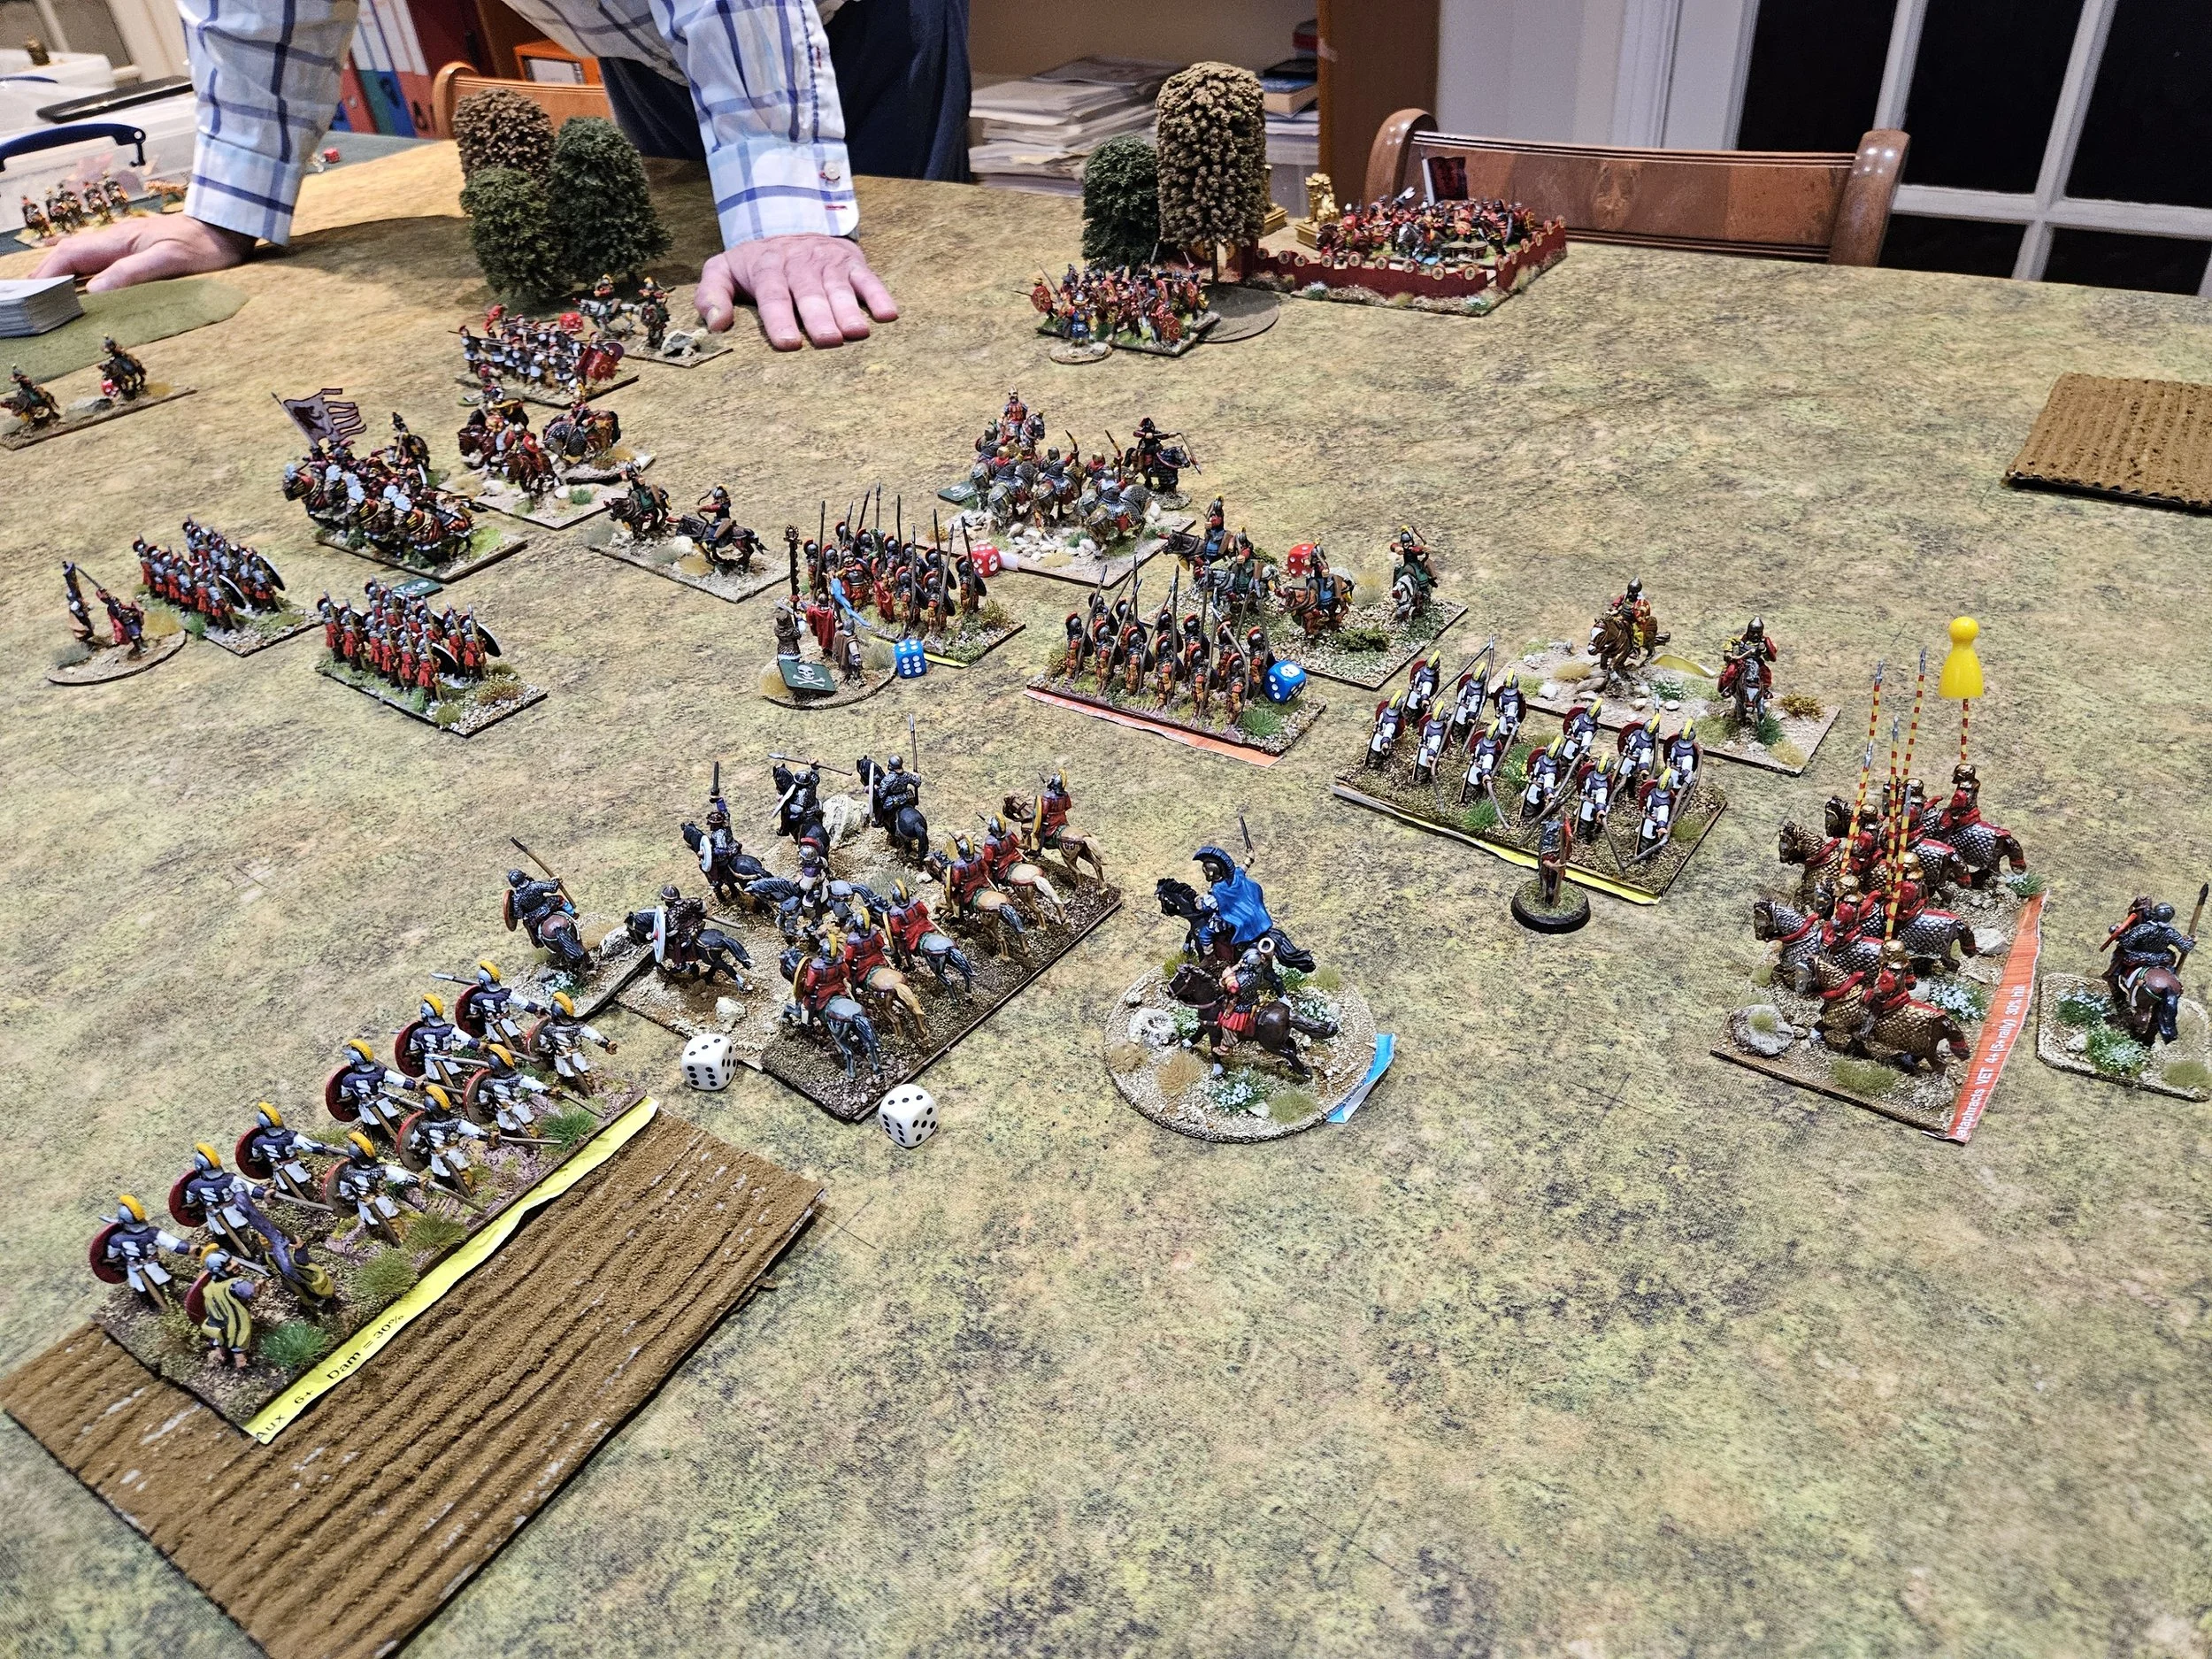
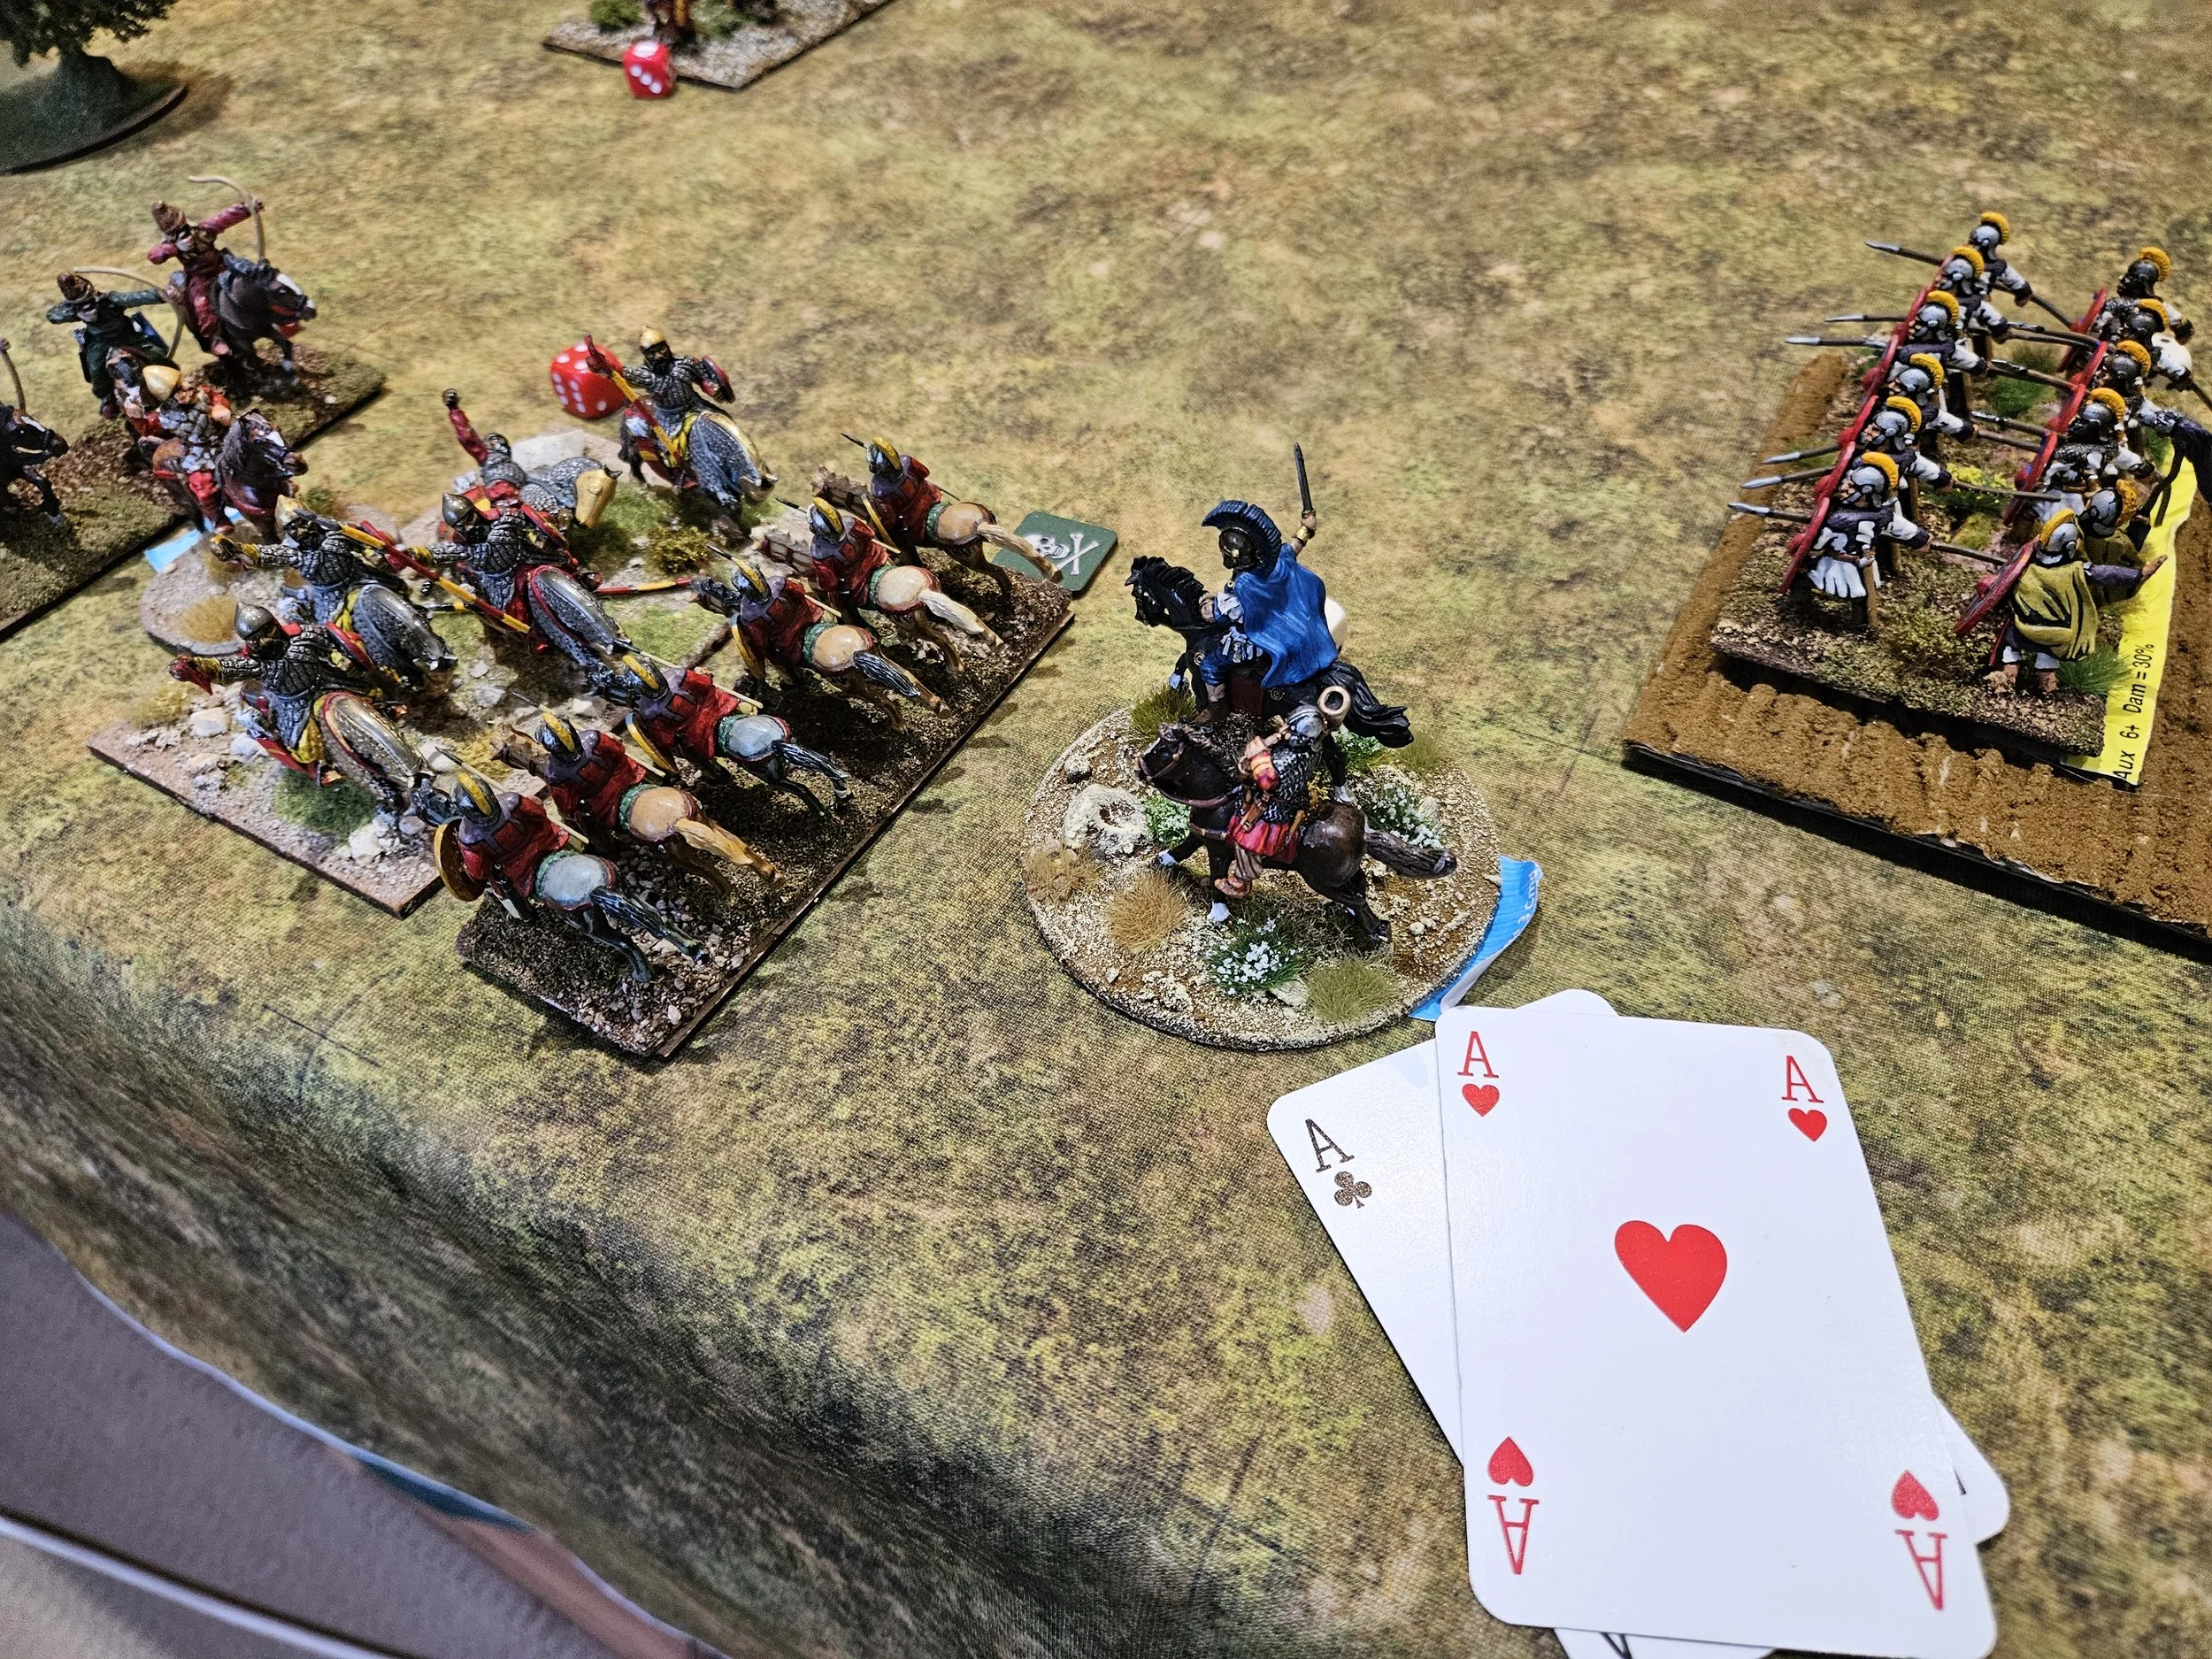
But this couldn’t last, and I now needed to win the battle quickly, sending everything forward into battle in the centre and on the right!
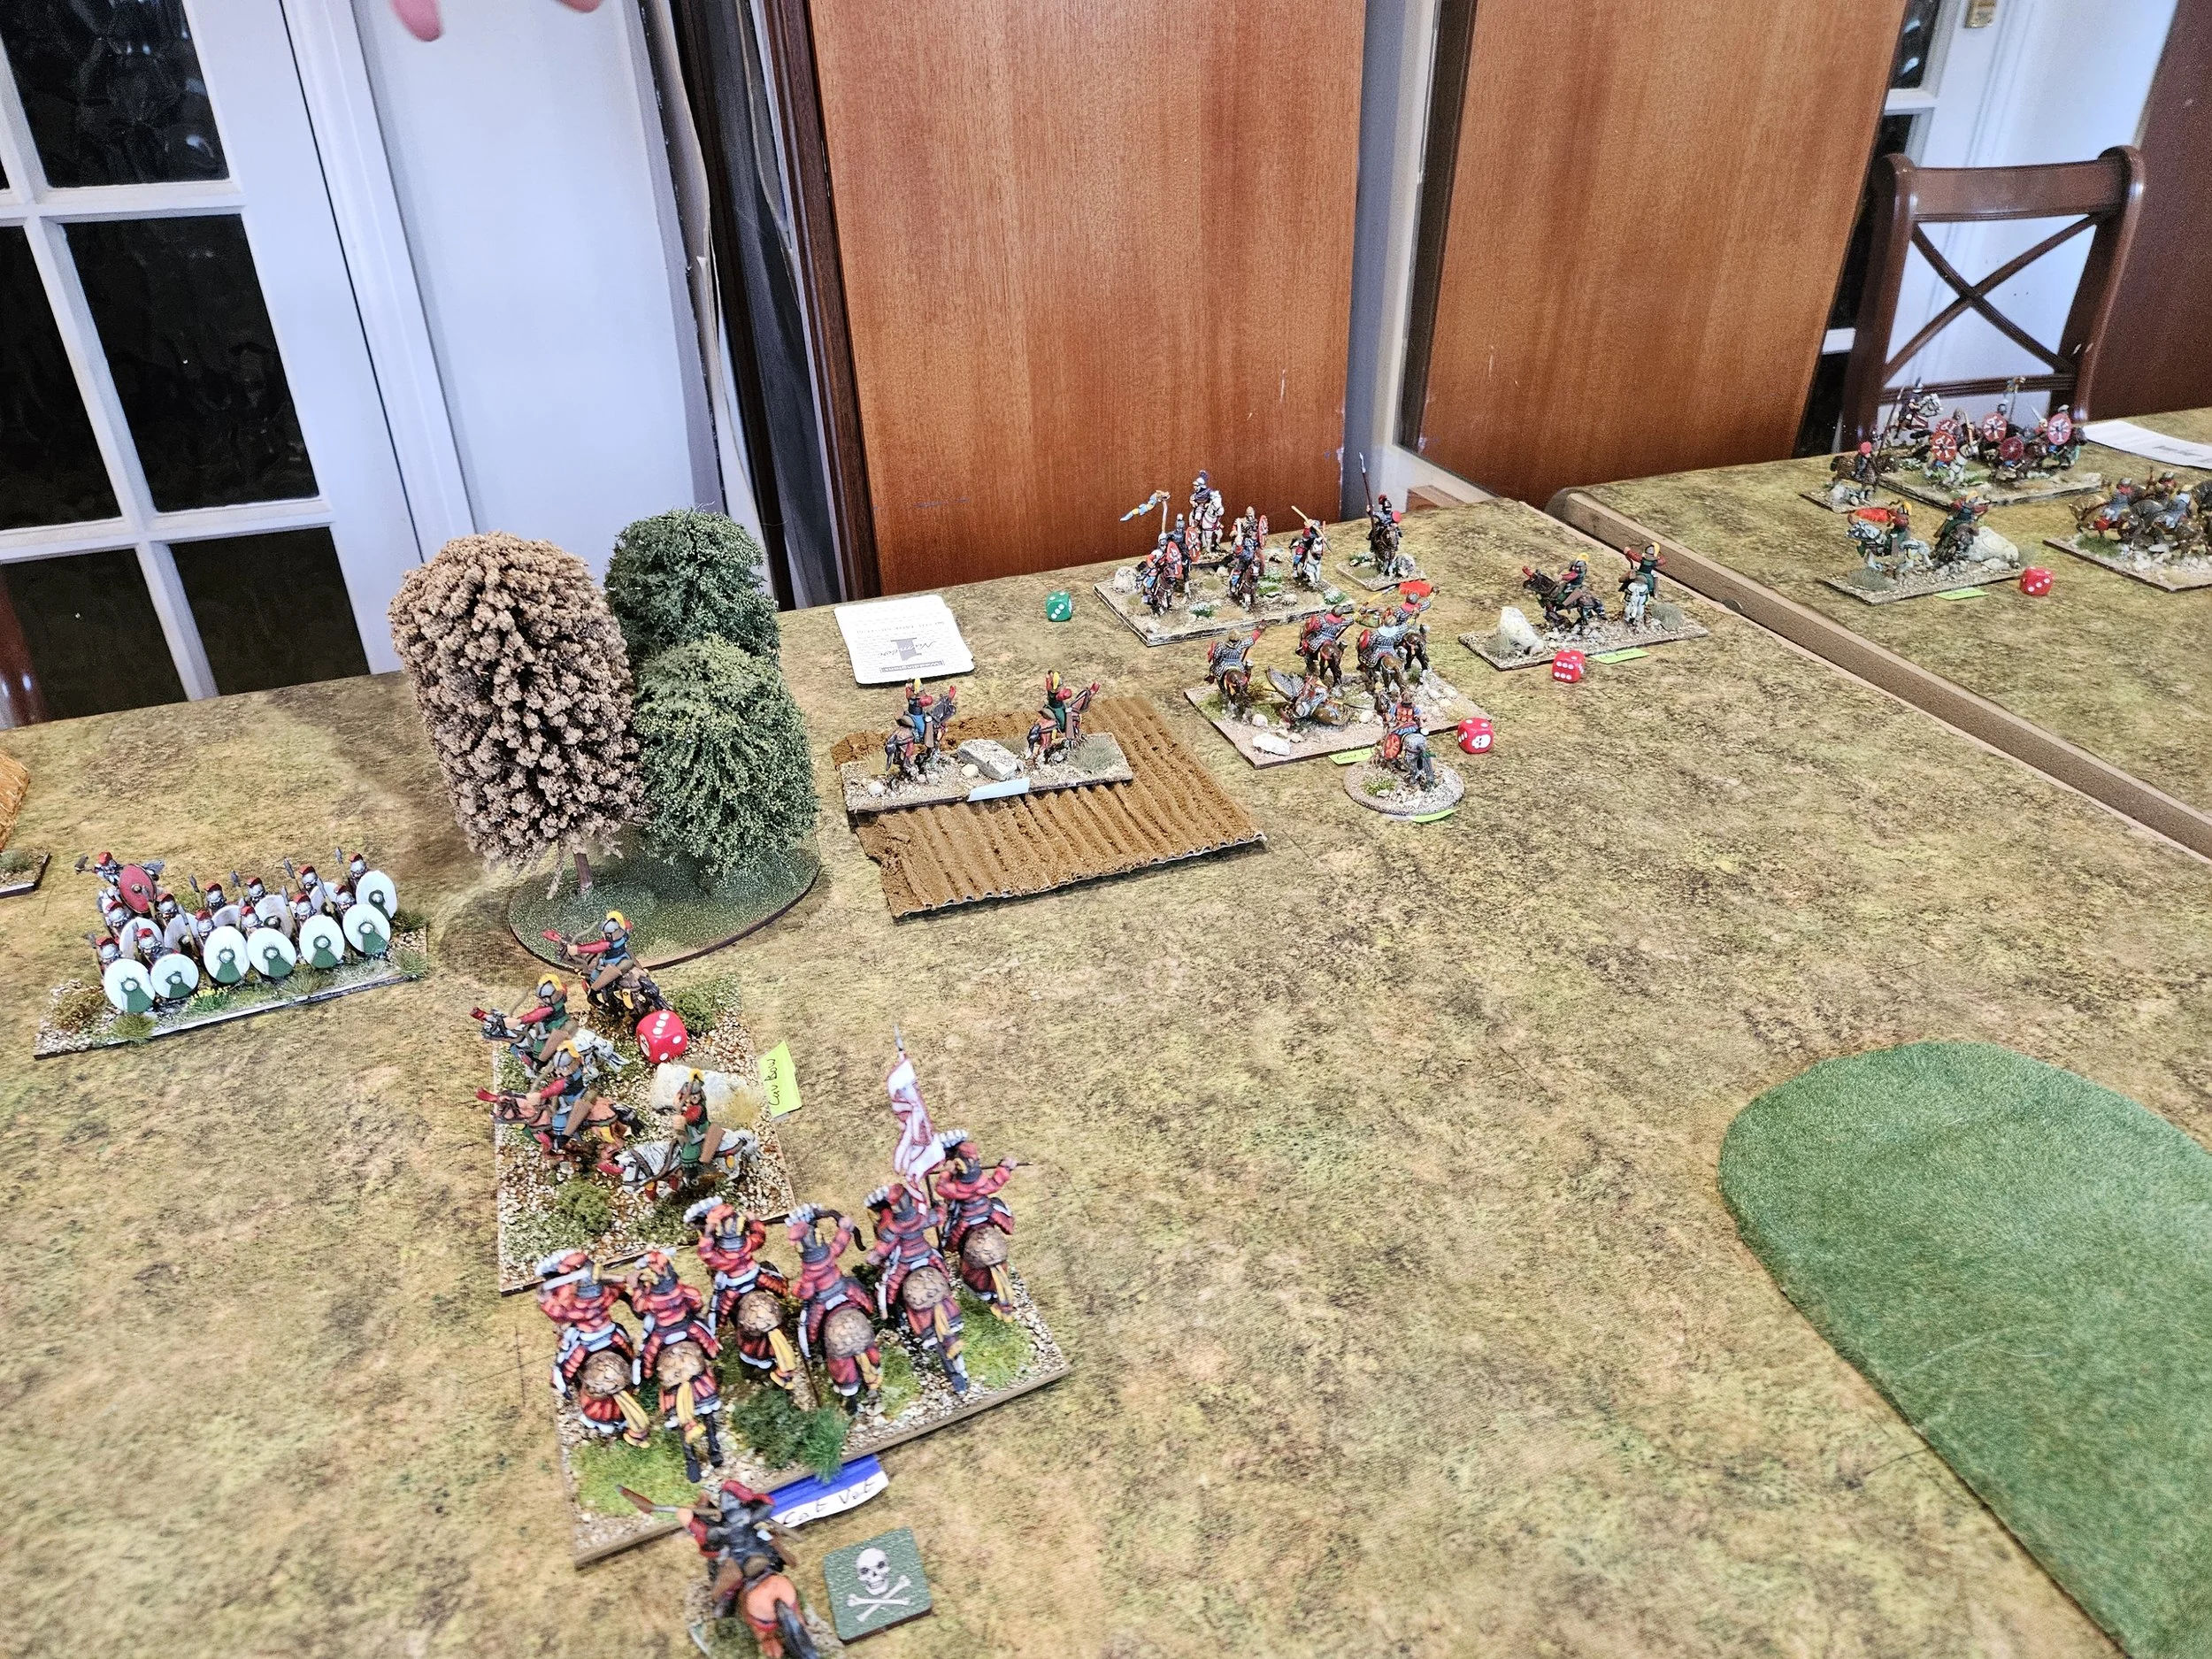

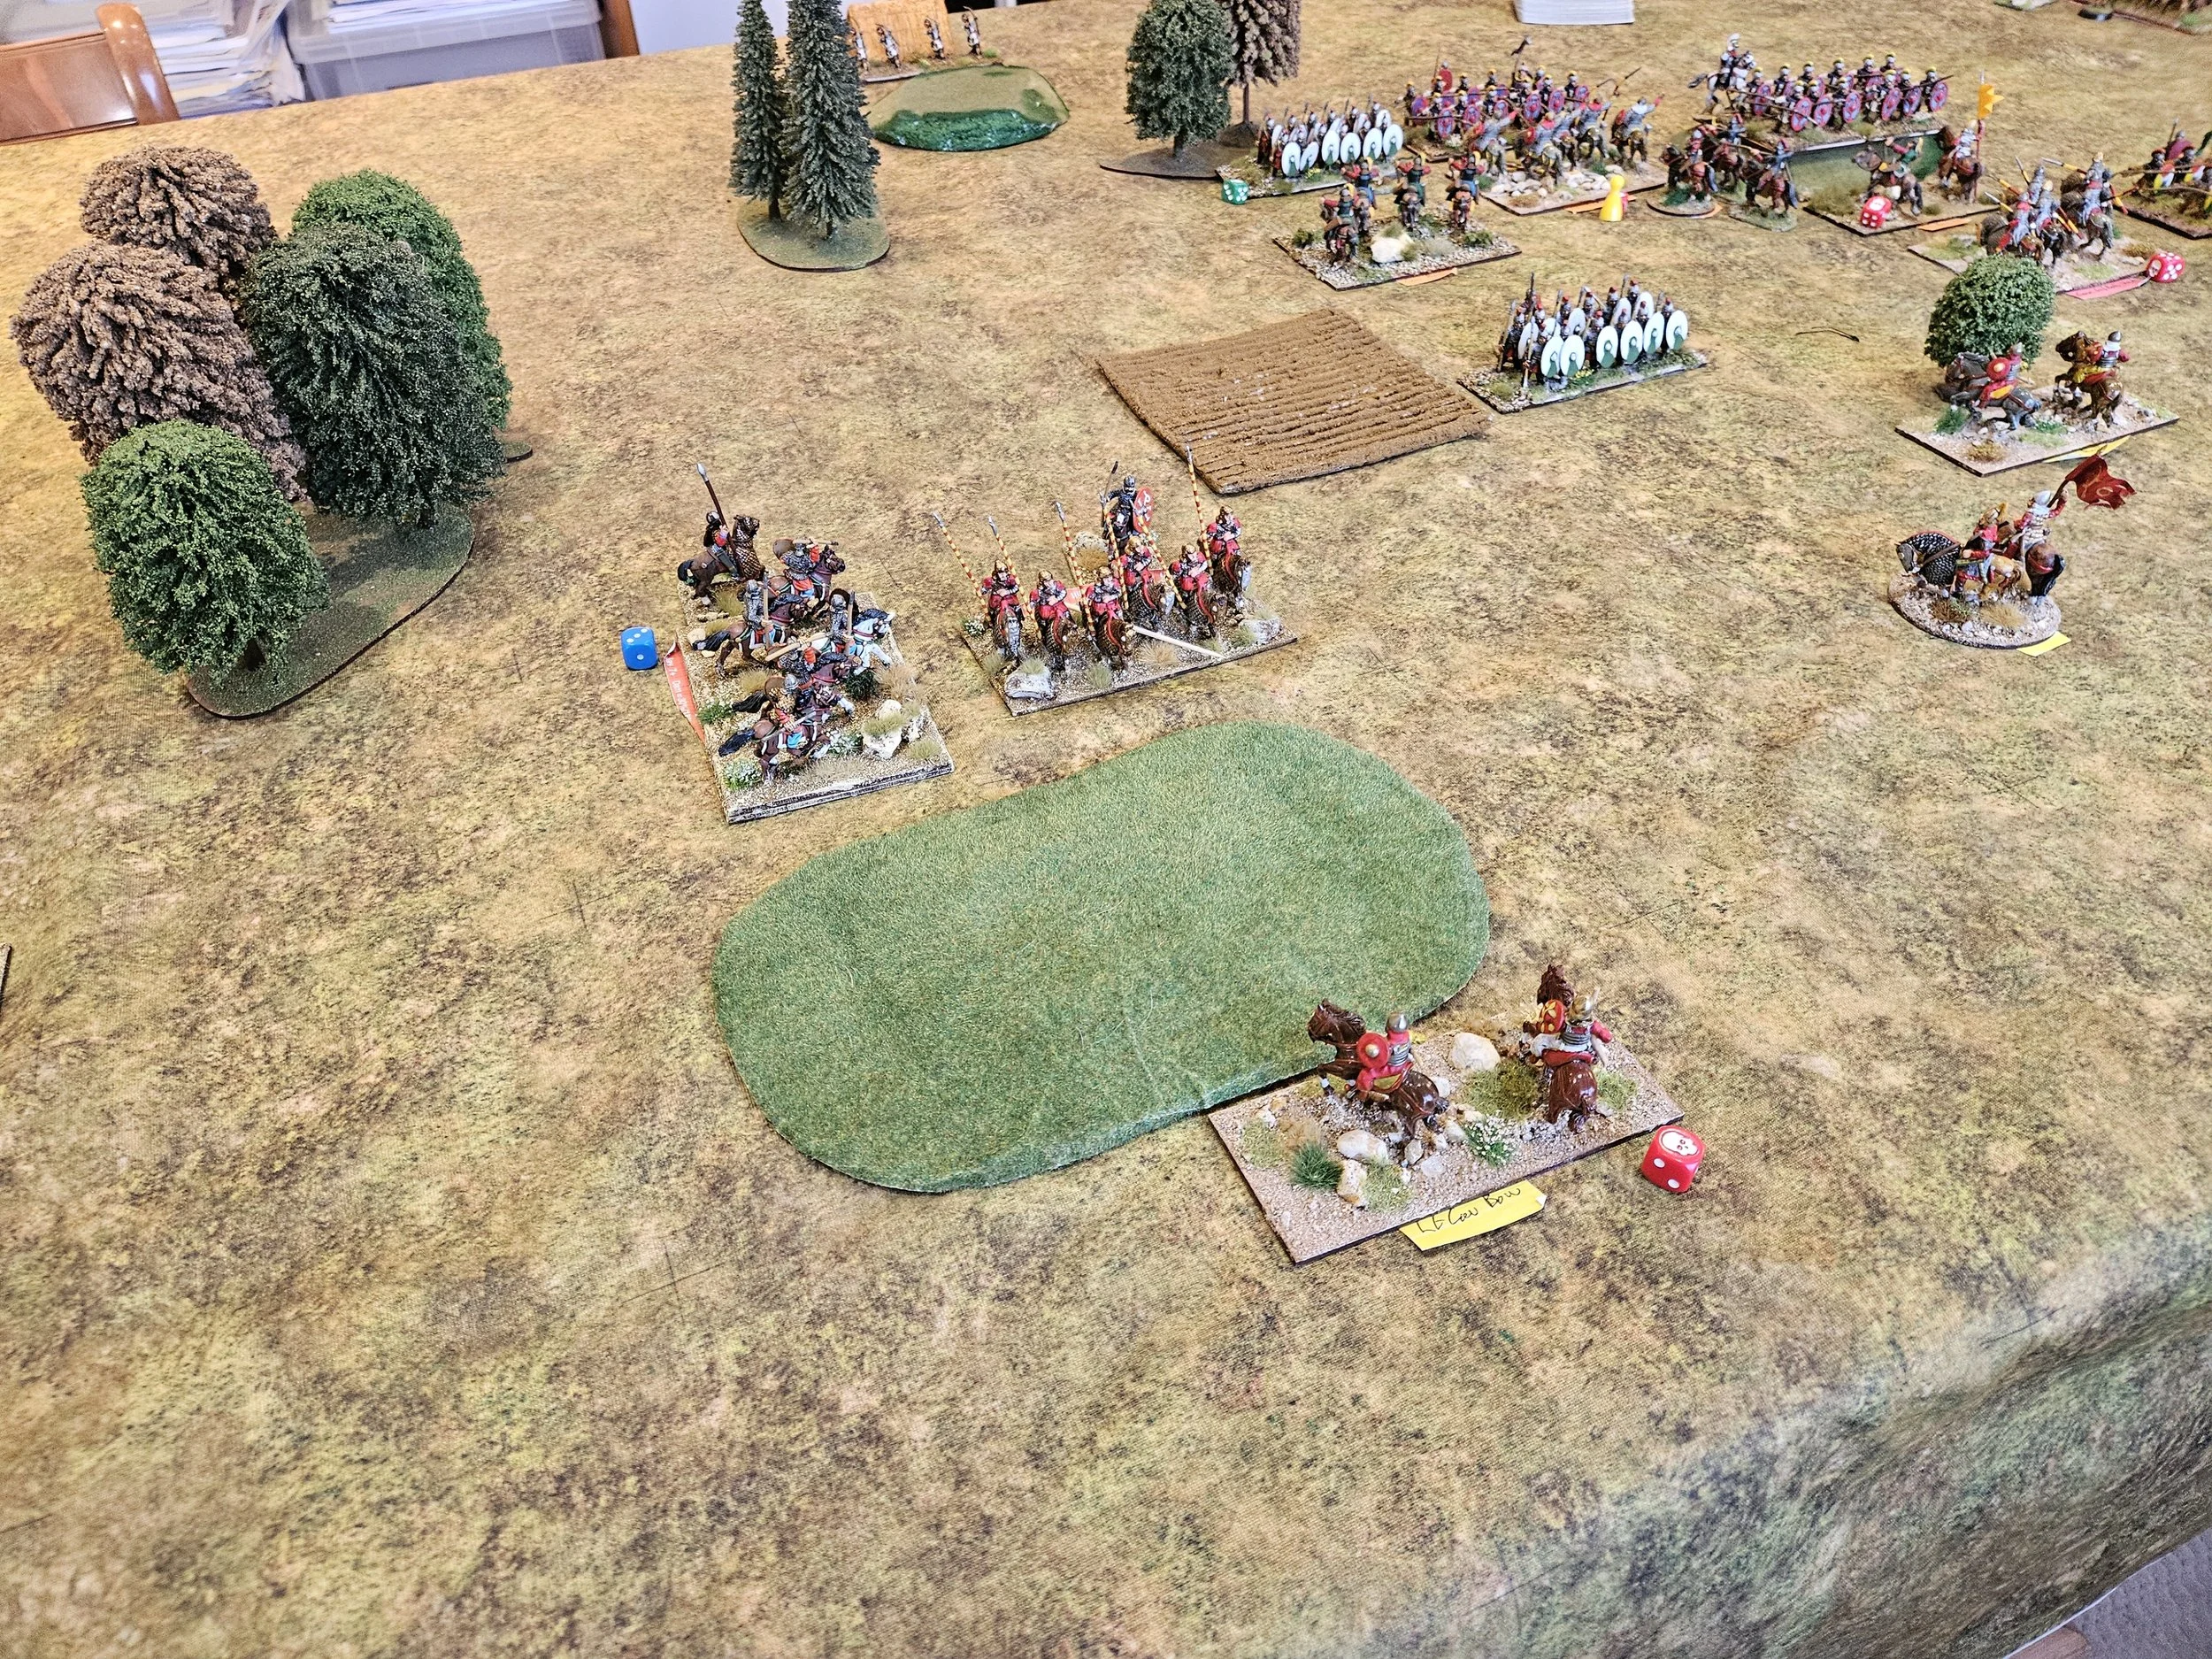
And still my two cavalry units, somewhat incredibly, held the camp!
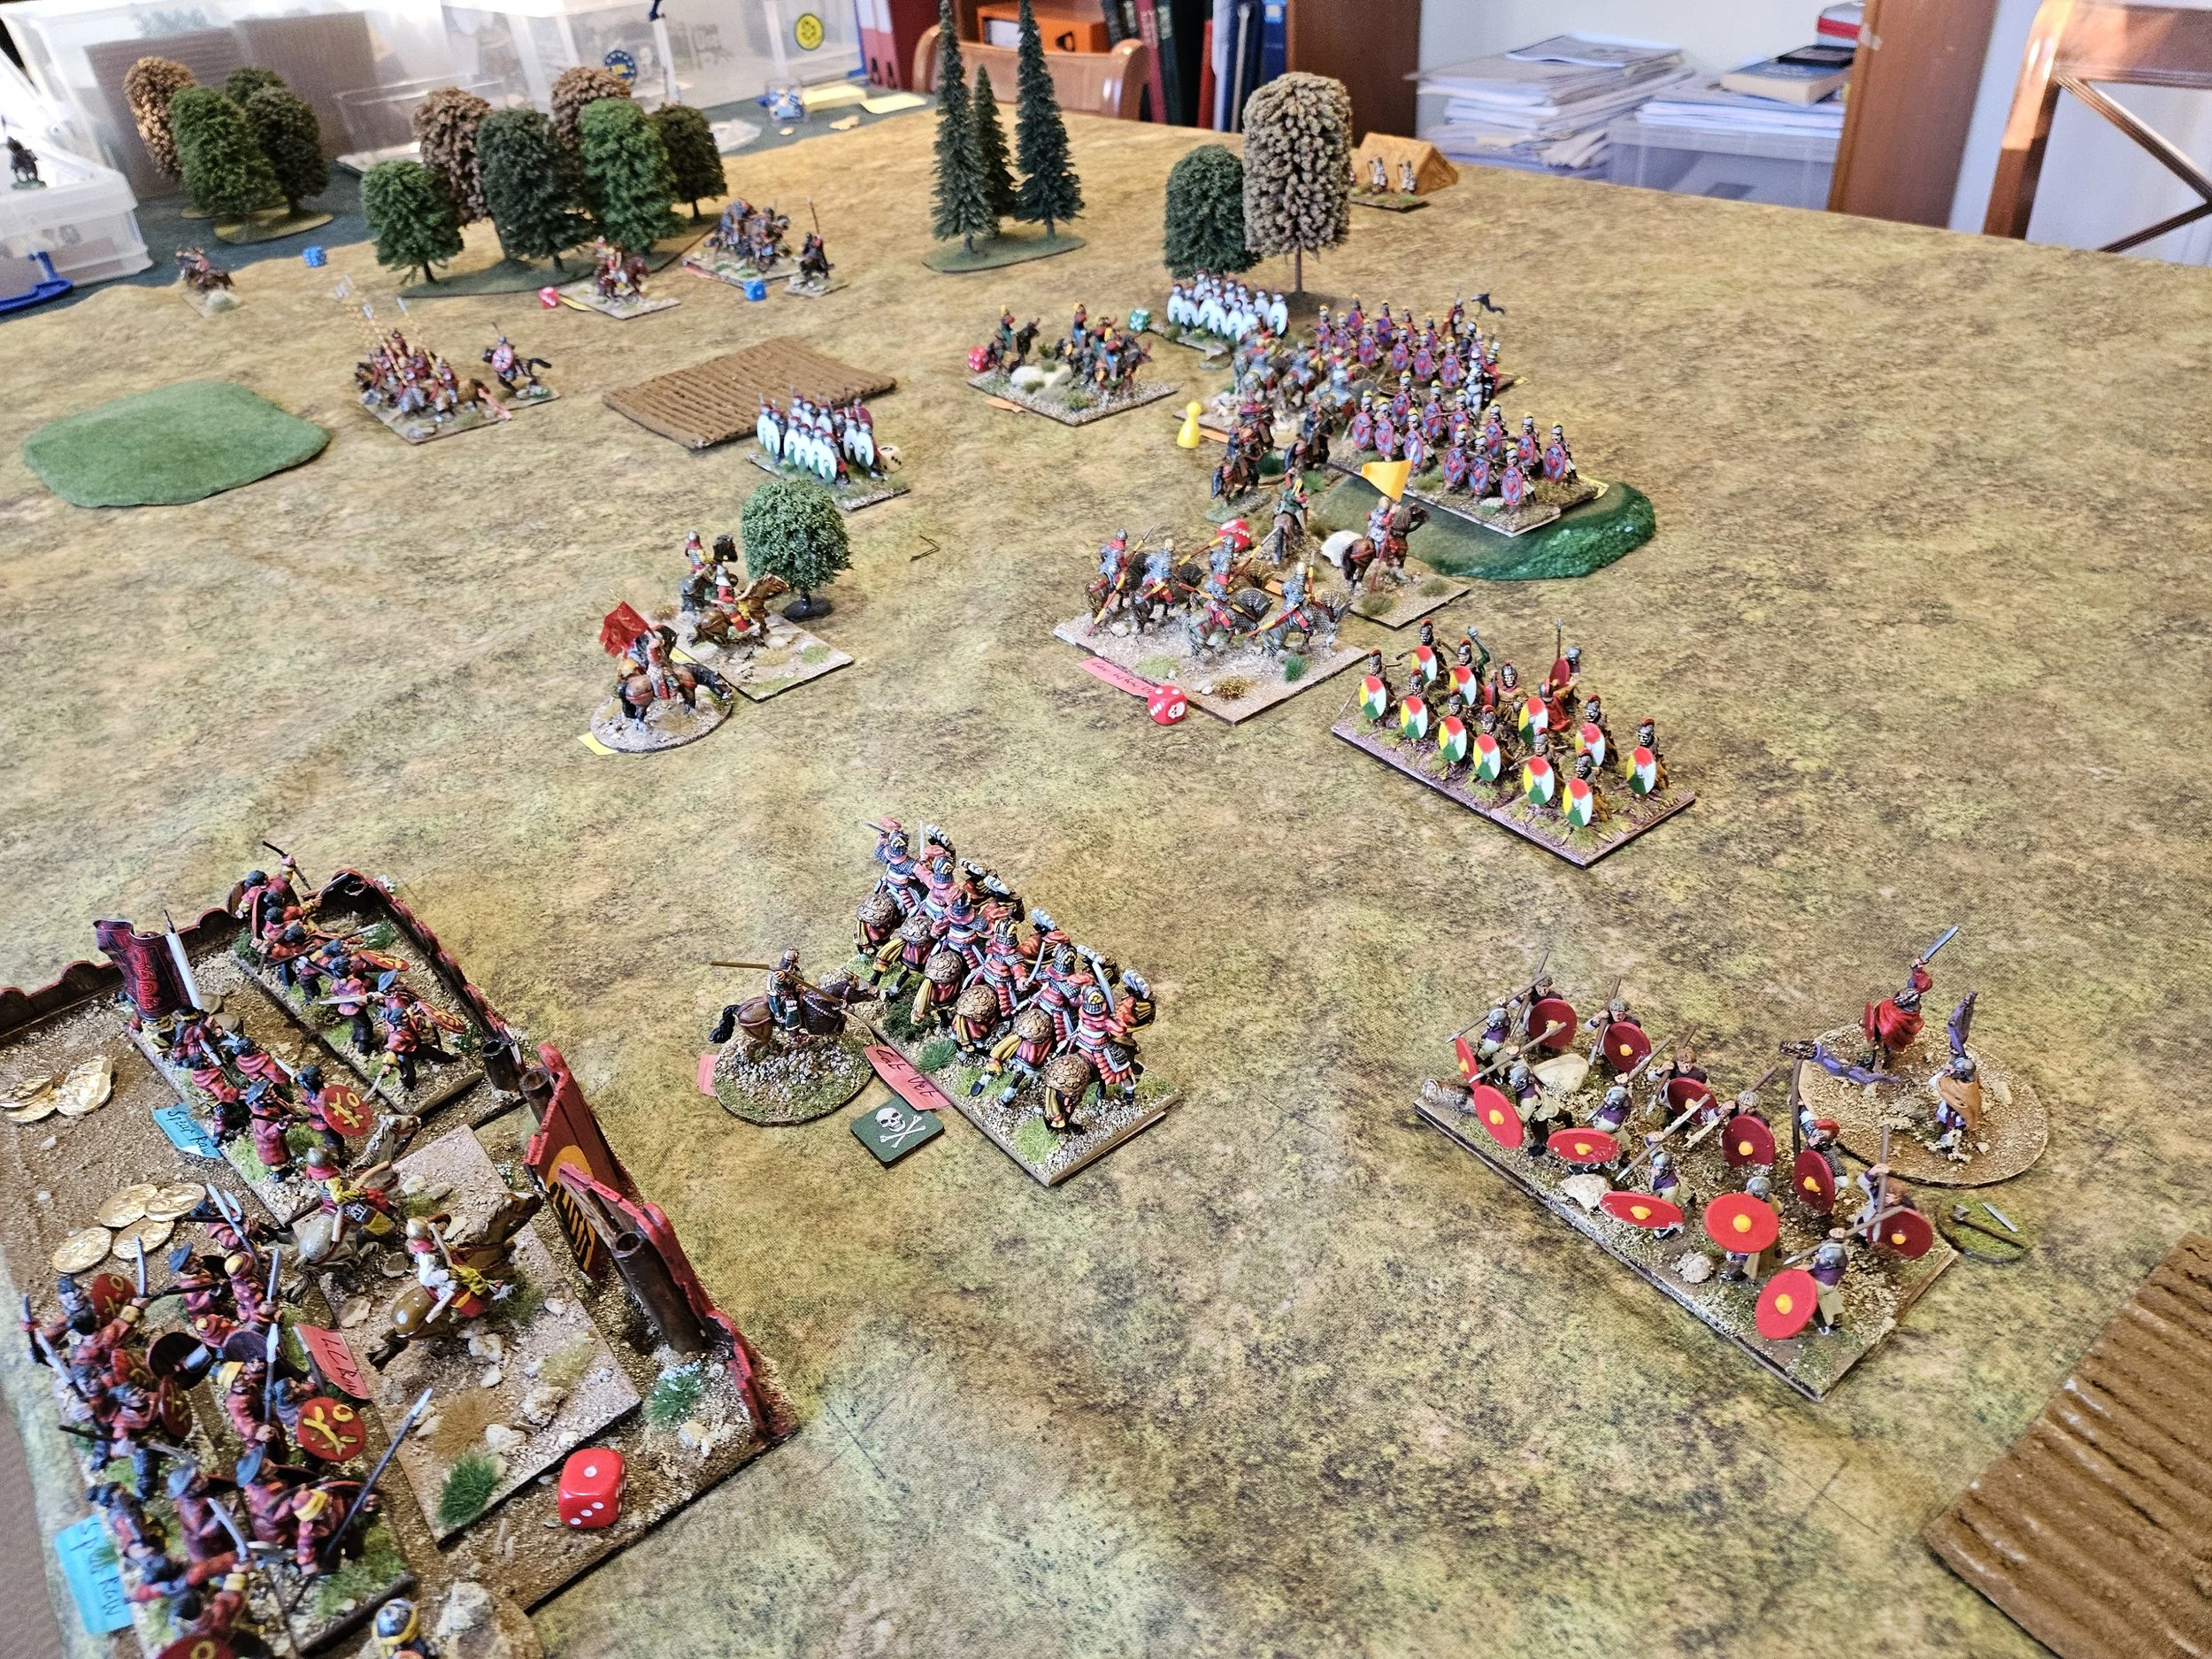
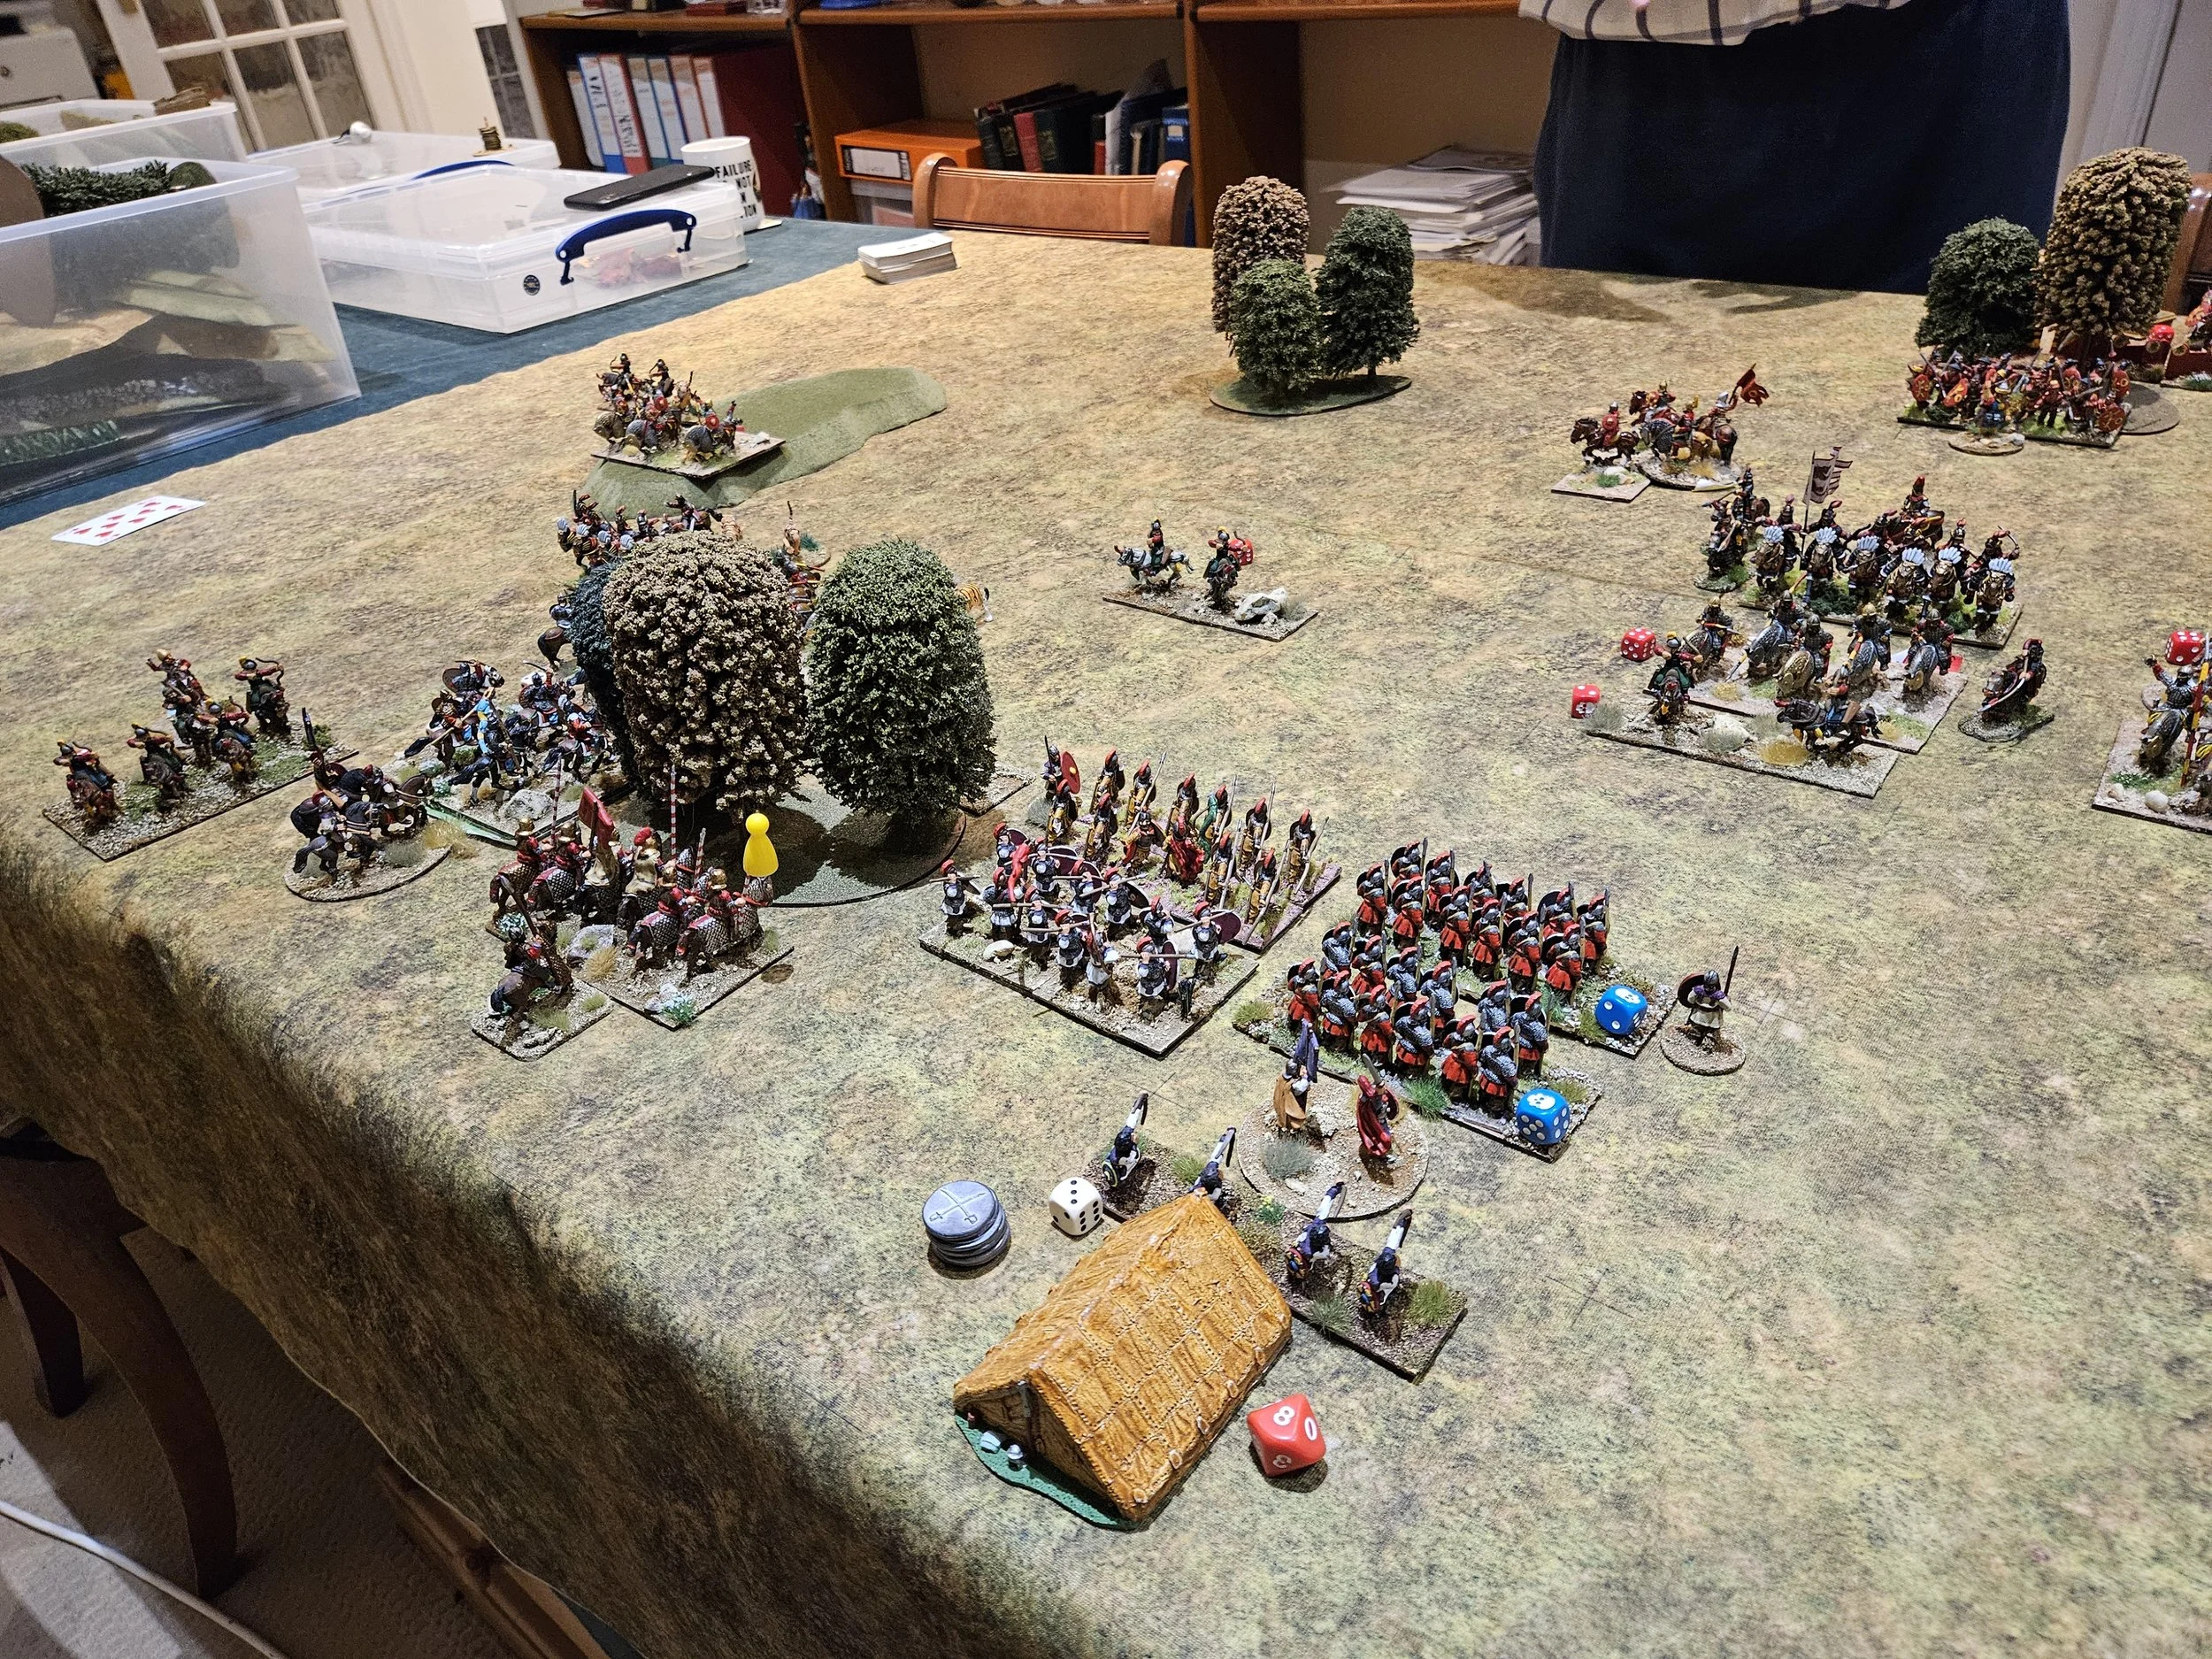
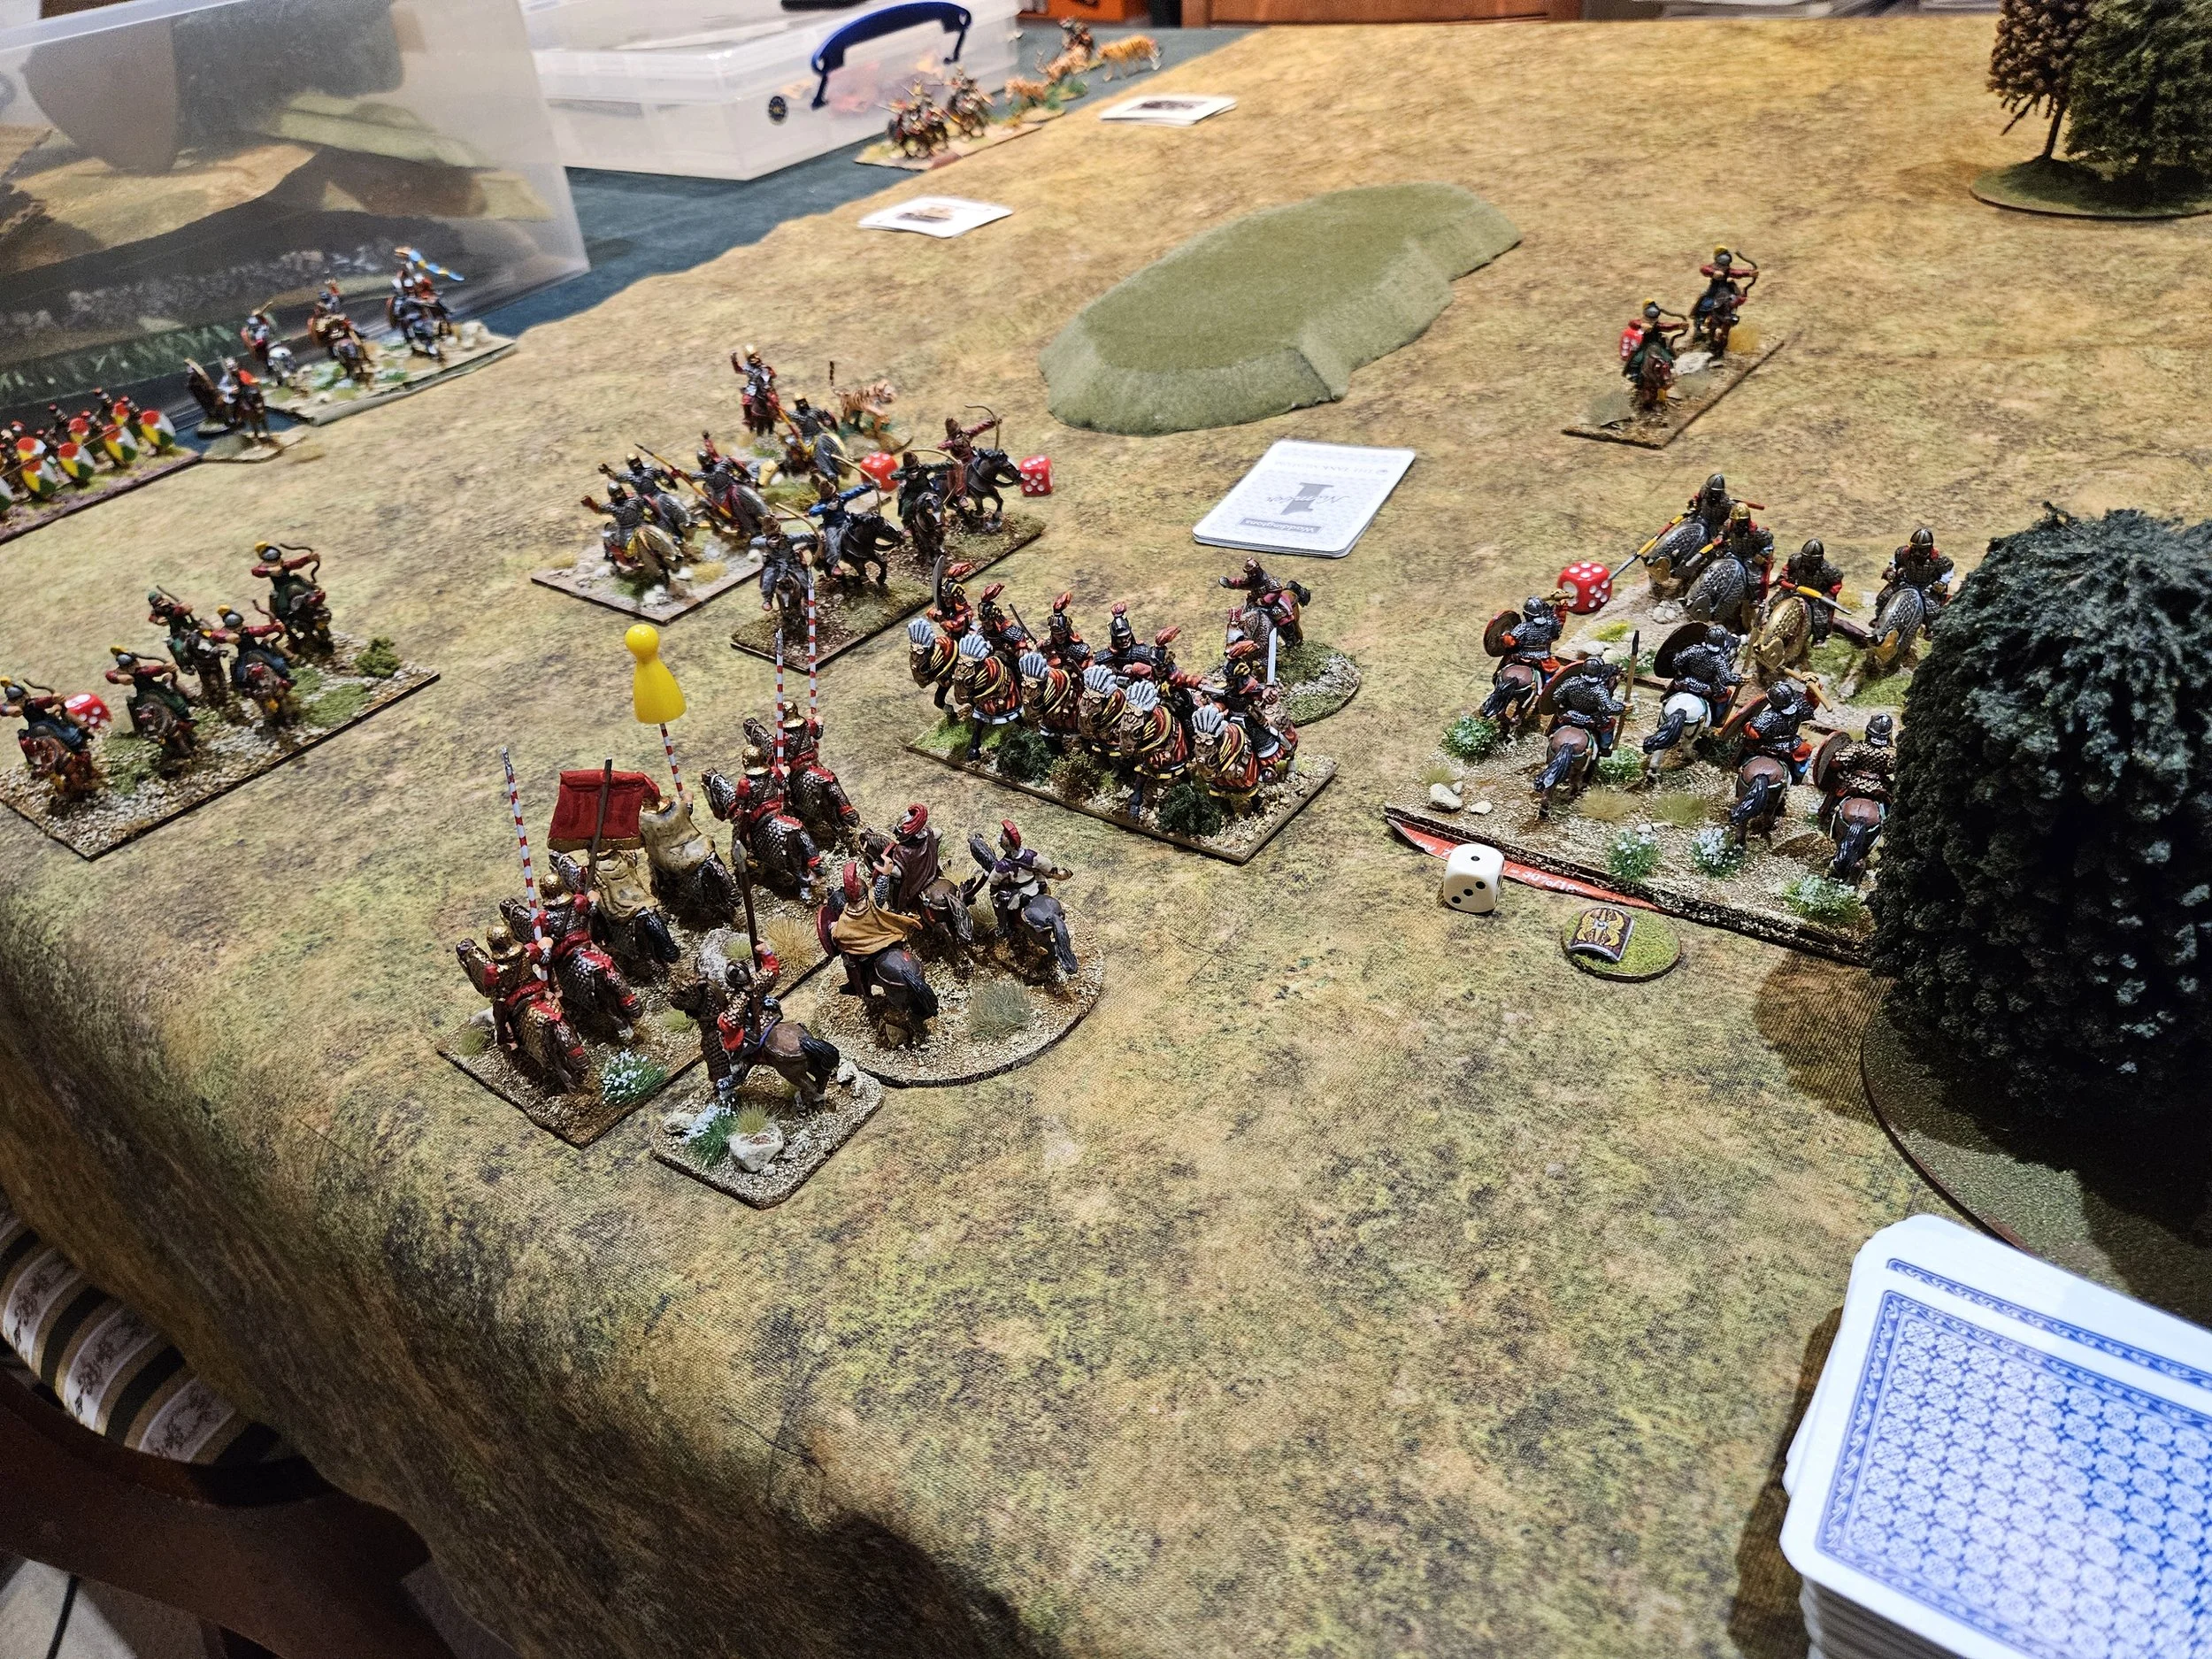
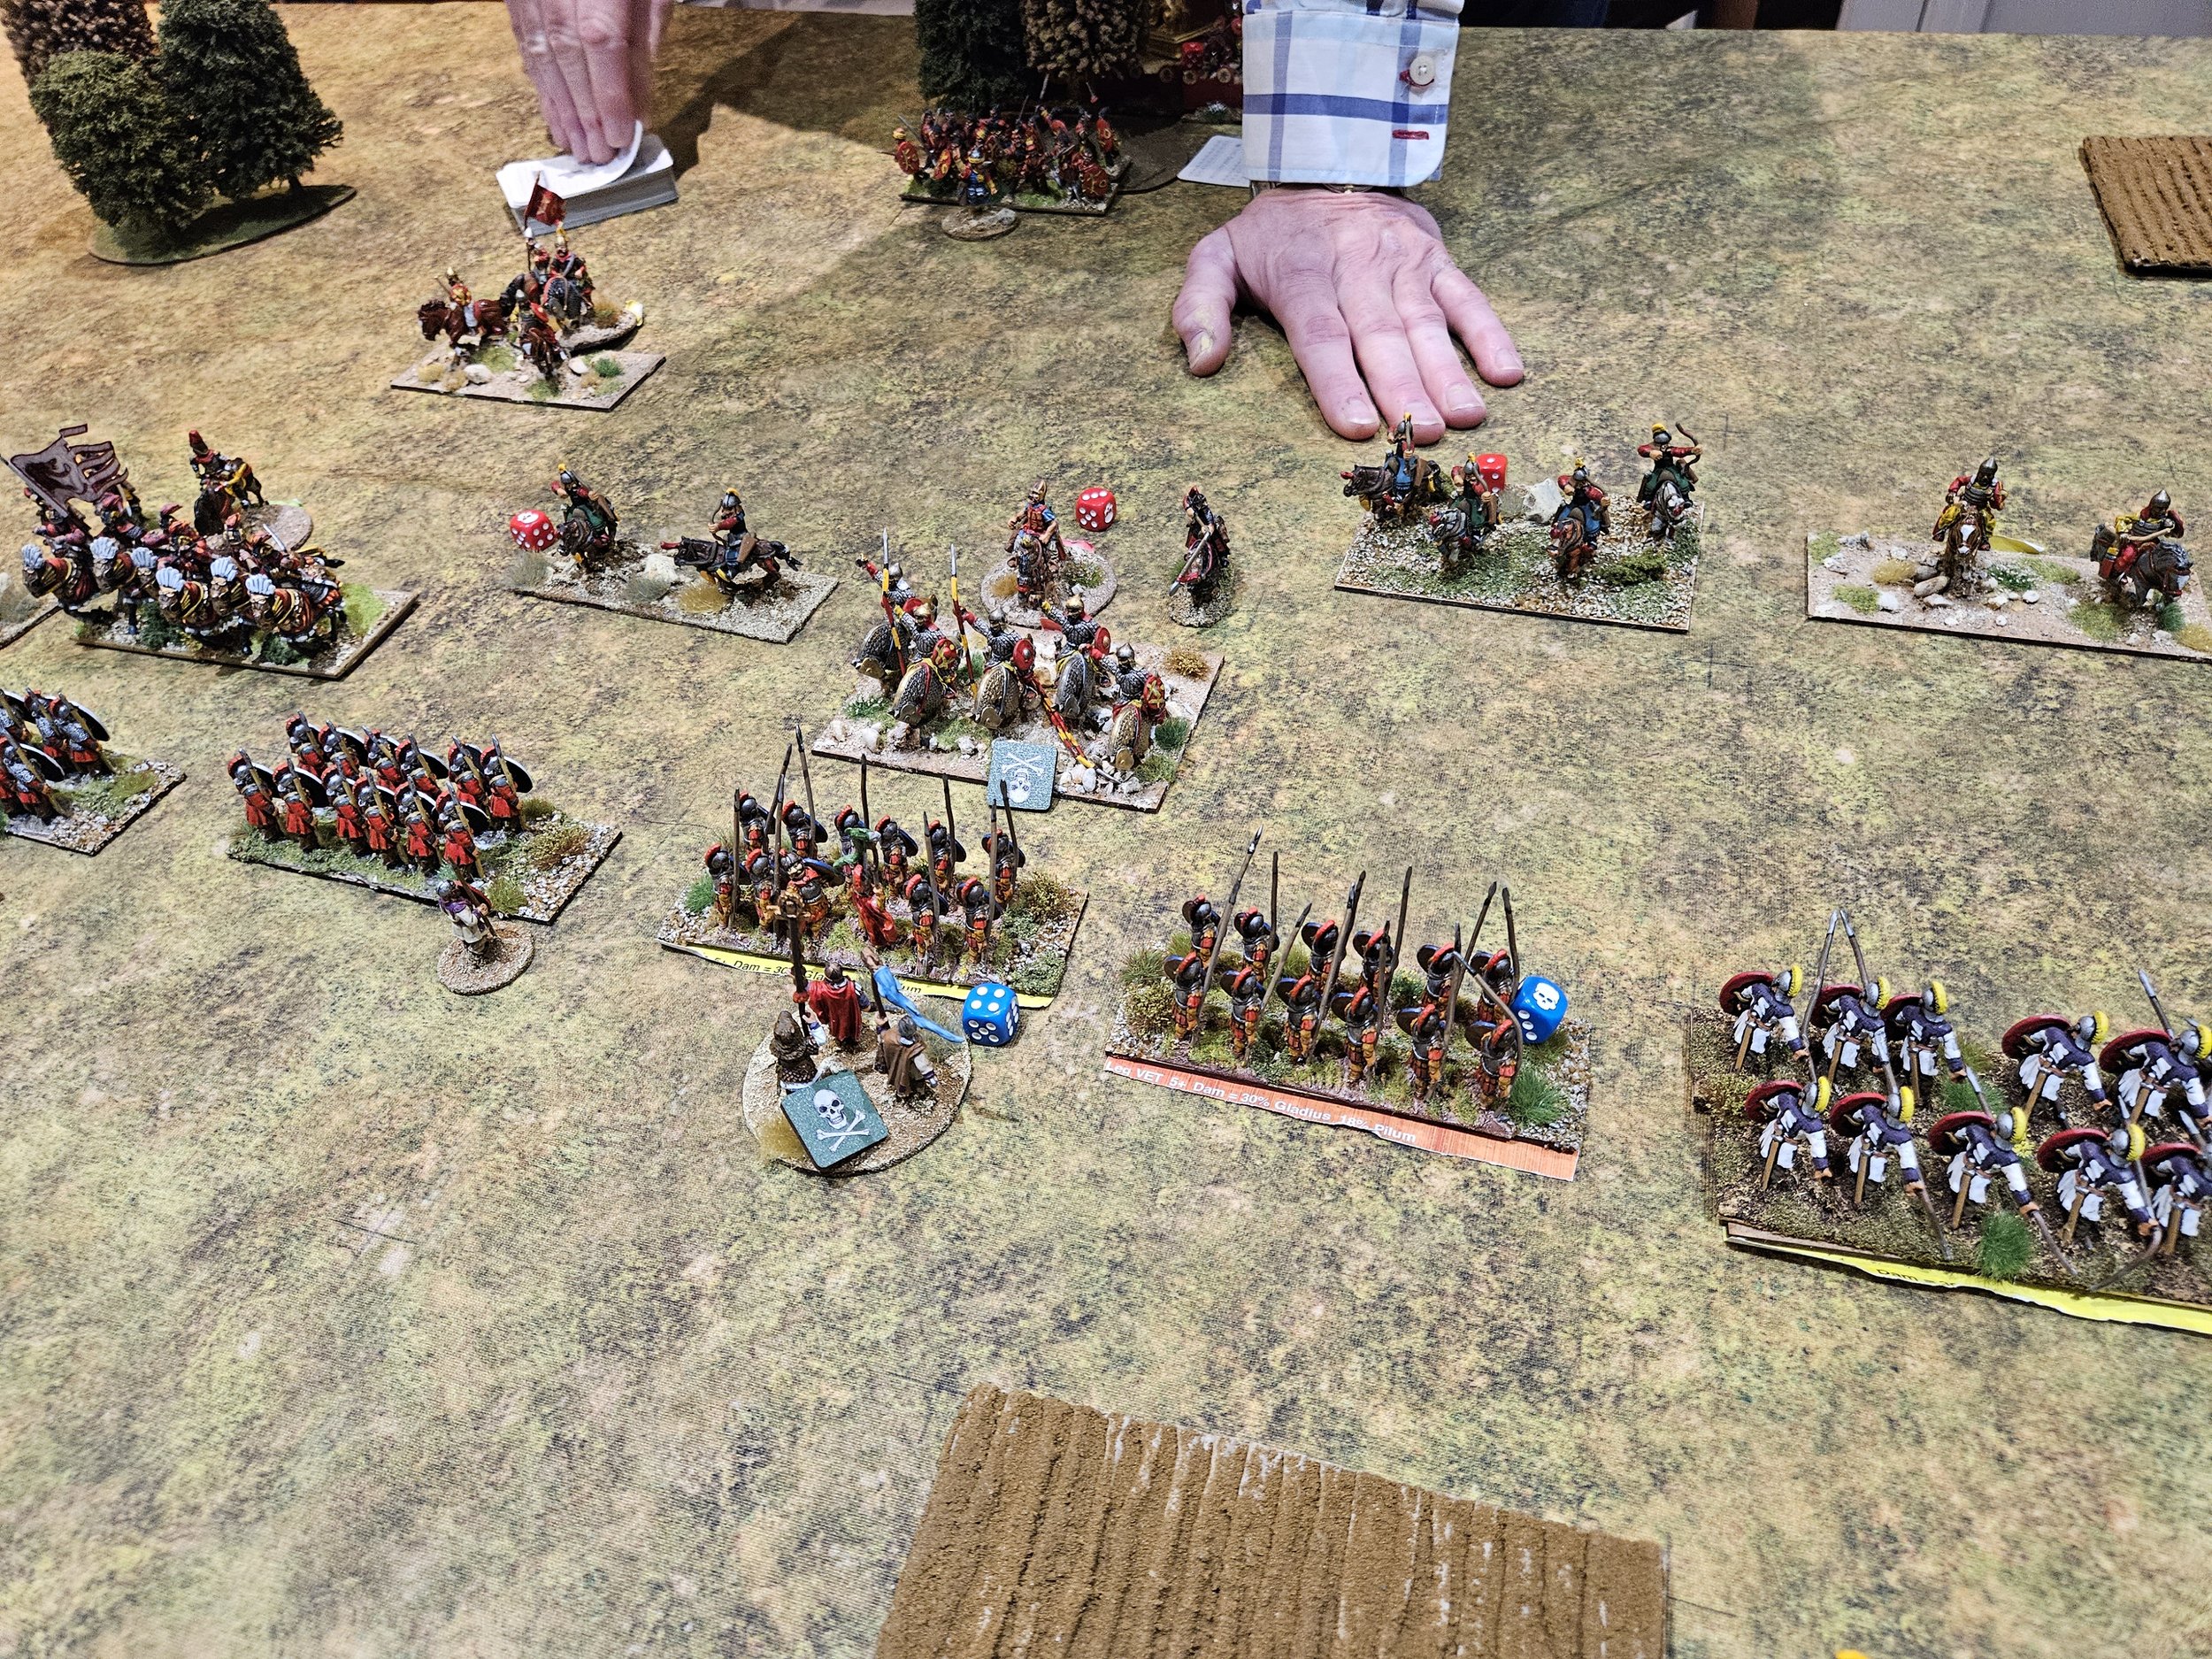
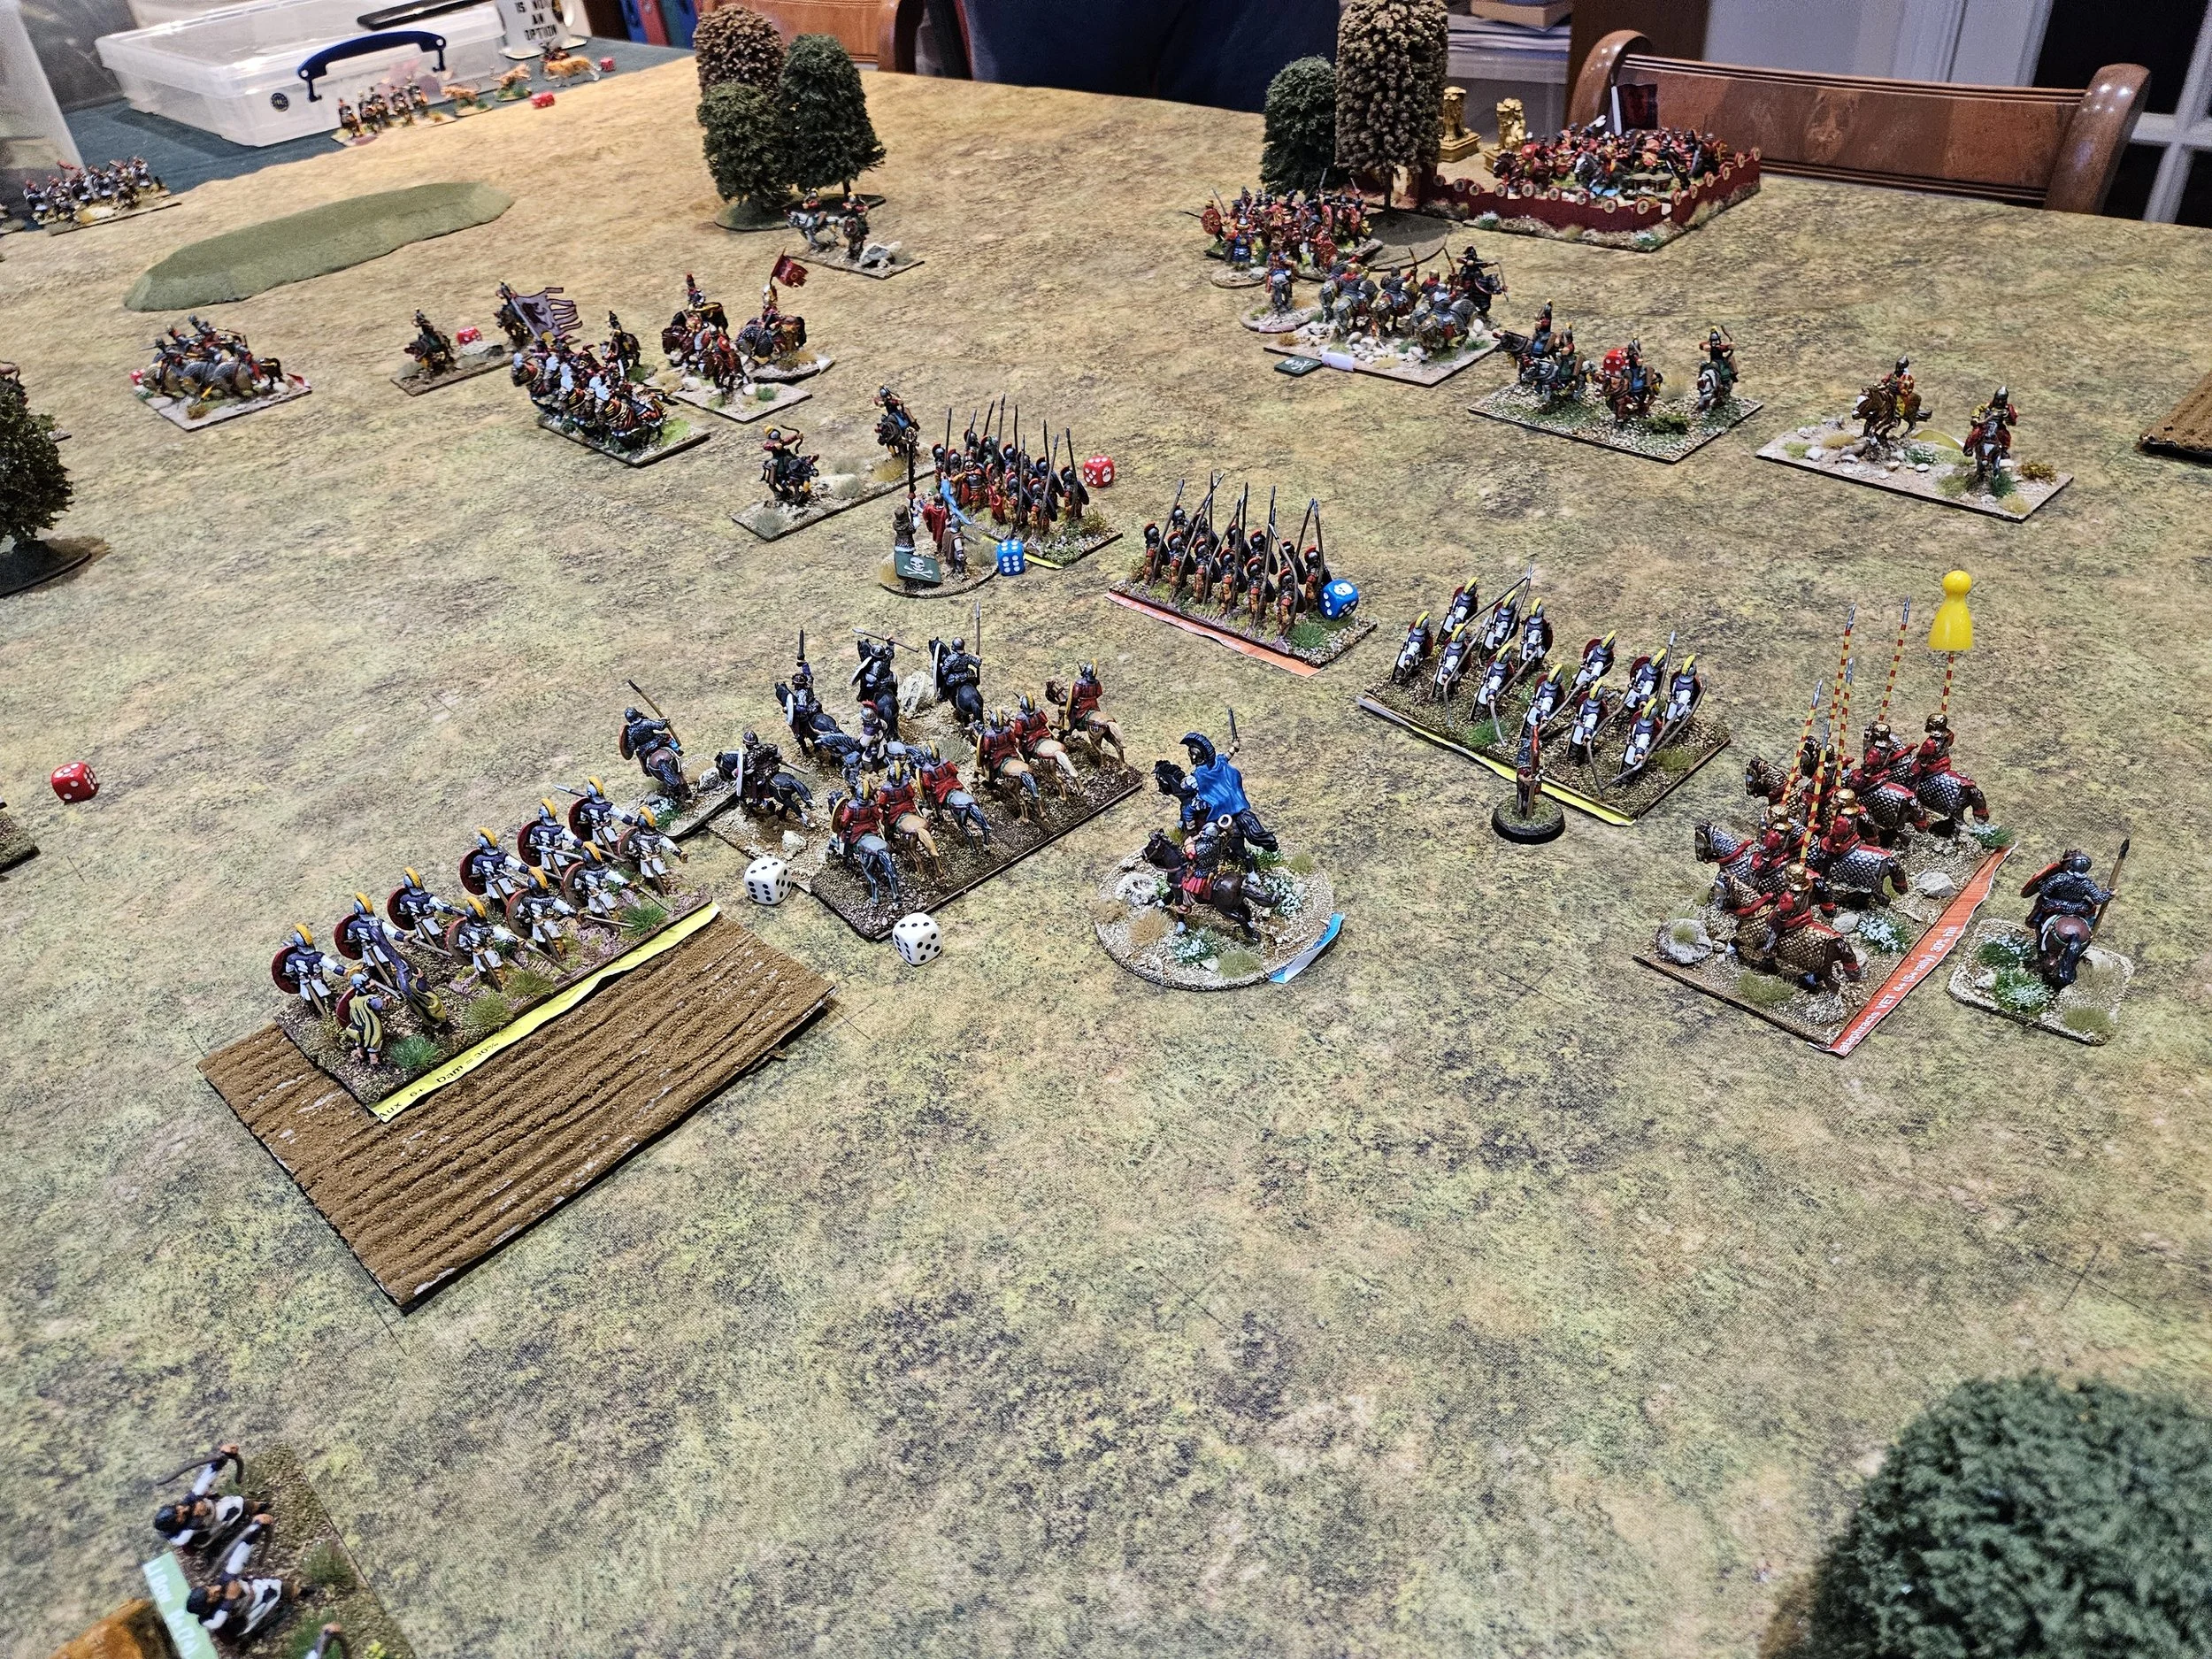
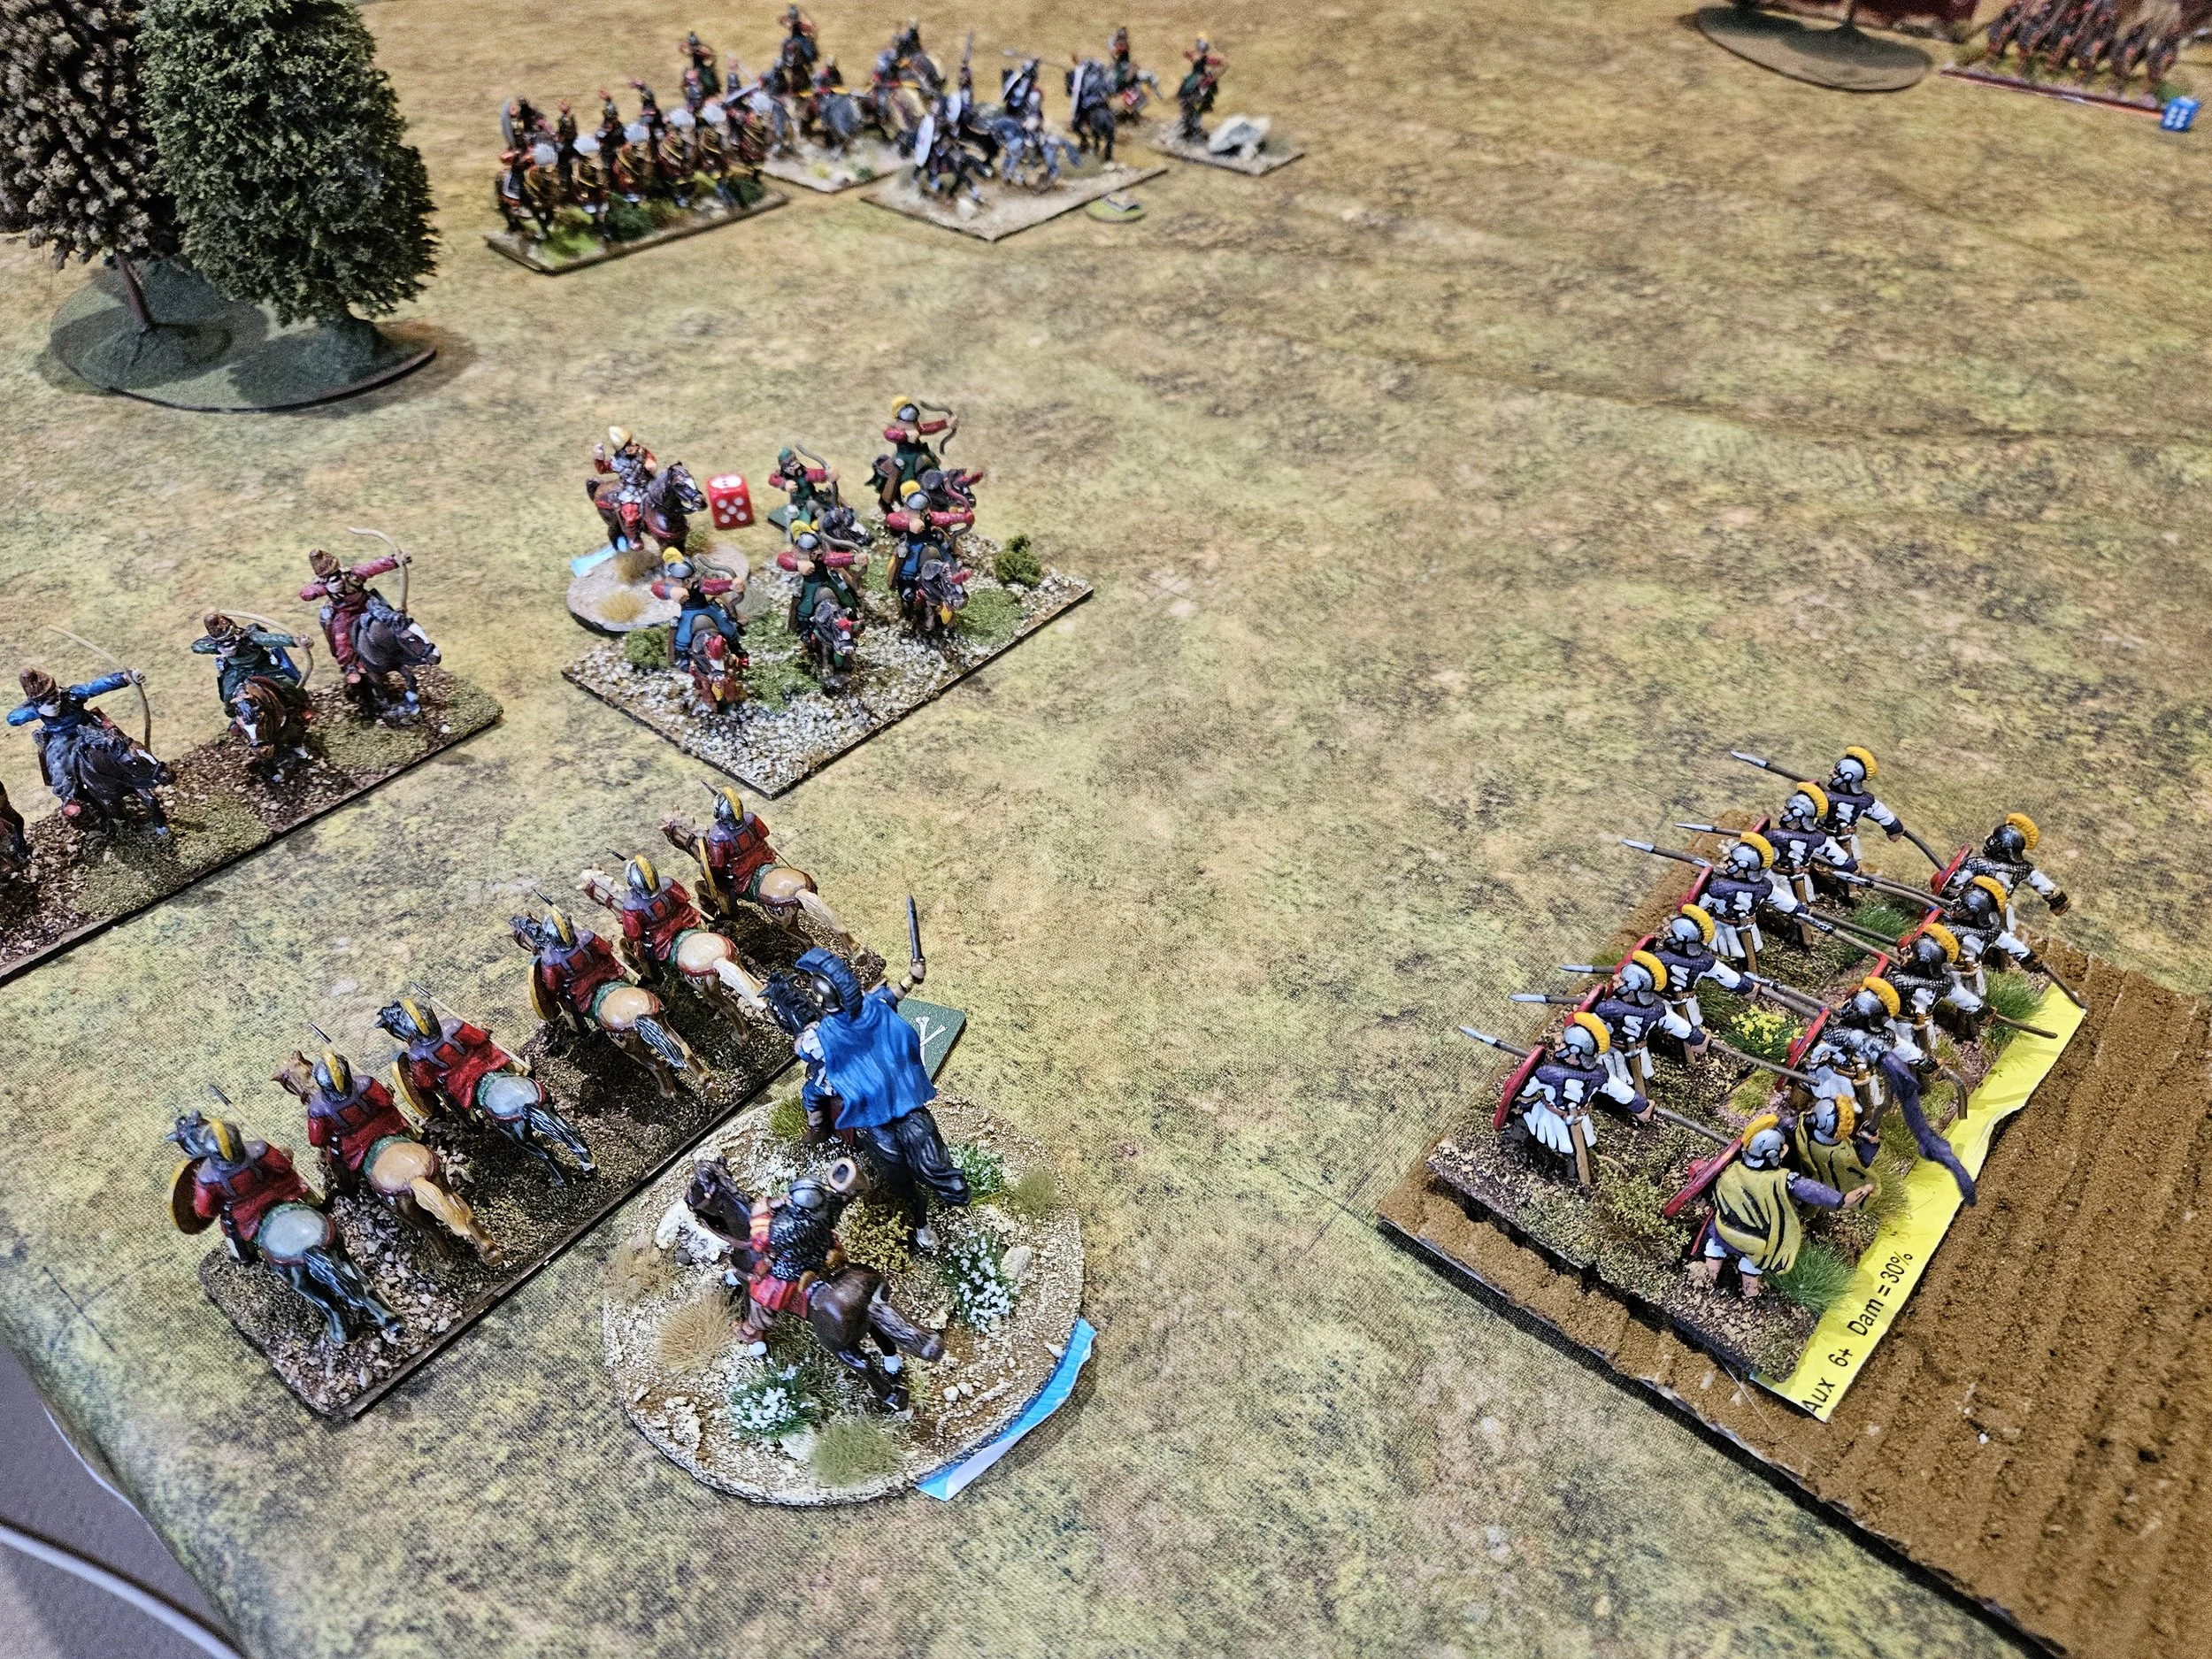
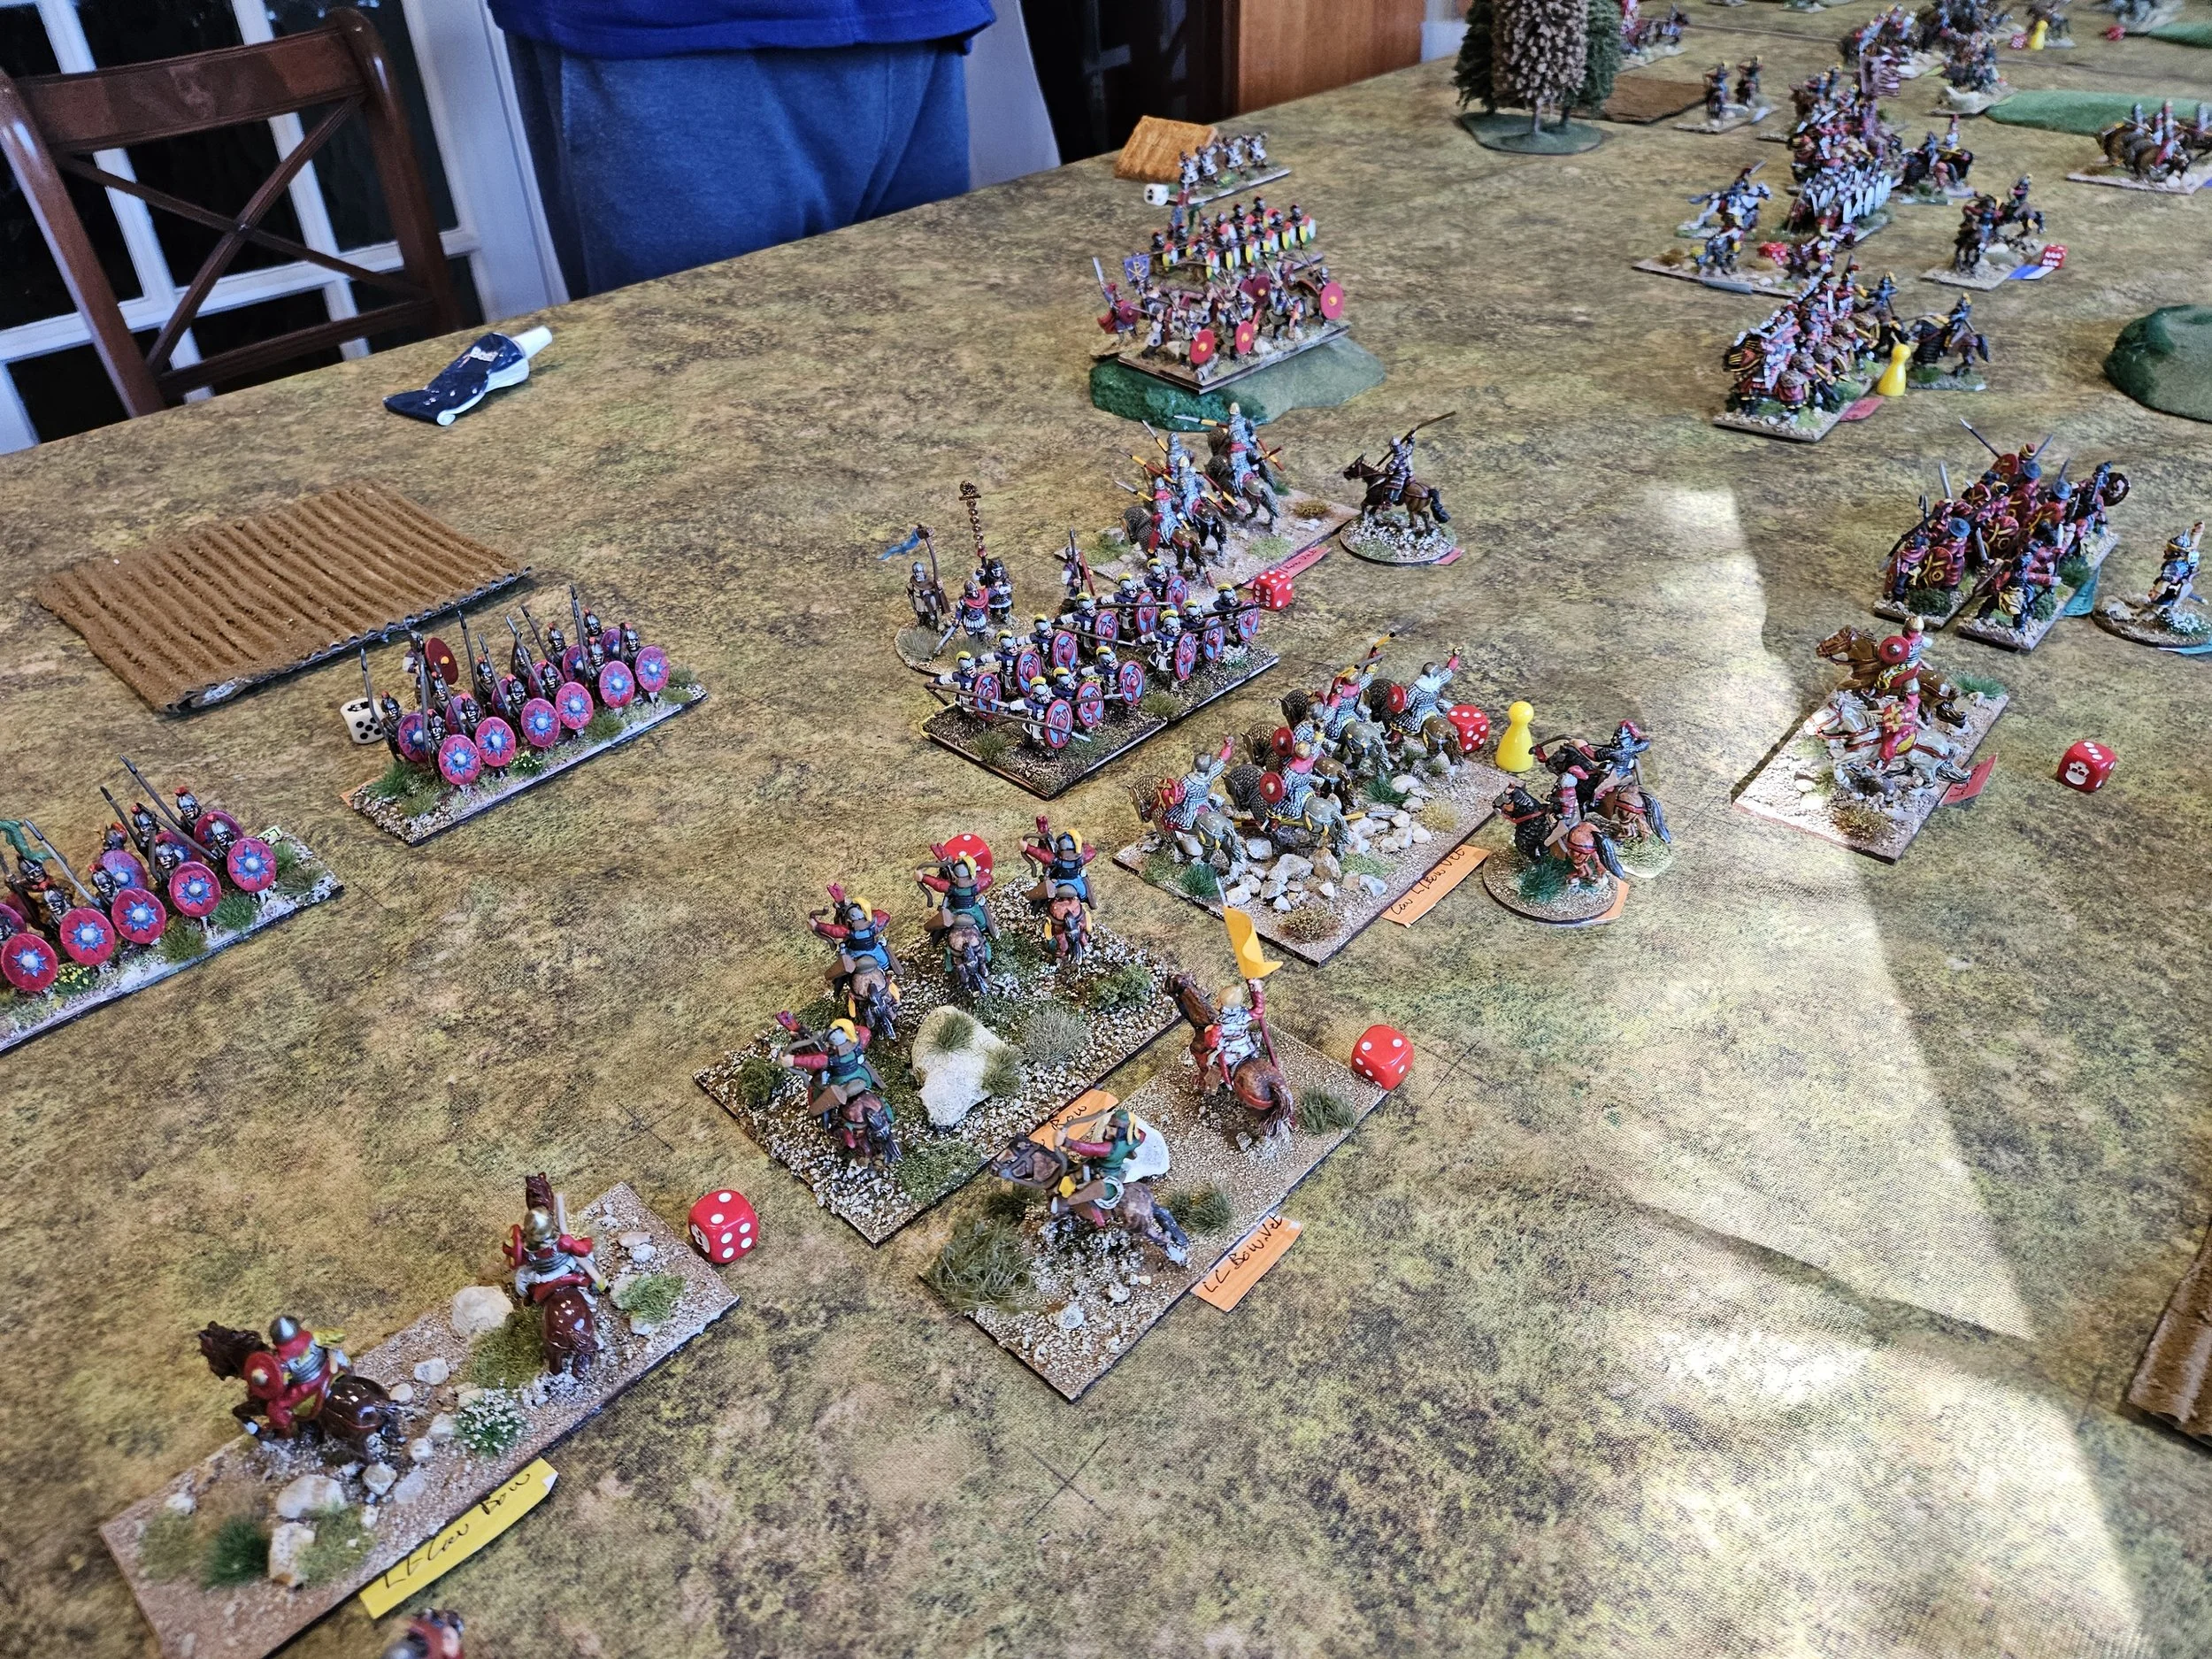
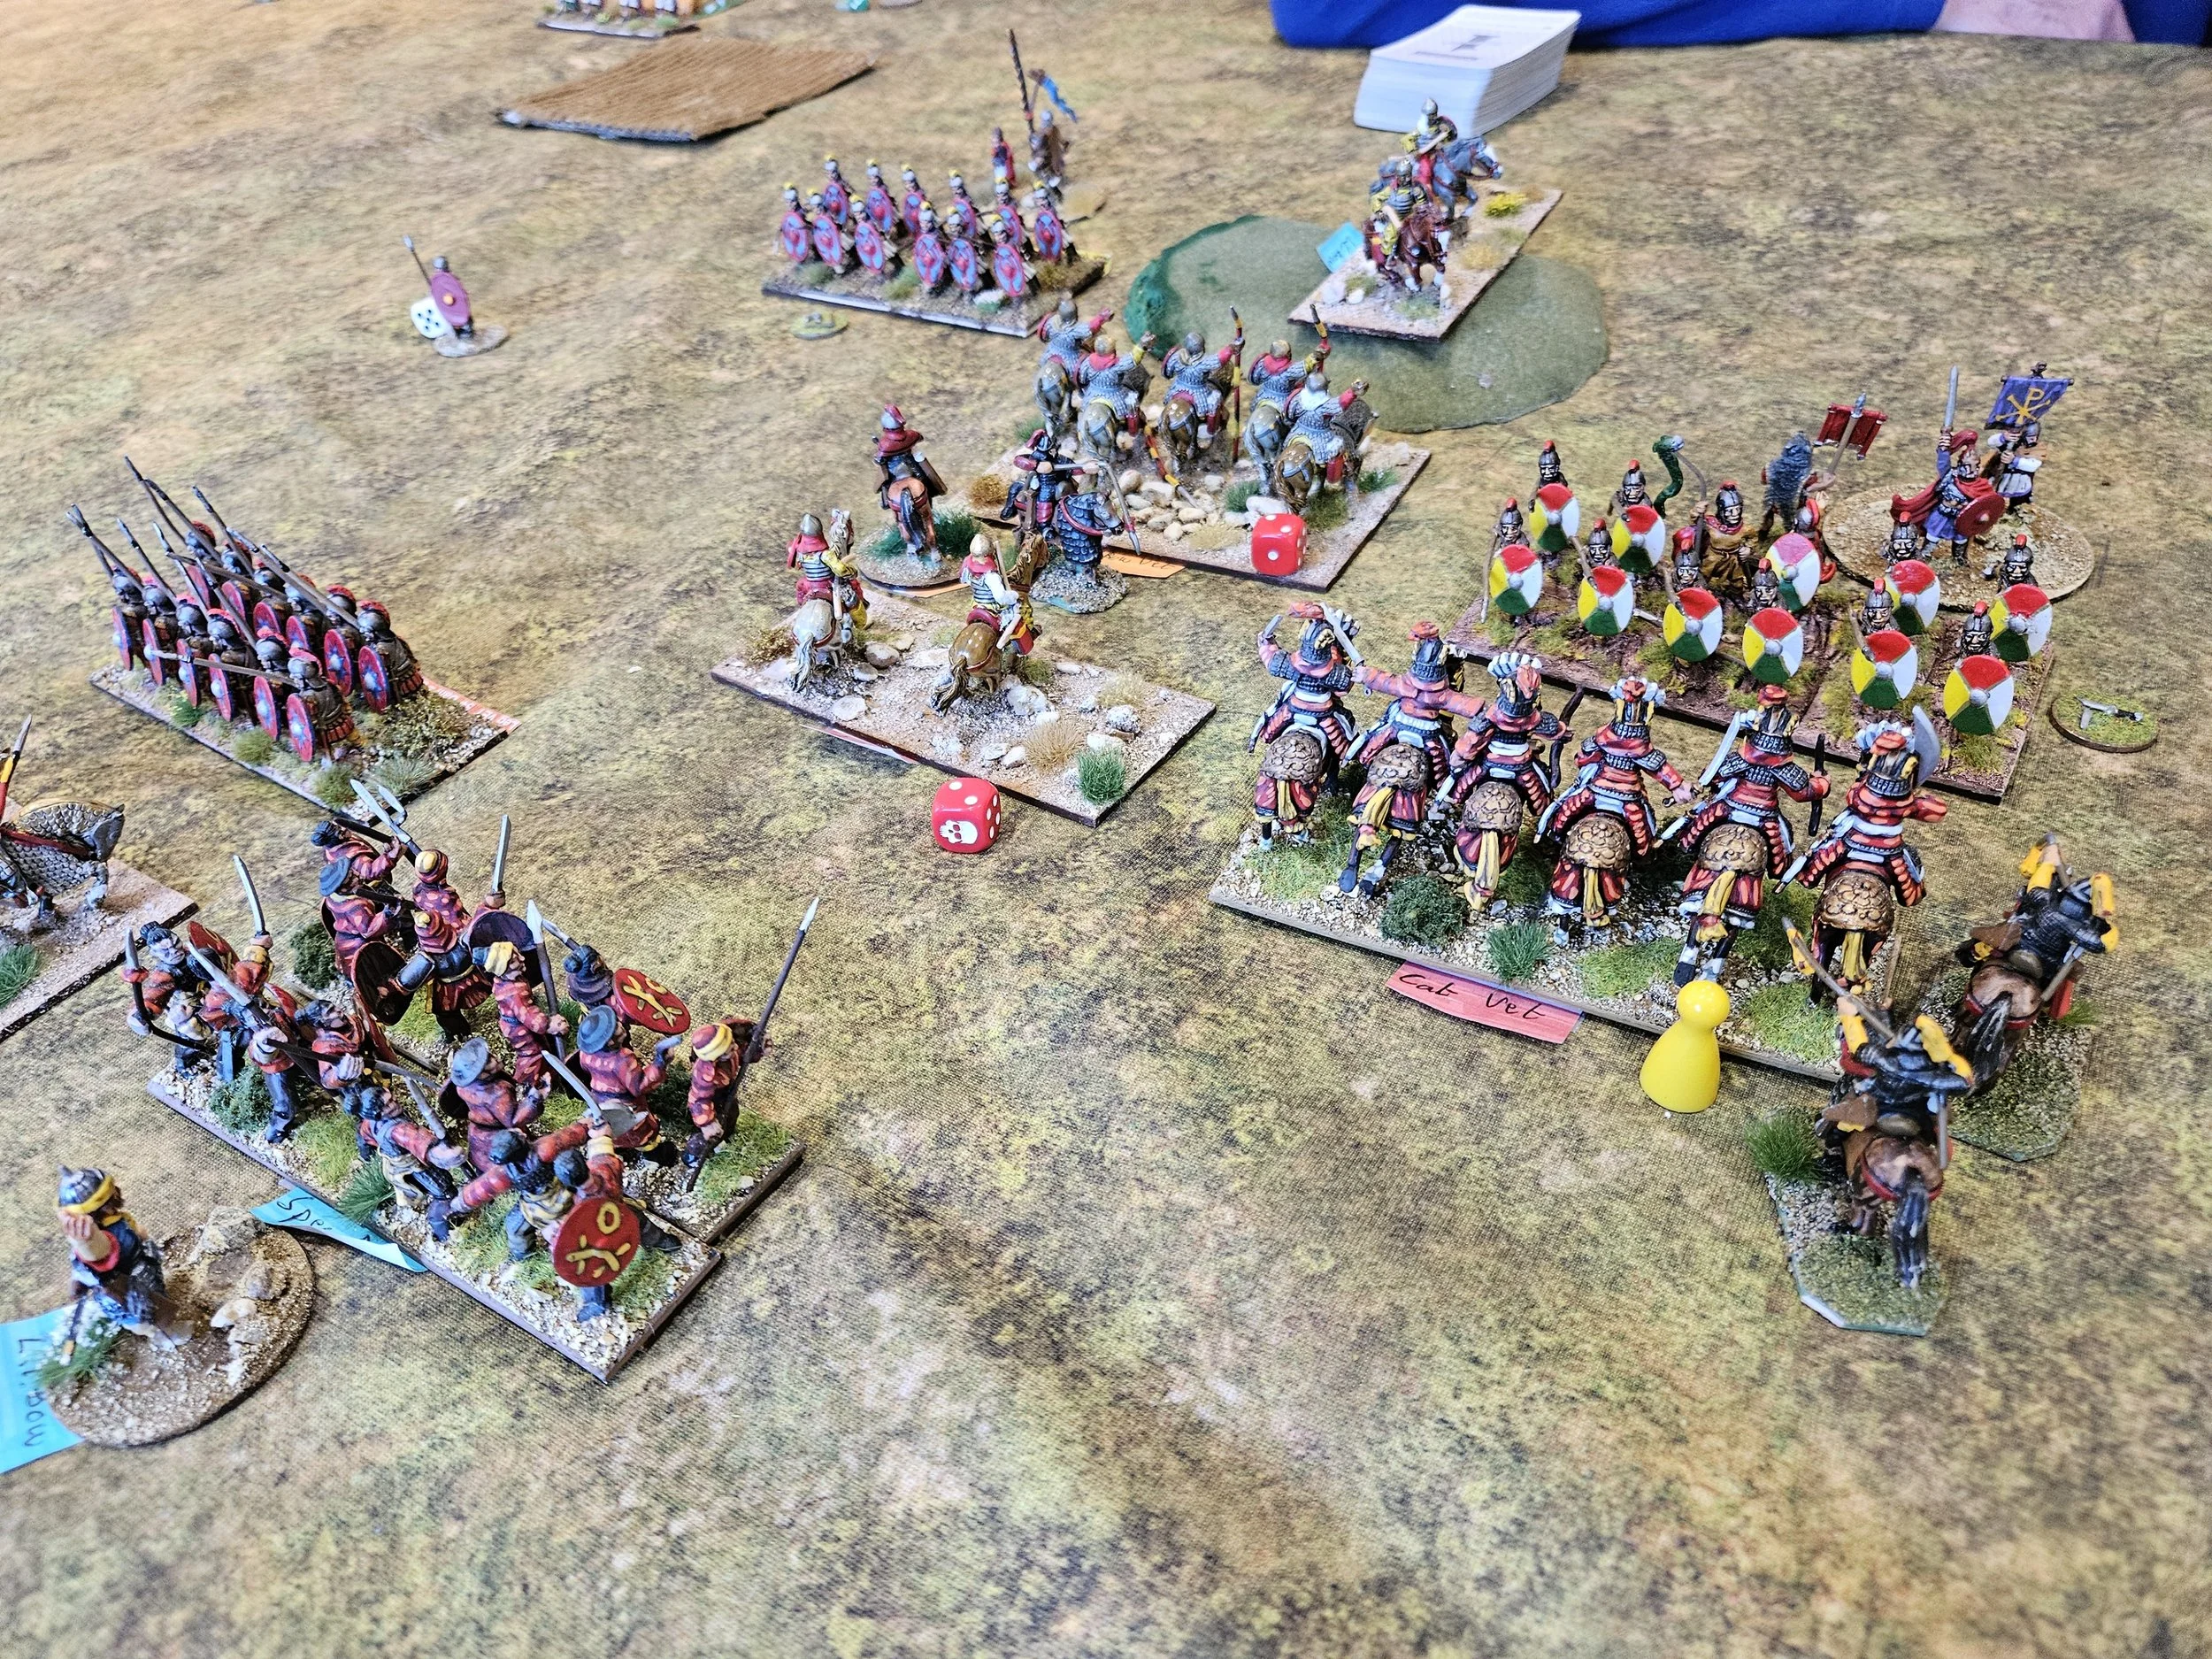
Fortunately, the strength I had been able to deploy at the beginning of the battle, when the Roman heavy cavalry were occupied by a couple of light units off to the right, began to take effect. Often tactically outnumbered, and weakened by the constant bow fire and flank attacks, even the veteran Roman legionaries and auxilia began to waver…and, perhaps fittingly, a unit of raw Chinese spearmen, striking from the rear, finally inflicted the coup de grace: taking the final Roman coins and giving me victory!
As incredible as the stand of my cavalry around the camps was the fact that this was the third time I had beaten Peter in a row. As I write this, the Fimbulwinter (three consecutive, brutal winters with no summer) is upon us, there is moral decay leading to brother killing brother everywhere (well, Minnesota), the sun and moon are being devoured by the wolves Skoll and Hati, and I swear I can hear the breaking of chains holding monsters like Fenrir!!!