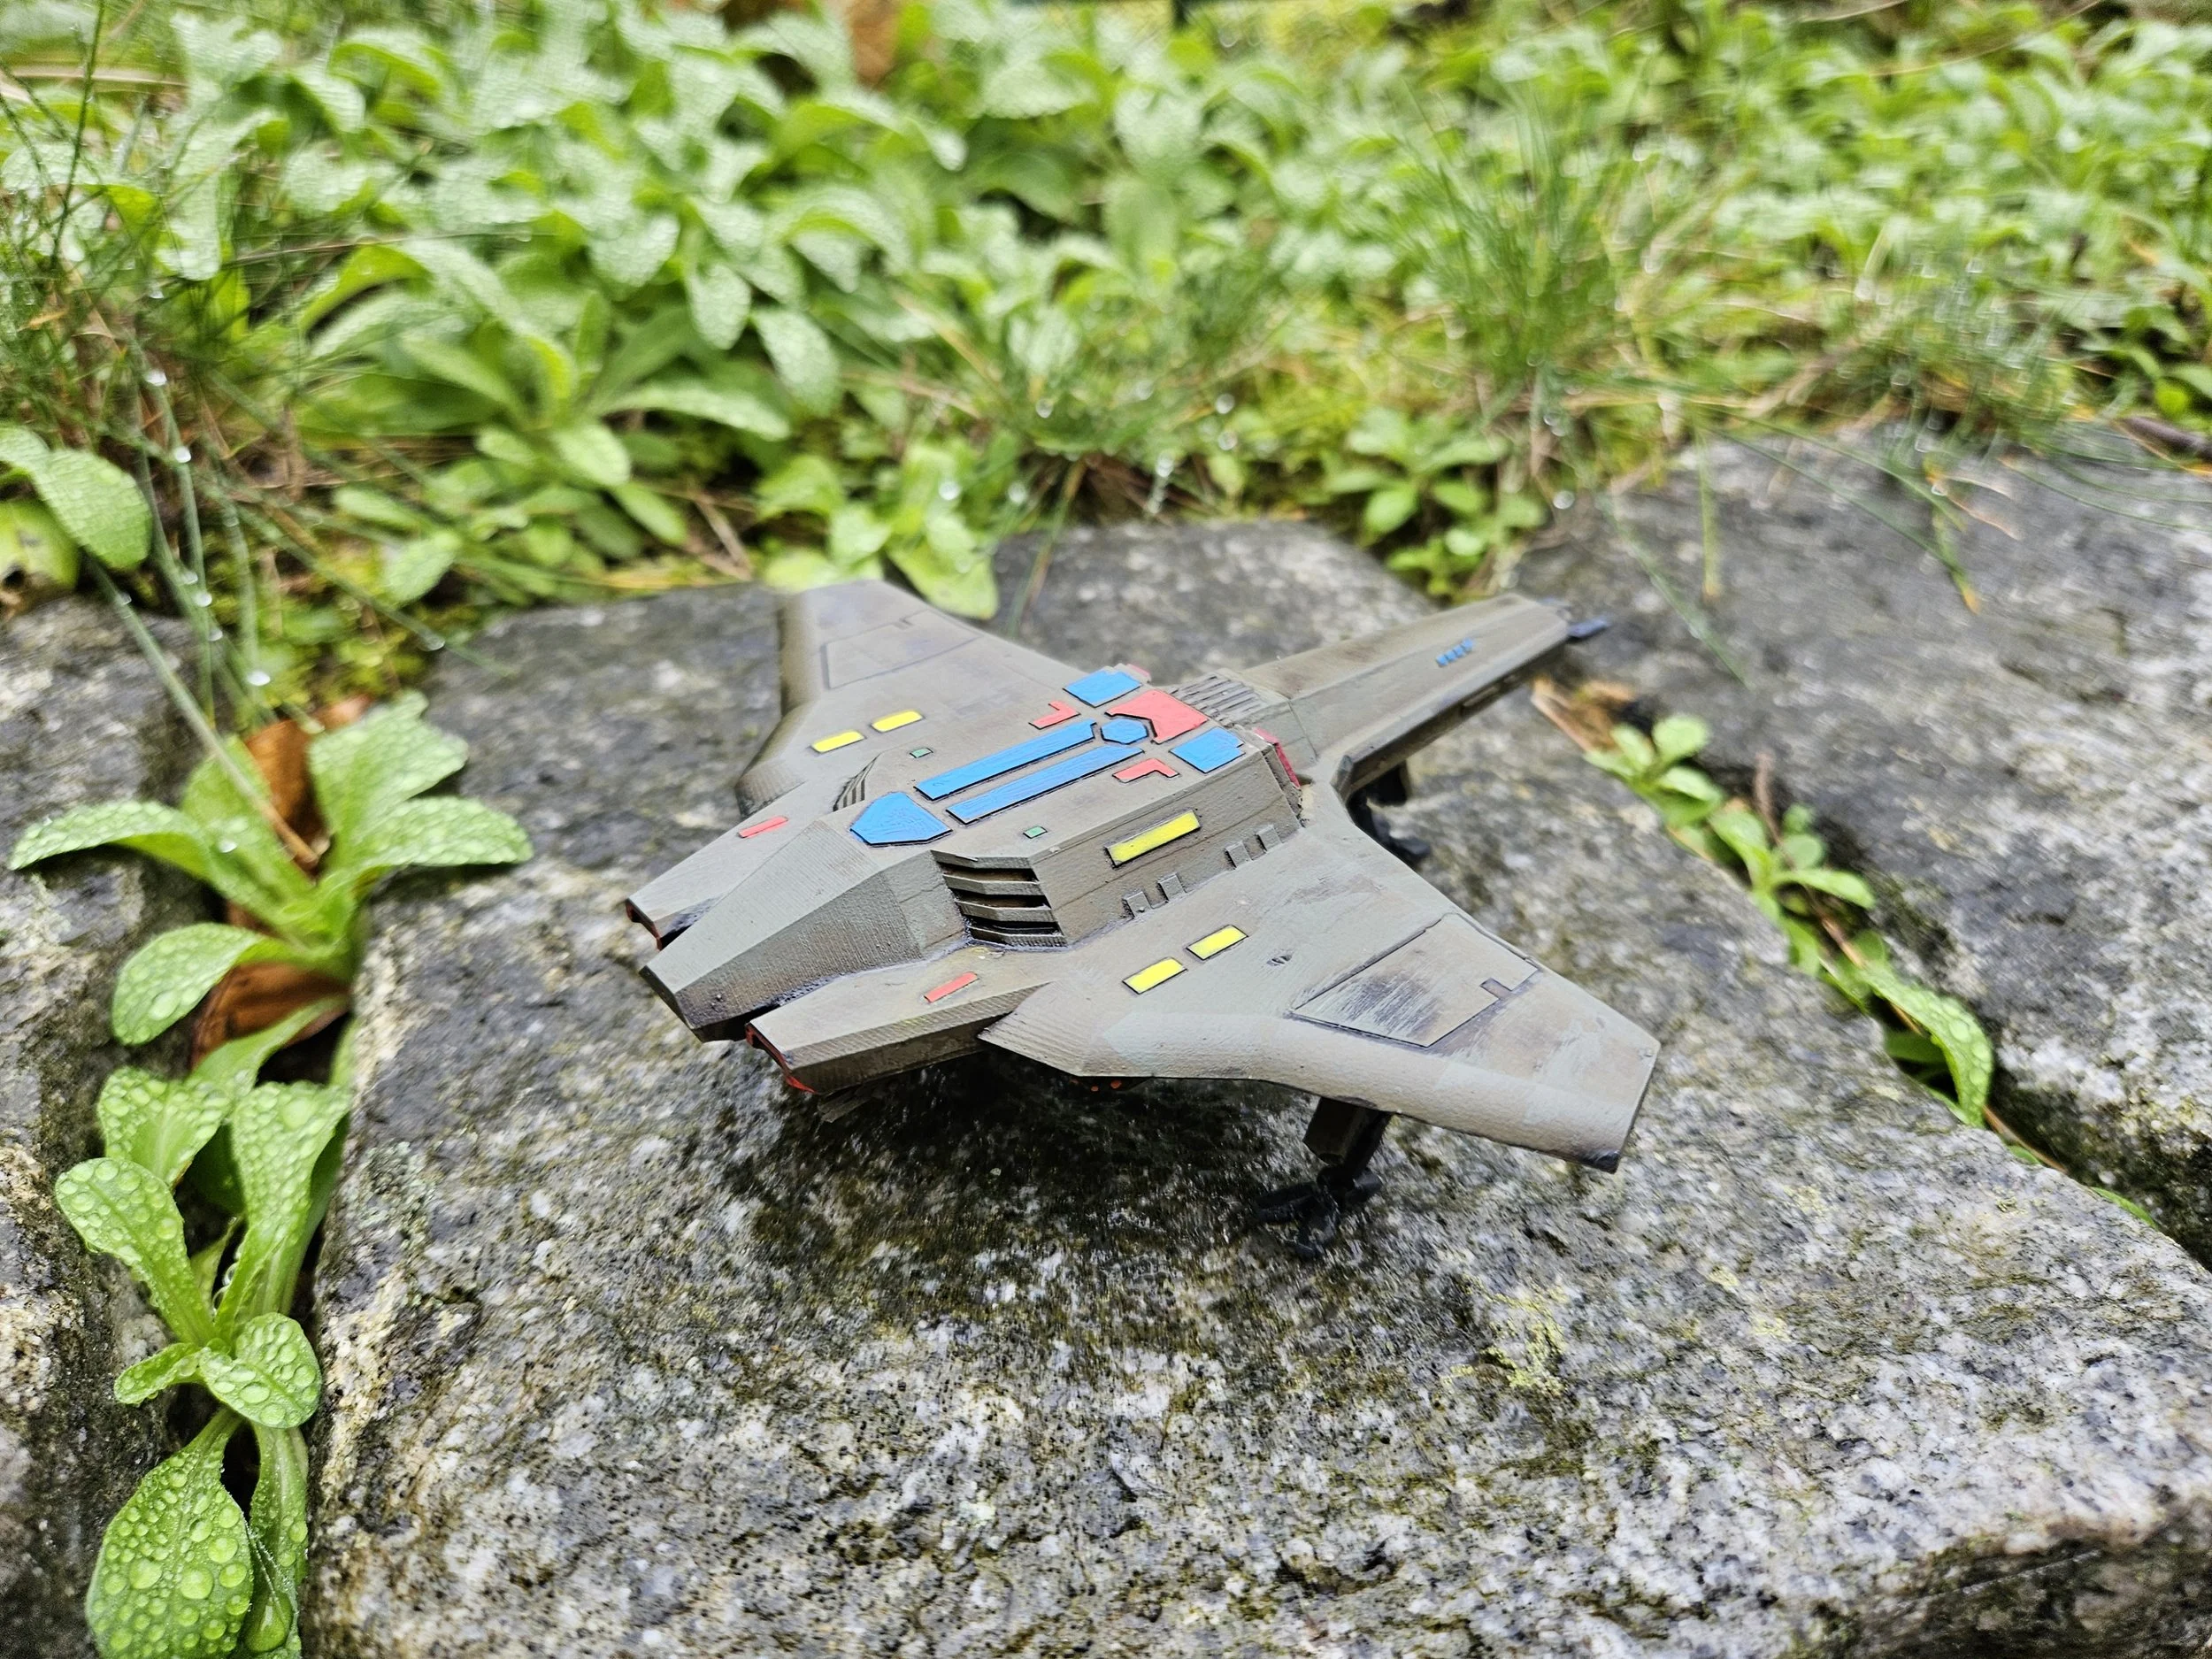
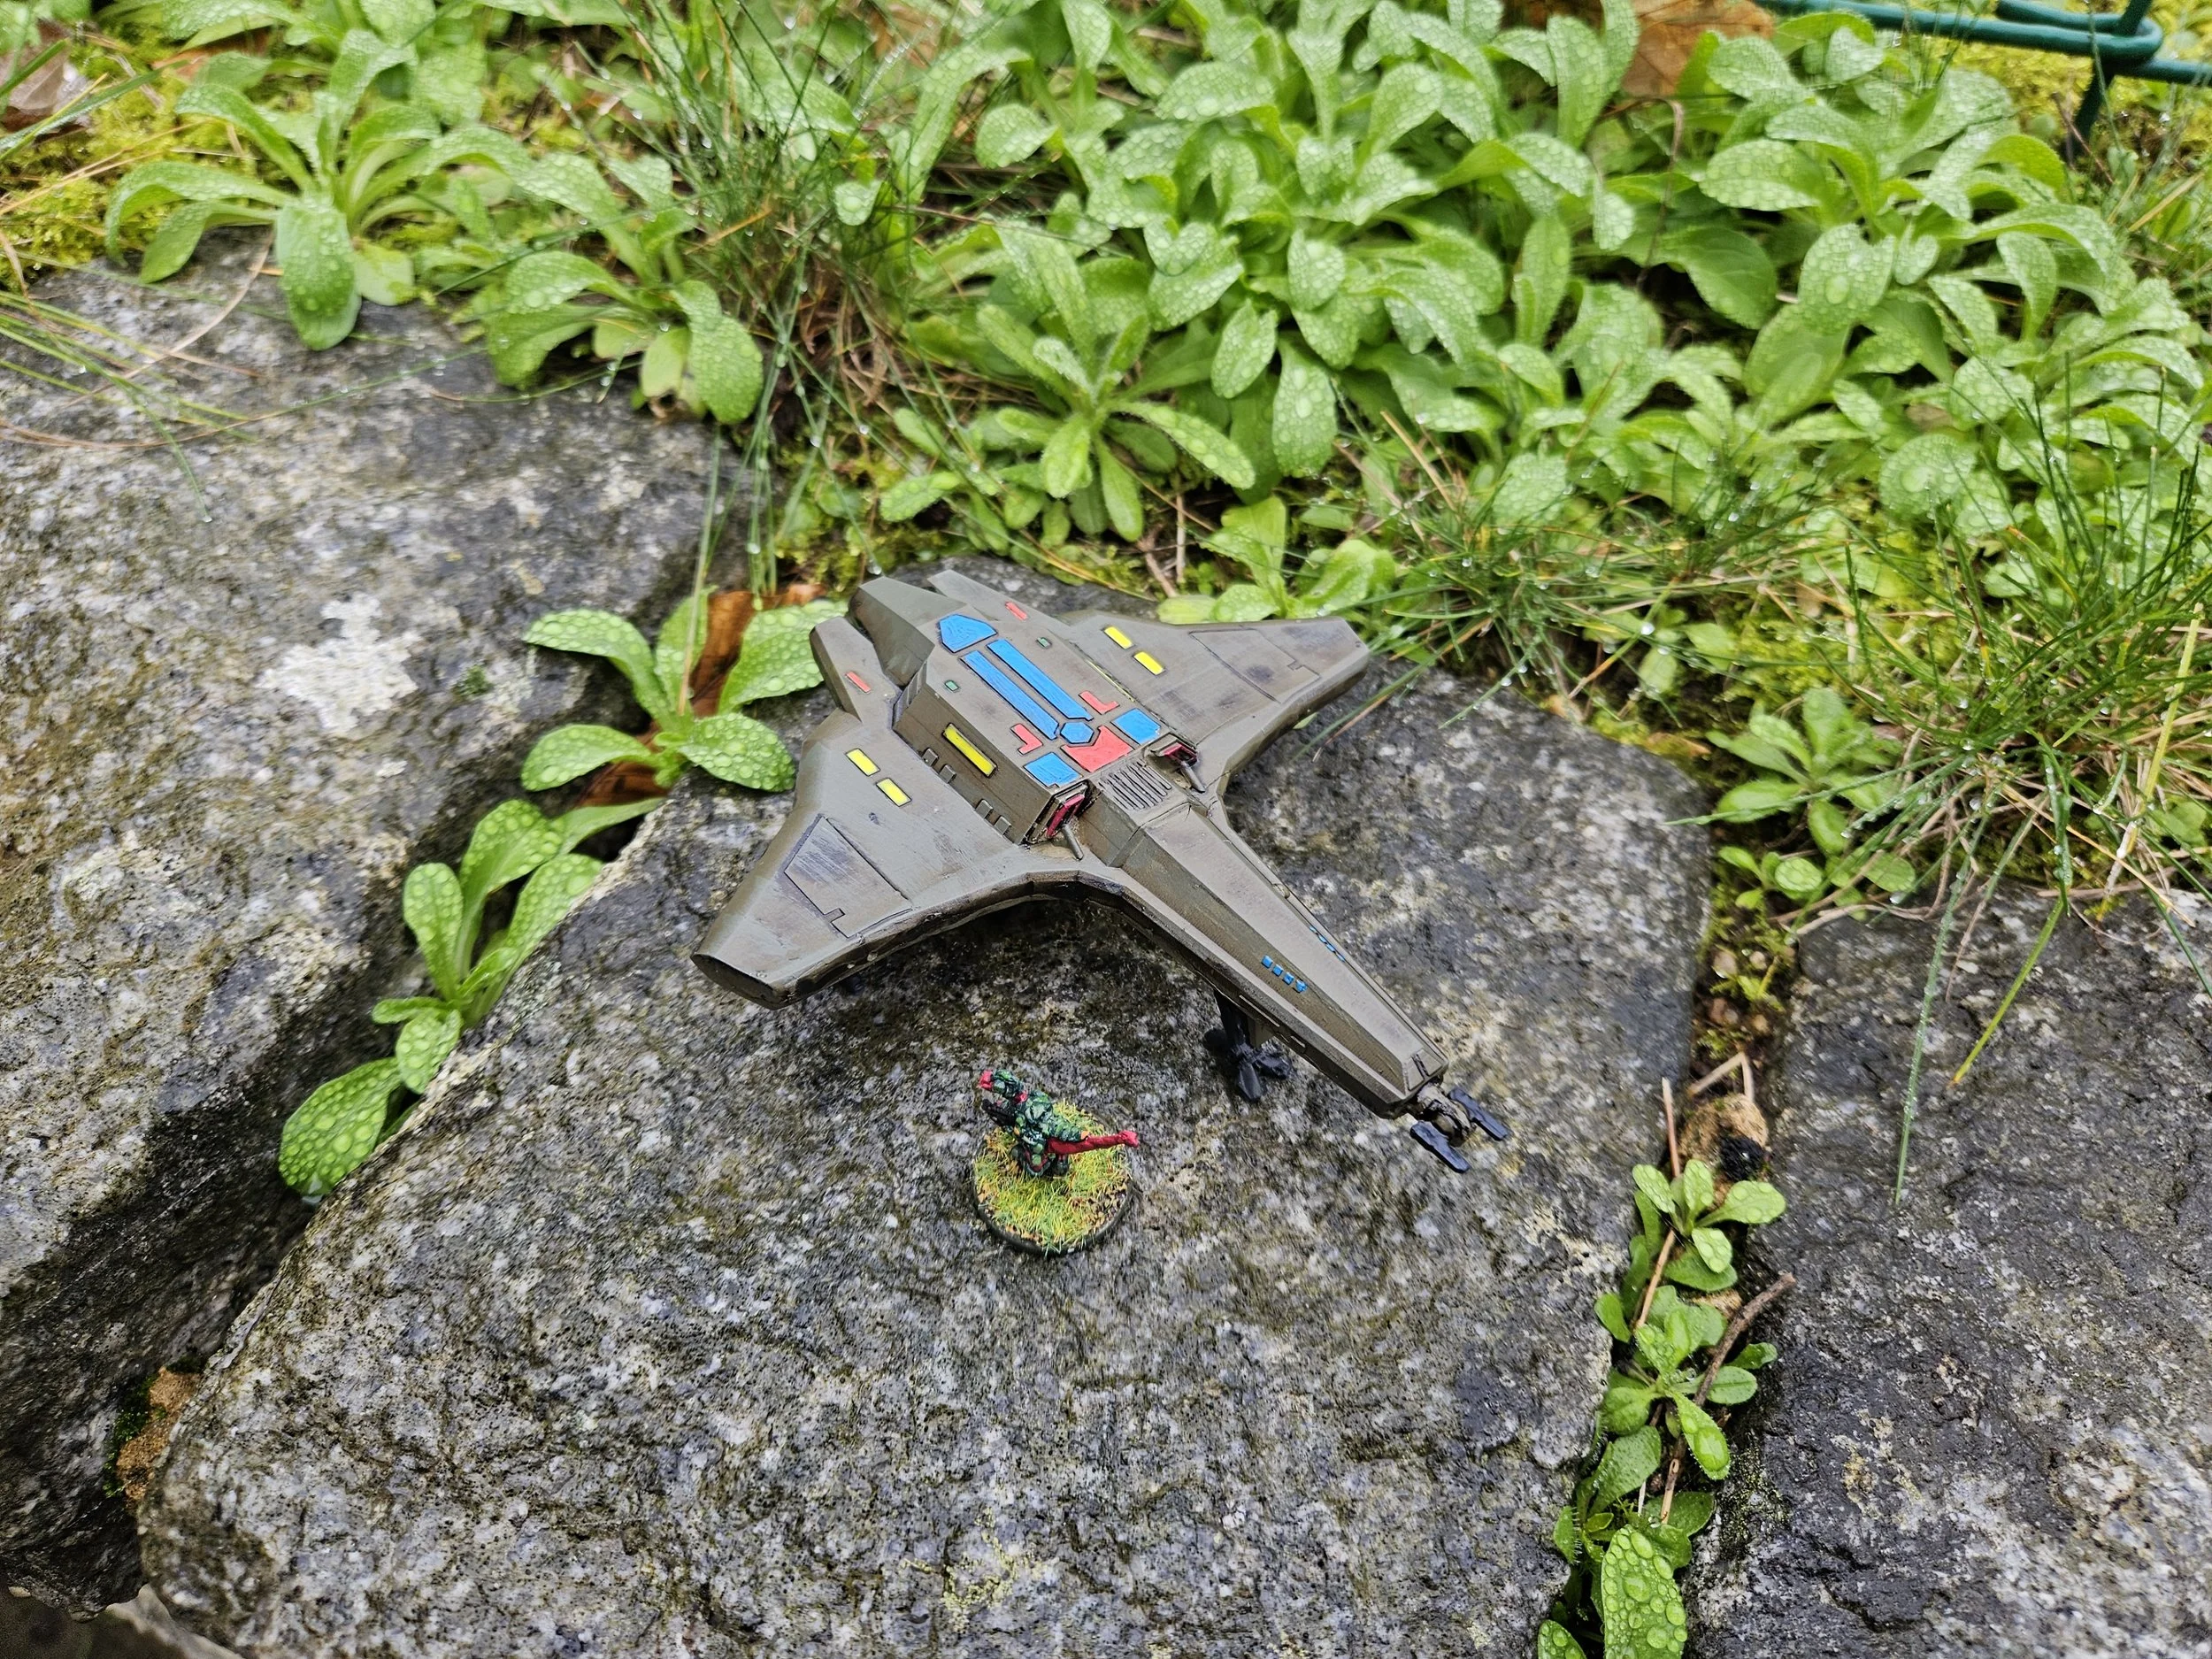
Look-Alike Hauk from Trilaterum
/Regular visitors will know that, painting-wise, I am currently working through a large delivery from Trench Coat Miniatures’ Trilaterum range of 15mm sci-fi figures.
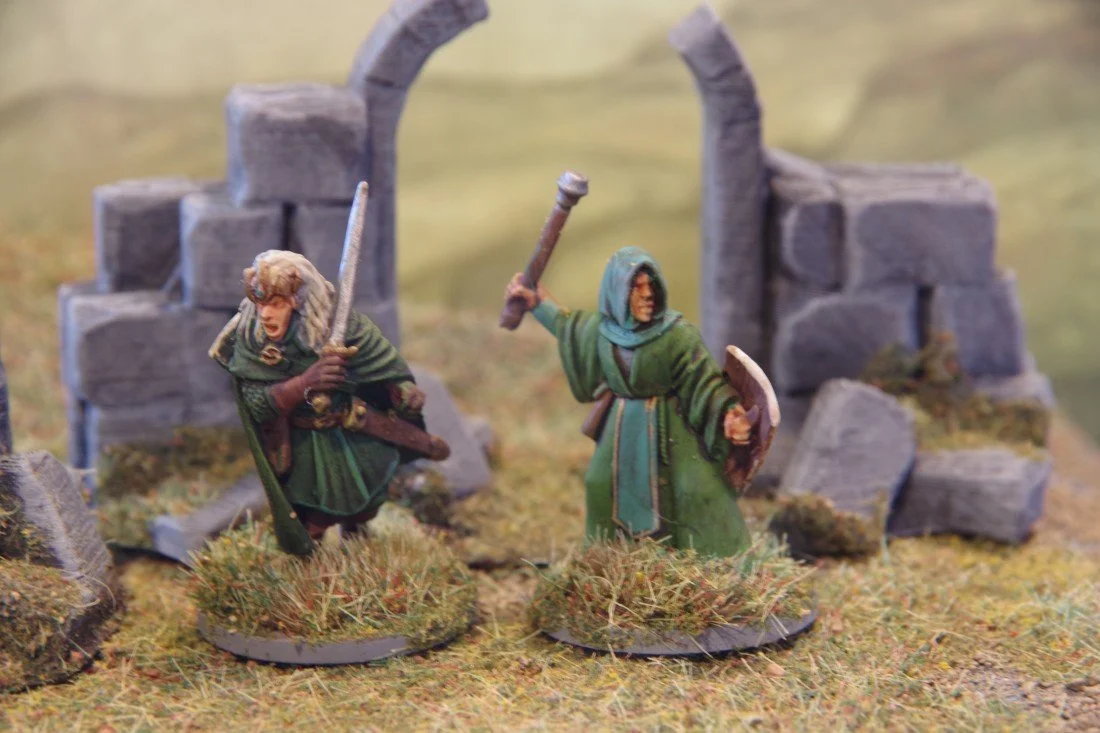
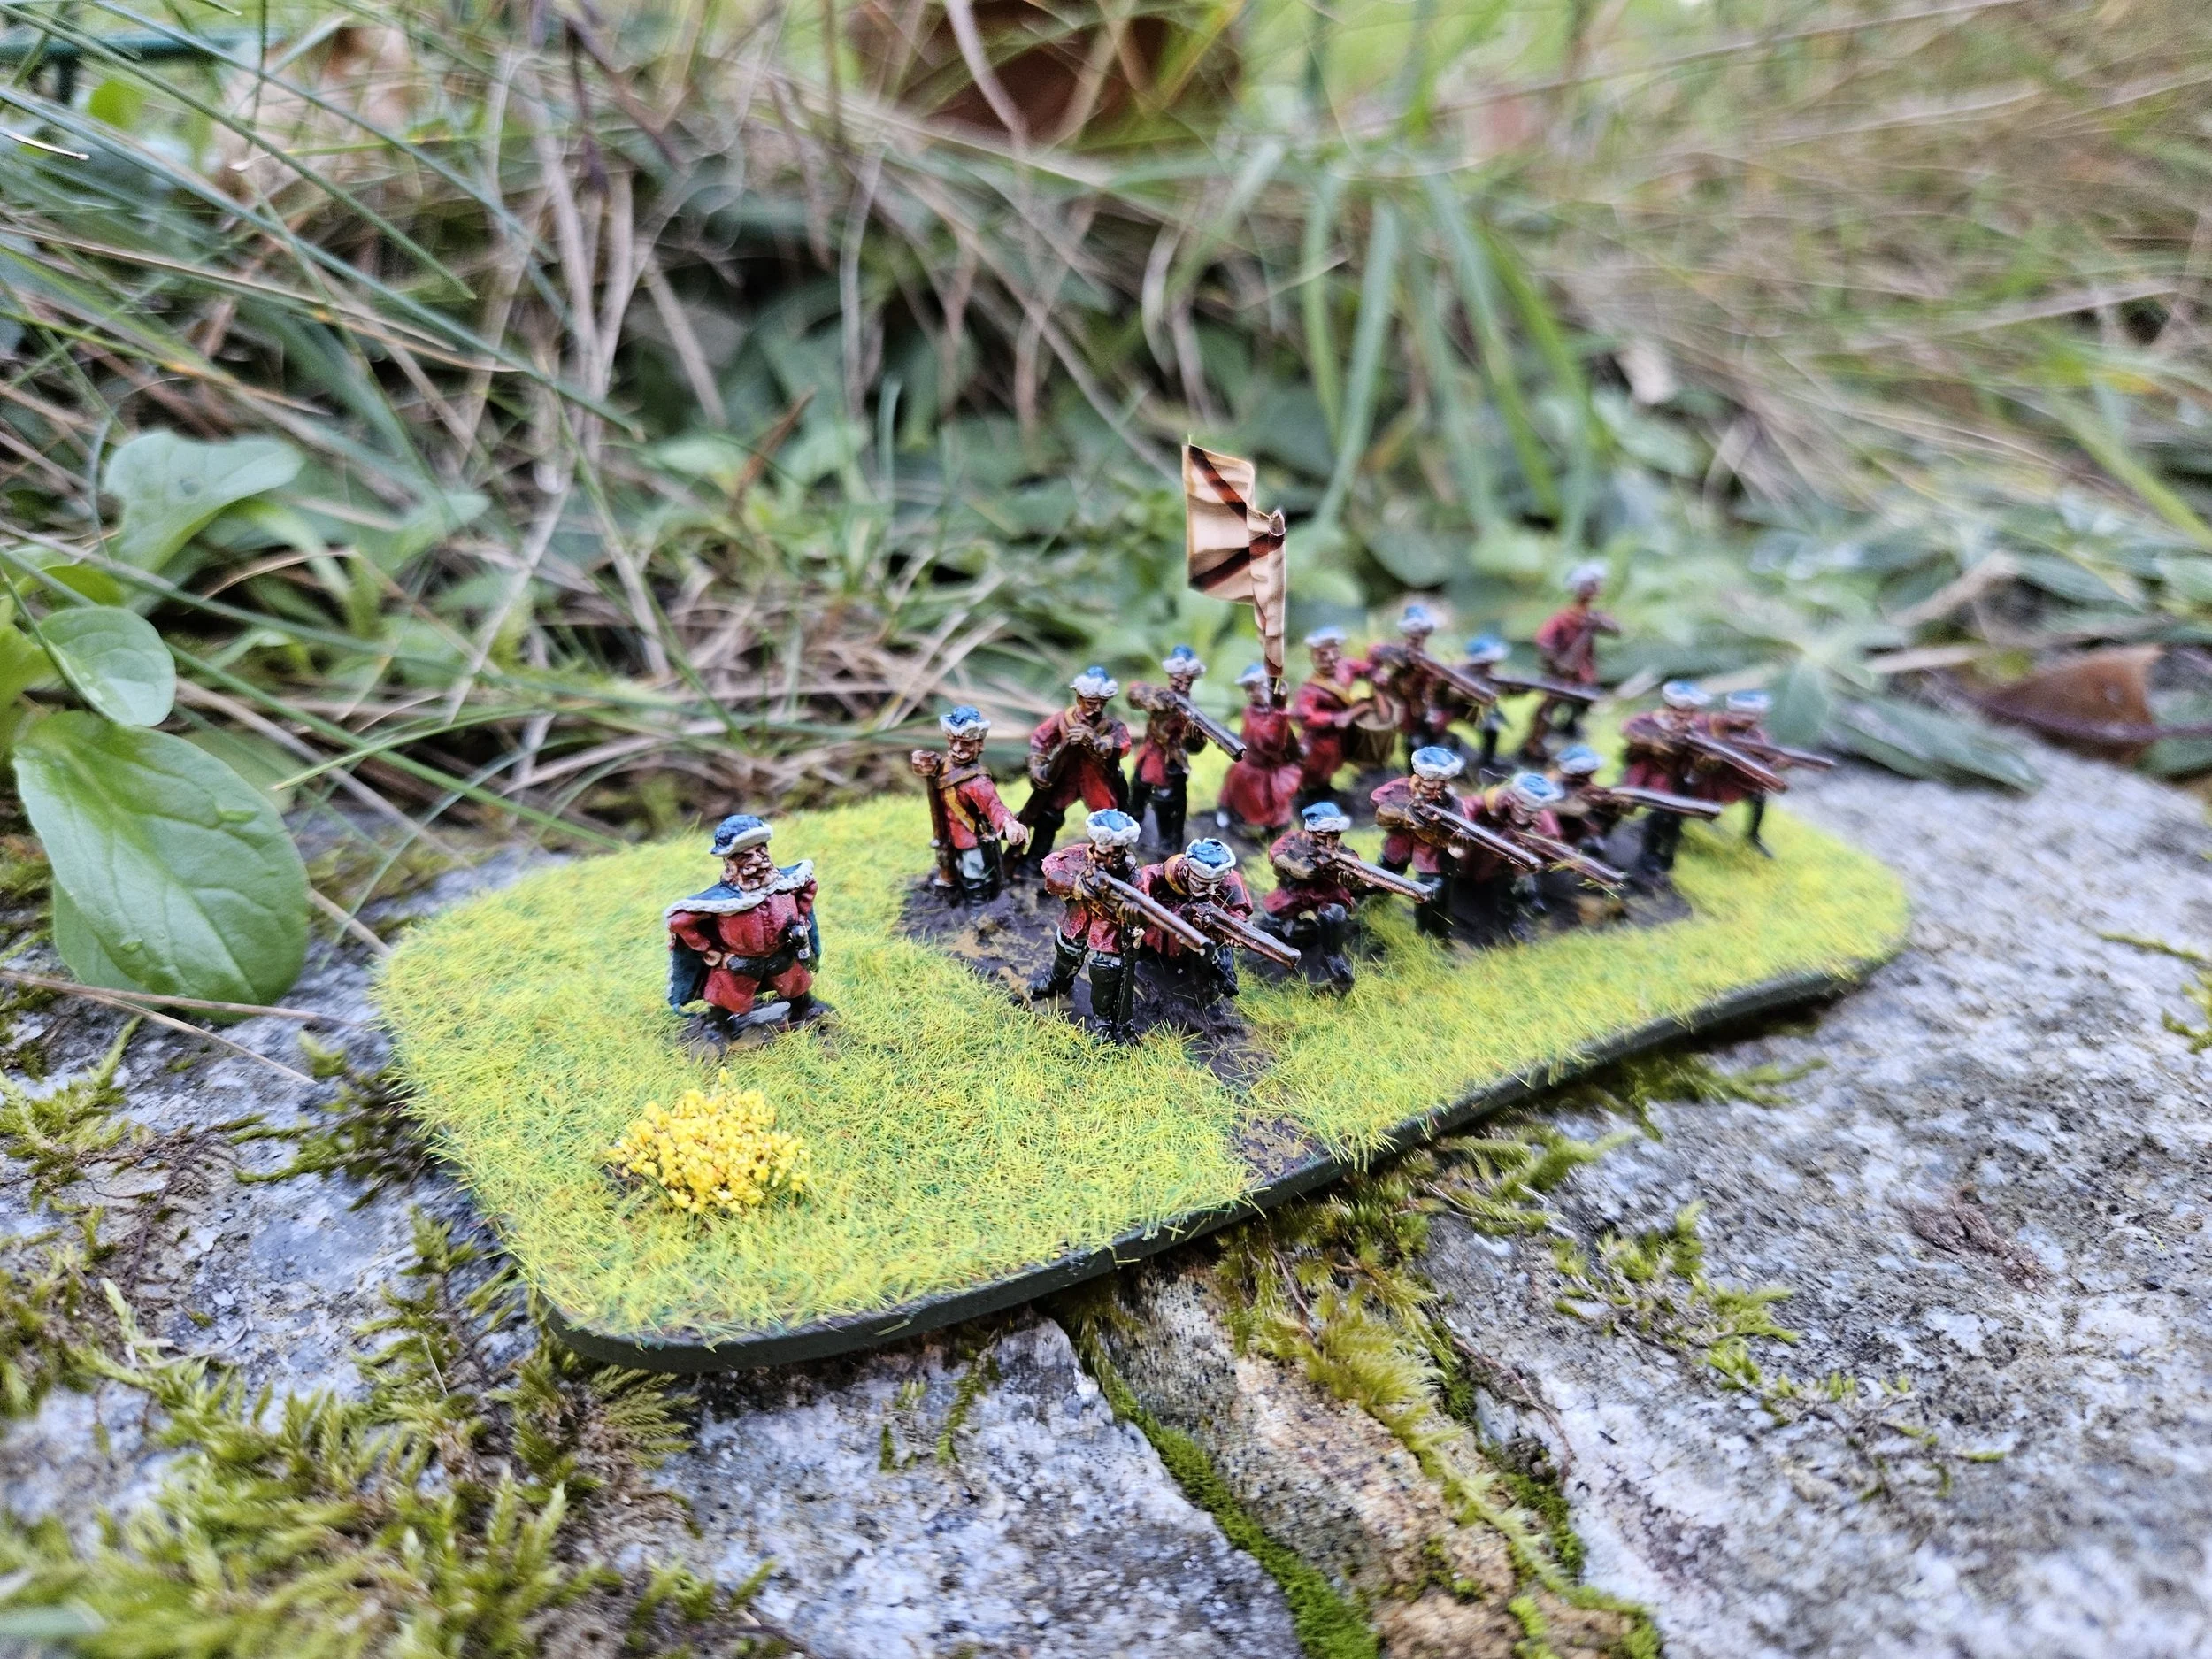
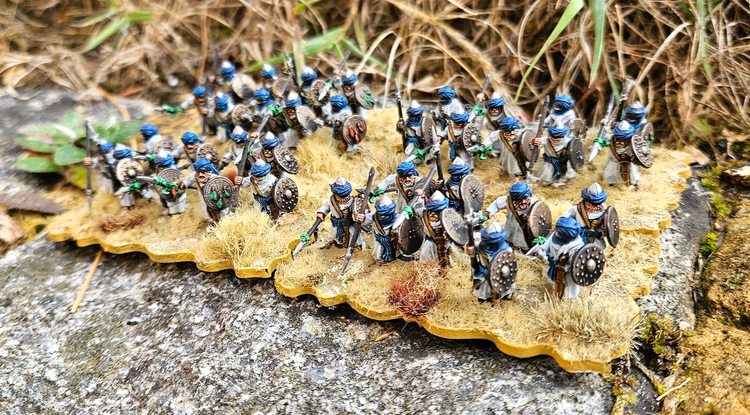
Next up were some additions to my collection of Avian sci-fi minatures i.e. various ranges that look like bird-men. That includes three types of Bird-man: the Haliaeetus (eagle-like), the Corvus (crow-like) and the Virganianus (owl-like).
My roster already includes the Hauk from Khurasan which, by happy coincidence, the Haliaeetus figures strongly ressemble in terms of both looks and equipment. The Haliaeetus therefore quickly became surrogate Hauk, with the Corvus (renamed Corvids) and Virganianus joining them as ally races within the same “Avian” command structure.
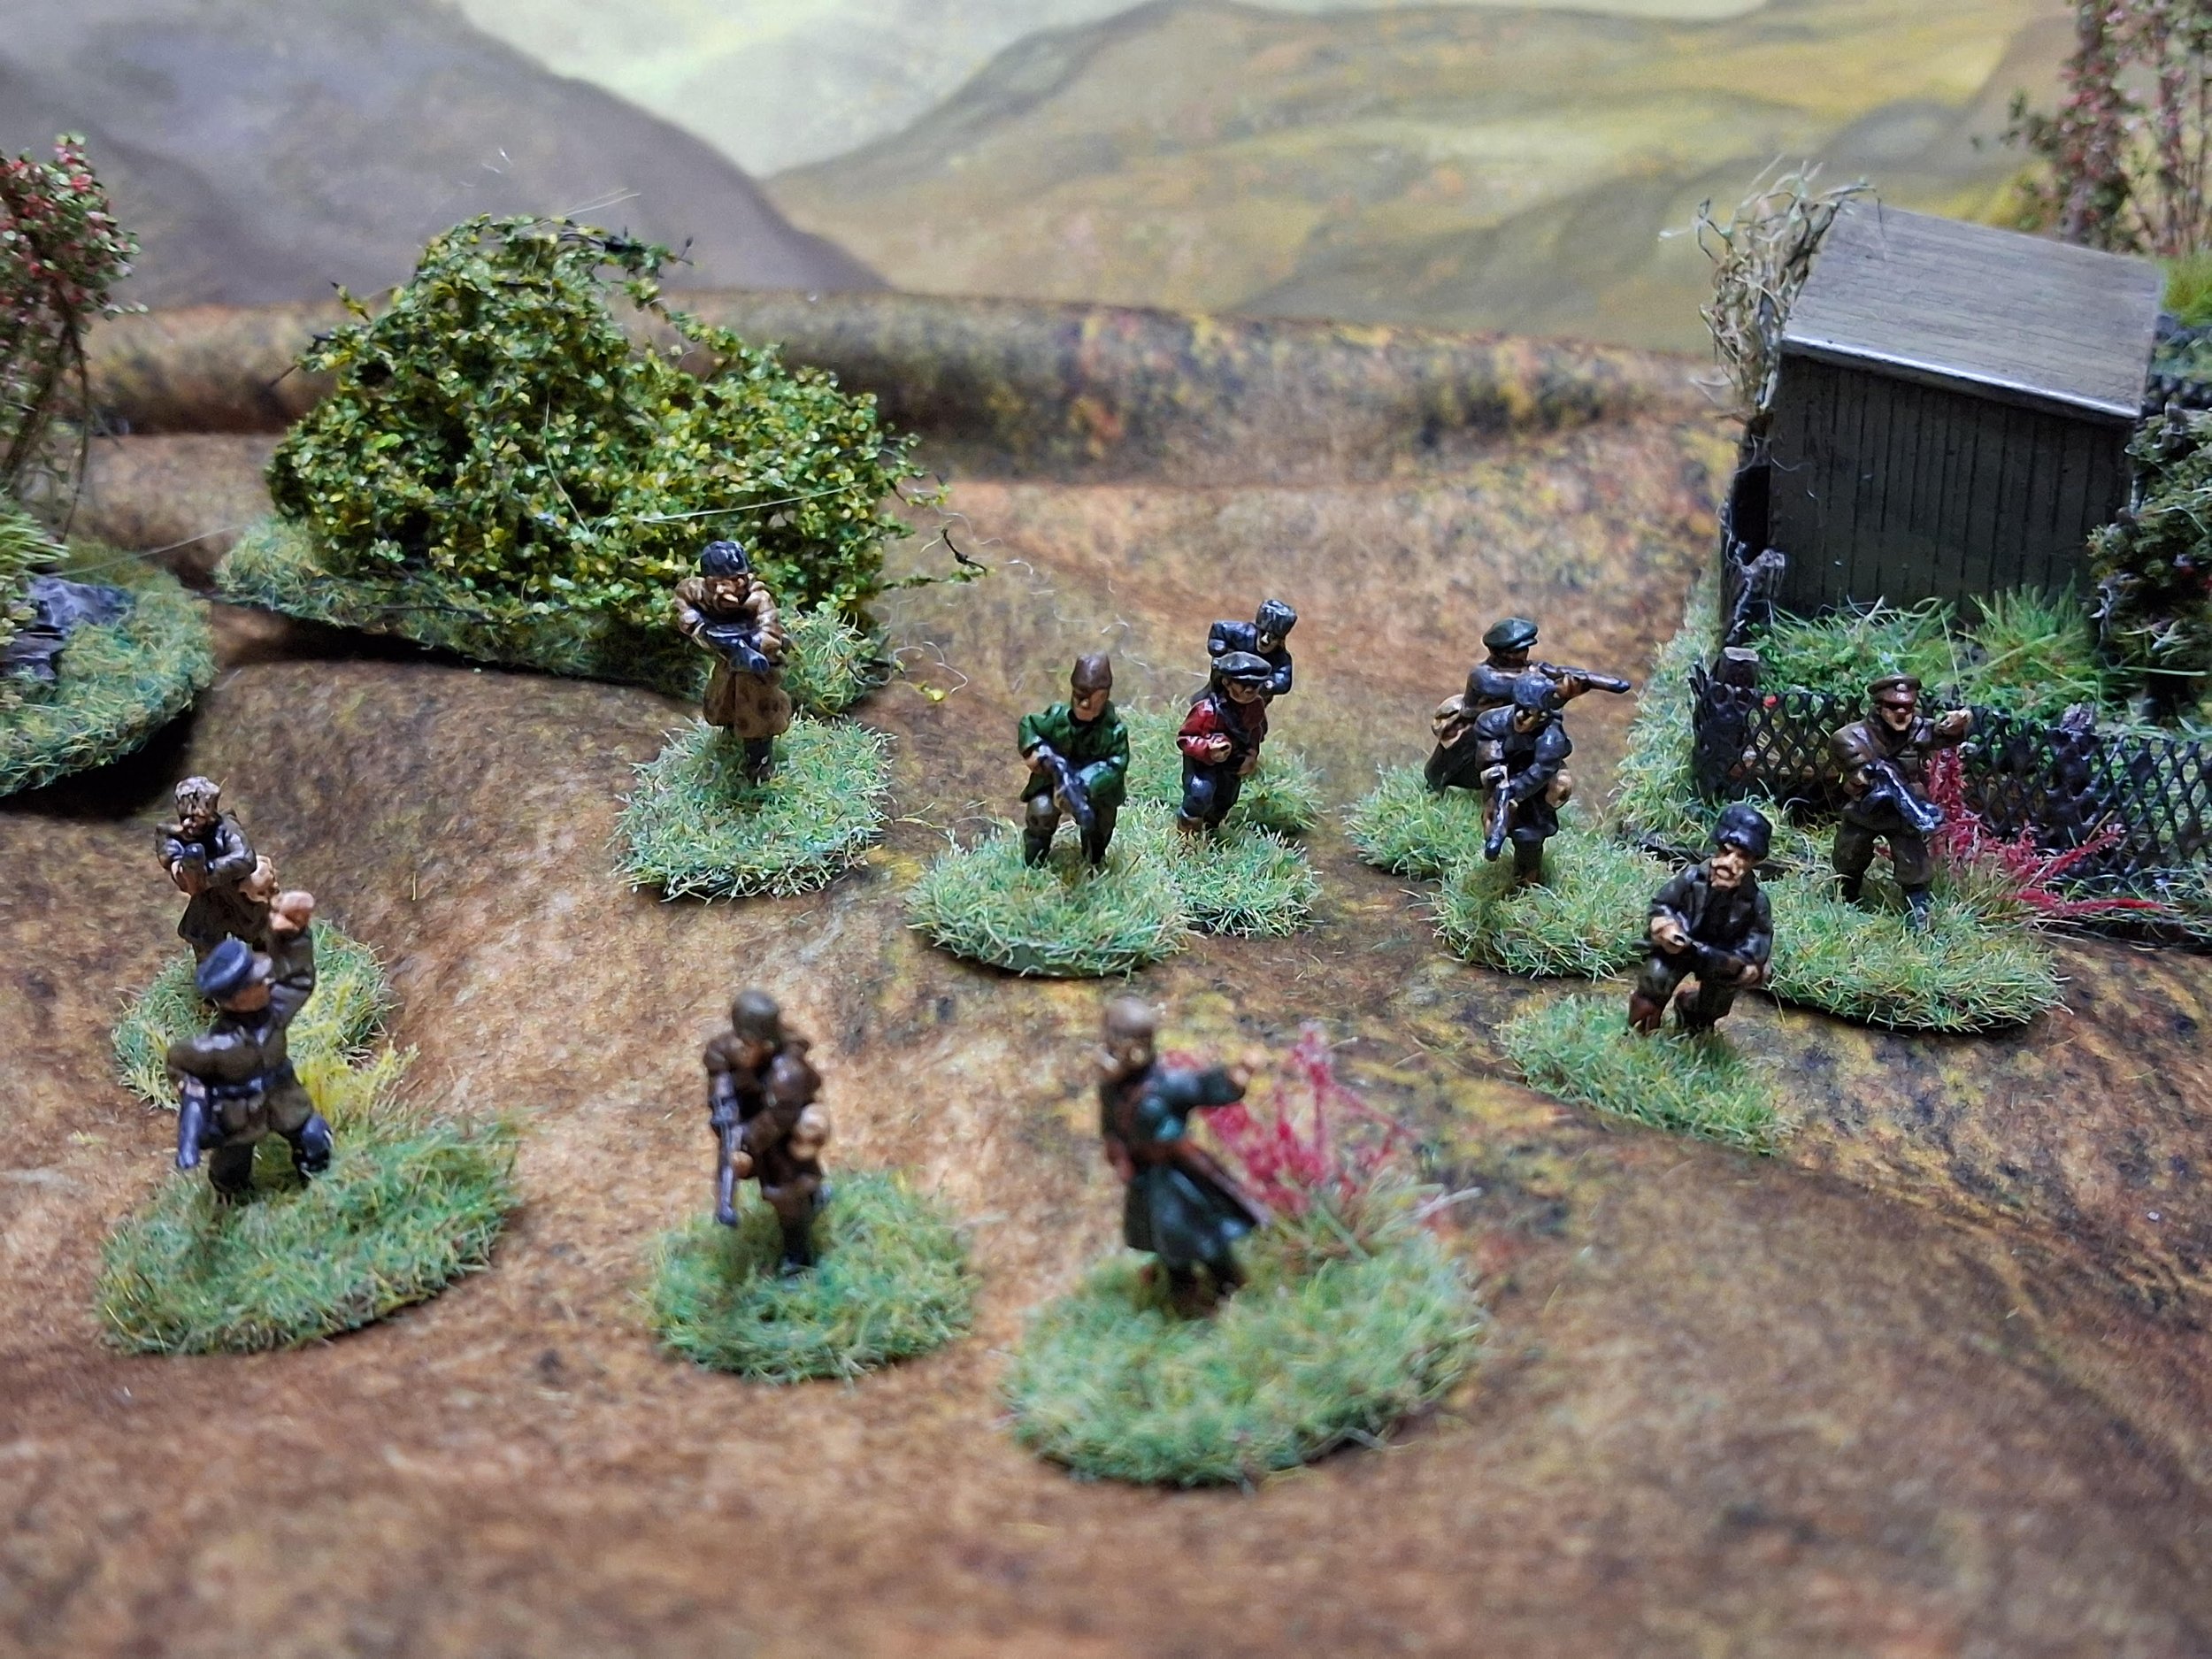
My Avian force therefore now consists of an Harook contingent and a Hauk contingent, with the latter comprising a Hauk airmobile platoon supported by mixed Avian squads of groundpounders.
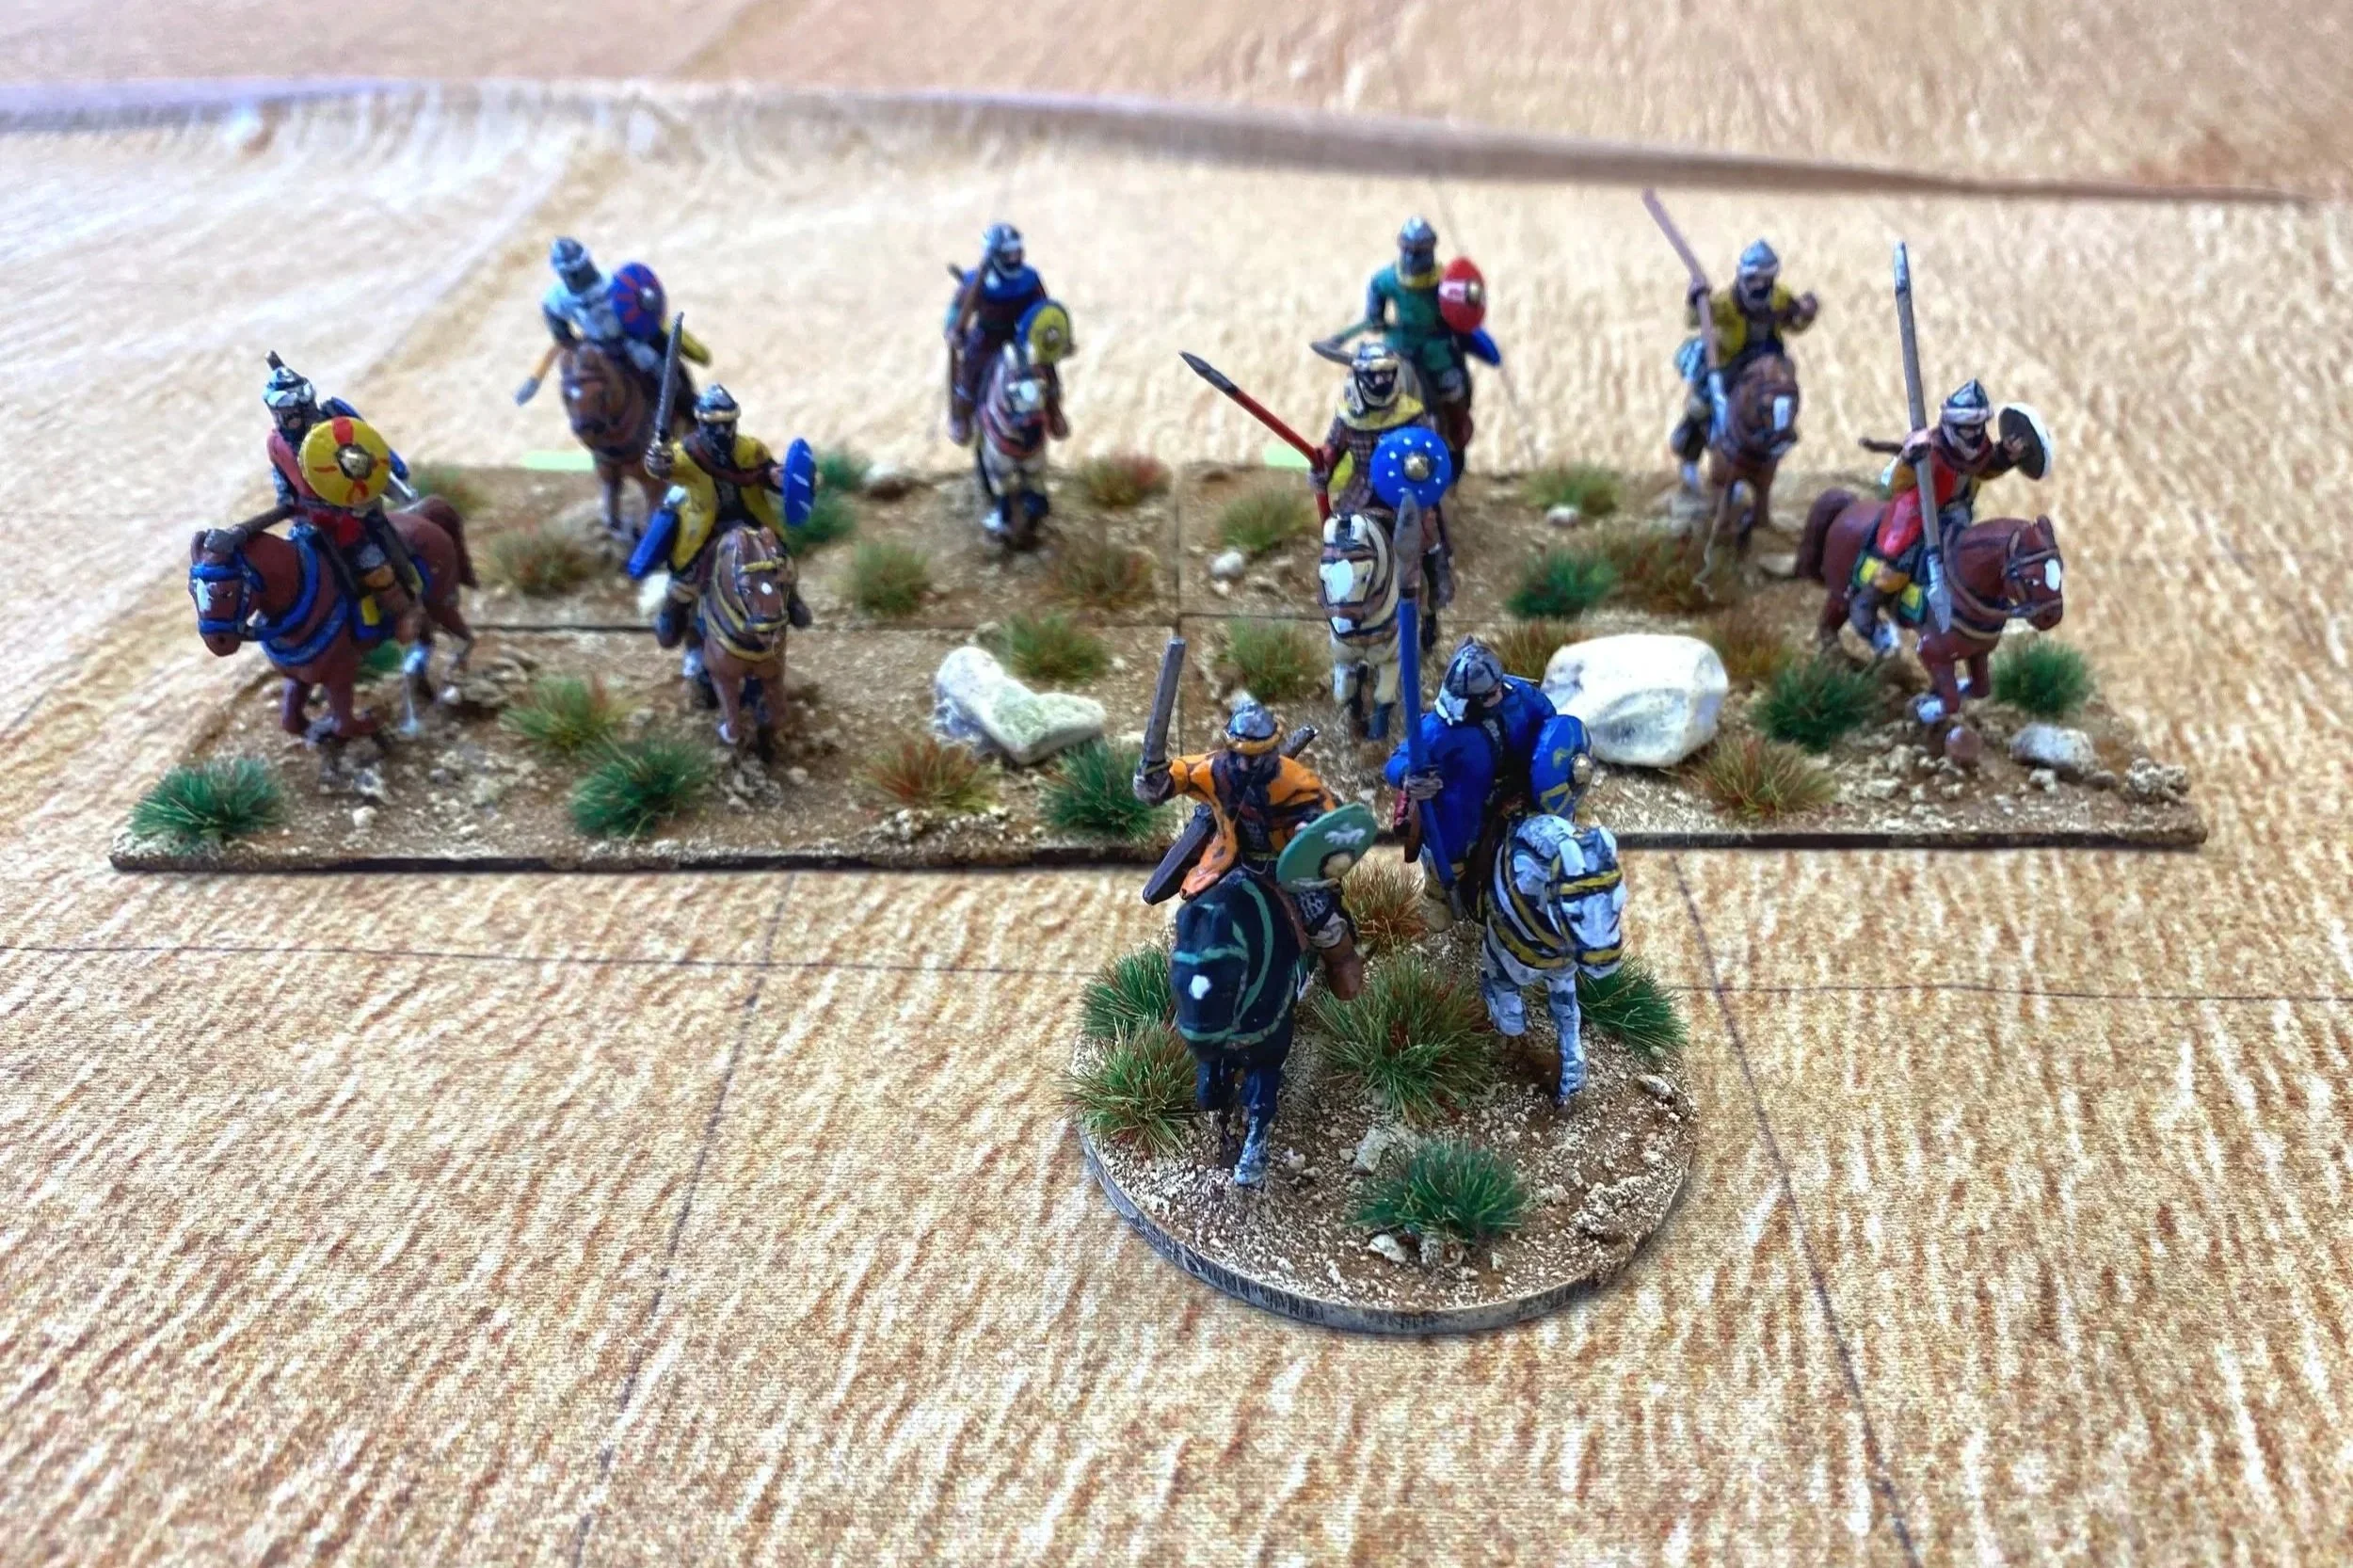
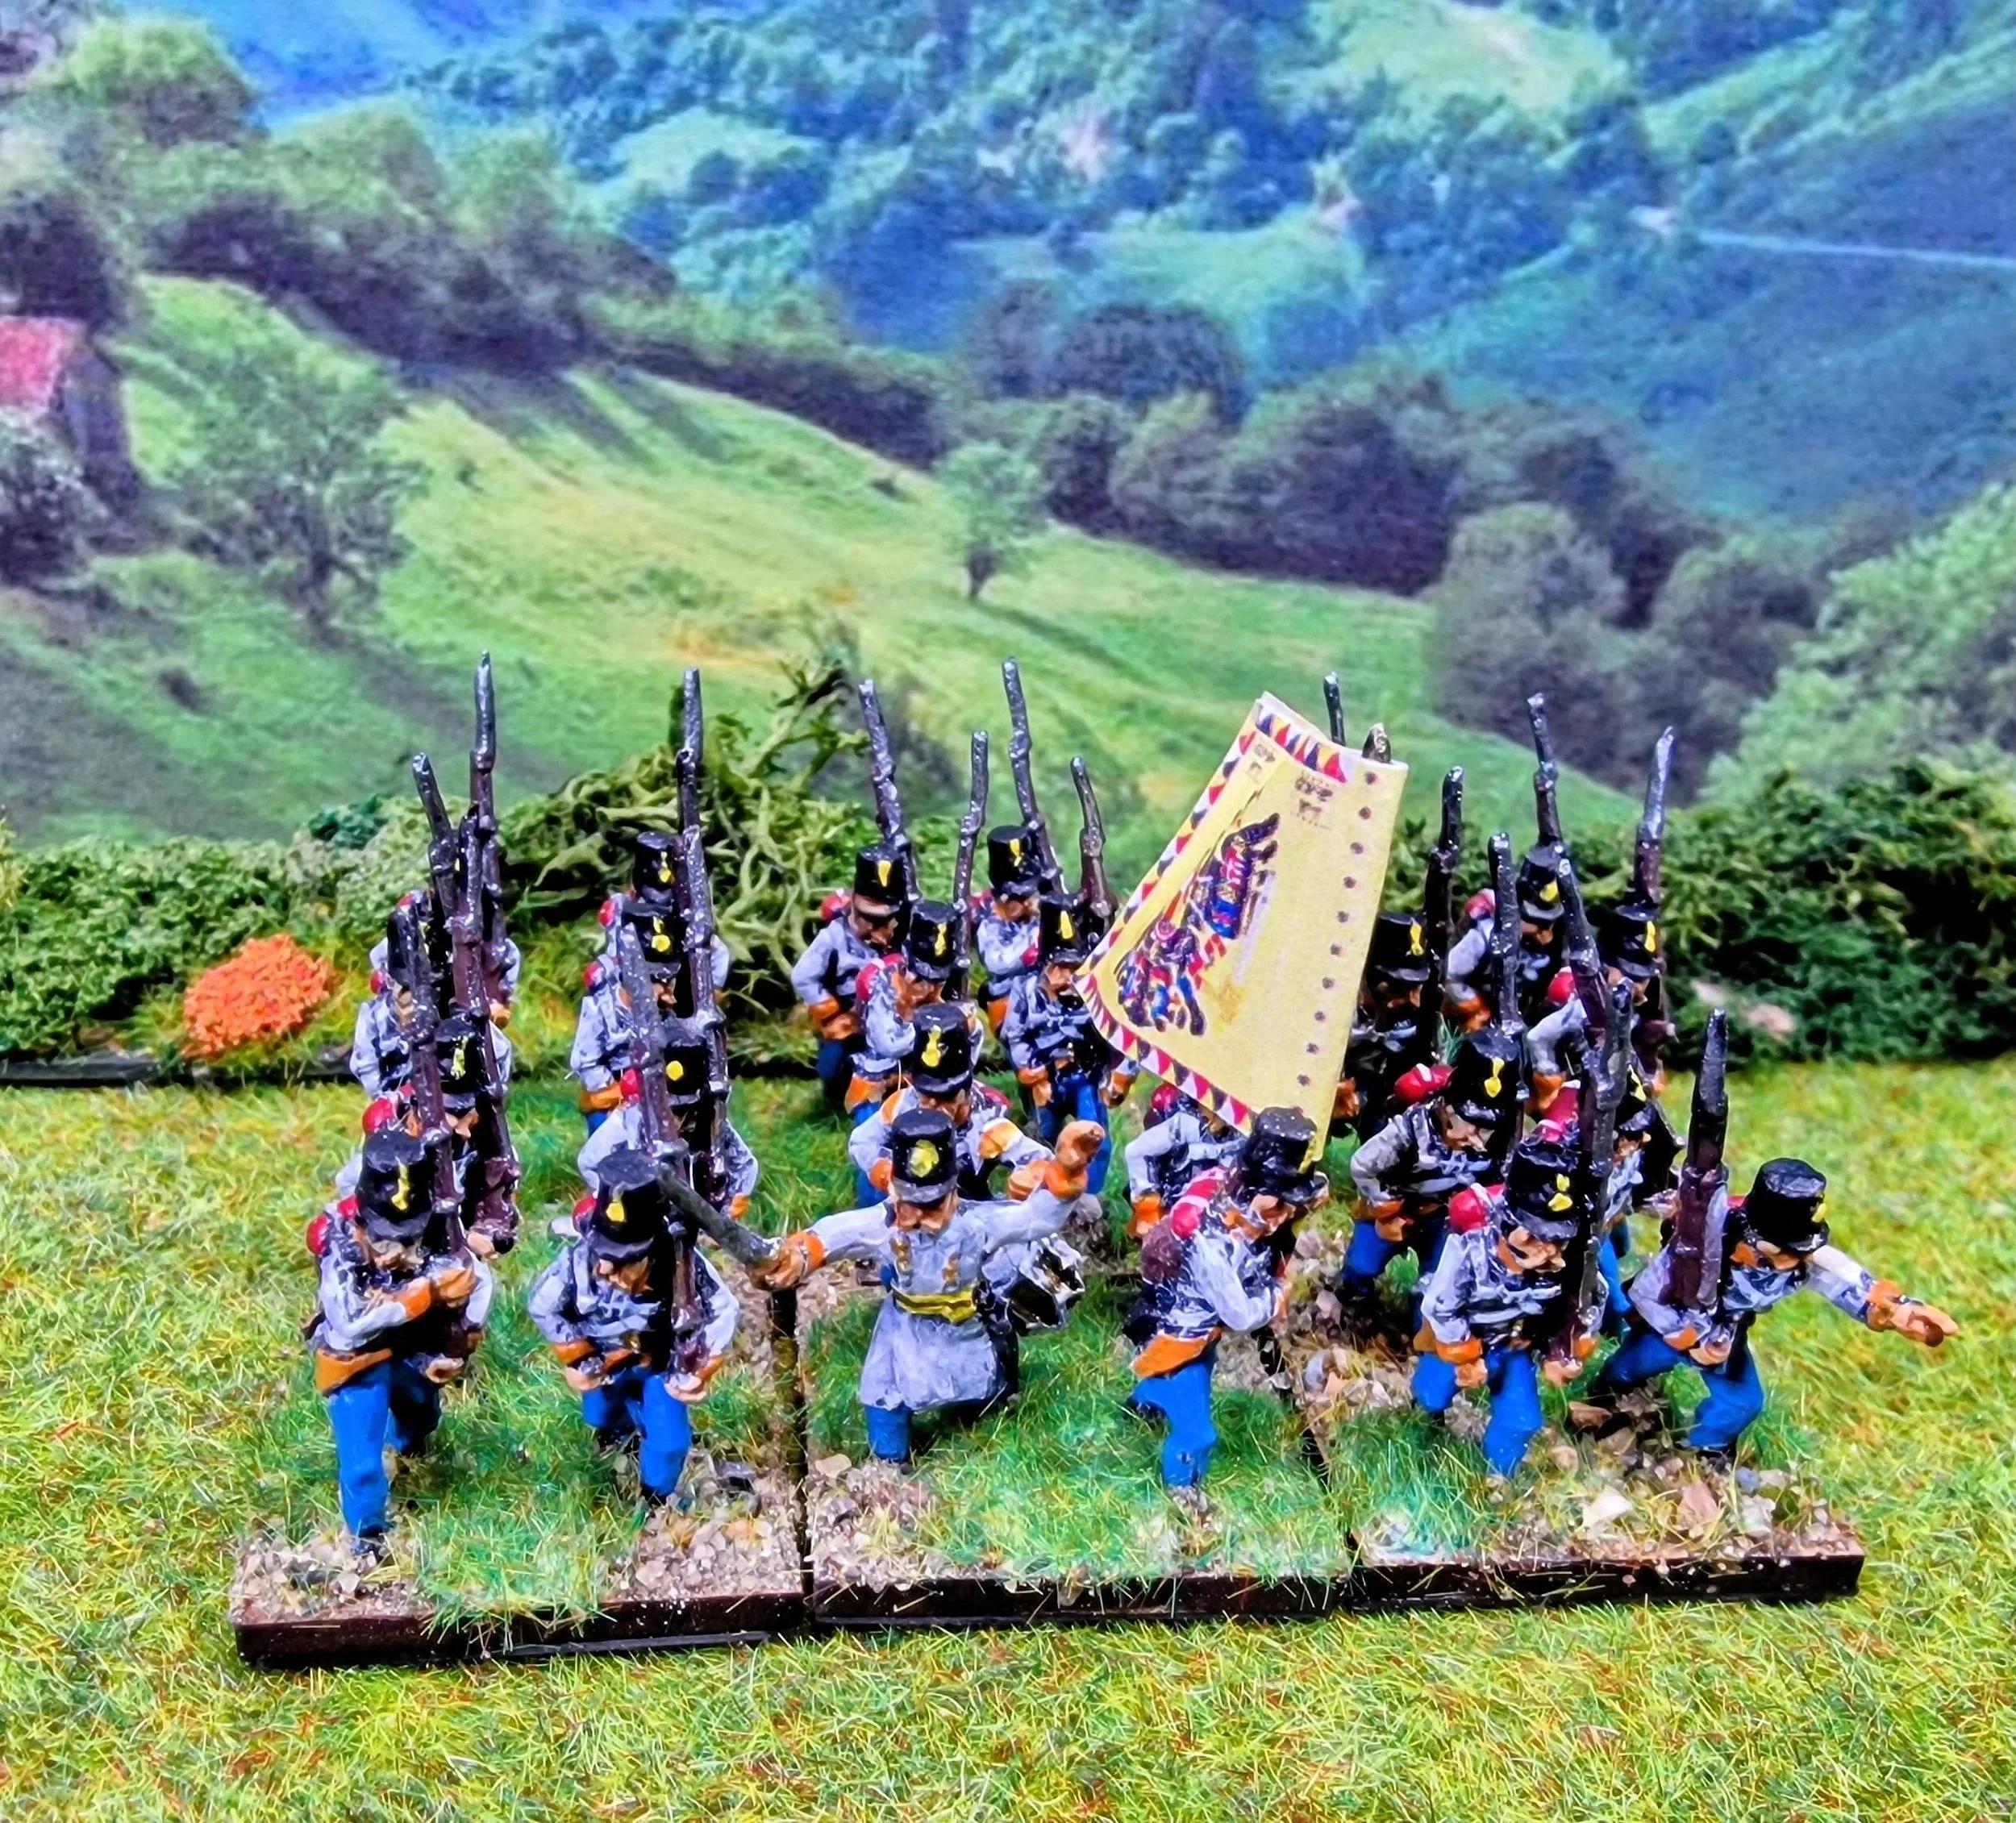
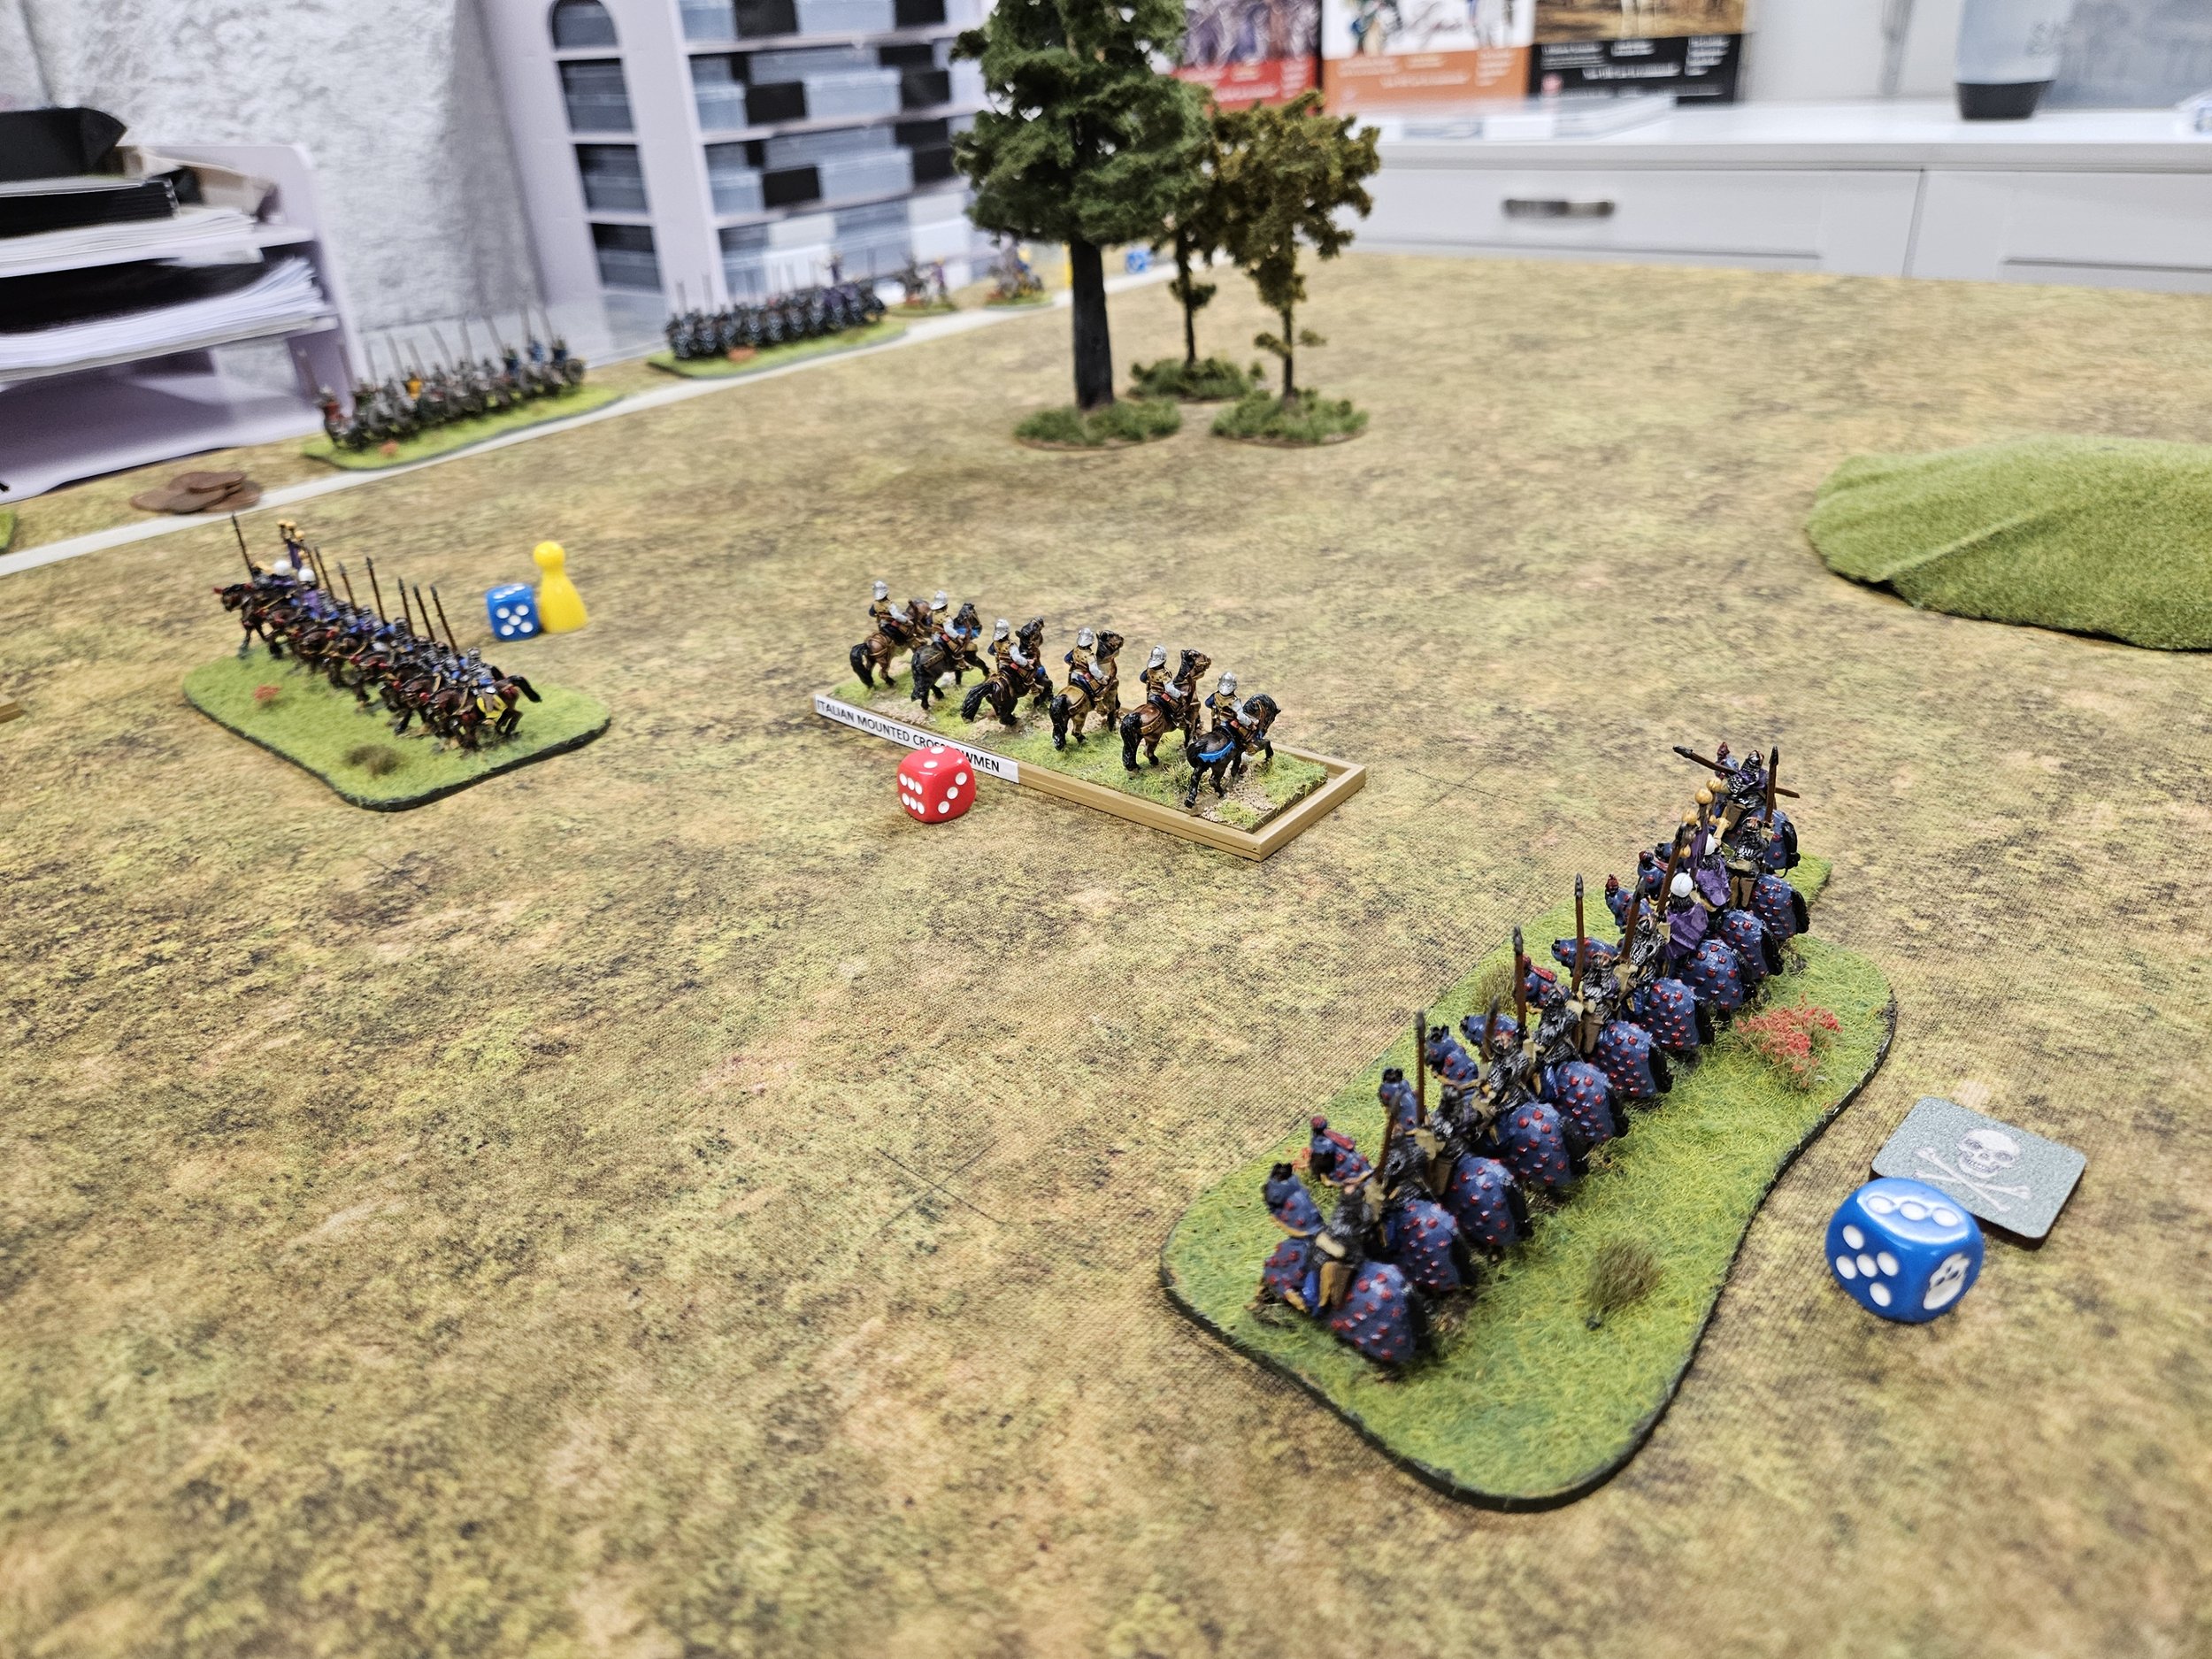
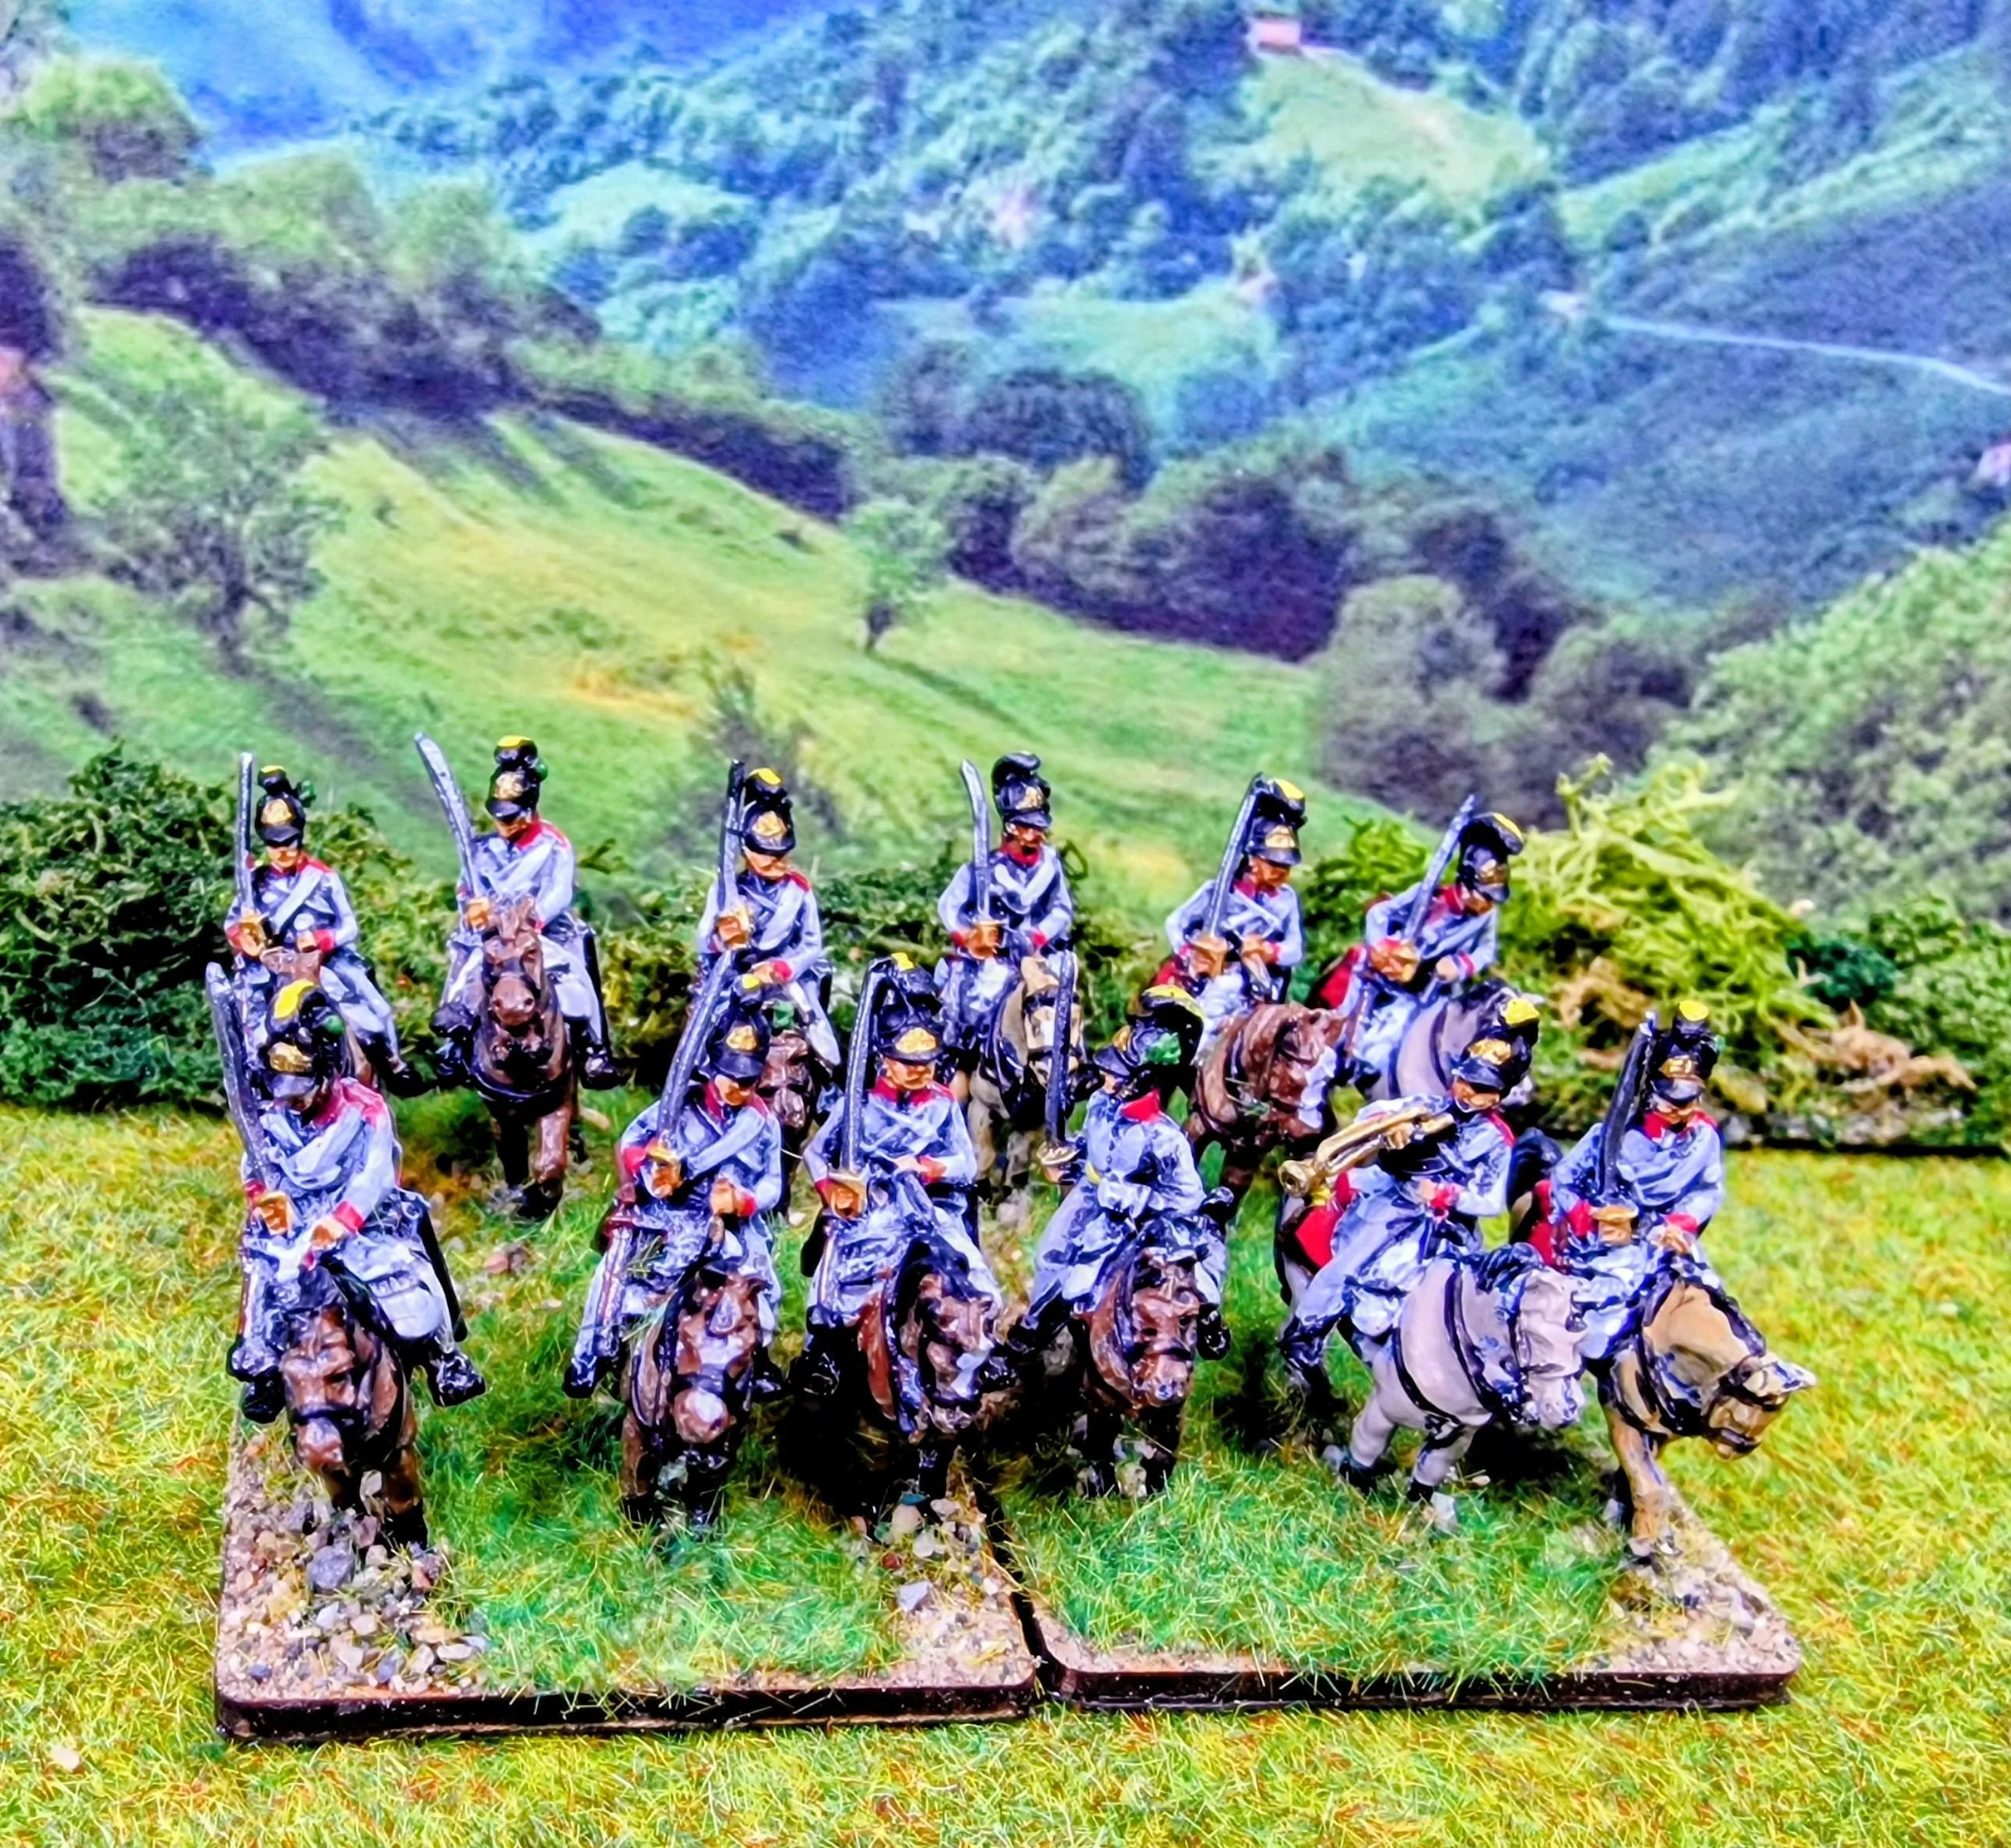
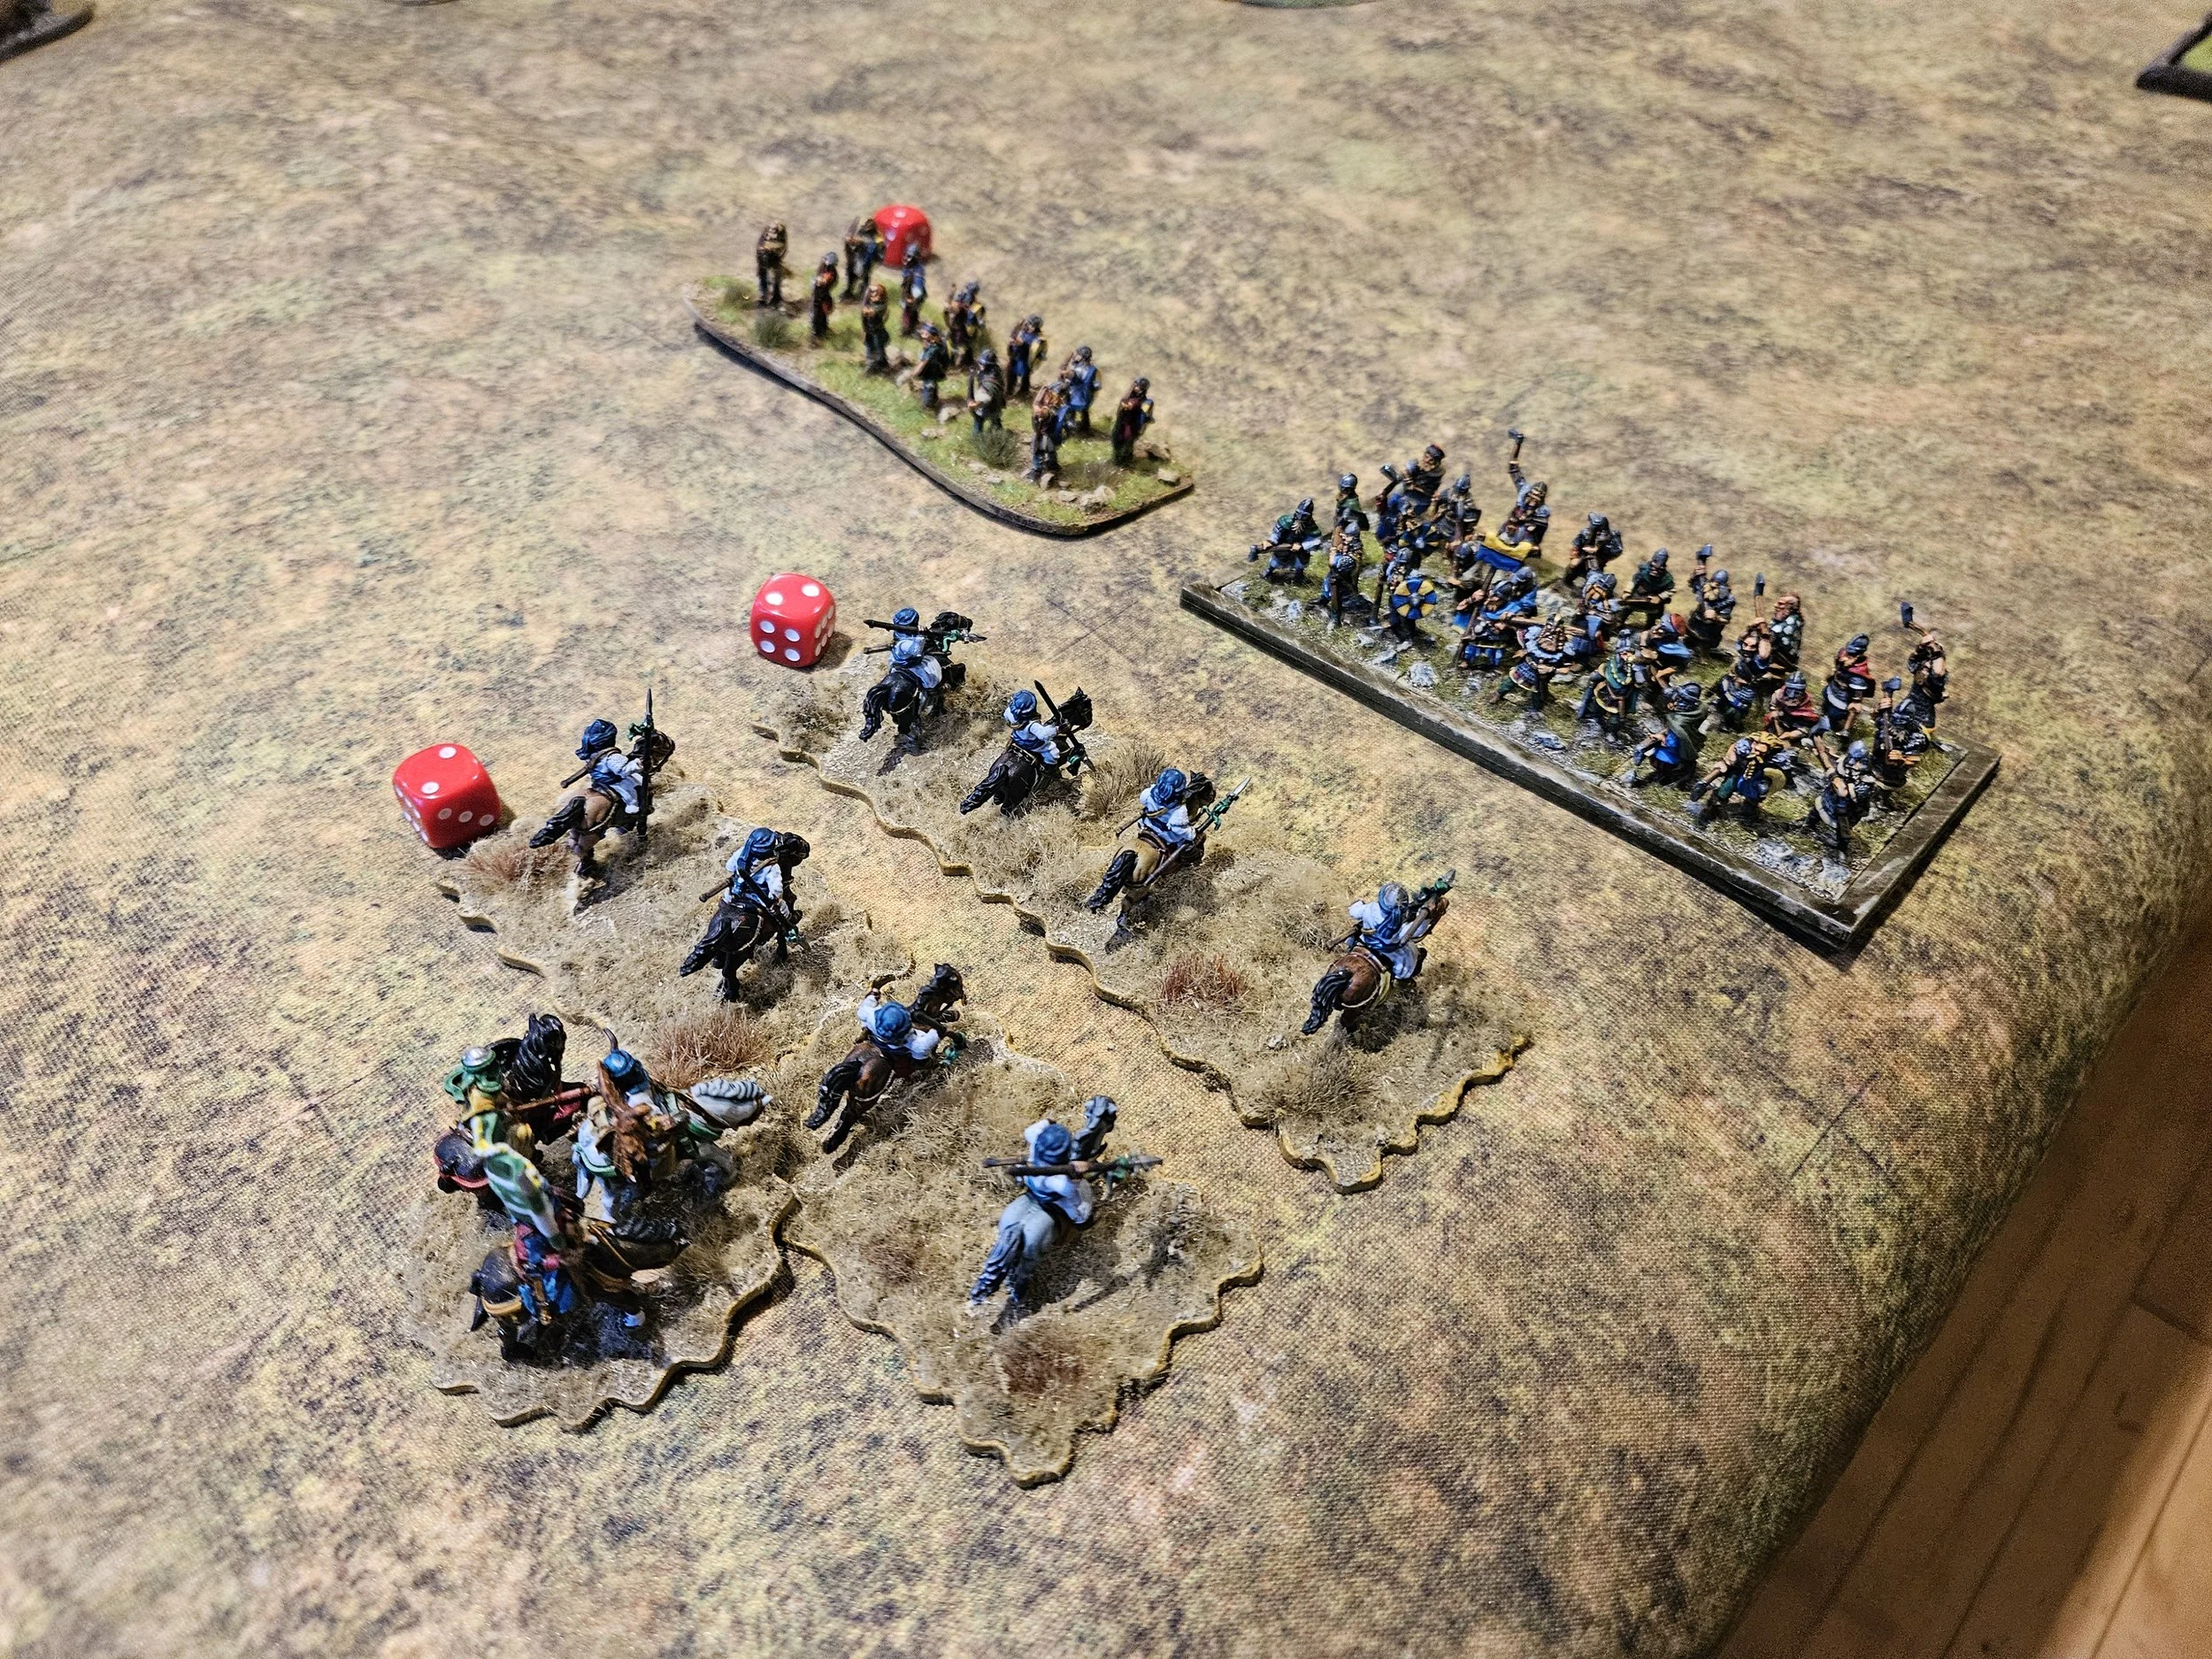
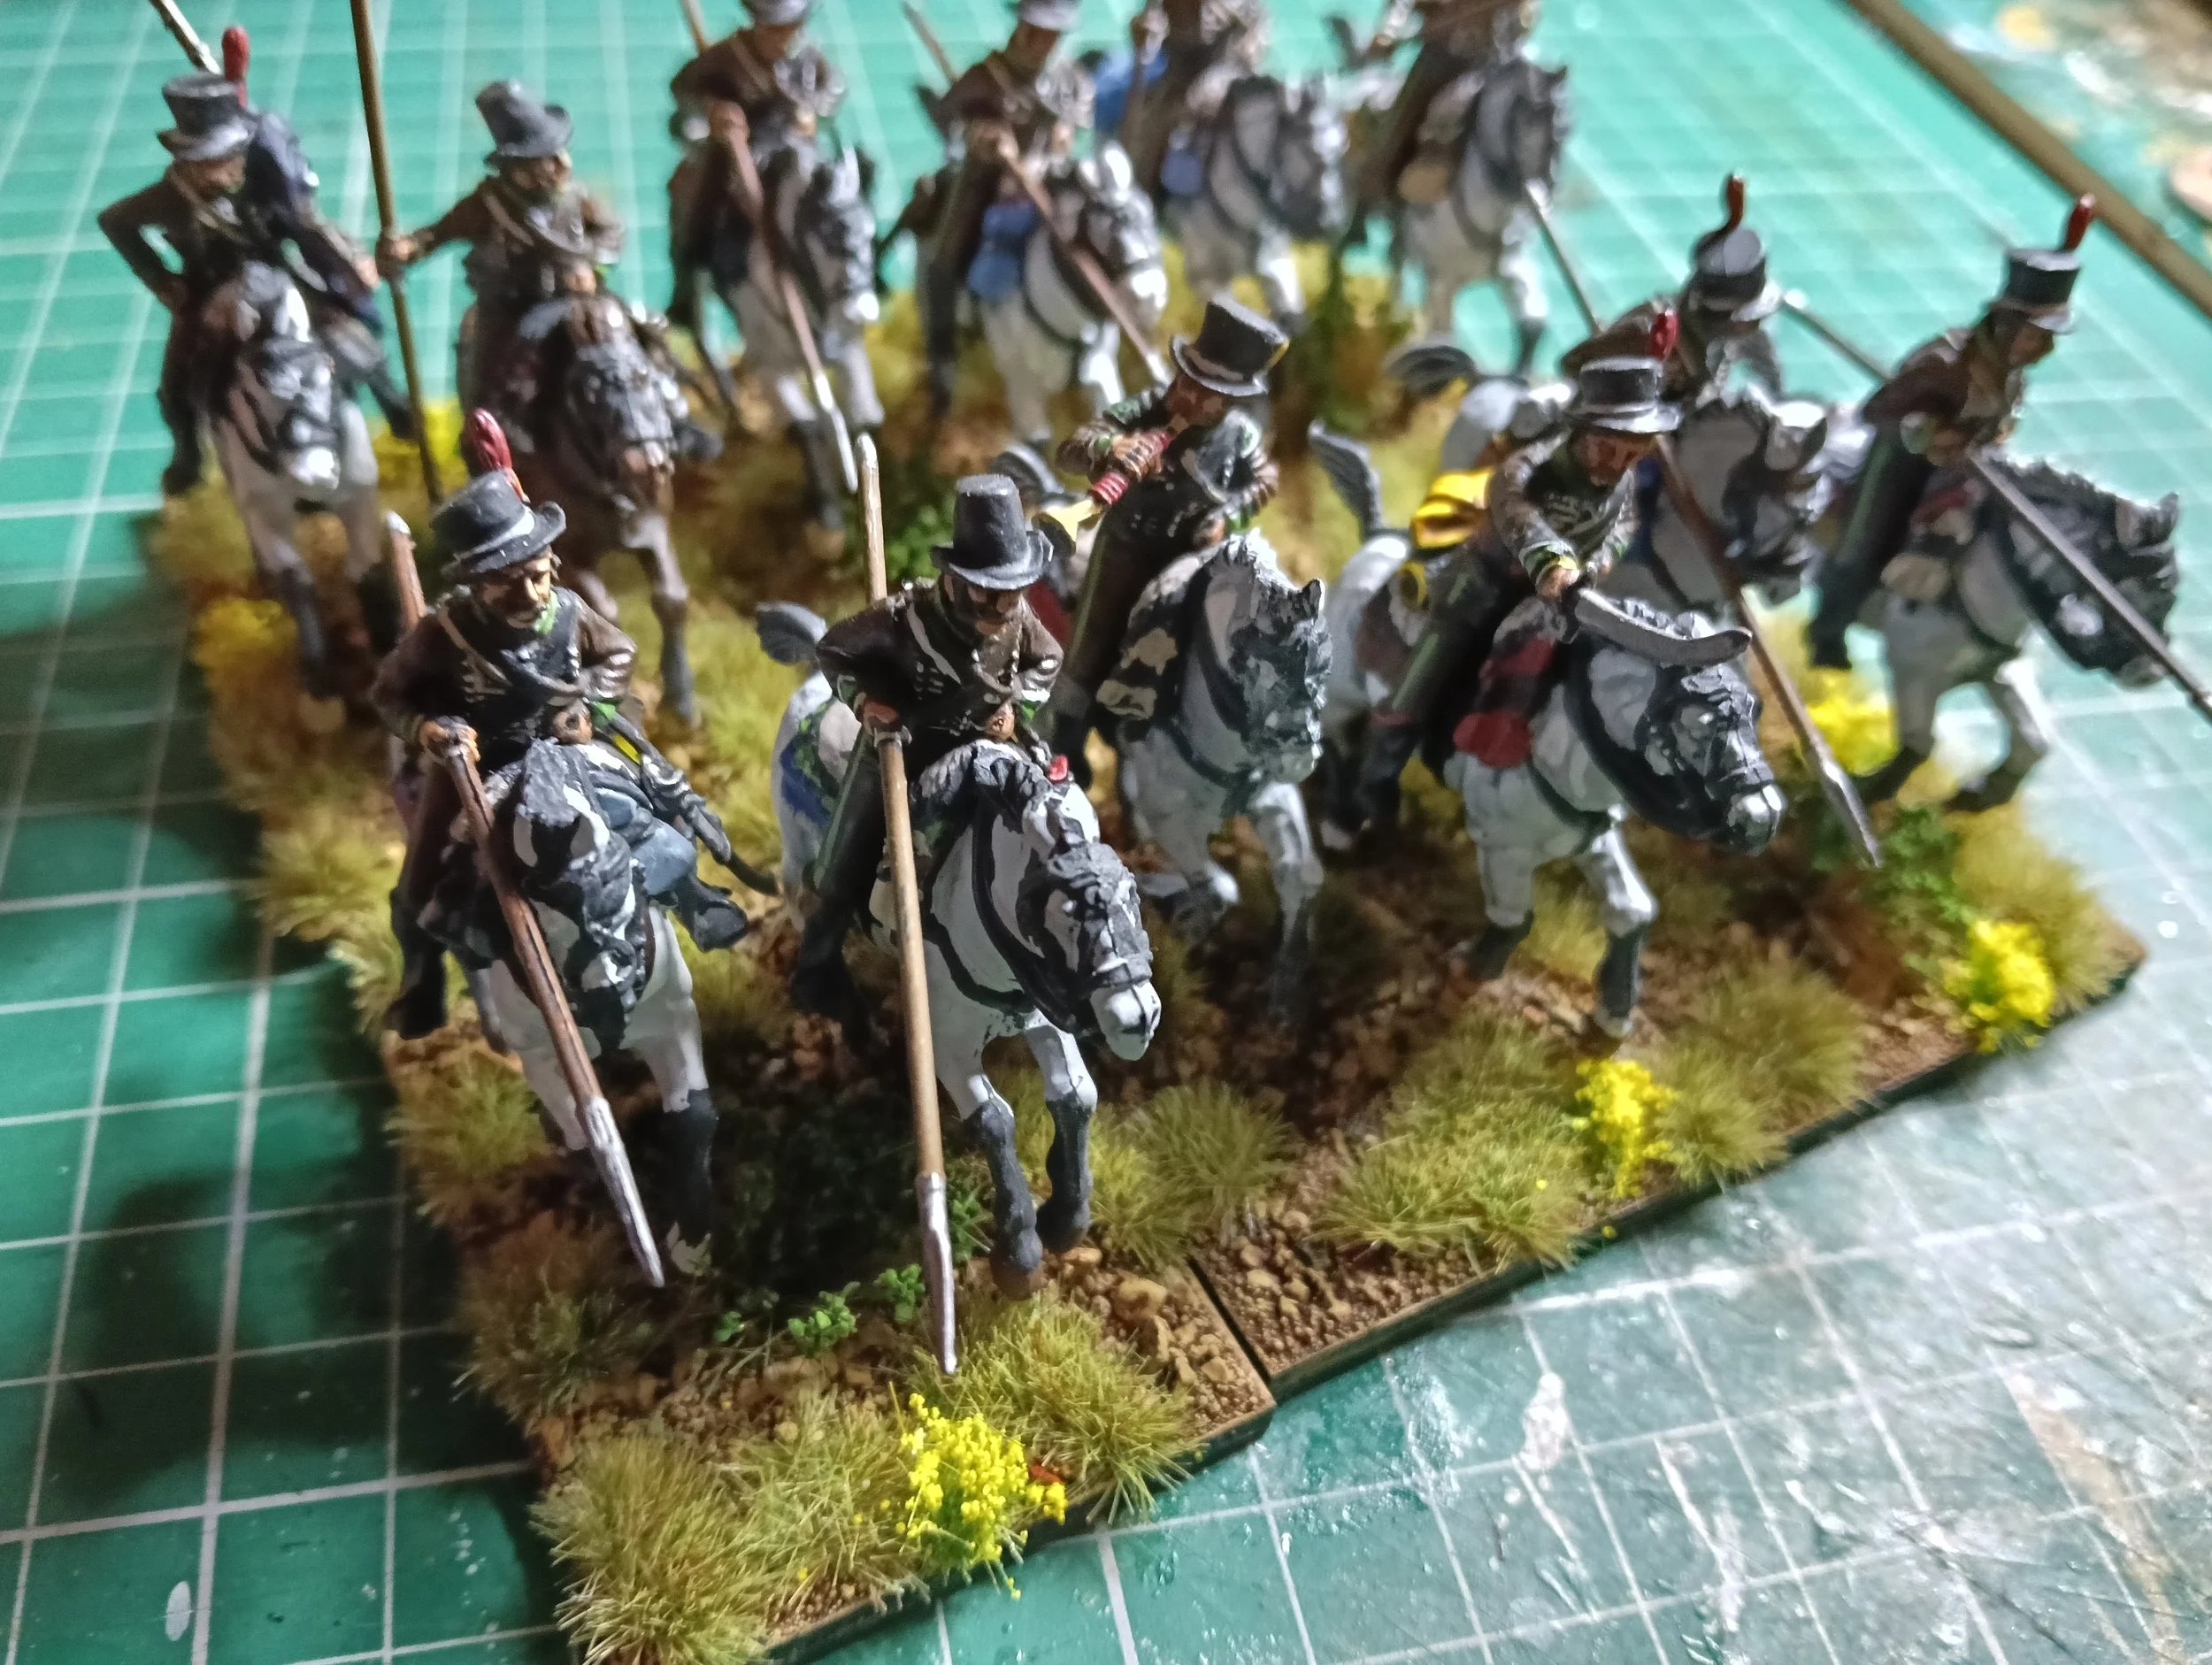
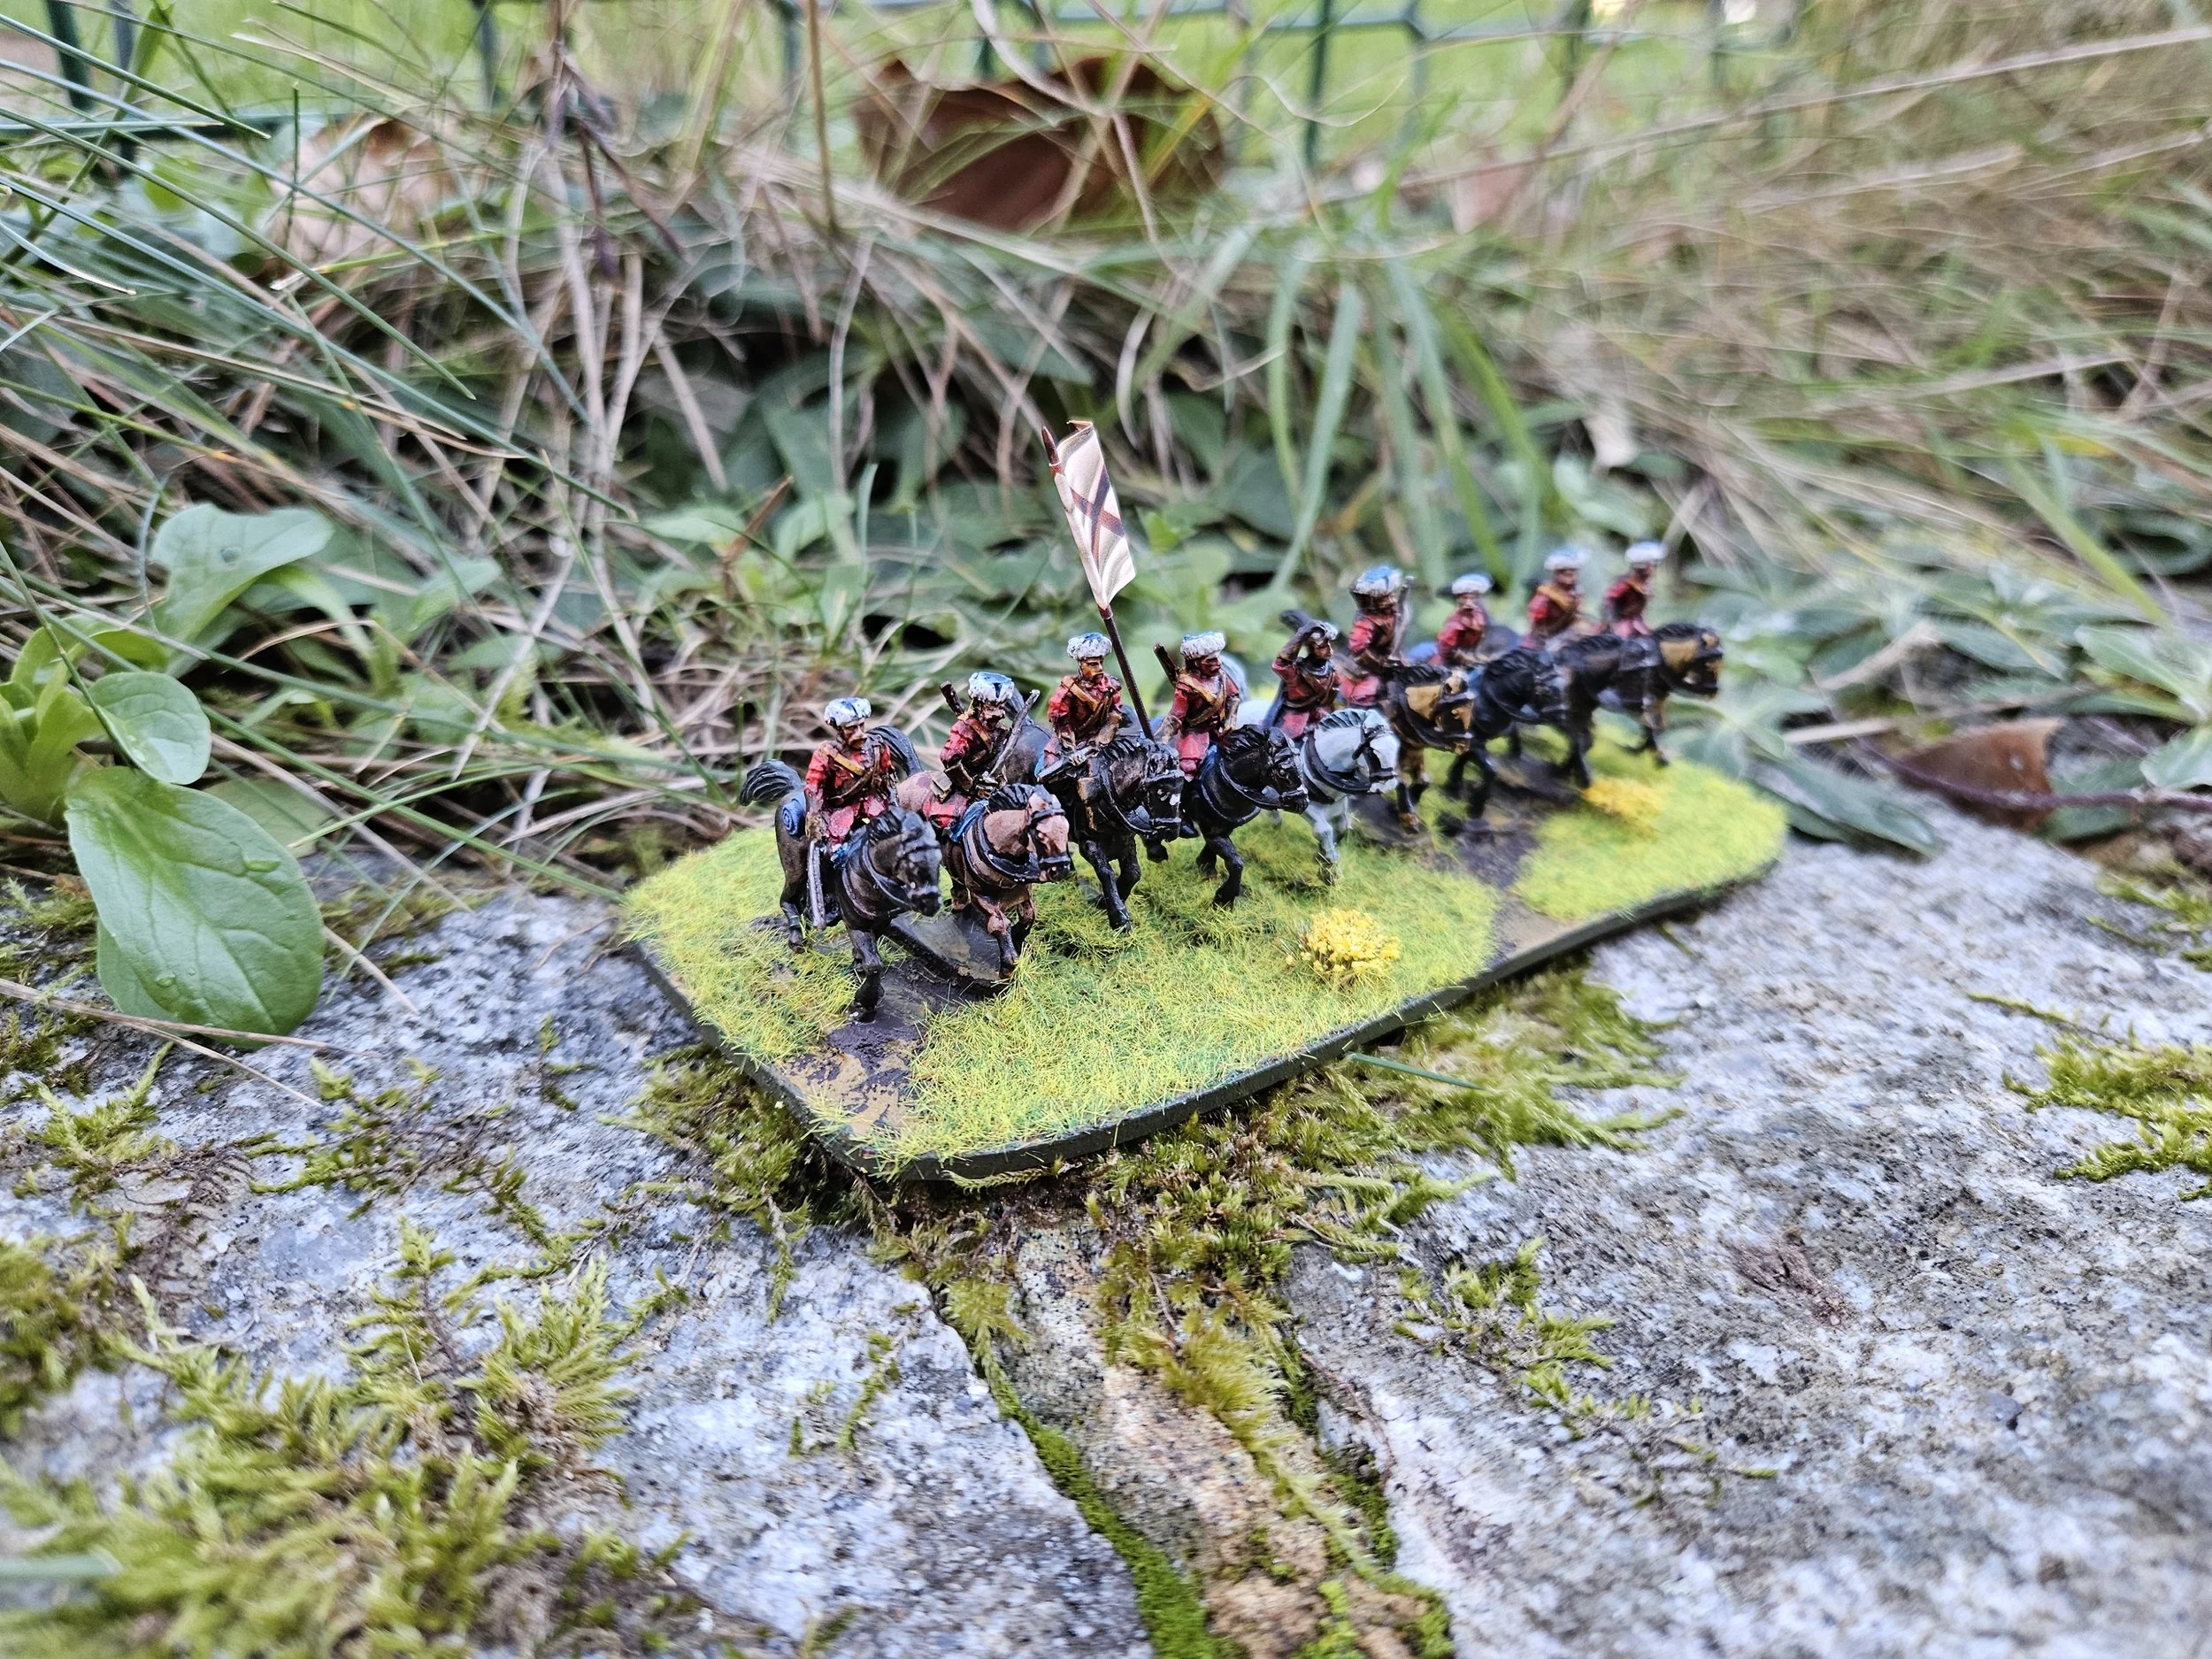
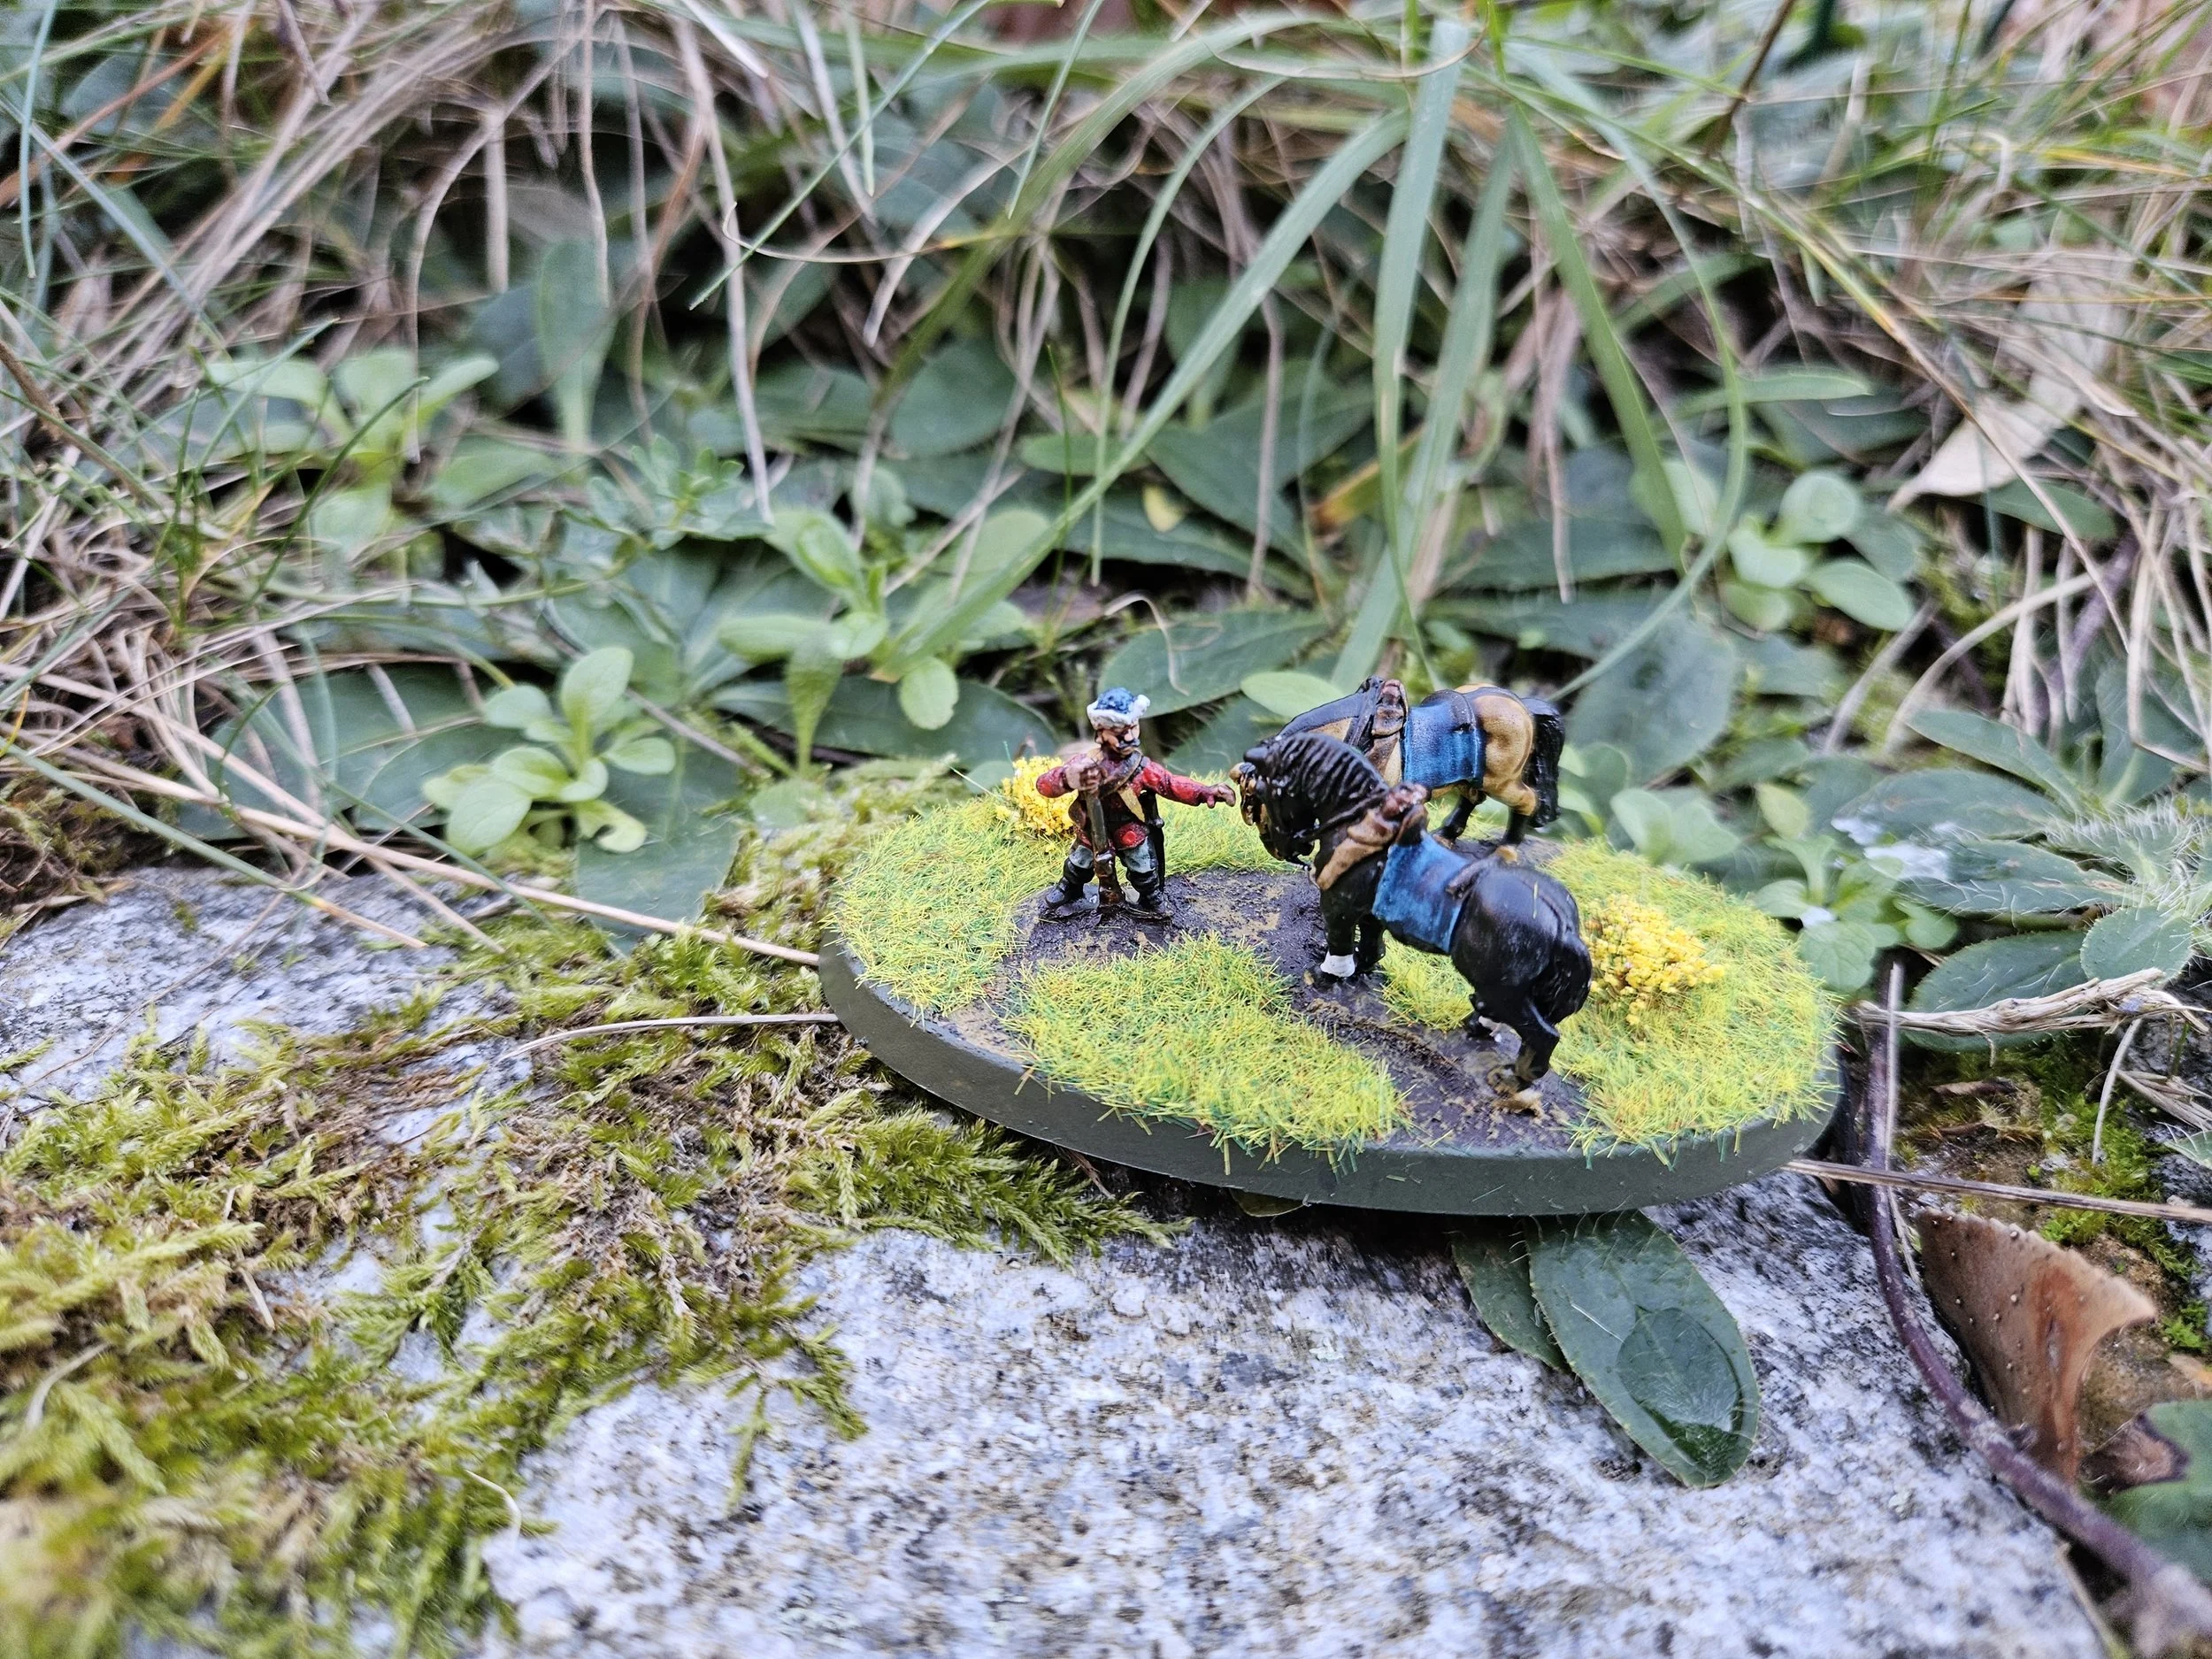
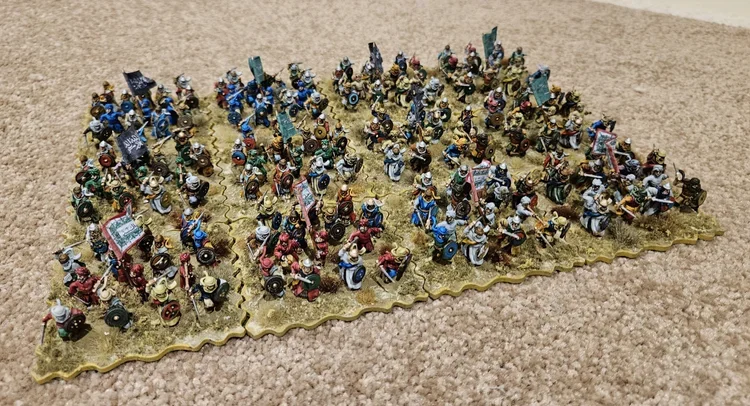
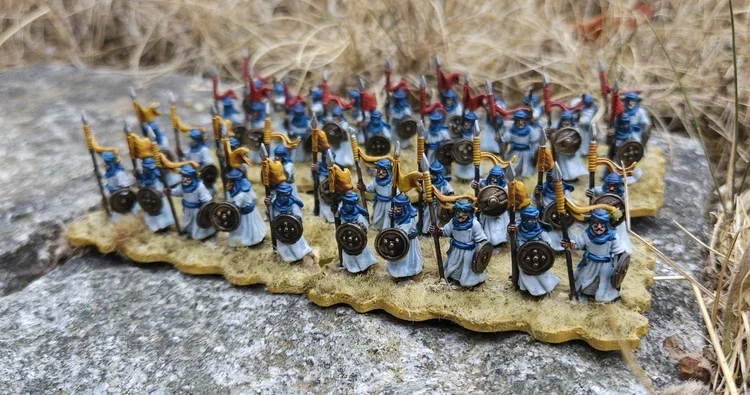
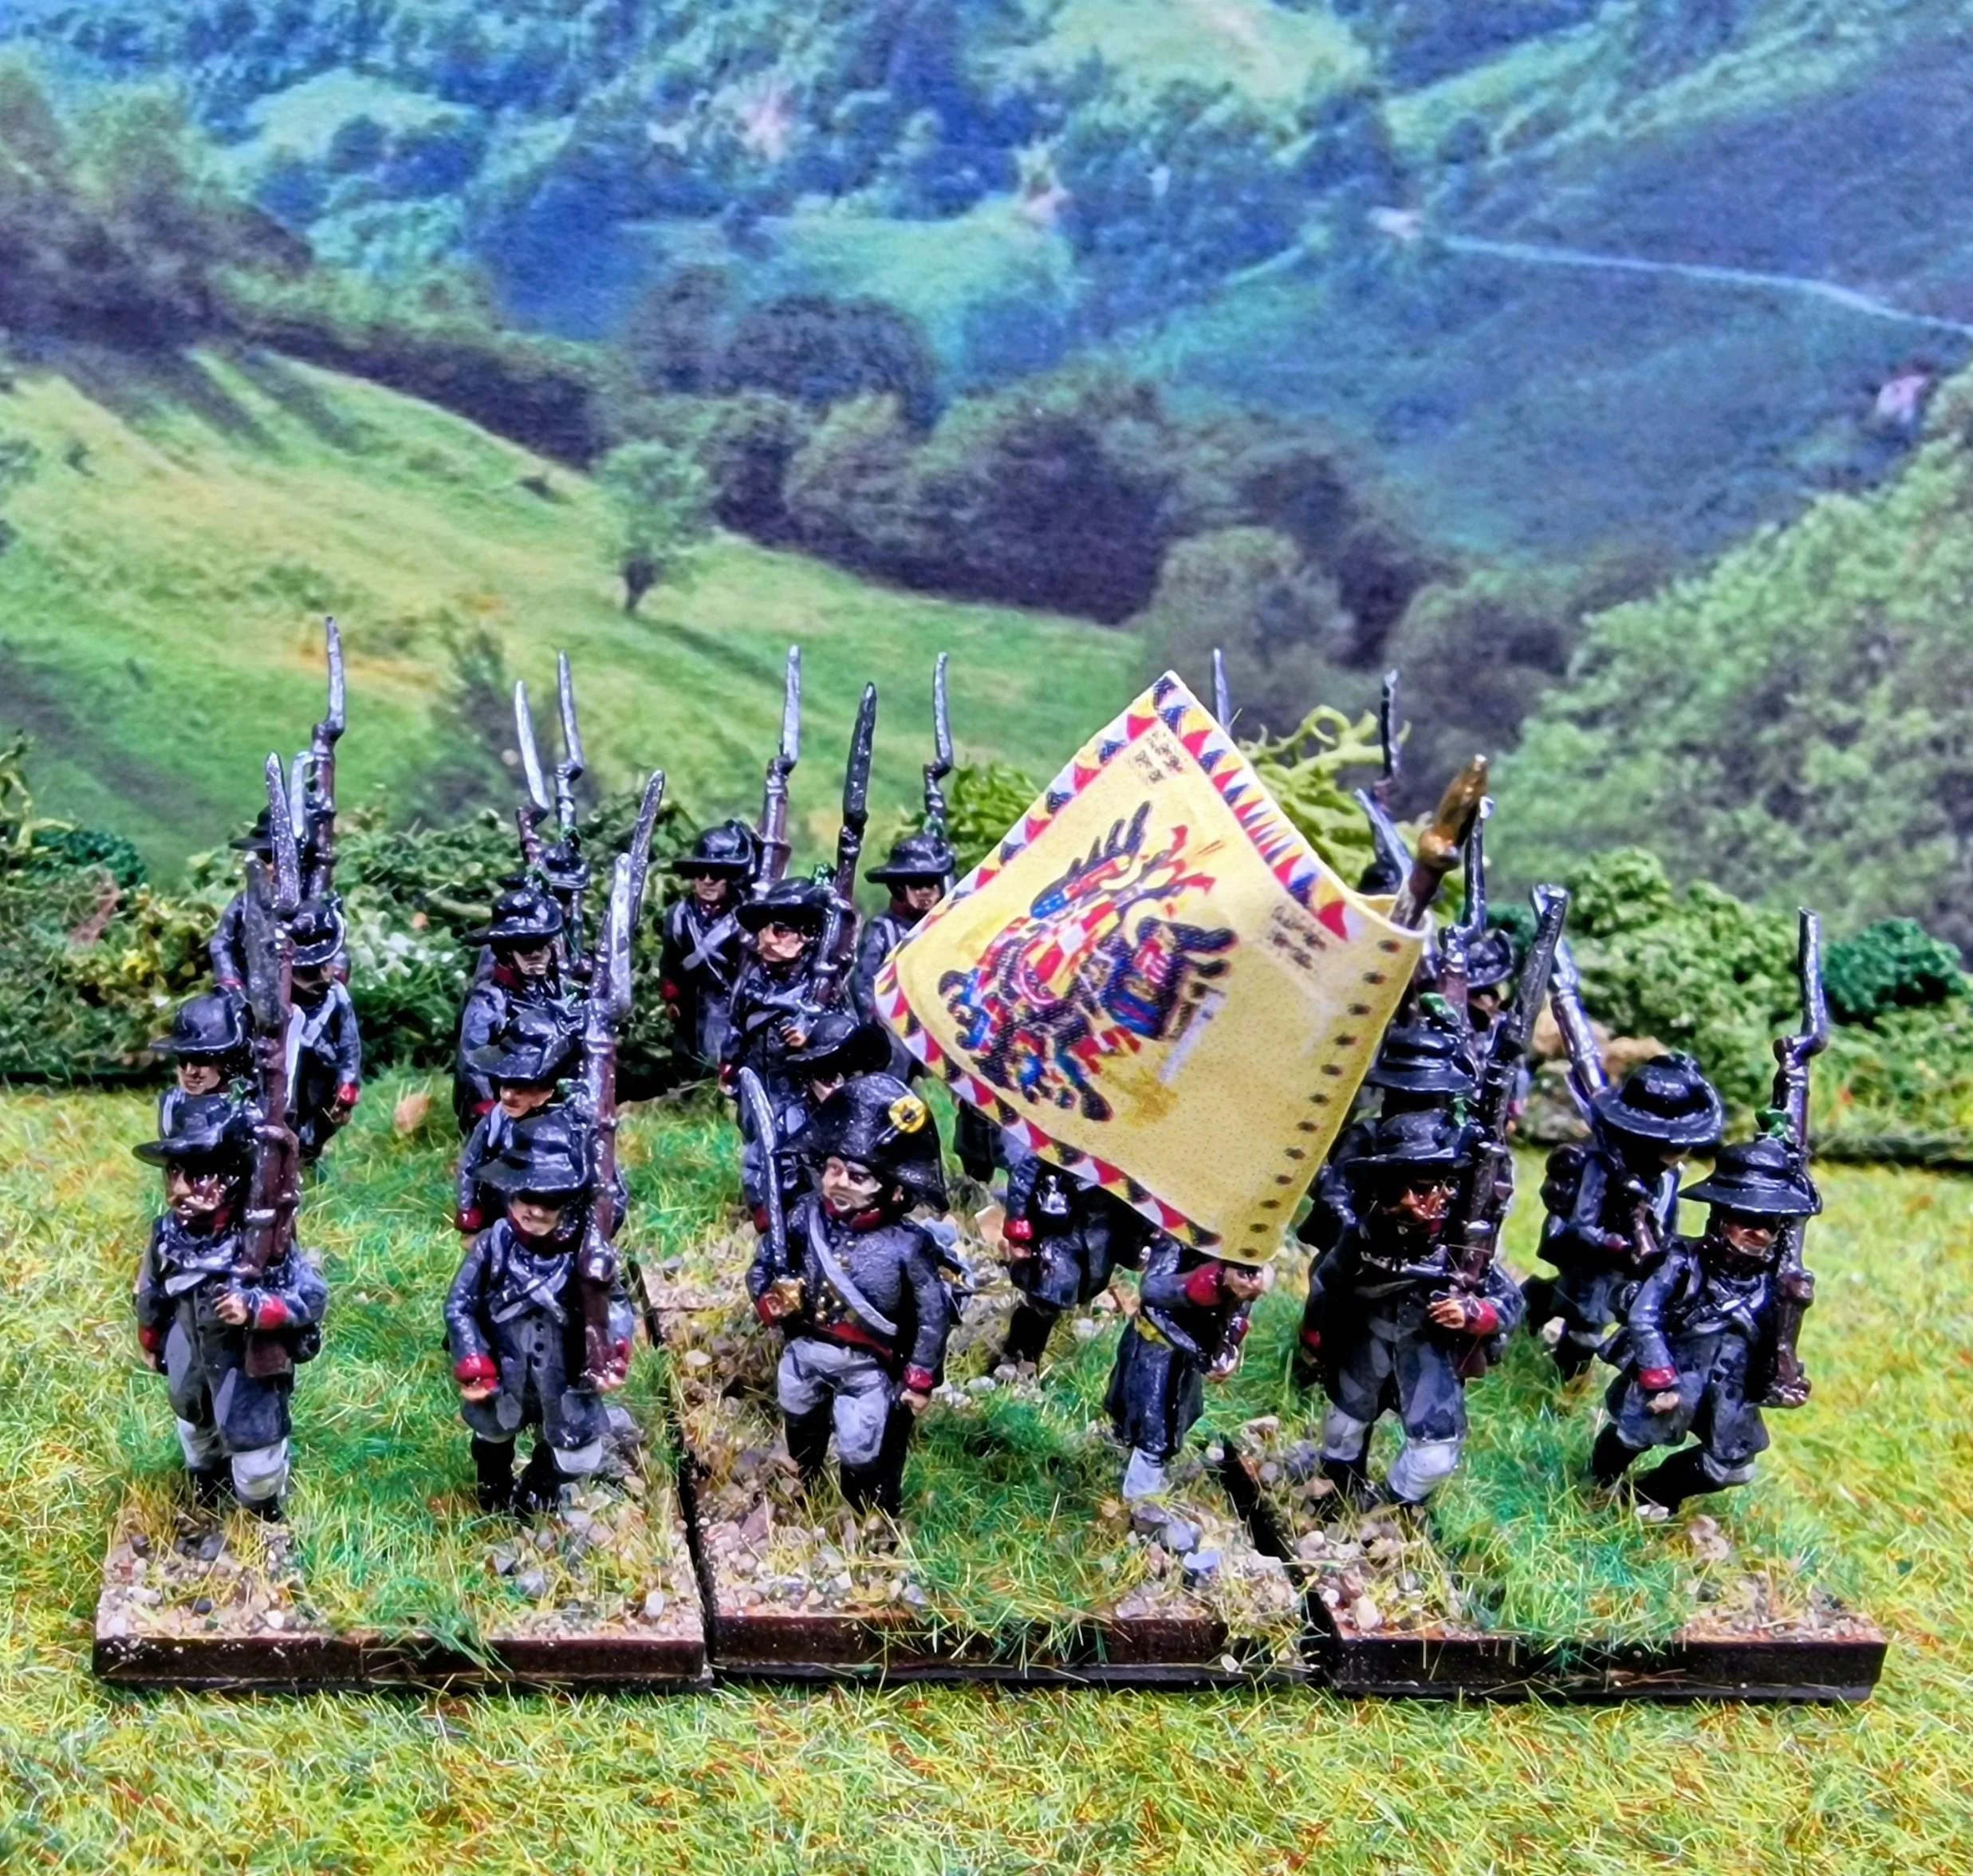
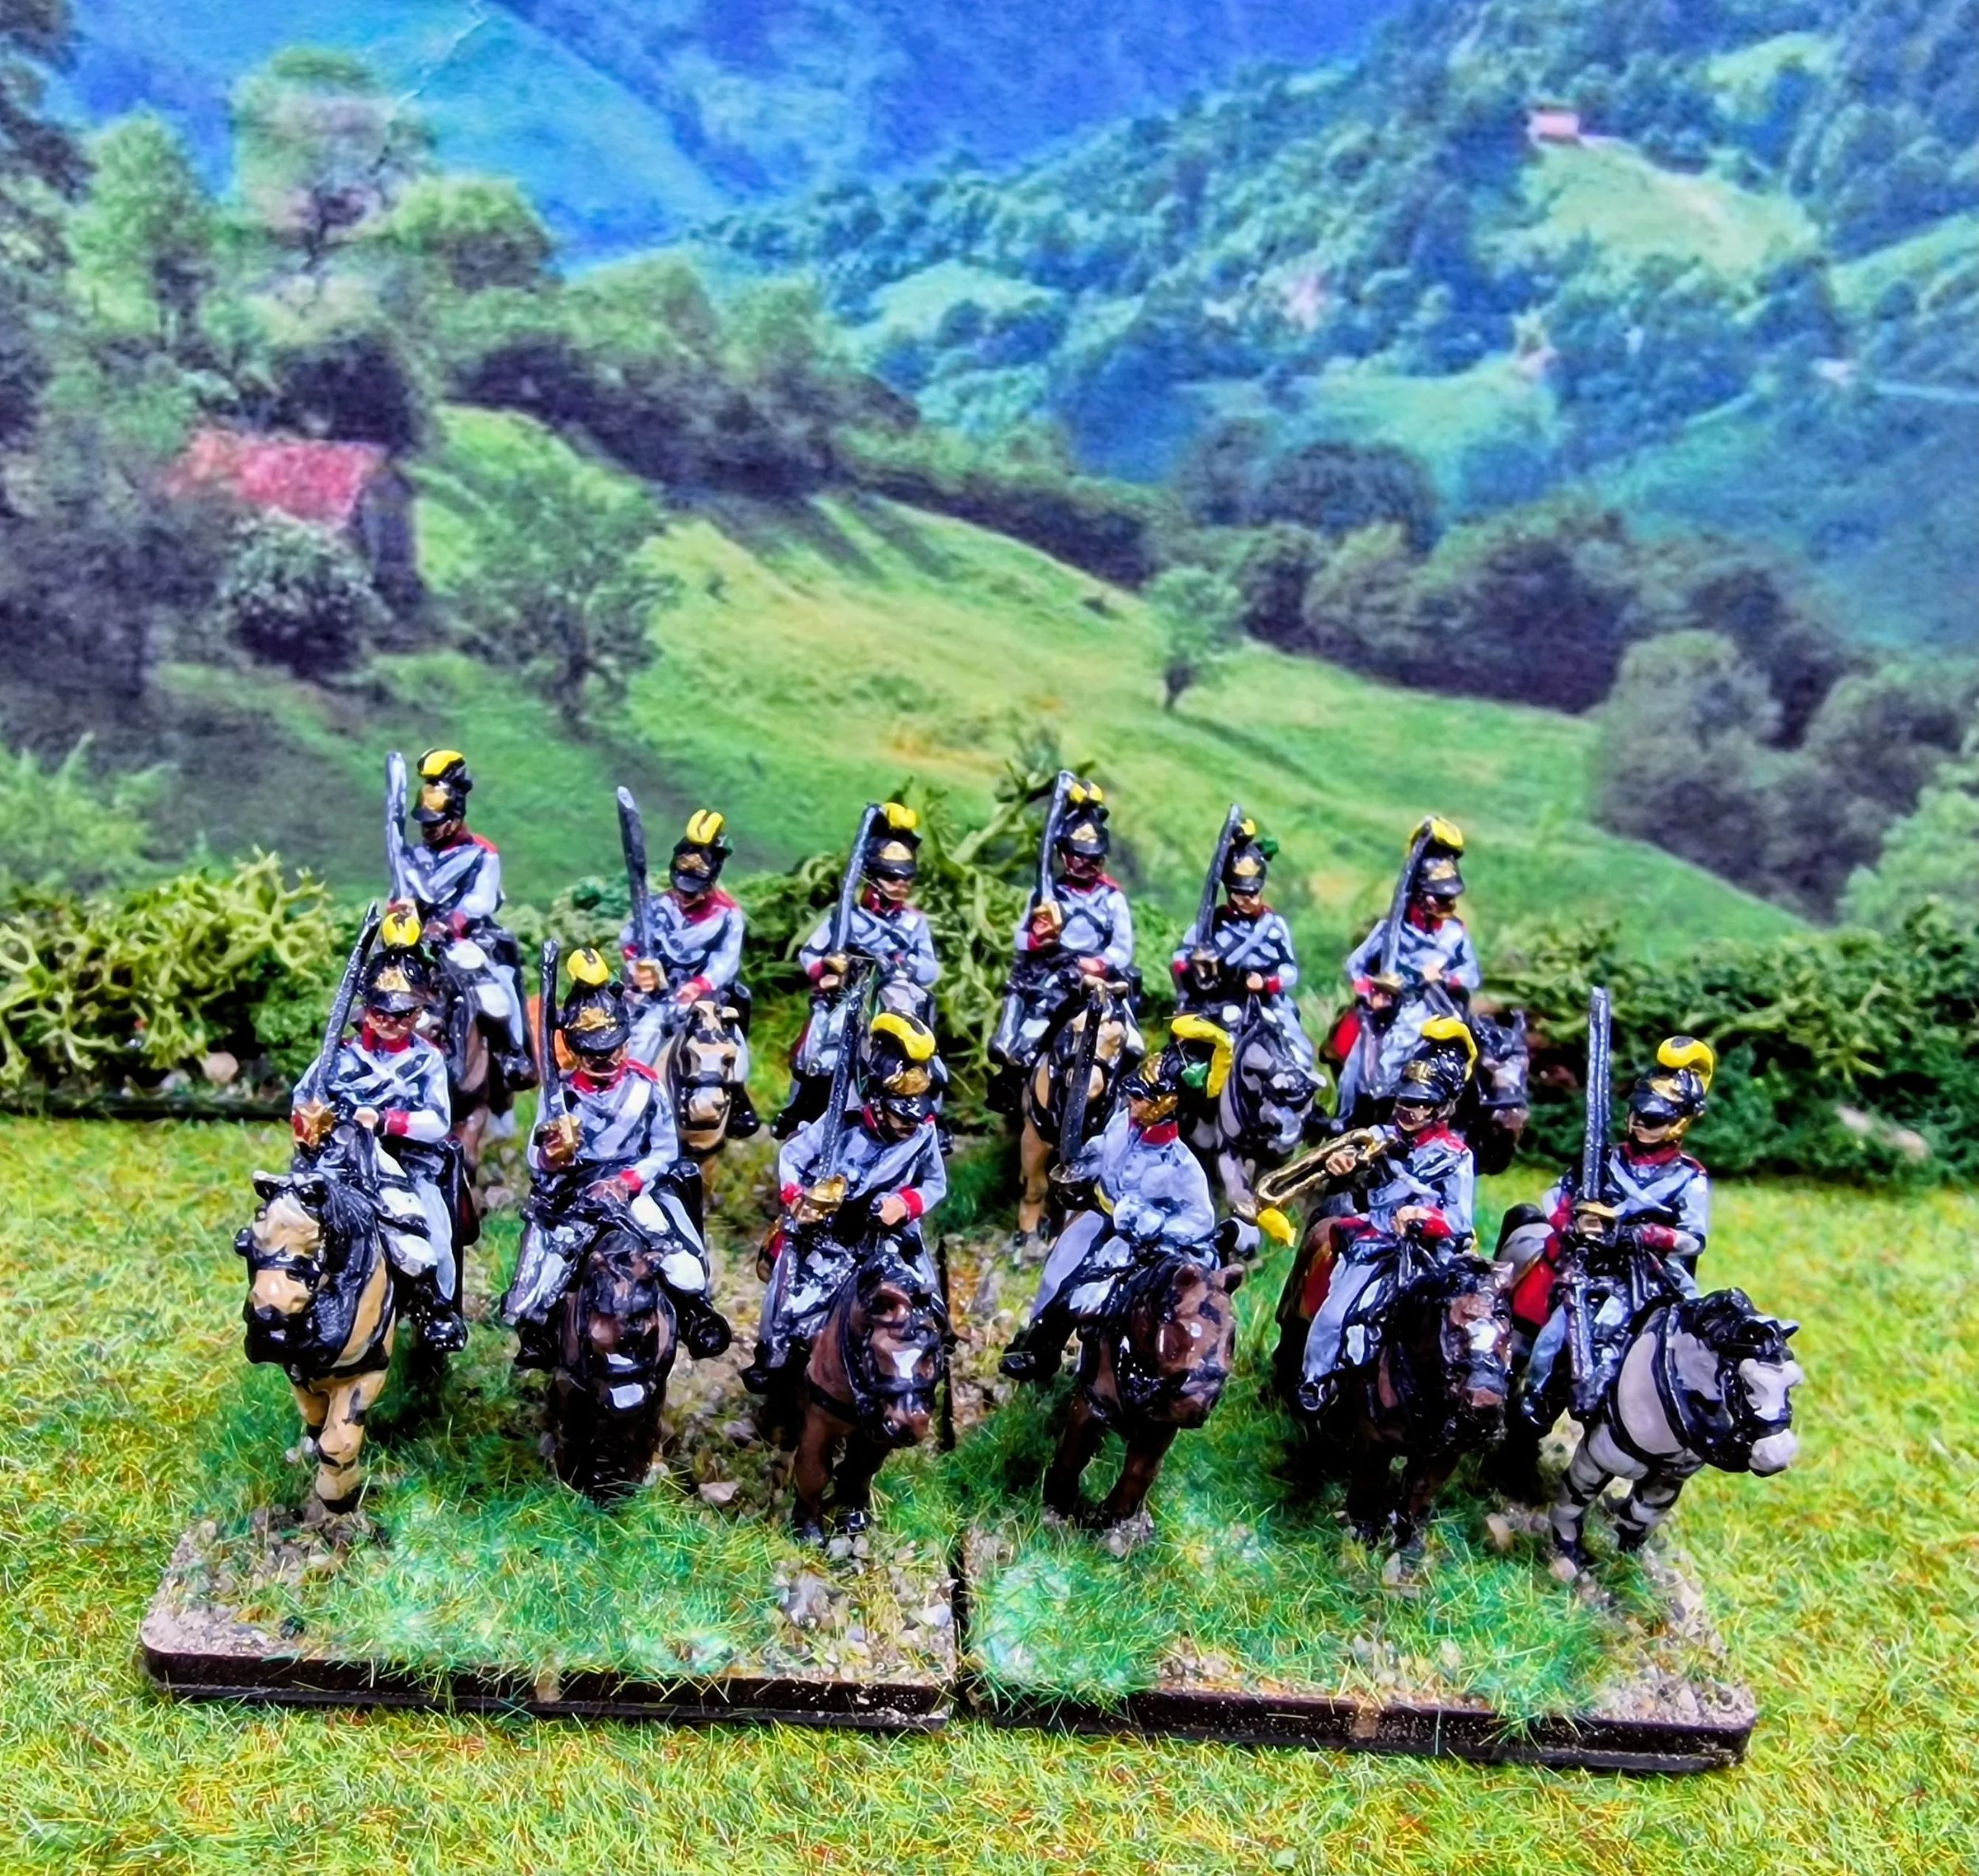
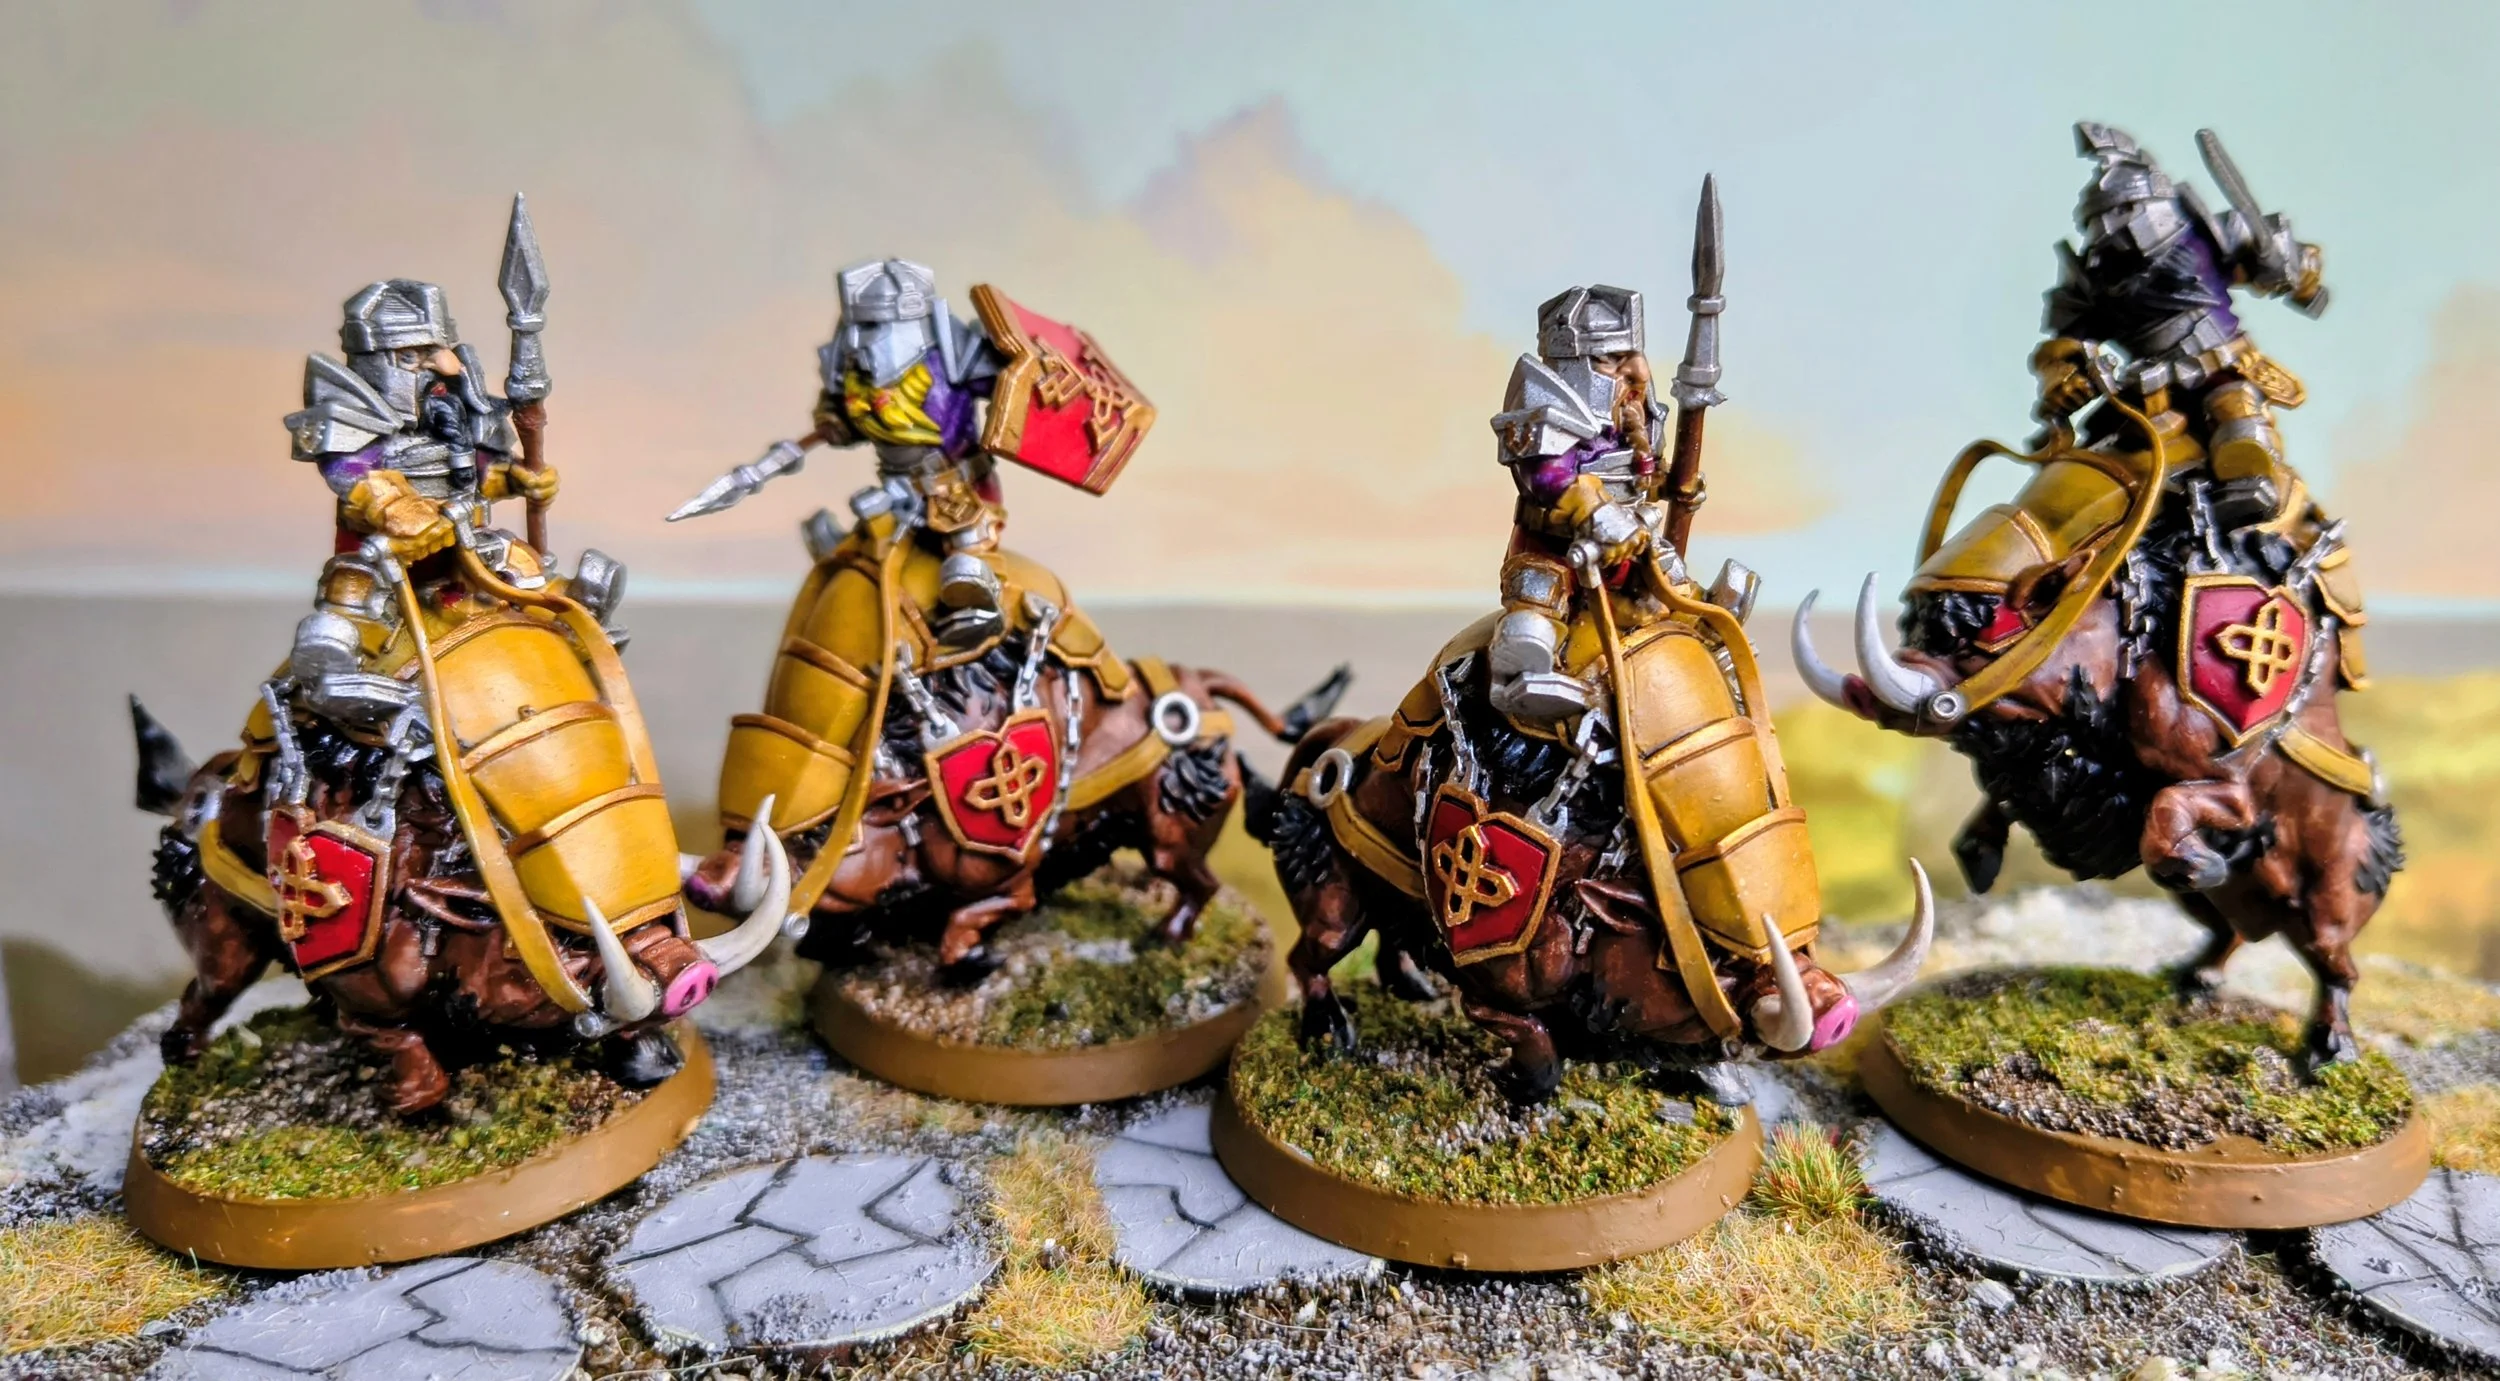
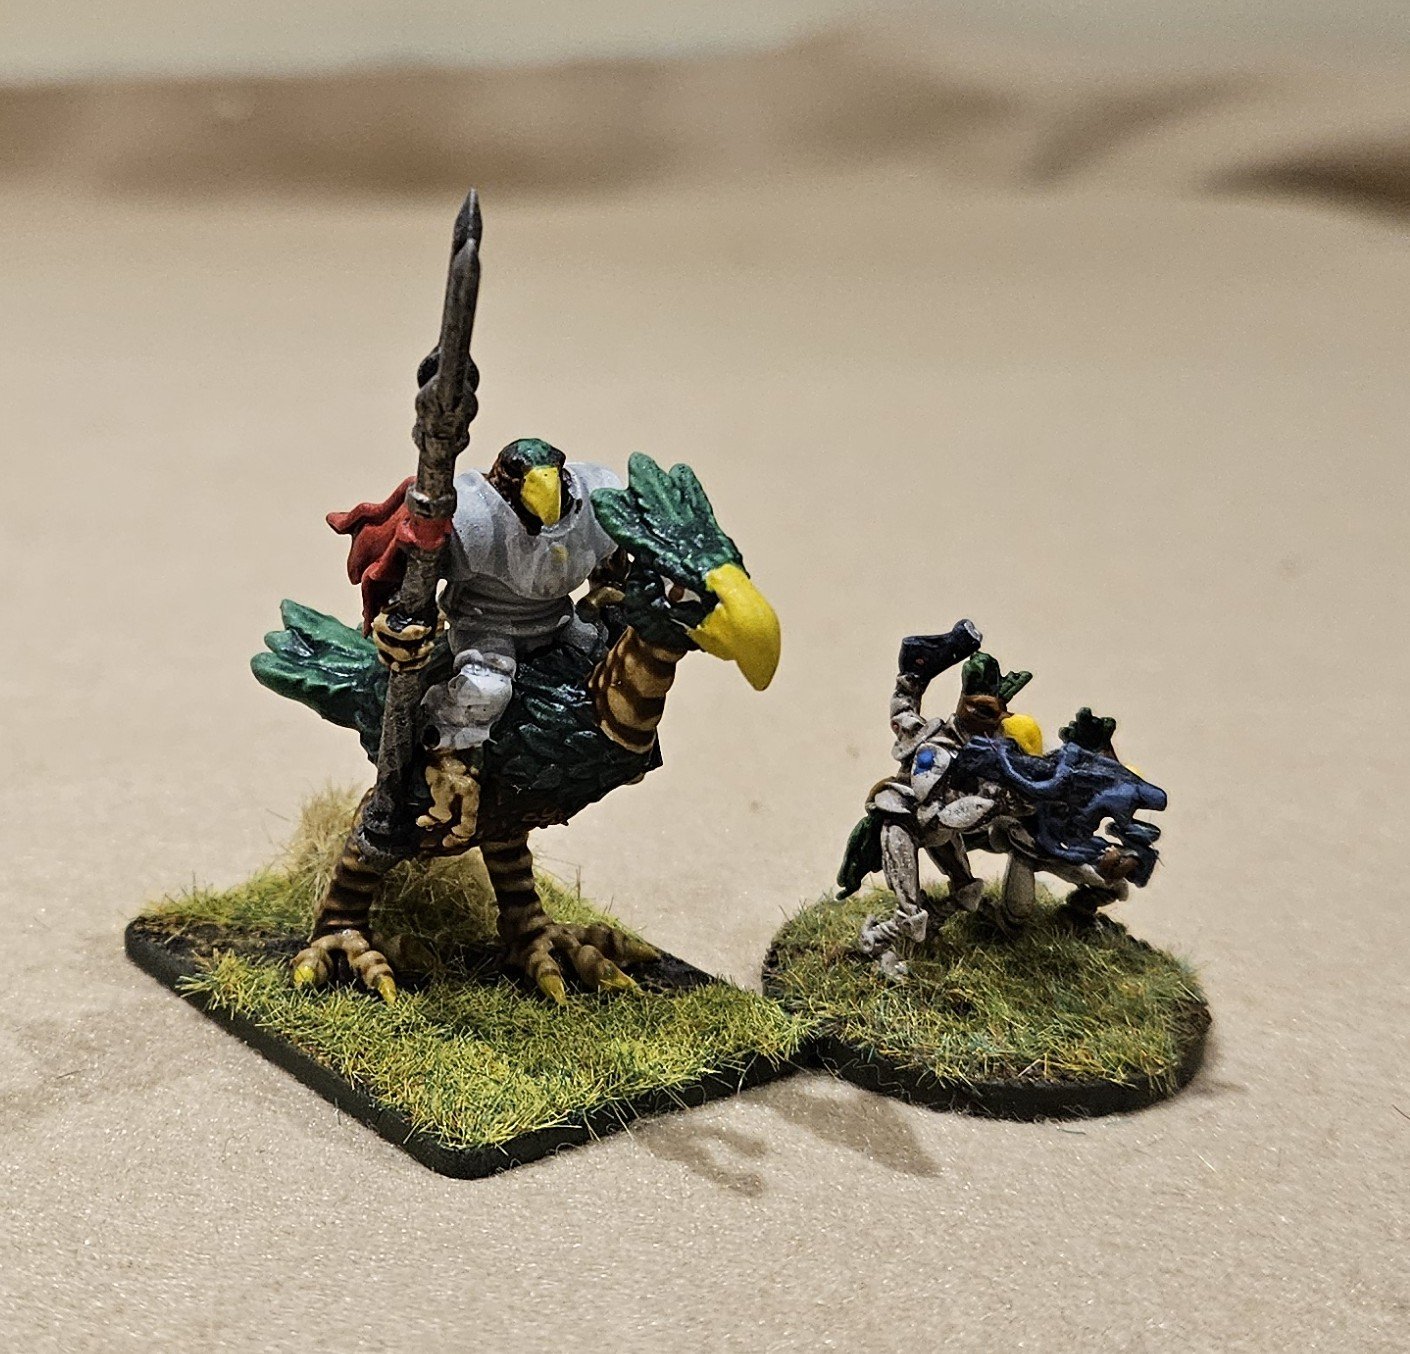
First off the Trilaterum Avian production line was a squad of mixed cavalry: (Haliaeetus) Hauk and Corvids mounted on Casuarius flightless birds.
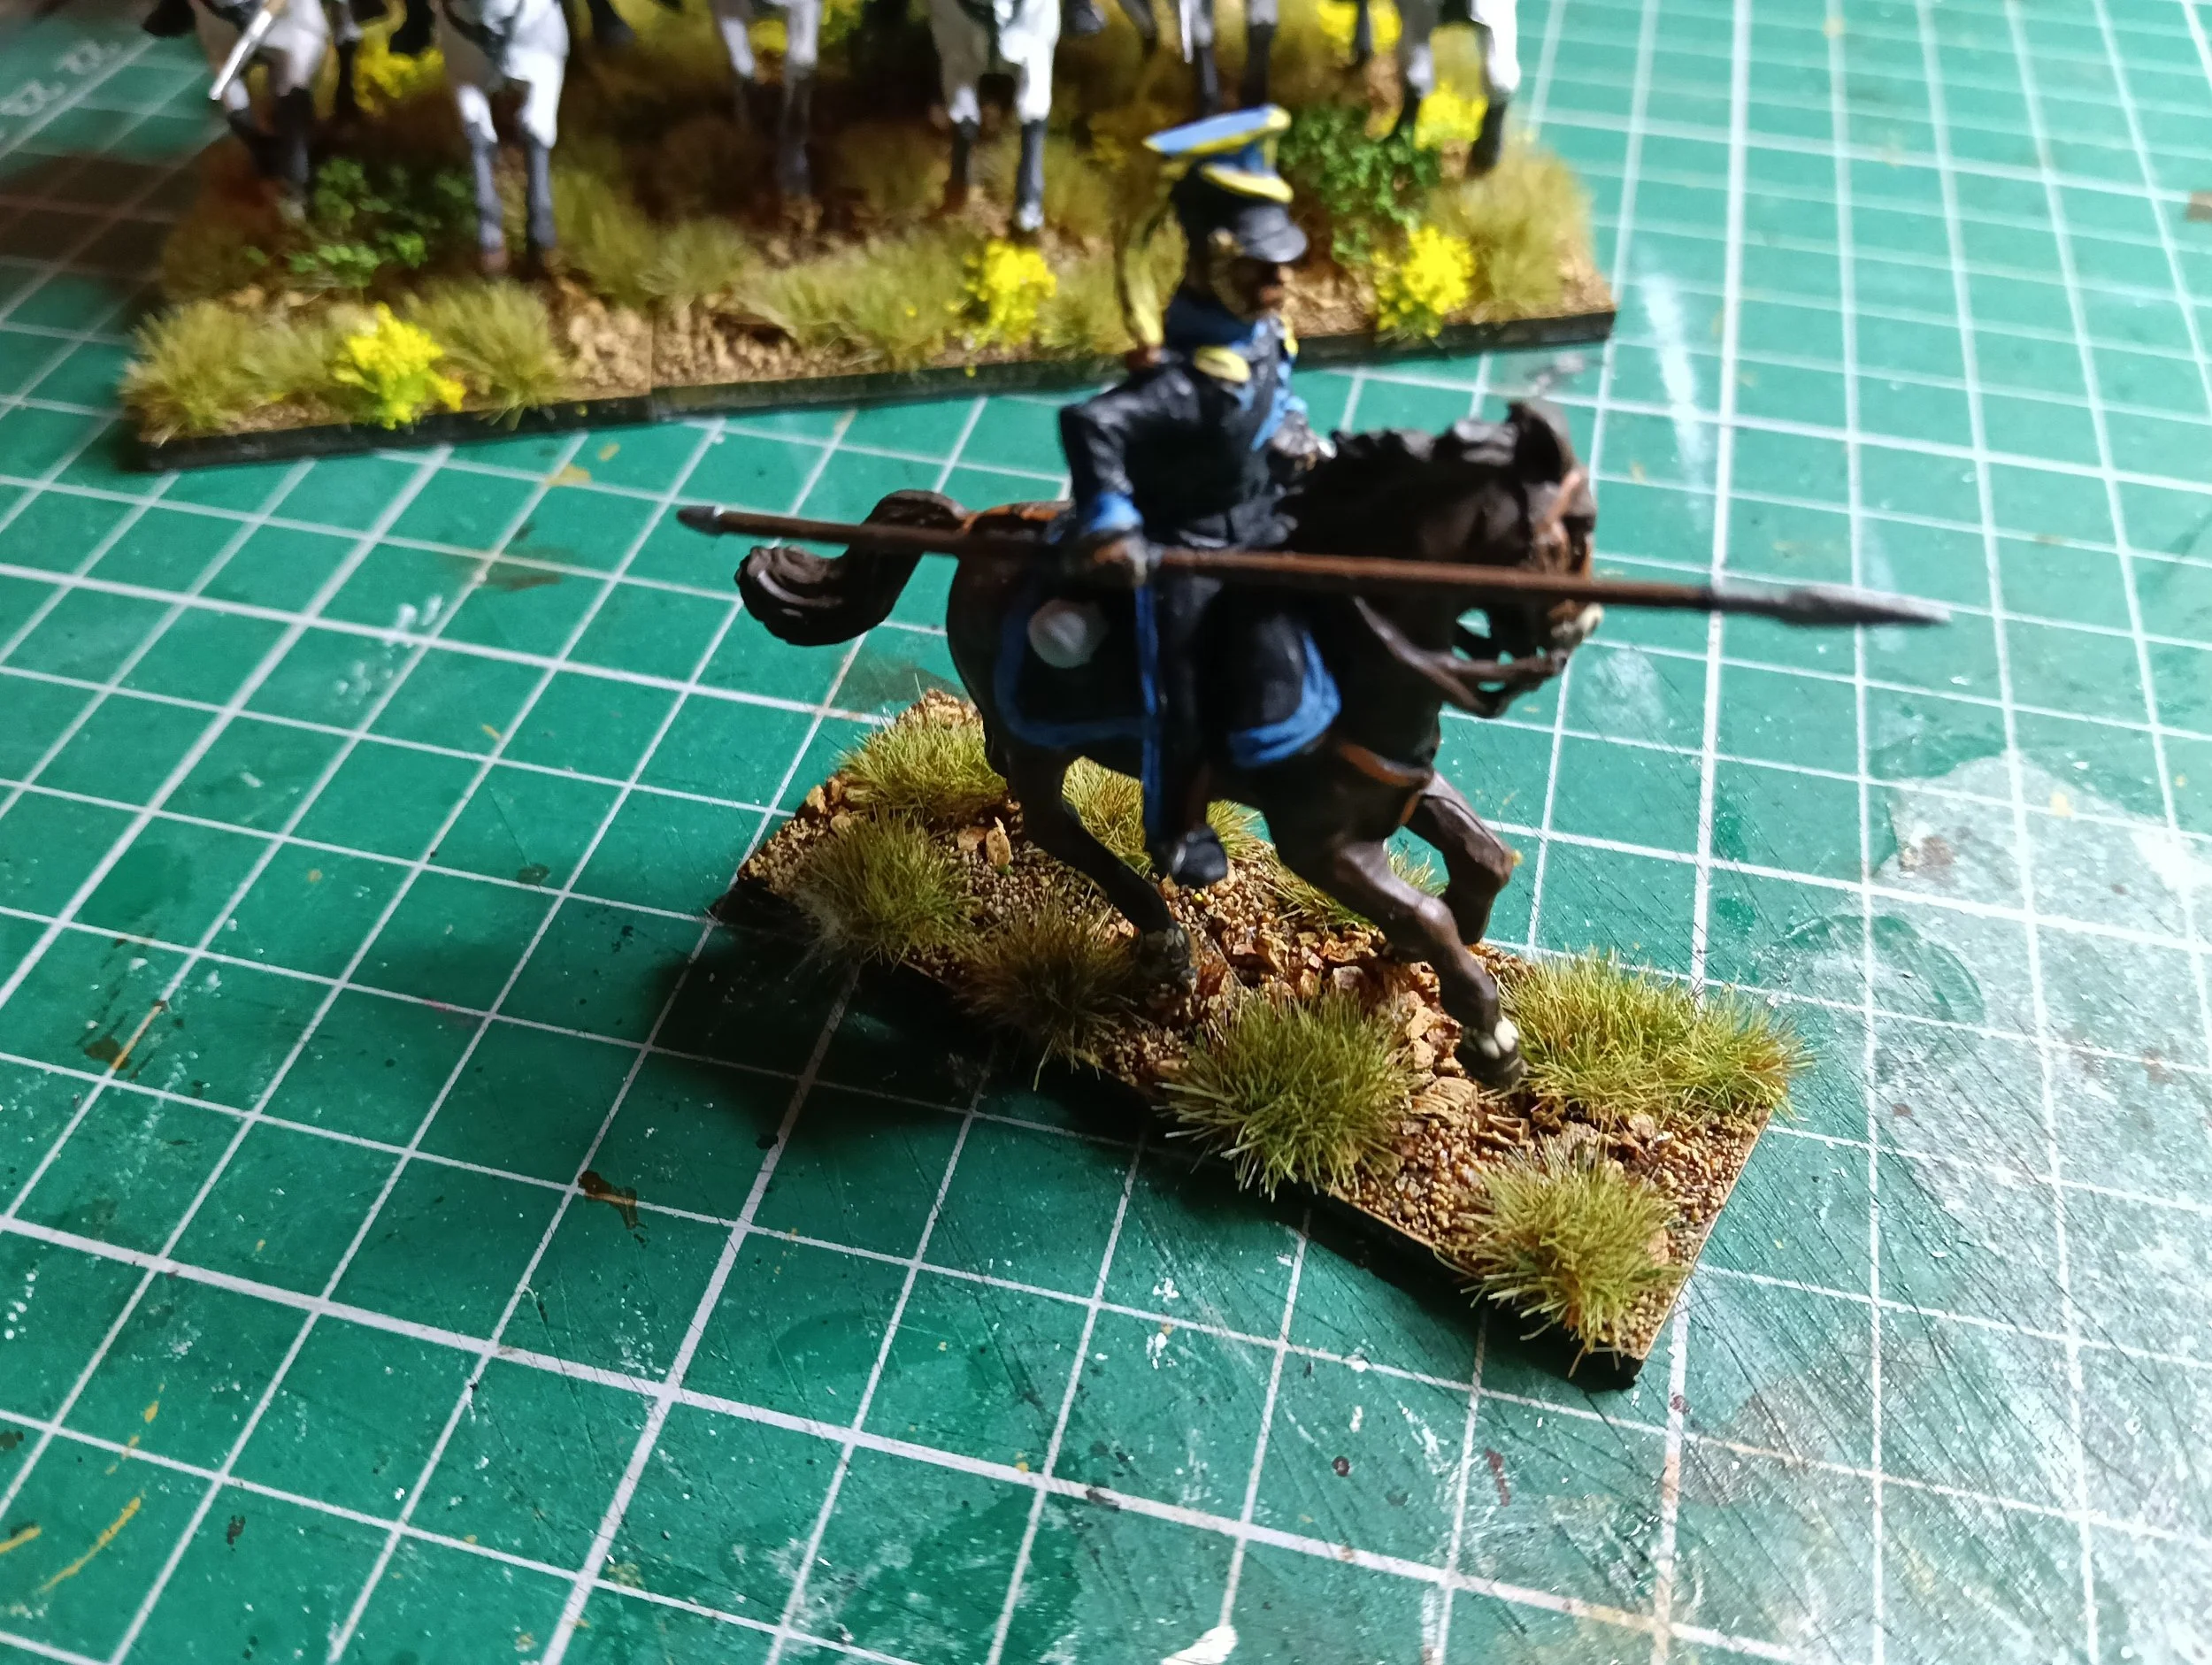
These are cracking models…and I mean that literally as well as figuratively, as I’m afraid a good half of them didn’t survive the long journey from the States undamaged. The Casuarius legs were particularly vulnerable (three feet had snapped off and had to be glued back on with a varying degree of ease) and only one of the Hauk lances survived intact…and one of the broken ones - the one at the back in the picture above - was beyond repair, and I had to bodge an alternative head so that it now looks like some form of energy-weapon lance. Three out of four Corvid pistols were also snapped off, one of those also being beyond repair and needing a substitute weapon from the bits box as a replacement.
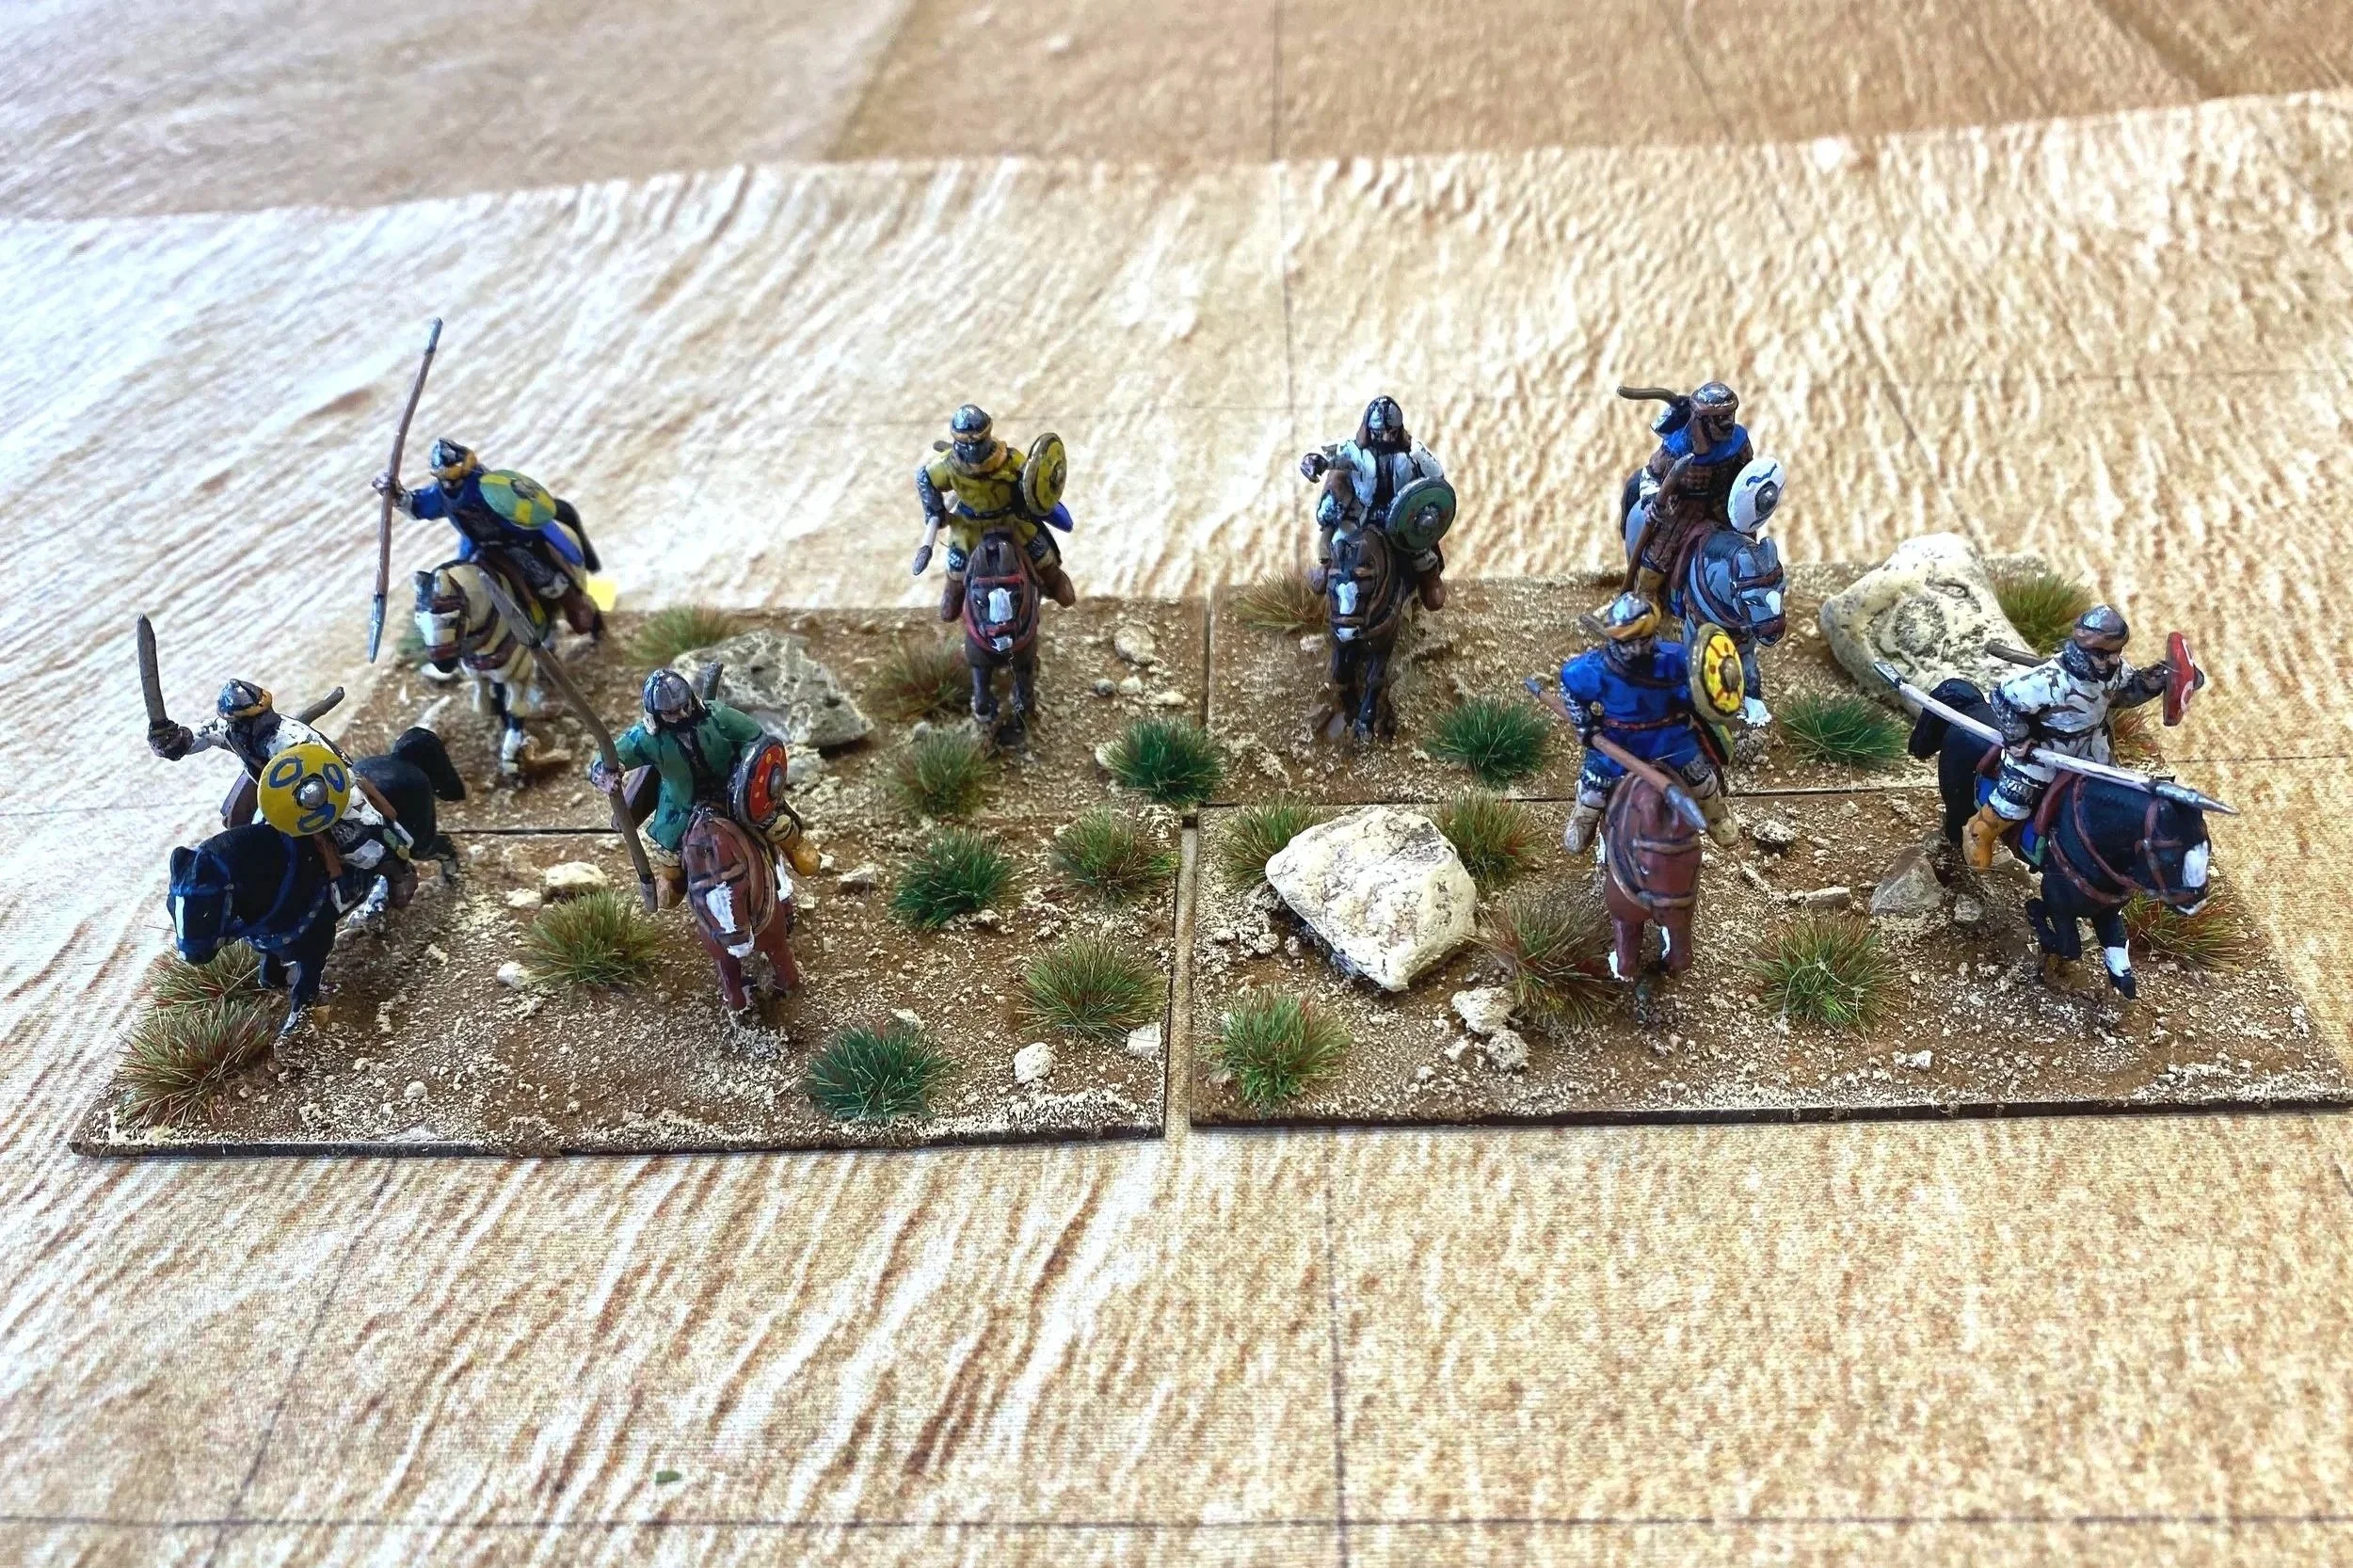
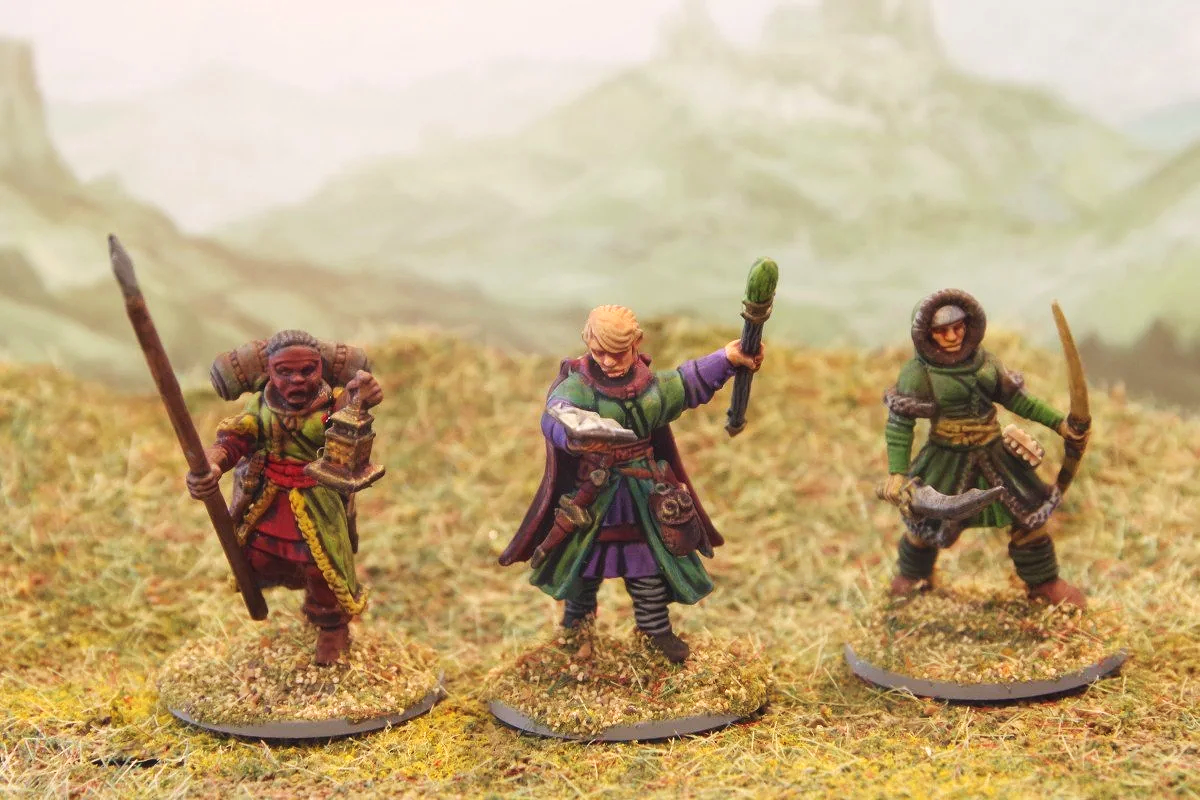
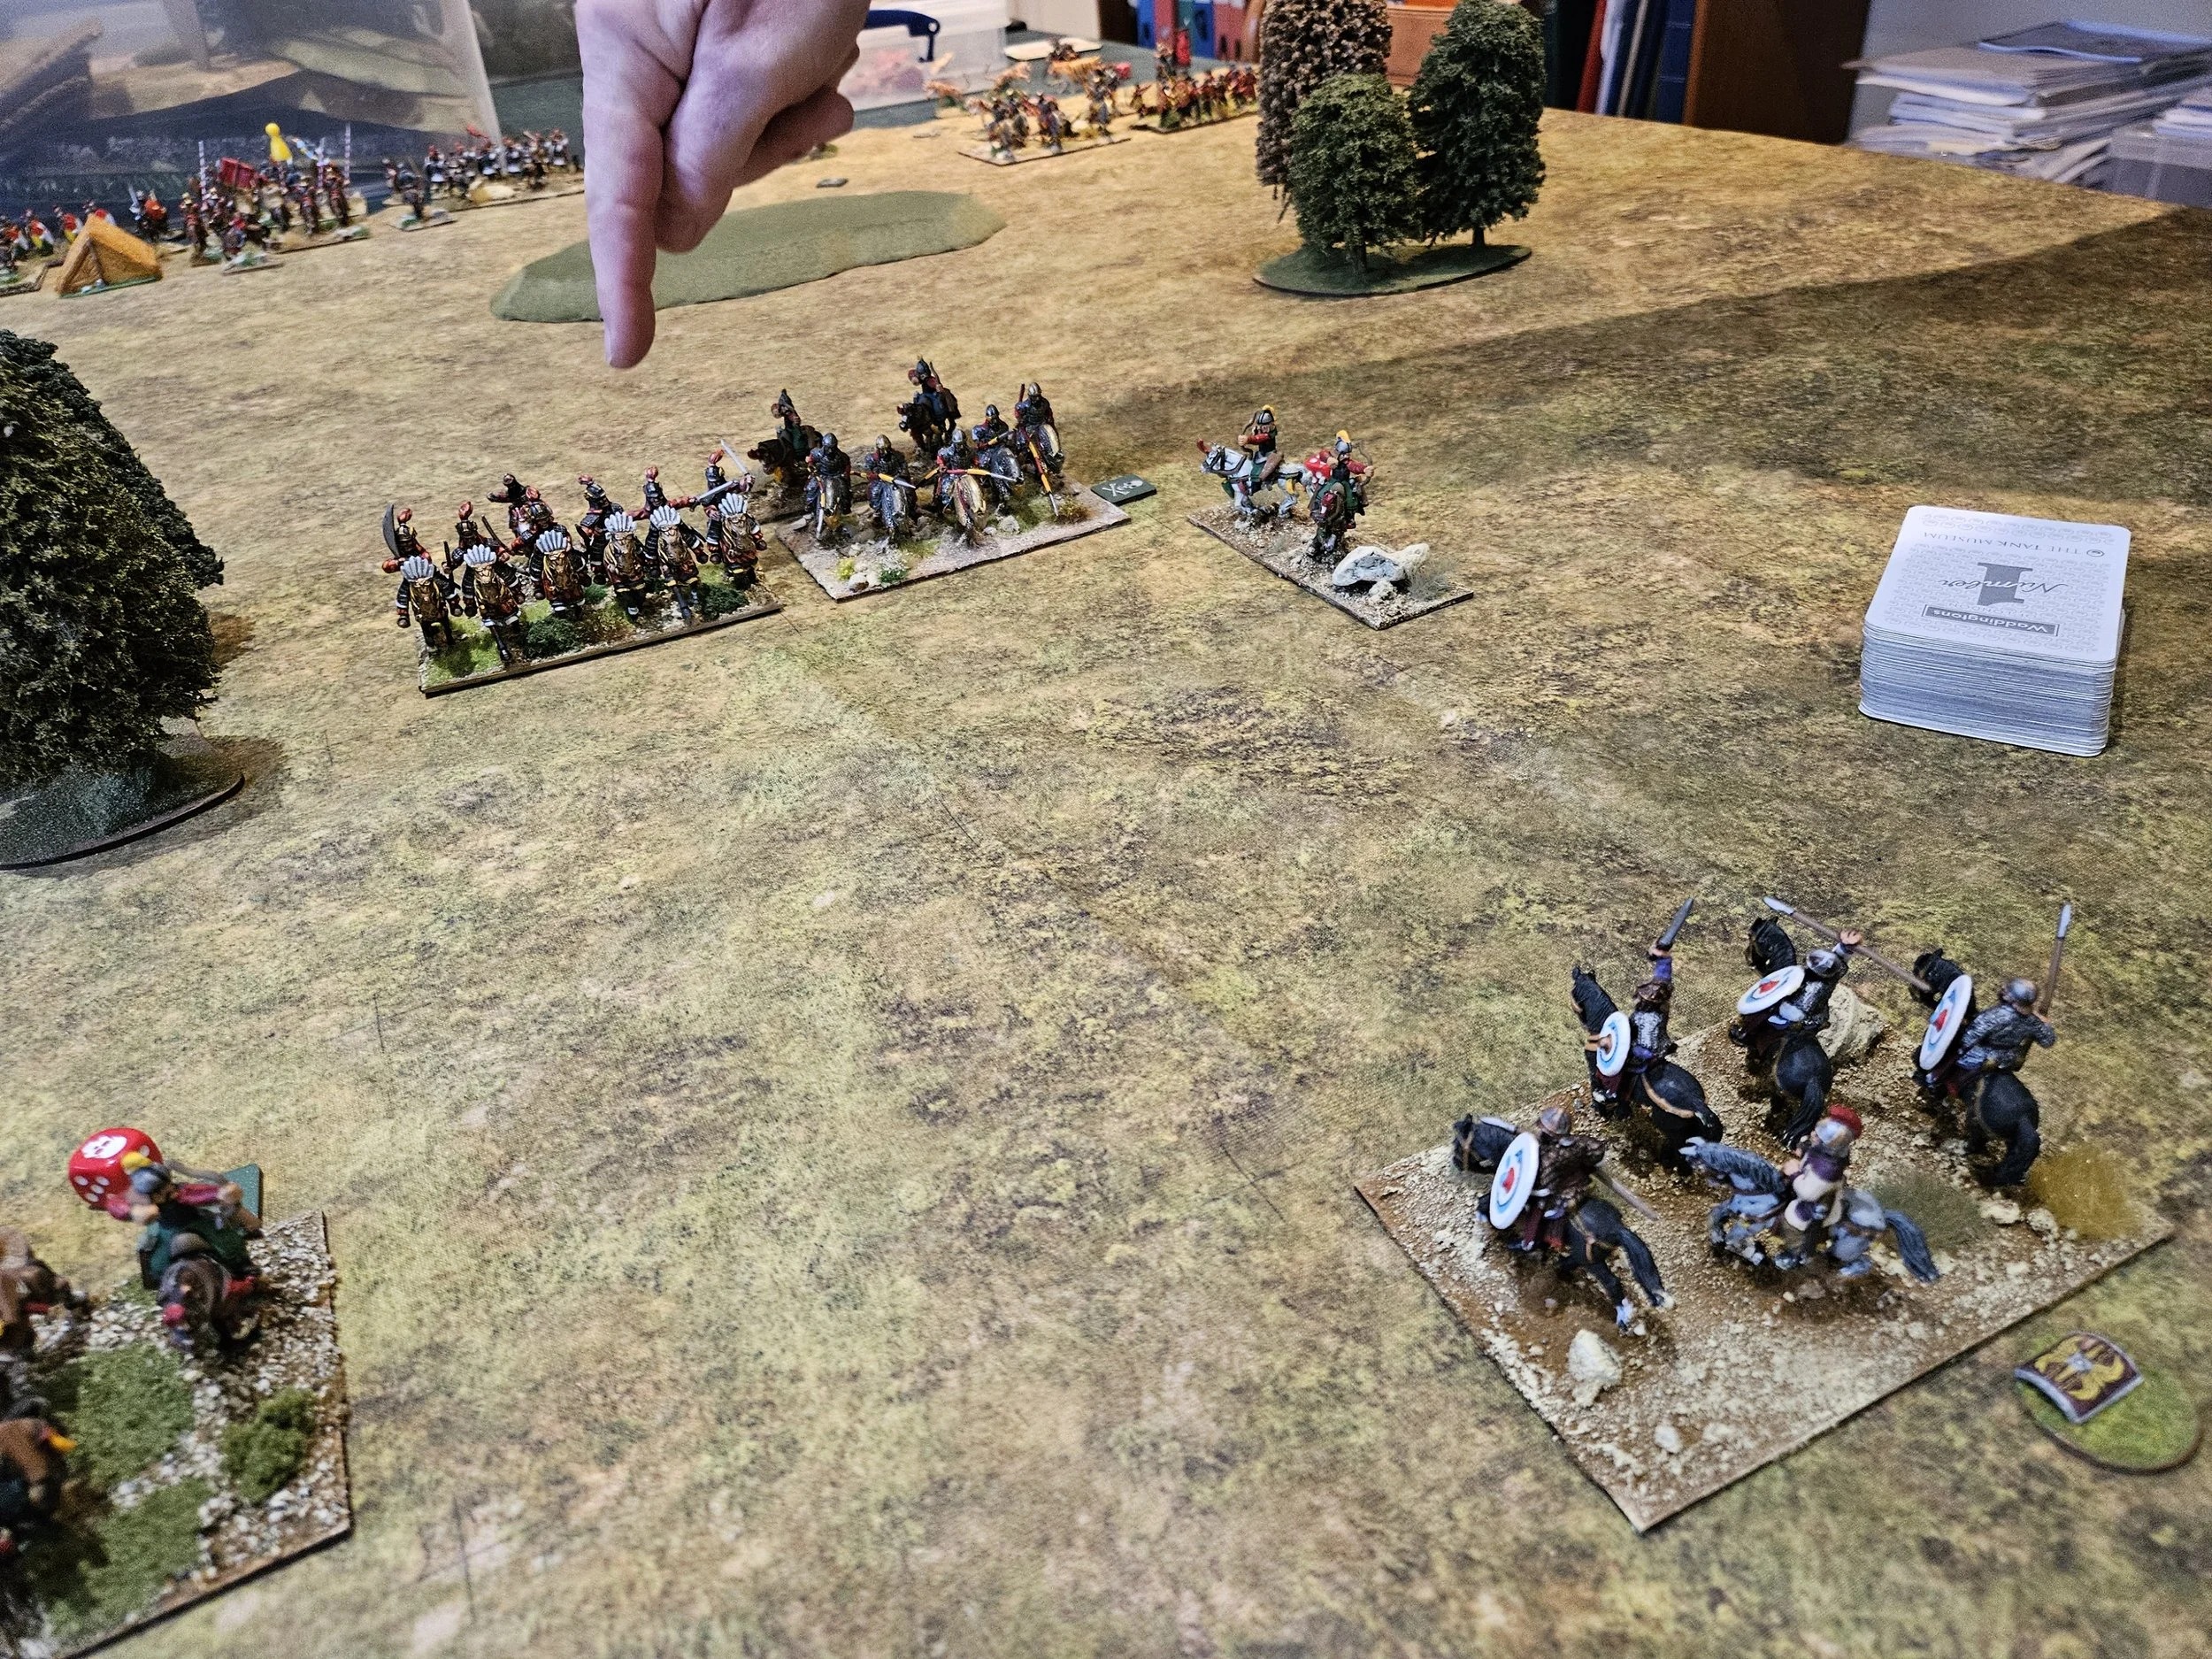
So nice figures and I am pleased to have them…but I do have to mention scale-creep again. All Trilaterum’s figures seem on the very large side, and I mean large. The riders here, whether Hauk or Corvid, are a good 20mm high, even perhaps 25mm by some definitions.
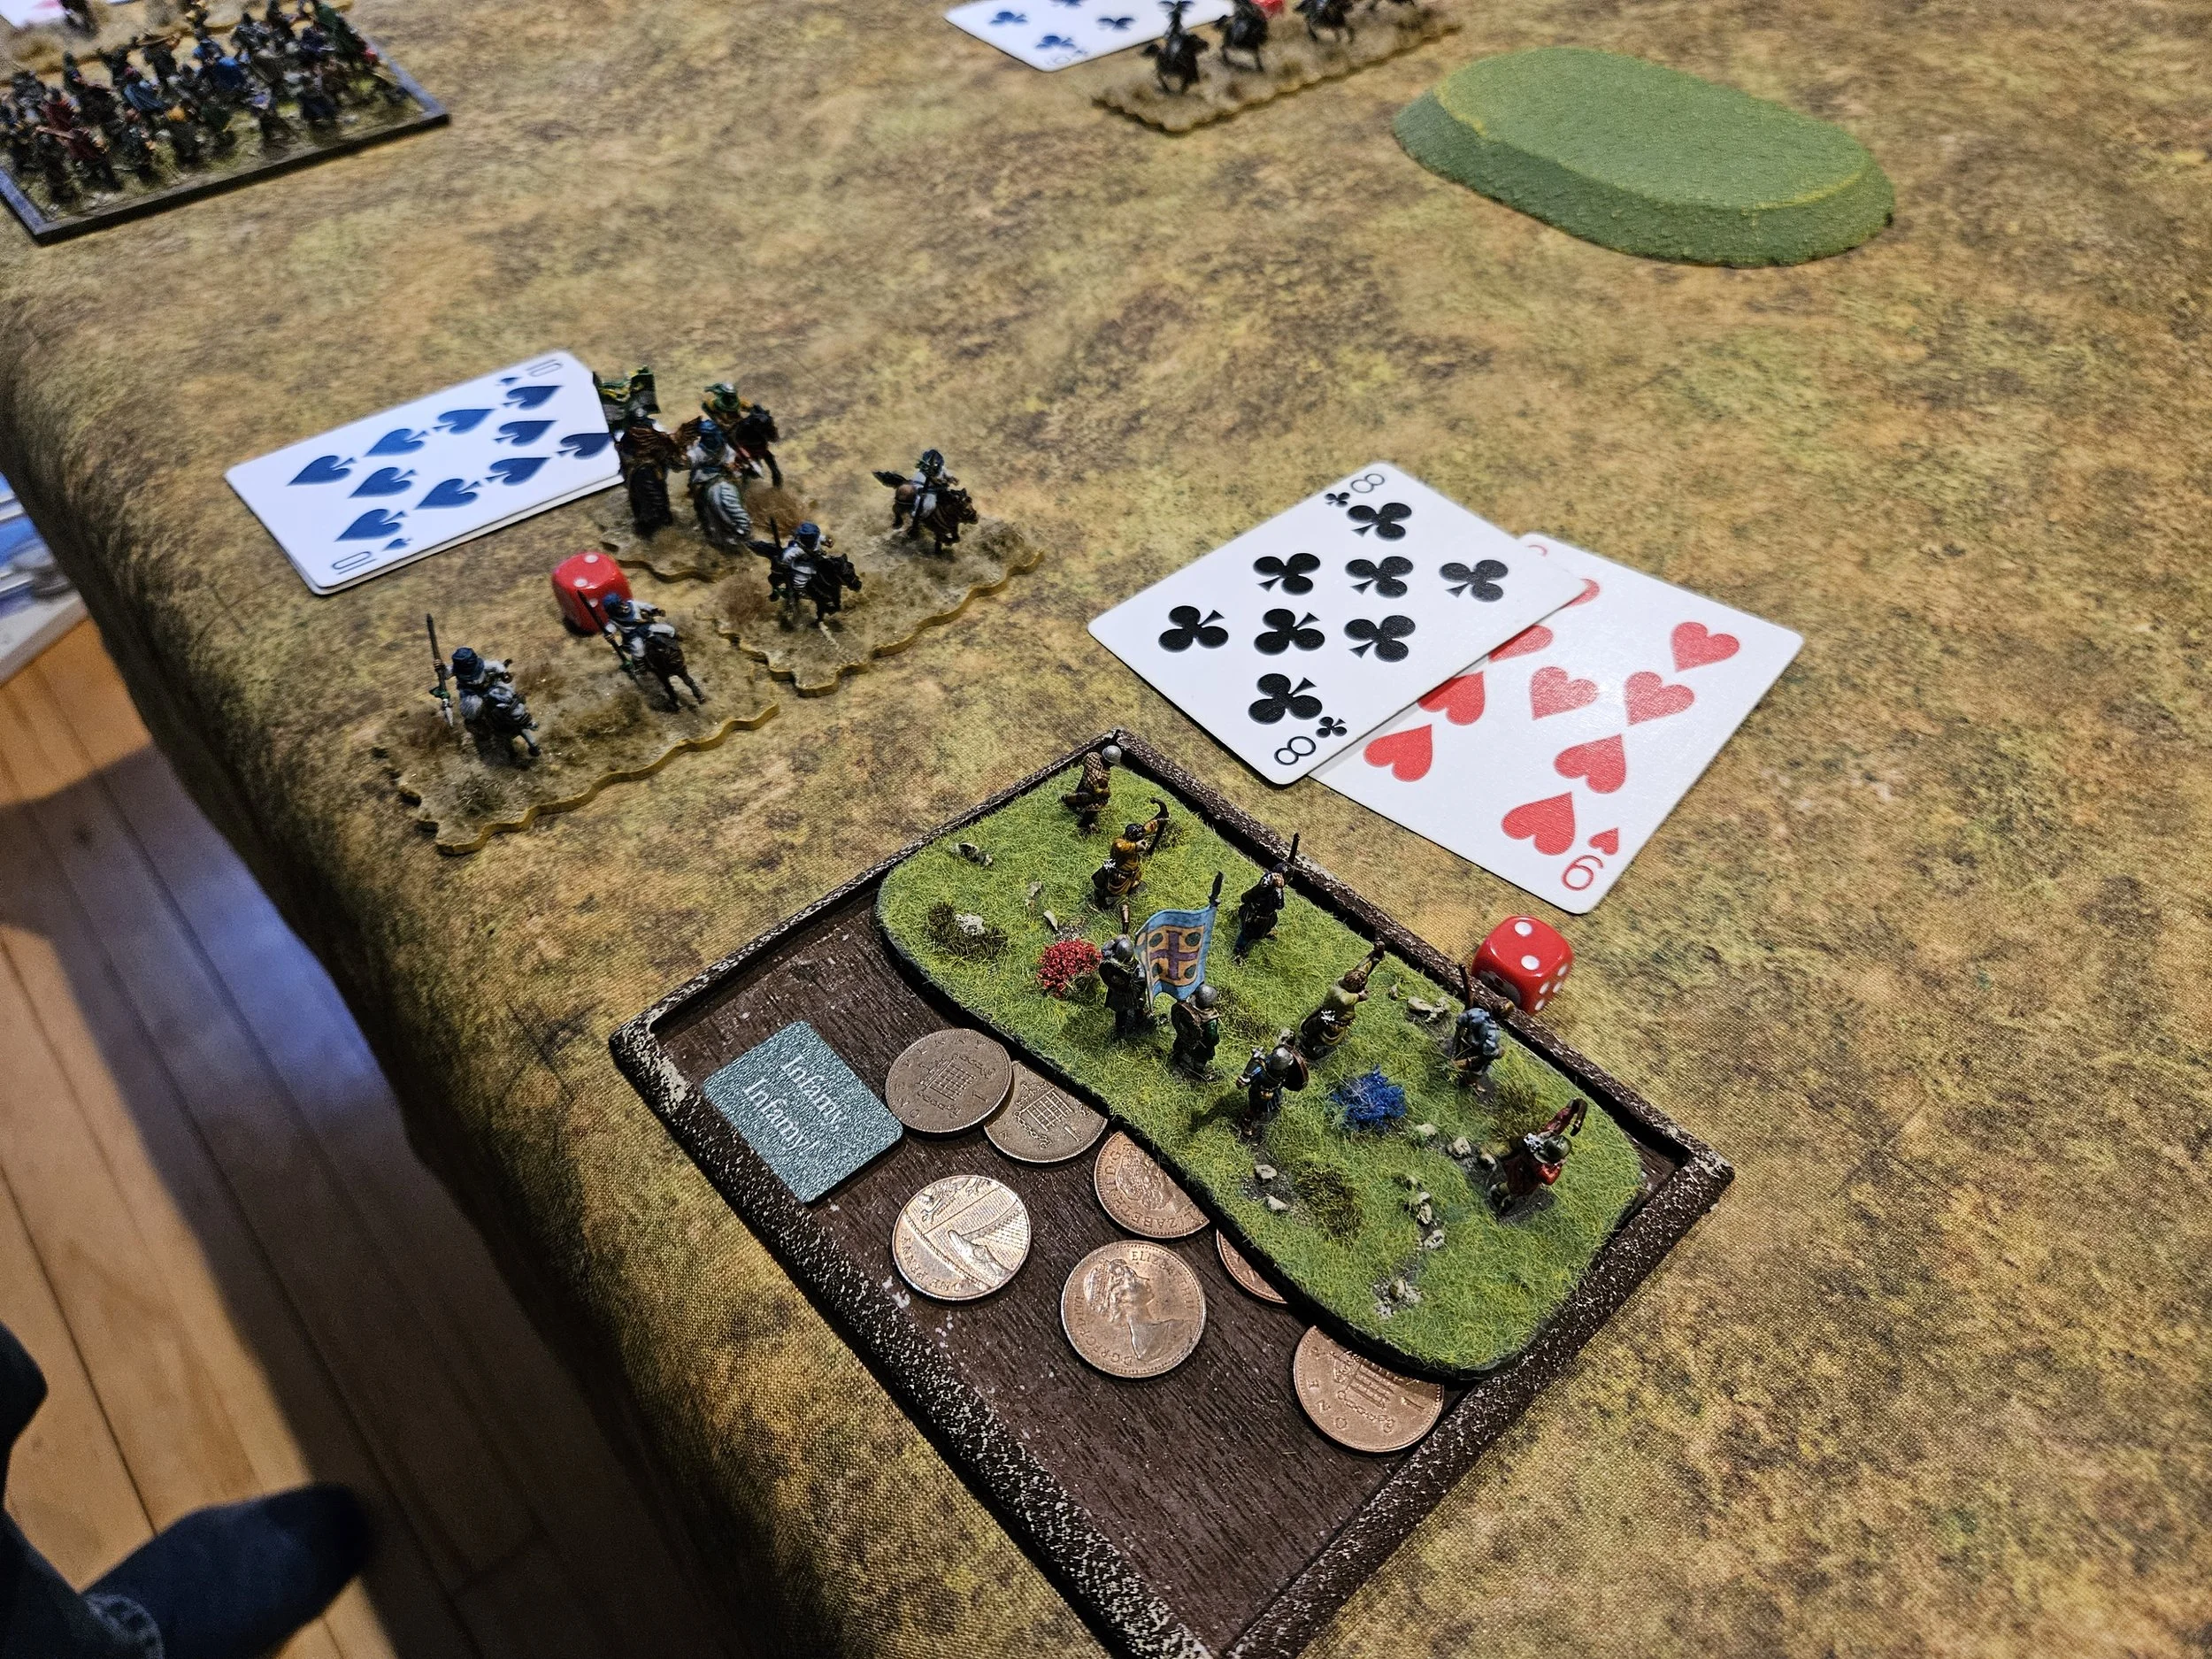
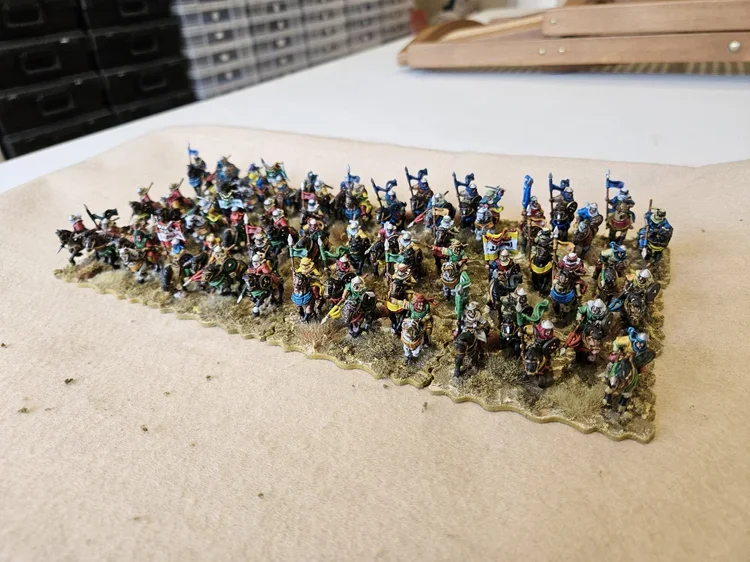
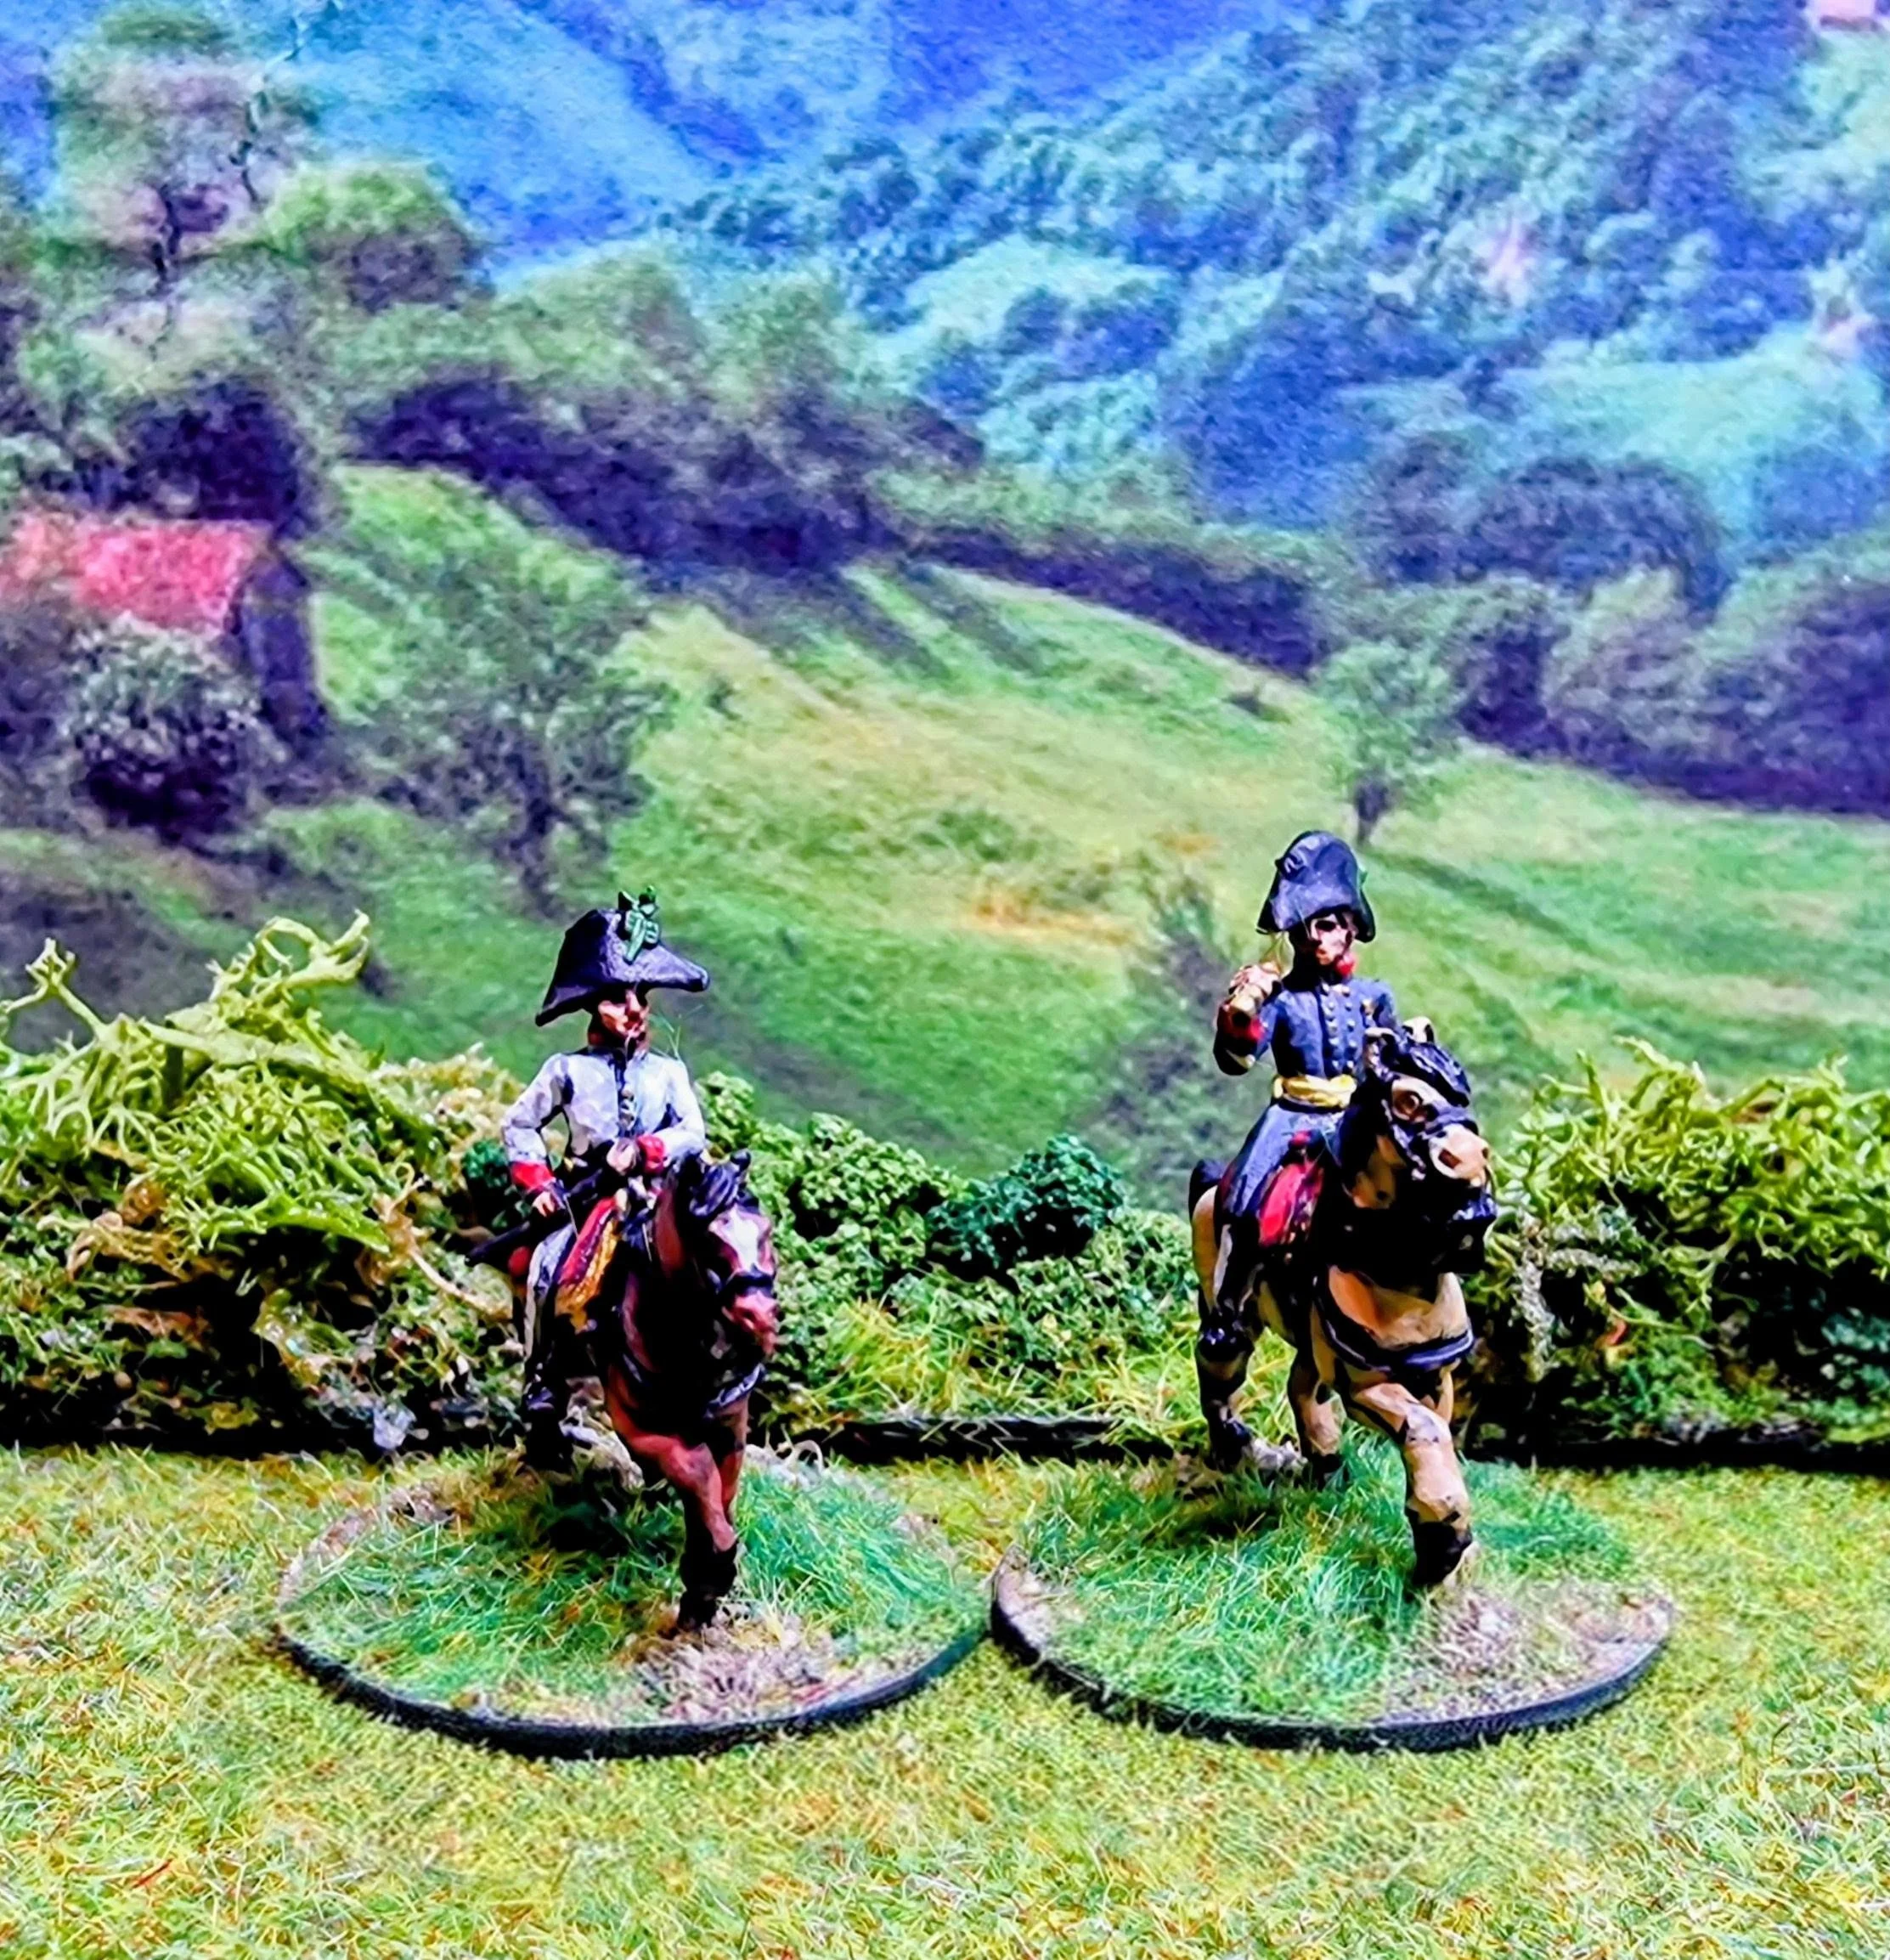
Let me show you what I mean: here are the Trilaterum cavalry next to a Khurasan Hauk and Mad Robot’s Harook:
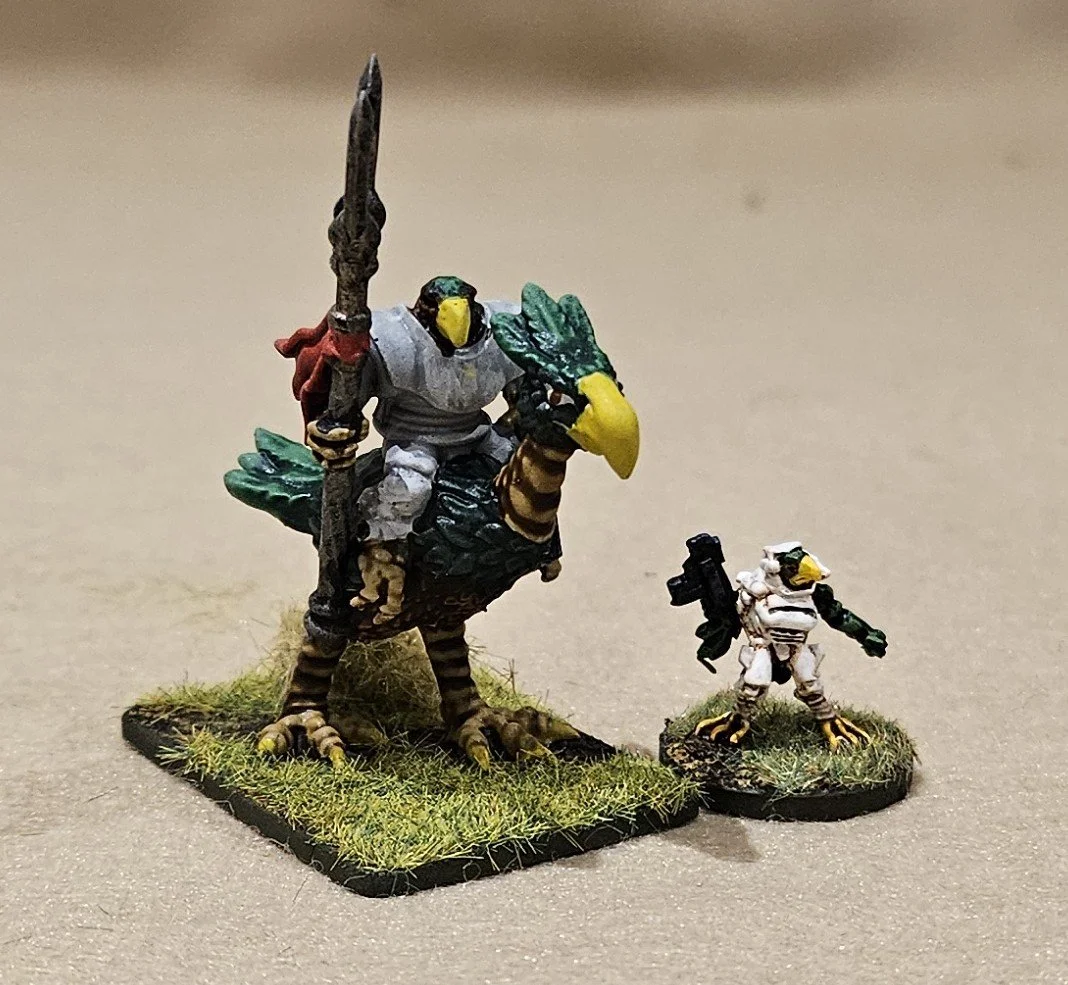
Big men on big horses indeed!
In summary, lovely figures (as you would expect from Trilaterum) but a bit fragile for a transatlantic crossing and very much victims of 15mm sci-fi scale creep.