AAR: TTS European Championships

Friend Peter had organised a new competition for To The Strongest - the European Championships - and wanted to know if I was interested in taking part. Now I don’t really do competition battles any more: ghastly memories of arguing over minutiae in WRG 6th or similar and ultra-competitive behaviour (usually from me!) souring the experience…and the TTS tournaments are all played in 28mm and my collection, as you all probably know, is exclusively 15mm.

I checked the diary, however, and it turned out that, unusually, I had a completely free day that Saturday, so I said to Peter that I would come along and help and, if needed, make up the numbers as a super-sub should an odd number of players turn up (assume the joke about expecting an even number of odd players to turn up!).

I duly arrived at Ewelme (you-elm apparently) Primary School early yesterday morning and enjoyed half an hour of peaceful reflection eating my breakfast sandwich in an idyllic rural setting until everyone else arrived. To be honest, it was worth the half hour travel time for that alone!

Peter was lending me a Burgundian Ordnance army, so handed me a box full of troops and then it was fingers crossed to see if I would get any games…but as it happened, even numbers were present. No matter: I was happy to time keep and generally help out, and there were some spectacular looking armies to admire, even if they all looked very big to me!

About 15 minutes in, however, one of the players was forced to up-sticks and head home to sort a family matter, so I quickly grabbed the Burg’s and settled down to fulfil my super-substitute role.

My opponent, Andy, was using Almoravids: a very nice looking set of Spanish Berber types, all of whom were already deployed and ready to rock. We agreed that keeping to the tournament schedule meant we couldn’t go through the usual scouting, terrain and deployment process, so I just slammed the Burgs onto the table in a long line and off we went.

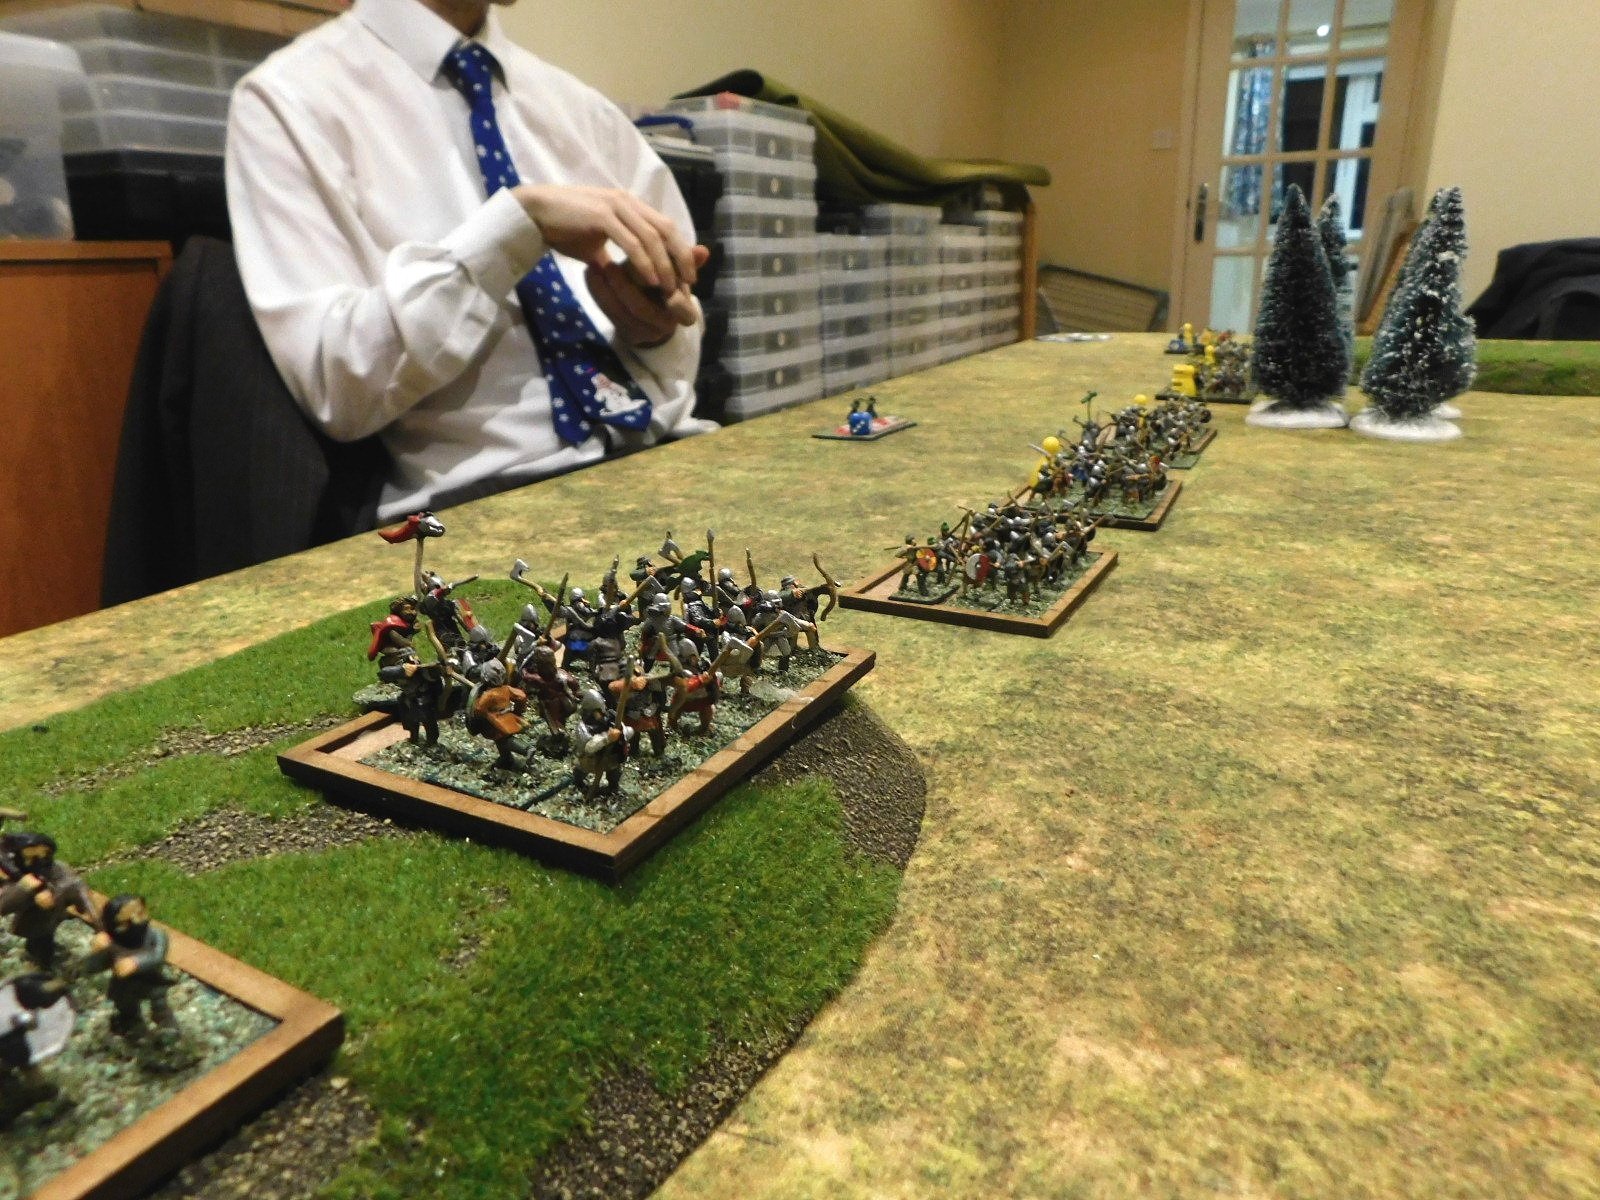
I am about to sub in for John, on the right

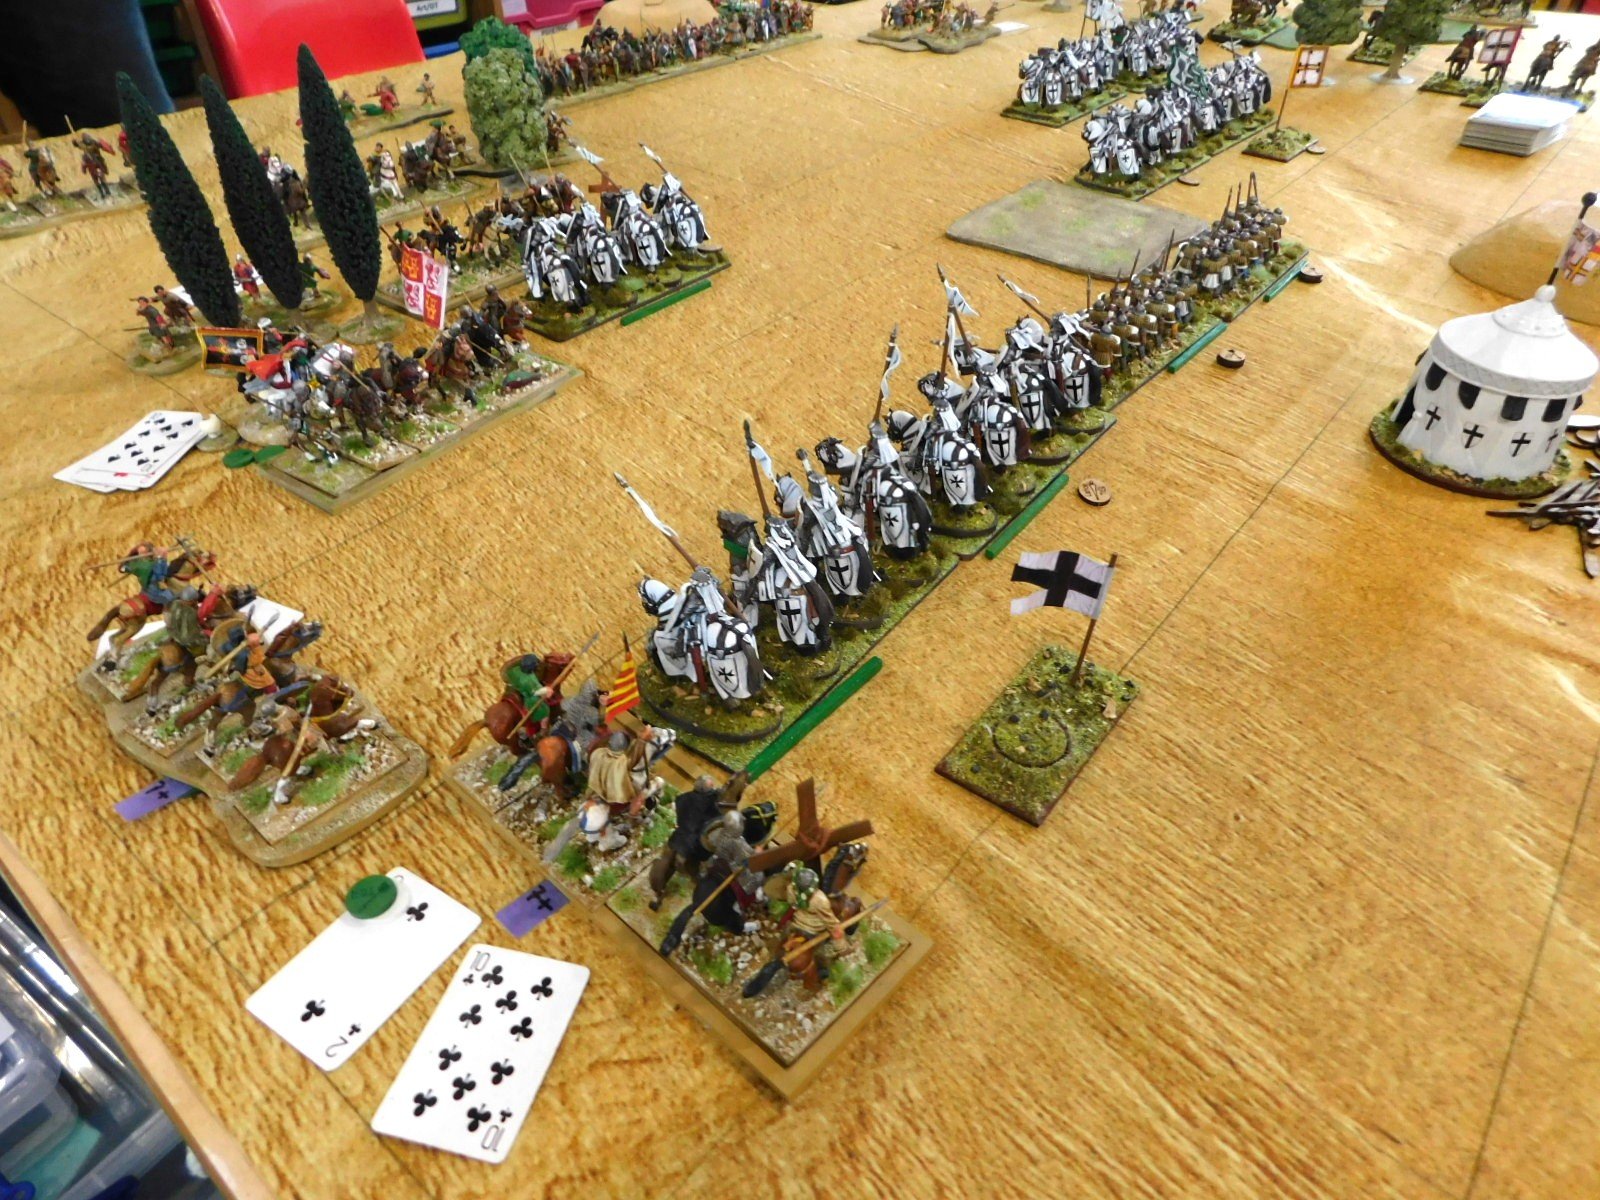
It was a great battle. The very first javelin thrown by the Almoravids went straight through my CinC, Charles the Bold’s, visor and killed him instantly! I followed that up by managing to draw five Aces in seven cards and it looked as if a hideous defeat was about to follow…but the Burg’s are a resilient lot, and somehow managed to fight their way back to a 100:73 point victory. I do remember one set of Knights smashing the Black Guard from the table in one charge, and killing a couple of enemy generals, but not much more than that!

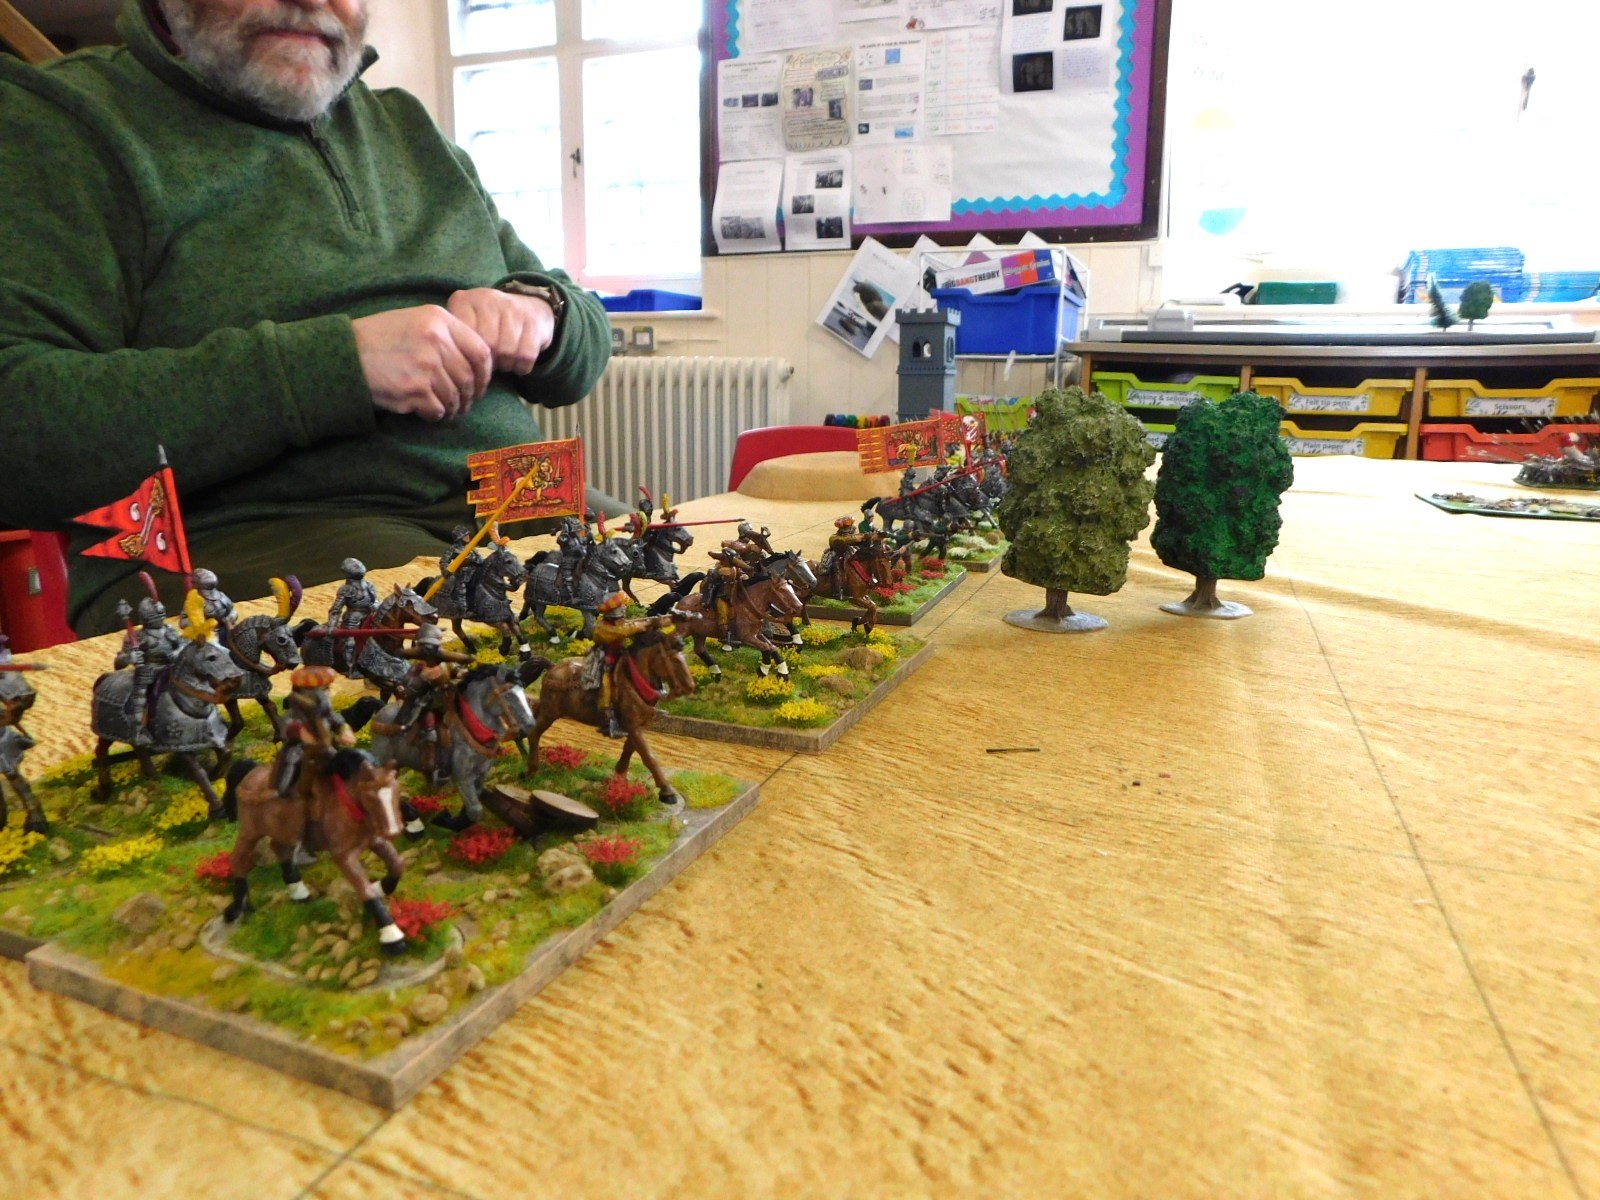
Then it was onto game two: fighting Michael and his Later Italian Condotta with Swiss Allies, or Venetians for short. This was another cracking game, involving my Knights coming up against some very menacing looking pike blocks. Star of the show was my little Organ Gun artillery unit, which held up the Swiss pike block for two or perhaps three turns as it marched relentlessly towards my camp. The crew of said gun even managed to do the Swiss some damage in the melee! This stout and quite frankly incredible defence allowed me to get some Knights onto the Swiss flank and, much to the shock of all concerned, send them fleeing for the rear. Much to my surprise, another win at 108:58 points.

At this point we broke for lunch and a tour of the school-church-alms house complex, all built by Alice Chaucer, thrice-married grand-daughter of Geoffrey, and the first female Knight of the Garter. Fascinating stuff that included a secret stair and the minstrels’ gallery where Henry VIII allegedly first, er, succeeded, shall we say, with Anne Boleyn.

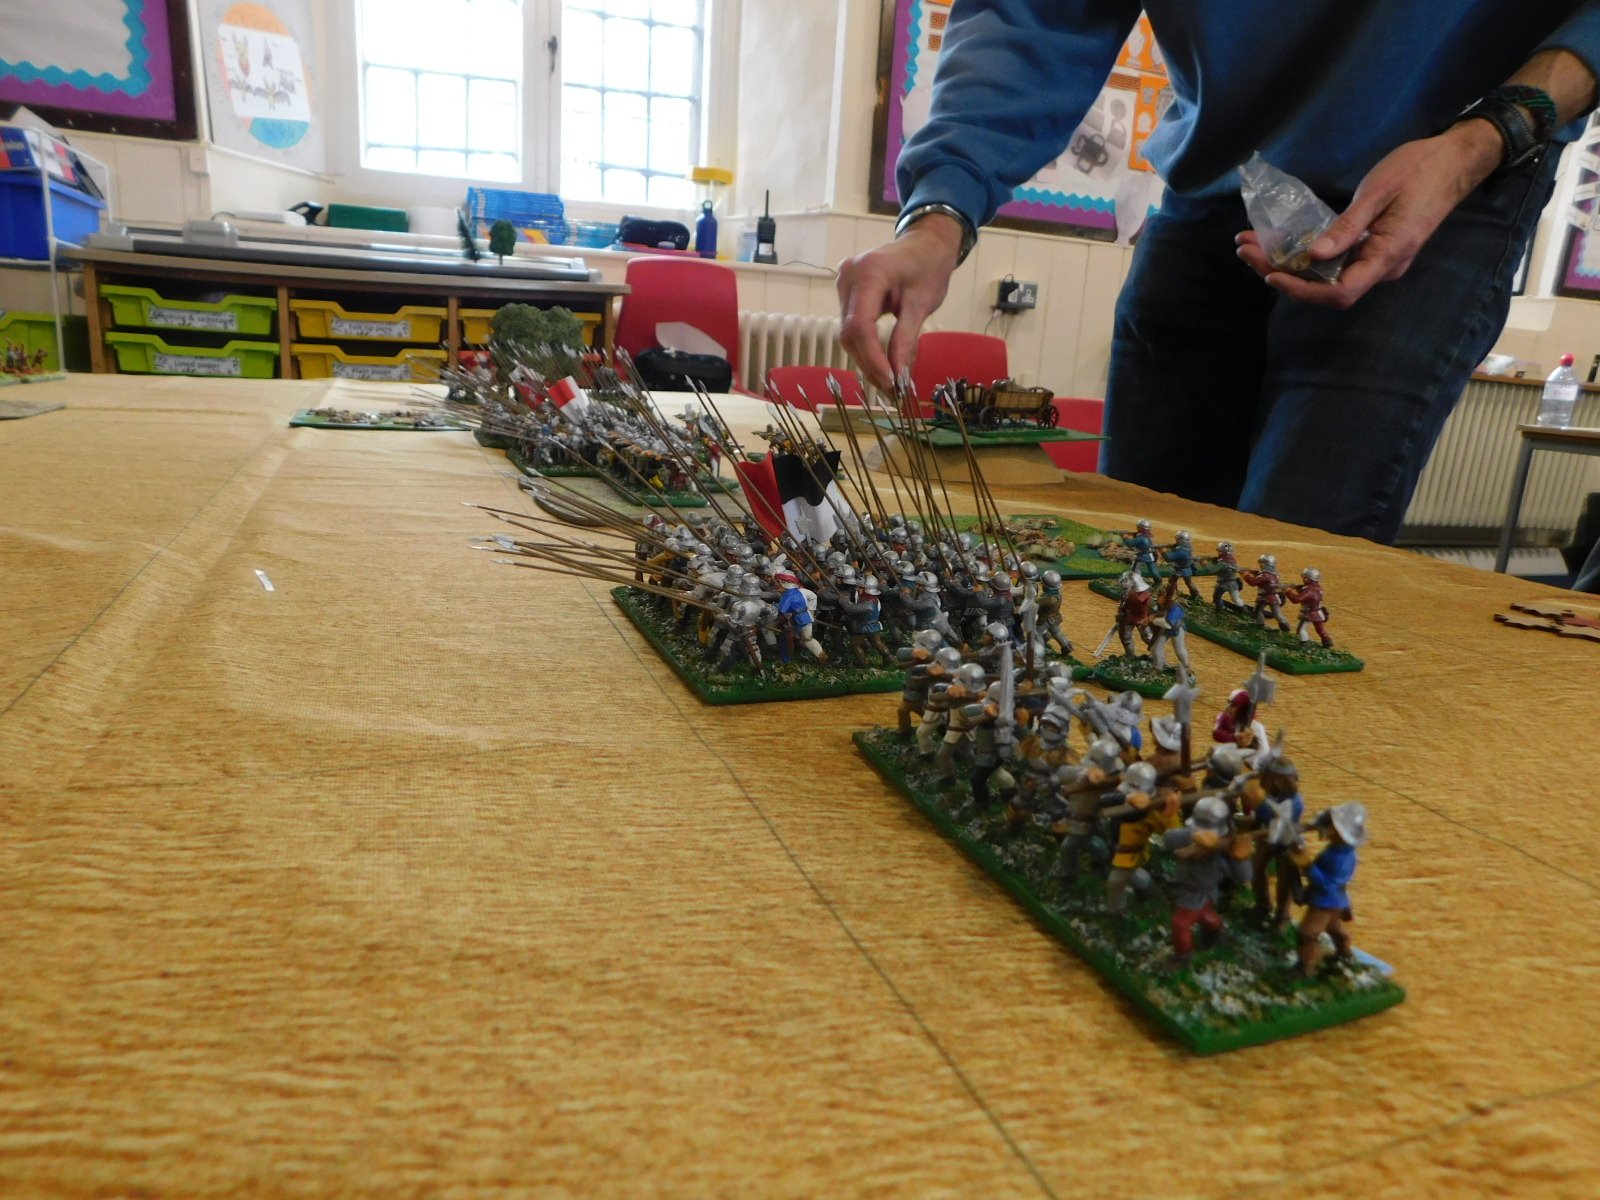
Onto the afternoon session, and bad news for the super-sub. Another player had withdrawn from the tournament meaning that numbers were uneven again. I was all prepared to return to the bench when someone else, Mark to be exact, said that they would be happy to sit this game out to give me another go. This was gentlemanly behaviour in the extreme, so it was time to face Chris and his Later Swiss. More pikes!

This, third game was also excellent. The Burg’s were caught napping, out-scouted and then pinned back against the edge of the table by some extraordinarily fast marching from the Swiss (I still don’t know what they do with their pikes when acting as mounted infantry LOL). I was sure I was doomed, and told Chris the same, but he assured me that all was not lost…a bad mistake on his part as his prophesy began to come true. Still pinned against the edge of the table, a camp lost to the enemy, the Burg’s stuck their heels in and began to push back. A couple of enemy generals were dispatched (it was a bit of a theme for the day) and some non-pike units broken, but it was a combination of missile-fire to disorder then send in the Knights to punish, which finally broke a Swiss pike block sending loads of victory medals my way. If we’d played on, the game could still have gone either way, but I ended the winner with a score of 102:79 points.

At that point I returned to the substitutes’ bench and spent a very enjoyable couple of hours wandering around the games, admiring both the action and all the very lovely figures on display.

Time for the results and I was amazed to find that I had come fourth. This was obviously partly due to the bye I had received in the fourth round, but was very welcome news indeed. Even more surprising (doubtless particularly so to those who have gamed against me!) was that I was also voted Most Chivalrous Player of the day. Even my family were gob-smacked by that one!

So many thanks to Peter for organising a great day, and for everyone else there, particularly my three opponents Andy, Michael and Chris. I had a whale of a time and am now wondering from whom I can borrow an army for the next one!

TTS AAR: Vikings Resurgent!

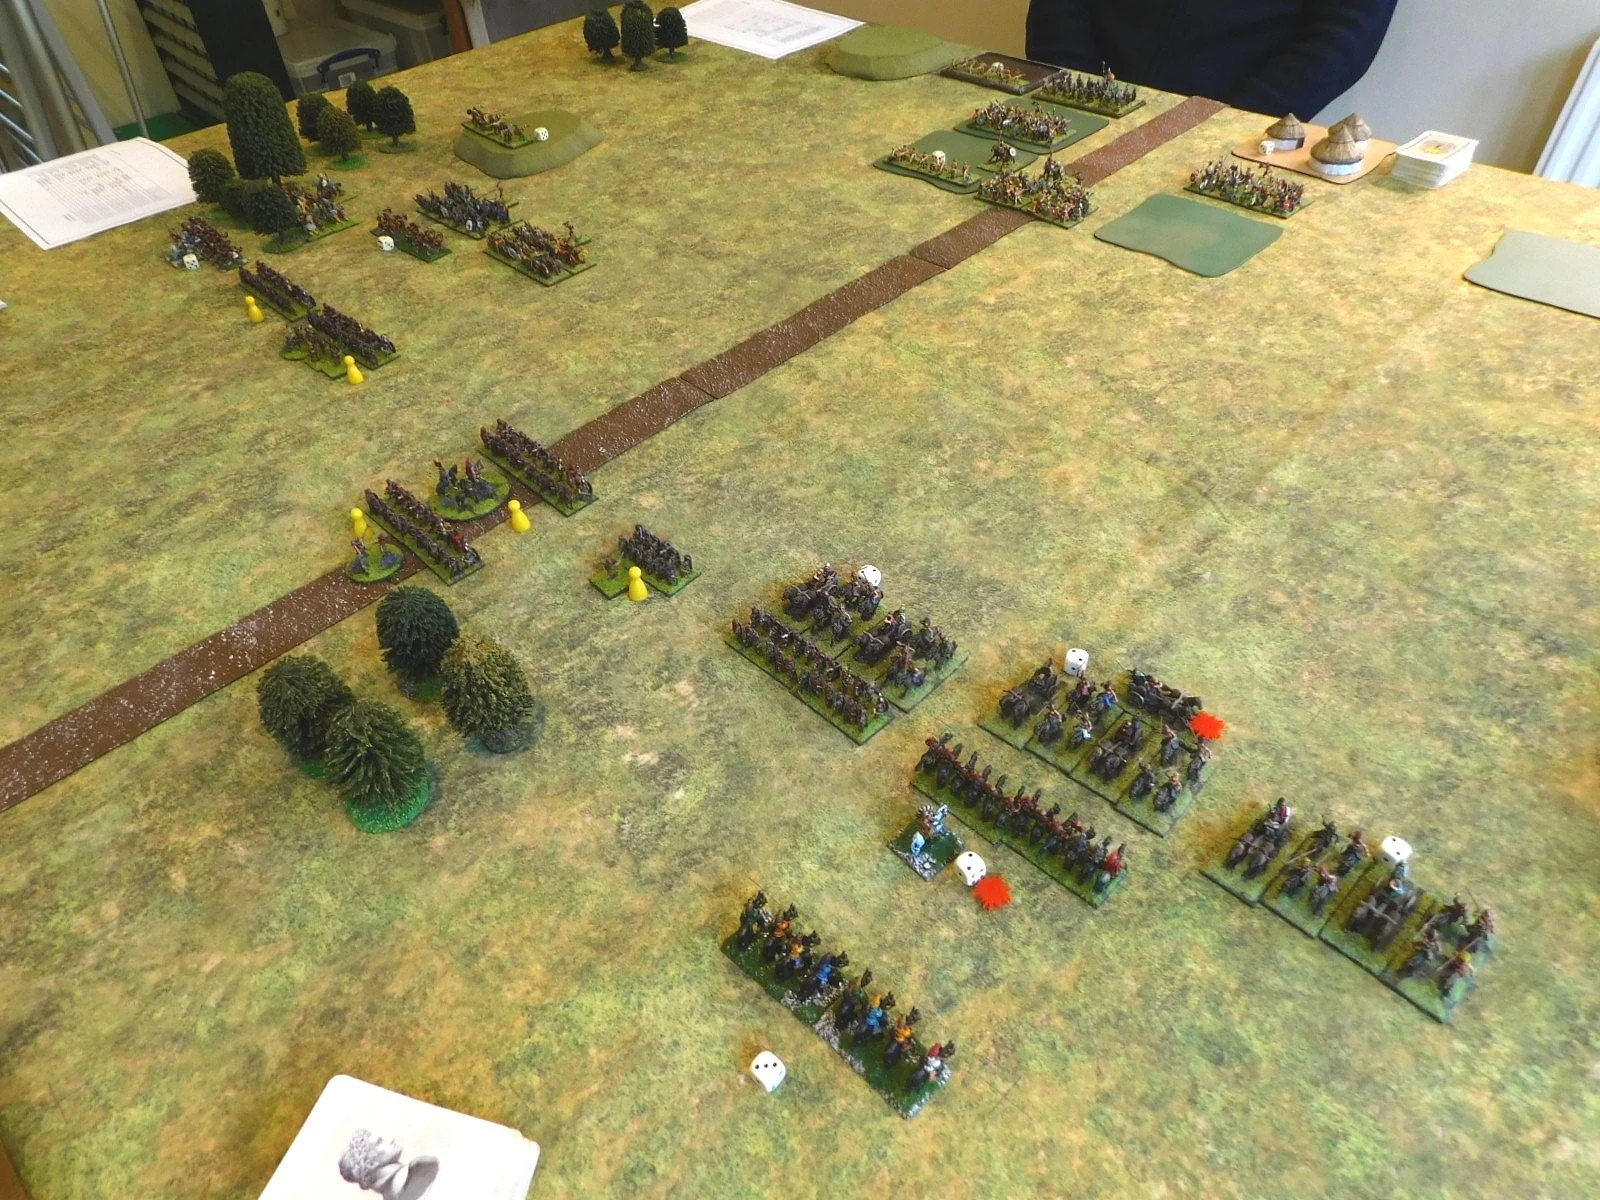
Time for a quick game of To The Strongest. Today’s game would feature the Vikings, commanded by Yours Truly, versus the Burgundian Ordnance, commanded by John.

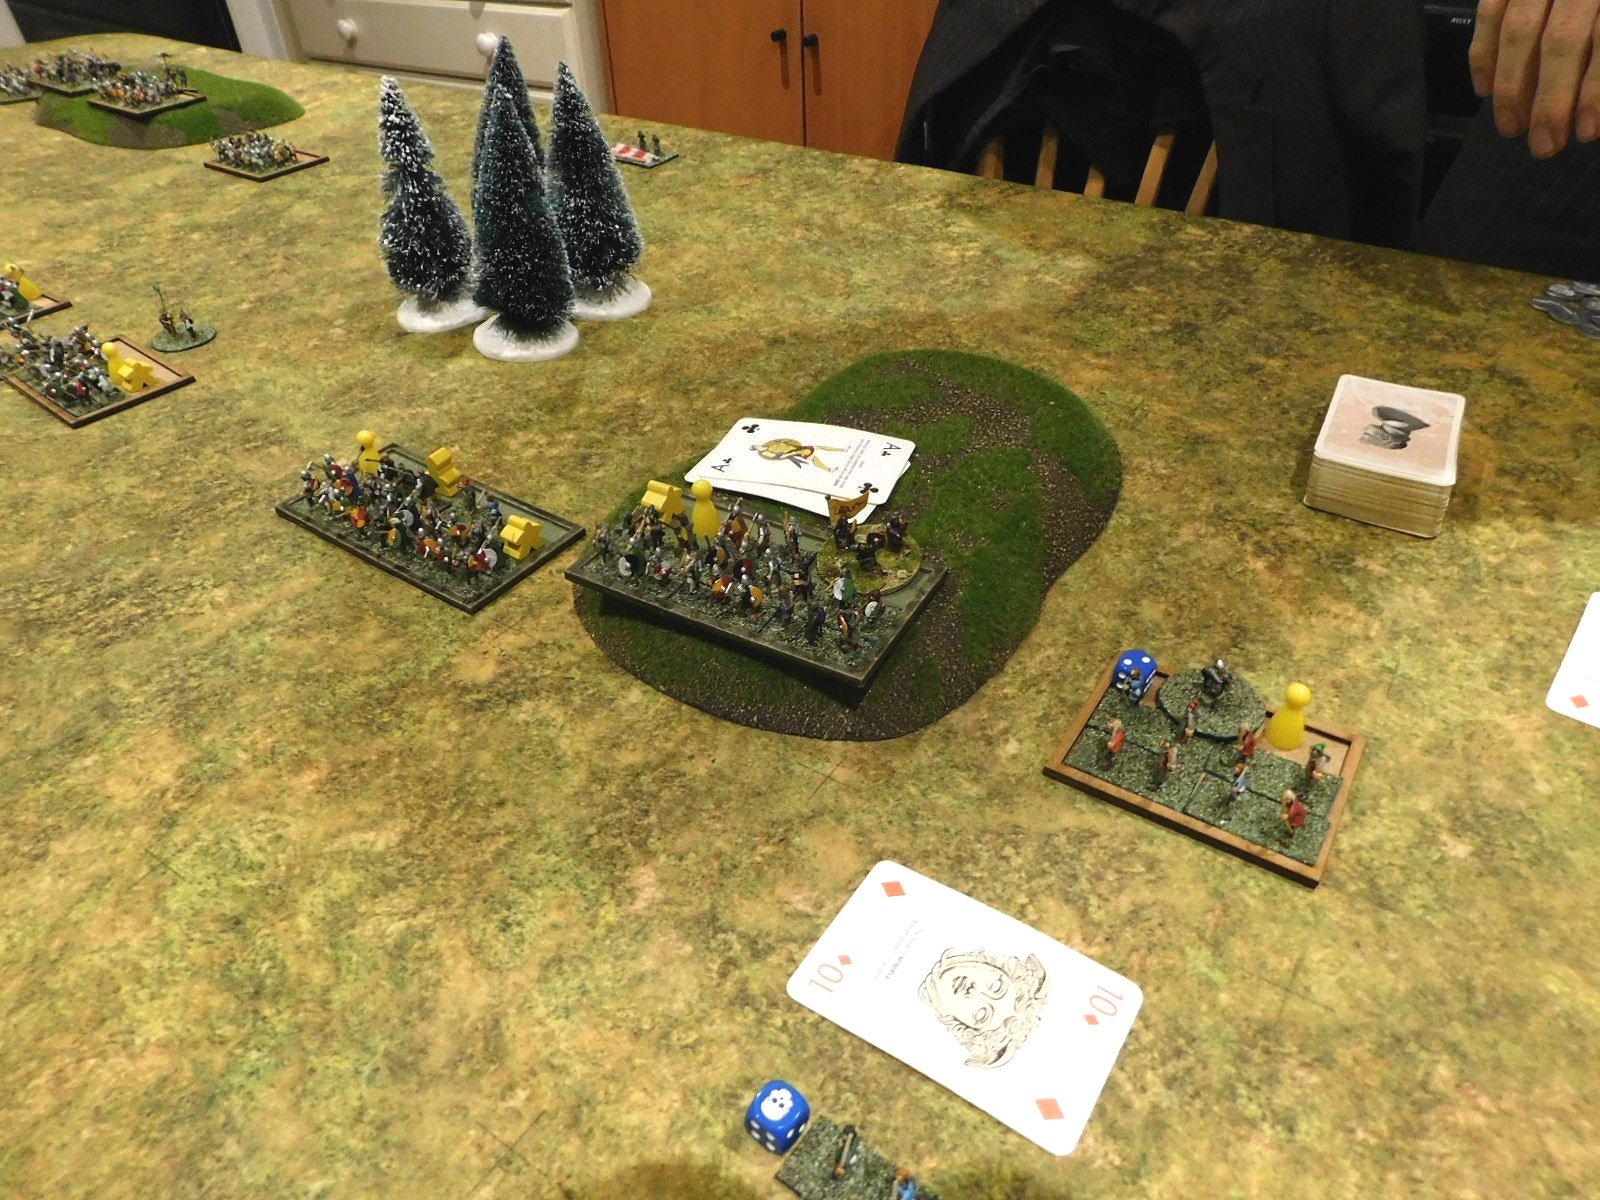
The yellow caps are lance markers, the red meeples indicate veteran Huscarl units.

Two very different armies: my Vikings are a foot-only army comprised mostly of big shieldwall units (I’ll call them warbands) with a few lights thrown in; the Burgundians are a combination of lethal and indestructible Knights with some useful missile-armed spearmen in support.

I knew I would lose if I let the Burgundians pick me off one unit at a time: the only way to win was to move forward and attack en masse so that my battle line could absorb the initial charge of his Knights then swamp them with numbers.

I also knew that my light bowmen were useless against the Knights (the arrows would just plink off!) so determined to send both light units up the far left flank and try and get behind his battle line and into his camps, knowing that he didn’t have enough units to face my warbands and defend his rear.

I therefore moved my warbands forward in a long line, being careful not to let the more impetuous Vikings surge forward in an uncontrolled manner.

This meant that when the main lines did clash the outcome was exactly as I had predicted: the warbands hit by the Knights were badly disordered at first contact but not destroyed, and then other warbands piled in to help.

Keep your eyes on the light units to the far left as well: they are doing what they were supposed to do!

By now I was whittling down his army, especially on my right flank. With so few Burgundian units on the table, he just couldn’t afford to lose many and, as we reached the climax of the battle, I had wiped the four units on his left and left-centre for the loss of only one of my warbands.

That meant that I only really needed one big push to win the day and, rather pleasingly, that came from (yes, you guessed it) one of my light units finally taking the first Burgundian camp.

With half their army destroyed and their baggage taken, that was enough to send the neo-Frenchmen packing: the Vikings had won the day!

Norman Crossbowmen

I needed a rest from doing kite shields, so decided to paint up some crossbowmen bases. These would have started to appear from about 1000CE onwards.

Again, these are very nice figures from Museum Miniatures. I have painted them up as relatively ‘official’ units, all wearing padded armour a bit like a fabric version of a hauberk.

I like the poses on these figures, particularly the ones I have used at the back who are using the stirrup to pull the string back.

I’m also going to do a couple of bases of light crossbowmen, but these two bases are the backbone of the missile defence of the army.

As you can doubtless see, I had problems with the shields of the command group, so I wasn’t completely free of the shield-curse yet!

More Normans

The Normans, excellent 15mm figures from Museum Miniatures, are continuing to roll off the production line.

Following from the armoured milites, we have the first of their foot equivalents: either Spearmen or Shieldwall dependent on which list you use.

As most of each figure involved chainmail or helmet, I changed from my usual Contrast Paints method to the method I used to use back in the day: black undercoat then paint up in layers from there. Not too shabby a result, I hope you will agree!

Once again, it was the shields that caused me the biggest bother, as it’s quite a large area to paint free hand. Again, I used the “decals that are a bit small then paint up” method: using the decals almost as a guide to what to paint where. Note that they don’t show as quite so rough on the figures actually on the tabletop: one of the downsides of having a good camera is that they take a real picture!

TTS AAR: A Defeat for the Legions!

Time for another game of To The Strongest with John.

Rather than play a standard pick-up game where each side lines up on opposite sides of the table, we went for a more scenario based encounter, with the Romans starting the game in three columns: their main legionary force in the centre, their horse to the right and their lights to the left. The Celtic types facing them were largely deployed as one might start a standard game, but with enough exceptions to make things interesting.

To have any chance of victory, the Romans needed to deploy for battle as soon as possible: a task completed fairly easily as the superb drill of the legionaries kicked into play. There was a gap in the line on the road itself: the Cohorts VIII and IX not performing as expected!

Note that the yellow markers indicate that the Romans have pila ready to use.

The Celts announced their intention to move forward en masse. Their wings duly did so, but for some reason (the vagaries of the cards) their centre units hung back. This gave me a real opportunity to defeat them in detail on either flank before turning to crush their centre.

On the right, my single unit of legionary cavalry, supported by some auxiliary horse archers, duly moved forward to engage the enemy horse and chariots rapidly trying to curl around my flank. I also brought four cohorts of infantry (two units in TTS terms) across in support.

This really was a good opportunity to win on this flank, but the Gods decided otherwise: consecutive 2’s drawn from the pack meant that my legionary horse sat stationary rather than charging home.

My supporting legionaries were, however, able to charge home, dispersing the Celtic cavalry in front of them (kudos to the single Cohort X base for its contribution to the fight) but this wing was still very much in dispute rather than going my way.

Things weren’t going my way on the other wing either. For some reason, my main legionary force, including the double-size Cohort I with the aquila or Eagle Standard, also hung back, meaning that rather than fighting two enemy warbands with two Roman units, I now risked a delayed fight tying up my units until they were overwhelmed by more Celts coming into the fray!

And so it came to pass: the Celtic warbands in the centre ‘woke up’, and headed forward…

It would now be much more of a traditional stand up fight, and all would be well if I could get the Roman ‘mincing machine’ into action: I needed to bring my men together, make full use of my remaining pila, and rotate units in and out of the front line as required.

Unfortunately none of that happened!

Having split my line to deal with each wing of the initial enemy attack, I couldn’t get free enough of the rampaging Celts to get it back together again. So rather than fighting as one command, my Romans had to fight as three isolated commands on the left, in the centre, and on the right.

Secondly, my legionaries had obviously packed their pila away for the march, as not a single volley had any effect on the opposition. I also suffered a wave of officer casualties including the two tribunes commanding the main body of the legion. On top of that, even John remarked that the cards had turned against me: I was missing hits that should have gone in and failing saves that should have been easy. It was just not the Romans’ day!

My cohorts were gradually disordered and then wiped by the Celts using their superior numbers, and I just didn’t have the coins to withstand those losses for long.

So a defeat for the Romans probably stemming from my failure to wipe the enemy wings at the beginning of the battle. I’d made a bold tactical decision that had a good chance of success, particularly on the right, but it hadn’t worked and I’d suffered the consequences against the remorseless Celtic hordes commanded by John!

TTS AAR: Burgundian Ordnance vs Vikings

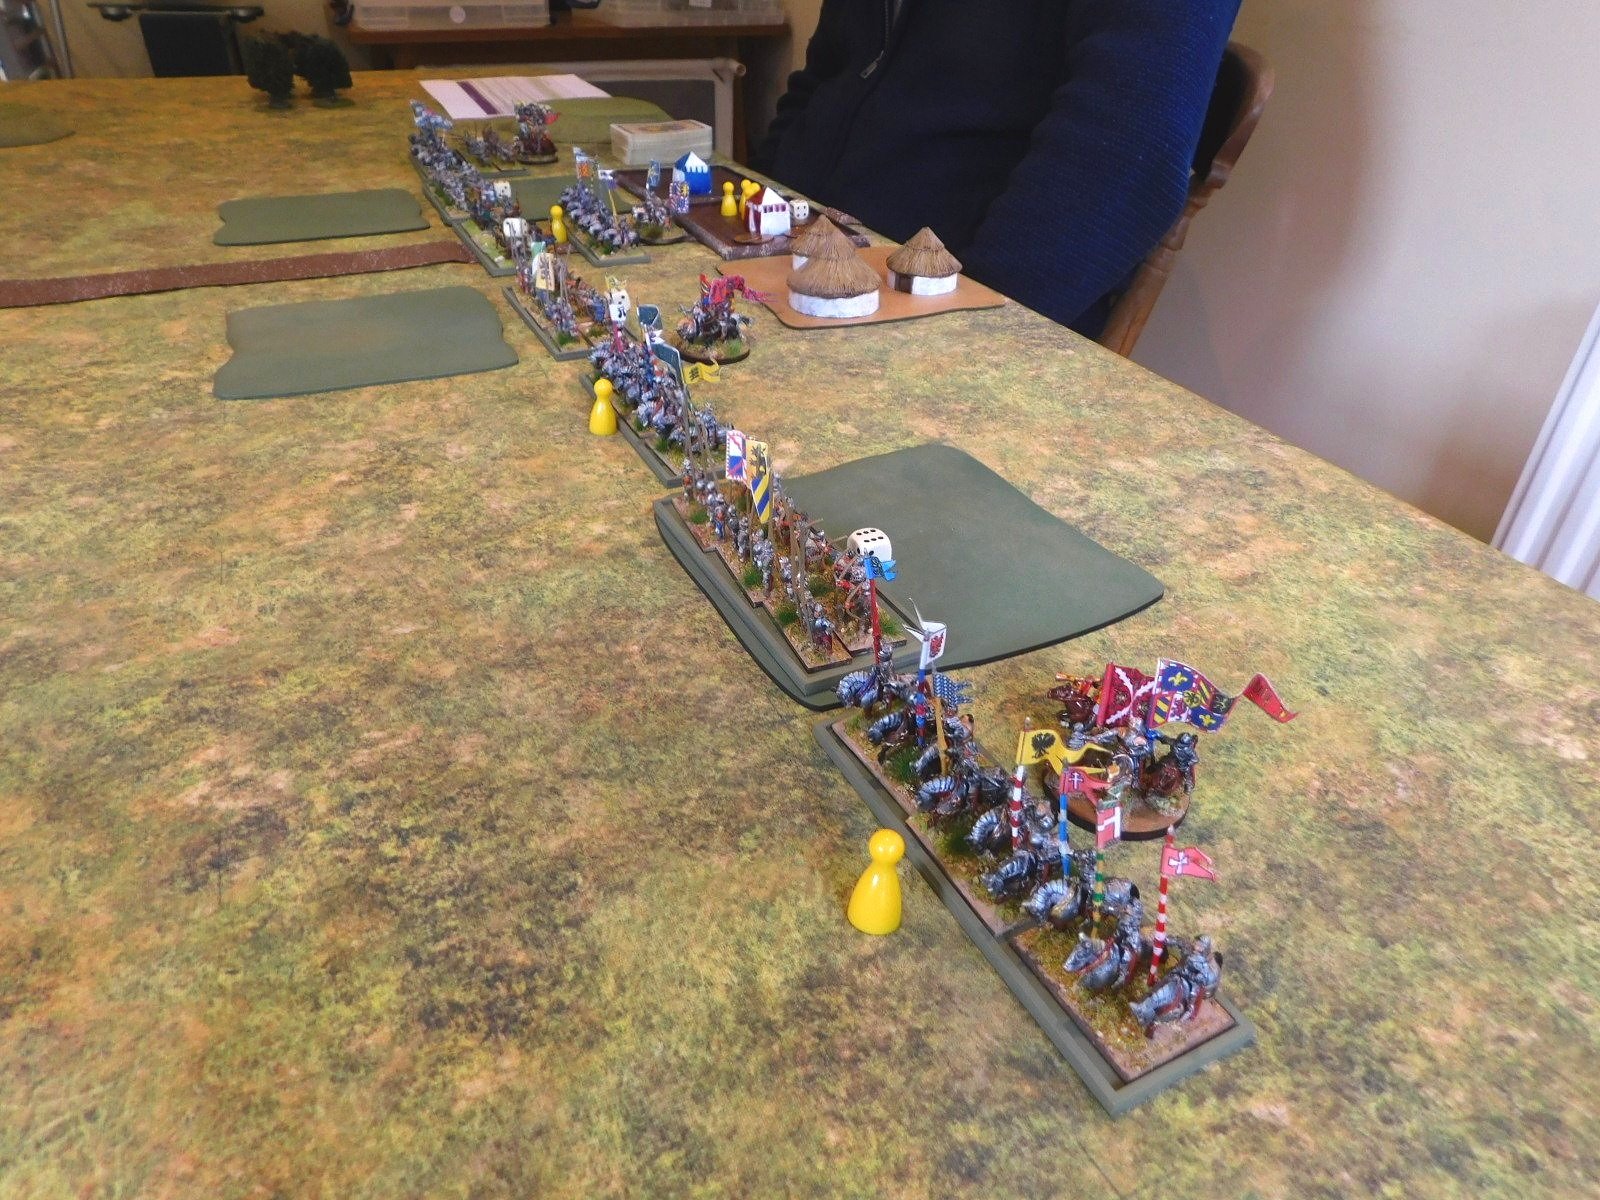
As Bevan had his Vikings out and I wanted to get my still-relatively-new Burgundians onto the table, we decided to have a game that would set the two against each other.

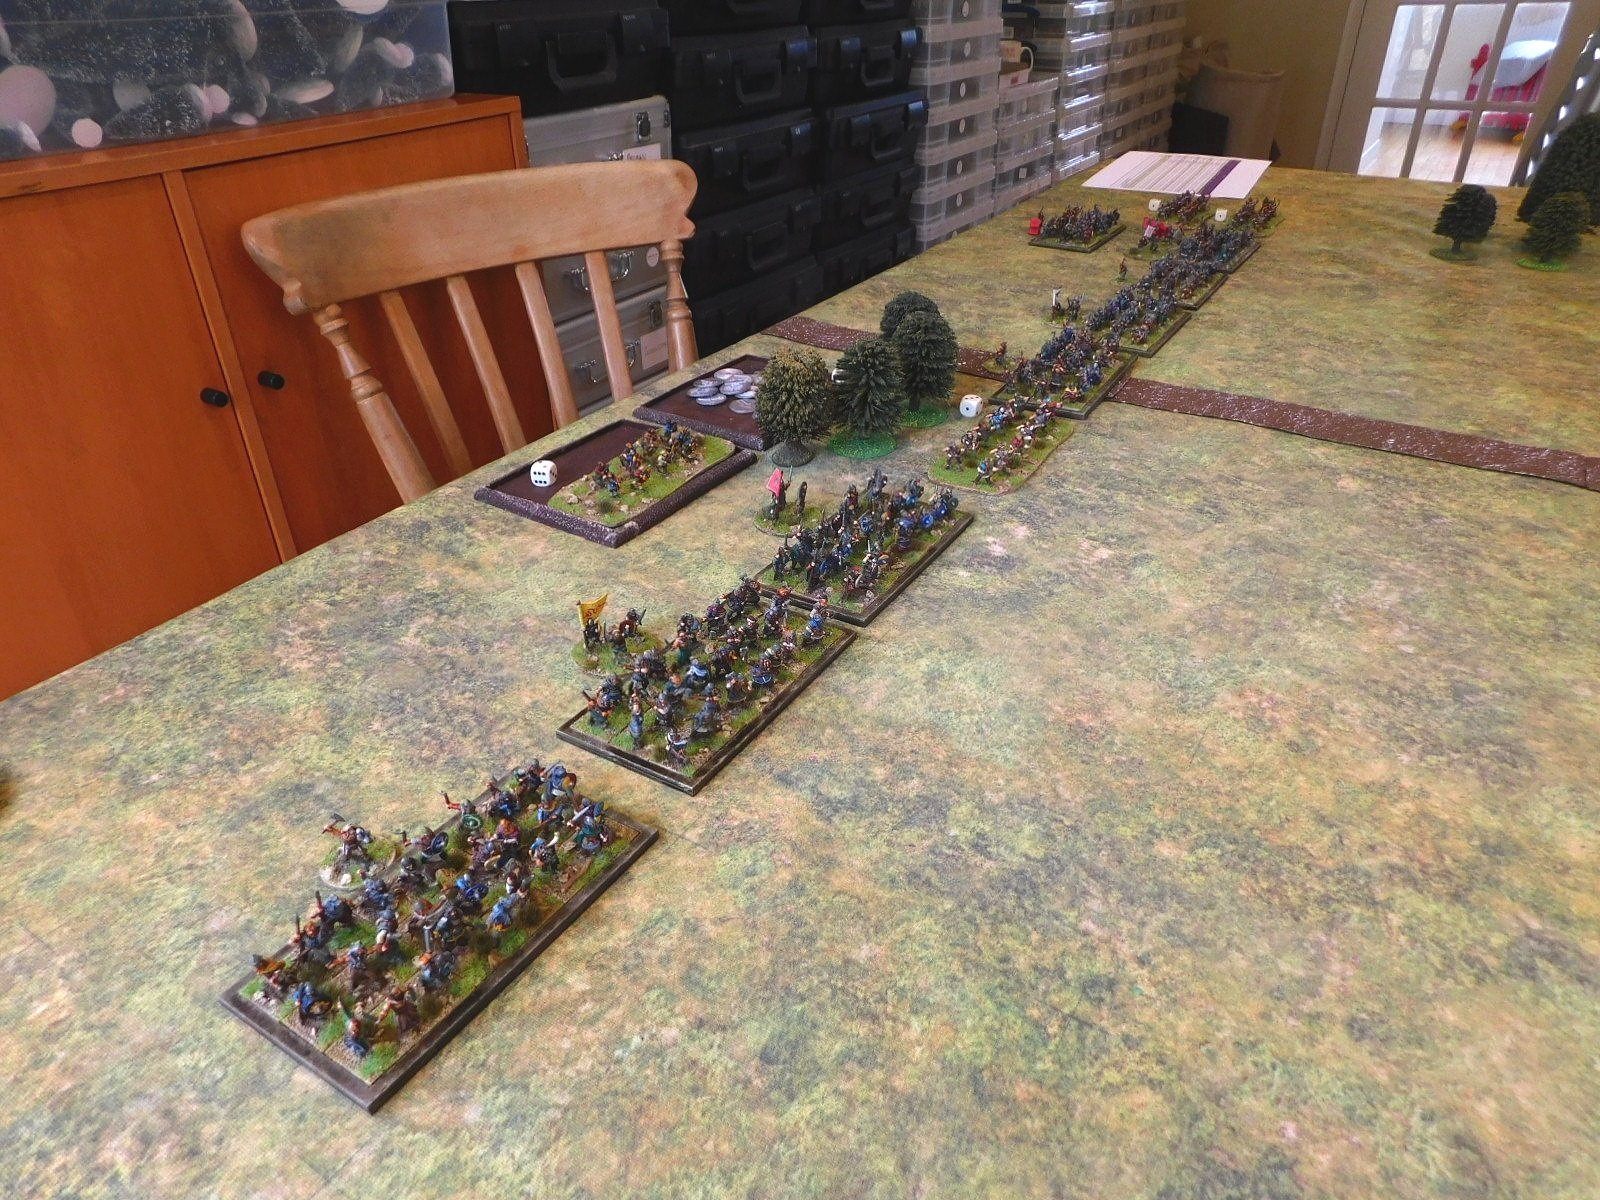
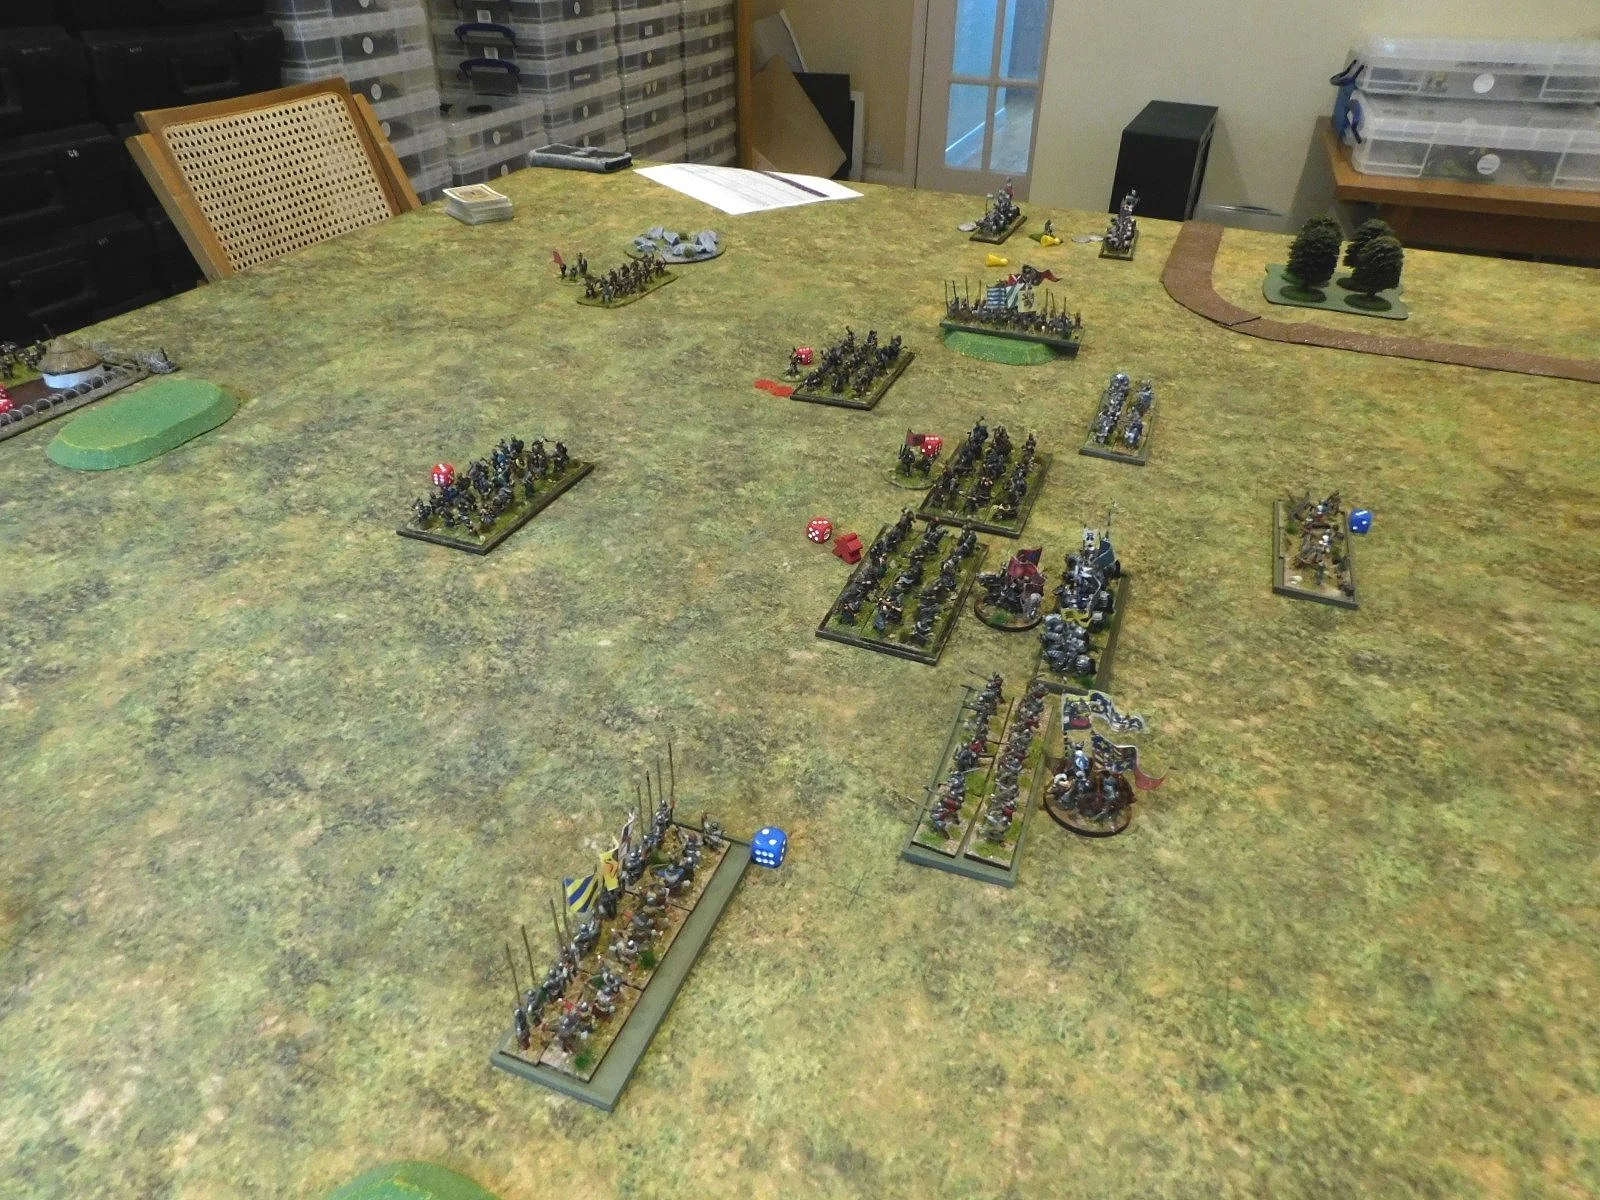
The Viking army was the same that had beaten my Vikings: maxed out on Bondi with a few lights in support. My Burgundians fielded four units of Later Knights supported by four units of sound infantry: three mixed spear or bill and bow units and a unit of crossbowmen. I also had an organ gun present.

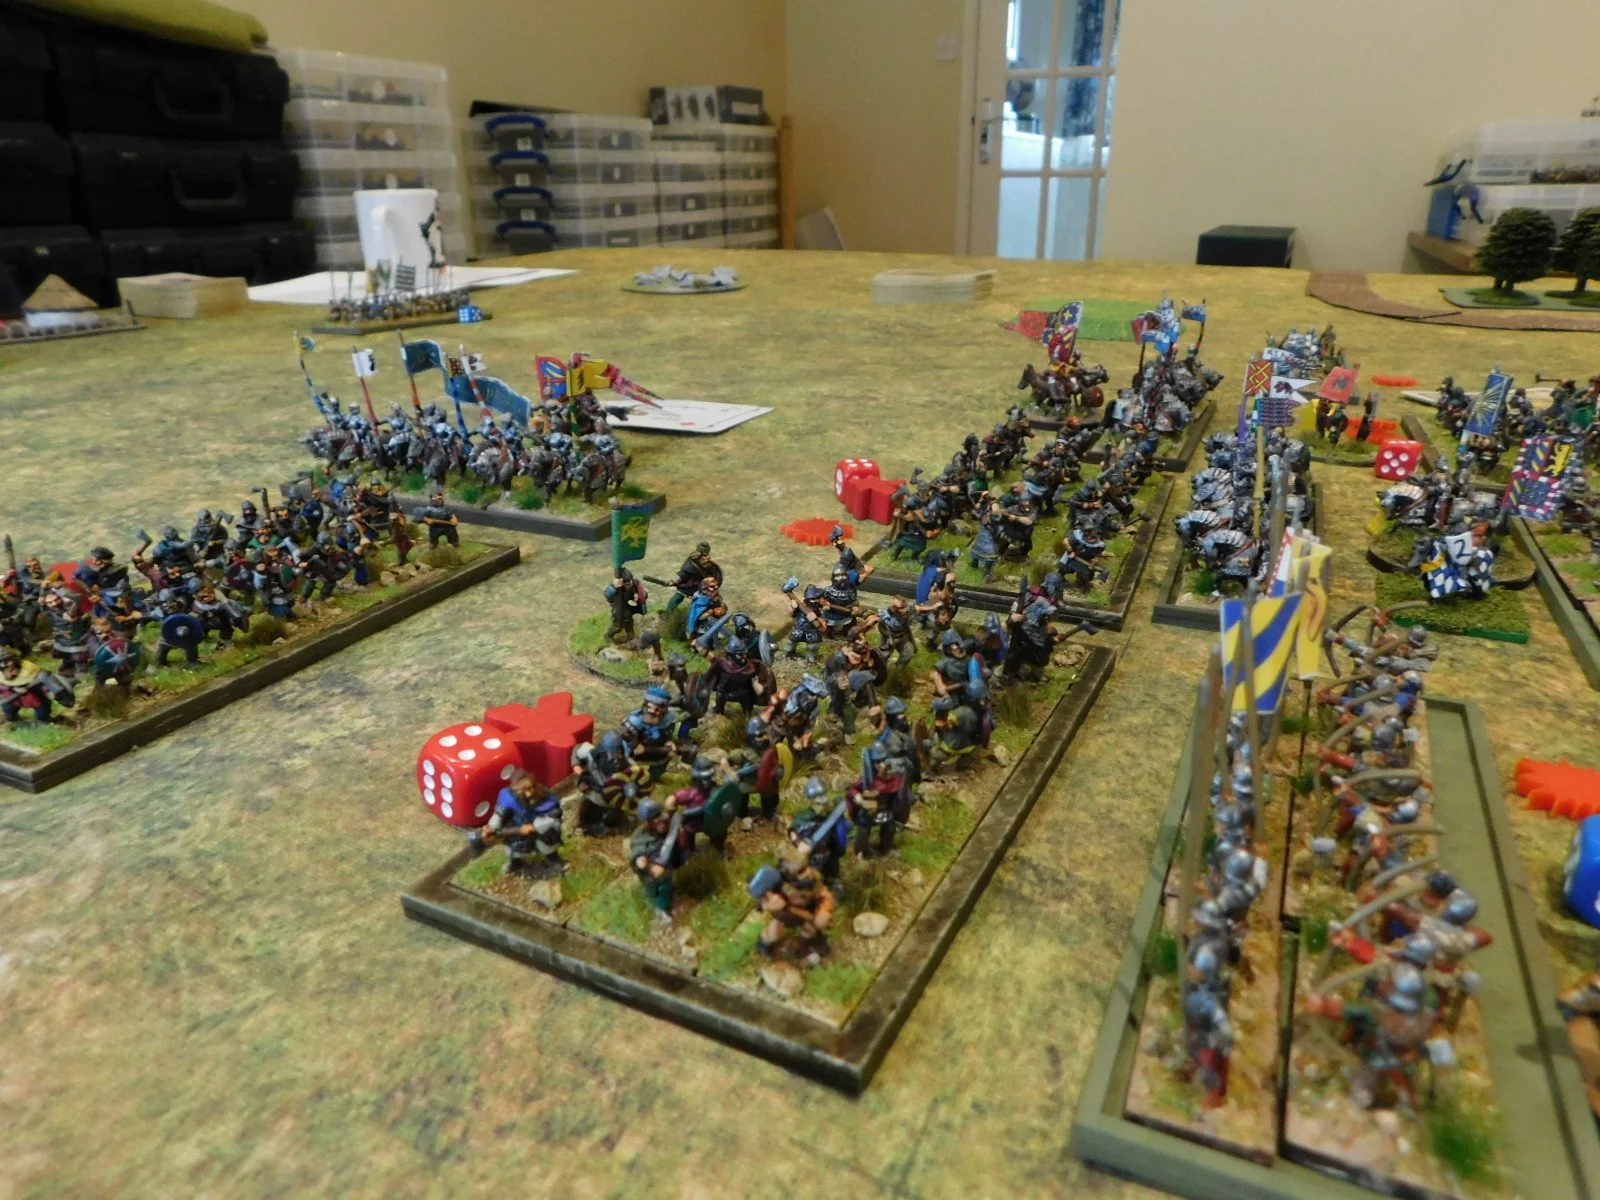
View from behind the Burgubdian line: there’s an awful lot of Vikings over there!

The Vikings rushed forward, but were unprepared for the sheer weight of the Burgundian Knights that charged them. Two of my armoured units, shot in by archers to disorder the shieldwalls just before impact, smashed straight through the Vikings in front of them, sending them fleeing for their longships.

One of victorious Knights units then took the enemy camp whilst the other roamed around the centre of the field looking for more Vikings to charge.

Just after the first of the viking shieldwall units disappears from the field

taking the enemy camp (top leftish); rolling them up (centre right)

Meanwhile, on the right, one unit of Burgundian infantry used their horses (i.e. the Mounted Infantry bonus) to advance forward fast enough to split the advancing Viking line. This enabled another unit of Knights to turn right and hit the right flank of the Viking left-flank force that was currently engaged in a massive shoving match with some more Burgundian infantry.

With three Bondi units and their camp now destroyed, this proved too much for the Vikings to bear and, as another Bondi unit fled the field, the rest of the enemy army crumbled and followed. A glorious victory to the Burgundians!

Actually I was a bit lucky on my left, where a huge Viking outflanking force effectively took no part in the game because (a) having the initiative meant I could stay well away from them at set up and (b) Bevan’s attempts to move them into an outflanking position were stymied by the cards, who had obviously decided they didn’t like Vikings any more!

The whole game took only about an hour and further proved the power of the Burgundian charge!

TTS AAR: Vikings vs Vikings: the Decider

Having fought the Vikings versus Vikings battle twice over with one victory apiece, it was time to play the decider. Forces were unchanged from the last game.

Bevan’s Vikings had the initiative, and soon the two battle lines were thundering towards each other.

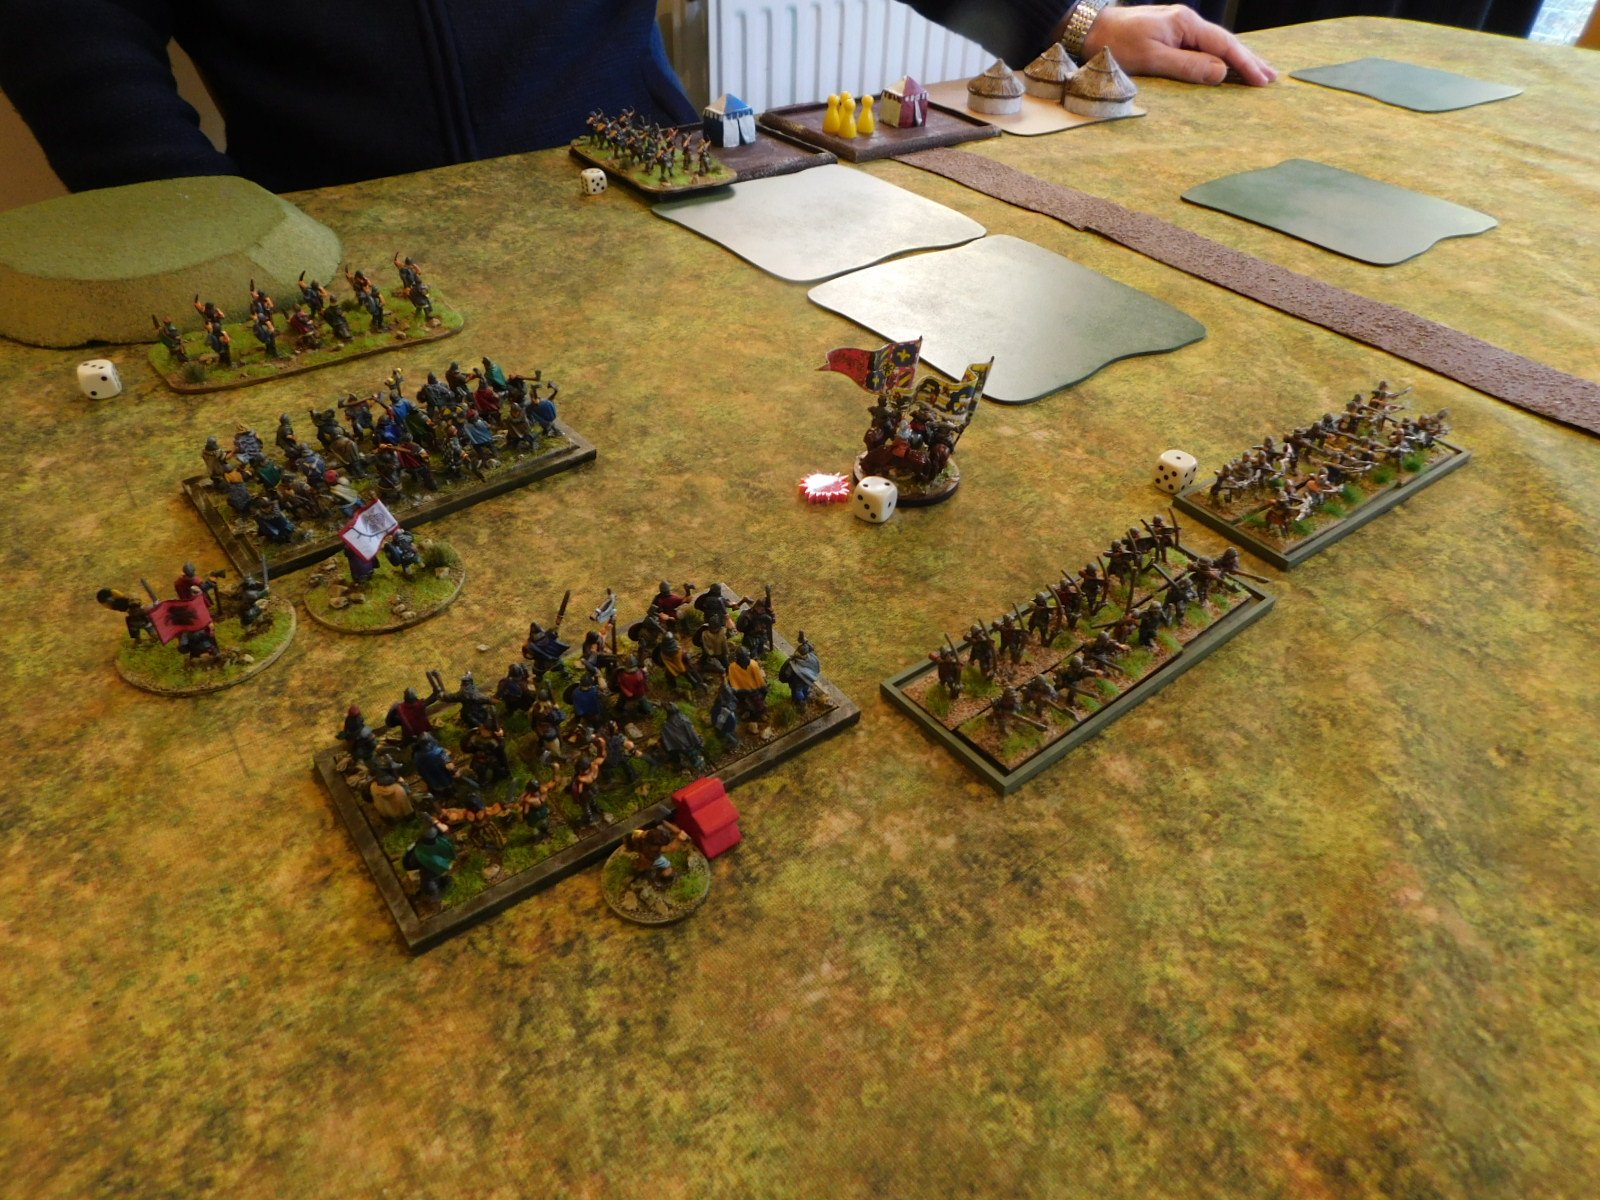
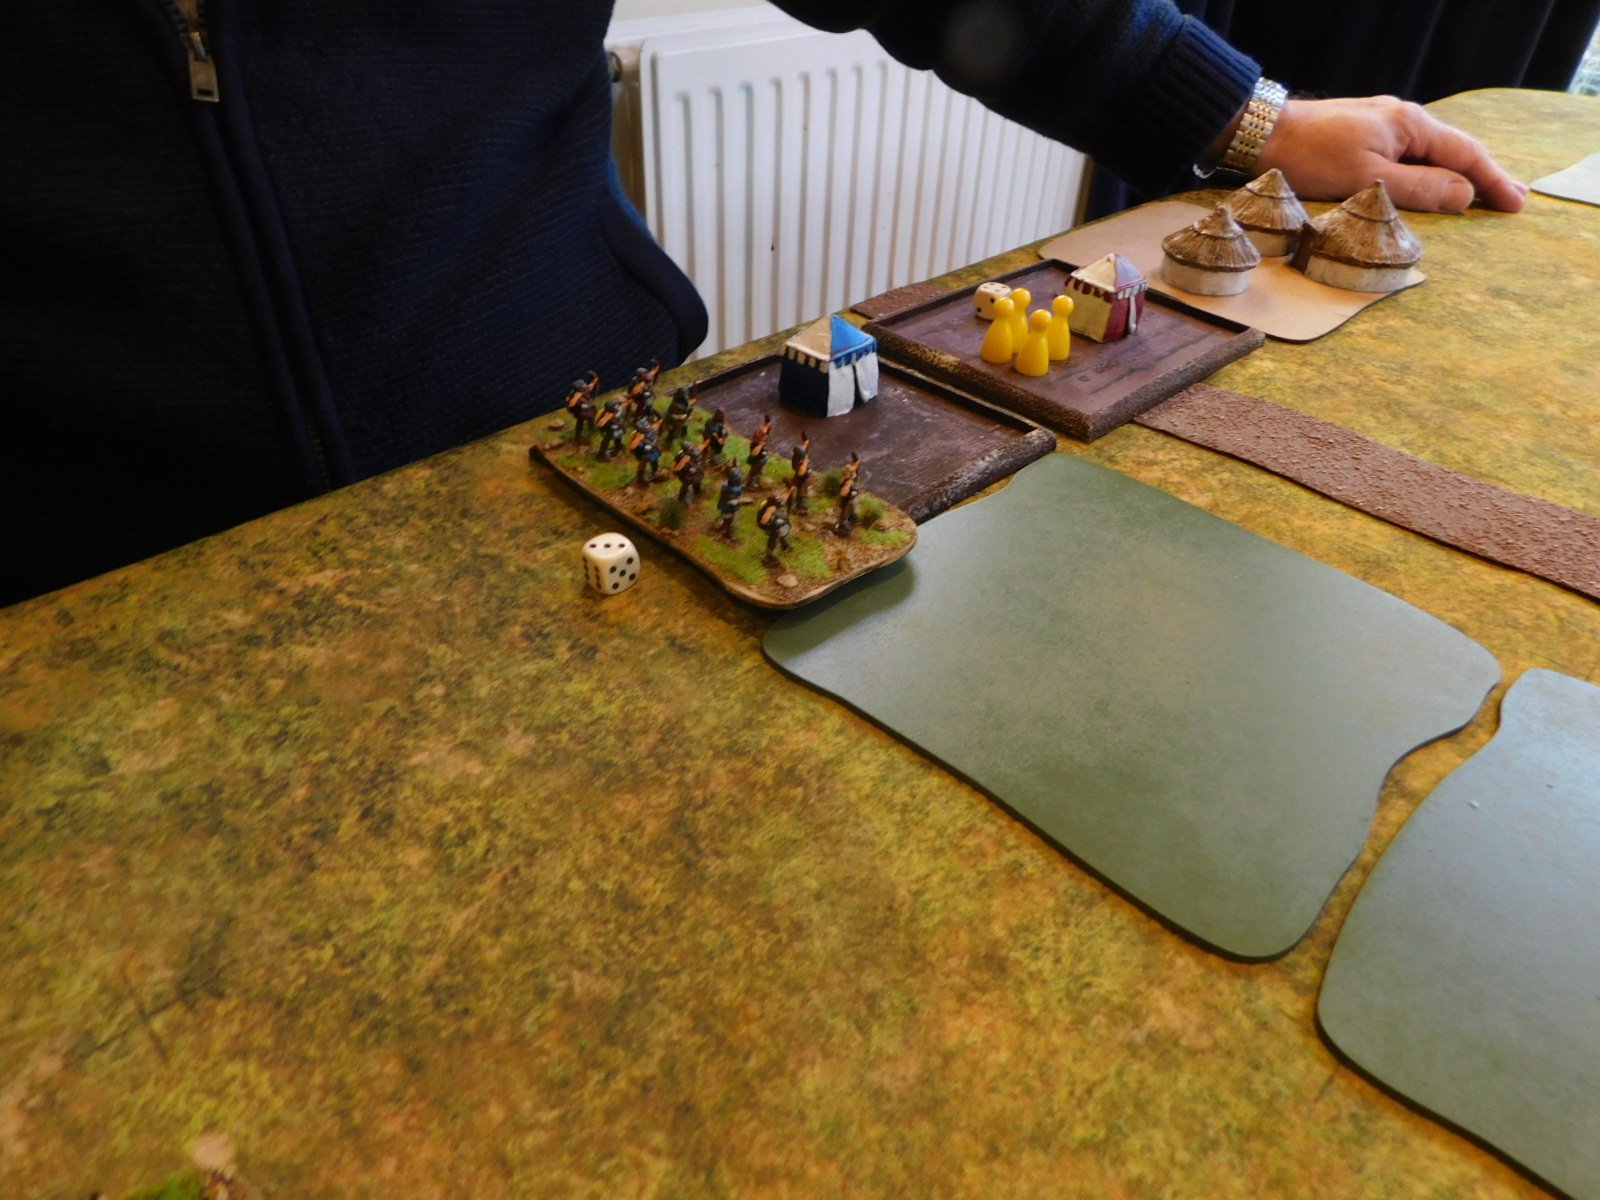
Looking at the picture above you’ll see that Bevan overlaps my main line with one unit of Bondi and a unit of lights, facing only a unit of light archers. Knowing I was going to be outnumbered, I had deliberately put my Huscarls (veteran troops indicated by the red Meeple) to protect my flank.

The lines came together with a mighty smash. What you can’t see is that out of frame to the left, his extra unit of Bondi and their accompanying lights are driving my lights backwards and will eventually send them off the table.

Much disorder on both sides after the first clash, with no-one really getting an advantage…which is not what I wanted as I needed to win quickly if I was not to be overwhelmed by superior numbers. Still out of frame to the left are his extra Bondi!

A couple of my units break through the centre, introducing the possibility of an assault on the enemy camp, but there’s now a mass of enemy units on the right flank…

…and worse, as you can see in the picture above, his Bondi on the left have finished dealing with my lights and have manoeuvred themselves into a position from which they can assault my main battle line from the rear!

Those Bondi do indeed charge me from behind and the resultant loss of my end Huscarl unit leads to a general disintegration of my line.

A resounding defeat results!

Aftermath

A great series of Viking vs Viking clashes. You can see from the picture to the right that the two enemy units in front of my Huscarls are about to give way, so if I had just been able to kill them one turn earlier, then my veterans could have turned to face the flanking unit that did so much damage.

The sagas will now record that my Vikings slunk away, defeated. Doubtless they will re-group and be back into action soon!

TTS AAR: Vikings Win!

Those of you who play To The Strongest will know that although the points system is supposed to make all armies equal, some armies are less equal than others.

One such are the Vikings: large numbers of unmanouverable shieldwall units lacking any cavalry and with only a smattering of lights in support. Head on it can pack a punch, but its opponents generally dance around its flanks leaving its brave warriors to be surrounded and cut down one by one.

I recently acquired a rather nicely painted Viking army in 15mm purely on the basis that I liked the idea of a Viking army. Ever in support of the underdog, however, I was under no illusions that I would have any great success with them!

Odin, hear our call: can we just win one battle please!

I was discussing the problem with friend Bevan, another proud but disappointed owner of a Viking army, when we both had a light-bulb moment of inspiration: let’s get our Viking armies on the tabletop together, to fight each other. That way one of us is bound to win and give their brave Scandinavian heroes the victory they so deserve!

With this genius idea decided upon, the next couple of weeks were spent in the customary ritual taunting - my Vikings are harder than your Vikings etc - until at last the big day arrived.

The Armies

The armies we had put together were significantly different.

My Vikings consisted of four commands: each comprising two deep, shieldwall units and one light infantry unit. One command consisted of Huscarls with mighty axes, the other were Bondi. I also had four heroes and an army standard.

Bevan’s mob also consisted of four commands, but was less pleasingly symmetrical than mine. One command comprised a couple of Huscarl units; one command was one Huscarl and two Bondi units; one command was three Bondi units; and finally he had a command consisting of some Irish javelinmen and light infantry. He also had five heroes and an army standard.

Somewhere in Scandinavia

Bevan’s Mob

My Glorious Vikings

The Battle

Both sides tried to outflank on the right. Bevan’s outflanking manoeuvre got off to a terrible start when he drew a couple of Aces for movement, but mine was more successful: a Huscarl unit led by the CinC got past the woods in front of them and were in a great position to chew into the enemy’s Irish allies.

Unfortunately, the Irish proved a lot more resilient than planned (is it not ever so!) and one of my best units spent the rest of the game blocked from doing anything useful!

Blocked!

Meanwhile, in the centre, the two main battle lines had closed and, for a time, things swayed backwards and forwards as a mighty shoving match took place. My lights proved useless in this sort of game: they shot off their arrows with little effect, then spent the rest of the time hanging around behind my line, unable to get around an enemy flank and unwilling to mix it with the big boys.

On my left, Bevan’s Vikings finally got moving, and a separate battle developed between various Bondi units from each side. This I won fairly decisively and for a time it looked as if I had the advantage.

Unfortunately, back in the centre, the left hand side of my main line eventually gave way, and two enemy units burst through. This allowed them to turn and charge into the rear of the rest of my Bondi, who spectacularly survived one turn being hit twice from behind, and then almost did the same thing next turn as well.

By this time, Bevan was down to four coins, I was down to one, so when my Bondi hit-from-the-rear gave way, the rest of my men lost heart and fled the field. If I had survived that impact (and I almost did: drawing a Ten and a Six when a Ten and a Seven would have done it) then I would almost certainly have won the game…it was that close!

Two enemy units, top right, have burst through my line. One is about to charge my rear!

But it was not to be: my Vikings had lost…but at least Bevan’s Vikings had won!

Despite my defeat, it was a glorious game, and one that we will definitely be repeating, although this time let’s hope the correct set of Vikings come out on top!

The Return Match

Time for the re-match: this time I would take the Burgundian Ordnance and John would take the Medieval Scandinavians.

My plan was hold the centre with my infantry and half my Knights, and use the rest of my Knights to lap around the ends of his line, hopefully achieving some kind of roll-up. Comparing notes afterwards, John’s plan was to close with my troops as quickly as possible, using sheer mass and ferocity to win victory.

I had the initiative, and wasted no time in getting forward into the centre of the field. I then halted my centre and waited until the Scandies came forward.

The Scandies did indeed come forward, with one warband getting out in front, and soon battle was generally joined in the centre of the field.

Warbands are pretty hard to kill, even with Knights, but all I needed to do was to hold them in place whilst my horns lapped around his flanks.

On my right flank, this worked like a dream: a squadron of Knights got into the perfect position for a flank charge on the Scandinavian main line and thundered forward to do enough damage that a Burgundian spear-and-longbow unit could finish off the unfortunate warband that was their target.

Unfortunately on my left flank I got a bit too enthusiastic, and although the initial outflanking manoeuvre worked and sent more Scandies from the field, his lone unit of tax-free Knights was able to get forward fast enough to out-flank my out-flankers and consign one quarter of my Knights to the recycle bin! Whoops!

Fortunately this didn’t matter, as my right flank continued to chew through his centre having achieved exactly the roll-up I was after.

I will spare you the gory details, but you’ll see from the pictures below that pinned from the front and hit from the flank (by Knights as well) is not just a recipe but a whole cook book for disaster!

The coup de grace (to put it as the Burgundians would) came either from a unit of my infantry taking the enemy camp or the loss of a unit of light archers being the final straw that broke the Scandinavian back. To be honest, I can’t remember which.

A great game, for me at any rate, and a cautionary tale for warband armies going up against more combined arms forces: watch those flanks!

A Game...Finally!

What with work and Christmas and everything, it’s been weeks since I actually got to have a battle, so thanks to friend John for braving the freezing fog coming over this morning for a couple of games of To The Strongest.

I had two new armies that were ready to try the tabletop: the first were the Burgundian Ordnance boys I had bought complete ay Colours; the second were my Vikings, finally complete after some time with the figure painter I like to use.

Ideally I would have fought them as is, but these days I try to make encounters as contemporaneous as possible, so the Burgundians would fight as Burgundians but the Vikings would, with the aid of a unit of lancers borrowed from my 17th Transylvanians, manifest as Medieval Scandinavians. Still not exactly contemporaneous, but close enough for jazz! For the first game, I would take the Scandies and John would take the Burgs.

My force consisted of only three commands. The first, headed by the CinC, consisted of my single unit of Frasle or “tax free” Later Knights and two unit of light archers. The second comprised three deep units of Hird: hard men with axes and extra bows. Finally there were the Leidangr bondi types: three of them in a third command.

The Burgs consisted of four commands, each a unit of Later Knights accompanied by a unit of foot. Three of the foot units were either billmen or spearmen with extra longbows, the third were crossbowmen, with the command with the crossbowmen also having a unit of organ gun artillery.

The First Game

With neither side being particularly hot on scouting - Later Knights don’t scout! - a straight draw of the cards meant the John and the Burgs had the initiative. I set the Scandies up in a long line with the Frasle and lights on the left, Leidangr in the centre and Hird on the right. With two camps and almost no cavalry, I was nervous about his cavalry lapping around my flanks.

The Burgs remained in attack columns: coming forward with their infantry sheltering their Gendarmes.

I was keen to get my Hird into his troops as soon as possible, so ignored my bows and headed forward on the right asap. As I came into range, his infantry fired a couple of longbow volleys which actually did me more damage than I had anticipated. At the same time, one unit of his Knights managed to get past his sheltering infantry and charge into one Hird warband. This proved disastrous for the Scandies: with a glorious or pitiful (dependent on your point of view!) run of cards leading to me losing both a unit of Hird and their general!

Meanwhile on my left wing, my Frasle had proved themselves victory-free as well as tax-free: being sent fleeing from the field through a combination of bow fire and the attentions of some Gendarmes. The battle was definitely not going well!

I continued to lose ground on the right - my remaining Hird were outnumbered but putting up a good fight, and those deep units are hard to finish off - but it was in the centre and centre-left that a unit of Leidangr started to properly fight back.

The Gendarmes that had dealt so summarily with my cavalry were wounded by some light bowmen and then polished off by a warband; and another unit of Gendarmes was smashed from the field by some Hird. I was still down to only four coins, so would lose the game if I lost another two units/generals, but now John was down to only five coins, meaning I would win the game if I could kill three of his units/generals.

Unfortunately I could not sustain this momentum (you can see in the gallery above that most of my units were by now disordered) and was soon down to just one coin.

The final action of the game was for a unit of Gendarmes to lap around my right flank, and although I had some Leidangr to face them, Later Knights versus damaged Shieldwall was a foregone conclusion.

Post-Match Analysis

A good first game with the two new armies. I was surprised at how effective the Burgundian shooting was, and how fragile my deep units were in the first half of the game. That was, however, probably an atypical result of the actions that took place, as the second half of the game saw my surviving Hird and Leidangr soak up huge amounts of damage whilst still dishing it out effectively.

So the game was probably decided in that first clash, when I lost a unit of Hird and their general in a shock result. After that, even with things being 50/50, I was on the road to a defeat. All kudos to John, though, for maintaining the pressure and not giving me the opportunity I needed to turn the tables.

The next game will see us swap sides…

TTS AAR: Elephants Swimming in Canals

Back in April this year, friend Peter asked me if I would have a game of To The Strongest with him as a test for one of the armies he was considering taking to the Chalgrove World Championships. Why has it taken me so long to deliver the After Action Report? Well, Peter didn’t want any hint of which armies he might be using to leak to possible opponents, so had slapped a D-Notice on me. Now, however, that he is basking in another victory, he has graciously given permission for the secret files covering our game to be released!

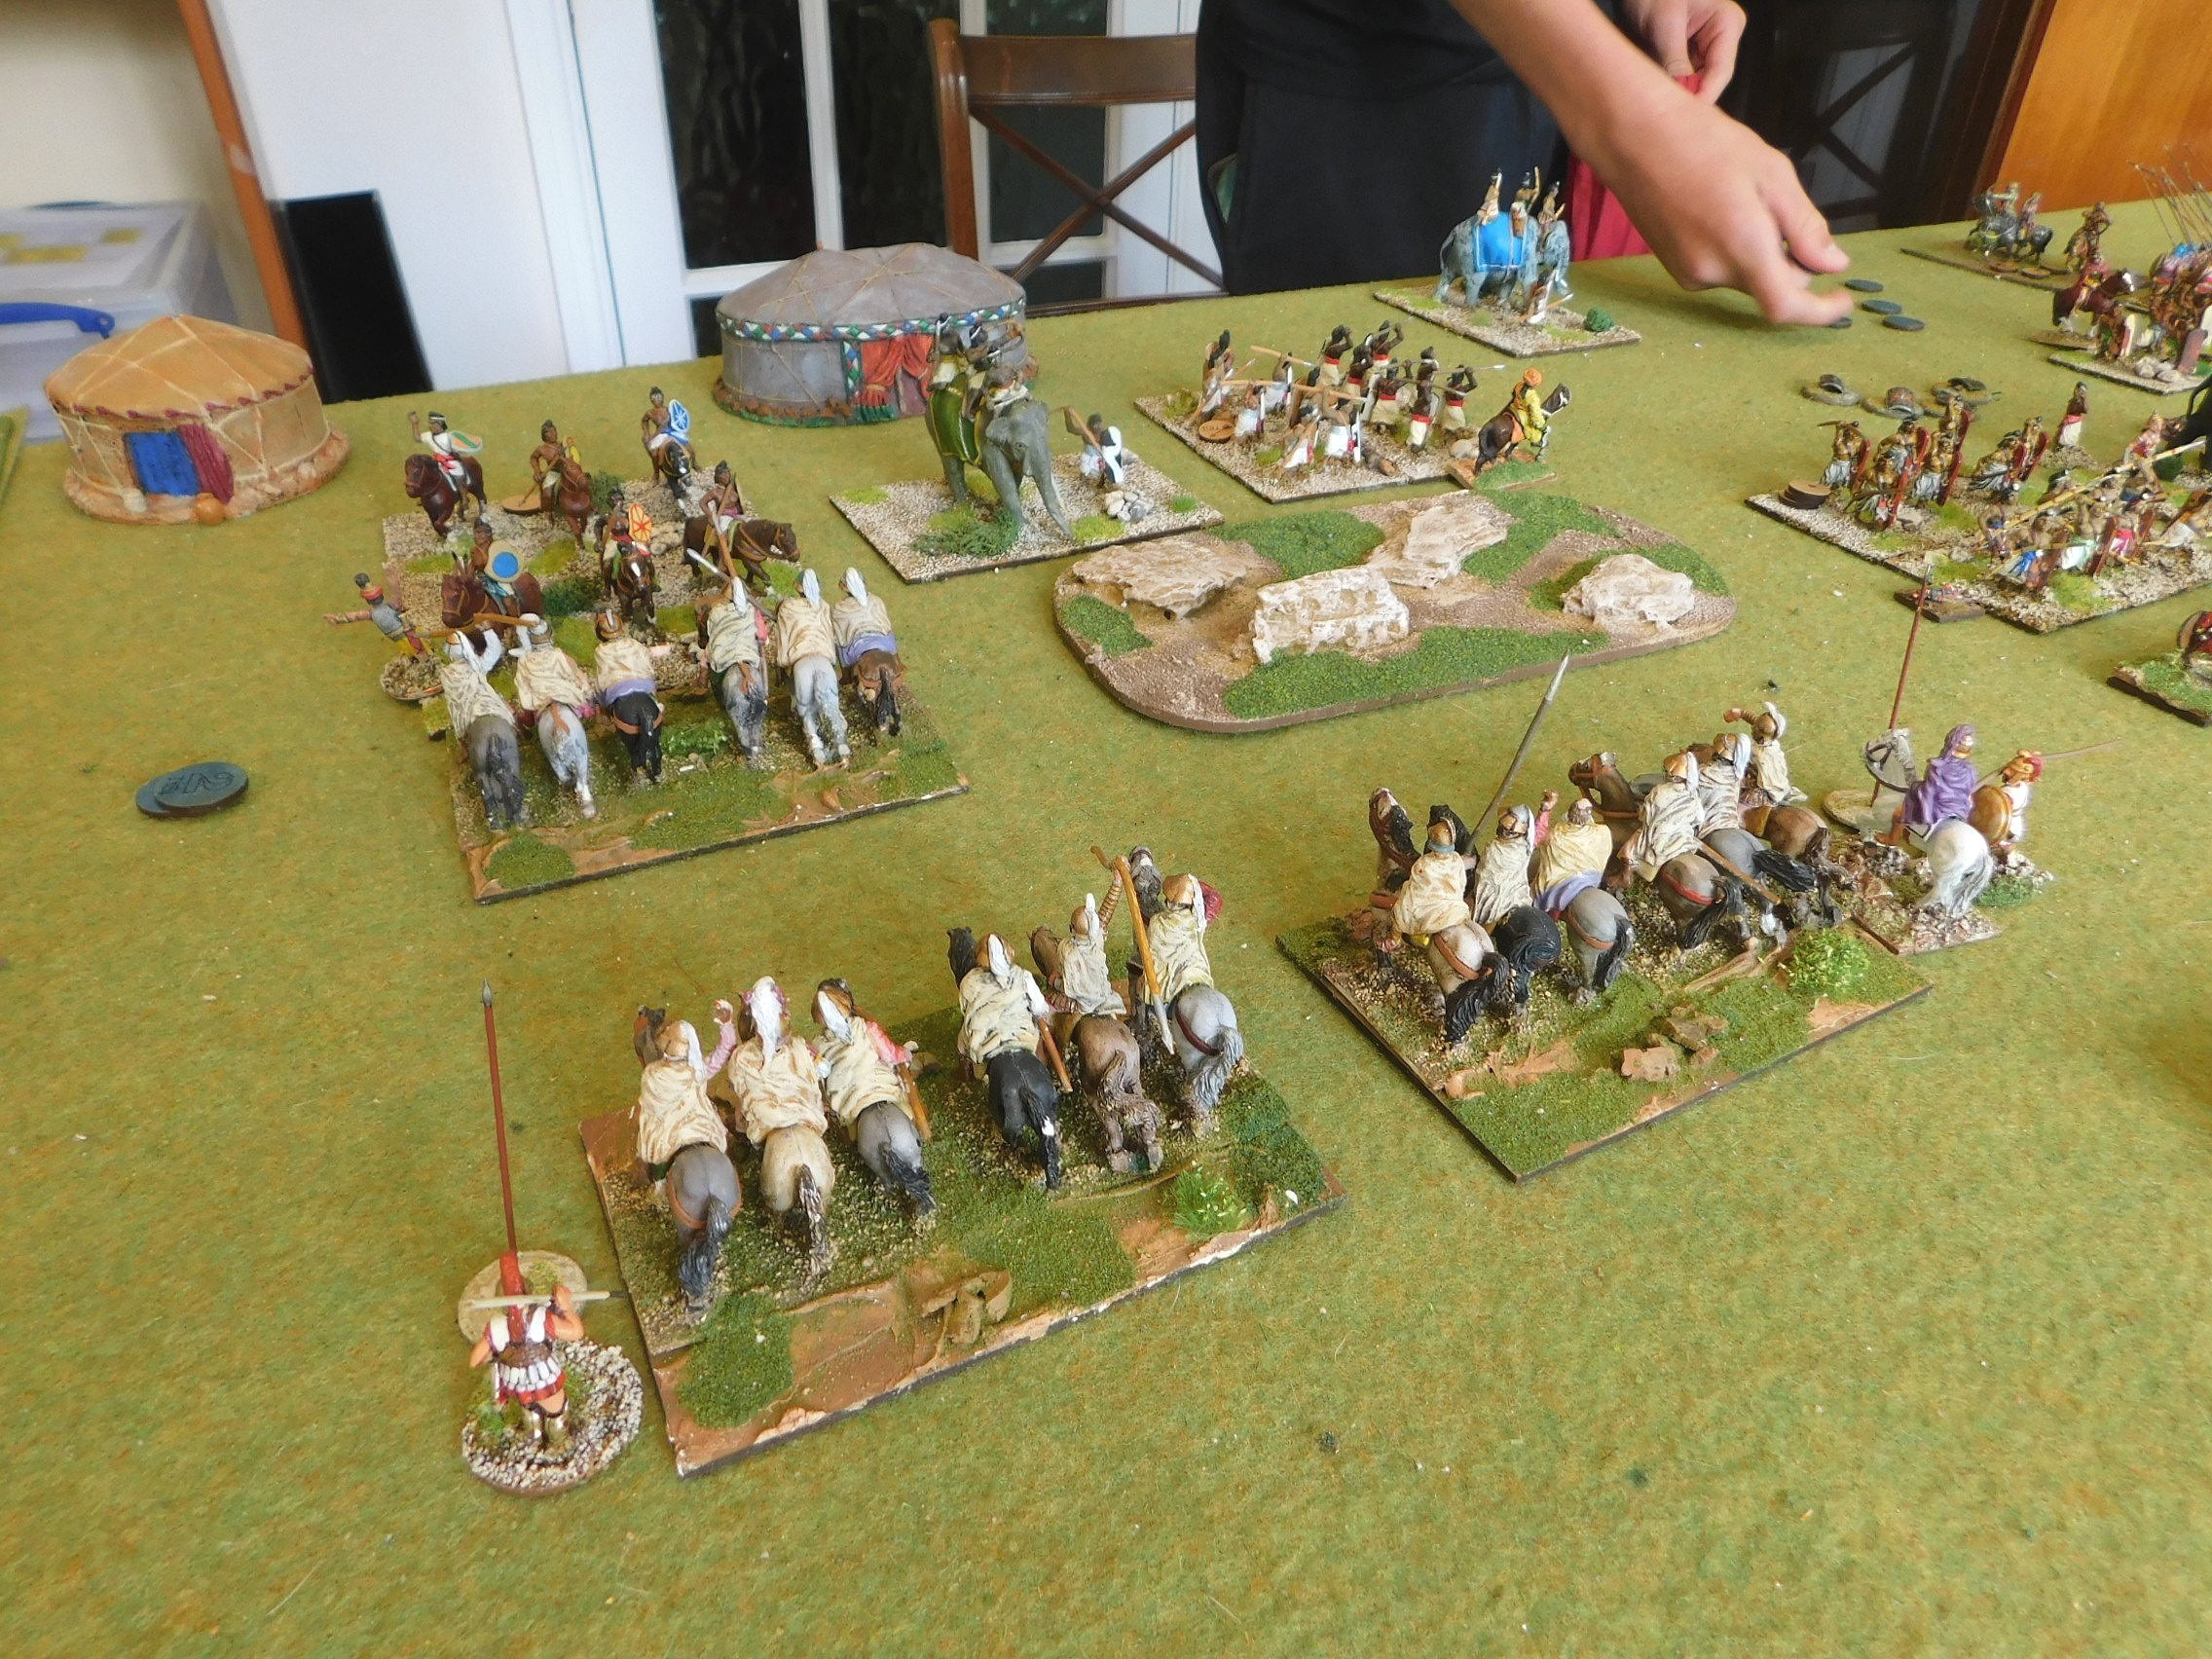
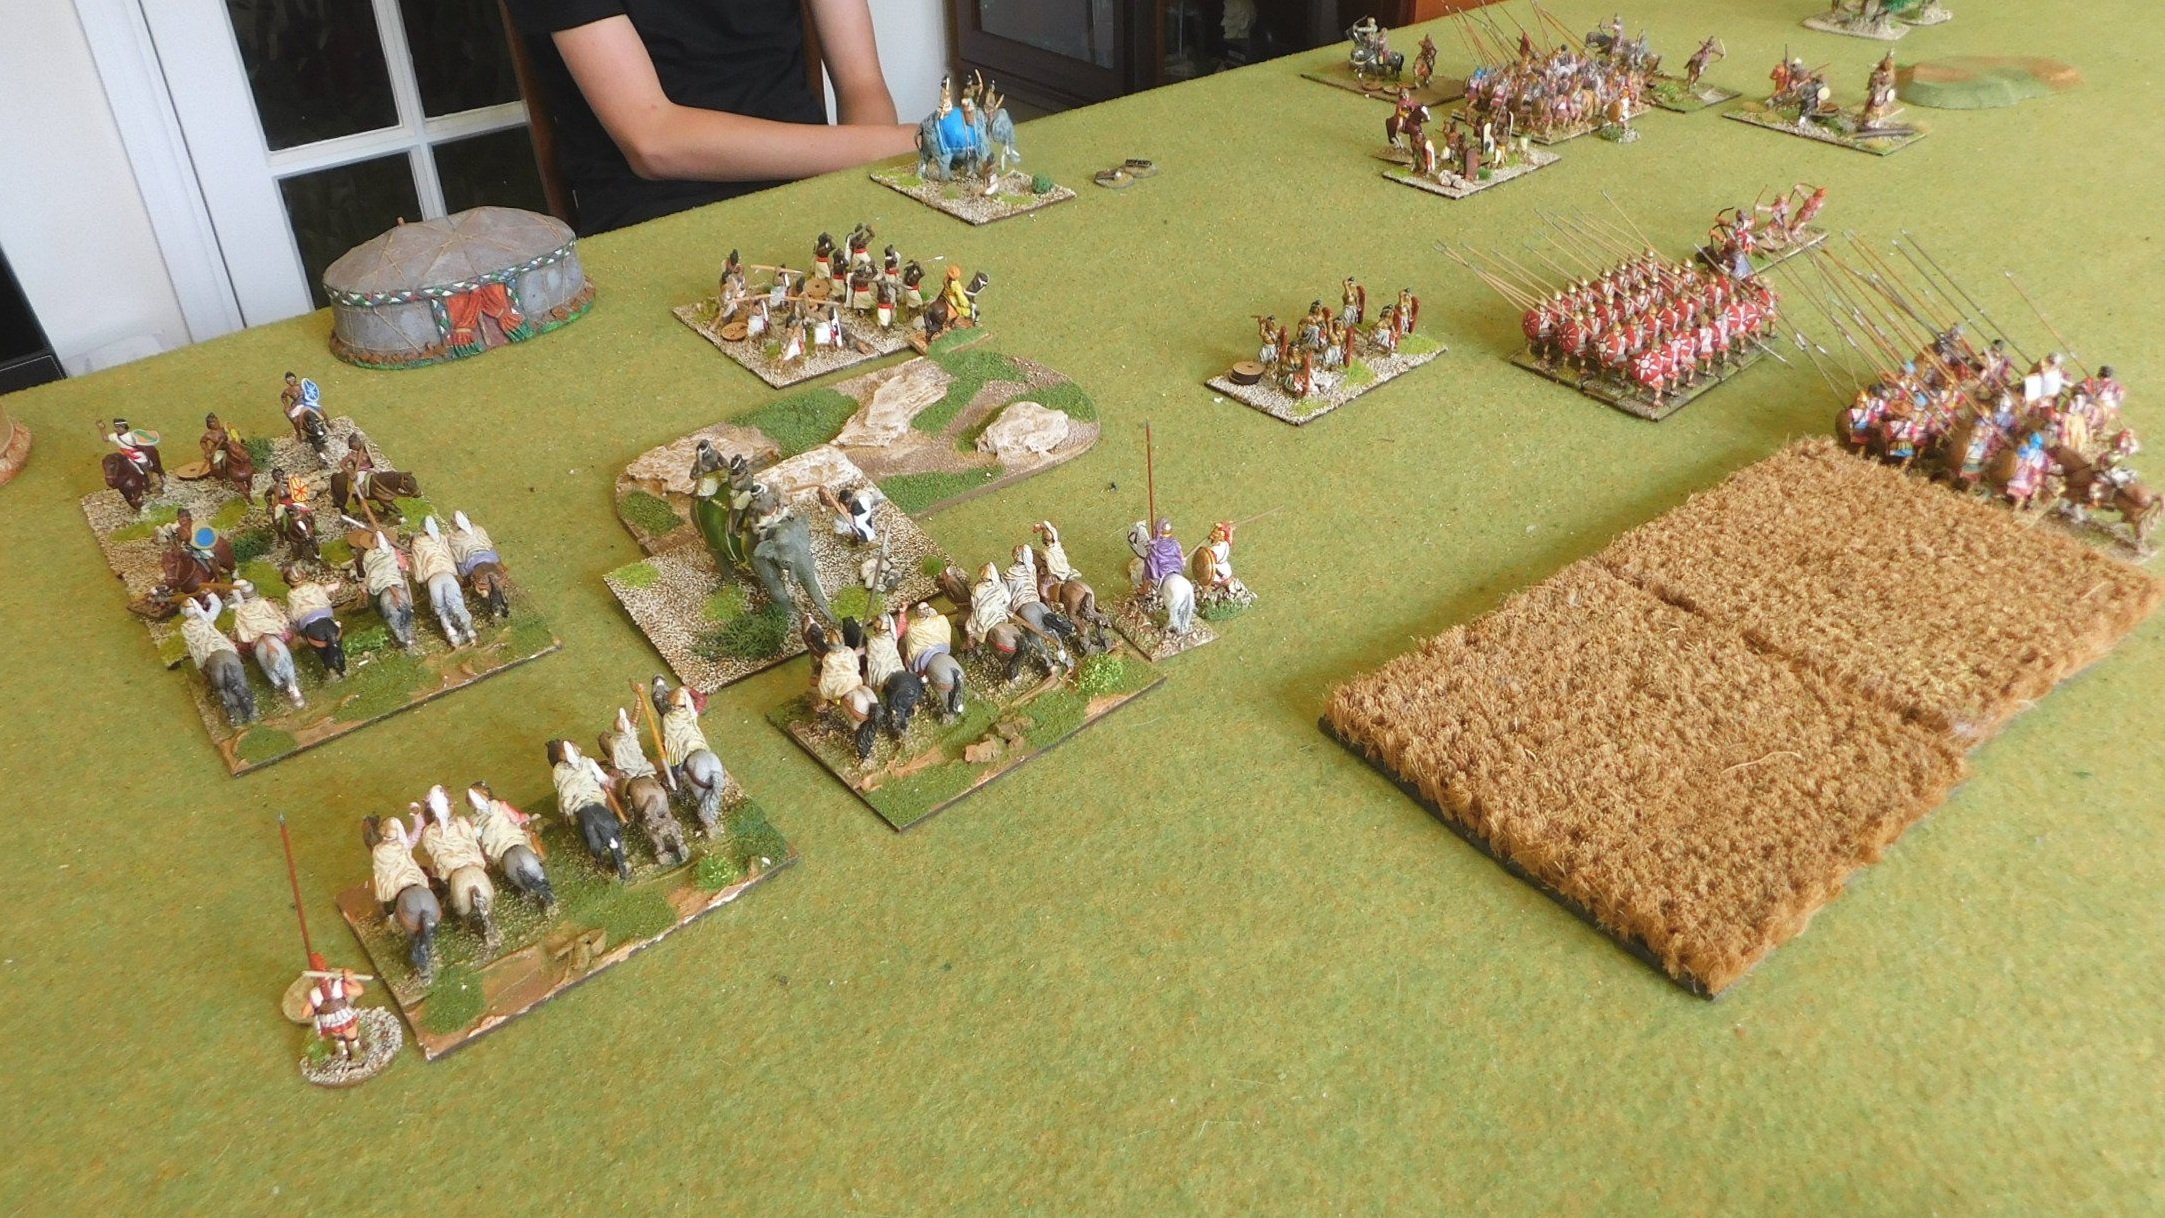
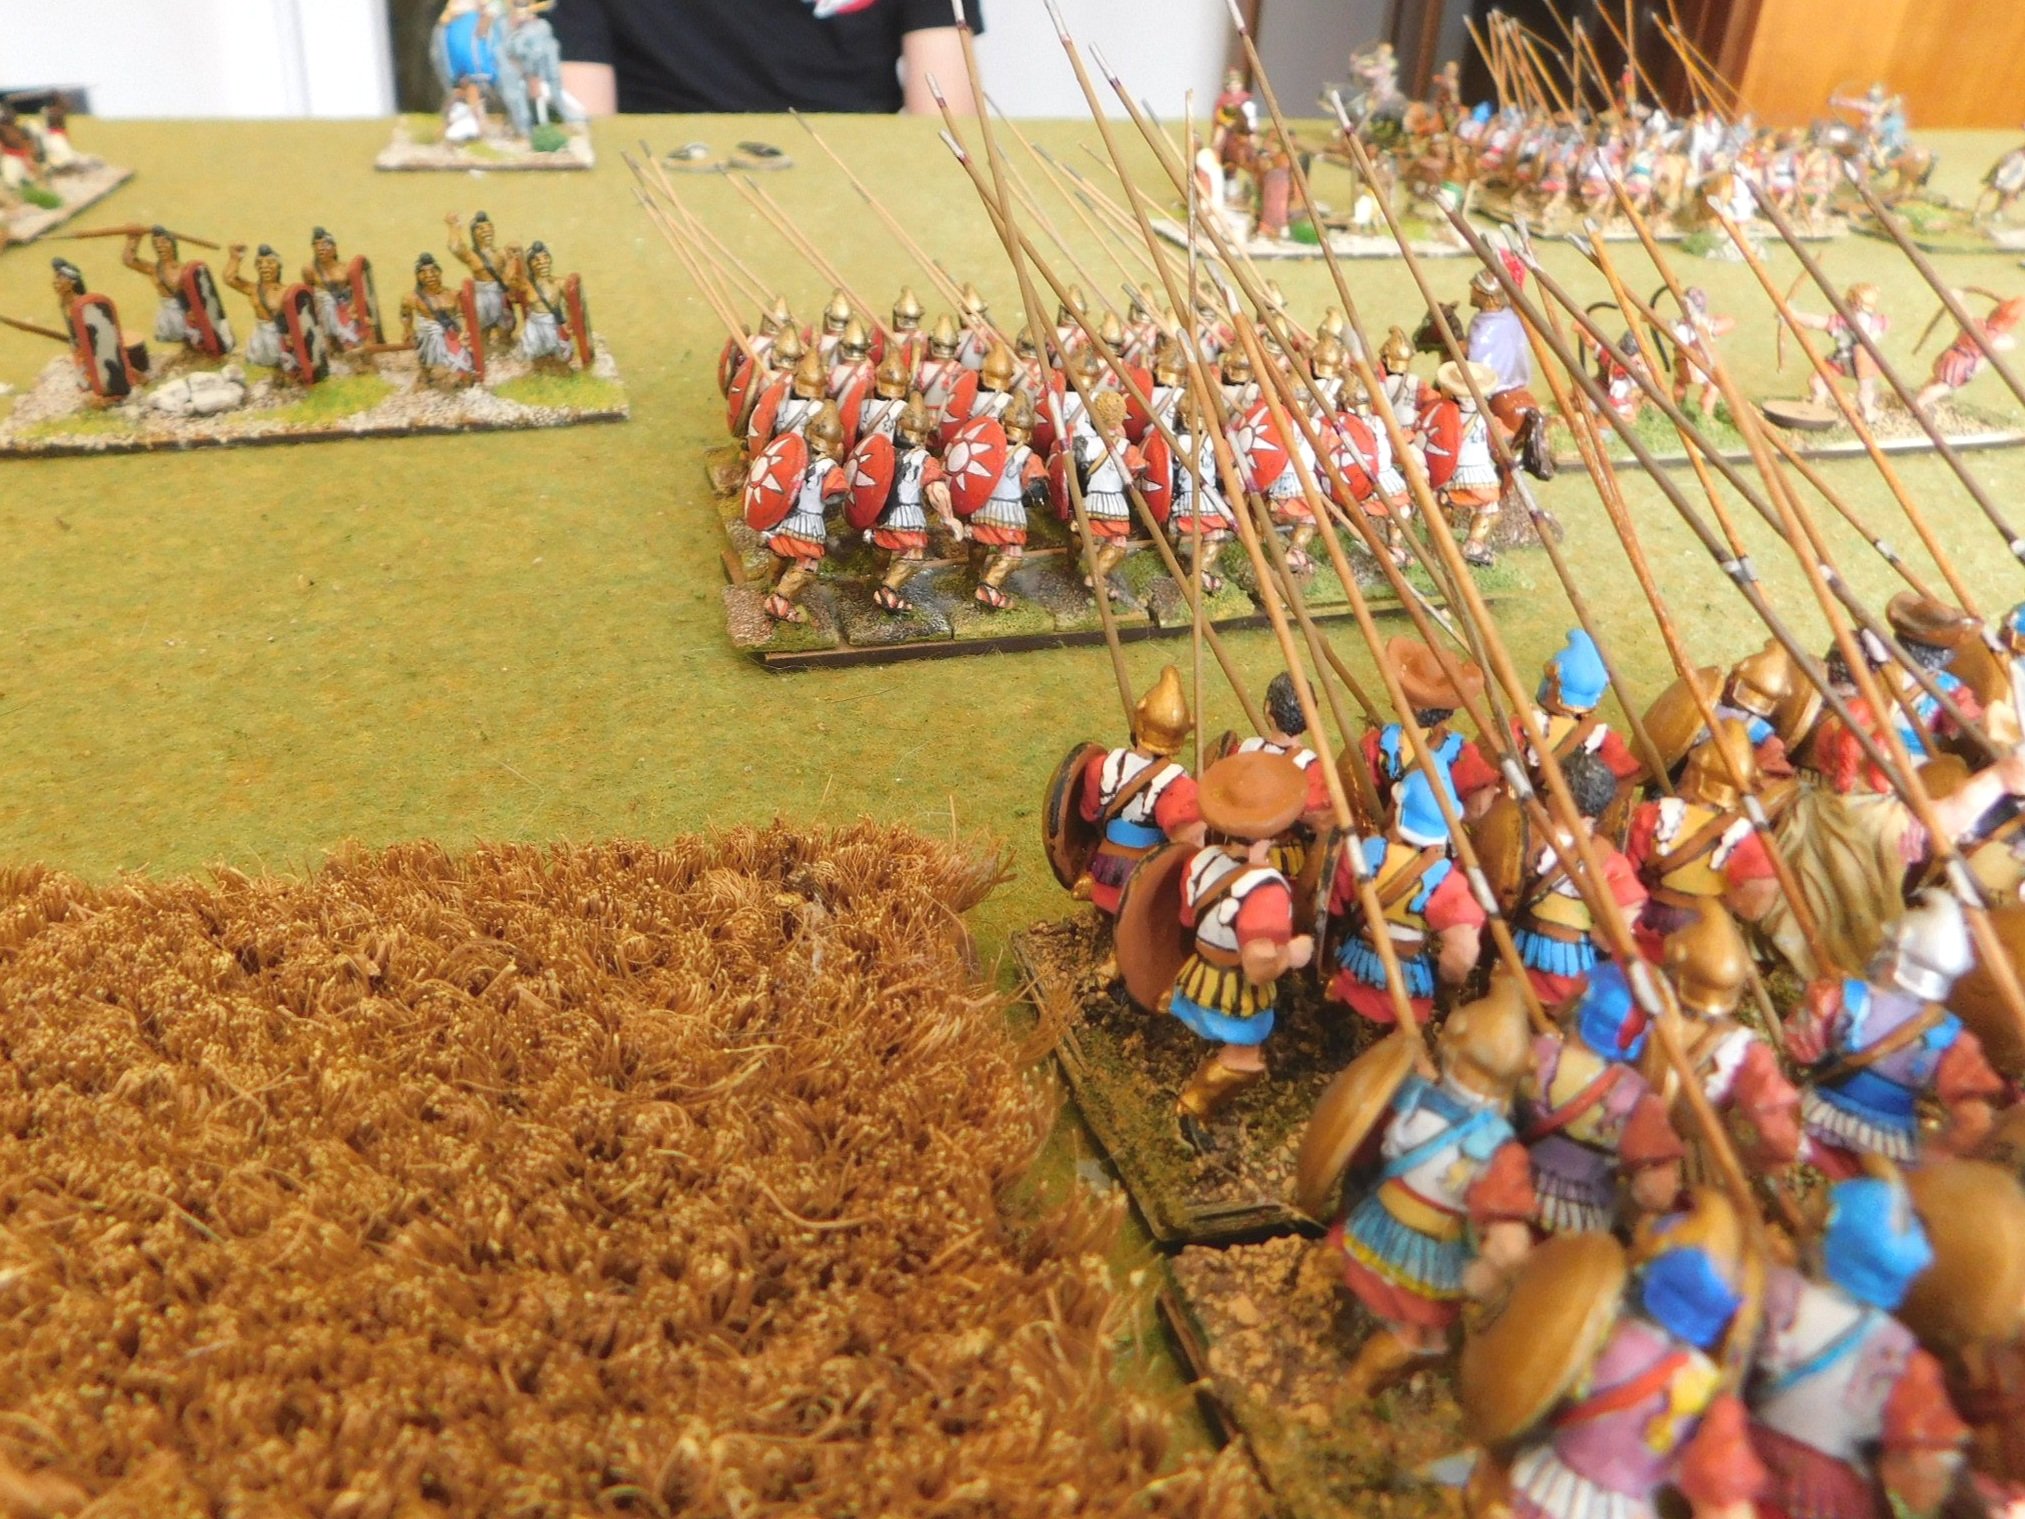
Peter’s test-army was the Venetians, and he had asked if I would use a Later Carthaginian army against them. This would be a real test for the canal-dwellers: a cavalry army against Hannibal’s spear-armed infantry supported by elephants…and on a board with at least some trees on it.

The Venetians: Knights & Lights!

Hannibal’s Brave Boys

Of course, part of the problem with writing an AAR six months after the event is that I can’t actually remember much of how the game played out!

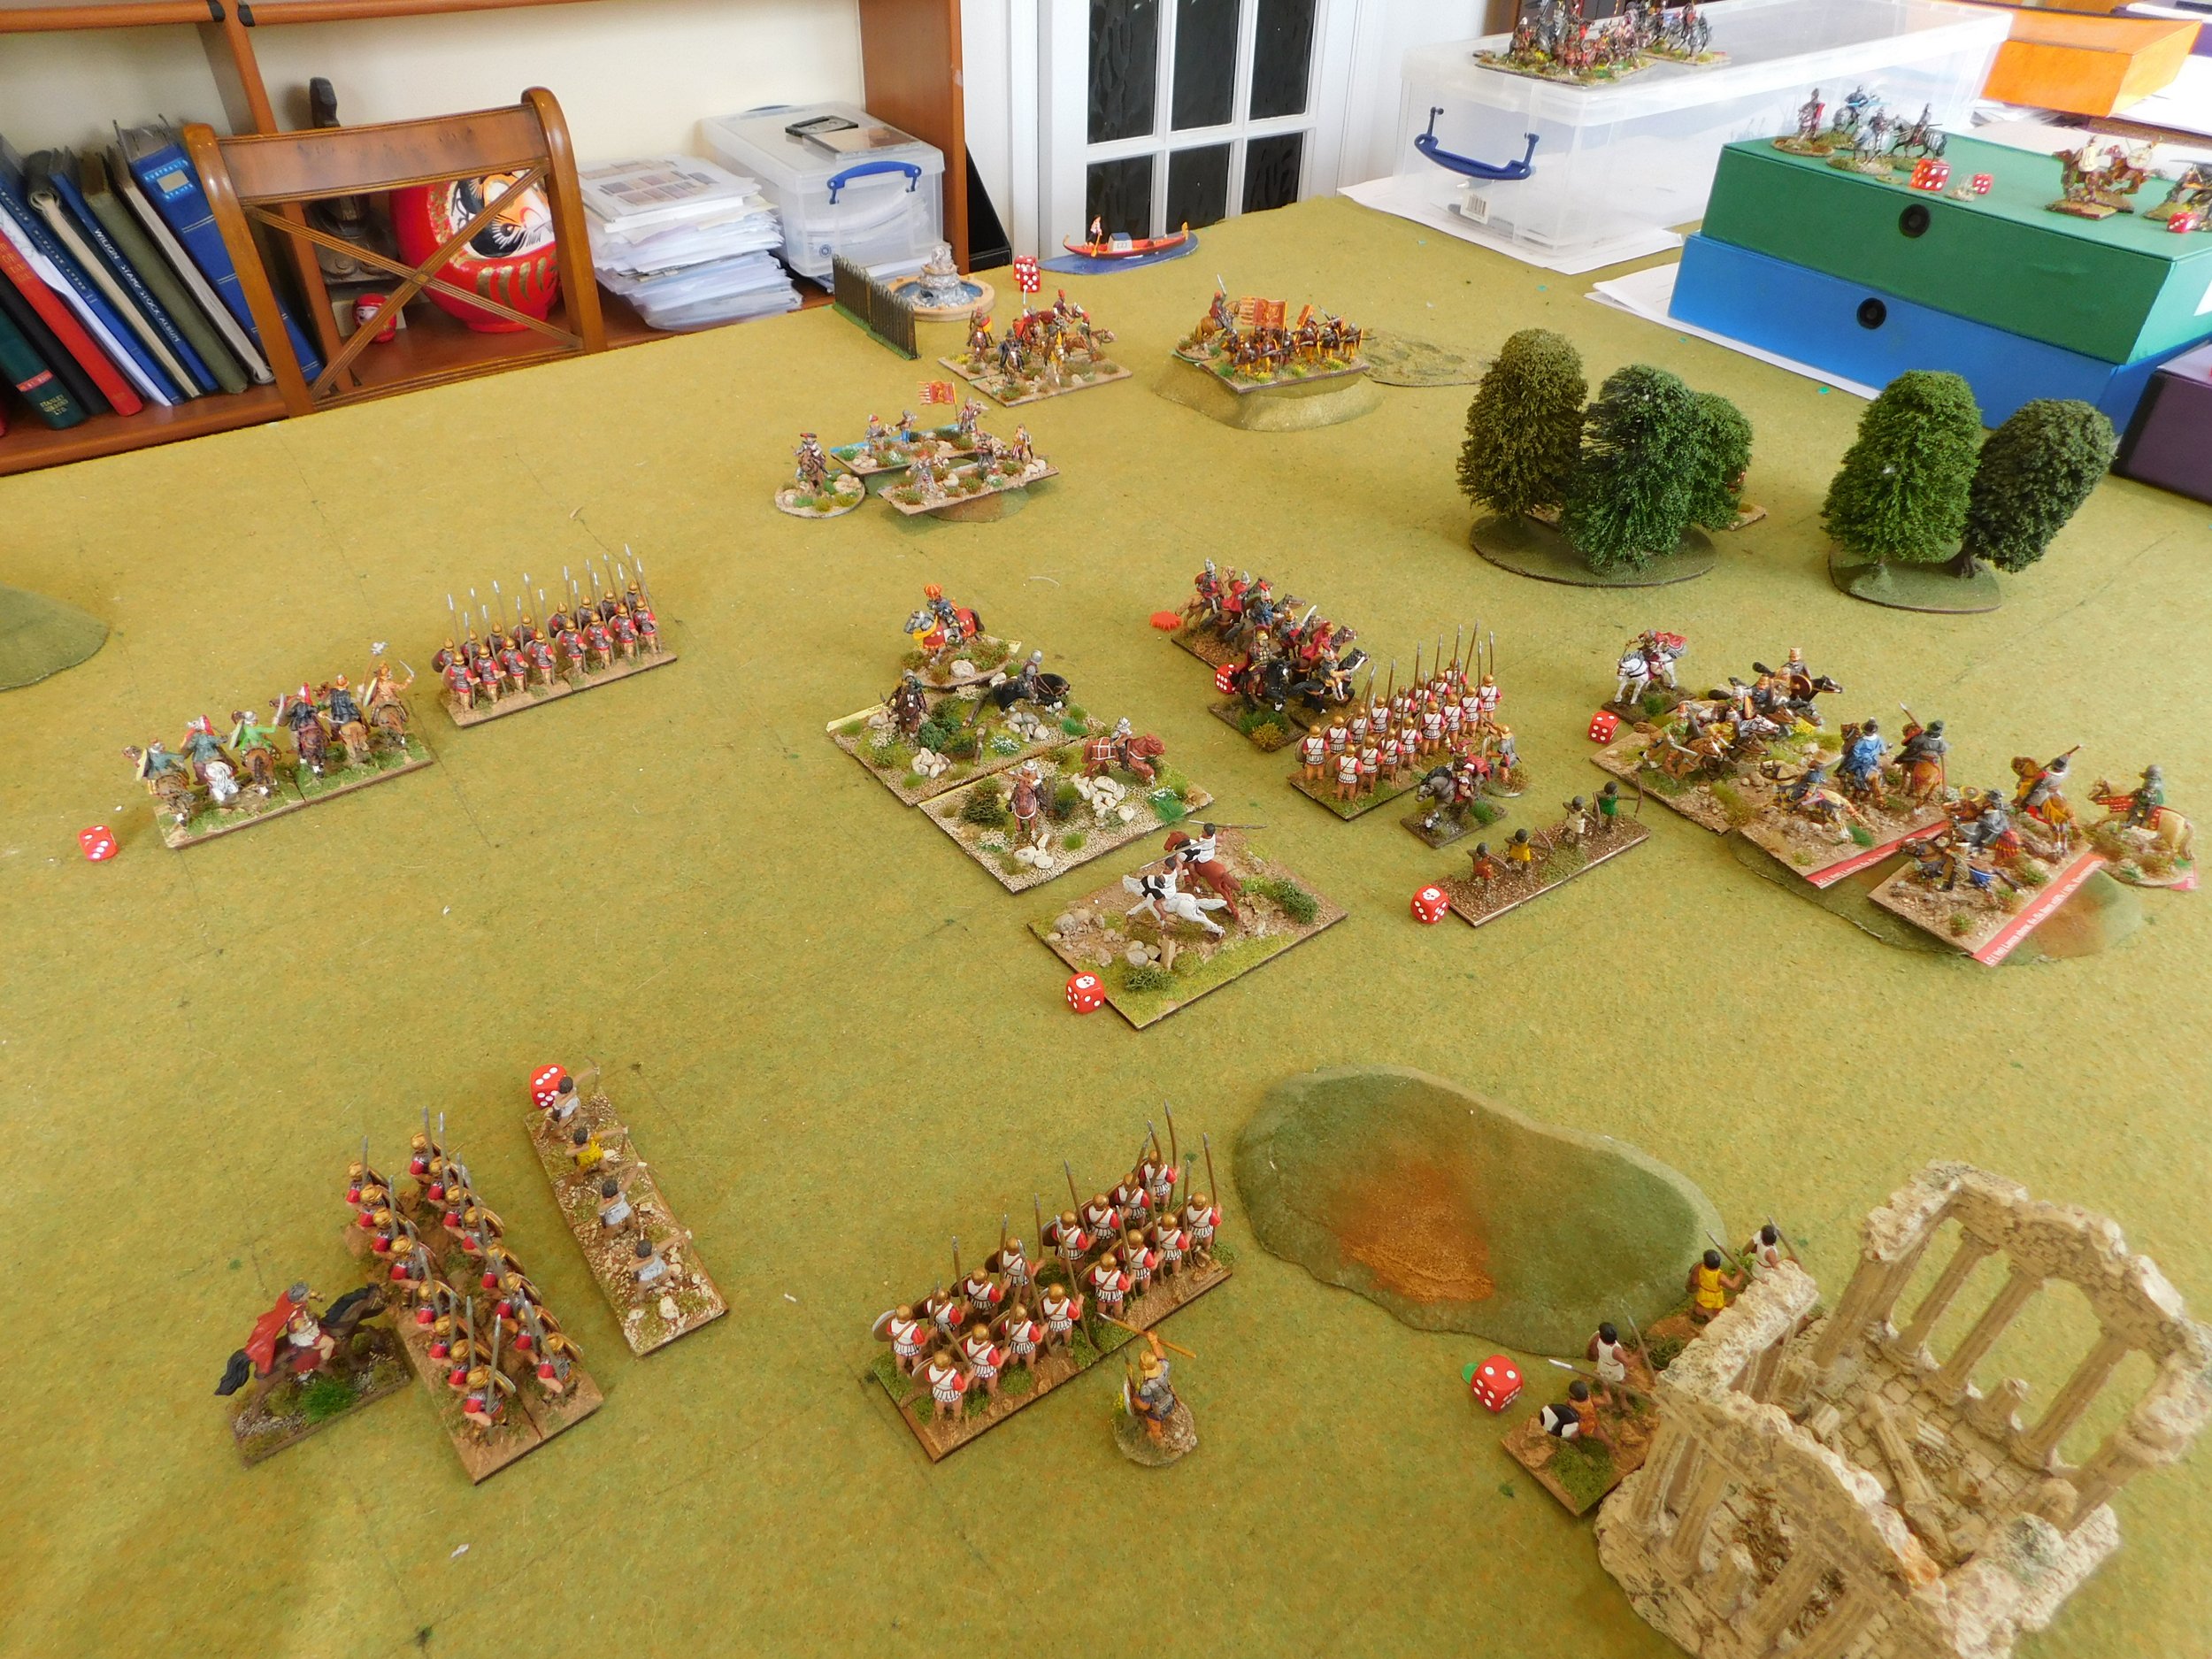
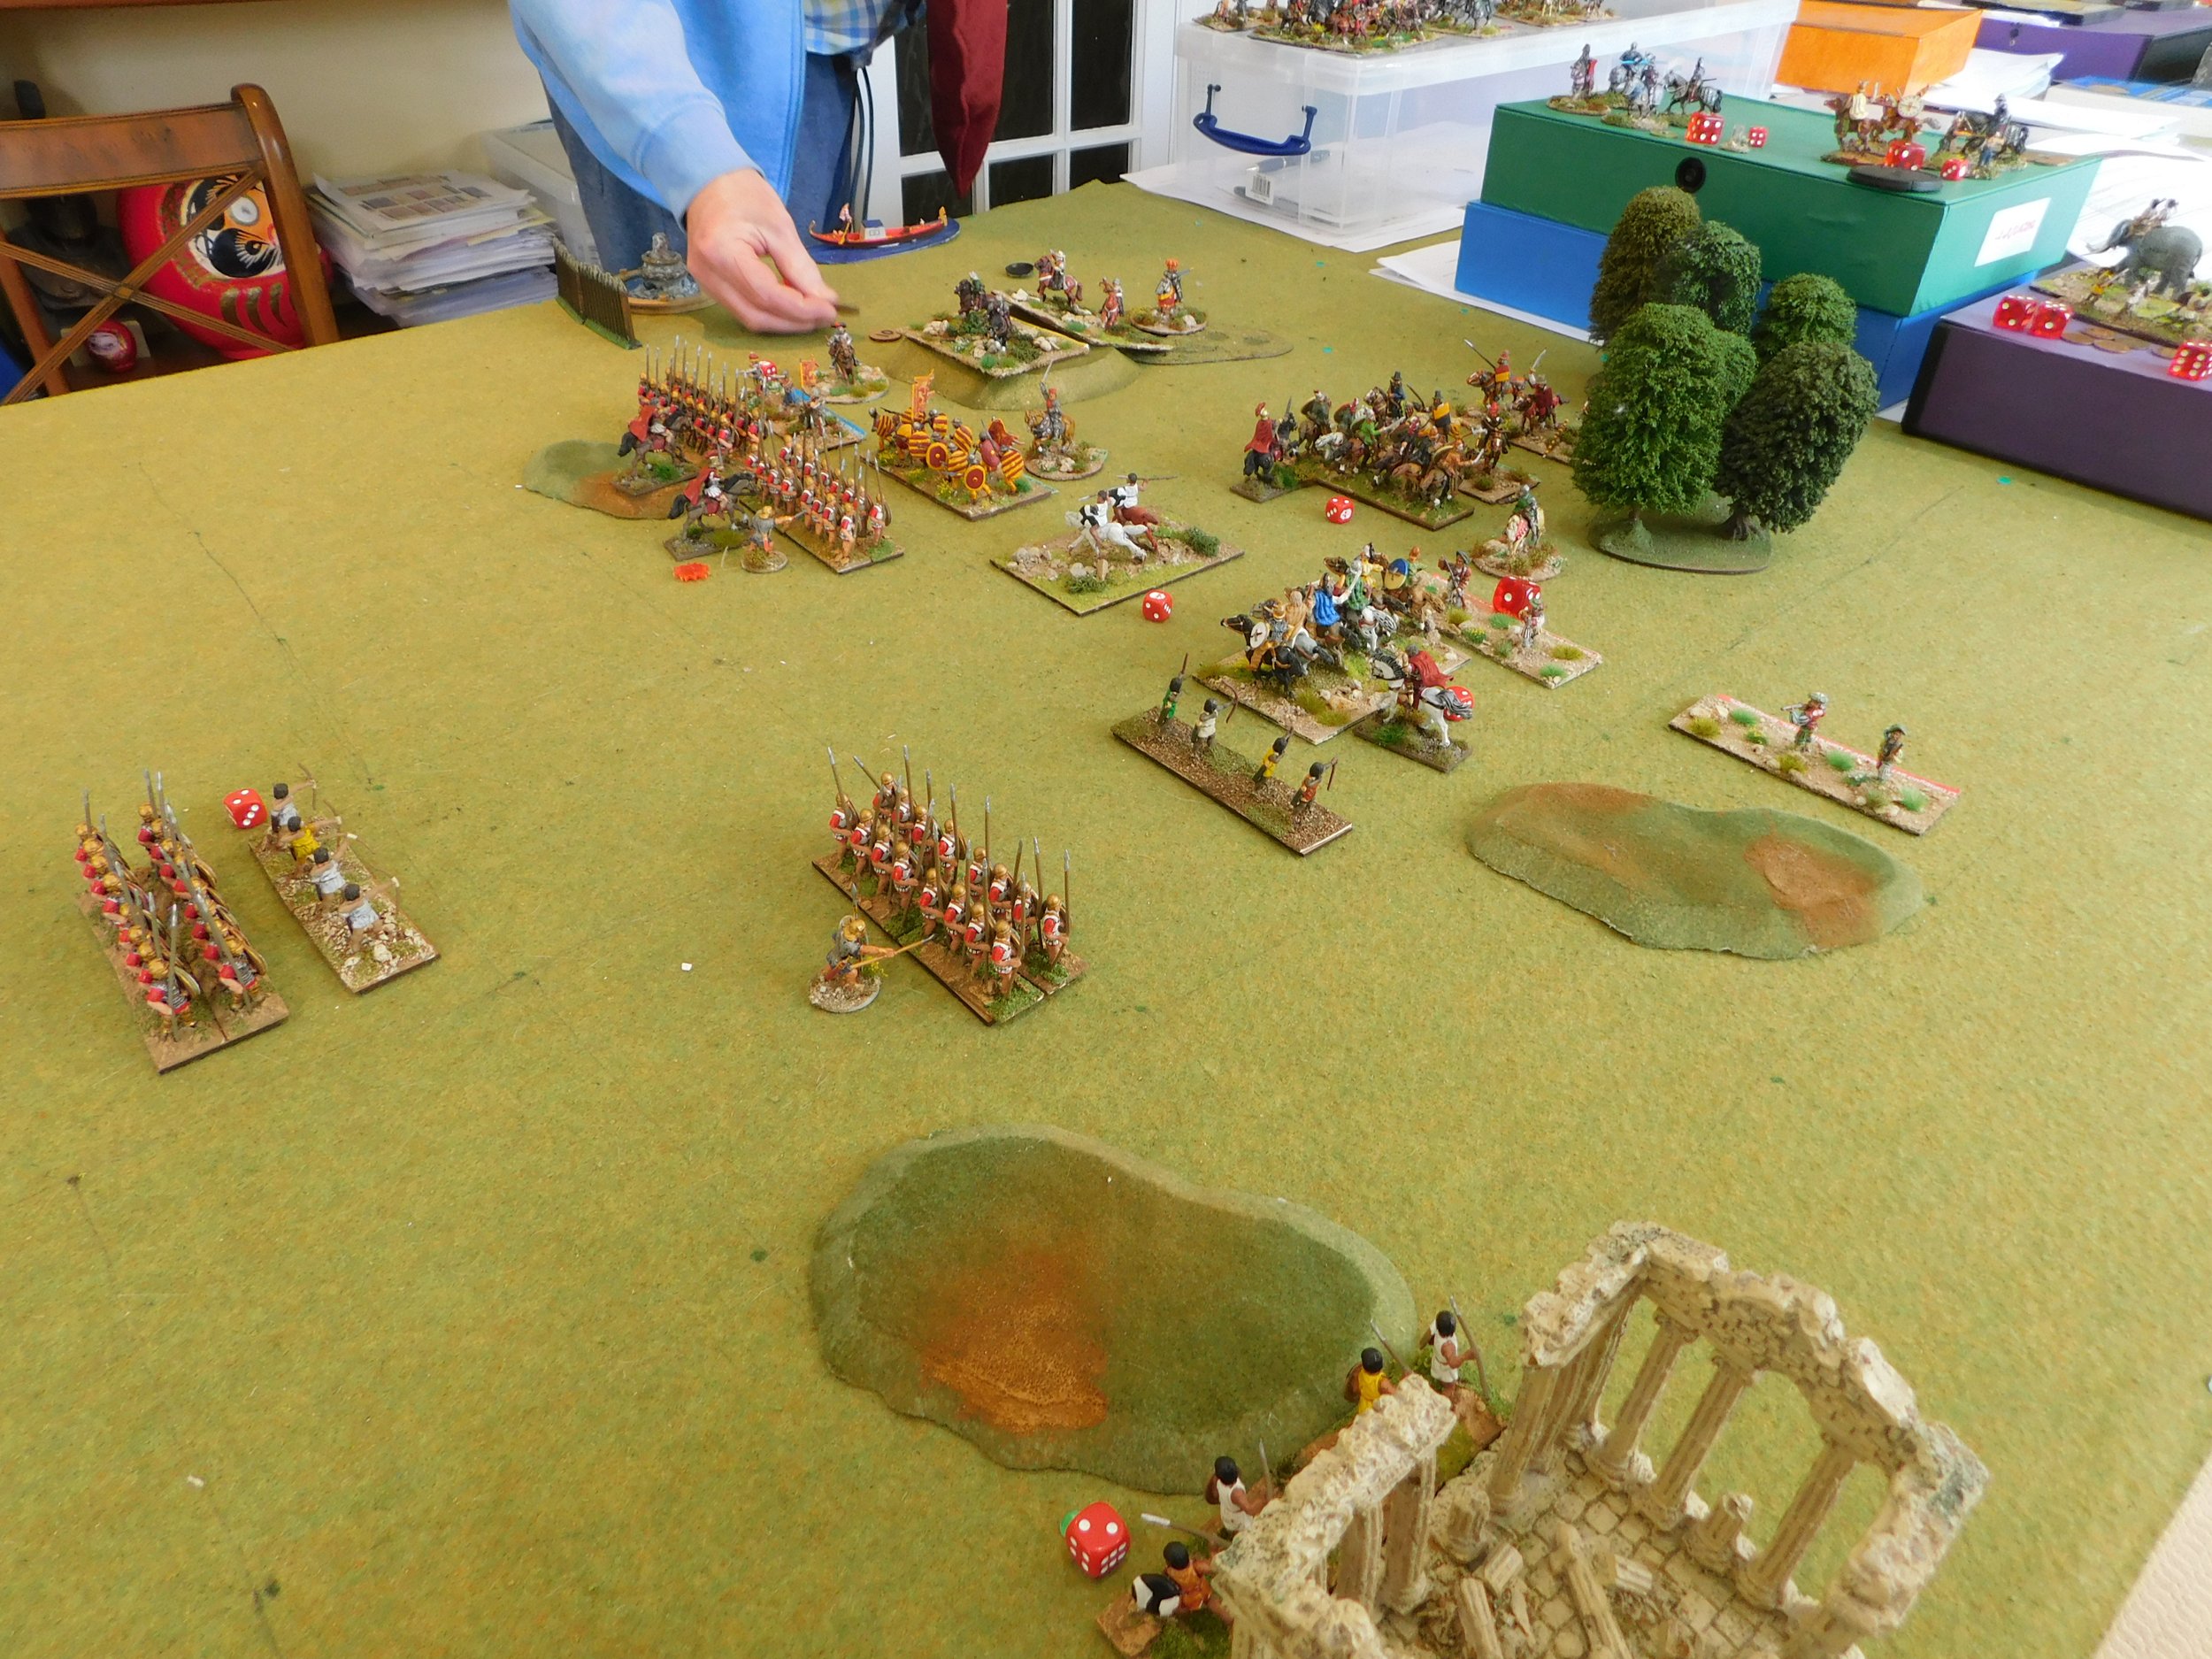
What I do know is that Peter completely wrong-footed me at the start by gaining the initiative and deploying all on the (from my point of view) right side of the table versus my more evenly spread line. This would mean that he could concentrate his army on only a portion of mine, gaining victory there before then turning to polish off the rest. Cunning stuff!

As it happens, however, this didn’t work as, somehow, I managed to get my heavy spearmen moving and across the field to support my by now beleaguered right flank.

My Celtic warriors also refused to give way despite being hit by veteran knights with a general from the front and two units of knights from the rear, joined by two lights, for several turns. Their Celtic cavalry comrades were equally resilient: normal Celtic cavalry convincingly winning a melee against veteran lance-armed later knights supported by lance-wielding mass lights: they killed the knights and drive the lights back without suffering a single hit!

The game developed into a huge melee in the centre of the table, with the action swirling backwards and forwards. Despite my successes, above, my army was starting to look a bit ragged and I could see that a collapse was fairly imminent: there were just too many light units hitting or threatening to hit my flanks.

It was time for a Hail Mary. I had one unit of Celtic horse still undamaged. I could see the Venetian camp (complete with fountain and gondola) in a straight line in front of them, with only some more of those massed lights blocking their way. The Celts charged forward and, with a great run of cards, smashed the light horse out of the way and then thundered into the enemy camp. Three victory medals to the good, the victory was mine!

It had been a cracking game that I had won through good luck and by the very thinnest of margins. As Peter said afterwards, “if it wasn’t for your extended gallop into my camp I would have won in my turn”. My only reply is, obviously, and with apologies to the Spartans: "If..."!

Here’s the full pictorial story of the battle:

TTS AAR: Classical Indians versus Akkadians

Having played Kavan using the Akkadians versus his Classical Indians, we decided to swap sides and play the game the other way round.

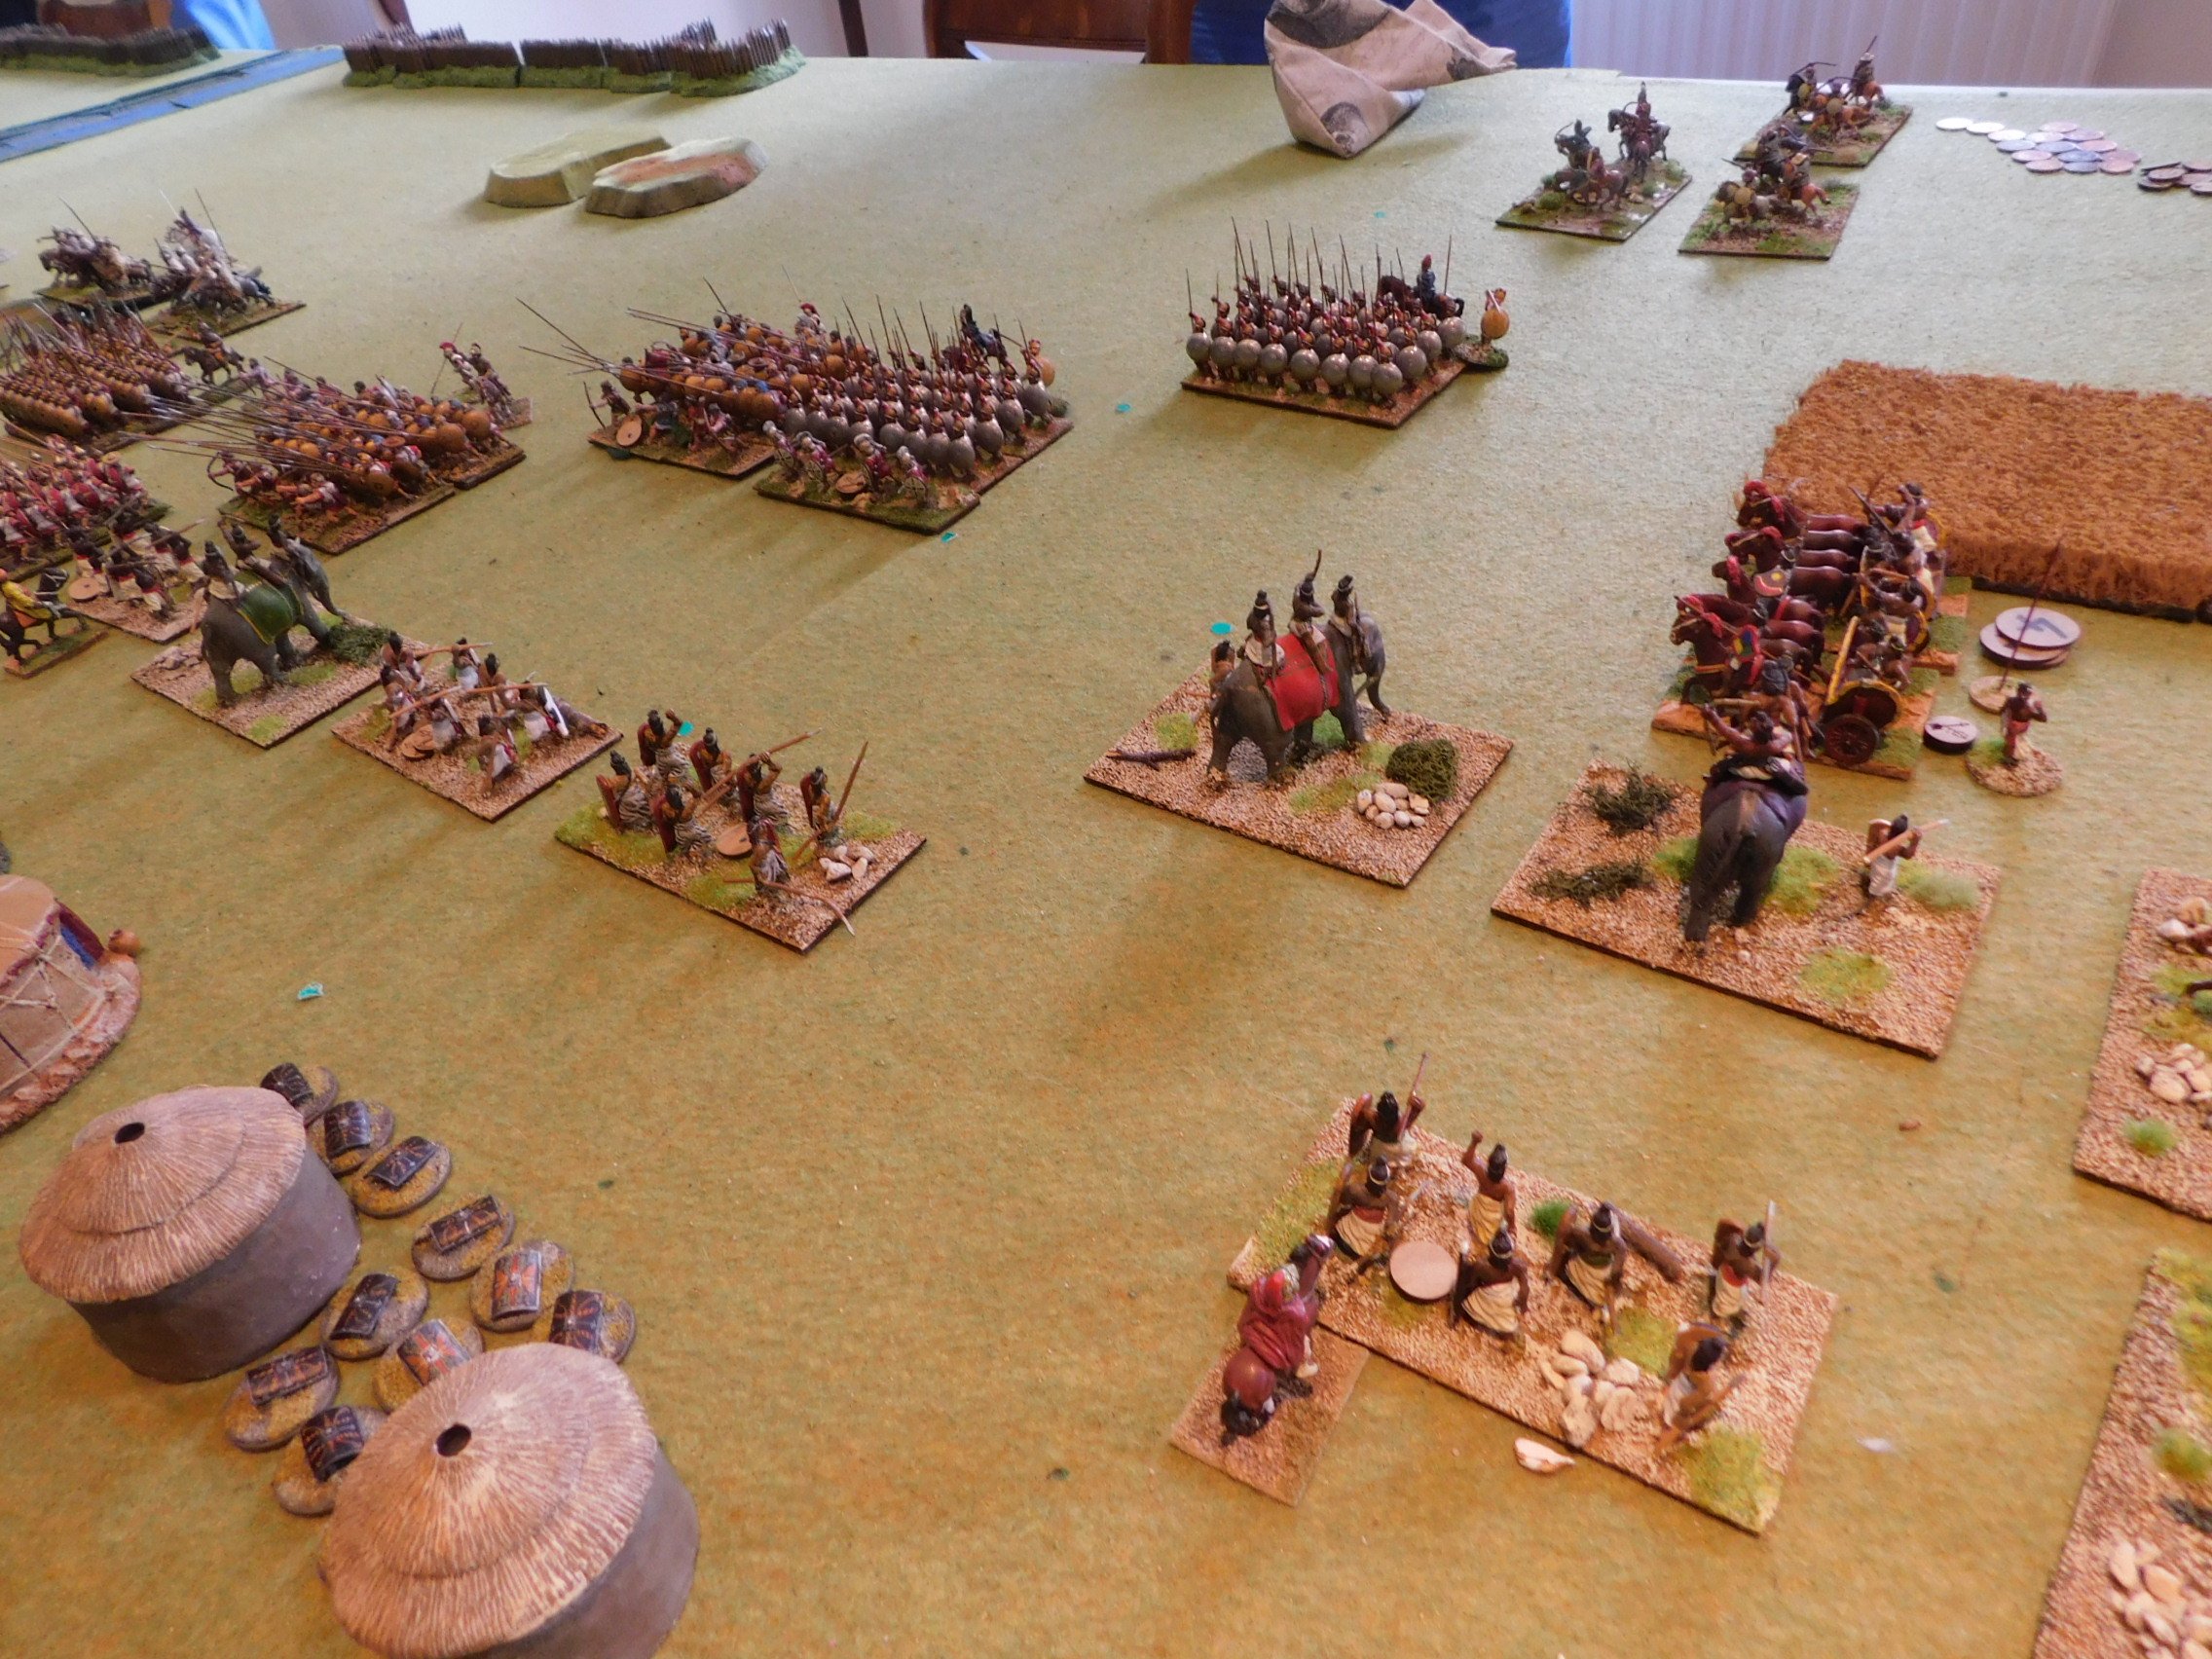
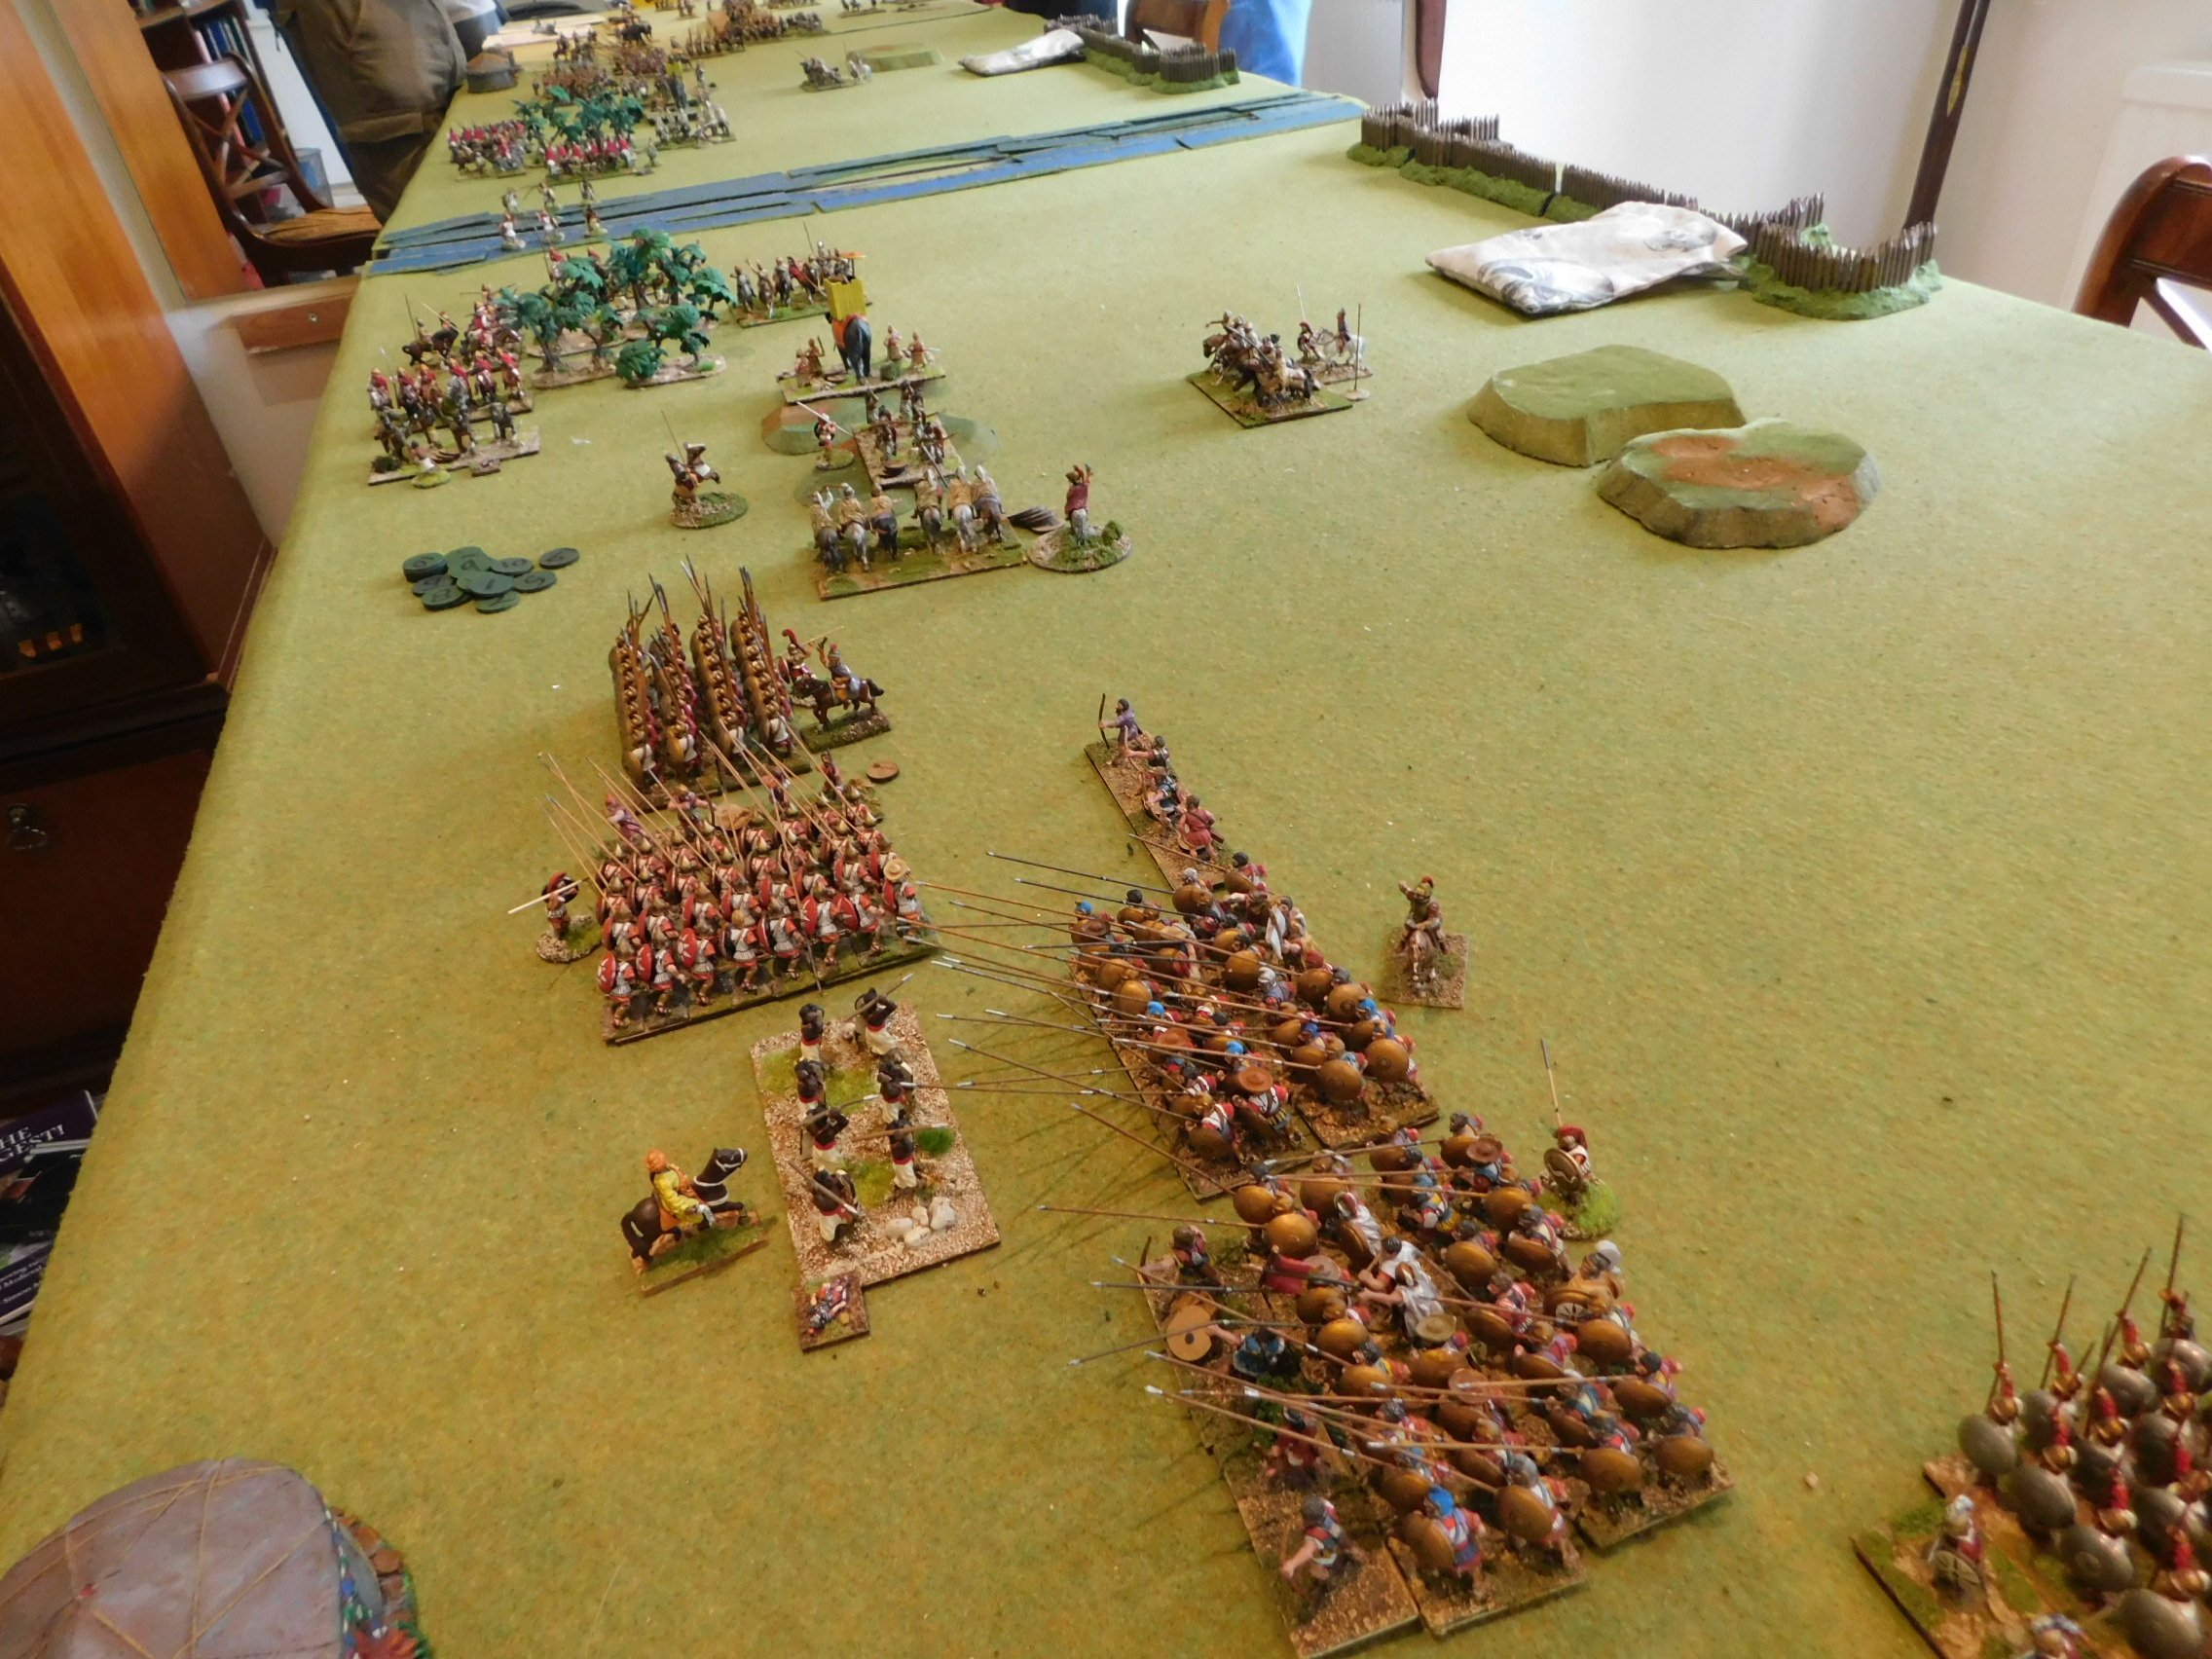
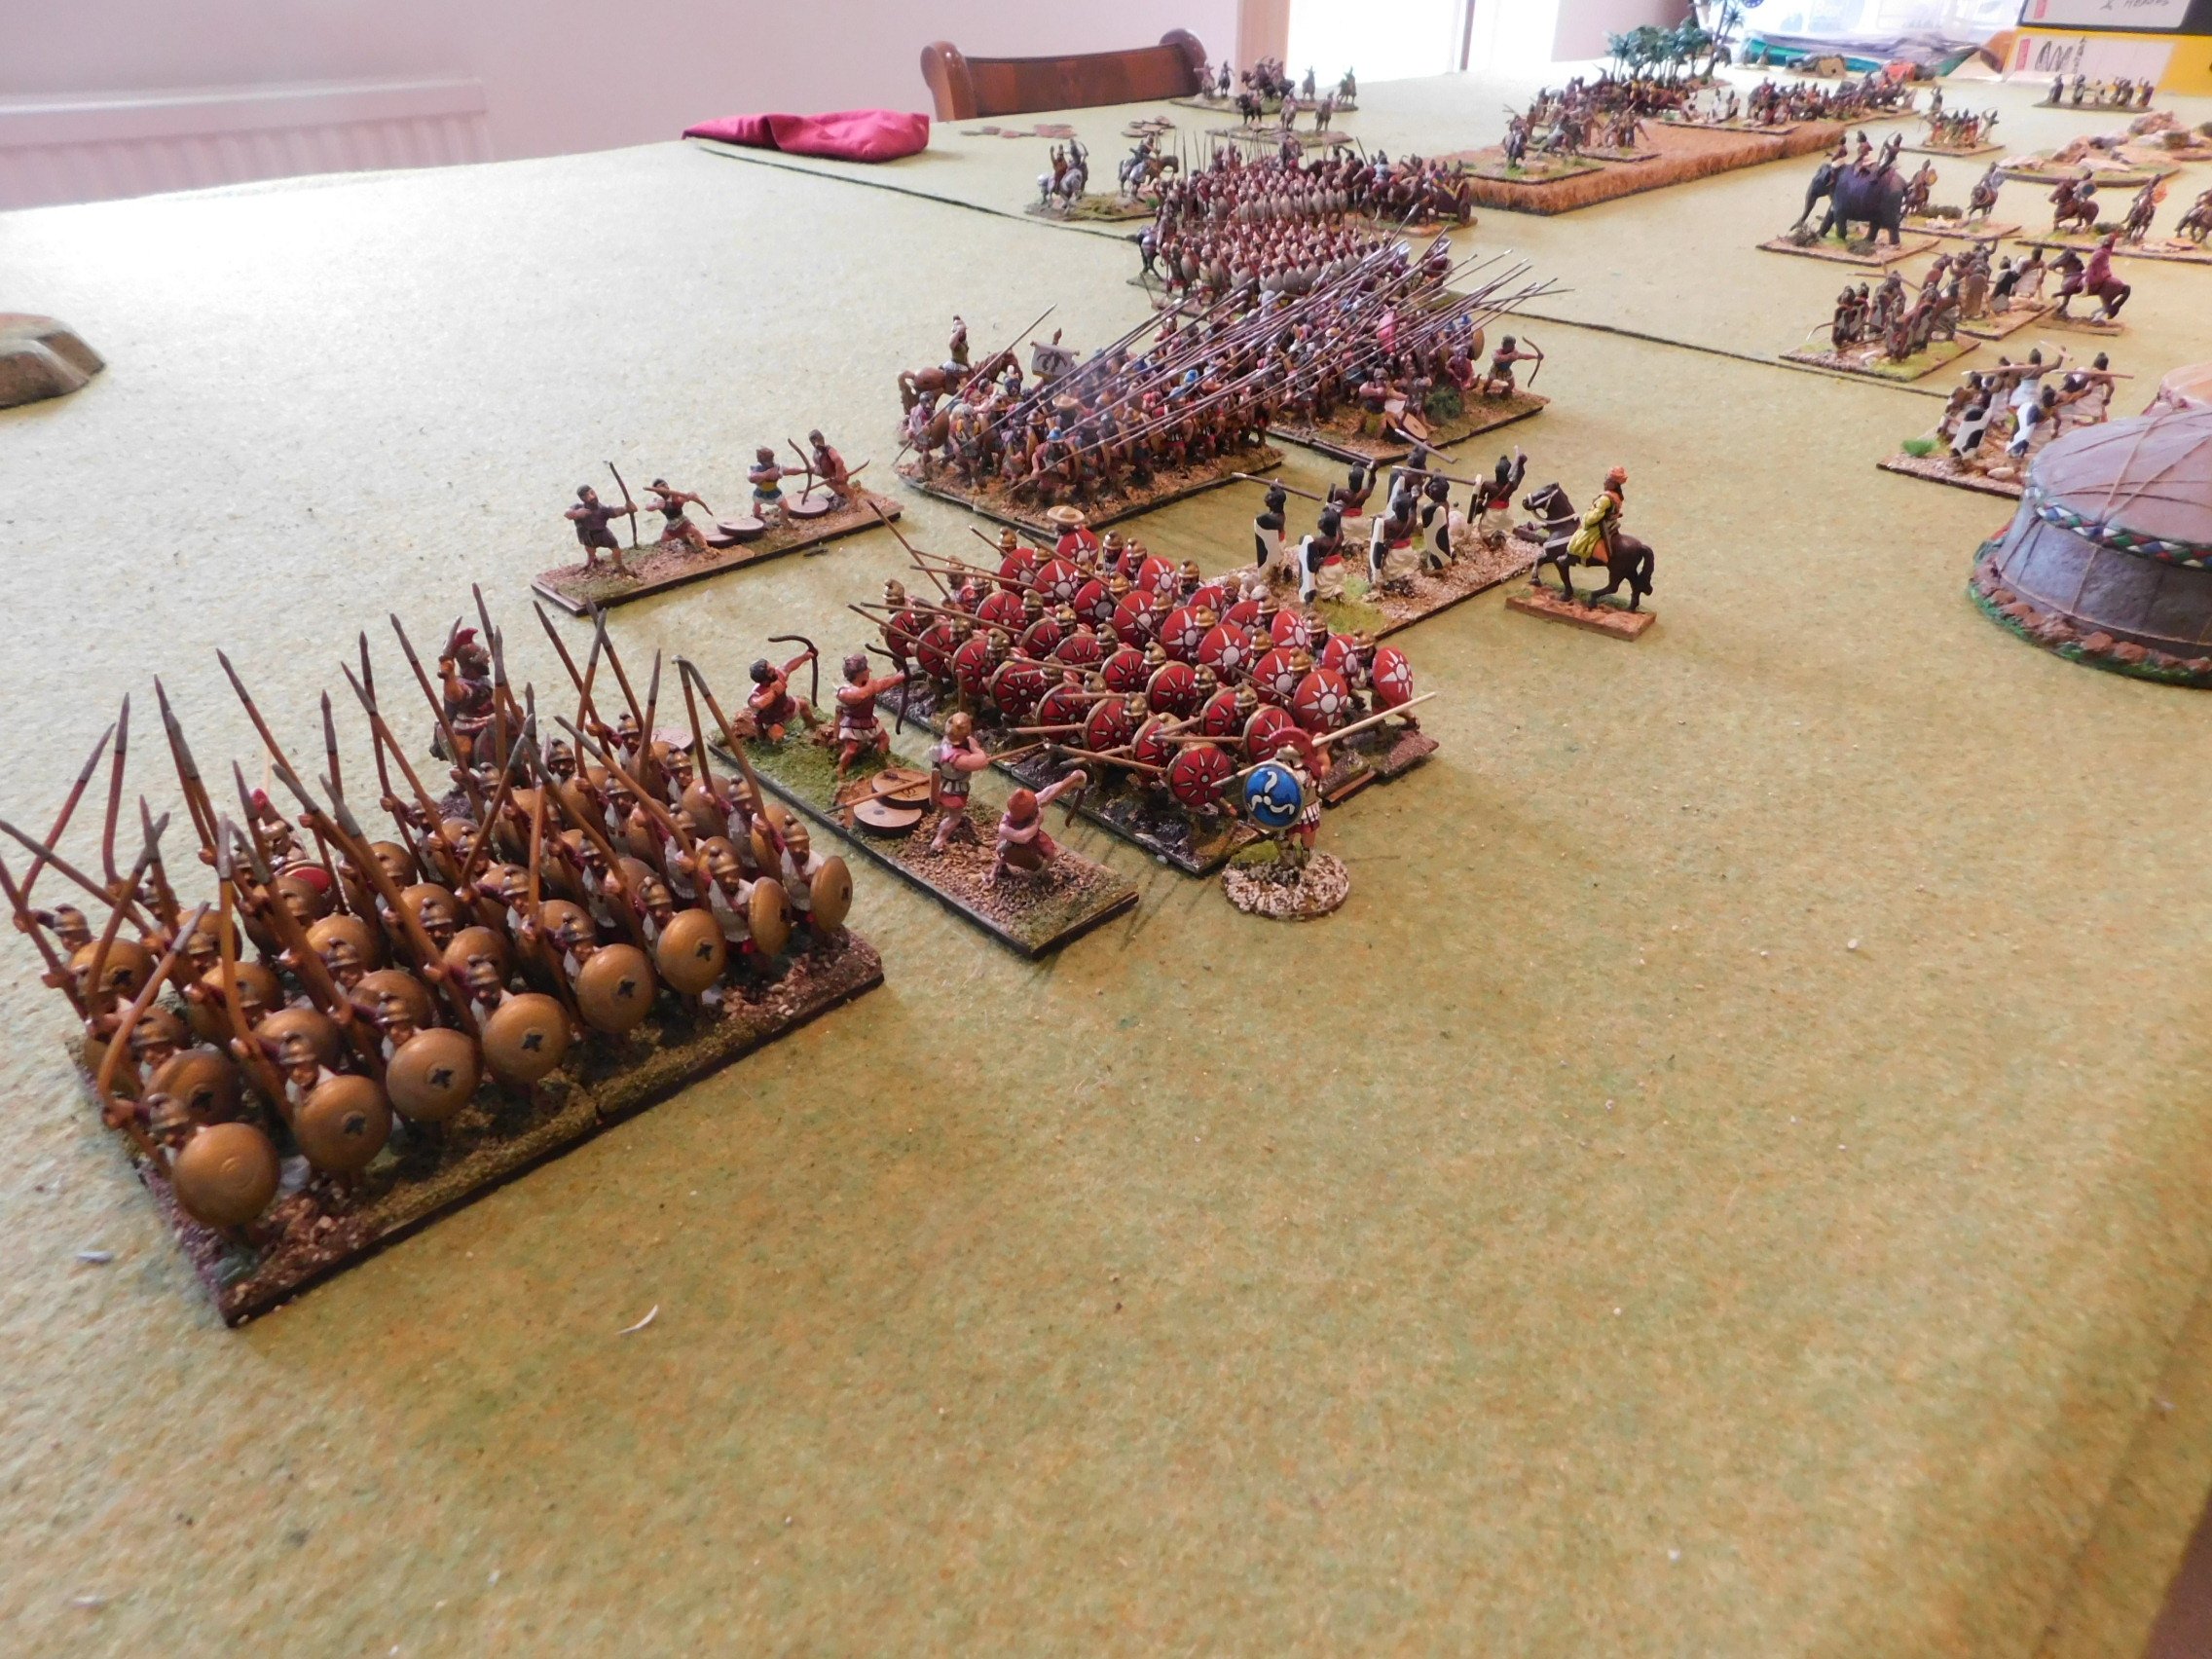
The Akkadians were outscouted, and set up in a long line of men holding sharp pointy sticks, placing their veteran battle carts on their left/my right. I matched their infantry with my own, but put all my chariots and cavalry on my left. My plan was to hold my infantry back, giving them as long as possible to shoot their longbows, whilst I outflanked and won the battle with my mounted troops on the left.

Initially, this actually worked very well indeed. On the left, my chariots and horse neatly swung out a bit and headed past the end of his line at a rapid rate of knots.

This allowed me to send one unit of chariots towards his camp, and the other into the flank of his right-hand infantry.

Surely this was the game sown up…but, no, the Gods laughed and shuffled the deck, and the lone Akkadian spear unit at the end of his line snapped round neatly and disposed of my (previously outflanking) chariots without much difficulty!

This was disappointing, but his camp was still about to fall:

Meanwhile, on my right, his battle carts and infantry had finally reached my line and were dashing themselves against it.

This was actually quite worrying as although my javelinmen can hold their own in hand to hand combat, my longbowmen have a tendency to crumble really quickly.

Fortunately, the Akkadians assaulted the longbowmen piecemeal, so my three units of archers could concentrate their fire and pincushion the most forward enemy unit each turn. This meant that they tended to hit my line disordered, which really evened things up.

Moreover, my javelinmen were up on a hill, and resolutely refused to give way no matter what. Here’s a pictorial account of events on that wing:

So the left wing was doing well, but hadn’t won the game for me; and my right wing was holding, but under pressure. I would now have to win the game in the centre, and that was where I had my elephants and the elite Maiden Guard.

In they went as fast as a charging pachyderm, and nothing could stand before them!

Well, that’s a slight exaggeration, but with the cavalry on the left now free to assist, and the right wing just about won, the elephants did provide the coup de grace needed to take the last of Kavan’s victory medals.

A glorious victory for the Classical Indians!

TTS AAR: Akkadians versus Classical Indians

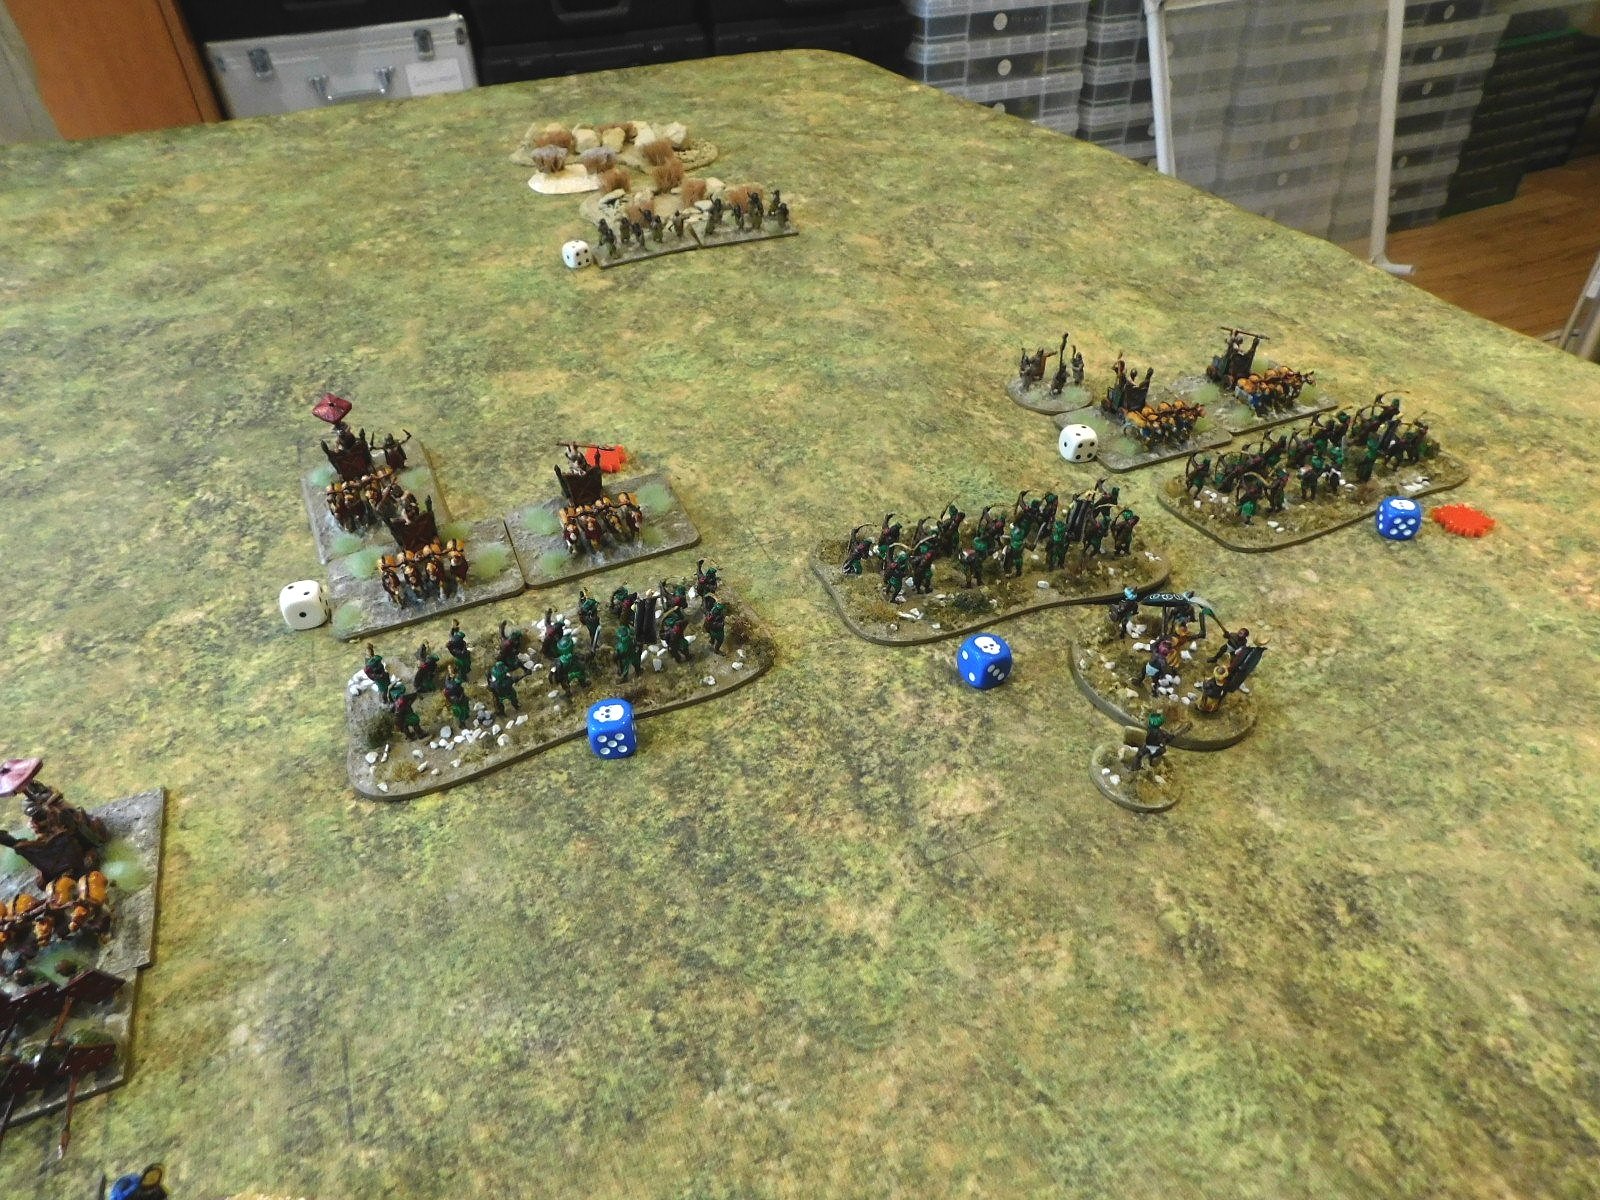
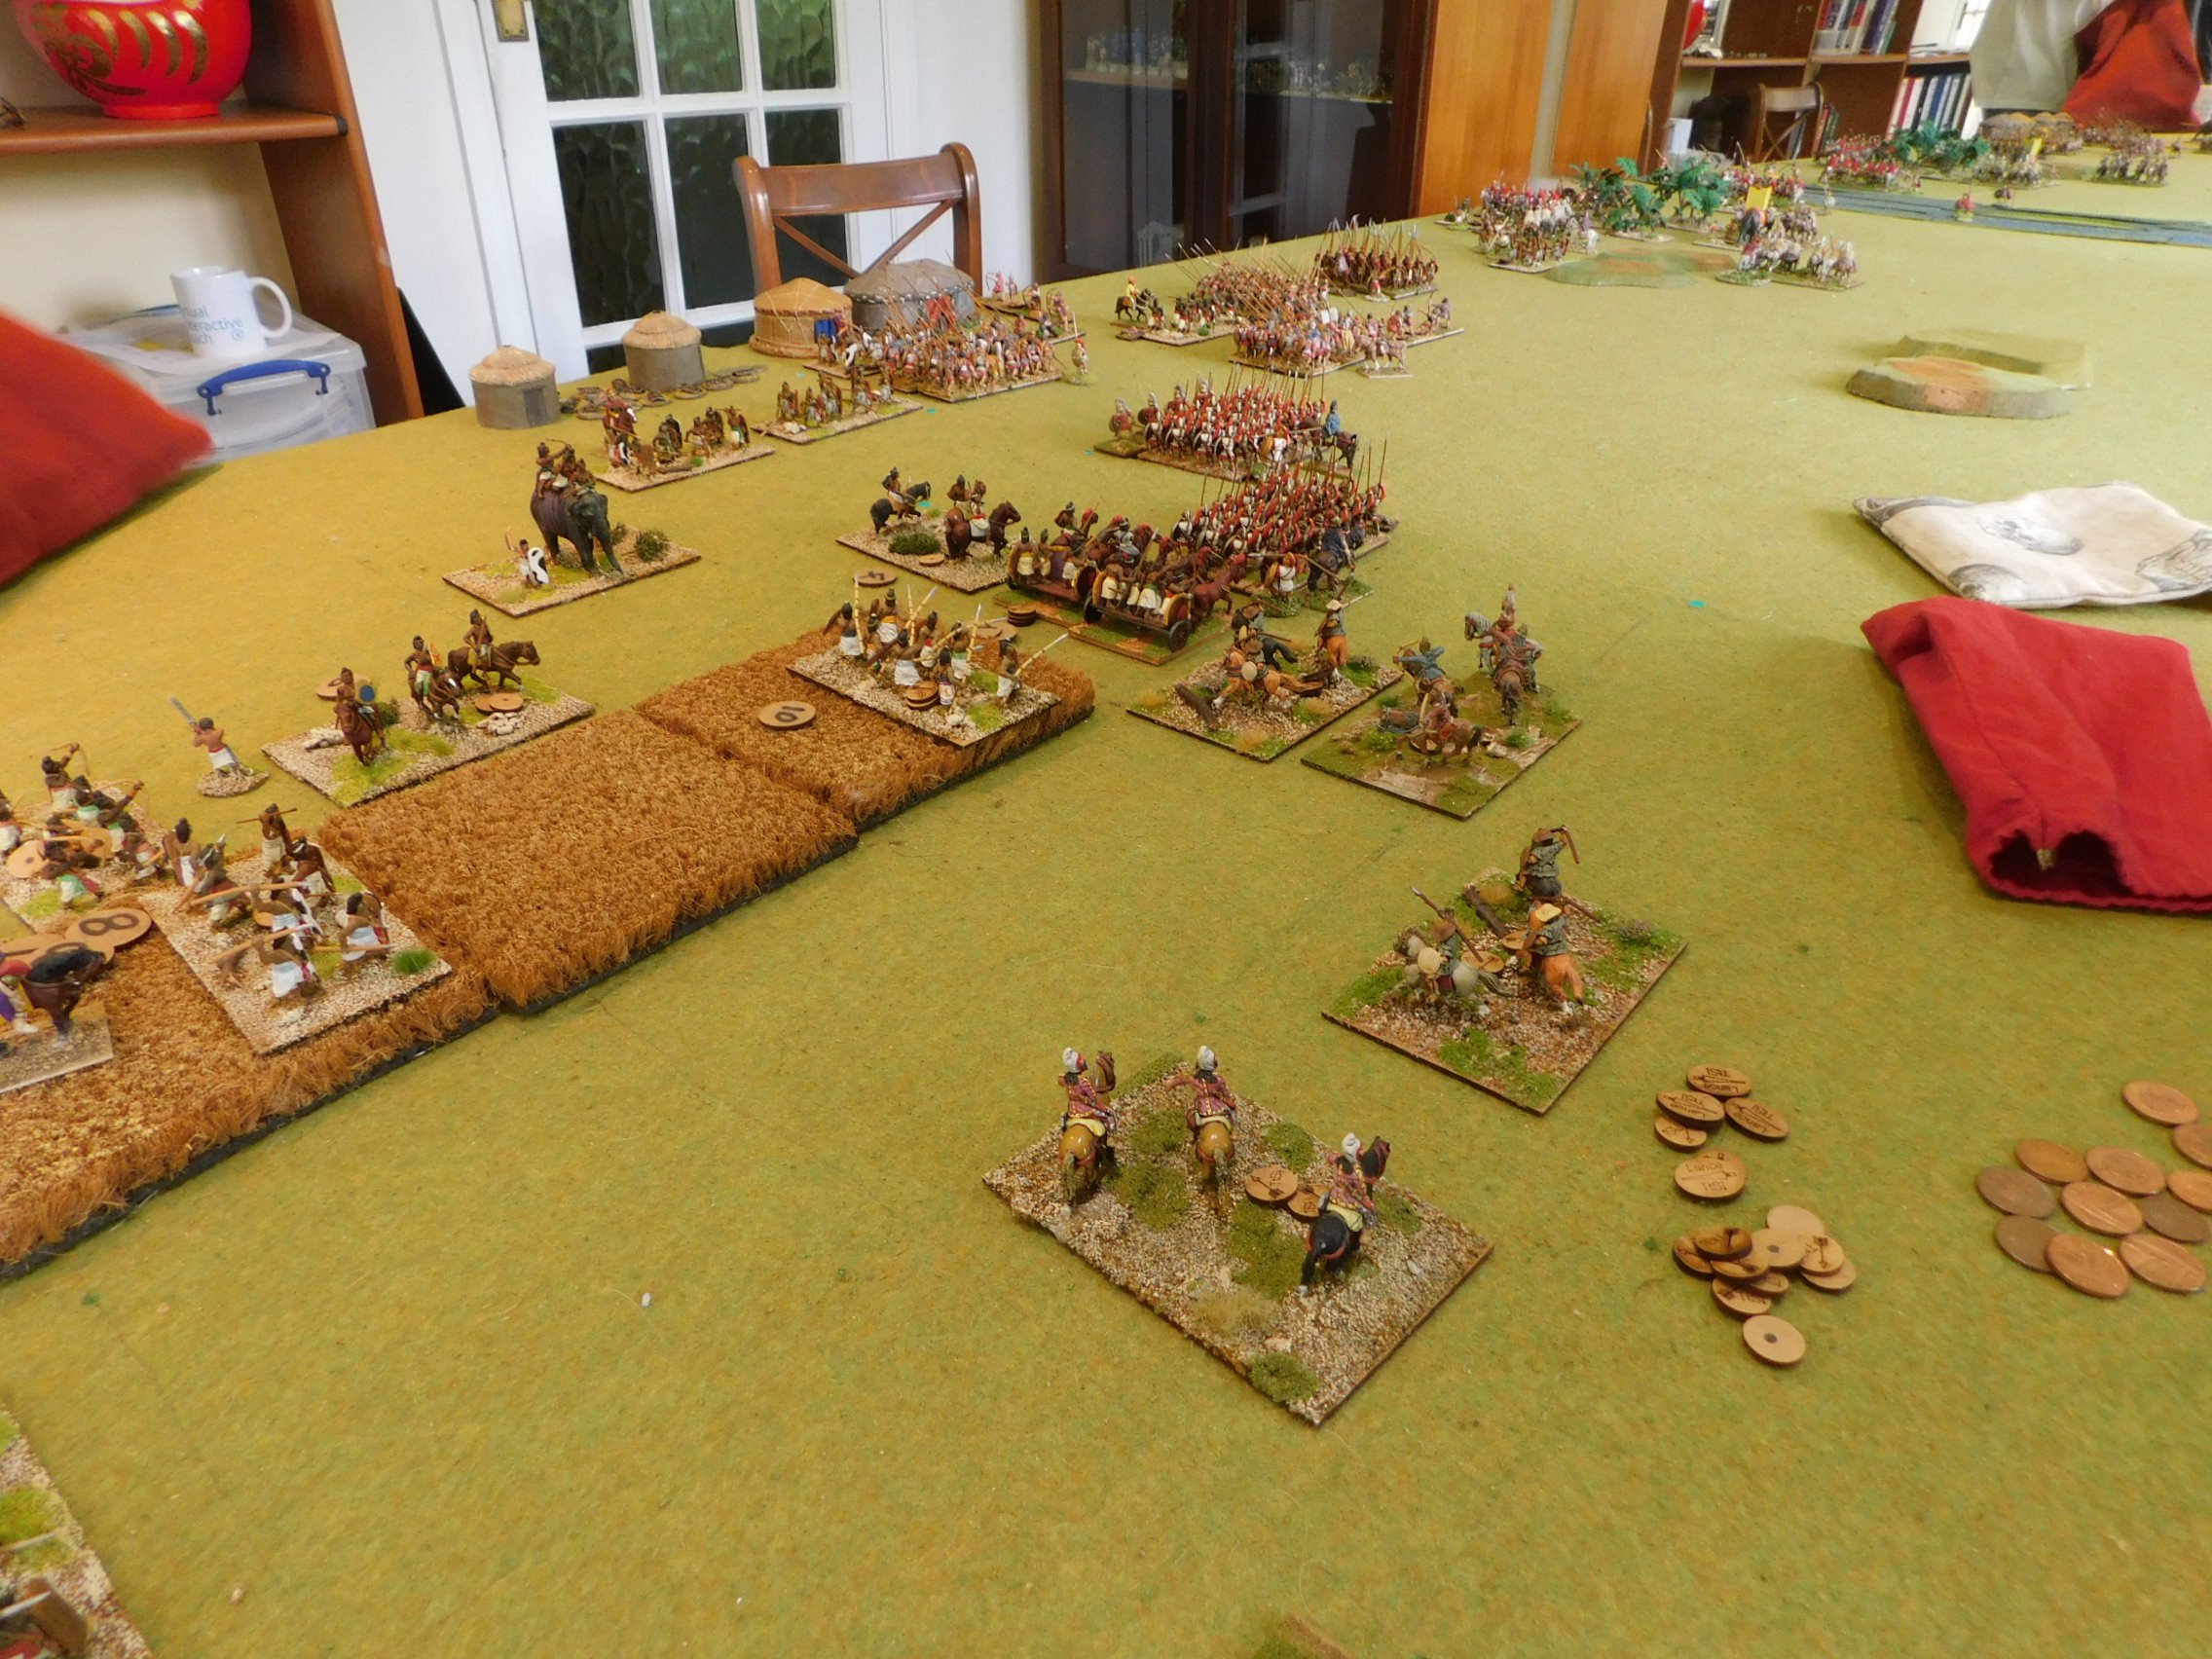
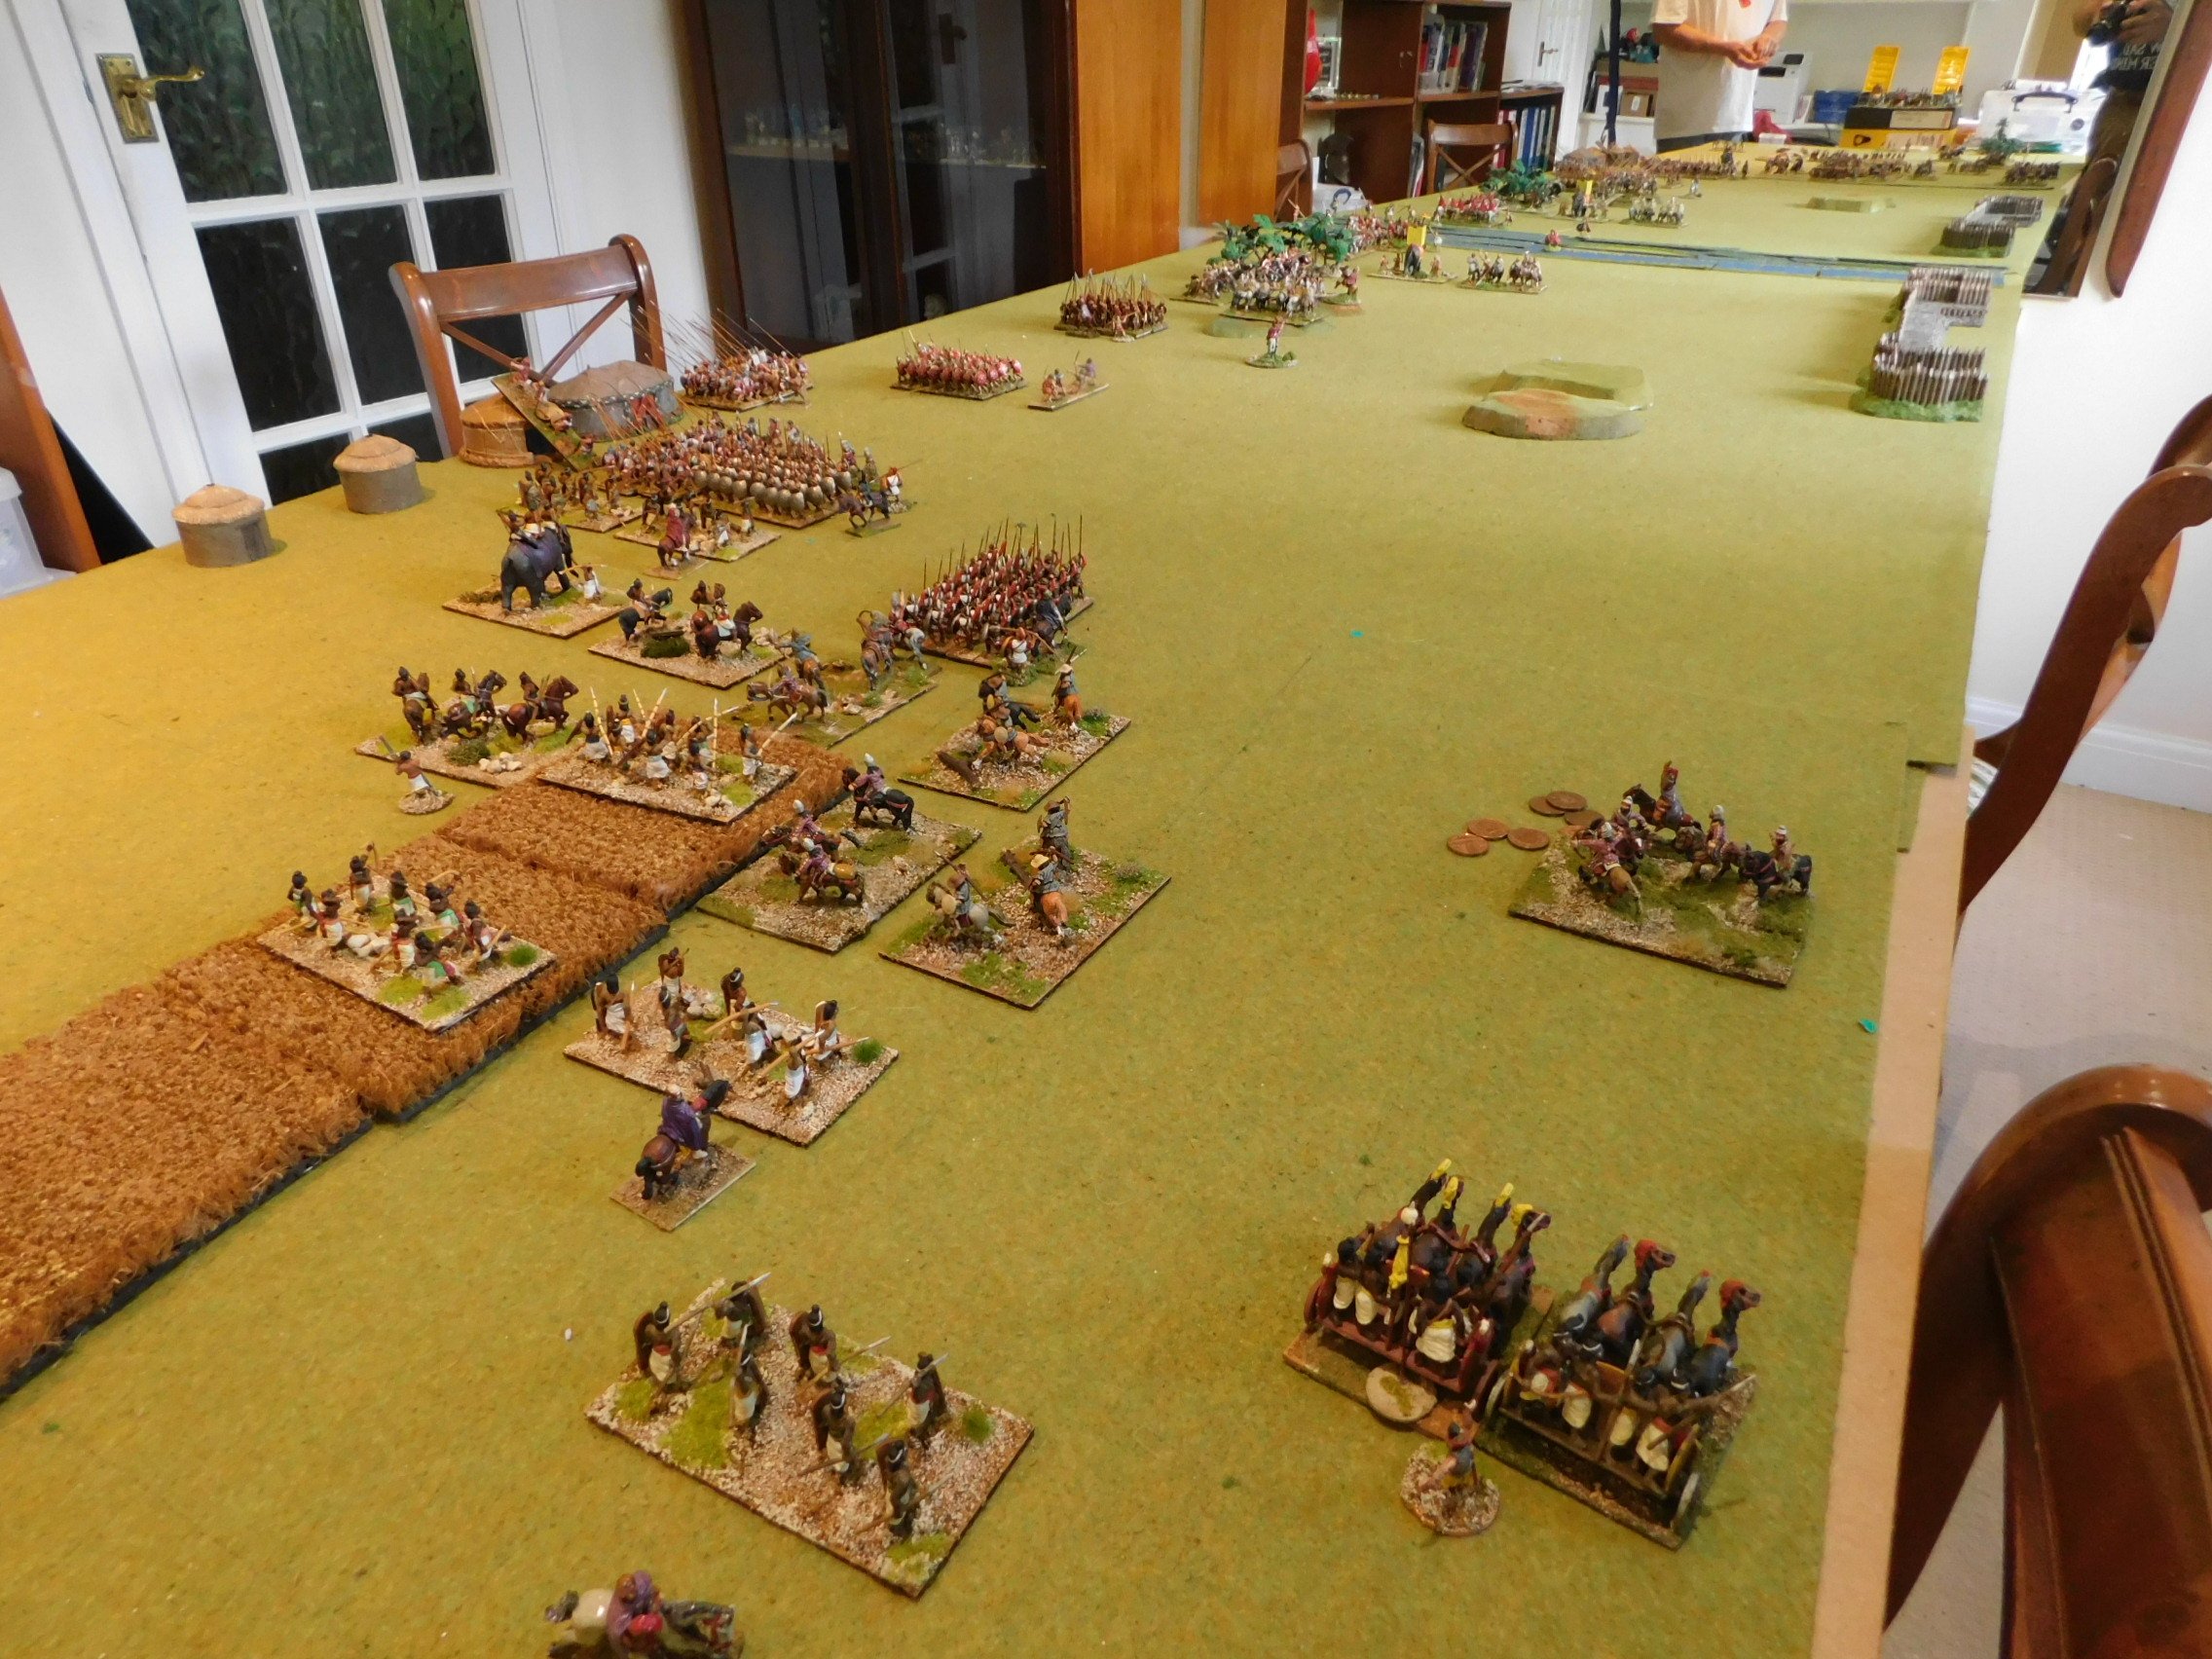
Time for a game of To The Strongest: I would take the Akkadians (the new, ‘slim-line’ version from the latest army lists) and Kavan would use a Classical Indian army of the Republican variety.

My plan was to act almost purely defensively: luring the Indians forward onto the tips of my spears. My only offensive move would be to send my heavy chariots forward on the left to try and get around the Indian right flank.

Everything went almost to plan, as the Indian javelinmen, chariots, elephants and cavalry hurled themselves forward without the first on the list even bothering with their extra longbows. To cut a long story short, they impaled themselves on the Akkadian line, and the game was won pretty easily.

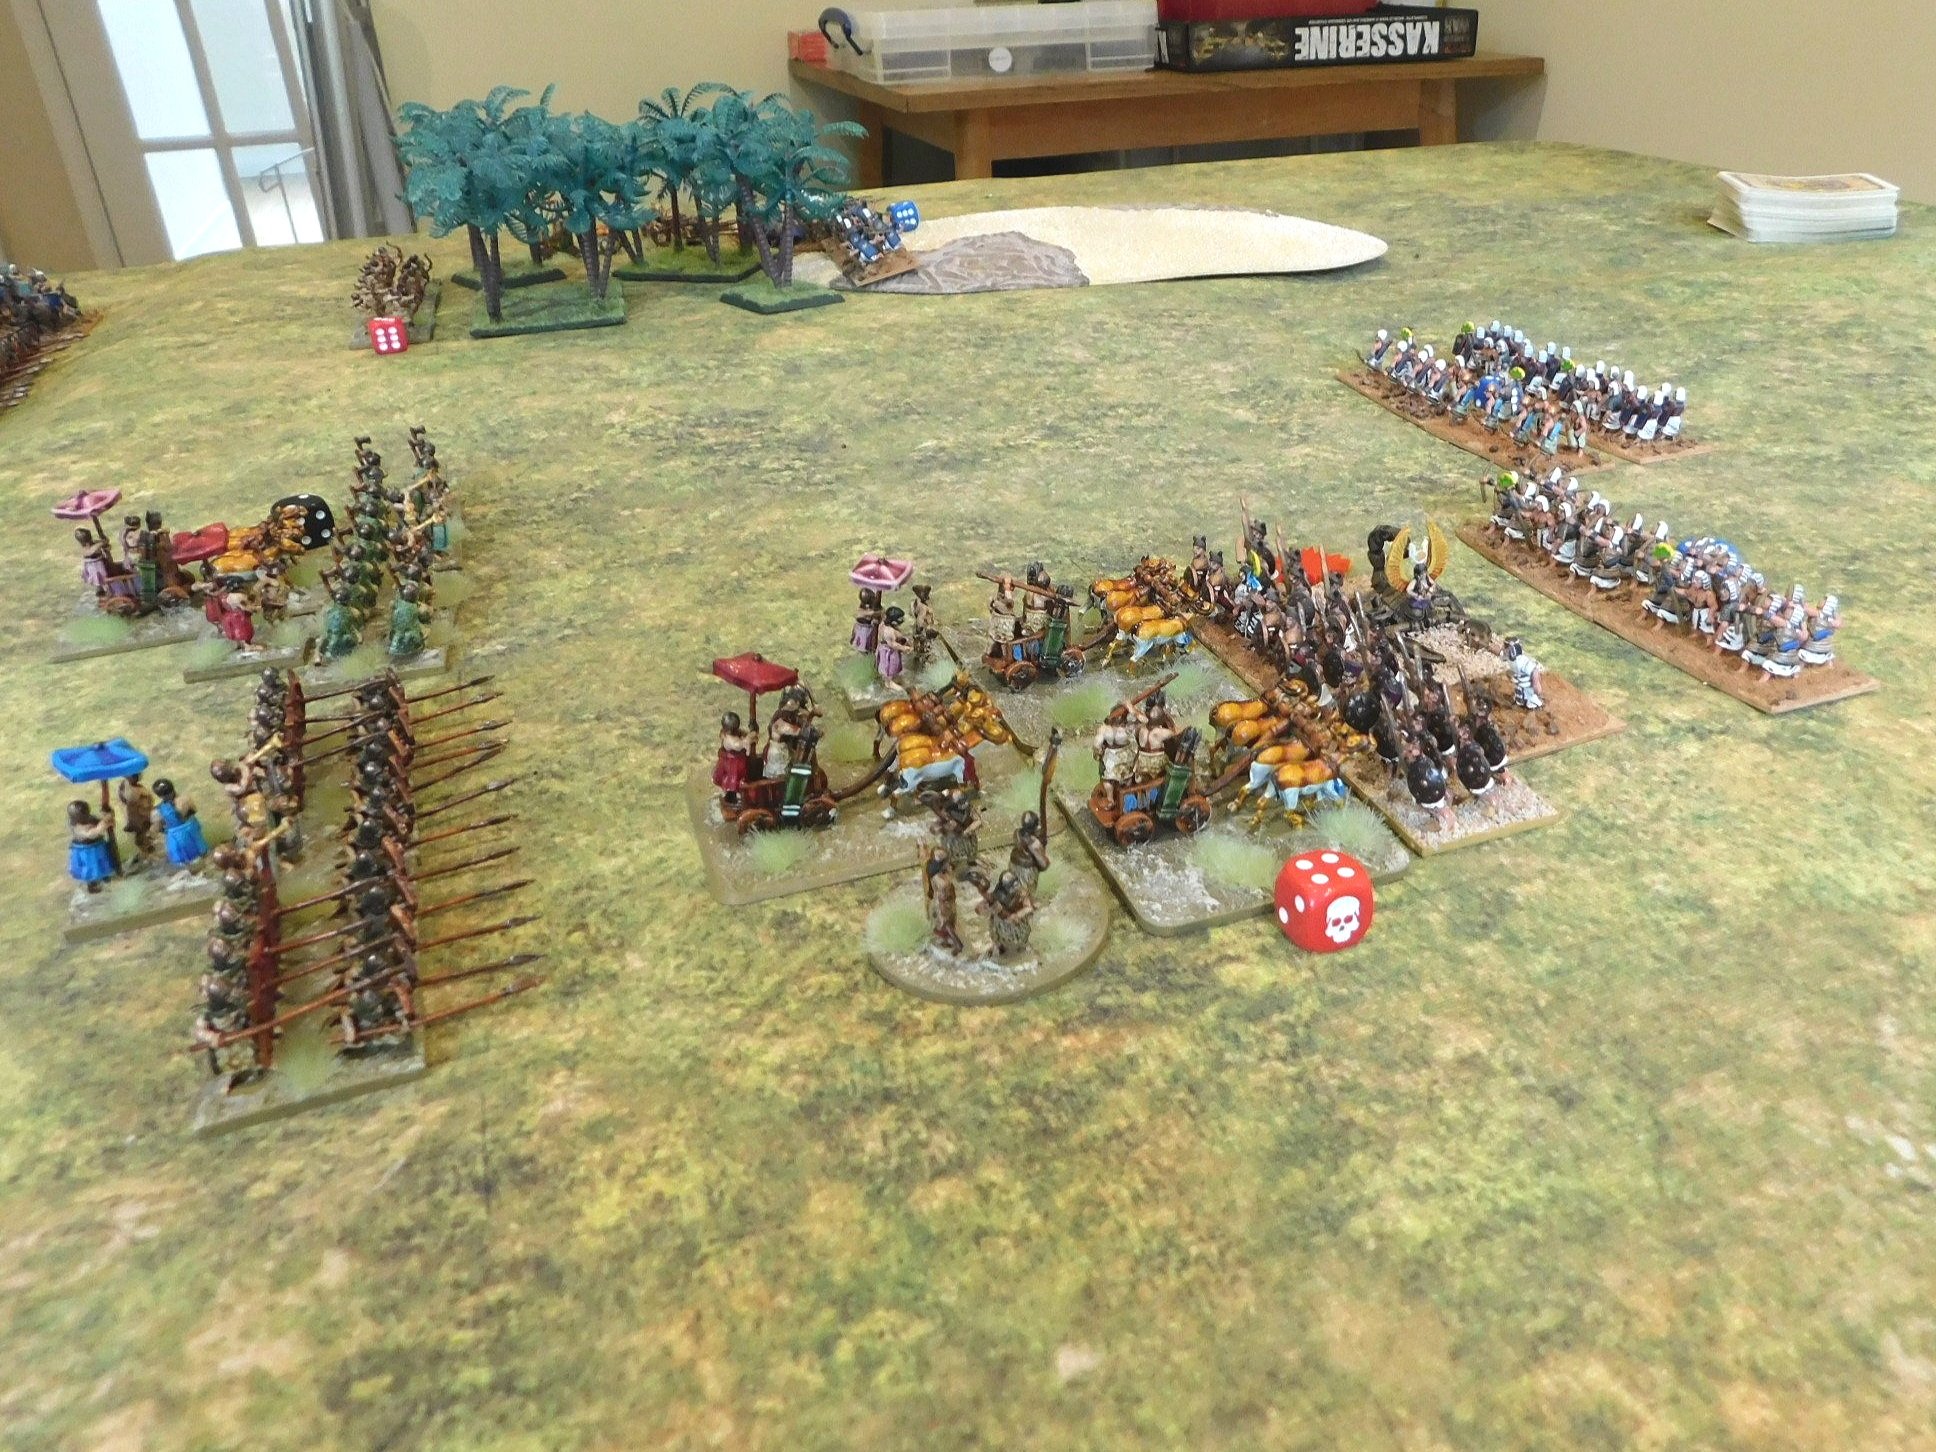
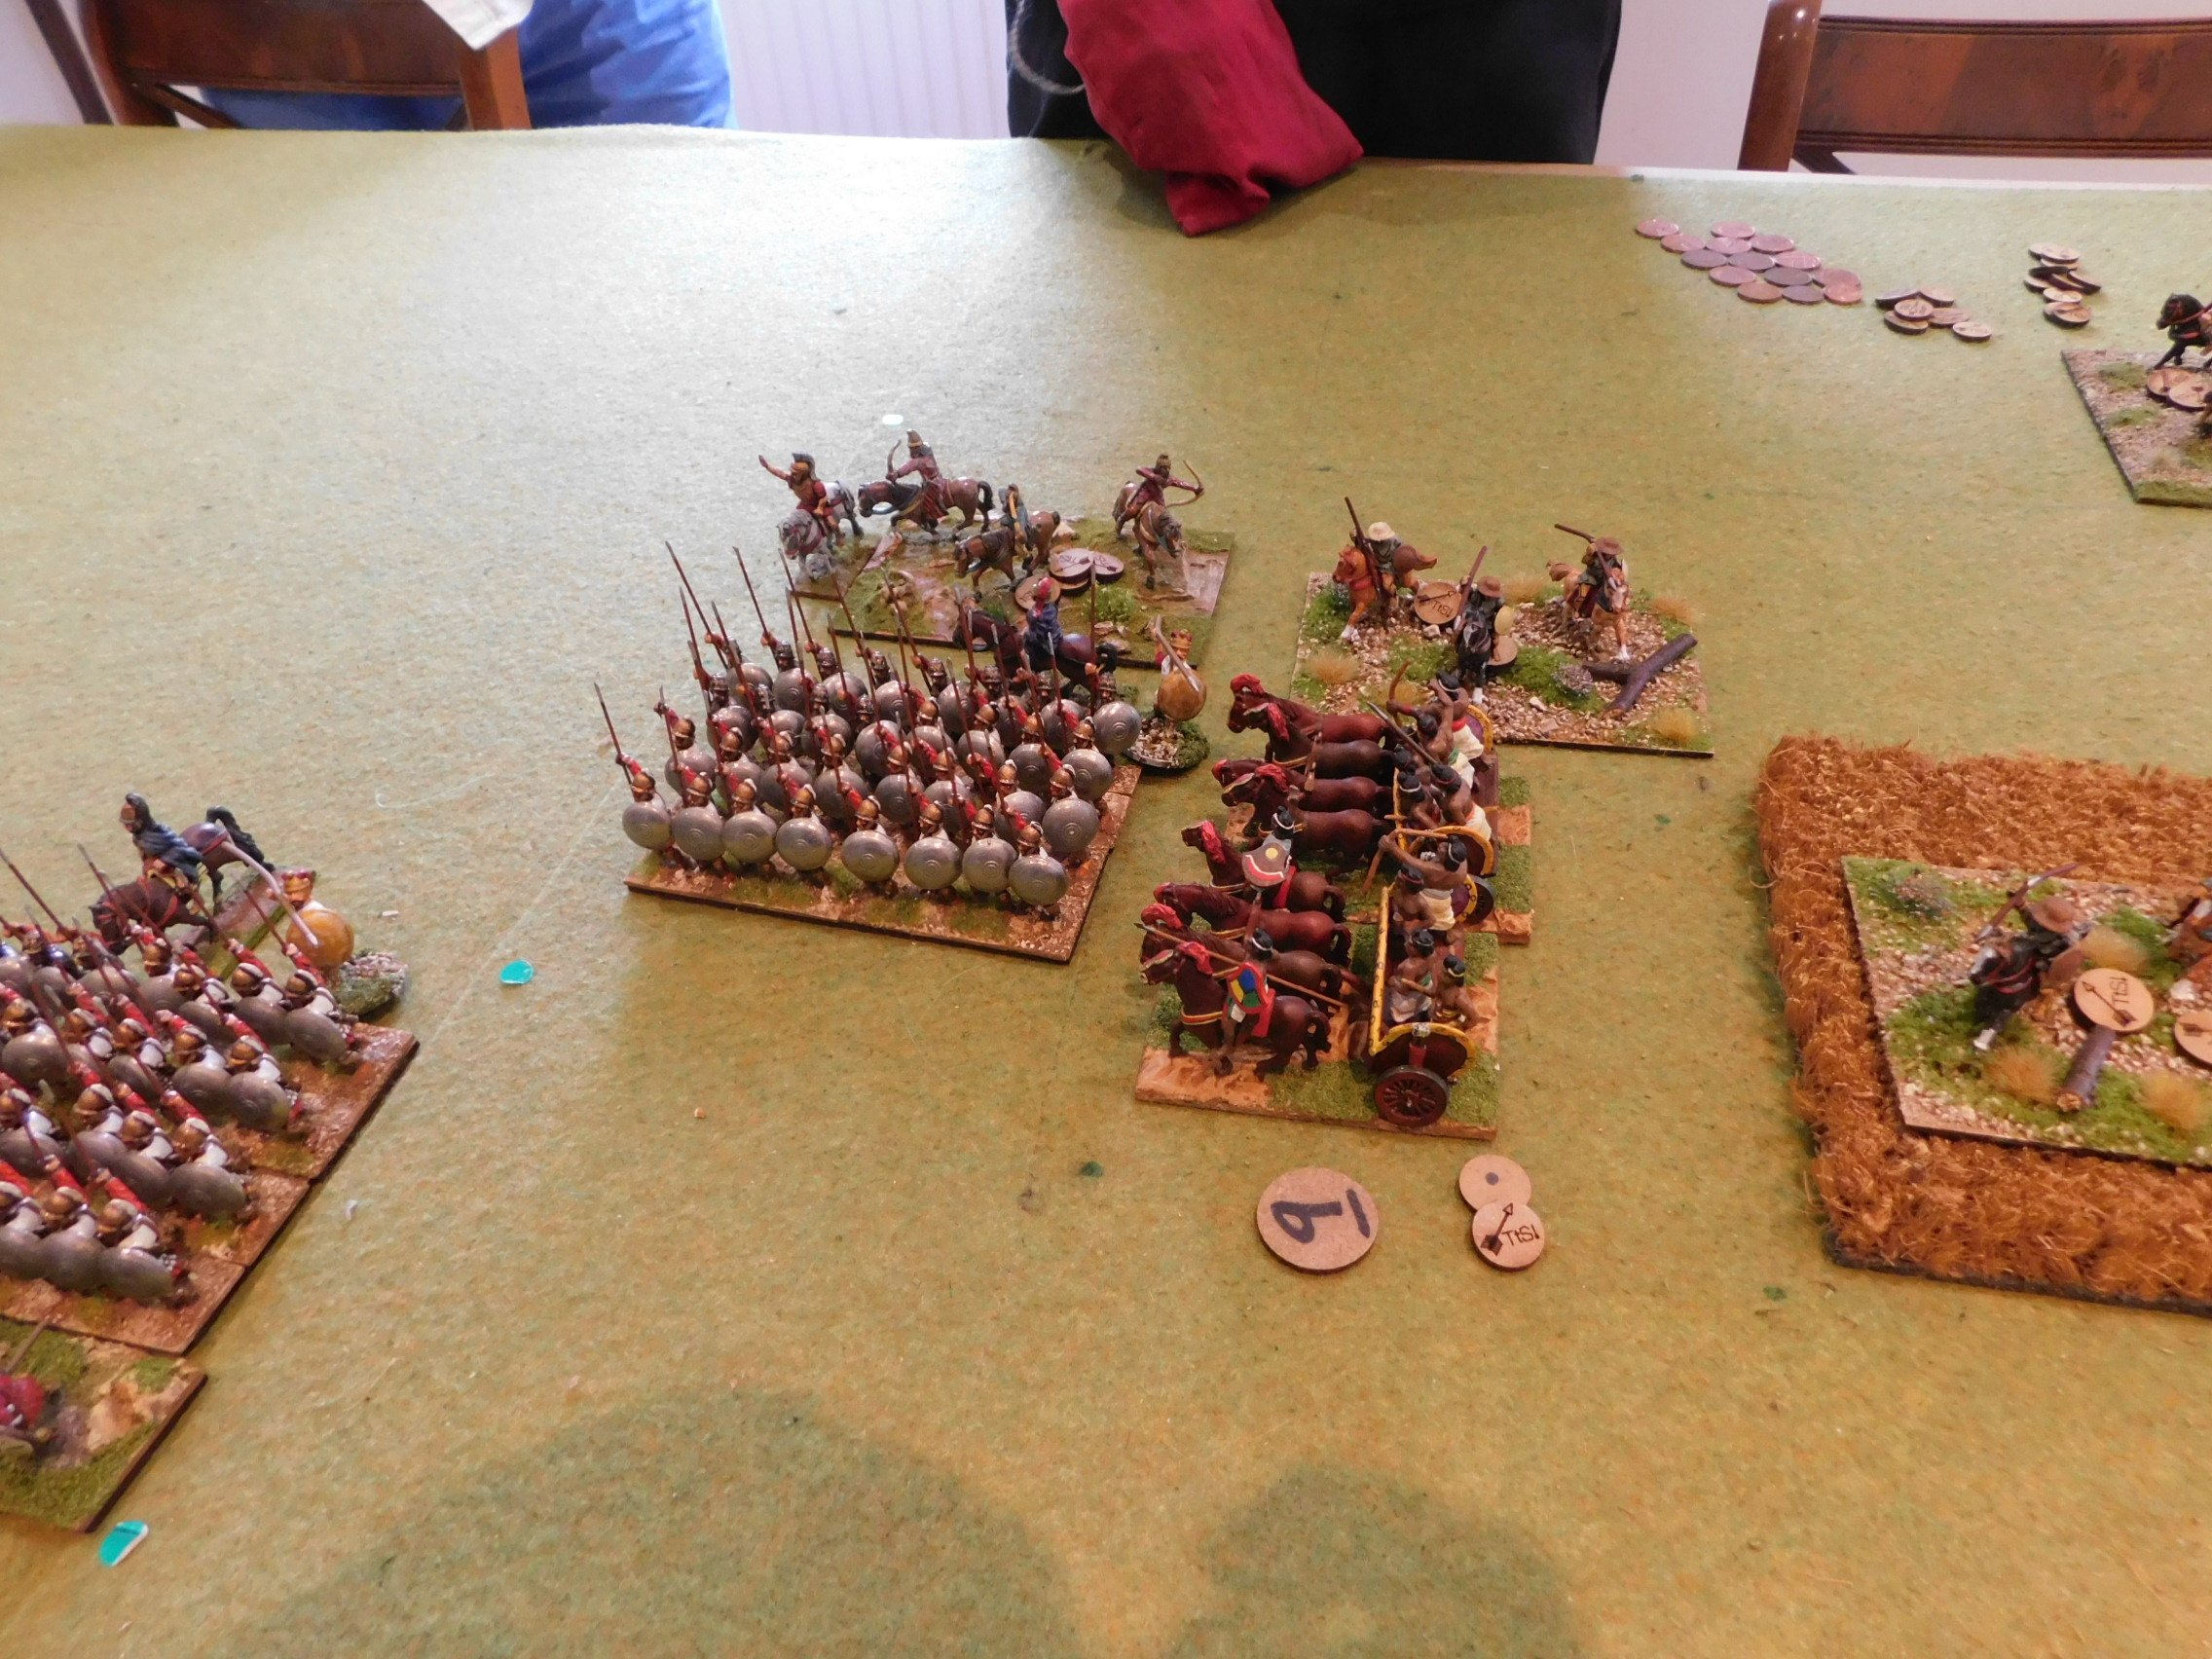
Chronological pictures of the game appear below, but it’s worth mentioning why I said “almost” above. My heavy chariots did indeed thunder forward on the left most impressively, but then ran into bother facing a couple of raw units of Indian javelinmen. I sent some Household Infantry to help, and they got into trouble as well!

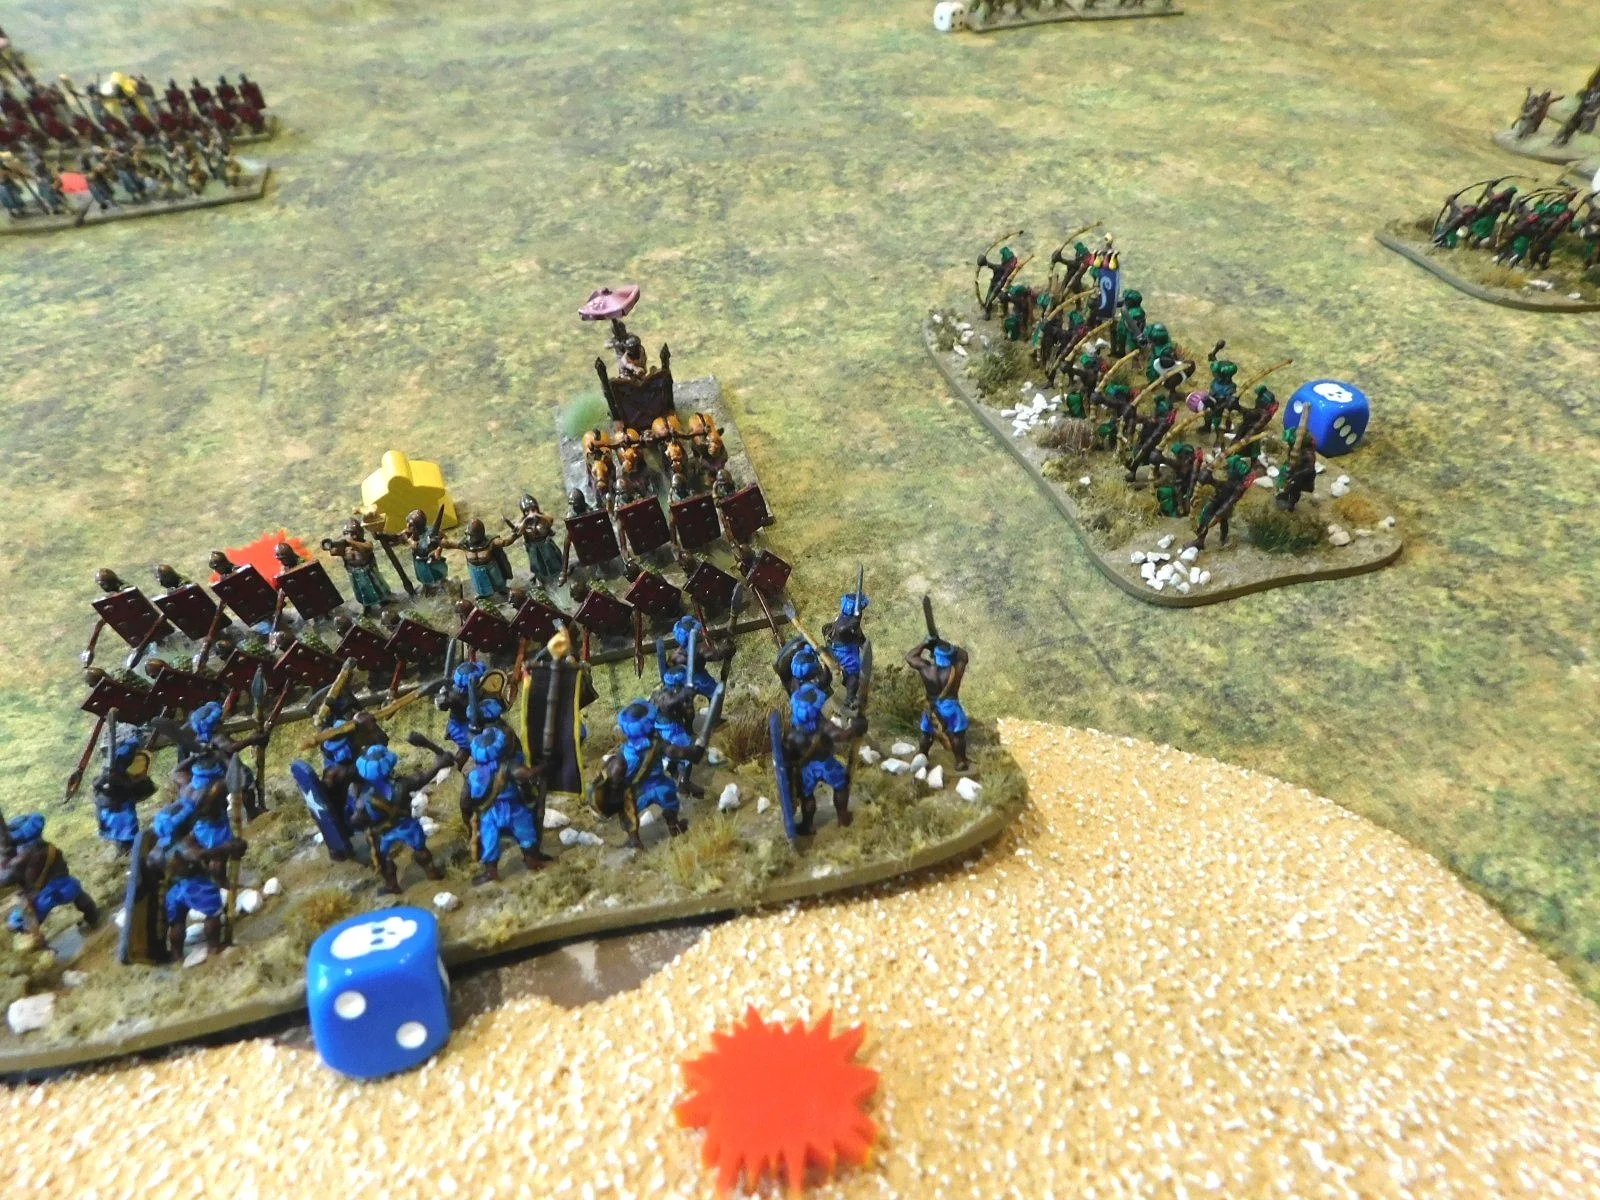
Unbelievably, the only thing that saved the day was the unit of Nim skirmishers in the rough ground (the unit with the die with ‘1’ on it in the picture above) who not only resisted every attempt of the Indian javelinmen to evict them from said rough ground, but went on to use their javelins to wipe them out as well!

Their success held my left flank together and allowed me to win the battle in the centre and on the right.

So a relatively workmanlike victory for the Akkadians. Here are the pics:

One thing to note: figures for both sides come from the Museum Miniatures CAD-designed Z ranges: highly recommended.

TTS AAR: Sassanids Win Three Out Of Three

So with Bevan having defeated me twice in quick succession, it was my turn to take the Persians and his to take the Gauls.

Having watched the master at work, I knew that the best tactics were just to get forward as fast as possible, get my horse archers shooting quickety-quick, and charge home with the heavies as soon as I got the opportunity!

The terrain forced the action into three separate channels: the left past the woods, the centre, and the right past the woods.

On the left, two of my heavy units backed up by the elephants faced the Gauls’ three main cavalry units. The heavies quickly chewed through the more likely armed Celts, but the elephants had to divert to protect the rear from a marauding Gallic warband. These Gauls weren’t up to much snuff, however, and the elephants quick sent them packing.

On the other flank, I used another unit of heavies and some horse archers to quickly dispatch his final unit of horse: things weren’t going too badly at all!

Regular readers will know that usually when I say that, it presages an immediate reversal of fortunes and a catastrophic defeat…but not this time.

The two centres clashed, and I scored an immediate success as a unit of veteran clibanarii smashed an enemy warband off the table!

My line wasn’t (unfortunately!) a solid wall of heavy cavalry, so Bevan pushed forward hard at the sections held only by horse archers. These naturally danced backwards, which was fine except for the fact that it meant that the Gallic warbands concerned now had a chance of taking my camps.

One of the good things about having a cavalry army, however, is its ability to move rapidly around the table, including to head backwards to head off travel.

As one of my heavy units headed for the Gallic camp, another headed straight into the rear of one of the warbands threatening my camps. The hit was, as you might imagine, devastating: the warband shattered and I had won the game!

So one game back for me, making the day two for Bevan and one for me…but three-to-nothing for the Sassanids.

This must make them one of the best armies under the To The Strongest system, at least where the battlefield is fairly open. Must be time to re-base the Sassanid infantry as well then!

TTS AAR: Gauls vs Sassanids - the Re-Match

Having been sliced and diced in under and hour in our first game, the Gauls had plenty of time for a re-match against the Sassanids. Bevan and I played the same sides again: me taking the brave and heroic Celtic underdogs again, him taking the Persians.

Both sides set up in a fairly similar fashion as last time, although the Gauls did split their cavalry between the two wings rather than concentrating on just the one.

As the game opened, once again the Sassanids shot forward rapidly, effectively clearing half the battlefield before the poor Celts had even had time to finish their croissants.

Out in front were the two wings of each army, and the first action was therefore clashes on the left and right.

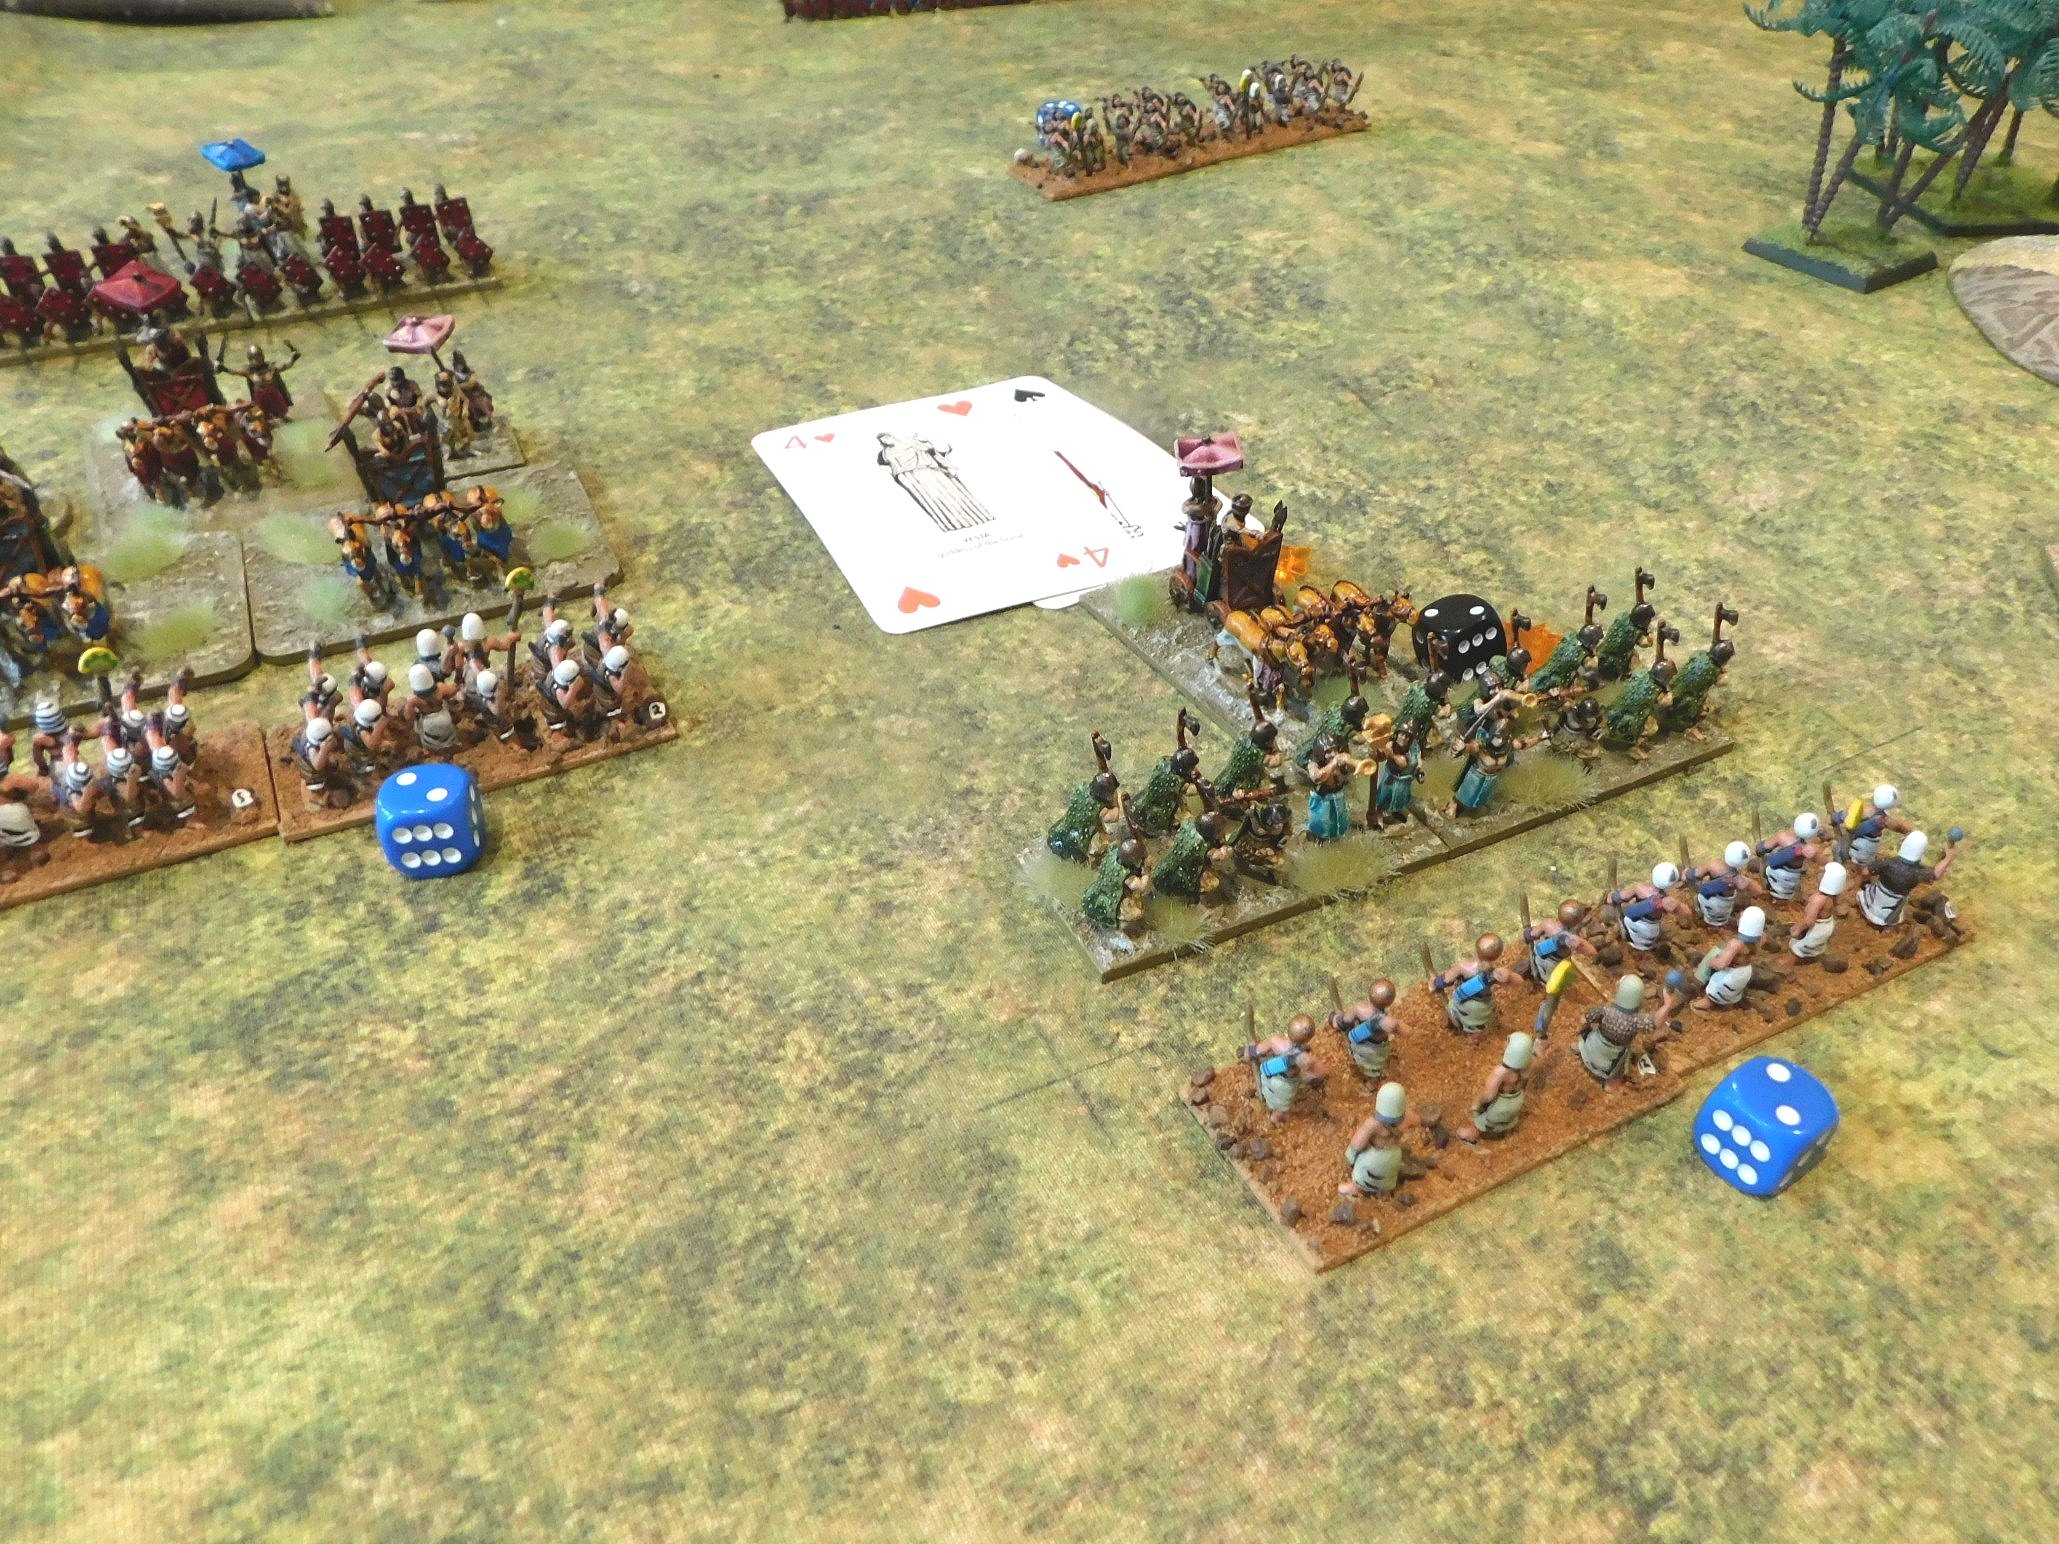
On the left, two units of Celtic horse (the third had hung back for some reason) faced a unit of Sassanid Clibanarii and, led by a Boudicca type in her chariot, smashed the first unit from the field. They then went on to engage a second unit behind and quickly disordered them too. Yes they disordered themselves in the process, but things were certainly looking promising on the left!

On the right, I also achieved what I saw as an advantage: another cavalry unit and some Gaeseti fanatics effectively got the drop on another lot of clibanarii, getting a two-on-one advantage, and although some horse archers had slipped through my line, things looked promising here too.

Meanwhile, in the centre, my main group of warbands had hit the enemy line (a combination of horse archers and heavies) and pushed it back. Okay, the horse archers were evading away rather than being broken, but his camps were soon in sight, and they were worth a lot of victory medals!

Although I had taken some casualties, I was on the cusp of victory: all I had to do was survive the next, Sassanid, turn, and I would presumably finish off one or two enemy units, take his camps, and therefore win the game.

As you may already have been guessing, the salient part of that last paragraph was “all I had to do”!

Although Boudicca survived another round of combat, my infantry units heading for the Sassanid flanks were now hit in the flanks by those horse archers that had danced away from their advance. I wasn’t too bothered: deep warbands can soak up a lot of damage…but not, unfortunately, enough!

One was dashed from the field, the other disordered, effectively curtailing its advance next turn.

On the right, where my horse supported by infantry had been mullering his clibanarii, the fortunes of war suddenly turned against me. I went from two undamaged units facing a disordered enemy heavy cavalry unit to a lone, disordered warband facing two enemy units!

Finally, and to add insult to injury, that lone unit of horse archers that had slipped through my lines managed to get into my camp and ravage my Gallic baggage. That cost me three victory coins and the game!

I had, however, actually come quite close to winning the game, and had certainly lasted longer than last time!

Even better, next game it was my turn to run the Sassanids!

TTS AAR: Gauls versus Sassanids

Having re-based all my Sassanids, I couldn’t wait to get them onto the tabletop…and fortunately friend Bevan was available to help me do so.

The real question was who to pitch them against: the Sassanids are one of the most successful armies under the To The Strongest system: the combination of horse archers and chunky lancers giving everyone except a similar army real problems. I eventually decided upon the Gauls as suitable opponents: lots of big warbands that could soak up damage, not as fragile as the Ancient Brits, and with some decent cavalry of their own. Chuck in some Gaeseti fanatics, and on paper it looked like it might be a good match.

On paper.

Despite the fact that I had re-based the Sassanids, I elected to take the Gauls first time round. Outscouted, I decided to put all my cavalry on one wing: probably a mistake as that allowed Bevan to get his elephants opposite my horse…and if there’s one thing Gallic horse don’t like, it’s the look and smell of nellies!

The Sassanids opened proceedings by sprinting up the battlefield towards my line. Most unusually, the elephants shot out in front of the already fast-moving Sassanid line and stomped into the forest that I had thought I might use to protect my flank.

This looked like a good opportunity to me, so I sent a unit of Gaeseti fanatics into the woods to root the pachyderms out. Surely this was a couple of points I could secure before the rest of his line arrived.

Apparently not.

The elephants proved their worth and soon my fanatics were reeling backwards, with my CinC falling heroically in the melee!

Also on the left flank, the first charge of the Gallic cavalry versus the Sassanid cataphracts had taken place. Despite having the initiative, my horse had failed to dent the armoured horsemen at all, and another of my generals died!

Worse, some enemy Clibanarii were working their way down the flank and needed to be dealt with before they got into my rear!

Meanwhile, on the right flank, I had taken possession of the hill in front of my line. My thinking was that I could soak up a bit of horse archer fire, rallying if necessary, and then be uphill when the enemy lancers went in.

This didn’t really work either, as the Sassanid horse archers were having a very good day, and soon my two warbands looked like pincushions…and, you guessed it, I lost a third general!

So thirty minutes into the game, the situation looked like this:

The Gauls look pretty solid, but that’s an illusion. Next turn, the Gaeseti got mullered by the elephants, the lead cavalry unit got smashed off the table by the cataphracts (foreground action in the pic above), and I also lost the unit of cavalry next to the fanatics and one of the warbands on the hill. That, plus the three officers, was it: I was out of victory medals and out of the game!

Horrendous: Bevan had expertly sliced and diced the Gauls and served them for Sassanid tea!

AAR TTS: Trialing the Massed Light Rule

Bevan and I manged to squeeze in a quick game of To The Strongest last week. Choice of sides was up to me, so I decided to test out the new-ish massed lights rule (where two light units can join forces and keep most of the characteristics of a light unit but be a bit tougher in combat) by fielding my New Kingdom Egyptians. Against them Bevan would take the newly slimline Akkadians: their deep spear units being reduced to normal size under the latest incarnation of the army lists.

I deployed my infantry in the centre, with two strong chariot-based units on either wing. My plan was to use my superior missile fire to weaken his troops and then either smash his weakened centre with my foot, or have my chariots harass his flanks…and it almost worked!

On my left, Pharoah himself led his veteran chariots forward. They shot loads of arrows at the enemy but failed to make any impression: there was obviously something wrong with their bow strings that day!

They then spent the rest of the battle being slowly pushed back or, in one case, sandwiched i.e. keeping the enemy’s right wing occupied, but not much else.

My right wing, however, did exactly what it was supposed to do. Quickly disposing of some light infantry, one unit of chariots swept around the flank of an enemy spear unit and drove it from the table. The other chariot unit skirmished with another enemy spear unit until it was sufficiently wounded, and then charged in and finished it off.

Great success, but the fact that I was hitting only on an “8” (light units remember) meant that it had taken more time than I had anticipated to achieve what I had done. One unit of chariots was also now quite a long way from the action, although the other was in a position to strike a commanding blow by taking the enemy’s camp.

Unfortunately, the cards failed me at the last minute and I ended up one square short (photo: right, above). The other chariot unit, or perhaps a unit of light infantry, also missed charging into the rear of an enemy spear unit in the centre by a similar margin. I would win the next turn, but could my centre hold out long enough for me to do so.

The simple answer was “no”. The Akkadian spear and axe units in the centre had been grinding forward and my mixed force of archers and spearmen just could not hold them. On Bevan’s next initiative he manged to break enough of my units to win the game just as I was poised to do the same to him!

So another great game of TTS. Looking at that last turn, I had four chances to take Victory Medals, two of which I needed to make happen in order to win the game. In the event, none of the four came off: by such slim margins are the fortunes of war decided!

AAR TTS: Classical Indians vs Alexandrian Macedonians: The Big One!

The final game of our To The Strongest battle day was a double-sized game with two players and 260 points per side. Si and I would take the Classical Indians again, Peter and Cayden would take the Alexandrian Macedonians.

One slight twist was that the results of the last four games were applied on top of the existing TTS points system to further balance the armies…and as the Macedonians had won three of the day’s four encounters so far, they had their Victory Medals (lose them all and you lost the game) reduced by a third.

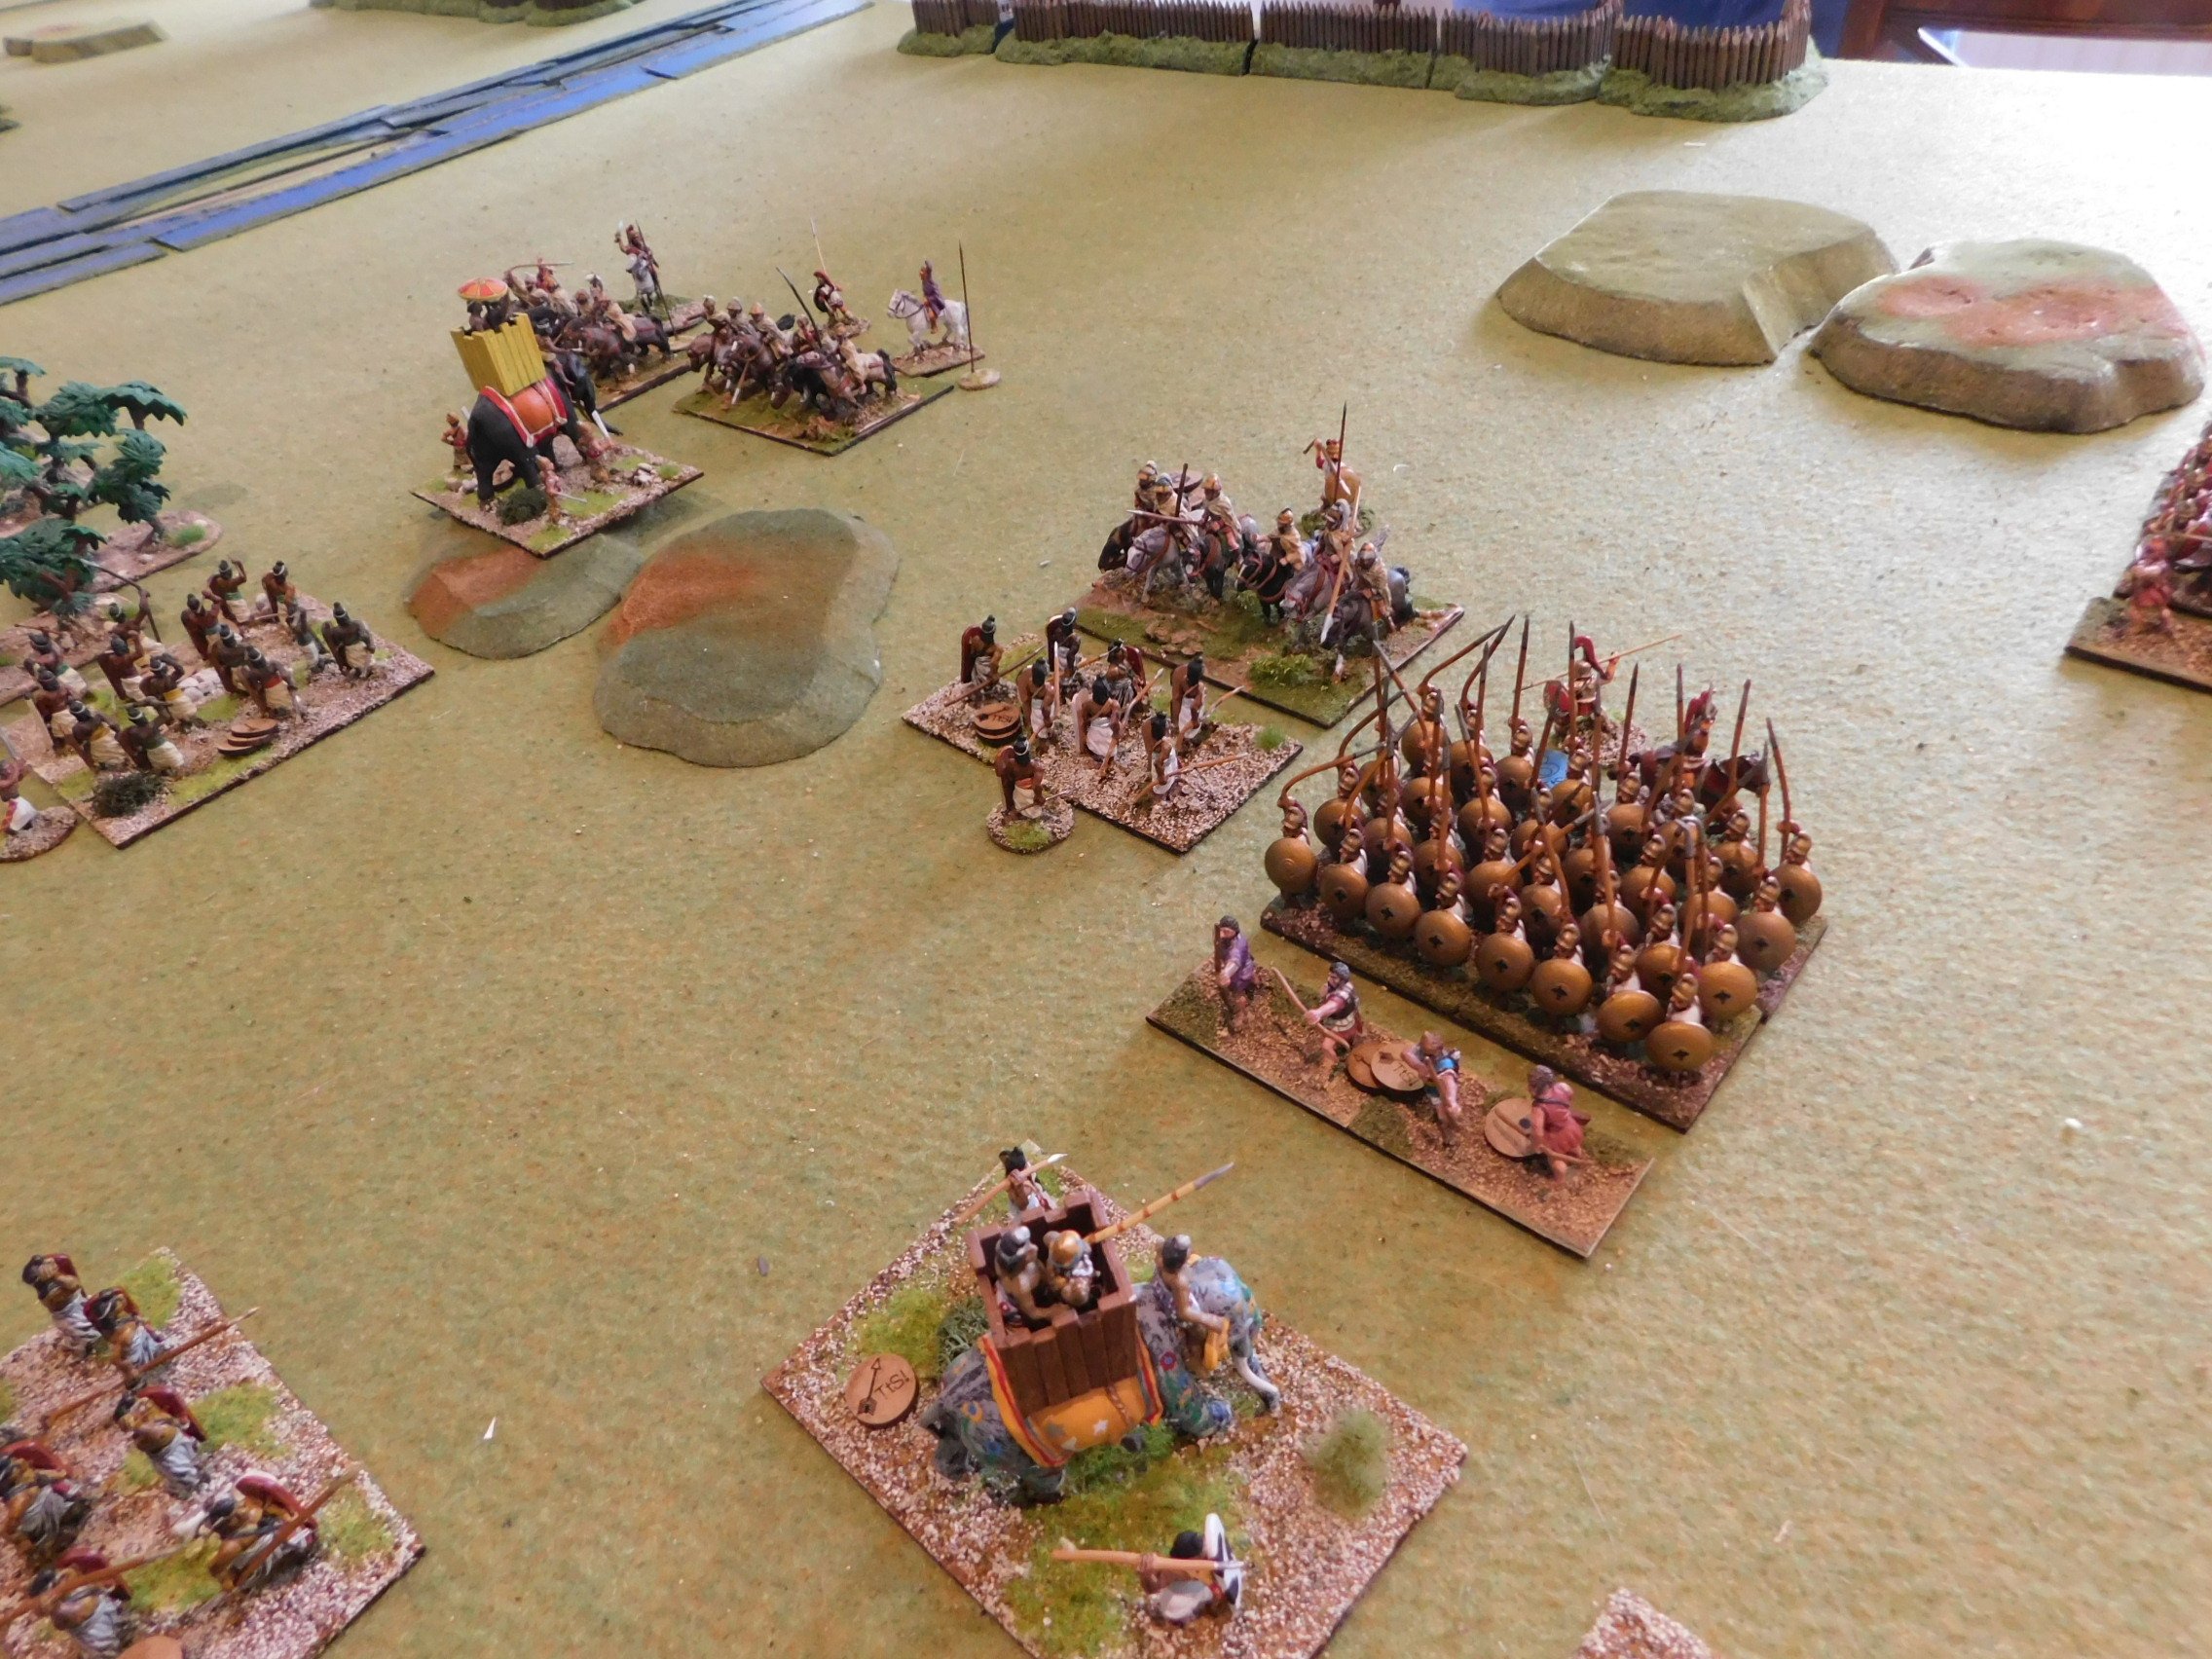
Si and I decided to try the same plan that had almost worked in an earlier game: our left flank (under me) would hang back and try and hold the enemy’s main attack with the Companions and Phalanx whilst our right flank (under Si) advanced quickly, brushed aside the lights in front of it, and curled around to hit the phalanx etc in the side.

That was the plan…but unfortunately it didn’t work. Although the left flank did some heroic work holding up the Companions (the new rules about Javelinmen in rough terrain being very useful), the various Macedonian Phalanxes proved pretty unstoppable in the left centre, and our troops on the right just couldn’t get into play fast enough.

So there you have it: despite even points and a bias on the Victory Medals, the Indians still lost, Over the course of the day, that made four out of five Macedonians victories: I guess there’s a reason Alexander conquered the known world!

AAR TTS: Alexandrian Macedonians vs Classical Indians

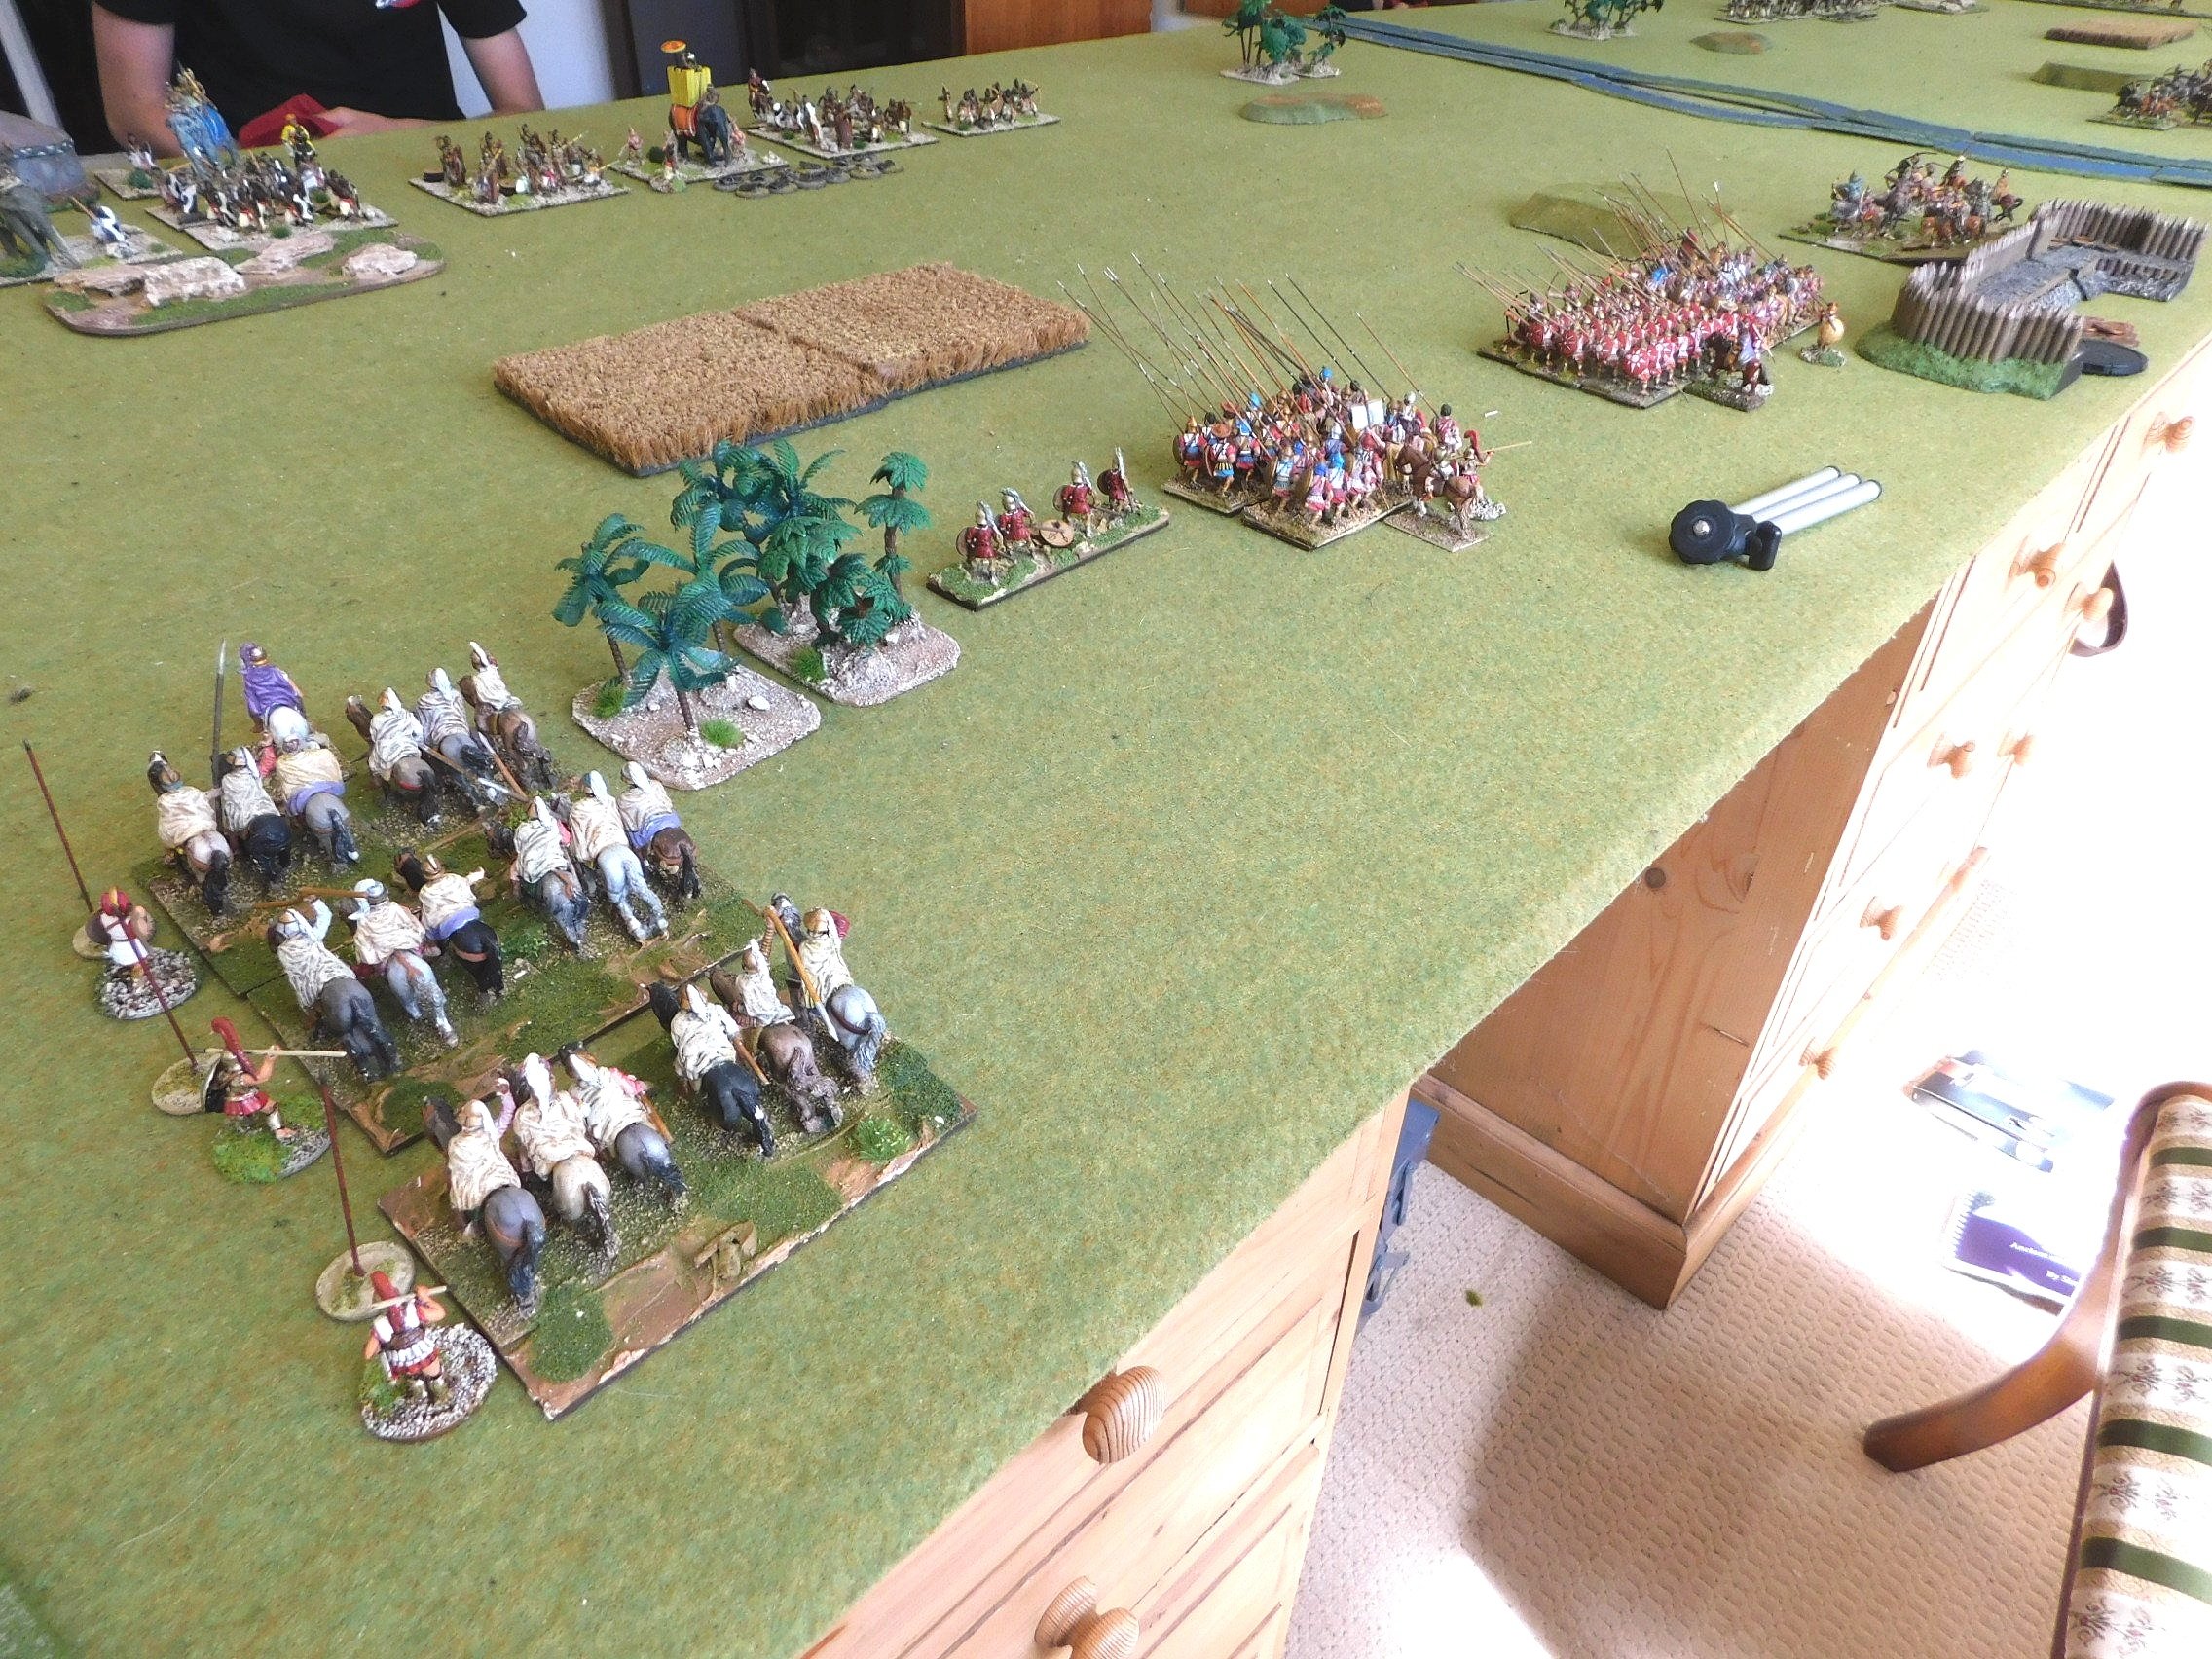
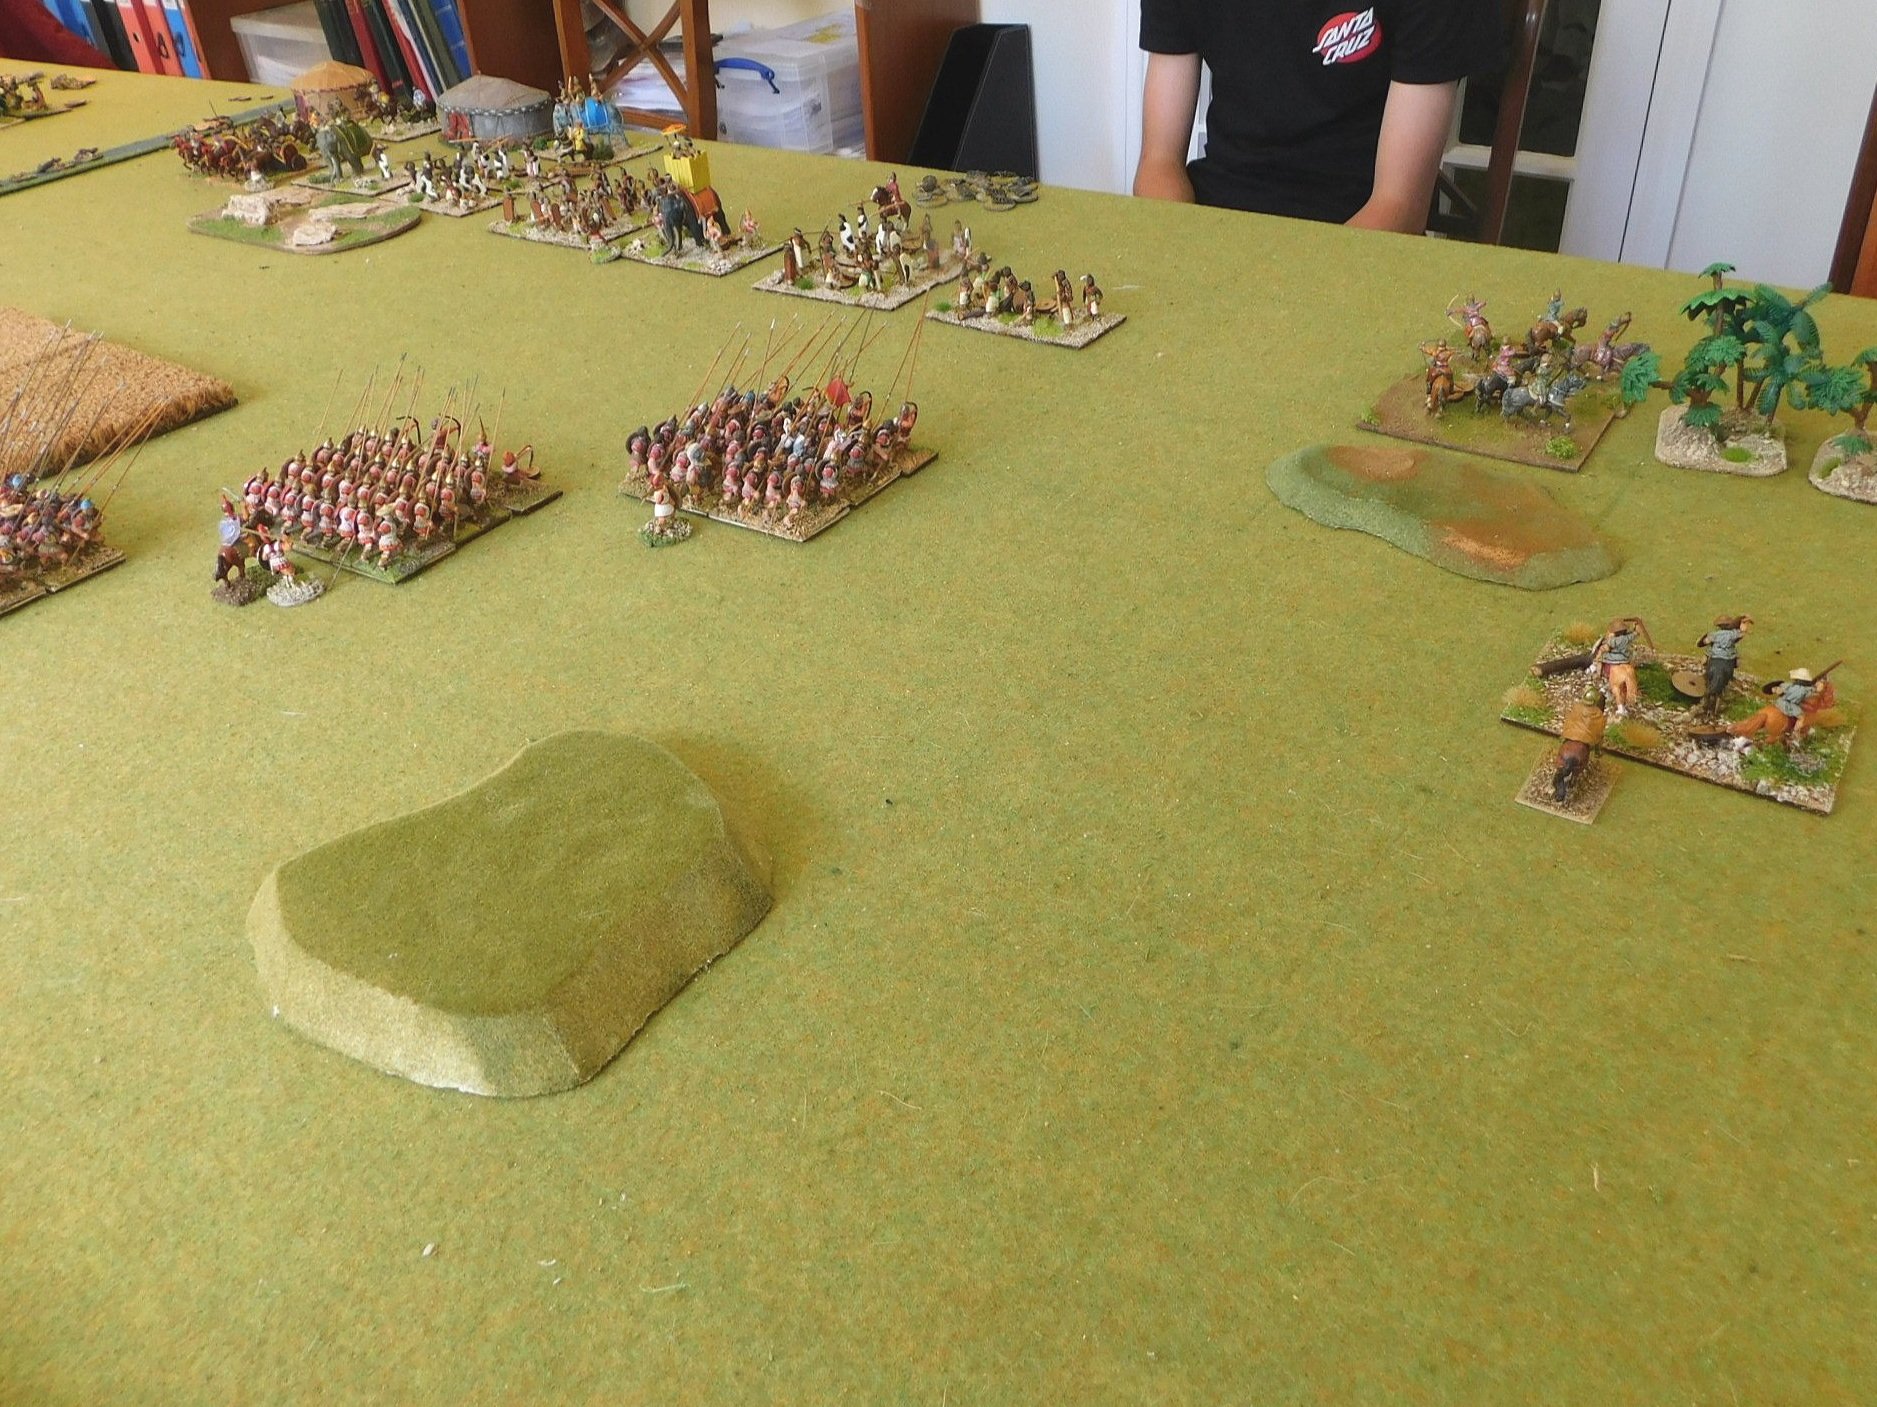
For the second encounter of the three-game marathon organised by Peter, I would take the Alexandrian Macedonians into battle against the Classical Indians.

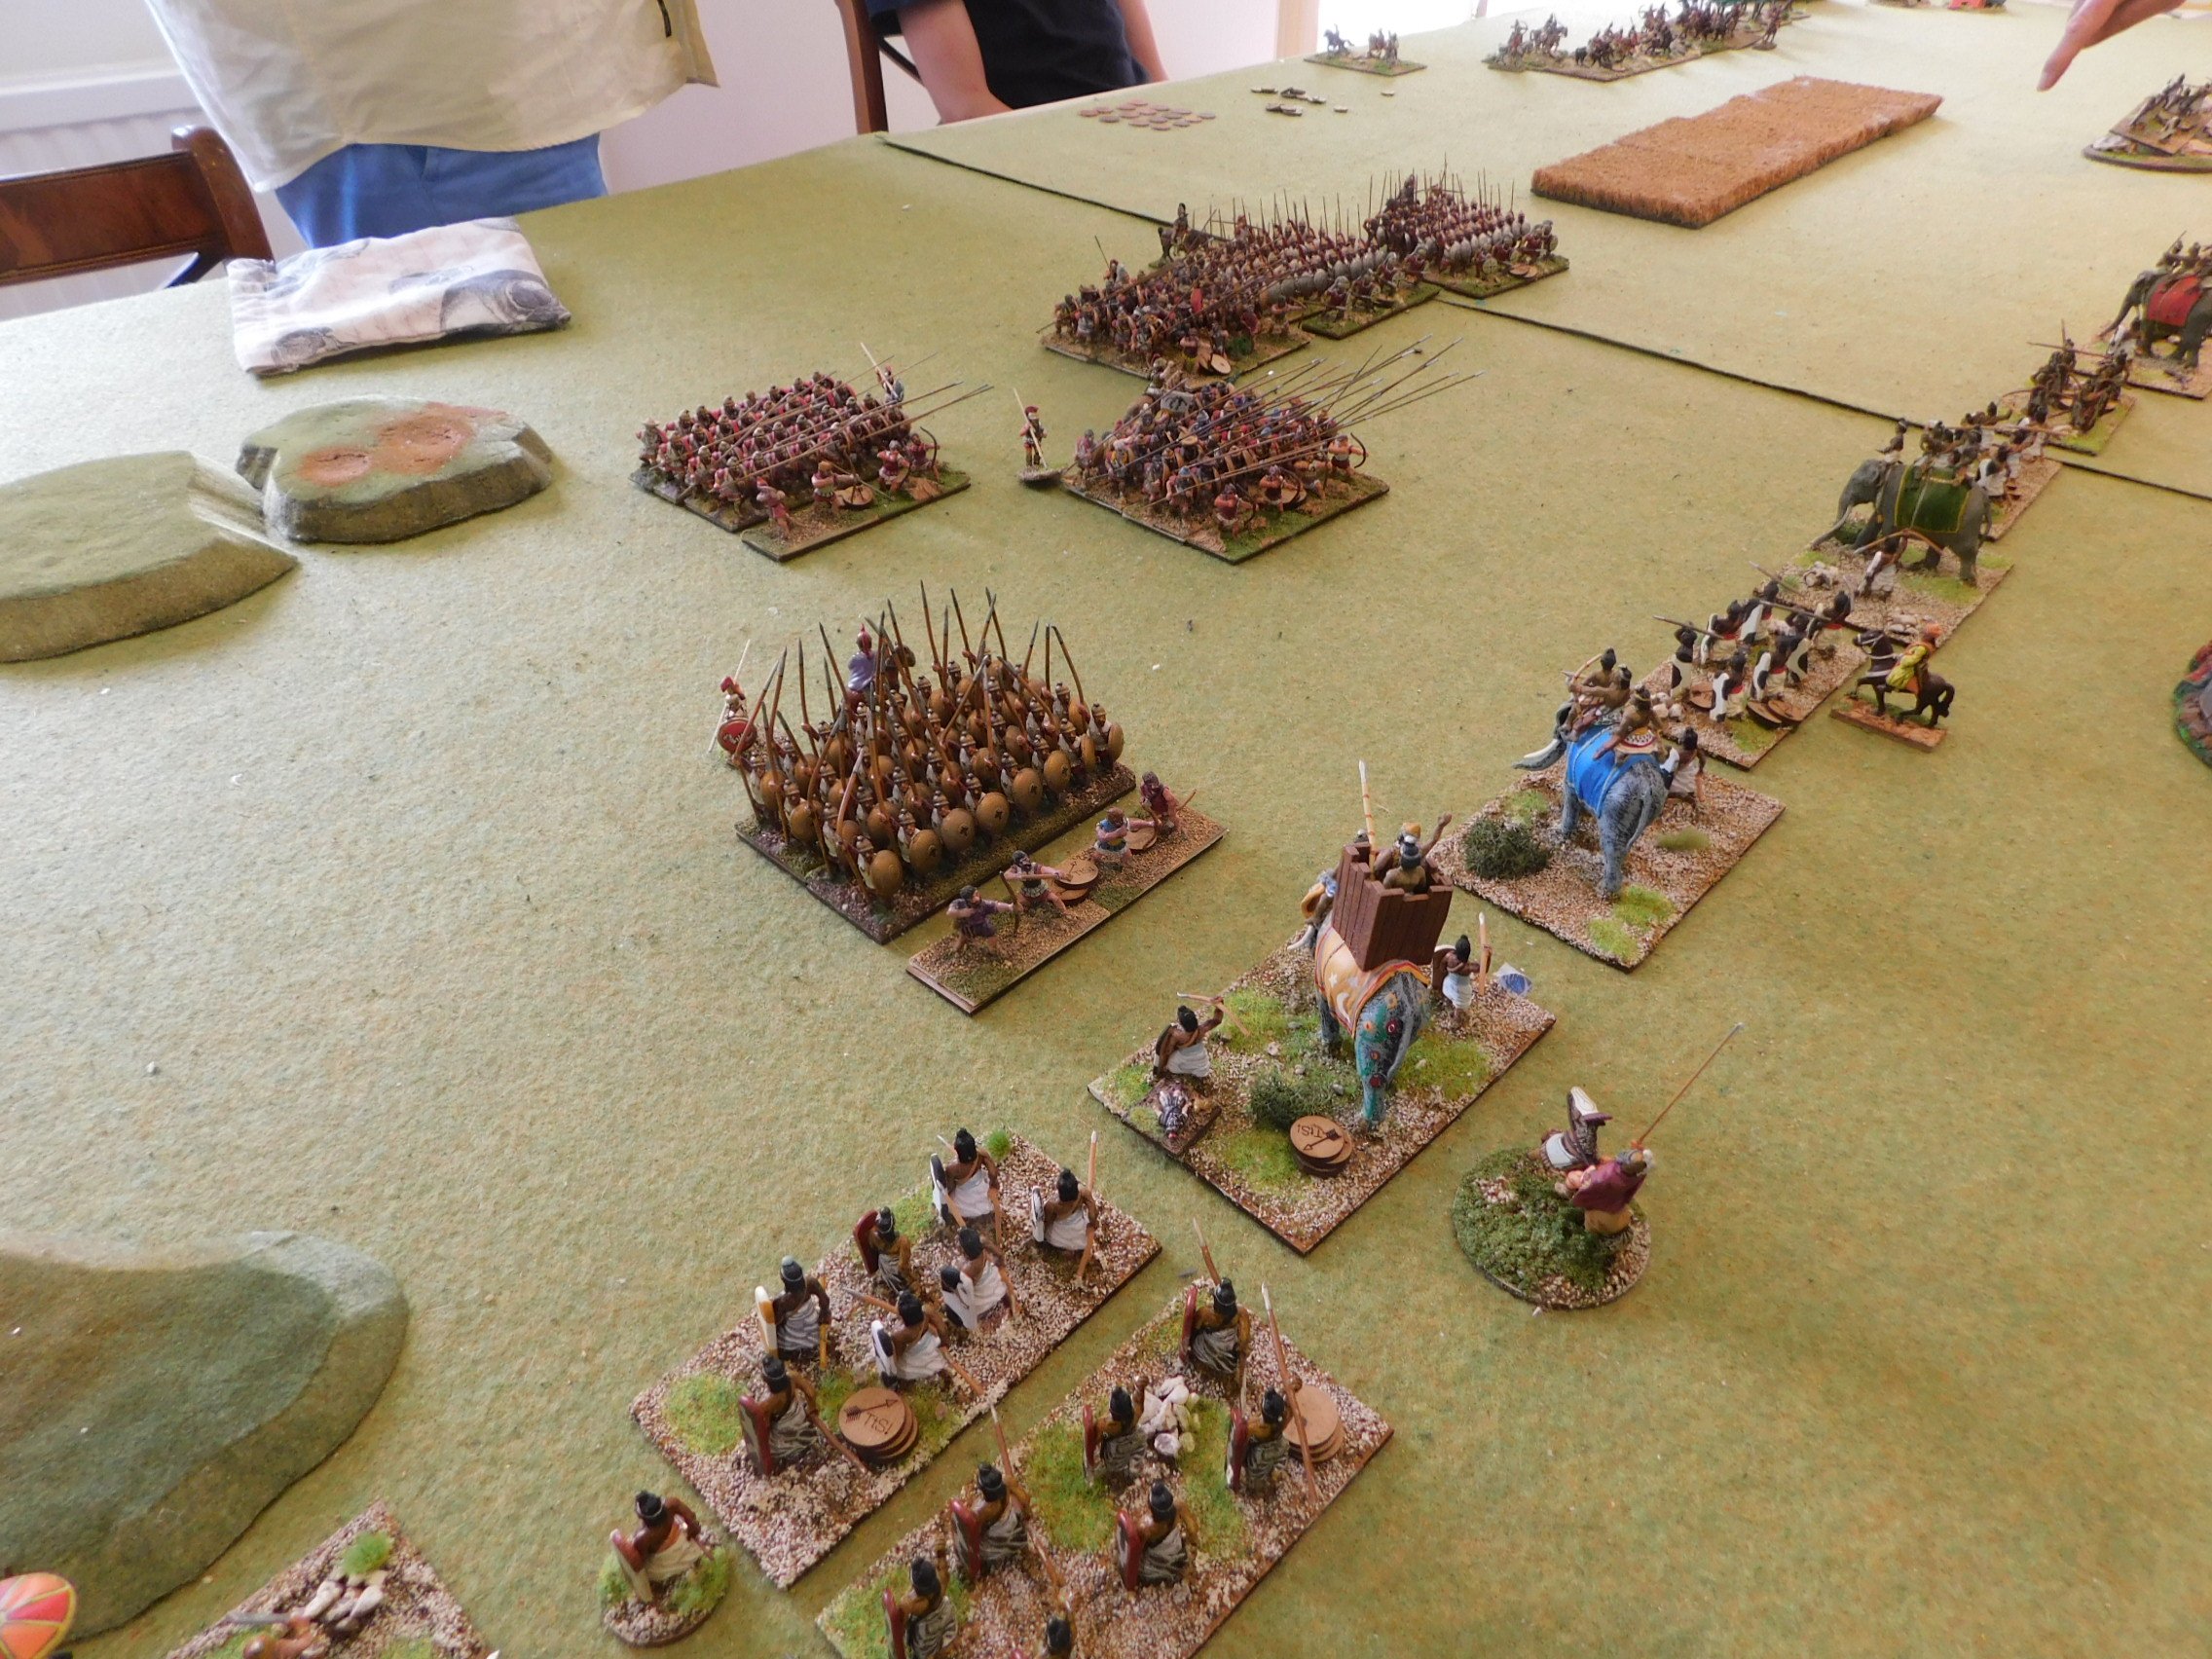
My opponent set up in a tight formation in the centre of the battlefield hoping, presumably to pepper me with arrows before we made contact. His right wing looked very strong, with his heavy chariots and some elephants facing off against my Companions, but his left wing…well it looked a big “hanging” to me!

I therefore placed my three units of horse archers way out on my right: their aim would be to swoop round and attack his left wing from the flank and rear.

Once the game had begun, I advanced in echelon: holding back my left whilst my horse archers sprinted for the other end of the table. My pike blocks moved forward as fast as they could and, admittedly, I got a bit lucky here: the phalangites trotted forward faster than expected and almost immediately threatened his front.

After that good start, the battle unfolded almost exactly to plan. The horse archers swept around his left flank and rear just as the two phalanx units hit his front, and his left flank crumbled.

I then brought forward my Companions to prevent his quality troops on the right from intervening, and then it was just a matter of letting things take their course. In the end I won a victory 12:2 i.e. I only lost a couple of light units.

French in Greatcoats...and in mail?

With the prospect of a big Napoleonics bash coming up I thought it a good time to get back to painting the horde (or should I say hoard!) of early period French that I have in the lead mountain.

My first three battalia were normal line infantry so, for a change, I went with greatcoated infantry for battalia number four. My reading tells me that it would be extremely unusual to see a whole battalia in greatcoats but, for one out of what I am sure will be many, I’m sure it doesn’t really matter.

There are from the AB Figures 18mm range again and, despite the slightly weird looking photograph, look rather spiffing in their long coats. I painted three different colours of greatcoat: most of them are pale grey, some are dark grey, and some are light brown.

As you can see, I also took the opportunity to paint up the first brigade’s officer as well, although I should have turned the base a little as the hat on the rifle held up by his infantryman companion is right in front of his face. That’s why you pay lots of money to a stylist when you’re doing a photoshoot!

Normans!

And why am I so keen to bring the lead mountain down?

Regular readers will know that this year I have promised myself that I can only buy new stuff if I first paint some lead mountain lurkers. It’s a pretty pathetic attempt to instil some discipline into my project management process!

So, as I said, why am I so keen to bring the lead mountain down?

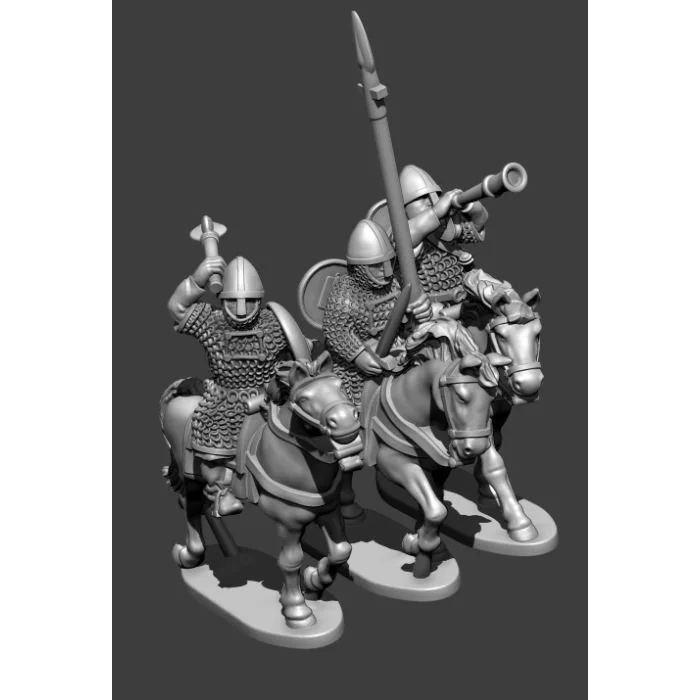
Well, those very clever people at Museum Miniatures have just launched their new CAD range: 15mm Normans. Haven’t seen any figures in the flesh yet (or should that be “in the metal”?) but the designs look epic…and if these are as good as the Sumerians, Indians, Persians and Greeks they’ve done before, then they are going to be a very welcome addition to my collection.

Here are some pics: