TTS Battle Day Game 3

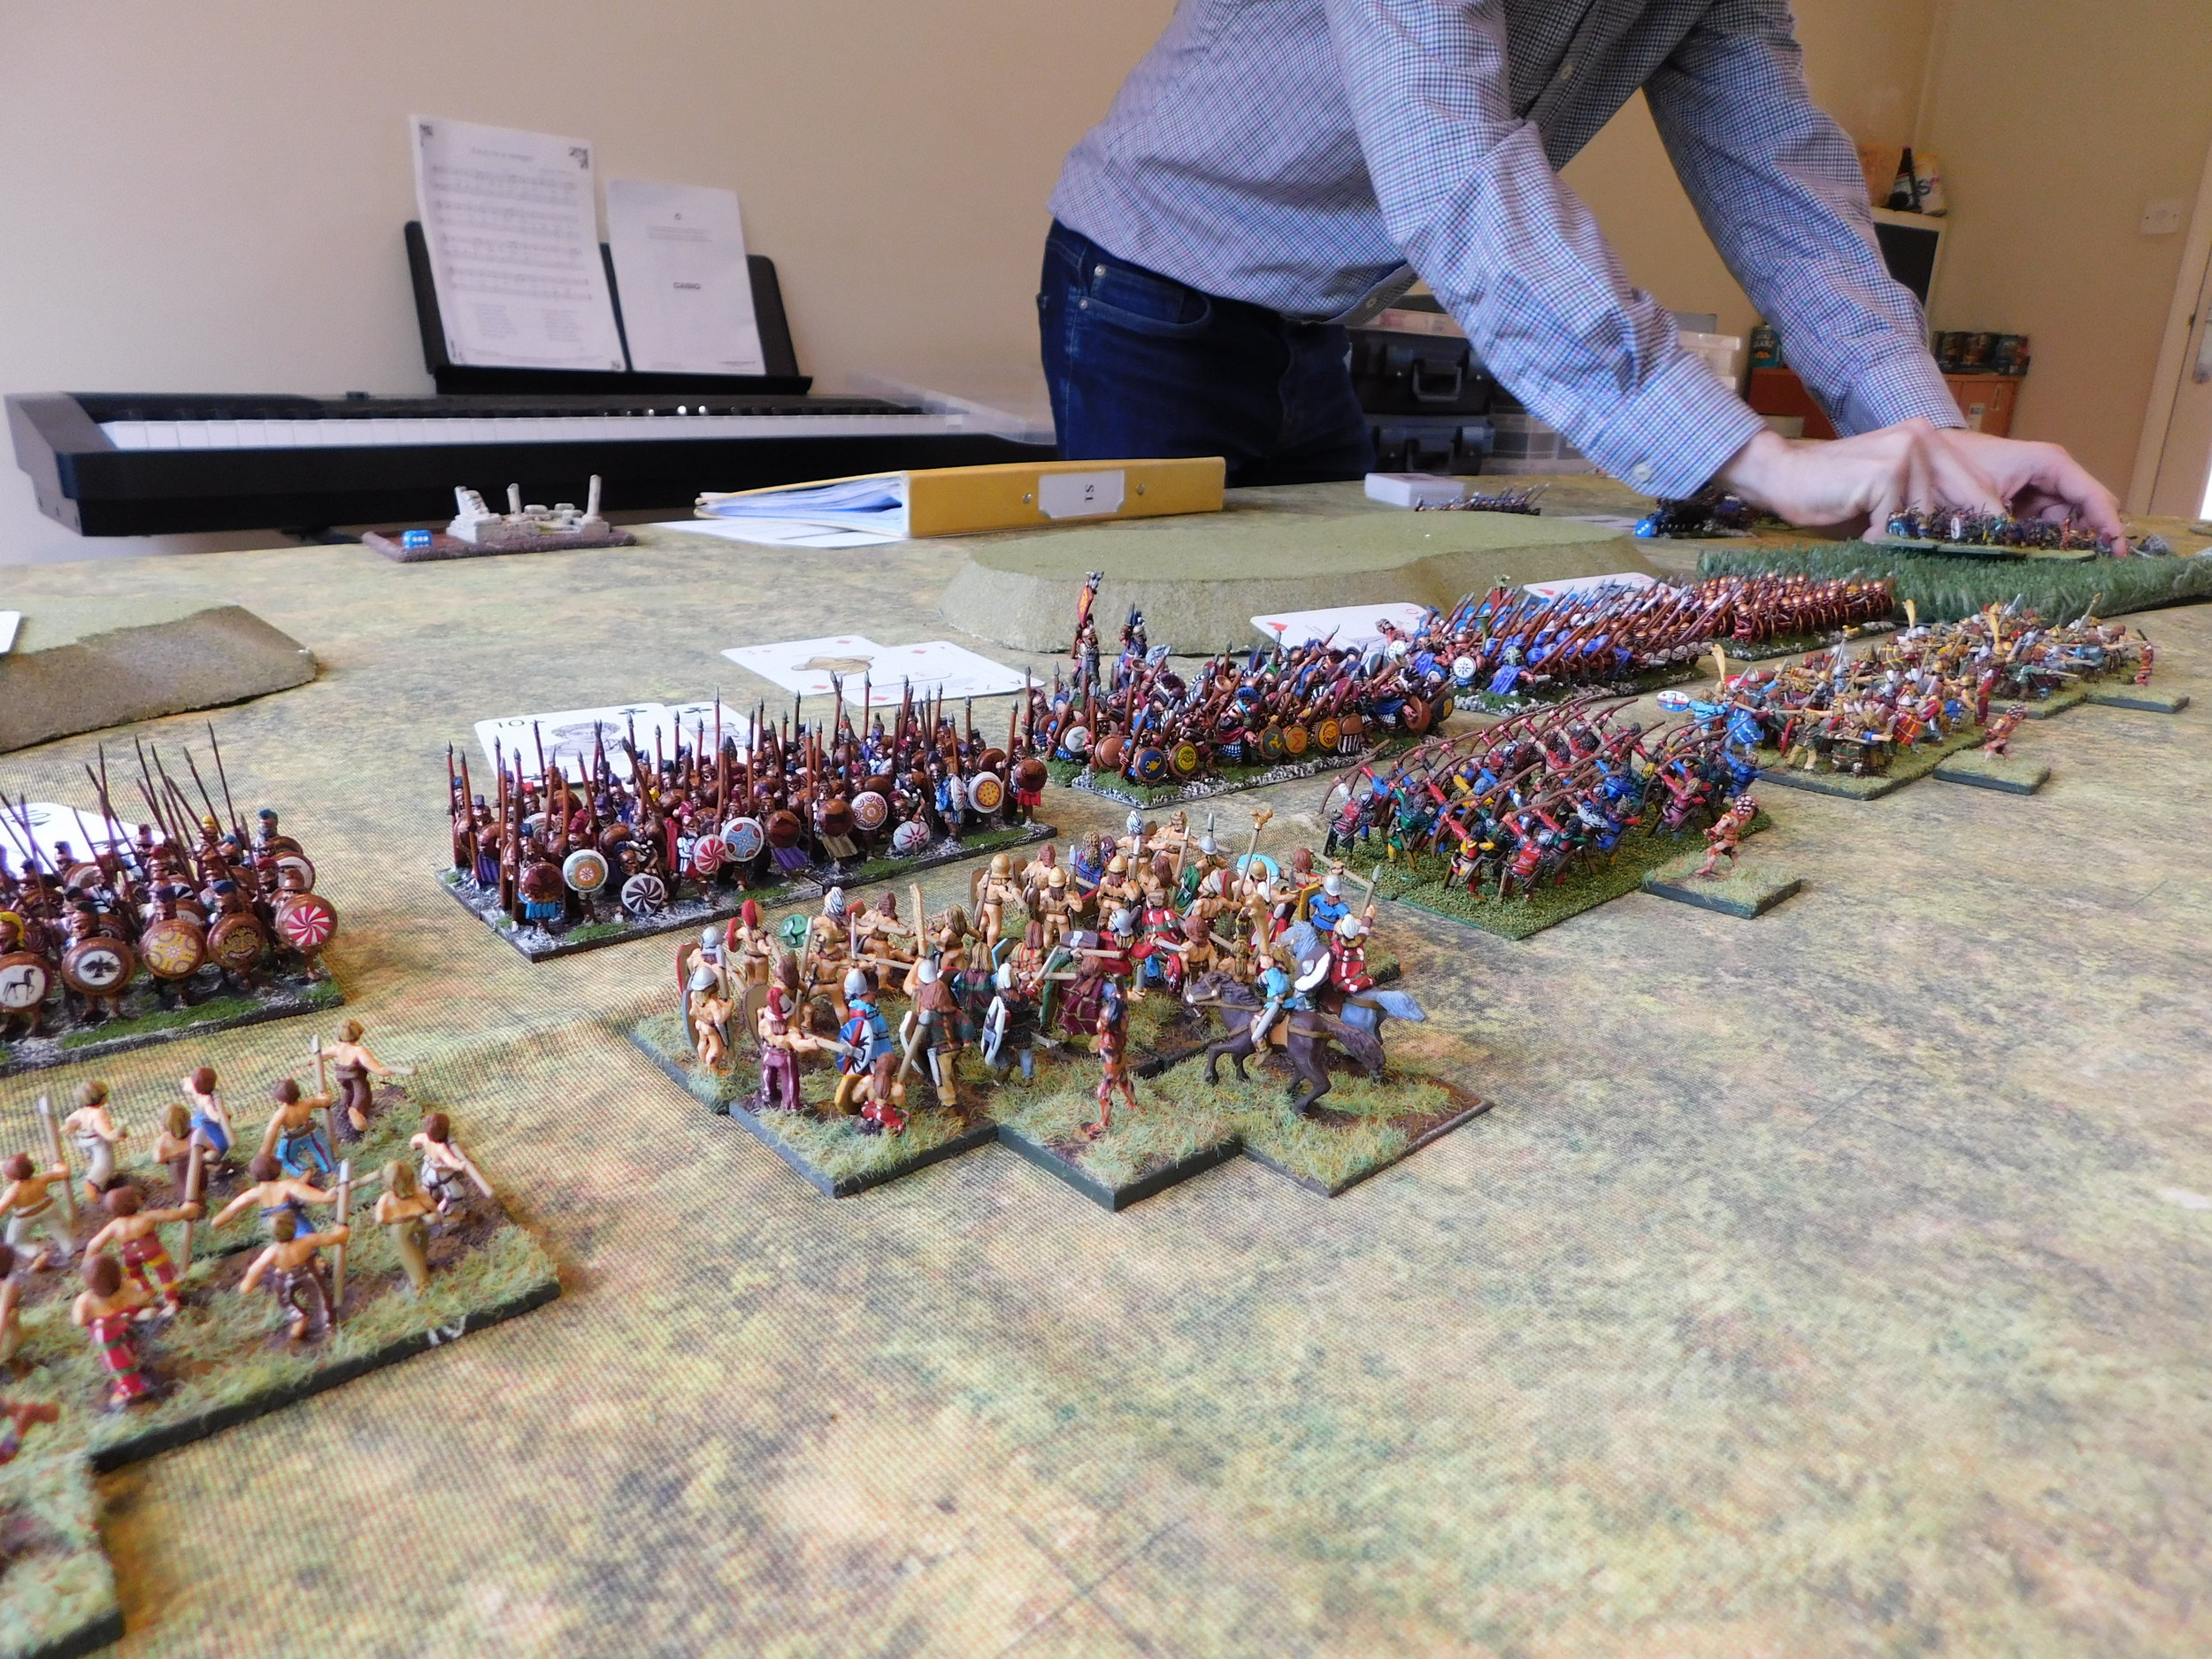
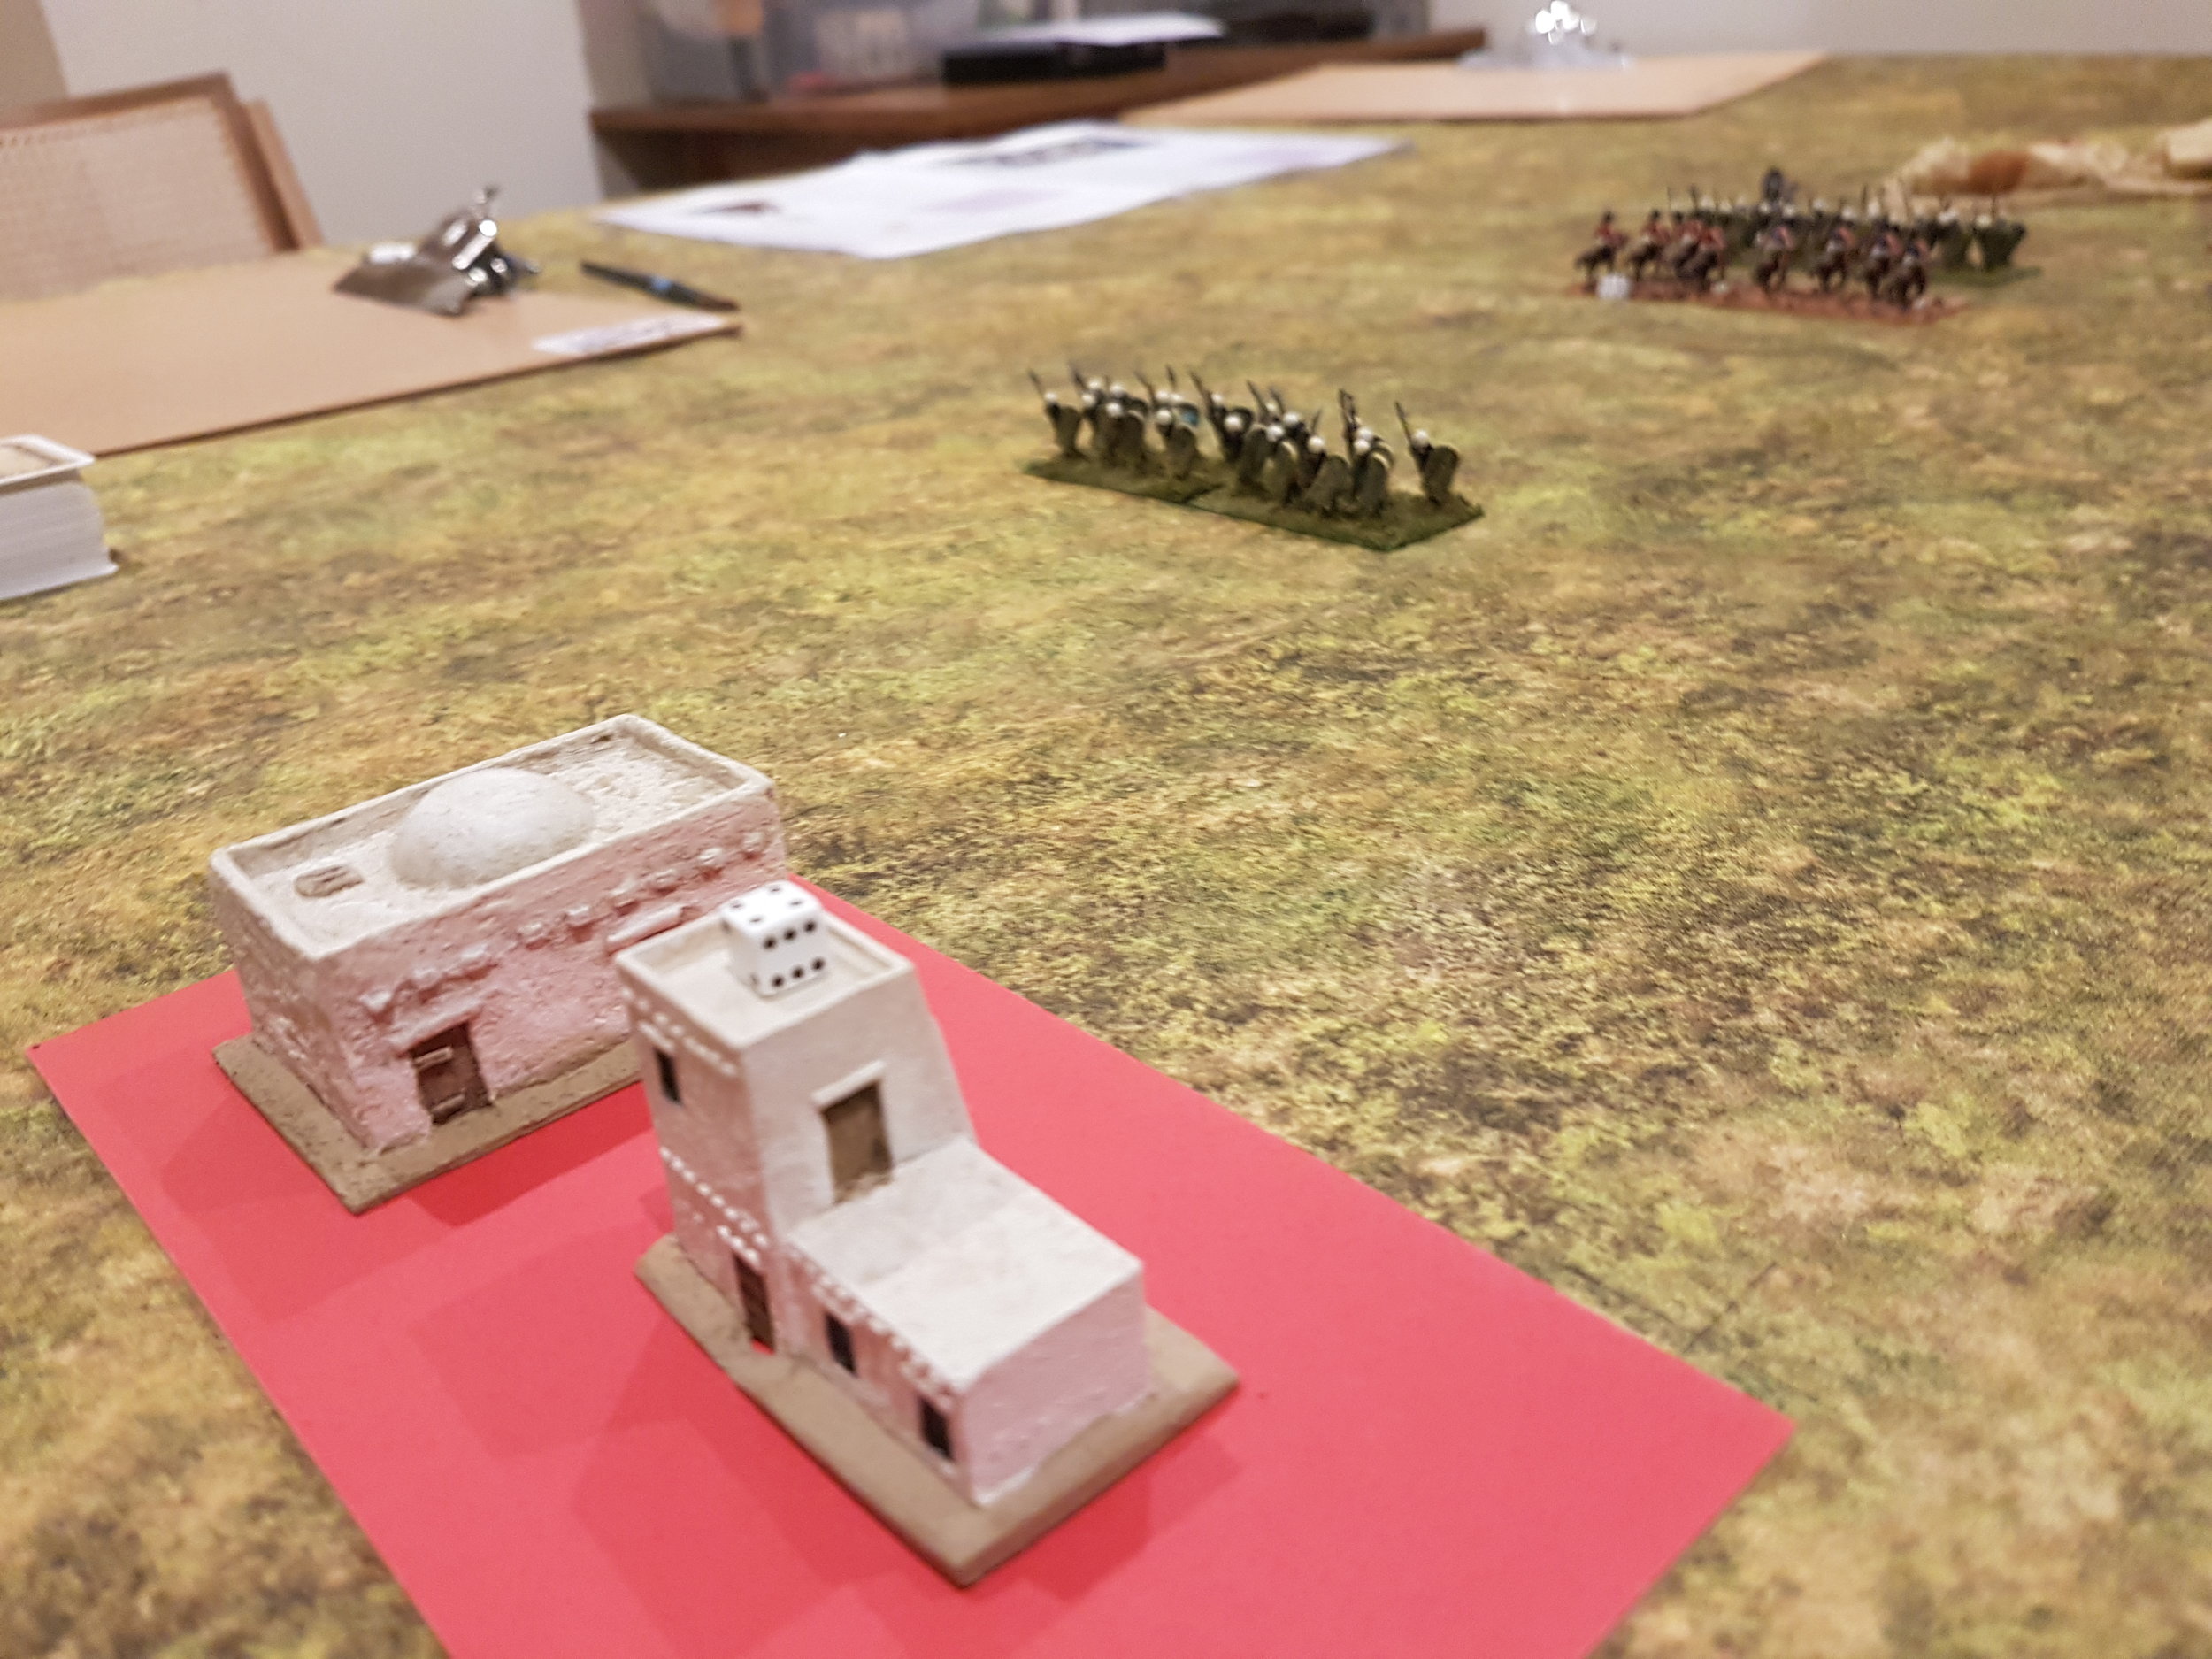
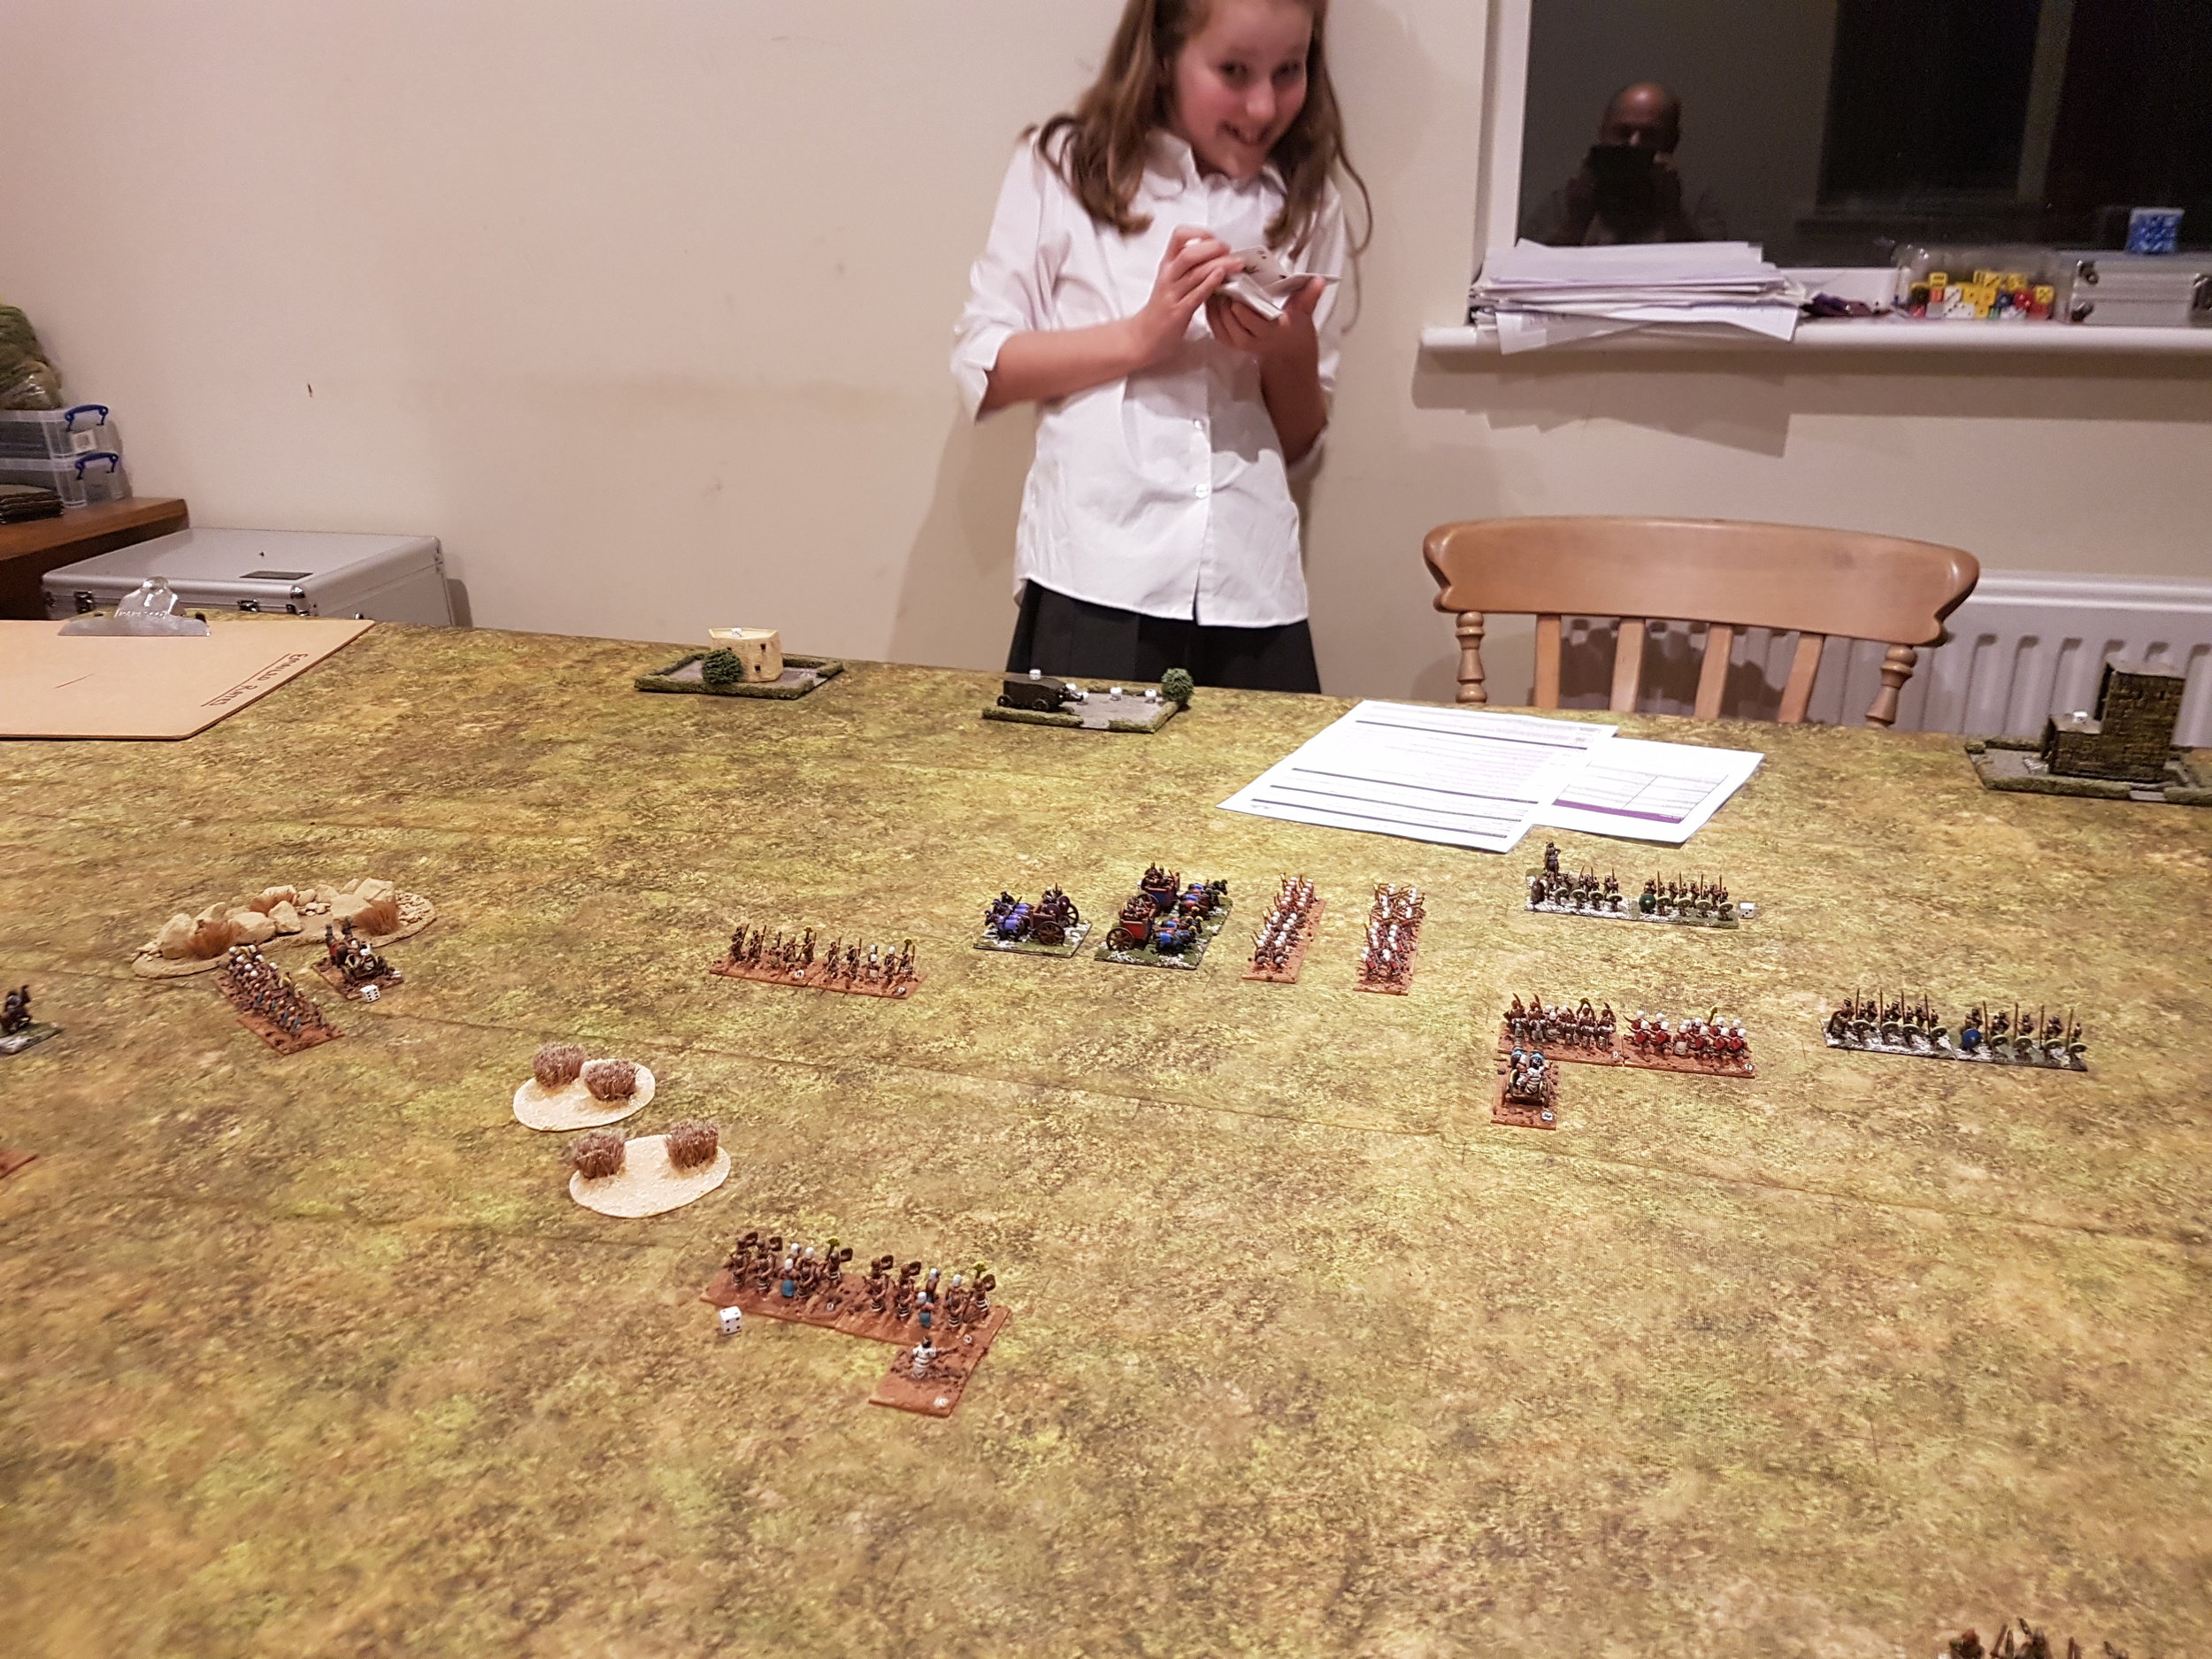
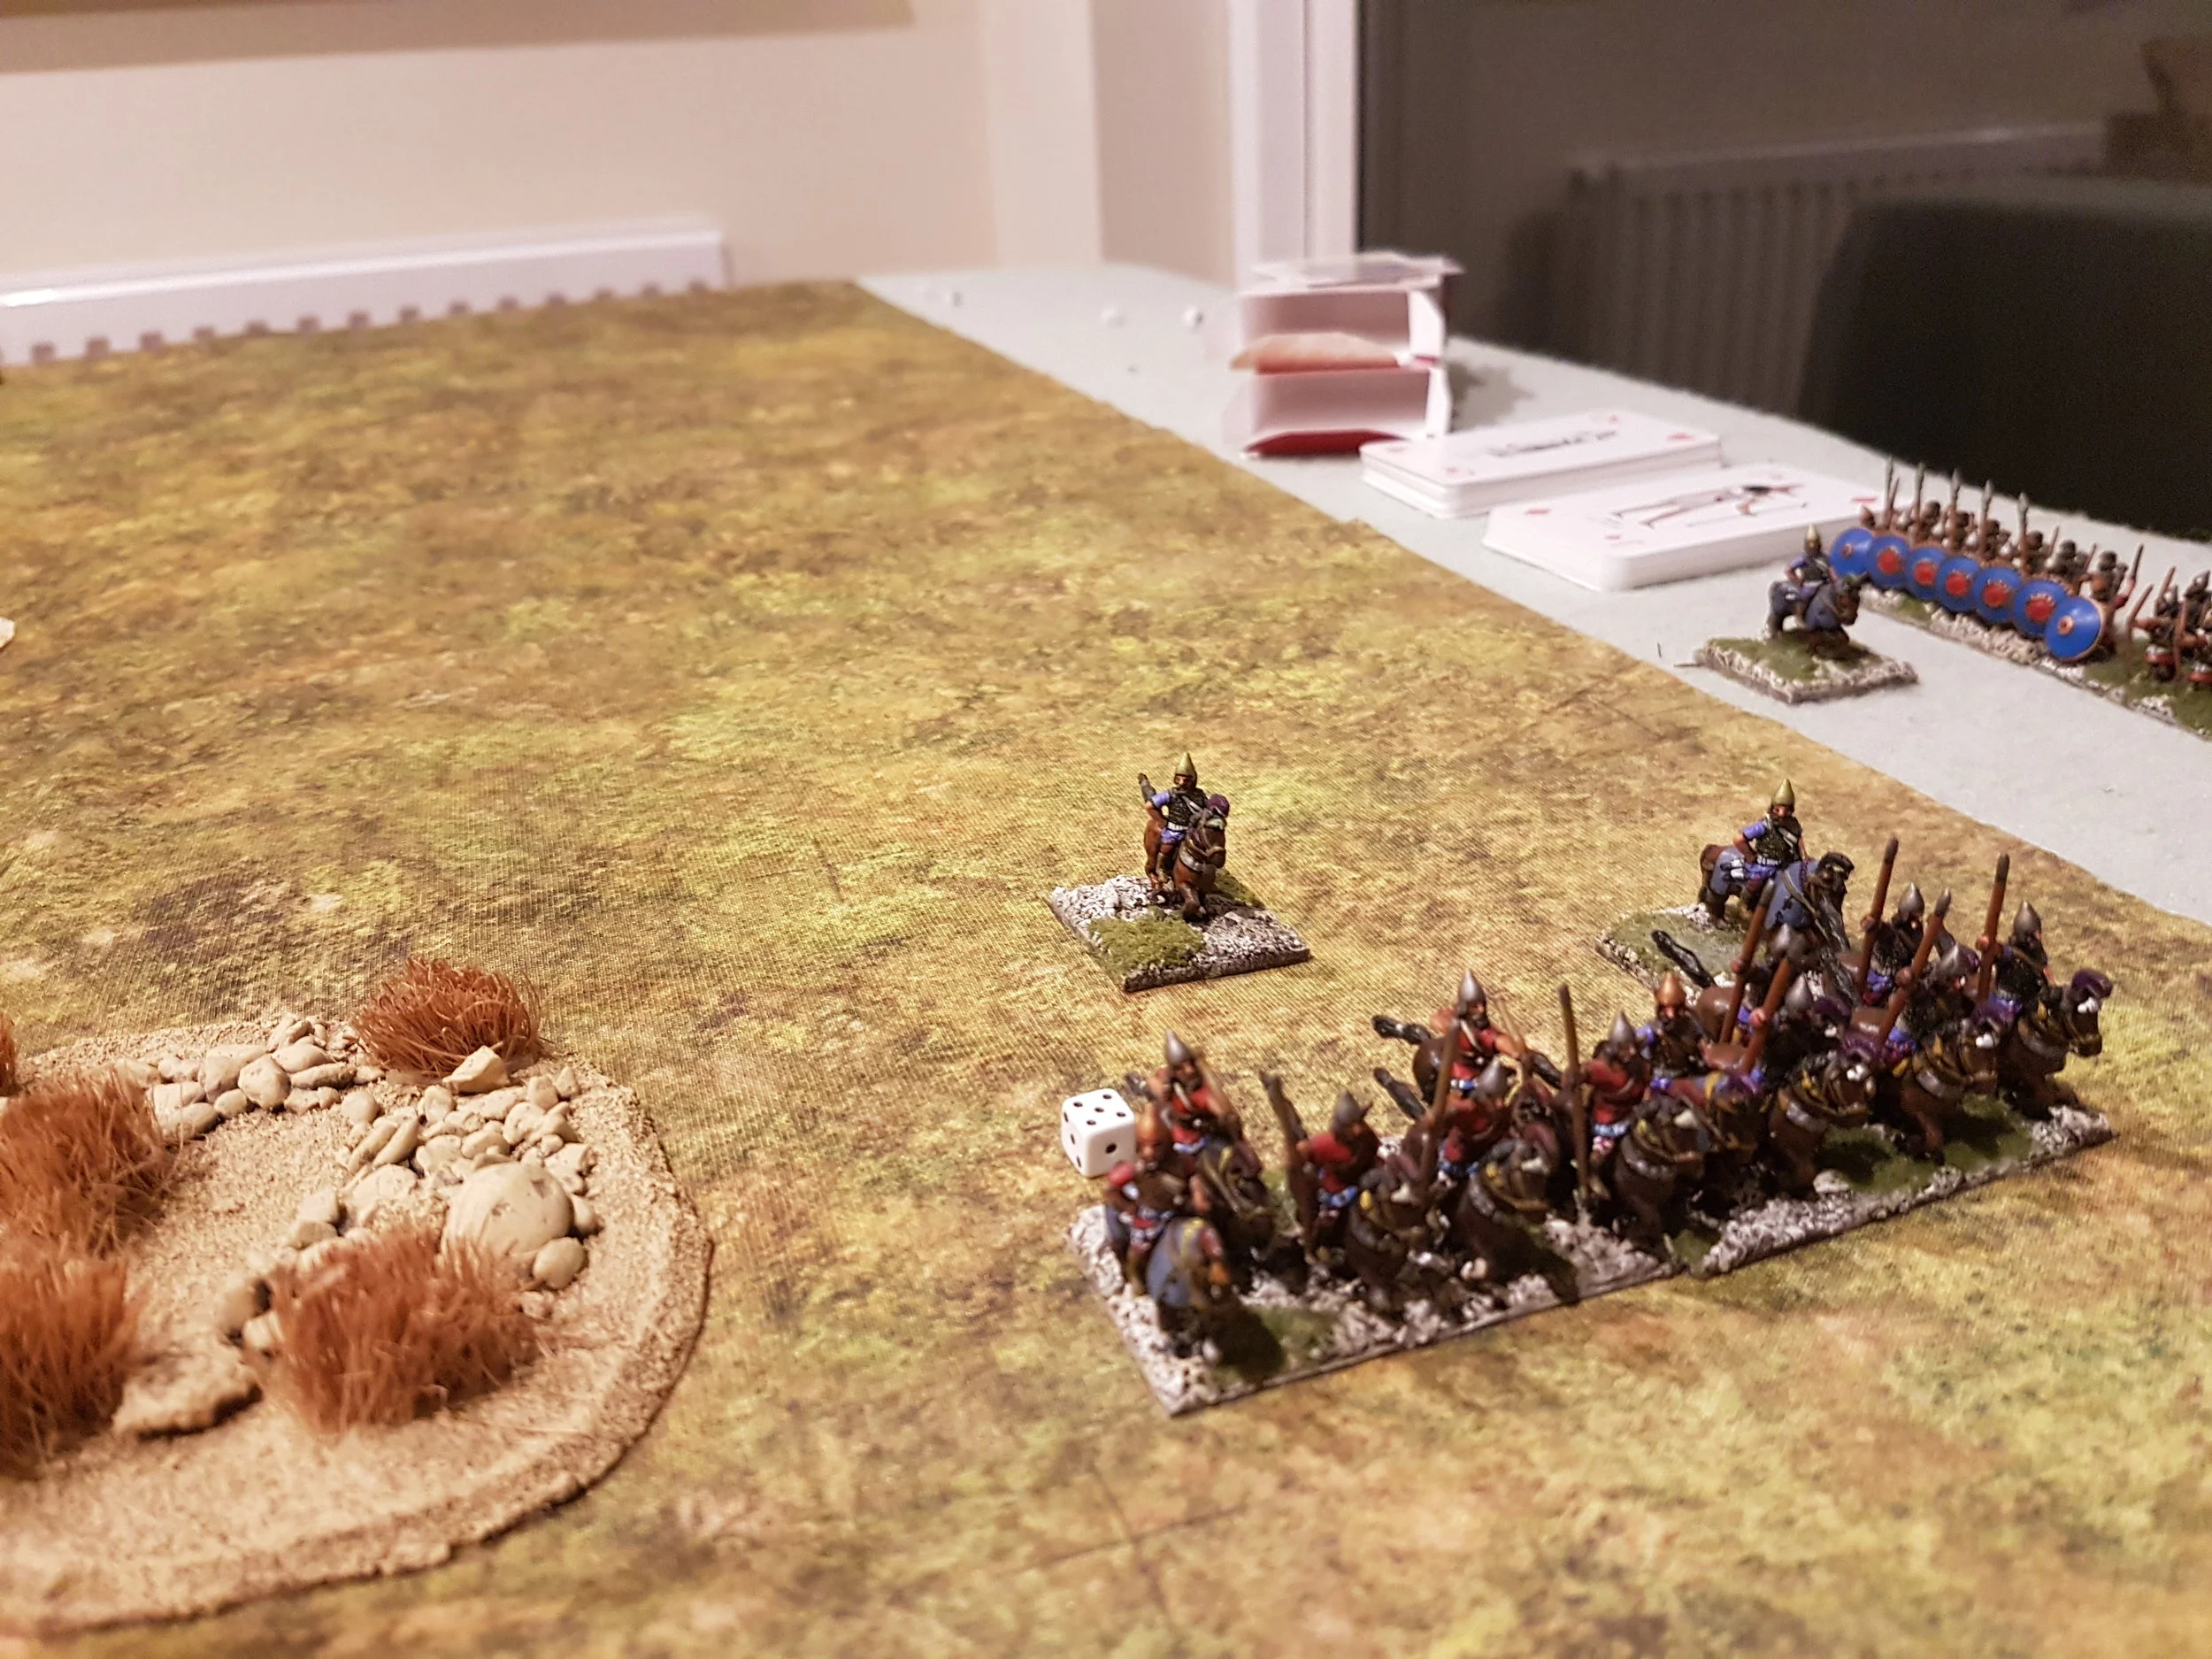
Onto the third battle of the three that took place as part of a TTS battle day with friend Bevan. Regular visitors will know that by this time I was down two-nil, so rather keen to finish the day with a victory! The sides would be Pyrrhic (played by Bevan) and Ancient British (played by me).

The Ancient Brits are a favourite of mine: in fact, they were the army I used to use when I played WRG 6th competitions in 28mm some thirty years ago…when your chariots were known as the Ancient British Panzer Division.

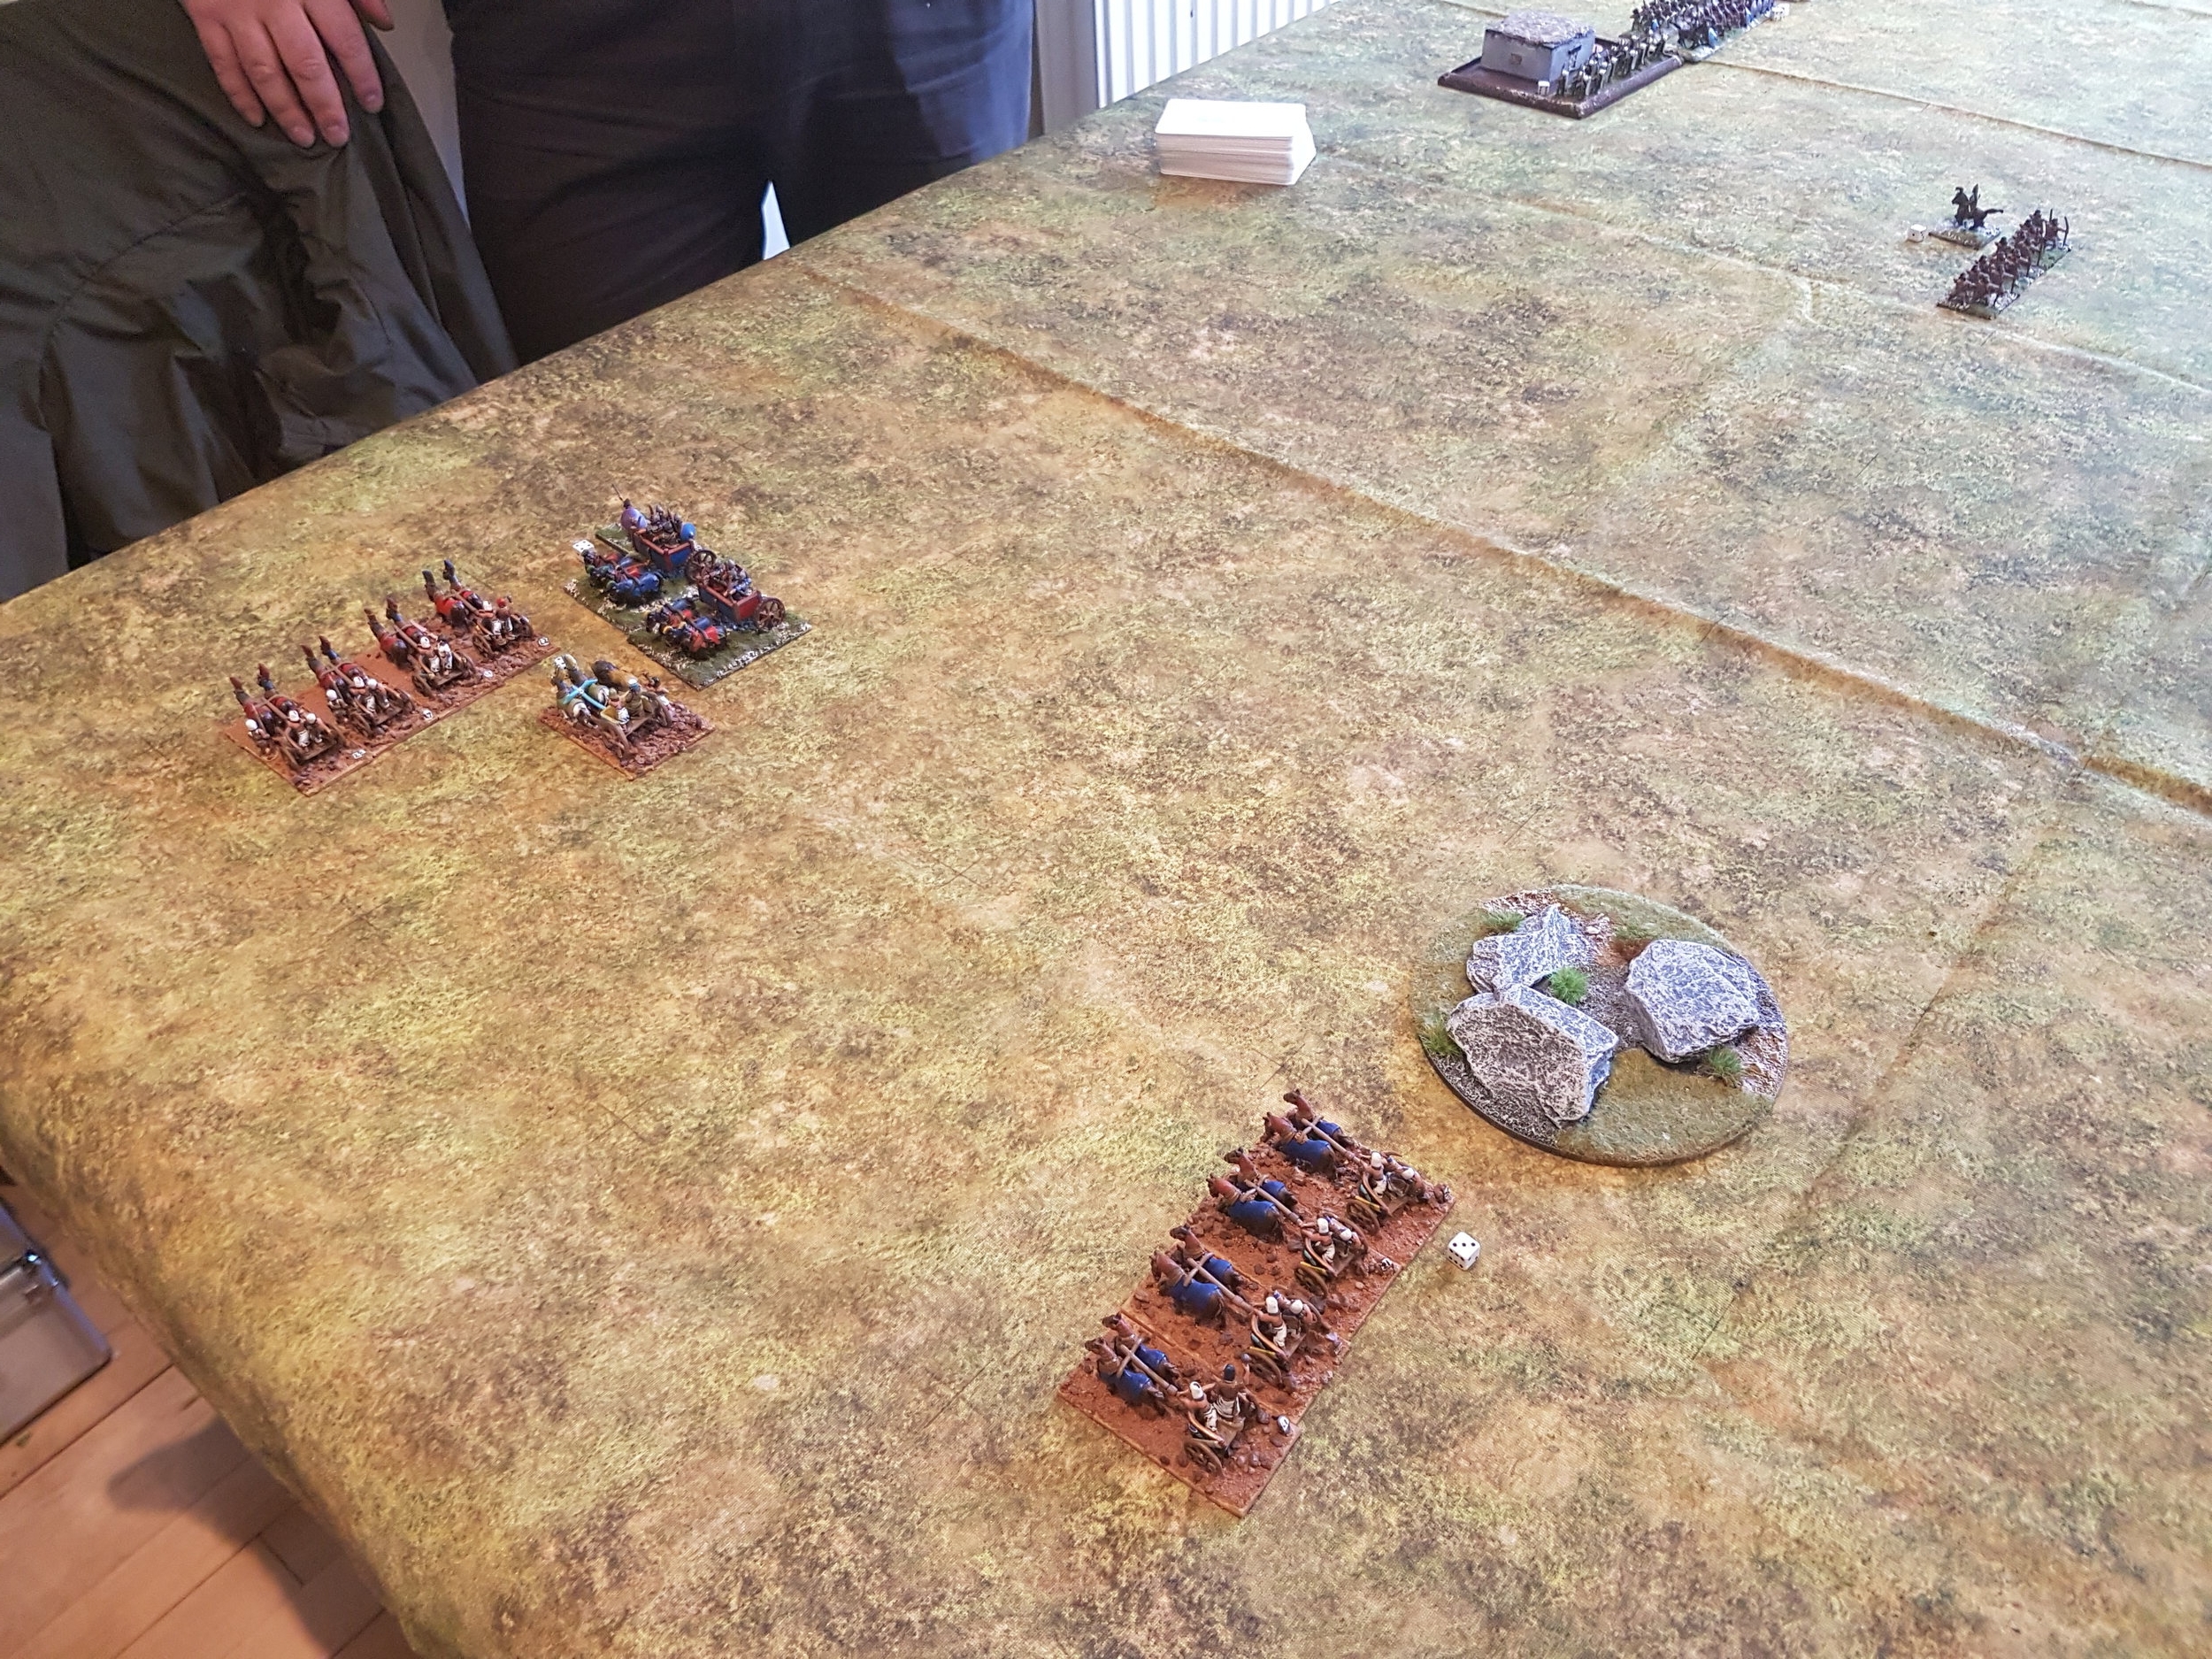
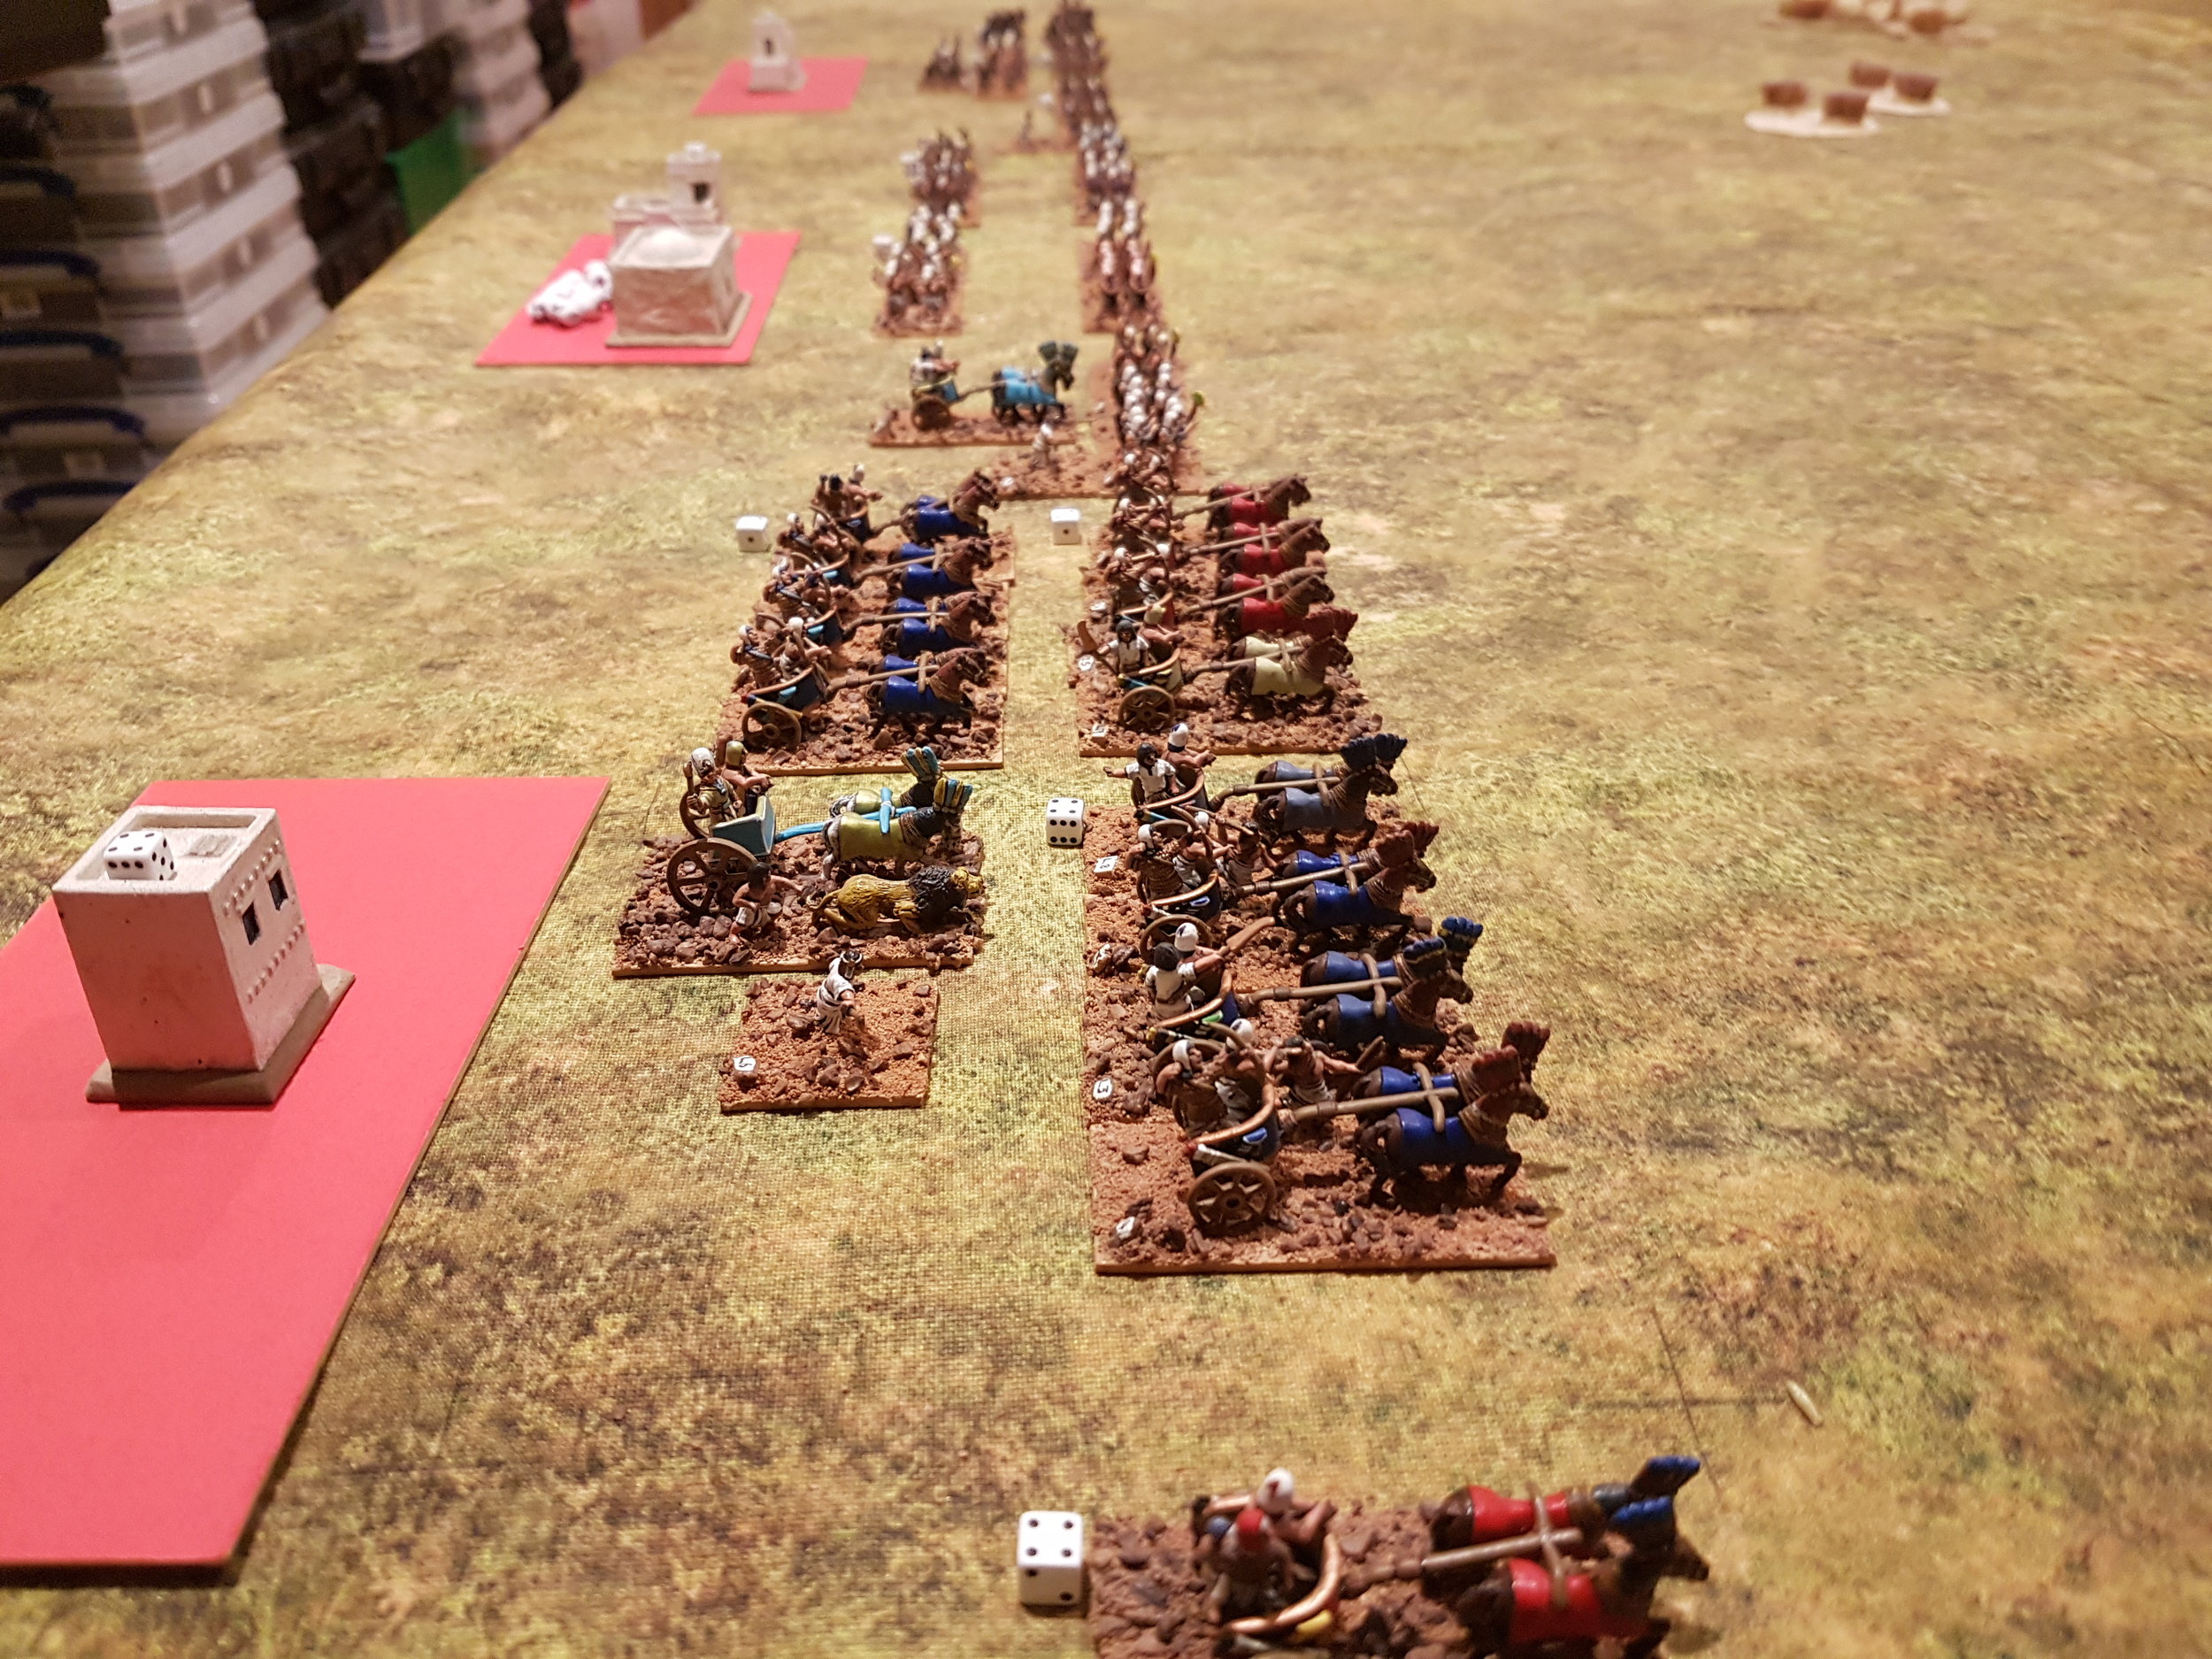
Under TTS, the Ancient British have an even greater proportion of their army as light chariots than under WRG 6th, so I decided to keep things very simple and employ that well known AncBrit tactic known as “the horns of the Highland Cow”!

This actually worked surprisingly well. My light troops on either flank overwhelmed his light troops through sheer weight of numbers and, most pleasingly, before his Hoplites could start trying to chew through my warbands.

As my chariots curled around onto his rear, the Pyrrhics realised that this was not going to be a Pyrrhic victory so much as a Pyrrhic disaster, and surrendered.

End of the day score: Bevan - 2, Me - 1 .

A great days gaming with what is a delightful little rule set!

TTS Battle Day Game 2

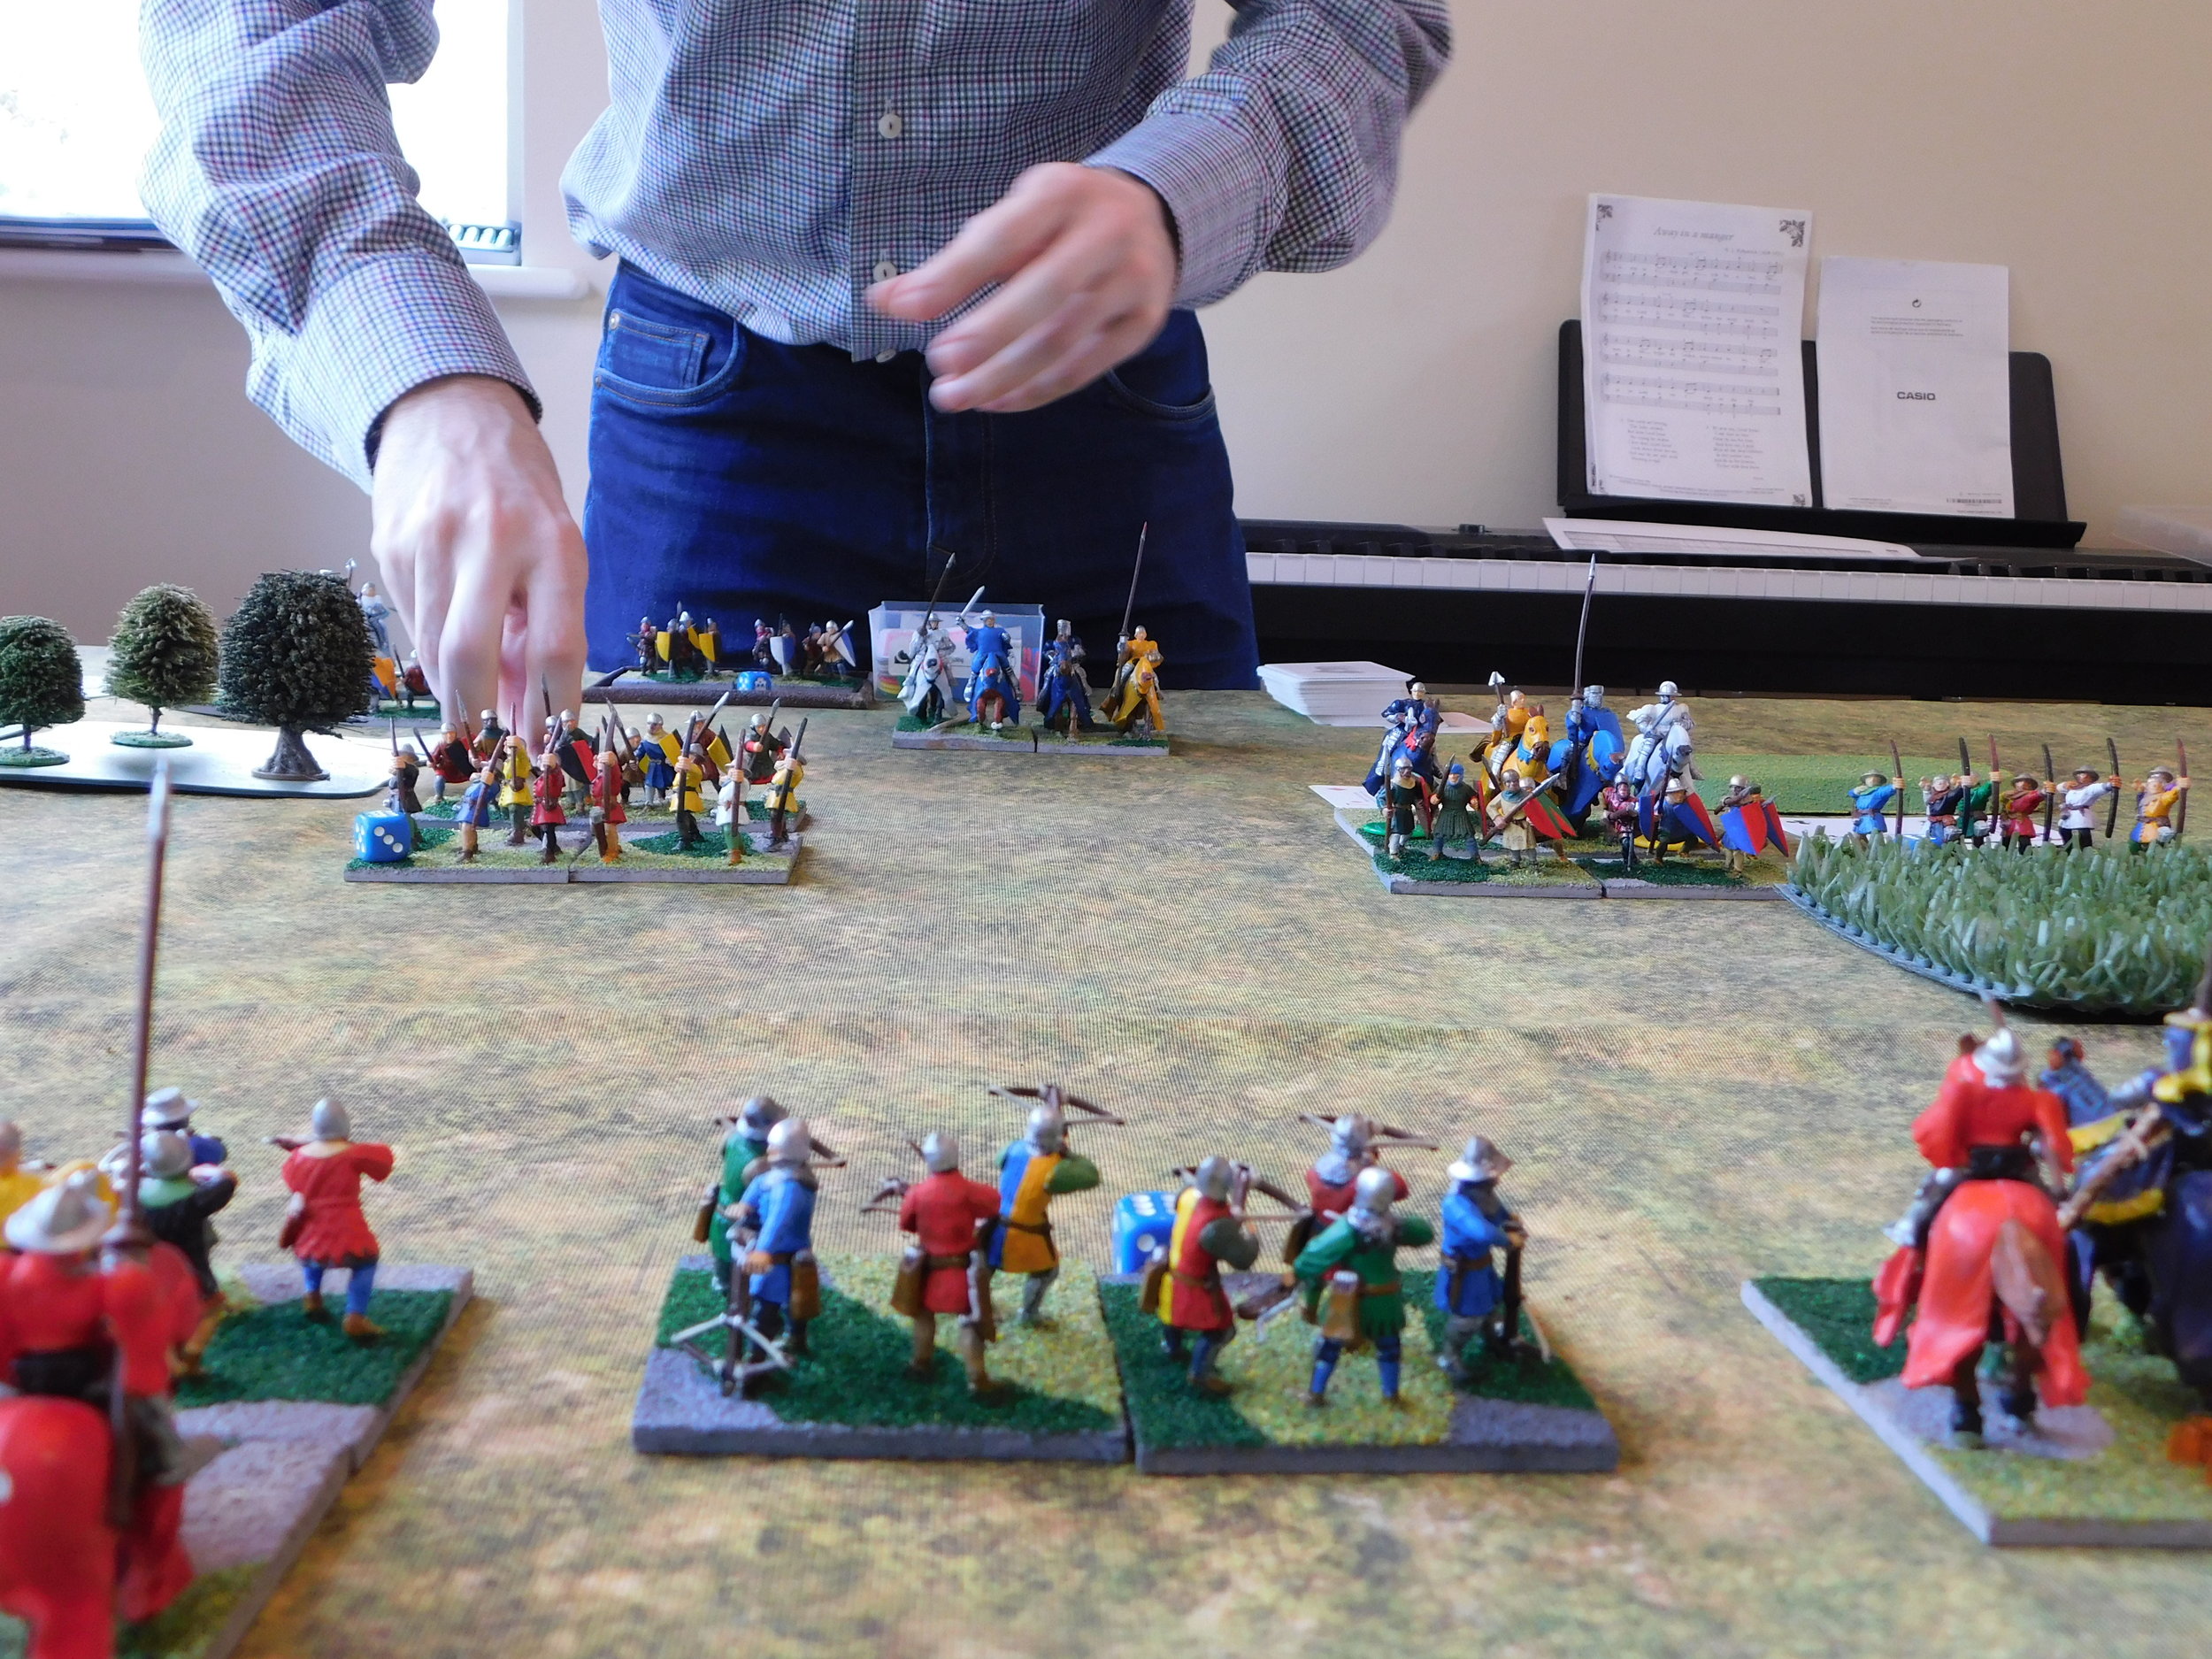
Game two of our To The Strongest battle day involved using Bevan’s collection of 28mm medievals: a clash between the Feudal French and the Feudal English.

The sides were fairly homogenous: each consisting of a core of Knights supported by some missile shooting peasants…longbows for the English, crossbows for the French. The English also had a couple of units of billmen.

We used the terrain rules as laid out in the book, which led to quite an unusual battlefield and both sides squatting opposite each other in one corner.

Bevan had warned me that TTS medieval was very little about tactics and more about just smashing into each other and trying to make sense of the resultant carnage, and he was proved quite right.

Initially, however, I did try something quite tactical: marching a unit of knights up the side of the forest on my left flank and attempting to curve round the end and hit some English infantry in the flank. This almost worked, but was stymied by the cards and some defensive advances by the rest of Bevan’s army which, if you want the technicalities, put my advancing knights into another unit’s Zone of Control (there’s a lot of ZOC-ing in TTS!) and therefore stopping them completing their mission.

After that failed, it was my turn to receive an English charge, one that punched through my line as the perfidious English aimed themselves at some mercenary crossbowmen rather than rising to the chivalric challenge posed by my knights. This lead to a general breakdown of everything into a smashing, crashing melee from which both sides emerged with just one or two victory coins left apiece.

It was then just a matter of who broke another unit first…with Bevan taking the honours as another unit of crossbowmen fell to an armoured steamroller.

A great, fun game that I look forwards to repeating next time we play.

Two-nil to Bevan, with one game to go.

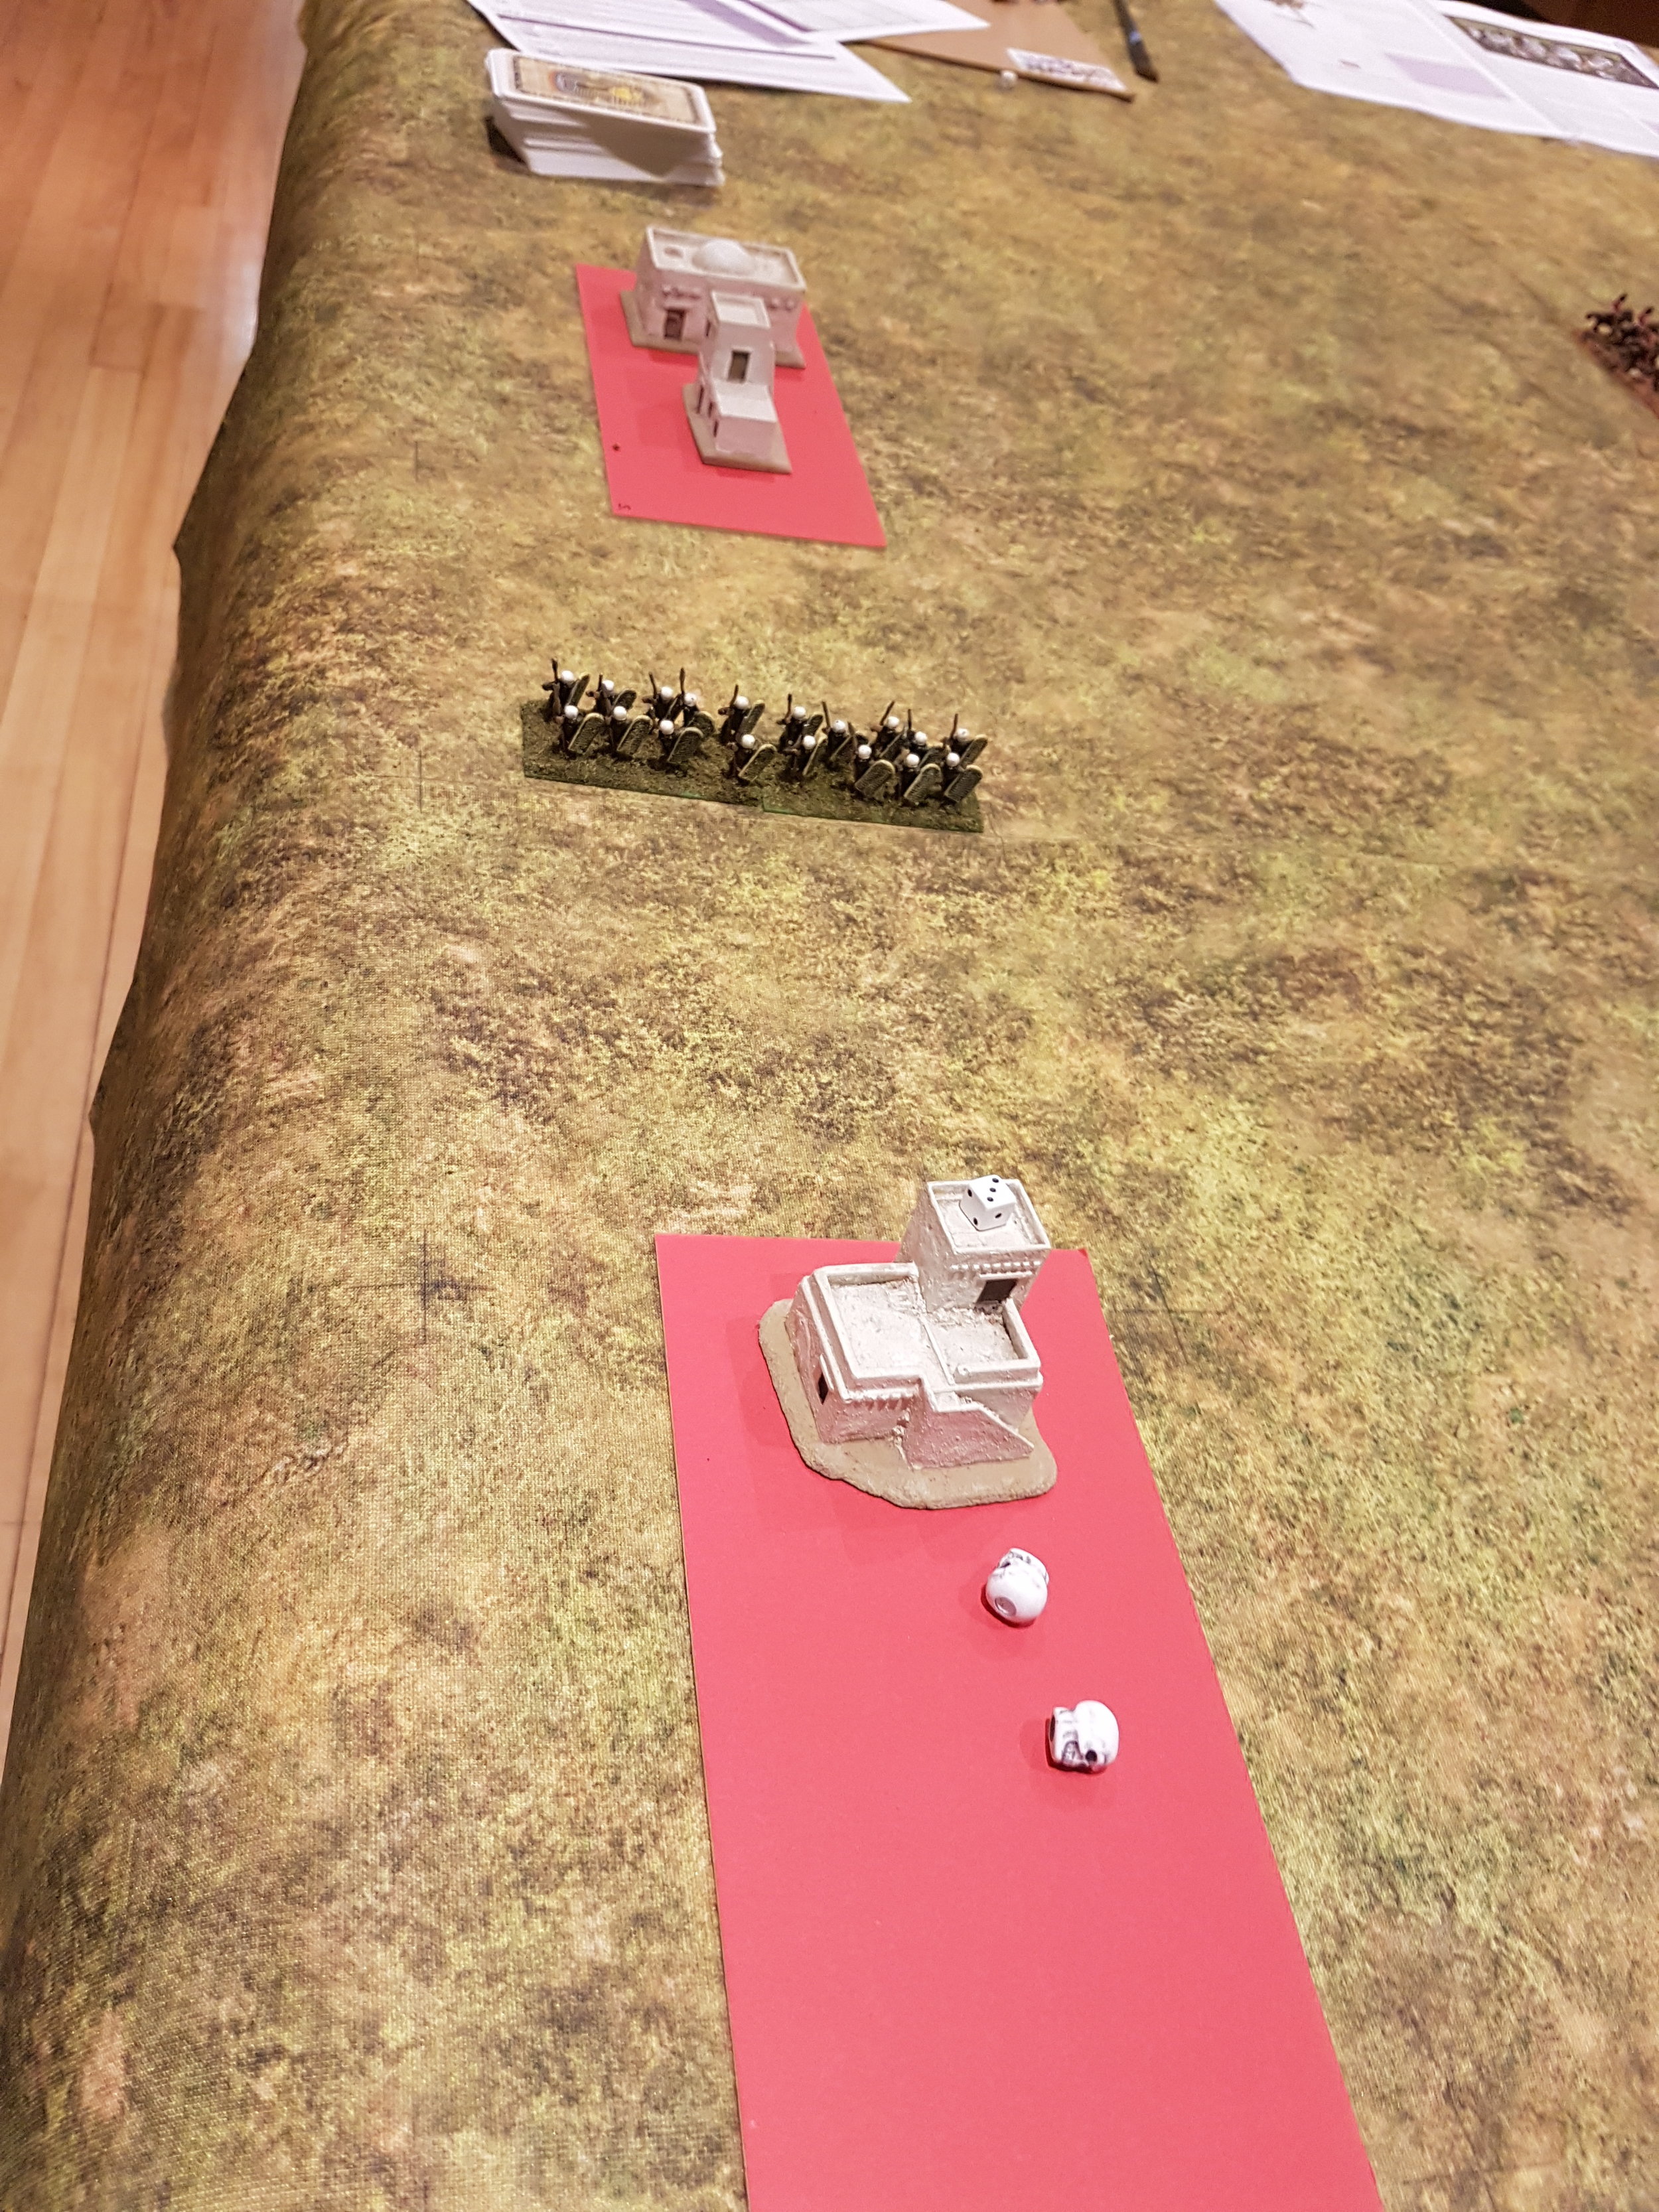
First of the Ancient British Foot

A bit more painting left over from last year: four bases, so one To The Strongest deep unit, of Ancient British foot in 15mm. The figures are Forged in Battle, excuse the shed!

Quite like these. The shields are partly painted and partly using LitteBigMan transfers. What decided which to use? Well, I couldn’t be bothered to cut out the holes in the transfers for the double-boss shields, so only used the transfers for the simple single-boss shields. I did try to do one: but it was annoyingly difficult and time-consuming!

Here’s the back view. The tartan and stripe patterns look better at wargaming distance than under the microscope.

I now need another four units of these: the thought of painting which fills me with horror! The Hoplites are bad enough, but at least they are homogeneous: these all have to be painted individually. Anyone got a pile of well-painted Ancient Brits they don’t want any more?

Christmas Painting

I always seem to get a lot of painting done over Christmas.

I think it’s because there’s nothing else to do apart from eating and drinking heavily (check), watching tv (check), arguing with the family (check), snoozing (check)!

Anyhow, three more units for my Ancients refurbishment completed:

Another four bases of Celtic light cavalry to pad out my chariot units

Another three Celtic chariot bases, meaning I can now field the minimum number required

Four Sassanid Persian elephant bases, so one full unit in To The Strongest, four units in Vis Bellica.

The Sassanids Are Go!

With the below, my Sassanid army in 15mm for To The Strongest is now finally legitimate i.e. fulfils the minimums required by the army lists.

So, here are two units of Heavy Cavalry - armoured men on unarmoured horses - plus a couple of heroes.

Naturally I haven’t quite finished yet: a unit of elephants and another unit of levy foot are sitting on the painting table waiting for a bit of attention. They’ll have to wait for the Ancient Brits to be finished first, and I’ve got that final unit of Hoplites to finish, and don’t even mention the Macedonians! So much painting, so little time!

6th Game of To The Strongest

This game was a replay of the last i.e. a clash between two homogeneous Sengoku Samurai forces. You can see the sides in the post from December 12th.

The Battle is about to begin

I deployed half my foot samurai on each of the left and right flanks, with my Ashigaru right-centre and my mounted cavalry left-centre. As before, my plan was to hold the centre and then loop around whichever flank opened up first.

Neil, as last game, deployed quite in depth. He placed his “mobs” on his left; his big Ashigaru command mixed in with his cavalry in the centre; and his main samurai command on his right.

This was a much closer game than last time. On the right, I pushed forward quickly with one Samurai command and an Ashigaru command, leaving the other Ashigaru command in reserve. Over the course of the battle, this wing would hit the enemy line several times , but not quite manage to gain a significant advantage. In fact, towards the end of the battle, I had to commit my reserves to prop up this section of my line or risk being pushed back.

My right wing advances

In the centre/left-centre, my cavalry moved forward and managed to get a positional advantage on the Ashigaru facing them. Again, however, no mater how much I tried, I couldn’t quite get in a blow hard enough to crack Neil’s line and, again, towards the end of the battle, my troops began to look a bit “thin”. Fortunately I had a spare unit of foot Samurai from the left that I could move right in order to cover my camps against enemy breakthrough, so the situation remained at least stable.

My left flank moves forward

On my left flank, I advanced strongly and, again, had mixed success. Although, as above, I couldn’t break through Neil’s line, my command of three foot samurai units managed to kill three of the four foot samurai units in front of them for the loss of only one of their own. This left me with two units, one of which I used to reinforce the centre, the other managing to manoeuvre around a rocky outcrop and get behind the enemy line.

At this point, both sides were down to around four to six Victory Coins, and each side had three to four units disordered i.e. about to break at a cost of two Victory Coins per unit: so it was definitely turning out to be a very close run thing.

As it happened, in the endgame, the cards fell my way. My unit of foot samurai that had managed to get around the end of Neil’s line had a series of activations that allowed them to take one of his camps, and one of my reserve Ashigaru Teppo units, firing for the first time, blew a unit of disordered mounted samurai away. With that, Neil’s Victory Coins were all gone, and he was forced to retreat. The day was mine!

Analysis

Another cracking game of To The Strongest. Again, the maxims of trying to break your opponents line and making sure you have a reserve held true, with flank charges and taking camps being very successful routes to victory.

Back to painting the 15mm Ancients now: loving the Samurai armies, but they are very small!

And Now The Sassanids

Another ancients army that I need to bulk out for To The Strongest is my Sassanid Persians.

Fortunately, I had plenty of cataphracts already painted, so all I need to add to bring the force up to regulation ratios is some of the heavy cavalry that supported the superheavies.

That requires four heavy horse units, which I have decided to field as two units of what I would call Clibanarii (armoured men on felt-armoured covered horses) and two units of Heavy Cavalry (armoured men on unarmoured horses). They have exactly the same stats in TTS, but it’s nice to have the variety should I ever need it.

Here are the Clibanarii:

Lovely 15mm figures from Forged in Battle’s Empires range. Highly recommended.

The grey Clibanarii at the back have come out beautifully, but the turquoise lot at the front haven’t quite worked the way I wanted. I think the contrast between the white and turquoise is just too great to look good at this scale. No matter: I’ll know better for next time!

Looking good!

Not looking too bad!

5th Game of To The Strongest

Wargaming buddy Neil told me that he had a couple of large 10mm Samurai armies in his attic somewhere. They were based for Warmaster Ancients but, with a bit of jiggery-pokery, translated nicely into two Sengoku Samurai armies for To The Strongest.

The sides, largely homogeneous, were as follows:

The Soft-top Box Samurai

  • Senior General

    • 3 x Mounted Samurai

  • General 1

    • 3 x Foot Samurai

  • General 2

    • 3 x Foot Samurai

  • General 3

    • 2 x Ashigaru Spearmen

    • 2 x Ashigaru Teppo

  • General 4

    • 2 x Ashigaru Spearmen

    • 2 x Ashigaru Teppo

The Hard-top Box Samurai

  • Senior General

    • 4 x Mounted Samurai

  • General 1

    • 6 x Foot Samurai

  • General 2

    • 1 x Foot Samurai

    • 3 x Mobs

  • General 3

    • 4 x Ashigaru Spearmen

    • 3 x Ashigaru Teppo

Mounted Samurai from the Soft-top Box Clan (the red markers are Heroes)

The Game

Neil and I each deployed one command at a time. I was playing the Soft-top Box Clan (i.e. the figures from the box with the soft top!) and deployed my mounted Samurai on my right, opposite Neil’s mounted Samurai; one of my Ashigaru commands in the middle, opposite Neil’s large Ashigaru command; and both units of Foot Samurai on the left, opposite Neil’s mob unit and unit of Foot Samurai. I kept one Ashigaru command in reserve behind my centre.

My plan was to hold the right and centre whilst my superior numbers on the left beat his right, and then swept on into the rest of his line from the flank.

The centre of my line (the teppo are behind pavises)

The left of my line

The key difference between our two set-ups were that, without a reserve, Neil’s line was stacked two deep in places. This would have a significant effect on the forthcoming action, as where he had a numerical advantage, he would have difficulty bringing these superior numbers to bear.

The action began on my right, where my three units of Mounted Samurai faced off against his four units of the same. I took advantage of some rocky terrain and tried to lure him into attacking me, but Neil was too canny to fall into that trap. I therefore bit the bullet and charged forward: his double-stacking meaning that I could fight two-vs-two rather than four-vs-three.

The action on the right unfolds

My initial charge met with mixed success. One unit of his cavalry were destroyed, but one of mine became disordered and was forced to retreat and rally. I renewed my attack, this time supported by a unit of Ashigaru spearmen and, eventually and largely due to the cards very much falling my way, his cavalry crumbled and were removed from the field. This would then leave the way clear for the CinC’s Mounted Samurai to get past his line and capture Neil’s left hand camp.

Meanwhile, on my left, I had pushed my Foot Samurai forward, intending to being superior numbers to bear on that end of Neil’s line. Unfortunately, the Yellow command got a bit tangled in the terrain, and I ended up with one unit destroyed, leaving two more units facing four units of his Foot samurai. This would usually spell disaster, but some how these two units refused to be beaten. Despite being disordered again and again, the brave Yellow Samurai rallied each time and, at the end of the game, were still very much in the battle.

This left me with four Ashigaru units facing Neil’s six Ashigaru units in the centre. Again, however, Neil’s stacked line meant that we each had four units in play and, again, the cards fell in my favour, and I quickly destroyed two of his units. I was then able to bring in my reserve force of four more Ashigaru units, guns fully loaded, and win the resultant eight-vs-four combat. Neil should have been able to support his Ashigaru with his command of peasant Mobs, but the fact that by this time my cavalry had broken through and was threatening his camps meant that he had had to withdraw them in order to defend his baseline.

Ashigaru action in the centre

Once Neil had started haemorrhaging victory coins, it was hard to stop, and eventually he ran out and was forced to retreat. Somehow I had managed to inflict a pretty hefty defeat on him: I had lost only four coins by the end of the game, Neil had lost twenty!

Post-Game Analysis

Although we both agreed that the cards had very much fallen my way, we also agreed that Neil had perhaps stacked his units too deeply to begin with: my rapid advances never giving him the chance to properly deploy. Significantly, I had run into difficulty on my left, where I had also stacked units deep, so it seems as if that is something to avoid.

Although I did seem to win by a lot, it never seemed to me as if I were winning, except right at the end. A good game, made interesting by the homogeneous forces involved.

More new Hoplites

I’m continuing to build up my Hoplite Greek force for To The Strongest. My target is six units of Hoplites, with each unit being 48 figures strong. That’s 288 Hoplites in all!

I started with 96 Hoplites, added another 48 two weeks ago, and am now adding another 48 making 192 in all. So 96, or two more units to go.

This time, I chose to use Hoplites from Forged in Battle’s 15mm range. They come with shields and spears attached, and although the spears don’t look quite as good as the wire spears used with the Xyston lot, it did save an awful lot of time to have them ready-fitted.

So how do these compare with Xyston?

  • There’s less variety of pose in the FiB pack, but that’s not necessarily a bad thing as Hoplites are supposed to be in formation , so even-Stevens on that one.

  • As mentioned, the spears and shields are integral, so don’t look as good, but save an awful lot of work, so even-Stevens on that one too.

  • Details is comparable, although the hoplons themselves (the shields, darling, the shields) are a little small.

  • The FiB Hoplites are a shade easier to paint: the relief on the panoply is just slightly deeper

So, all-in-all, Xyston edge FiB in terms of quality of sculpt and final look, but the ease of integral spears and shields, and the fact that FiB are slightly easier to paint, more than makes up for it. I shall use both evenly from now on.

Right: time to start on the next 48 of the little blighters!

Two More Games of 'To The Strongest'

Regular wargame buddy Neil came round earlier this week for another game of TTS. We’re still limited to using just the Egyptians and Assyrians (until I get a move on painting more Hoplites!) so went into battle again with just about the same forces as last time.

That meant that I had the Egyptians: a large command of light chariots, an Egyptian infantry command, and a command of raw Canaanite ally infantry.

Neil played the Assyrians again: fielding a command of heavy cavalry, a command of heavier chariots, a command of decent infantry, and a command of light infantry.

The Egyptian infantry in their new camps

Ancient Greeks masquerading as Canaanites!

Game One

Our first game was a bit abortive. I advanced the Egyptians infantry forward strongly in the centre, with the light troops of the Canaanites and chariots sweeping round on each wing. Neil kept his infantry back, but advanced his heavy chariots and cavalry forward intending to screen his chariots’ advance with his cavalry.

The Egyptian centre advances

Unfortunately there were a couple of rocky outcrops on the edge of the centre area of the battlefield, and his chariots and cavalry ran up against them, and got all jammed up together.

At this point, Neil realised that heavy cavalry weren’t really the sort of troops to use as a screen - you need light cavalry for that - and with his chariots and cavalry isolated from his main line and hopelessly entangled, and with my troops moving in to take advantage, conceded the game and ordered a general retreat.

Game Two

We reset the table. As I had an army full of light troops, Neil was setting up first all the time, with me able to position my commands to take best advantage of his deployment. This time, he again placed his infantry in the centre, but split his chariots and cavalry: placing one on either wing. In response, I faced his cavalry with the Canaanites, his chariots with mine, hoping to win the infantry battle in the centre whilst stalemating his best troops on the wings.

Now on my fourth game, I was starting to learn how to use my light chariots. In my first couple of games, I had used them individually as fast-moving infantry types, but in this game I went for his heavy chariots with two units to each of his. This allowed me to occupy them to the front ans shoot/charge them from the flank, especially as there was plenty of room on my left wing.

This worked for one unit of his heavies, and failed for the other…and failed in such a way that his chariots dispersed one of my chariot units, broke through the other and took a camp! All this, however, took time, and things were happening elsewhere on the field.

Right!

Wrong!
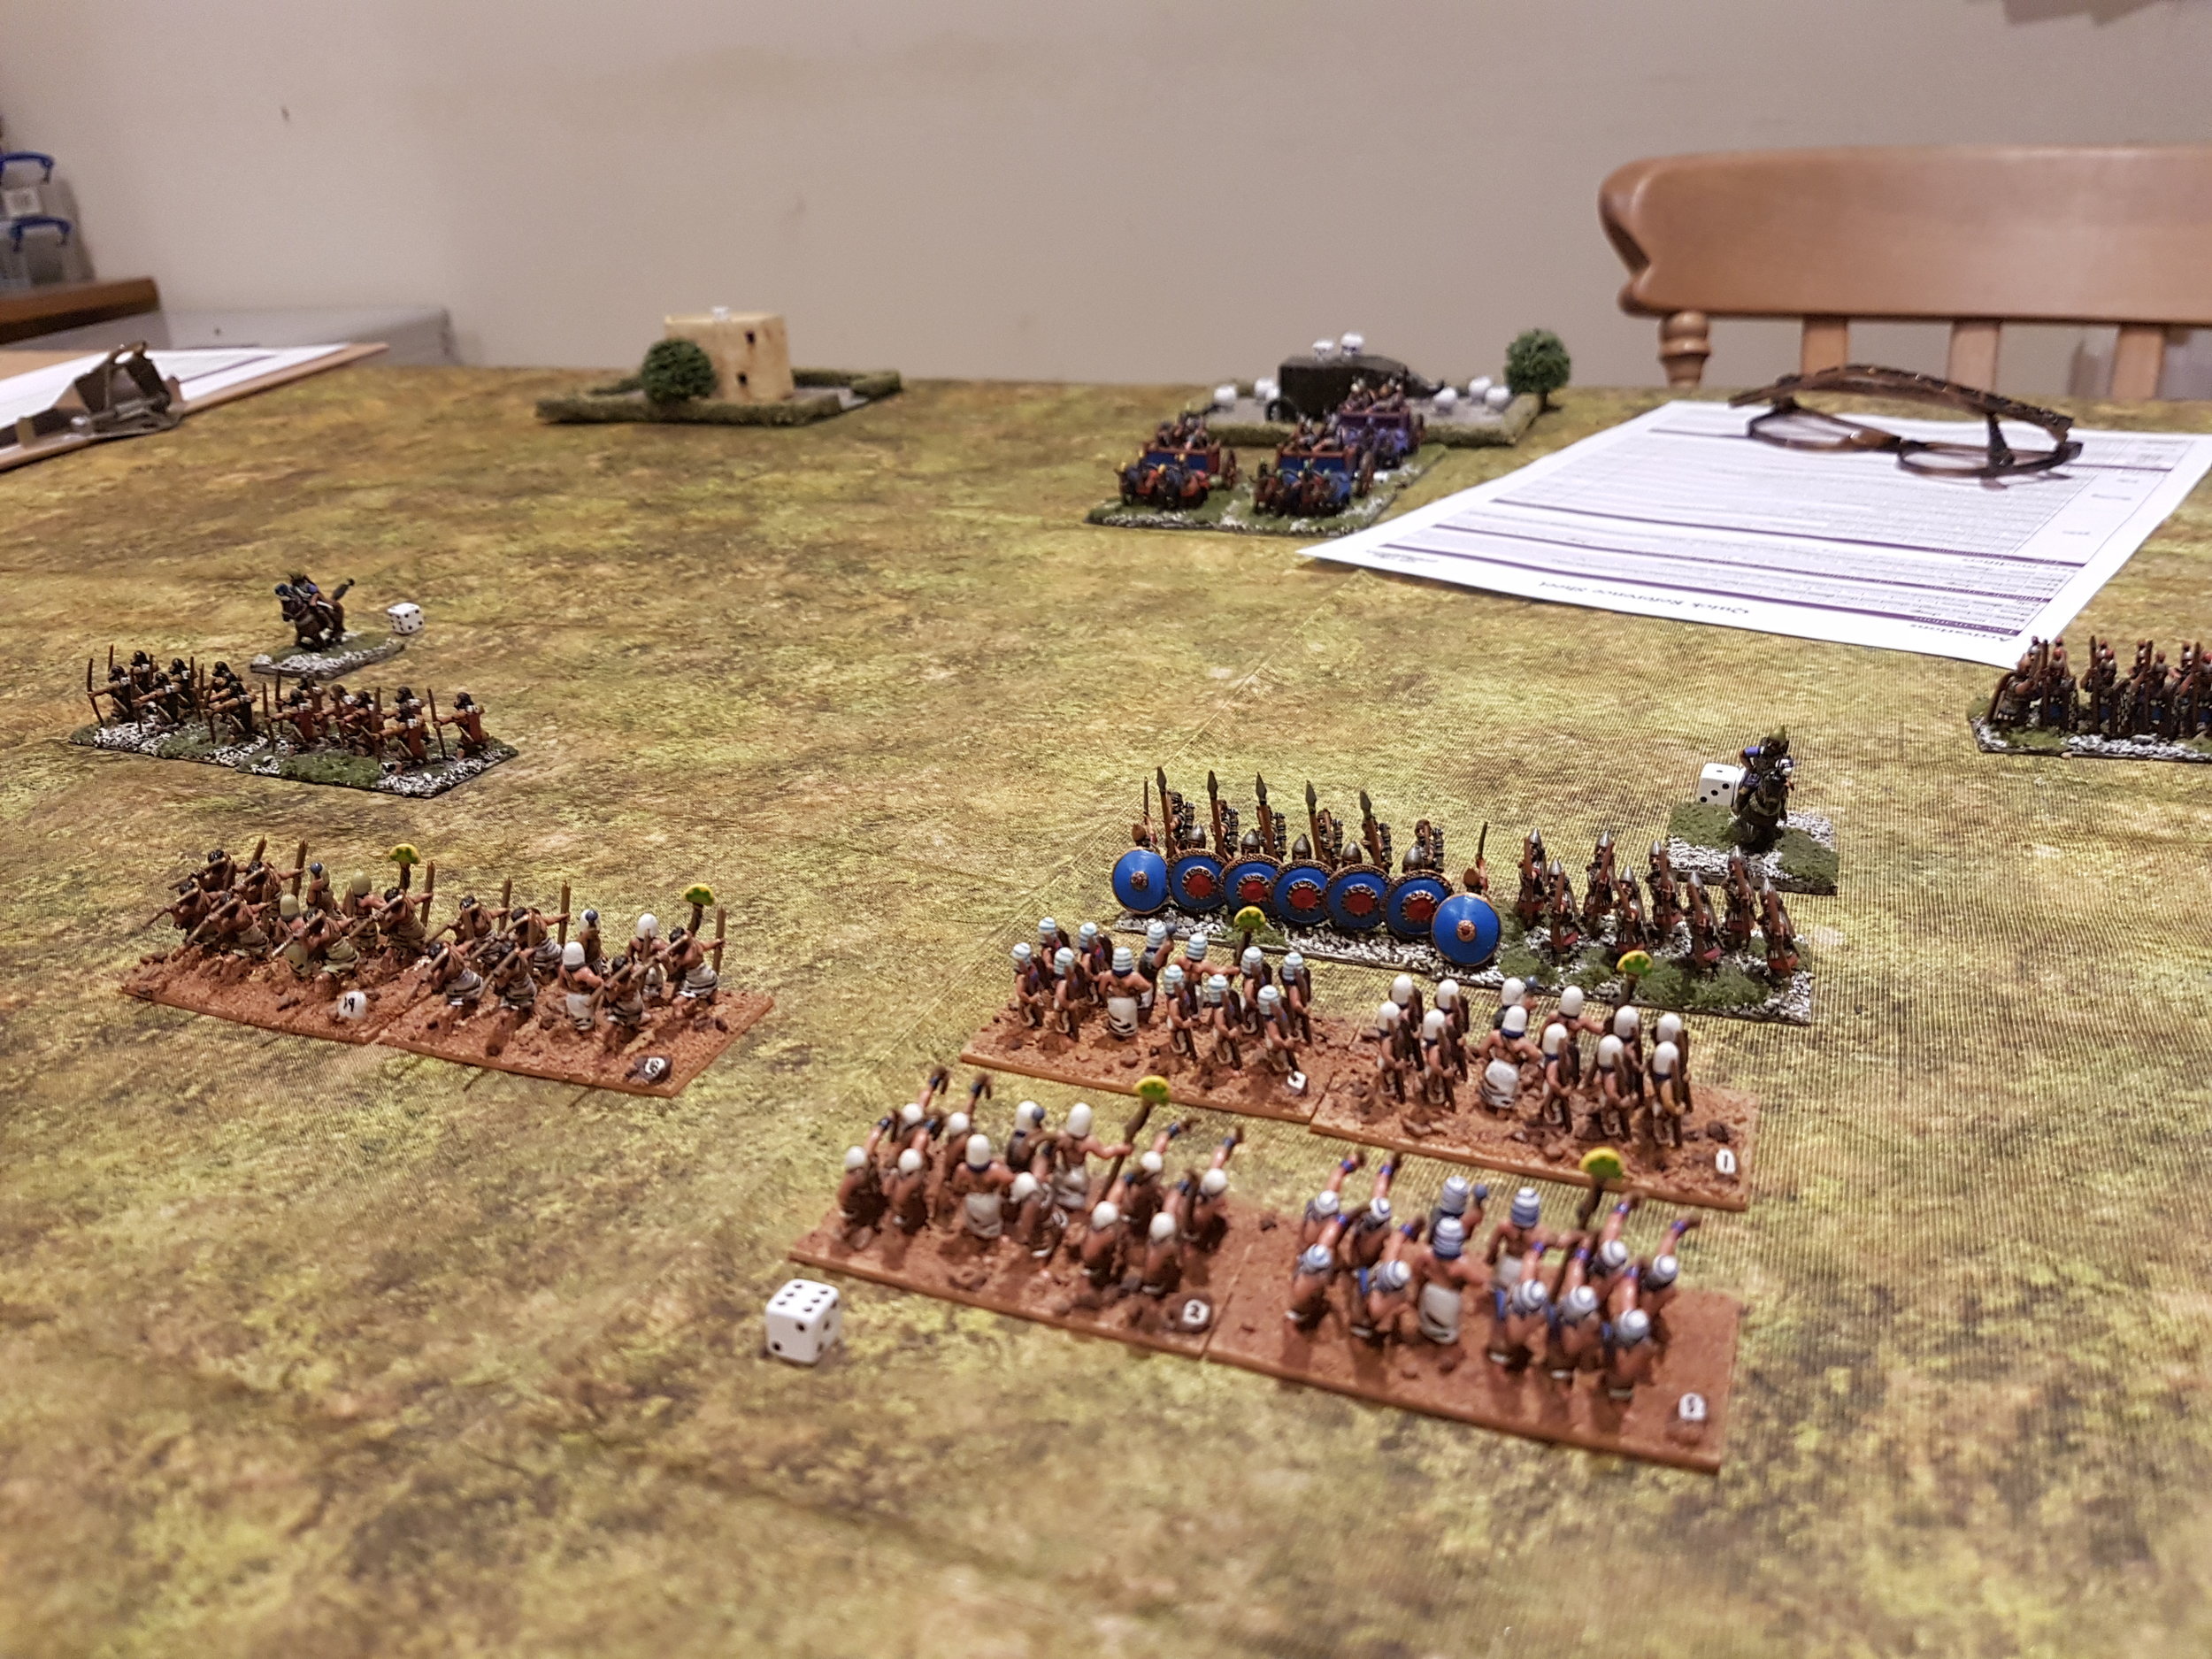
The Canaanites, meanwhile, had the bit between their teeth and were heading for the Assyrian cavalry at a rate of knots. There were five Canaanite units versus three enemy units, and my plan was just to keep them occupied…even if it meant they were occupied in massacring my somewhat hapless allies! Incredibly, the Canaanites, whilst not exactly winning the resultant clash, certainly didn’t lose: so at least I had achieved my objective of forcing a stalemate on that wing.

So it was all down to the centre.

Here I had six units of infantry versus his four and, for once, everything went as planned. The bowmen shot their arrows from behind the line of spearmen and disordered his front line, the spearmen and axemen charged in to finish the job. Half his infantry force evaporated, with the other half badly threatened.

Meanwhile, I had got my left wing back under control, and was threatening to overwhelm the heavy chariots that had captured my camp (the others had already been nobbled by my chariots) and take it back.

It was all over for the Assyrians!

Postscript

Another couple of great games of TTS. We shall definitely be playing again: Neil has a couple of samurai armies in 12mm that will be facing each other in a week’s time or so.

Meanwhile he is spending his time working out how the Assyrians can counter the threat of the hordes of Egyptian light chariots. Answers on a postcard to…

The Ancient Egyptian Panzer Division


Scenery for To The Strongest

Now that the camps are sorted out, time to get a bit of scenery to dress the table and provide me with more of the sort of “traffic jam” problems that I encountered in my first game of To The Strongest.

I’ve got some desert style bits, but need to prepare for when my Hoplites eventually take the field. They are based in a sort of rocky outcrop style, so I need some sort of rocky outcrops to match.

A quick wander round Warfare and I came across The Scene. They had four rocky outcrop style bases about 120mm in diameter which I purchased immediately. Sorted!

As you can see, each fits neatly in one of the boxes on my mat.

First of the New Hoplites

To cut a long story short, I am increasing the size of my 15mm Vis Bellica armies in order to play To The Strongest using two VB elements per TTS element.

My Vis Bellica Hoplite Greek army is very powerful: four bases (elements) of Hoplites, four bases of Spartan Hoplites, and loads of light infantry in support.

Unfortunately, however, To The Strongest classifies Hoplite units as “deep”, meaning that I need to field four VB bases to represent one TTS unit…and as most Hoplite armies have a minimum of five Hoplite units, that means I need a minimum of another twelve VB bases of Hoplite infantry, which at 12 figures per base is another 144 figures to paint and base!

It’s also been some time since I’ve bought any ancients, so I thought I’d try a “new” manufacturer: Xyston Miniatures.

They have a wide selection of Hoplite figures, so I chose to get my first unit as Later Hoplites in Linen Cuirass:

These are lovely figures: crisp and largely flash free. The only pain is that the shields and spears come separately: which means sticking 48 shields onto 48 arms, and then remembering to buy a pack of wire spears, cutting them down to size (from a pike-sized 5cm to a Hoplite-spear sized 3.5cm), and then sticking them in place as well. Just adds another session to the process.

The Xyston figures are easy to paint. First undercoat in black, base coat the flesh and tunics, and then carefully paint the cuirass white using the black undercoat to get the detail. Then paint the shield strap in leather; and. the spear and back of the shield in a wood brown. Tip the spears in dull silver, and leave to dry. Then highlight the tunic, and brass the helmet. Front of the shields in white all over (for the moment), highlight the flesh, paint the crest. Done!

Why paint the shields white? To take the decals of course. I used the Little Big Man Studios transfers designed specifically for Xyston shields. They are easy to use, have a wide variety of designs and, as you will hopefully agree, look really good. Again another fiddly bit: after you put the transfers onto the (white) shields, you’ll need to paint the shield rim to get a nice finish. If you don’t get the transfer dead centre, then you’ll have to paint around the design by hand.

So all in all highly recommended. Only another two units to go!

Second Game of To The Strongest

Now that I’d built the Assyrians up to a decent level, it was time to get them onto the tabletop again. As the Beardless King was unavailable (school!), I persuaded long time wargaming buddy Neil to give the rules a try for game two of my To The Strongest journey.

The Forces Involved

I would play the New Kingdom Egyptians again. My troops consisted of three commands:

Pharoah

  • Two units of guard two-horse light chariots

  • Two units of regular two-horse light chariots

  • One unit of bowmen to guard the Camp

The Blue General

  • Two units of shieldwall spearmen

  • Two units of bowmen archers

  • One unit each of marines, axemen, spearmen and Nubian bowmen (this last guarding a Camp)

The Canaanite Ally General

  • Two units of raw spearmen

  • Four units of raw lights with javelins (one guarding a camp)

Pharoah and his army (well, most of it: there are more chariots out of shot to Pharoah’s right)

Neil would command the following Assyrian troops:

The King

  • Two units of regular four-horse heavy chariots

The Cavalry General

  • One unit of guard cavalry

  • Two units of regular cavalry

The Infantry General

  • One unit of veteran infantry

  • One unit of regular infantry

  • Two units of raw infantry

  • A camp

The General of Light Troops

  • One unit of Assyrian light bowmen

  • Two units of raw Javelinmen

  • A camp

The Game

As I had loads of light troops, King Neil (“Kneel before King Neil!”) deployed first. He placed his lights on his right, his infantry in the centre, the heavy chariots just to the left of centre, and his cavalry out on the left.

This allowed me to choose where to deploy my troops. I decided to follow the same tactics as last time: placing my infantry in the centre flanked by the Canaanites on the left and my chariots on my right. The plan was for the chariots to keep his cavalry busy with missile fire and evasion, hold and perhaps chew up some of his infantry units in the centre, whilst the Canaanites used their superior numbers to overwhelm his light troops and then took all his camps.

Unfortunately, things did not go entirely to plan!

On my right, the chariots steamed forward and began pelting the Assyrian cavalry with arrows, evading them when they charged in reply. So far so good, but my chariots rapidly began to run out of room, as the Assyrians followed up every charge with another one.

This became a particular problem when King Neil threw in his heavy chariots as well: one unit of which drove some chariots right back towards one of my camps, much to the amusement of the Egyptian archers therein: everybody likes to see the nobles get nobbled!

Meanwhile, in the centre, my Egyptian infantry had advanced into bow range and then into contact. Unfortunately, they failed to make much headway, and the centre soon developed into a stalemate, with each side able to disorder the other, but not quite manage to break and force any to rout.

Particularly annoying were my axemen (veteran troops with two-handed cutting weapons). I had high hopes for them, but their first advance saw their attack repelled, and the enemy counter-attack disorder them. Methinks the royal crocodiles won’t be going hungry tonight!

The axemen are out of shot, but are about to hit the Assyrian blue unit top right.

So it was all up to the Canaanites.

They were raw troops, but there were a lot of them: in fact they outnumbered the troops in front of them two-to-one.

Unfortunately (I seem to be using that word a lot in this report!) their numbers actually told against them. I tried to cram them into the space in between the left flank of the Egyptian infantry and a patch of rough ground, and got completely jammed up. It took several turns to get everything sorted, and to drive back the infantry in front of me, opening up a way through to the Assyrian camps.

Canaanites (anachronistically dressed as Spartan Hoplites to scare the opposition) finally force the gap, although the High King’s chariot has to mount the curb to get by

All well and good, but all this delay had allowed the Assyrians to disperse my chariots and get their heavy chariots back into the fray. They say a picture is worth a thousand words, so have a look at the below…

Yes: that is a unit of Assyrian four-horse heavy chariots crashing into the flank of my main battle line!

Suffice to say that a general rolling up of my line occurred, and I began haemorrhaging victory coins right, left and centre. To add insult to injury, the other unit of heavy chariots looted one of my camps, and that, as they say, was that!

Aftermath

Another great game of TTS. The activation system is quite fun, but brutal if the cards start to go against you.

The battle was won in a satisfyingly traditional way: Neil’s mounted troops drove off my mounted troops, and then returned to hit the flank of my main battle line as they attempted to push forward over his.

It could all have already been over if the Canaanites had got their skates on, but I mishandled them badly and they didn’t!

The Egyptians are now officially sacked, and I’m now busy painting Hoplites to bring my early Greeks up to scratch for TTS!

Robert Avery

Building up the Assyrians Part 2

As mentioned before, converting my Vis Bellica Ancients armies for To The Strongest means making them bigger, especially where chariots and deep units are concerned.

My Assyrians were already a large VB army, so didn’t need a huge amount of augmenting to bring them up to TTS strength. I’ve already posted about the chariots, now here is the extra cavalry I need: a VB unit of Guard cavalry and a unit of Regular cavalry, allowing me (with what I have already) to field three TTS cavalry units, one Guard and two Regular.

That’s the Assyrians finished, now on to either the Egyptians (need more chariots!) or the Hoplite Greeks (need more Hoplites for those TTS deep units).

First Game of To The Strongest

Whilst I was up in Edinburgh playing IABSM the other week, I also had the opportunity to watch a game of To The Strongest, a set of quick-play Ancients rules based on drawing playing cards as opposed to rolling dice, and using grid-based movement rather than tape measures. Well it all looked quite fun, and a useful way of getting some of my Ancients figures out onto the table for the first time in years.

I’d rather have been playing my own Vis Bellica rules, obviously, but the fashion these days is for quick-play, so if I want to get some games in with the group I usually play with, it was TTS all the way!

A quick trip to the BigRedBat’s shop (you can click on the pic of the front cover to go there) and I purchased a copy of the rules and a suitably grid-ed mat. Army lists are free to download, along with a rather handy army calculator that does all the hard work of picking your force for you. Everything arrived quickly and correctly, so all in all a jolly good start to the TTS experience.

All my 15mm figures are based as elements for Vis Bellica, but I soon realised that combining two VB bases would give me a suitable TTS unit with a frontage of 12cms, perfect for the 15cm grid mat I had bought, and allowing me to show a unit as disordered merely by putting the two VB bases at angles to each other. VB bases with a narrower frontage (elephants and light chariot units) could be fielded as four VB narrow bases.

Formed and disordered units for TTS, along with a dice to mark ammo. Note grid intersection just to the right of the ordered spearmen.

What this would also mean, of course, is that I effectively needed double the size of a normal VB army for a TTS force…so double the number of figures!

Luckily, I went big when I bought my VB armies, so was able to field a force of New Kingdom Egyptians and Assyrians without the need to do anything except remove a bit of dust from the figures.

I did however realise that my hoplite and Macedonian armies were going to be short a pikeblock or four: TTS phalanxes are double depth, so I’d need to field them as four VB bases, and even I didn’t have a four-times-normal sized Greek or Macedonian force. The same was true for Celtic warbands, so my Ancient Brits might also be short of a few warrior units. Ah well, if I like the rules I’ll just have to buy some more figures…

Ed.’s Wife’s Note: Any excuse! He bought them already, before he even tried TTS out.

The Cast

TTS is advertised as a game ideal for novice gamers, so bearing that in mind my opponent for my first game was my ten-year old daughter. As it was game one, and she has never really wargamed before, I set up all the figures before we started:

The Egyptian (Pharoah Dad)

Command 1:

  • Attached Senior Heroic Mounted General

  • Two veteran light chariot units

  • Two light chariot units

  • Hero

  • Camp

Command 2:

  • Attached Heroic Mounted General

  • Two spearman units

  • Two archers units

  • One axeman unit

  • One Marines unit

  • Hero

  • Camp

Command 3:

  • Attached Heroic Mounted General

  • Two units of bowmen

  • Two units of skirmishers

  • Hero

  • Camp

The Assyrians (the Beardless King)

Command 1:

  • Attached Senior Heroic Mounted General

  • One unit of veteran 4-horse heavy chariots

Command 2:

  • Attached Heroic Mounted General

  • One veteran cavalry unit

  • One cavalry unit

  • Hero

  • Camp

Command 3:

  • Attached Heroic Mounted General

  • Four shieldwall units, one veteran and two raw

  • Hero

  • Camp

Command 4:

  • Attached Heroic Mounted General

  • One unit of bowmen

  • Two units of javelinmen

  • Hero

  • Camp

Each side therefore ended up with 12 victory coins. Each time you lose an asset, you lose one or more coins. Lose all your coins and you lose the battle.

The Game

The game began with a strong Egyptian advance across their entire front. Activation of units seemed very simple and easy to understand, and choosing which units to try and activate first and pulling the cards did indeed prove quite fun.

The Assyrians also moved forward strongly, with their cavalry heading straight for the Egyptian chariots seemingly unphased by the superior number of pyramid builders.

I then realised that I had a slight problem. My light chariots, being of the light troops variety, couldn’t charge the Assyrians head on: I could only shoot them and evade their charges whilst trying to get around their flanks and rear. Unfortunately, the Assyrian cavalry were just as fast as my chariots, and one unit of veteran chariots was soon no more than a pile of kindling and dog food, with the mildly exerted Assyrian Guard cavalry sailing forward looking for their next victims.

The chess game between the two units of Assyrian cavalry and three remaining Egyptian chariot units would take up most of the rest of the game, as I tried frantically to stop his cavalry running over my light troops whilst looking for a way through to his flanks, rear and camps. The Beardless King was, however, equally determined: forming an inexorable line of cavalry that just kept of coming.

Meanwhile, in the centre, the two lines of infantry had come together: first the arrows flew in either direction, then the units got stuck into each other. The Assyrians had the advantage of having combined units of spear and bow-armed infantry, but I had stacked my spearmen and bow units two to a hex (i.e. a unit of archers behind a unit of bowmen) with some success.

Unfortunately, just as I was about to firmly win in the centre, the Assyrians committed their reserve into the combat (at my suggestion, I hasten to add!) slamming a single unit of veteran four-horse heavy chariots into my exposed flank.

But it was actually on my left flank that I lost the battle!

There, each sides’ light units had clashed, with victory going to the Assyrians. I had already committed my reserve to prop up the chariots, and one pesky unit of Assyrian javelinmen broke through my light troops and managed to sack not one, but two of my camps!

The enormous cost in Victory Coins of losing two camps was too much for my Egyptians, and they fled the field.

A somewhat embarrassing defeat!

Post-Match Analysis

Well that was actually a jolly fun game. We got loads of the mechanics slightly wrong, but know what to do right next time.

The figures looked good on the table, and I am pleased that Simon Miller, the author of TTS, shares my belief in the importance of holding your line of battle strong whilst seeking to punch through or outflank that of your opponent, exactly as VB does. This wasn’t a question of a fight between a series of individual units, but two armies clashing, with victory going to the army that held its overall shape for longest.

I shall definitely have more games of To The Strongest, and am now very tempted by the English Civil War version: For King and Parliament. I’d better get those extra hoplites and pikemen painted up first though!

Here are a few more pics of what turned out to be an excellent game:

Dux Britanniarum, An October Deal

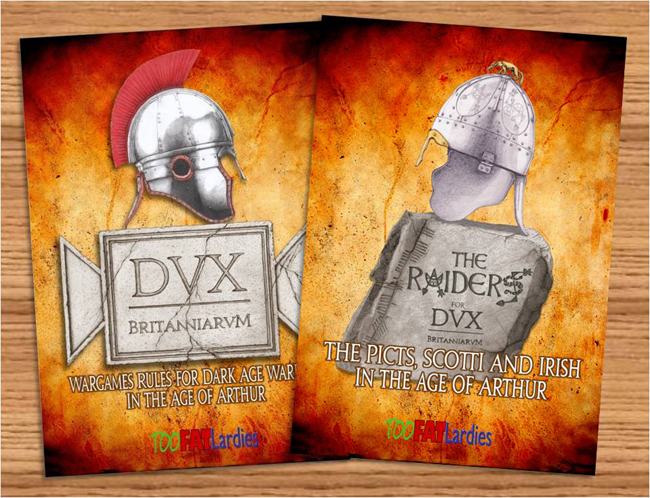
I usually keep my posts on here to either my own wargaming stuff or something about one of the TFL company-sized games (IABSM, CDS etc). Today, however, I'm happy to pass on news about a sale involving one of the TFL skirmish-level games, Dux Britanniarum. I'll let Big Rich tell you all...

With the Dark nights creeping in and the inclination to spend the evening sat before a warming fire, what better time could there be than to reach for a copy of Dux Britanniarum, our Dark Age rules, and summon up tales of valour and heroism as told in the halls of Arthurian Britain?  Indeed, what better incentive than a magical twenty percent off the Dux Britanniarum rules and the Raiders rules supplement throughout the month of October.  Even Merlin would be impressed!

So what is Dux Britanniarum all about?  The main rules focus on the British defence of their island in the face of a Germanic invasion by the Saxons, Angles and Jutes.  Choose the region of Britain over which you want to fight and enjoy the campaign system which allows you to conquer lands, amass experience, gain additional supporters and build fortifications and other enhancements to allow you to hold on the your kingdom.  Typically a campaign begins with a Saxon force of around forty five models raiding from the Sea before attempting to win land and settle.  Meanwhile the British player will attempt to keep the invaders at bay and hold on to his lands.

The Raiders supplement allows you to introduce three new factions, the Picts, the Scotti and the Irish and extend your campaigning to the northern lands above the wall and the island of Ireland to the West, both of which stood unconquered by the Romans and have very different cultures which are represented in the rules.

Normally £25.00, Dux Britanniarum bundle of the main rules and card deck are just £20.00 during October, whereas The Raiders expansion set with book and card is now £14.40 rather than the usual £18.00.  The Double Dux bundle, with both sets of books and cards is now just £32.00.  Now is the time to go forth and conquer with Dux Britanniarum.

You can order the above by clicking here.

Vis Bellica: Battle Reports Being Added

I've finally got around to starting to add the five years or so's worth of Vis Bellica ancients period battle reports to the site. 

As they vary in length from a few paragraphs to a major dissertation, rather than giving each report it's own page, I'm adding them in blocks defined by months. Might make it easier to read a whole lot of them at once as well.

Re-reading them all as I transfer them across has made me pine for the game a bit. I really must get on with the second edition...

Click the picture below to go to the VB After action reports page:

Vis Bellica: Scenario Loading Underway

Just in case anyone was wondering why the post count as slowed slightly, it's because I'm making a real push to re-load all the content for the Vis Bellica and Vis Magica sections of the website. VB is up first, and I'm currently in he middle of loading all the scenarios I wrote for the game. 

Macedonians in action

Macedonians in action

Each scenario comes with a history of the battle involved, so they are well worth a read even if you're not a VB or Ancients player. So far I've managed to load scenarios for the battles of:

  • QarQar: Assyrian action in the desert
  • Leuctra: the Spartans get a bloody nose
  • Chaeronea: Philip of Macedon in action against the Greeks
  • Hydaspes: his son, Alexander, fighting the Indians
  • Zama: Hannibal and the Carthaginians take a beating
  • Cynoscephalae: action at the Dog's Head
  • Carrhae: the Romans under Crassus come a cropper in Parthia

All available under the Vis Bellica tab in the top nag, or direct by clicking here.

More on the way. In fact I might do another now...