Napoleonics with Valour & Fortitude

A rare day off work so what better way to spend it than wargaming!

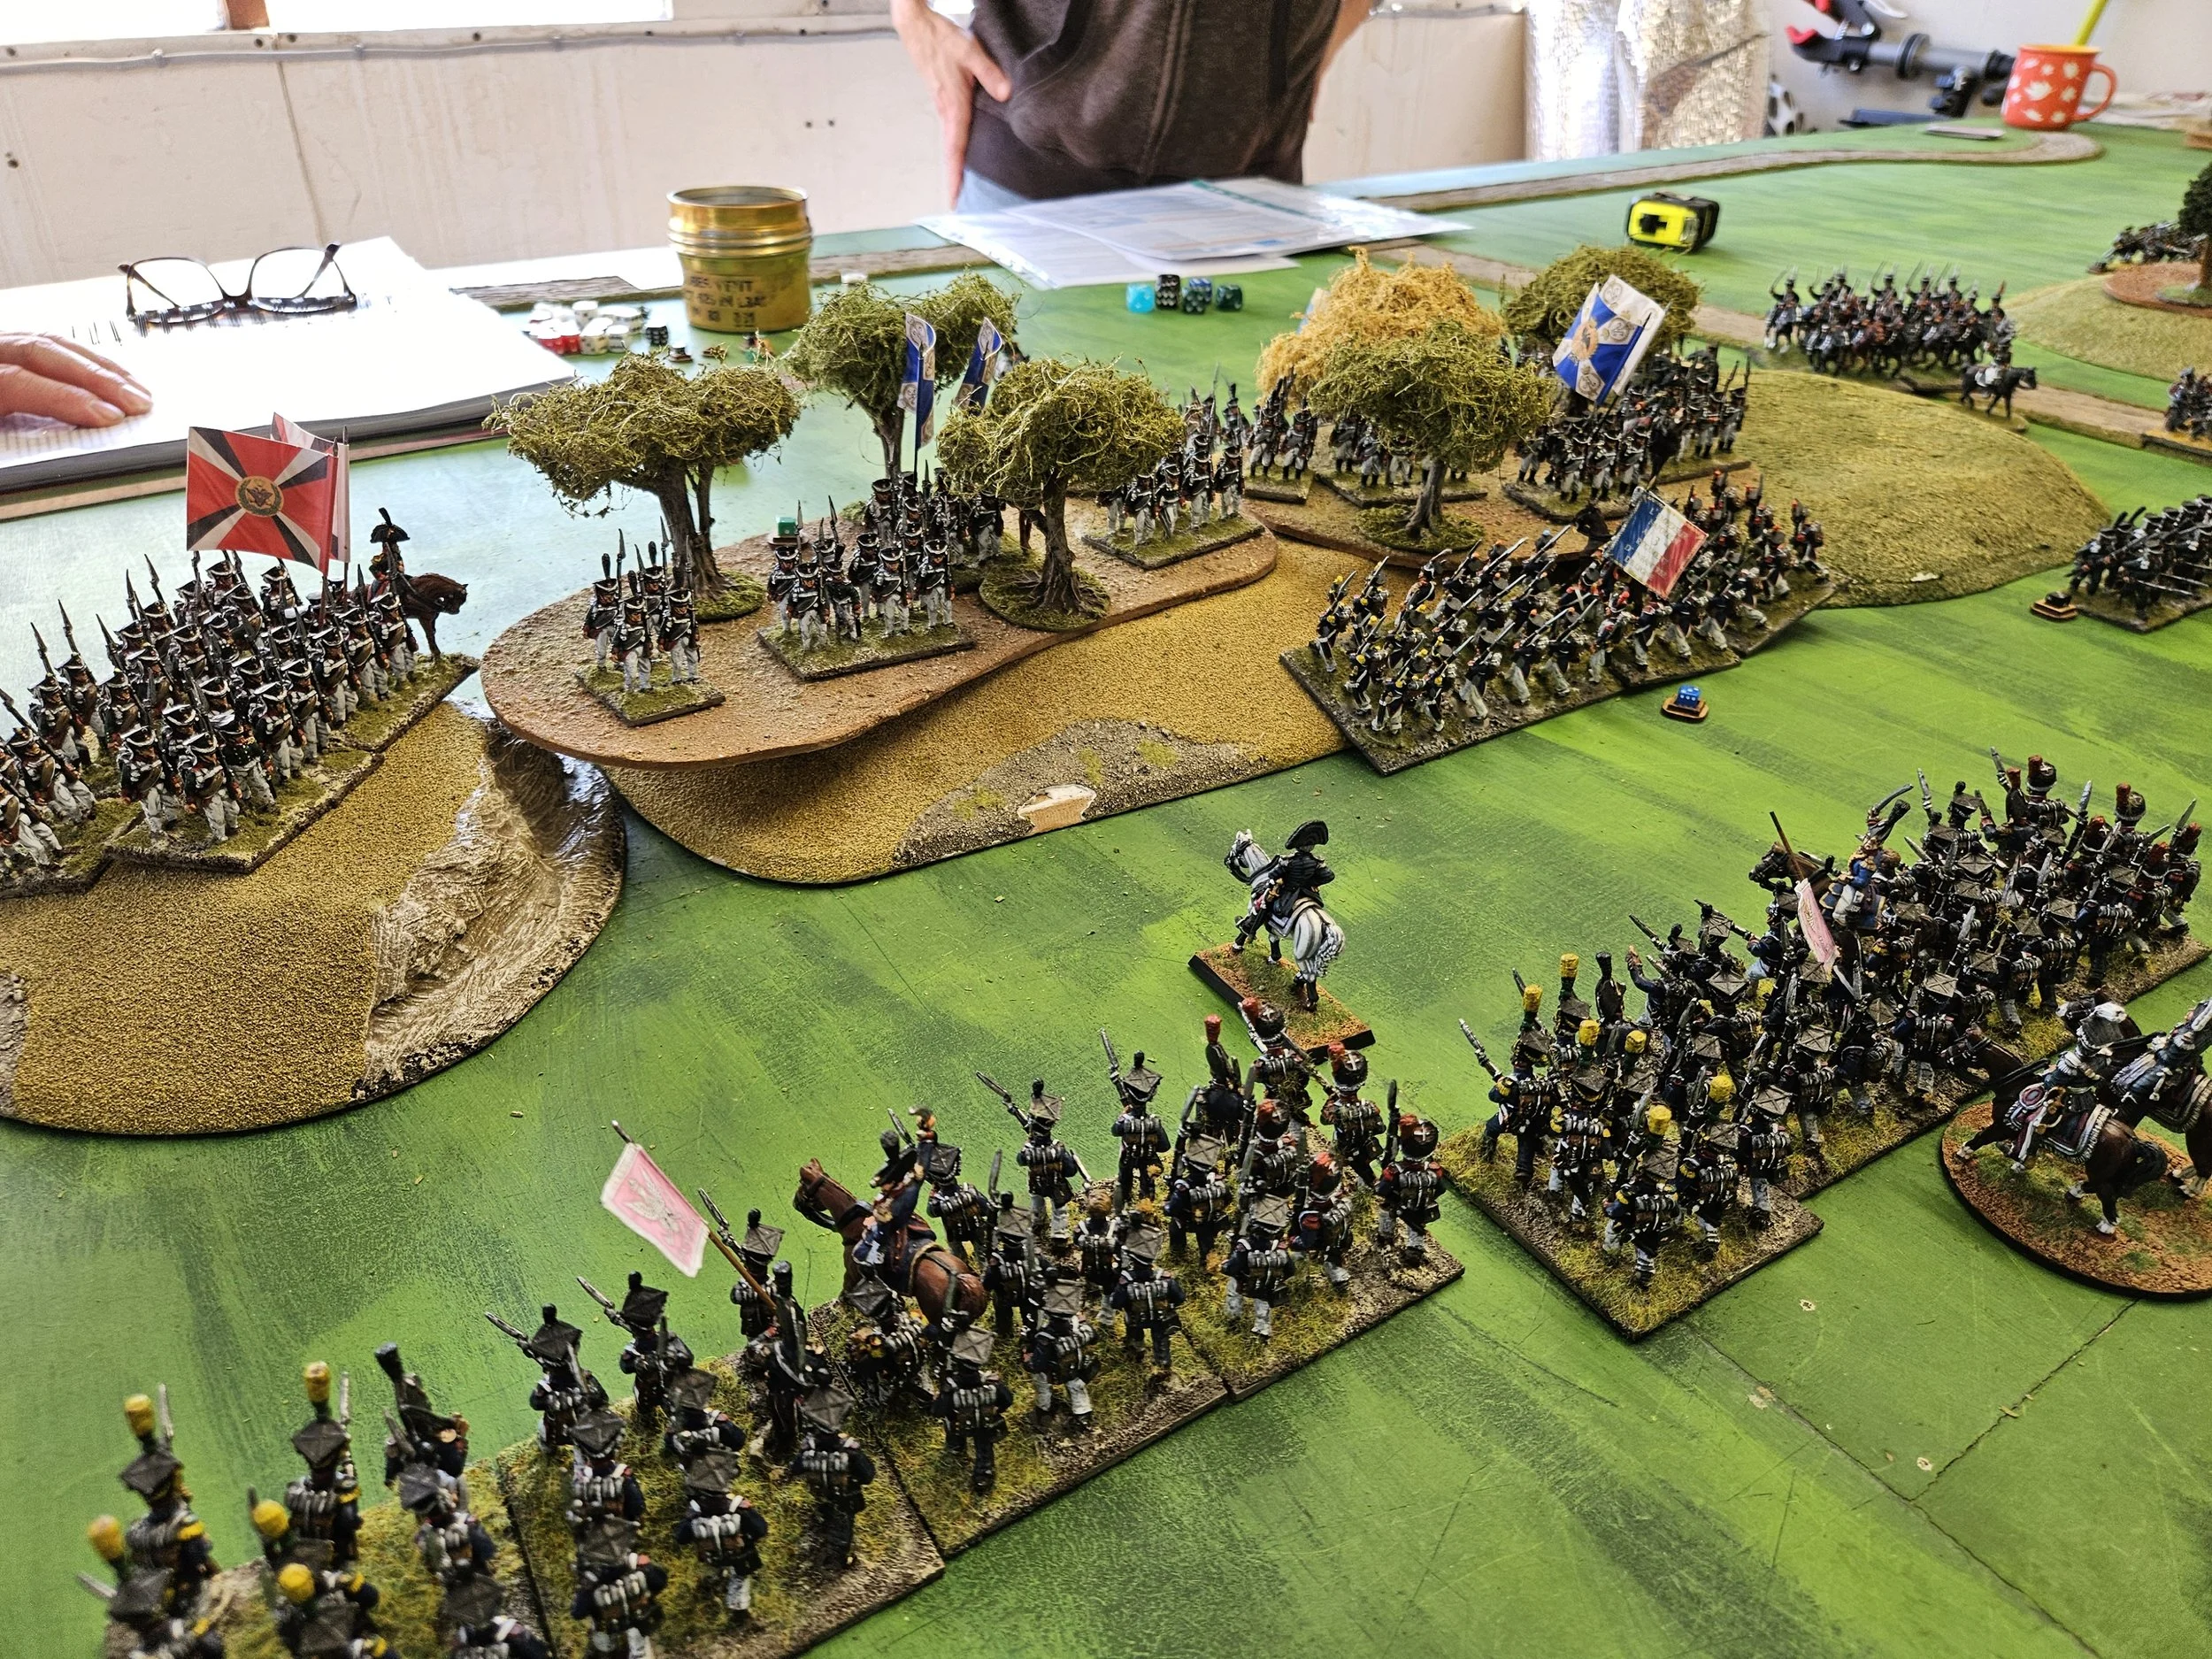
Friend Si was putting on a 28mm game of Valour & Fortitude, so I invited myself along and ended up joint-commanding a French rearguard trying to get away from some Prussians and Russians.

The Allied force headed straight for us, so our lead brigade stayed in column and headed towards the left hand ridge, whereas my brigade formed line and started side-stepping left as fast as they could!

Almost immediately some Russians Hussars charged our only battery of artillery. The Hussars were decimated by cannister fire but still managed to get in amongst the guns, sabres swinging. The result: retreating Hussars but no more artillery crew!

It was now fairly obvious that we were severely outnumbered, but all we could do is send off messengers asking for reinforcements whilst continuing with out plan.

My troops were now locked into a forefight with the advancing Prussians, but a very steady volley sent some enemy Militia scuttling backwards. There were, however, plenty more coming forward, and things were looking a bit dicey.

Then, huzzah: our reinforcements arrived. Two more brigades: one of which would reinforce Gary’s assault on the other ridge, one would bolster my wavering men.

Things were looking good at Gary’s end of the table, but a bit dicey at mine. Although I won the first melee I fought, the Prussian landwehr curling in from the right then destroyed my rearmost battalion.

My original brigade were, unfortunately doomed: especially as managed to roll ‘snake eyes’ for my two saves against losing a battalion.

But my reinforcements were now in position, and as the game ended we had certainly fought the enemy to at least a stalemate.

The umpire was consulted and ruled that this had been a French victory: I think that you achieved the mission. The Prussians had taken out most of your right but the left was quite intact and the Russians not too strong. They weren’t in a position to exit the table on your side after 10 turns.

Sacre bleu but that was a hard-fought battle! A French victory, but casualties had been high. My thanks to Si for hosting and running the game, and to Gary, my co-commander, and Dave, the Prussians!

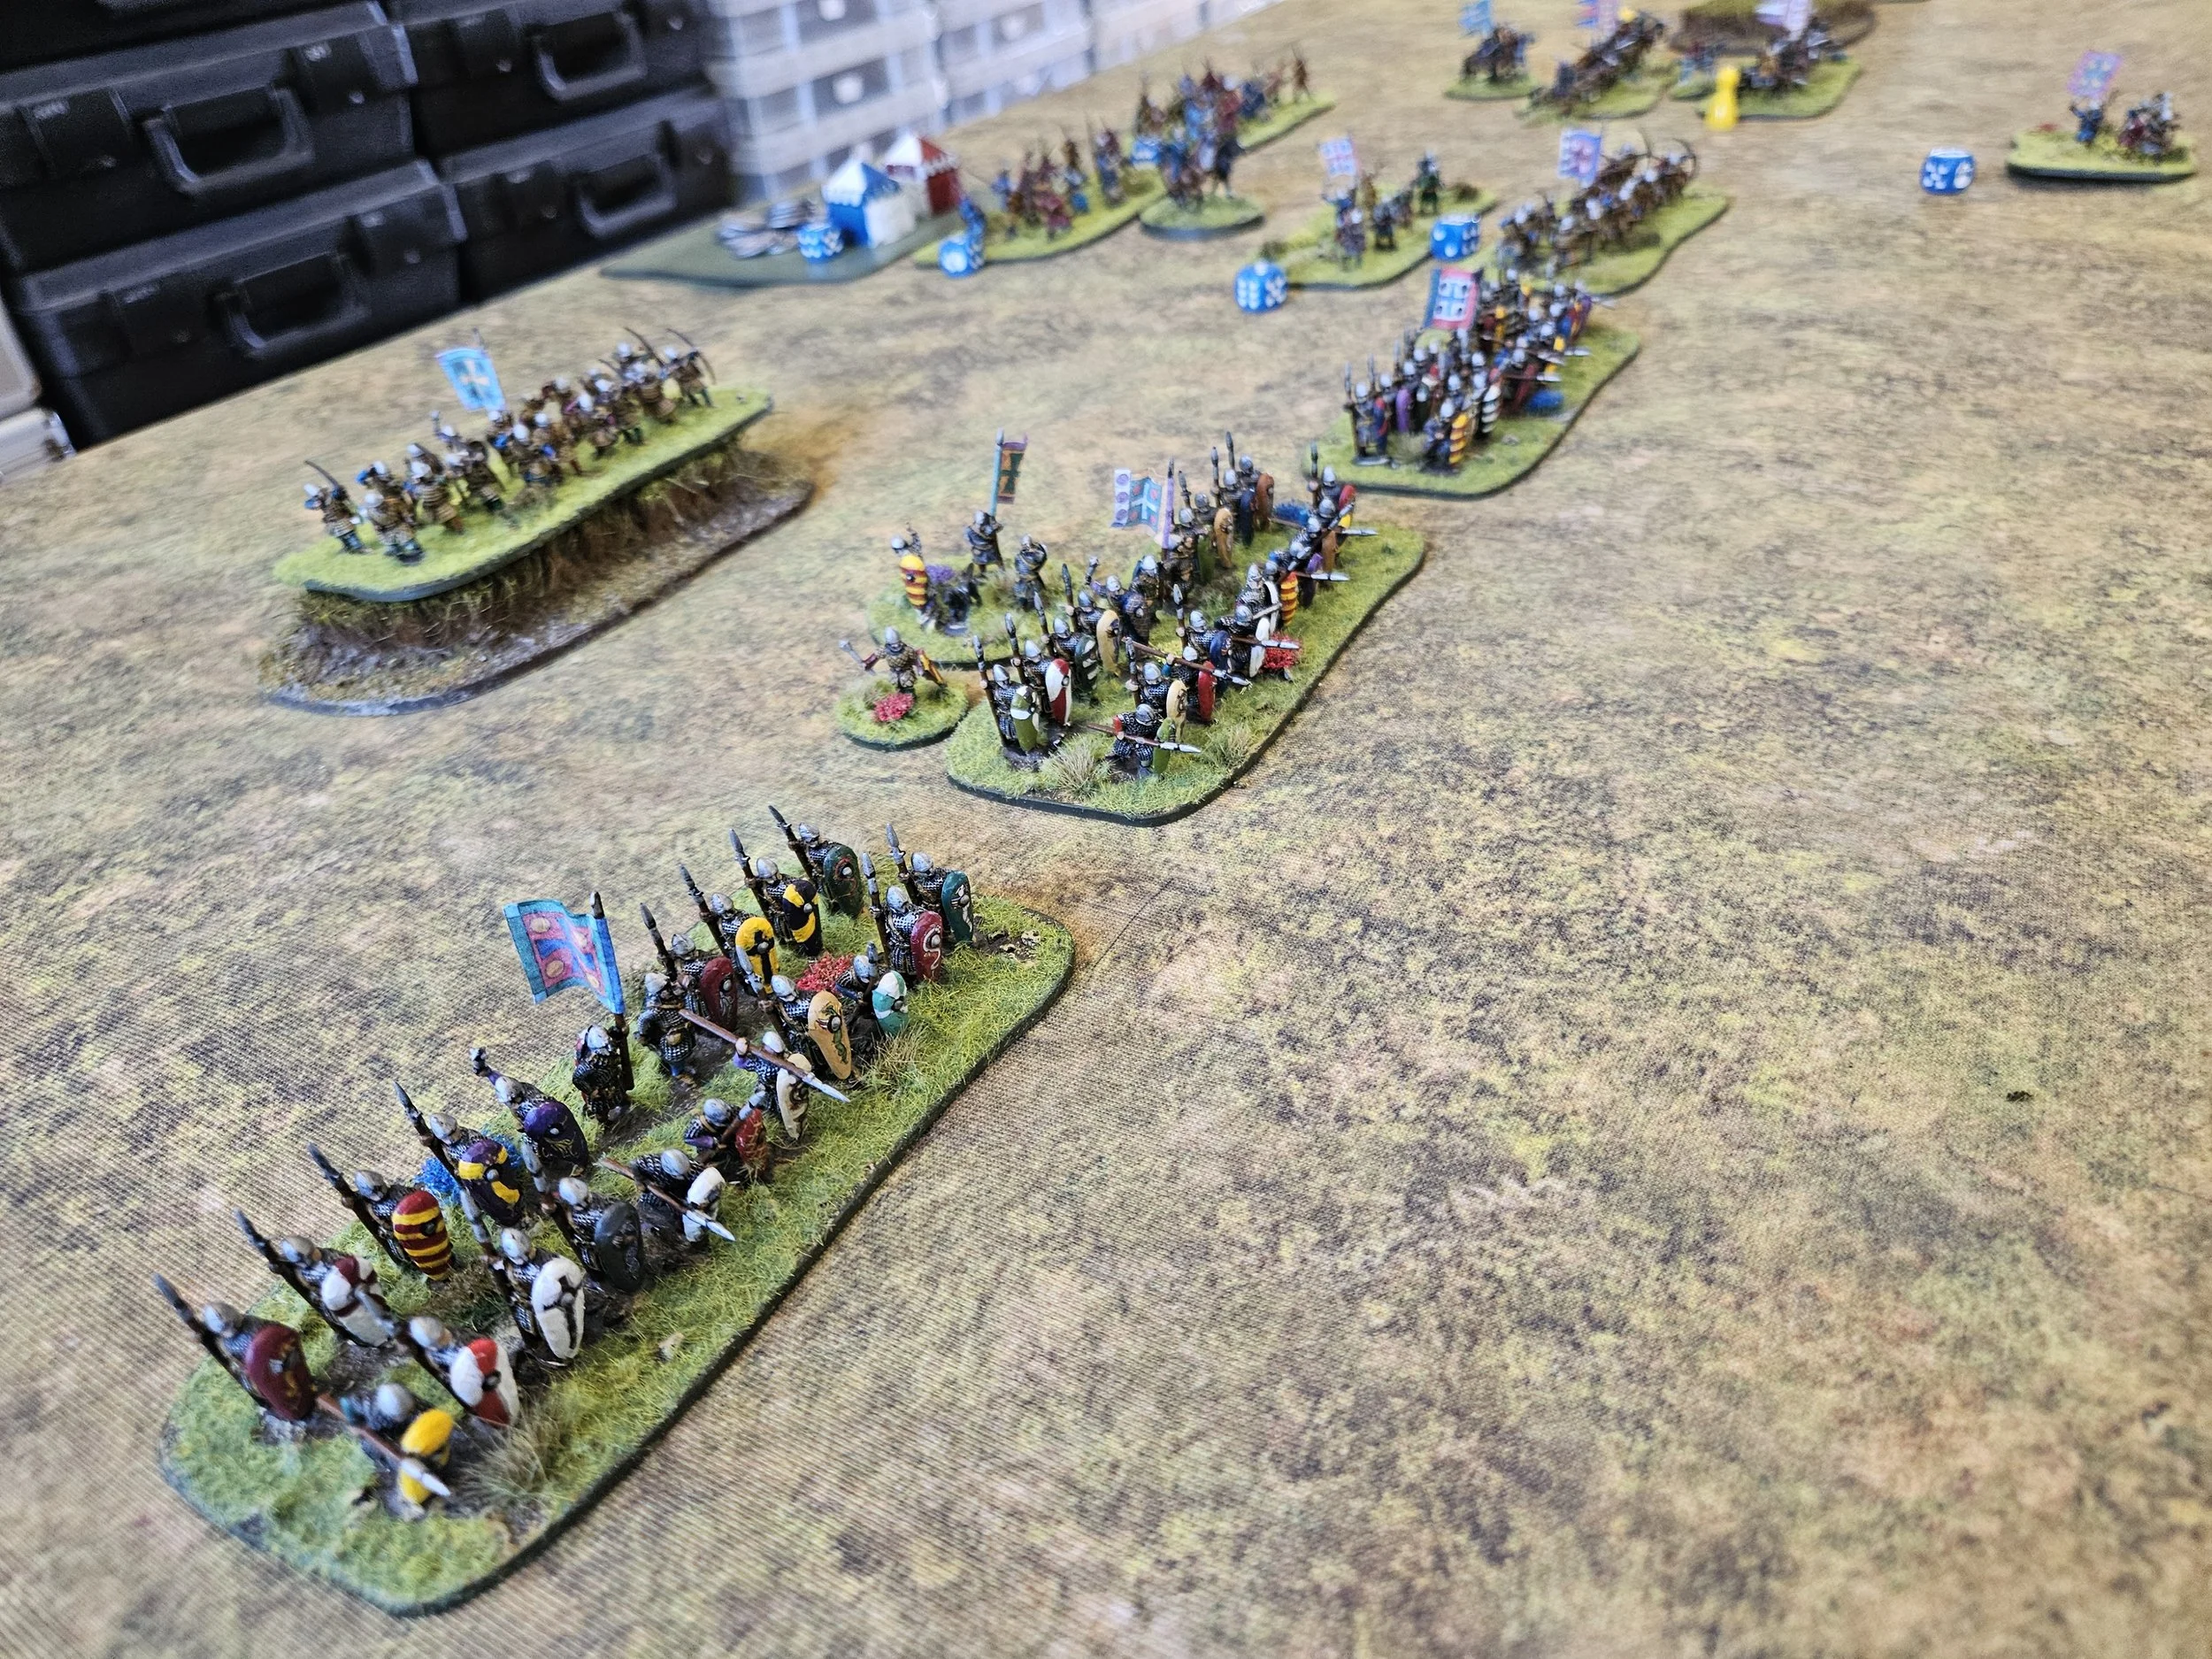
Here are some shots of the table at the end of the game:

TTS AAR: Crusaders versus Sassanids

Time for a quick game of To The Strongest against friend Rob. As I wanted to use my ‘first time on the table’ pilgrims, I would play the early Crusaders. Rob chose to play the Sassanids.

The Sassanids won the scouting, and chose to deploy a long line of Savaran cavalry on the left, their cataphracts in the centre, all backed up by their infantry and elephants on their right.

The Crusaders deployed all their Knights on their left, their lesser troops (pilgrims etc) in the centre, and their shieldwall foot knights on the right.

On the left hand side of the battlefield, the Knights and cataphracts advanced towards each other slowly. I had four units of Knights handy, so was pretty confident that I could use my numbers to get an advantage here and then sweep into the flank of the rest of the Sassanid cavalry.

I was a little concerned about the horse-archers sweeping past my left flank, but I was about to charge forward so would worry about them later!

Or rather not, as a pair of Aces prevented me from getting that first charge advantage!

Worse, once my Knights had received the Cataphract charge, I checked that my general had survived the combat only to see him murdered by a Sassanid spy! Things had not begun particularly well!

Meanwhile, on the other side of the field, the Savaran had advanced into contact with my infantry.

This was almost equally disastrous: with two of my shieldwall units fleeing the field after receiving a rain of arrows and a nasty lance-charge, one exposing a unit of archers as they did so. The Savaran then crashed into the archers and, to much hilarity on my side, were disordered then broken by the bowmen!

Back to the left, and I had somewhat recovered the situation, destroying both cataphract units and one lot of horse archers. Both units of Knights were, however, disordered, so I couldn’t afford to lose another combat.

Rob and I were both now so short of coins that one more unit broken would lose either of us the game. The initiative was with me, so I had a quick look around the table to see which Sassanid units were the most vulnerable.

I could charge the disordered Daylami in the woods in the right hand picture above, but I was disordered and couldn’t use my lance amidst the trees, and they were veteran javelinmen who would get saves for defending cover…no, I needed to pick an easier target.

Ah ha! The other unit of Daylami were out in the open, and I had two units of Knights that could charge them. Here was my victory!

In went the first unit of Knights: mutual disorder. Good enough, I had the others to follow.

In they went, but I just couldn’t break the insert expletive javelinmen. The cream of chivalry unable to break disordered mountain men out in the open: pitiful!

Well that was my best chance of a win gone, and I could only watch as his elephants thundered forward and broke the Knights in front of the woods. That was bye-bye two coins and bye-bye the game!

An excellent game that I so nearly managed to recover from early losses to win. So nearly!

My only consolation was the fact that I am painting up a couple of Daylami units for my Arab Conquest force. May they achieve similar success when they hit the tabletop!