IABSM AAR: War of the Rats

Over a few days earlier this month, fellow-Lardy Alex Sotheran played a solo game of IABSM set in Stalingrad, where the 6th Army are attempting to batter their way to the Volga but the Soviet defence line is proving tenacious.

Alex has posted both a YouTube video of the game and some absolutely cracking pictures.

To watch on YouTube, click the video link below. It’s 2.5 hours long, but well worth a watch.

To see the pictorial report, click on the picture below:

A Second Lockdown Game of To The Strongest

We’re still in coronavirus lockdown in the UK: banned from leaving the house except for essential trips. For most people, that means no gaming or, at best, some kind of online get together. I, however, am lucky enough to have daughter number one’s boyfriend staying with us for the duration: lucky because (1) he likes to cook and (2) he has discovered that he enjoys wargaming.

Our second game was To The Strongest again: it’s grid-based tabletop and simple-yet-subtle mechanics make it ideal for a new gamer to pick up quickly.

This time, I would take a Gallic army consisting of large amounts of hairy-arsed Celtic warriors and face off against an Athenian Greek Hoplite army consisting of large amounts of, well, hoplites.

Gauls

Greeks

The Greeks set up first: heavily weighting their right flank. At this point I realised that perhaps I should have mentioned to my novice opponent that hoplites can’t move diagonally to the left, but decided to just ignore that rule for the moment.

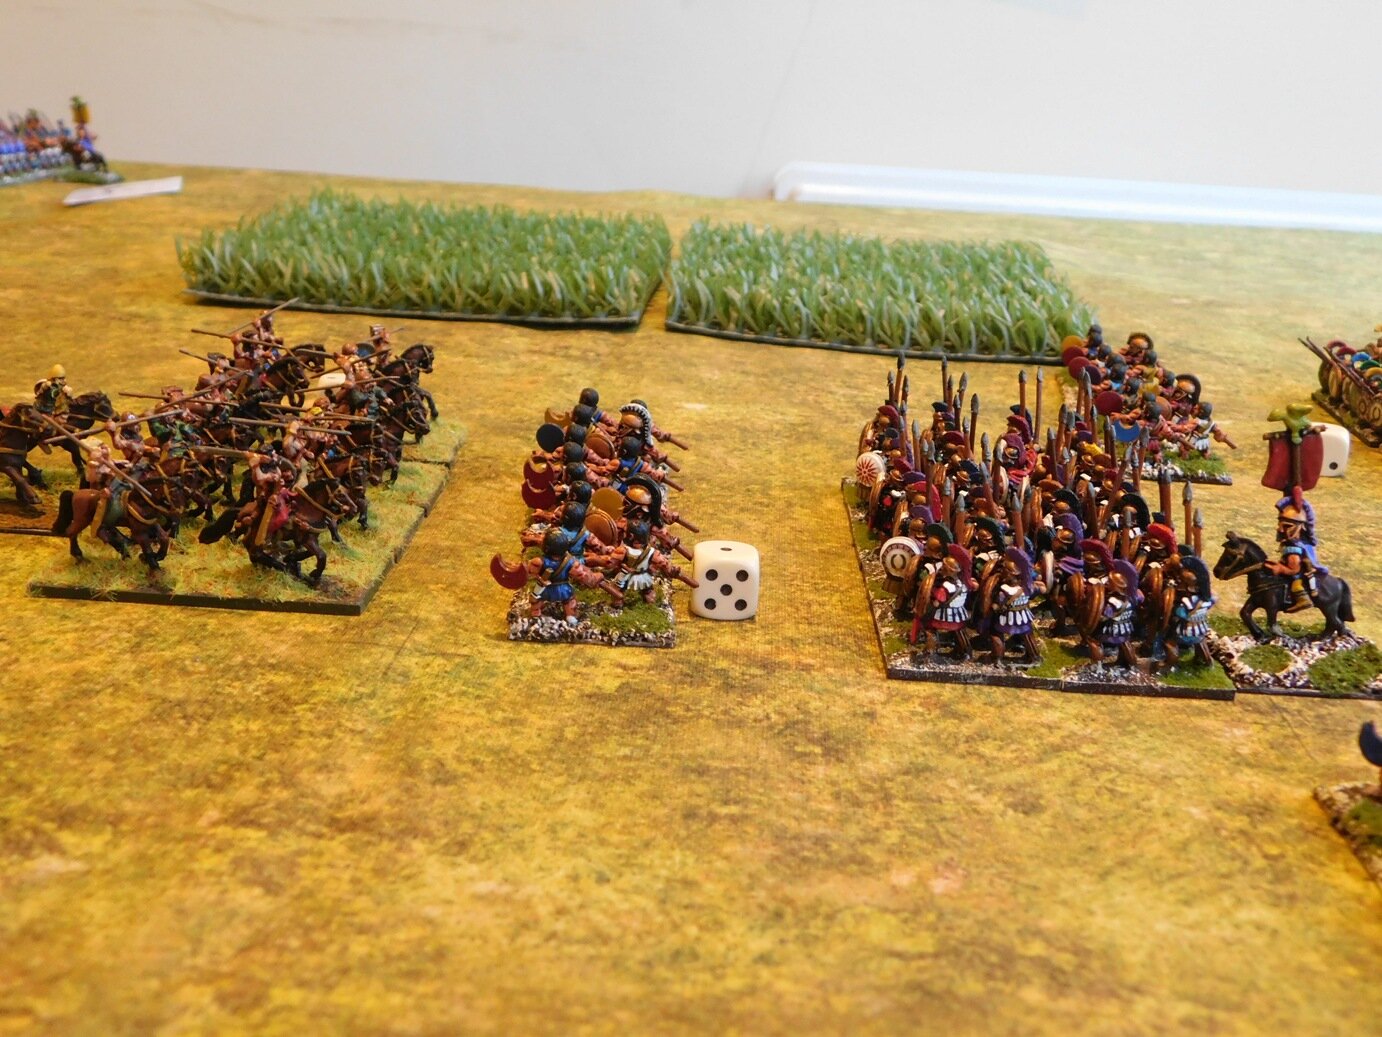
My Gauls were fairly evenly spaced out, but my noble cavalry were on the left i.e. facing two unit of hoplites with very sharp pointy spears! This was no good, so I decided to try a switcheroo gambit and move my cavalry right over to the other side of the field, leaving behind the warband that accompanied them.

The Switcheroo Begins

This would hopefully isolate his two units of hoplites on the far side of the table.

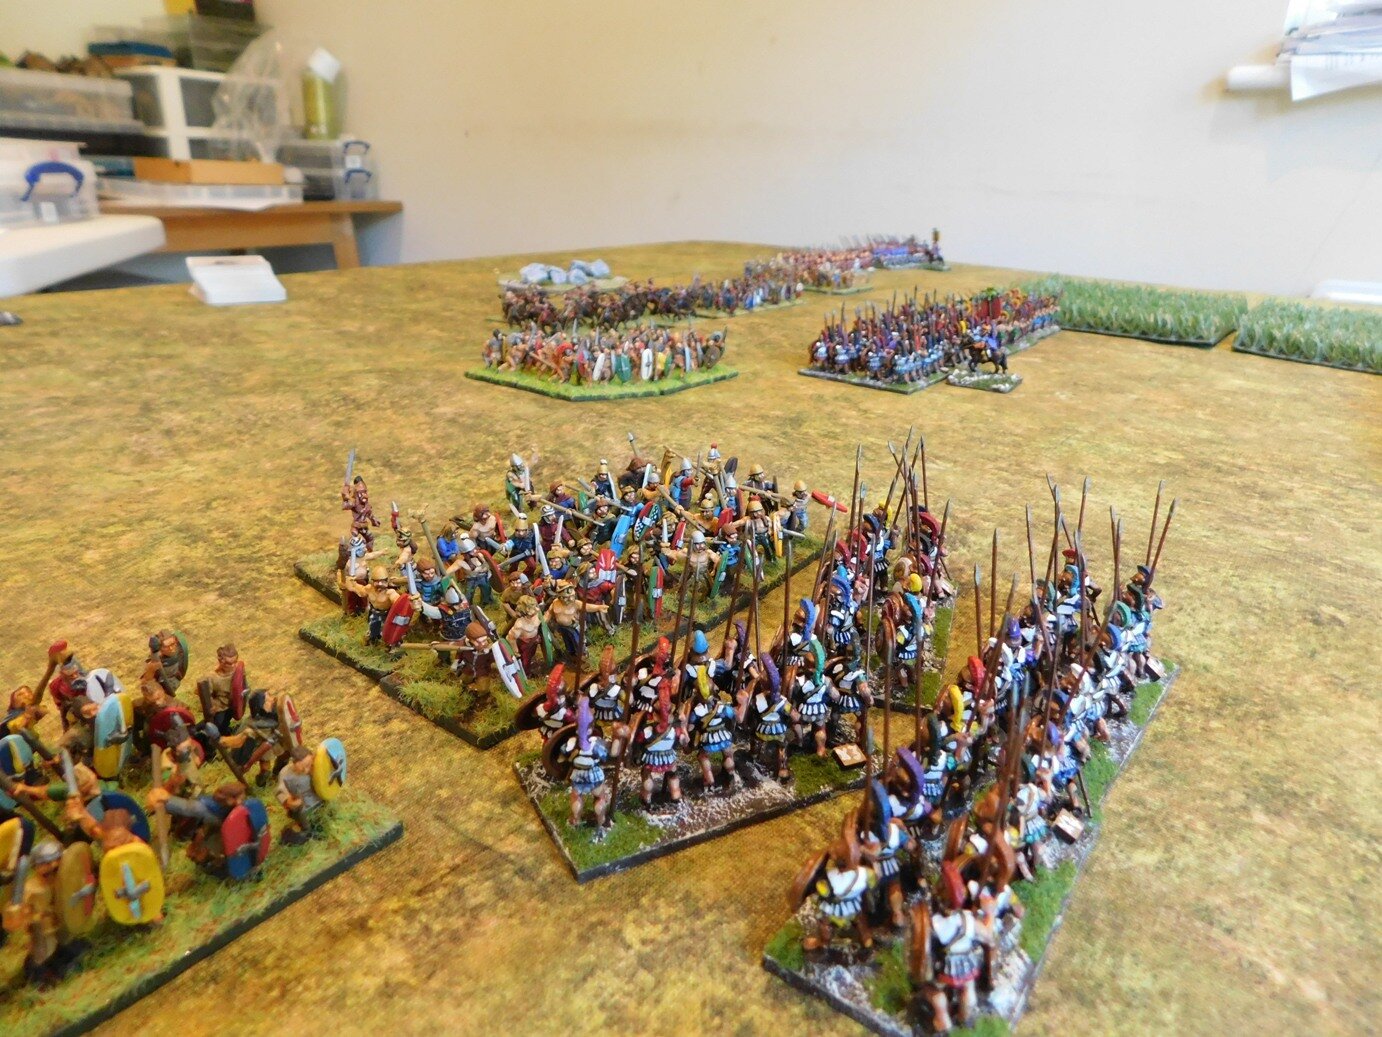
Meanwhile, both battle lines lurched towards each other, the Greeks behind a protective screen of light infantry.

The game then developed into three different battles.

On my left flank, the single warband faced off against the two hoplite units who had actually managed to advance forward much faster than I had expected. Although my warband did achieve one flank attack, this was largely unsuccessful, and I was soon under a lot of pressure as the Greeks got themselves sorted out and threatened to overwhelm me with the two-on-one advantage that they had.

In the centre, meanwhile, the main bodies of the two armies came together in a series of thumping clashes: deep unit versus deep unit. The Greeks took full advantage of their light infantry: using them either to soften the Celts up before contact, or to retreat behind if they suffered a disorder. The advantage would swing backwards and forwards between the two sides throughout the rest of the battle.

On my right flank, my light infantry had managed to see off his horse archers, but a warband was having real difficulty dispatching the rubbish Greek cavalry. Fortunately, my cavalry arrived after their pell-mell gallop across the back of the battlefield, and prepared to sweep all before them as they rounded the corner of some rocks and lined up on the Greek battle line’s flanks.

All that stood between them and certain victory was the lone unit of Greek peltasts that, so far, had hung back and stayed out of trouble.

Cavalry, bottom right, lined up to roll up the Greek line. Only the peltasts are in the way.

Could I get through the peltasts? Not in a month of Sundays! My grand plan blocked by a unit of men who only thought they weren’t light infantry!

Anyhow, that meant that although I had won the right flank, I was losing the left flank, and honours were just about even in the centre. A Greek hoplite unit finally broke through my line and captured my camp, one of my warbands threatened to do the same to the Athenian camp. Units were breaking on either side until we both had just two coins left: the next unit to break would decide the game.

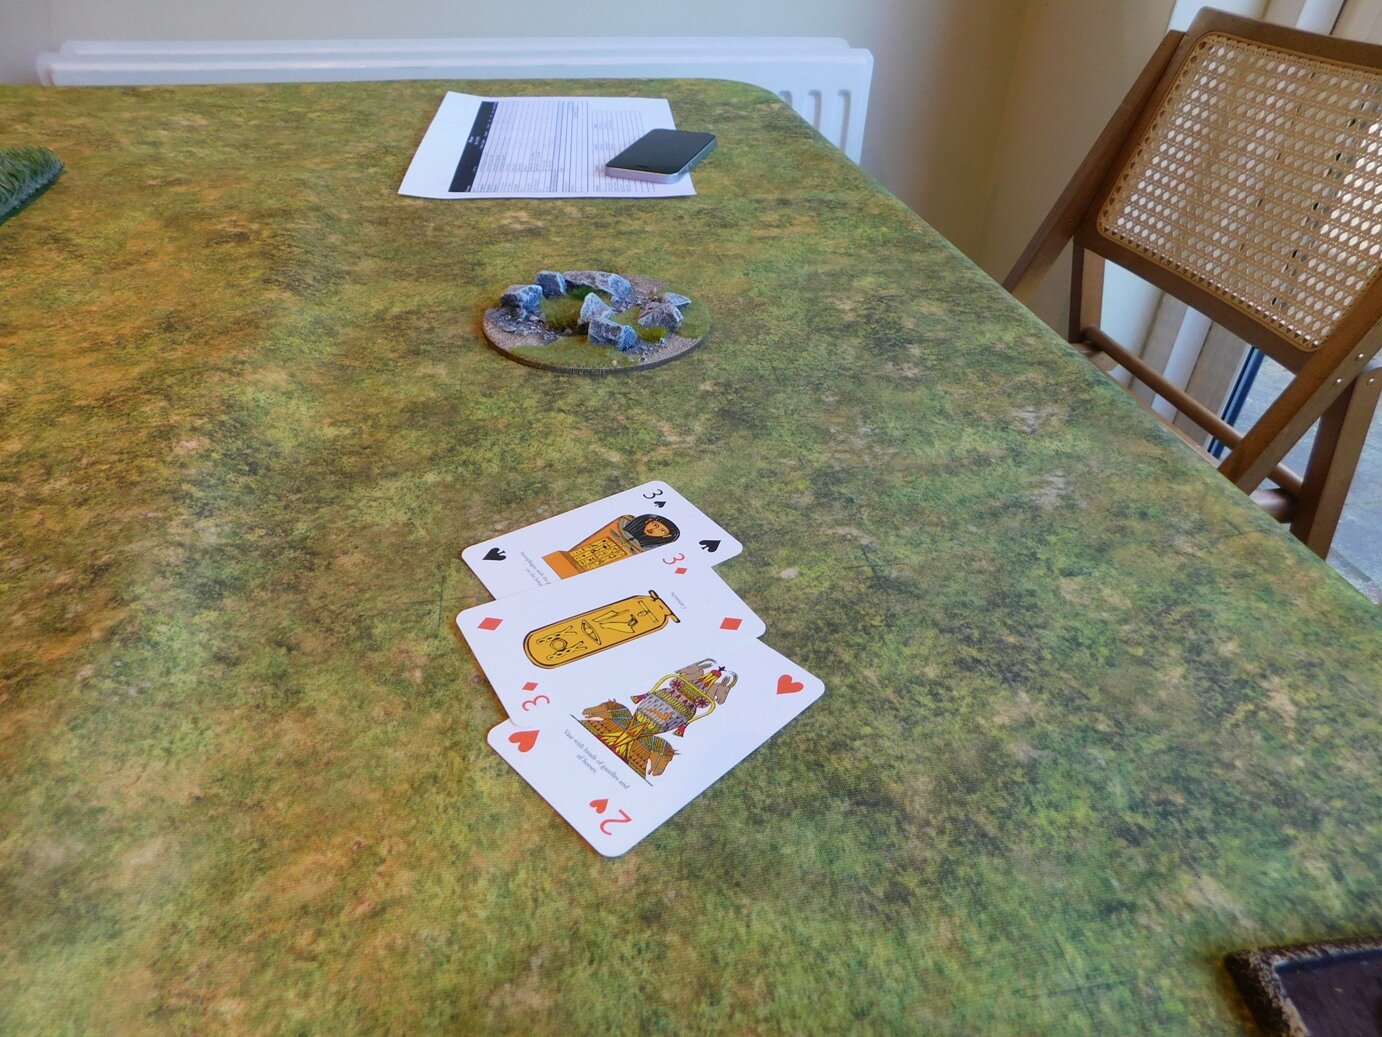
It was the Greeks who had the initiative. I was in real trouble on my left flank, with a couple of double-disordered warbands who would go with one more hit. My opponent reached for his pack of cards: all he needed to do was to send his men in diagonally to hit me: 2+ to activate becomes 3+ for a difficult move becomes 4+ because your hoplite units are deep.

So that was the end of the Greek offensive and, on my subsequent turn, I managed to finally kill the peltasts and win the game!

Aftermath

Another great game of TTS, with the daughter’s boyfriend coming within Ames Ace of beating me.

Here’s a complete gallery of the game:

Robert Avery

IABSM AAR: Fallschirmjaegers on the Neva

Mark Luther set himself a real challenge when he decided to run a COVID-19 lockdown game of I Ain’t Been Shot, Mum remotely.

This game was played over two days using photographs of the table and texts: a great effort from all concerned. It’s a cracking battle report as well, so click on the picture below to see all…

Ed.’s Note: I expect you all to read this as it took me absolutely ages to load and caption all the pictures in the right order. Amazing set up, but the terrain does make everything blur into one when viewed in thumbnail size!

A Right Result!

So here we all are stuck under lockdown and unable to go out. No wargaming clubs are open, no wargaming friends can come round: what on earth is one to do.

Well I have had a right result.

Daughter number one came back from university just before lockdown and brought her boyfriend with him as a house guest for a couple of months (he lives abroad normally, but can’t get home at the moment). This is not a bad thing: we have plenty of room and he, unlike me, likes cooking. Even better, the kids were so desperate for entertainment yesterday that they agreed to have a battle: daughter number one and boyfriend on one side; daughter number two and I on the other.

I chose the To The Strongest rules for Ancients as it’s probably the easiest introduction to wargaming for beginners: no measuring, no dice, simple grid-based movement and combat rules etc. D2 and I took the Neo-Sumerians, D1 and BF took the Assyrians.

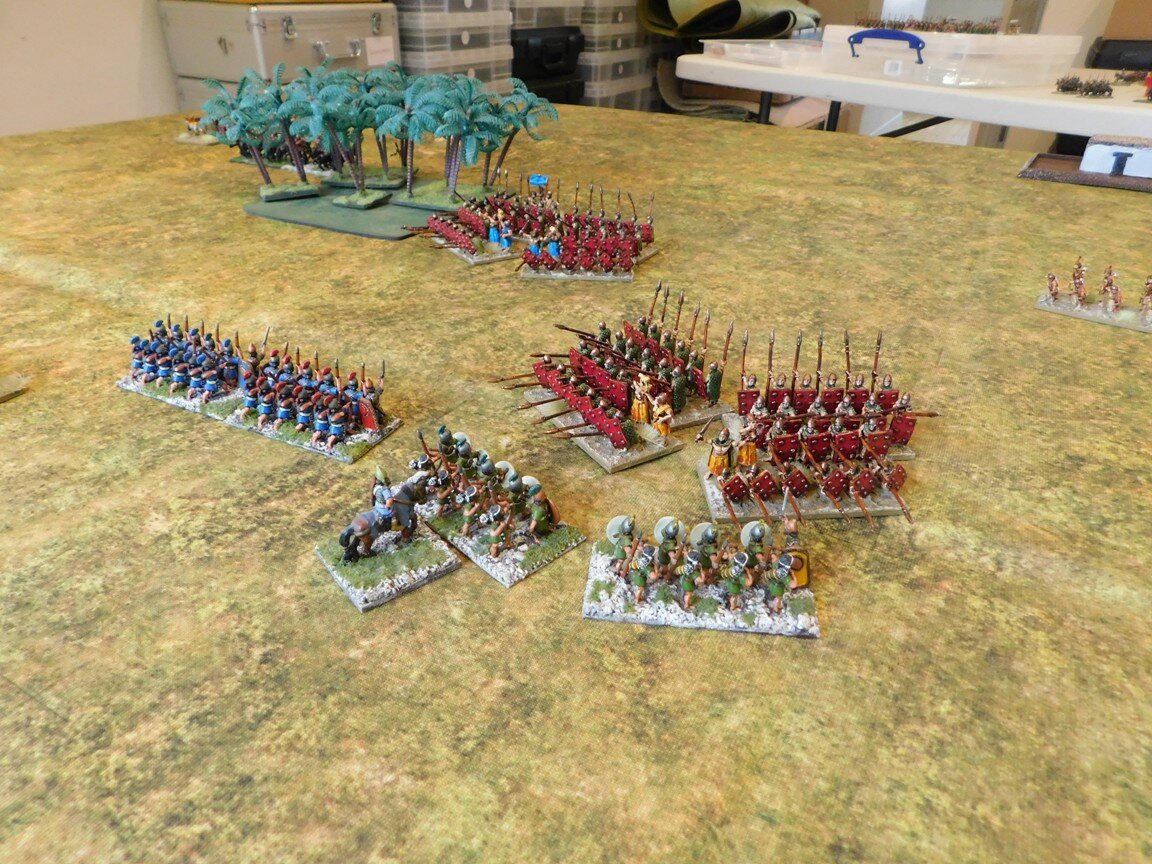
Neo-Sumerian Battle Line

This was an interesting clash: lots of slow-moving, poor quality Sumerians versus small numbers of deadly, fast-moving Assyrians.

Each side chose to put their heavy chariots on the right flank, so we rapidly got to a situation where the centre was a tie and each side’s right flank was winning and left flank was losing.

The advantage then swung back and forth with both sides ending up with only two coins each i.e. one more unit lost would mean an overall loss. As it happens, one of the Sumerian heavy onager units managed to knock out an Assyrian cavalry unit and the game was ours!

And the right result?

Not the win, funnily enough, but the fact that D1’s boyfriend really enjoyed himself and declared an interest in playing more battles. Well, if we’re stuck together for another ten weeks, his wishes are going to be more than fulfilled! A convert!

Here are some more pictures of the game:

IABSM AAR: Operation Express

All this spare time at home has given Mark Luther a chance to write up an AAR that has previously just been a collection of pictures.

So here’s the Operation Express battle report again, but this time with the pictures correctly labelled and ordered.

Click on the picture below to see all. This is a magnificent report of a great looking game, so recommended!

IABSM AAR: Blenneville or Bust! #5L: Diot

Fantastic battle report from Tim Whitworth on a game of I Ain’t Been Shot, Mum played just before we all went into lockdown.

Tim and his friends have been playing through a Blenneville or Bust! campaign taken from the scenario pack of the same name. This was the final game in the series, and a chance for the Germans to achieve maximum victory points.

Find out what happened by clicking on the link below. Highly recommended: this is a serious after action report!

IABSM AAR: Blenneville or Bust! #4F: Belle Maison

Lovely After Action Report from the pen of Tim Whitworth, taken from the IABSM Facebook page and his own blog Eagles & Lions Wargaming.

As the Germans had halted the American attack at Pierrecourt they were back on the counter offensive again, this time with a combined force of 30th Panther and 30th Panzer Grenadier regiments.

Click on the picture below to see all…

IABSM AAR: September War #60: Szack

Time to break out the I Ain’t Been Shot, Mum again with a scenario taken from the second September War scenario book: #60 Szack.

Szack was a small village in what was south-eastern Poland (it’s now just inside Ukraine) that was the site of a backwards-and-forwards series of actions between the Poles and the Soviets in very late September 1939. The scenario covers the first Soviet attack:

Soviet troops consisting of the 112th Infantry Regiment, some 13,000 soldiers supported by fifteen T-26 tanks and fifteen guns, arrived at the village of Szack on September 28th.

The Polish force near the village numbered 4,000 men of the Border Protection Corp, including General Wilhelm Orlik-Rückermann, and sixteen anti-tank guns.

Having taken the village, the Soviets then charged the Polish positions with infantry supported by the T-26 tanks. The Poles waited until the Soviets were right on top of them before opening fire with their anti-tank guns, destroying eight tanks.

Click on the picture below to see the action:

IABSM AAR: The Arras Counter-Attack

One of the great things about the world of Lard is the growing profusion of Lardy Days, where Lard-minded gamers can get together and indulge in their favourite pastime.

One of the early events on the 2020 Lard calendar was the Big Winter Wonder-Lard day held by Bristol Independent Gamers at the end of February. About twelve games, all fully participation, were run in each of the morning and afternoon sessions, covering just about the whole spectrum of Lard: What A Tanker; Chain of Command; Bag the Hun; Sharp Practice and, of course, I Ain’t Been Shot, Mum.

That game was run by Phil and Jenny, and featured action from the Arras Counter-Attack in May 1940. Click on the picture below to see an excellent pictorial report of the day’s events (lifted from the IABSM Facebook Group):

IABSM AAR: Lard Re-Visited

I was browsing the Internet the other day when I came across George Anderson’s excellent blog Musings on Wargaming and Life. Some really good content on the site, including a battle report from his first time playing IABSM.

George has played other TFL games but, as I said, this was his first time playing IABSM. Hopefully he’ll give it another go, but this does go to show that here on VL you’ll find every IABSM battle report, even the ones that aren’t totally positive.

Click on the pic below to see all:

IABSM AAR: Blenneville or Bust! #3C: Pierrecourt

Tim Whitworth and chums continue to play the Blenneville or Bust! campaign. We seem to have missed out on an AAR for the second scenario, but here’s the report for their third game: Pierrecourt.

The Germans are defending, the Americans attacking. Who will prevail? Click on the picture, below, to see all.

IABSM AAR: Blenneville or Bust! #01: West of Pierrecourt

Tim Whitworth and friends have started playing through the Blenneville or Bust! scenario pack: a pyramid campaign set in Normandy in 1944.

In the first encounter, #01 West of Pierrecourt, American reconnaissance troops probe forward looking for a bridge over the river that will take the weight of their armour, but the Germans lie in wait…

Click on the picture, below, to see what happened.

IABSM AAR: Bashnya or Bust! #01: Near Osen

Here’s an After Action Report from a game from this weekend that I was due to play in but eventually could not make because of scheduling issues!

Friends Bevan, Mark and Dave have started to play through the Bashnya or Bust! scenario pack for I Ain’t Been Shot Mum, and here’s the battle report from the first game: #01: Near Osen.

Click on the picture below to see all:

IABNM AAR: Action at OML3

Must…resist…

I’ve spent the last few weeks trying to resist all the new Team Yankee Cold War kit from Battlefront. As I’m already in the middle of building up armies for a new period (English Civil War for those of you not paying attention. Yes, I mean you, Clarke, at the back!) I just can’t handle anything else at the moment.

All this Cold War goodness, however, got me thinking about what rules to use. Regular browsers will know that I play Arab/Israeli games with an adapted form of Charlie Don’t Surf!, but the early 70’s is just about as far as they will go without more work.

More thinki, and I remembered I Ain’t Been Nuked Mum! : a proper Cold Wars adaptation of IABSM that I remembered seeing at the third Operation Market Garden games day in Evesham.

A little bit of Googling and I found the Maxim to Milan blog, featuring some excellent IABNM battle reports. Sadly, the blog hasn’t been updated since 2015 but (and I hope Nick doesn’t mind) here’s one of them recreated here on VL. Those of you who’d prefer to see the original on MtM can click here to do so.

Click on the picture below to see all:

IABSM AAR: Blenneville or Bust! #02: Avaux

Great little I Ain’t Been Shot Mum After Action Report from Rob Goodfellow covering a game played using the second scenario of the Blenneville or Bust! scenario pack.

After an American recon force drives off its German opposition, British armour tries a thrust through Avaux..but the Germans are waiting for them.

Click on the picture below to see all.