Designed by committee...

Now that the bulk of my Arab Conquest army is complete (six units each of Jund cavalry and warrior warbands) it’s time to start filling in the rest of what’s needed.

First up are the camels, and the first of them are the two units of light camelry with lances. These are Red Copper sculpts printed for me by Baueda before they were sold.

These are lovely sculpts, and whilst I’m not sure how useful they are going to be on the battlefield, they will at least look good whilst doing so!

I then needed some bow-armed camel-riding arabs as Scouts. Red Copper unfortunately don’t do any of them, so I fell back on the Forged in Battle War & Empire range for these beauties.

For those interested, the camels are painted with a single coat of Contrast Skeleton Horde over a Grey Seer undercoat, which gives the perfect camel colour.

The riders are painted mainly in Contrast Apothecary White, again over the Grey Seer undercoat, but in order to make the colour ‘pop’ I then highlight the Apothecary with a standard acrylic white.

The final camel-mounted element consists more of markers than actual army-contingent figures.

A lot of the Arab Conquest infantry are mounted, and I wanted a representative marker that I could place with a mounted unit at deployment. Red Copper do a great army commander figure mounted on a camel that would do the trick and, as I had had to use plenty of packets of army commanders to produce the Jund cavalry, I had enough for my needs. Here are the front and back views:

So that’s all my camels painted. They were a lot more fun to do than the Jund cavalry: less furniture and something different, as I haven’t painted a camel since I built some late 19th Century Camel Corps for the sudan.

TTS AAR: Crusaders versus Sassanids

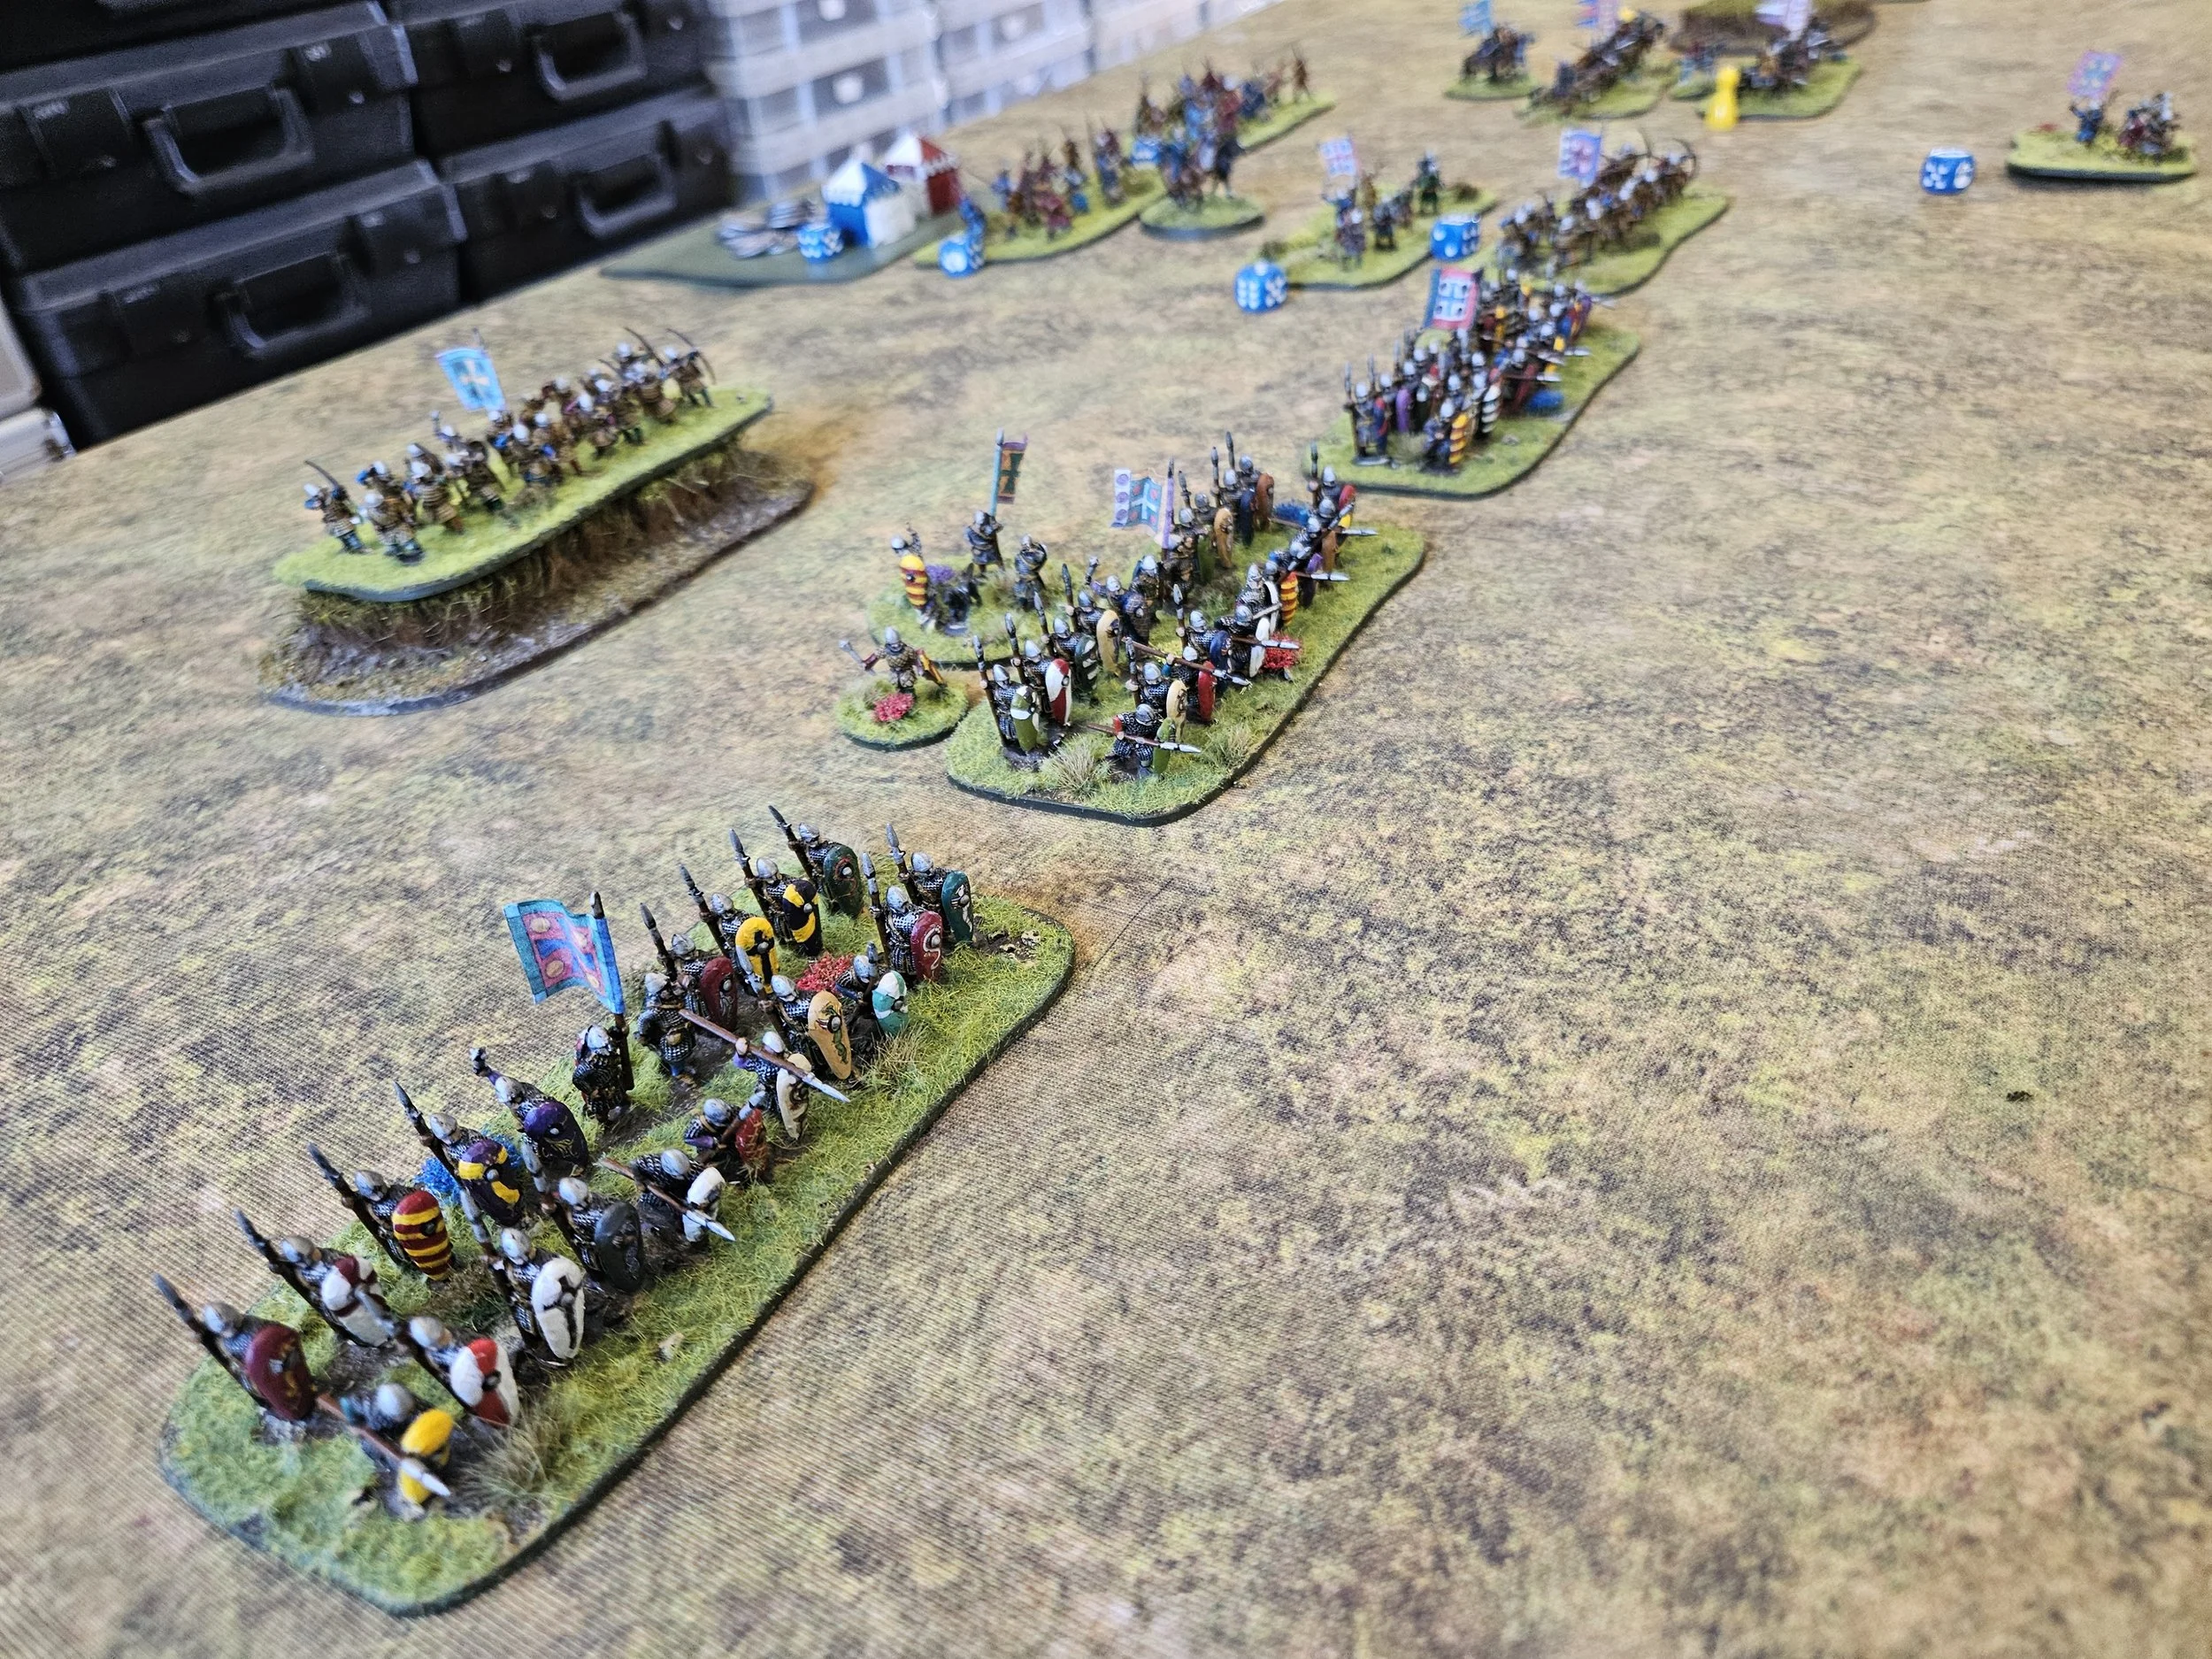
Time for a quick game of To The Strongest against friend Rob. As I wanted to use my ‘first time on the table’ pilgrims, I would play the early Crusaders. Rob chose to play the Sassanids.

The Sassanids won the scouting, and chose to deploy a long line of Savaran cavalry on the left, their cataphracts in the centre, all backed up by their infantry and elephants on their right.

The Crusaders deployed all their Knights on their left, their lesser troops (pilgrims etc) in the centre, and their shieldwall foot knights on the right.

On the left hand side of the battlefield, the Knights and cataphracts advanced towards each other slowly. I had four units of Knights handy, so was pretty confident that I could use my numbers to get an advantage here and then sweep into the flank of the rest of the Sassanid cavalry.

I was a little concerned about the horse-archers sweeping past my left flank, but I was about to charge forward so would worry about them later!

Or rather not, as a pair of Aces prevented me from getting that first charge advantage!

Worse, once my Knights had received the Cataphract charge, I checked that my general had survived the combat only to see him murdered by a Sassanid spy! Things had not begun particularly well!

Meanwhile, on the other side of the field, the Savaran had advanced into contact with my infantry.

This was almost equally disastrous: with two of my shieldwall units fleeing the field after receiving a rain of arrows and a nasty lance-charge, one exposing a unit of archers as they did so. The Savaran then crashed into the archers and, to much hilarity on my side, were disordered then broken by the bowmen!

Back to the left, and I had somewhat recovered the situation, destroying both cataphract units and one lot of horse archers. Both units of Knights were, however, disordered, so I couldn’t afford to lose another combat.

Rob and I were both now so short of coins that one more unit broken would lose either of us the game. The initiative was with me, so I had a quick look around the table to see which Sassanid units were the most vulnerable.

I could charge the disordered Daylami in the woods in the right hand picture above, but I was disordered and couldn’t use my lance amidst the trees, and they were veteran javelinmen who would get saves for defending cover…no, I needed to pick an easier target.

Ah ha! The other unit of Daylami were out in the open, and I had two units of Knights that could charge them. Here was my victory!

In went the first unit of Knights: mutual disorder. Good enough, I had the others to follow.

In they went, but I just couldn’t break the insert expletive javelinmen. The cream of chivalry unable to break disordered mountain men out in the open: pitiful!

Well that was my best chance of a win gone, and I could only watch as his elephants thundered forward and broke the Knights in front of the woods. That was bye-bye two coins and bye-bye the game!

An excellent game that I so nearly managed to recover from early losses to win. So nearly!

My only consolation was the fact that I am painting up a couple of Daylami units for my Arab Conquest force. May they achieve similar success when they hit the tabletop!

IABSM AAR: The September War #01: Chojnice

Here’s a battle repot from a game of I Ain’t Been Shot Mum played in March.

It’s set on the first day of the second world war and involves advancing Germans trying to stop Polish engineers blowing a vital railway bridge so that they can bring up their armoured train.

Click on the picture below to see all: