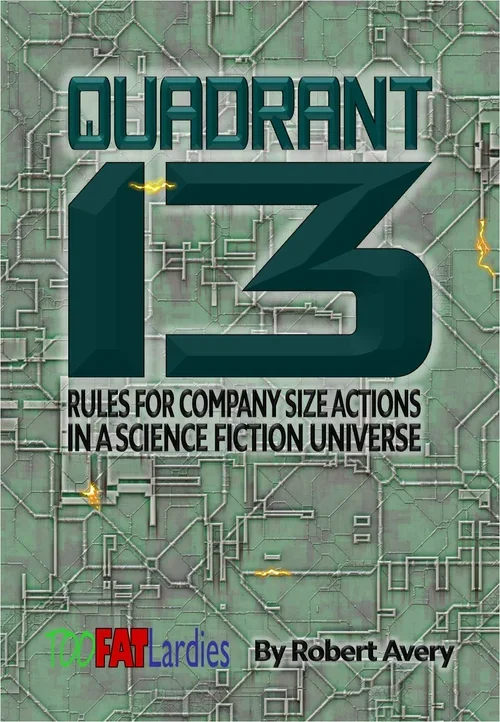
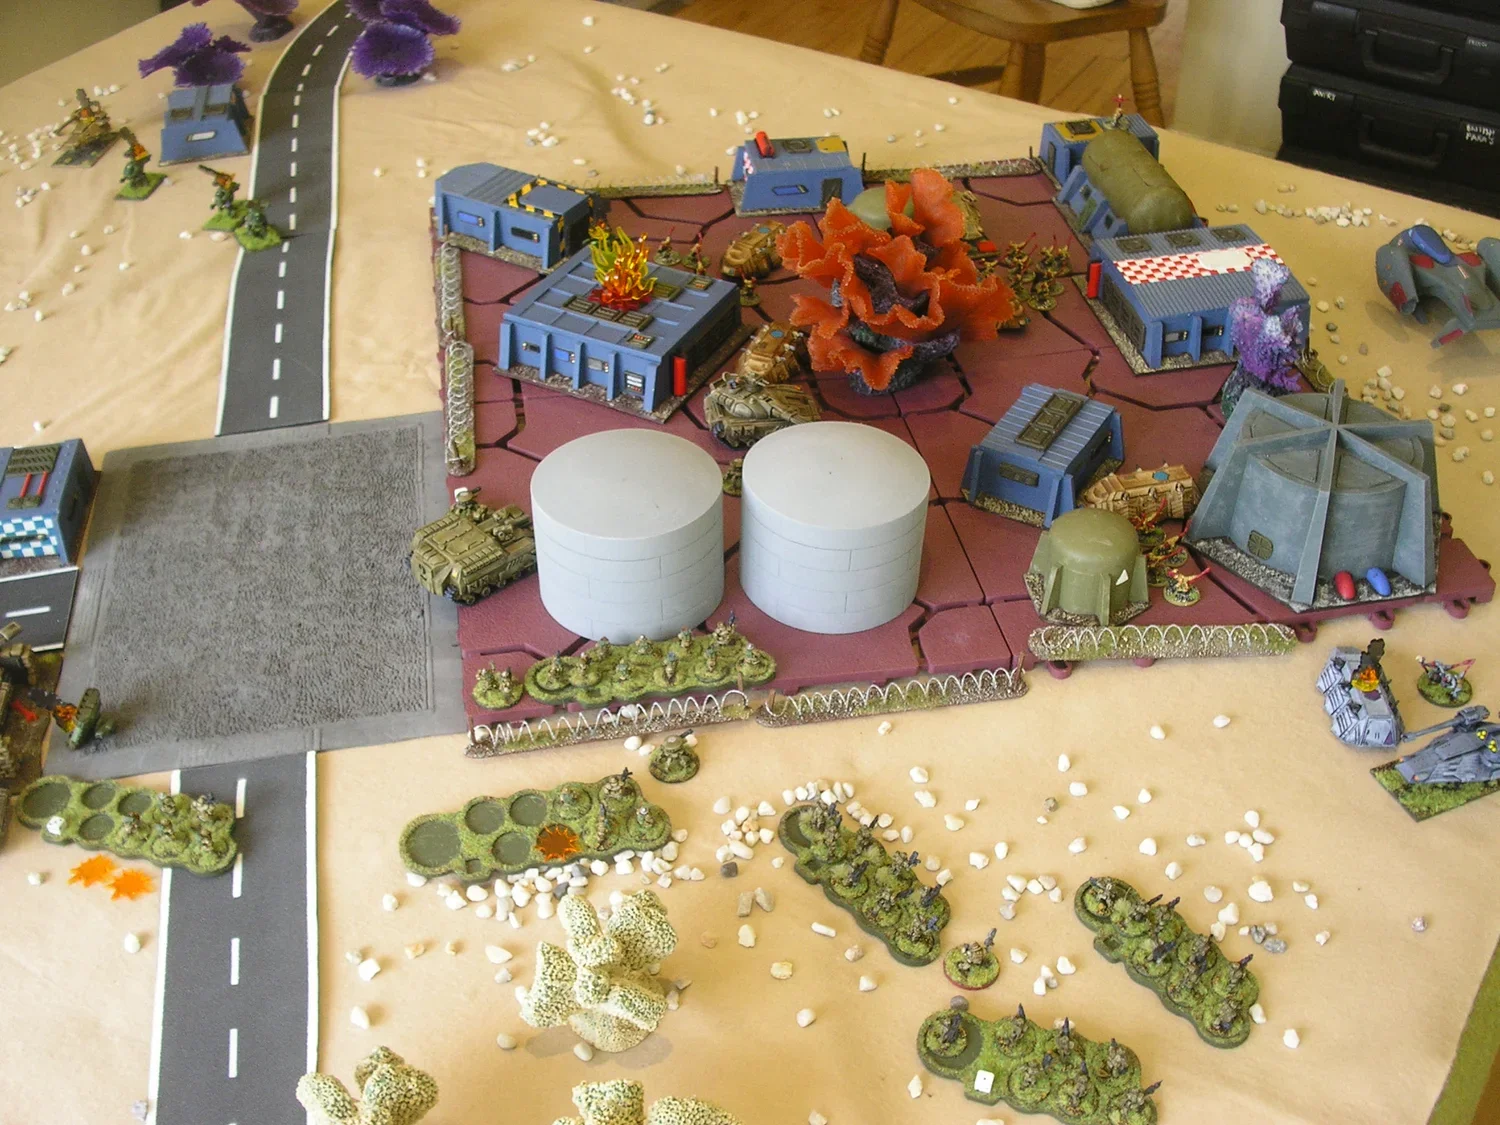
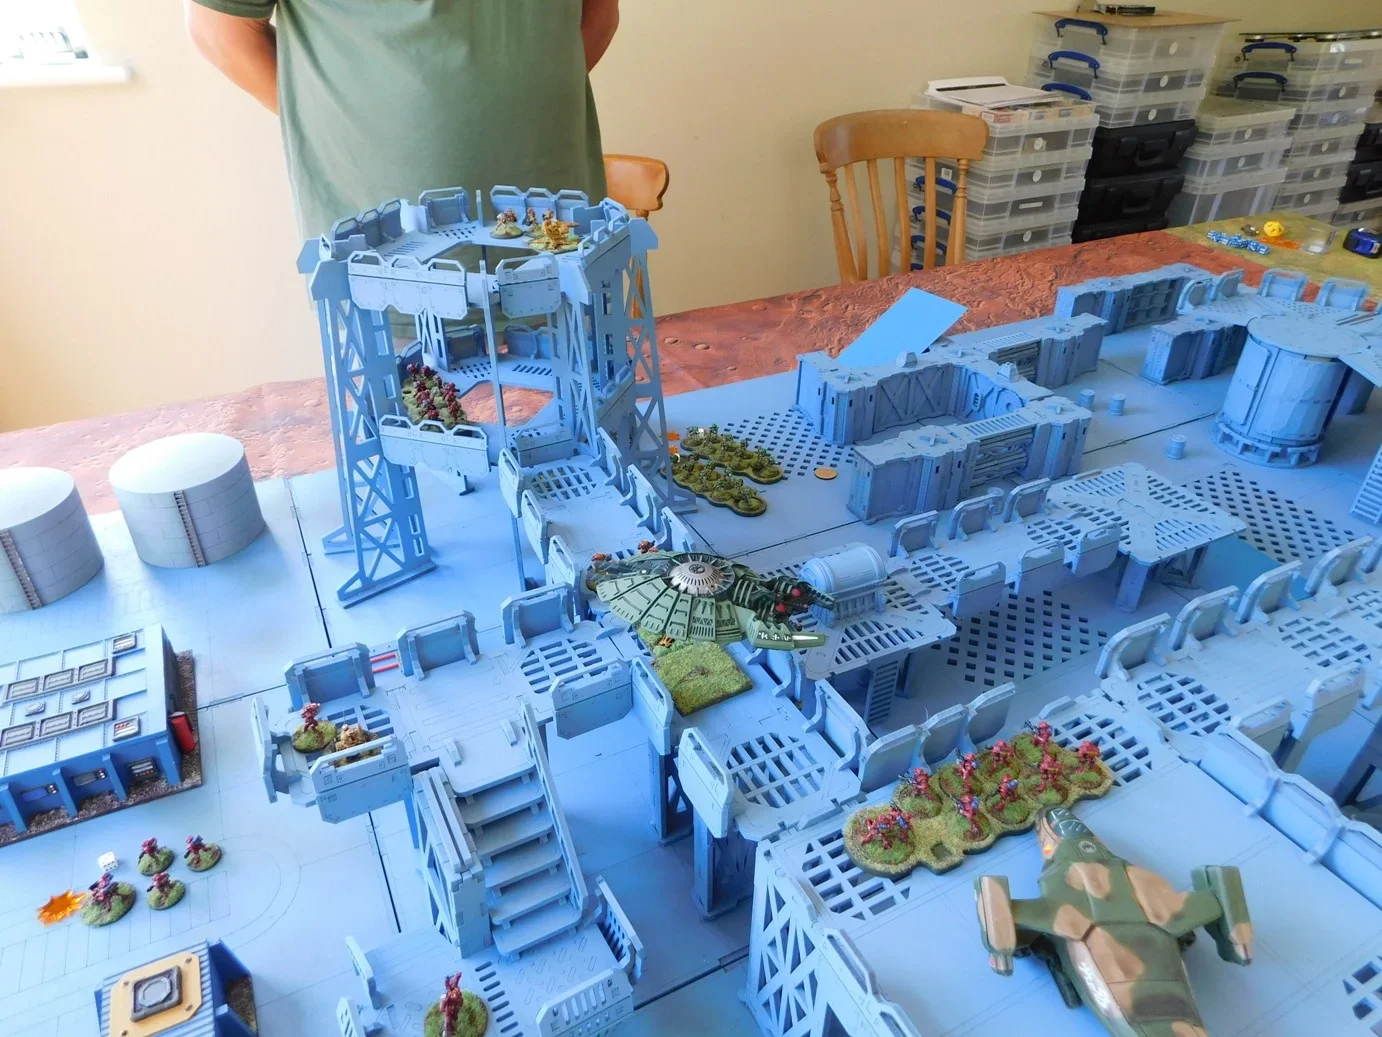
Back in 2012, I wrote Quadrant 13, a set of sci-fi wargaming rules that grew out of my love for fast, narrative-driven games.
Q13 uses the same underlying engine as I Ain’t Been Shot, Mum (IABSM) and Charlie Don’t Surf (CDS): an approach that prioritises friction, command uncertainty, and the chaos that makes tabletop battles feel alive.
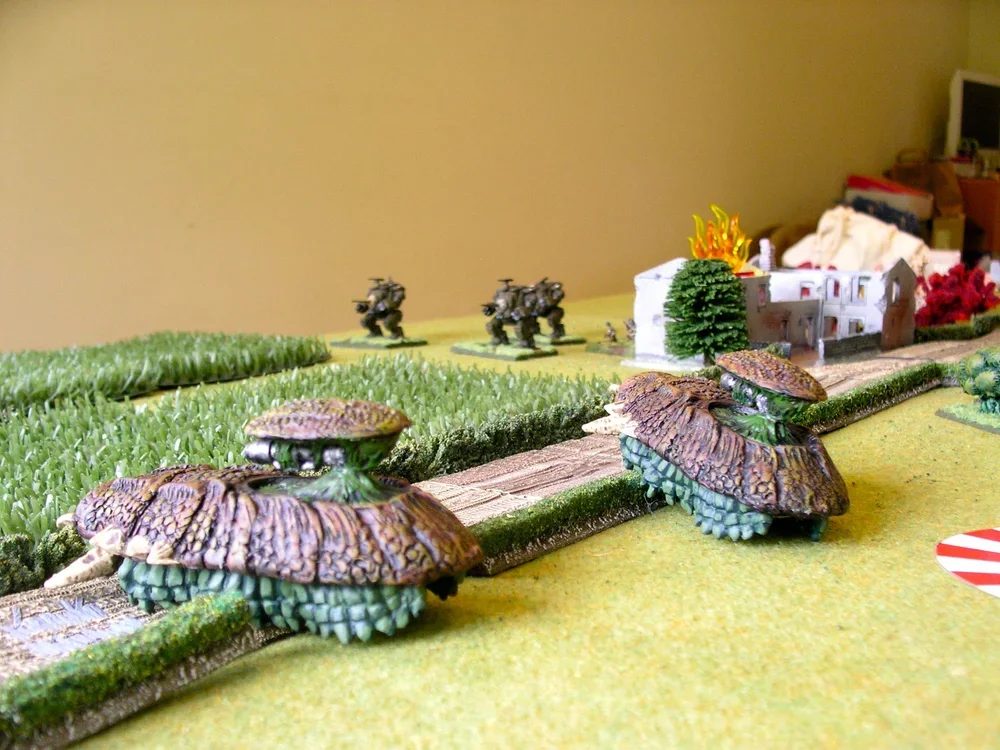
When I first put Q13 together, it was very much a passion project. I wanted a flexible, hard science-fiction ruleset that could handle any sci-fi milieu or army, and gave a fast-paced “realistic” game. Like most designers, I released it into the wild, hoped people would enjoy it, and then moved on to the next idea.
Which is why I was genuinely surprised—and delighted—when I discovered that Q13 was featured on the Tales & Tactics podcast in November 2025.
Even better, the discussion was largely complimentary. The hosts dug into how the familiar IABSM/CDS engine translates into a sci-fi setting, and they spoke positively about the feel of the game and the design choices behind it. Hearing other gamers engage thoughtfully with something I wrote over a decade ago was both humbling and energising.
It’s a pity they didn’t mention Five Planets, a scenario book for Q13, and the fact that this site contains loads of sample army lists to get over one of the barriers that they mentioned might stop people trying the rules, but you can’t have everything and I’m just glad the review was positive!
It’s a strange and wonderful thing as a designer to see an older project resurface and find a new audience. Q13 may have been written in 2012, but moments like this remind me that good ideas—and good games—can have a much longer shelf life than you expect. I’m still occasionally playing the game, and I hope other people are too.
My thanks to the team at Tales & Tactics for taking the time to play, discuss, and share their thoughts on Q13: hopefully it will enjoy a bit of a resurgence as a result.
YouTube: https://www.youtube.com/watch?v=RMZULXHsTPQ
Spotify: https://open.spotify.com/episode/67wnOWGOQL24biNEnHjbsT
Buy Q13: https://www.vislardica.com/buy-q13-andor-five-planets