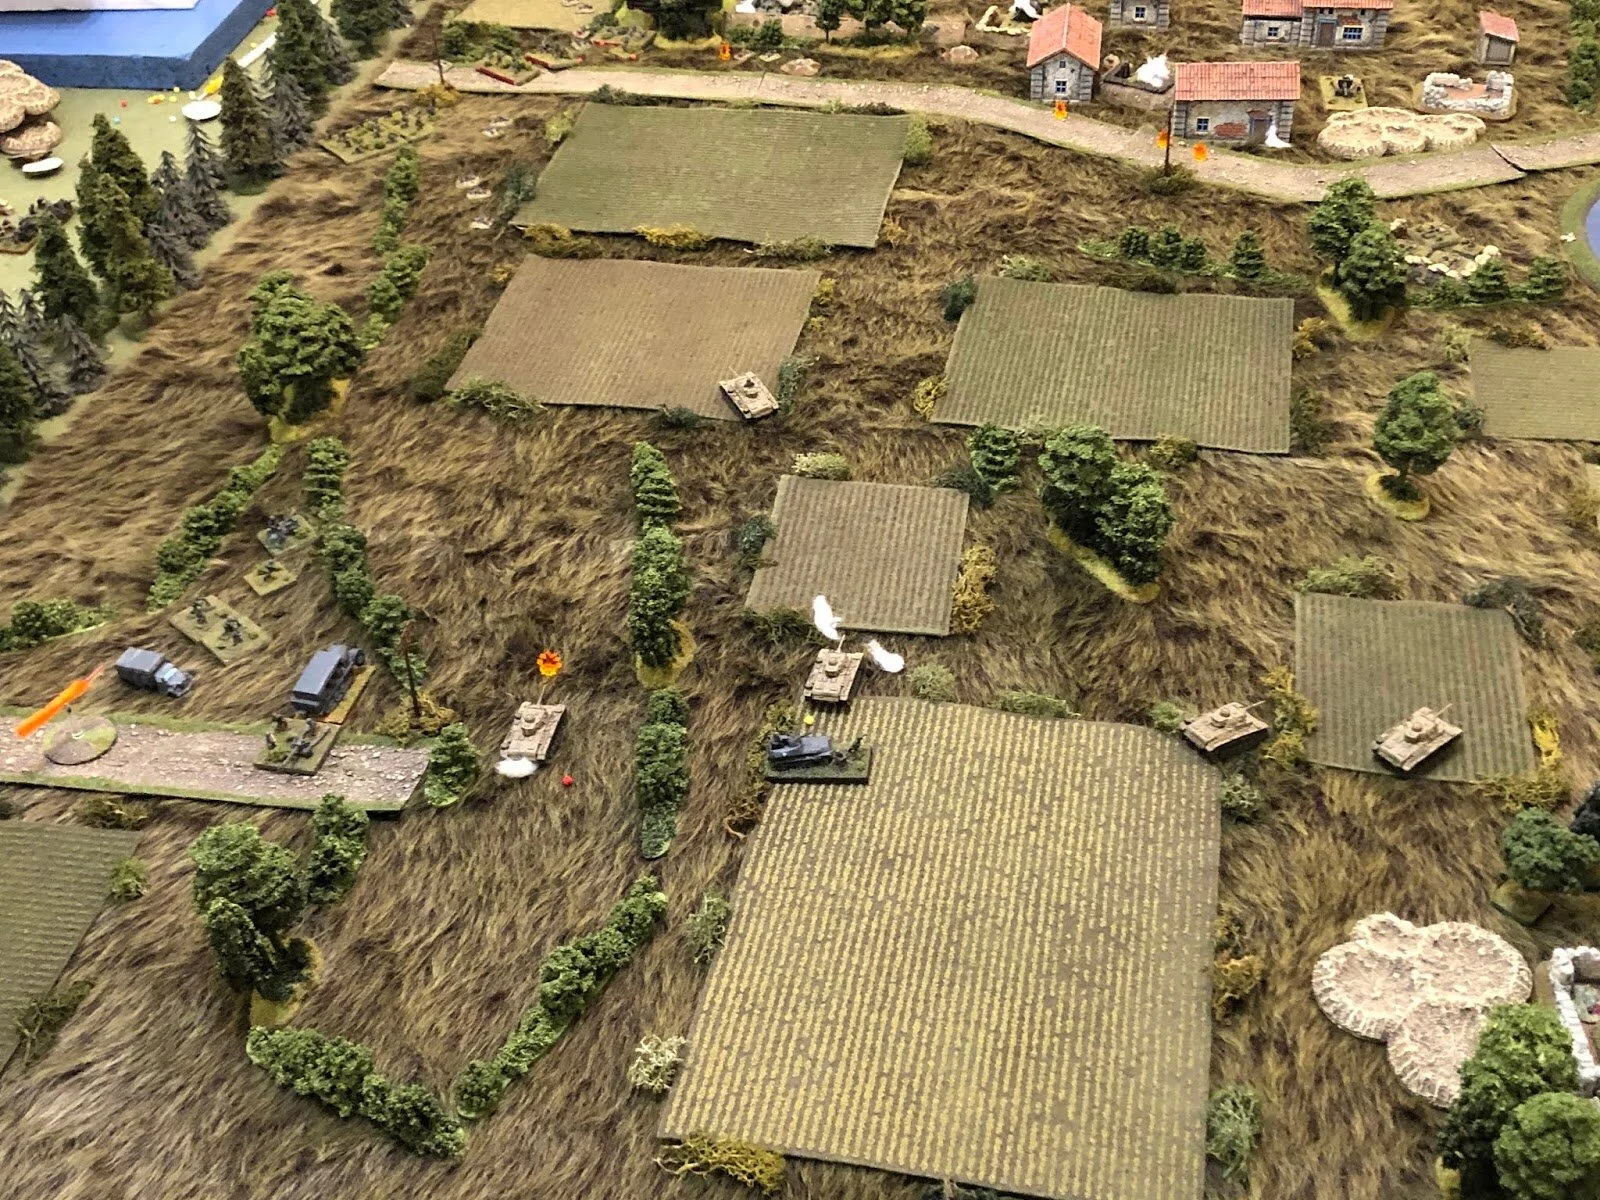
IABSM AAR: On the Northern Shoulder of Kursk, Fight 4: Karpunevka

Here is another stupendous After Action Report from Just Jack, taken (with permission) from his excellent BlackHawkHet blog.

I say “stupendous” because not only is it a really good read, but it’s huge as well: 144 photos, all individually captioned with an account of the action that’s shown. It’s so huge that it actually broke my attempt to get a post every day in November: I managed one every day right up to Monday 25th and then ran into this monster!

It also didn’t help that Squarespace was playing up: I had to type out about one caption in every five as the cut-and-paste just wasn’t working. Thanks for the bleeding finger tips, Squarespace!

Anyhow, enough of my moaning. It’s a great read: click on the picture below to do so…

IABSM AAR: On the Northern Shoulder of Kursk, Fight 3

Yet another stupendously huge IABSM AAR from Just Jack: the third in his series of fighting on the northern shoulder of Kursk.

This time, the Soviets are counter-attacking towards Kastenwold, and seem to be doing a good job of it too!

This is another huge AAR: 162 photos if I recall correctly. So click on the pic below to see all…

IABSM AAR: On the Shoulder of Kursk, Fight 2

Another stupendous After Action Report from Just Jack, currently fighting a mini-campaign On the Northern Shoulder of Kursk.

This is fight two, so make sure you are sitting comfortably as we launch into another epic tale: even if this report contains only 144 photos this time!

Just Jack runs as excellent blog, Blackhawknet, that can be found by clicking here.

Click on the pic below to see all:

IABSM AAR: On the Northern Shoulder of Kursk

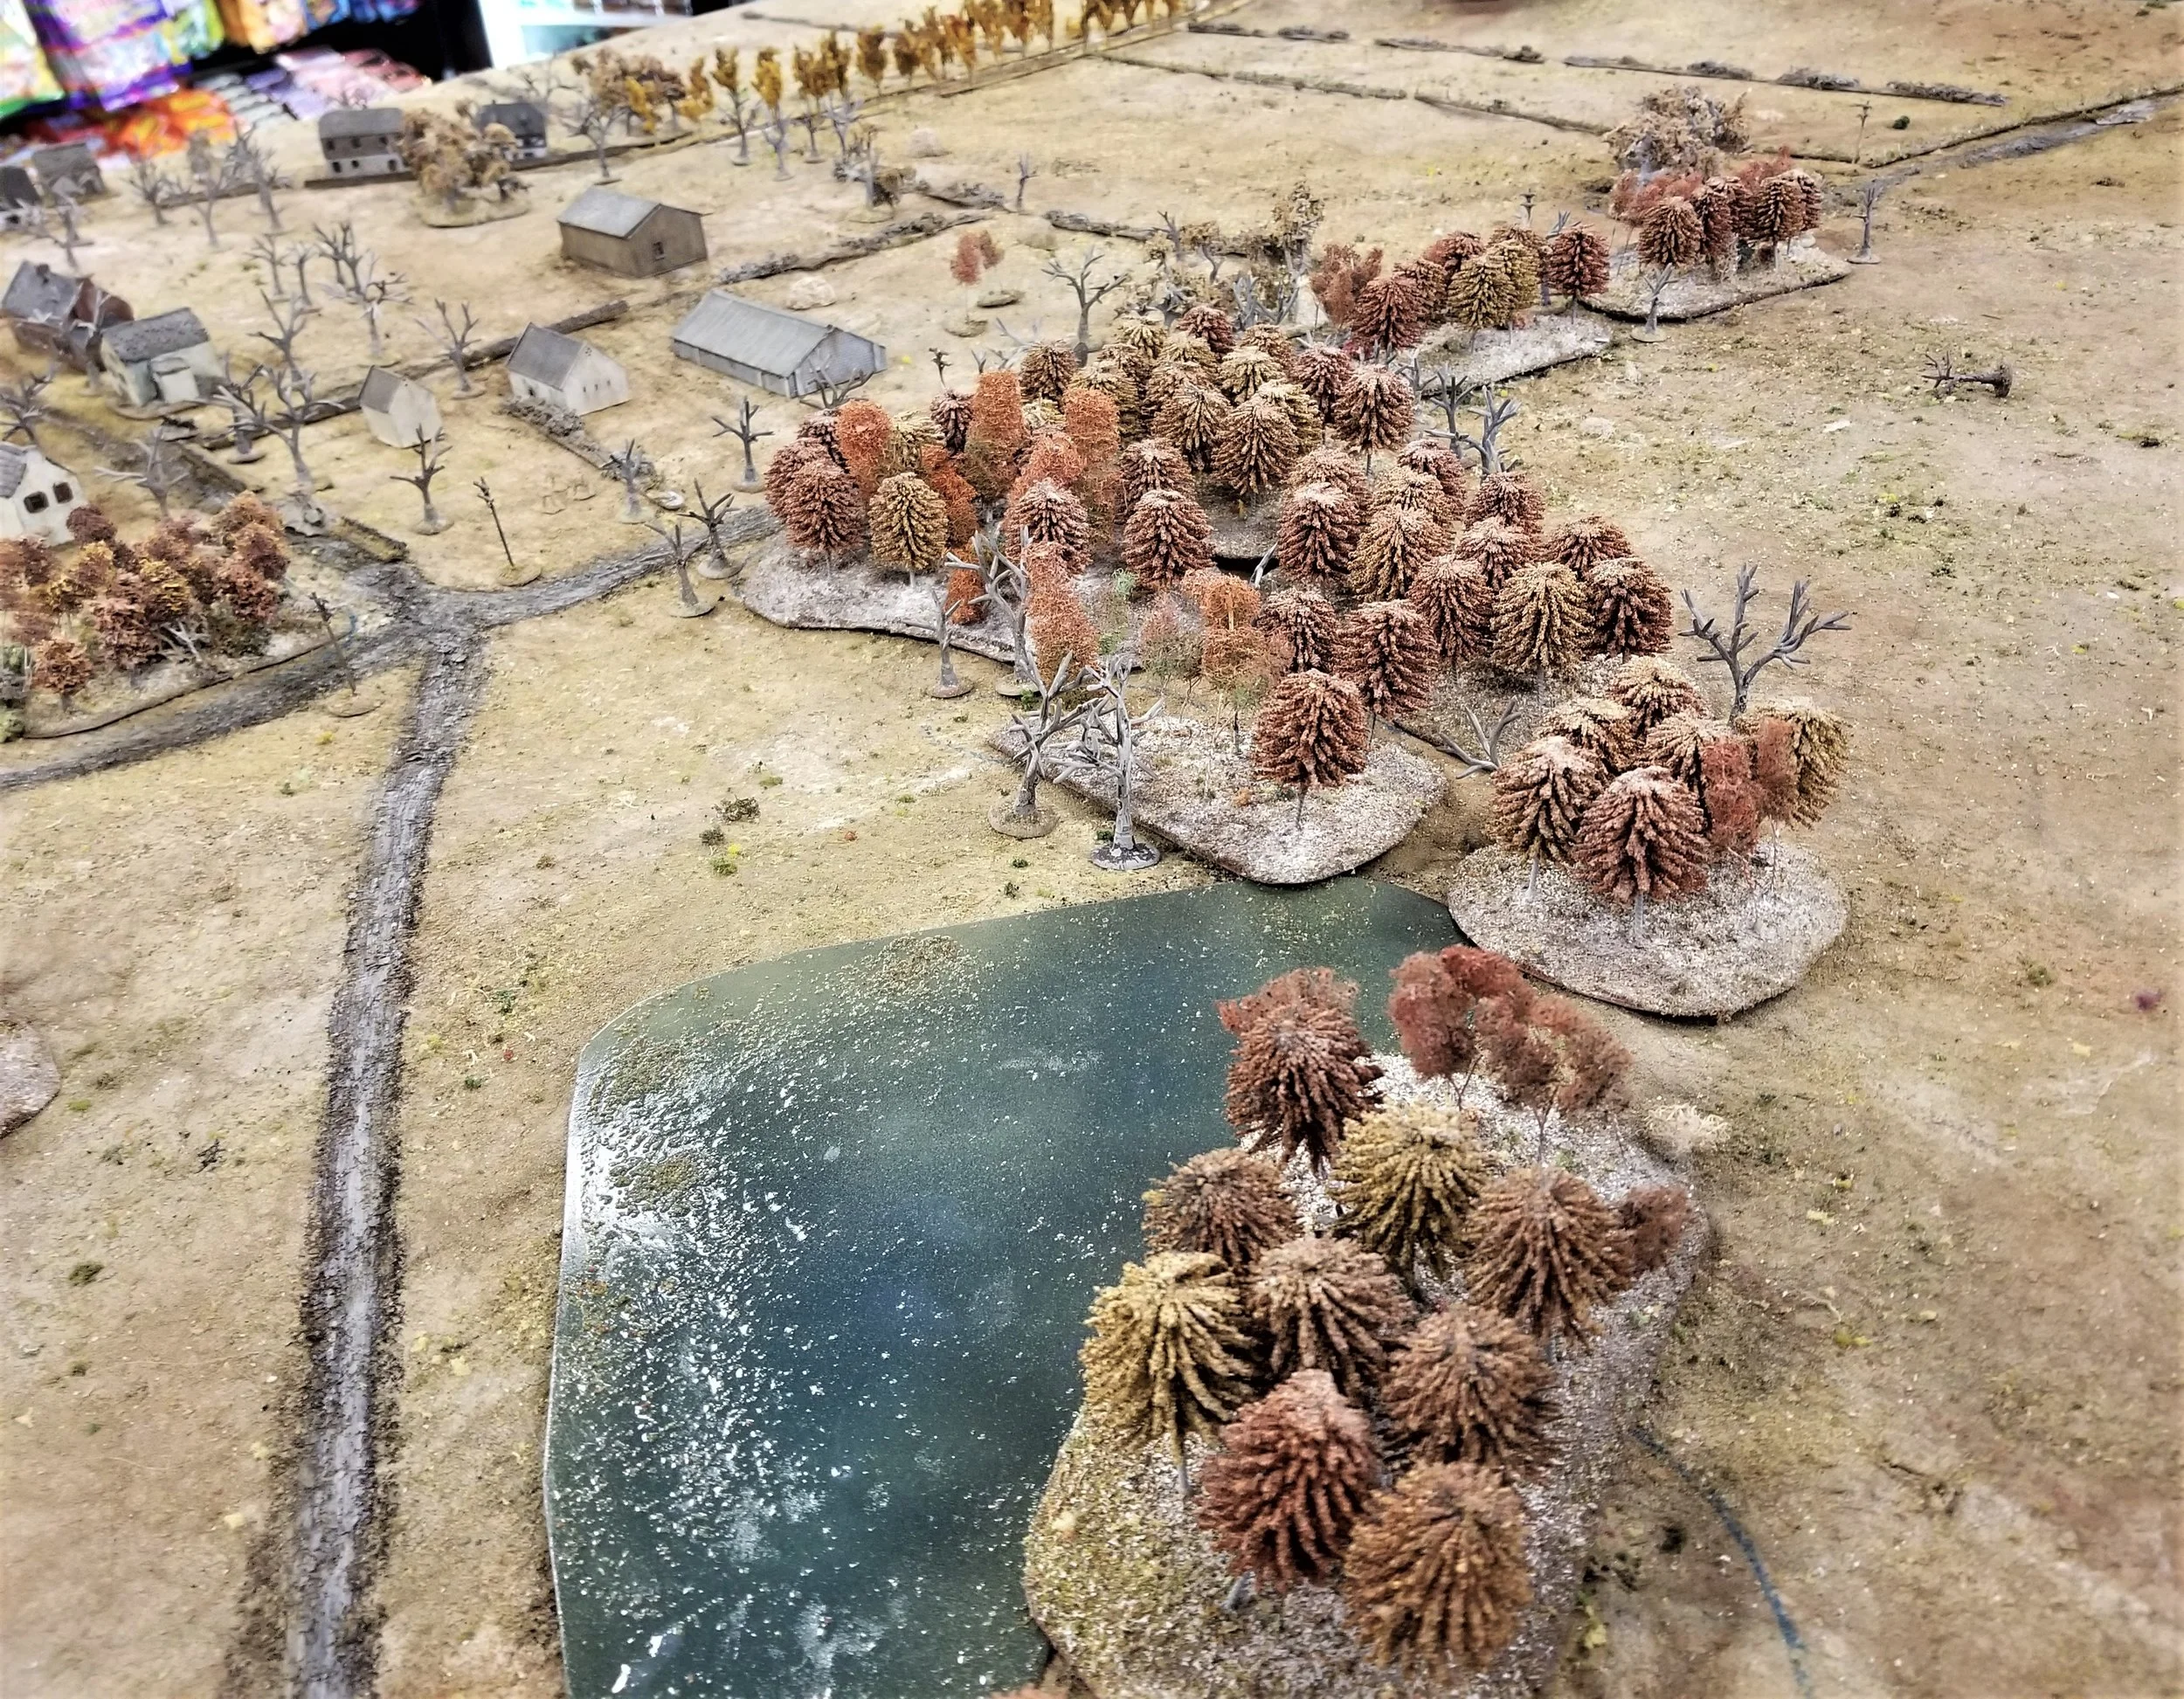
A stupendous AAR from Just Jack from his excellent blog BlackHawkNet covering a game of IABSM set on the northern shoulder of the great battle of Kursk in July 1943.

This is well worth a read although, just to warn you, there are 175 captioned photos of the action!

So get yourself a cup of tea, settle down, and click on the picture below…

IABSM AAR: Eastern Front Clash

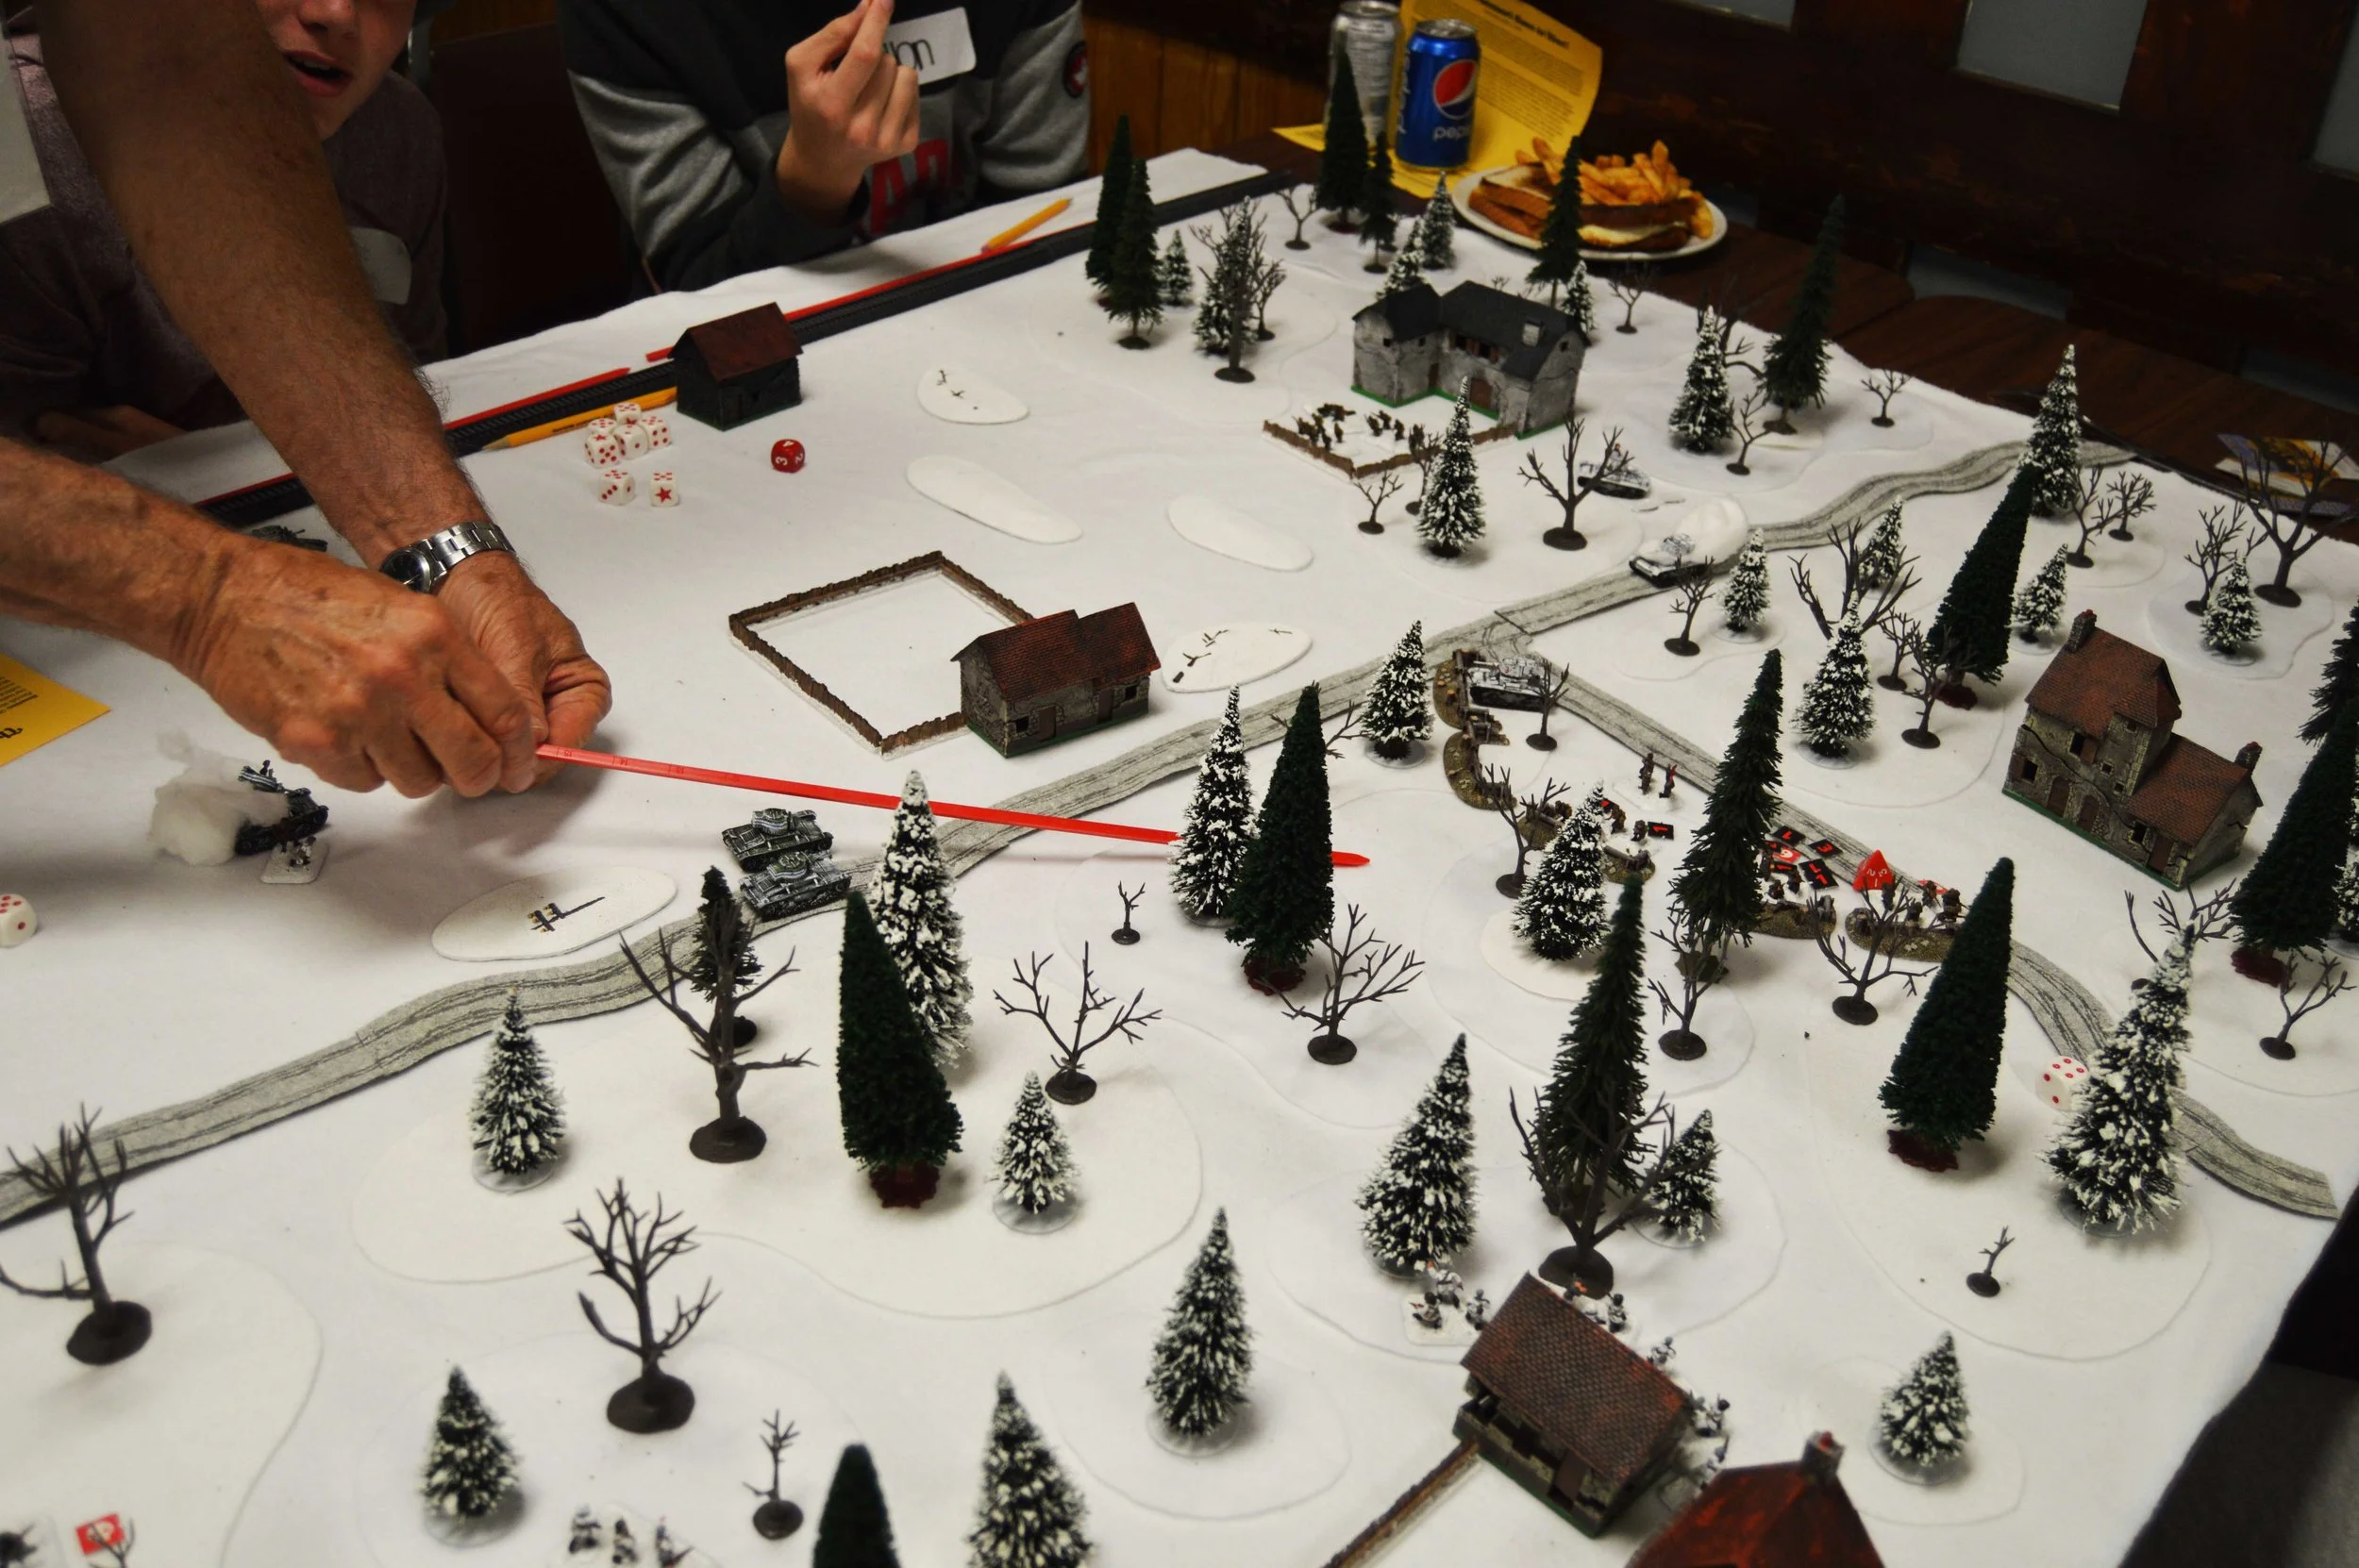
Desmondo Darkin and friends recently played an eastern front clash in 20mm using their dice-driven variant of IABSM.

Click on the pic below to see what happened, and to admire the superb winter terrain…

And as a reminder:

25% Off The September War Scenario Packs

To mark the 80th year after the accepted start of WW2 with the invasion of Poland on 1st September 1939, the TooFatLardies and I are pleased to offer a great discount on the two September War scenario packs for I Ain’t Been Shot, Mum! with a whopping 25% off when you buy them as a bundle.

Written by Robert Avery and Alexander Kawczynski, each September War scenario pack for I Ain’t Been Shot, Mum! provides thirty scenarios for the theatre, making sixty available in all.

Divided into eight mini-campaigns, the first pack (The September War Part One) begins with the battles at the border, then covers the fight for the Polish corridor, the Polish Thermopylae at Narew, the Siege of Warsaw, the climactic battles at Bzura and Tomaszow Lubelski, and the actions of the 10th Motorised Cavalry “Black” Brigade and the Independent Operational Group Polesie. There are attacks, counter-attacks, encounter battles, desperate defences…there’s even an armoured train or two.

Divided into six mini-campaigns, the second pack (The September War Part Two) begins with four based on specific German units: Panzerdivision Kempf, the 1st GebirgsjaegerDivision, the 4th Panzer Division, and the 1st Kavallerie Brigade. Then there are two mini-campaigns based on the Soviet invasion of Poland: the Belorussian Front and the Ukrainian Front. Finally there are details of two stand-alone battles: Westerplatte and the Hel Peninsula. As always, there are attacks, counter-attacks, encounter battles, and desperate defences, all containing a whole host of useful scenario mechanics that can be re-used elsewhere.

No need for any preparation: each scenario contains a brief background history, maps, a full game briefing, and a full briefing for each player. Simply print out the pages you need, make up the deck from the list of cards required, unpack your figures and dice, set up the table and away you go!

Click here to buy the combined bundle.

IABSM AAR: The 4th Panssari Goes to War!

Dave Lister had a lot of fun running a scenario based on the Battle for Honkaniemi (Feb. 26, 1940) at Broadsword 9 last weekend,. Honkaniemi is known as the only, and therefore largest, tank battle of the Winter War!

As you may know, while the Soviets had thousands of tanks at their command, the Finns had very few indeed. They threw them into a desperate attack late in the war that they hoped would throw back the Soviet forces that were closing on Viipuri (only 15km away at this point in the conflict) and spearhead a larger Finnish offensive operation.

Well, it turned out to be a terrible day for the Finns, from losing more than half of their thirteen operational tanks to mechanical trouble, to friendly artillery falling on the heads of the supporting infantry, to a complete lack of reconnaissance that could have revealed the Soviets were planning their own attack operation at the very same place and the very same time!

While a conventional victory was probably out of the question, Dave and friends decided to judge the results of this scenario against what the plucky and hopeless Finnish tankers achieved historically. And for all that, the Finns did very well during the game! Have a look and see what you think by clicking on the picture below:

IABSM AAR: The September War #60: Szack

Great battle report from Tim Whitworth and the Like A Stone Wall wargames group, this time featuring a recent game taken from the September War II scenario pack.

Here’s the background:

Soviet troops consisting of the 112th Infantry Regiment, some 13.000 soldiers supported by fifteen T-26 tanks and fifteen guns, arrived at the village of Szack on September 28th.

The Polish force near the village numbered 4.000 men of the Border Protection Corp, including General Wilhelm Orlik- Rückermann, and sixteen anti-tank guns.

Having taken the village, the Soviets then charged the Polish positions with infantry supported by the T-26 tanks. The Poles waited until the Soviets were right on top of them before opening fire with their antitank guns, destroying eight tanks.

The Polish troops now launched an all-out counterattack: covered by their artillery, the soldiers of the Border Protection Corps charged at their enemies with bayonets fixed. By the afternoon the village was back in Polish hands.

The game played last Friday takes up the story from that point on. Charged with the task of retaking the village, the Soviets again attacked in force. Click on the picture below to see all…

[I still can’t believe that, using Anton’s materials as a starting point, I wrote 60 scenarios for Poland 1939!]

IABSM AAR: Winter Attack!

Fellow Lardy Desmondo Darkin and gang have played their first game using their new winter terrain.

They had just over three hours to play a German attack on a Soviet held village in 1944, and used I Ain’t Been Shot, Mum! with Desmondo’s Chain of Command-modified activation system.

Both sides had a core Infantry Company and each side then picked support options using a Support list which is basically the Chain of Command list but sized up to IABSM-sized games.

Click on the picture below to see loads of pictures of Desmondo’s superb terrain and some shots of the game itself:

IABSM AAR: Bashnya or Bust! #2A: Osen

Another great battle report from Captain Cliche this time featuring action from the second scenario from the Bashnya or Bust! scenario pack.

After a Soviet victory in the first battle of the campaign, this clash takes place around the small town of Osen. The Germans are holding out whilst their engineers set charges on the last remaining bridge , before withdrawing their remaining troops over the river and blowing the bridge to bits. They are outnumbered and face a swift Soviet attack that features plenty of T34s and SMG-armed tank-riders. The Russians need to drive through and capture the bridge.

Click on the picture below to see if the Soviets took the bridge.

SU-57s from Battlefront

More Soviet vehicles rolling off the production line as a result of Battlefront’s last sale: this time it’s the SU-57 self-propelled guns.

More correctly called the T48 Gun Motor Carriage, the Samokhodnaya ustanovka 57 was what the Soviets called the M3 half-track with a 57mm anti-tank gun mounted on top. The Russians received 650 of them, and used the SP AT guns in Operation Bagration et al. in 1943/4.

I usually hate putting Battlefront artillery together, especially those with a gun shield, so was pleasantly surprised at how easily I could build the four SU-57s. The M3 body has a fits-just-right post for the gun, with a lovely little ledge just in front of it for the edge of the gun shield. No swearing required at all!

The crew are good too. I chose to mount them as part of the initial build (as opposed to painting them separately then putting them into the painted vehicles) and this seemed to work quite well. There’s enough room to get a brush right their way down to the feet, if necessary, so my standard block colour-wash-highlight technique worked well.

Almost to my surprise, another highly recommended.

IABSM AAR: Kicking in the Door

Here’s an AAR from Alastair Birch first published onto the I Ain’t Been Shot, Mum Facebook page, so I hope he doesn’t mind me reproducing it here.

This is a cracking little encounter written by the big man himself, Richard Clarke, back in about 2005. I actually have a Word version of the scenario, designed for IABSM v2, although where I got it from I have no idea!

Adolf himself has told his troops that “the Soviet Union is a rotten structure, that we only need to kick in the door, and the whole thing will collapse before us”. Click on he picture below to see if that’s true!

KV-85 Tanks from Battlefront

I’m continuing to work my way through all the tanks I bought last time Battlefront had a significant sale, moving on from the Germans (Jagdpanzer IVs) to the Soviets.

The first batch of Stalin’s toys off the painting table were a company of heavy tanks: KV-85s to be exact. These filled the gap between the KV-1E (and a few lend lease Churchills) until the arrival in 1944 of the JS-III.

I’ve always liked the shape of the KV class of Soviet tank: nice and chunky!

These, the usual Battlefront combination of resin body/turret and metal tracks/gun/hatches, went together really easily (makers of plastic vehicles take note), and were a joy to paint up as well.

I did add a bit of extra stowage to a few of them: somewhat ironically given my previous comment, the canvas rolls on the front two tanks are actually the furled up canvas tops to the PSC Steyrs that I posted about a few days ago. Nothing ever goes to waste!

KV-85s from Battlefront: highly recommended.

IABSM AAR: Battle at Parczew

It’s September 29th, 1939, and Independent Operational Group Polesie are marching south towards Koch. Attacked by Soviet cavalry and tanks, the Poles are at first beaten back, but then counter-attack and manage to re-take the village of Milanow. This they then prepare to hold in the face of further attacks from Russian infantry with tank support.

The above is a condensed version of the background given to scenario #31: The Battle at Parczew from the September War scenario pack. I would play the Poles, defending Milanow; with John and Dave commanding the advancing Soviets.

Click on the picture below to see all…

IABSM AAR: Lardiarz or BoB: Near Vcheva

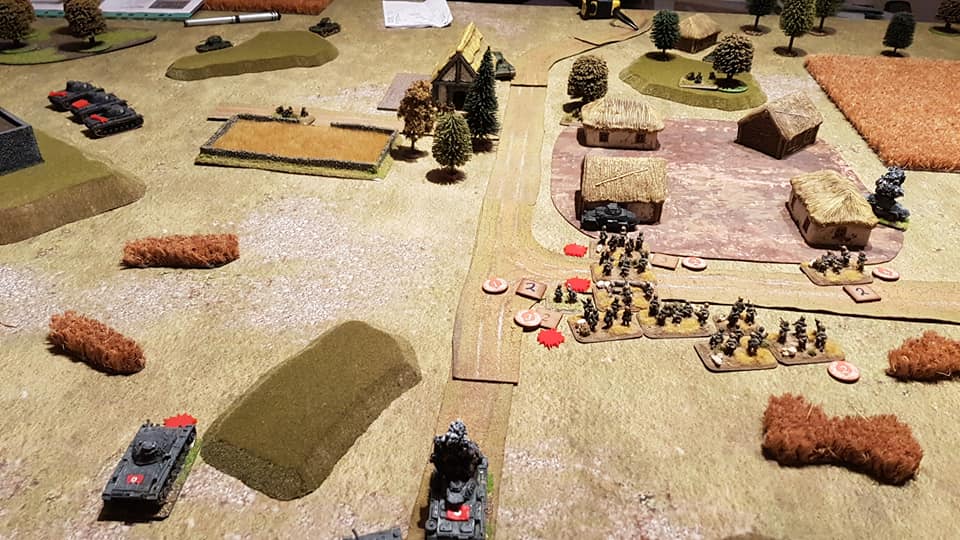
Captain Cliche and friends have played another game based on one of the scenarios from the late war Bashnya or Bust! scenario pack.

This time, they have adapted scenario #5D (or scenario #5N): Near Vcheva. This is an encounter battle as two armoured forces meet to contest a vital junction.

Click on the pick below to see all:

IABSM AAR: Bashnya or Bust! #01: Near Osen

It’s always great when someone sends me an AAR for inclusion on the site, especially when they also say nice things about one of my scenario packs.

Here’s an example of what I mean: Captain Cliche (you can read his excellent blog here) and his wargaming friends have begun playing through the Bashnya or Bust! scenario pack (more details here, opens in a new window), starting with the first encounter: Near Osen.

Click on the picture below to see all, including some great 6mm figures:

IABSM AAR: "The Luckiest Panzerjaeger"

A few pictures from a James Manto solo game which he posted on the IABSM Facebook Group recently.

As James says:

Some pics from my solo game last weekend including a close up of what I'm calling "the world's luckiest PanzerJaeger I " which survived a duel with the KV-2.

Personally, I’m also loving the aircraft.