TTS AAR: Warfare 24, Game Two: Venetians vs Komnenon Byzantines

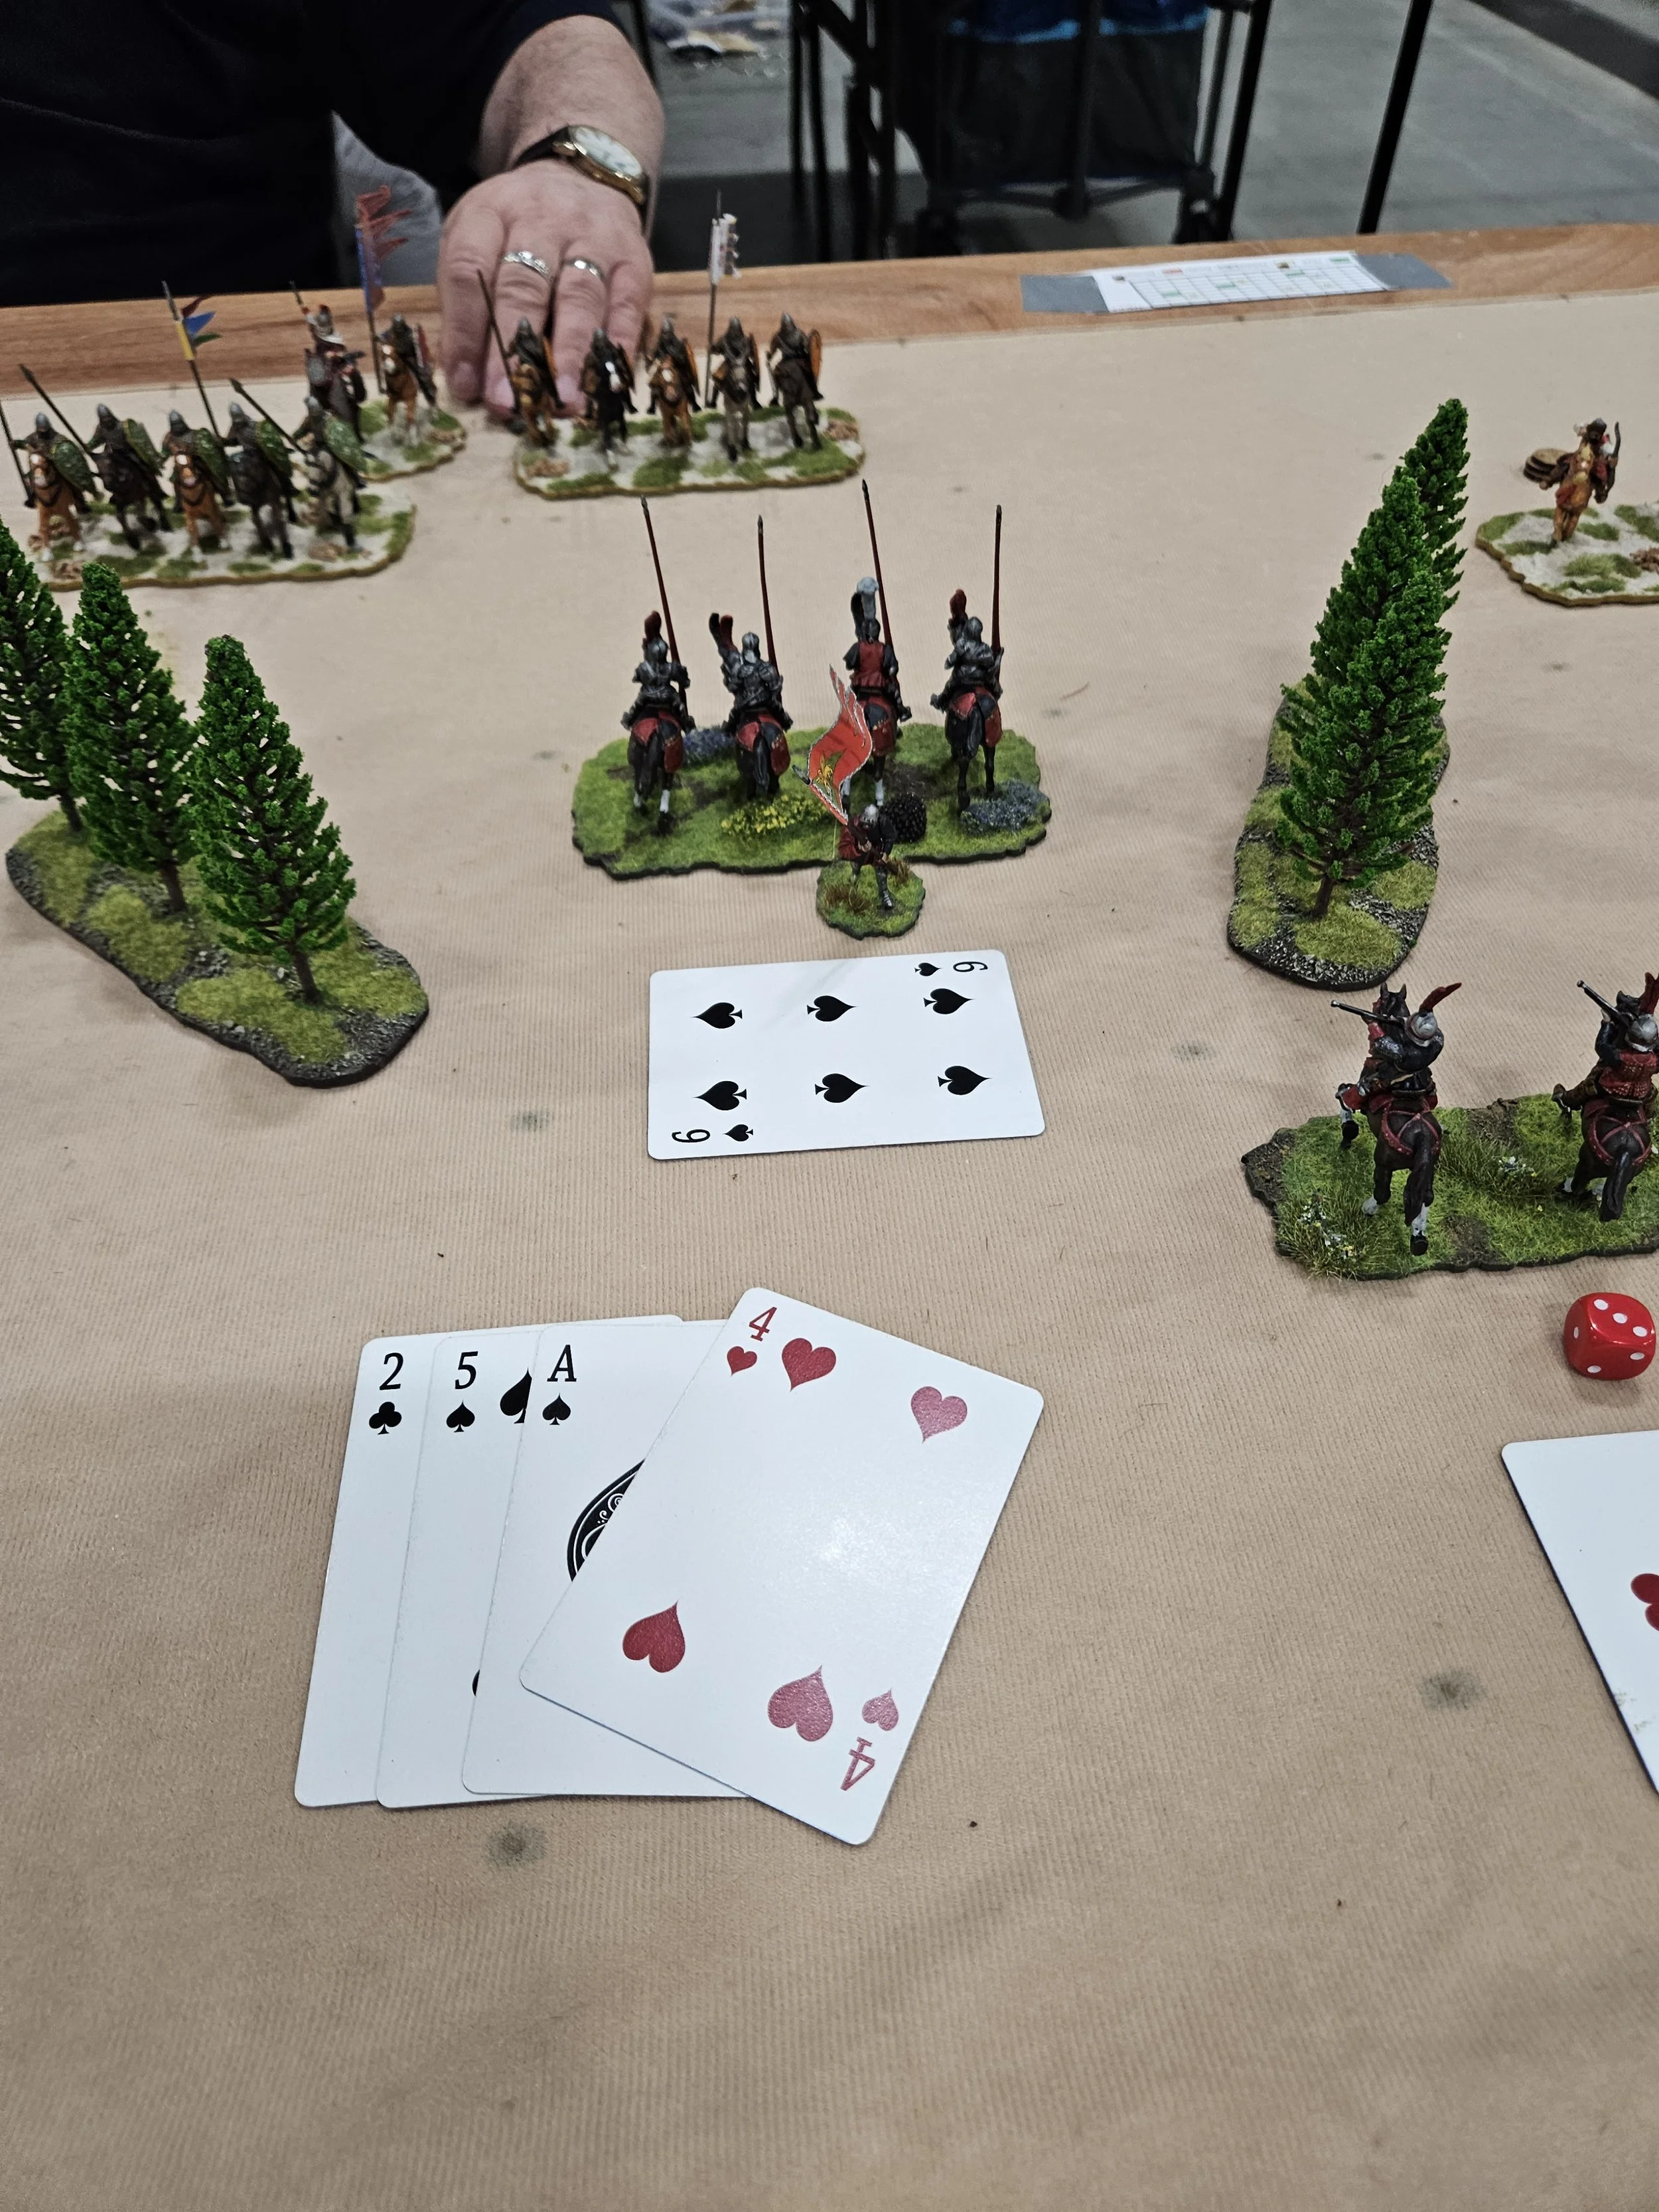
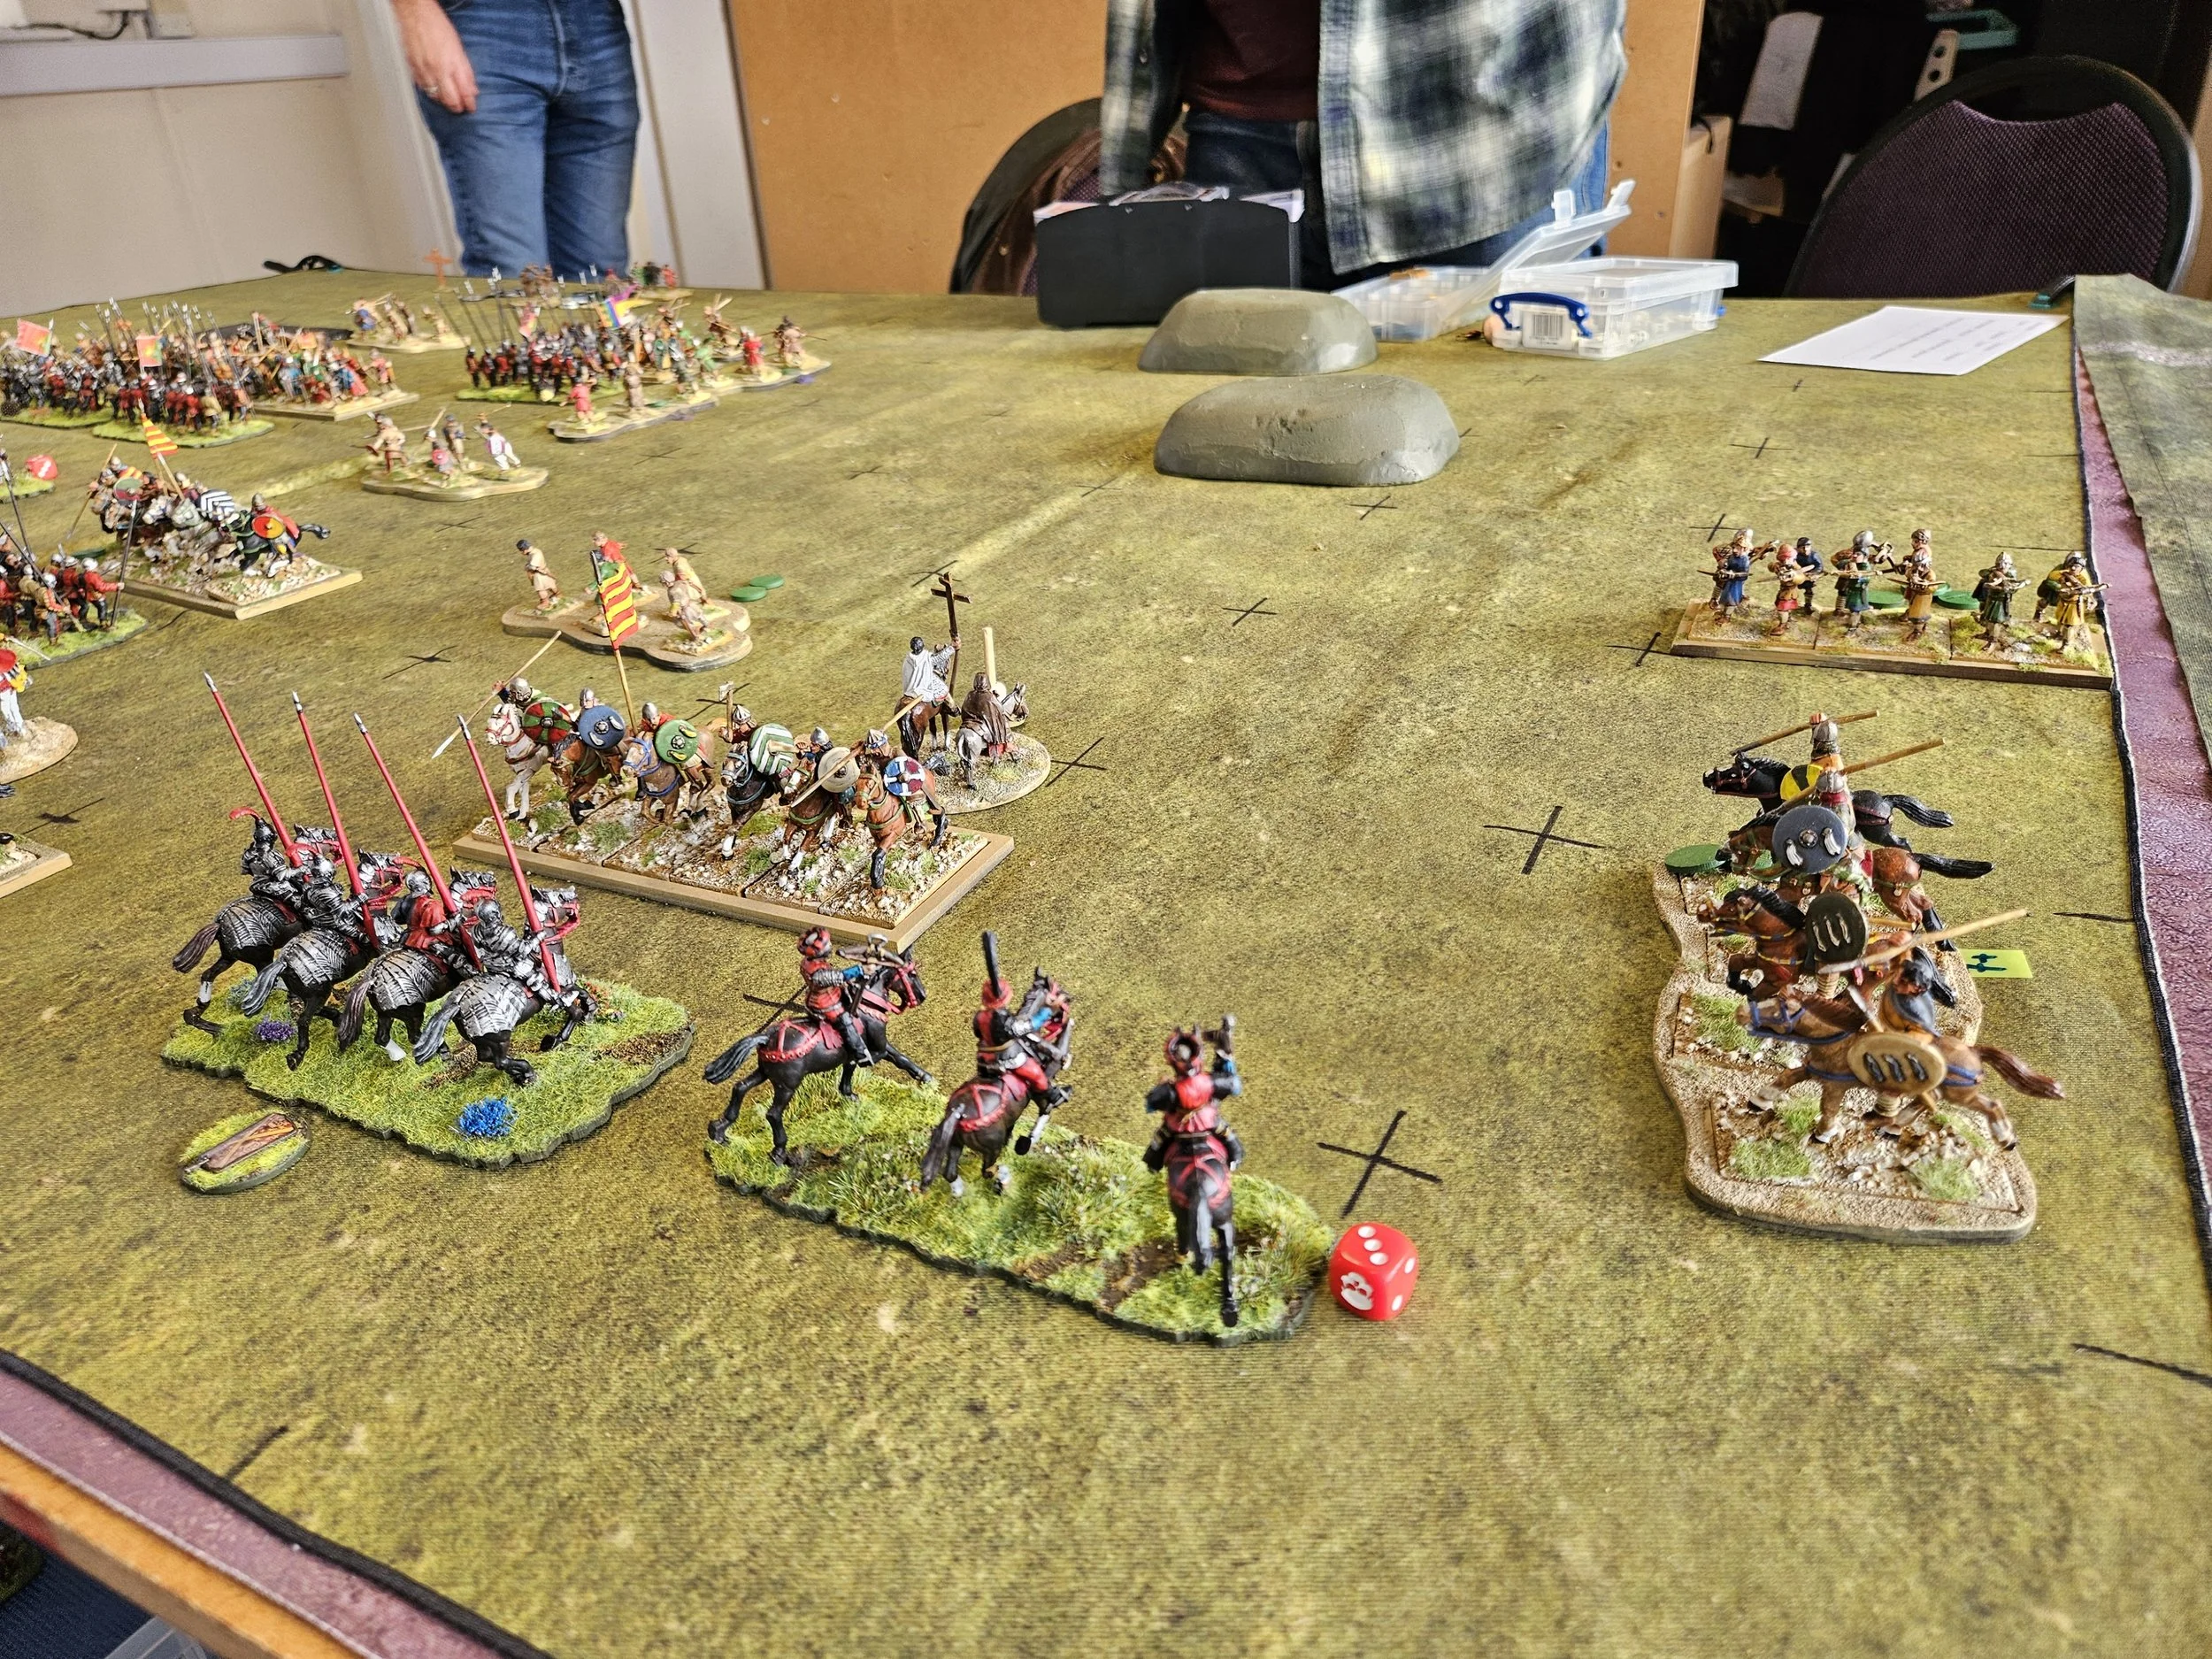
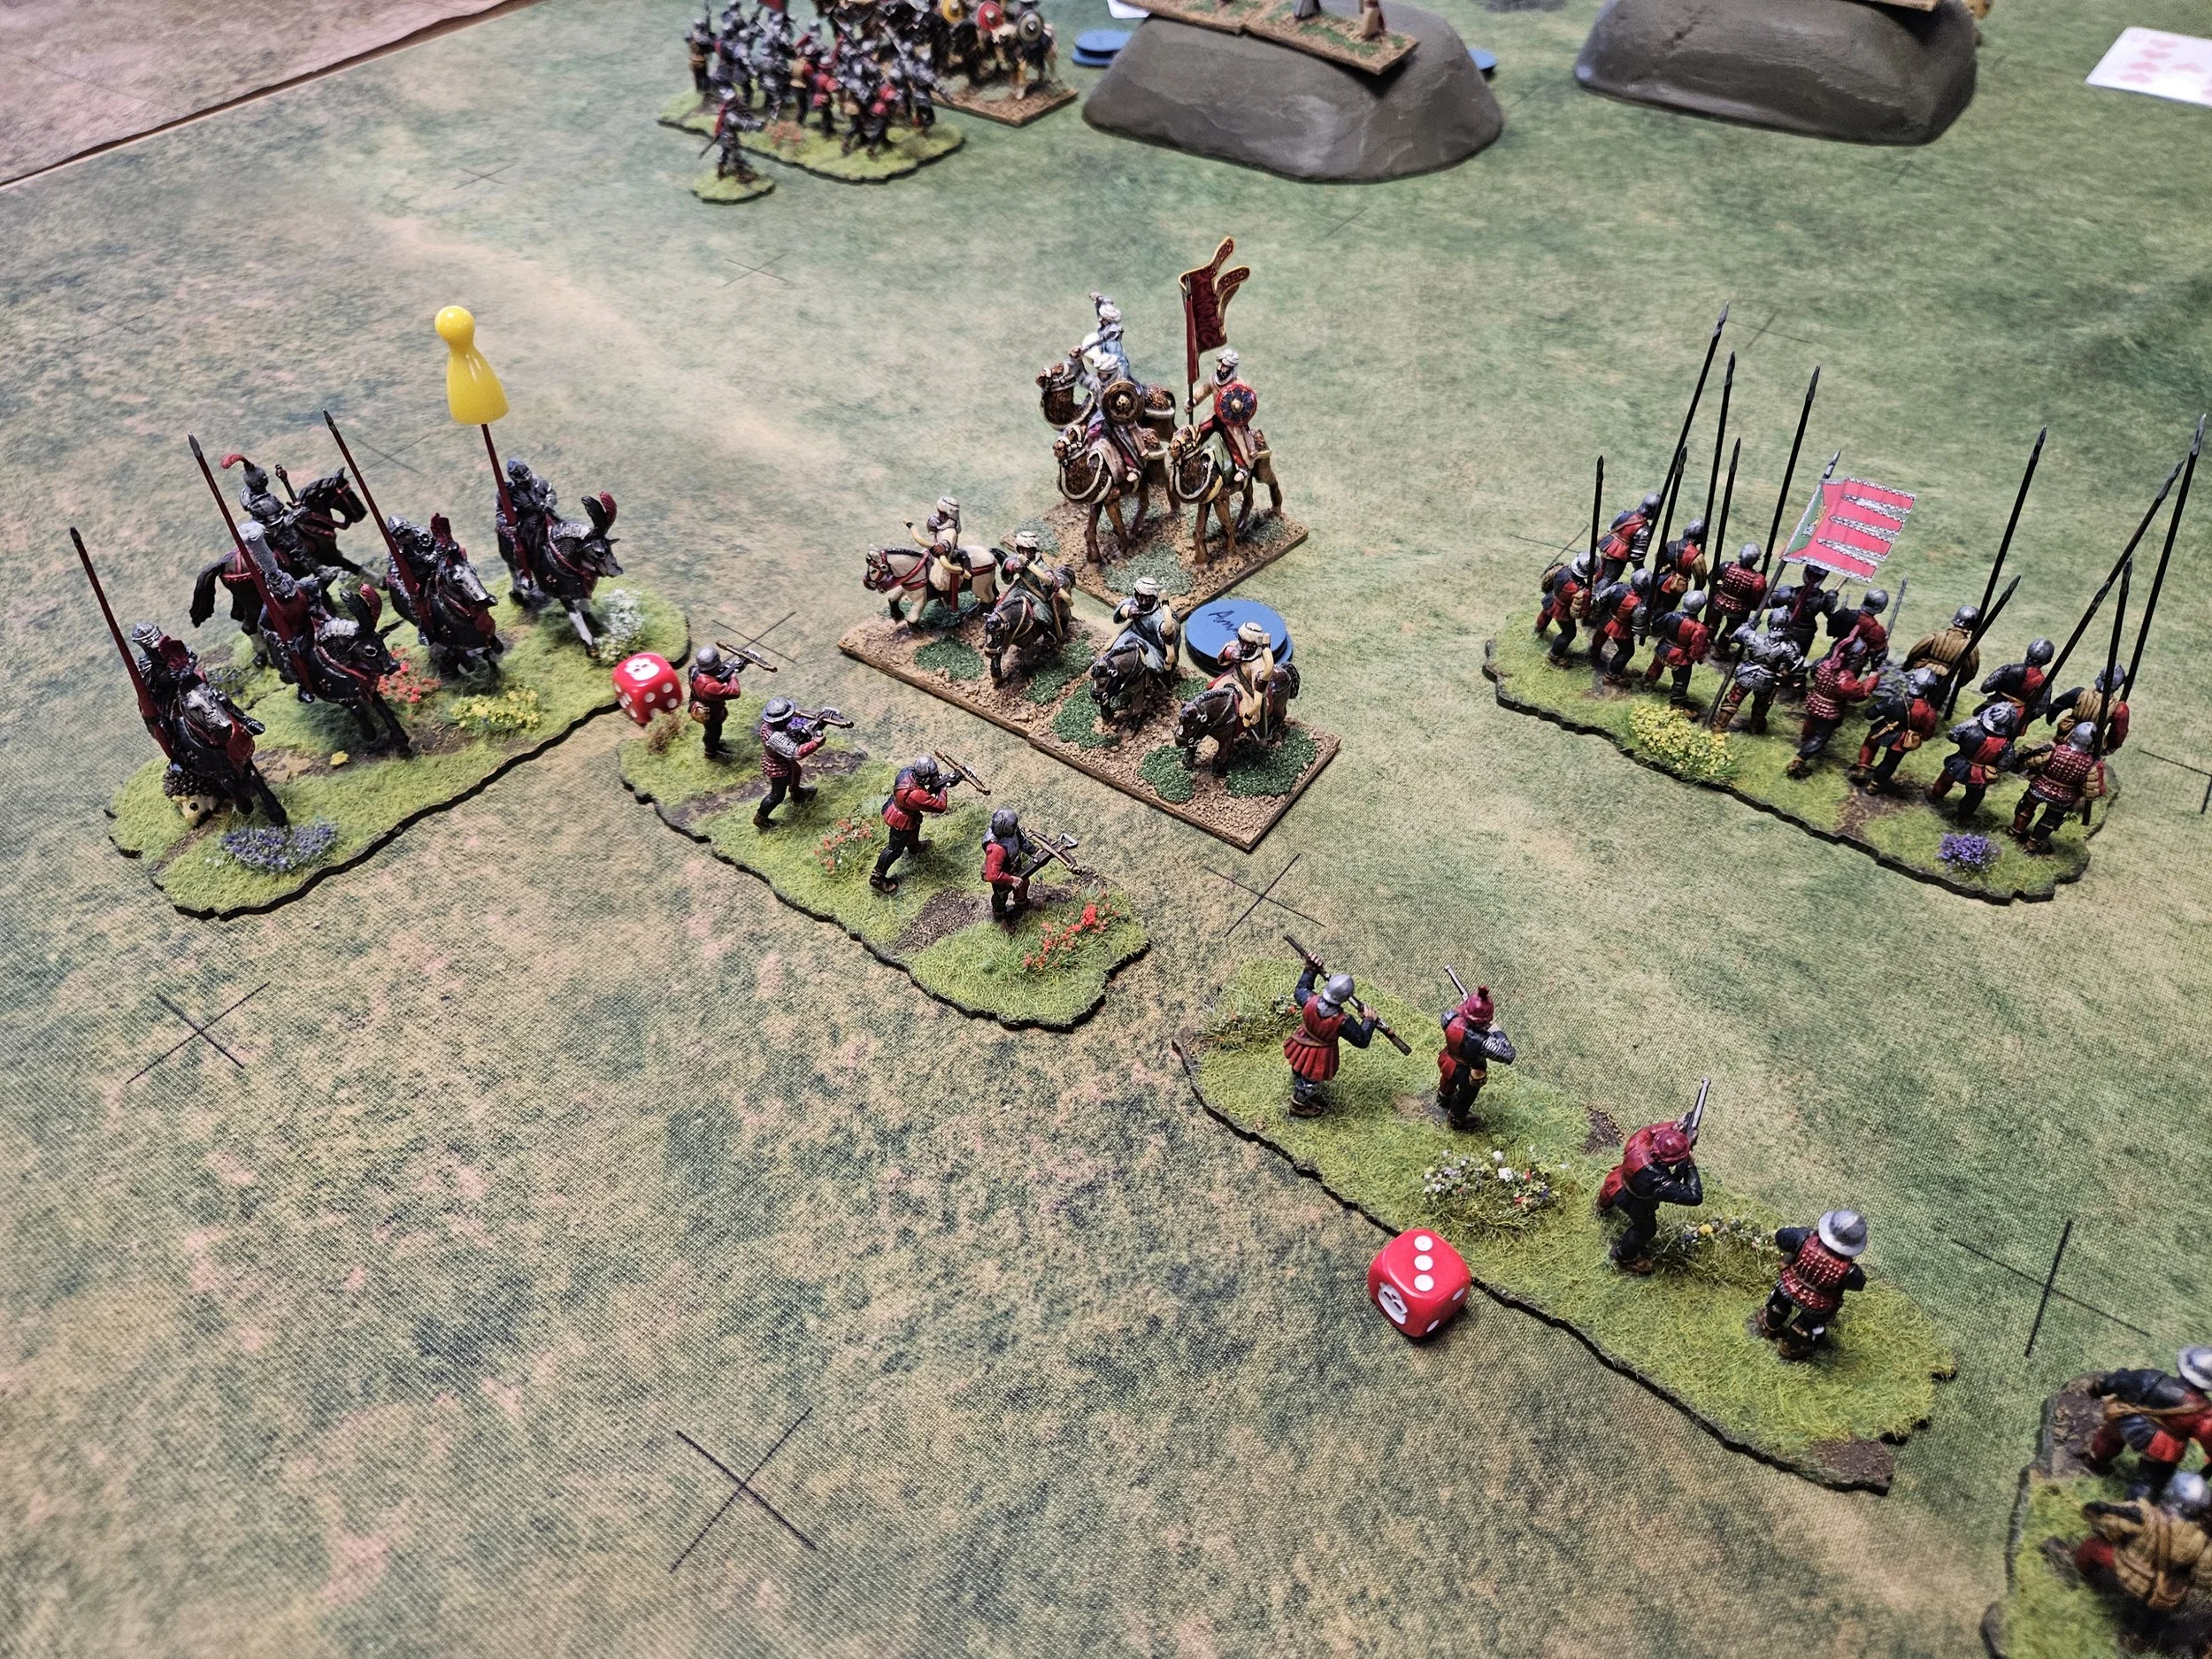
My second game at this year’s To The Strongest tournament at Warfare was against Nigel’s Komnenon Byzantines: a tough nut to crack with their combination of Kavallariori lance-armed horse and Varangian Guard veteran shieldwall infantry.

I lost the scouting again, and quickly saw the Byzantines advancing towards me at a rapid rate of knots.

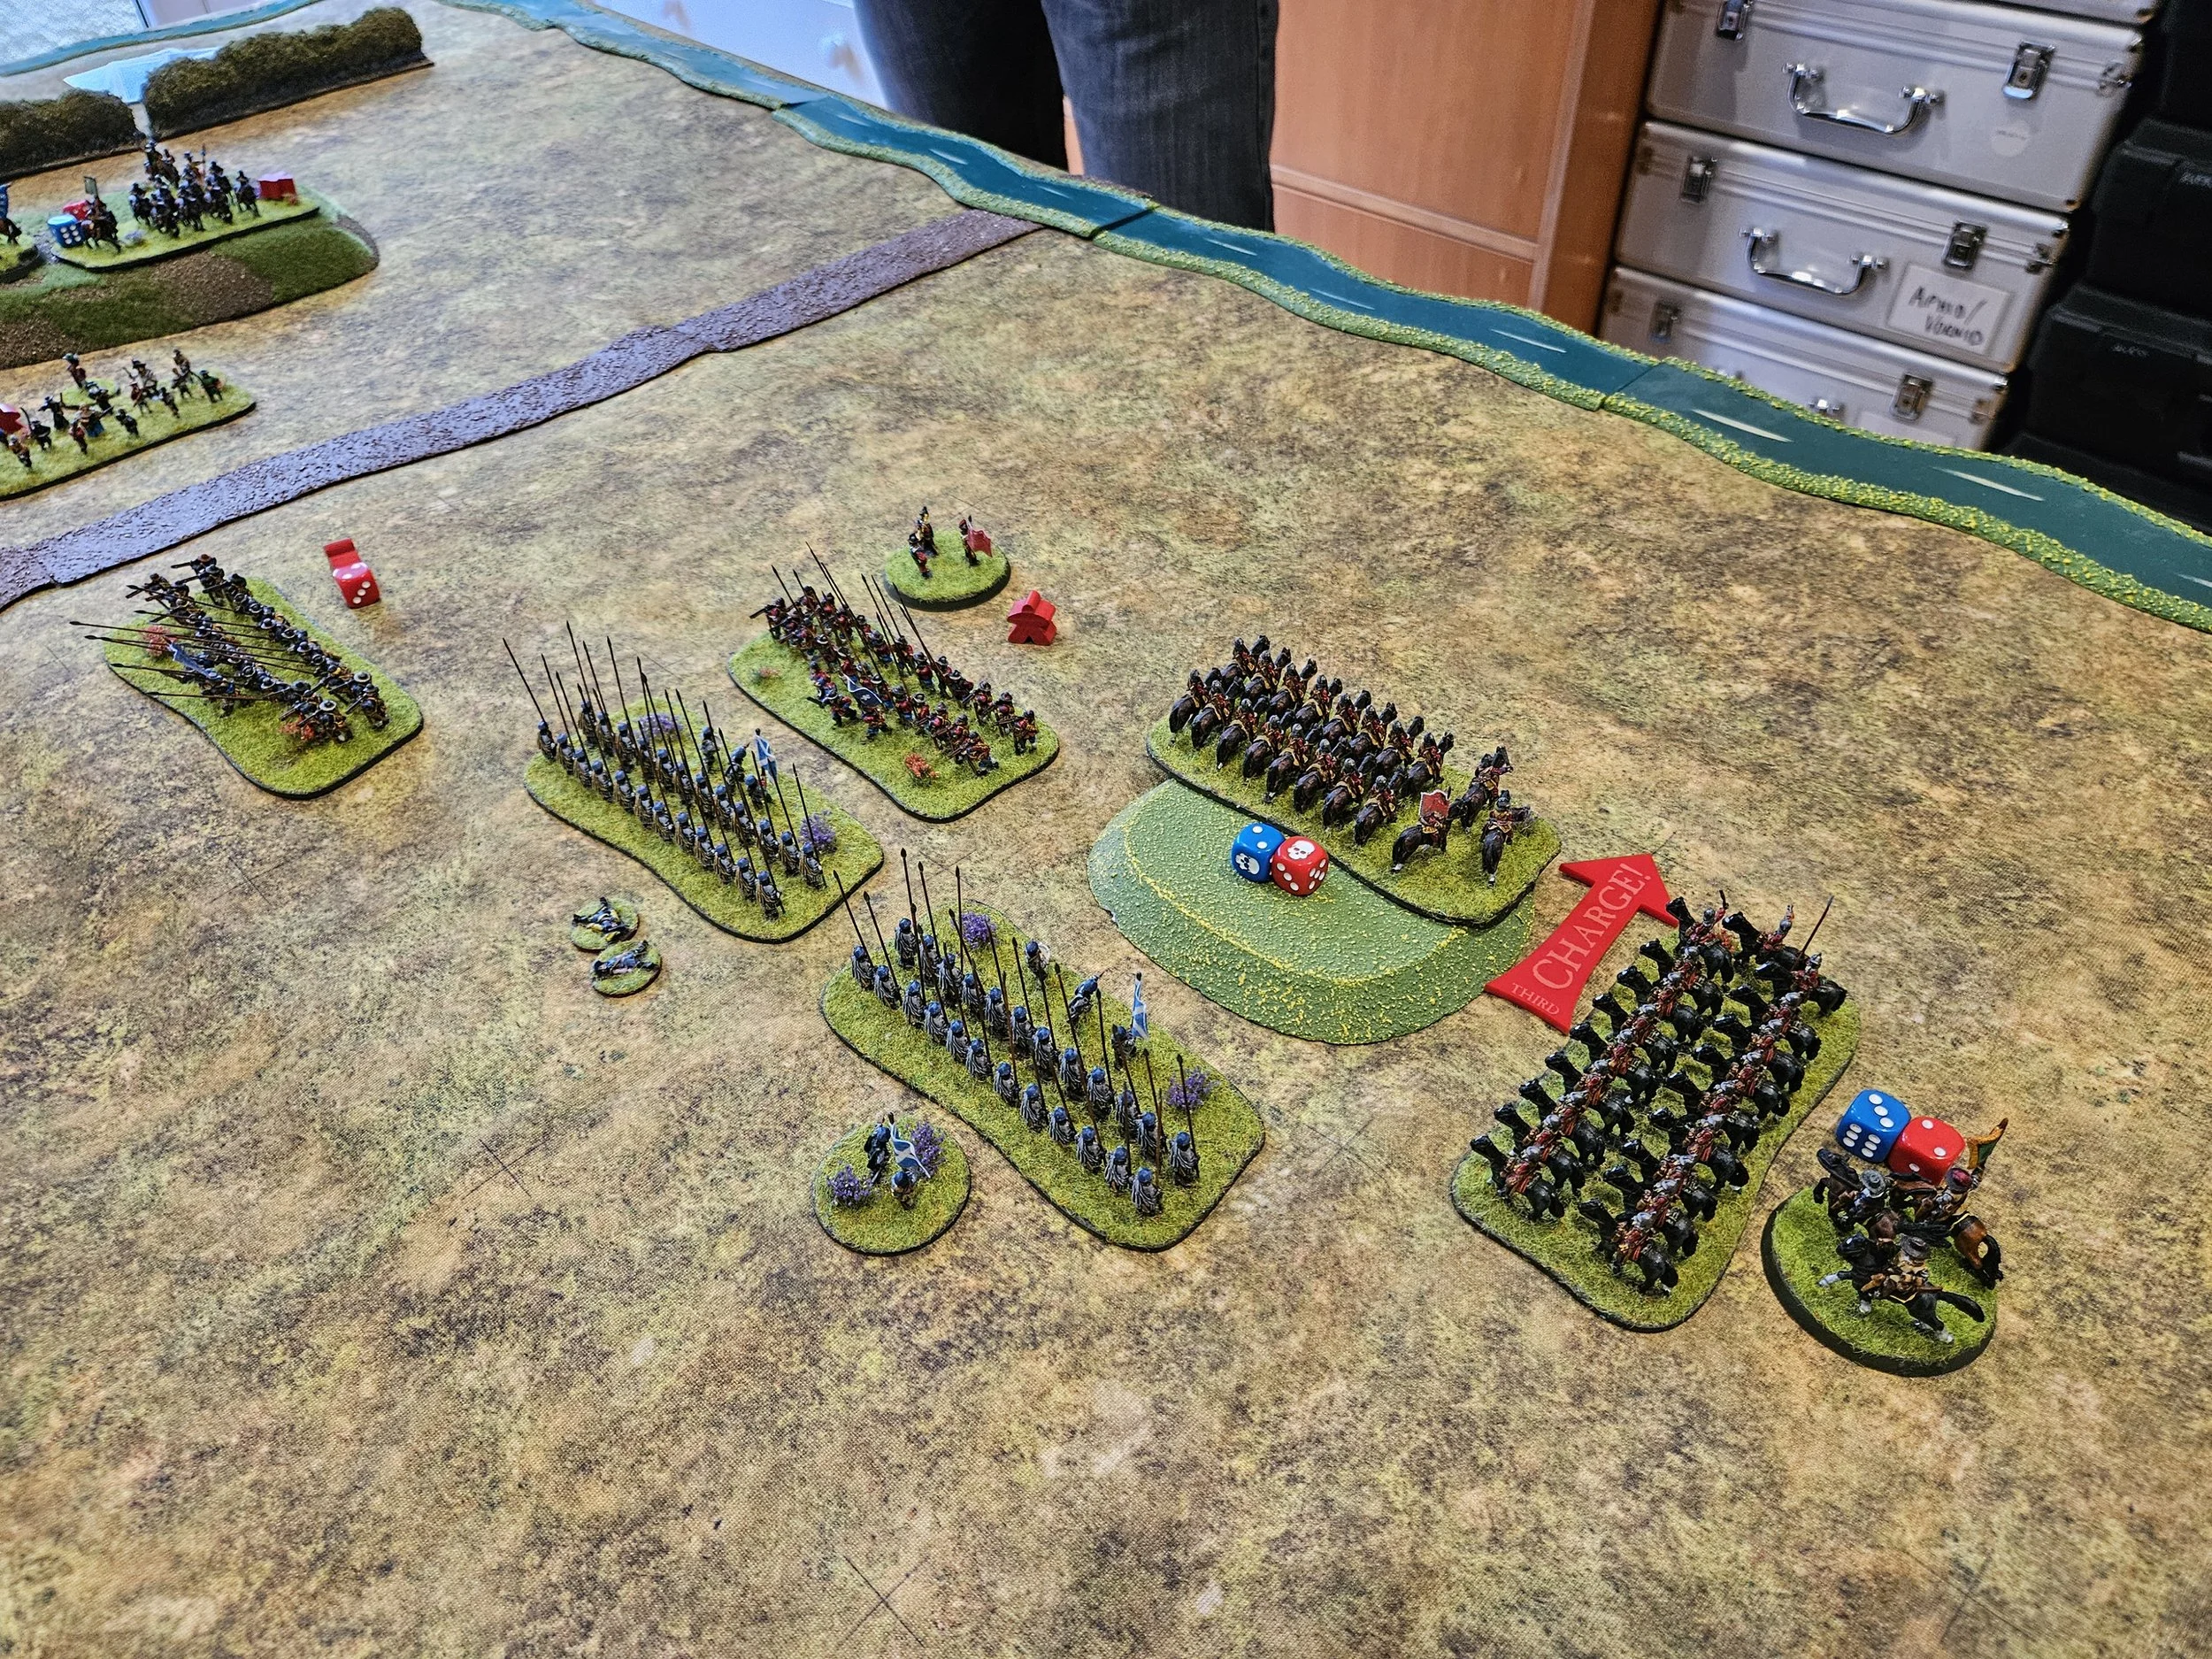
I advanced my left flank out to meet him, getting an advantage as I was able to charge a unit of my Later Knights in against some of his veteran cavalry. Nigel attempted to evade but failed, which meant i would enjoy three strikes (attack, lance and bonus rear) against his hapless horsemen, with my army standard providing me with a back-up should I fail the first one.

Unbelievably, every single one of my attacks failed to hit, something my rudimentary stats skills tell me should only happen approximately 6% of the time.

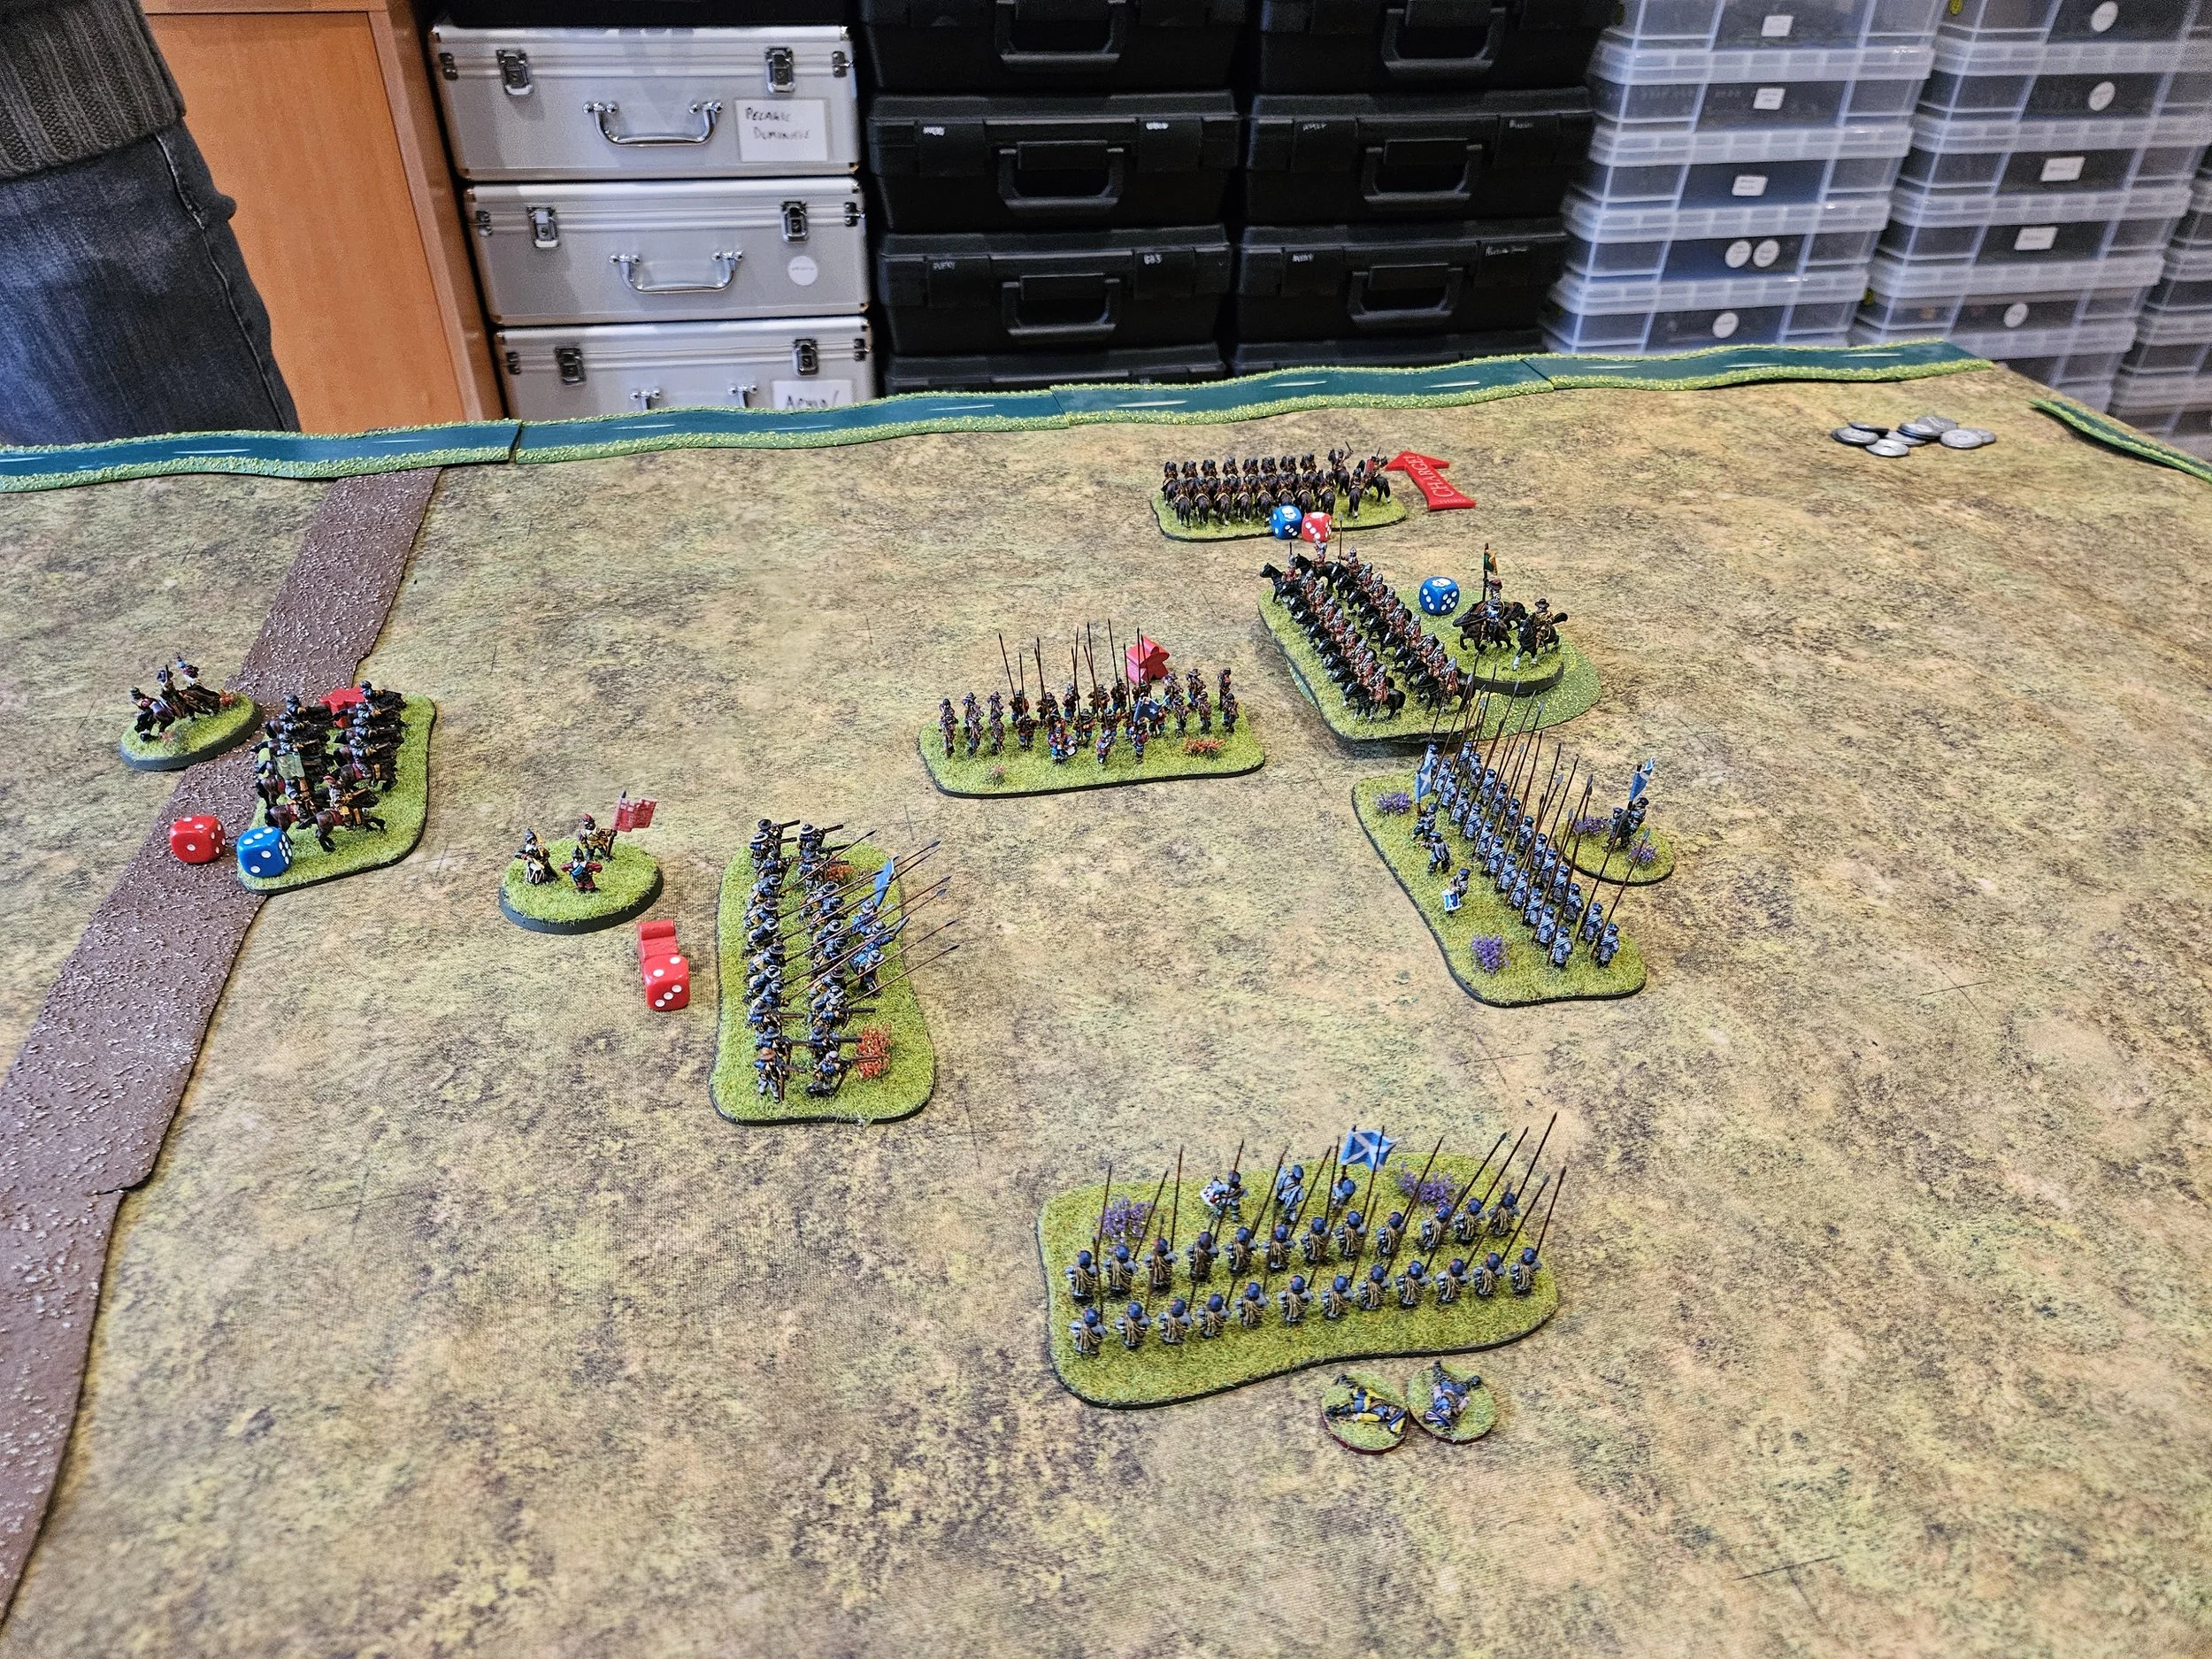
This was not good, and I soon found myself victim to a general assault across my line. Particularly worrying was the big hole facing the elite Varangian Guard: the only thing between them and my camp were a couple of raw schioppettiere hand gunners, almost as afraid of the weapons they held as the mad vikings’ approach!

Fortunately - very fortunately - my other command of knights on the right flank was doing what they were supposed to do, and had forced back the Byzantine horse, both light and heavy.

This gave them the chance to manouevre onto the flank of the advancing Varangians: something that, much to my surprise, caused a crisis of confidence in the enemy centre, which promptly withdrew back away from my troops.

This was very strange, but also very welcome…the only problem being that we were now almost out of time, which seemed like a very quick game to me, but I wasn’t manning the stop-watch!

I was winning, just, but needed a big win to make up for my huge defeat in game one, but the only way I was going to win this was my either destroying a 3-coin unit such as one of the Varangian Guard, or by taking the Byzantine camp, currently unguarded.

The camp it was then, but it would need three activations for the knights on the far side of the table to reach it. Fortune, however, had decided to compensate me for the failure to hit the enemy horse and, with a triumphant clatter of hooves, the knights rode down the Byzantine camp followers taking the camp and Nigel’s last three coins for an 11-0 victory.

So a bit of a narrow escape: I think I would have been in deep trouble if those Varangians had ignored the knights on their flank and headed straight forward!

But as great game against a fun opponent, so onto game 3 with one loss and one win under the belt.

TFL Painting Challenge: Second November Update

Loads of entries coming in for the Painting Challenge now that we are almost into its final month for 2024.

As always, do browse the individual galleries accessible from the NavBar, above, but here’s a selection from this batch of submissions.

First up is Chris Kay, with a mixture of cowpokes and Star Wars. Here are the cowpokes:

Next up is Nick Cooper, with his usual assortment of fantasy figures:

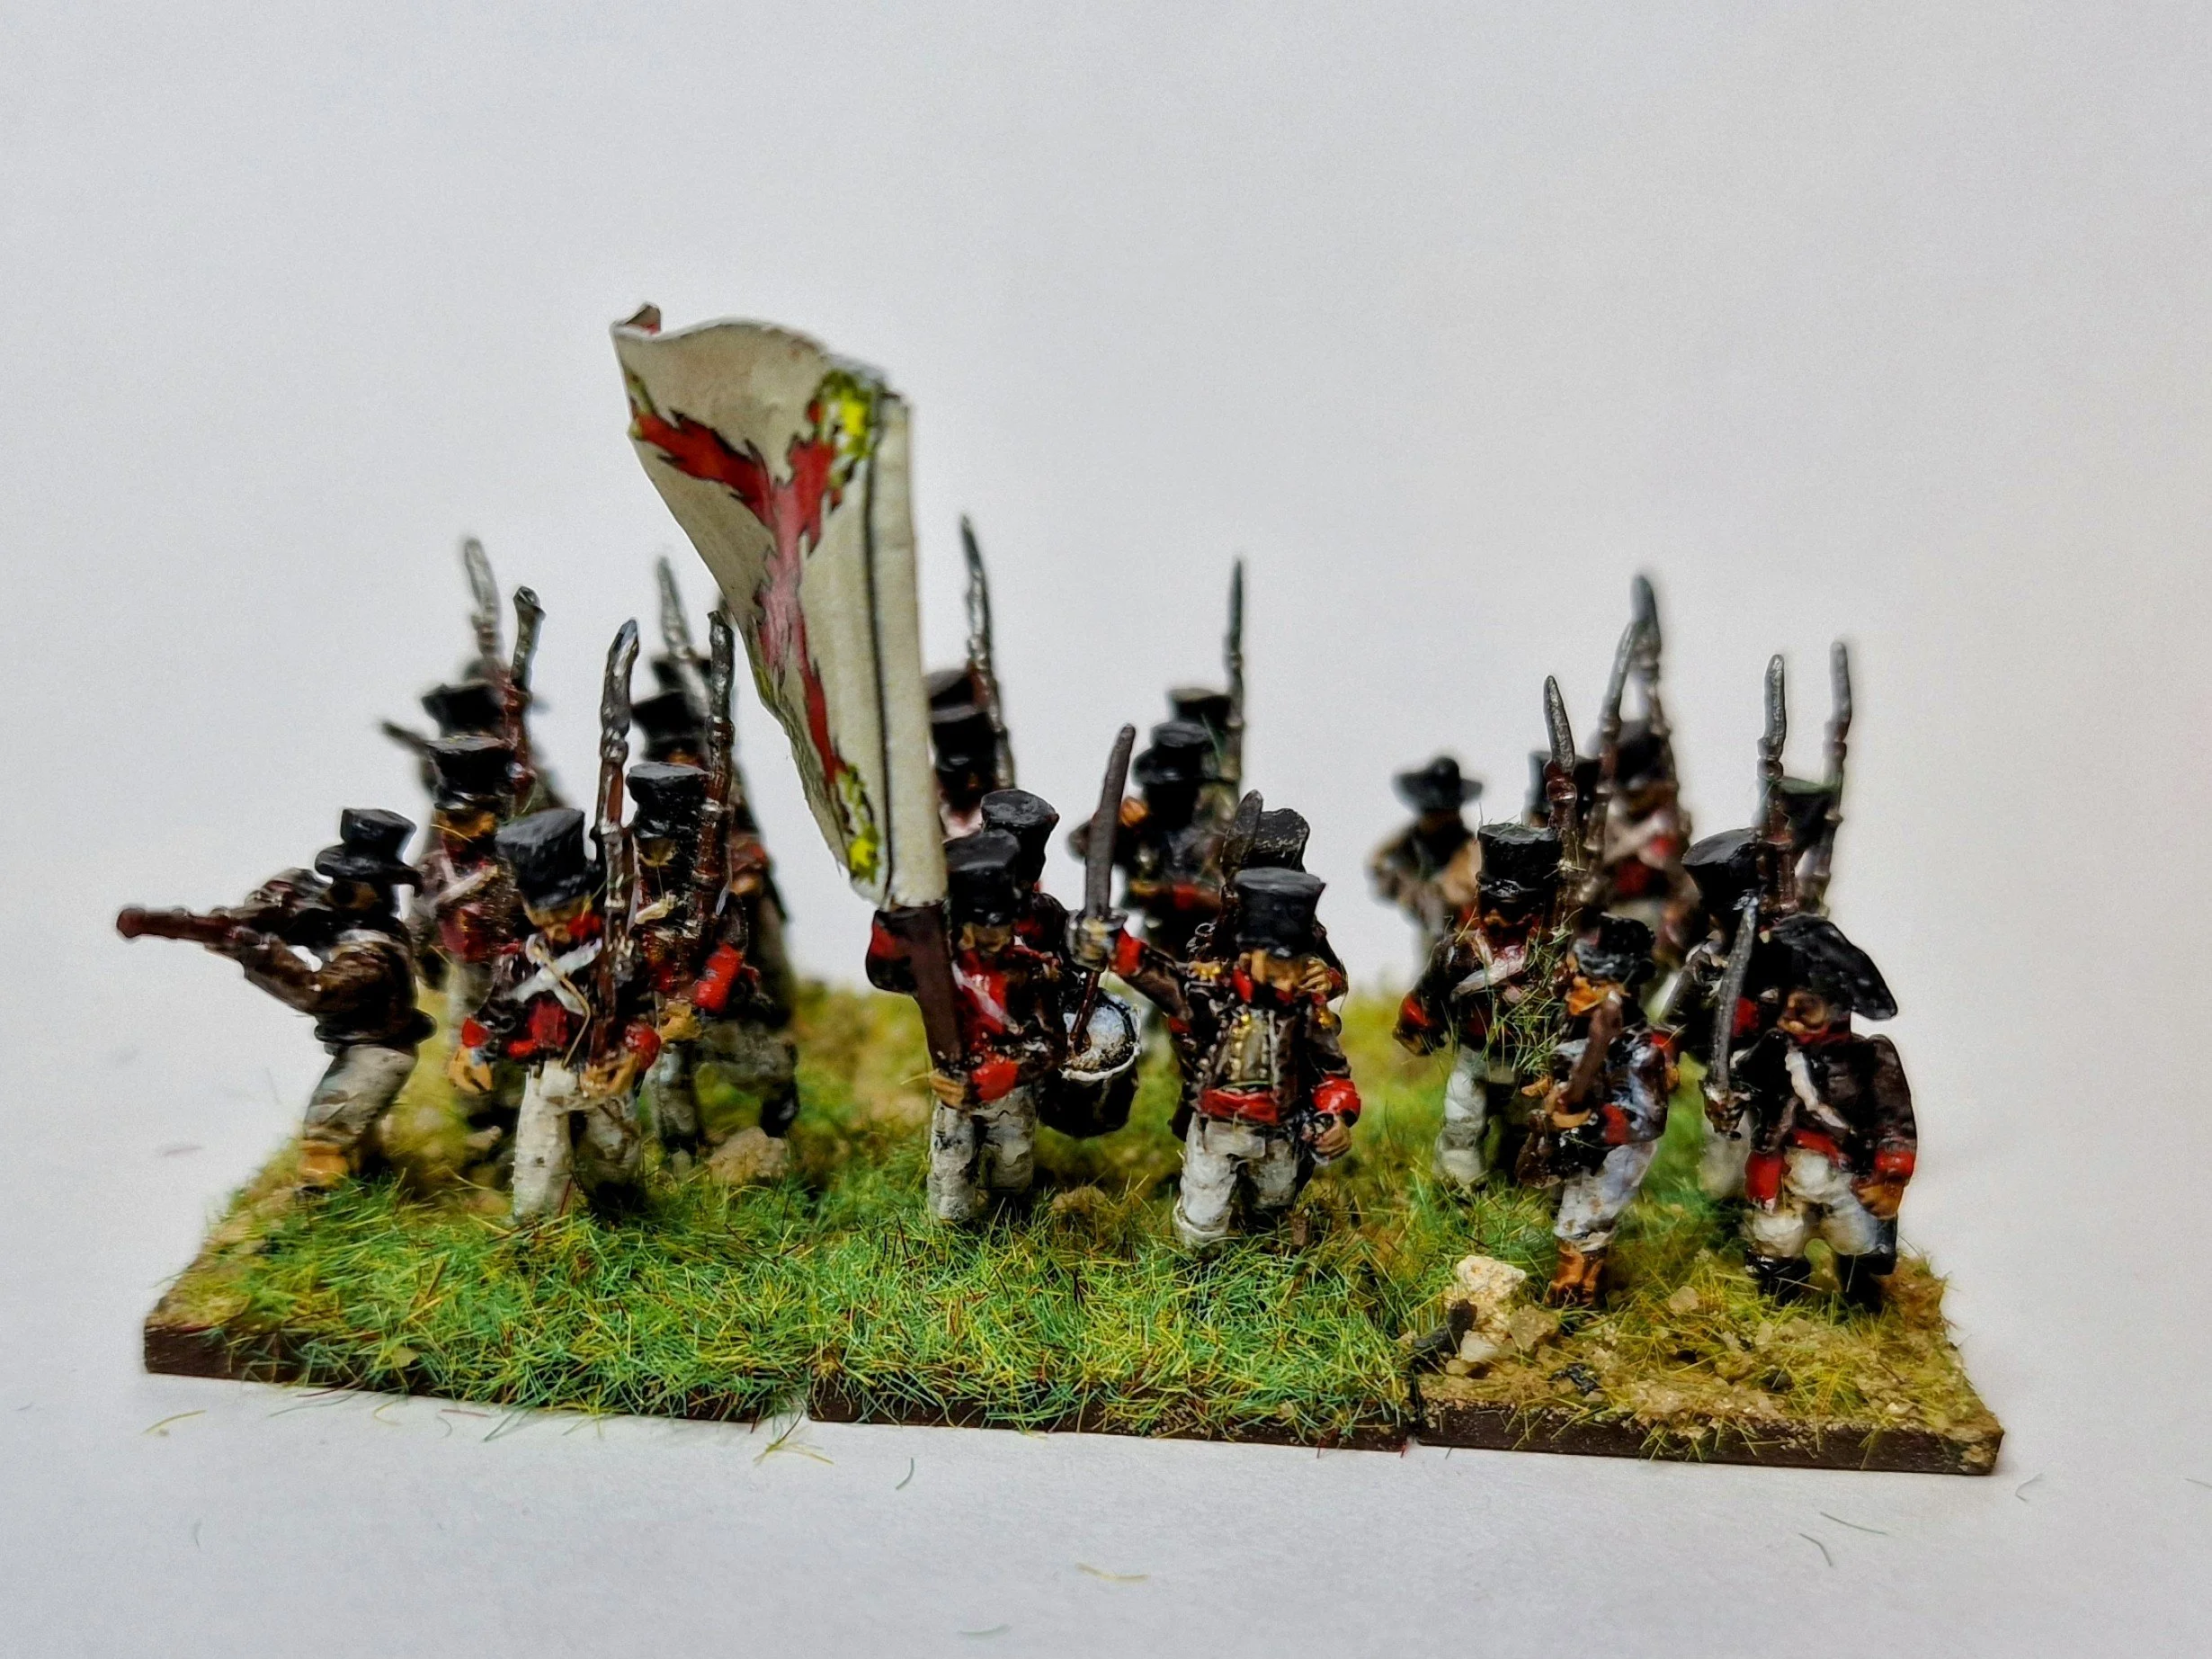
Also supplying his usual assortment of troops is Mr Helliwell. How does he find the time? Here are some Napoleonics and Medievals:

Sapper has also been busy: Normans, Romans and more Medievals:

Mervyn has gone big this time around: a couple of stone age cottages and Conan’s mate Thog!

And last, but by no means least, here’s Steve Burt with the old Italeri battlefield accessories set finally painted up. Telegraph pole, emplacement, signs, ruin, small fuel dump, all 1:72 scale

We also had an entry from Carole, but no pictures yet, so I’ll add them into the post once I get them.

Plenty of time yet, so keep those entries coming!

TTS AAR: Warfare 24, Game One: Venetians versus Timurids

My first game at the To The Strongest tournament at this year’s Warfare show was against Peter and his Timurids. As Peter is acknowledged as the most successful TTS competition gamer in the UK, this was going to be quite a difficult start to the day!

Those of you who have played Peter before know that his favourite tactics is to have an army that outscouts the opposition, then deploys in a way that gives him the advantage by taking a portion of the enemy army out of contention. After that, he advances quickly to get around the flank of his opponent’s remaining (and now outnumbered) troops and roll up them up smartly before turning the full might of his still-intact army on the remnants of that of the enemy.

And that is exactly what he did to me, despite the fact that I knew it was coming!

On his first turn, Peter did have a bit of luck with the cards, but a clever tactic to allow a second march move meant that his troops were quickly behind my line.

As predicted, my main strike force of later knights were left facing nothing except a couple of Timurid cattle-herders bunking off work to take a picnic far from the madding crowd!!!

But they began rushing over to the centre as soon as possible. Perhaps I could pull this back from the brink…

Er, no: of course I couldn’t. Once Peter has his teeth in you, you have no hope or Bob Hope chance of surviving, and Bob Hope’s dead.

His flank attack disposed of my knights on the right and moved in to begin rolling up my line.

And after that it was only a matter of time before my camp fell and with it the battle. A devastating 0-13 loss to start the day!

Somewhat annoying, to say the least, especially as I knew what was coming but couldn’t seem to do anything about it…but there was still plenty of time to do better in the next game…for which I now had plenty of time to prepare!

Congratulations to Peter on a masterclass of destruction: surgically dismembering the poor Venetians despite their best efforts. But I have beaten Peter before, and will beat him again, with the victory tasting even sweeter when I do!

Warfare 2024

My main reason for going to Warfare this year was for the To The Strongest Open competition held there, but there are plenty of other reasons for going as well.

It’s a great venue - Farnborough International Exhibition & Conference Centre - easy to find and free parking all day. There are some great trade stands, a bustling Bring & Buy, and enough space for some really huge demonstration games.

Here are some pictures from the day. The first is the main competition area, the others are all of the superb demonstration games on show. Some lovely, inspiring work!

Sci-Fi AAR: Starship Troopers

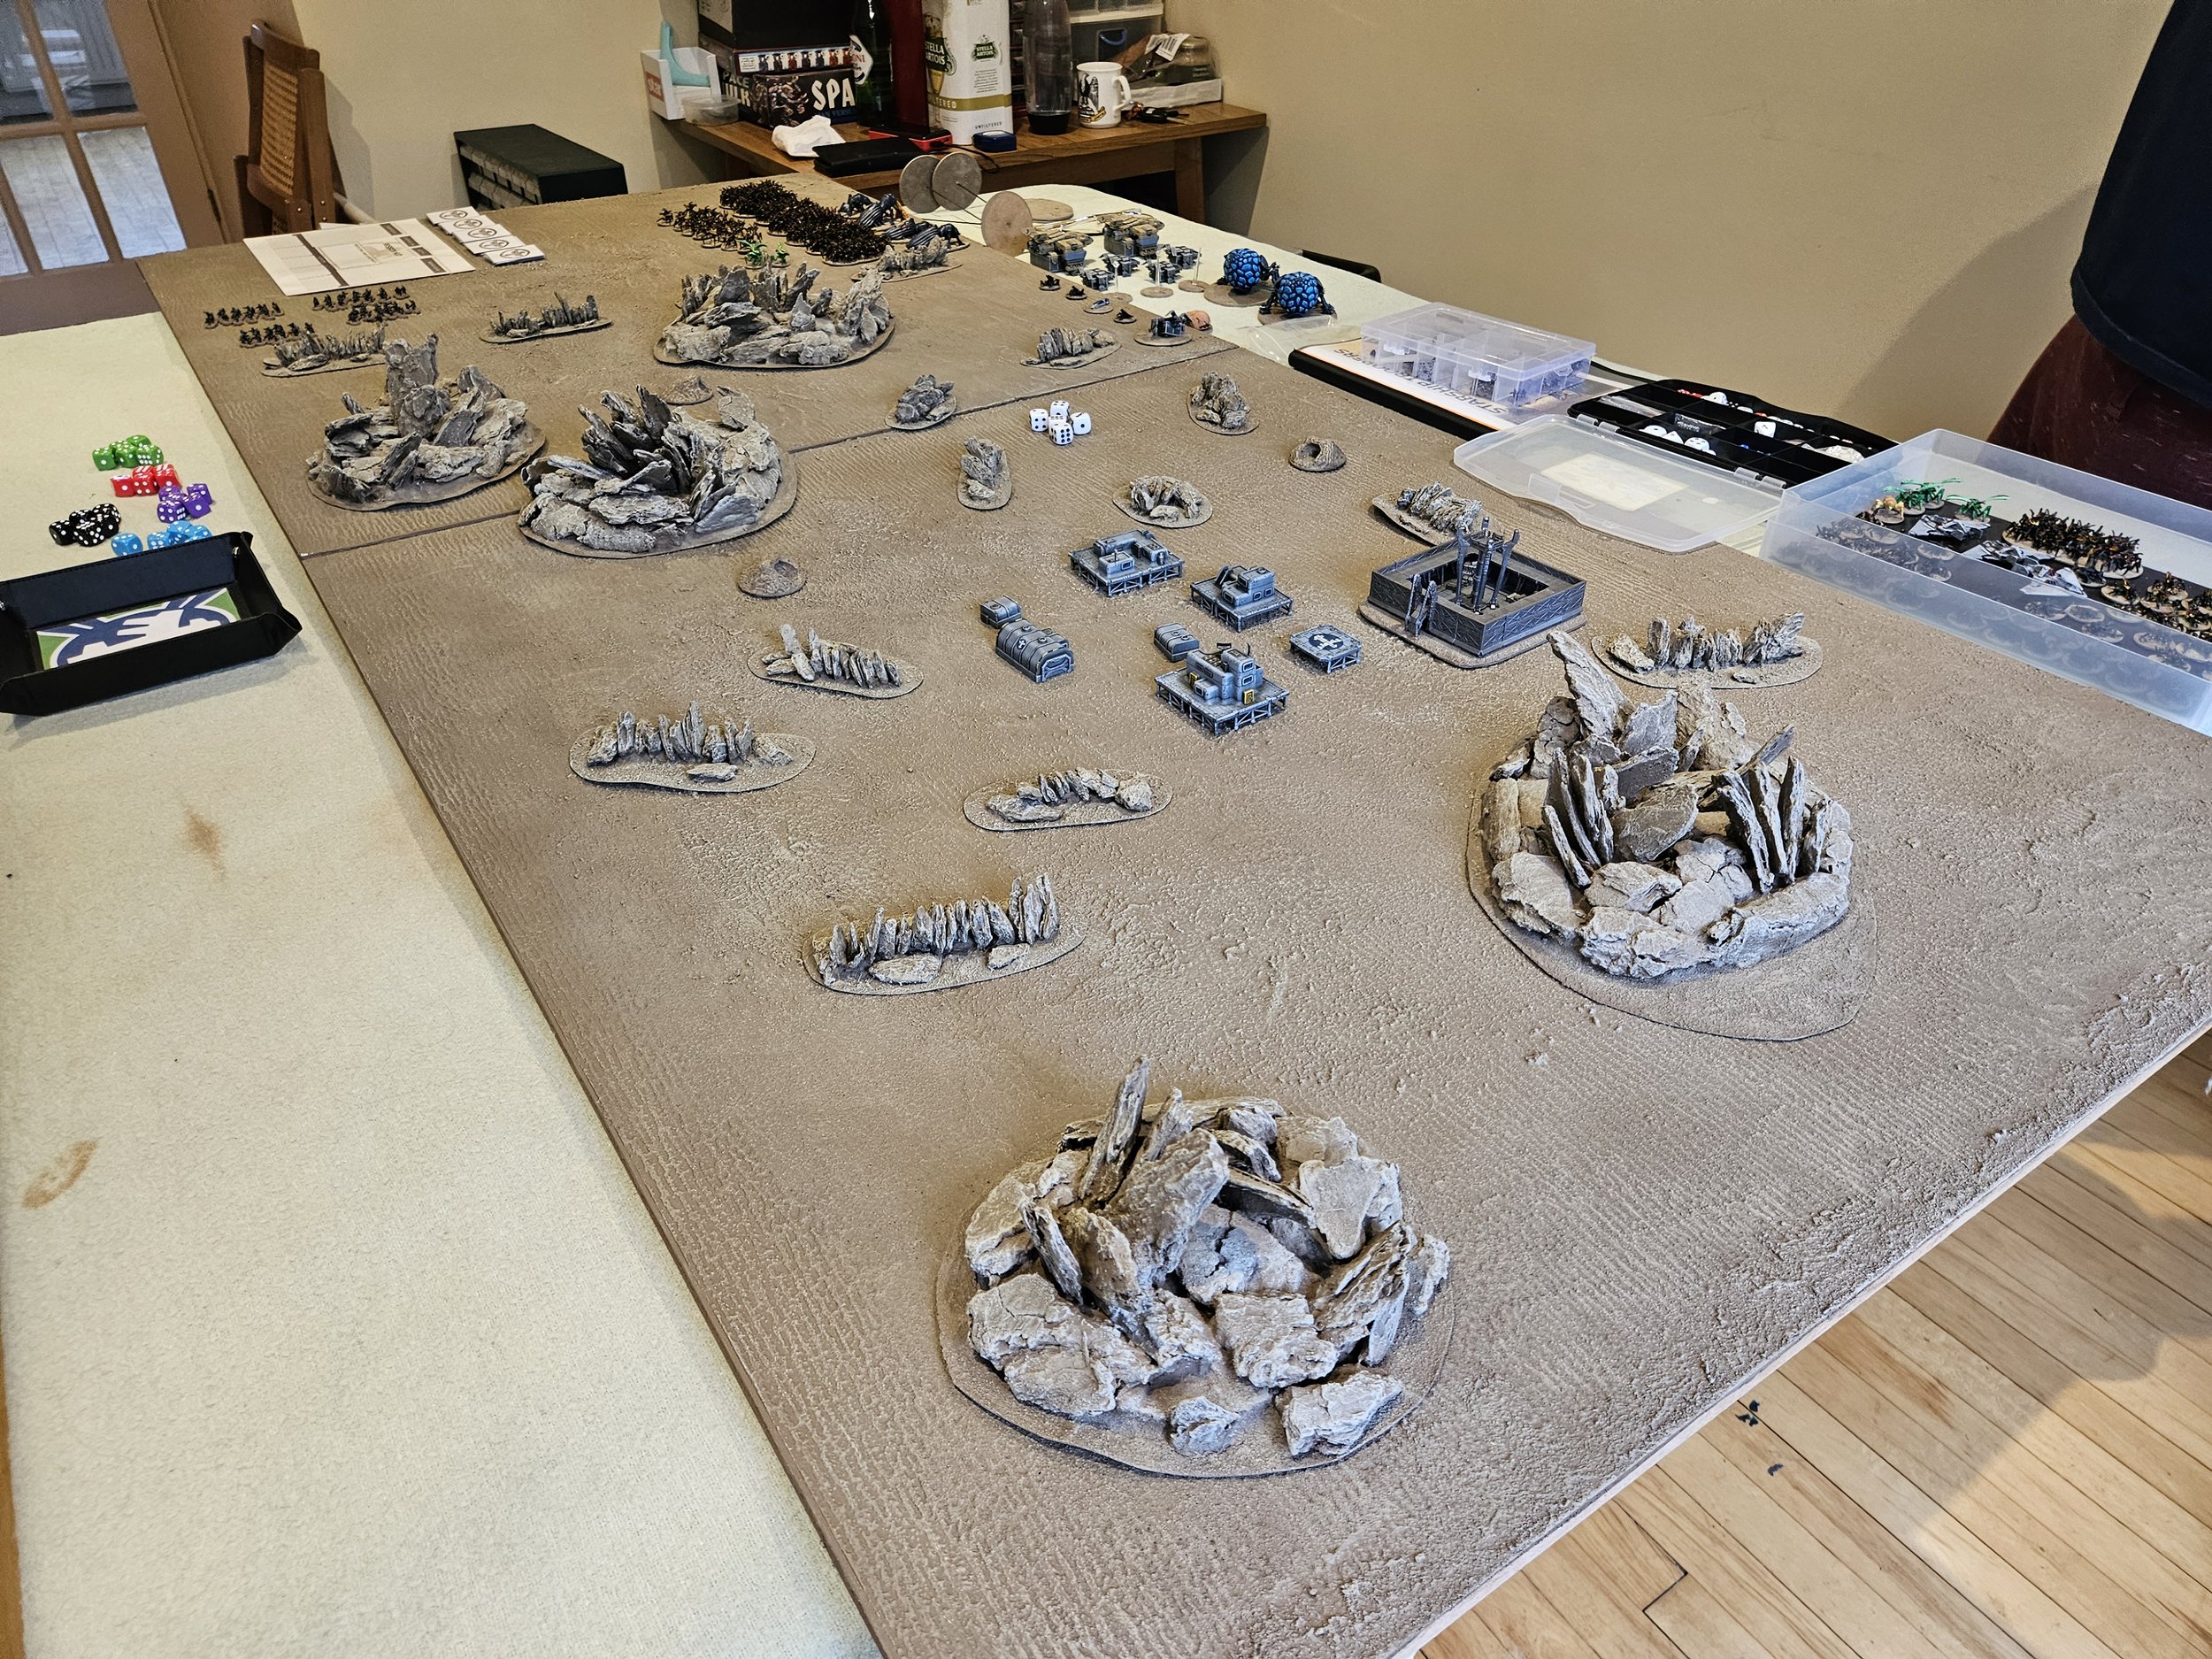
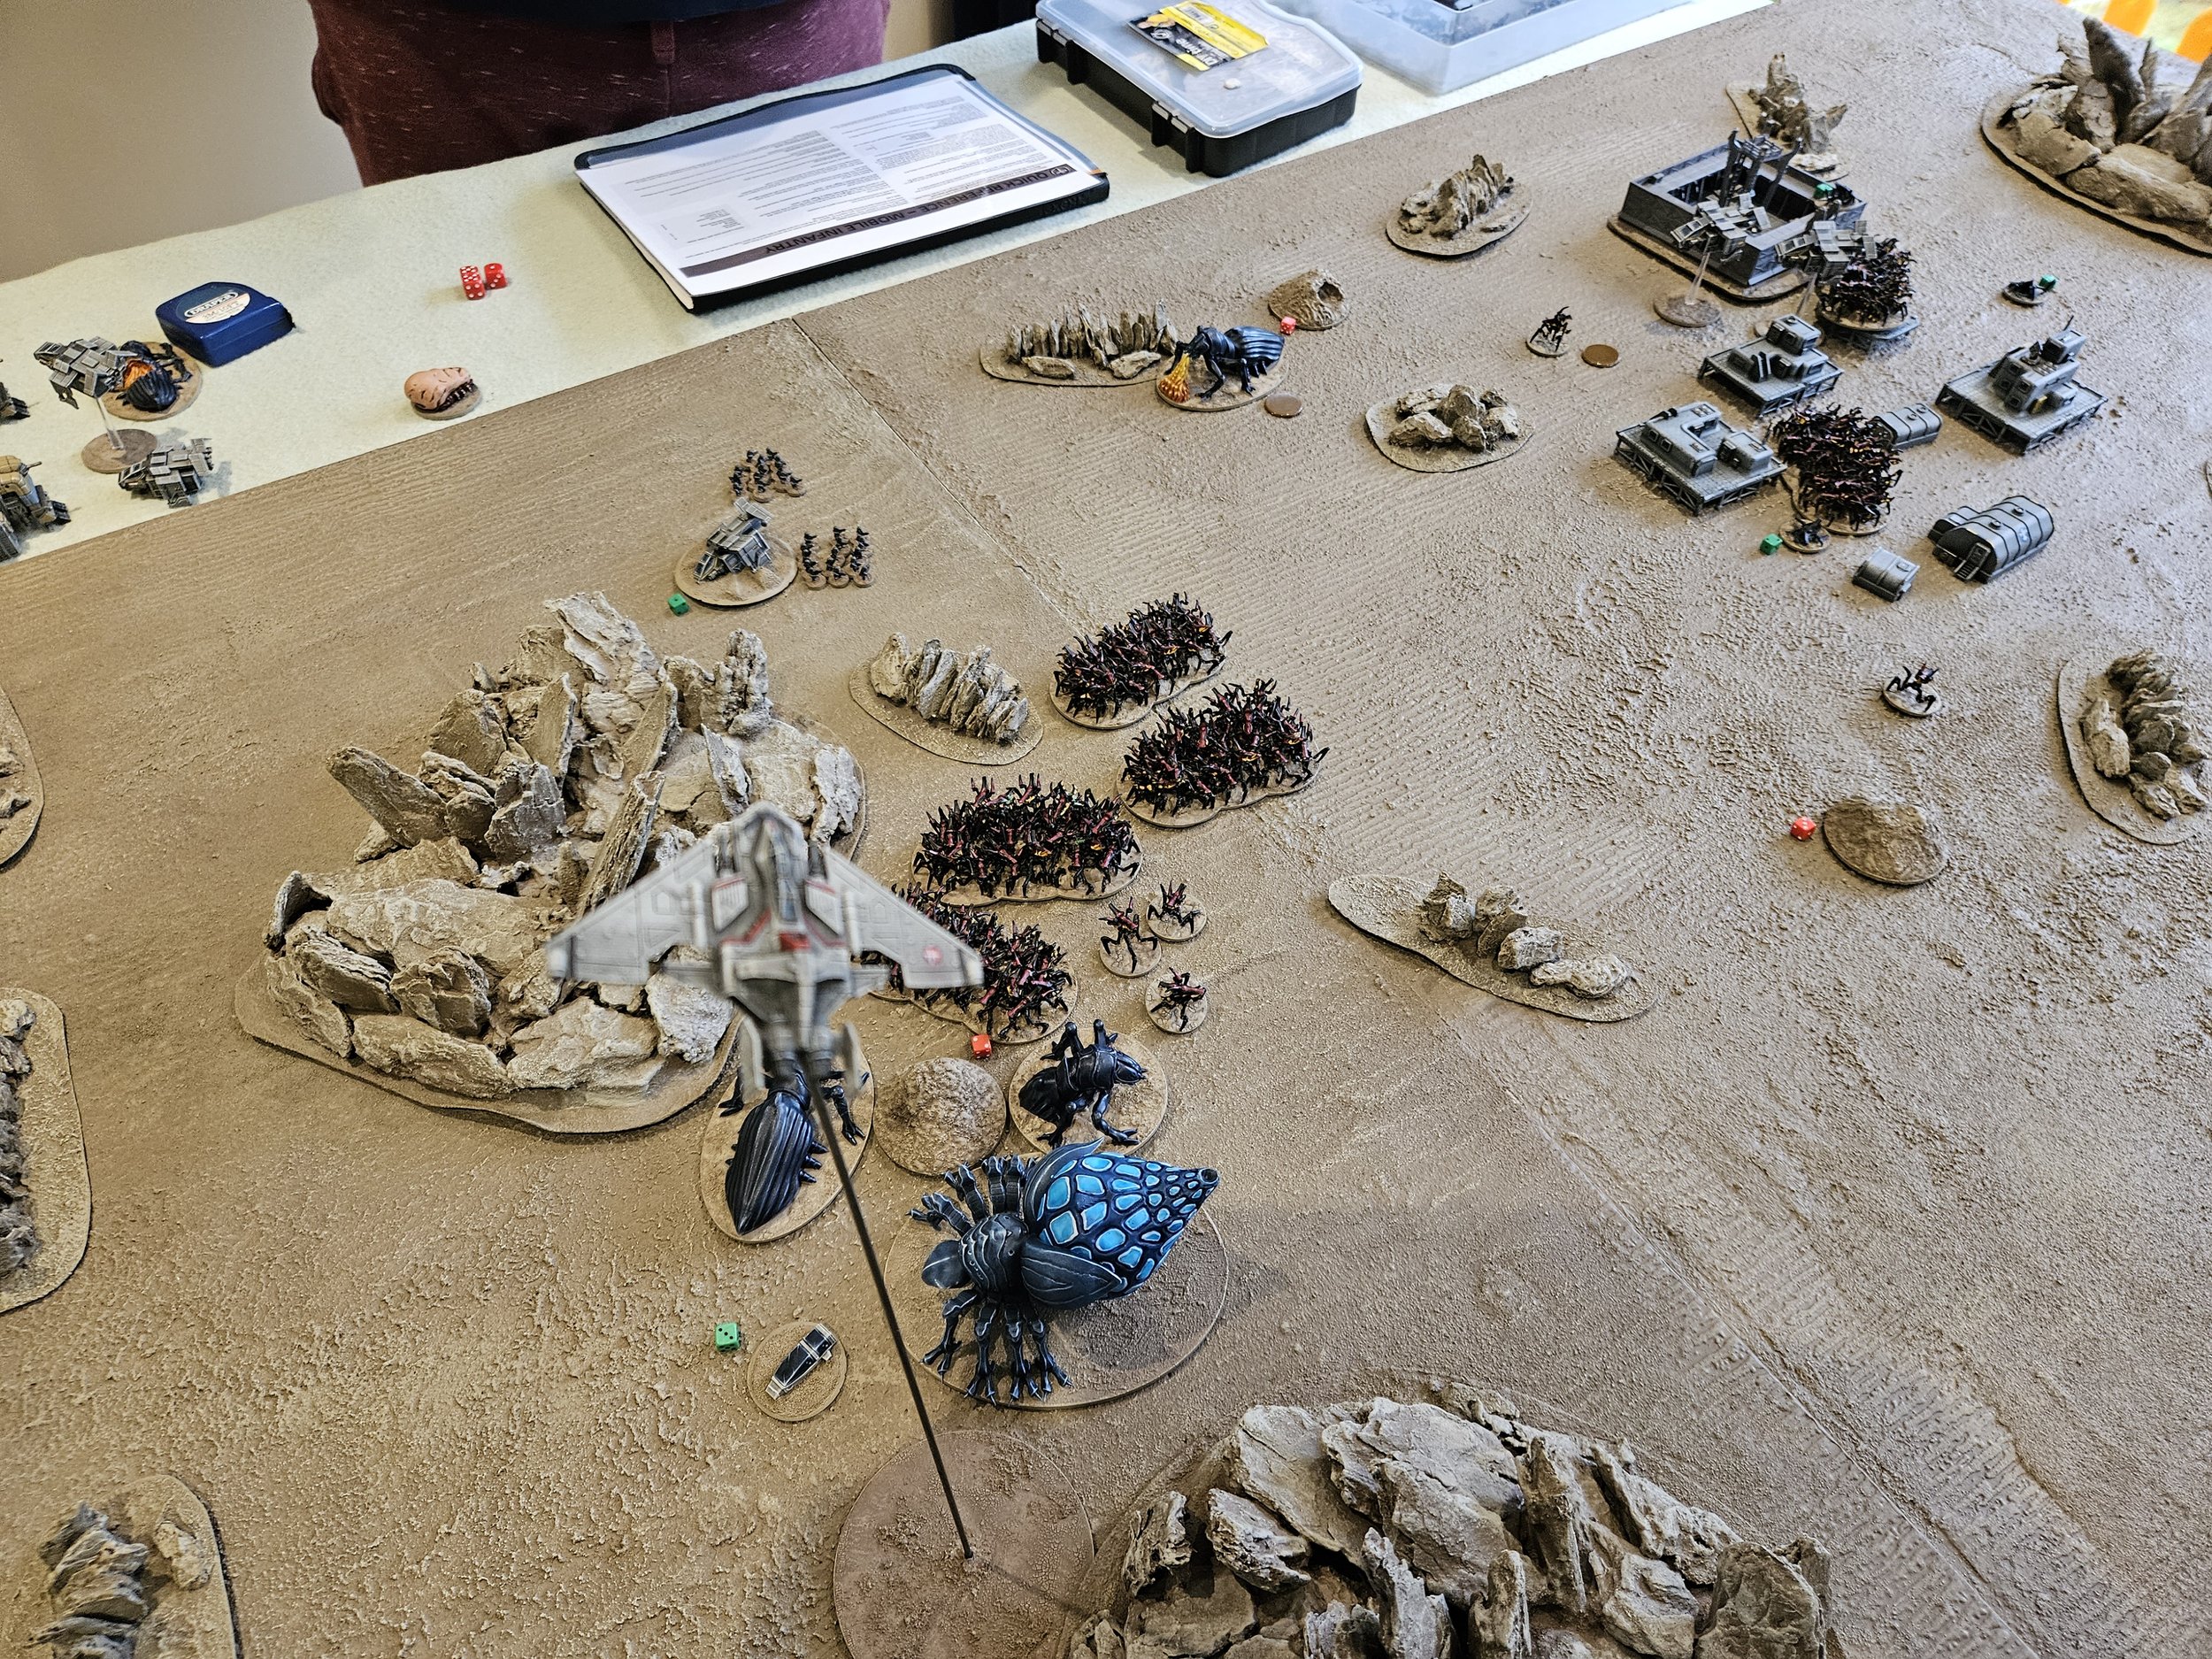
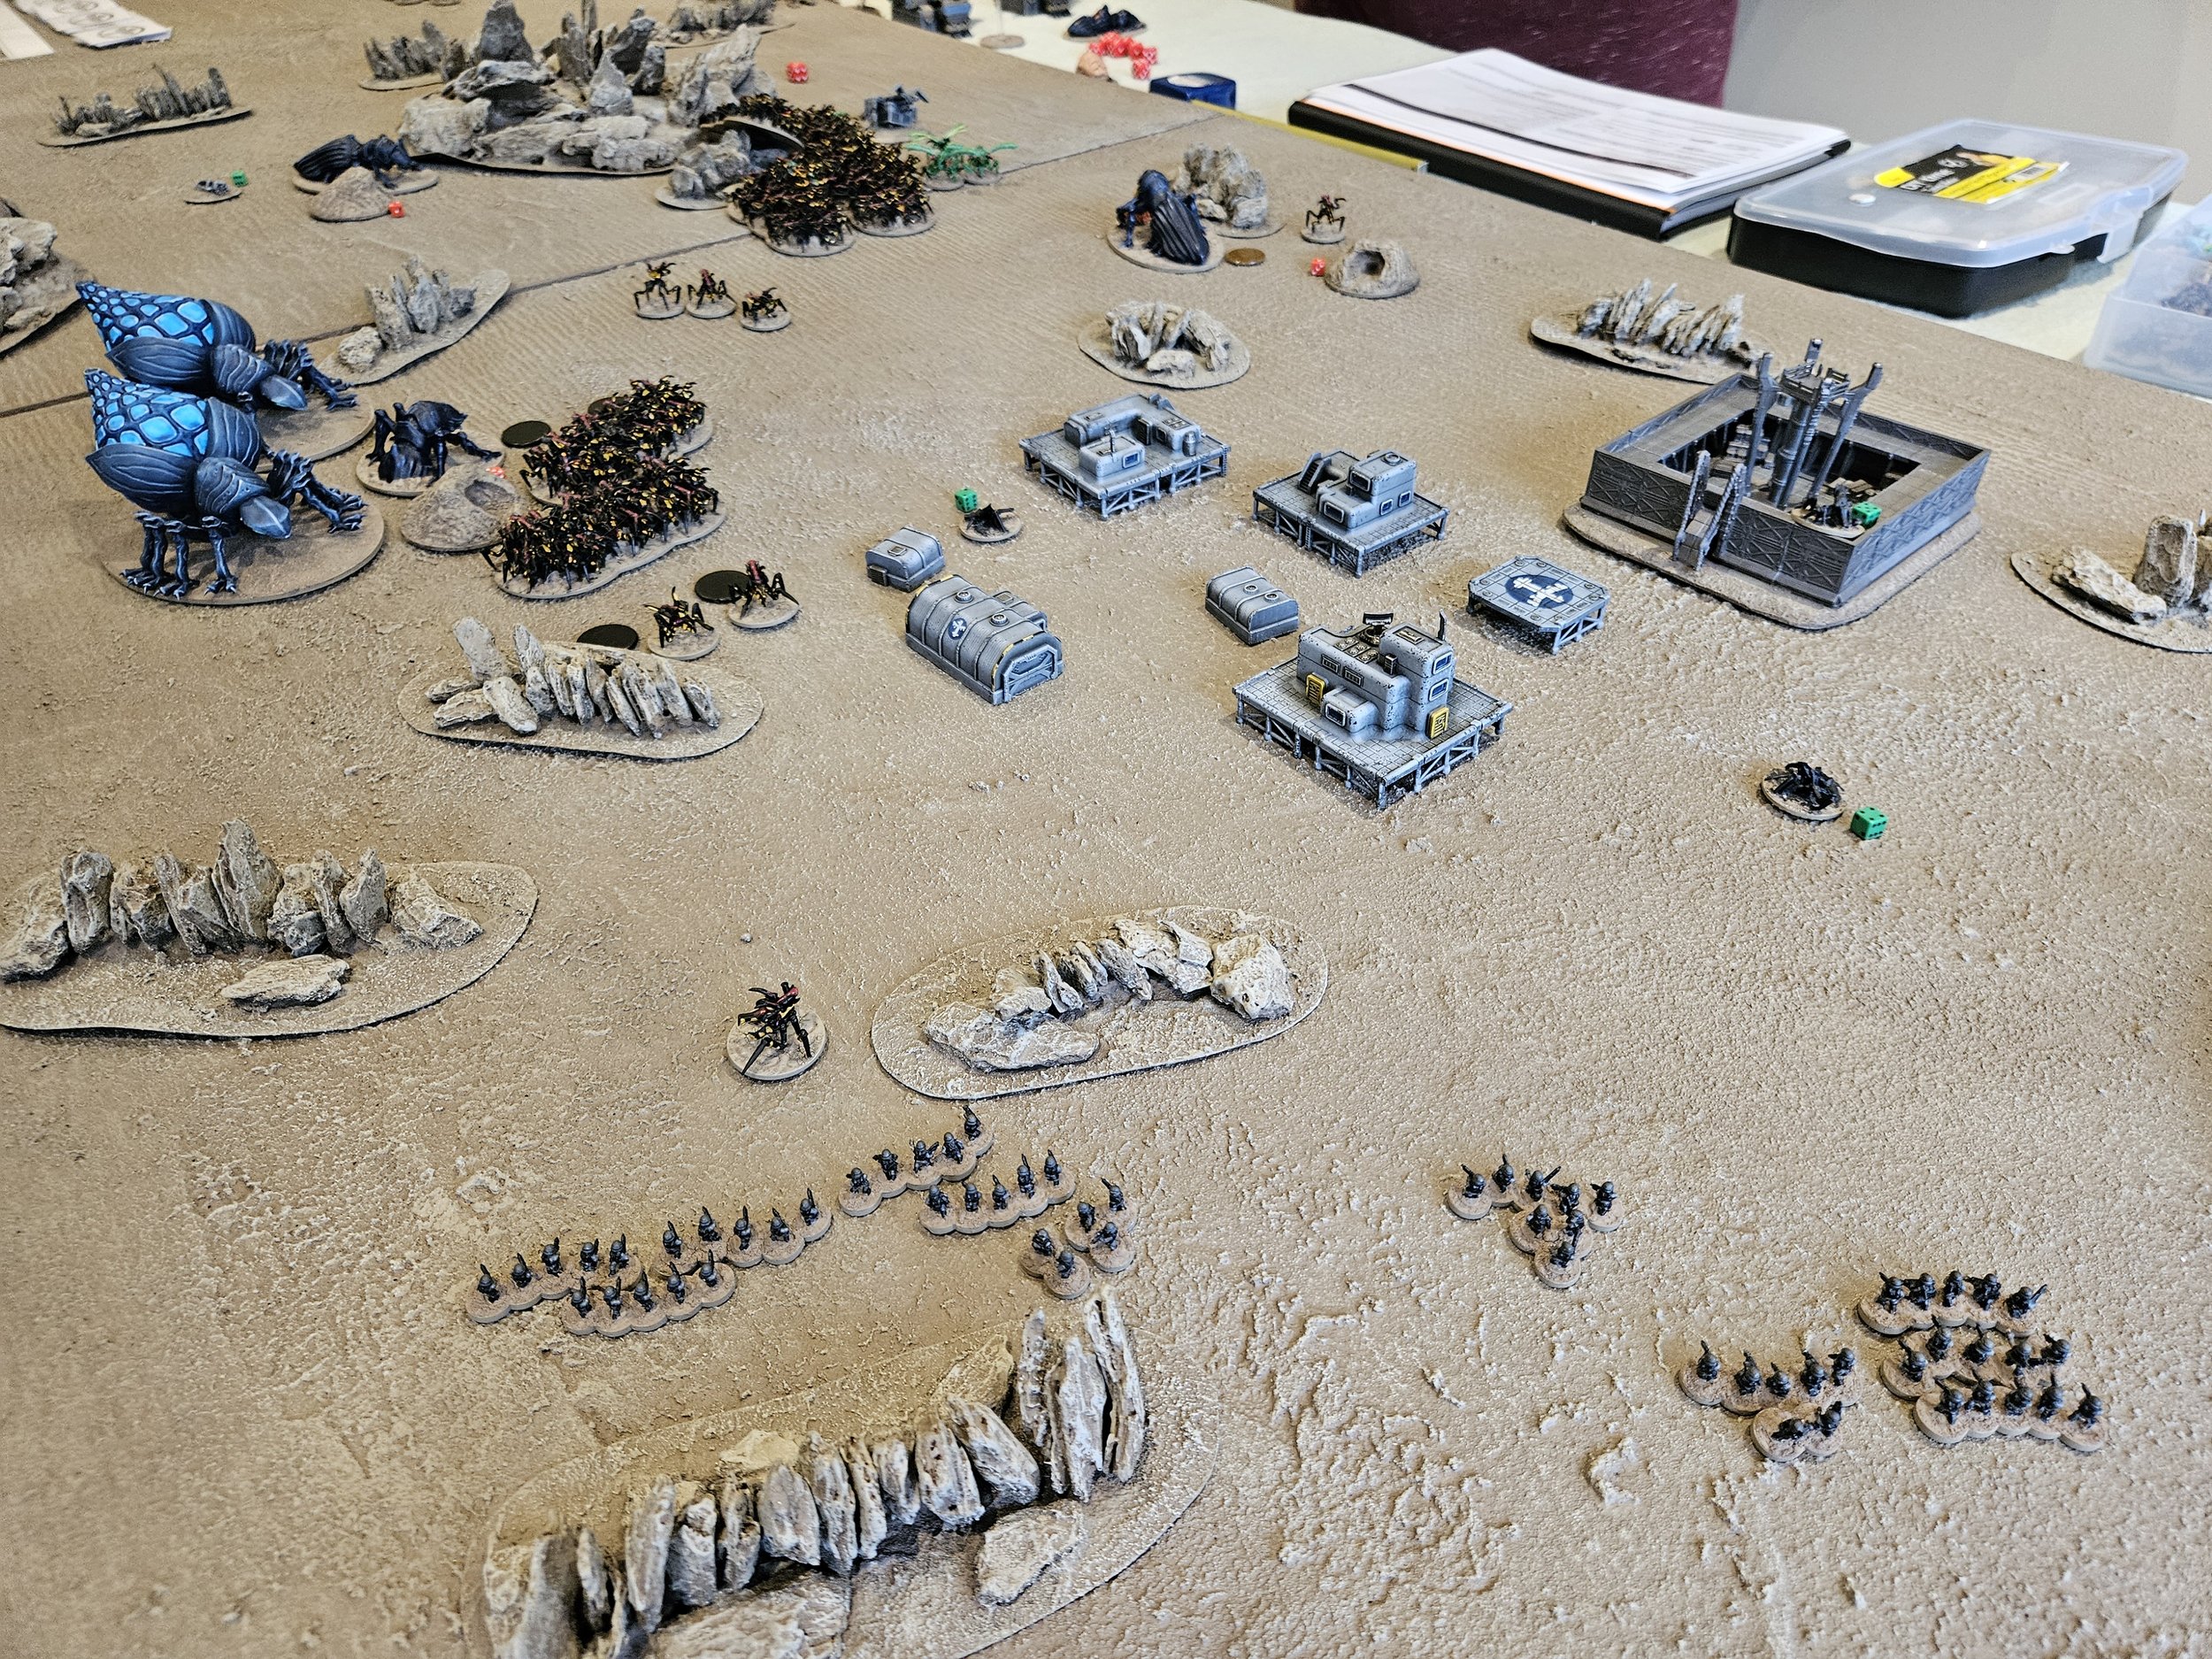
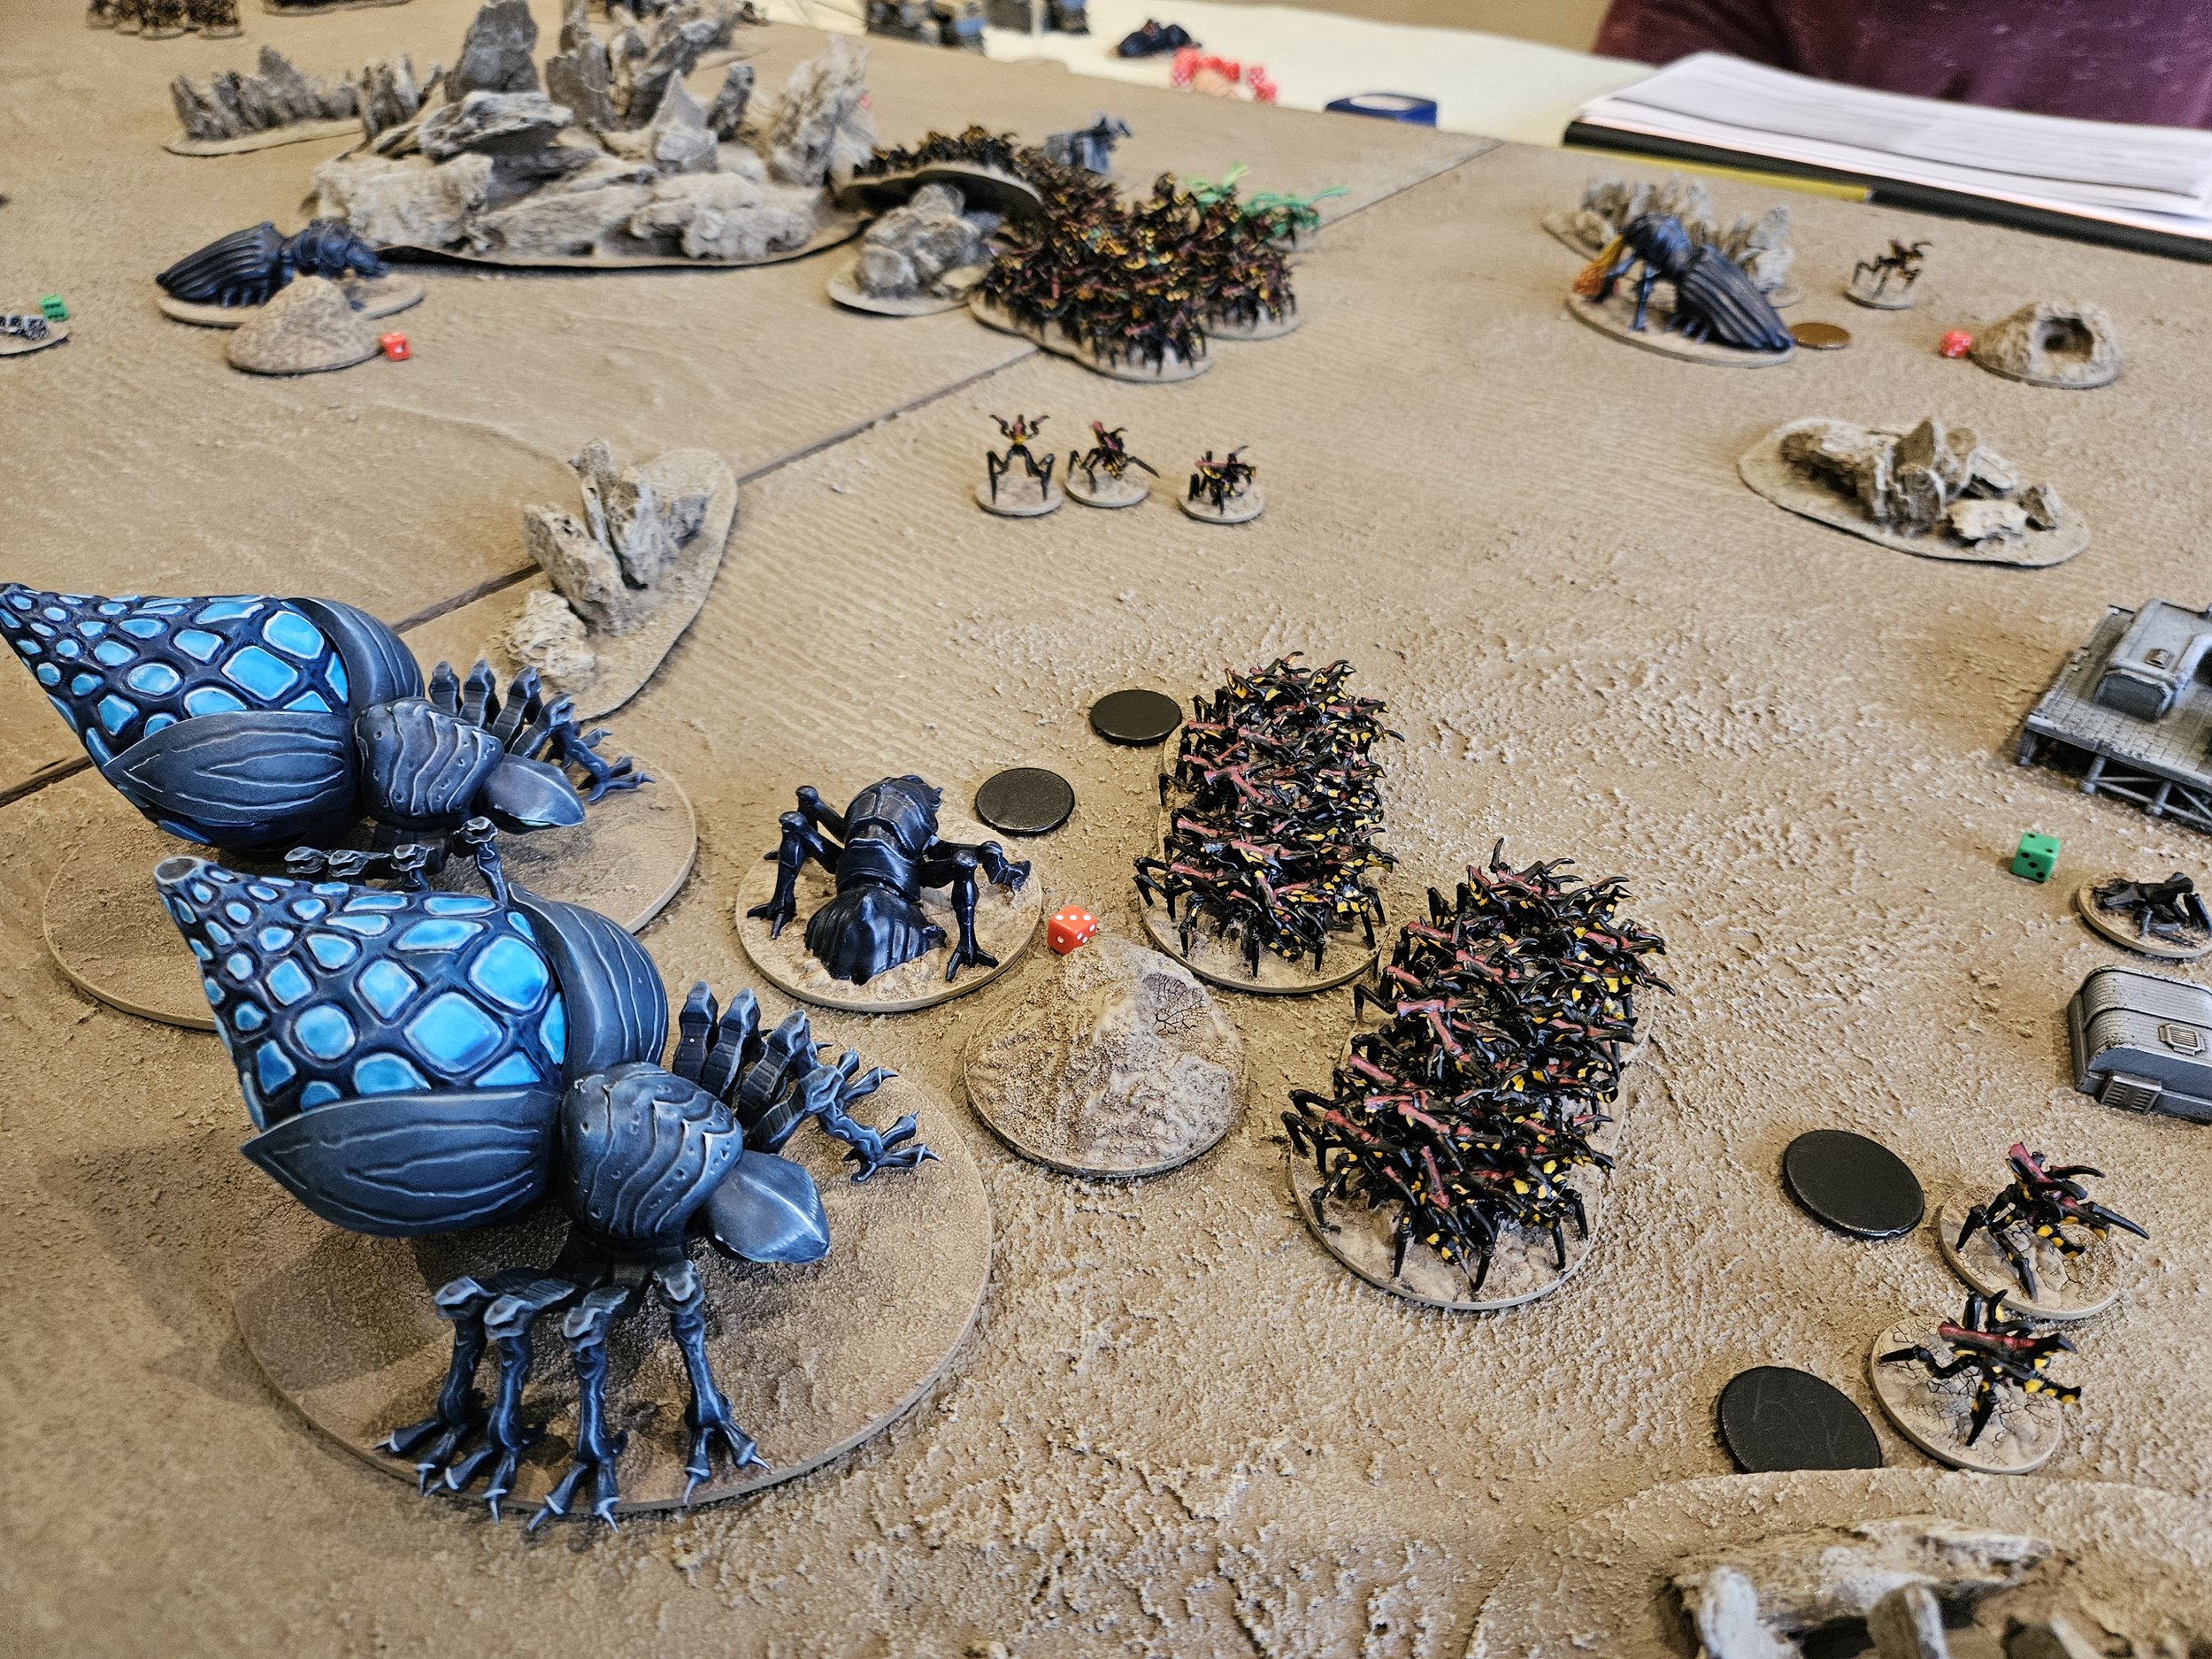
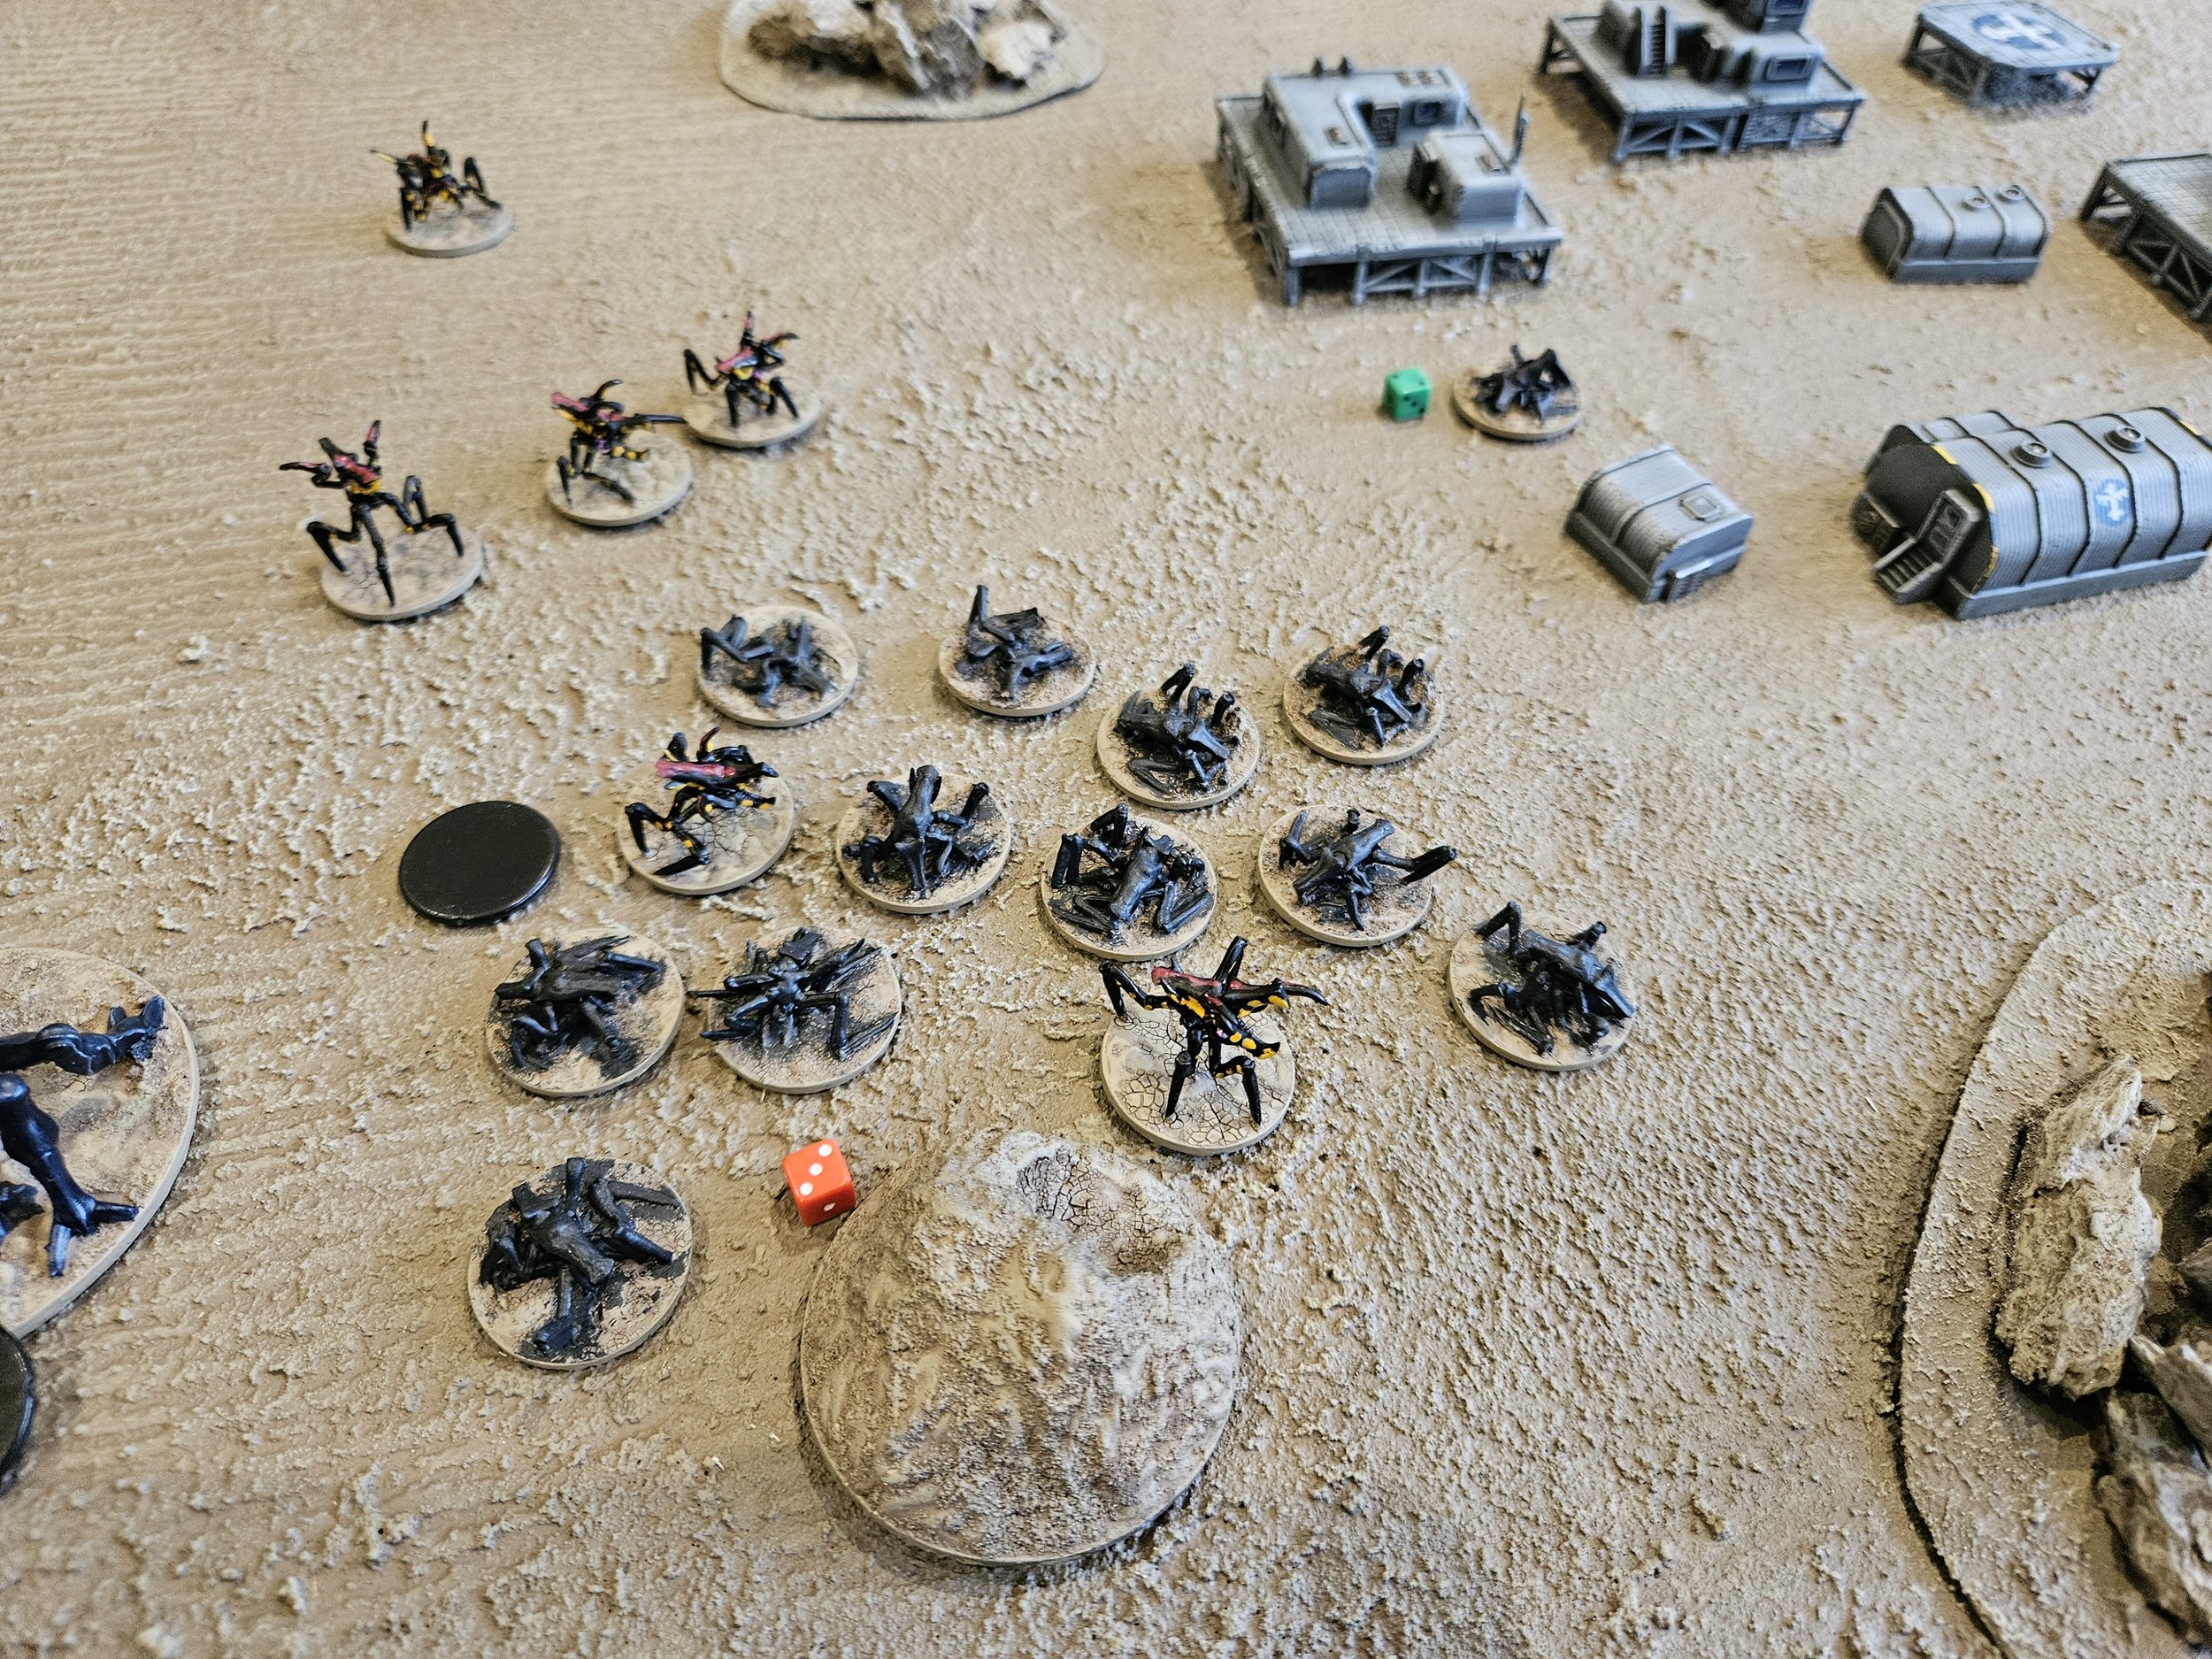
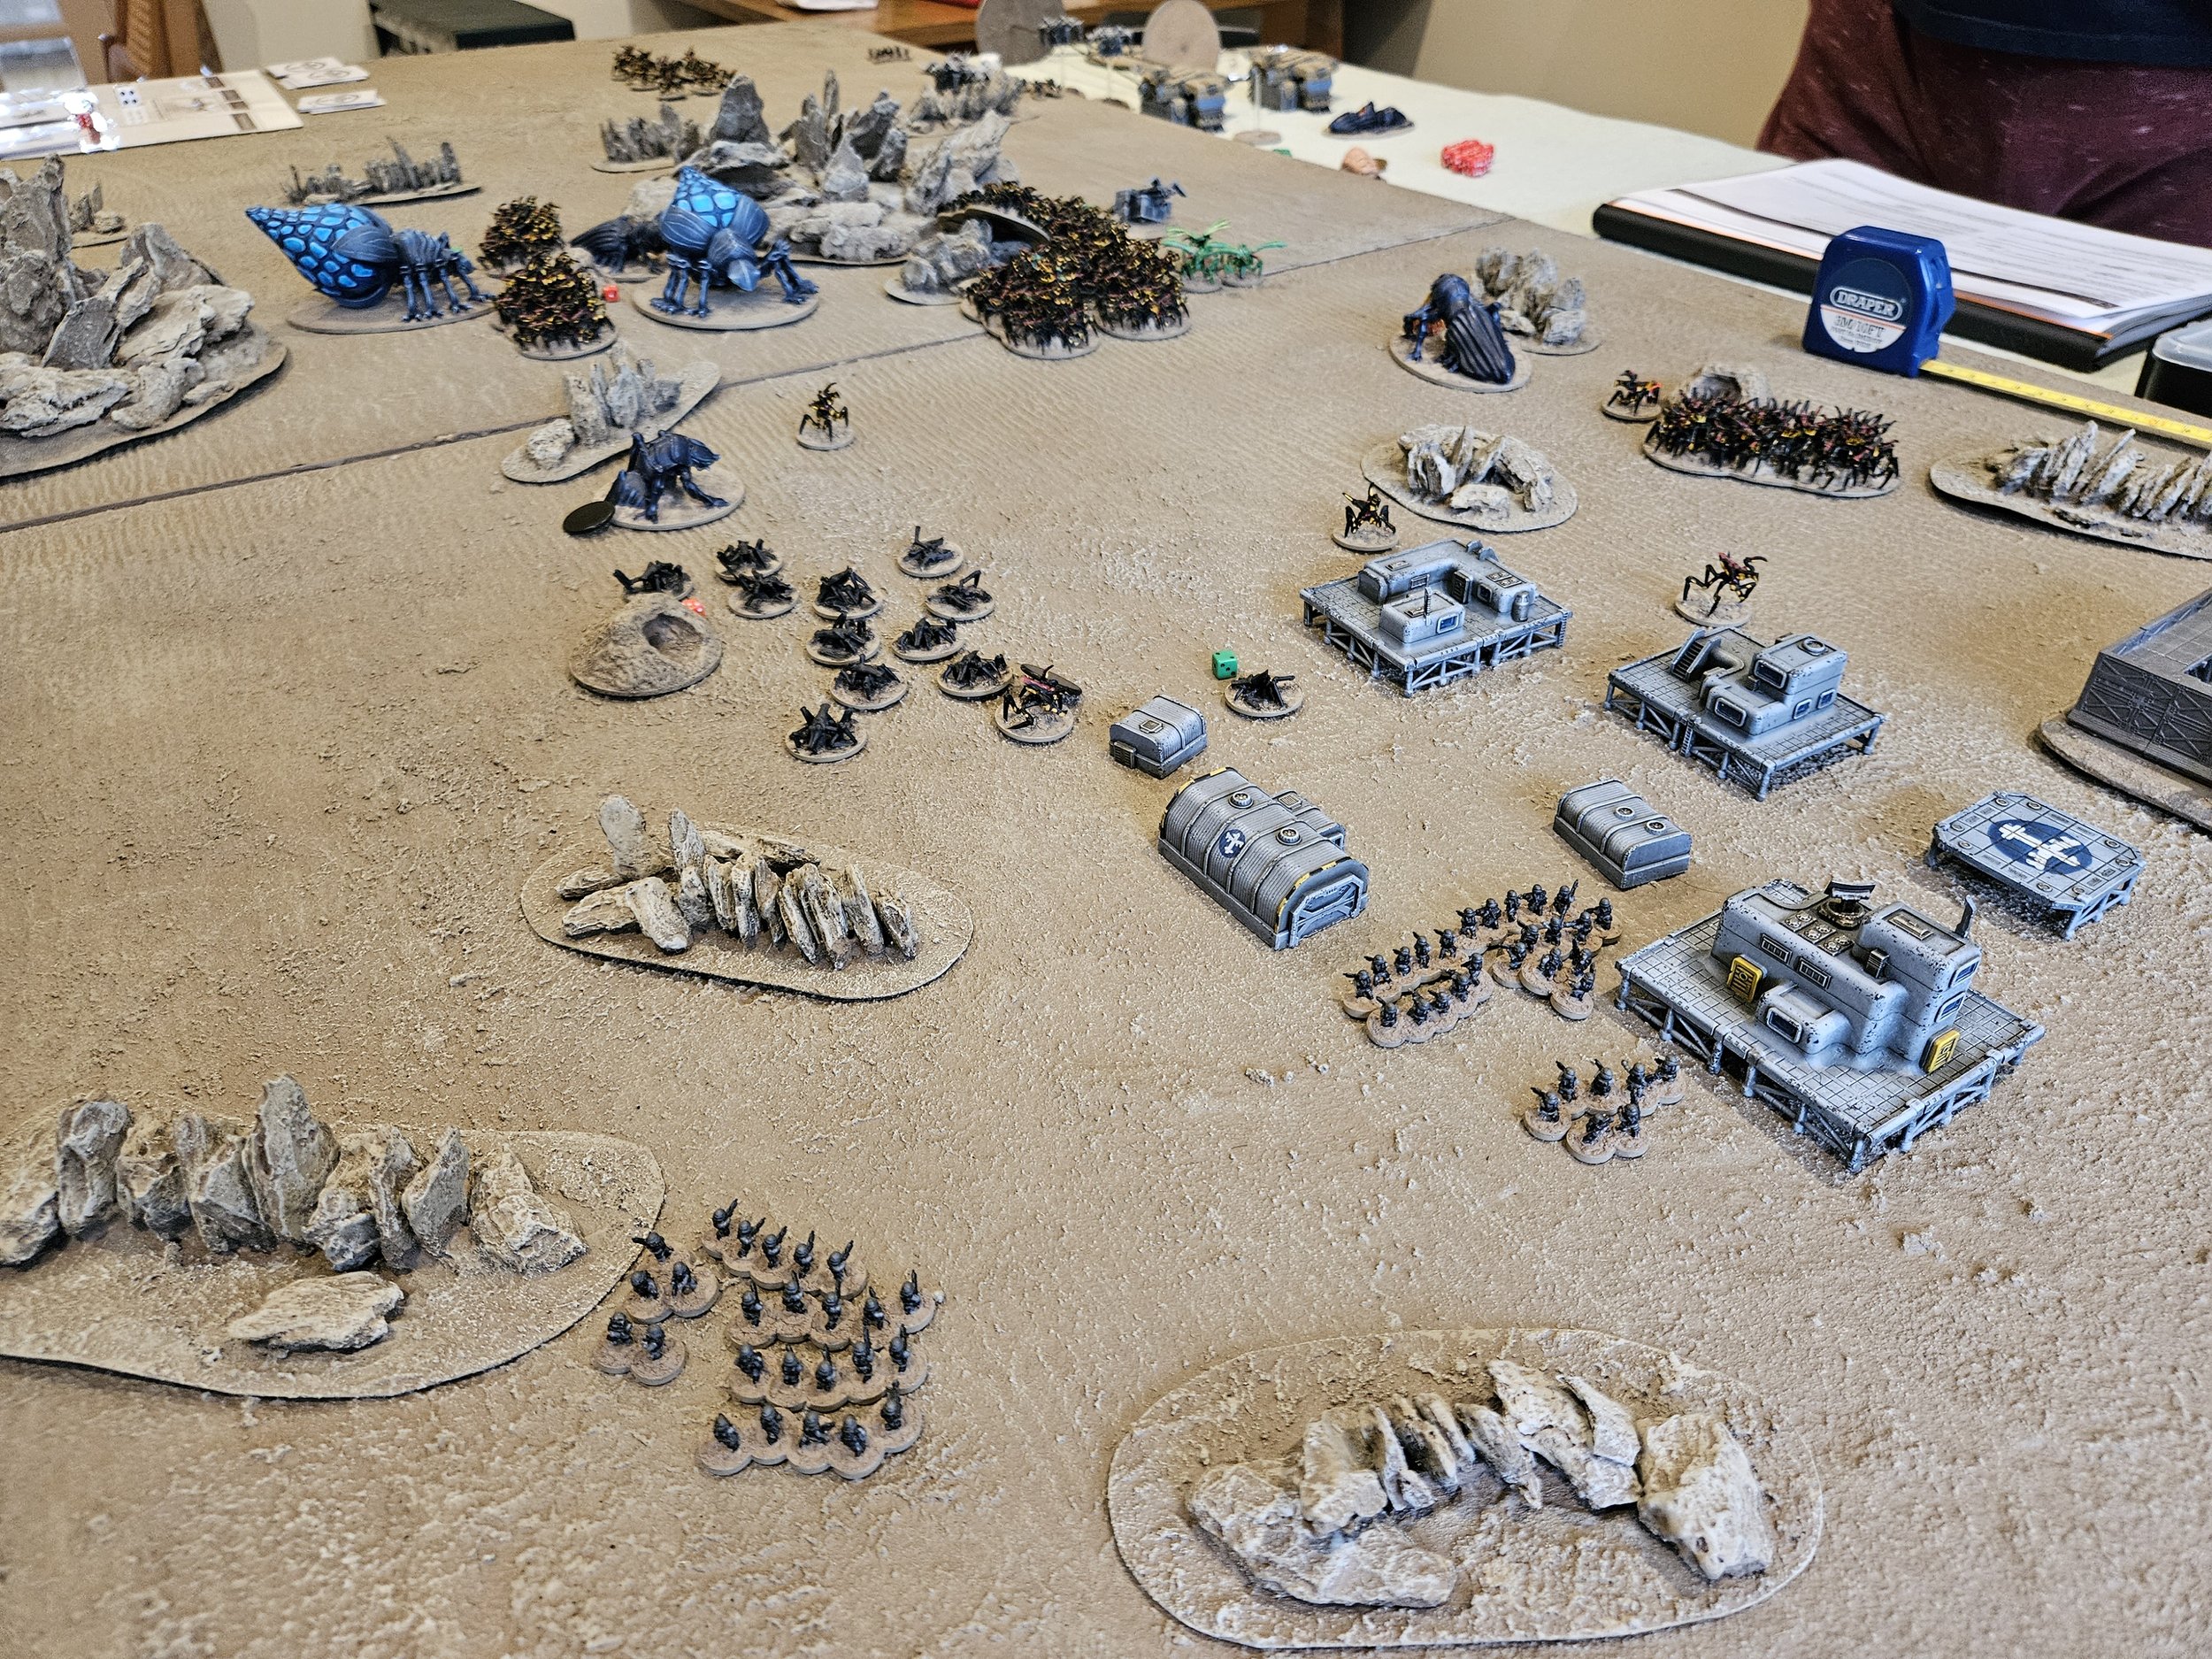
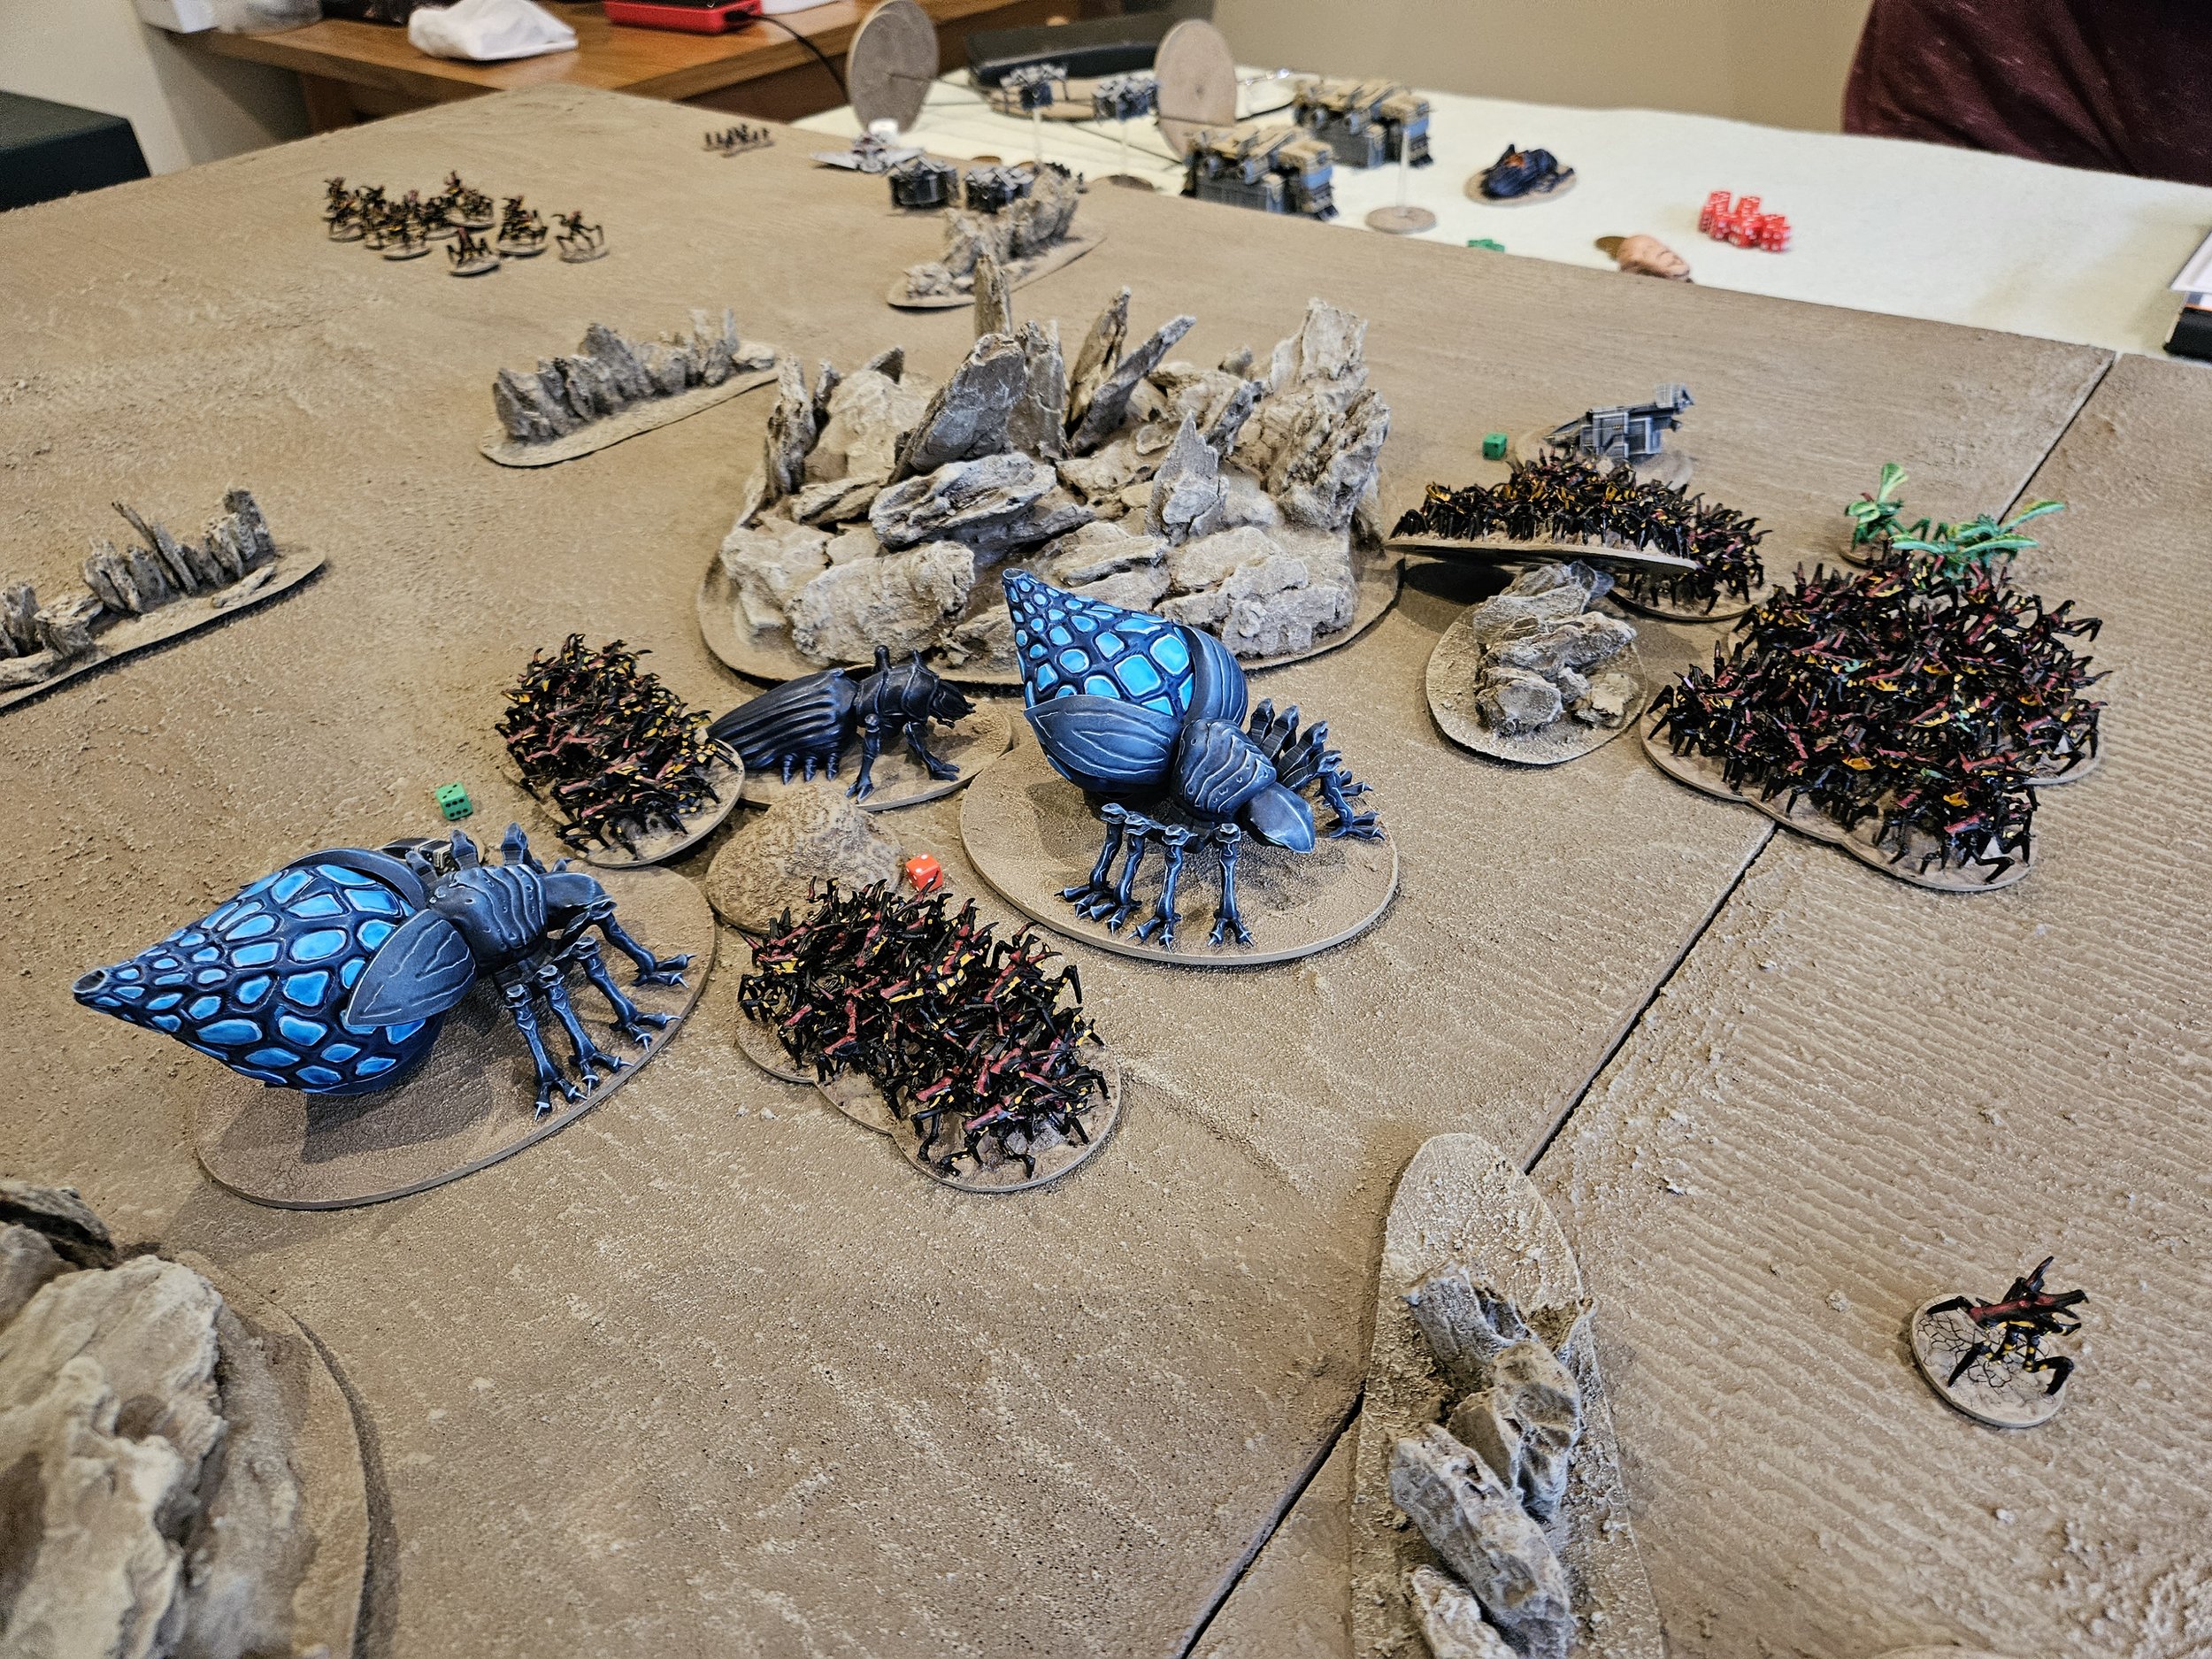
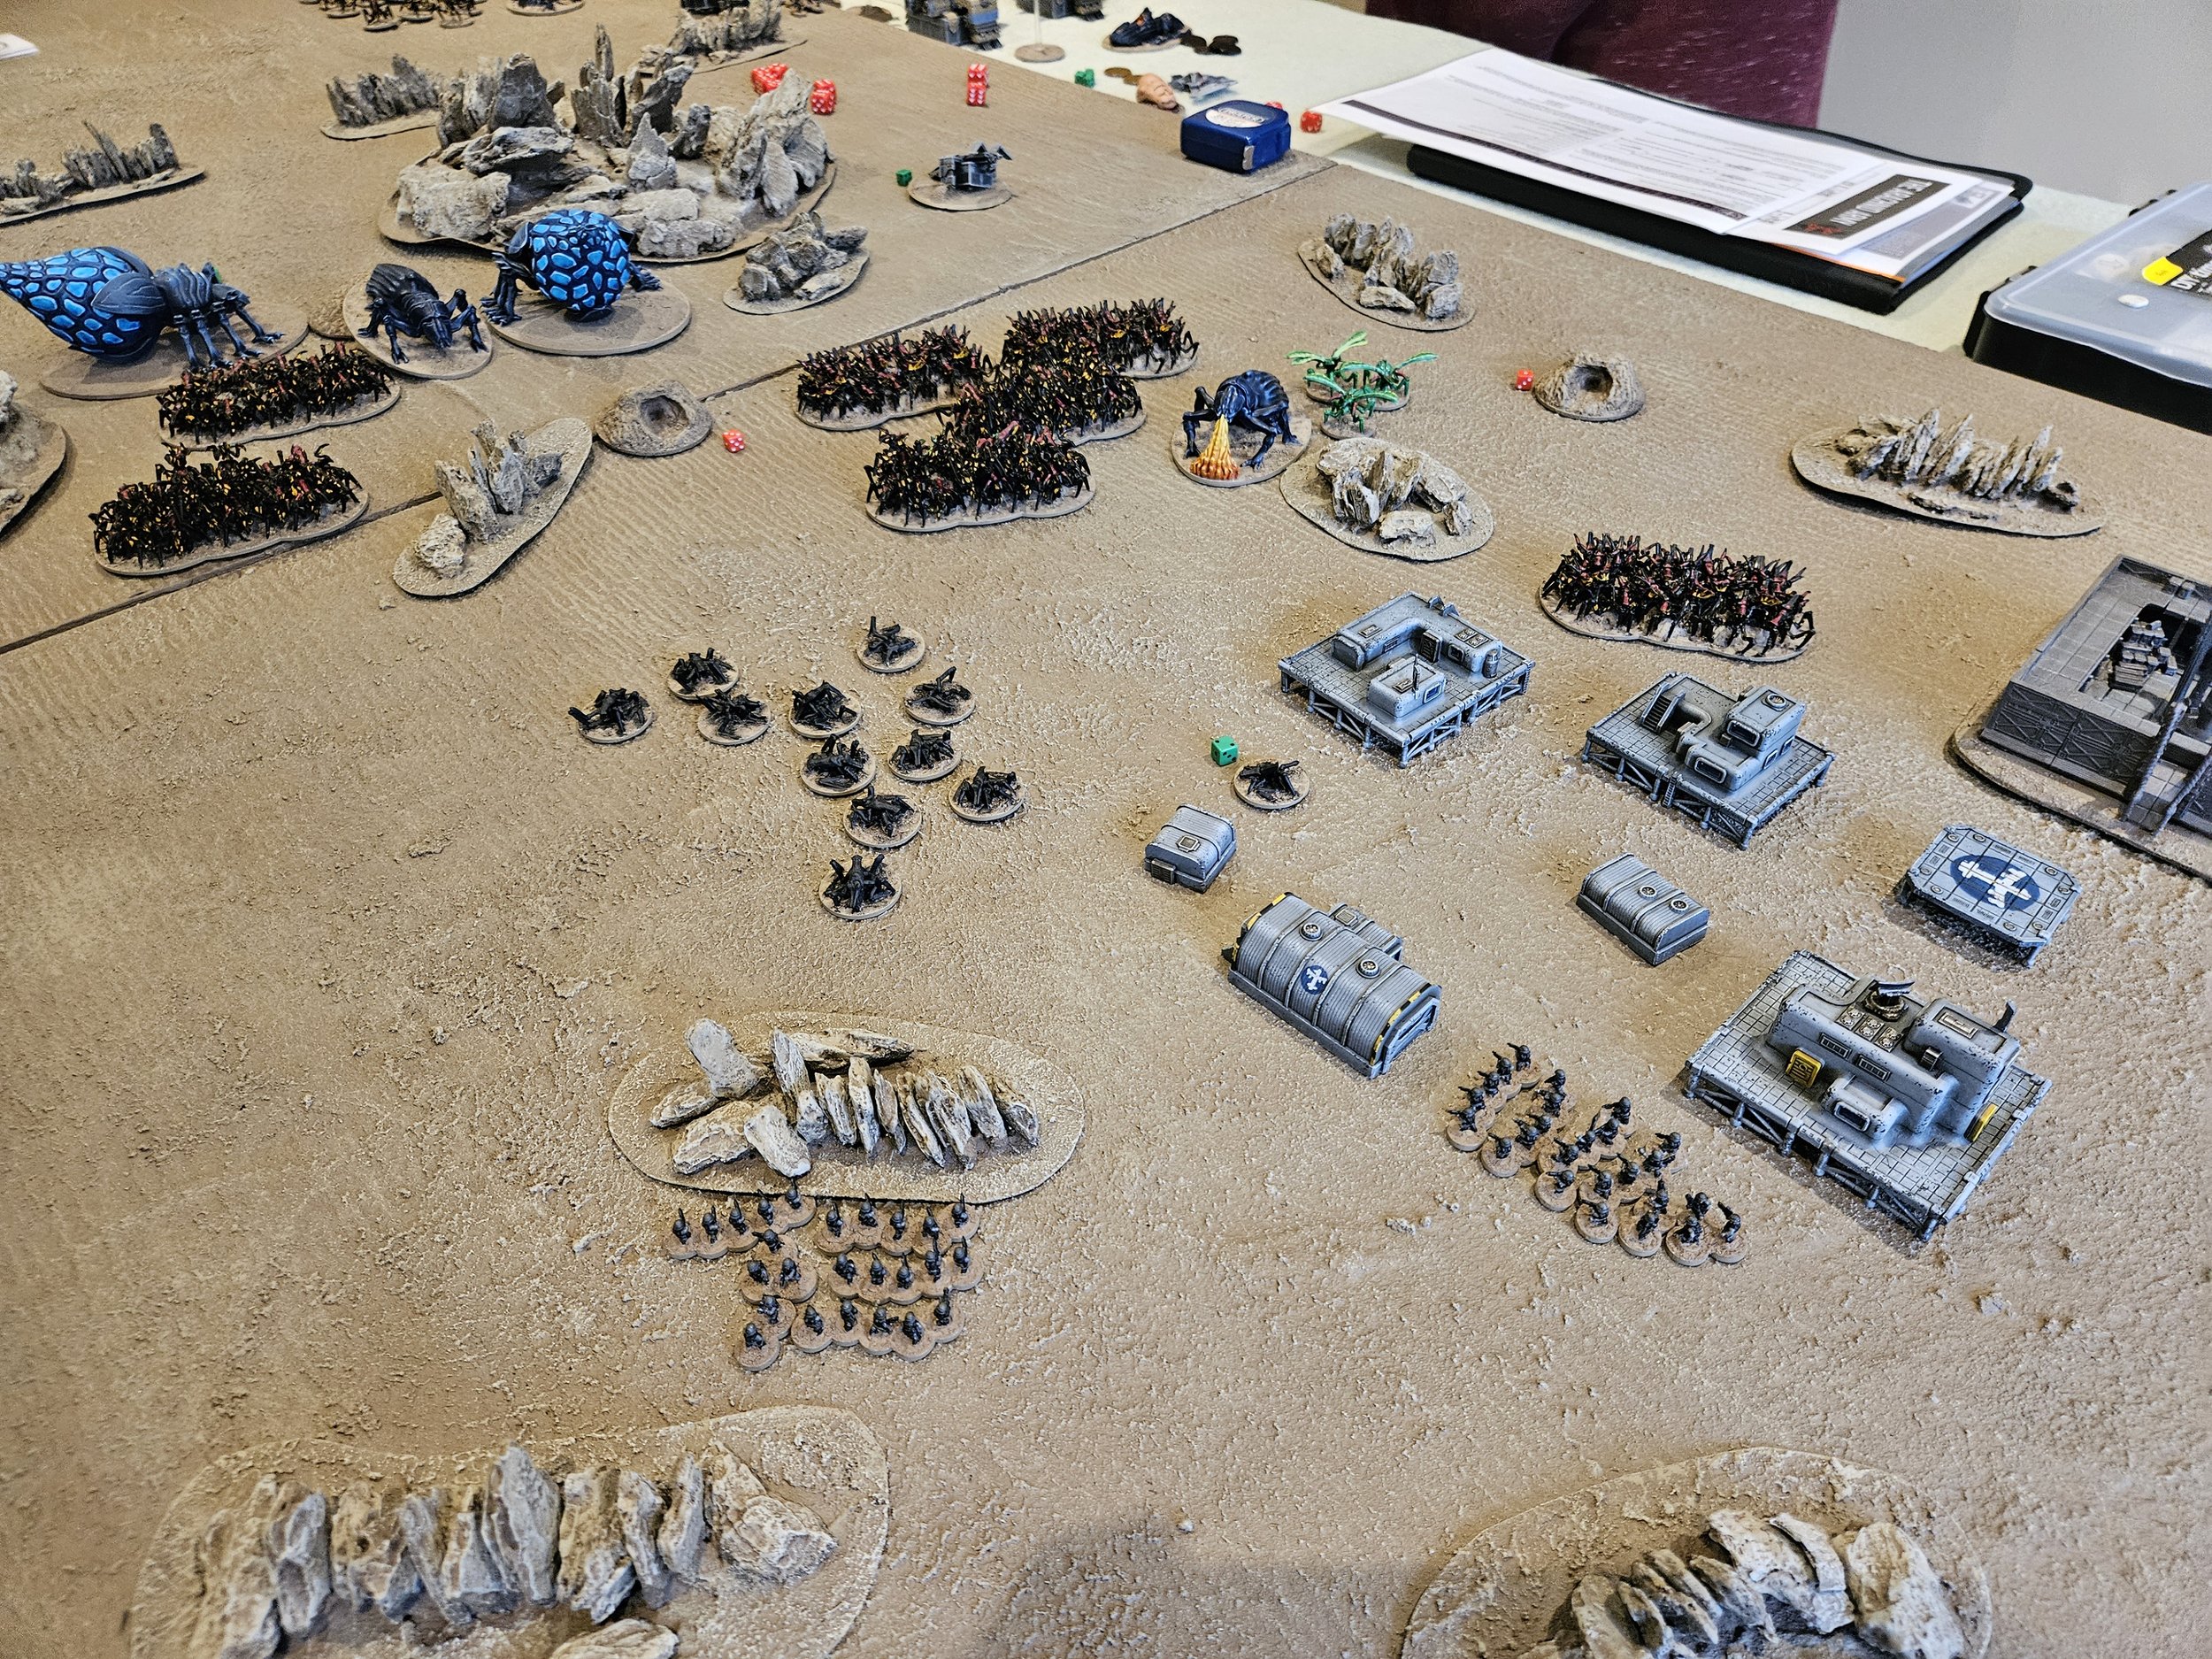
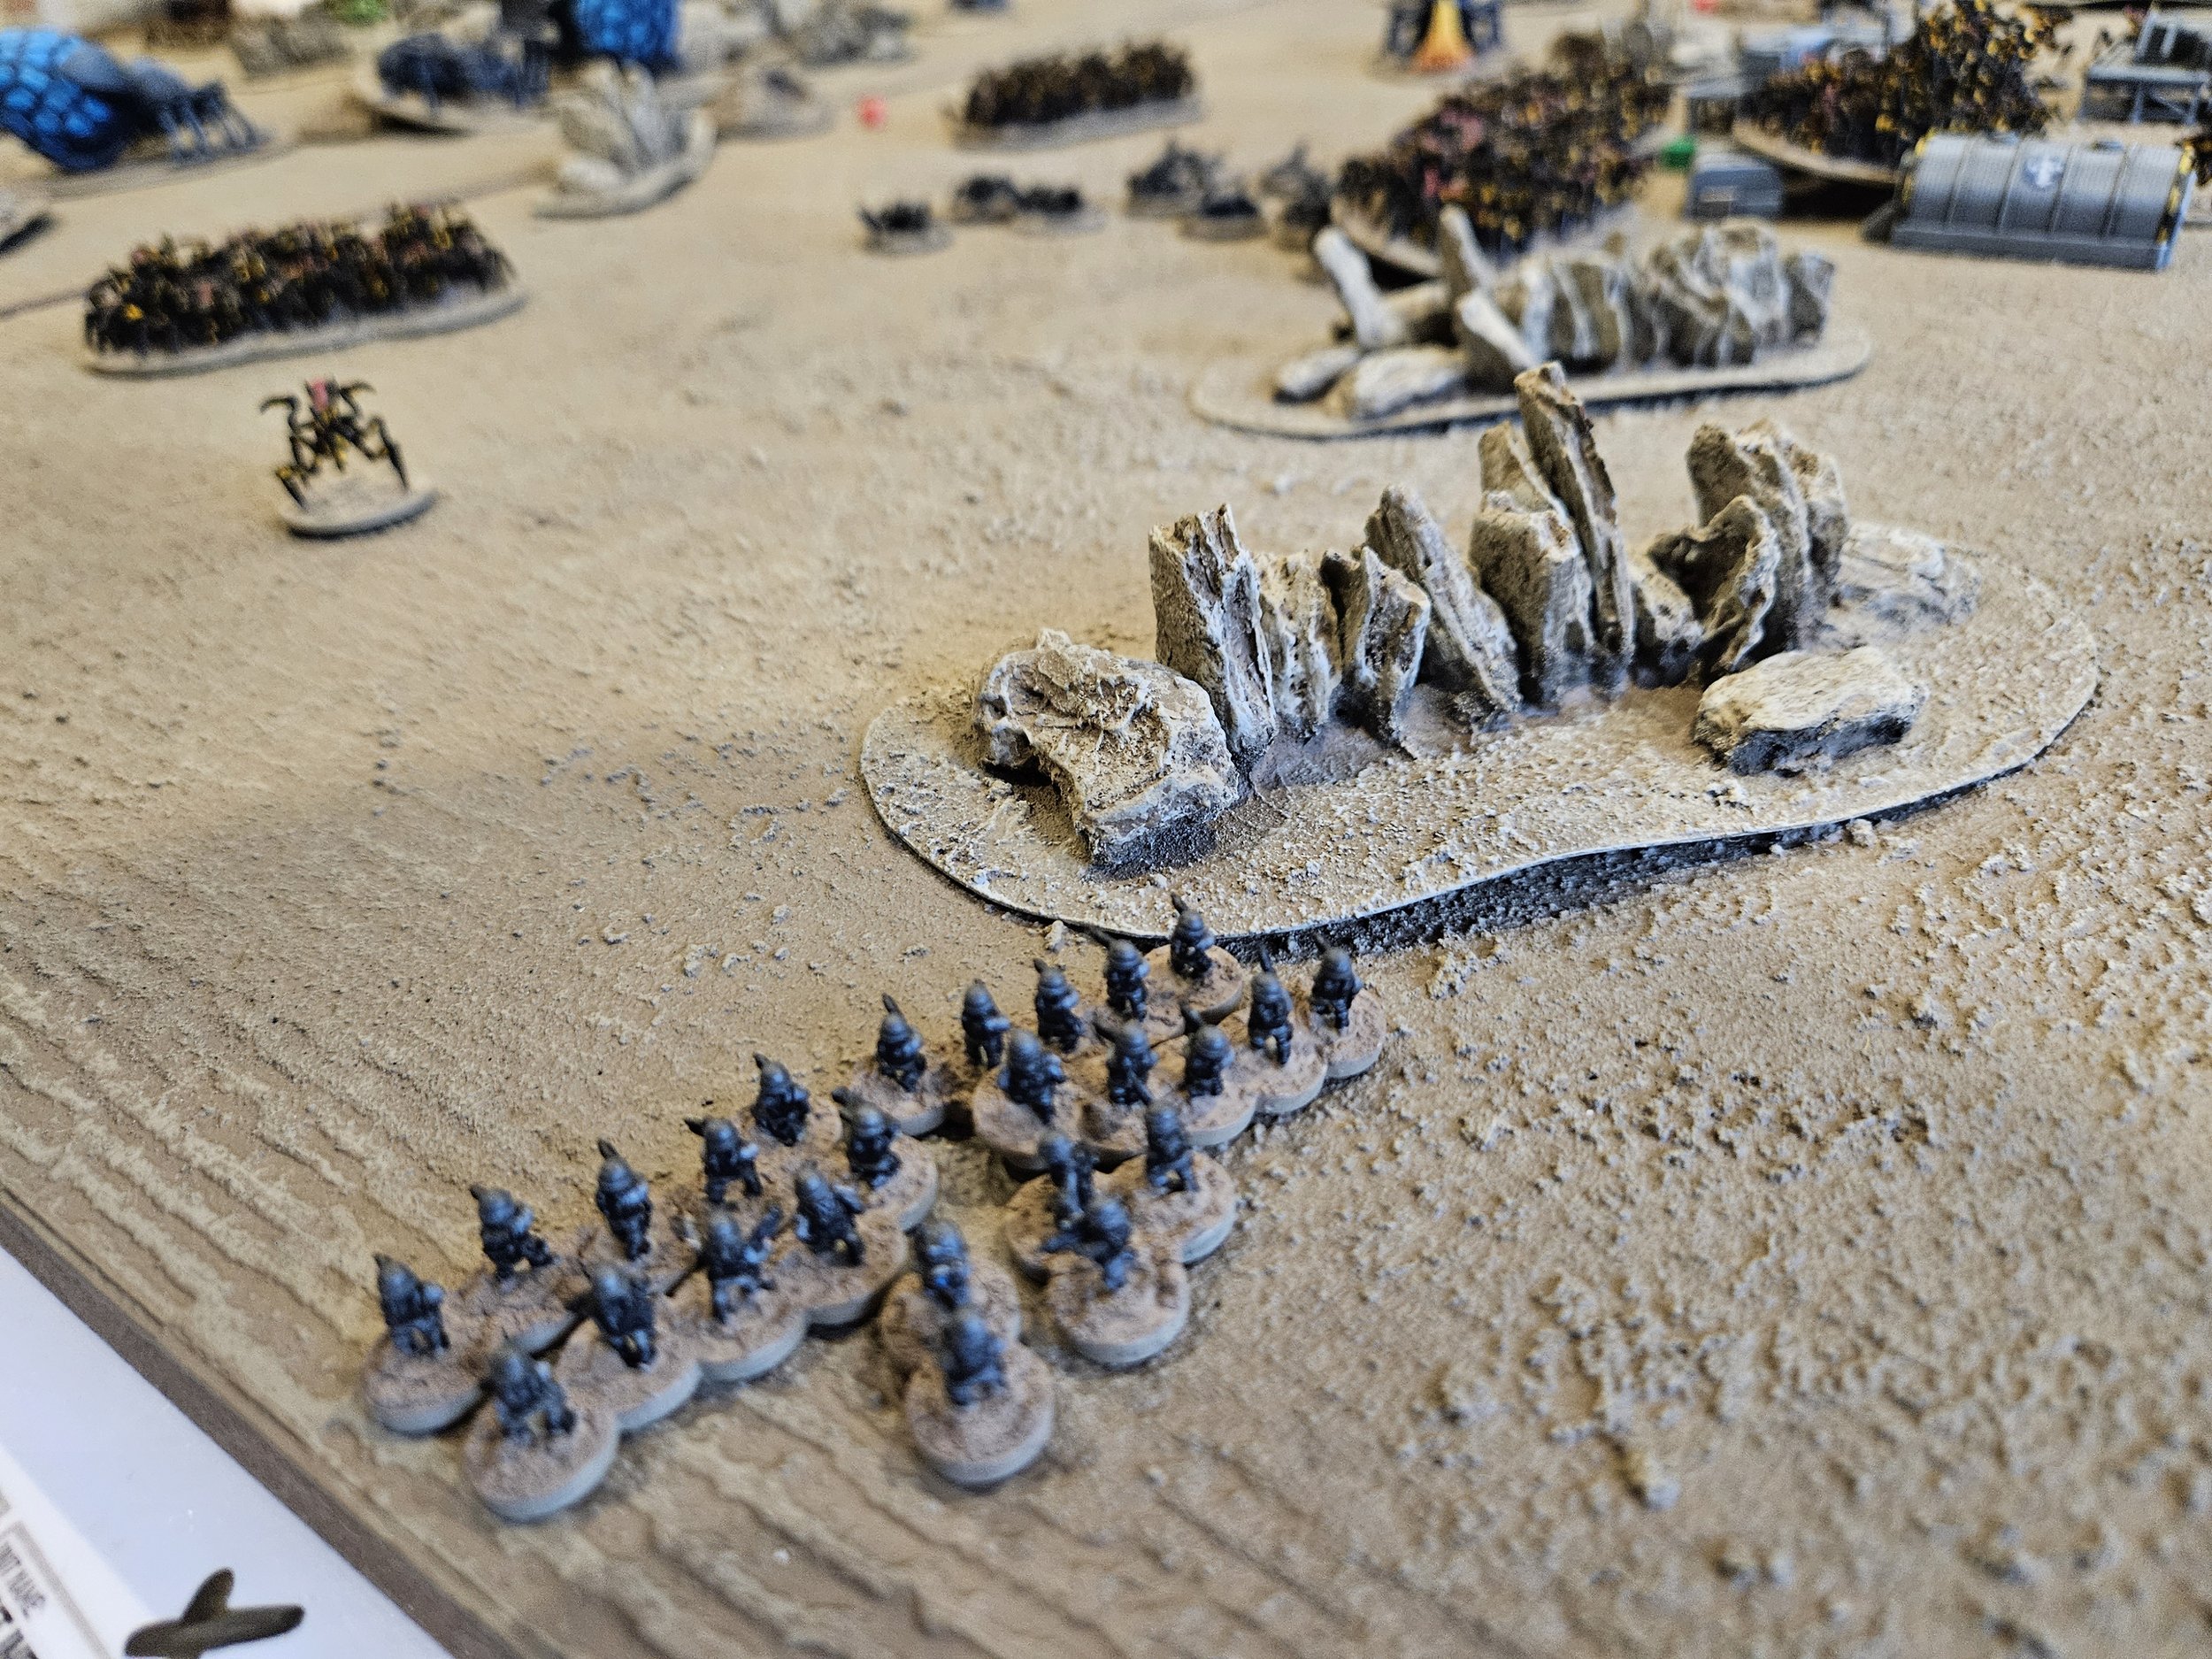
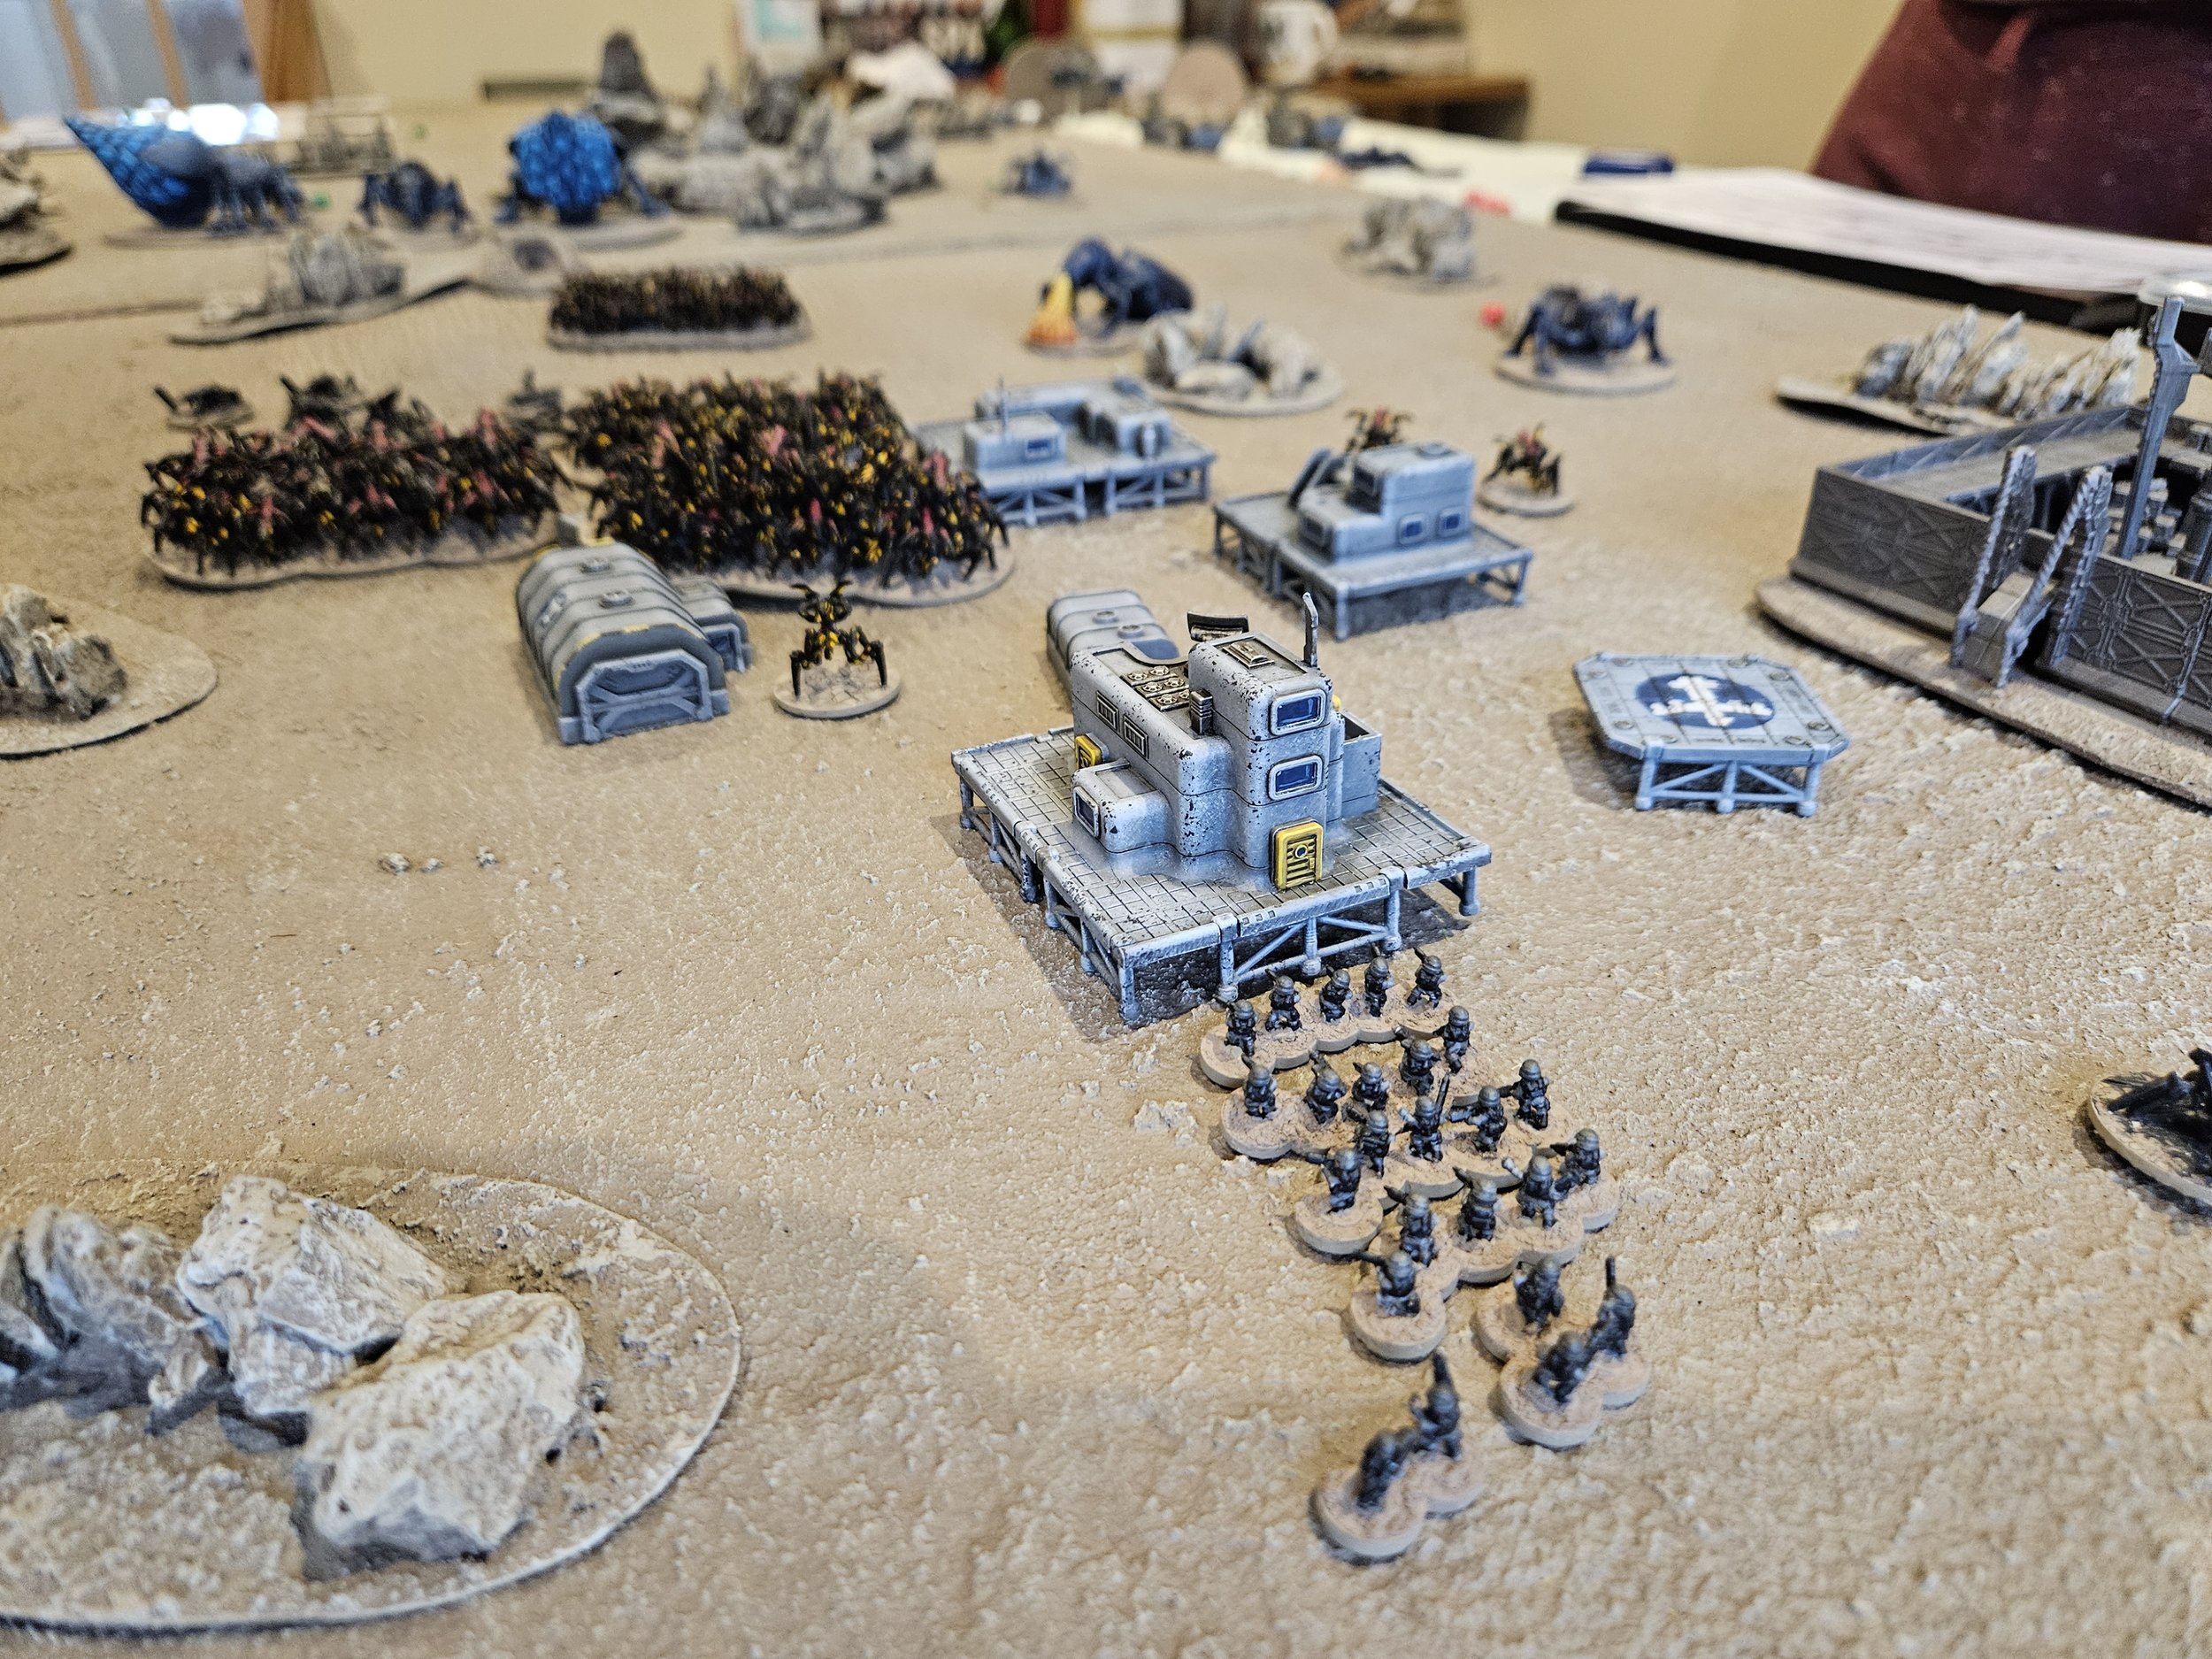
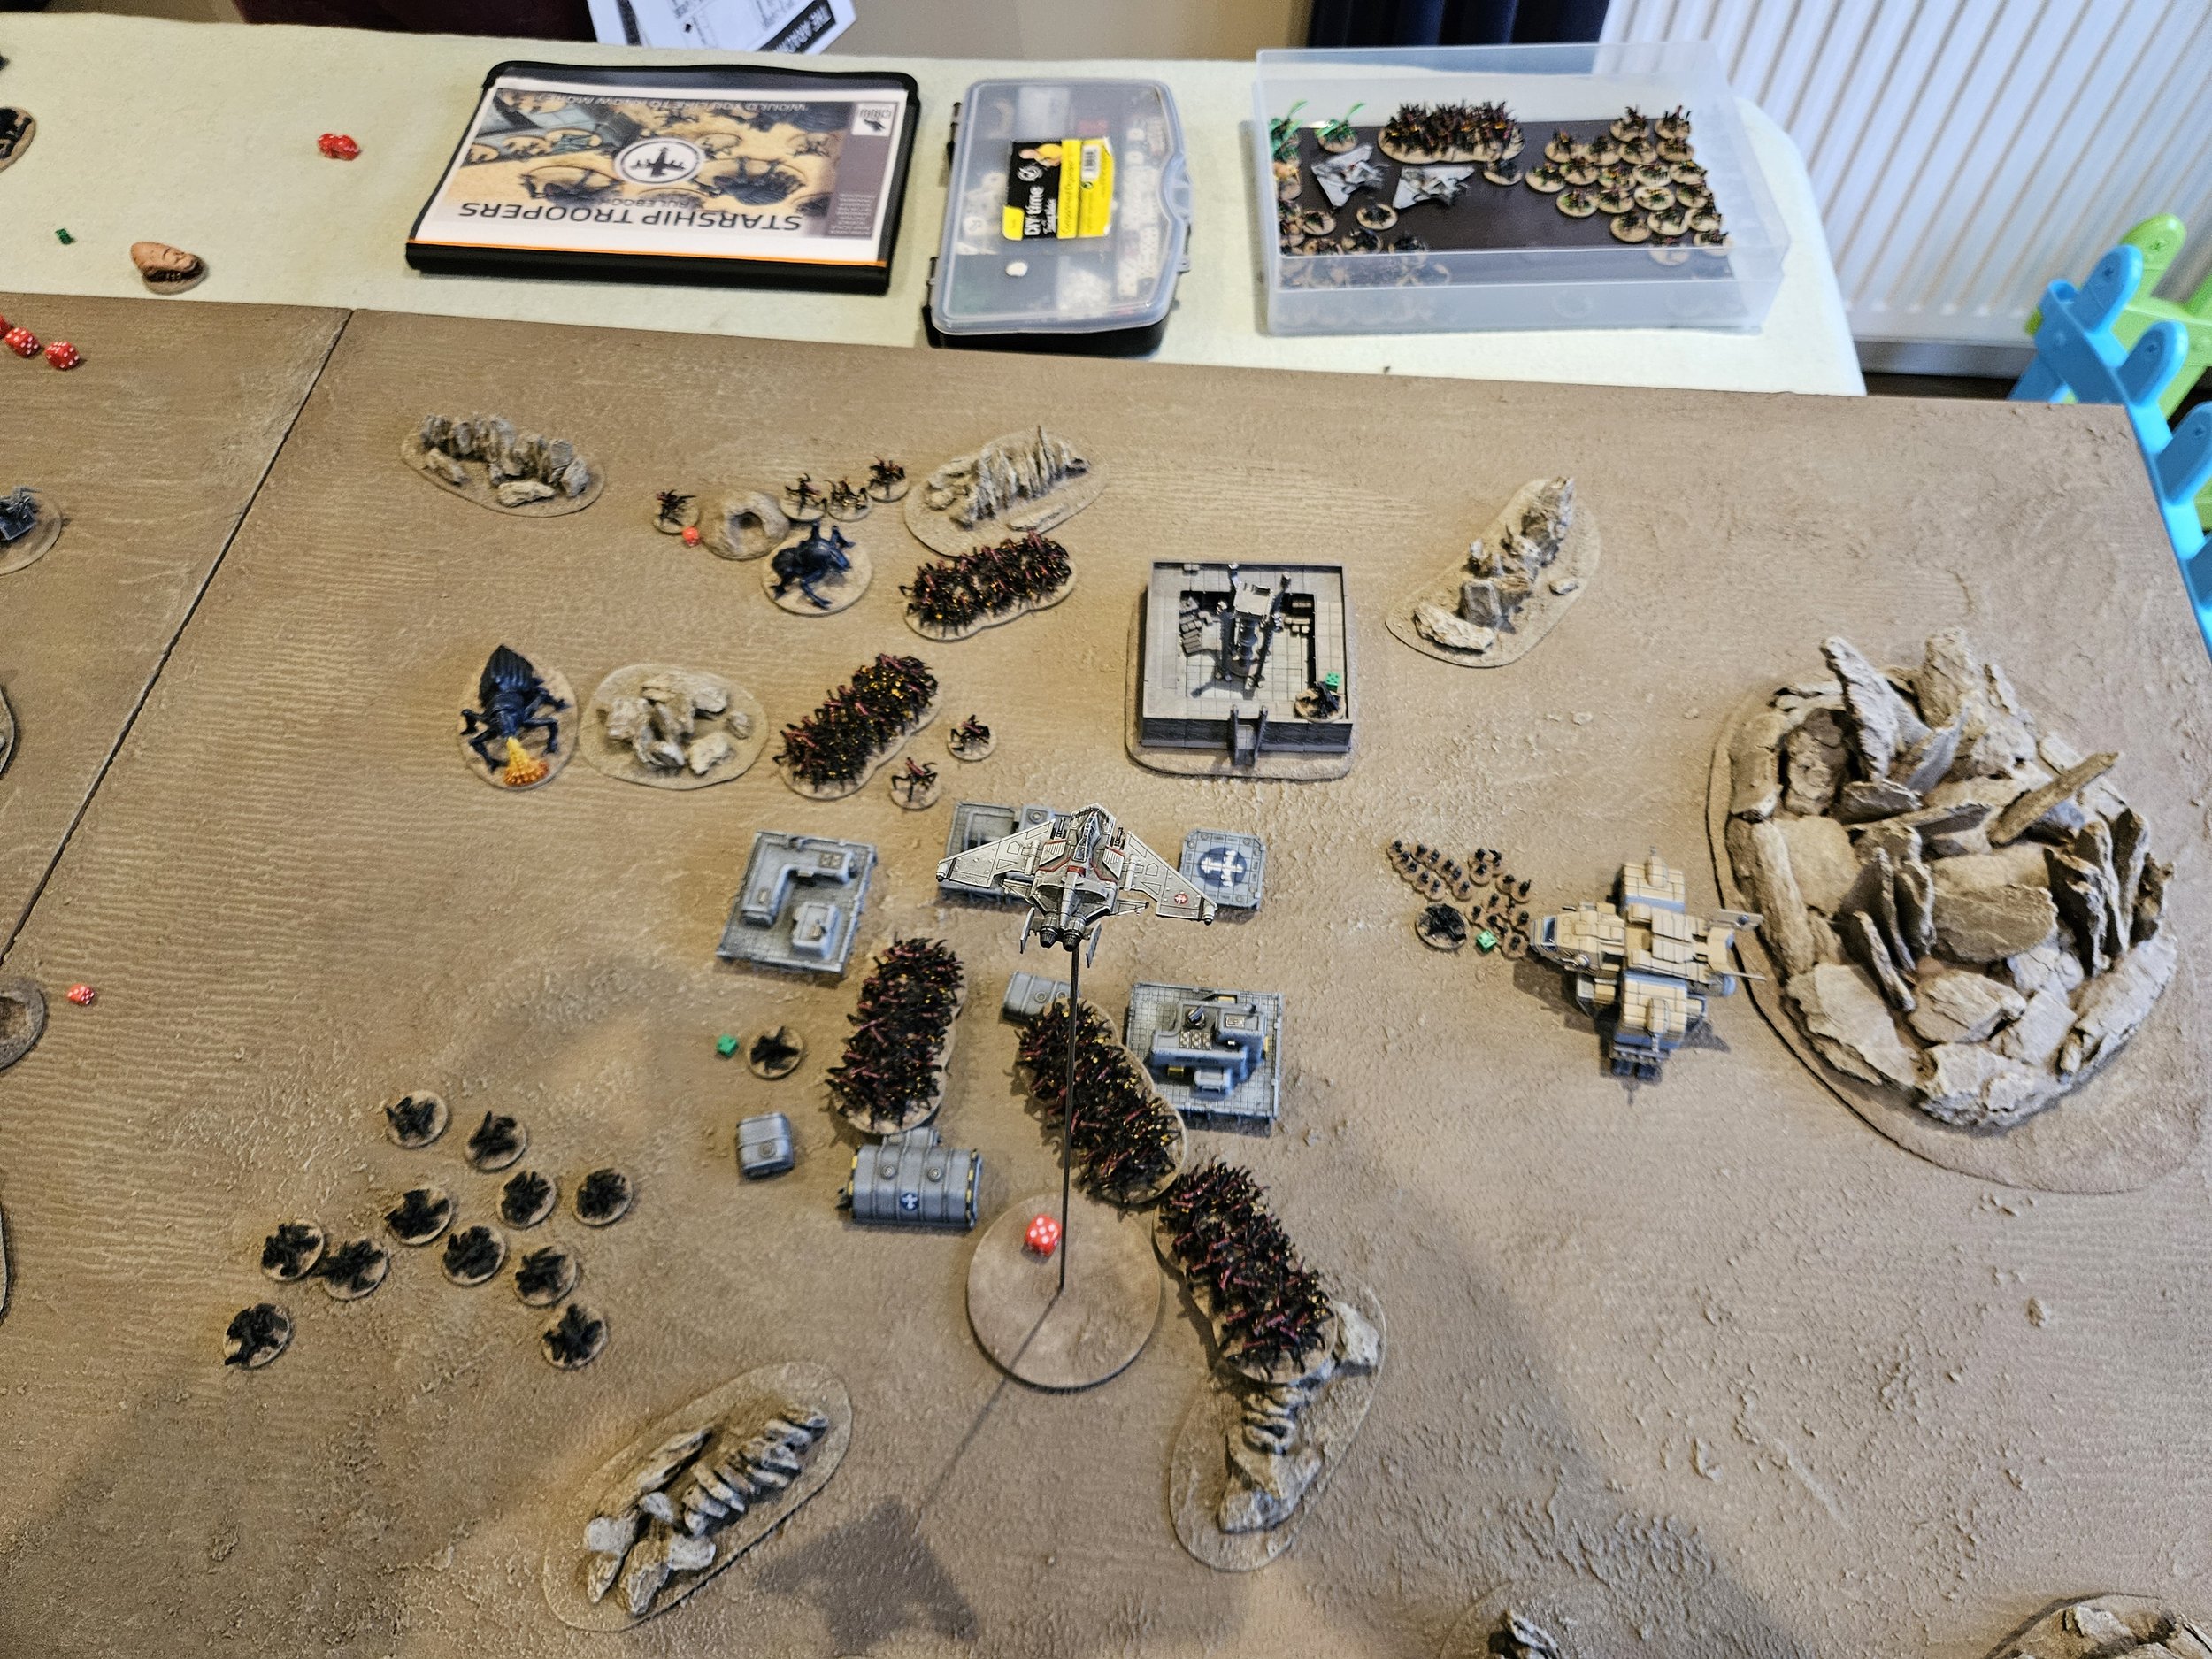
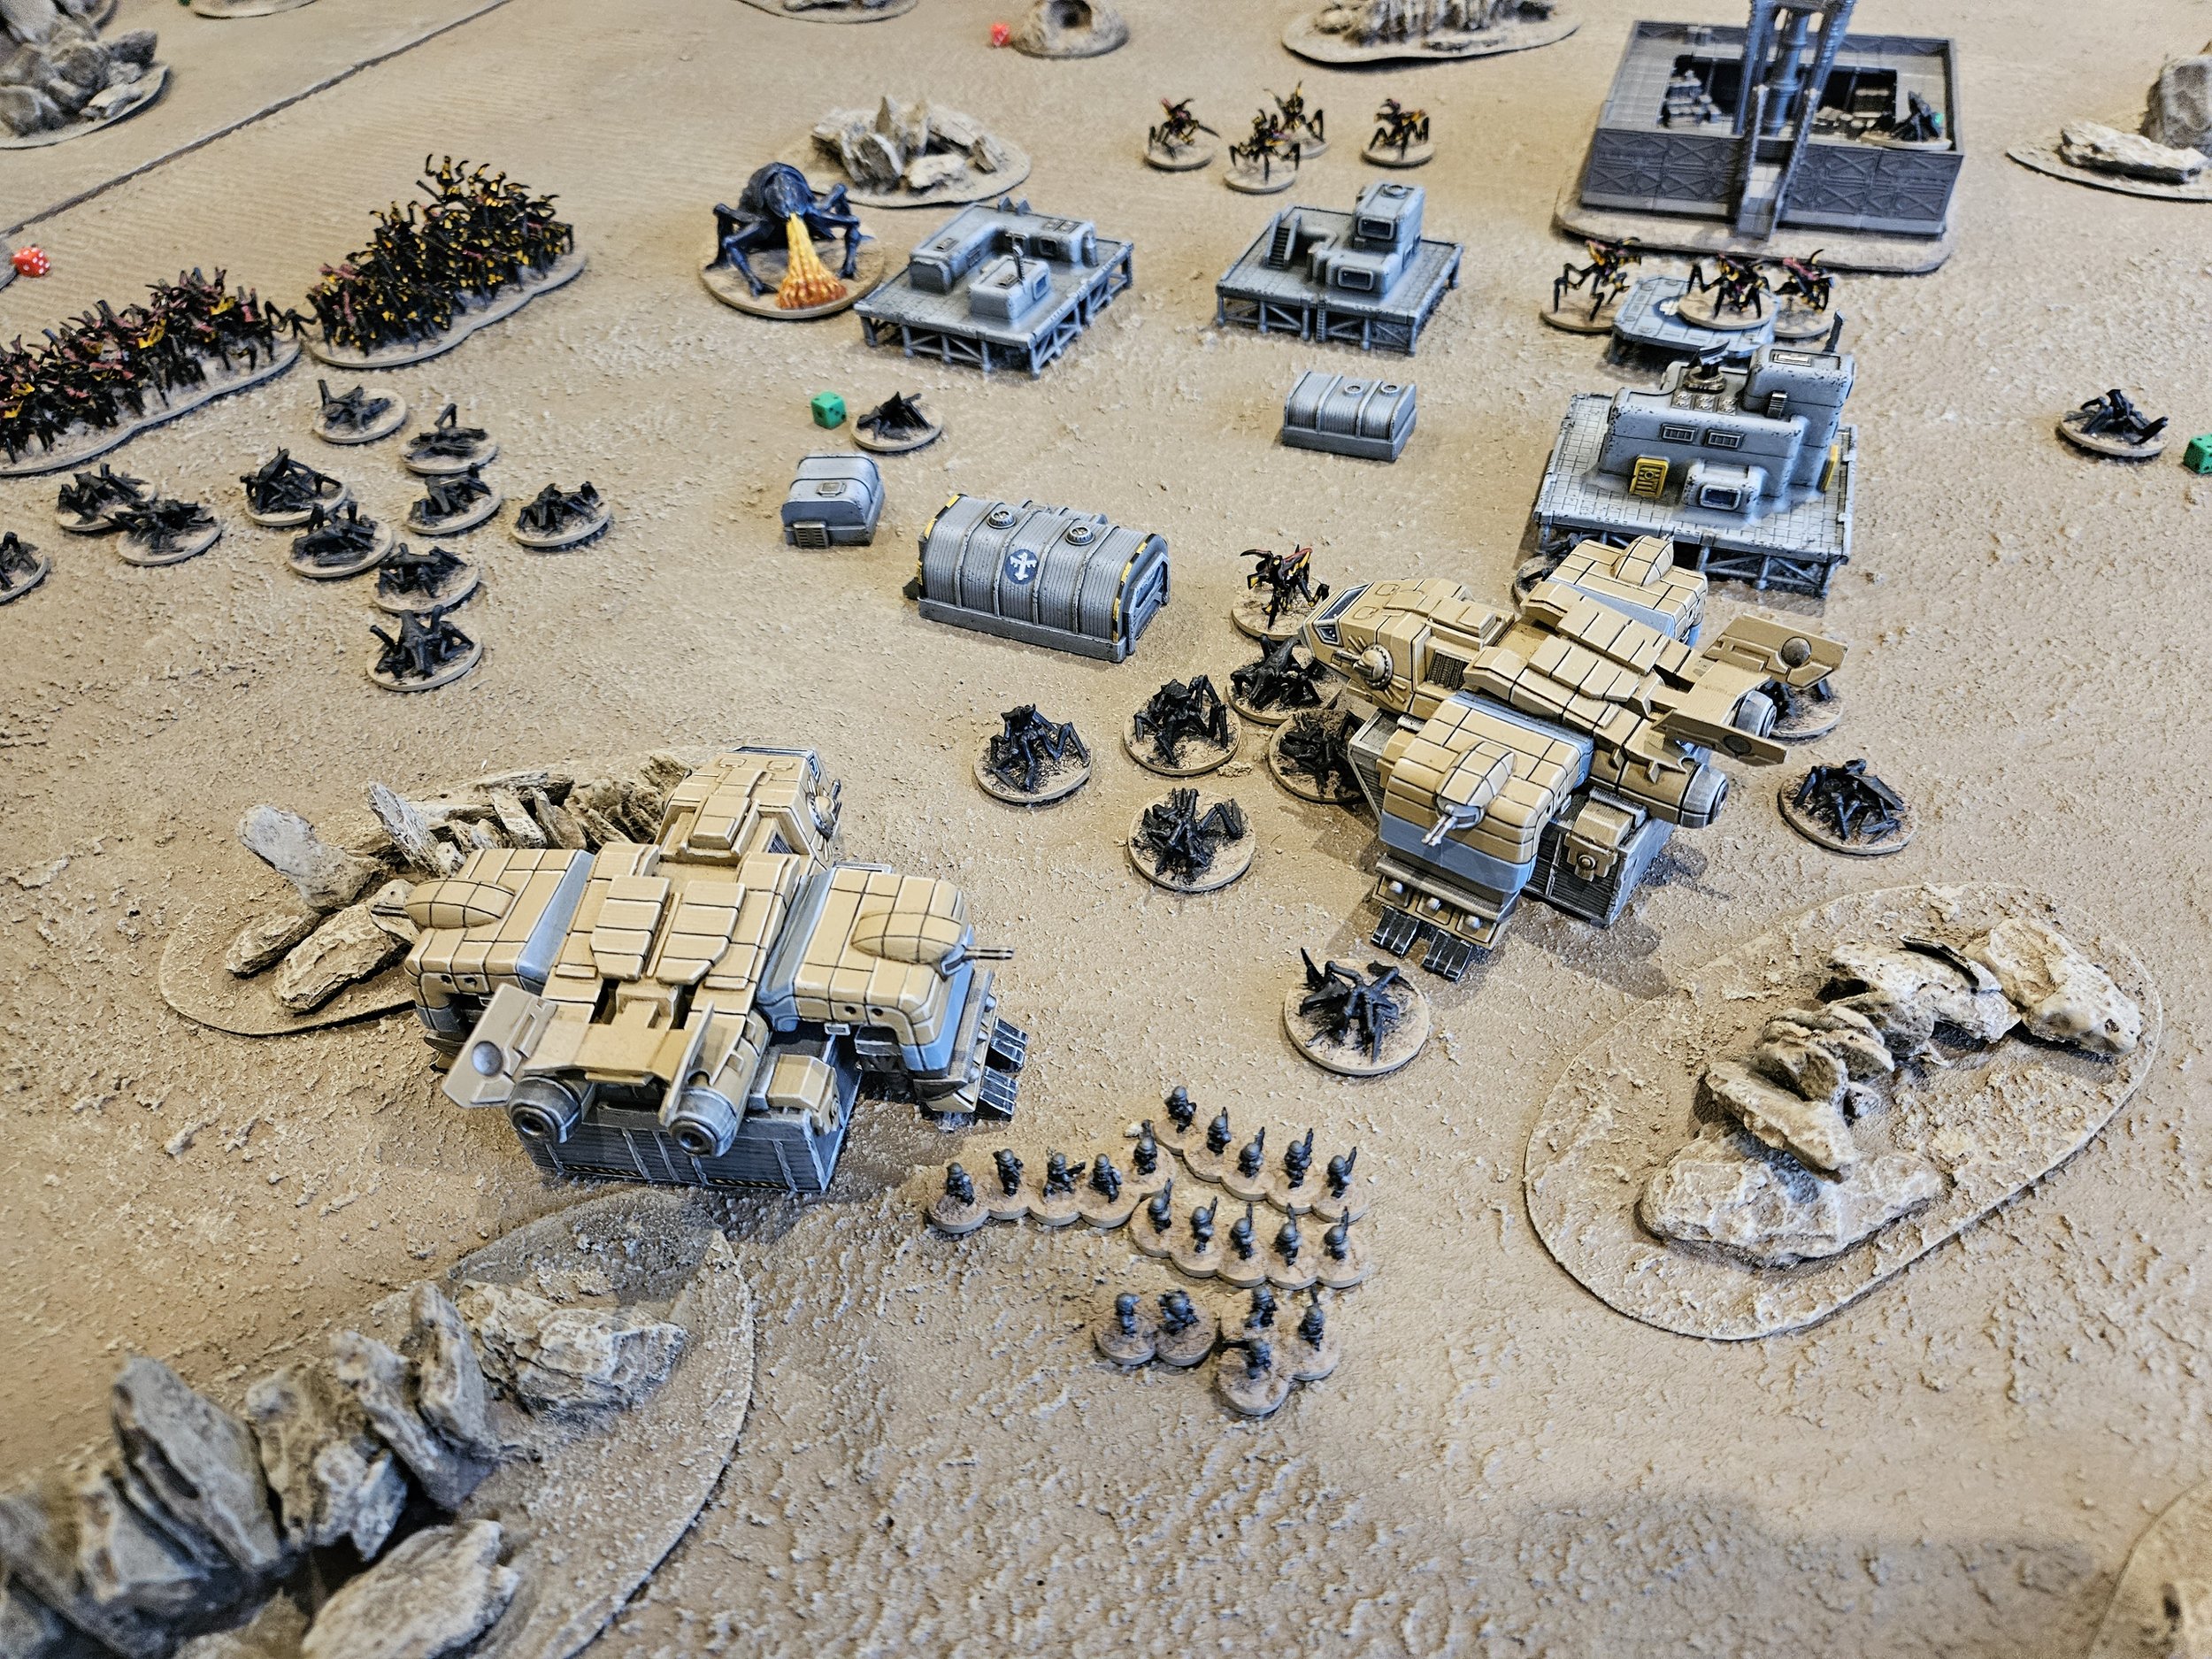
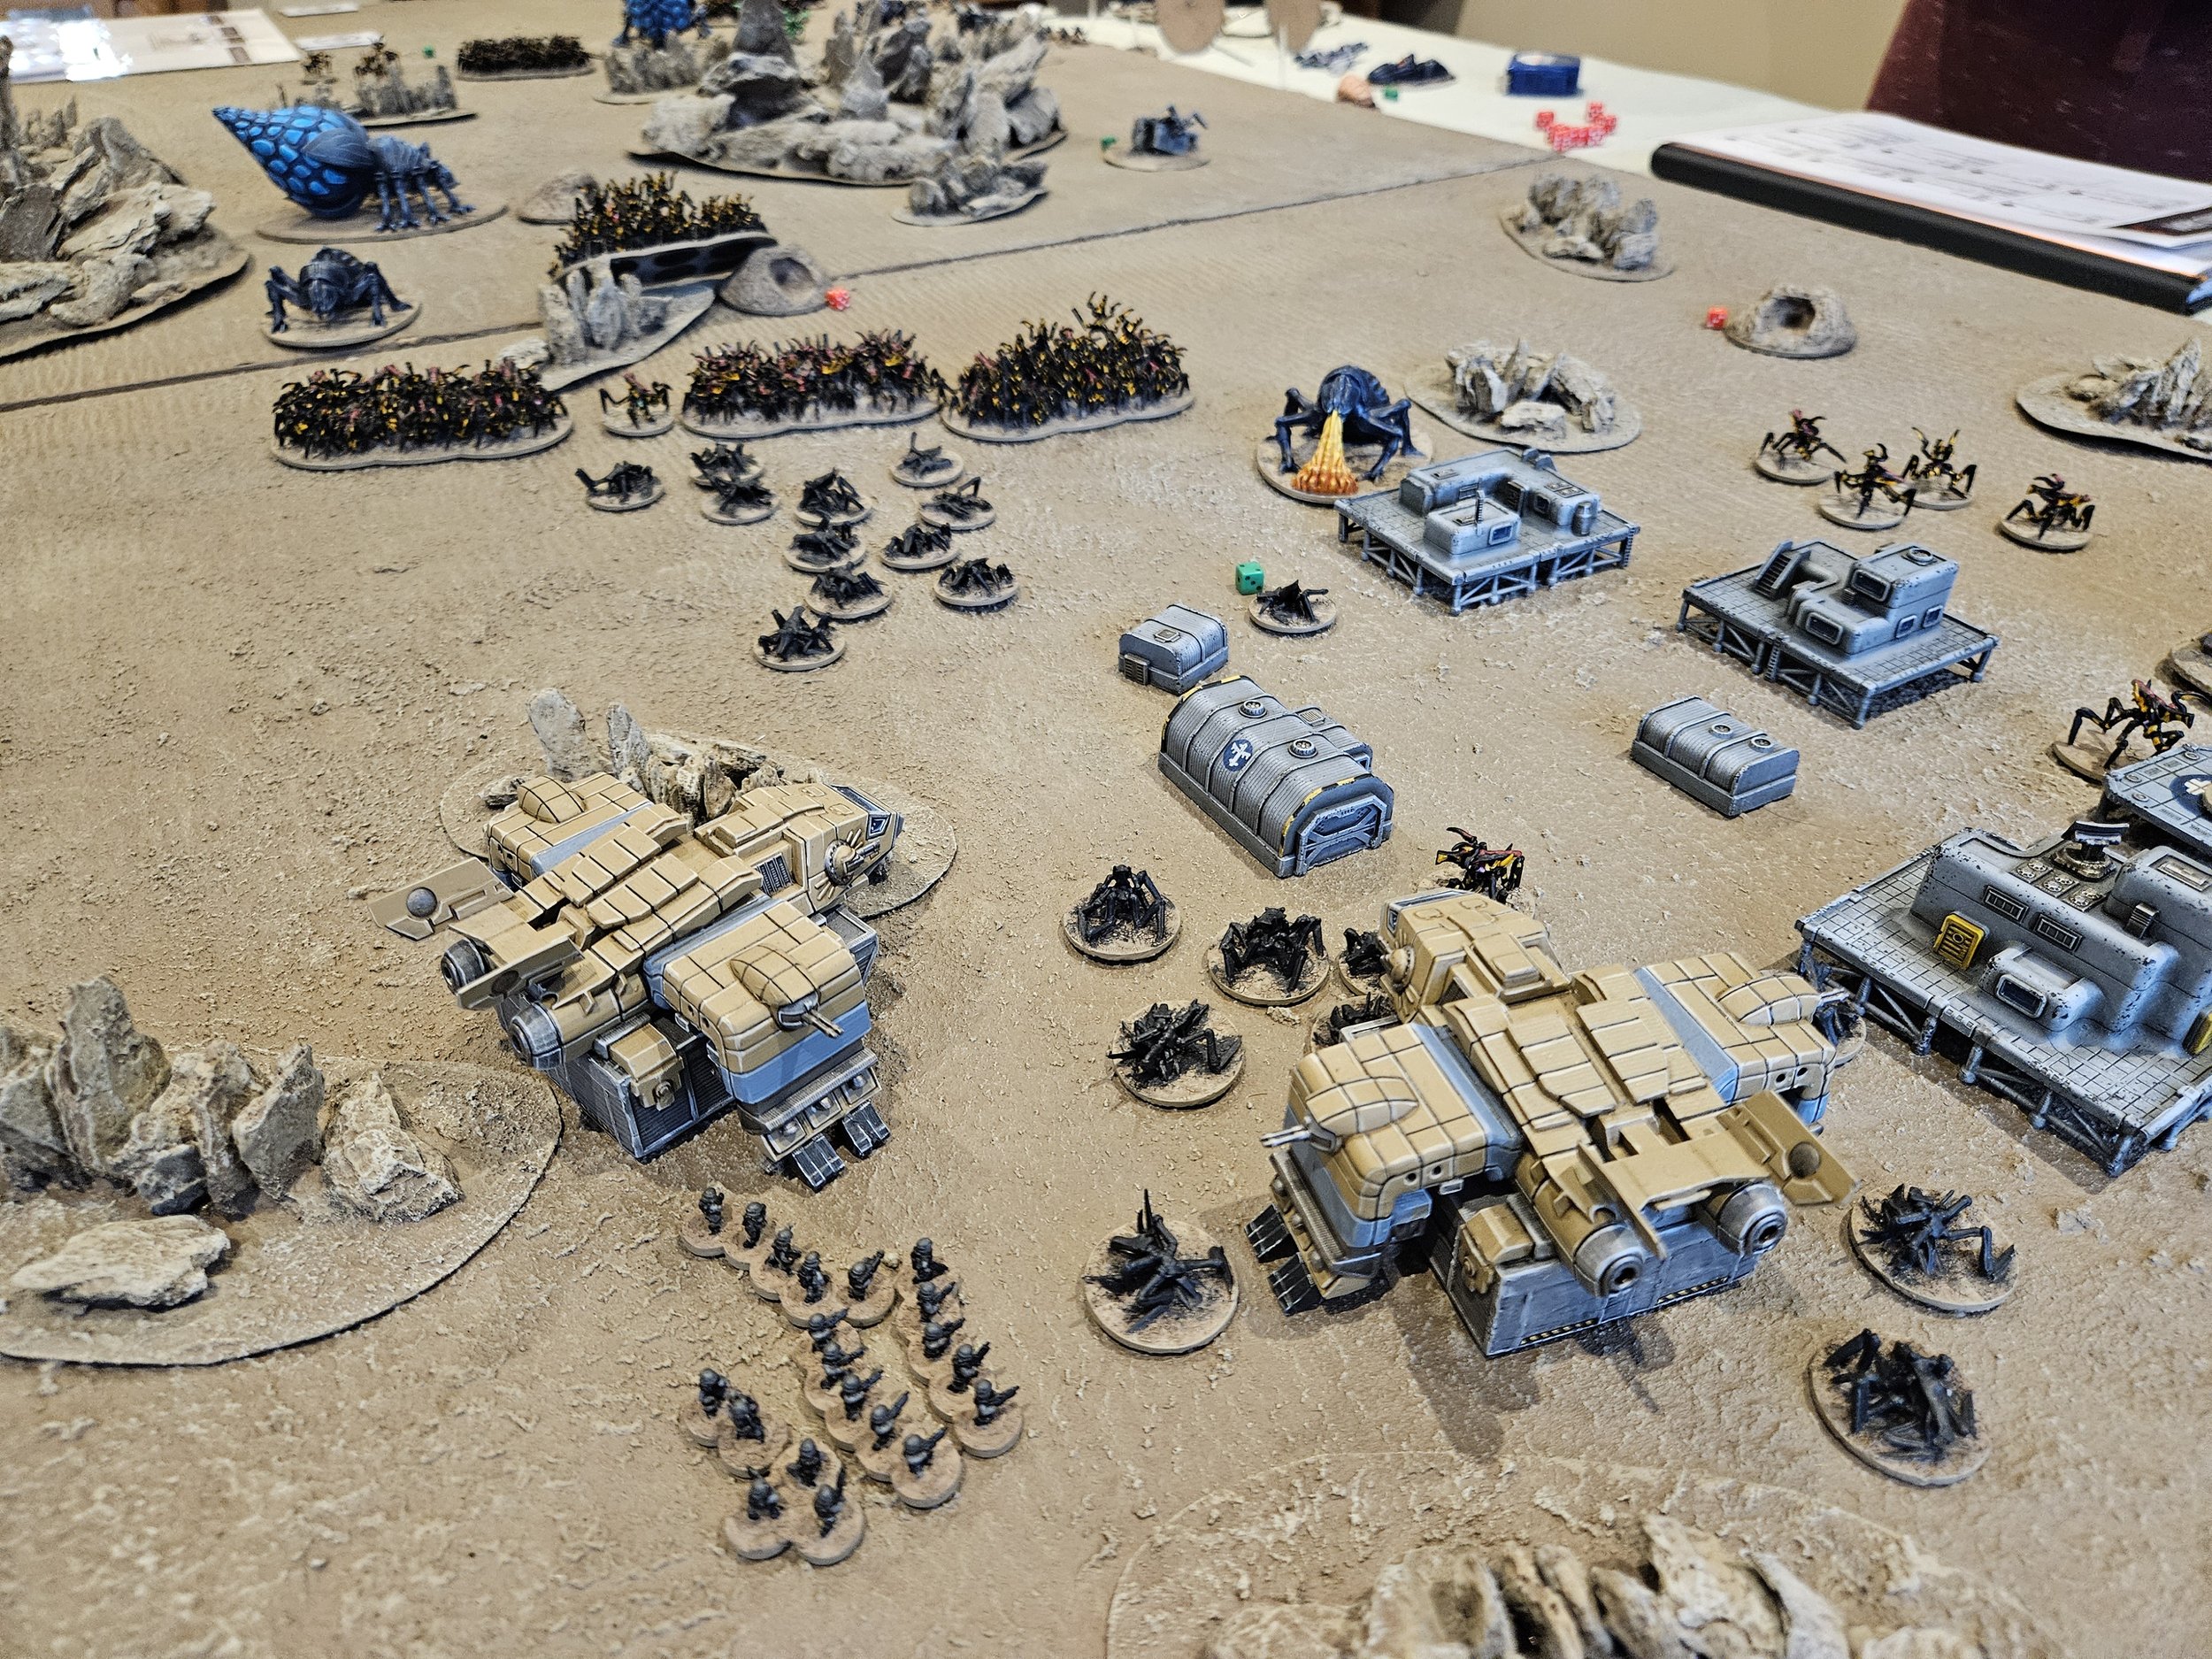
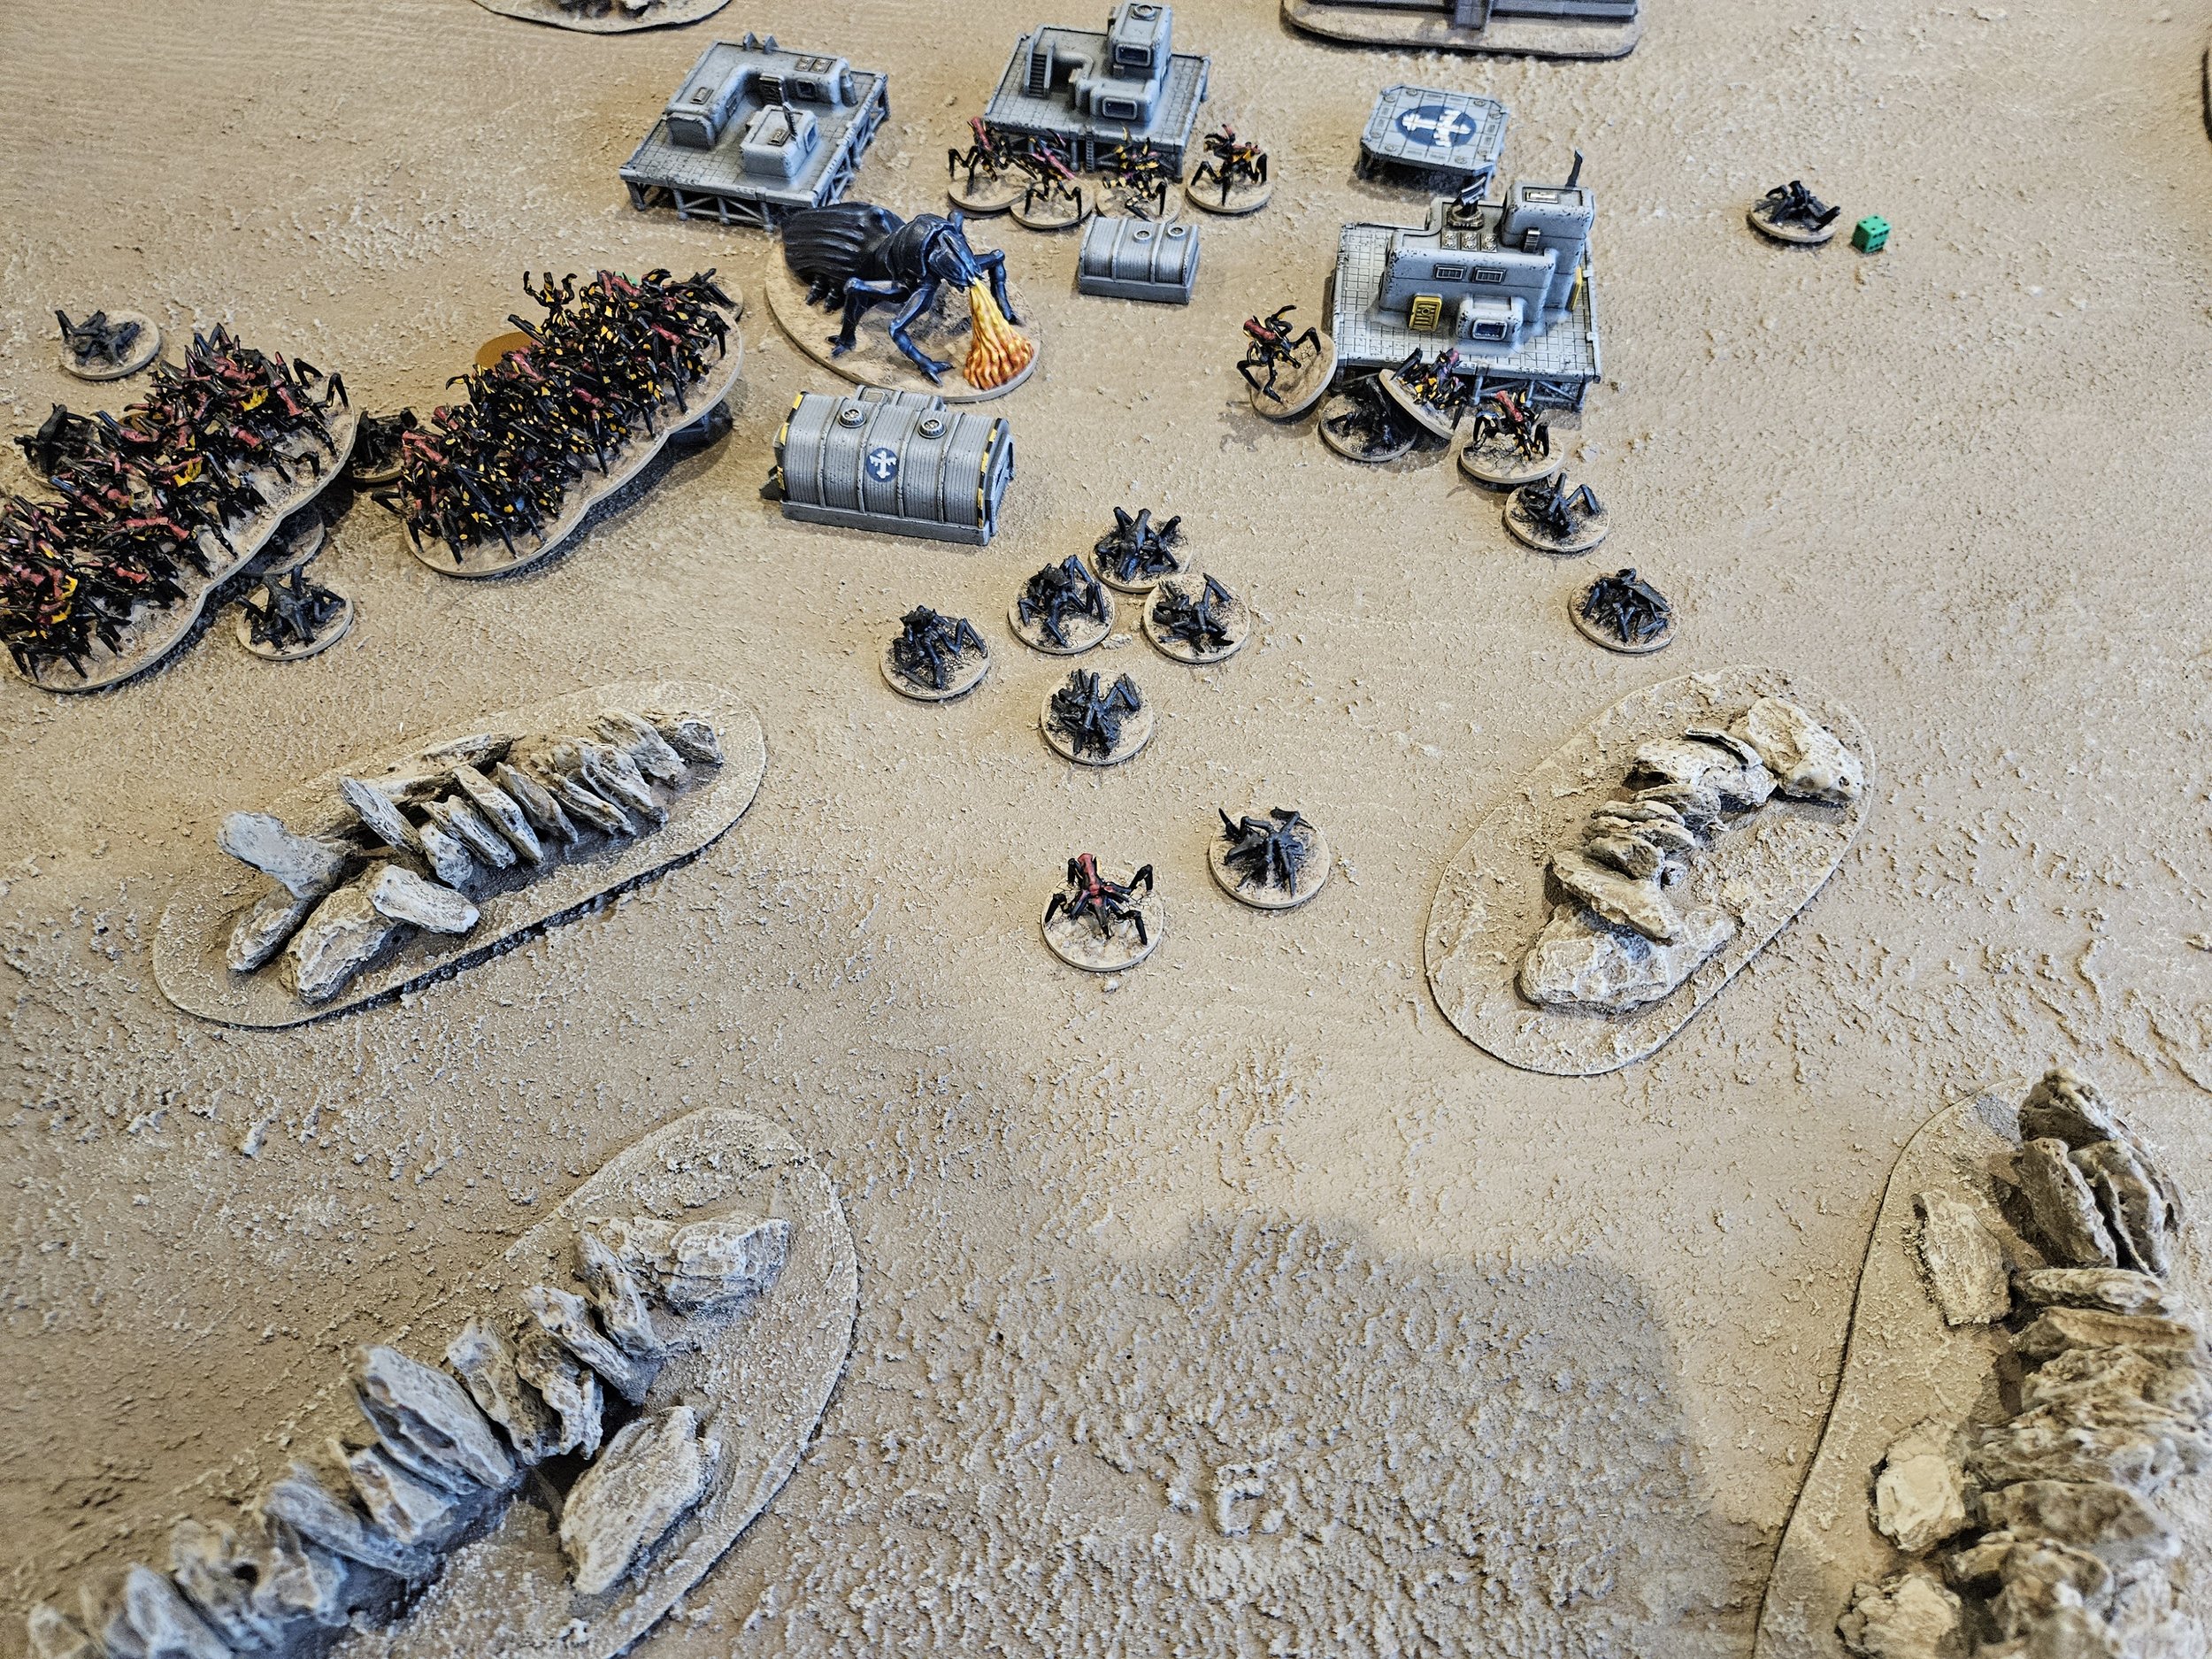
Friend Neil and I finally managed to get together for a wargame: with Neil bringing a 6mm Starship Troopers game to the party.

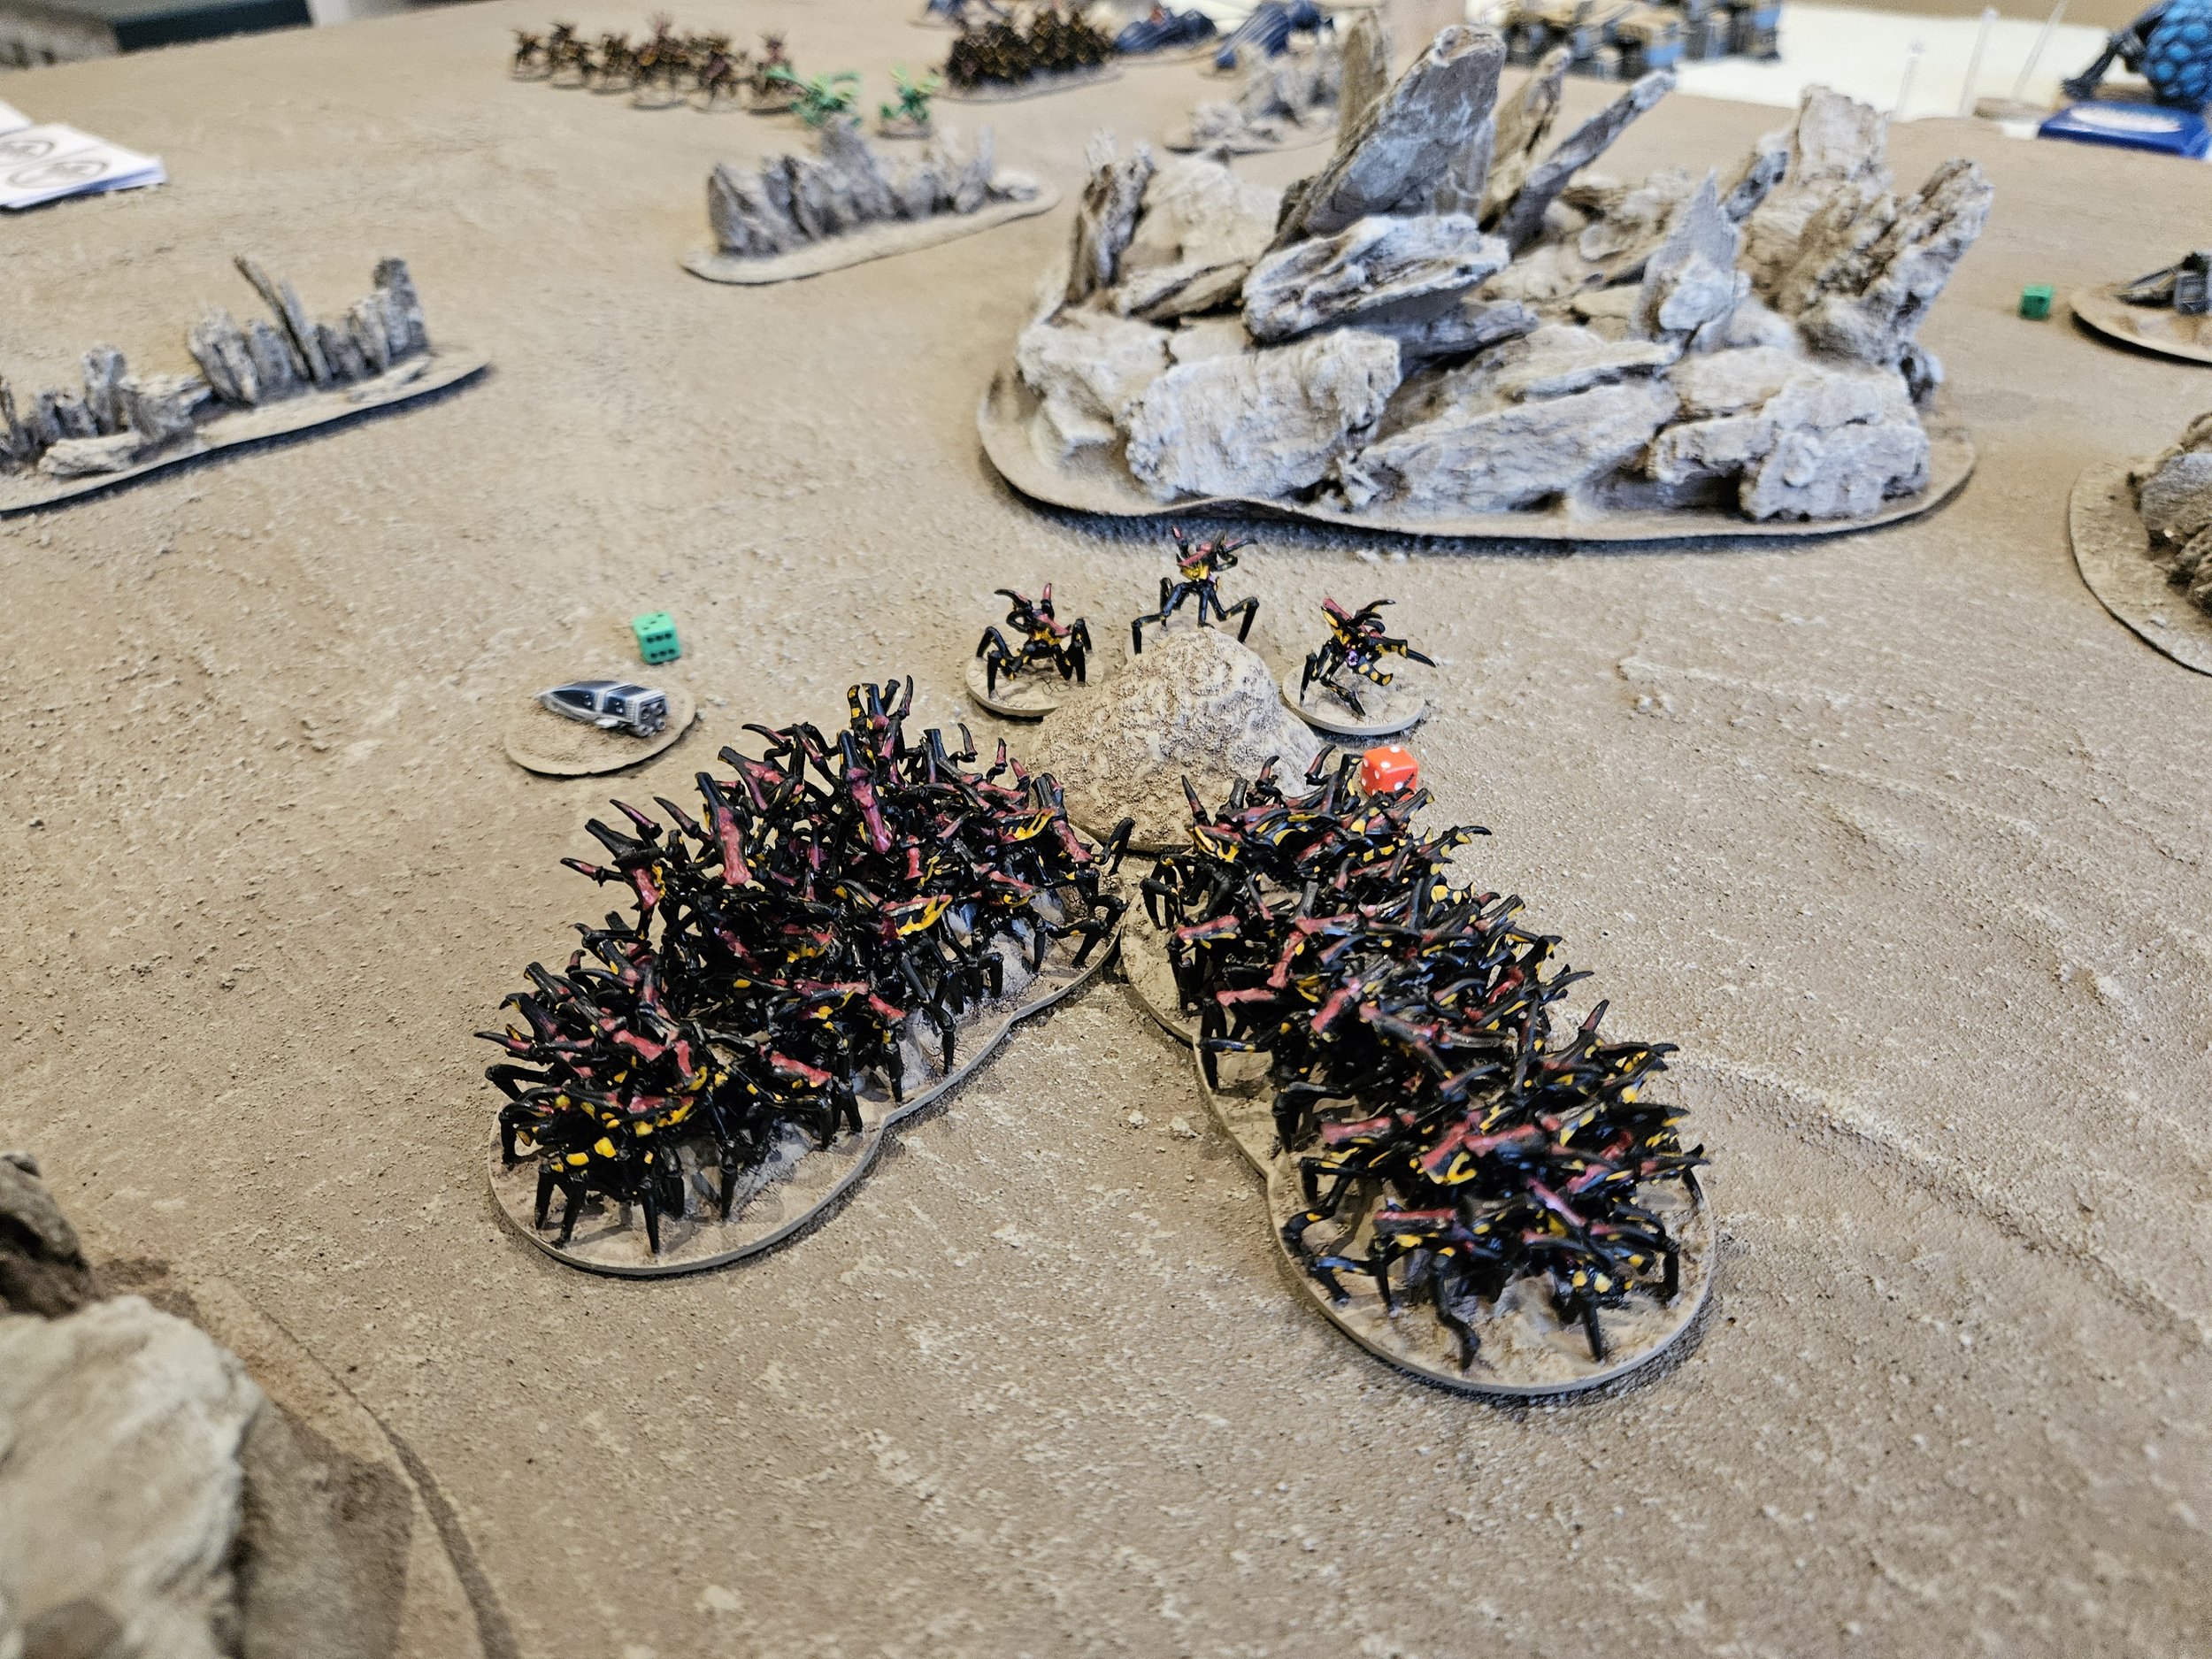
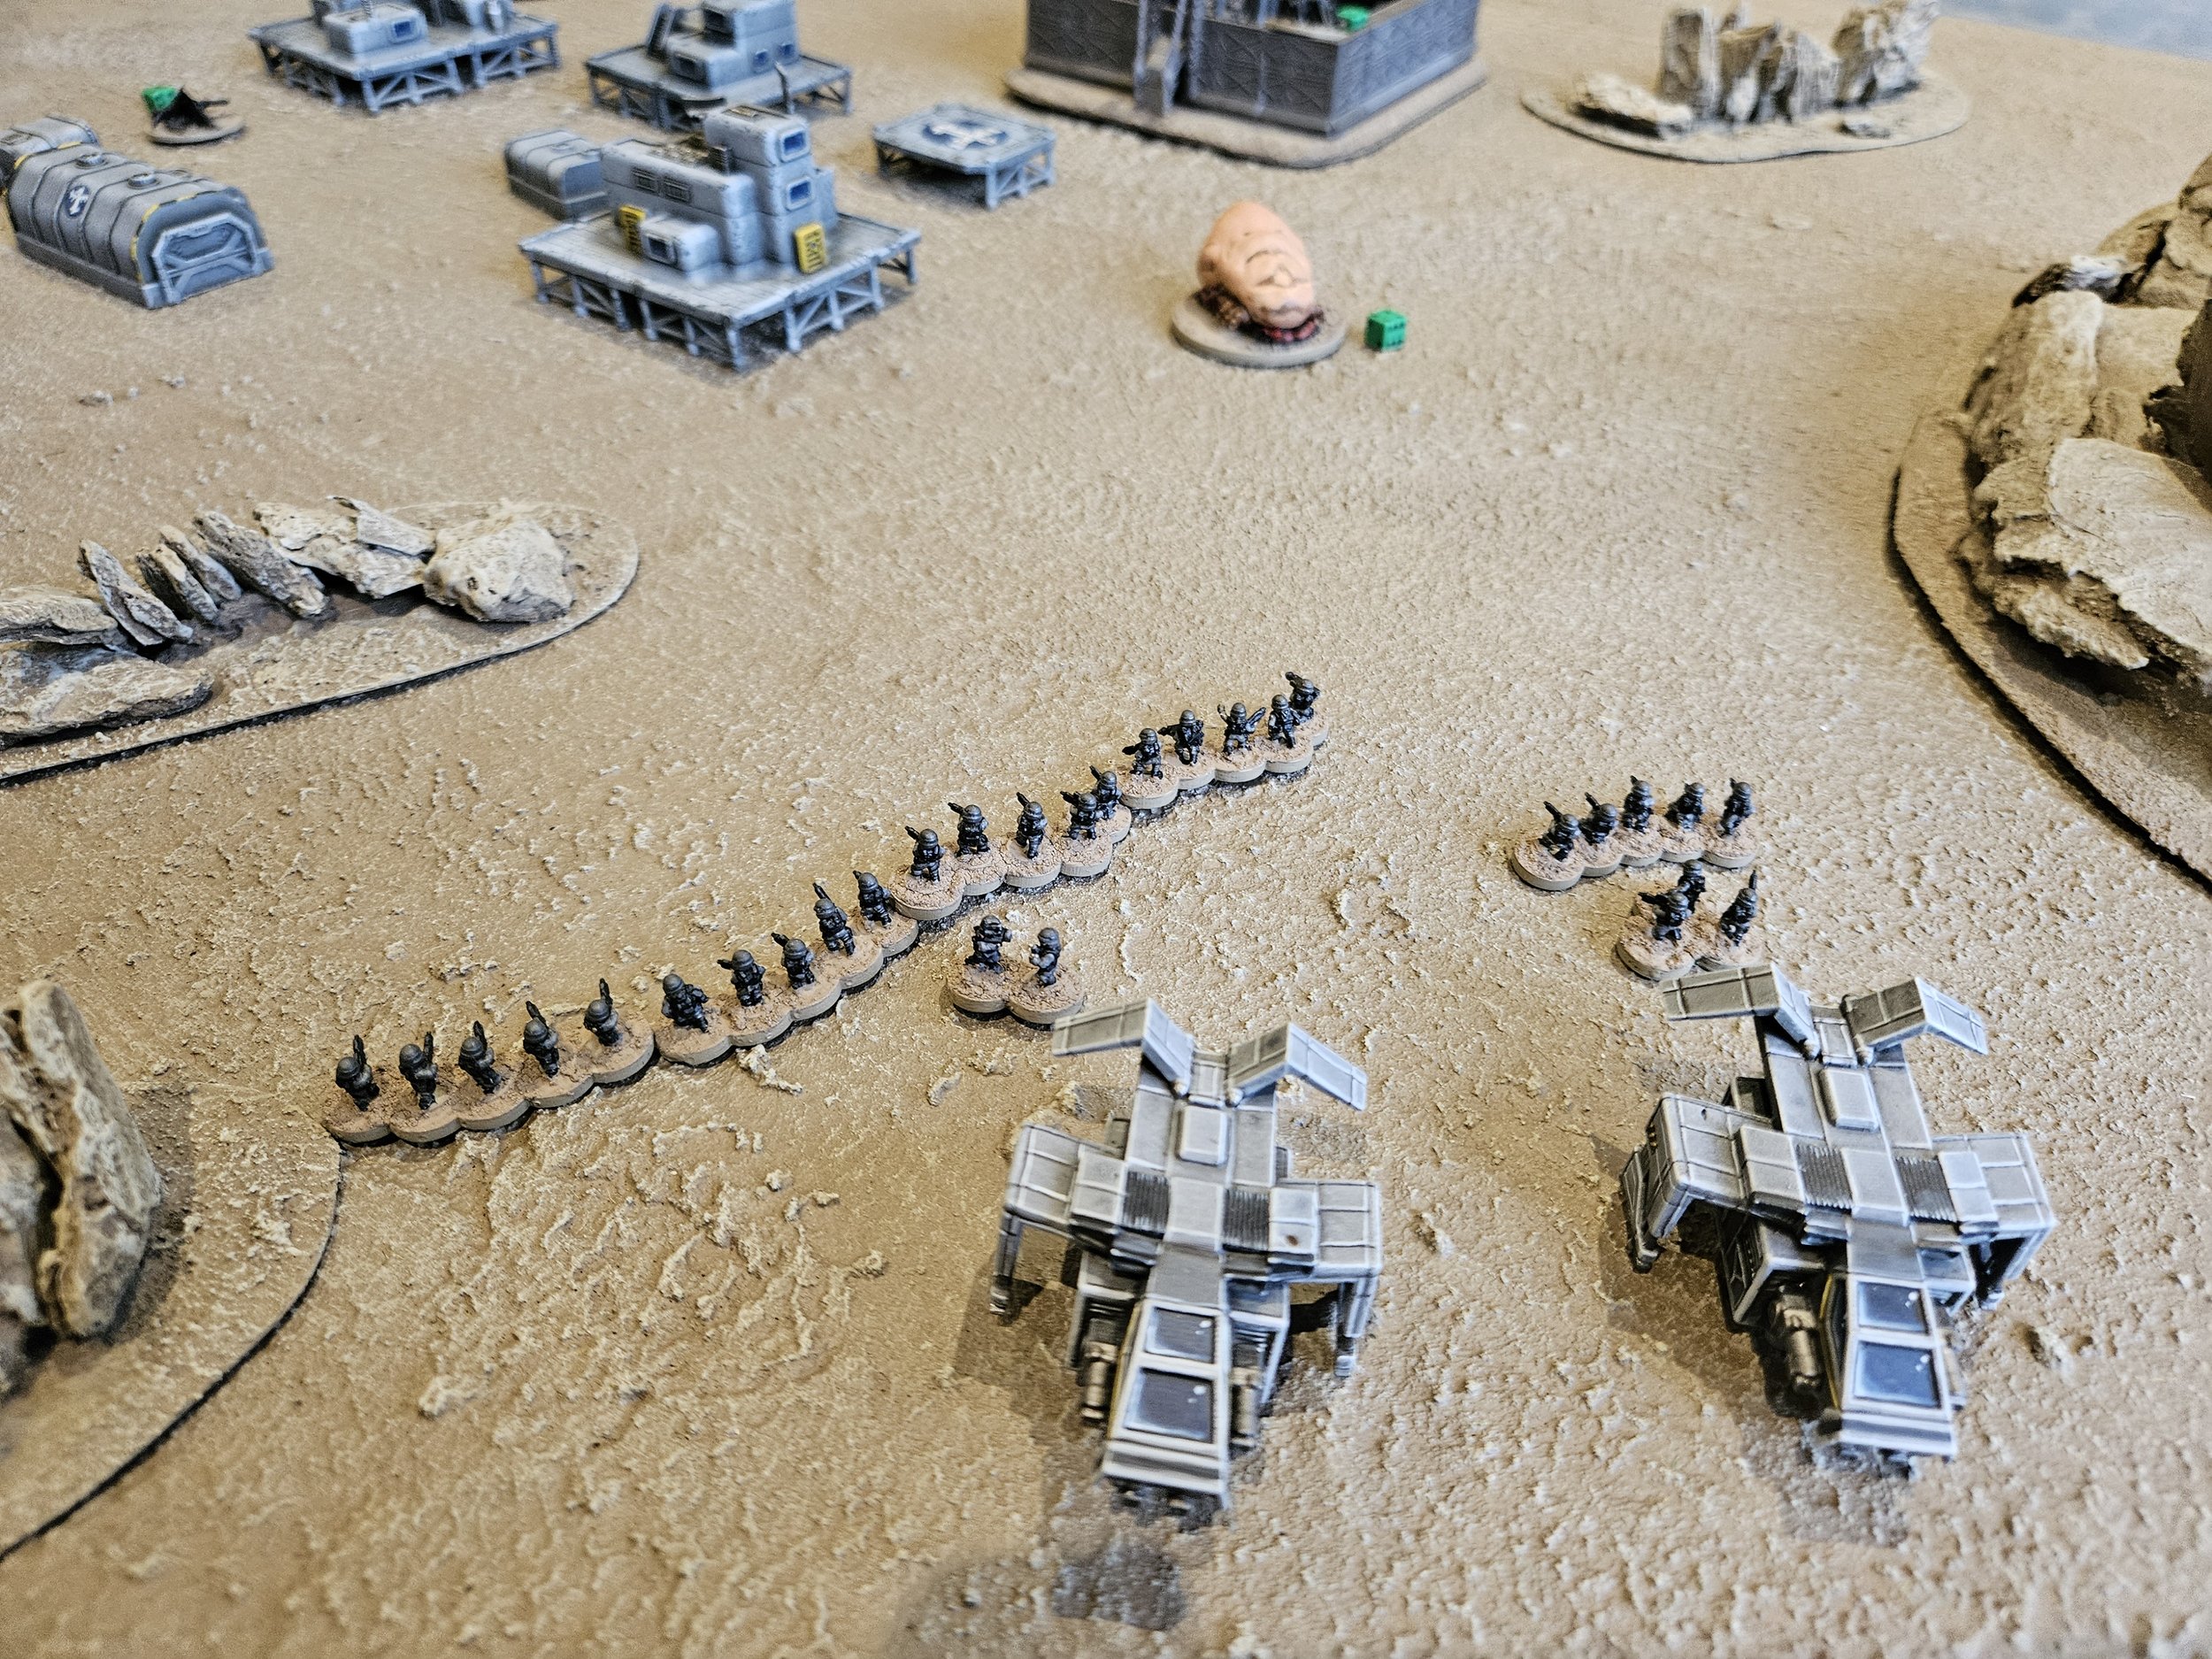
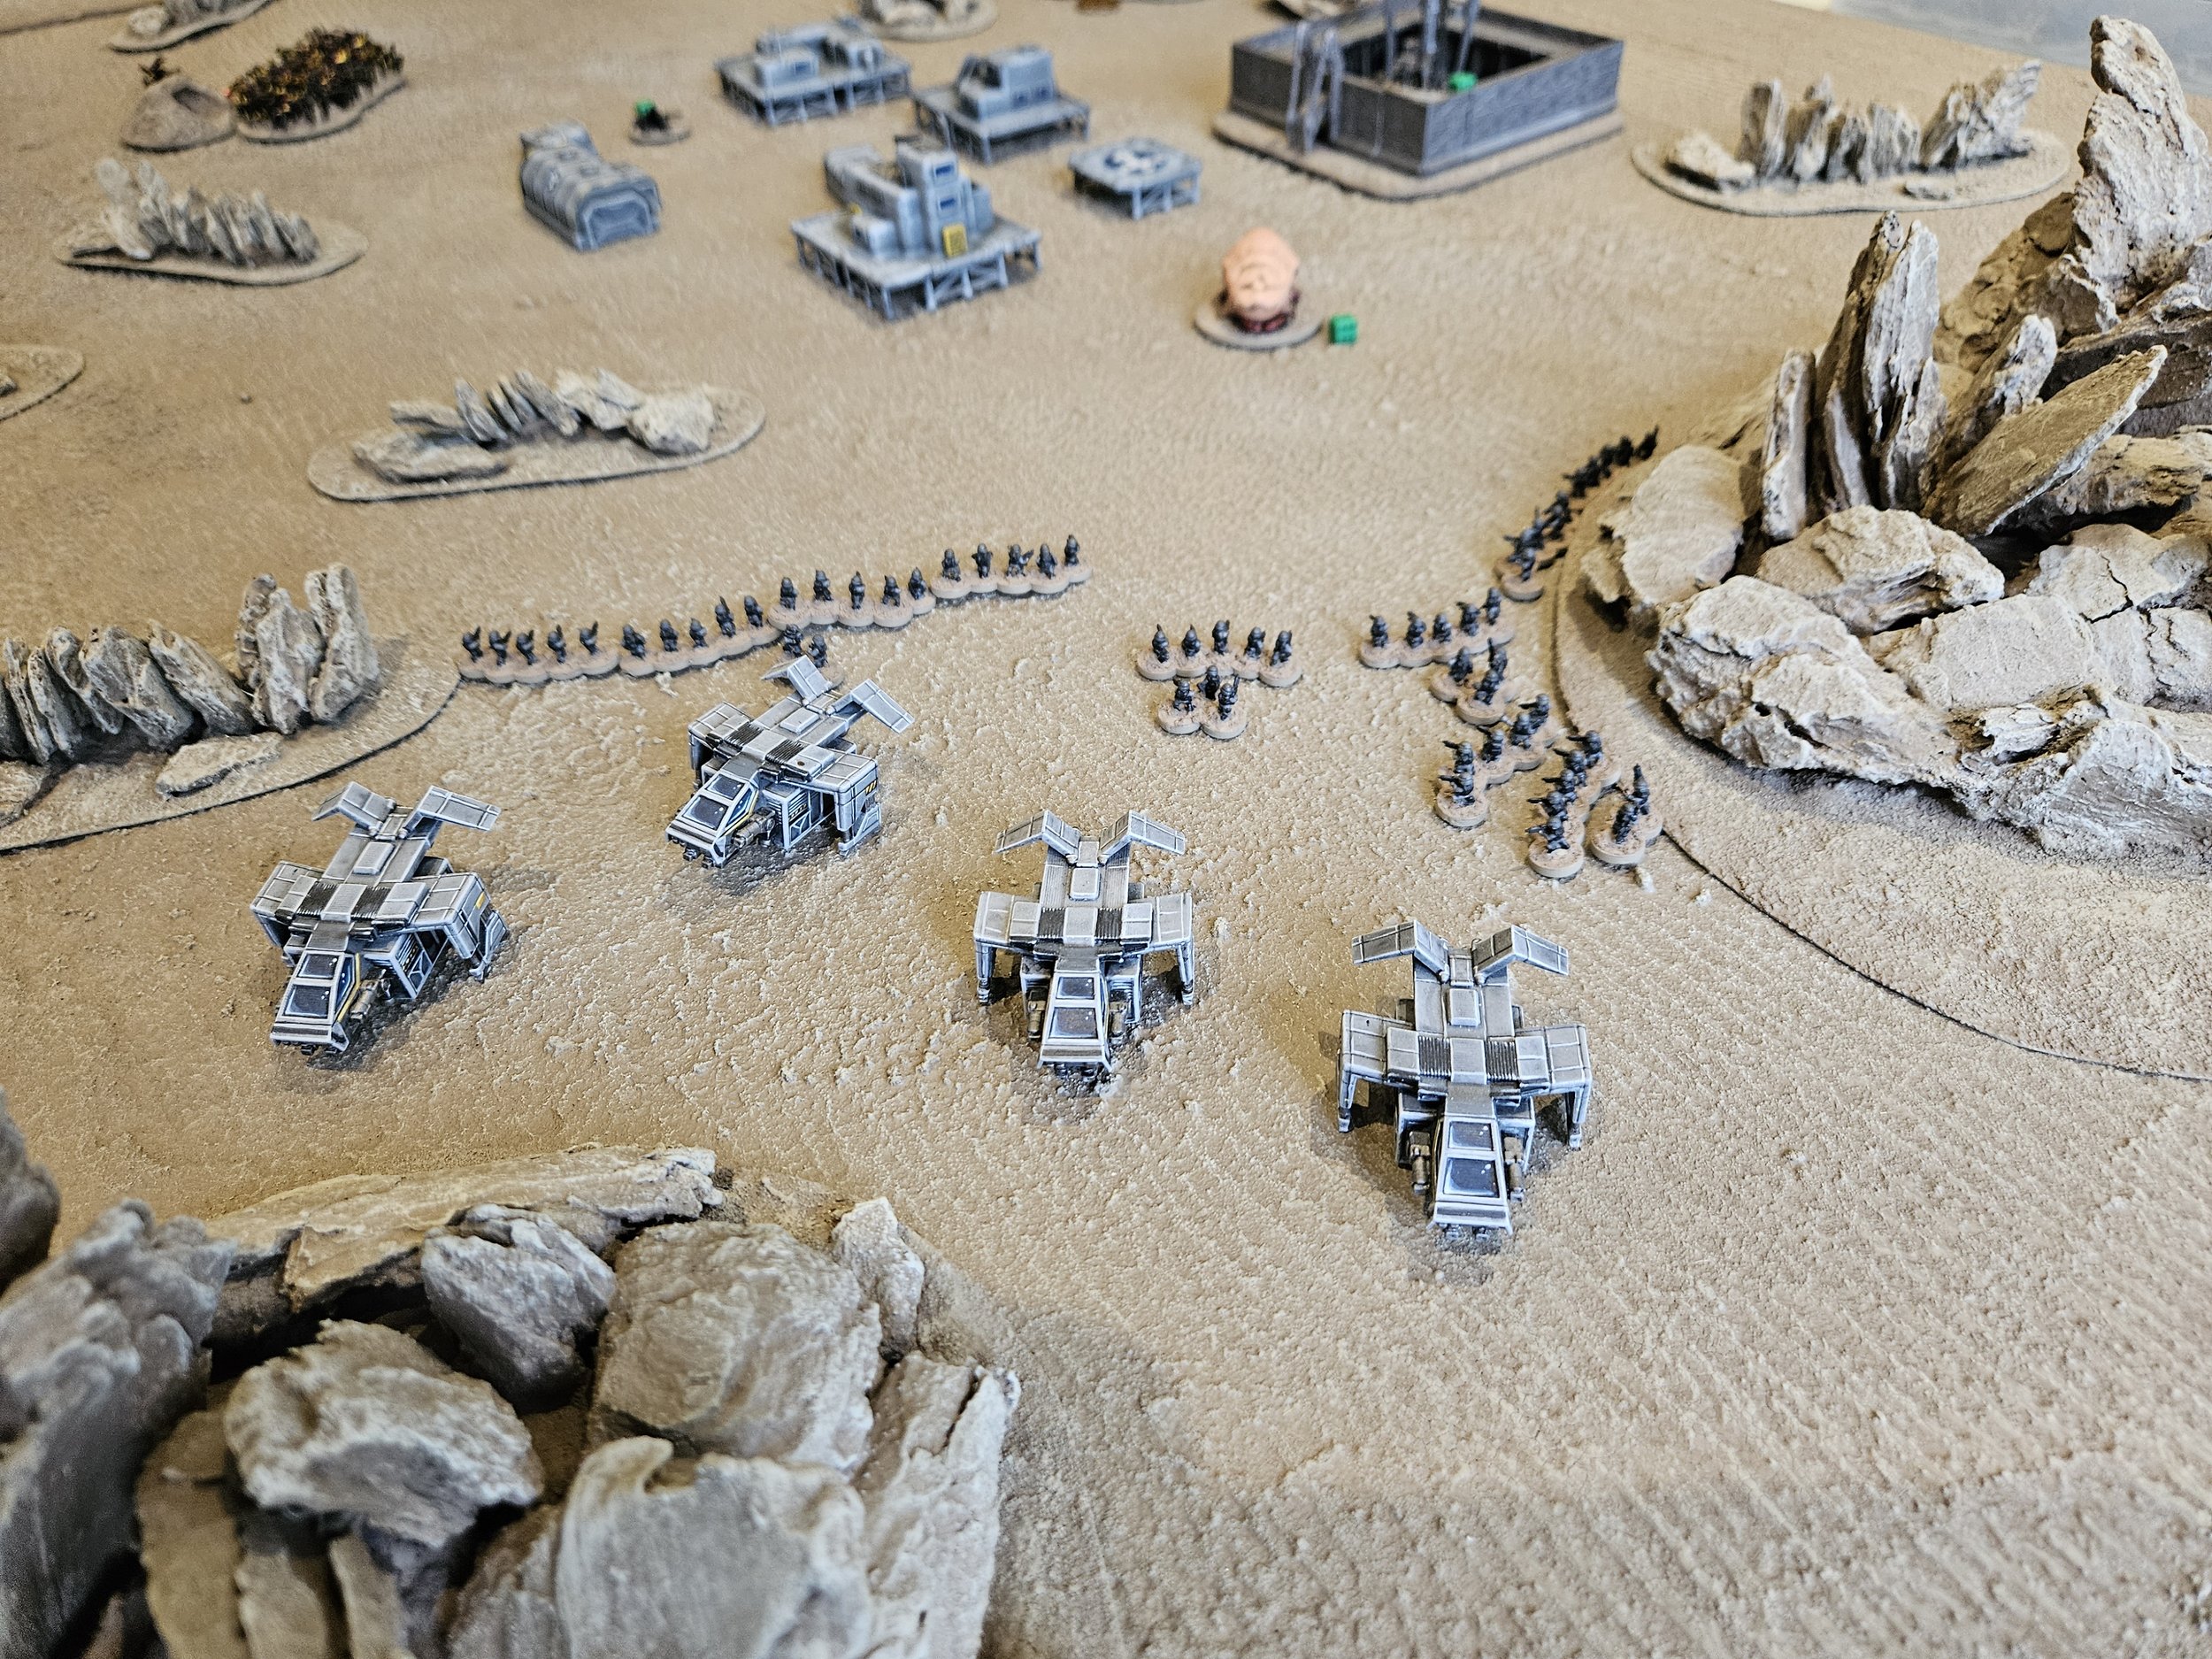
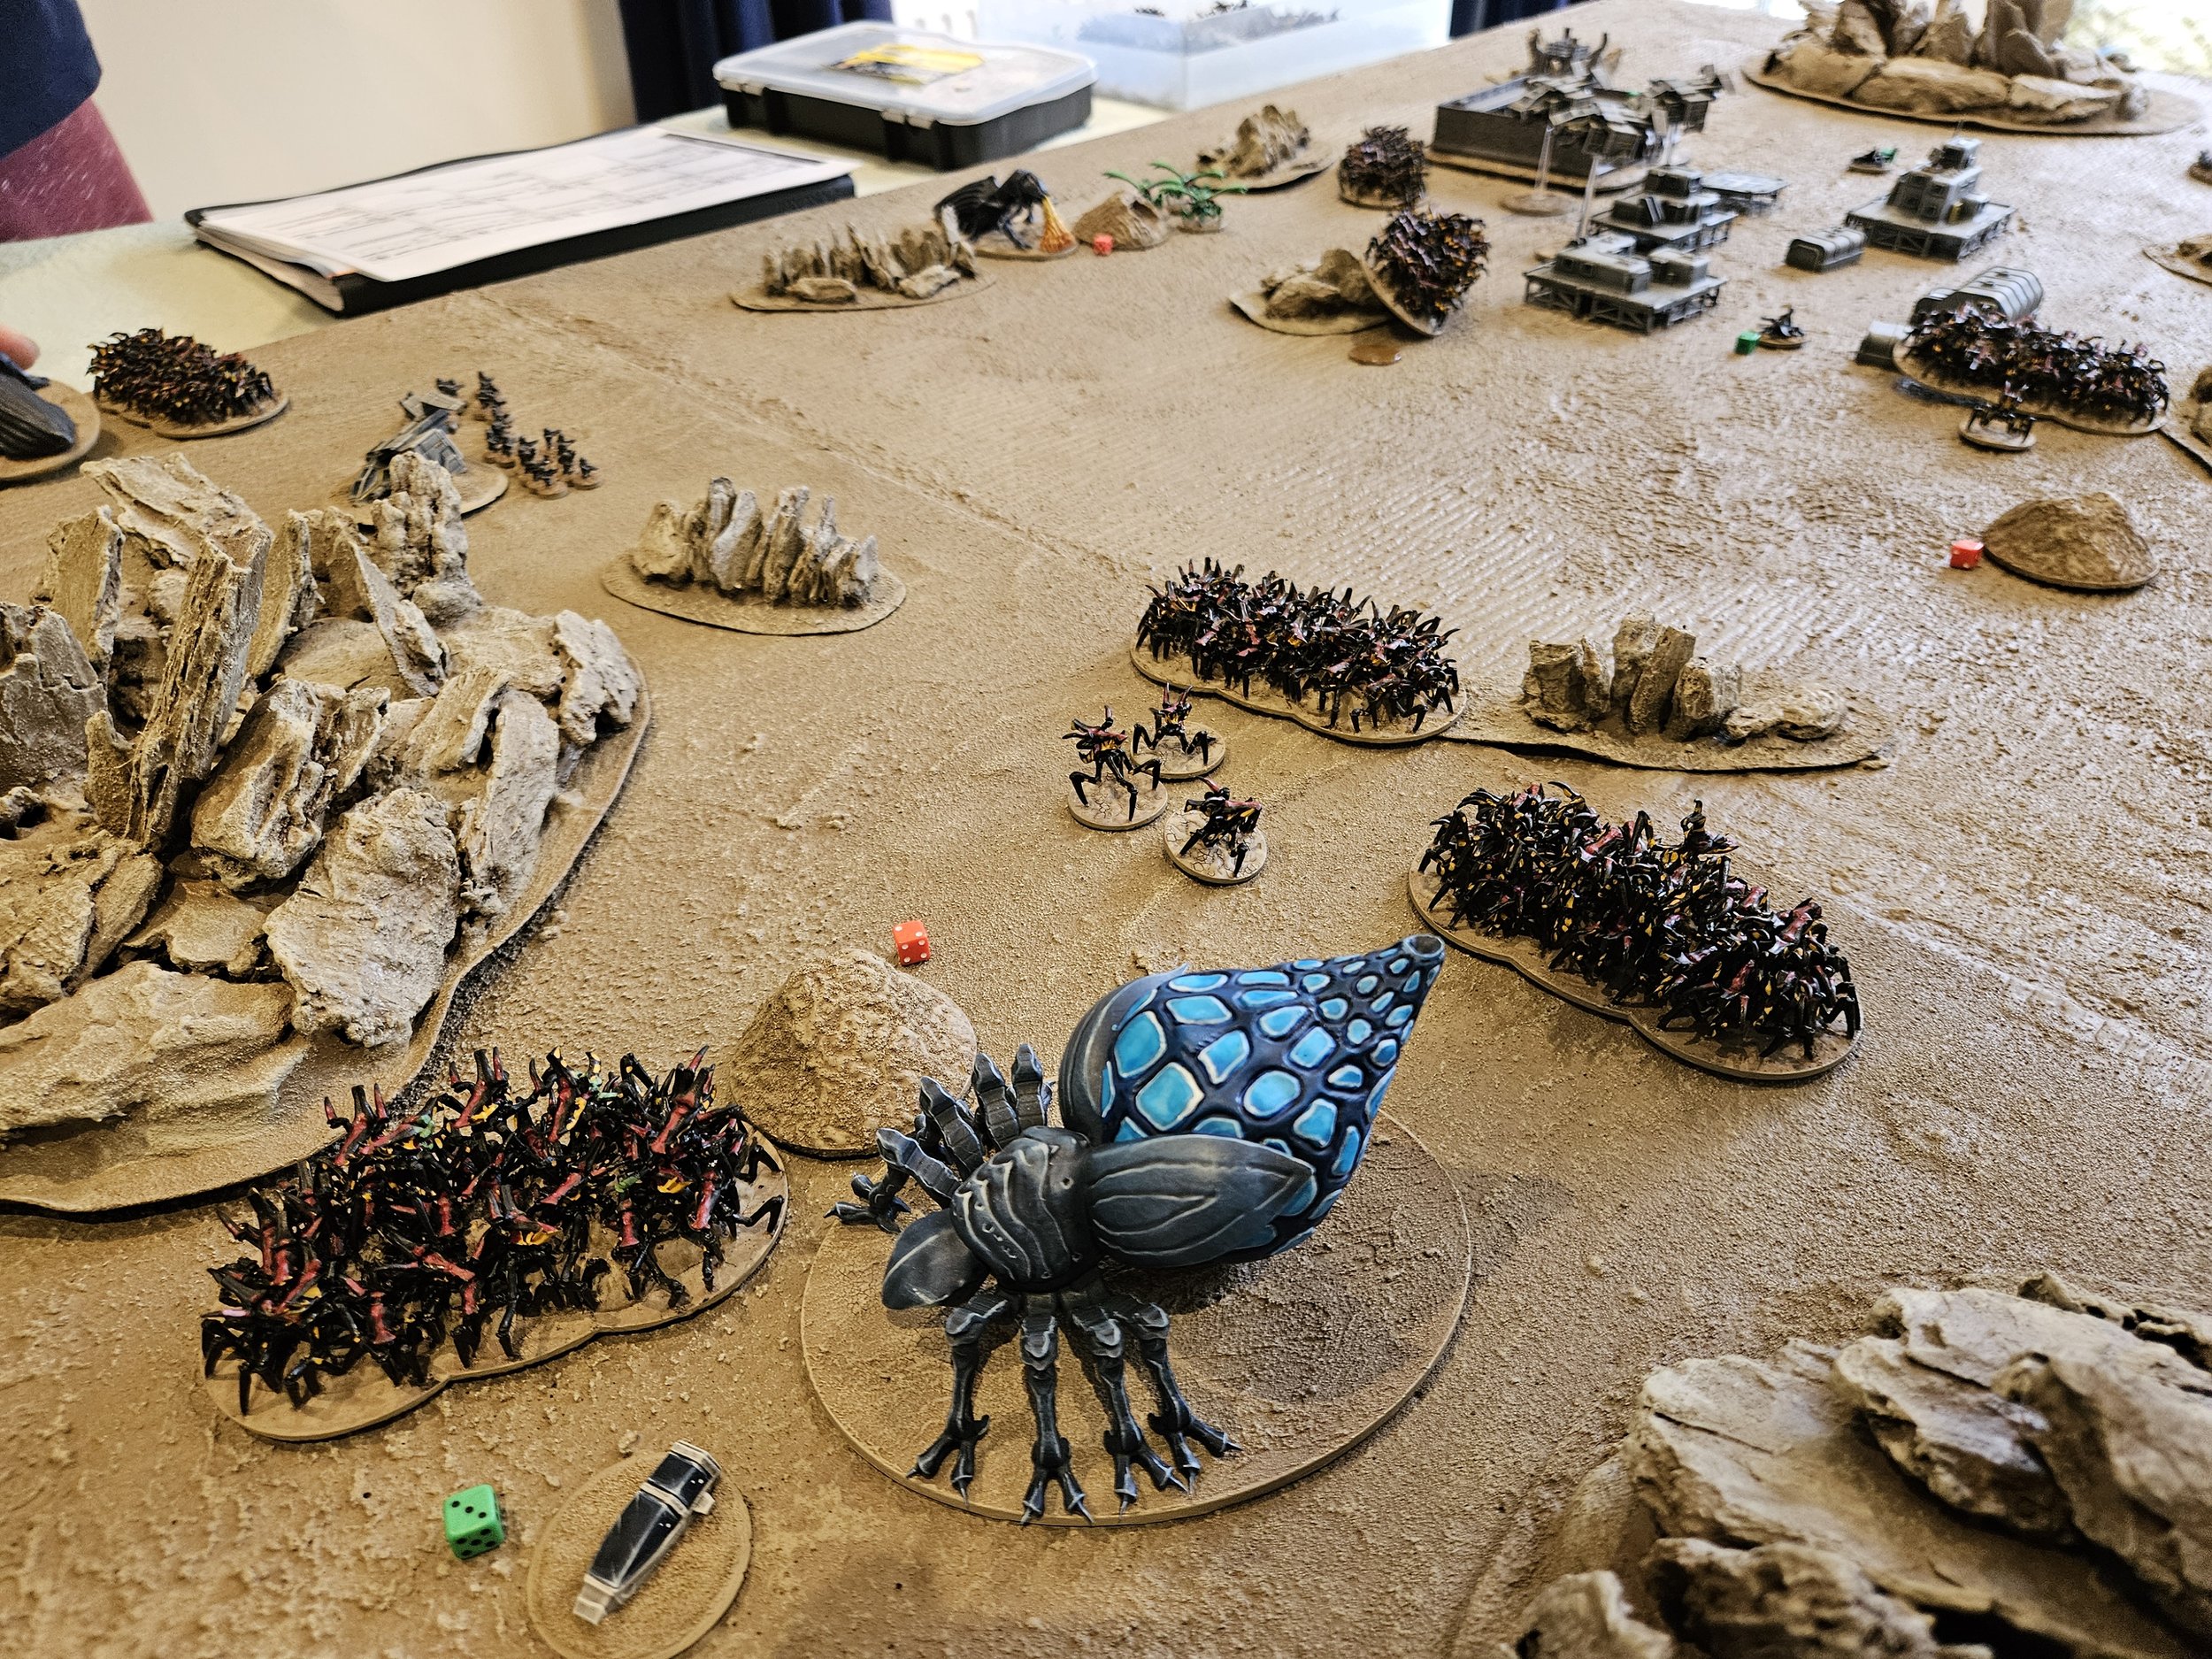
This was immense fun as I took command of three platoons of Mobile Infantry and tried to complete various missions in the face of extreme Bug attack!

My tactics of hanging back at one end of the table and concentrating fire on the Bugs as they came at me piecemeal worked quite well, but it was the bombers that really made the difference.

Highly recommended as an afternoon’s entertainment, and thanks to Neil for running the game.

CDS AAR: The Battle for Hue

Here’s a Charlie Don’t Surf AAR from May that I missed on the CDS Facebook Group: Kevin G running two Battle for Hue games at Kublecon:

Gasgans join the Hittites

Battling Rob’s Siamese at 160 points made me realise that I needed a few more units for my Hittite army.

Not wanting to just get more of the same, I determined to get a couple of units of Khurasan Miniatures’ Gasgans to join them: the Gasgans were highlanders living in the mountains of Northwestern Anatolia at the time of the Hittite kingdom and empire who were both enemies of, and drafted into, the Hittite army.

The deciding factor was the snake priestess pictured on the right: a suitable Hero for my Hittites and available as part of the Gasgan chariot package!

Snake priestess aside, I now have a unit of Gasgan infantry and a unit of Gasgan chariots.

The infantry are nice sculpts. They are a little smaller than the Red Copper prints and the metal of the spears that some of them are carrying is quite thin, so bends very easily if accidentally bashed. They paint up very easily: only four colours of Contrast Paints (flesh, bone, wood, black) with bronze and a colour for the kilt edges to finish.

The chariots are okay sculpts: in that there was quite a lot of roughly finished areas on the chariot body sides.

As a positive, however, the main strut out from the body ends in the head of a snake, making them (if nothing else) very distinctive!

So a distinctive addition to the Hittites, making them all ready for the planned re-match with the Thais!

CDS AAR: River Assault Scenario

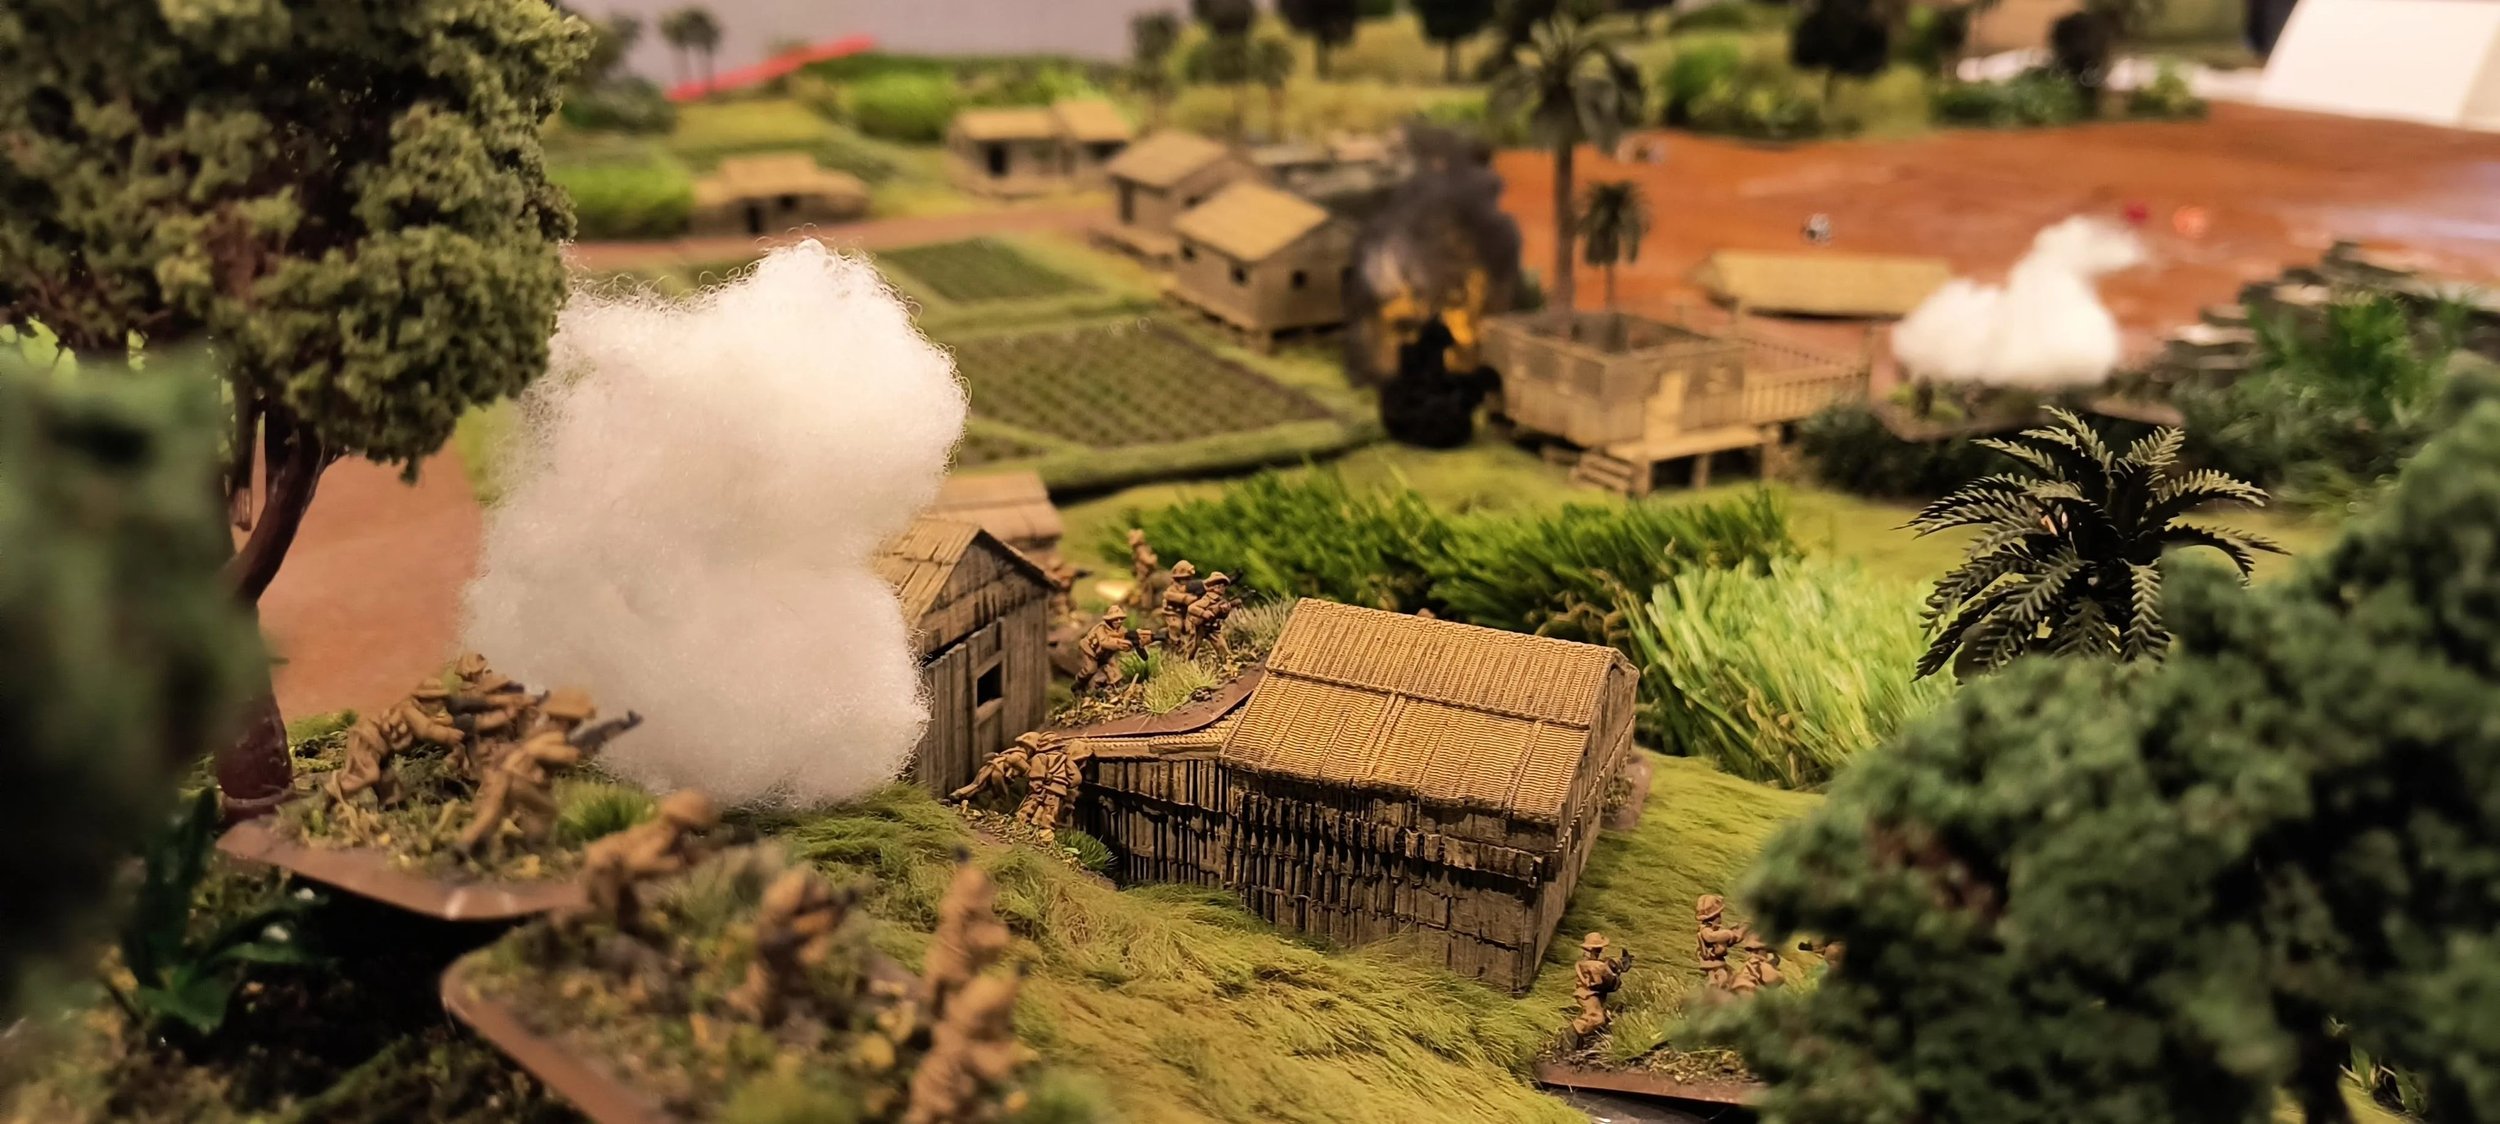
Here are some fantastic pictures from Kevin G. taken from the Charlie Don’t Surf Facebook group featuring an assault from a brown river force in Vietnam:

TFL Painting Challenge: First November Update

Plenty of entries to log as we move into November and the penultimate month of this year’s challenge.

First up we have Stumpy with some more basing completed: Huns, Cossack-types and some big monsters!

Mr Helliwell has been as prolific as usual: a mix of 15mm and 28mm figures, including some unusual figures from Athena:

Mark Luther has been busy building some 6mm terrain pieces:

Sapper is still painting 28mm Napoleonics: here are two Reinbund Infantry units.

Carole is painting Roman Auxilia:

Finally, last but by no means least, Mervyn has been painting epic Pike and Shotte figures:

That’s all for this update, but there’s still plenty of time to get your entries in before the New Year deadline. Keep ‘ em coming!

TTS AAR: Double Debut - Hittites vs Siamese

Regular visitors to the site will know that I have been building a 15mm Hittite army using Red Copper scultpts printed by Baueda. At the same time as I have been doing that, friend Rob has been building a 15mm Siamese (Thai) army using Khurasan figures (Rob reports that these are excellent, but that the spears are a bit flimsy and easily bend out of shape).

With both armies now 90% finished, it was time to get them onto the tabletop. Two newly-painted armies each making their debut? Given popular superstition, what could possibly go wrong!

As we both wanted to get as many of our figures onto the table as possible, we would play the game large at 160 points per side. This meant that I had to proxy in some Assyrians and Sumerians to face Rob’s Thai hordes!

The Siamese army could have been designed to fight Hittites. Elephants would disrupt my main chariot strike force, with their supporting spearmen proving equally tricky to beat when defending. Fortunately I won the scouting (thank you to the ally-Syrian light chariots, only varnished that morning!) so would be able see some of Rob’s units deploy before I had to set up myself.

Historically, Hittites fought with their chariots in front, infantry behind, but (given the above) that wouldn’t work here. I therefore determined to deploy in what I would call a more traditional manner atypical to the Hittites: infantry in the centre, chariots on the wings.

With Rob deploying all his cavalry on his right flank, a plan began to form: send one brigade of chariots forward to crush his cavalry (my lances should give me the advantage); then use the centre infantry and right chariots to pin the rest of his line whilst the ally-Syrians looped around the Thai far-left flank using their bows to take out the elephants there without actually making contact. Genius!

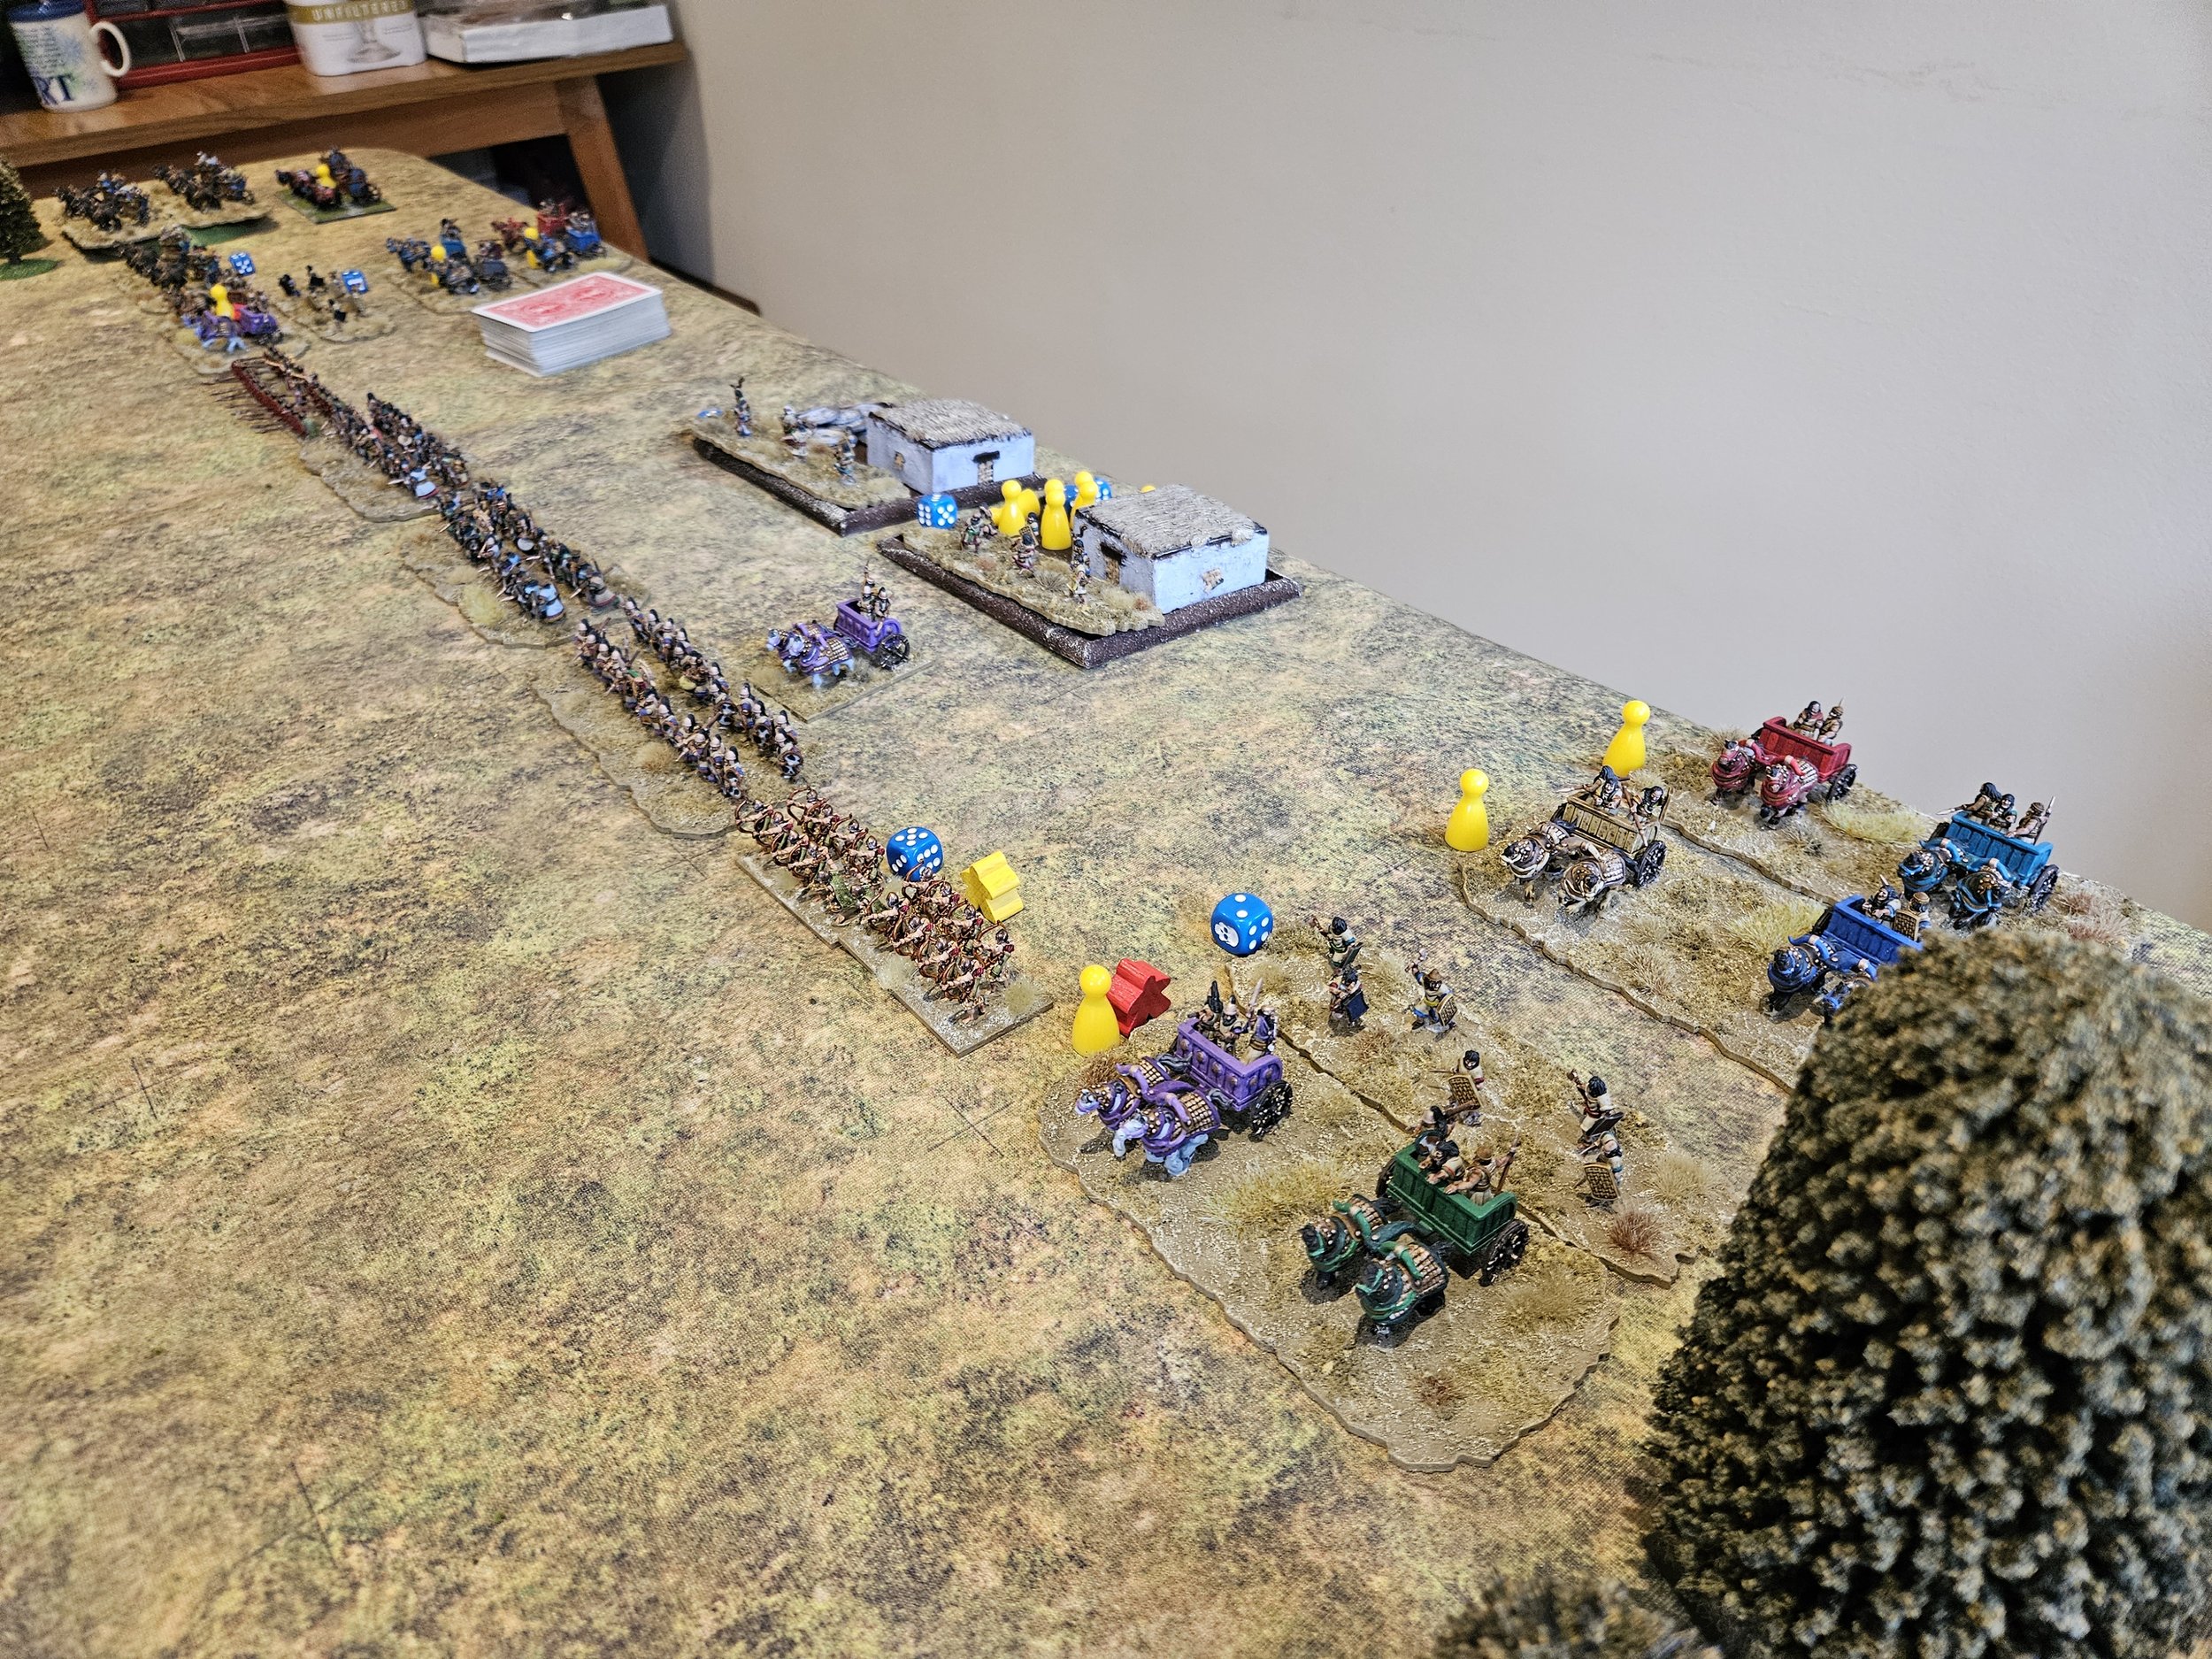
As the battle began, both sides advanced forward smartly, although the Siamese were plagued by a couple of Aces in their initial group moves. Here’s a picture of the action just before we closed. Hopefully you can see that my plan is beginning to get underway!

The battle then divided into three parts: the left, the centre and the right.

On the right hand side of the field, the ally-Syrian light chariots and half my heavy chariots tried to keep his elephants and infantry occupied without actually closing to what would surely be an unfortunate combat.

This they largely achieved: the lights evading away from pachyderm charges, even sometimes being knocked temporarily off table; the heavies by dint of refusing to charge and even edging backwards as the nellies came forward. I was happy to be charged by spearmen, but wouldn’t initiate any charges into a set line of men carrying nasty, pointy sticks!

In the centre, things did not go so well. Hordes of enemy spearmen, with archers behind, came forward and routed my line infantry. By the final stages of the battle, only one unit of line infantry remained standing, and I was forced to re-deploy some of the heavy chariots as a reserve.

I was a bit surprised that the victorious Siamese infantry didn’t rush forward in an attempt to sack my two camps, defended only by some petty scummy light troops, but Rob said afterwards that he felt at that stage that the infantry needed to turn back and help out the flanks.

Whatever he chose to do, it was very unnerving to see six enemy units (half spearmen, half bow) with nothing in front of them except my regret that my infantry hadn’t stopped them!

Which meant that the battle would, as planned, need to be won on my left.

There, my chariots charged the Siamese cavalry as soon as they could, with fairly disappointing results. Rather than smash them from the field, the chariots got locked into a bitter combat in which neither side had the advantage.

This meant I had to divert the archers and Royal Guard from the centre onto this wing - part of the reason why the centre collapsed! The bowmen moved up to support the chariot runners who had engaged the enemy elephants, keeping them from interfering with the chariots vs cavalry combat. The Royal Guard also charged the elephants, promptly becoming disordered!

Fortunately my overall commander was on hand to rally them, as I was going to need them as although one unit of chariots had broken through, they had become disordered in the process, and another unit of enemy horse was moving up to engage them. My other chariots were still locked into a mutually-disordering combat with the cavalry.

I needed something special to swing things my way and, with Lady Luck supporting me for a change, the Royal Guard showed what they could do.

The enemy elephants were disposed of and then the Guard turned left and rolled up not one but both cavalry units: in the picture below you can see that their last two activation cards were a couple of 10’s. In effect, in one activation, they had dealt with the elephants and two units of Siamese horse: definitely a battle honour coming their way!

The Siamese weren’t broken yet though, and their centre was swinging round towards my left flank.

The Royal Guard neatly reversed direction and headed back into the fray. I even had a reserve chariot unit, headed by a General, that could jump in as well.

This was a good thing, particularly as my right was now coming under considerable pressure (the first picture in the gallery, below).

With his centre’s expansion contained, a unti of chariot runners were able to take an enemy camp, and a unit of chariots postion themselves to charge the rear of the main Siamese line.

This, however, proved unnecessary as, again, the Royal Guard charegd forward and smashed a unit of enemy spearmen from the table (they’d been softened up by the archers). That cost the Siamese their last two coins, and the victory was mine.

I had definitely been lucky to survive that one!

Things were looking extremely dicey before the Royal Guard went turbo and mullered three units in one turn. I was also lucky with the cards when I needed my left flank to about face and head into the centre/the enemy’s rear.

A great game, played in excellent spirit, and nice to finally get the Hittites (and the Siamese) onto the table.

FK&P AAR: Ramshackle Road

Time for the next installment in the Siege of Norchester English Civil War campaign that I am playing through with friend Rob.

The Royalists are currently well alead after a disastrous Laundry Day battle last time. Today, however, I was sure that I could make up that ground as we headed down Ramshackle Road for scenario ten of the twelve.

View from the Royalist side of the table

The game begins with the Royalist raiding party that had been so successful last time, trapped against a river, with large numbers of Parliamentarians coming at them hard.

I knew ( as I had written the scenario!) that it was only a matter of time before the Royalists received reinforcements from Norchester itself, so had determined to overwhelm the small force they started with as soon as I could. My men therefore marched forward smartly, especially the Dutch-style horse on my right who had a clear path to loop around the enemy flank.

The arrival of the Royalist reinforcements would be determined by me pulling as certain number of Aces from the pack during my turn. Those who have played either TTS or FK&P against me will know that I currently seem to be unable to pull anything else, so it was no surprise when hoardes of Cavaliers suddenly appeared on my left, right on top of me, before I’d had a chance to get very far down the table!

wHAT? aLREADY?

There was nothing for it but to turn my left hand units to face the threat, and to try and win the game on the right.

turning my left to face the royalist horse

Cannily, however, Rob advanced his right forwards as well, trapping my cavalry into the corner of the hedgerows, attacked from front and flank. At the same time, some of his cavalry slid sideways in an attempt to get around behind my line

Back on the right flank, my infantry marched forward and engaged, seeking to pin the Royalists in place while my cavalry attacked their flank. Unfortunately, it took ages for the cavalry to get into position, giving Rob time to not only break one of my infantry battalia, but also to bring in reinforcements from his right.

My cavalry did, however, eventually manage to charge, looking to roll up the Royalist right flank…but although the Forlorn Hope was easily swept from the field, the pursuit that resulted temporarily blocked the rest of my horse charging home. Worse, when they did manage to eventually get in, the Royalist infantry proved to be tough hombres and shrugged off not one but two flank charges undamaged!

Things were going equally badly on my left: the Royalist cavalry seeking to get behind my line had done just that, riding over the two Roundhead infantry battalia sent to stop them.

Although in the centre, one squadron of Dutch horse was gradually wearing down (and would eventually rout) one battalia of Royalist infantry, the rest of my troops were now in danger of being overwhelmed!

The Parliamentarians had by now lost too many units to have much of a chance of winning and, before long, the loss of a battalia of Borders Sappers proved to be the final straw and the entire army broke and fled! Another huge defeat.

Here’s a pic (on the right) of the final moment with (on the left) pic of my cavalry from a bit before, surely about to charge down some Royalist infantry and go on to single-handedly win the game: this last just to console me and remind me of what might have been!

So another big loss for the Roundheads, which leaves me with quite a mountain to climb in the last two scenarios of the campaign!

Last of the Red Copper Hittites

As the Hittites were due to make their debut on the battlefield this weekend just gone, last week was spent frantically painting the last of them.

First up was a final chariot base:

I’ve tried to make all the heavy, three-man chariots a different colour and, actually, the grey one on the right came out quite well.

Next up are the slingers: two units of light infantry. These are amazing sculpts: both realistic and dynamic in equal measure. I just love the poses: look at the chap squatting on his haunches looking for possible targets, and all the different varieties of figures actually discharging their slings. Fantastic.

I’ve also sneaked a single ally-Syrian archer onto the left-hand picture, above. A bit of variety and a lesson in always making sure you order enough figures!

Keeping to a Syrian theme, here are three ally-Syrian light chariots. These are once again fantastic sculpts that are really full of life and movement. I decided to paint them in a way that contrasted with the brightly coloured Hittite chariots, so these use all the same colour bay/brown horses and a combination of dark browns and yellows for the chariot bodies.

So that’s the Red Copper Hittites done, although I am going to add some Gashkan (Anatolian mountain men) allies with figures bought from Khurasan.

TTS AAR: Crusades Game 3: Venetians Abroad vs Early Feudal Spanish

My third and final game at the recent Crusades event at the Games Bunker in Weston Super Mere was against Sid and his Early Feudal Spanish: the El Cid lot!

Rather than risk boring you with my usual report, I actually have a report from the other side of the table: Sid posted the following on his Facebook page. As you would expect, it is full of “fake news”, lies and propaganda, but it saves me the trouble of writing a report of my own!

Sid says: “My third and final game at The Bunker for the TTS Crusades Competition was against Robert Avery’s Venetians.

The armies line up. The open left flank beckons me.

“Rob and his army are hardened veterans and winners of this year’s TTS at BRITCON. The Venetians are an interesting combination of Spear or Bill and Light infantry. The main striking force are Knights supported by unusual Light Cavalry who have crossbow for that three-box range or lance to be an offensive Lights unit. He had two camps which are fortified.

“Robert Avery and I have played a few times over the last couple of years and I seem to be his personal kryptonite: when we play my cards are average but his are invariably ‘pants’. I was hoping this would play on his mind. I know, it’s a terrible thing to do to a lovely chap like Robert Avery.

“As with every game that day, I won the scouting, so I could match my commands where they would be most effective.

“Rob deployed his two infantry commands in the centre and split the cavalry equally on the wings. His left looked more exposed, so I concentrated two commands against that flank. My right flank only had one cavalry command but it was my veteran cavalry so I thought I had a chance to take him on frontally. My infantry might be raw but had extra bow so could impact him without getting too close. I also had a horde of raw Light Infantry to clog up the works.

The filthy raw peones look across at the heavily armoured Venetian infantry. At least there are plenty of monks in the camp to administer the last rites.

“My activations started well, I managed to rush my mounted troops right into Rob’s grill. The kryptonite was working and Robs right wing activated one unit before stopping.

“The Venetian infantry then ground forward, and I was in no position to stop them but did delay them and pushed back the mounted wings.

The right wing, not so open but still opportunities. I rushed forward to close down the opposing knights. You can see that the Venetians are down to a single unit of knights, but with LIGHT CAVALRY support which was whittled down. The Venetian infantry assault can be seen to the left.

“On my left I took down Rob’s Light Cavalry and the Knight unit closest to the centre.The loss of that Knight let me push cavalry through to hit his exposed Crossbow unit who were very unhappy at tangling with lance-armed cavalry. This exposed the Spear next to the Crossbow who were flanked and destroyed leaving a gap in the line.

“The only good thing for Rob was the survival of his far right Knight unit, although it was disordered so reluctant to get involved. In the end, Rob had a f*** it moment and charged them forward anyway. Unusually for Rob it worked, and they destroyed the Caballeros Villanos matched against them.

The success of my main effort on the left. I managed to make ground as Rob failed activation after activation.

You can see the surrounded Venetian knights, which oddly survived and fell back. The Venetian knights not surrounded, were the ones who fell to the two Spanish cavalry units who double teamed them.

At the back can be seen a crossbow unit, which were screaming to be ridden down. Just to the top right can be seen the only raw unit in the Venetian army. Identified by the fat cook in the front rank. They drew me like moths to a fame.

The final knight unit injured and fending off repeated attacks.

My cavalry with the red standard are occupying the ground formerly held by the now deceased Venetian crossbows. The now disordered Venetian raw spear have drawn the attention of my cavalry. I’m still loving that fat chef in the front rank. The camp is beckoning.

“In the centre, Rob’s infantry were pushing my raw Shieldwall back and I was pulling them back just to keep them in the game. But the success of this meant that they became isolated and exposed to my hordes of raw Light Infantry. Meanwhile my cavalry who had taken out his Spear, went through the gap and took one of the camps.

The camp is seized and my cavalry have the option to turn to drive the LI out.

“On my right, my elite Cabaleros Hidalgos rushed Rob’s Knight command and were outrageously lucky, taking down one unit of Knights and disordering the other. I followed up and had his Knights pinned against the table edge with another Light Cavalry pinned next to them. This unit just held on, which as it had the Army Standard kept Rob in the game. I could have pushed the Light Cavalry off the table but held on until he would be down to his last coin. On the same flank I had supporting Light Cavalry ready to hit some Light Infantry on a hill in the flank.

Meanwhile on the other side of the table.

My far right cavalry have pinned their opponents and throwing javelins at the trapped knights. My left shieldwall are driven back, but raw LI are flanking their opponents. The right side peones are disordered By the unit of billmen.

More detail of the centre

“After I cleared out another unit, I pushed the Light Cavalry off table for the win.

The far right. You can see how my right side cavalry are simply holding place ready to drive the LC off table.

The Venetian knights with army standard are disordered, the Spanish cavalry with army standard are also DISORDERED SO a stand-off but I am throwing the odd javelin. My LC are facing into,the centre ready to flank charge some LI on a hill just out of shot.

The knights break out of the trap, but are flanked by LIGHT CAVALRY.

There are also crossbows to the left peppering the knights.

Just after this, I drove the Venetian LC off the table for the win.

“As always with Rob, a great game, full of chat and banter. Yet his cards hated him and I’m not joking when I say that. Maybe he was distracted as I spent the entire day trying to nag him into going for an Ancient Spanish army for his next project.”

An excellent report from Sid, sadly accurate in that I lost the game 5-13, which meant that I finished the event in 5th position.

What Sid doesn’t mention is that in my last turn before he won the game, I had an excellent opportunity to rout two of his Shieldwall units with my infantry, which would have meant the game finished something like 9-13 or the like, which meant I would have placed higher overall…but I drew an Ace for my first actuvation and that was that!

Sid’s pictures are interspersed with his report, here are mine in a picture-only gallery:

So a great game but a disappointing end to the day. The event had been most enjoyable overall, and my thanks to Don and team at the Games Bunker, and my opponents, for a great day’s gaming.

TTS AAR: Crusades Game 2: Venice Abroad vs Anglo-Normans

Following my successful game against Don’s Mameluke Egyptians, my second game at the recent Crusades event at the Games Bunker in Weston Super Mere was against Matt’s Anglo-Normans.

The Anglo-Normans looked like quite a tough nut to crack: Knights to face my Knights, then either Spearmen to drive my cavalry back, or deep warband to swallow them up!

Matt won the scouting and, as the game opened, sent a unit of Knights forward straight into my left flank, presumably seeking to gain the initiative and get me reacting to his movements rather than vice versa.

Unfortunately for the Anglo-Normans, this backfired spectacularly, as his Knights crashed into mine and just evaporated from the table! Not a scratch on my men, an enemy general left alone in front of them.

Undeterred, however, the Anglo-Normans continued their advance, just trying to get in contact with my men as soon as possible.

I could see me doing well on the left, but was a little nervous about my right: five enemy foot units against a couple of units of Knights supported by Crossbowmen.

On the left, things seemed to be going well, but a series of sudden, card-induced reverses saw my glorious charges come to nothing, with the survivors driven back right as far as the table’s edge. Not good, not good at all!

Back to the rest of the table.

In the centre, my infantry (seeking to take some of the pressure off my right flank) had advanced strongly: the Alabardiers even forcing some of the Anglo-Norman cavalry to retreat in order to cover their camp. Unfortunately, all this fighting had disordered two of my three foot units, so what might have looked good at a distance was pretty shakey when you got up close!

And on the right I was still horribly outnumbered, with my remaining Knights threatening to be overwhelmed by waves of enemy infantry.

One unit of Knights did indeed rout from the table, but the other managed to rally and drive forward as, meanwhile, my one still—undisordered infantry unit in the centre also turned to help.

Sudden Death!

Both sides were now down to their last few victory medals: it was now a case of sudden death in that whoever lost their next unit would also lose the game.

Although I was in quite a good tactical position, it was Matt’s turn to go, and I had plenty of already-disordered units for him to attack, defeat, and thus win victory. I resigned myself to the loss and sat back as Matt pondered where to strike first.

The obvious place was my left flank, where my disordered Knights were faced with fresh Anglo-Norman Knights headed by a general. This was going to be painful as that meant I could expect to face two-three charges, all at a disadvantage.

The first Anglo-Norman charge went in - I survived.

The second Anglo-Norman charge went in - I survived.

The third Anglo-Norman charge went in - I not only survived but managed to disorder the enemy Knights as well…the cards conveniently throwing up a series of 9’s and 10’s,

But it wasn’t over yet: on to the next weak point.

My already-disordered infantry unit nearest the Anglo-Norman camp was attacked by both light infantry from the flank, and more Knights from the front, again with an attached General just about guaranteeing multiple charges.

Unbelievably, again I survived: a combination of poor attack cards from Matt versus decent defence cards from me.

To say Matt was a little frustrated at this point was a bit of an understatement! Worse, his attacks on my Crossbowmen and other Spearman unit failed to do any damage either. I had survived the turn, saving at least six (and I think I remember the number actually being eight) “match points”!

My turn now and, with so many of my men disordered, I only tw0 opportunities that I could take. The first was for my Knights on the far right flank to charge into the rear of the disordered Anglo-Norman Shieldwall just to their left. I had a General with the Knights, so could expect at least a couple of charges to go in.

Nope! I was hit by a couple of appallingly low activation cards and my cavalry stayed where they were, horses happily snacking on the grass!

No problem: my fresh Spearmen in the centre of the field could attack some disordered Anglo-Norman Shieldwall and…I got nowhere, my spears failing to penetrate the enemy formation!

This meant that unless I could think of another battle-winning move, the initiative would pass to Matt and I’d have to run the gauntlet of all those sudden death attacks again…and I was under no illusions that all those 10’s would come again.

By this time we had quite a little crowd around the table as I hummed and hawed about what to do next. I could charge the disordered enemy Knights on the left with my disordered Knights…risky but, I decided, worth a punt. Nope: another Ace meant that the flower of mercenary nobility weren’t interested in moving. I was fast running out of ideas!

My Crossbowmen had one ammunition marker left, and the Shieldwall in front of them were, as I said, disordered. That meant that I couldn’t kill them (as it takes three hits to kill a deep Shieldwall unit) but maybe if I knocked them down one more disorder I could, I don’t know, drop my crossbows and attack.

“Twang” went the crossbows, and it was a hit. Unfortunately the enemy Shieldwall saved so no damage done. Matt then checked to see if the General with the unit was hit: and he was! Another card was turned to see what happened: he died, and the game was mine!

That was an extraordinary end to a game that I had thought lost for some time. As it was, I achieved a 13-11 victory, showing what a grind it had been for both sides.

My thanks to Matt for such a memorable encounter, although it was one that would cost both of us dear as the points were totted up after the final game…

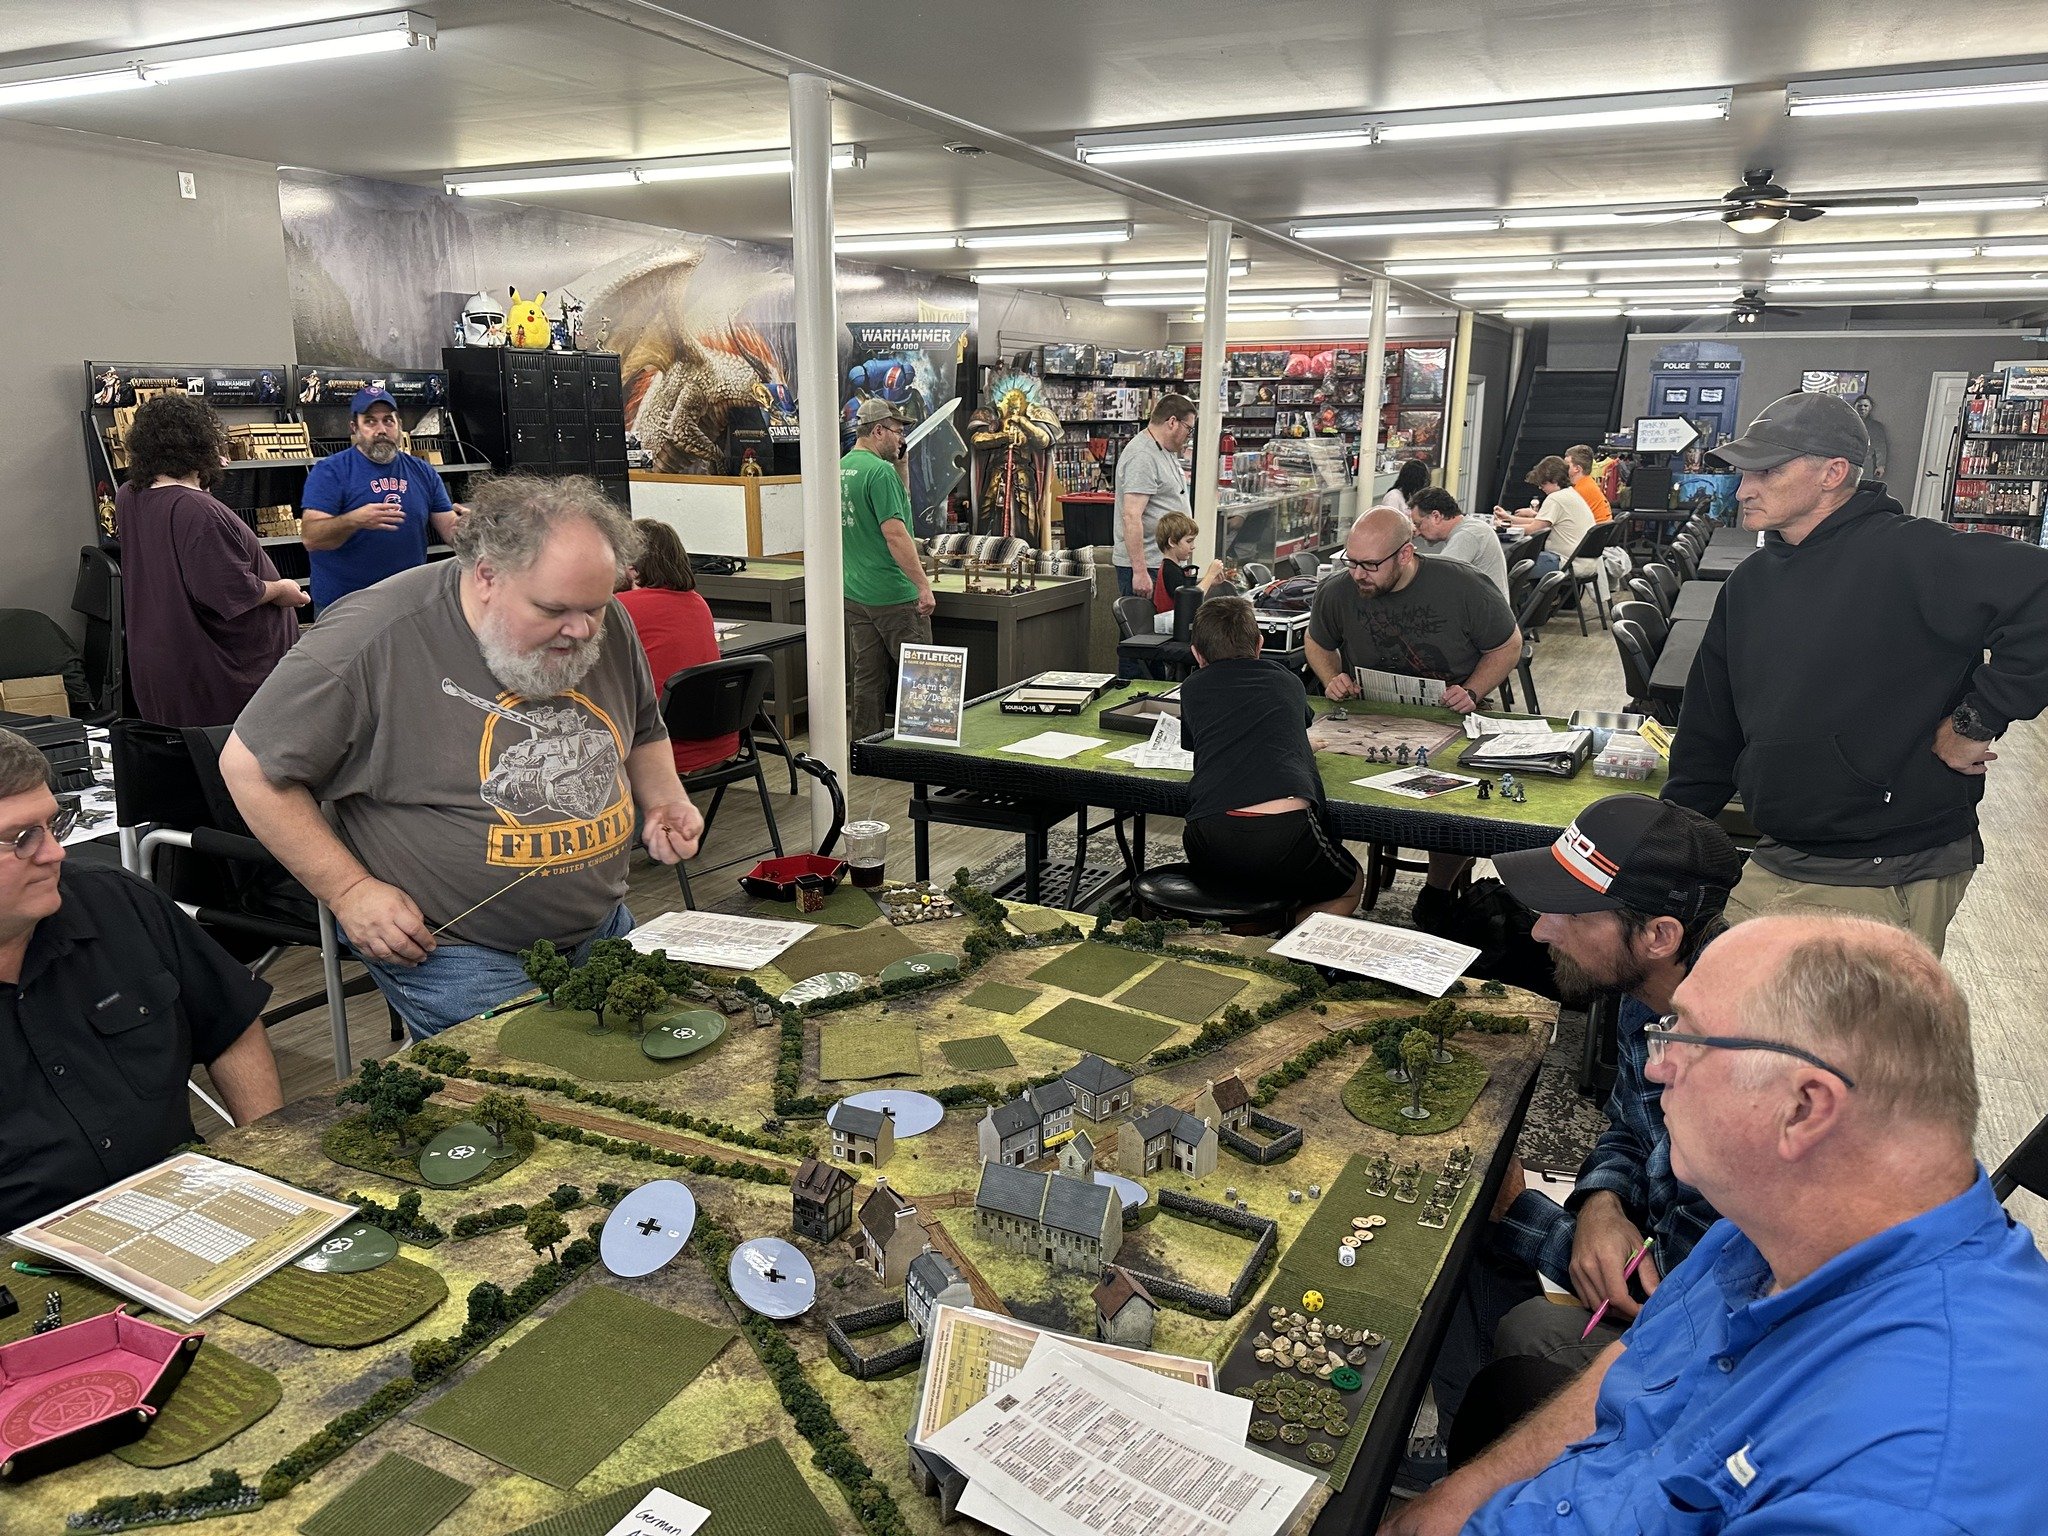
IABSM AAR: Normandy in Knoxville, Tennessee

Andy Cowell ran a Normandy game of I Ain’t Been Shot Mum at a couple of events recently.

The first run-through was at a Knoxville, Tennessee fundraiser for the American Red Cross to raise money for Hurricane Helene relief as part of the Knoxville Blood Bowl League (KNOBBL).

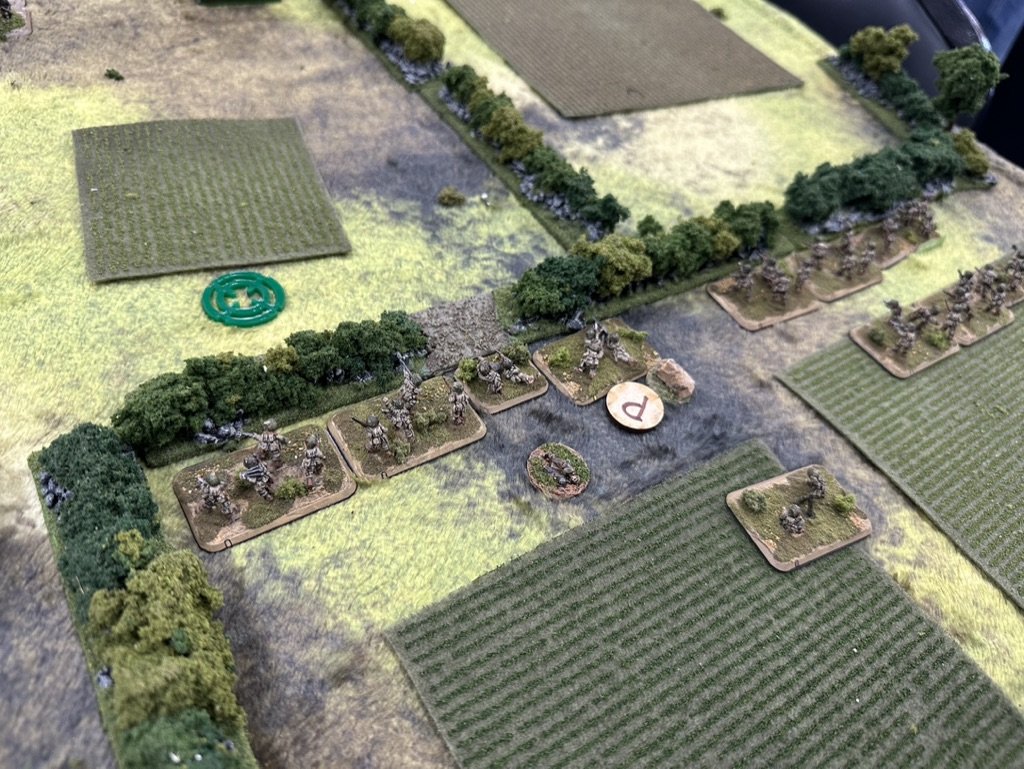
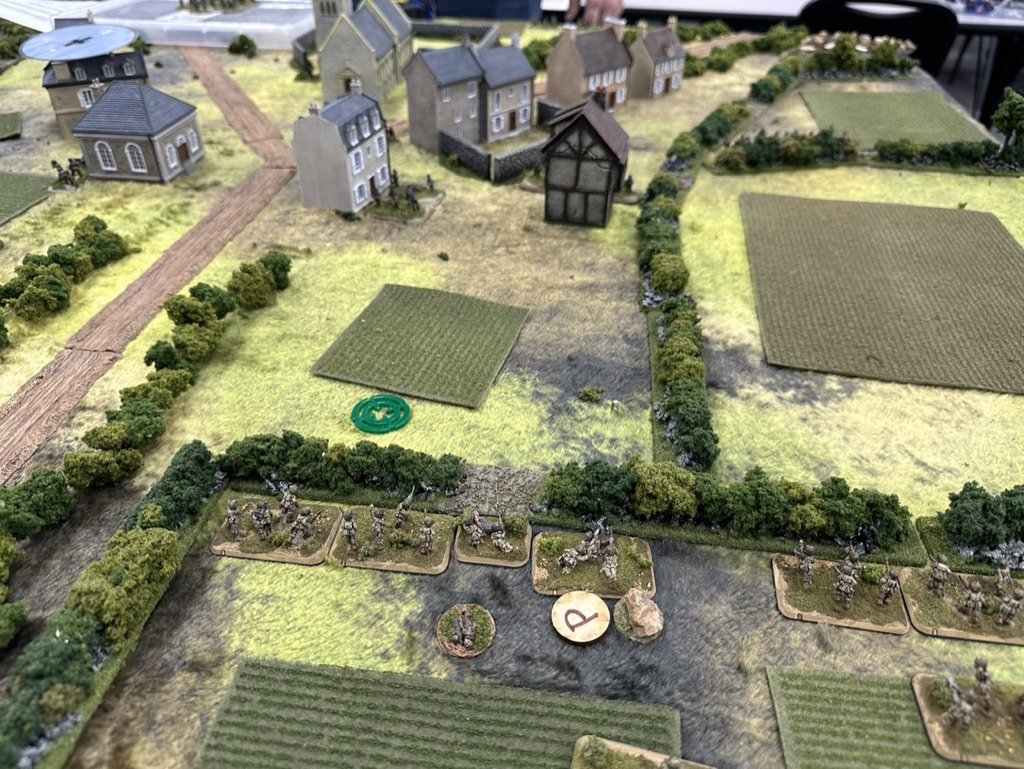
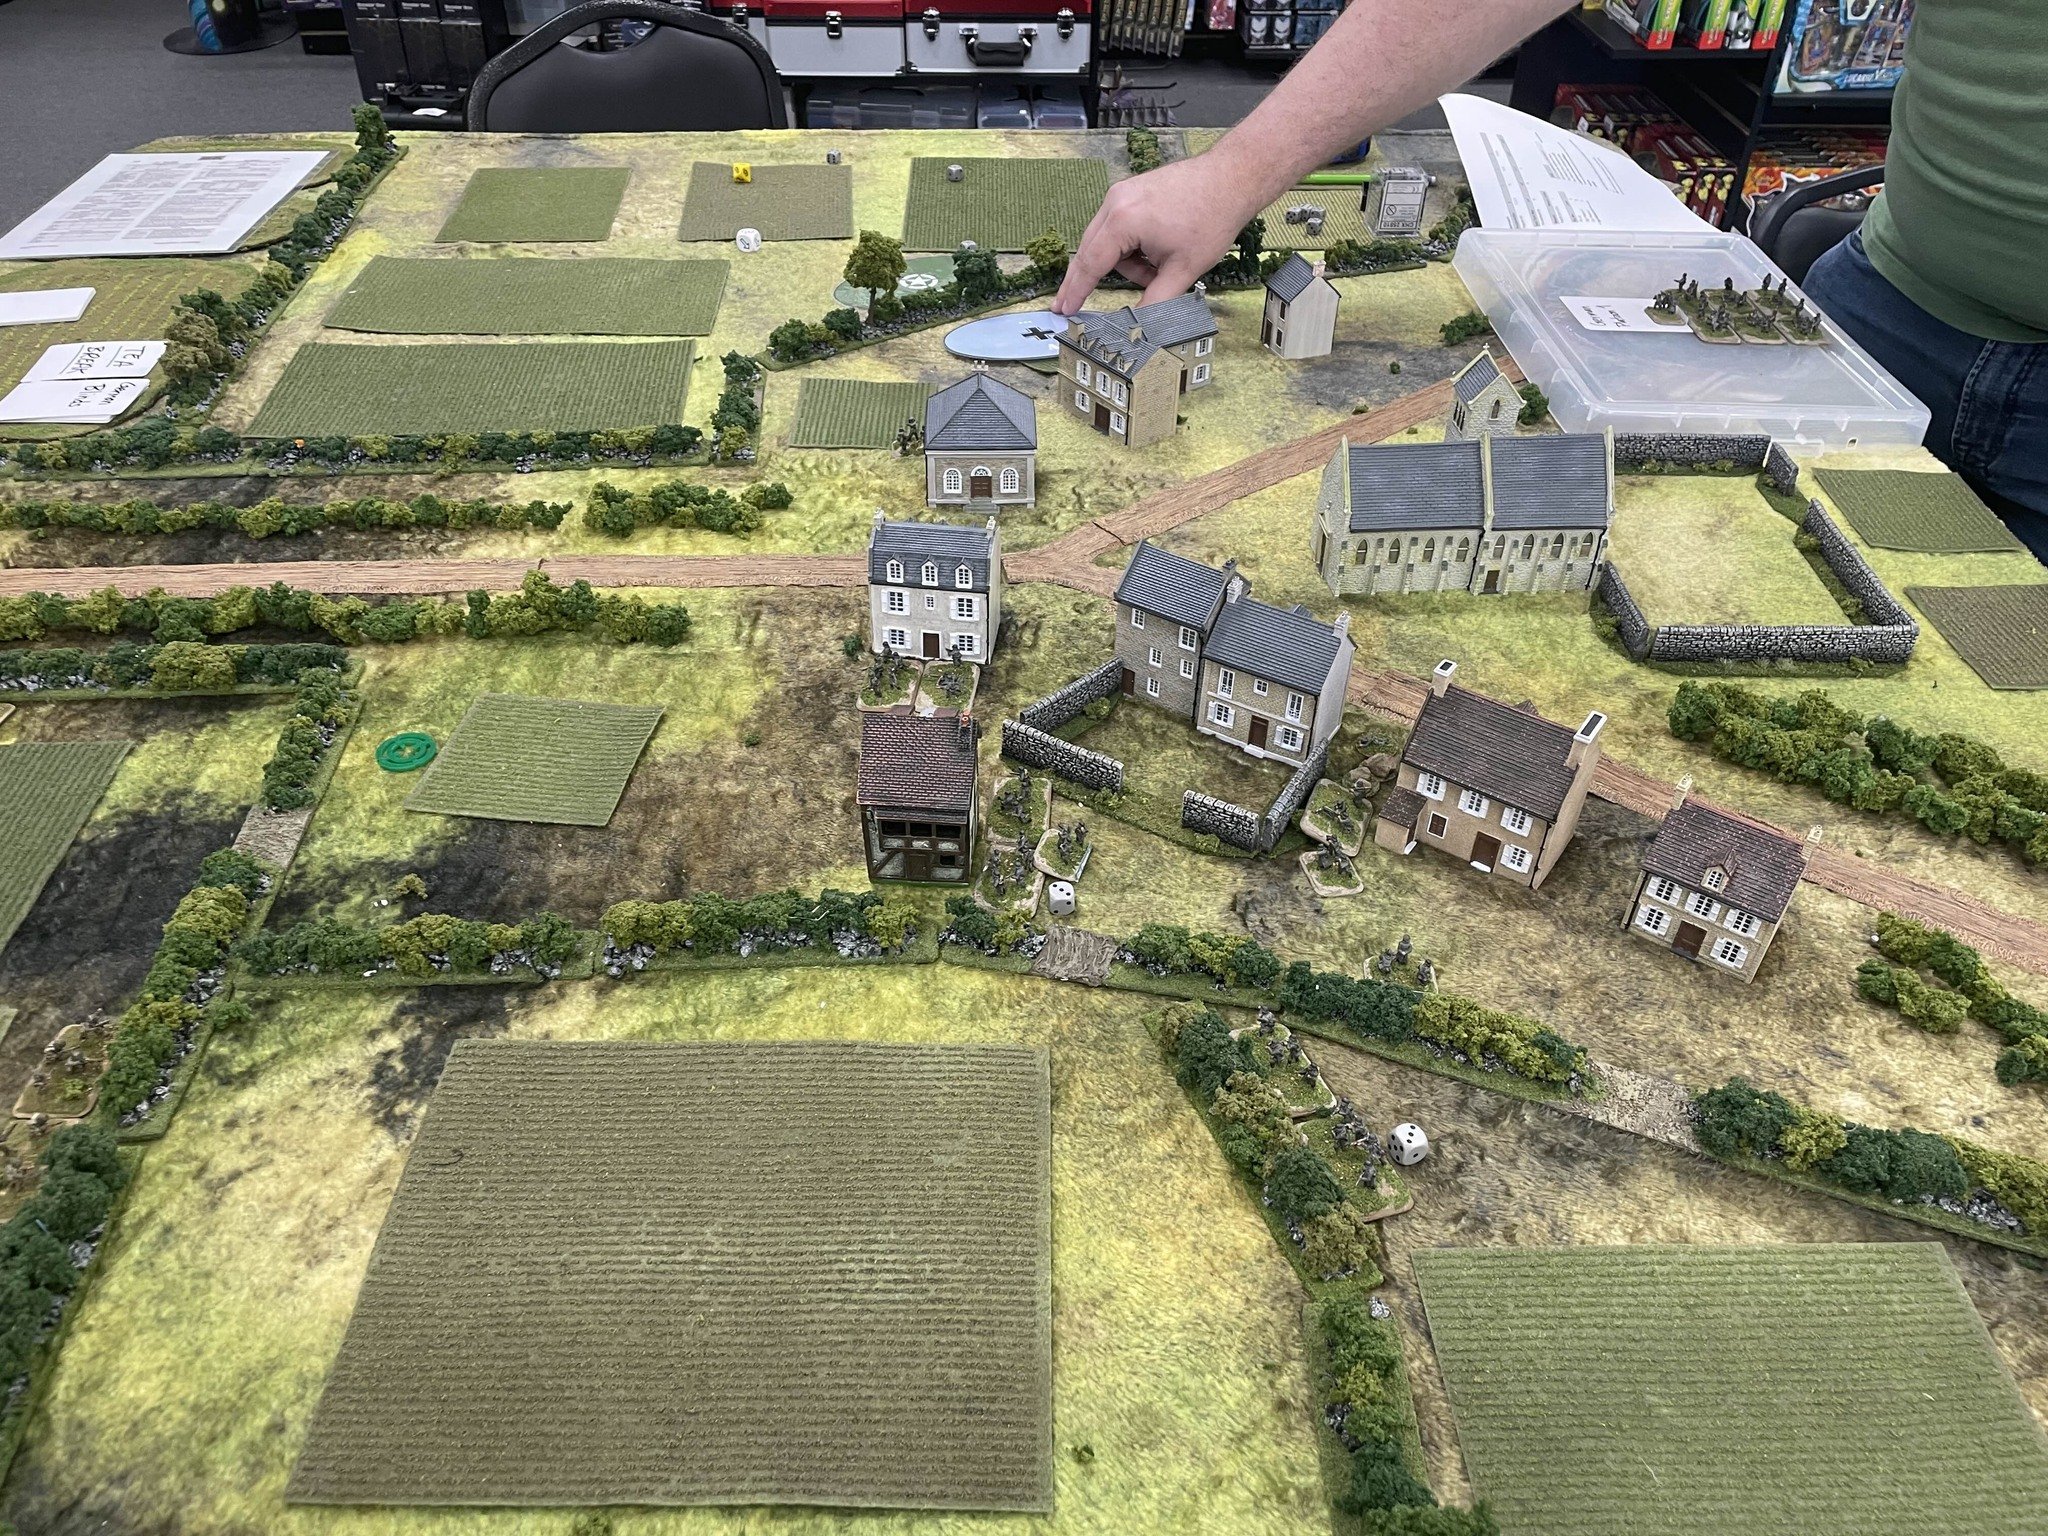
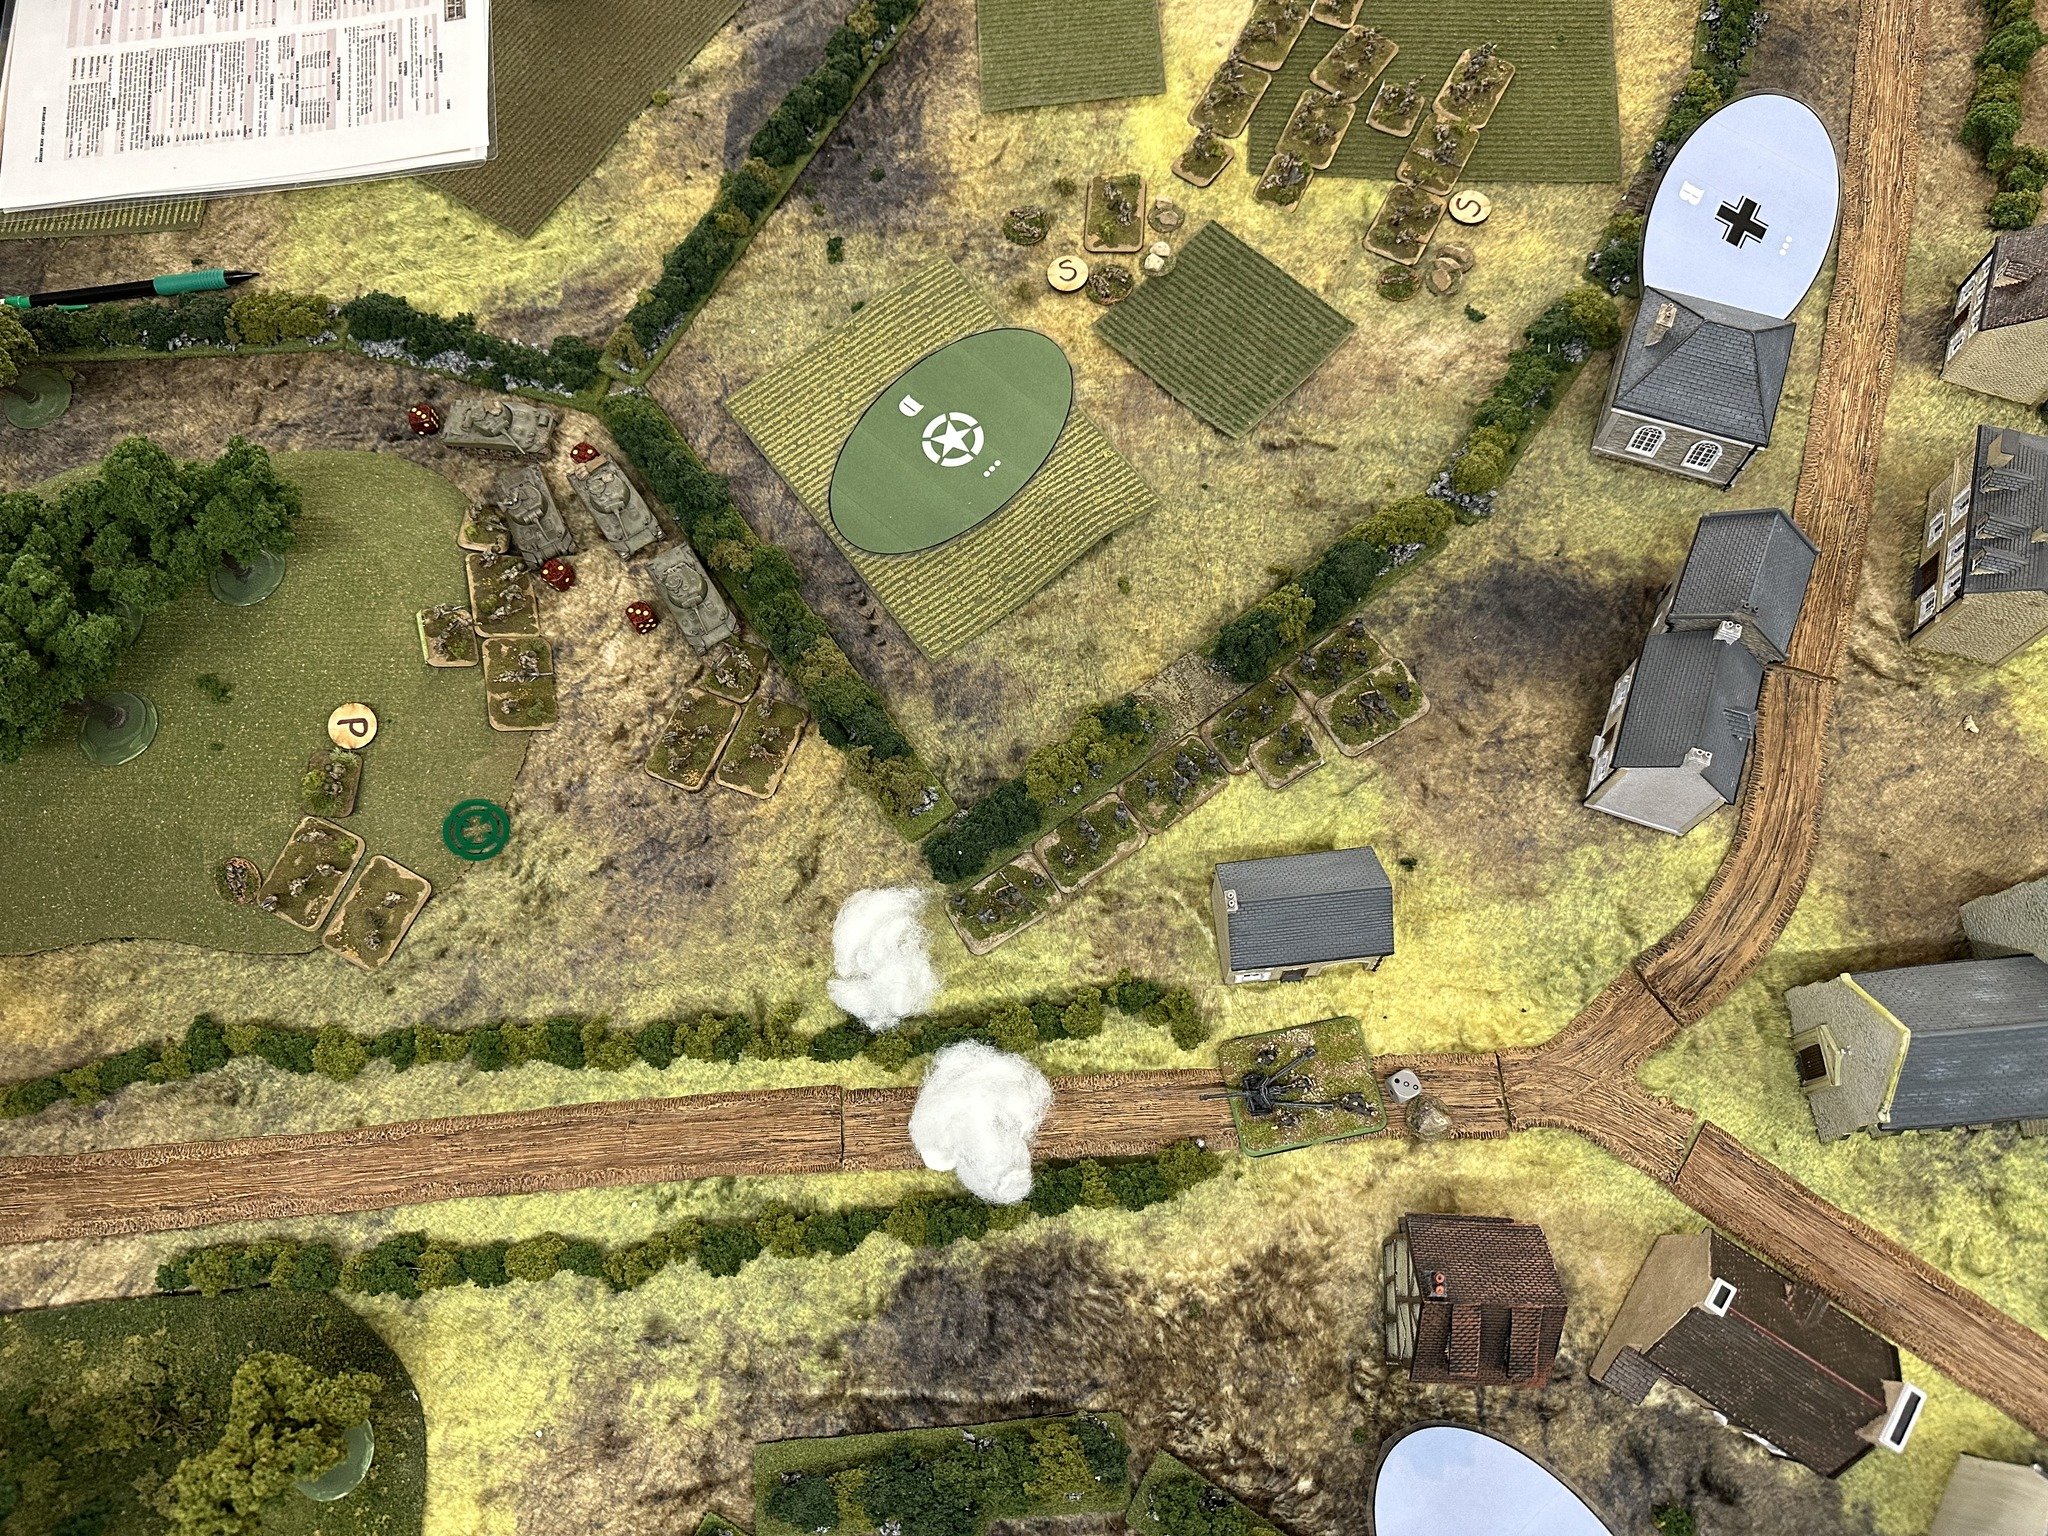
In the game, US Airborne troops are assaulting a small village amongst the Normandy hedgerows.

Andy then ran the game again as part of the East Tennessee Miniature Wargaming games day, also in Knoxville.

The game was scaled up a bit for a larger table: a full company of Airborne with a platoon of Shermans assaulting a village crossroads held by a Germany company with PaK 38s and an 8cm mortar battery.

TTS AAR: Crusades Game 1: Venice Abroad vs Mameluke Egyptians

Earlier this month I travelled to Weston Super Mere for the Crusades event at the Games Bunker there: a tournament where only armies that could conceivably have fought in the Crusades could take part.

My Later Italian Condotteri Venetians therefore packed their suitcases and became a Venice Abroad army: largely the same but with no Later Knights and no Handgunners.

My first game was up against Don’s Mameluke Egyptians. I lost the scouting, so set up in a traditional infantry in the middle, cavalry on the wings formation, and watched vast amounts of enemy cavalry deploy in front of me. Looking at the pictures, I think Don only had one formed and one light infantry unit, with all the rest of his troops being mounted.

As I was fairly certain that my units were stronger than Don’s on a one-to-one basis - knights vs heavy cavalry, spearmen vs mounted - I determined to get stuck in as soon as possible whilst watching out for enemy light cavalry finding their way onto my flanks.

The Mamelukes opened the action, coming forward in what looked like piecemeal fashion, but was actually an attempt to weave their way through weak points in my line. It certainly looked like they had amanged this with a unit of light cavalry sneaking past me on the left, and a unit of heavy cavalry attempting to run over my raw crossbowmen on the right!

On the right flank, somehow the militia crossbowmen survived the charge of the heavy cavalry (they were helped by the spearman unit just to their left), with my Knights coming round the outside to engage two units of veteran heavy cavalry towards the Mameluke side of the table.

Back to the left flank, and the gap was plugged, with my infantry going forward, bouncing backwards slightly, and then being reinforced by Knights. I was determined to push through the opposition here and go on to take the Mameluke camp.

Back to the right again, and the Venetians were slowly but steadily pushing the Mamelukes back.

One unit of elite cavalry had already been broken by the Venetians Knights, and it wouldn’t be long before the other went as well.

There were now two clearly-defined battles taking place: one on the left and one on the right, with a big gap in the centre.

I had just about won the right hand flank, and only needed a little bit more to do the same on the left. Although the spearmen had got themselves in a bit of trouble from flank-charging light infantry, the Knights and Alabardiers had combined and soon the Mamelukes had lost another two units and the game.

So a good start to the Crusades with a 12-3 victory.

Hittite Chariots and Chariot Runners

The Hittites are coming along nicely now with the addition of another bases of chariots and two bases of light infantry chariot runners.

As with all the Hittites so far, these are 15mm Red Copper miniatures 3D printed by Baueda in Italy. Yes, the lead time is slightly extended, but I have found the Baueda prints very high quality and as there’s a set postage fee of €12.50 however much you order and wherever it’s going to, buying in volume makes the whole process very cost-effective indeed. Recommended as a source of the Red Copper range.

First up are another two heavy three-man chariots. It looks like the chariot on the left is only manned by two crew, but that’s because there’s a chap taking a breather sitting on the back of the chariot, presumably regularly asking “are we there yet?” to his two comrades!

I can’t emphasise how nice these models look in real life. They’re a pleasure to paint too, with the relief so clear that getting the ‘plank’ effect on the chariot bodies is easy (you just have to stay within the lines!) and the horse-armour just about paints itself (dry-brushed bronze over a Snakebite Leather base if you’re interested).

Then I’ve finished a couple of bases of light infantry chariot runners. In To The Strongest, these are light infantry with javelins, but I quite like the light axemen look of the Red Copper figures:

Again, very easy to paint and highly recommended.

Now onto the rest of the light infantry, the ally-Syrian light chariots, and more chariots…

TFL Painting Challenge: Late October Update

There’s only a couple of months left before the end of the year, so what better time to get those Painting Challenge entries in.

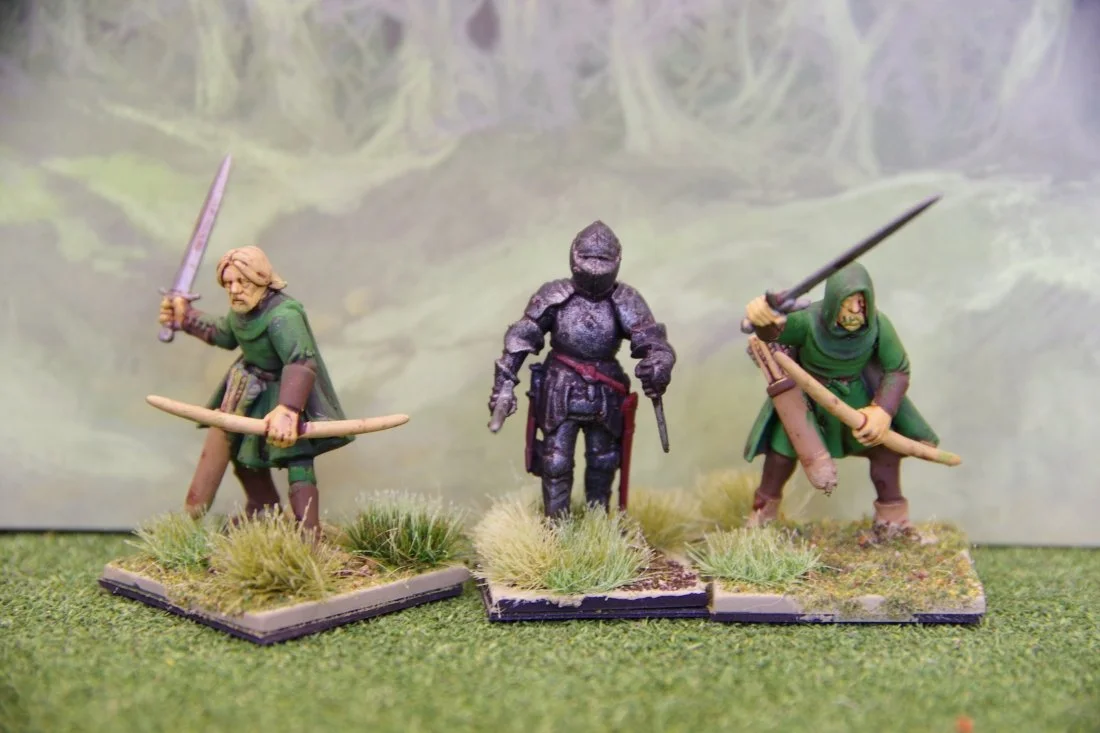
First up this update, we have Carole, who has painted an outlaw band plus a couple of extras:

Next we have more “little planes” from Mr Luther: some real behemoths in this submission:

Nick Cooper has also been busy with a collection of figures fantasy. This is only some of them, so make sure you check out the rest in his full gallery.

Mt Helliwell sends in his usual large entry. Again, far more to see in his full gallery. Where does he find the time?

And last but by no means least is Sapper, with a mix of scales from 10mm through to 28mm:

There’s still plenty of time to get your entries in, so keep them coming!

IABSM at The Other Partisan

I didn’t get to The Other Partisan this year: real life getting in the way of wargaiming again!

A pity, as there look to have been many excellent games on display including those in the now usual Lard Zone.

Featured below are photographs from Michael Curtis from the I Ain’t Been Shot Mum Facebook Group of the superb 28mm Gold Beach, King Sector, 6th June 1944 game.