IABSM AAR: Blenneville or Bust! #02: Avaux

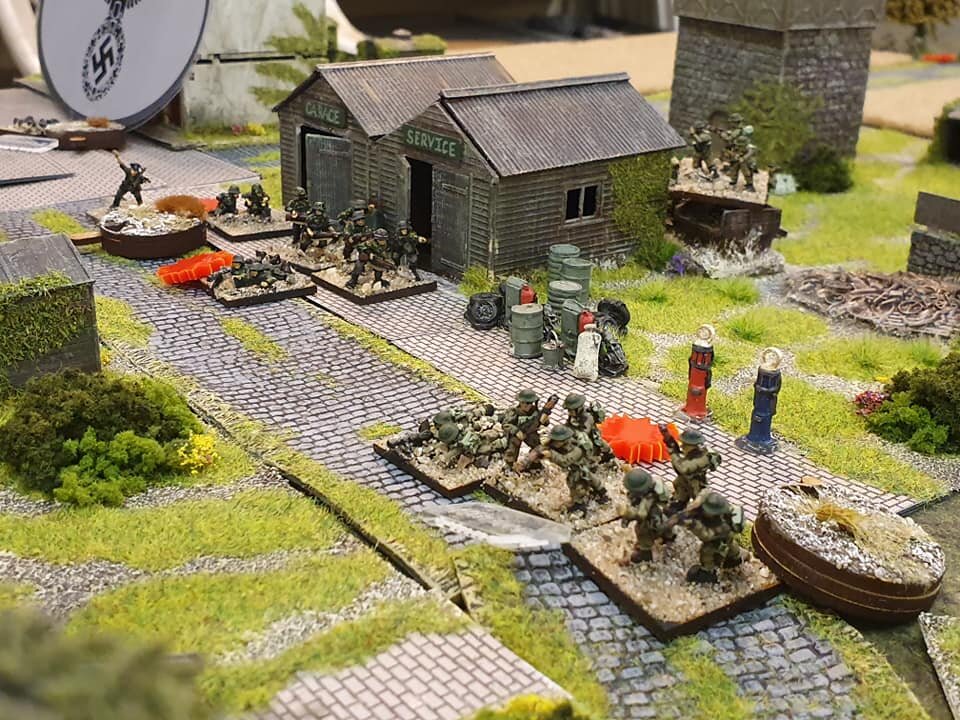
Great little I Ain’t Been Shot Mum After Action Report from Rob Goodfellow covering a game played using the second scenario of the Blenneville or Bust! scenario pack.

After an American recon force drives off its German opposition, British armour tries a thrust through Avaux..but the Germans are waiting for them.

Click on the picture below to see all.

IABSM AAR: More Arras from the Weekend

Yes, I know we have had two lots of Arras already (three if you count the 15mm game from a couple of weeks ago) but here is another set of photographs taken from this last weekend’s Salute-warm-up Arras game.

These are all by Phil Turner, one of the players in the game, and are lifted from the IABSM Facebook Group.

I would recommend a look at these, even if you think you’ve “seen it all before”: there are some cracking close ups well worth gander!

Click on the picture below…

IABSM AAR: Arras: Another Run Through

Here are more great shots of Michael Curtis and Friends’ Arras Counter-Attack demo game planned for Salute this year.

This was the second run-through of the weekend, with a slight change to the British start position to see whether that would speed up the “action” part of the game.

Click on the picture below to see all.

IABSM AAR: Arras (a different game!)

Michael Curtis and friends are putting on a demo game of I Ain’t Been Shot, Mum at Salute this year. The scenario chosen is the Arras counterattack of May 1940.

Demo games need a lot of preparation, and a good few run throughs before they are ready for public consumption. Click on the pic below to see this one:

Those of you who regularly visit this site will know that we had a different Arras battle report last Tuesday. Here’s the link so that you can compare the two.

IABSM AAR: A Late Christmas!

Here’s a rather nice battle report from Alex Sotheran covering a game played just before Christmas last year, and taken from Alex’s excellent blog Storm of Steel.

The action is once again set in Malaya in late 1941, and covers an action very similar to the encounter at Slim River.

Click on the picture below to see all:

IABSM AAR: On the Northern Shoulder of Kursk, Fight 6: German Assault on the 1st May Collective Farm

Here’s the final episode from Just Jack’s incredible “On the Northern Shoulder of Kursk” series of battle reports.

Here the Germans launch a last-ditch attempt to take the 1st May Collective Farm is the face of the usual determined Soviet defence.

This is another truly epic report (146 photographs plus plenty of text) so well worth a look. Click on the picture below to see all:

Check out Just Jack’s blog by clicking here.

IABSM AAR: Valle della Marie

Here’s another great I Ain’t Been Shot, Mum! after action report from the pen of Tim Whitworth and picked up from the IABSM Facebook Group.

This time, Tim and friends play one of the scenarios from the pen of Mike Whitaker that can be found in the various Lardy Specials. I can’t remember which one it is, so you’ll have to get them all to find out!

This encounter is set around the Gothic line in 1944. A British company attack supported by Sherman tanks and artillery against Germans dug in and determined to fight for the last inch of their territory. Click on the picture below to see all:

And why not compare the action here to Mike’s original report, which can be found by clicking here.

IABSM AAR: The Gap

Here’s a battle report from a game of I Ain’t Been Shot, Mum played last weekend against John and Dave.

Unusually for us, the scenario was late war, eastern front: with the Soviets rushing forwards to secure a gap in a ridge that the Germans were also seeking to block.

It was a very close run thing, with a fair degree of carnage on both sides. Click on the picture below to see all…

IABSM AAR: Operation Martlet Day 2 (2)

A largely photographic battle report created from a mash-up of posts from Desmondo Darkin and Iain Fuller on the IABSM Facebook Group. The game is adapted from the Chain of Command “Operation Martlet” pint-sized camapign book.

They are playing a version of I Ain’t Been Shot, Mum that uses dice, not cards, to control initiative: a mash-up, if you like, of CoC and IABSM. Seems to have given them a great game.

Click on the pic below to see all:

IABSM AAR: South of Cherbourg

It’s always nice when you hear about someone returning to I Ain’t Been Shot, Mum after a bit of a break and having a thoroughly good game…so here’s a quick AAR from Rob Goodfellow of the Tamworth Games Club.

Here Rob and friends play through the second sample scenario from the IABSM v3 rulebook: South of Cherbourg. Click on the picture below to see all.

Even better, Rob tells me that they are now thinking of playing through the Blenneville or Bust! scenario pack: so I’m sure we can expect plenty more AARs in the near future!

IABSM AAR: On the Northern Shoulder of Kursk, Fight 4: Karpunevka

Here is another stupendous After Action Report from Just Jack, taken (with permission) from his excellent BlackHawkHet blog.

I say “stupendous” because not only is it a really good read, but it’s huge as well: 144 photos, all individually captioned with an account of the action that’s shown. It’s so huge that it actually broke my attempt to get a post every day in November: I managed one every day right up to Monday 25th and then ran into this monster!

It also didn’t help that Squarespace was playing up: I had to type out about one caption in every five as the cut-and-paste just wasn’t working. Thanks for the bleeding finger tips, Squarespace!

Anyhow, enough of my moaning. It’s a great read: click on the picture below to do so…

IABSM AAR: Bloody Omaha Re-Visited

Those of you who have been on this year’s wargame show and Lardy Day circuit this year may well have seen Mike Whitaker’s excellent demonstration game Bloody Omaha. This is a fantastic set up representing The Big Red One’s assault of the eastern end of Omaha beach (Colleville-Sur-Mer).

Those of you who know Mike will know that he is a man of mighty generous spirit, as is proved here as he lays on the game for a couple of fellow Lardy’s who hadn’t had a chance to take part in any of the show sessions.

Click on the picture below to see a magnificent battle report taken from the Roll A One blog and Mike’s own blog Trouble At T’Mill.