TTS AAR: Vikings Win!

Those of you who play To The Strongest will know that although the points system is supposed to make all armies equal, some armies are less equal than others.

One such are the Vikings: large numbers of unmanouverable shieldwall units lacking any cavalry and with only a smattering of lights in support. Head on it can pack a punch, but its opponents generally dance around its flanks leaving its brave warriors to be surrounded and cut down one by one.

I recently acquired a rather nicely painted Viking army in 15mm purely on the basis that I liked the idea of a Viking army. Ever in support of the underdog, however, I was under no illusions that I would have any great success with them!

Odin, hear our call: can we just win one battle please!

I was discussing the problem with friend Bevan, another proud but disappointed owner of a Viking army, when we both had a light-bulb moment of inspiration: let’s get our Viking armies on the tabletop together, to fight each other. That way one of us is bound to win and give their brave Scandinavian heroes the victory they so deserve!

With this genius idea decided upon, the next couple of weeks were spent in the customary ritual taunting - my Vikings are harder than your Vikings etc - until at last the big day arrived.

The Armies

The armies we had put together were significantly different.

My Vikings consisted of four commands: each comprising two deep, shieldwall units and one light infantry unit. One command consisted of Huscarls with mighty axes, the other were Bondi. I also had four heroes and an army standard.

Bevan’s mob also consisted of four commands, but was less pleasingly symmetrical than mine. One command comprised a couple of Huscarl units; one command was one Huscarl and two Bondi units; one command was three Bondi units; and finally he had a command consisting of some Irish javelinmen and light infantry. He also had five heroes and an army standard.

Somewhere in Scandinavia

Bevan’s Mob

My Glorious Vikings

The Battle

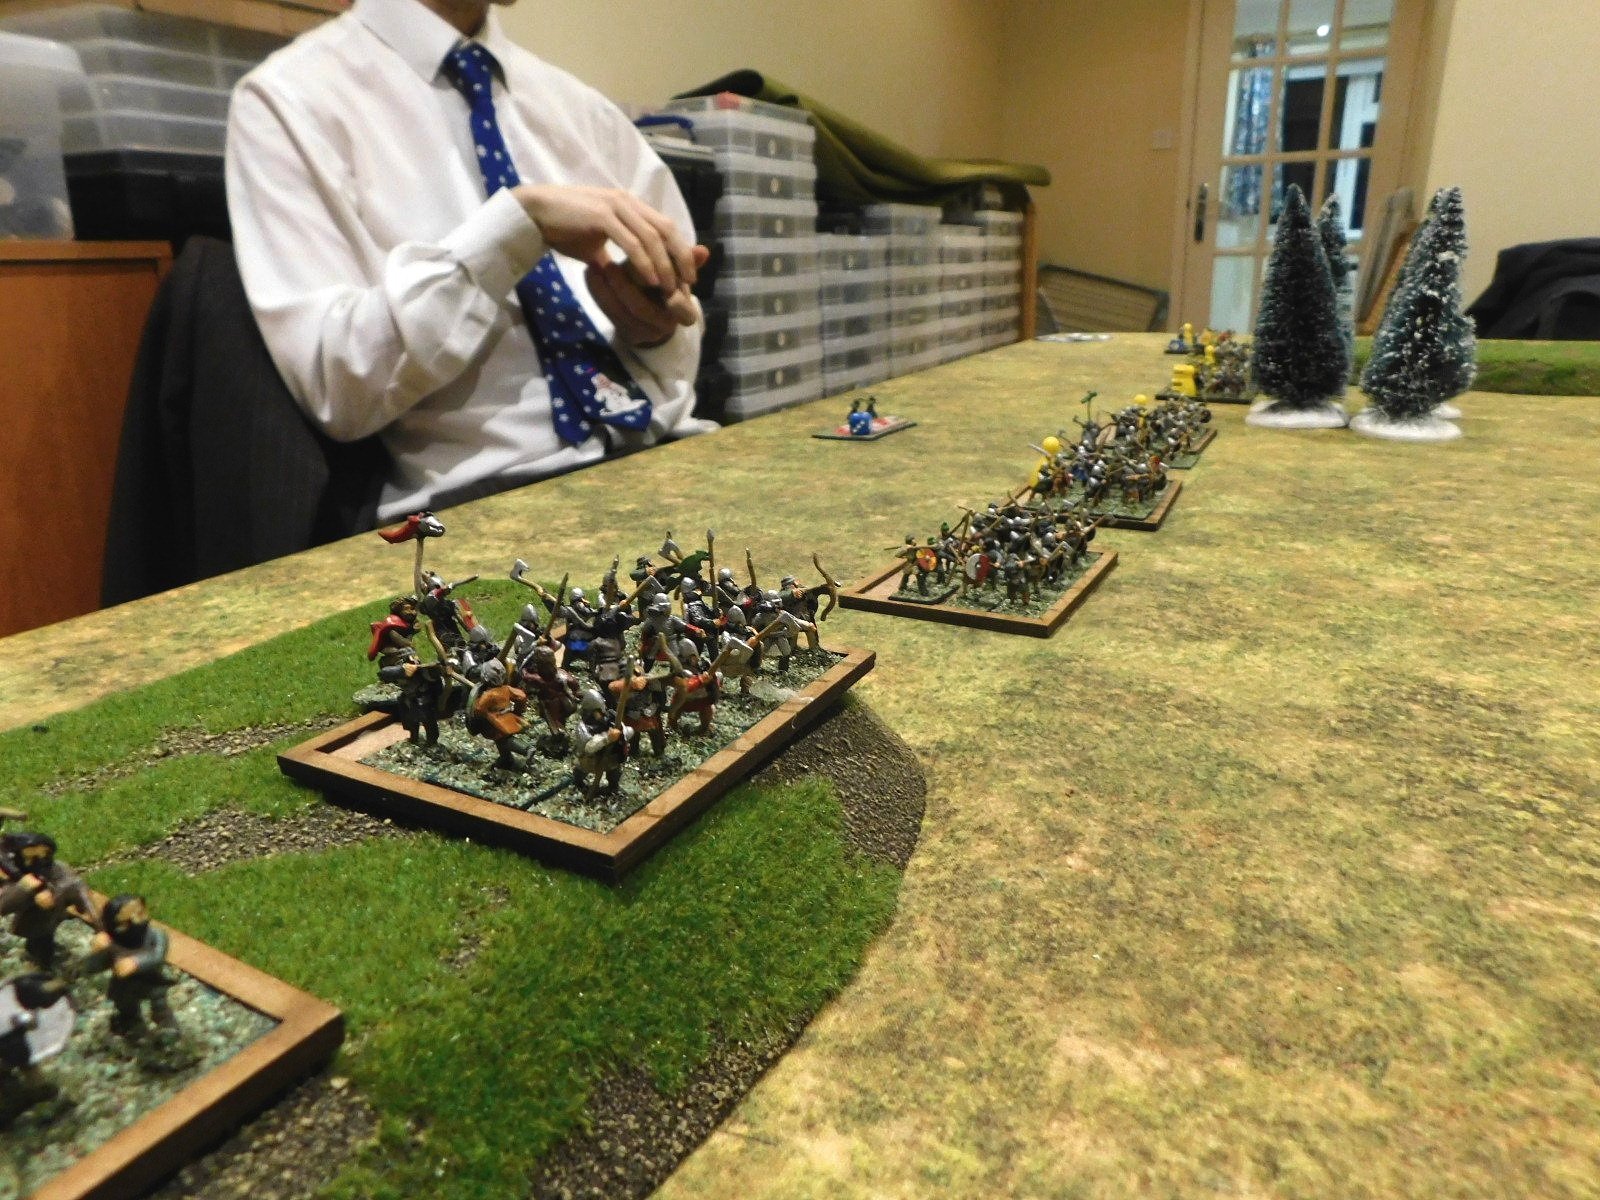
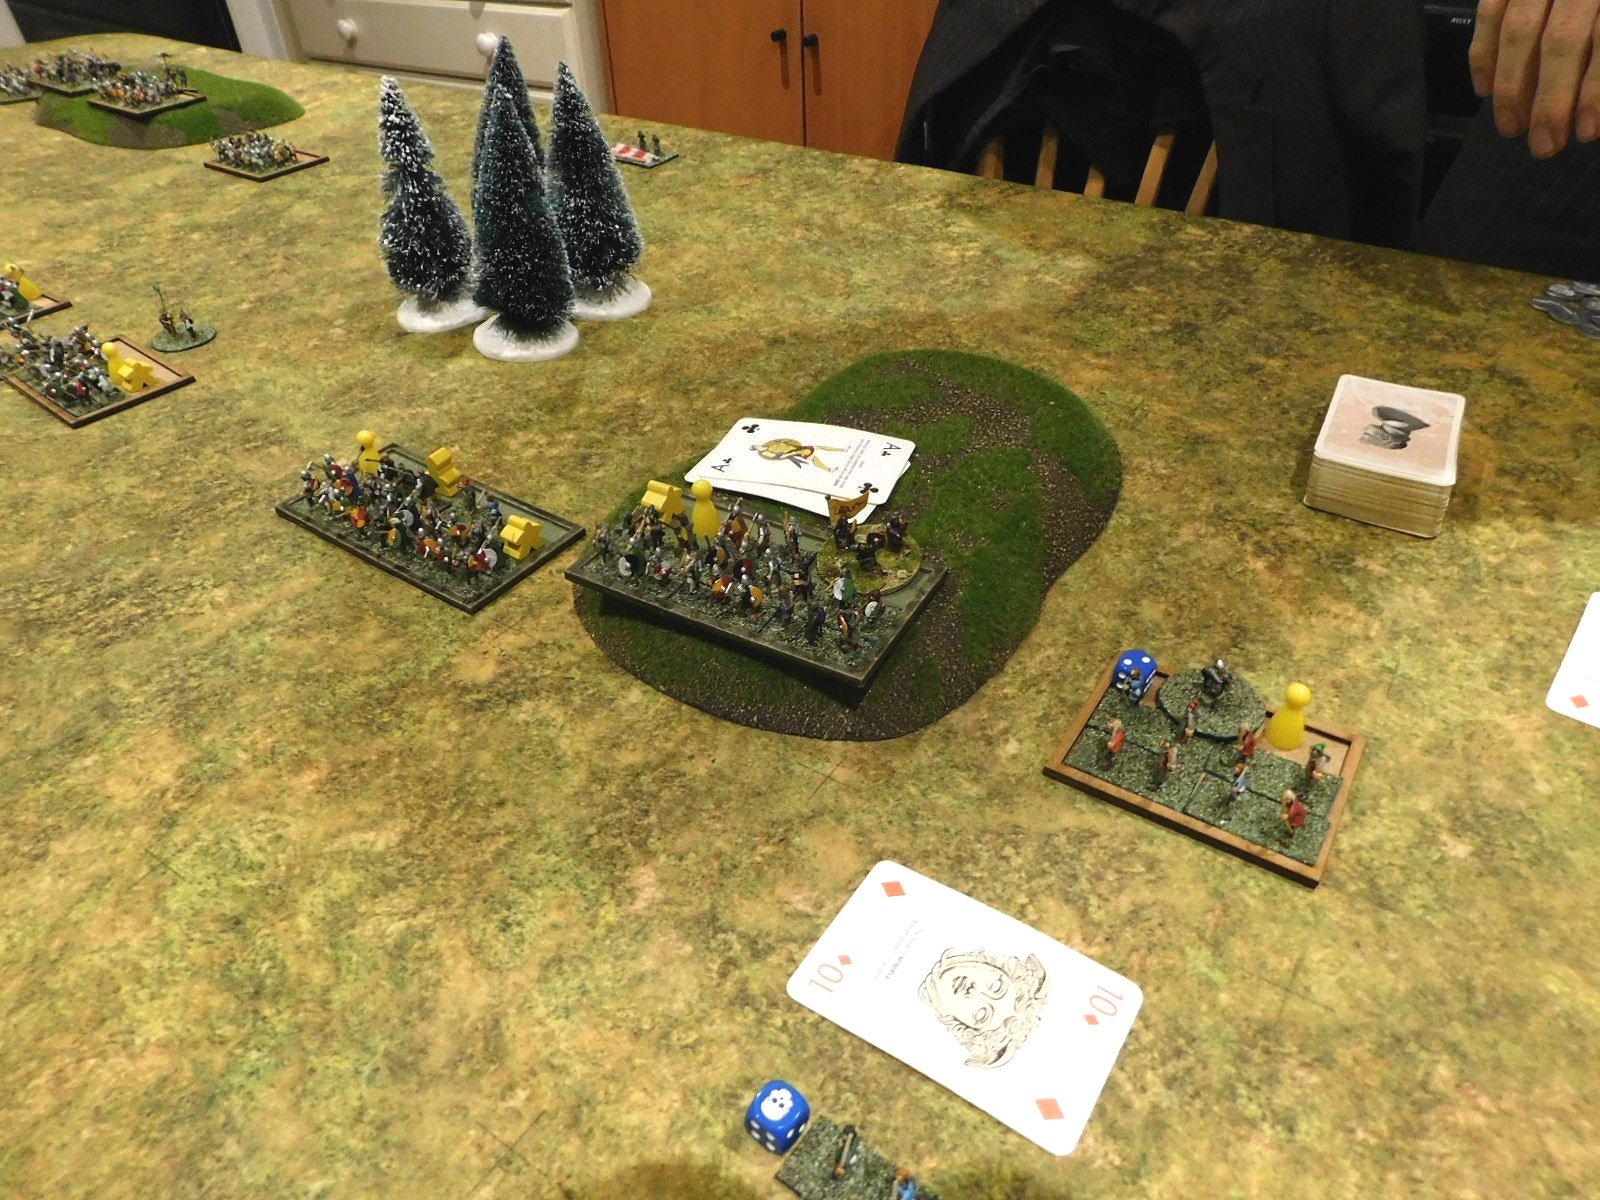
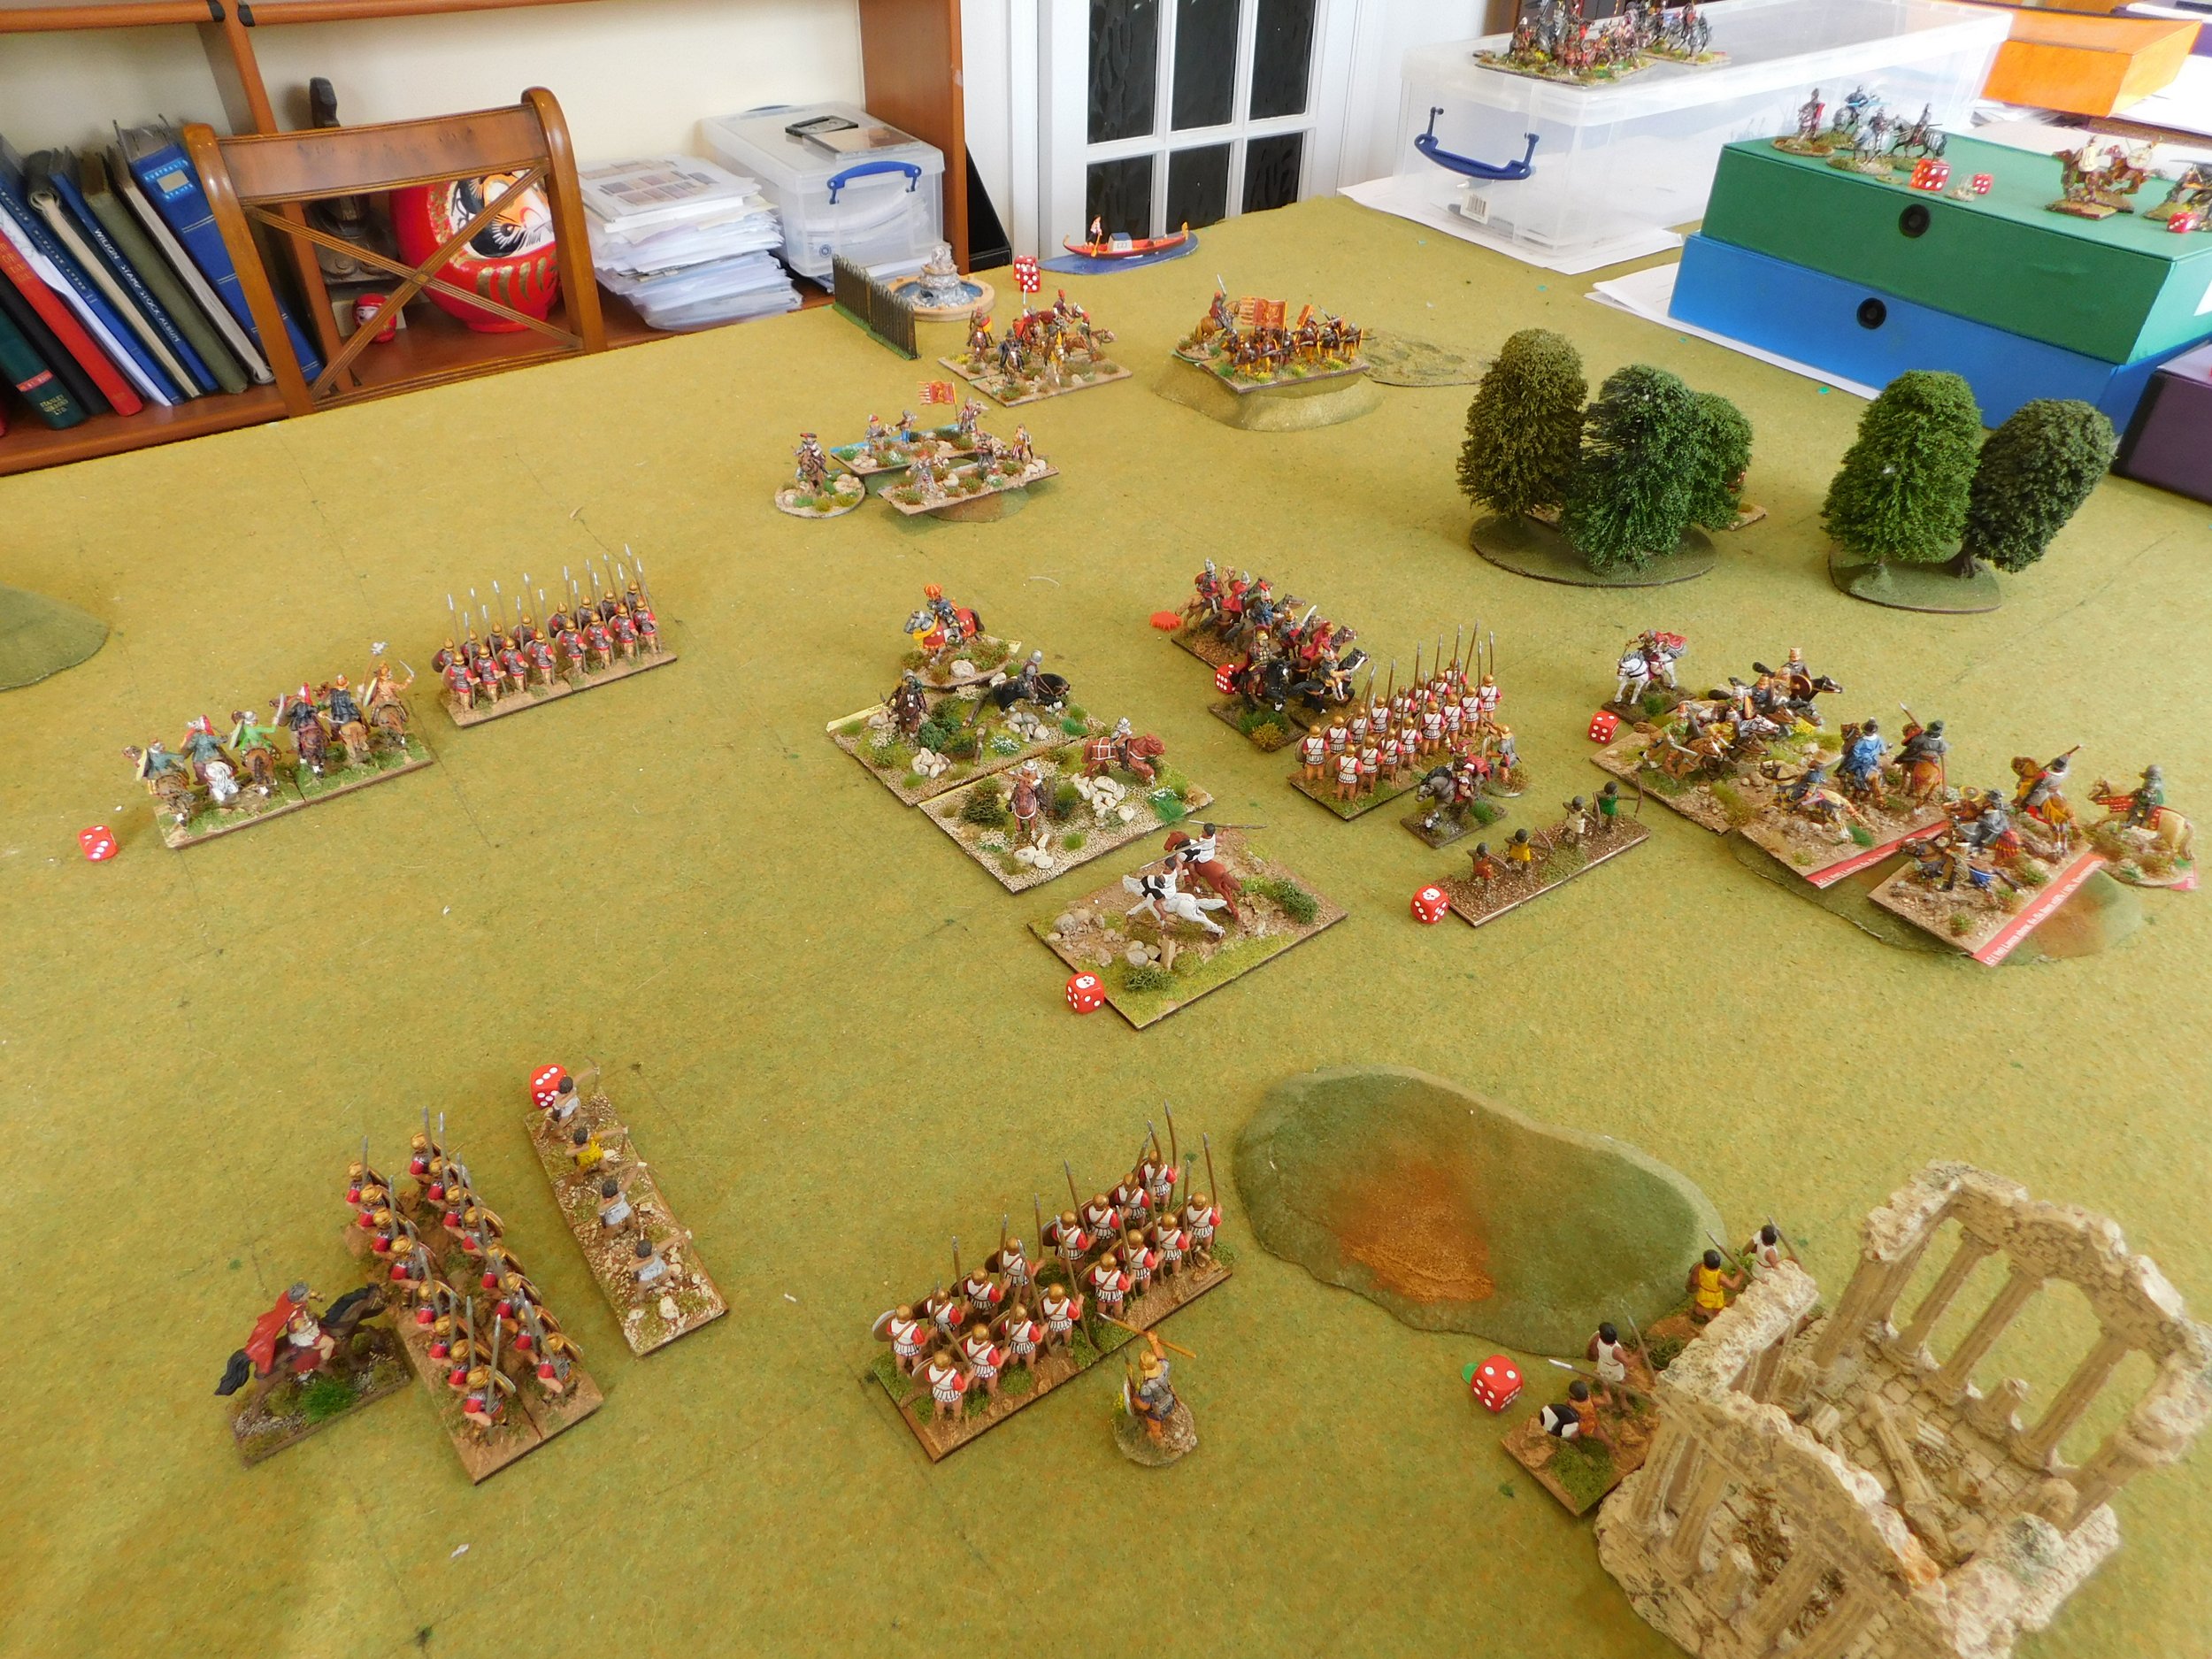
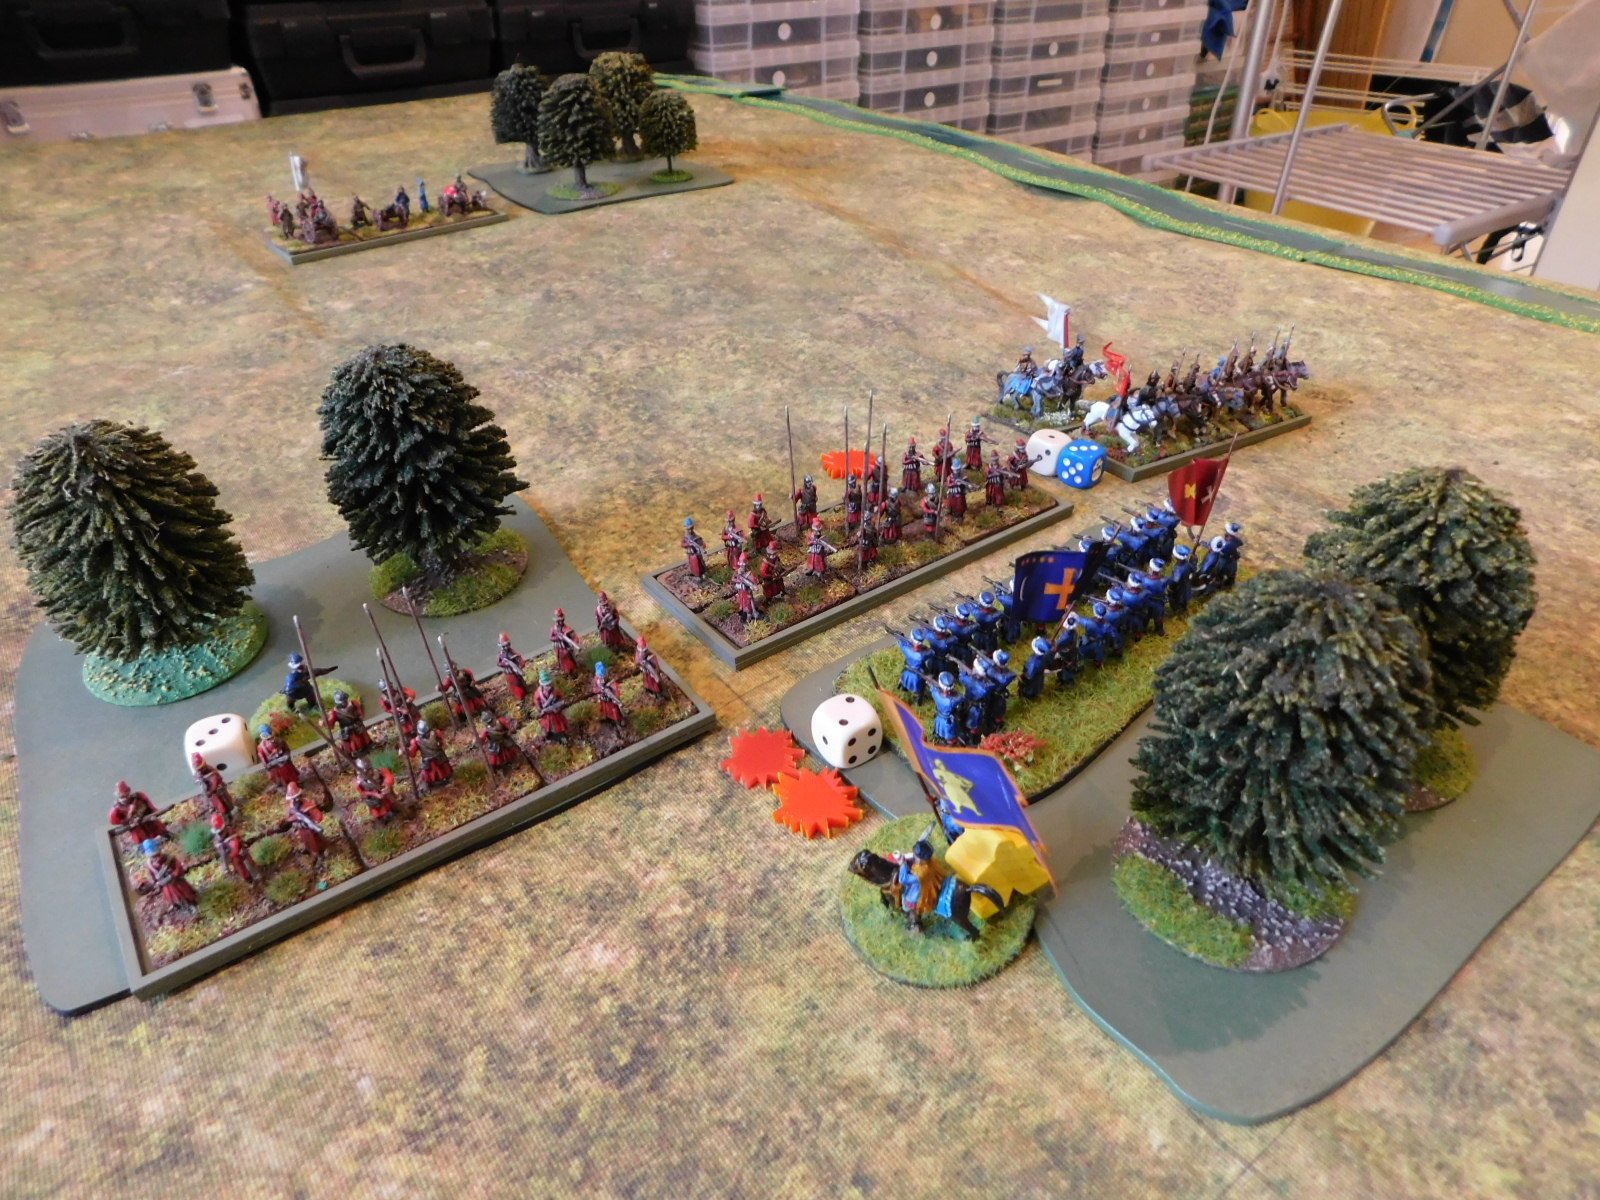
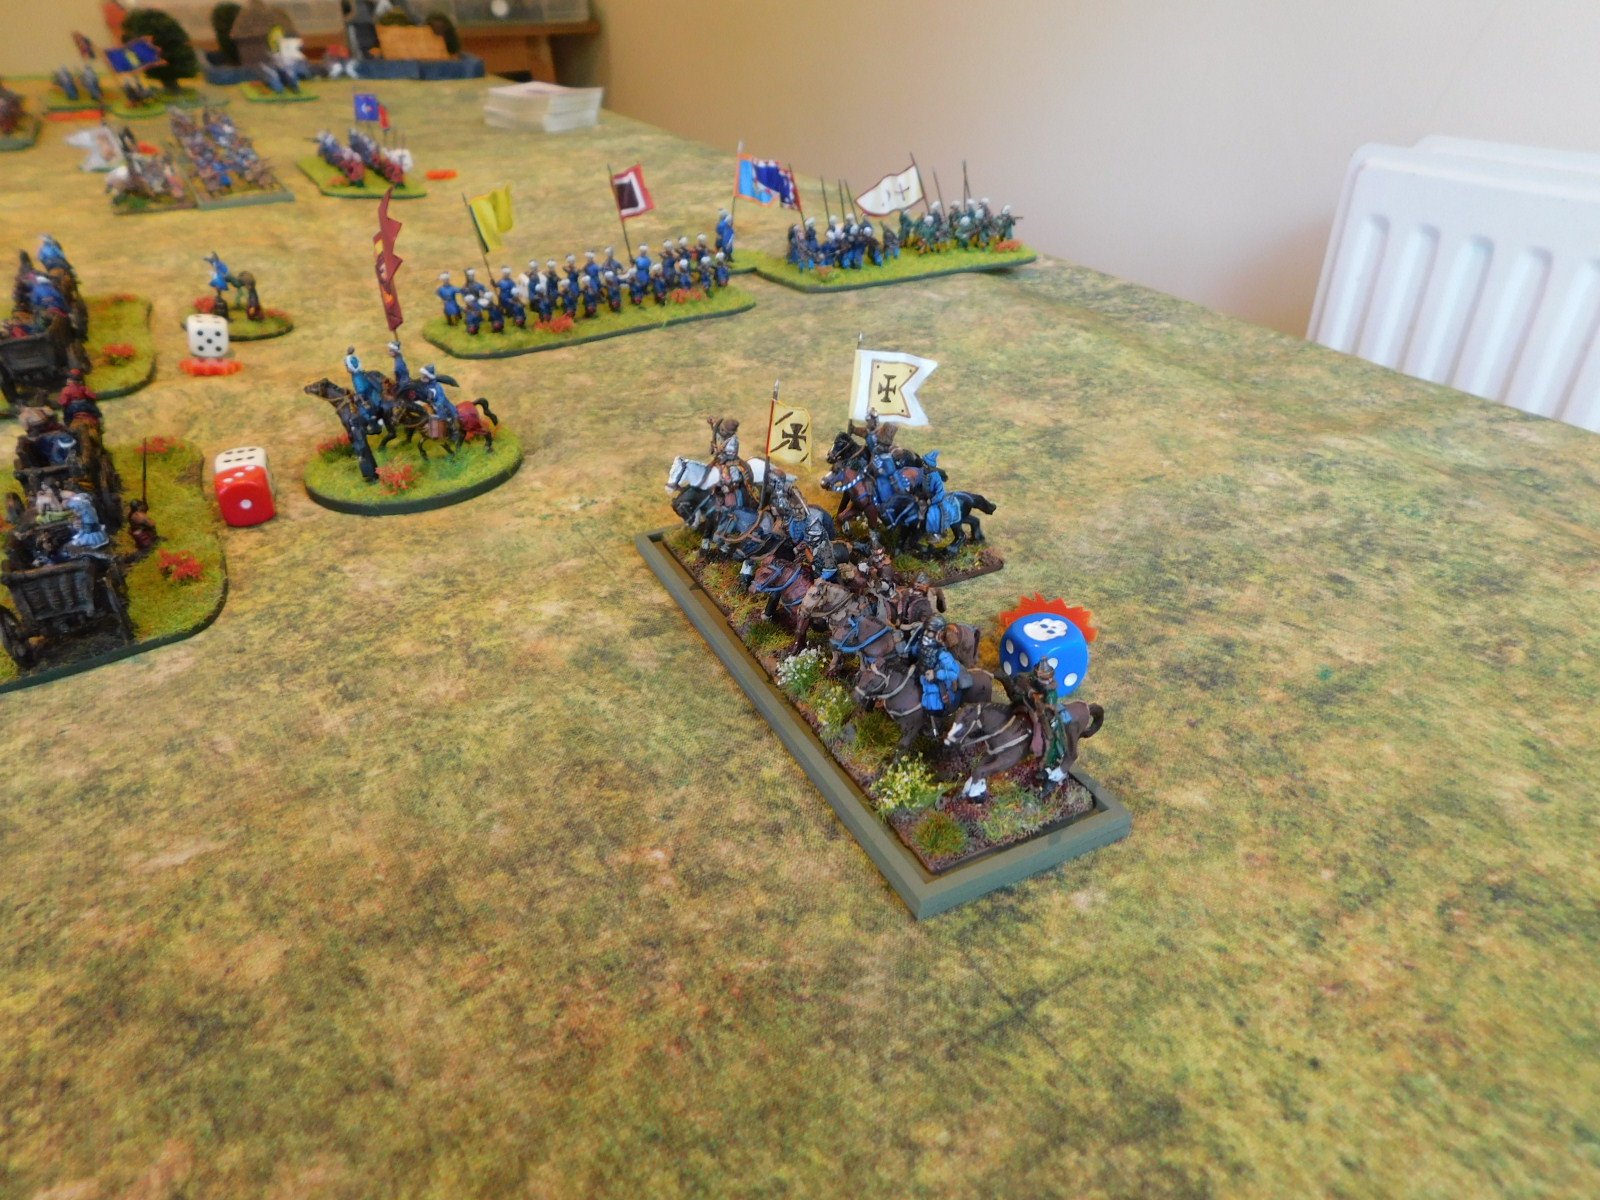
Both sides tried to outflank on the right. Bevan’s outflanking manoeuvre got off to a terrible start when he drew a couple of Aces for movement, but mine was more successful: a Huscarl unit led by the CinC got past the woods in front of them and were in a great position to chew into the enemy’s Irish allies.

Unfortunately, the Irish proved a lot more resilient than planned (is it not ever so!) and one of my best units spent the rest of the game blocked from doing anything useful!

Blocked!

Meanwhile, in the centre, the two main battle lines had closed and, for a time, things swayed backwards and forwards as a mighty shoving match took place. My lights proved useless in this sort of game: they shot off their arrows with little effect, then spent the rest of the time hanging around behind my line, unable to get around an enemy flank and unwilling to mix it with the big boys.

On my left, Bevan’s Vikings finally got moving, and a separate battle developed between various Bondi units from each side. This I won fairly decisively and for a time it looked as if I had the advantage.

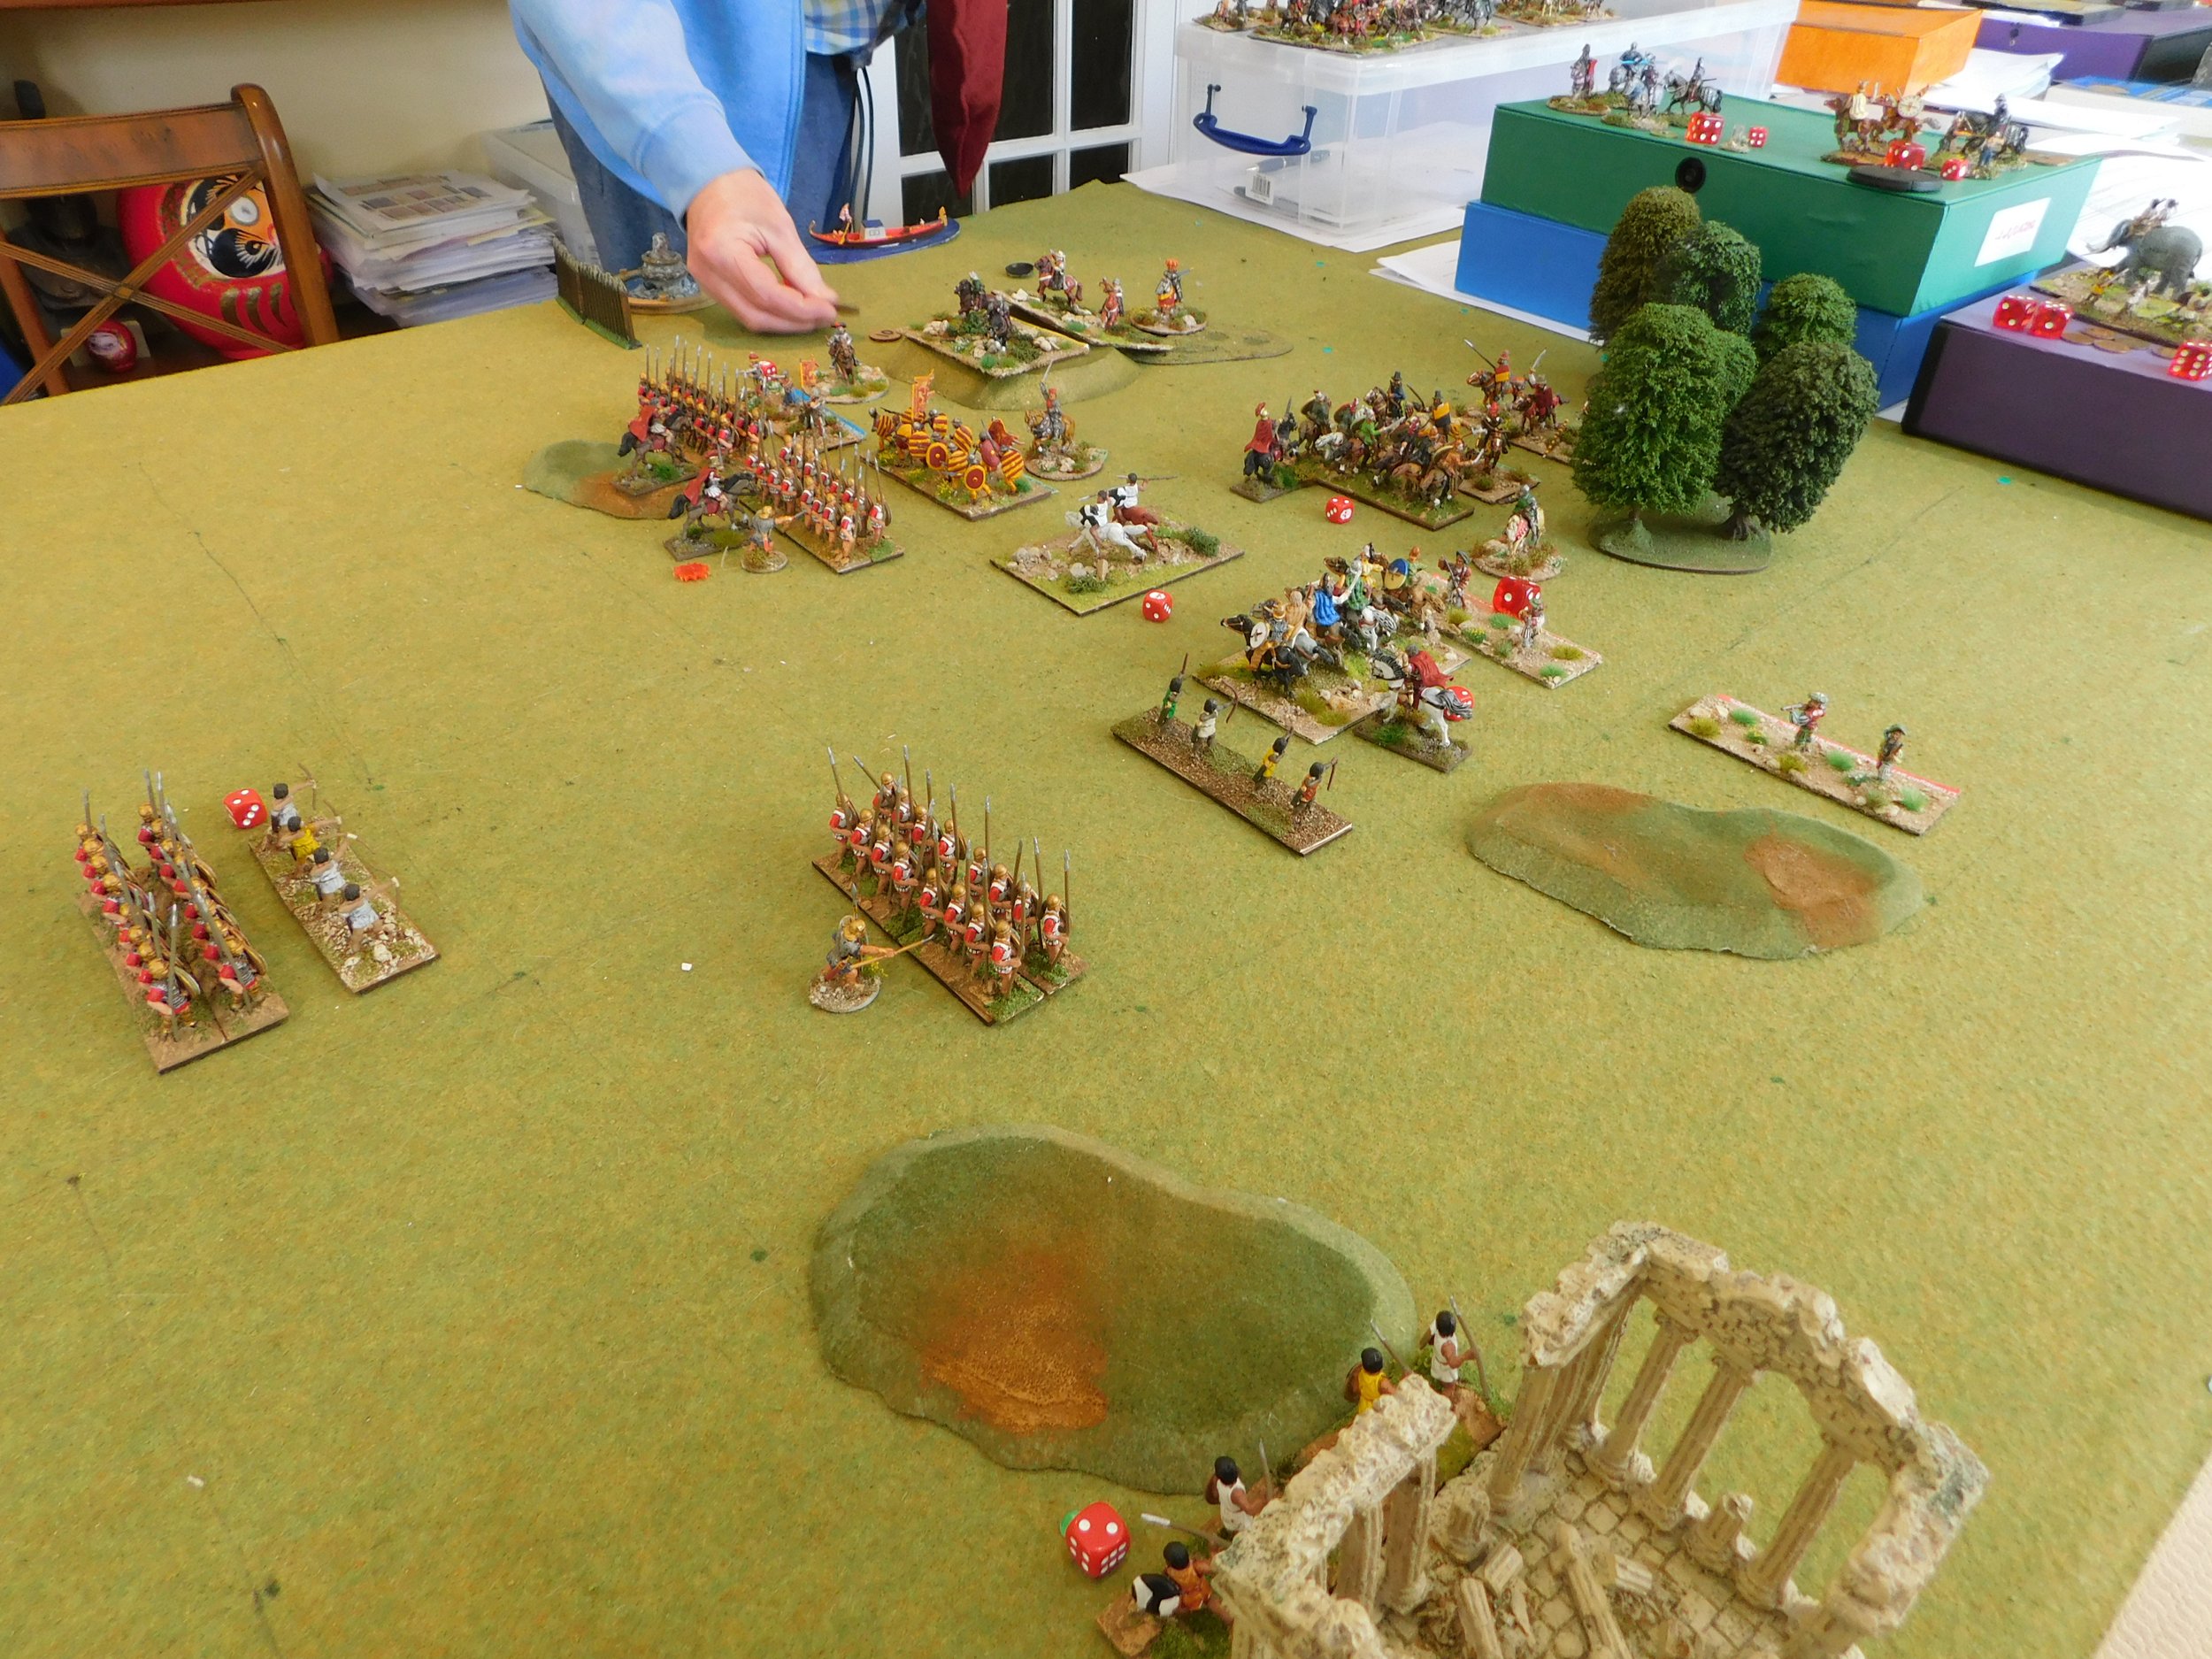
Unfortunately, back in the centre, the left hand side of my main line eventually gave way, and two enemy units burst through. This allowed them to turn and charge into the rear of the rest of my Bondi, who spectacularly survived one turn being hit twice from behind, and then almost did the same thing next turn as well.

By this time, Bevan was down to four coins, I was down to one, so when my Bondi hit-from-the-rear gave way, the rest of my men lost heart and fled the field. If I had survived that impact (and I almost did: drawing a Ten and a Six when a Ten and a Seven would have done it) then I would almost certainly have won the game…it was that close!

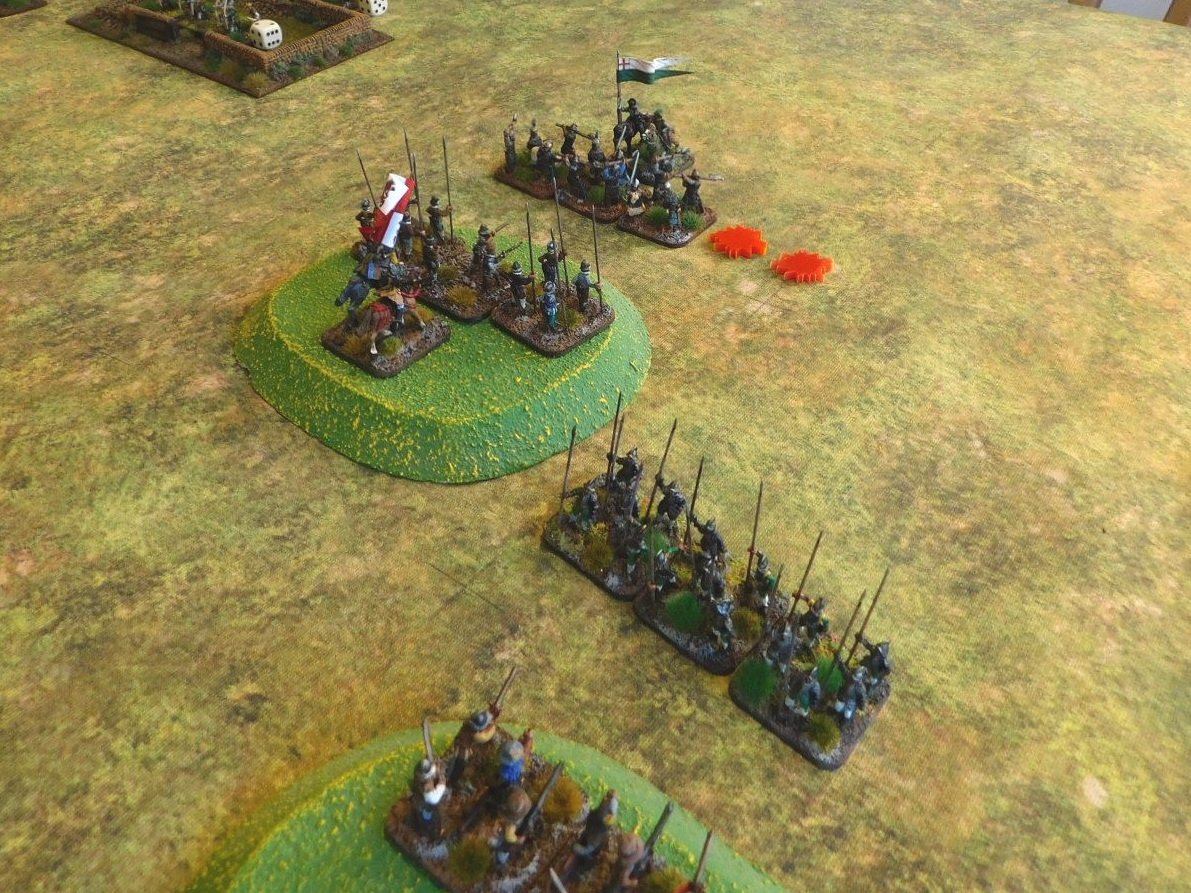
Two enemy units, top right, have burst through my line. One is about to charge my rear!

But it was not to be: my Vikings had lost…but at least Bevan’s Vikings had won!

Despite my defeat, it was a glorious game, and one that we will definitely be repeating, although this time let’s hope the correct set of Vikings come out on top!

The Return Match

Time for the re-match: this time I would take the Burgundian Ordnance and John would take the Medieval Scandinavians.

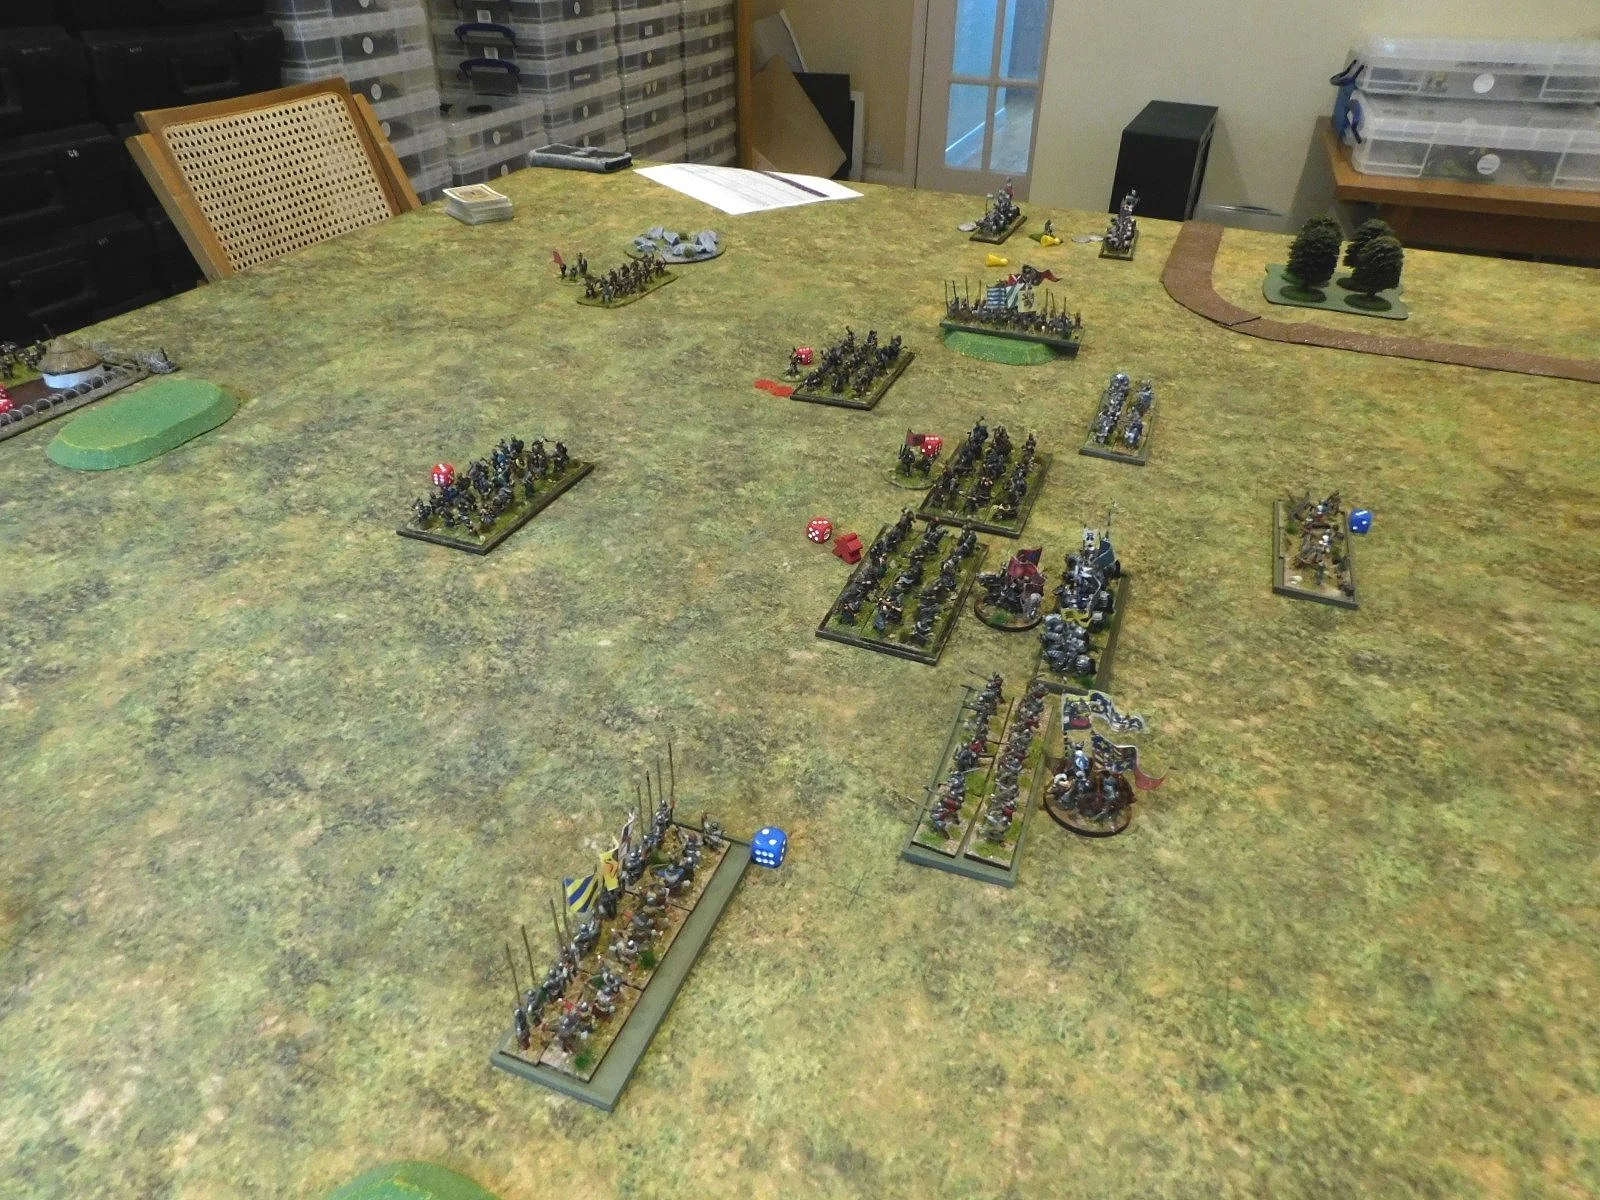
My plan was hold the centre with my infantry and half my Knights, and use the rest of my Knights to lap around the ends of his line, hopefully achieving some kind of roll-up. Comparing notes afterwards, John’s plan was to close with my troops as quickly as possible, using sheer mass and ferocity to win victory.

I had the initiative, and wasted no time in getting forward into the centre of the field. I then halted my centre and waited until the Scandies came forward.

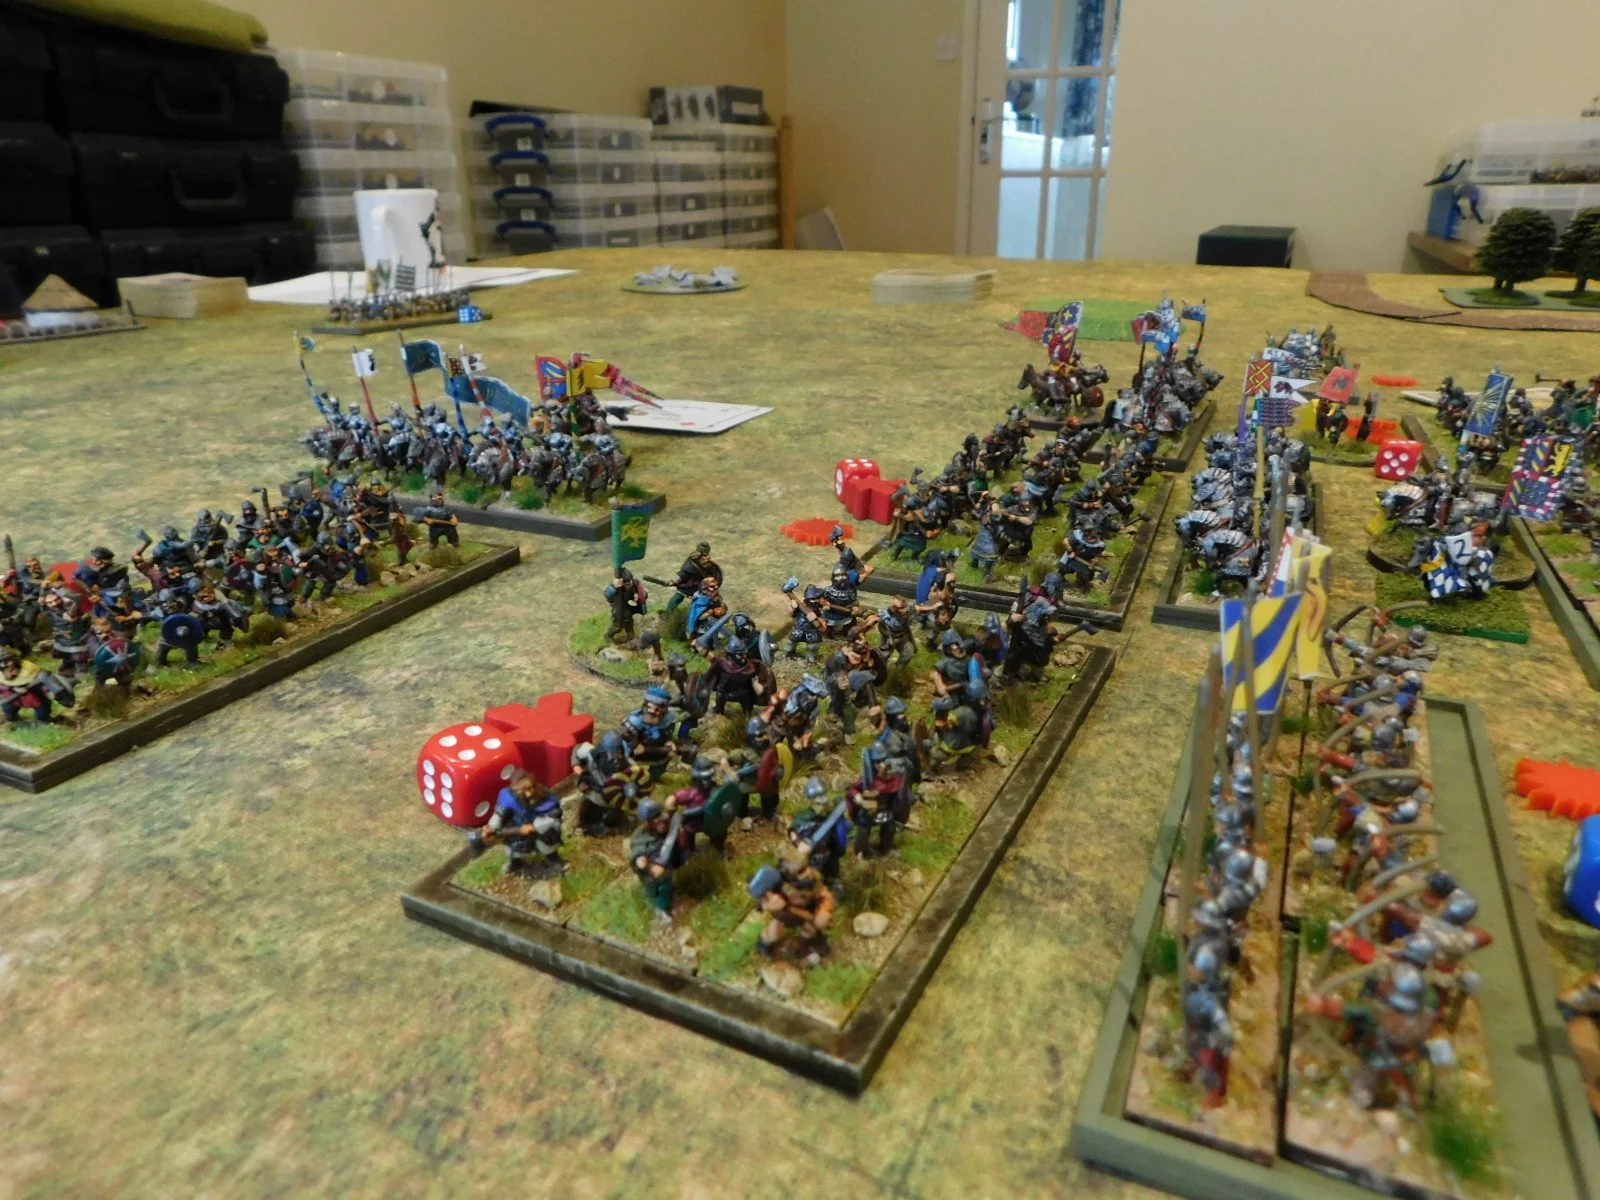
The Scandies did indeed come forward, with one warband getting out in front, and soon battle was generally joined in the centre of the field.

Warbands are pretty hard to kill, even with Knights, but all I needed to do was to hold them in place whilst my horns lapped around his flanks.

On my right flank, this worked like a dream: a squadron of Knights got into the perfect position for a flank charge on the Scandinavian main line and thundered forward to do enough damage that a Burgundian spear-and-longbow unit could finish off the unfortunate warband that was their target.

Unfortunately on my left flank I got a bit too enthusiastic, and although the initial outflanking manoeuvre worked and sent more Scandies from the field, his lone unit of tax-free Knights was able to get forward fast enough to out-flank my out-flankers and consign one quarter of my Knights to the recycle bin! Whoops!

Fortunately this didn’t matter, as my right flank continued to chew through his centre having achieved exactly the roll-up I was after.

I will spare you the gory details, but you’ll see from the pictures below that pinned from the front and hit from the flank (by Knights as well) is not just a recipe but a whole cook book for disaster!

The coup de grace (to put it as the Burgundians would) came either from a unit of my infantry taking the enemy camp or the loss of a unit of light archers being the final straw that broke the Scandinavian back. To be honest, I can’t remember which.

A great game, for me at any rate, and a cautionary tale for warband armies going up against more combined arms forces: watch those flanks!

A Game...Finally!

What with work and Christmas and everything, it’s been weeks since I actually got to have a battle, so thanks to friend John for braving the freezing fog coming over this morning for a couple of games of To The Strongest.

I had two new armies that were ready to try the tabletop: the first were the Burgundian Ordnance boys I had bought complete ay Colours; the second were my Vikings, finally complete after some time with the figure painter I like to use.

Ideally I would have fought them as is, but these days I try to make encounters as contemporaneous as possible, so the Burgundians would fight as Burgundians but the Vikings would, with the aid of a unit of lancers borrowed from my 17th Transylvanians, manifest as Medieval Scandinavians. Still not exactly contemporaneous, but close enough for jazz! For the first game, I would take the Scandies and John would take the Burgs.

My force consisted of only three commands. The first, headed by the CinC, consisted of my single unit of Frasle or “tax free” Later Knights and two unit of light archers. The second comprised three deep units of Hird: hard men with axes and extra bows. Finally there were the Leidangr bondi types: three of them in a third command.

The Burgs consisted of four commands, each a unit of Later Knights accompanied by a unit of foot. Three of the foot units were either billmen or spearmen with extra longbows, the third were crossbowmen, with the command with the crossbowmen also having a unit of organ gun artillery.

The First Game

With neither side being particularly hot on scouting - Later Knights don’t scout! - a straight draw of the cards meant the John and the Burgs had the initiative. I set the Scandies up in a long line with the Frasle and lights on the left, Leidangr in the centre and Hird on the right. With two camps and almost no cavalry, I was nervous about his cavalry lapping around my flanks.

The Burgs remained in attack columns: coming forward with their infantry sheltering their Gendarmes.

I was keen to get my Hird into his troops as soon as possible, so ignored my bows and headed forward on the right asap. As I came into range, his infantry fired a couple of longbow volleys which actually did me more damage than I had anticipated. At the same time, one unit of his Knights managed to get past his sheltering infantry and charge into one Hird warband. This proved disastrous for the Scandies: with a glorious or pitiful (dependent on your point of view!) run of cards leading to me losing both a unit of Hird and their general!

Meanwhile on my left wing, my Frasle had proved themselves victory-free as well as tax-free: being sent fleeing from the field through a combination of bow fire and the attentions of some Gendarmes. The battle was definitely not going well!

I continued to lose ground on the right - my remaining Hird were outnumbered but putting up a good fight, and those deep units are hard to finish off - but it was in the centre and centre-left that a unit of Leidangr started to properly fight back.

The Gendarmes that had dealt so summarily with my cavalry were wounded by some light bowmen and then polished off by a warband; and another unit of Gendarmes was smashed from the field by some Hird. I was still down to only four coins, so would lose the game if I lost another two units/generals, but now John was down to only five coins, meaning I would win the game if I could kill three of his units/generals.

Unfortunately I could not sustain this momentum (you can see in the gallery above that most of my units were by now disordered) and was soon down to just one coin.

The final action of the game was for a unit of Gendarmes to lap around my right flank, and although I had some Leidangr to face them, Later Knights versus damaged Shieldwall was a foregone conclusion.

Post-Match Analysis

A good first game with the two new armies. I was surprised at how effective the Burgundian shooting was, and how fragile my deep units were in the first half of the game. That was, however, probably an atypical result of the actions that took place, as the second half of the game saw my surviving Hird and Leidangr soak up huge amounts of damage whilst still dishing it out effectively.

So the game was probably decided in that first clash, when I lost a unit of Hird and their general in a shock result. After that, even with things being 50/50, I was on the road to a defeat. All kudos to John, though, for maintaining the pressure and not giving me the opportunity I needed to turn the tables.

The next game will see us swap sides…

FK&P AAR: Muscovites and Scots

John and I fancied a game of For King & Parliament, but I didn’t fancy using straight ECW armies. Eastern front was a possibility, but I didn’t fancy using the Cossacks, which meant my only complete army was the Muscovites, but who to fight against them? Step forward the Scots and we were good to go, albeit for a rather odd if contemporary mash up!
I would play the Muscovites and, incredibly considering the amount of horse I had, immediately lost the initiative and had to start deploying first. My plan was to put most of my cavalry on the right and win there whilst my infantry held the centre and left, then swing my victorious cavalry into the rear of his infantry once they were fully engaged with mine.

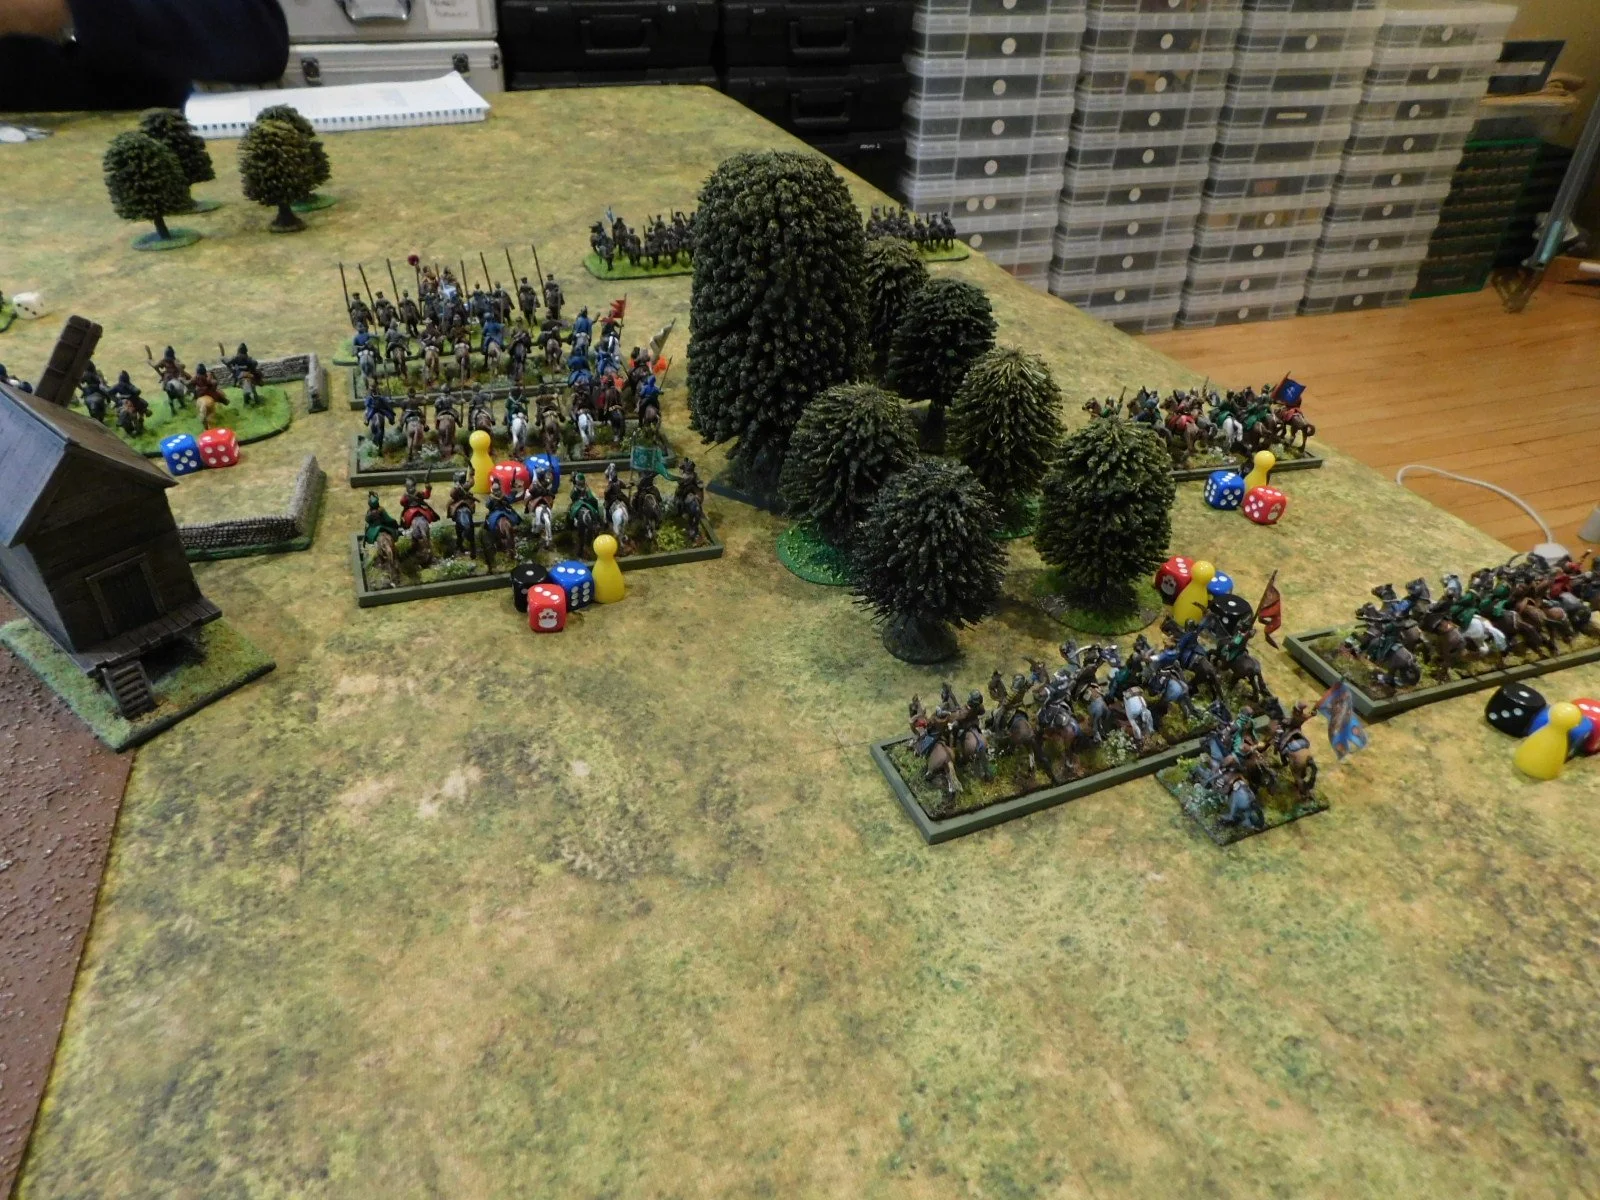
Only potential problem was that I didn’t have much infantry, so had to use a brigade of Reiters (heavy horsemen) in the middle to fill a gap.

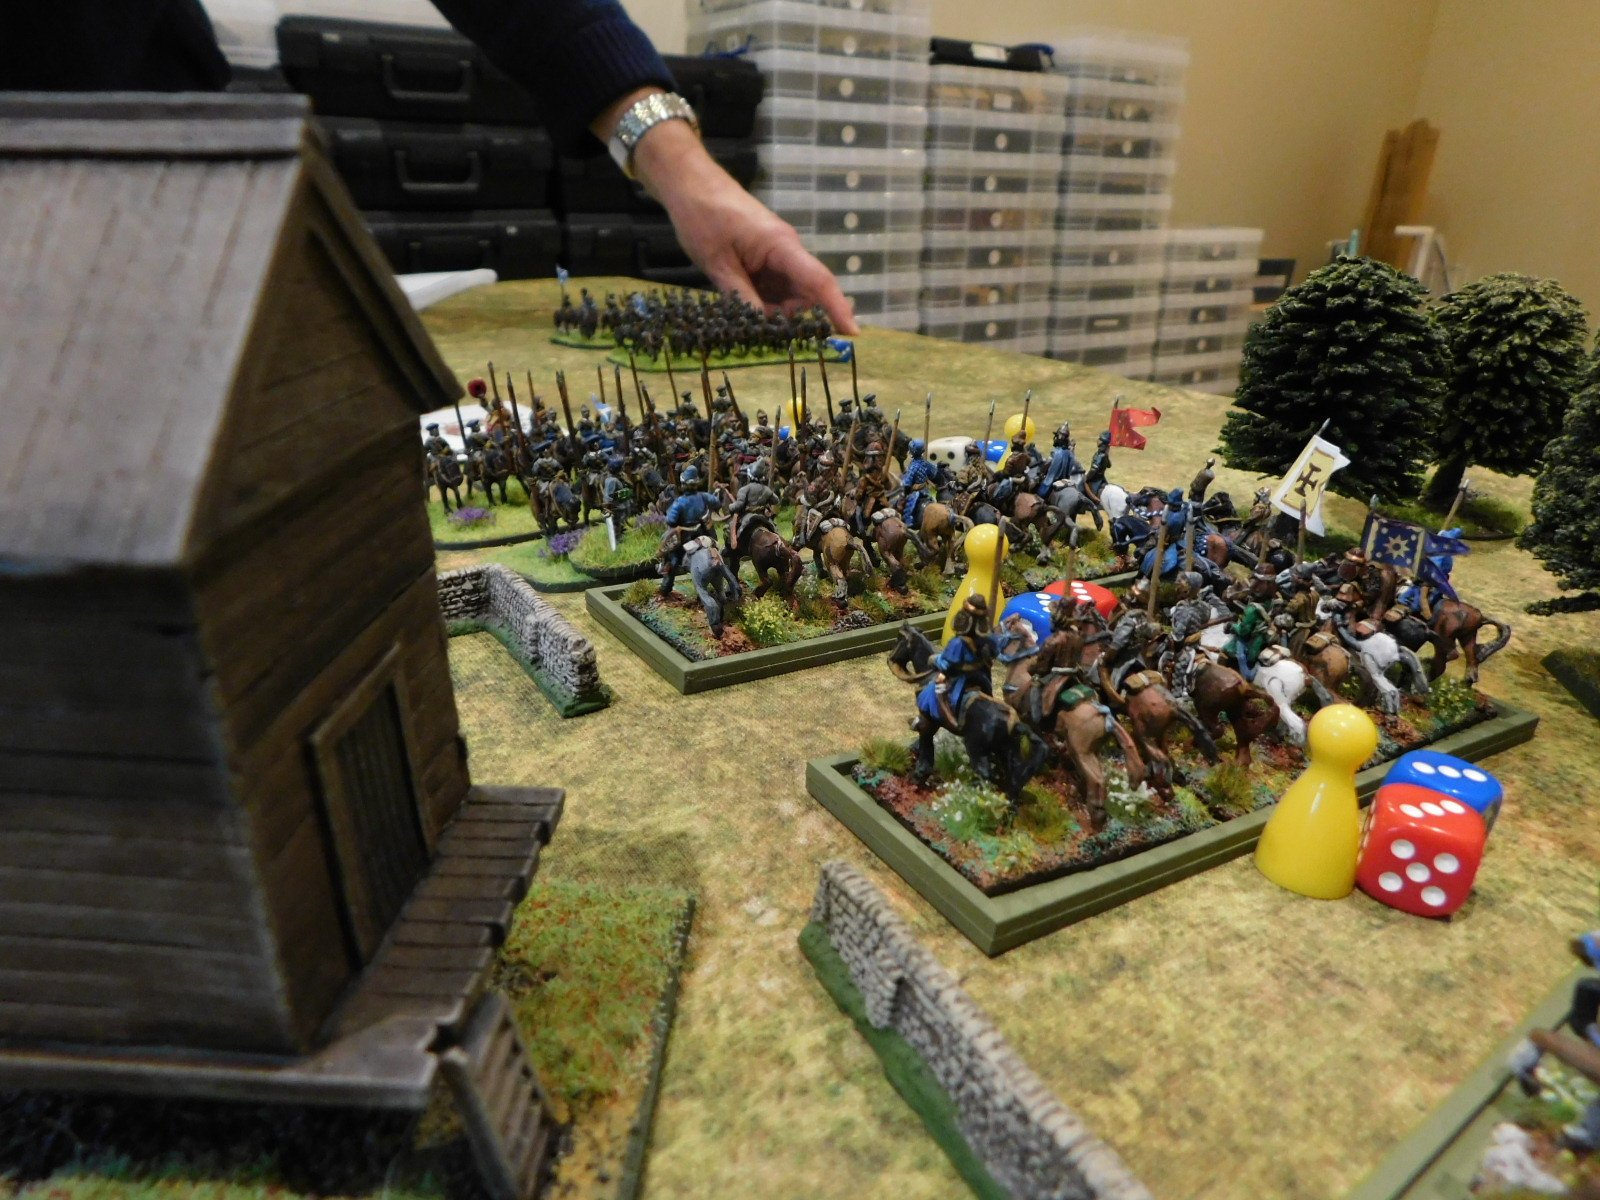
The Scots read my cavalry deployment superbly, and placed their large cavalry brigade opposite them, meaning that not only were my Tatar light cavalry immediately wrongfooted (I wanted to sneak them round the flank but their way there now led through some Scots Pistoliers) but my National Cavalry were squashed up behind a windmill! C- could do better for deployment!
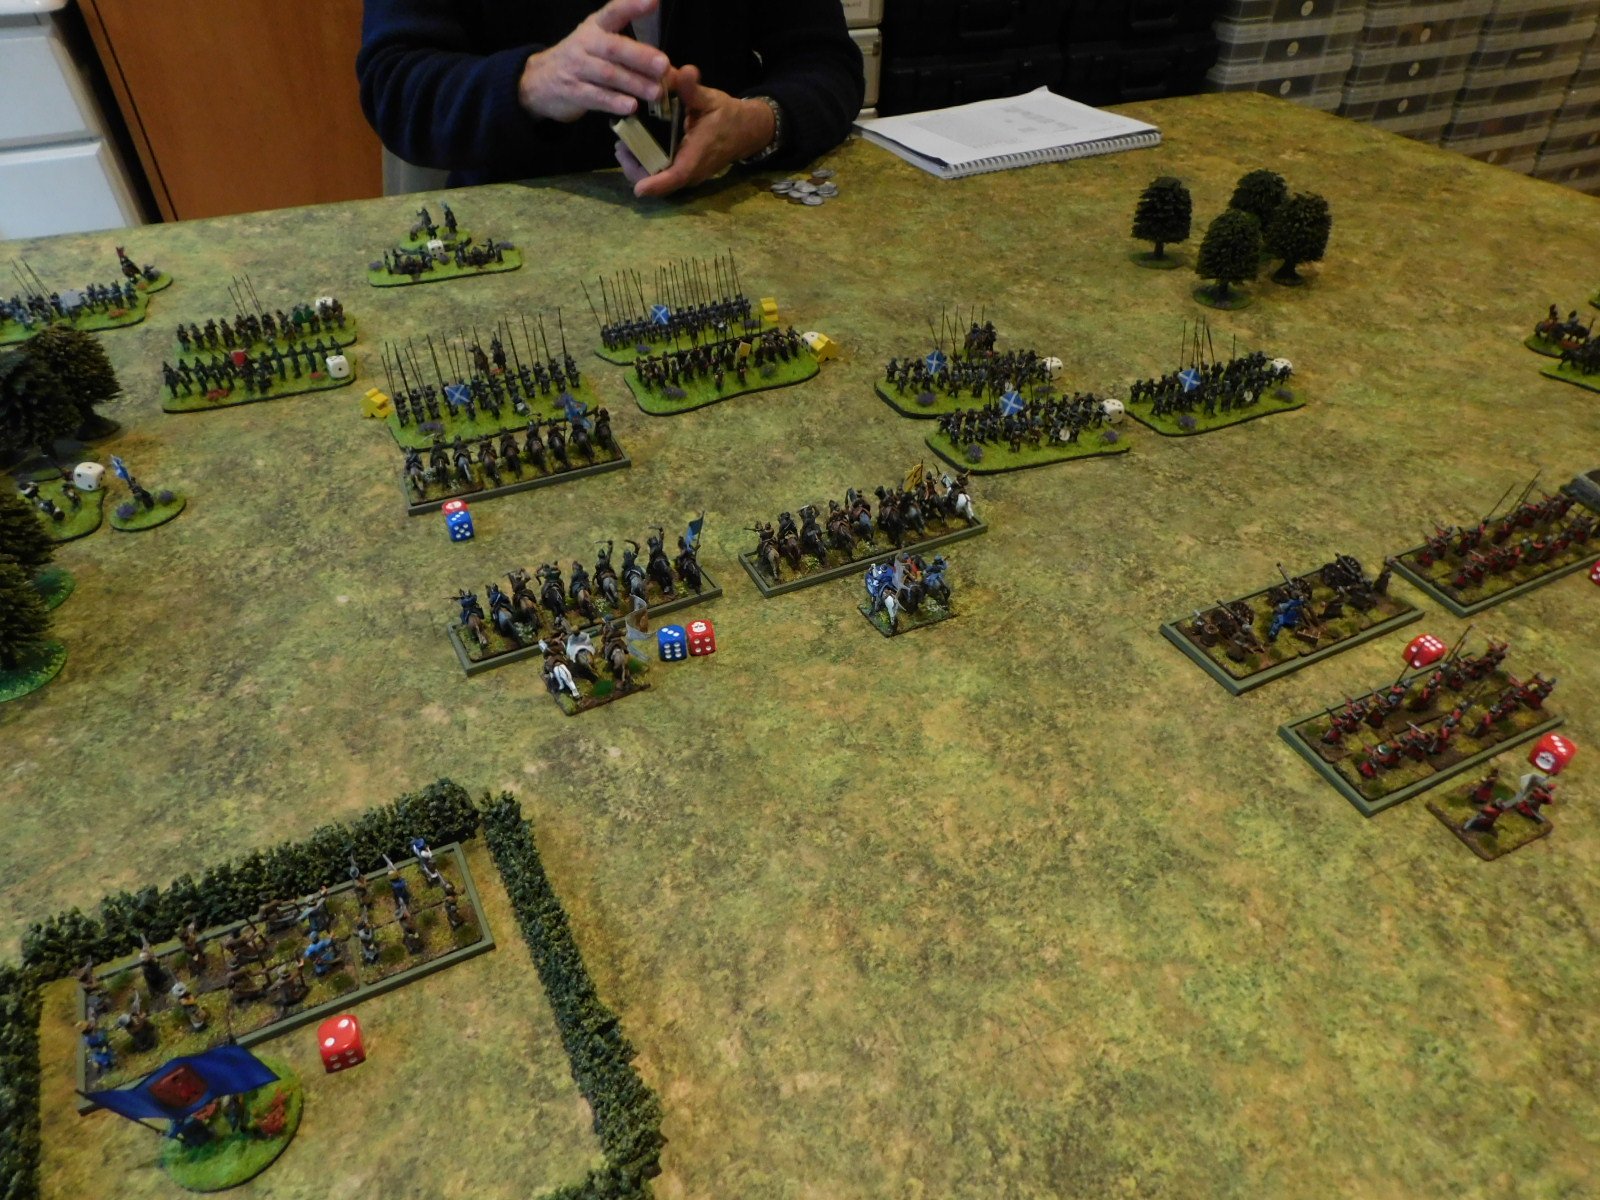
Lots of lovely Muscovite horse, but they’re not quite in the right place

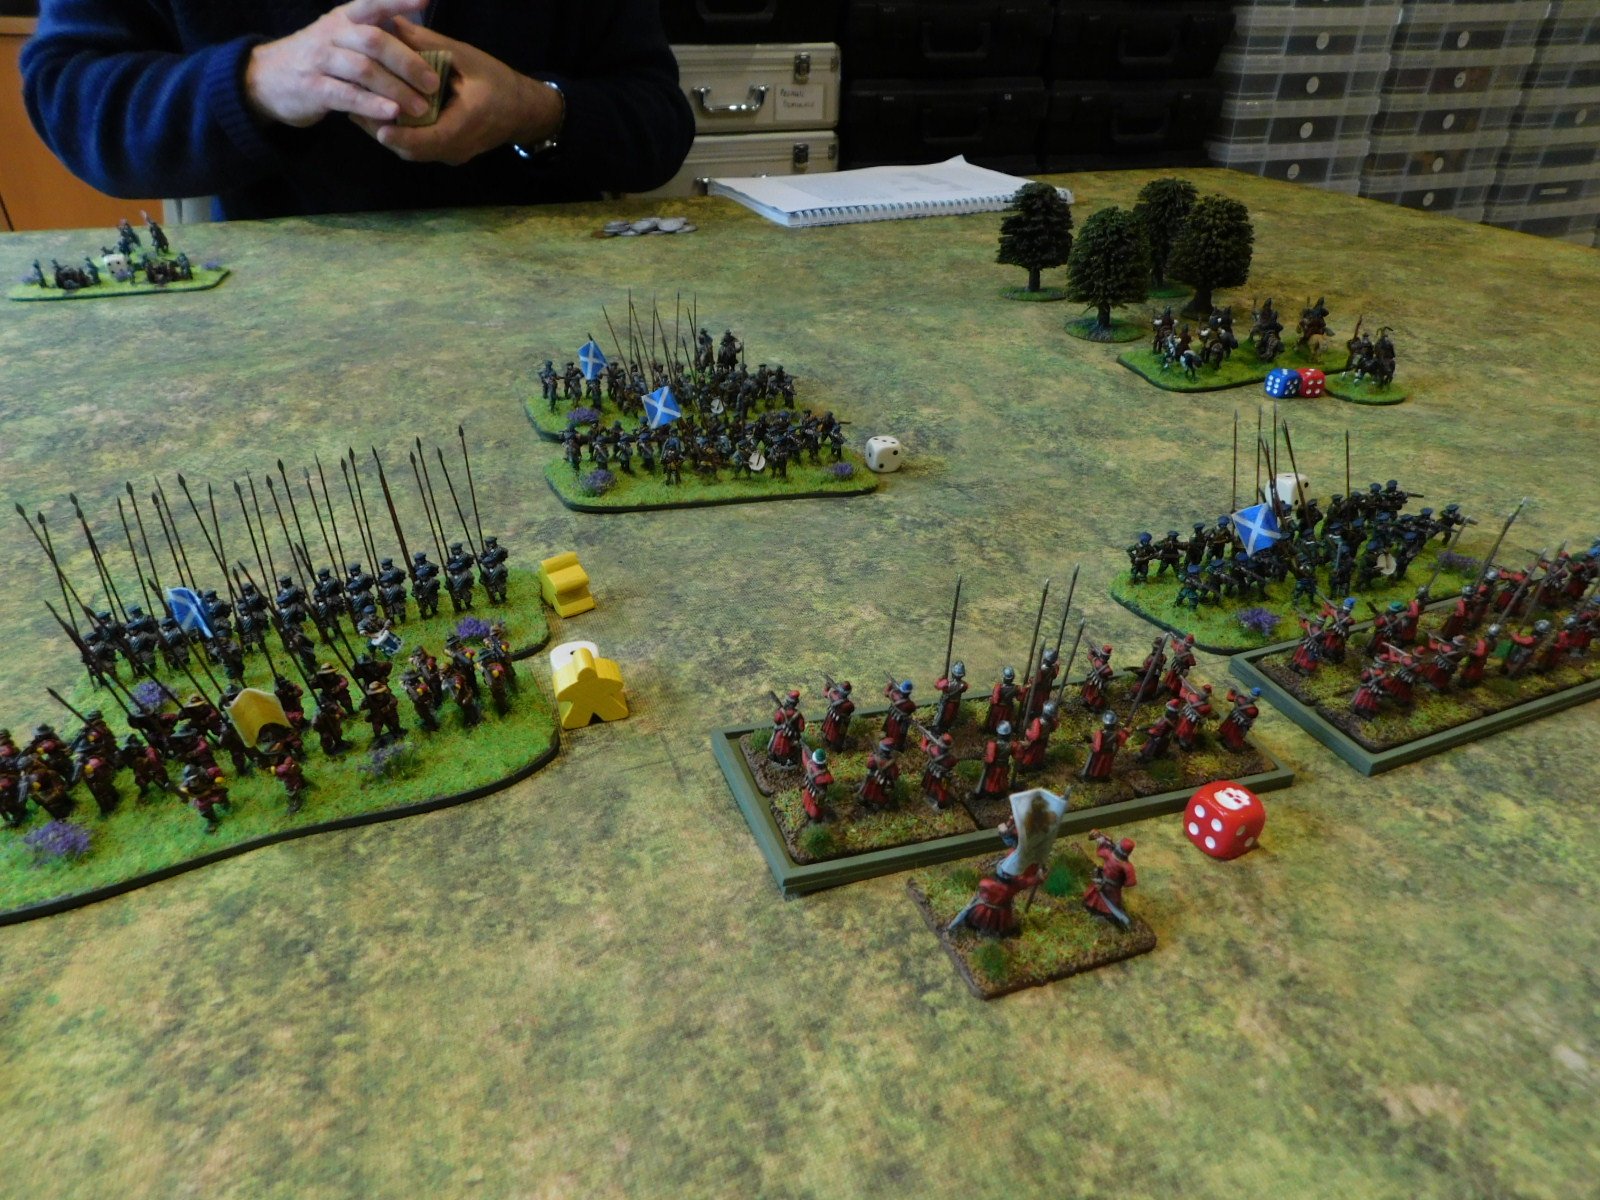
As battle commenced, the Scots hung back: advancing only their Highlanders on my left and their cavalry on my right. I quickly led my entire army forward except for the Servant Cossacks and Border Dragoons on my far left: I didn’t fancy mixing it with some mad Clansmen!

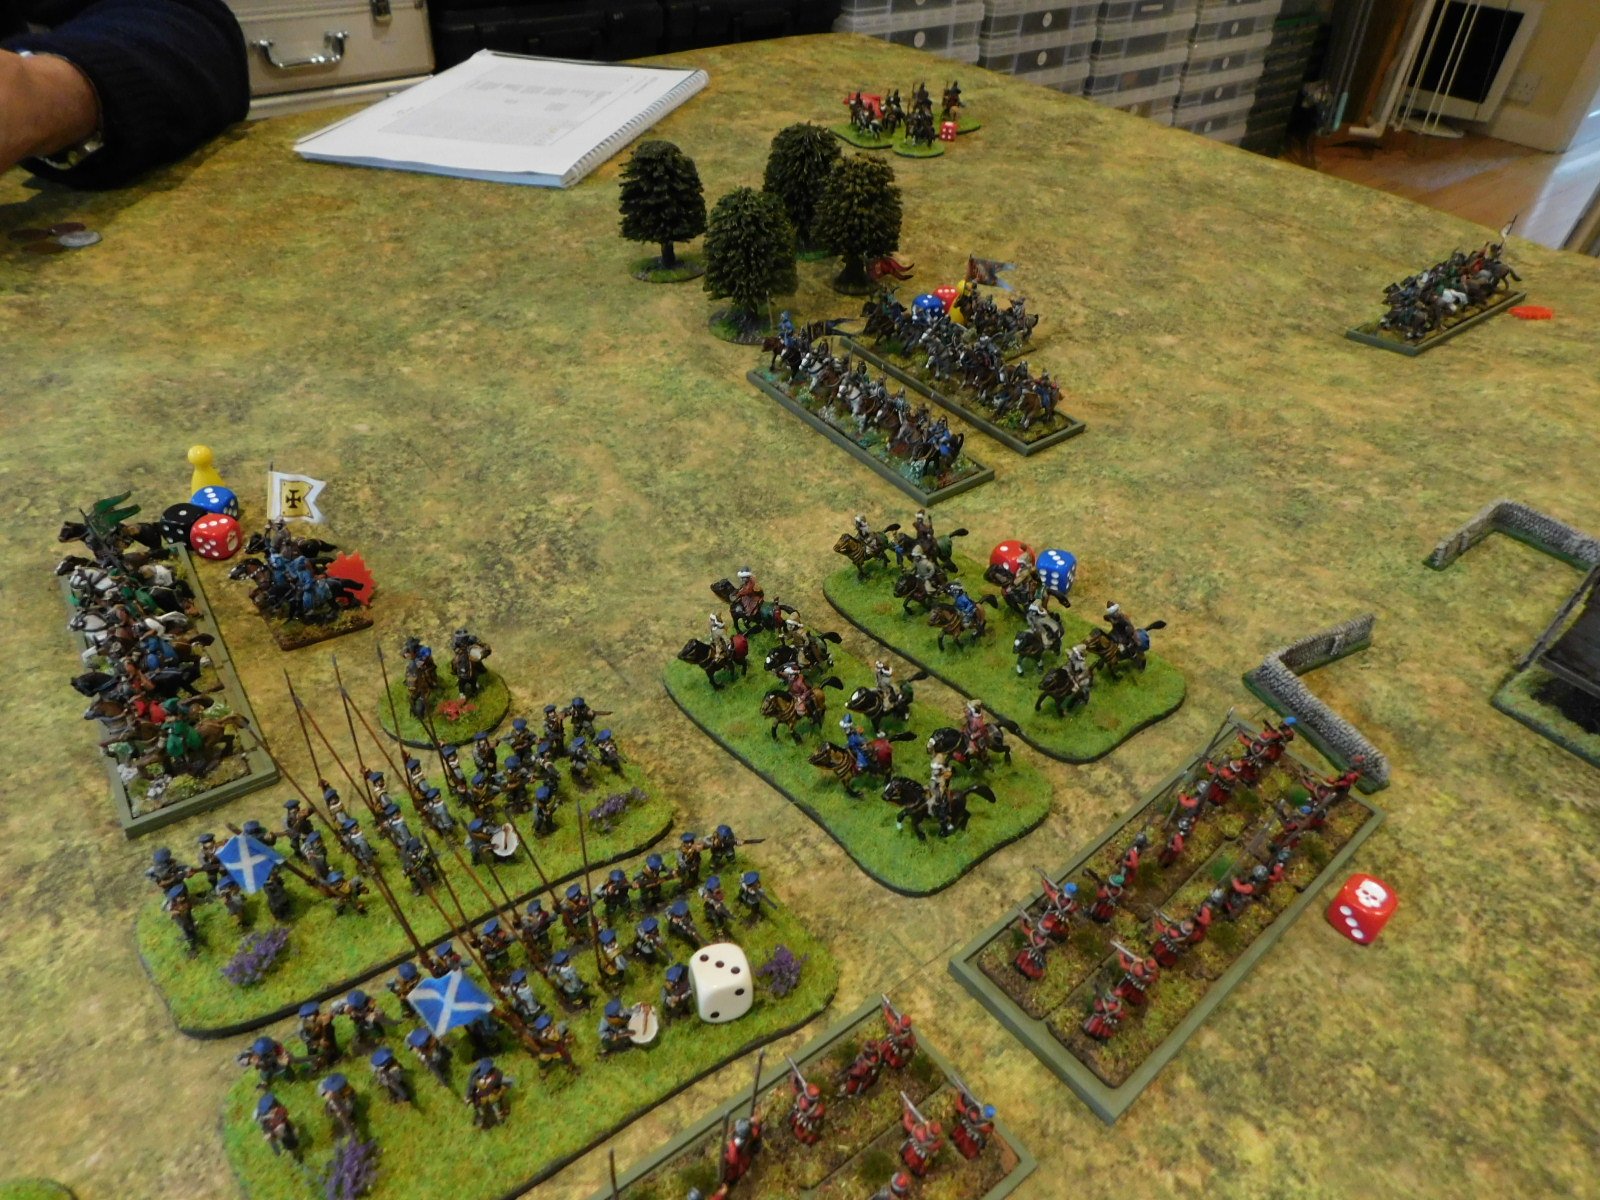
I also attempted to sort out the mess on my right flank by getting one of the brigades of National Cavalry to swap places with the Tatars: what a mess!

The aforementioned mad clansmen

Swapping two brigades of cavalry over is not easy

Fortunately John’s Scots had a fit of the slows, and I was able to get my horse sorted out and push forward to start the engagement that should sweep the Scots cavalry from the field and thus fulfil stage one of my cunning plan.

Meanwhile in the centre, the main body of Scots infantry had finally started moving forward. My Reiters headed out to meet them, but as I didn’t fancy charging well-ordered pike blocks, my cavalry turned around and retreated before any significant action took place.

The enemy were now effectively advancing in echelon towards me, which suited me fine as it gave my National cavalry more time to win on the right. The only trouble was that the Scots horse were proving hardier than expected!

The cavalry melee on the right went on and on, and I just couldn’t seem to break the Scots donkey-wallopers!

This meant that the Scots infantry were able to advance on my line and a series of sporadic firefights and melees broke out. My Reiters were still able to outpace the advancing Scots, but my Soldats and Border Dragoons were not so fortunate. A good thing, however, was that my Tatars had now managed to slip through the enemy line, going over the crest of the hill through the grounds of the windmill.

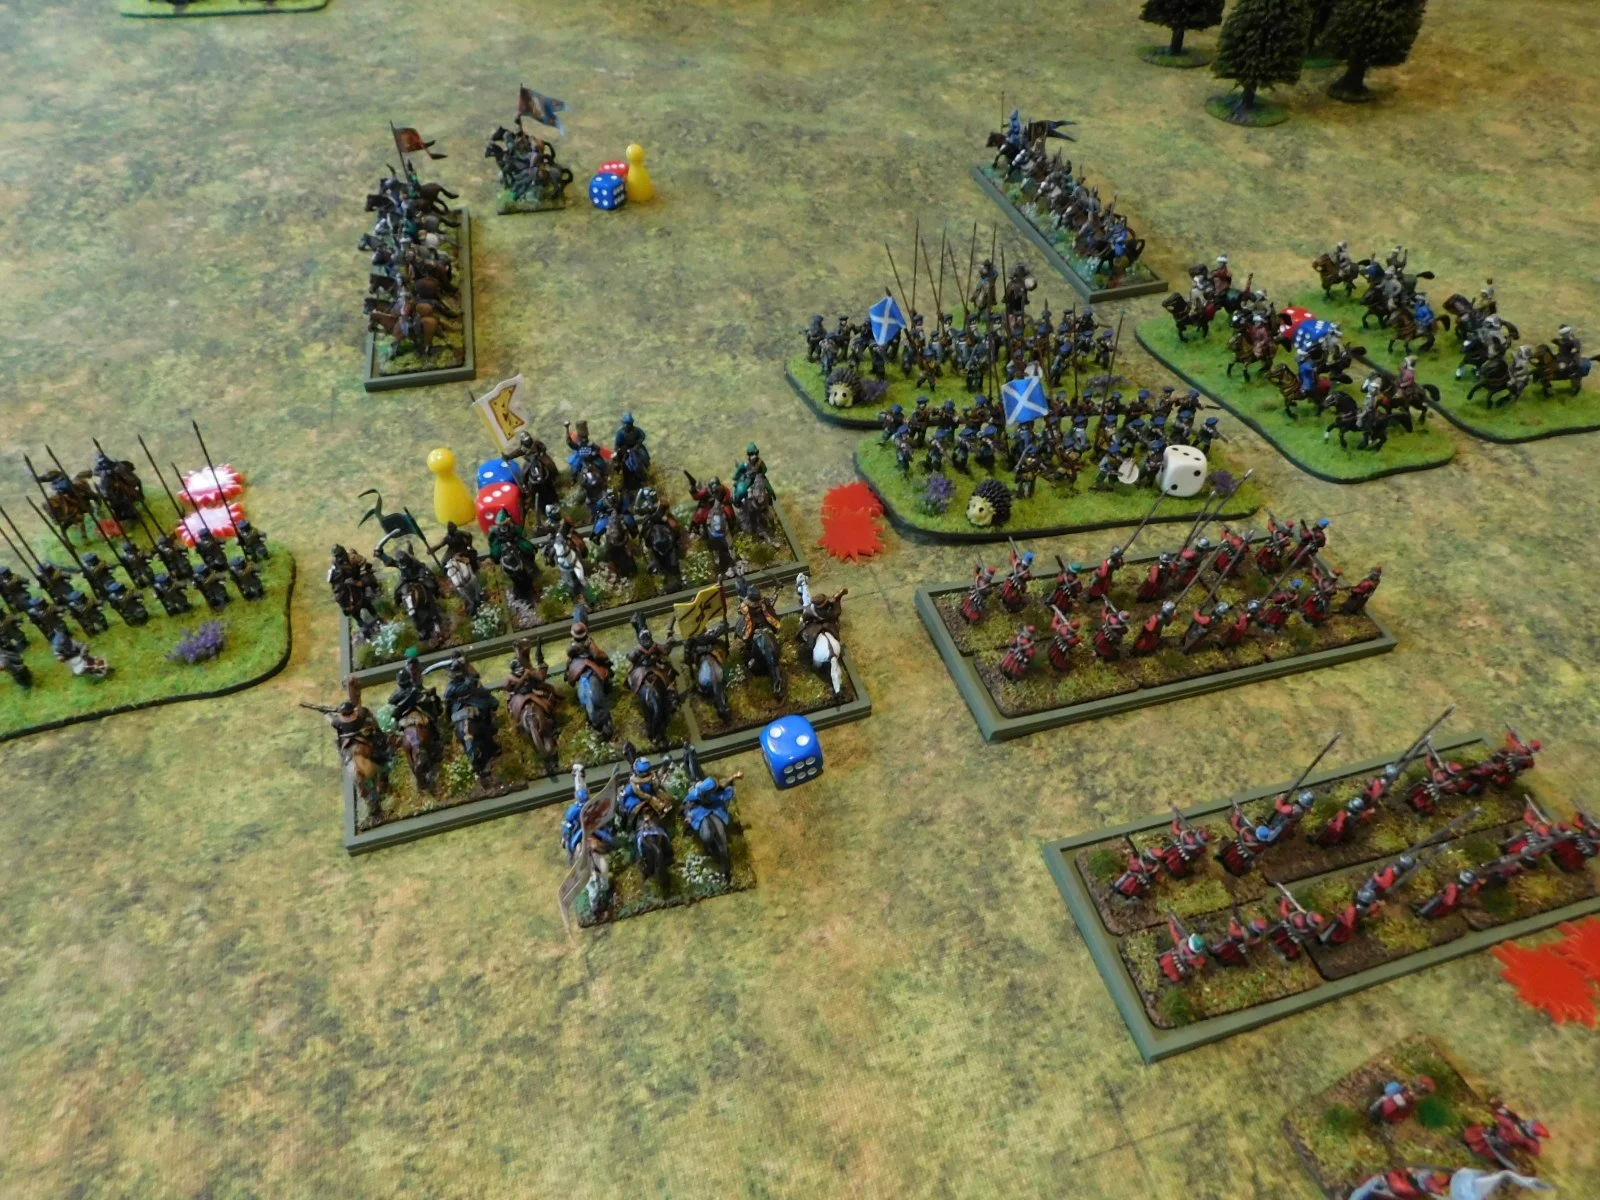
Finally, however, the Scots horse broke, and my cavalry were able to turn and head to the left. The Tatars led the way, forcing the nearest Scots pikemen into hedgehog. My heavier horse cantered past the spikey beasts and then curled round and slammed into the rear of the units next to them. At the same time my Reiters now charged forward meaning the Scots were caught front and rear.

Once the surviving Muscovite heavy horse got into a position on the flanks and rear of the enemy line, the battle was really all over for the Scots. I won’t describe every moment of the roll up: suffice to say that it got very bloody very quickly, and once one or two of their pike blocks had broken, the domino effect soon had all their troops fleeing for the safety of the Glens!

It hadn’t quite been a text book victory: too much had gone wrong with my initial deployment, meaning that my left and centre had only just held out for long enough to let my right wing do what they did. Had the Scots been even a little quicker off the mark on their left and centre, then I would have lost the battle there before my National Cavalry had even dealt with the Scottish horse.

CDS AAR: A Writtle Bit of Lard

Also on show at the Lardy Games Day A Writtle Bit of Lard was a great looking game of Charlie Don’t Surf put on by Nick Bellamy.

Here are some pics, also from Ian Roberts, but this time from the CDS Facebook Group:

And as Preparation Prevents Piss-Poor Performance, here are some shots of the playtest that Nick ran a few weeks before:

IABSM AAR: A Writtle Bit of Lard

I couldn’t make this year’s Lardy event in Writtle, A Writtle Bit of Lard, but, looking at the photographs up on various Facebook groups, I wish I had.

Legendary game runners Phil and Jenny put on a superb looking I Ain’t Been Shot Mum: here are a few photos from the day posted by Ian Roberts on the IABSM Facebook Group.

FK&P AAR: Fire Over Barsetshire, Round 2

This was the return match of Rob and I’s clash of Elizabethan English and Spanish forces in a fictional encounter in the equally fictitious county of Barsetshire.

In our first game, I had played the Spanish and achieved a decent win, so now it was time to see if I could do the same thing playing the English.

The Spanish Tercio: veterans all!

I was a bit nervous about the Spanish Tercio, so determined to avoid it for as long as possible. I therefore placed my Militia on my left flank, opposite the Tercio, determined to use the walled enclosures as a fortress from which to fight from. That left my Hunting Party longbowmen and commanded shot in the centre; and the contingent from the Royal army on the right.

As mentioned above, my plan was to hold the Militia back and push the Royal Army forward as fast and hard as possible, hopefully winning on the right flank before turning to roll up the Spanish once I’d done so.

As the battle opened, I therefore pushed forward my right, but the Spanish facing the Royal Army didn’t come forward. In fact they moved slightly sideways into the centre of the field, leaving my best troops hanging facing no-one to fight!

Meanwhile, on the left, the Tercio moved forward ponderously, but it was in the centre that we would first see action as the Spaniards’ Irish contingent, led by some Kerns, rushed forward towards the Hunting Party troops.

As the Kerns came forward, the English longbowmen did their thing, and the wild Irish were soon sent packing. This left the Irish pike, commanded shot and swordsmen to contest the centre: a fight that would continue for some time without clear resolution.

Meanwhile the Tercio were still ponderously heading for my refused left flank:

But it was on the right flank that things became very intense very quickly.

As mentioned above, my Royal Army contingent had marched forward as quickly as possible, determined to win the battle before the Spanish Tercio could get stuck in. They were facing the left hand edge of the Irish brigade and a brigade known as the Volunteers consisting of swordsmen and mounted arquebusiers. My veteran troops should have carved their way through them nicely but actually ended up effectively losing the individual melees that followed!

Besides costing me my best troops and about half my victory medals, this let a unit of Spanish mounted arquebusiers slip through my line to threaten the Royal Artillery.

Now those of you who play For King and Parliament will know that artillery is usually not very useful in open battle. Rarely do you have the equivalent of a Grand Battery to blow huge swathes out of the enemy line: the standard is to have one or maybe two slow-firing pieces that are as useful as battlefield dressing. As the arquebusiers charged in, therefore, I resigned myself to losing another unit and another victory medal!

I had obviously underestimated the Royal gunners, as rather than being run down like rabbits, they sent the arquebusiers routing off the field!

A nice success, but now the Spanish Tercio arrived.

Choosing to drift into the centre of the field, the enemy pike and shot launched an attack on the two walled enclosures defended by the Militia and the remnants of Sir Fitzgerald Percy’s Hunting Party.

Although my troops survived this first wave of attacks, it was a costly business. Admittedly the Militia were relatively unscathed, but they were under severe threat from the front and flank; and my centre had taken a hammering and was still faced by an unbroken line of enemy pike and shot.

I was also now down to only two victory medals (meaning the loss of one more unit would cost me the battle as my men lost their morale and fled) and although my opponent was in the same situation, his units were mostly much healthier than mine and, as you can see in the pics above, in a far better tactical position.

I had the initiative, but if I didn’t win the battle this turn, then that would most likely be it as the relatively fresh Spanish troops hit my tired and disordered troops in the flank.

You remember how I said that artillery was mostly useless in open battle? Well the Royal Artillery were about to prove me wrong again.

Up ahead of their position, a unit of Spanish swordsmen threatened the flank of some already-disordered English pike. Unbelievably, the Royal Guns managed to not only fire three times in the same turn but, with their last round of ammunition, they also managed to score three hits on the Spaniards…sending them from the field and costing Rob his last two victory medals just before he could finish me off!

I really did feel that I had managed to snatch the narrowest of victories from the gaping jaws of defeat!

It had been a great game that showed how flexible the FK&P engine is: able to cope with the peccadilloes of the Elizabethan era as well as it does the English Civil War and Eastern Front.

One final picture, if only to showcase Rob’s beautifully painted troops and terrain. Here is the Spanish Forlorn Hope: the crew of the Sao Martinho happily taking no part in the battle as they loot a nearby farm!

IABSM AAR: Strongpoint Hillman

James Mantos played in a D-Day scenario put on by Brian Hall: Strongpoint Hillman. Not a full report but duplicating the pictures he posted to the I Ain’t Been Shot Mum Facebook Group:

On a beautiful October Saturday, when I should have been doing some gardening, I instead drove with Weirdy-Beardy to deepest, darkest, downtown Hamilton for a Lardy themed game day. A change in route thanks to recommendations from a Hot Lead friend made the drive there and home much less fraught with peril, unlike my last three trips to play in Hamilton. Victory for old fashioned map reading! Take that Google Maps and GPS!

I got a spot in friend Brian's 6mm I Ain't Been Shot, Mum game refighting the 1/Suffolk Regiment's 2nd assault on Strongpoint Hillman during the afternoon of D-Day. See also a Youtube video here.

Brian is a fantastic game master who always brings his depth of knowledge about the battle being played to the game to help the players understand what is going on and facilitate any rules interpretation required. His terrain is also very well made and thought through.

This scenario was one of the players fighting the GM/table since the Germans were pretty static and didn't have much to do except react. Looking at the situation I quipped to my team mates: "Two up, one back, bags of smoke?" One of them replied, "Yeah, sounds good."

Fortunately our supporting 25 pdr batteries got on the job quickly and the first missions were on target so we had the most dangerous German MG emplacements blinded for the critical break in phase while the Engineers widened the gap in the minefield to let the tanks in.

Brian introduced me to using Force Morale for IABSM, which is a great idea that I'll use from now on instead of troops fighting to the bitter, ragged end.

FK&P AAR: Fire Over Barsetshire

Friend Rob came round today and brought with him his collection of Elizabethan era English and Spanish for a 16th Century dust up of some kind.

Difficult to decide which rules to use, as we wanted to employ the TTS engine but the Elizabethan era sits neatly between the end of To The Strongest and the beginning of For King & Parliament.

In the end we plumped for FK&P, but with a few minor variations very much like the Eastern Front variant that we use for 17thC warfare in eastern Europe.

The Scenario

Rob had worked out a simple scenario involving some Spaniards “left over” from the Armada launching an invasion of England from a base in Ireland…

Spanish Briefing

When the Armada was driven north into the teeth of storm and gale, England believed she was saved. You, Captain General Velazquez will prove the heathen English and their she-devil Queen wrong.

Fortuitously as you limped south through the Irish Sea, you came upon the remains of the Squadron of Portugal also making their way slowly back to Spain and safety. Inspiring your fellow officers and the commandantes of the much-reduced fleet, you came up with a cunning plan. Landing with what force you had remaining on the coast of Ireland, you recruited a brigade of good Irish Catholics to your cause, rallied by the patriotic songs of a passing group of folk singers who conveniently agreed to lead the Irish forces.

Spanish Pike & Shot with Captain General Velazquez

Making a dash for the western coast of England, the Lord has finally blessed your endeavours, your landing was unopposed and, with what forces you have left, you have marched inland, hoping to rouse the English Catholics to your banner and still snatch victory from the jaws of disaster. So far, they have been less than forthcoming. One real victory, though, should inspire a rising across southern England.

You have made good time and have reached the county of Barsetshire, a hive of Protestant scum and villainy. As you ready to advance on a small farm just to the south of Uffley, you sight a ragged band of English soldiers: this is finally your chance to claim revenge for all the wrongs the English have done to Spain and God’s true cause.

The Irish Brigade

With you, you have the “volunteers” from the fleet, being a mixture of ships’ crews and what cavalry you have been able to raise using horses liberated on your march east. The least motivated, at least they will distract the English! Your core troops are your four battalia of Spanish infantry, the terror of Europe and veterans all. Finally, you have a brigade of Irish volunteers: untried, but ready for plunder and true to the faith.

Seize the farm, rout the English, and the road will be clear to Barchester itself!

English Briefing

The Godless Spanish don’t know when they’re beaten…but it’s time to show them once and for all that they are.

You are Lord William Harding, the Duke of Barsetshire. It’s a proud name, and you are determined to honour it. Unfortunately you missed the battles at sea, and thought all the glory would got to privateers like Drake, but God has given you the chance to feast upon one small part of the Spanish pie!

Sir Mark Proudie’s Pike from the Royal Army

Word of a Spanish landing in the west reached London and at first none believed it: the Spanish had been defeated weeks ago! As, however, reports of Spaniards marching inland grew, the Queen has dispatched you and a (concerningly small) force to deal with what are surely just some remnant Spanish brigands who’ve been blown ashore.

As you neared your home county, however, you became aware that what faced you was not a band of weakened, dispirited sailors but the core of a Spanish army, supported by Irish rebels. So be it: whatever the odds, God is on your side!

Sir Bernard Crosbie, a venerable old gent, has not been inactive either, and the West Barsetshire Militia have been raised, accompanied by some welcome artillery and the Reverend Crawley, rumoured to be in line for a Bishopric and certain to inspire the men. Most of your troops are lightly armed and untried, but you have strong cavalry, and every stout yeoman of England is worth at least two Papist wretches!

You intend to make a stand to the south of Uffley, not least because you own farmland there and would rather it stayed that way! Defend the road, save Barchester, and show the Spaniards once again that God is an Englishman!

The Silverbridge Gunsmiths Guild artillery: part of the West Barsetshire Militia

The Game

I would play the Spanish, Rob would play the English. The Spanish set up with the Irish on their right, the Tercio (their best troops) in the centre, and the somewhat dodgy “Volunteers” on the left. The English had the Militia of their left (i.e. opposite the Irish), the Royal army in the centre, and a locally raised mixture of musketeers and longbowmen, with a bit of light cavalry, on the right.

My plan was simple: advance my flanks forward as fast as possible then bring up the Tercio in the centre to finish off anything that was left!

The Battle Begins

View from Behind the English lines

English light horse advance to their doom

On the Spanish left, the two units of Mounted Arquebusiers faced off against a unit of English light horse and soon, with a combination of shot and a quick charge, sent them fleeing from the field. Despite instructions to the contrary, the arquebusiers who had actually charged home (Los Dopicos Horse) then pursued the fleeing cavalry: rapidly disappearing into the distance!

On the right, the Irish brigade moved forward as fast as possible towards the English Militia in their walled enclosure.

A unit of English light cavalry with lances and pistols hit the untried McKenna’s Kern and dispersed them, but they in turn were blown away by musketry from the right hand unit of the Tercio coming up from behind. This left the rest of the Irish free to assault the Militia in what turned out to be a series of hard fought melees with bill-armed troops but, as the battle ended, the Irish definitely had the advantage.

Meanwhile, in the centre, the Tercio had been steadily advancing towards the English Royal Army. Both sides were veteran infantry: the Spanish consisted of three pike and shot battalia and a unit of commanded shot; the English one pike and shot battalia, two commanded shot, and the Royal Gallowglass.

My Tercio managed to shrug off the fire coming from the enemy arquebusiers and get stuck in with their pikes, and the English centre began to give way. This allowed Juanitos’ Pike, led by General Tapioca, to burst through the line and then head off to the left flank to help out Volunteers.

Before we come to the climax of the battle, a quick interlude.

The English Demilancers, Robart’s Horse, had punched their way through the Spanish line earlier in the game, but also pursued their fleeing enemy right the way to the other end of the table. Eventually rallying and forming up again, they actually found themselves next to a farmhouse in which the crew of the Spanish galleon, the Sao Martinho, were sheltering: the crew counting as a Forlorn Hope, presumably because there was only a forlorn hope of getting them into action!

English Demilancers and the crew of the Sao Martinho line up next to each other!

The sailors fired off all the ammunition they had at the English horsemen…who utterly ignored them and trotted off, untouched, to see if they could get back to the main battle in time to influence its outcome.

Right, back to the main action.

The Spanish were definitely winning, but still needed to deliver the coup de grace to the English and, as anyone who plays FK&P knows, the fortunes of war can turn in an instant. A good example of this was about to happen.

The other unit of mounted arquebusiers, the Nuevo Rico Horse, charged into the flank of some enemy commanded shot. This should have led to a glorious victory but, instead, the Englishmen took the charge, turned and blew the Spaniards away with fire.

not, as many predicted, the End of some commanded shot!

This left the enemy commanded shot and two units of longbowmen holed up near or in a walled enclosure: not a suitable charge target for the remaining Spanish mounted arquebusiers even if the archers were all out of arrows.

Fortunately General Tapioca and Juanitos’ Pike were on hand and, still fresh after chomping through the English in the center, went in over the walls to skewer the longbowmen on their pike.

Over the walls the pikemen go!

The lonbowmen crumbled and fled the field and this proved too much for English morale to withstand. With their Militia on their left about to lose to the Irish, the Royal army in the centre under extreme pressure, and the loss of their right, they decided that discretion was the better part of valour and fled for safety. Victory to the Spanish!

Aftermath

Although the Spanish had gained the advantage early on in the battle, it had been a great and hard fought game. The rule modifications we used worked well, although we had needed to clarify a few bits and bobs as the game progressed: can Kerns use their javelins as part of the charge sequence, for example.

The figures (all from Khurasan) had looked very good indeed and all that now remained was to have a quick bite to eat before setting up for the return game where I would play the English…but that’s another post!

CDS at SELWG

Yesterday, Milton Hundred Wargames Club demoed a game of Charlie Don’t Surf at SELWG.

They had a load of interest, plenty of people stopping and asking after the rules…who later went over to the TFL stand! A big shout out to Full Metal Miniatures for printing the sampans as a test. They’ll be on his web store soon!

Here are some pictures of the game, posted onto the CDS Facebook Group by Steve Thomas.

CDS AAR: Surf's Up #09: AirCav

Russell Smith posted some great pictures from a recent game of Charlie Don’t Surf onto the CDS Facebook group.

Check them out below:

You can find lots more CDS AARs here.

TTS AAR: Elephants Swimming in Canals

Back in April this year, friend Peter asked me if I would have a game of To The Strongest with him as a test for one of the armies he was considering taking to the Chalgrove World Championships. Why has it taken me so long to deliver the After Action Report? Well, Peter didn’t want any hint of which armies he might be using to leak to possible opponents, so had slapped a D-Notice on me. Now, however, that he is basking in another victory, he has graciously given permission for the secret files covering our game to be released!

Peter’s test-army was the Venetians, and he had asked if I would use a Later Carthaginian army against them. This would be a real test for the canal-dwellers: a cavalry army against Hannibal’s spear-armed infantry supported by elephants…and on a board with at least some trees on it.

The Venetians: Knights & Lights!

Hannibal’s Brave Boys

Of course, part of the problem with writing an AAR six months after the event is that I can’t actually remember much of how the game played out!

What I do know is that Peter completely wrong-footed me at the start by gaining the initiative and deploying all on the (from my point of view) right side of the table versus my more evenly spread line. This would mean that he could concentrate his army on only a portion of mine, gaining victory there before then turning to polish off the rest. Cunning stuff!

As it happens, however, this didn’t work as, somehow, I managed to get my heavy spearmen moving and across the field to support my by now beleaguered right flank.

My Celtic warriors also refused to give way despite being hit by veteran knights with a general from the front and two units of knights from the rear, joined by two lights, for several turns. Their Celtic cavalry comrades were equally resilient: normal Celtic cavalry convincingly winning a melee against veteran lance-armed later knights supported by lance-wielding mass lights: they killed the knights and drive the lights back without suffering a single hit!

The game developed into a huge melee in the centre of the table, with the action swirling backwards and forwards. Despite my successes, above, my army was starting to look a bit ragged and I could see that a collapse was fairly imminent: there were just too many light units hitting or threatening to hit my flanks.

It was time for a Hail Mary. I had one unit of Celtic horse still undamaged. I could see the Venetian camp (complete with fountain and gondola) in a straight line in front of them, with only some more of those massed lights blocking their way. The Celts charged forward and, with a great run of cards, smashed the light horse out of the way and then thundered into the enemy camp. Three victory medals to the good, the victory was mine!

It had been a cracking game that I had won through good luck and by the very thinnest of margins. As Peter said afterwards, “if it wasn’t for your extended gallop into my camp I would have won in my turn”. My only reply is, obviously, and with apologies to the Spartans: "If..."!

Here’s the full pictorial story of the battle:

TTS AAR: Classical Indians versus Akkadians

Having played Kavan using the Akkadians versus his Classical Indians, we decided to swap sides and play the game the other way round.

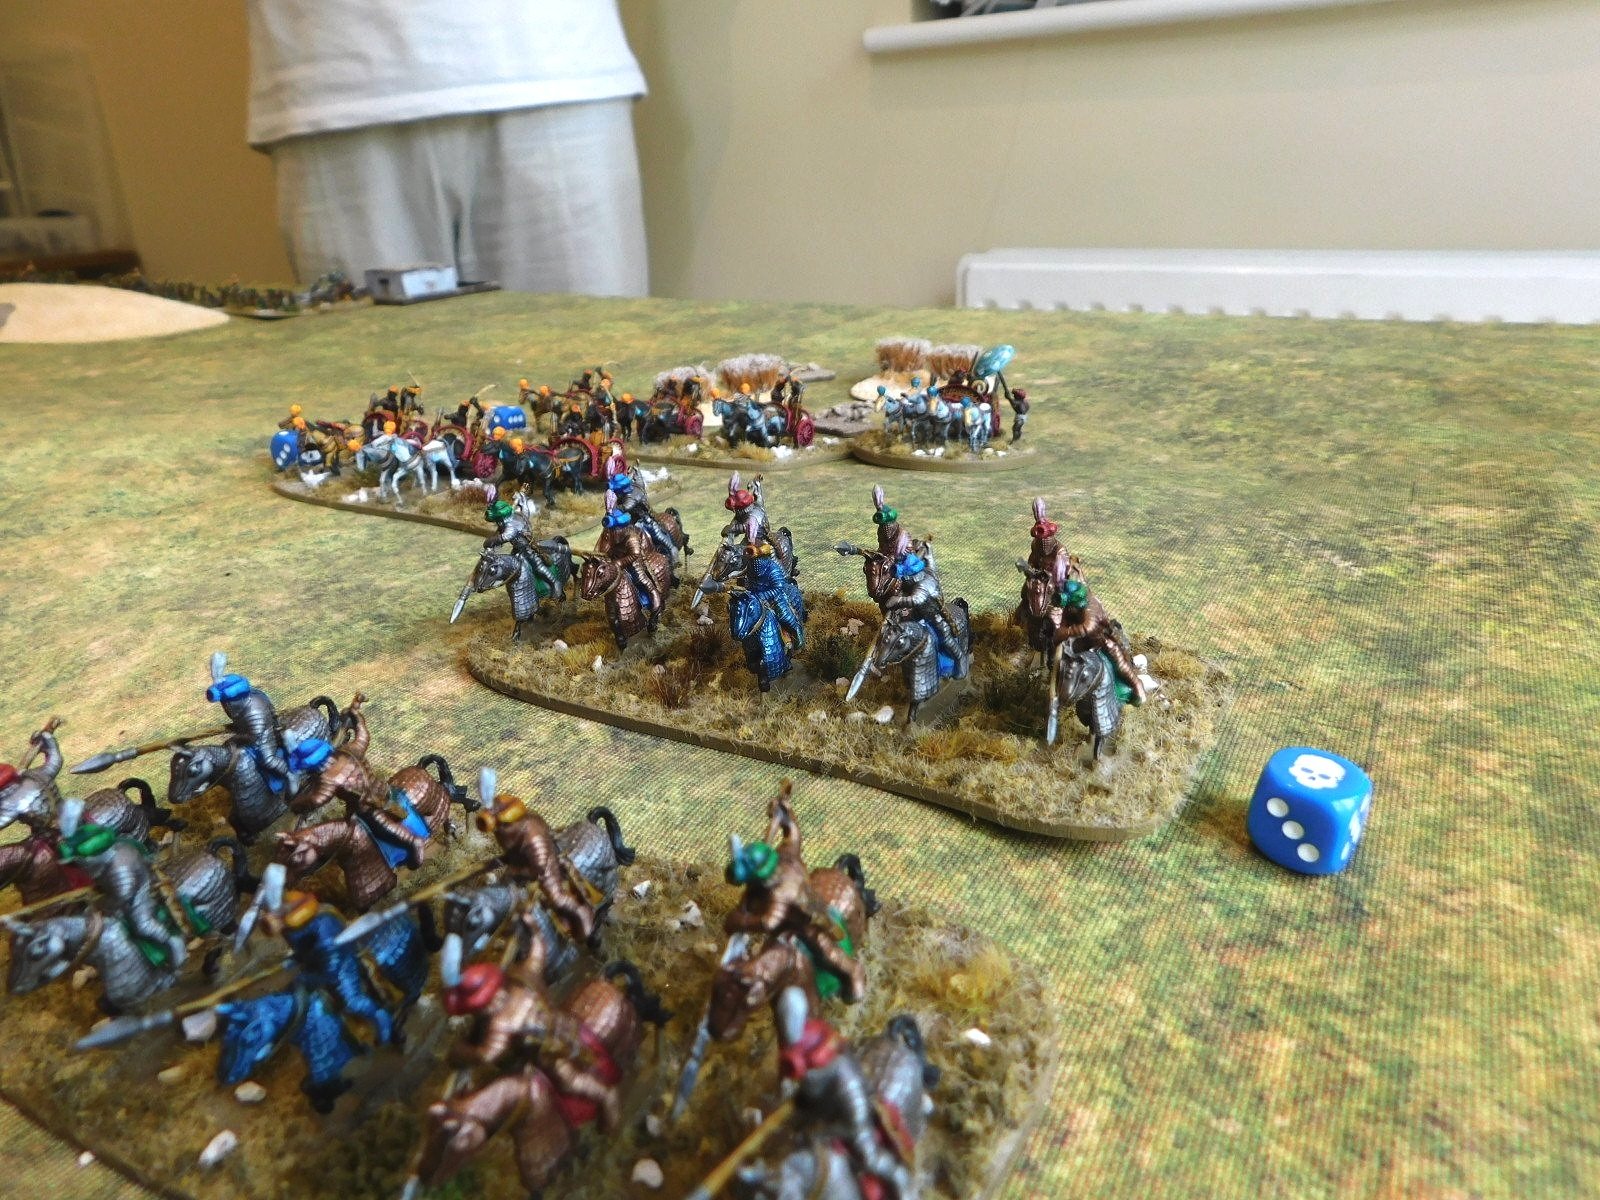
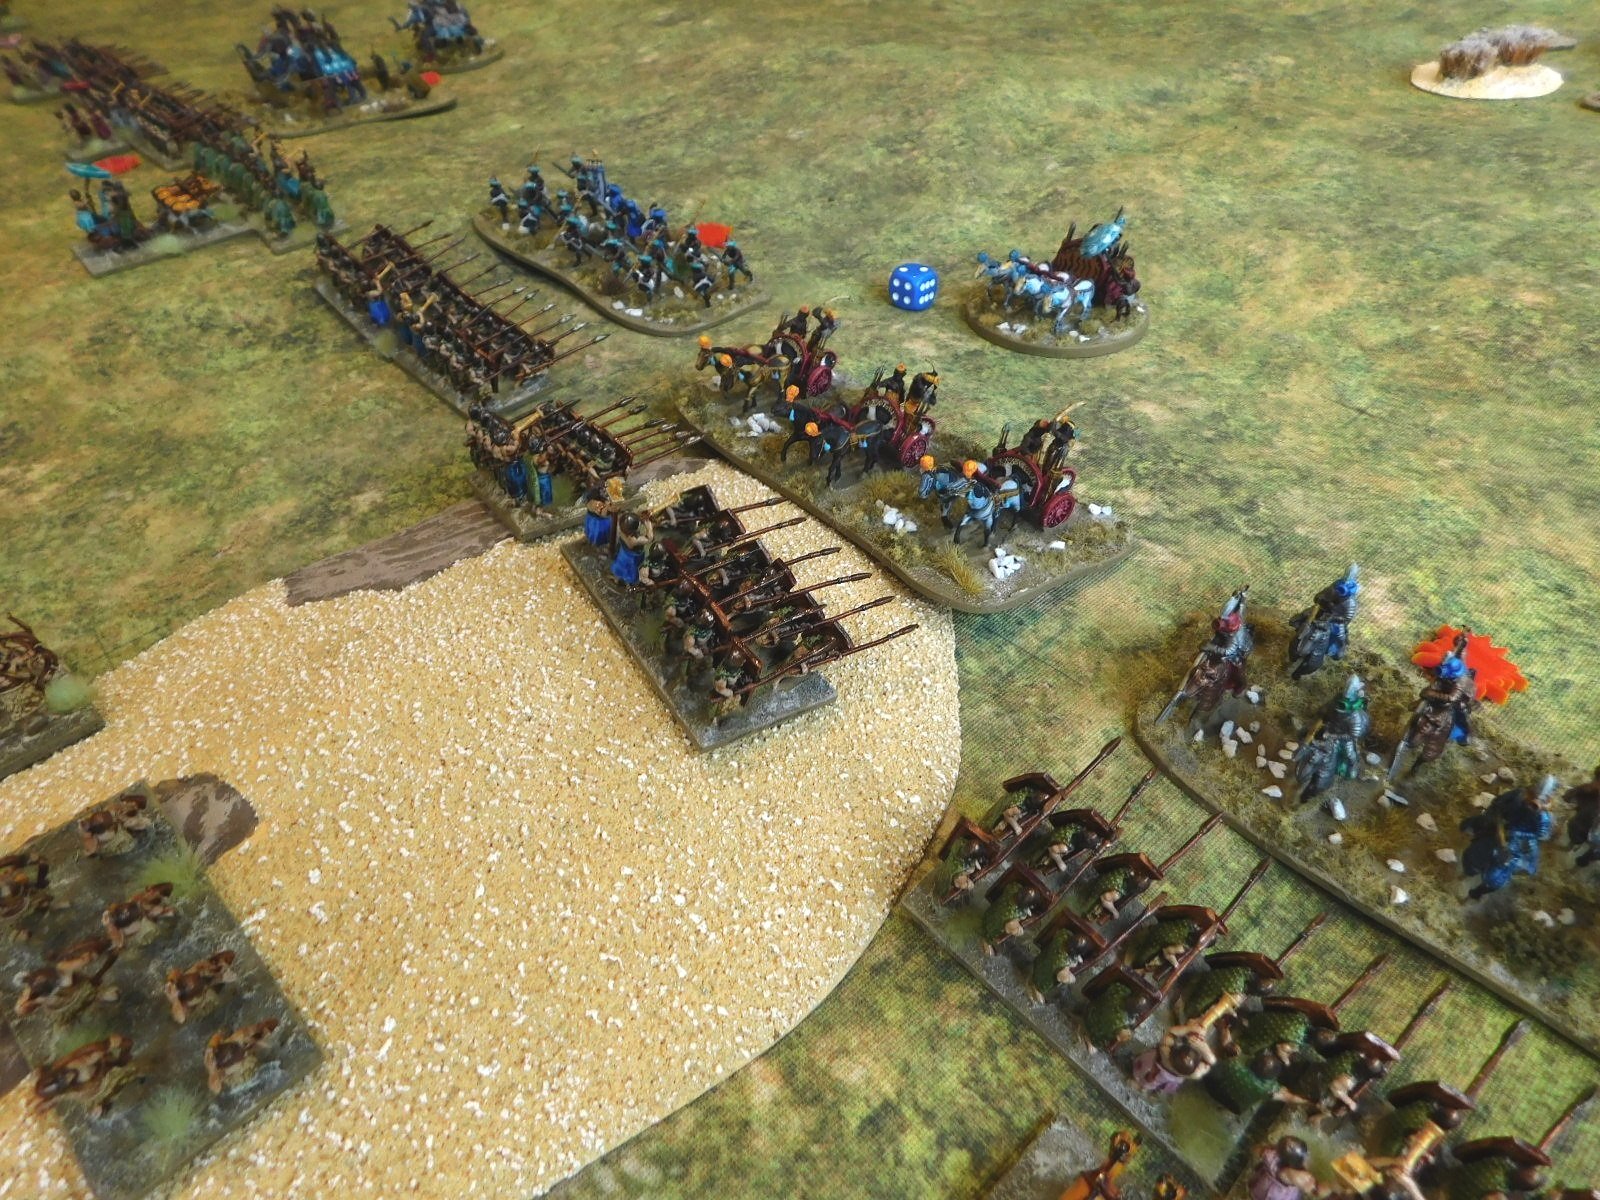
The Akkadians were outscouted, and set up in a long line of men holding sharp pointy sticks, placing their veteran battle carts on their left/my right. I matched their infantry with my own, but put all my chariots and cavalry on my left. My plan was to hold my infantry back, giving them as long as possible to shoot their longbows, whilst I outflanked and won the battle with my mounted troops on the left.

Initially, this actually worked very well indeed. On the left, my chariots and horse neatly swung out a bit and headed past the end of his line at a rapid rate of knots.

This allowed me to send one unit of chariots towards his camp, and the other into the flank of his right-hand infantry.

Surely this was the game sown up…but, no, the Gods laughed and shuffled the deck, and the lone Akkadian spear unit at the end of his line snapped round neatly and disposed of my (previously outflanking) chariots without much difficulty!

This was disappointing, but his camp was still about to fall:

Meanwhile, on my right, his battle carts and infantry had finally reached my line and were dashing themselves against it.

This was actually quite worrying as although my javelinmen can hold their own in hand to hand combat, my longbowmen have a tendency to crumble really quickly.

Fortunately, the Akkadians assaulted the longbowmen piecemeal, so my three units of archers could concentrate their fire and pincushion the most forward enemy unit each turn. This meant that they tended to hit my line disordered, which really evened things up.

Moreover, my javelinmen were up on a hill, and resolutely refused to give way no matter what. Here’s a pictorial account of events on that wing:

So the left wing was doing well, but hadn’t won the game for me; and my right wing was holding, but under pressure. I would now have to win the game in the centre, and that was where I had my elephants and the elite Maiden Guard.

In they went as fast as a charging pachyderm, and nothing could stand before them!

Well, that’s a slight exaggeration, but with the cavalry on the left now free to assist, and the right wing just about won, the elephants did provide the coup de grace needed to take the last of Kavan’s victory medals.

A glorious victory for the Classical Indians!

TTS AAR: Akkadians versus Classical Indians

Time for a game of To The Strongest: I would take the Akkadians (the new, ‘slim-line’ version from the latest army lists) and Kavan would use a Classical Indian army of the Republican variety.

My plan was to act almost purely defensively: luring the Indians forward onto the tips of my spears. My only offensive move would be to send my heavy chariots forward on the left to try and get around the Indian right flank.

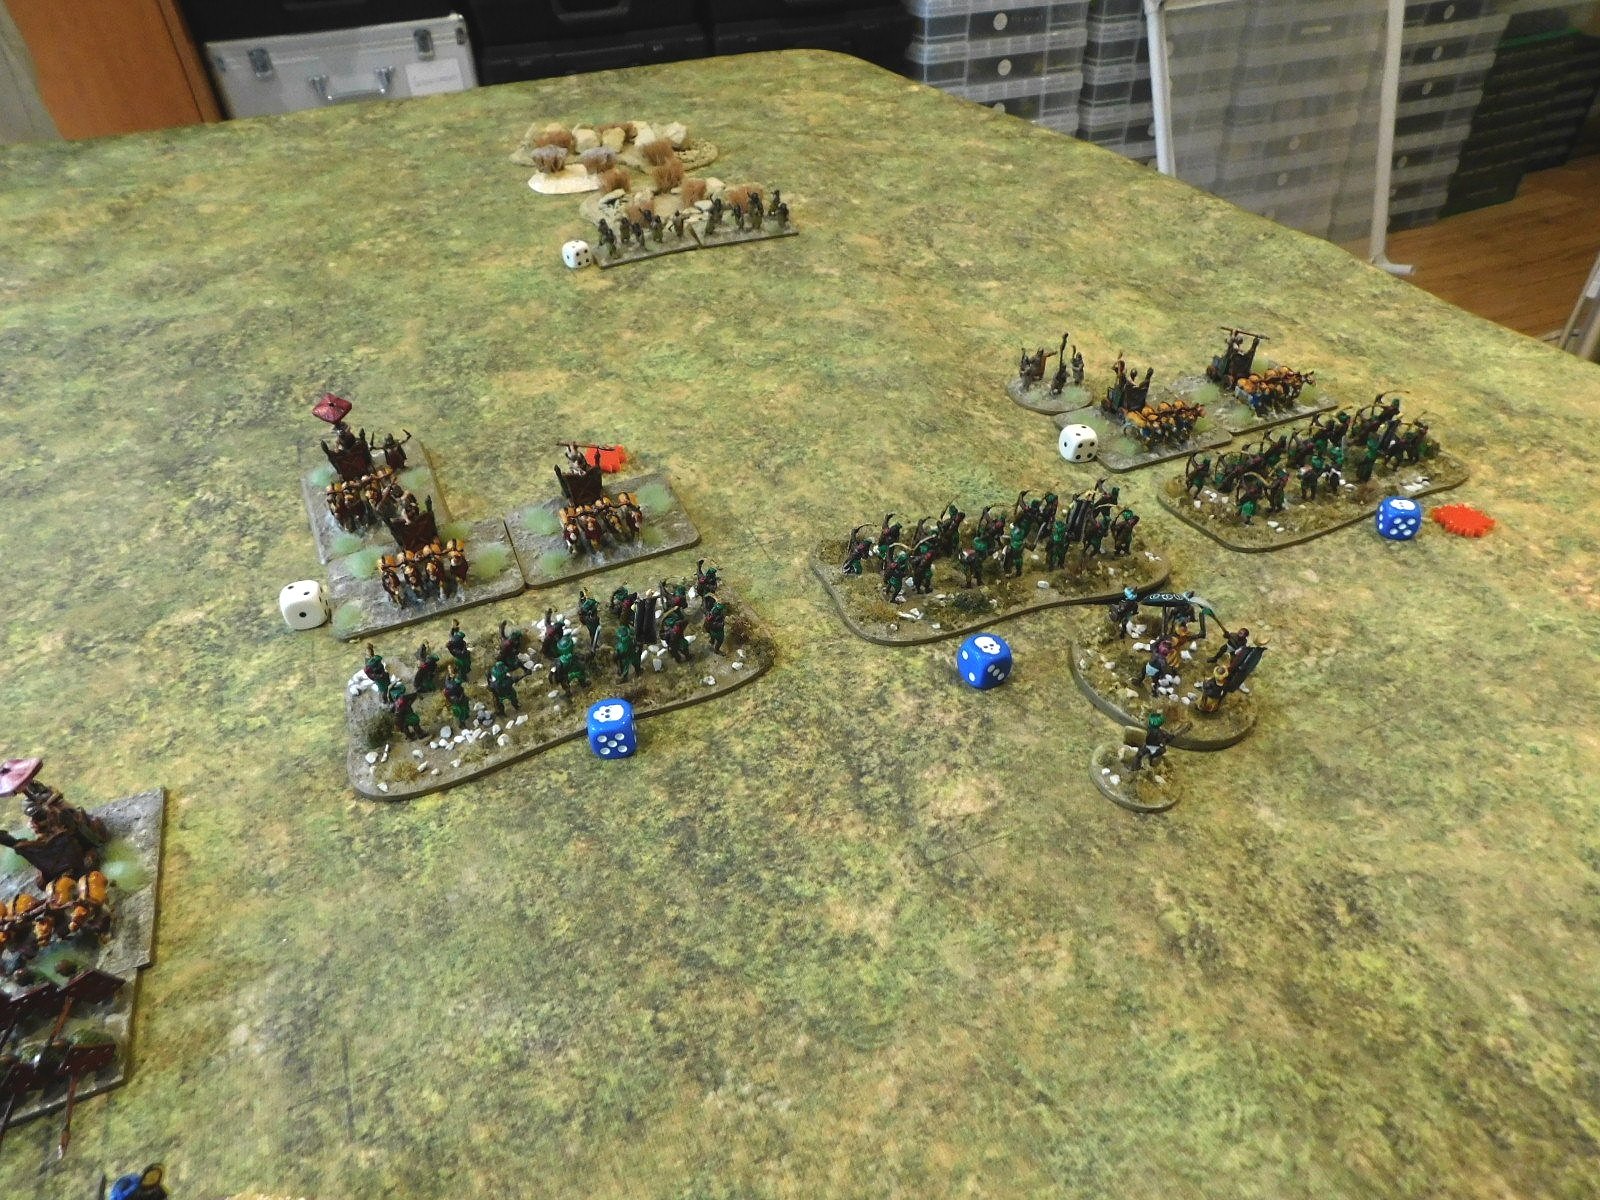
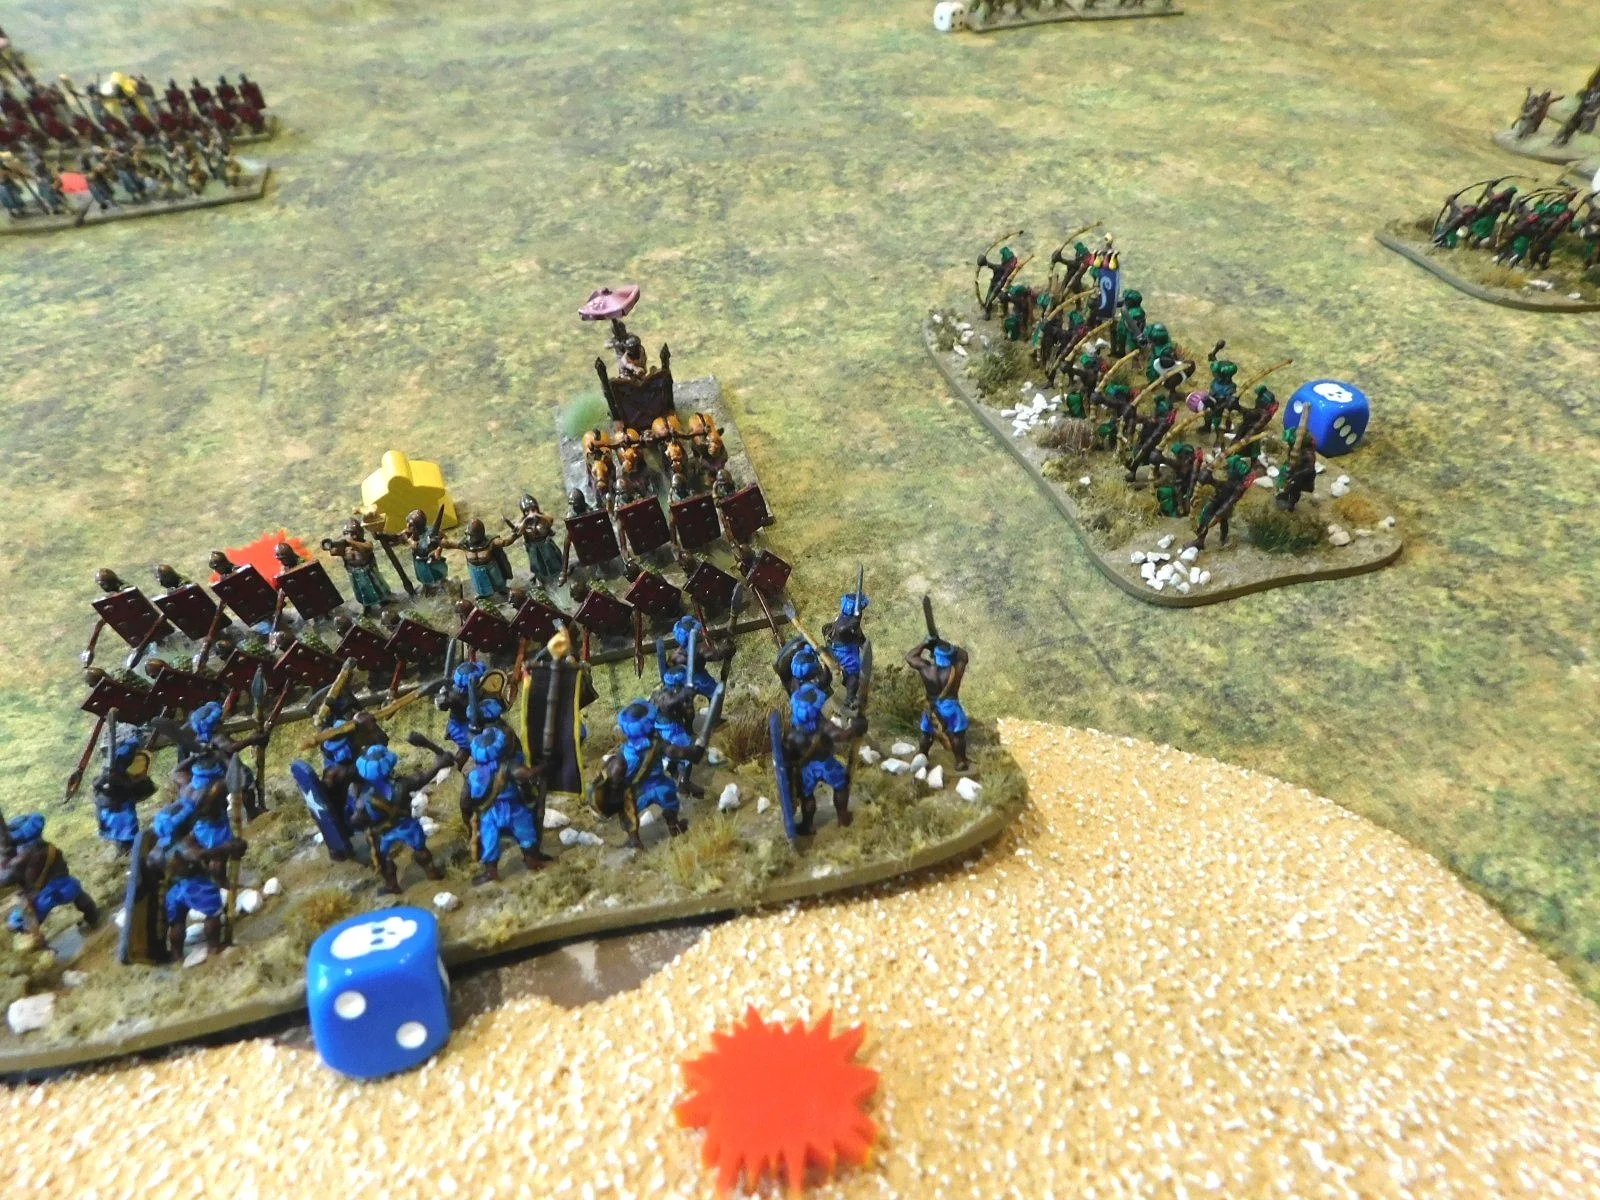
Everything went almost to plan, as the Indian javelinmen, chariots, elephants and cavalry hurled themselves forward without the first on the list even bothering with their extra longbows. To cut a long story short, they impaled themselves on the Akkadian line, and the game was won pretty easily.

Chronological pictures of the game appear below, but it’s worth mentioning why I said “almost” above. My heavy chariots did indeed thunder forward on the left most impressively, but then ran into bother facing a couple of raw units of Indian javelinmen. I sent some Household Infantry to help, and they got into trouble as well!

Unbelievably, the only thing that saved the day was the unit of Nim skirmishers in the rough ground (the unit with the die with ‘1’ on it in the picture above) who not only resisted every attempt of the Indian javelinmen to evict them from said rough ground, but went on to use their javelins to wipe them out as well!

Their success held my left flank together and allowed me to win the battle in the centre and on the right.

So a relatively workmanlike victory for the Akkadians. Here are the pics:

One thing to note: figures for both sides come from the Museum Miniatures CAD-designed Z ranges: highly recommended.

FK&P AAR: Cossacks & Transylvanians versus Muscovites

After the Cossacks got so badly hammered last time out against a Muscovite army, it was time to reinforce them with some Transylvanians: the Cossacks would provide the war wagons and foot, the Transylvanians some fairly decent cavalry.

The Muscovites were, again, mostly Sons of Boyars or Reiter cavalry supported by two small brigades of infantry.

View from behind the Muscovite line

Muscovites

Transylvanians & Cossacks

Muscovite Reiters

Elite Transylvanian Cavalry

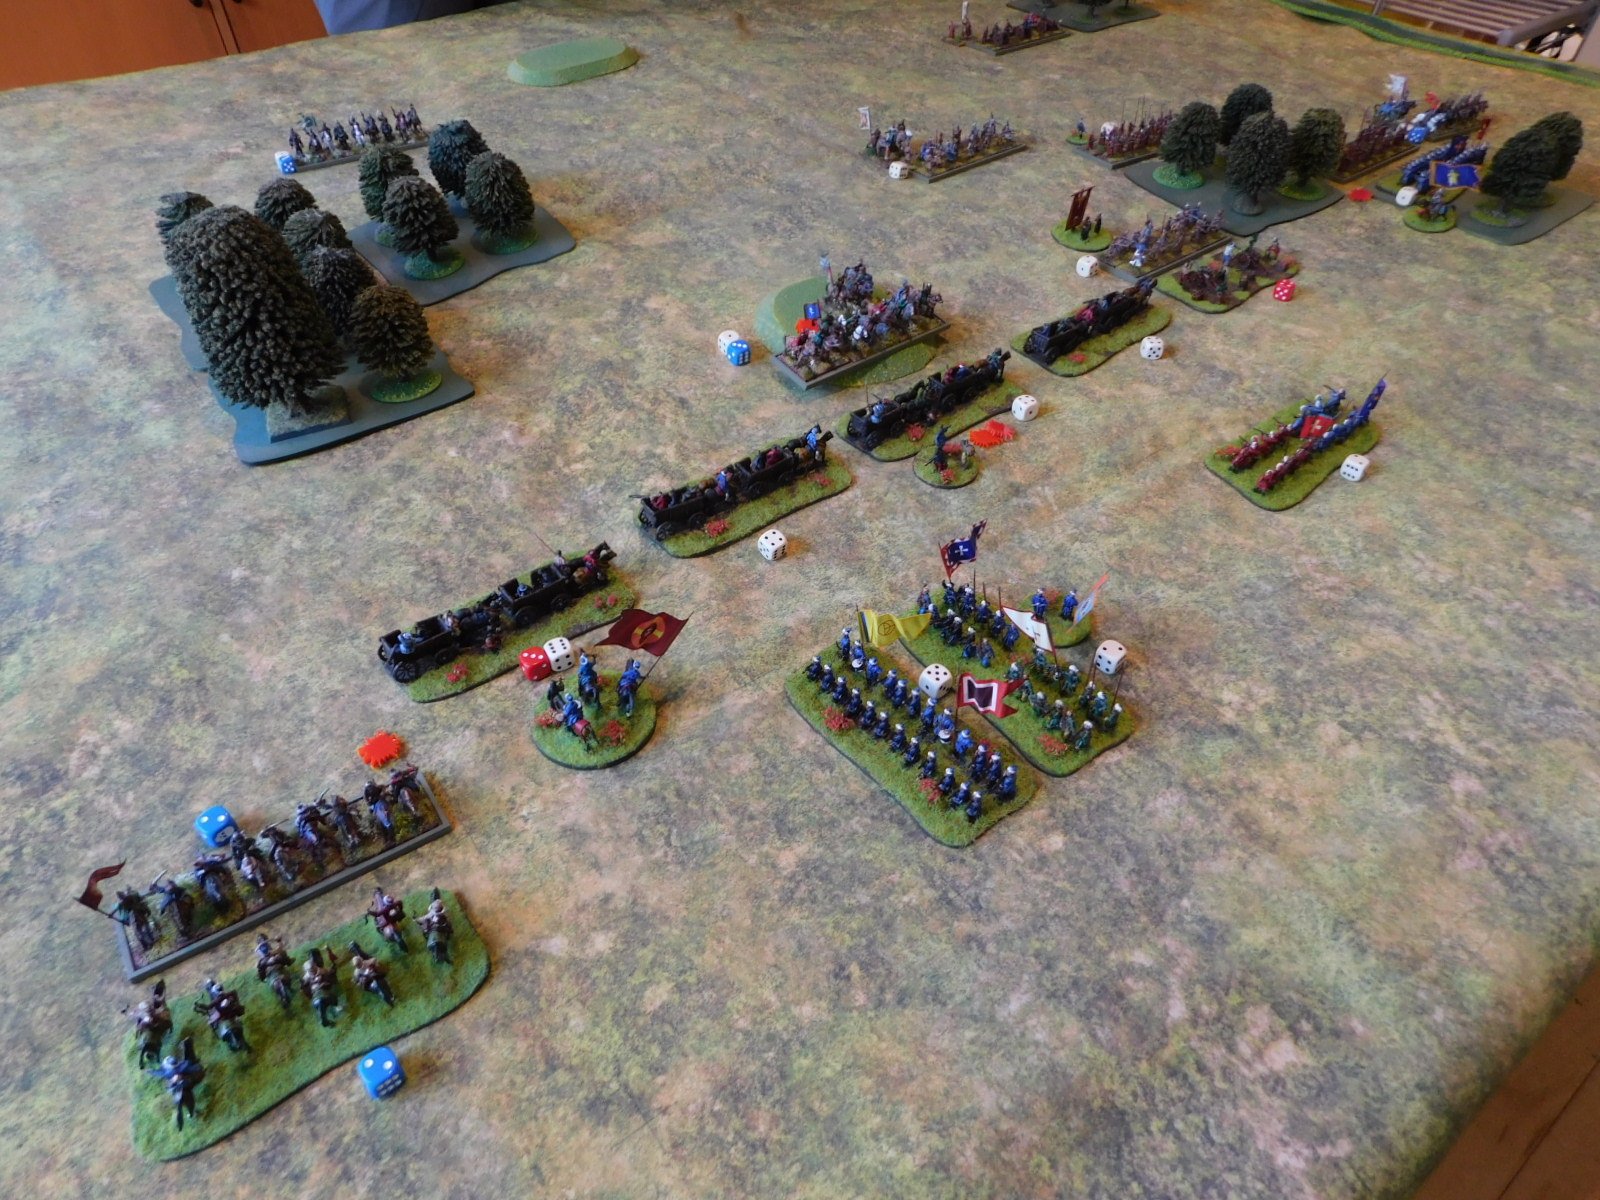
As the battle began, both sides advanced forward smartly, with the terrain meaning that the game divided into three sectors: my left flank, the centre and my right flank.

On My Left

On my left, some scummy looking Border Guards had appeared in front of me: the perfect target for the Transylvanians!

Apparently not, as rather than running over them like a badly dressed speedbump, my horsemen got impaled on their pikes. This flank then turned into an uneasy stalemate as horse and foot units milled around charging each other with little effect. The battle would be decided elsewhere!

On the Right Flank

On my right flank, I had some Transylvanian Enlisted Light Cavalry supported by two Haiduk units sheltering in the woods.

The plan was to send the light cavalry forward to soften up the three units of Reiters coming towards me so that the Haiduks could wipe them out from safe amongst the trees.

This did not work: the light horse were swept away almost immediately, and then the Haiduks were charged from the flanks and front and, despite the bonuses for being in cover, were swept away as well. The final unit of Haiduks did hold out for some turns, but eventually succumbed, leaving my centre now vulnerable to flank attacks.

Meanwhile in the Centre…

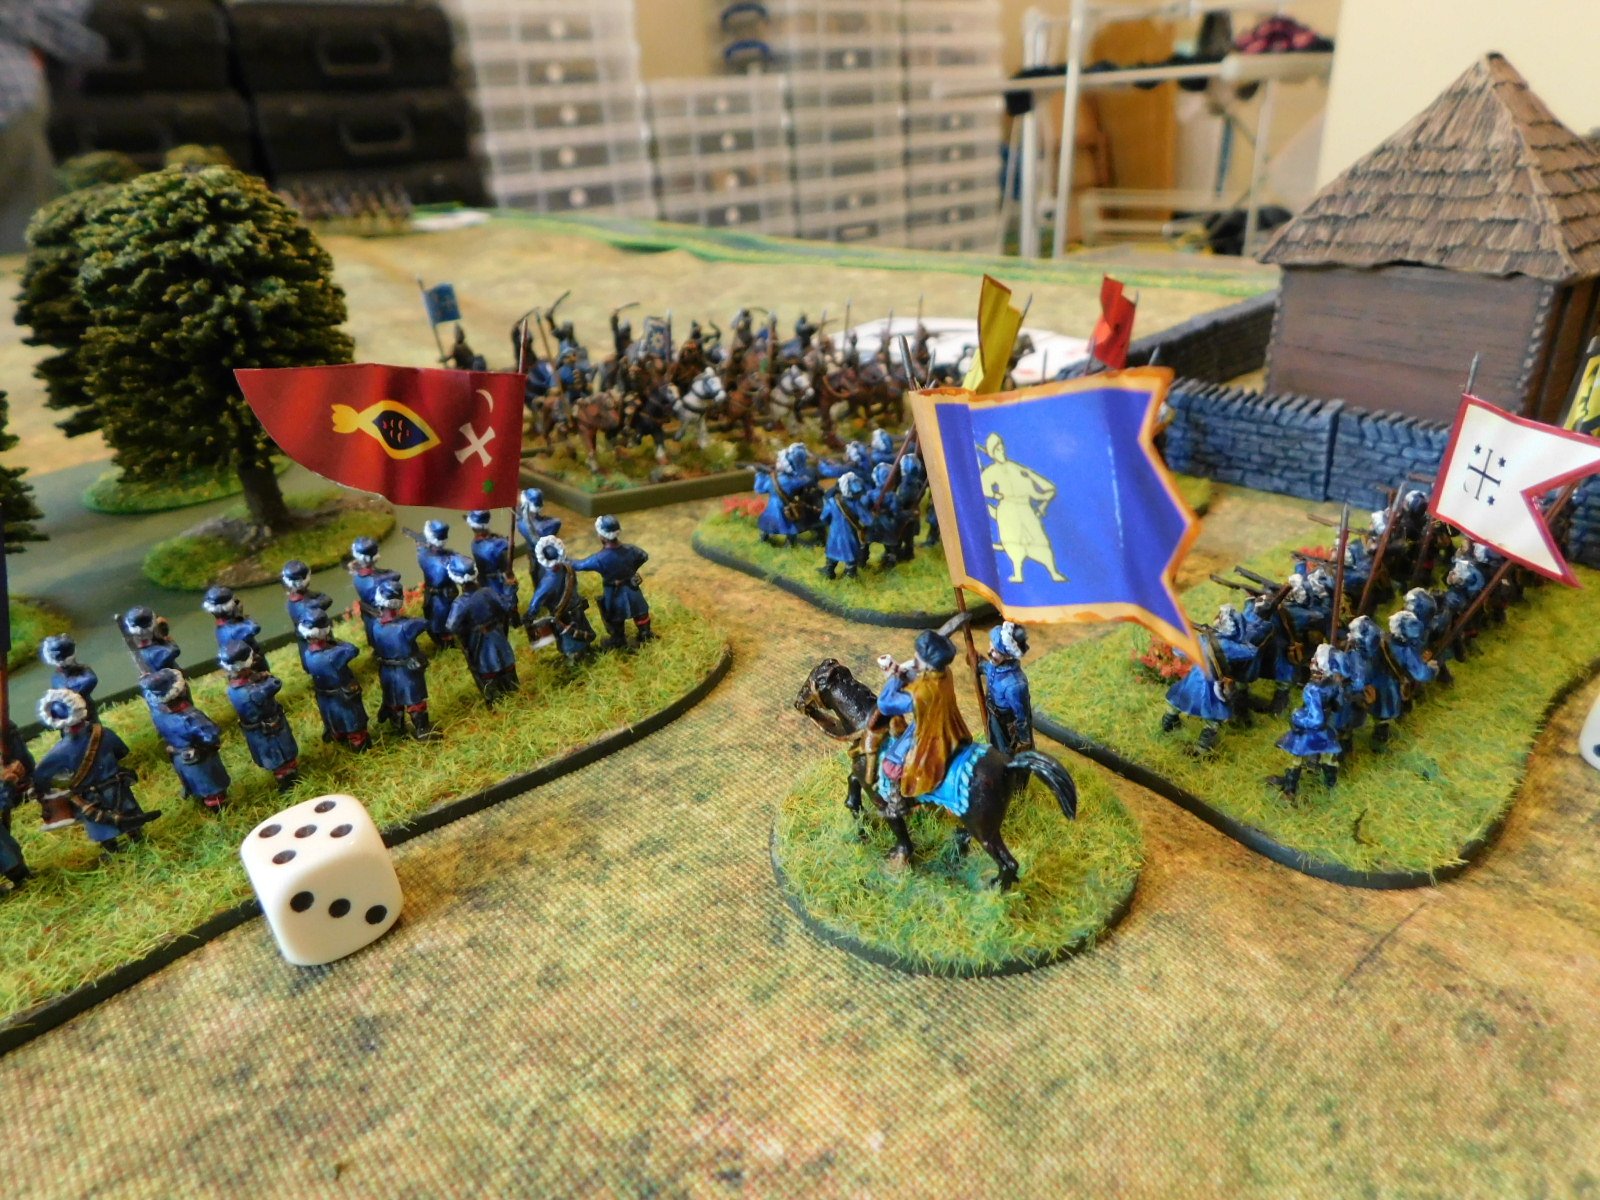
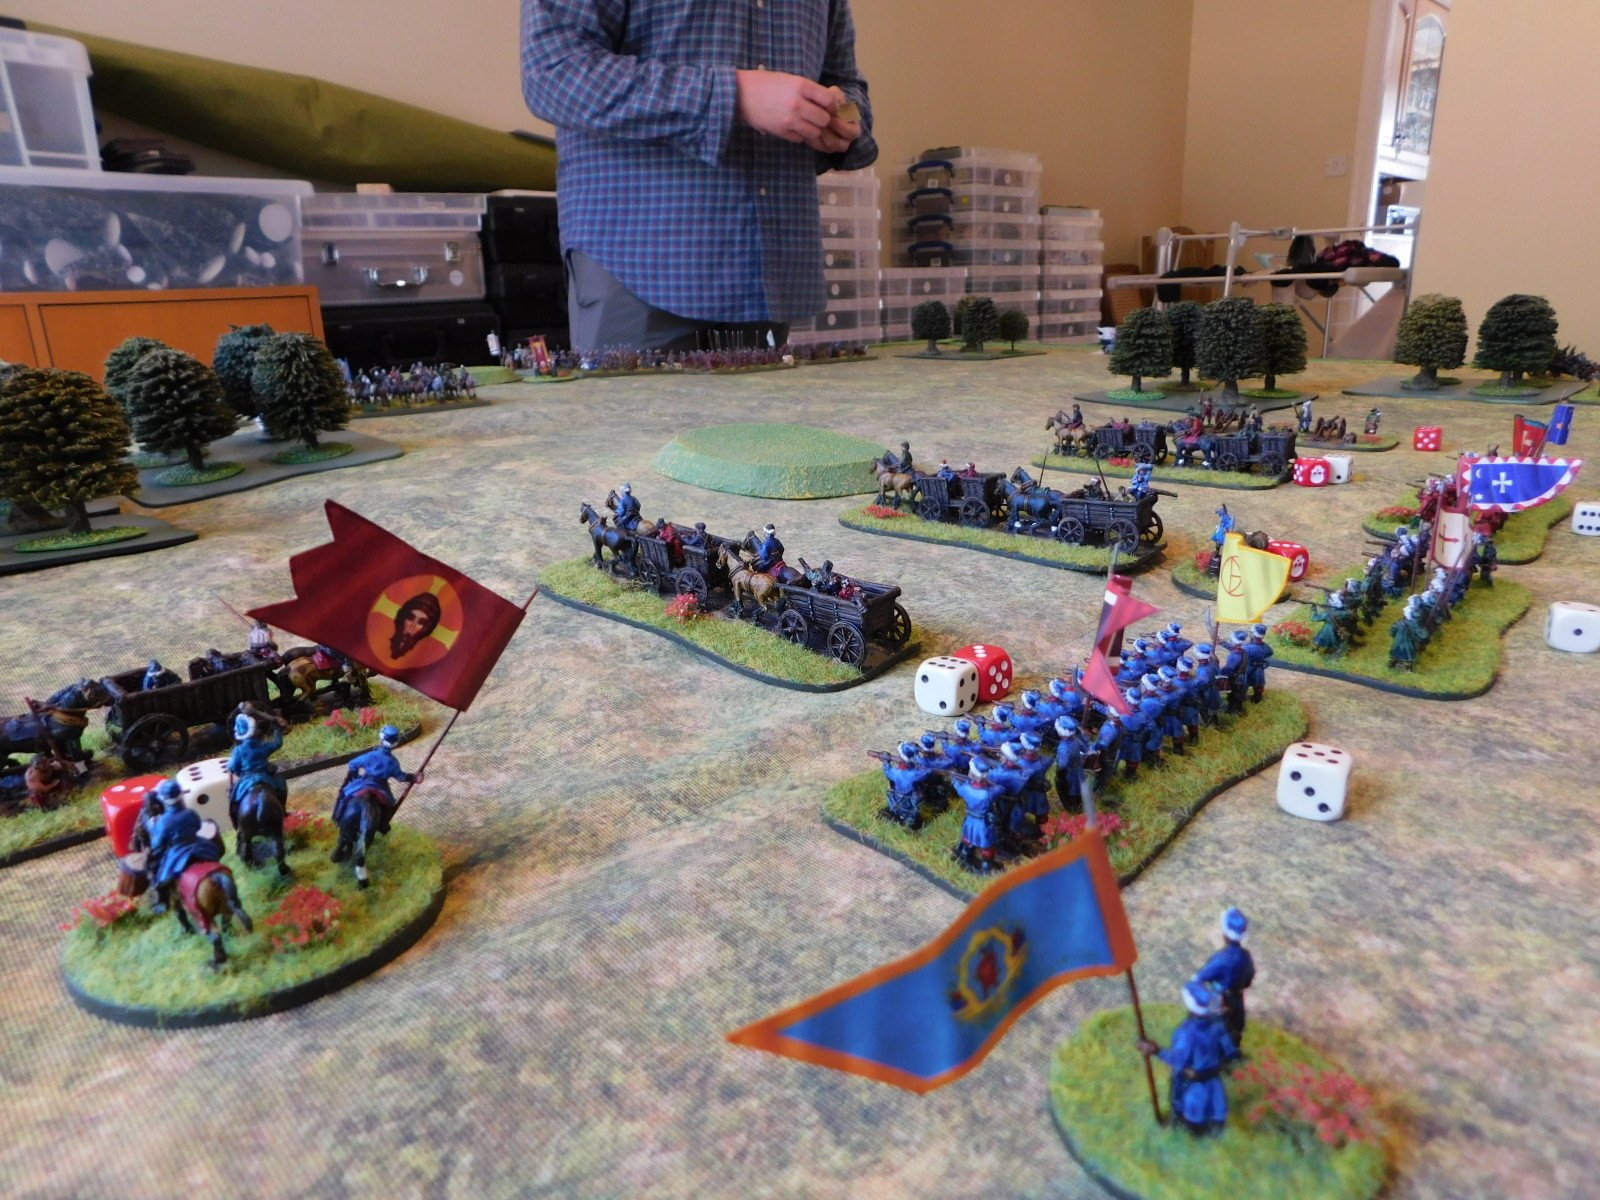
Meanwhile in the centre, the main body of Muscovite Reiters steamed towards my line: a mixed line of raw Moloitsy short-pike-and-shot and tabor war wagons.

My tabor fired valiantly away with both their light guns and musketry, but because I only had two of them rather than my usual four, I couldn’t get the concentrated fire I needed to halt the enemy Reiters heading towards me.

The Moloitsy were charged and gave way, leaving the tabor as islands of resistance amongst a swirling sea of Muscovite horsemen.

By this stage, I was also getting very short of victory medals…

The End

As my right wing collapsed, the loss of one unit too many caused my army as a whole to collapse: the Muscovites had won the day!

This wasn’t a hammering, I hasten to add: the Muscovites had been losing units as well, but it the Cossacks and Transylvanians who crumbled first!

Another great game, through, even if the Muscovites are currently proving unstoppable!

FK&P AAR: Cossacks vs Muscovites

Time to get my new Muscovites onto the tabletop and into action, with their opponents being the Zaphorogian Cossacks. Russians verses Ukrainians: who would have thought!

I played the Cossacks, daughter #1’s boyfriend, Kavan, played the Muscovites. The rules used were For King & Parliament with the Eastern Front adaptations taken from the Tales from a Wargaming Shed website.

This turned out to be a fast and furious battle with what seemed like an endless wave of Muscovite horse crashing onto the Cossack tabor and infantry.

Here a gallery of the set up so that you can see the two sides:

The battle opened with a brigade of Muscovite Reiters thundering forward on the Cossack right flank, held by a brigade of Moloitsy and Registered Cossacks. The cards were with Kavan, with a couple of consecutive “10’s” ensuring that he actually charged home on his first turn!

The rapid charge had, however, obviously exhausted his cavalrymen, as they bounced backwards from the Cossack infantry, losing one squadron in the process.

The Muscovites also advanced another brigade of Reiters on my left flank, but not as fast, so I sent my Tartar allies out to deal with them whilst I advanced the tabor forward and prepared to deploy.

I almost came a cropper at this point, as his Reiters were once again quick off the mark, and hit one of my tabor wagons before it had a chance to deploy. Fortunately, I managed to survive the charge, but there was definitely now a weak point in my line!

Even worse, my Tatar Nobles (the best troops I had) had obviously been bribed by the Muscovites, as they left the table, along with some of their horse archers, without achieving anything!

I was now in quite serious danger of being outflanked on the left!

Fortunately I had a reserve brigade of infantry that I could deploy to face this threat, and the battle became a series of Muscovite assault on a fortress of Cossack tabor. Again and again, the Reiters and elite National Cavalry charged home, and again and again the Cossack line held.

My artillery was overrun, two of the tabor wagons were overrun, my Registered Cossacks on the right were wavering, but still we held, and the relentless assaults were costing the Muscovites dearly.

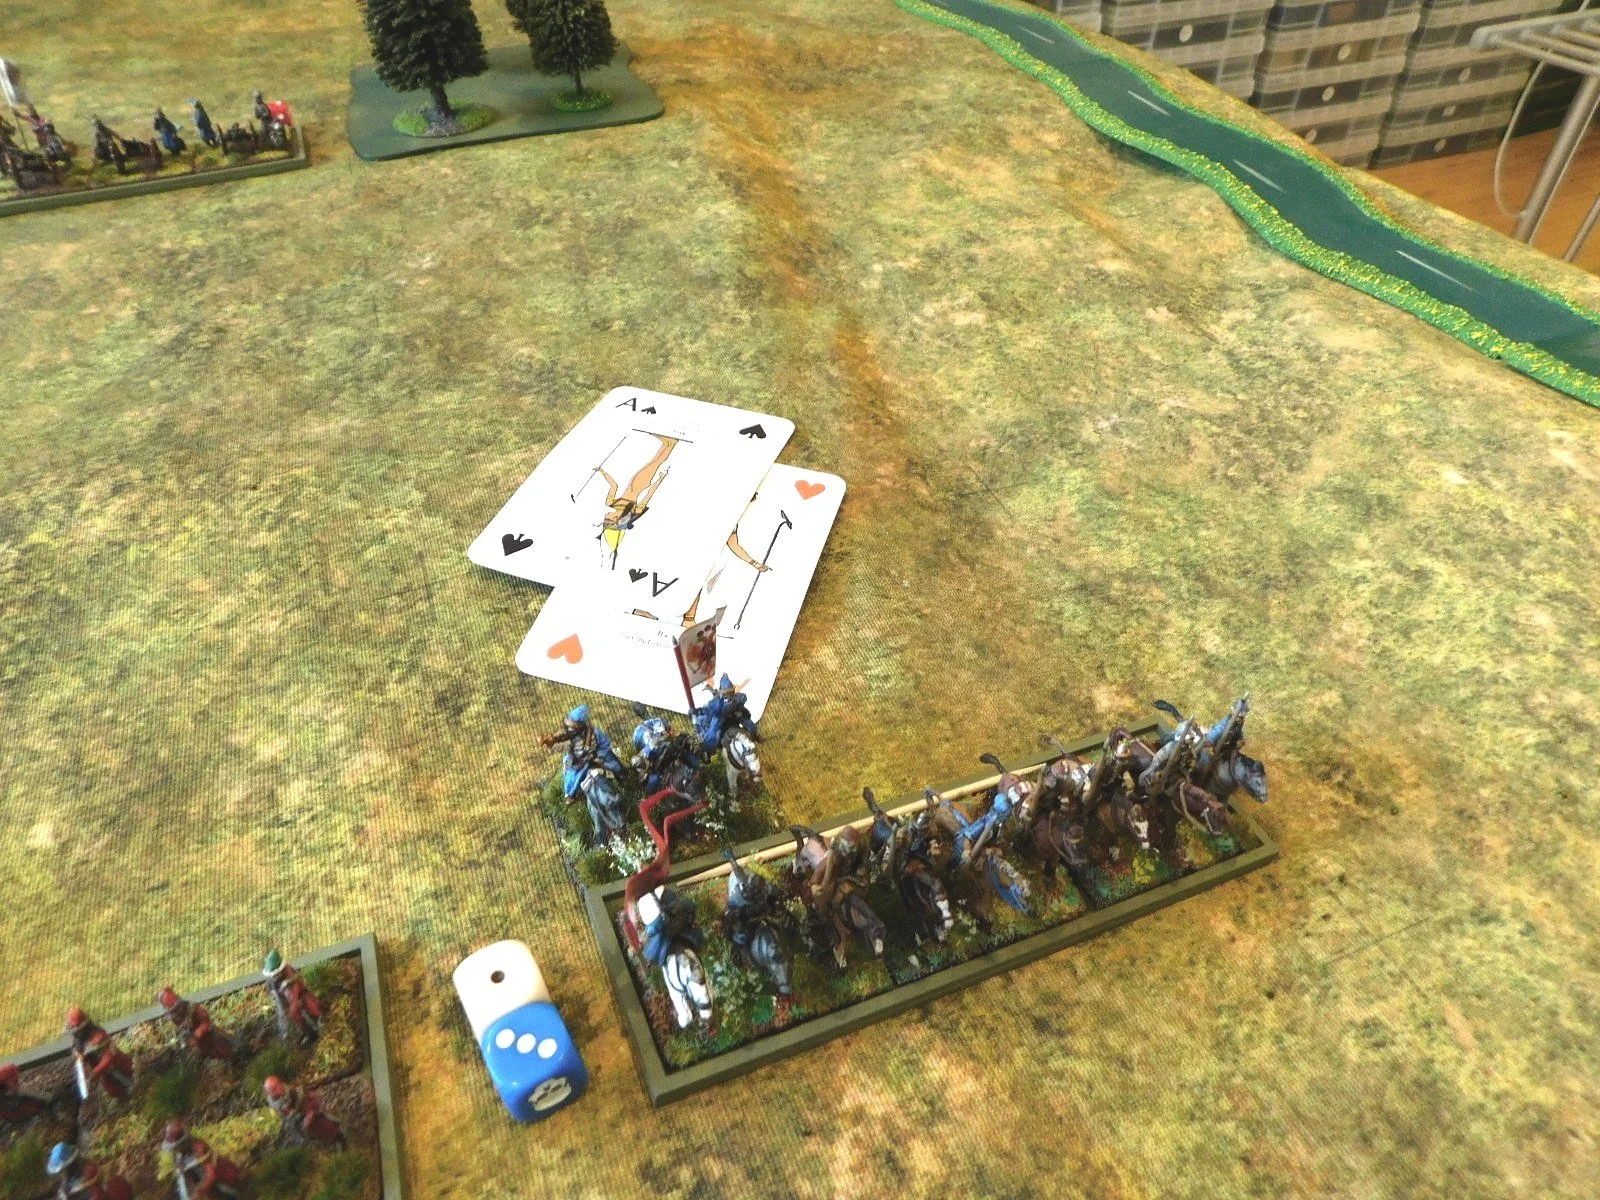
Kavan also wasn’t helped by a run of bad cards, including what you can see in the last picture, above: an absolute dead-cert winning flank charge on the reserve unit holding my left flank foiled by a couple of Aces drawn in a row.

This gave me the chance to get the last remaining unit of Tatars in on his flank and, finally, the Muscovites had had enough and retreated. A very narrow escape for the Cossacks!

It had been a terrific game, with everything coming right down to the wire. I had lost half my army, but had just managed to hold on long enough to get the win. Roll on the next game!