TTS AAR: Anglo-Normans versus Siamese (Thai)

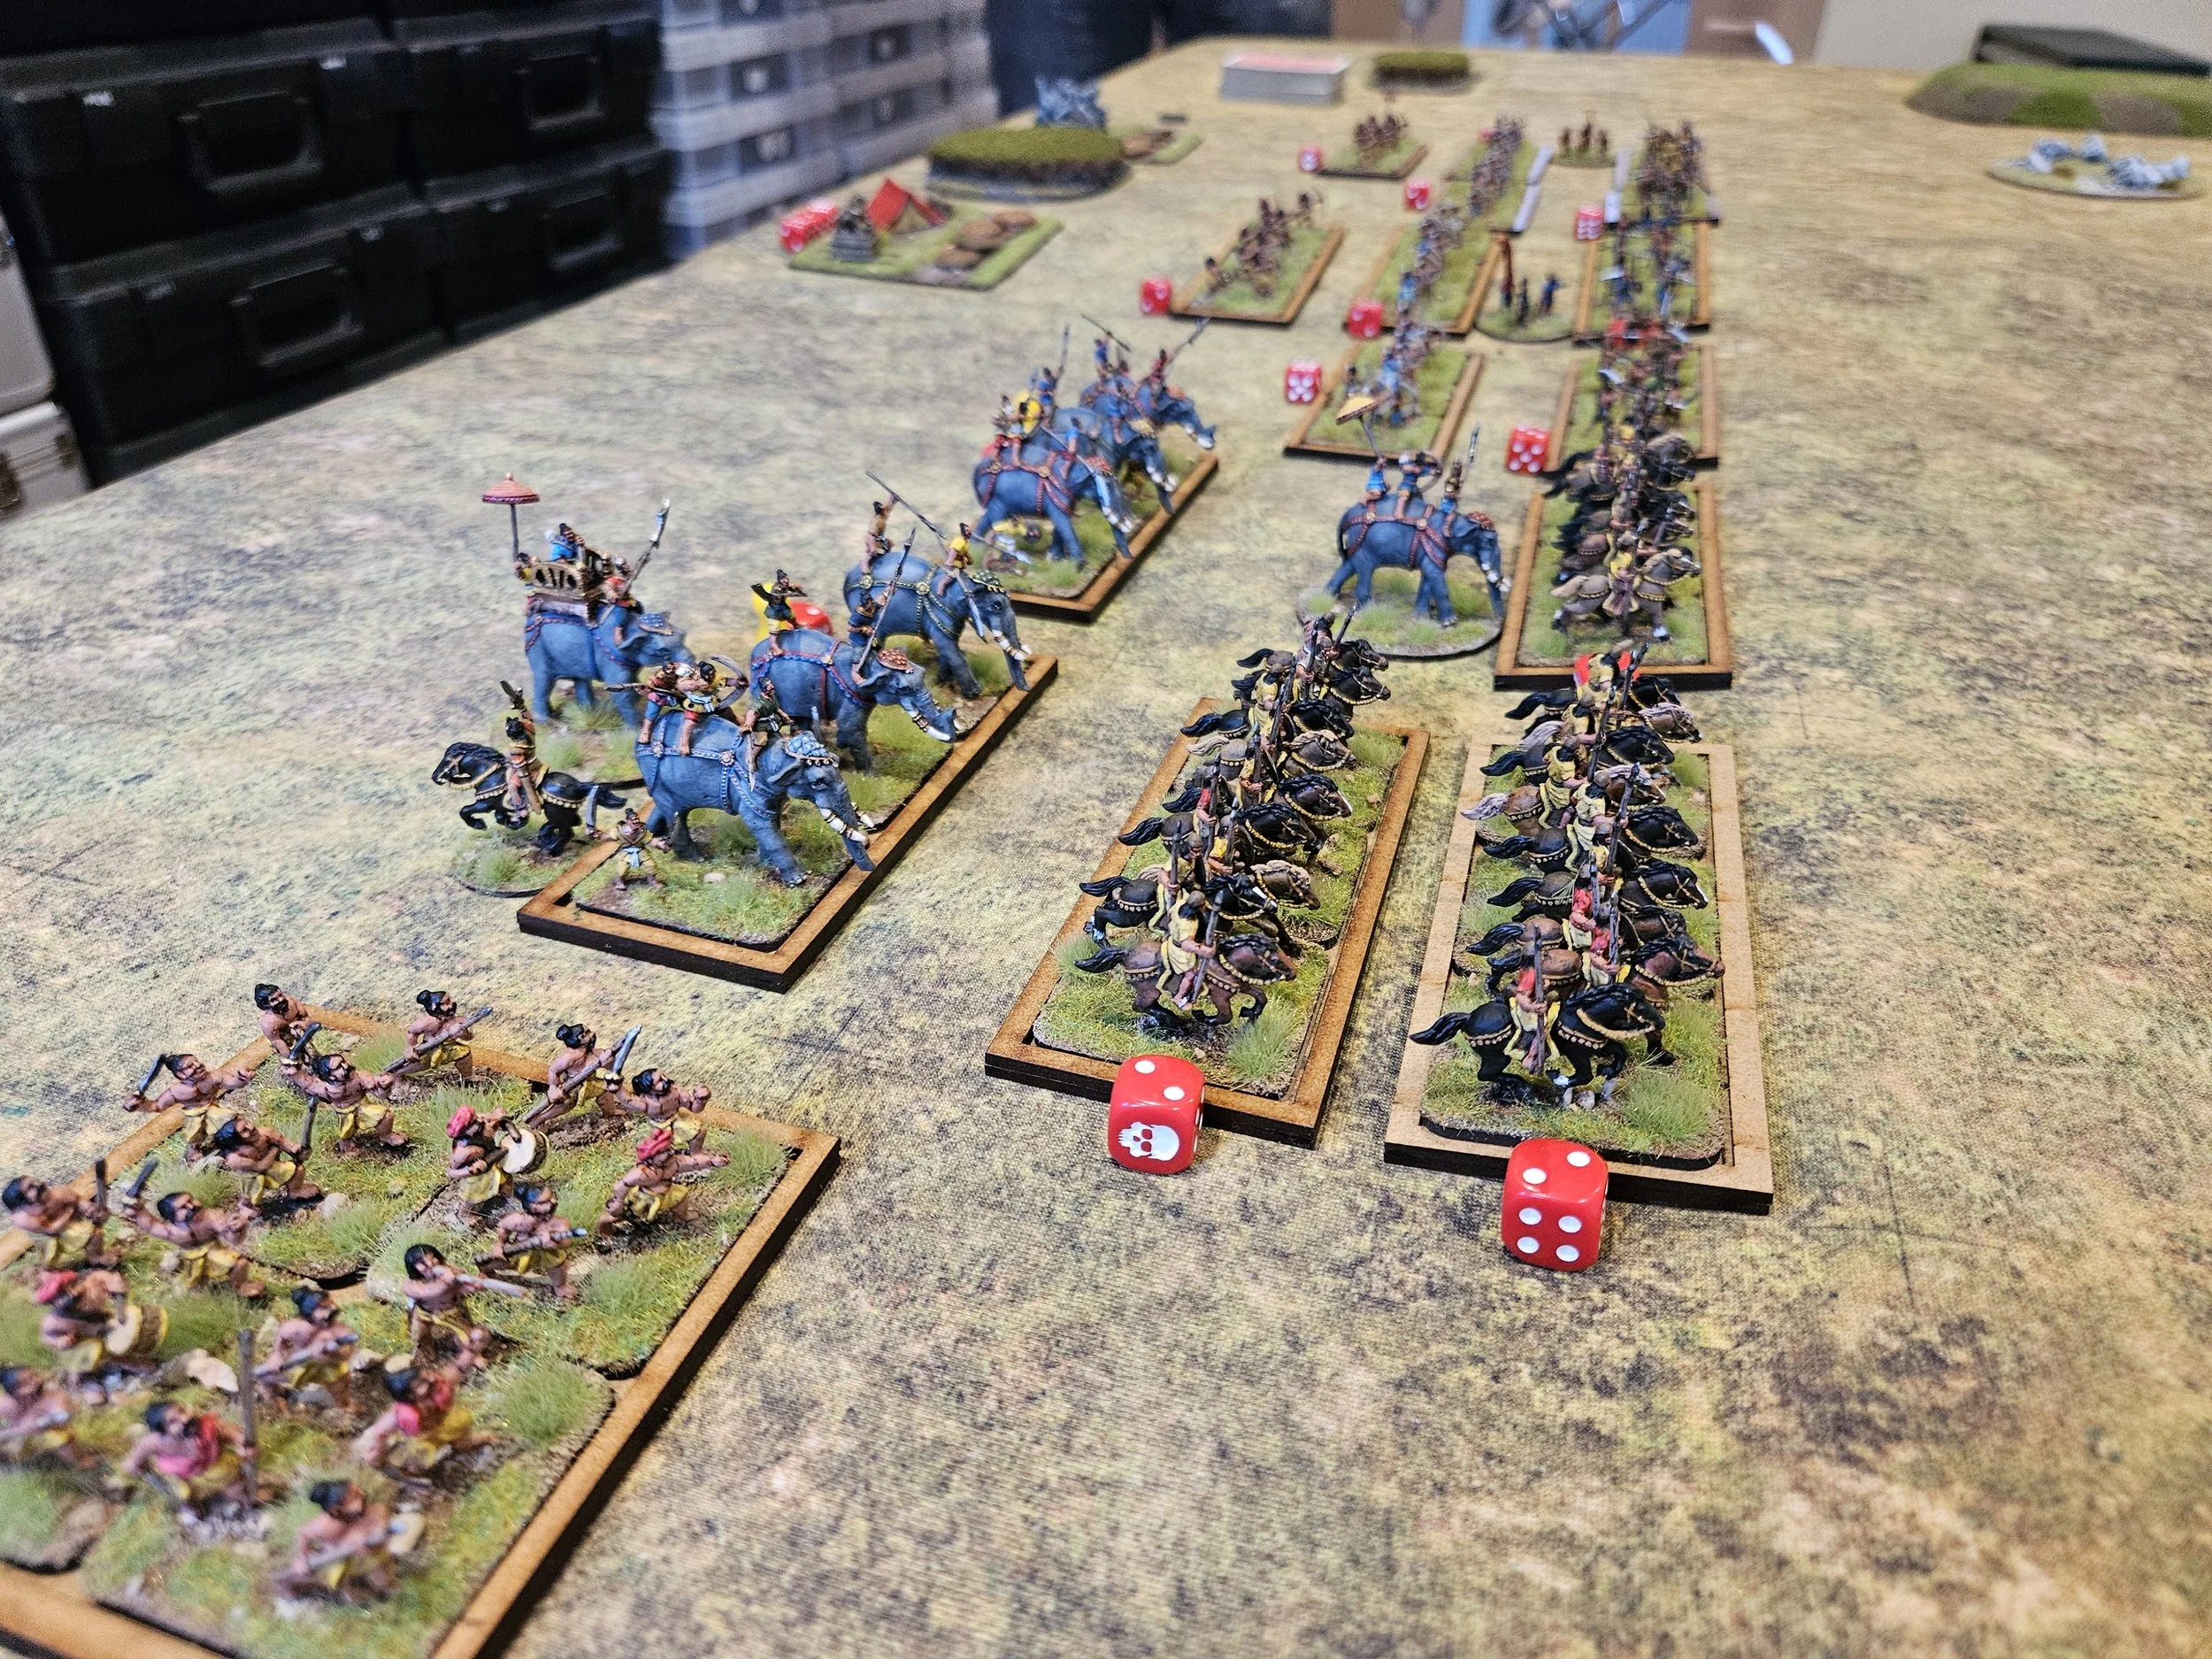
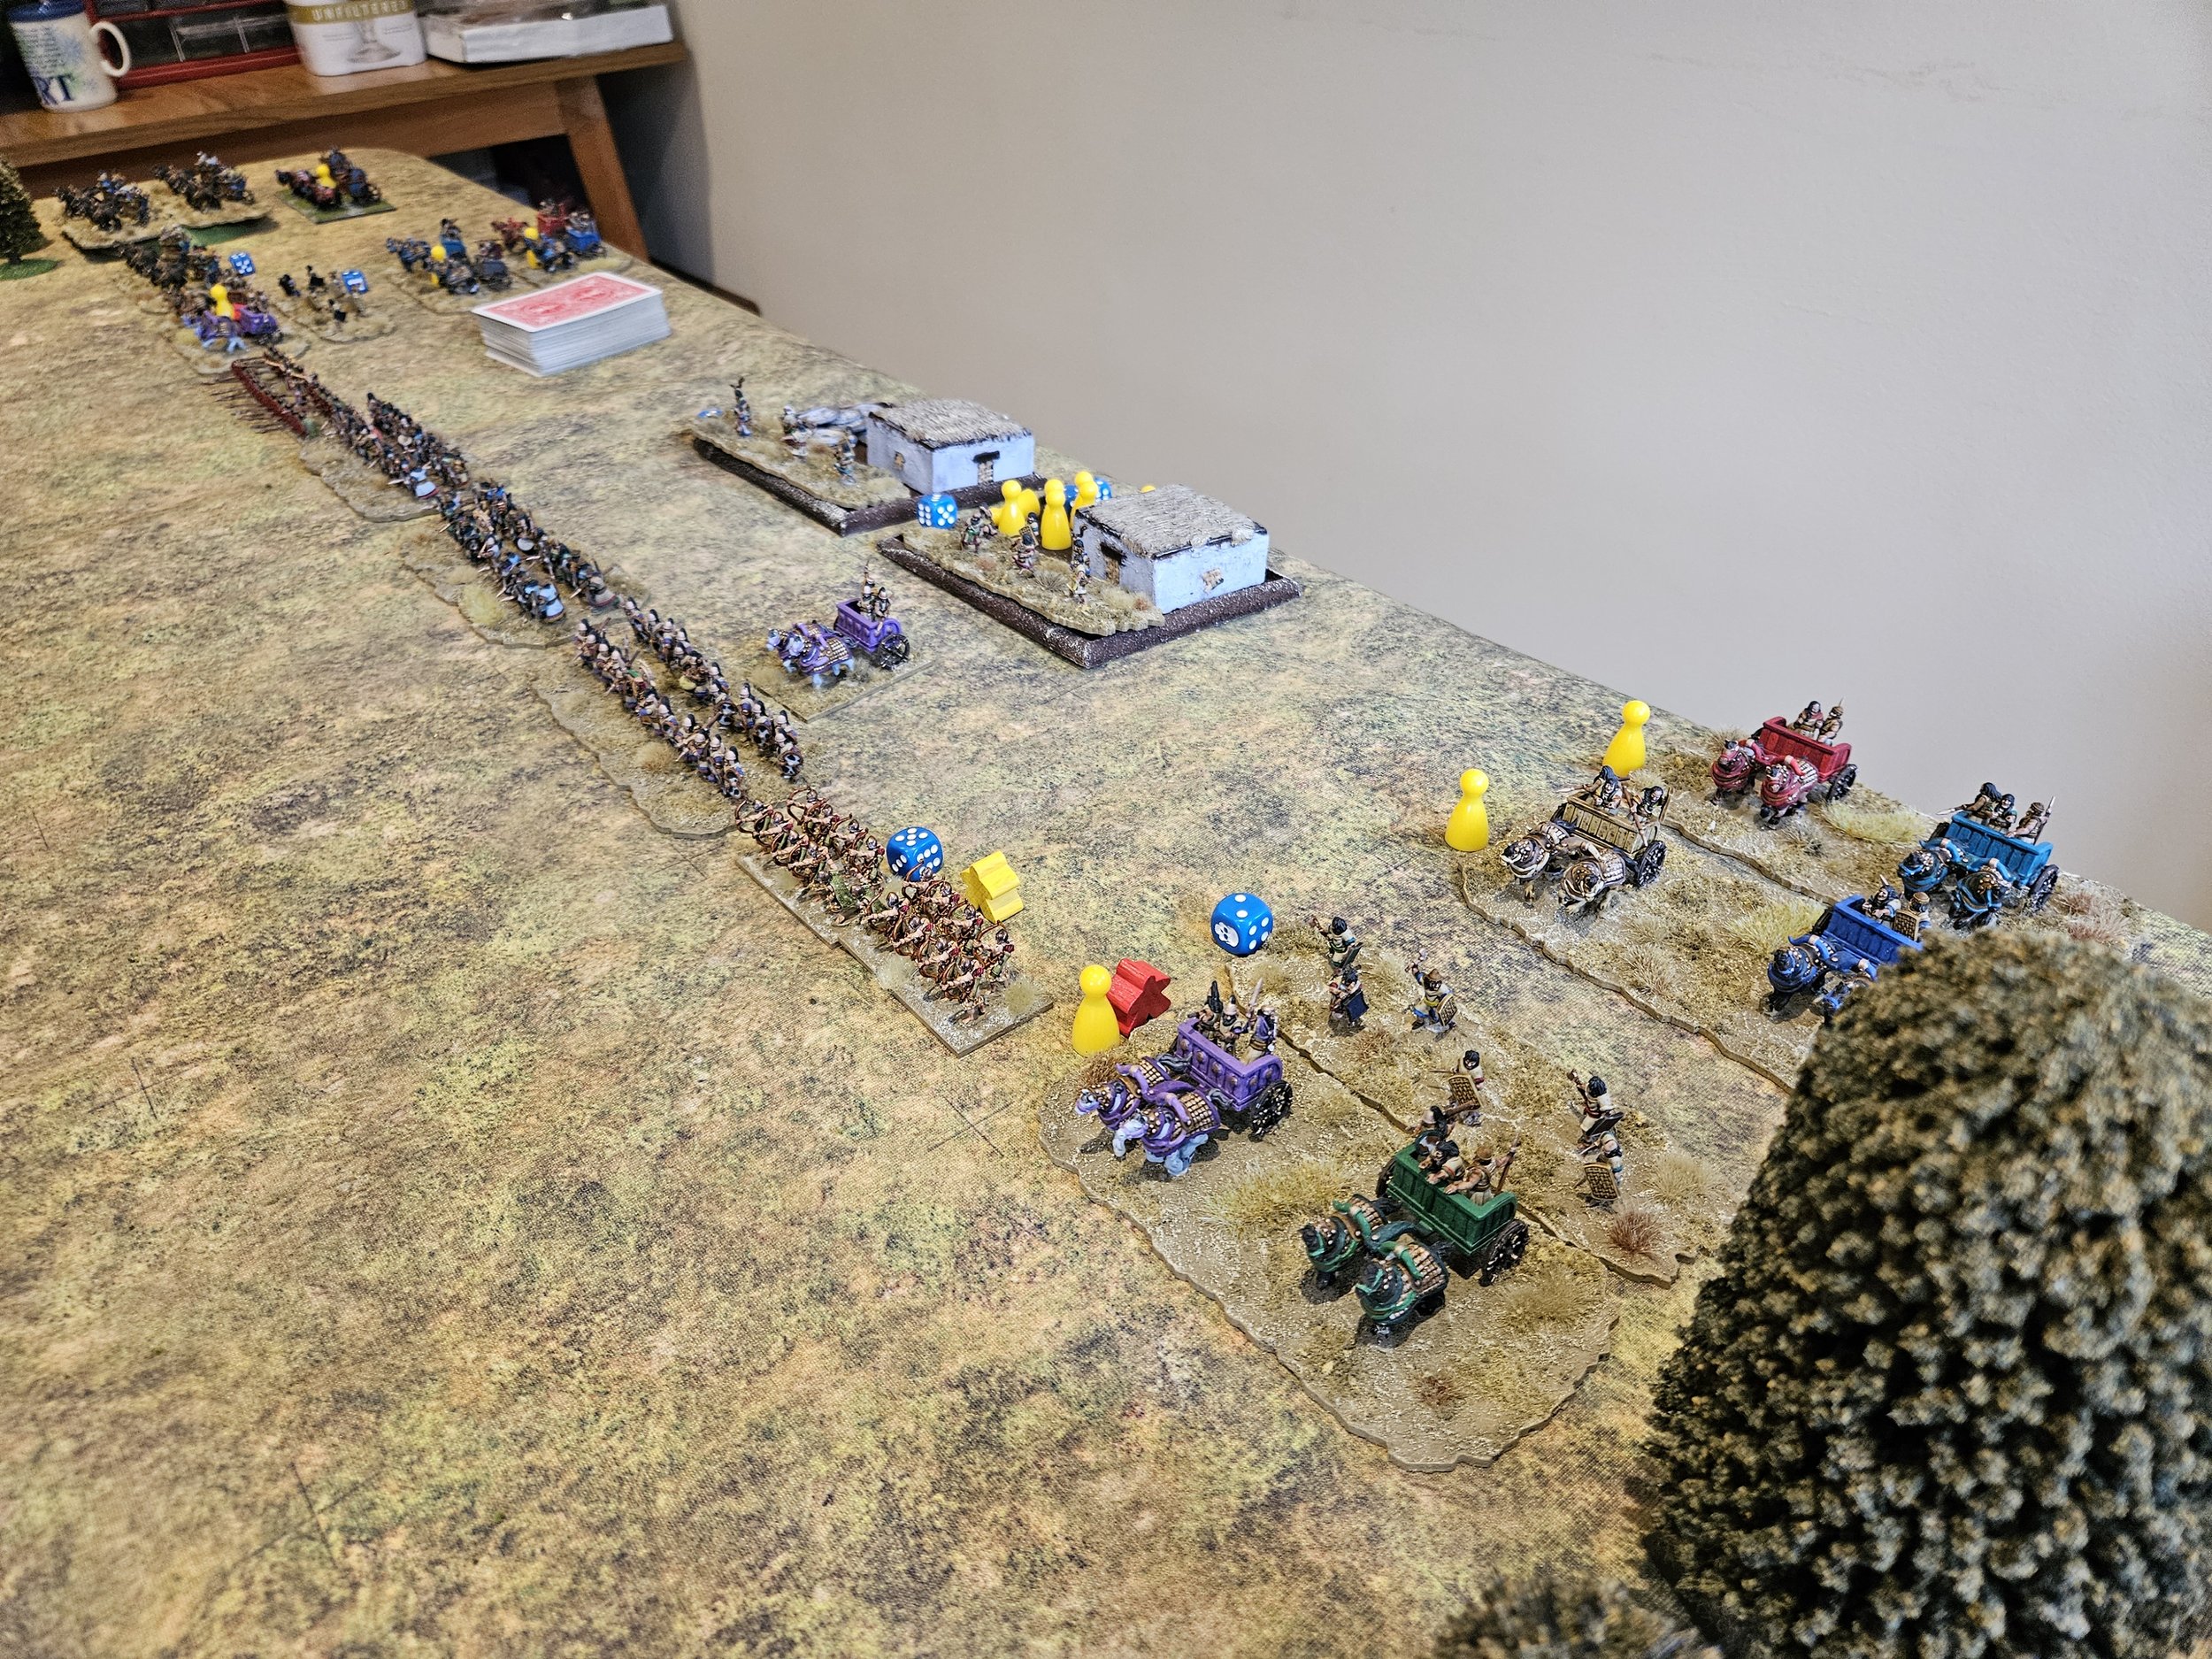
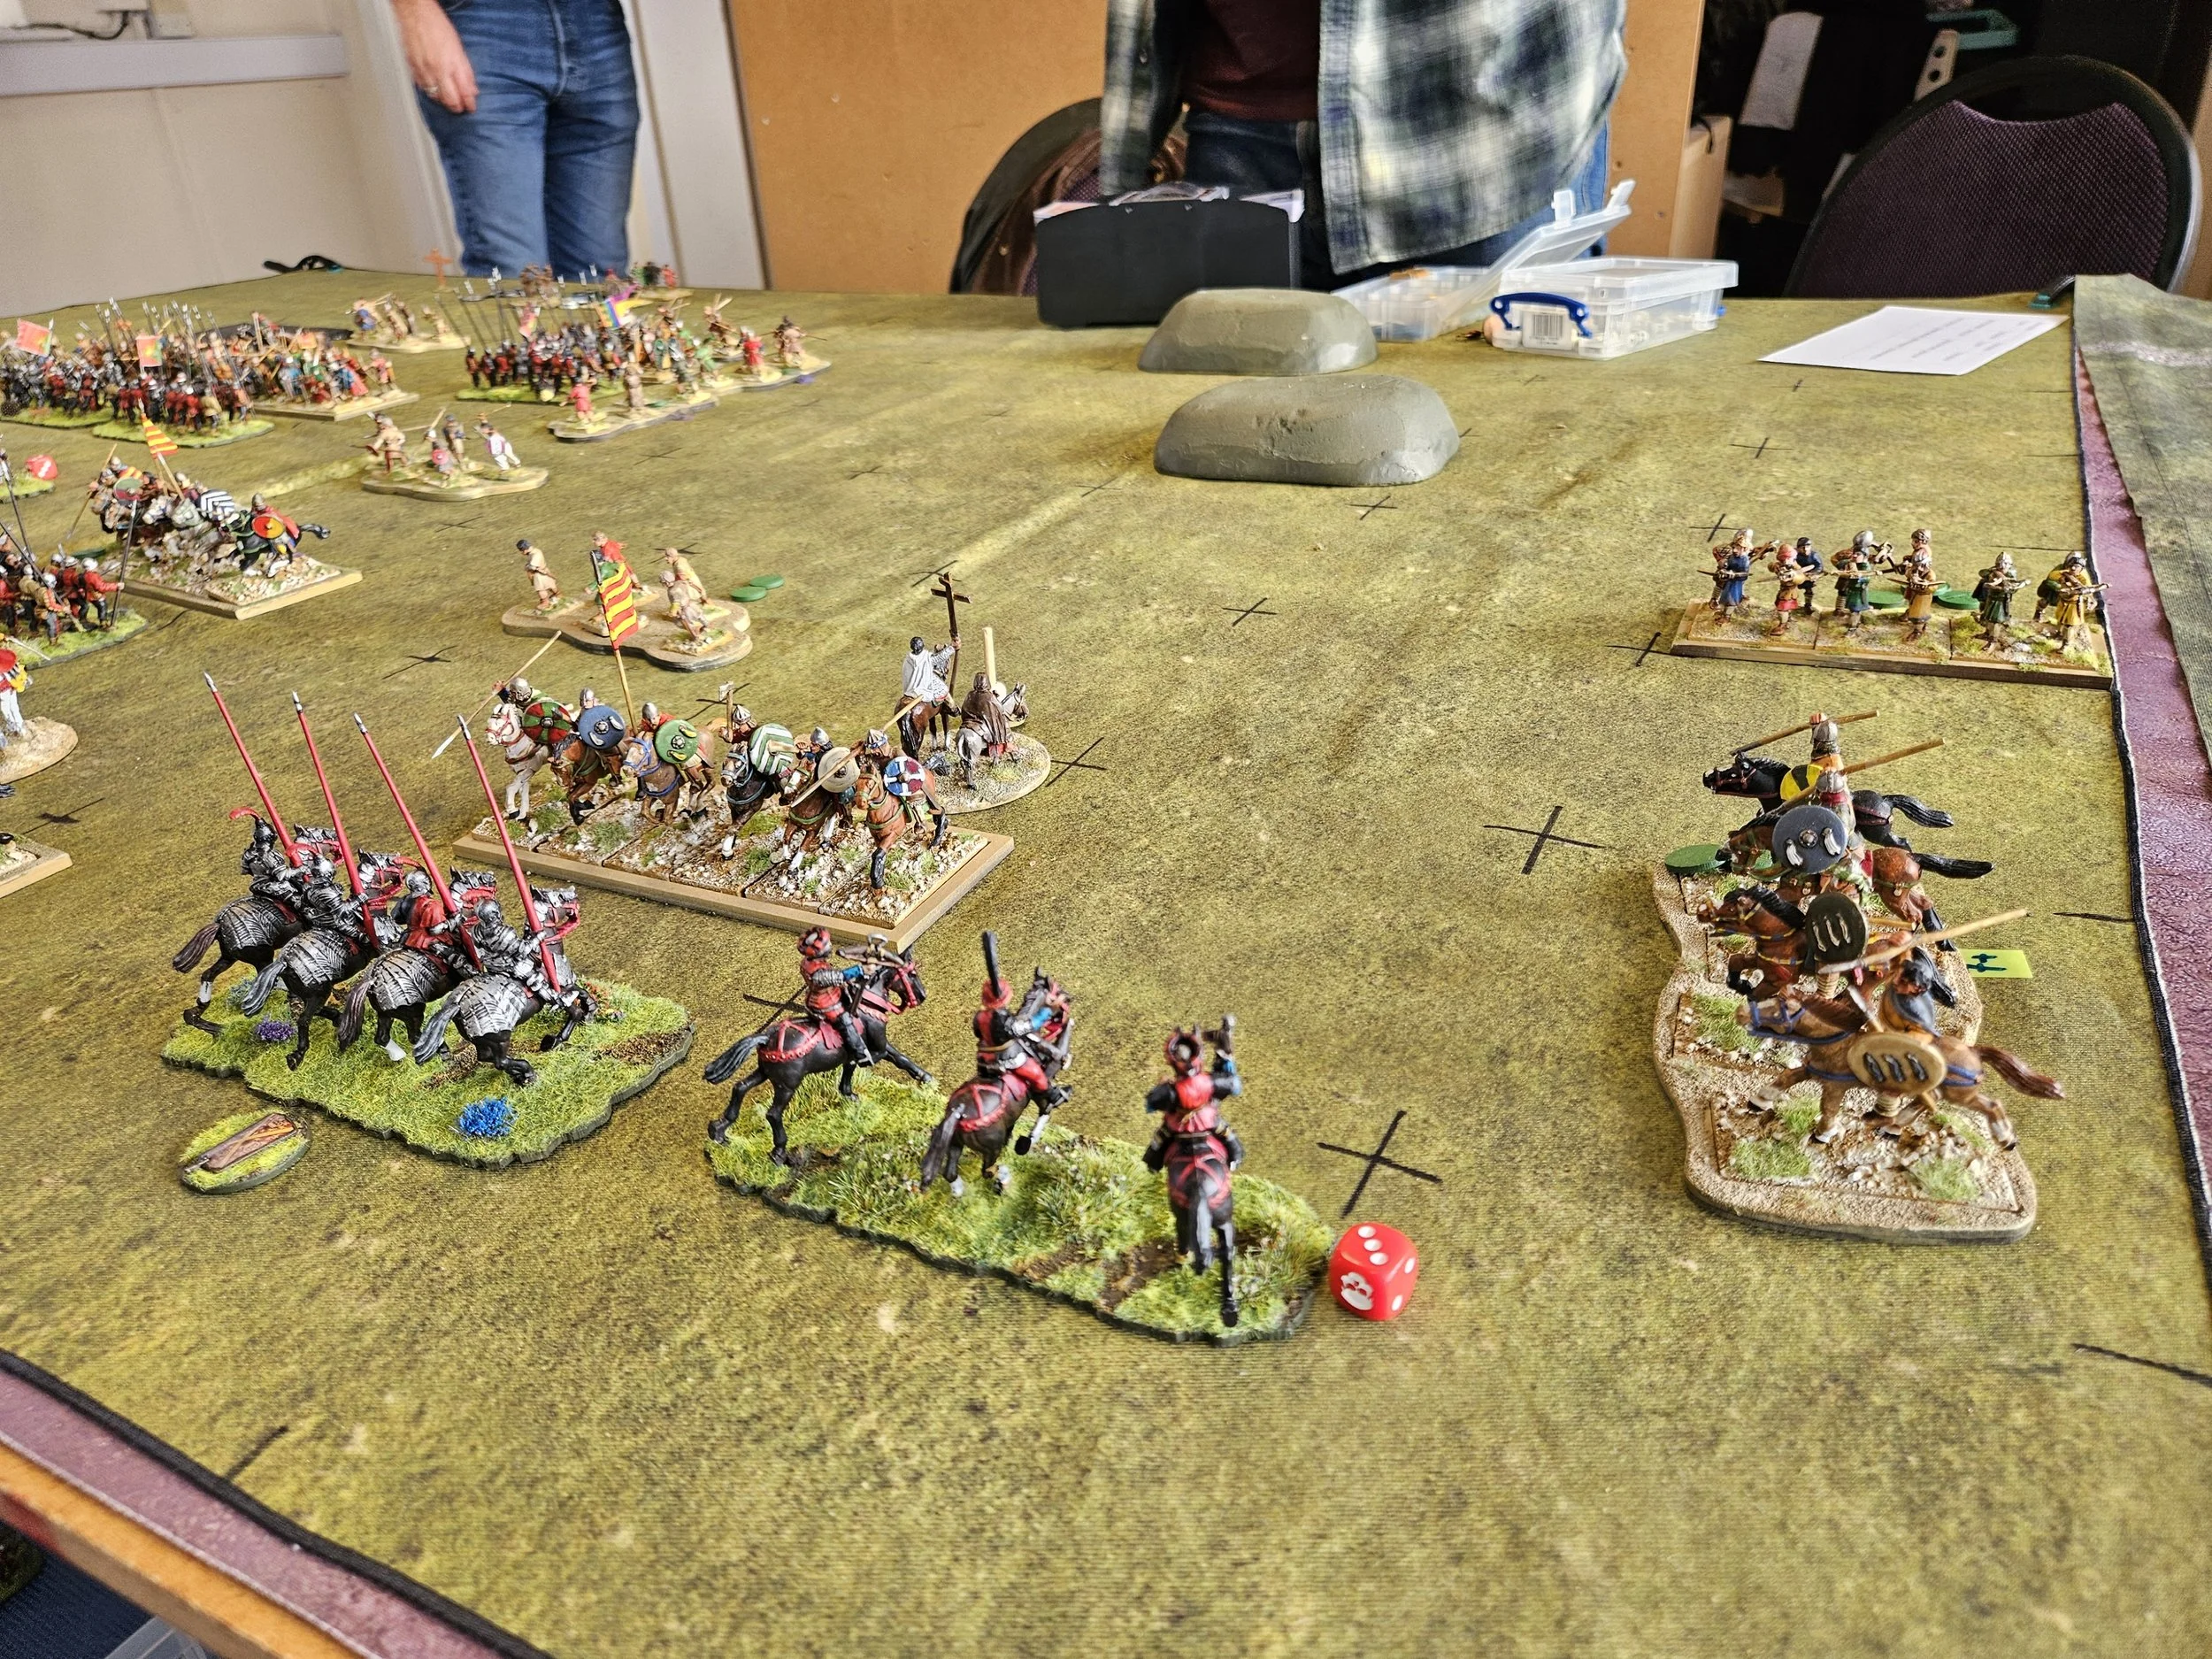
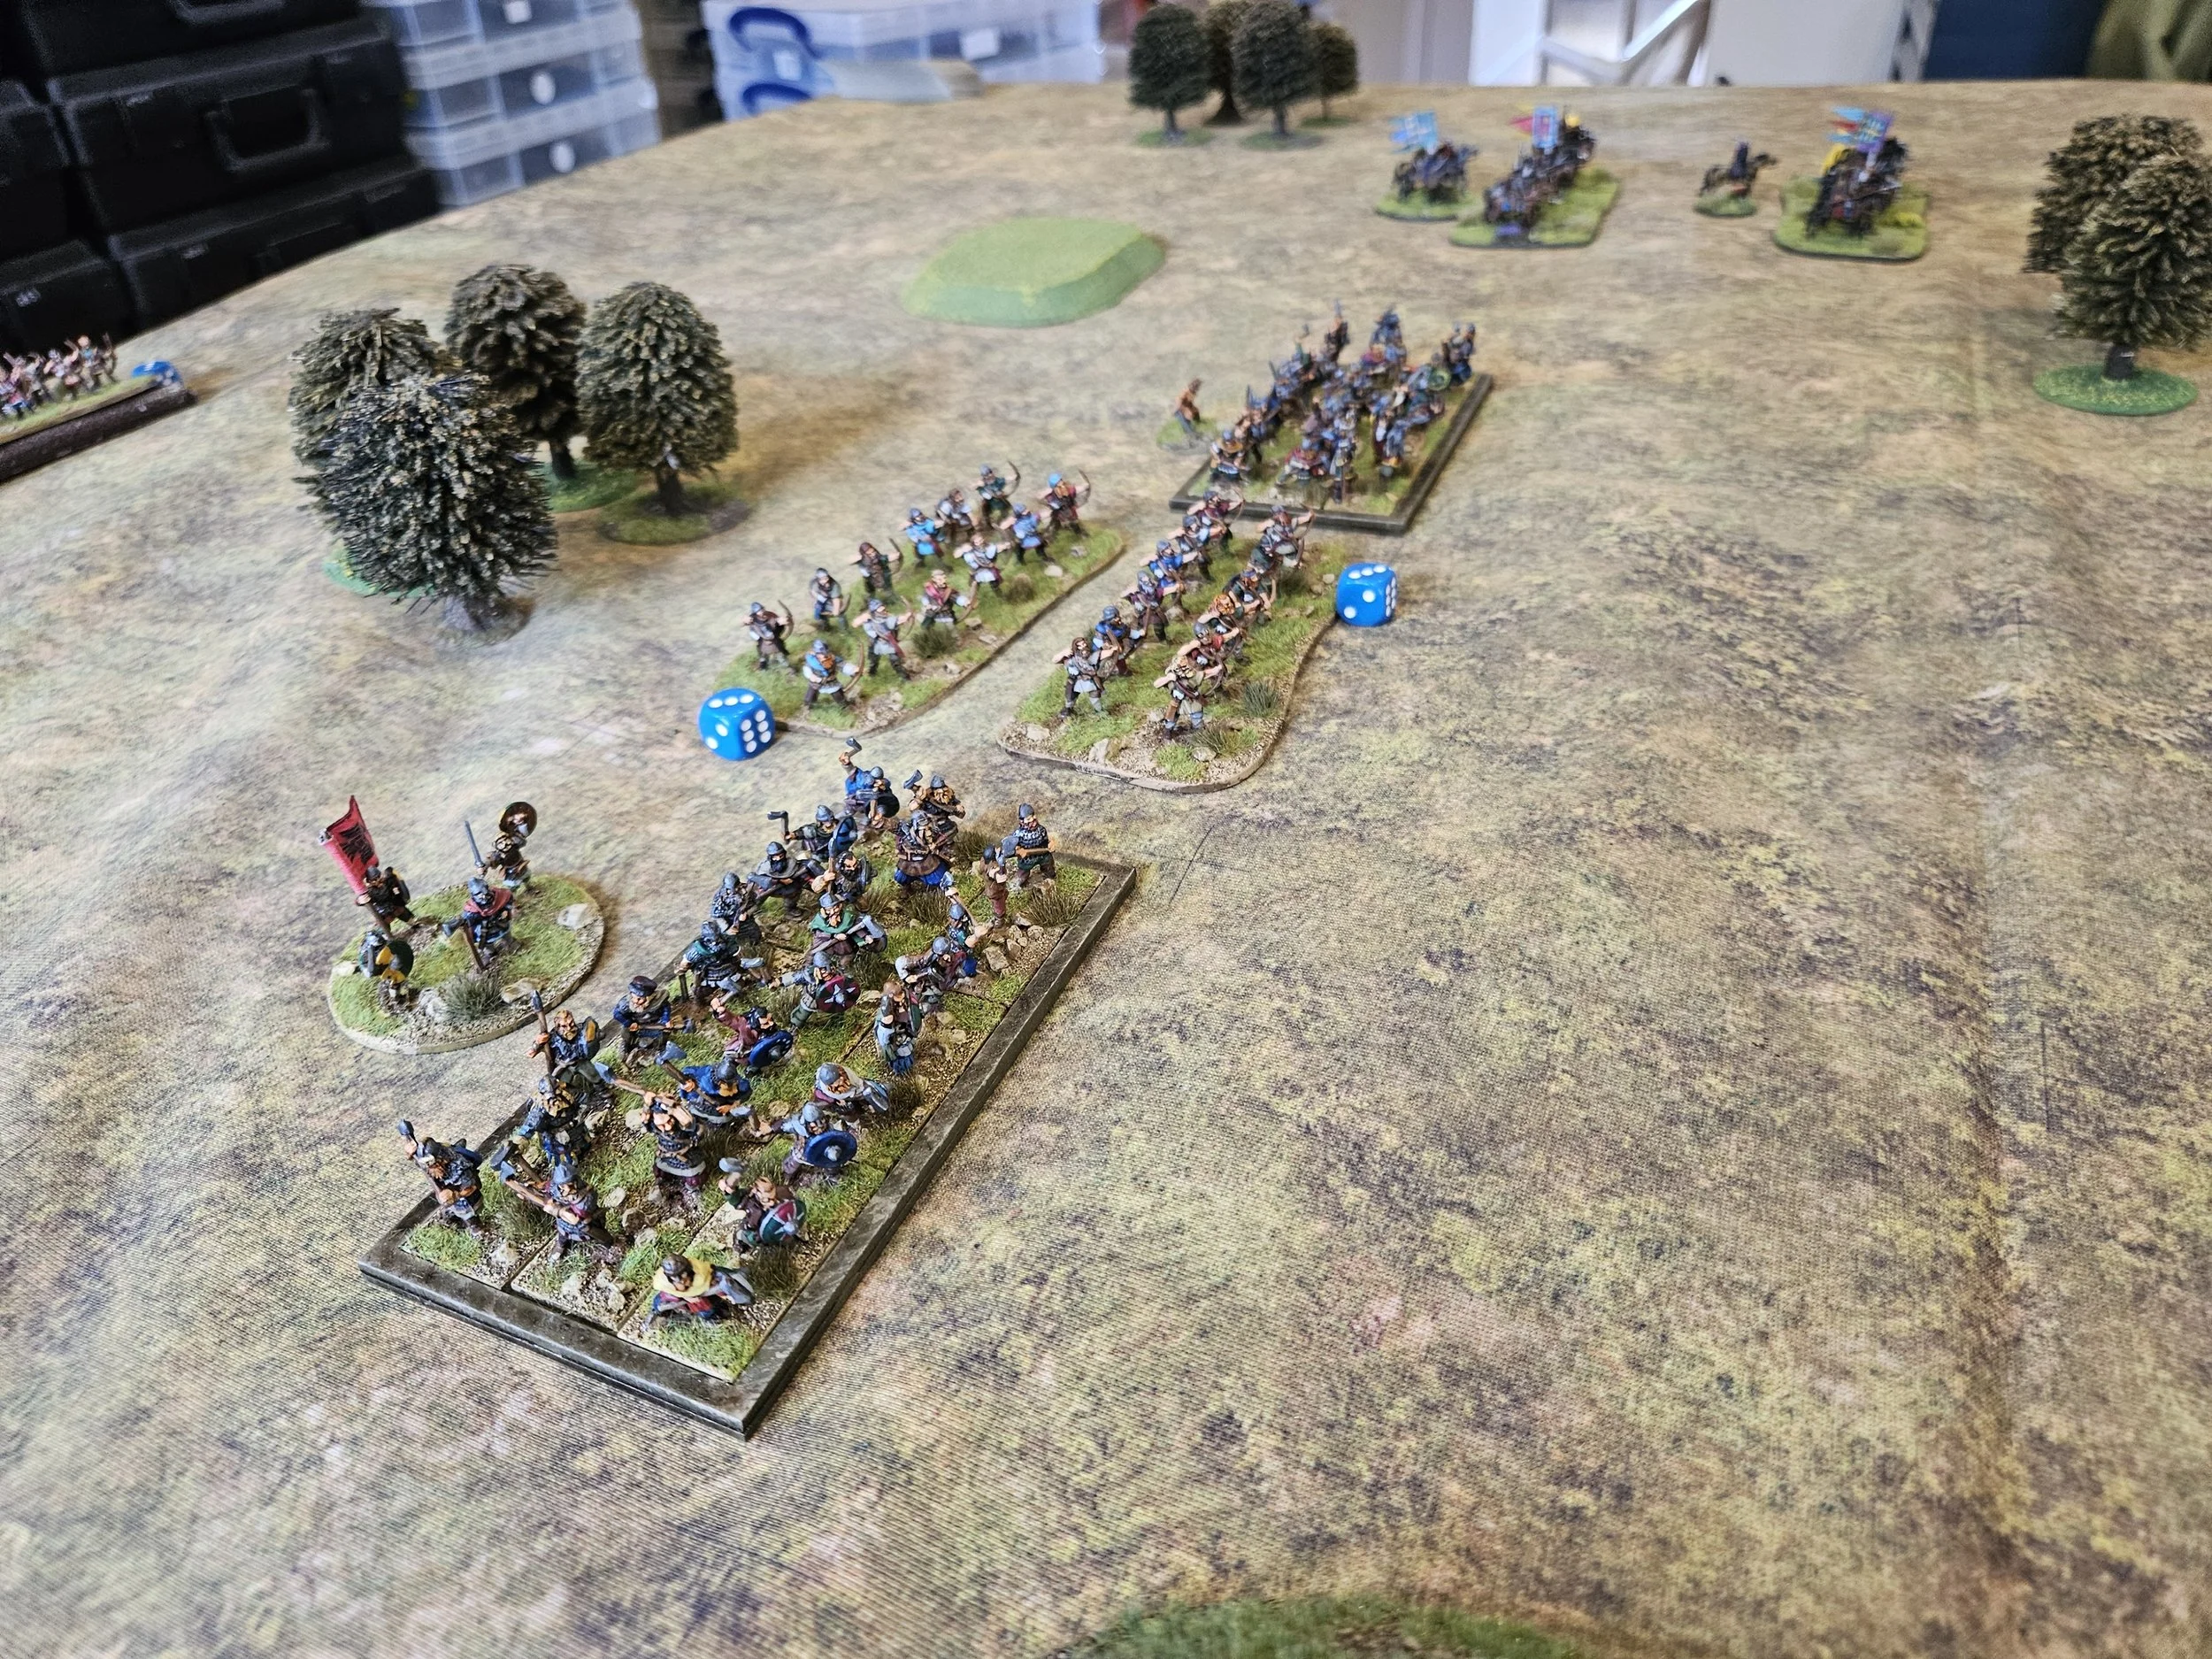
After our recent Naphill game of FK&P, Rob and I had time for a quick To The Strongest. Rob had once again brought his new Siamese/Thai army (Khurasan figures) and I decided to use the Anglo-Normans against them (Museum Miniatures and Forged in Battle).

The Anglo-Normans won the scouting and, after deployment, I immediately saw an opportunity to outflank the Siamese line on the right hand side, sending two units of Milites forward and deep to acheive that very end.

This forced Rob to hang back his left wing…meaning that a strong advance with the rest of the right hand side of my line threatened his troops there, but with so many Thai units available, he was able to form a decent ‘corner’ that it would prove hard for me to exploit.

Threatened on his left, Rob attacked strongly in the centre, but the cards had other ideas, and a unit of veteran Spearmen evaporated under a countercharge from some Milites backed up by Fyrd.

This particular unit of Milites were led by Bishop Odo and a piece of the True Cross. They would go on to rampage up the centre of the table knocking Thai units off the table at a rapid rate of knots. At one stage, it looked as if they would win the battle on their own!

Back to my right flank, and Rob had very cleverly managed to use a piece of Impassable terrain to stop my cunning outflanking move from fully coming to fruition:

Where were the Thai elephants, you may ask? Why weren’t they causing havoc amongst the Norman horsemen?

Well, my deployment had deliberately avoided the nasty Nellies, and refusing my left flank made it even more difficult for Rob to get them into the action.

My advantage from outflanking on the right had definitely now disappeared. In fact, my isolated cavalry units there were coming under some pressure, being hit from front and sides themselves!

William the B had a narrow escape in the combat that followed, but was saved by one of his liege-men who threw himself in the way of an enemy spear.

And meanwhile Bishop Odo was still thundering, unstoppable, down the centre of the field…

This was all taking too long, as Rob had recovered from the difficulties he faced from the initial deployment and had managed to get quite a lot of cavalry around my left flank. The Thai elephants had also now managed to lumber into the fray.

Fortunately William the B, still alive after his close call, was available to dash back and shore up the left flank, leaving Bishop Odo and his rampaging knights the time to take one of the now-undefended enemy camps and Rob’s last three victory medals.

It had been a great game of TTS. My initial advantage on the right flank was countered by Rob’s cunning use of terrain; Rob’s recovery assault on my left flank had been mostly neutralised by me shifting troops rapidly from right to left; and it was left to Bishop Odo, True Cross in hand, to win the day!

TTS AAR: Two the Strongest Game Three: Teutonics & Lithuanians vs Burgundians & French HYW

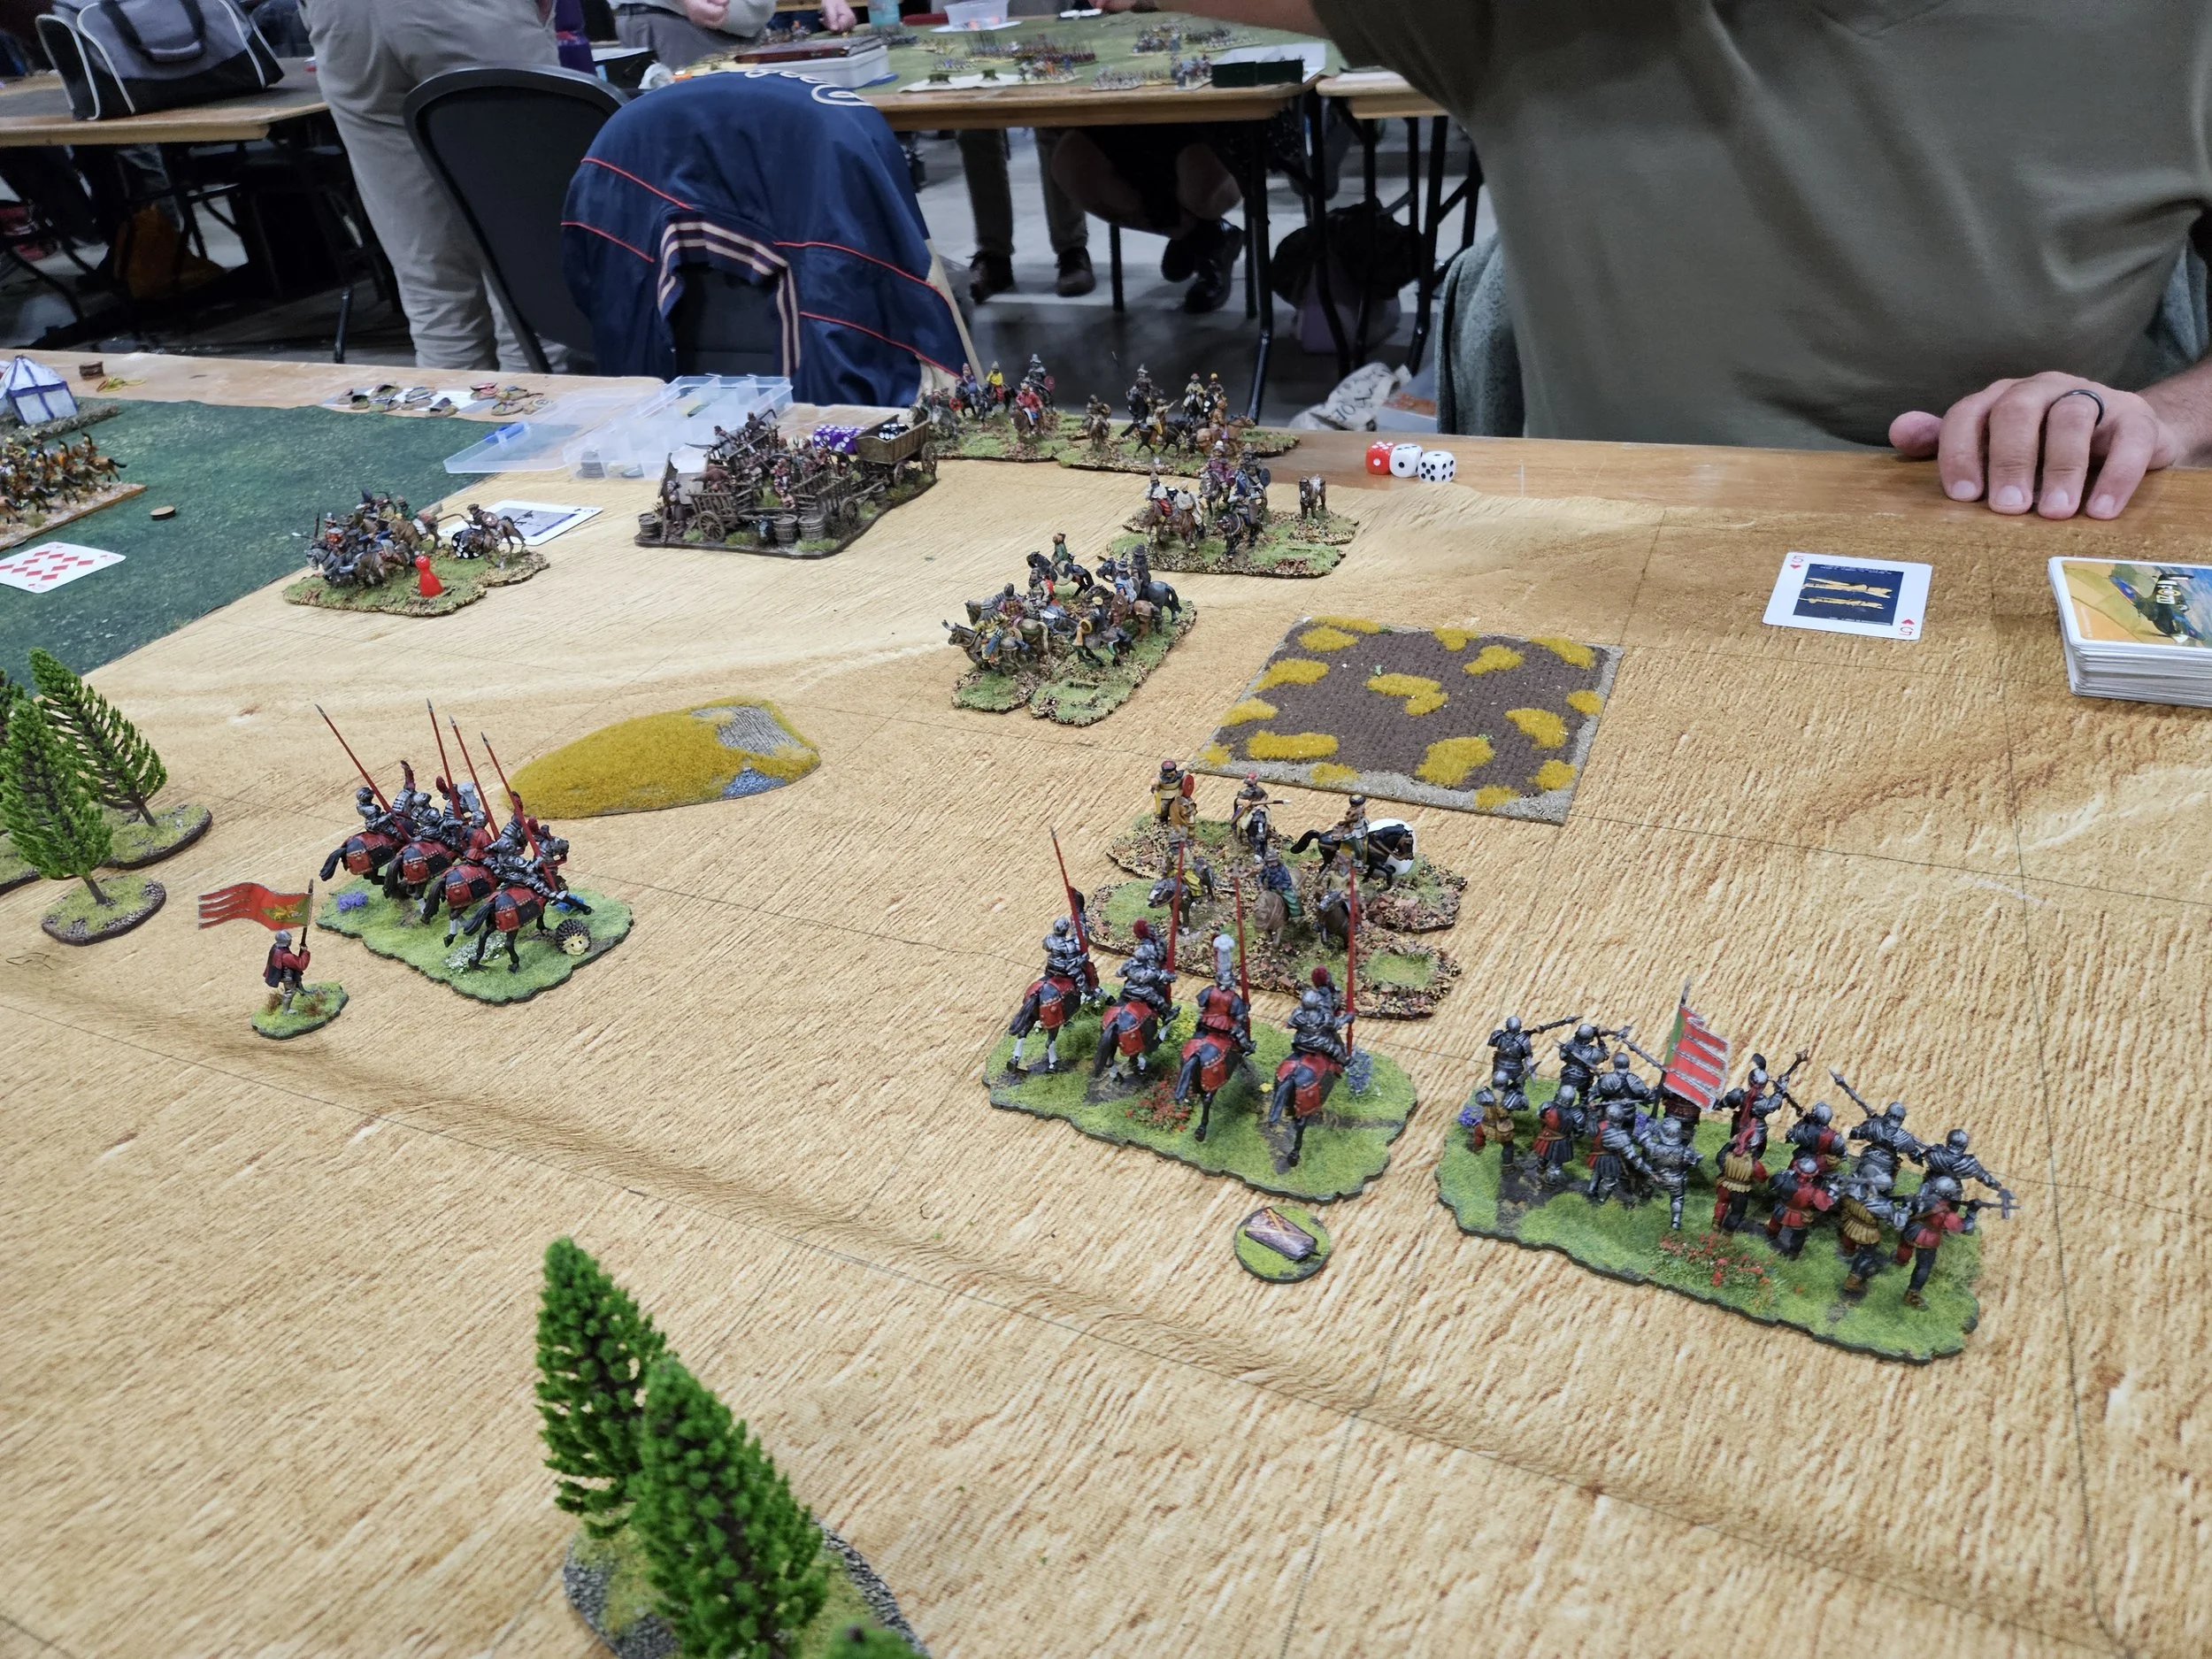
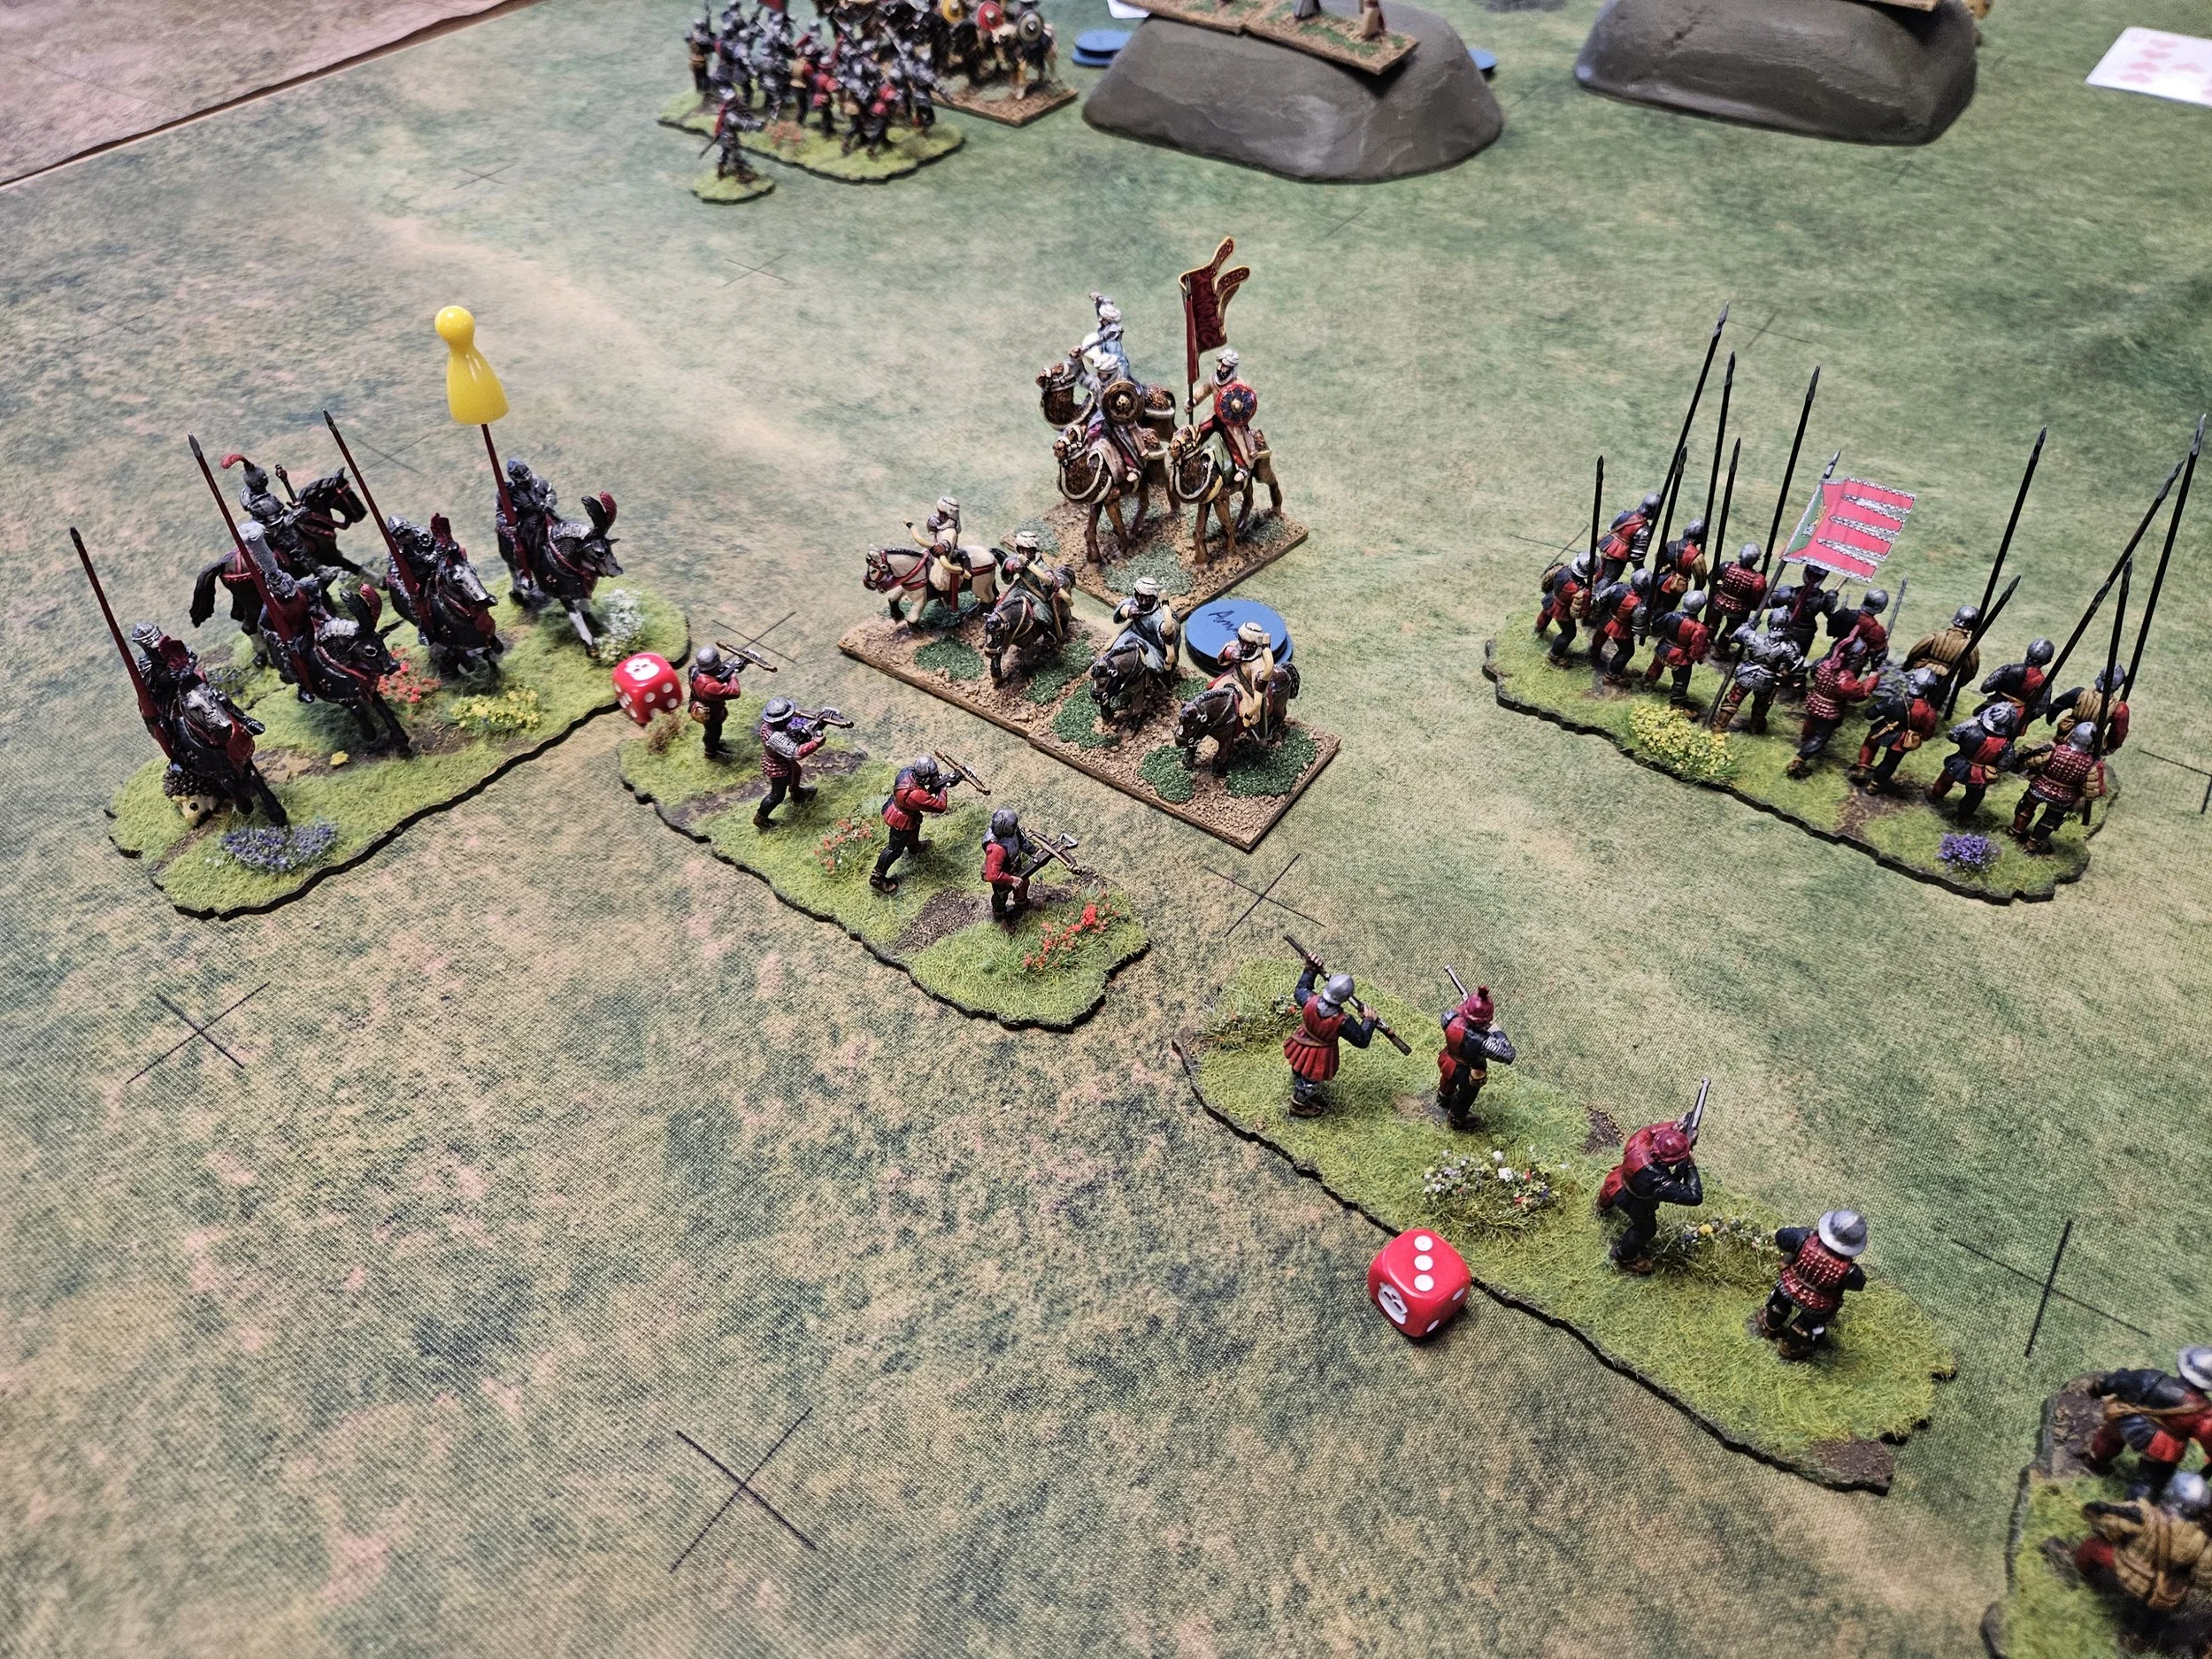
Our third game in this year’s Two the Strongest doubles tournament was against Tim and Matt playing HYW French and Burgundians respectively.

This was going to be a tricky one to navigate, as I faced off against Tim’s French with their veteran Later Knights, who were saving on a 4+ in melee combat: the only good thing being that there weren’t a lot of them!

On my side of the field, both armies advanced rapidly towards each other: there was to be no shilly-shallying around in this battle!

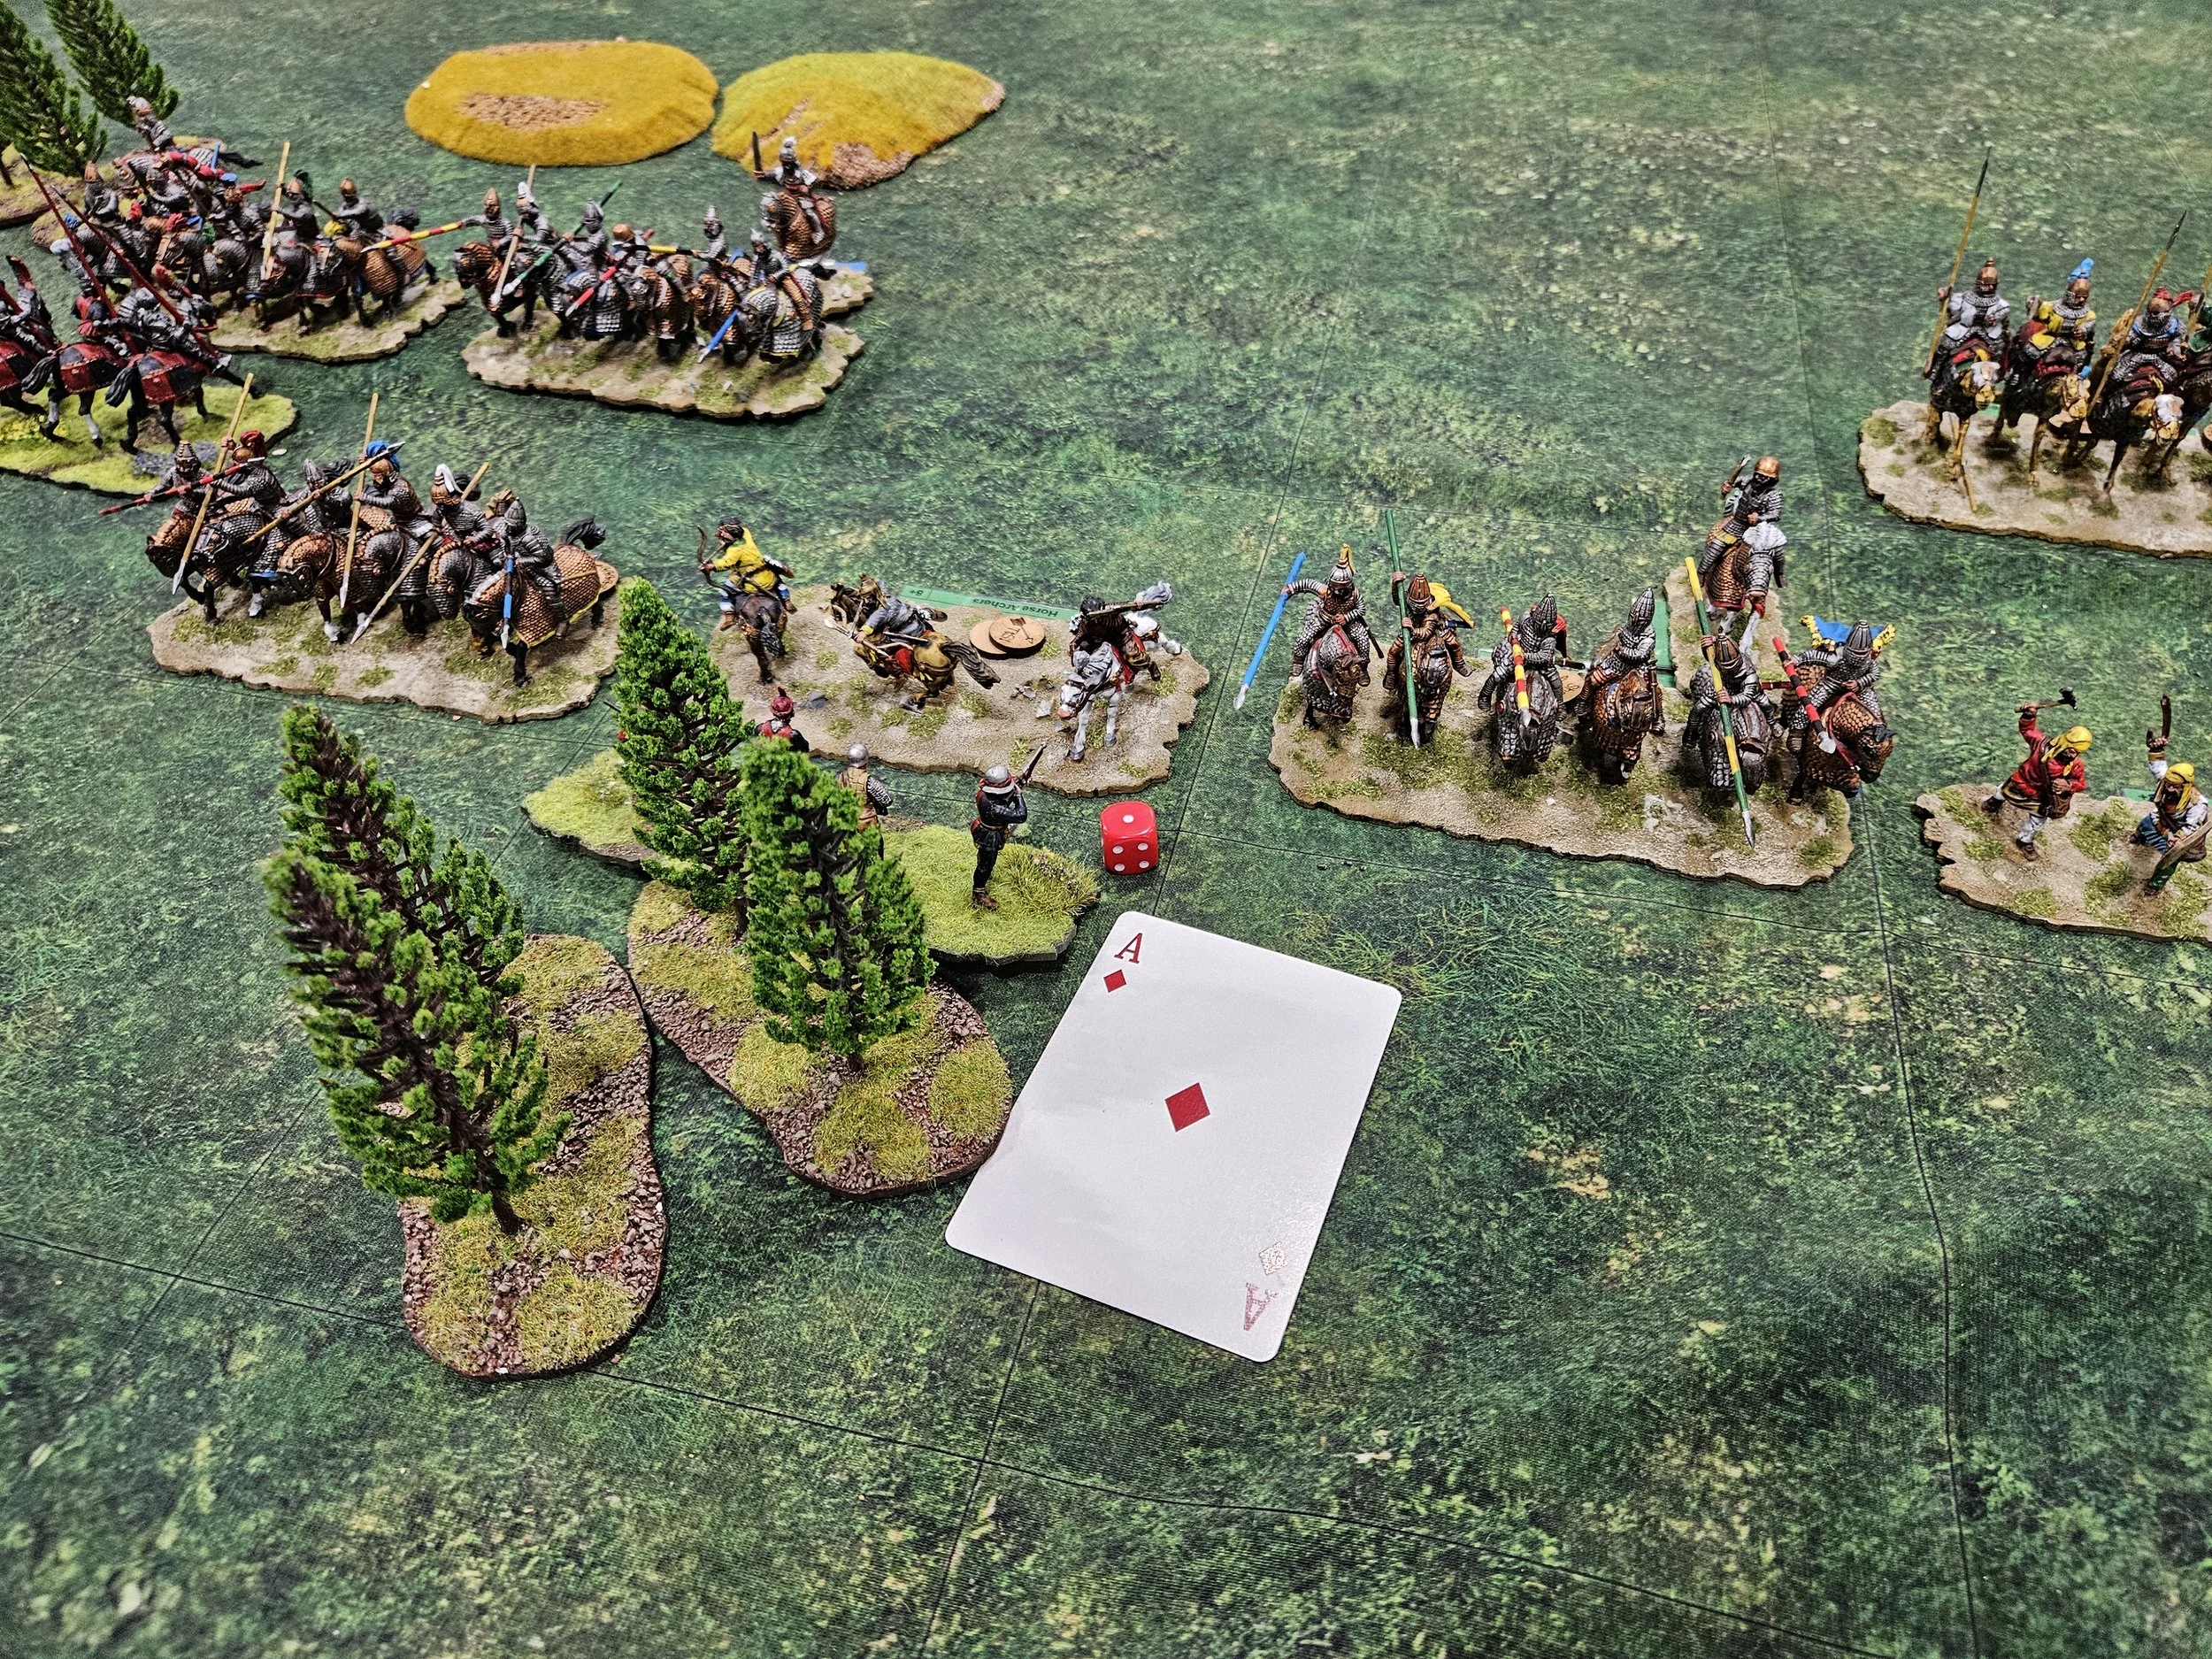
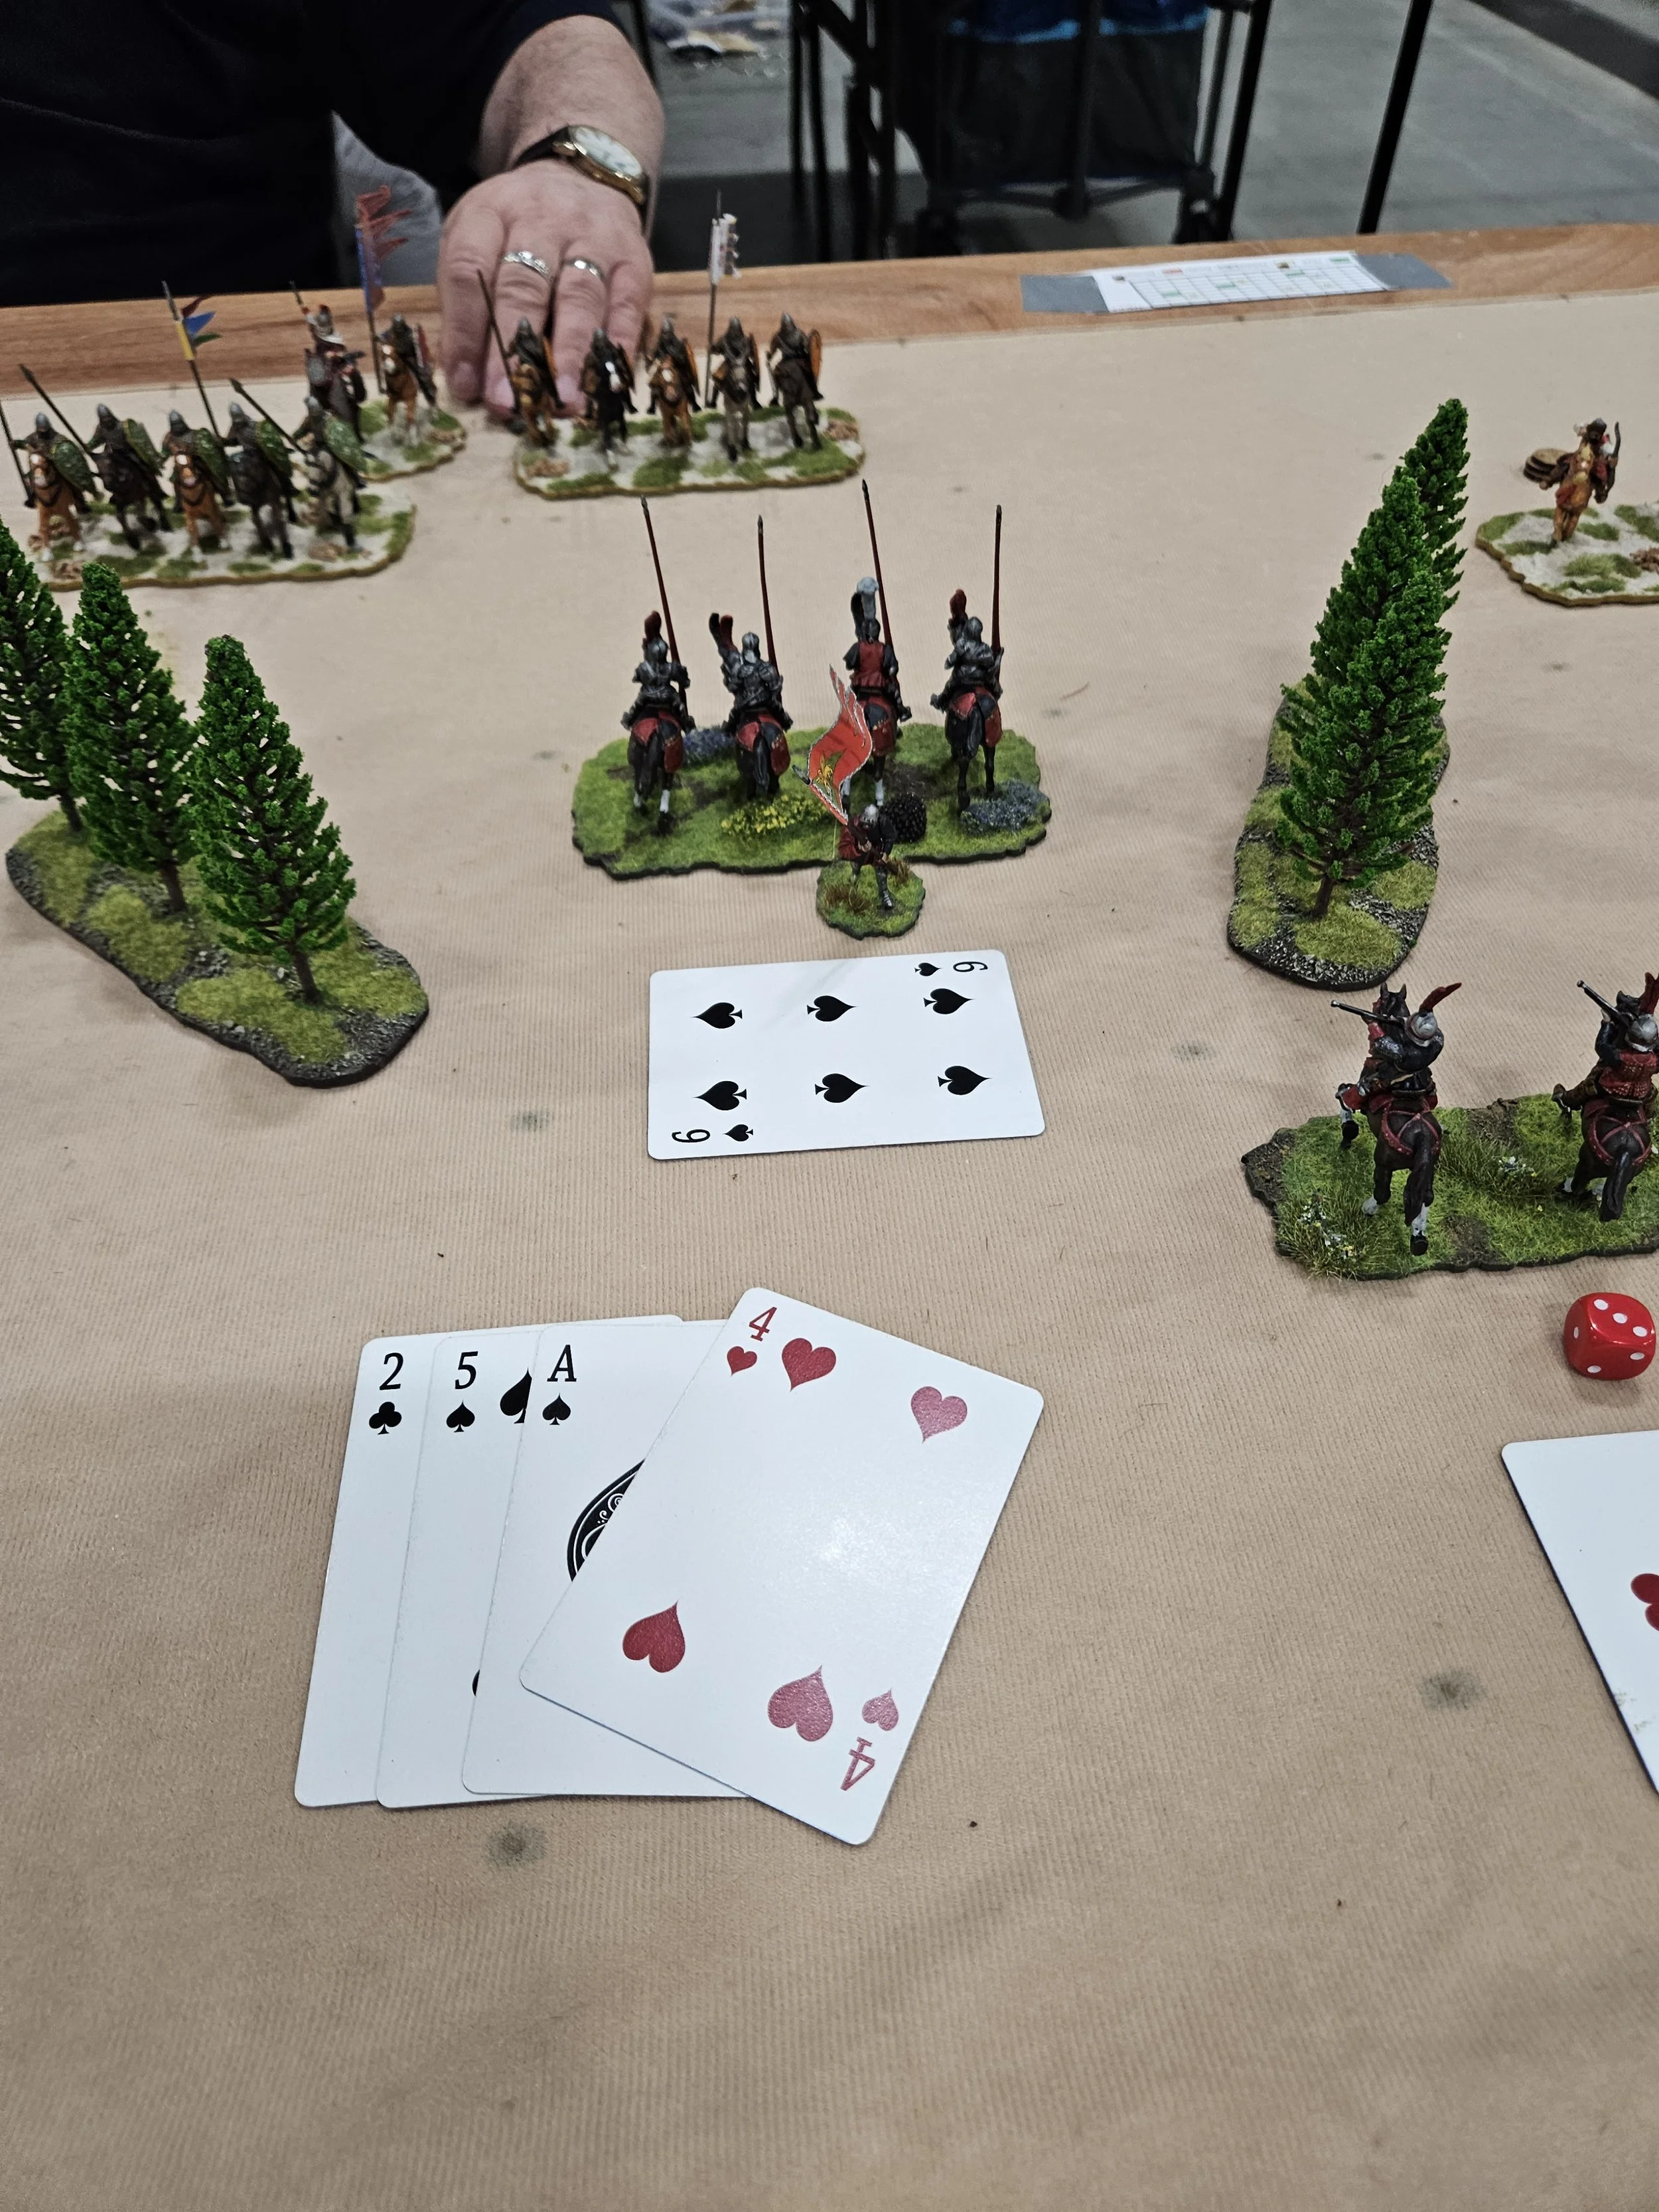
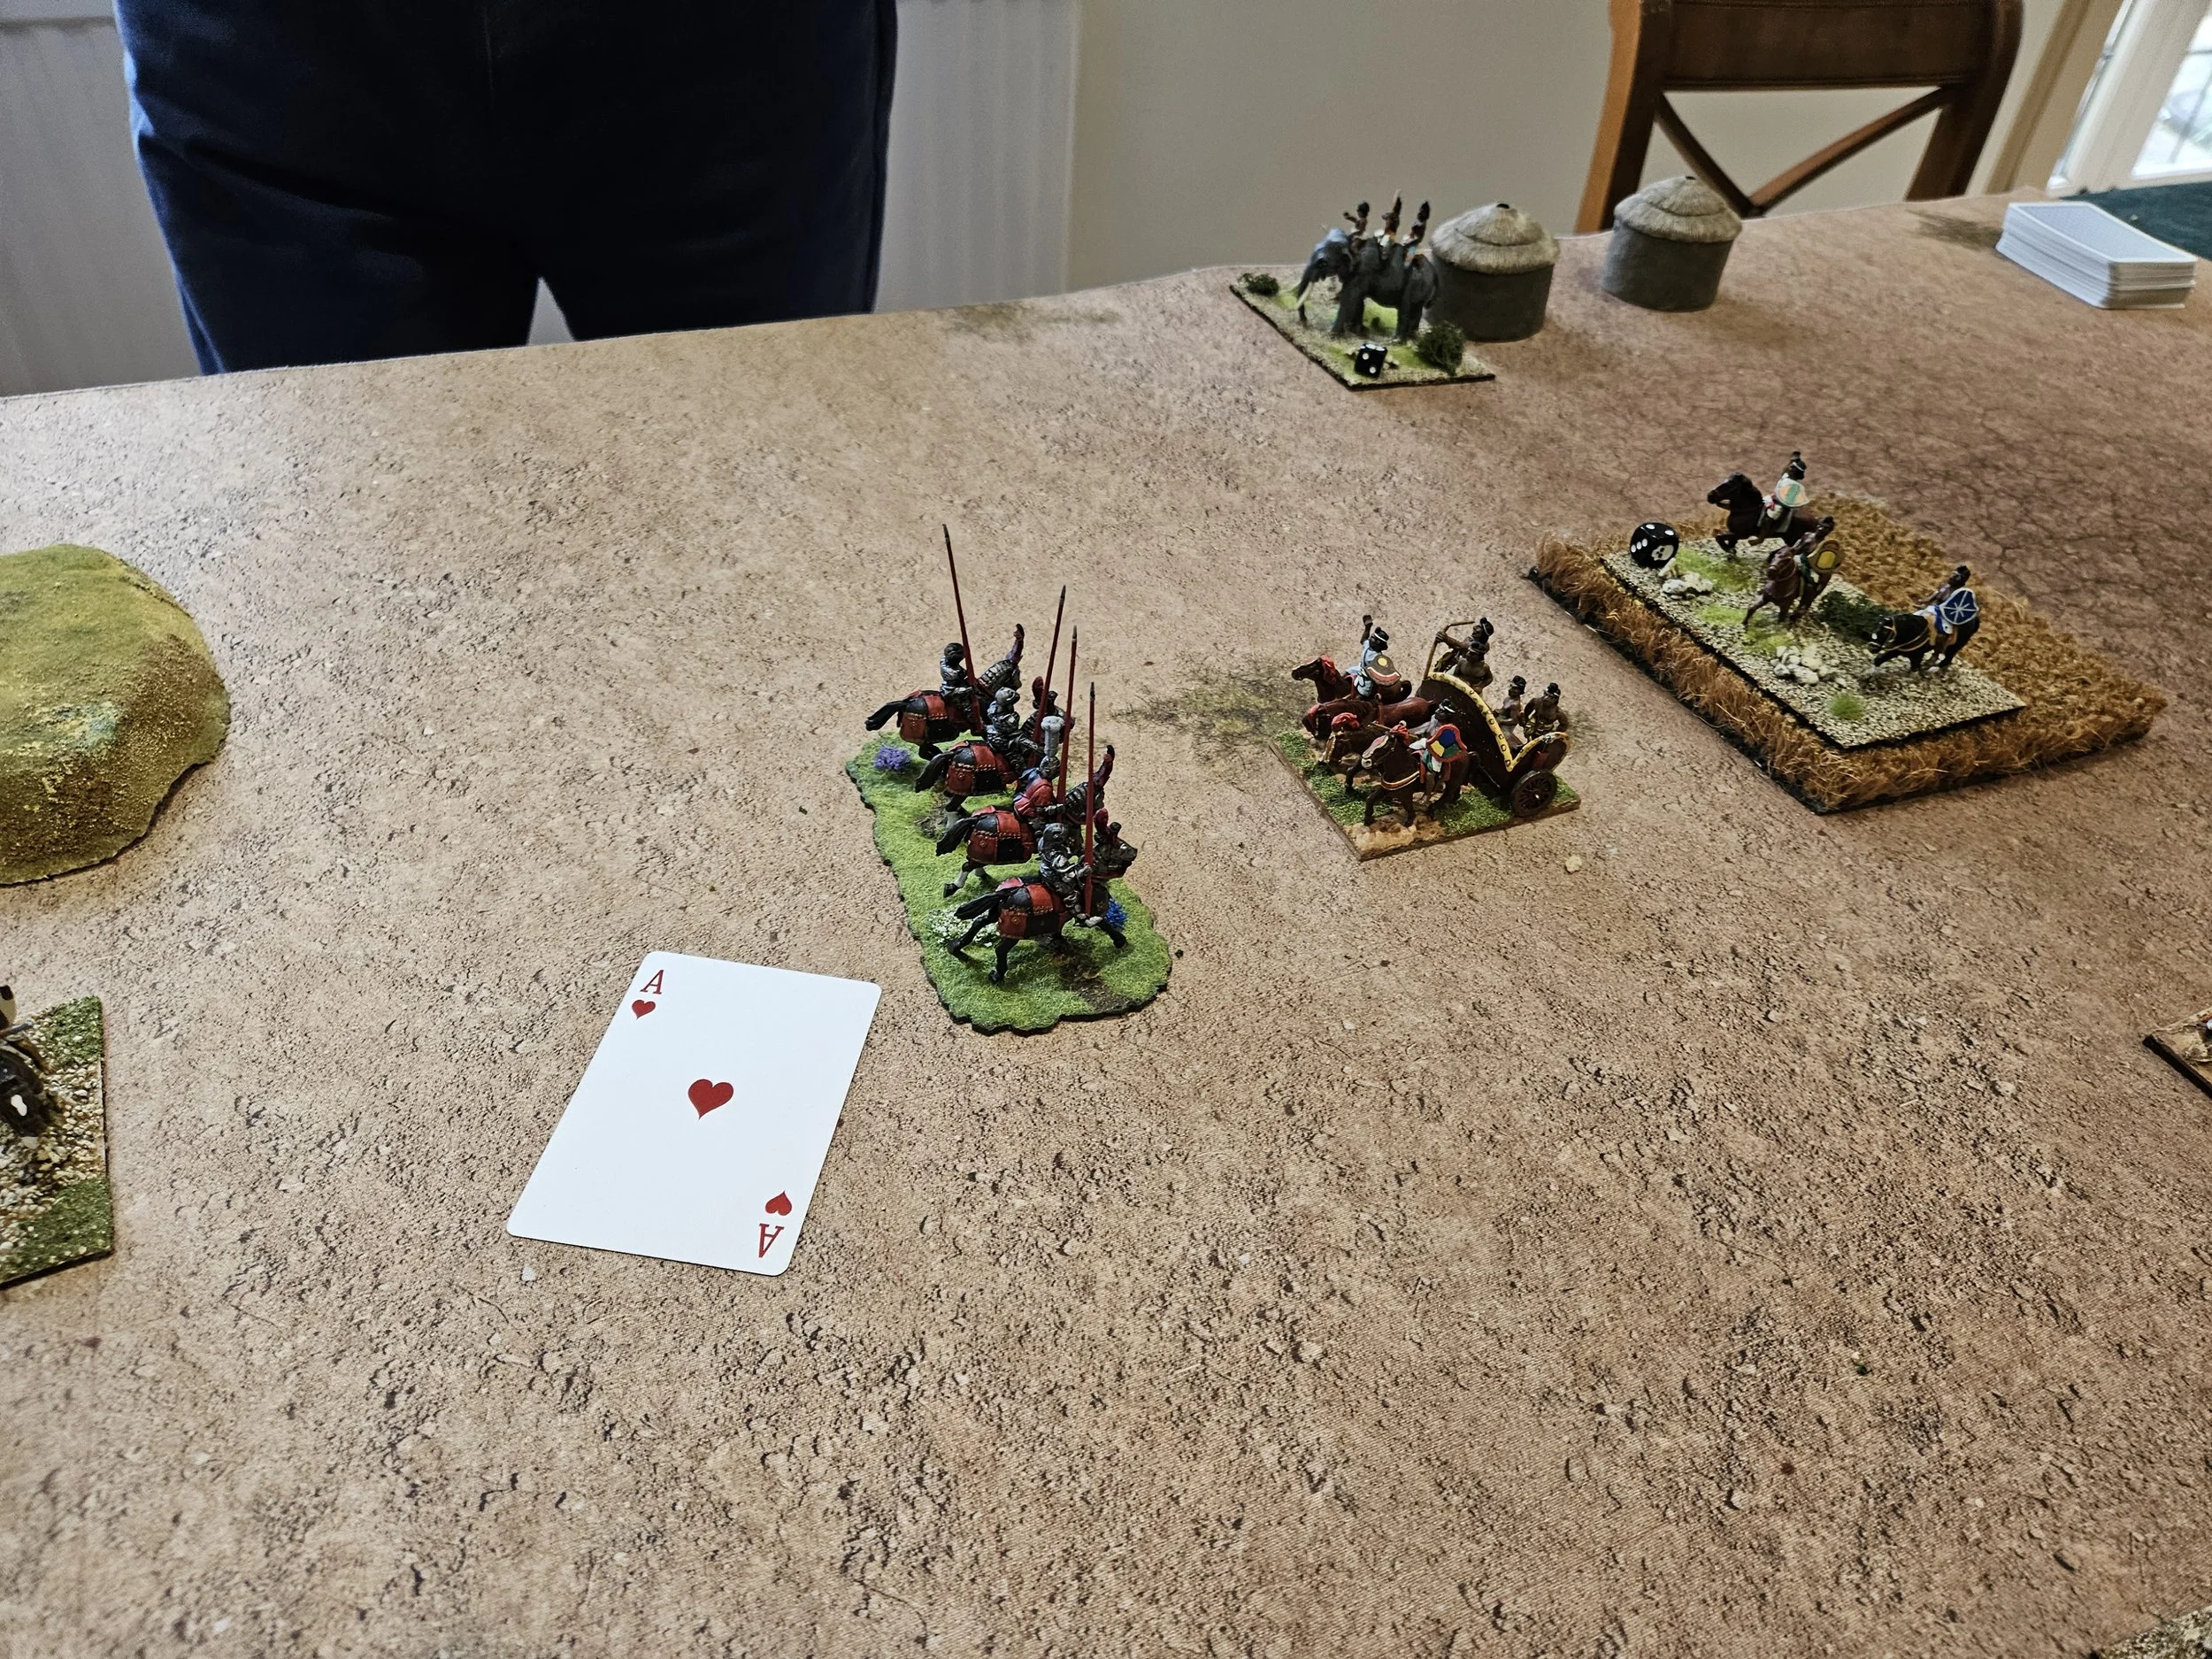
As things got into ‘interesting’ range, Tim unfortunastely drew an Ace on his first activation, which neatly gave the initiative to me.just as the initial clash was about to occur.

This meant that my Knights would draw first in the resultant combat and, with a good slice of luck on my part, two of Tim’s elite horsement were first disordered then knocked from the table!

This early success meant that I could afford to send some of my troops to help Peter against the Burgundians on the other side of the table, where he was doing his usual “I’m only a poor little speed bump…oh, golly, have I just beaten the opposition before Rob gets here?” magic against Matt.

I didn’t have it all my own way (one never does against Tim), and had a tricky time actually finishing off the Fremch.

One unit, the one at the back in the photo below, withstood several turns of frontal and flank attacks and IIRC was still fighting on as the rest of the French army gave way.

Another, the one in the middle in the picture below, advanced forward and pinned my rallying Kinghts against the table’s edge next to my camp. Luckily I had rallied before they arrived.

Despite these late flourishes, however, my troops managed to win the day which, along with Peter’s success against the Burgundians, meant that we took the game 38-7.

With three big wins under our collective belt, that also meant that we won the tournament overall, retaining our title from last year.

It had been an excellent day’s gaming against some great fun players - my thanks to Nat and the London Wargamers for organising - now all we had to do was ship all Peter’s display boards back to the car, all the while congratulating the Arsenal fans on their also richly-deserved win!

TTS AAR: Two the Strongest Game Two: Teutonic Knights & Lithuanians vs Macedonians and Thracians

Our second game at this year’s Two the Strongest doubles tournament was against Alex and Alex’s Macedonians and Thracians. As the right hand side of the table had a huge riverine terrain obstacle on it, I let Peter put his Lithuanians there with the aim that they held off the Thracians until I could beat the Macedonians.

We outscouted again (these Lithuanians do have some uses!) and I had a superb run of cards in my first turn allowing the Teutonics to get around the flank of the Macedonians in front of me.

Macedonian Alex, however, defended superbly against my flank attack, meaning that I couldn’t immediately roll up his line but, as Peter has proved many times in the past, once you get troops behind the enemy line, it’s incredibly difficult to rescue the situation, and Alex soon found himself at risk of losing his entire right flank.

Peter, meanwhile, was holding his own against the advancing Thracians, so I had no need to worry about that side of things and could concentrate on what I was doing.

And what was I doing? Well, by now I had disposed of the Macedonian right wing and could start focussing on the two phalanx in the centre.

The veteran Macedonian cavalry had died hard, however, so a little bit of reorganising was necessary, and there was that pesky unit of Companions out on the far wing, but normal service was soon resumed as I hammered Knights into the flanks of the unfortunate pikemen.

In the last picture, bottom right, you can see Peter’s spare Teutonics heading in from the right of the Macedonian line: he had by now disposed of the Thracians (speed bump, my backside, as they say: the Lithuanian light horse with bow and lance were proving as deadly as my veteran Knights in this tournament) and could send troops across to my side of the field to help finish the Maccy’s off. You can also see in the top left of the picture how I’ve neutralised the “pesky Companions” with a unit of Knights.

The Macedonians weren’t giving up, however: a retreat backwards took their flanks out of immediate danger as all our horse were still wary of charging a phalanx frontally, whether or not the pikemen were disordered.

But by now, despite these heroic attempts, it was only a matter of time before the Macedonians also lost their last coin and game was ours with a 38-8 victory.

Peter’s Report

Deployment and Plan

This was team mate Rob‘s and my second battle which turned out to be very different to the first and needed us to rip up Plan A within the first two turns!

We faced a Lysamachid successor army of pike, deep spears and companion cavalry and an allied Thracian army of wild rhomphai wielding javelin thugs with a light cavalry flank guard.

Plus there was a wide river (the river Larsen) on one far side that Rob wanted to avoid.

So we agreed that Rob would face the Lysamachids. He would use his heavy veteran knights command to take out the enemy Companions command then turn and flank charge the phalanx.

His other Knights command would draw the pike forwards into a position where his first veteran Knights and my command that I donated to Rob could get flank attacks. He would finish off his outnumbered enemies by turn three as per our playbook, and then whack into the flank of the Thracians that I was facing, just before my smaller army was overrun. That was the plan!

I would be the somewhat nervous speed bump facing a solid wall of hairy barbarians who, as javelin men with big choppers (2HCW) , could dash straight through any rough terrain without slowing down or difficult activations.

It Starts…

As agreed in our playbook, I sent my veteran Knights with three supporting light cavalry to Rob’s side of the battlefield to counter the Lysamachid deep spears.

I then deployed a screen of light cav to go forward and harass and slow down the hairies. On my far right I had one command of light cavalry on the far side of the river Larsen - designed to draw enemy to that side of the river - but frustratingly it only attracted one matching command of enemy light cavalry.

Rob’s Teutonics shot down his left flank and turned to threaten a deadly flank attack to the Companions. My donated command distracted the deep spears and opened up a gap for my lights to exploit. But my Teutonics couldn’t risk charging the deep spears frontally. So instead spotted a vulnerable unit of hairies and charged it, whilst my ligth cavalry swarm distracted nearby enemy units to discourage them from worrying my Knights.

Rob was facing gritty Companions on his far left, and his other knights were pinned by the phalanx. My donated command was distracting the enemy deep spear and had opened up a gap ready to be exploited. My knights had disordered a unit of hairIEs but then backed out to avoid the double risk of 2HCW hairy flank attacks.

On my far right, having failed to draw more enemies to waste their time on the far side of the river Larsen, I crossed most of them back over to the main battlefield which drew Alex’s mounted general and bodyguard after them. The single unit I left behind was cunningly protected from being charged by a curve in the river and before long I shot to death Alex’s remaining unit giving me complete freedom on that side of the river. I galloped alongside the river, over the ford and inflicted another flank charge with lance. Three chances to hit! But they were only lights , drew an Ace, Two and a Three and inflicted no damage! Hey ho!

On my side I had pulled most of my far right flank command back over the river drawing Alex's CinC with it and into a vulnerable position with two of my units ready to flank charge with lances and with his evade blocked . On the far side of the Larsen I was about to kill his inferior LC and then gallop up that side of the river, over the ford and into the flank of more hairIEs.

Meanwhile on the main battlefield the Thracian hairy hordes were steadily advancing towards me and threatening to pin me to my table edge. This is normally OK as it’s what speed bumps do, whilst waiting (literally!) for Rob’s cavalry to come over the hill and rescue the day.

…To Go Wrong

However when I looked over to see when Rob would be smashing into the Thracian flanks, I saw that he was stuck facing annoyingly resilient Companions and had Knights stuck in the ZOC of the pike block! No rescue was coming from there ! So it was time for plan B. For me to somehow beat the Thracians and me to then go over and help finish off the Lysamachids!

What Makes Two the Strongest Different To Other Tournament

At this critical stage something happened that I think reflects the whole ethos of TtS Tournaments. In my experience no one wants to win because they know the rules better. They want to win through better tactics and manoeuver and perhaps the odd lucky draw!

So my opponent Alex had galloped his light cavalry general and bodyguard across the river chasing after my “distraction command” but in doing so had exposed his flank - with his evade route blocked by a big unit of hairies.

So I charged into his flank with the first of two lance armed light cavalry. Three cards to hit!

He chose to evade his first unit which could just fit in front of the hairies. But his second unit with his general had no room left and so was due to be wiped out. However, Alex said he did not know that was how the rules worked and if he had done he would not have evaded. So straight away, we all agreed that was unfair to Alex and we went back in time (half a dozen cards drawn) and started again.

Plan B!

Anyway, by this stage my Teutonic knights had finished off the hairies that they had previously disordered. My swirling light archery had killed another unit and a lucky cannon shot from my camp all contributed enough hits, together with a dead general to rout the Thracians! This also left my final unactivated command on my left, to turn and flank charge the deep units facing Rob.

This was happening just as Rob finally killed the stubborn companions and within just one more turn the combined attacks brought us the final VMs needed to rout the Lysamachids as well!

Not at all as planned but a double victory never the less!

Alex’s hairies had killed four of my lights by throwing just four of their pesky pointy sticks (missiles can be deadly in TtS) but thanks to my lights’ ability to dance away from their big units we had avoided any melees and survived long enough to inflict enough hits before being pinned to our base line. A near run thing but with enough safety to not suffer from the “squirting” that @johnhilary has suffered from when using the very similarly brittle Pecheneg horde.

TTS AAR: Two the Strongest Game One: Teutonic Knights & Lithuanians vs Principate Romans & Armenians

The ‘Two the Strongest’ Doubles tournament for To The Strongest had it’s second outing a couple of weekends ago.

As Peter had returned from his self-imposed sabbatical from competition playing, I made sure to enlist him as my partner for the event. After the thrashing he gave me (and others) at this year’s Warfare event, it was very much a case of “if you can’t beat them, join them”!

After much discussion, Peter decided that we would take the powerful but perhaps risky combination of heavily armoured Teutonic Knights (my bit) and dancing horse-archer Lithuanians (Peter’s command).

The plan (hatched over Peter’s various and mandatory training sessions) was for the Lithuanians to keep one half of the opposition occupied with two thirds of their force, whilst I borrowed the other third, combining it with my own troops to smash my way through the other half of the enemy before turning to hit the remaining foe in the flank. I don’t remember much about what was said, but there were chalkboards and diagrams, plans of action, timetables, many military acronyms, homework, and much army-appropriate talk of schwerepunkt and kesselschlact and the like!

We even brought along this very portable helmet: ideal for the post-match conversations with forest fans (who lost 3-0 BTW)

The event itself would take place at Kingdom Games in north London, only a few minutes away from Arsenal’s Emirates stadium…very convenient, as it meant we (veteran Later Knights) could share the streets with the 60,298 fans (raw Mobs, and, yes, I looked up the attendance figures: there’s a lot of work goes into these AARs!) leaving the ground as we struggled back to where my car was parked (75% premium on cost as it was match day but, like the Murphys, I’m not bitter) pushing the immense amount of display boards and scenery that Peter had brought along to accompany the soldiers we would use. They fitted into two easily portable Really Useful containers rather than the six foot high tower of boxes that were actually on the trolley we pushed over the uneven pavements to the venue.

Anyhoo, moving swiftly on, our first game was against other-Rob and Will’s combination of Principate Romans and Armenians. We won the scouting so lined up with my Teutonics versus the Armenians, whist Peter attempted to delay the Romans.

The Armenians deployed right up against their Roman allies in a very narrow fashion, so my first move saw half my knights heading rapidly towards the Armenian left flank. If I could get around the side, then rolling up his line should be easy.

This very much proved to be the case, and before long I was in a great position to threaten the Armenian flank whilst also keeping the deadly Armenian lancers (yellow lances) at bay.

Around this point Peter began pointing out that there was quite a bit of Armenian light cavalry out on my flank, and that I should be careful they didn’t slip through to threaten my camps, but my Teutonic Knights were not concerned: we’d left some peasants in place to guard the camps and the foot sergeants were somewhere around as well. What mattered was smashing the enemy from the field, not making sure the cooking pots were safe!

And smash them from the field they did…

…and pretty soon the Armenians had been disposed of and I could head over to the other side of the battlefield to see what was going on there.

To be fair, Peter did seem to have done very well against the Romans: turning all the legionaries and their cavalry into stuck-full-of-arrows hedgehogs. They just needed a bit of Teutonic Knight goodness to finish them off!

So a good start to the day with a 39-0 victory.

Now it’s always good to fact check my reports, so here’s the view from the left hand side of the table…

Peter’s Report

At last year’s excellent Two the Strongest tournament Rob and I learnt that to maximise points to win the tournament you had to obliterate BOTH enemy armies in every battle. And in the limited time available the best way to achieve that was to focus our combined resources on blitzing one army first and then quickly switch both of our armies onto the remaining one with a big flank attack sweeping in from where our first enemy had been smashed.

So before this tournament we agreed a strategy that I would donate the best 25% of my army to Rob, to give overwhelming superiority to his side of the battle. And I would then act as a speed bump to the army I was facing to stop it supporting Rob’s opponent. I would further reduce my punch by holding a tactical reserve ready to respond to any cunning plan that the enemy came up with.

To allow this to work we chose a knight heavy Teutonic army for Rob supported by light cavalry Lithuanian allies for me.

We also had a playbook that defined in more detail how we would operate together and individually, with critical timings as to what we each had to achieve by when.

For example, Rob couldn’t sit back with his significantly boosted army and play a typical advance with confidence. Instead he needed to aggressively pin the enemy from the front whilst rapidly outflanking the rest and smashing into its side with repeated flank and Lance bonuses. All this to pulverise that army by the end of turn 3! This was critical becasue he then needed to sweep across his half of the battlefield and smash into the flank of the enemy that I was holding up. Anything later and we wouldn’t have time to blitz both armies in the limited time.

So that was the plan.

Our first opponents were a tough Roman Principate army with very resilient ( and beautifully painted) legionaries, auxilia and veteran cavalry. Plus a Palmyran allies army with scary cataphracts, lance cavalry, hordes of light cavalry with bow and heavily defended camps which we would never be able to take.

I volunteered to dance around the Romans whilst Rob took my veteran knights to outnumber the Palmyran cataphracts and chase away the hordes, and then swing in on the flank of what was left.

Given the Romans lack of missiles my light cavalry could get right up close to the heavy infantry and pepper them with an annoying drizzle of arrows. But the Romans are super resilient with their big shields and this only caused minor damage that was quickly rallied off. But it did slow them down. The speed bump was working! Only half of my army was holding up the entire Roman force!

Meanwhile on Rob’s half of the battlefield my veteran knights, backed up with light cavalry shooting overhead, successfully took on a unit of cataphracts. Rob pinned the other cataphracts with his Polish knights whilst getting his veteran Teutonic knights around the flank ready to flank charge the rest of the Palmyrans.

The plan seemed to be working. But then two of the Palmyran light cavalry cunningly worked their way through the wood on the far edge of the battlefield weaving past a unit of spear armed brudders and light cavalry and threatening the unfortified double camp that had only one raw light infantry unit to defend it.

Oh no! That was potentially seven victory points at risk and the whole plan could go wrong!

Thank goodness for our uncommitted reserve on my side of the battlefield! It consisted of three light cavalry with a general so was as mobile as you could possibly want. So I moved each in turn and then double moved whichever unit had the lowest card. The first unit drew a 10, that wasn’t going to work! The next drew a 2, and the third one drew a 4 so I then moved the 2 again but it drew a 9 - clearly they had blown their horses too early! So I had to leave that unit behind and I then refocuussed on the unit that had drawn a 4. I drew a 5, then a 9! By now I had marched across 9 boxes but still needed another box to ZOC (zone of control) the Palmyran lights to stop them taking the camp. I still had my general redraw ability. I could do it! So I then drew an ace! No problem. I had my general redraw! Can I do it? And I drew another ace! Oh no how frustrating! Still I had covered a lot of ground so just be thankful for the previous cards I had drawn!

However because we had won the scouting (the Lithuanians alone brought ten scouting points!) we chose the first command to move, and so instead of Rob going first, which was our playbook norm to allow him to get his knights in first each round, we agreed that my reserve Command went first. My light cavalry charged into the flank of the enemy light cavalry still stuck in the wood so at a big disadvantage! They tried but failed to evade! But then I drew more aces and caused no damage! But atleast I had ZOC’d the blighters and saved any risk to the camp!

Meanwhile, my veteran knights supported by light cavalry bows behind, beat the cataphracts and eventually, despite some bad cards, Rob’s veteran knights smashed into the flank of the Palmyrans and swept the rest of the army away.

However this had taken four turns not three, which meant we were a whole turn behind schedule!

Fortunately back on my side of the battlefield a combination of sustained shooting from my dancing light cavalry and a couple of flank attacks (each delivering three cards!) had killed one unit and a general.

As soon as the Teutons turned up on the flank, and the Romans turned to face them my annoying lights turned into killers that charged into their flanks with their lances wounding them so that the Teutons simply rode down what was left to take the final victory medals and secure the double victory we had sought! All achieved without losing a single victory medal!

Thanks to Nate’s tournament design - strategy, tactics, teamwork and even reserves had all played their part!

We had had a mix of good and bad lack, as you always do, but overall the plan had worked. So next, on to our second battle - where it didn’t!

I hope these insights encourage YOU to attend this superb event next year!

TTS AAR: Warfare 24: Game Four: Venetians versus Pechenegs

My final game at Warfare this year was a match against the Pechenegs: an army comprising many units of light cavalry, most grouped into “massed lights” units, and a unit of noble lancers.

Unsurprisingly, the Pechenegs won the scouting, and I soon found myself staring at a line of bow-armed light cavalry advancing swiftly towards the Gondoliers.

Fighting light cavalry with non-missile-armed troops is like fighting water!

Take, for example, the initial clash on my right flank. The Pechenegs advance four units: three massed lights and their single unit of lancers. My Knights advance and charge the pesky blighters, who promptly evade away unscathed.

Massed bow fire causes a disorder on one unit of knights, who are then promptly charged by the lancers and sent flying from the table. Admittedly my Knights were wearing their cardboard armour rather than the proper steel stuff, but come on…!

This pattern continued in the centre, where my pikes had to combine with the knights retreating from the right flank in order to KO a unit of lights, the schioppettiere showing no interest in getting involved even when presented with the opportunity to rear-charge the horsemen.

Only on the left was there any real success, where the Knights, with help from some mounted handgunners, did what they were supposed to do and drove back the Pechenegs without taking any casualties from bow fire.

At this point I realised I was going about things all wrong: in that rather than trying to engage with the Pechenegs wherever I found them, allowing them to dance around my troops and find gaps to exploit, what I actually needed to do was to form a long line and just push them off the table!

So that’s what I did: a bit of consolidation in the centre and on the right to form a line, and then a steady advance.

Meanwhile, over on the left, although I’d had great initial success, I needed to consolidate in the same way to prevent my victorious units from being individually overwhelmed.

This was all working very nicely, and it wouldn’t have been long before the Pechenegs were pinned up against their base line and then either destroyed or driven off the table, but unfortunately all the shilly-shallying around at the beginning of the game meant that I was out of the time needed to being my cunning plan to fruition: you don’t get a lot of time for each game in a one-day-four-games tournament, so need to really get your shift on in each encounter.

The end of this, final round was called and, totting up the points, I found that I had lost seven coins to eight!

One more turn and the advantage would have been to me but, like Napoleon at Waterloo, I was out of time!

A great game, even considering the end result. All I wanted to do was re-fight the battle and, this time, just smartly advance in line and drive the pesky Pechenegs off table!

It had been an excellent Warfare tournament, even if I ended up twelth out of sixteen. Recommended as both a show to go to and an event to play in: see you all there next year.

TTS AAR: Warfare 24: Game Three: Venetians vs Parthians

With one utter thrashing and one complete victory under my belt, my third game at this year’s To The Strongest competition at Warfare was against Howard “I borrowed these from Sid’s” Parthians.

I decided to change my initial deployment: choosing to weight all my Knights onto one flank in order to counter the threat of the Parthian cataphracts.

This meant that as the game began, the Parthians, with nothing to stop them, quickly outflanked my infantry line and camp with light horse, but I wasn’t too worried about this and quickly moved to counter their advance.

It was a bit annoying to have the Alabardiers almost immediately disordered from rear charges, but hopefully I’d be able to rally them and move on: the important thing being that the flank was safe for the moment.

Unfortunately, Lady Luck had once again chosen to desert me, and the Alabardiers were quickly disposed of by the enemy!

Meanwhile, back on the other side of the table, my Knights and the Parthian cataphracts had advanced into contact.

I had managed to achieve a tactical advantage for the first clash: getting not only the first-charge advantage but also achieving a two-to-one in a couple of instances, but shockingly bad cards meant that I effectively lost all five of the knights-vs-Parthian-cavalry first encounters.

Here’s the table just after the initial clashes: you can see that I only have two units of Knights left out of five and haven’t destroyed a single unit of Parthians!

The battle then took a turn for the decidedly weird. First up, I had a series of Aces that, I thought, would effectively seal the fate of my poor Venetians: effectively leaving me unable to do anything at all:

But, suddenly, the tide turned, and my last two remaining units of Knights suddenly remembered what they were here for, and started chewing through Parthians troops like there was no tomorrow:

Perhaps I could snatch victory from the jaws of defeat?

Er, no.

Although somewhat rocked by the Venetian’s renaissance (technically I think that’s also a pun!), the villainous Parthians re-turned their attention to my right flank and managed to defeat the unit of militia guarding it (yes, the chef’s unit was knocked off the table, although I’m sure he survived) and take one of my camps: four medals lost and game over!

At least I had managed to win back some medals, turning a potential utter disaster into only a heavy 8-13 defeat.

I had been appallingly unlucky right from the initial knight/cataphract clash through to the run of Aces in the endgame (even Howard agreed!) but was very pleased to have been able to gain some measure of respect from the fight-back! Roll on game four…

Howard writes:

Great game Rob - and you really were very very unlucky - ridiculously so when it came to the knights melting in the face of the mighty Parthian Cataphracts! Speaking of which it was actually your lowly (but deadeye!) LI and LC shooters that did most of the damage - taking down a Cataphract unit, 2 LI and a LC! Typical of the Lordly Knights to gloss over that in their report of the battle to the Doge....! :-)
I can tell you that the Chef did survive the battle - he's currently on permanent sabbatical in the kitchens of the Parthian King of Kings in Ctesiphon! 

TTS AAR: Warfare 24, Game Two: Venetians vs Komnenon Byzantines

My second game at this year’s To The Strongest tournament at Warfare was against Nigel’s Komnenon Byzantines: a tough nut to crack with their combination of Kavallariori lance-armed horse and Varangian Guard veteran shieldwall infantry.

I lost the scouting again, and quickly saw the Byzantines advancing towards me at a rapid rate of knots.

I advanced my left flank out to meet him, getting an advantage as I was able to charge a unit of my Later Knights in against some of his veteran cavalry. Nigel attempted to evade but failed, which meant i would enjoy three strikes (attack, lance and bonus rear) against his hapless horsemen, with my army standard providing me with a back-up should I fail the first one.

Unbelievably, every single one of my attacks failed to hit, something my rudimentary stats skills tell me should only happen approximately 6% of the time.

This was not good, and I soon found myself victim to a general assault across my line. Particularly worrying was the big hole facing the elite Varangian Guard: the only thing between them and my camp were a couple of raw schioppettiere hand gunners, almost as afraid of the weapons they held as the mad vikings’ approach!

Fortunately - very fortunately - my other command of knights on the right flank was doing what they were supposed to do, and had forced back the Byzantine horse, both light and heavy.

This gave them the chance to manouevre onto the flank of the advancing Varangians: something that, much to my surprise, caused a crisis of confidence in the enemy centre, which promptly withdrew back away from my troops.

This was very strange, but also very welcome…the only problem being that we were now almost out of time, which seemed like a very quick game to me, but I wasn’t manning the stop-watch!

I was winning, just, but needed a big win to make up for my huge defeat in game one, but the only way I was going to win this was my either destroying a 3-coin unit such as one of the Varangian Guard, or by taking the Byzantine camp, currently unguarded.

The camp it was then, but it would need three activations for the knights on the far side of the table to reach it. Fortune, however, had decided to compensate me for the failure to hit the enemy horse and, with a triumphant clatter of hooves, the knights rode down the Byzantine camp followers taking the camp and Nigel’s last three coins for an 11-0 victory.

So a bit of a narrow escape: I think I would have been in deep trouble if those Varangians had ignored the knights on their flank and headed straight forward!

But as great game against a fun opponent, so onto game 3 with one loss and one win under the belt.

TTS AAR: Warfare 24, Game One: Venetians versus Timurids

My first game at the To The Strongest tournament at this year’s Warfare show was against Peter and his Timurids. As Peter is acknowledged as the most successful TTS competition gamer in the UK, this was going to be quite a difficult start to the day!

Those of you who have played Peter before know that his favourite tactics is to have an army that outscouts the opposition, then deploys in a way that gives him the advantage by taking a portion of the enemy army out of contention. After that, he advances quickly to get around the flank of his opponent’s remaining (and now outnumbered) troops and roll up them up smartly before turning the full might of his still-intact army on the remnants of that of the enemy.

And that is exactly what he did to me, despite the fact that I knew it was coming!

On his first turn, Peter did have a bit of luck with the cards, but a clever tactic to allow a second march move meant that his troops were quickly behind my line.

As predicted, my main strike force of later knights were left facing nothing except a couple of Timurid cattle-herders bunking off work to take a picnic far from the madding crowd!!!

But they began rushing over to the centre as soon as possible. Perhaps I could pull this back from the brink…

Er, no: of course I couldn’t. Once Peter has his teeth in you, you have no hope or Bob Hope chance of surviving, and Bob Hope’s dead.

His flank attack disposed of my knights on the right and moved in to begin rolling up my line.

And after that it was only a matter of time before my camp fell and with it the battle. A devastating 0-13 loss to start the day!
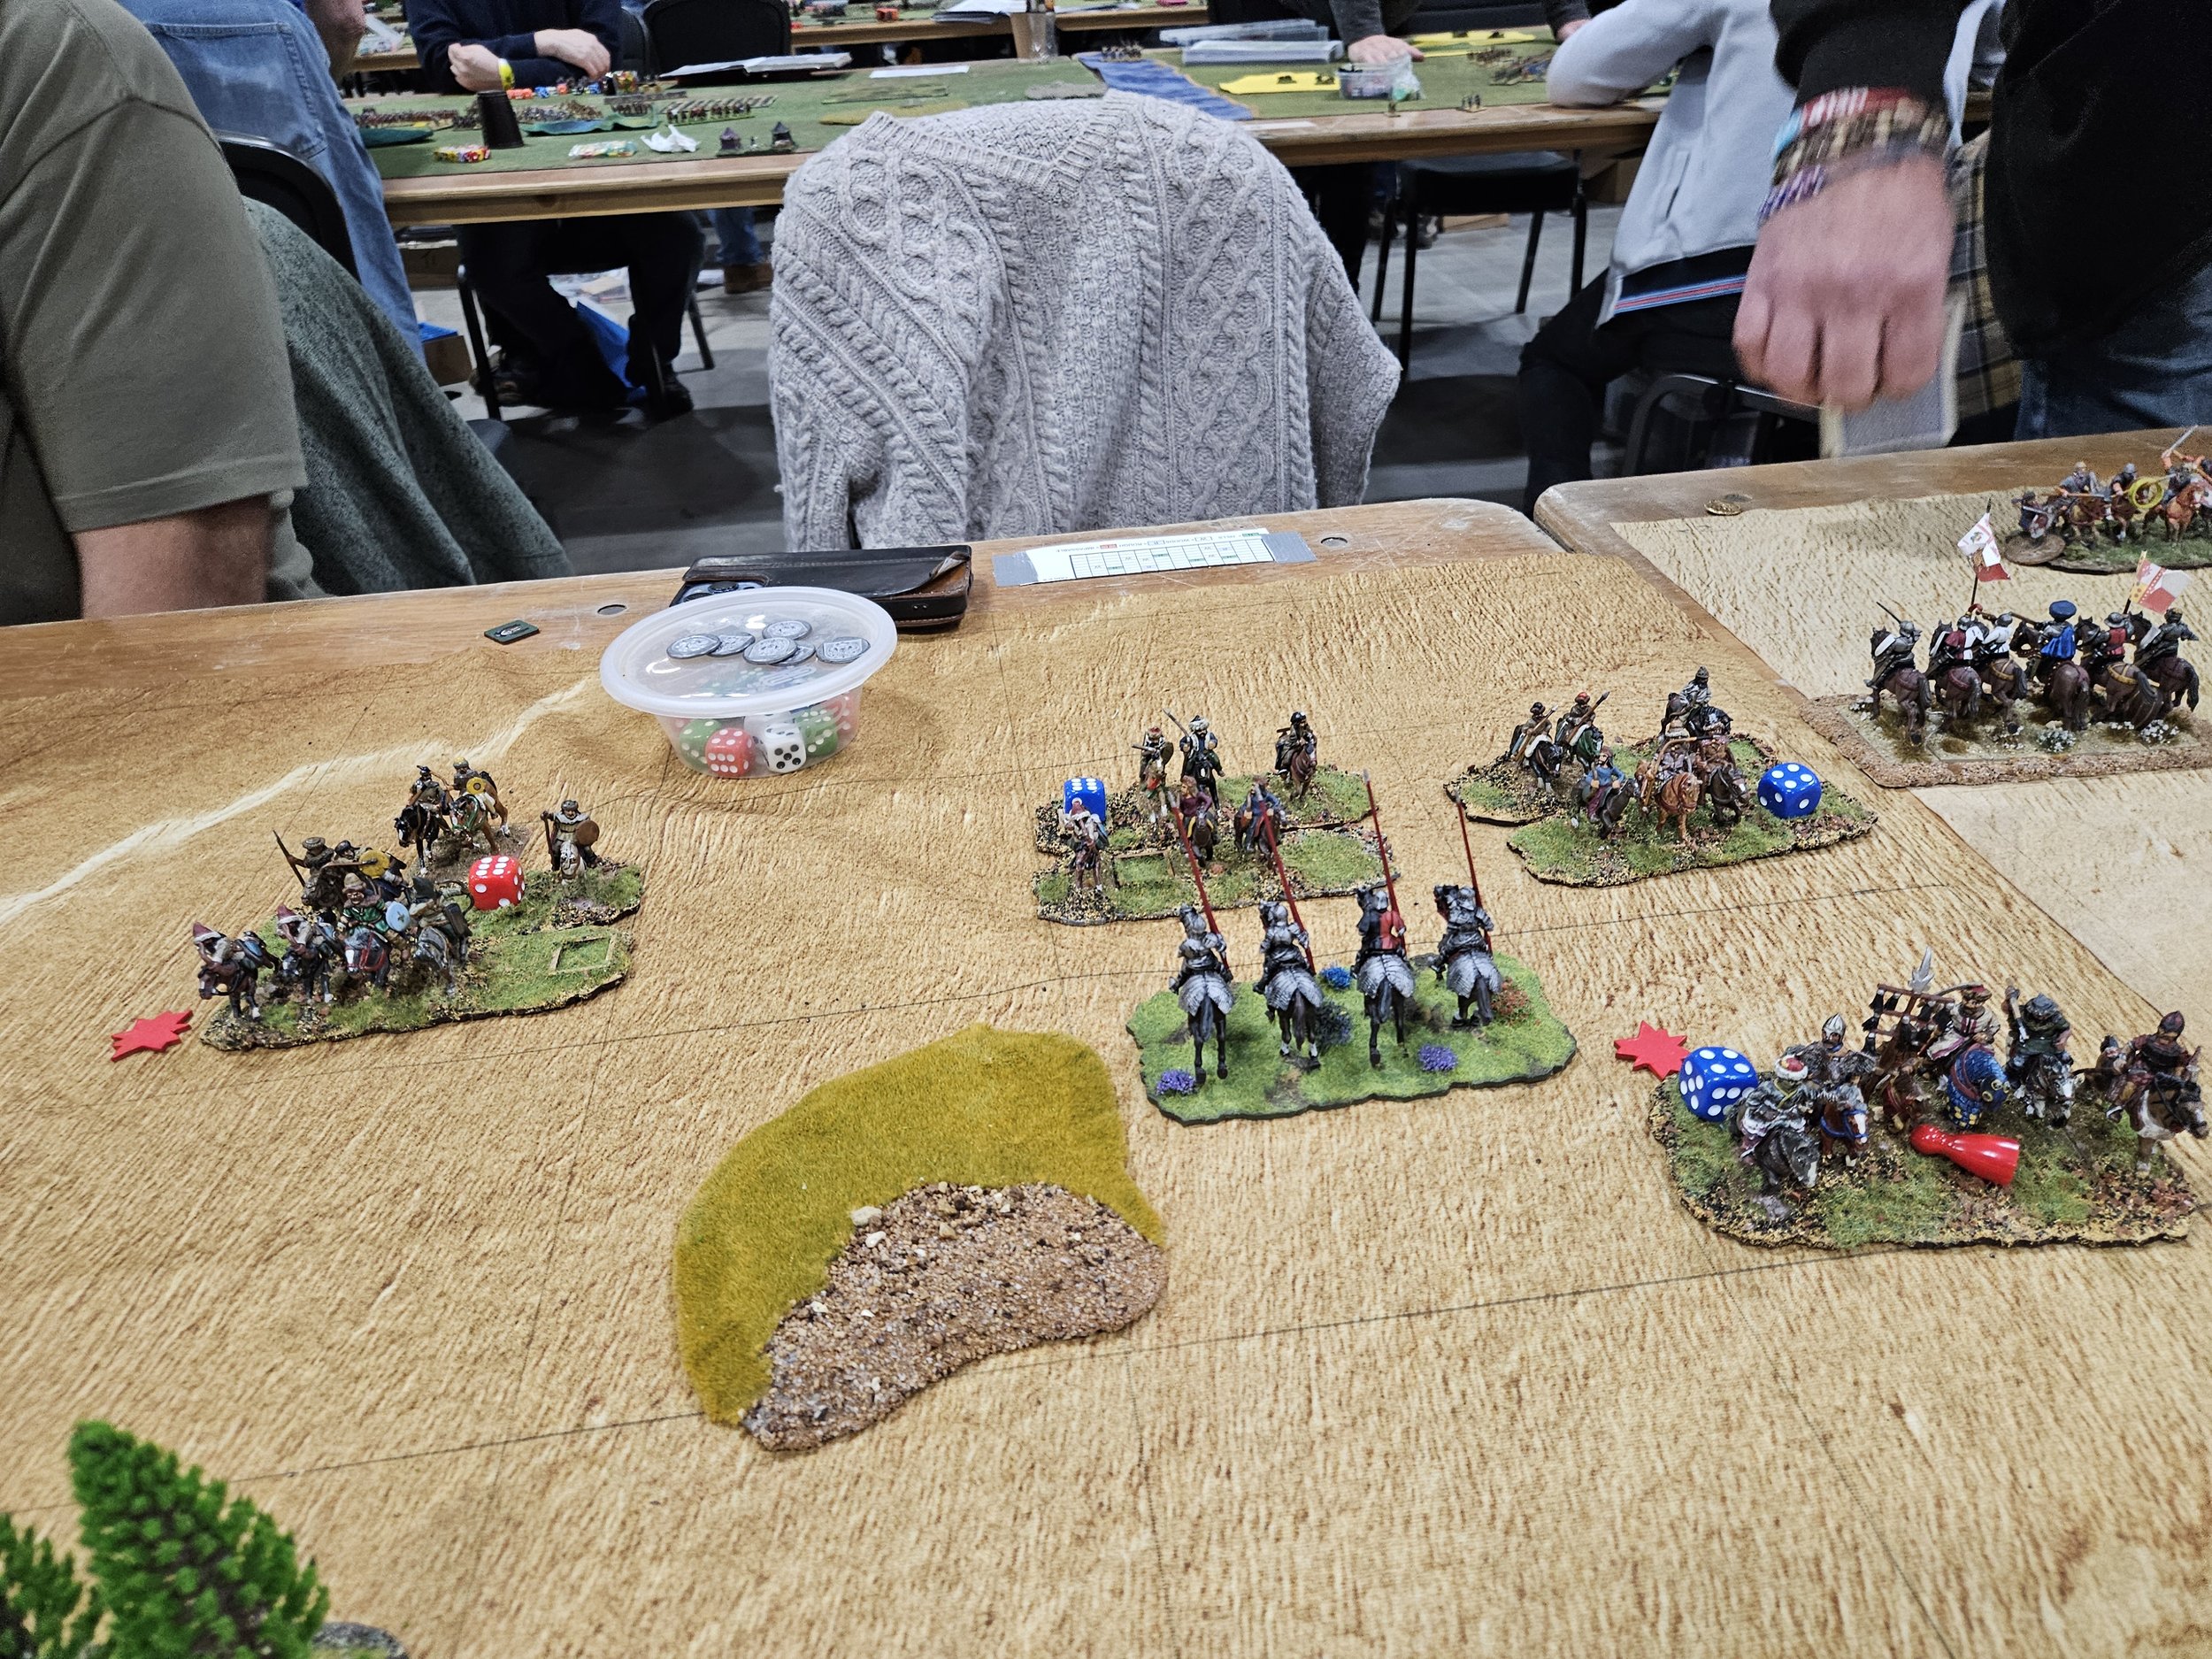
Somewhat annoying, to say the least, especially as I knew what was coming but couldn’t seem to do anything about it…but there was still plenty of time to do better in the next game…for which I now had plenty of time to prepare!

Congratulations to Peter on a masterclass of destruction: surgically dismembering the poor Venetians despite their best efforts. But I have beaten Peter before, and will beat him again, with the victory tasting even sweeter when I do!

TTS AAR: Double Debut - Hittites vs Siamese

Regular visitors to the site will know that I have been building a 15mm Hittite army using Red Copper scultpts printed by Baueda. At the same time as I have been doing that, friend Rob has been building a 15mm Siamese (Thai) army using Khurasan figures (Rob reports that these are excellent, but that the spears are a bit flimsy and easily bend out of shape).

With both armies now 90% finished, it was time to get them onto the tabletop. Two newly-painted armies each making their debut? Given popular superstition, what could possibly go wrong!

As we both wanted to get as many of our figures onto the table as possible, we would play the game large at 160 points per side. This meant that I had to proxy in some Assyrians and Sumerians to face Rob’s Thai hordes!

The Siamese army could have been designed to fight Hittites. Elephants would disrupt my main chariot strike force, with their supporting spearmen proving equally tricky to beat when defending. Fortunately I won the scouting (thank you to the ally-Syrian light chariots, only varnished that morning!) so would be able see some of Rob’s units deploy before I had to set up myself.

Historically, Hittites fought with their chariots in front, infantry behind, but (given the above) that wouldn’t work here. I therefore determined to deploy in what I would call a more traditional manner atypical to the Hittites: infantry in the centre, chariots on the wings.

With Rob deploying all his cavalry on his right flank, a plan began to form: send one brigade of chariots forward to crush his cavalry (my lances should give me the advantage); then use the centre infantry and right chariots to pin the rest of his line whilst the ally-Syrians looped around the Thai far-left flank using their bows to take out the elephants there without actually making contact. Genius!

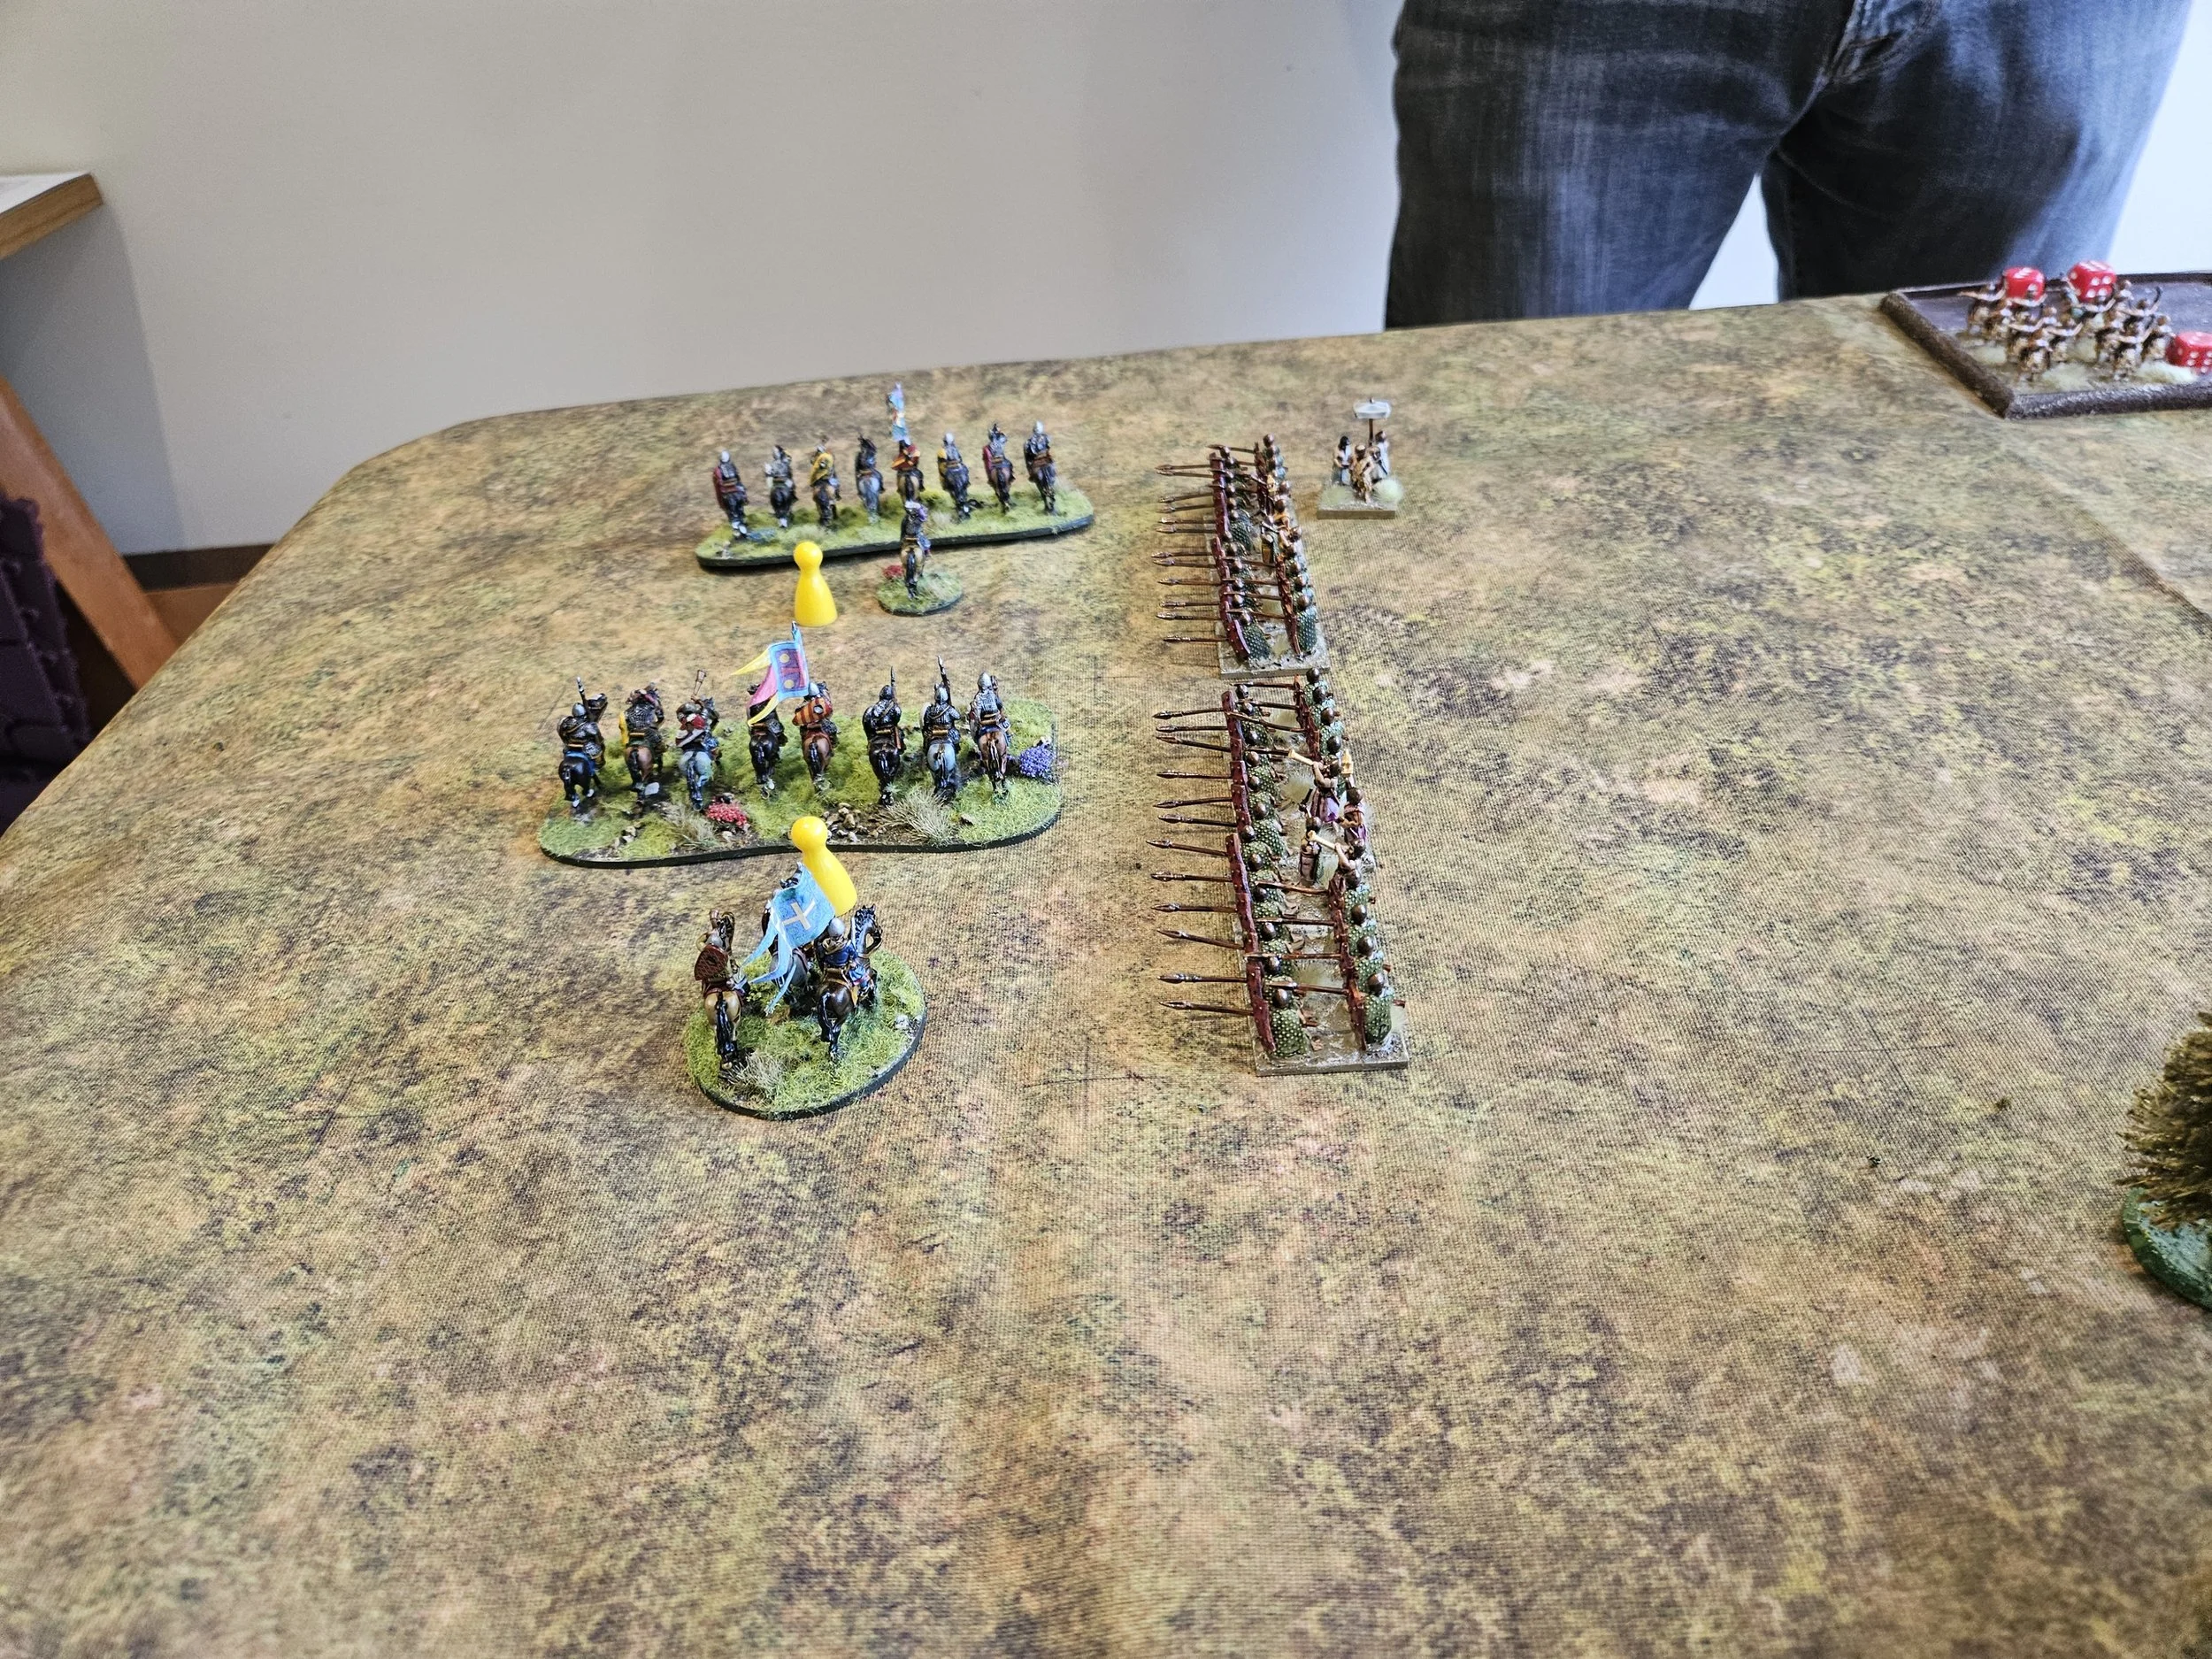
As the battle began, both sides advanced forward smartly, although the Siamese were plagued by a couple of Aces in their initial group moves. Here’s a picture of the action just before we closed. Hopefully you can see that my plan is beginning to get underway!

The battle then divided into three parts: the left, the centre and the right.

On the right hand side of the field, the ally-Syrian light chariots and half my heavy chariots tried to keep his elephants and infantry occupied without actually closing to what would surely be an unfortunate combat.

This they largely achieved: the lights evading away from pachyderm charges, even sometimes being knocked temporarily off table; the heavies by dint of refusing to charge and even edging backwards as the nellies came forward. I was happy to be charged by spearmen, but wouldn’t initiate any charges into a set line of men carrying nasty, pointy sticks!

In the centre, things did not go so well. Hordes of enemy spearmen, with archers behind, came forward and routed my line infantry. By the final stages of the battle, only one unit of line infantry remained standing, and I was forced to re-deploy some of the heavy chariots as a reserve.

I was a bit surprised that the victorious Siamese infantry didn’t rush forward in an attempt to sack my two camps, defended only by some petty scummy light troops, but Rob said afterwards that he felt at that stage that the infantry needed to turn back and help out the flanks.

Whatever he chose to do, it was very unnerving to see six enemy units (half spearmen, half bow) with nothing in front of them except my regret that my infantry hadn’t stopped them!

Which meant that the battle would, as planned, need to be won on my left.

There, my chariots charged the Siamese cavalry as soon as they could, with fairly disappointing results. Rather than smash them from the field, the chariots got locked into a bitter combat in which neither side had the advantage.

This meant I had to divert the archers and Royal Guard from the centre onto this wing - part of the reason why the centre collapsed! The bowmen moved up to support the chariot runners who had engaged the enemy elephants, keeping them from interfering with the chariots vs cavalry combat. The Royal Guard also charged the elephants, promptly becoming disordered!

Fortunately my overall commander was on hand to rally them, as I was going to need them as although one unit of chariots had broken through, they had become disordered in the process, and another unit of enemy horse was moving up to engage them. My other chariots were still locked into a mutually-disordering combat with the cavalry.

I needed something special to swing things my way and, with Lady Luck supporting me for a change, the Royal Guard showed what they could do.

The enemy elephants were disposed of and then the Guard turned left and rolled up not one but both cavalry units: in the picture below you can see that their last two activation cards were a couple of 10’s. In effect, in one activation, they had dealt with the elephants and two units of Siamese horse: definitely a battle honour coming their way!

The Siamese weren’t broken yet though, and their centre was swinging round towards my left flank.

The Royal Guard neatly reversed direction and headed back into the fray. I even had a reserve chariot unit, headed by a General, that could jump in as well.

This was a good thing, particularly as my right was now coming under considerable pressure (the first picture in the gallery, below).

With his centre’s expansion contained, a unti of chariot runners were able to take an enemy camp, and a unit of chariots postion themselves to charge the rear of the main Siamese line.

This, however, proved unnecessary as, again, the Royal Guard charegd forward and smashed a unit of enemy spearmen from the table (they’d been softened up by the archers). That cost the Siamese their last two coins, and the victory was mine.

I had definitely been lucky to survive that one!

Things were looking extremely dicey before the Royal Guard went turbo and mullered three units in one turn. I was also lucky with the cards when I needed my left flank to about face and head into the centre/the enemy’s rear.

A great game, played in excellent spirit, and nice to finally get the Hittites (and the Siamese) onto the table.

TTS AAR: Crusades Game 3: Venetians Abroad vs Early Feudal Spanish

My third and final game at the recent Crusades event at the Games Bunker in Weston Super Mere was against Sid and his Early Feudal Spanish: the El Cid lot!

Rather than risk boring you with my usual report, I actually have a report from the other side of the table: Sid posted the following on his Facebook page. As you would expect, it is full of “fake news”, lies and propaganda, but it saves me the trouble of writing a report of my own!

Sid says: “My third and final game at The Bunker for the TTS Crusades Competition was against Robert Avery’s Venetians.

The armies line up. The open left flank beckons me.

“Rob and his army are hardened veterans and winners of this year’s TTS at BRITCON. The Venetians are an interesting combination of Spear or Bill and Light infantry. The main striking force are Knights supported by unusual Light Cavalry who have crossbow for that three-box range or lance to be an offensive Lights unit. He had two camps which are fortified.

“Robert Avery and I have played a few times over the last couple of years and I seem to be his personal kryptonite: when we play my cards are average but his are invariably ‘pants’. I was hoping this would play on his mind. I know, it’s a terrible thing to do to a lovely chap like Robert Avery.

“As with every game that day, I won the scouting, so I could match my commands where they would be most effective.

“Rob deployed his two infantry commands in the centre and split the cavalry equally on the wings. His left looked more exposed, so I concentrated two commands against that flank. My right flank only had one cavalry command but it was my veteran cavalry so I thought I had a chance to take him on frontally. My infantry might be raw but had extra bow so could impact him without getting too close. I also had a horde of raw Light Infantry to clog up the works.

The filthy raw peones look across at the heavily armoured Venetian infantry. At least there are plenty of monks in the camp to administer the last rites.

“My activations started well, I managed to rush my mounted troops right into Rob’s grill. The kryptonite was working and Robs right wing activated one unit before stopping.

“The Venetian infantry then ground forward, and I was in no position to stop them but did delay them and pushed back the mounted wings.

The right wing, not so open but still opportunities. I rushed forward to close down the opposing knights. You can see that the Venetians are down to a single unit of knights, but with LIGHT CAVALRY support which was whittled down. The Venetian infantry assault can be seen to the left.

“On my left I took down Rob’s Light Cavalry and the Knight unit closest to the centre.The loss of that Knight let me push cavalry through to hit his exposed Crossbow unit who were very unhappy at tangling with lance-armed cavalry. This exposed the Spear next to the Crossbow who were flanked and destroyed leaving a gap in the line.

“The only good thing for Rob was the survival of his far right Knight unit, although it was disordered so reluctant to get involved. In the end, Rob had a f*** it moment and charged them forward anyway. Unusually for Rob it worked, and they destroyed the Caballeros Villanos matched against them.

The success of my main effort on the left. I managed to make ground as Rob failed activation after activation.

You can see the surrounded Venetian knights, which oddly survived and fell back. The Venetian knights not surrounded, were the ones who fell to the two Spanish cavalry units who double teamed them.

At the back can be seen a crossbow unit, which were screaming to be ridden down. Just to the top right can be seen the only raw unit in the Venetian army. Identified by the fat cook in the front rank. They drew me like moths to a fame.

The final knight unit injured and fending off repeated attacks.

My cavalry with the red standard are occupying the ground formerly held by the now deceased Venetian crossbows. The now disordered Venetian raw spear have drawn the attention of my cavalry. I’m still loving that fat chef in the front rank. The camp is beckoning.

“In the centre, Rob’s infantry were pushing my raw Shieldwall back and I was pulling them back just to keep them in the game. But the success of this meant that they became isolated and exposed to my hordes of raw Light Infantry. Meanwhile my cavalry who had taken out his Spear, went through the gap and took one of the camps.

The camp is seized and my cavalry have the option to turn to drive the LI out.

“On my right, my elite Cabaleros Hidalgos rushed Rob’s Knight command and were outrageously lucky, taking down one unit of Knights and disordering the other. I followed up and had his Knights pinned against the table edge with another Light Cavalry pinned next to them. This unit just held on, which as it had the Army Standard kept Rob in the game. I could have pushed the Light Cavalry off the table but held on until he would be down to his last coin. On the same flank I had supporting Light Cavalry ready to hit some Light Infantry on a hill in the flank.

Meanwhile on the other side of the table.

My far right cavalry have pinned their opponents and throwing javelins at the trapped knights. My left shieldwall are driven back, but raw LI are flanking their opponents. The right side peones are disordered By the unit of billmen.

More detail of the centre

“After I cleared out another unit, I pushed the Light Cavalry off table for the win.

The far right. You can see how my right side cavalry are simply holding place ready to drive the LC off table.

The Venetian knights with army standard are disordered, the Spanish cavalry with army standard are also DISORDERED SO a stand-off but I am throwing the odd javelin. My LC are facing into,the centre ready to flank charge some LI on a hill just out of shot.

The knights break out of the trap, but are flanked by LIGHT CAVALRY.

There are also crossbows to the left peppering the knights.

Just after this, I drove the Venetian LC off the table for the win.

“As always with Rob, a great game, full of chat and banter. Yet his cards hated him and I’m not joking when I say that. Maybe he was distracted as I spent the entire day trying to nag him into going for an Ancient Spanish army for his next project.”

An excellent report from Sid, sadly accurate in that I lost the game 5-13, which meant that I finished the event in 5th position.

What Sid doesn’t mention is that in my last turn before he won the game, I had an excellent opportunity to rout two of his Shieldwall units with my infantry, which would have meant the game finished something like 9-13 or the like, which meant I would have placed higher overall…but I drew an Ace for my first actuvation and that was that!

Sid’s pictures are interspersed with his report, here are mine in a picture-only gallery:

So a great game but a disappointing end to the day. The event had been most enjoyable overall, and my thanks to Don and team at the Games Bunker, and my opponents, for a great day’s gaming.

TTS AAR: Crusades Game 2: Venice Abroad vs Anglo-Normans

Following my successful game against Don’s Mameluke Egyptians, my second game at the recent Crusades event at the Games Bunker in Weston Super Mere was against Matt’s Anglo-Normans.

The Anglo-Normans looked like quite a tough nut to crack: Knights to face my Knights, then either Spearmen to drive my cavalry back, or deep warband to swallow them up!

Matt won the scouting and, as the game opened, sent a unit of Knights forward straight into my left flank, presumably seeking to gain the initiative and get me reacting to his movements rather than vice versa.

Unfortunately for the Anglo-Normans, this backfired spectacularly, as his Knights crashed into mine and just evaporated from the table! Not a scratch on my men, an enemy general left alone in front of them.

Undeterred, however, the Anglo-Normans continued their advance, just trying to get in contact with my men as soon as possible.

I could see me doing well on the left, but was a little nervous about my right: five enemy foot units against a couple of units of Knights supported by Crossbowmen.

On the left, things seemed to be going well, but a series of sudden, card-induced reverses saw my glorious charges come to nothing, with the survivors driven back right as far as the table’s edge. Not good, not good at all!

Back to the rest of the table.

In the centre, my infantry (seeking to take some of the pressure off my right flank) had advanced strongly: the Alabardiers even forcing some of the Anglo-Norman cavalry to retreat in order to cover their camp. Unfortunately, all this fighting had disordered two of my three foot units, so what might have looked good at a distance was pretty shakey when you got up close!

And on the right I was still horribly outnumbered, with my remaining Knights threatening to be overwhelmed by waves of enemy infantry.

One unit of Knights did indeed rout from the table, but the other managed to rally and drive forward as, meanwhile, my one still—undisordered infantry unit in the centre also turned to help.

Sudden Death!

Both sides were now down to their last few victory medals: it was now a case of sudden death in that whoever lost their next unit would also lose the game.

Although I was in quite a good tactical position, it was Matt’s turn to go, and I had plenty of already-disordered units for him to attack, defeat, and thus win victory. I resigned myself to the loss and sat back as Matt pondered where to strike first.

The obvious place was my left flank, where my disordered Knights were faced with fresh Anglo-Norman Knights headed by a general. This was going to be painful as that meant I could expect to face two-three charges, all at a disadvantage.

The first Anglo-Norman charge went in - I survived.

The second Anglo-Norman charge went in - I survived.

The third Anglo-Norman charge went in - I not only survived but managed to disorder the enemy Knights as well…the cards conveniently throwing up a series of 9’s and 10’s,

But it wasn’t over yet: on to the next weak point.

My already-disordered infantry unit nearest the Anglo-Norman camp was attacked by both light infantry from the flank, and more Knights from the front, again with an attached General just about guaranteeing multiple charges.

Unbelievably, again I survived: a combination of poor attack cards from Matt versus decent defence cards from me.

To say Matt was a little frustrated at this point was a bit of an understatement! Worse, his attacks on my Crossbowmen and other Spearman unit failed to do any damage either. I had survived the turn, saving at least six (and I think I remember the number actually being eight) “match points”!

My turn now and, with so many of my men disordered, I only tw0 opportunities that I could take. The first was for my Knights on the far right flank to charge into the rear of the disordered Anglo-Norman Shieldwall just to their left. I had a General with the Knights, so could expect at least a couple of charges to go in.

Nope! I was hit by a couple of appallingly low activation cards and my cavalry stayed where they were, horses happily snacking on the grass!

No problem: my fresh Spearmen in the centre of the field could attack some disordered Anglo-Norman Shieldwall and…I got nowhere, my spears failing to penetrate the enemy formation!

This meant that unless I could think of another battle-winning move, the initiative would pass to Matt and I’d have to run the gauntlet of all those sudden death attacks again…and I was under no illusions that all those 10’s would come again.

By this time we had quite a little crowd around the table as I hummed and hawed about what to do next. I could charge the disordered enemy Knights on the left with my disordered Knights…risky but, I decided, worth a punt. Nope: another Ace meant that the flower of mercenary nobility weren’t interested in moving. I was fast running out of ideas!

My Crossbowmen had one ammunition marker left, and the Shieldwall in front of them were, as I said, disordered. That meant that I couldn’t kill them (as it takes three hits to kill a deep Shieldwall unit) but maybe if I knocked them down one more disorder I could, I don’t know, drop my crossbows and attack.

“Twang” went the crossbows, and it was a hit. Unfortunately the enemy Shieldwall saved so no damage done. Matt then checked to see if the General with the unit was hit: and he was! Another card was turned to see what happened: he died, and the game was mine!

That was an extraordinary end to a game that I had thought lost for some time. As it was, I achieved a 13-11 victory, showing what a grind it had been for both sides.

My thanks to Matt for such a memorable encounter, although it was one that would cost both of us dear as the points were totted up after the final game…

TTS AAR: Crusades Game 1: Venice Abroad vs Mameluke Egyptians

Earlier this month I travelled to Weston Super Mere for the Crusades event at the Games Bunker there: a tournament where only armies that could conceivably have fought in the Crusades could take part.

My Later Italian Condotteri Venetians therefore packed their suitcases and became a Venice Abroad army: largely the same but with no Later Knights and no Handgunners.

My first game was up against Don’s Mameluke Egyptians. I lost the scouting, so set up in a traditional infantry in the middle, cavalry on the wings formation, and watched vast amounts of enemy cavalry deploy in front of me. Looking at the pictures, I think Don only had one formed and one light infantry unit, with all the rest of his troops being mounted.

As I was fairly certain that my units were stronger than Don’s on a one-to-one basis - knights vs heavy cavalry, spearmen vs mounted - I determined to get stuck in as soon as possible whilst watching out for enemy light cavalry finding their way onto my flanks.

The Mamelukes opened the action, coming forward in what looked like piecemeal fashion, but was actually an attempt to weave their way through weak points in my line. It certainly looked like they had amanged this with a unit of light cavalry sneaking past me on the left, and a unit of heavy cavalry attempting to run over my raw crossbowmen on the right!

On the right flank, somehow the militia crossbowmen survived the charge of the heavy cavalry (they were helped by the spearman unit just to their left), with my Knights coming round the outside to engage two units of veteran heavy cavalry towards the Mameluke side of the table.

Back to the left flank, and the gap was plugged, with my infantry going forward, bouncing backwards slightly, and then being reinforced by Knights. I was determined to push through the opposition here and go on to take the Mameluke camp.

Back to the right again, and the Venetians were slowly but steadily pushing the Mamelukes back.

One unit of elite cavalry had already been broken by the Venetians Knights, and it wouldn’t be long before the other went as well.

There were now two clearly-defined battles taking place: one on the left and one on the right, with a big gap in the centre.

I had just about won the right hand flank, and only needed a little bit more to do the same on the left. Although the spearmen had got themselves in a bit of trouble from flank-charging light infantry, the Knights and Alabardiers had combined and soon the Mamelukes had lost another two units and the game.

So a good start to the Crusades with a 12-3 victory.

Hittite Chariots and Chariot Runners

The Hittites are coming along nicely now with the addition of another bases of chariots and two bases of light infantry chariot runners.

As with all the Hittites so far, these are 15mm Red Copper miniatures 3D printed by Baueda in Italy. Yes, the lead time is slightly extended, but I have found the Baueda prints very high quality and as there’s a set postage fee of €12.50 however much you order and wherever it’s going to, buying in volume makes the whole process very cost-effective indeed. Recommended as a source of the Red Copper range.

First up are another two heavy three-man chariots. It looks like the chariot on the left is only manned by two crew, but that’s because there’s a chap taking a breather sitting on the back of the chariot, presumably regularly asking “are we there yet?” to his two comrades!

I can’t emphasise how nice these models look in real life. They’re a pleasure to paint too, with the relief so clear that getting the ‘plank’ effect on the chariot bodies is easy (you just have to stay within the lines!) and the horse-armour just about paints itself (dry-brushed bronze over a Snakebite Leather base if you’re interested).

Then I’ve finished a couple of bases of light infantry chariot runners. In To The Strongest, these are light infantry with javelins, but I quite like the light axemen look of the Red Copper figures:

Again, very easy to paint and highly recommended.

Now onto the rest of the light infantry, the ally-Syrian light chariots, and more chariots…

TTS AAR: Anglo-Normans & Akkadians

Time for another game of To The Strongest: my Anglo-Normans would take on friend Rob’s Akkadians, both sides using figures from Museum Miniatures excellent 15mm Z range of CAD designed miniatures.

The Anglo-Normans (half Normans, half Vikings!) won the scouting and advanced forward to take the centre of the battlefield.

The Akkadians responded with an advance of their own, and before long the two sides were ready for the first clashes:

On my left flank, I managed to get two units of Norman Knights deep behind Rob’s main line with only a couple of units of Akkadian spearmen to hold them off.

Unfortunately, although the Knights managed to get the advantage, they never really managed to exploit this to its full extent: failing to either finish off the remaining spearmen, take an enemy camp or even curl back to take the rest of the Akkadians in the rear. In the end, the sector became a side show for the main battle.

Just to the left of the central hill, the Anglo-Saxon contingent of the Anglo-Normans faced off against more Akkadian spearmen. I thought I had a decent advantage here: two deep warbands plus a couple of skirmishing bowmen versus two enemy spearmen units, but if you look closely in at the first picture in the gallery below, you can see another Akkadian unit lurking in the background. This unit turned out to be the Akkad City Guard, armed with great big axes.

The two lines clashed, and although one of the warbands burst through the enemy line and headed towards their other camp, the rest of the combat was, again, pretty much honours even, especially when the Akkadian axemen intervened.

Which left the main action to take place in the right-centre of the field.

Initially, things looked quite good: I pushed the enemy on the hill backwards and then got into a position where I could flank the units just to the right, with my cavalry preventing the Akkadian chariots from outflanking my line.

Unfortunately, I just couldn’t seem to take advantage of the situation, and the next thing I know it’s my infantry that are being flanked and, indeed, the whole of my troops on that side of the table were crumbling!

I’m still not quite sure how this happened!

At this point the battle was effectively lost, particularly as the Anglo-Saxon warband that had brokne through the enemy line had failed to take the enemy camp and was now surrounded on all sides and fighting for its life, with things being no better around my own camps.

A few moments later, that was all she wrote: the Anglo-Normans thoroughly trounced by the Akkadians: just goes to show that newer isn’t always better!

TTS AAR: Elephant Screen Part II

With the Alexandrian Macedonians defeated twice by Peter’s Made-Up Ancient Indian army (designed to experiment with the relatively new Light Infantry - Elephant Screen troop type) it was time to give someone else a go: step forward my trusty Venetians.

I’d like, at this point, to laucnh into an exciting battle report where the initiative, luck and clever use of tactics swung first one way then the other, all culminating in a glorious Venetian victory by the narrowest of margins…but I can’t. The appalling cards that had been the downfall of the Macedonians followed me into this game with entirely predictable results:

Well that’s not entirely fair on Peter: having won the scouting, his skillful deployment meant that I was largely on the back foot from the start, with his army almost wholly threatening my right flank.

I had, however, managed to get my troops into a position to blunt if not fully counter his attack, but was then, as you can see, betrayed by the cards.

Okay, so the mounted ballesteri lights in the first picture might not have done much to the elephant they were trying to assault, but the Knights in the second picture were surely onto a chicken-dinner winner! And don’t talk to me about the Knights versus the chariots in the third picture: what you aren’t seeing is the rear charge that they had also failed to make in the previous turn!

Here’s a helicopter-view shot of early in the battle showing the way Peter had managed to get onto my right flank and effectively fight a third of my army with all of his:

But hopefully you can also see how I have managed to get my troops into a position where I have Knights ready to counter his cavalry and have manouevred to get a two:one advantage on his lead attacking unit (see close up picture, below) all brought to nothing by the cards!

So that was the end of our session: three defeats for me at the hands of the Made-Up Indians with their high numbers of Elephant Screen units.

Even though the Screeners didn’t make that much difference to the results in the end (my losses were down to Peter’s skillful play and the cards) I am still quite glad that they are made-up Indians and not one I expect to face in future!

Just off to tend to a small bonfire in the back garden, and anyone know where’s the best place to get some new sets of cards!

TTS AAR: Elephant Screen Test

Off to Peter’s house for a bit of training in the run up to this year’s Warfare tournament. My aim was just to have a few enjoyable games of To The Strongest, Peter’s aim was to thoroughly investigate the capabilities of the relatively new troop type Light Infantry, Elephant Screen (there’s a reason he wins a lot of tournaments!).

Peter had therefore constructed a mythical army consisting mostly of elephants, a good half of whom were included in the aforementioned light infantry screening units. We’ll call these the “Made Up Indians” or MUIs. I would fight our first battle with some Imperial Alexandrians: pike, Companions and lights.

I had lost the scouting - hardly surprising with all those light units on the other side of the table - and soon found myself watching a whole herd of pachyderms thundering towards me.

To translate the pictures into something useful, the elephants with red howdahs or cloths are ‘normal’ escorted Indian elephants, the others are the light infantry/elephant screening units.

Not wanting to get caught on my base line, I advanced forward, driving the lights backwards. This, however, left my relatively narrow frontage army vulnerable on the flanks: Peter taking full advantage by heading down towards my empty right flank with his cavalry and chariots, seeking to turn my flank and roll me up.

Note how my two units of cavalry , centre-bottom in the picture above - are faced by escorted elephants i.e. kept occupied whilst his flanking force curls around the rear. It’s easy to see this happening in hindsight and in the photos, not so easy to see it and prevent it on the tabletop!

The inevitable happened, and I found myself fully engaged from the front and hit in the right flank: things were not looking good!

The writing was now on the wall: my cavalry were forced to leave the table, and had real difficulty getting back on and, despite some success elsewhere, I was soon hamorraging victory medals and defeated!

The only good thing was that it was a fairly quick battle, leaving us time for a re-match…but that’s another story!

The Re-Match

With my defeat in the first game partly due to being outflanked, I decided on a change of tactics for Game 2: rather than set up in the centre of the field, I would huddle in one corner, ermging to cruch the MUIs once their dispositions had been revealed.

At this point it’s worth reminding regualr readers that sometimes Lady Luck is decidedly, shall we say, unkind to me. Well, today, she really went to town!

Rather than a full report, I invite the reader to count the number of Aces drawn in the pictures below:

And that’s just a selection! In the same game, Peter managed to have a unit of cavalry enter the table and then pull an 8, 9, 10 for activation cards to send a unit of my elite cavalry routing off the table. Sometimes, it’s just not worth setting out the figures!

More Hittites

A couple more units for my 15mm Hittite army using Red Copper miniatures printed by Baueda.

First up is the first of the command bases: a unit of 3-man chariots with attached General:

Next is the first unti of line spearmen: quite a chore to paint with all their different robe and shield colours:

Very nice figures: very easy to paint and enough variety to make the units look good.

Now to paint the same again for the next batch!

TTS AAR: Britcon Game 5: Venetians vs Florentines

My final game at Britcon this year was against another Italian Condotteri army: Nigel’s Florentines.

Although technically a different army to mine (an Early Italian Condotteri army versus my Later one, and from Florence as opposed to Venice), Nigel’s force was actually/obviously quite similar to mine, with the contemporaneous nature of the clash promising an interesting game.

As you can see in the picture below, we even deployed in a similar way!

The oppening phases of the game saw both sides plagued by a series of Aces, something I had (quite surprisingly!) managed to avoid in the tournament so far.

Nevertheless, the Venetian Knights advanced strongly on the left wing, and managed to get into a position where I could threaten to roll up the Florentine line, with the only thing standing in their way being a couple of units of enemy Lights…

…who were disposed of in short order:

My other command of Knights was also in the process of doing the same thing on the other side of the battlefield:

Back to the left flank, where my initial success was now being slightly stymied by a combination of a really annoying unit of enemy Knights that just wouldn’t die and my decks of cards who had obviously decided that I had been having far too easy up until now:

Despite this, however, the rest of my troops on that flank had started to knock Florentine units off the board, helped by the Venetian infantry who had now caught up and were eager to join in the fun.

Things were also still going well on the right flank apart, again, for one really annoying enemy unit: this time a bunch of Light Infantry with Melee Weapons: a relatively new troop type who had the temerity to charge my overall commander, with army standard, bodyguard knights etc, in the flank!

I remember this being a deeply frustrating phase of the game, where a couple of Florentine units on the wings distracted me so much that it kept me from properly enjoying the process of destroying his centre…but the writing was on the walls of Florence and soon Nigel’s last victory medal was mine for a 181-38 point victory.

With all five games now done, as organiser I totted up everyone’s points from all the games and discovered, a bit to my embarrassment, that I was actually the overall winner, and with a clean sweep of five victories out of five.

So a good result at what had beena cracking tournament overall. All the games were fought with a great spirit of friendly, competitive, fair play, with no arguments marring the event at all.

My thanks to all those who took part (especially my opponents), to all the organisers at BHGS, and to Derek, who was kind enough to do all the list checking. Make sure you keep 7-9th August 2025 clear for next year’s competition.

TTS AAR: Britcon Game 4: Venetians vs Thessalians

My fourth game at Britcon was a re-match of the warm-up game I’d had on the Friday evening before the tournament started: my Venetians versus Adrian’s Thessalians.

The stakes this time around, however, were much higher: we were ranked one and two in the tournament so far, so whoever won this game would end up perfectly placed to take the title. It would be fair to say that I was a little nervous about this one: my Venetians had been hammered on the Friday night (as in soundly beaten not drunk as a lord!) and I couldn’t afford to let that happen again.

The Thessalians were another largely infantry army, and I’d beaten three of them already during the competition by sending my Knights around one or both flanks. Adrian, however, was far too canny to give me the opportunity to do that: his men were deployed to cover just about the entire width of the table, so no room around the sides!

His left flank, however, did look a bit weaker than his right and centre (where those nasty veteran Hoplites were waiting) so if I couldn’t go around a flank, I determined to punch through it using my larger command of Knights. First off, however, I had to deal with Adrian’s cavalry there, who were attempting to do to me what I’d done to others!

In the meantime, I kept my main line rigidly under control, just advancing far enough forward to give me a little retreating space should I need it.

Things continued to go well on my right: the Thessalian cavalry were disposed off (either routing or retreating off table) and, more importantly, two of my Knights units were now free to crash right the way through to the enemy base line.

Meanwhile battle had been joined in the centre, with the combination of Alabardiers and Picchieri proving more than a match for the Thessalian Hoplites, with the threat of a single unit of Knights enough to keep Adrian’s right wing forces at bay.

The Knights on the right finally properly broke through, with one unit heading for and taking the enemy camp (despite the best efforts of some pesky enemy light infantry) and the other crashing into the rear of the Thessalian reserve.

The game should have ended here in a Venetian victory but, unfortunately, I had made a mistake on my right flank: I had positioned my Knights and Lights there to keep the enemy light cavalry that had retreated off table from coming back onto the board, but forgot what they were there for and decided to “get my Lights back into the battle”. This let Adrian bring his light cavalry back onto the table, meaning that when his camp fell, he had one coin left rather than none.

How annoying!

The writing was, however, on the wall, and it was only a matter of time before I managed to get the extra coin I needed to win the game, but it was a pain in the backside and could have let Adrian back into the match.

Fortunately I managed to take the final coin needed before his Hoplites could relieve his camp: a 188-23 victory for the Venetians.

TTS AAR: Britcon Game 3: Venetians vs the Sea Peoples

With the Zanj Revolt and Spartans already defeated, it was now time to face Howard’s beautifully painted Sea Peoples: another infantry-heavy army.

Having beaten two infantry armies by curling the Knights around one flank, I thought it would be rude not to go for a third win that way, so deployed much as I had done in the first two games.

The terrain was unfortunately quite heavy on either flank, with annoying woods all over the place, but all would be good if I could temp the Sea Peoples forward a bit into the more open centre of the table, where I could either get round the back of their line or just curl in on their flanks.

The sight of my line slowly advancing forward did indeed prove too much of a temptation for the SP’s and, even better, rather than attacking all at once, they dripped their warriors forward in a quasi-echelon formation meaning that the Venetian pichieri (pikemen) and alabardieri (billmen) could gang up on the lead unit and very quickly remove it from the board.

Even the mighty Goliath couldn’t stop the combination of pikemen and billmen

Meanwhile, I had made a bit of an error on my right flank.

The two units of Knights who were supposed to be keeping the enemy busy there had got themselves jammed up against the edge of the table and the piece of randomly-placed Impassable terrain and, faced by the SP’s elite chariots, had failed to punch through.

This left them horribly exposed to a flank attack, that duly went in, and my Knights disappeard off into the distance, bitterly complaining that their contracts stated that they delivered the flank attacks not the other way around!

My only consolation was that this little action had tied up quite a lot of the Sea Peoples’ force away from the main action, meaning that I could now try and follow Mr Riding’s principle of fighting the half of the SP’s army that was left elsewhere on the table with the two thirds of mine that faced them.

Back to the left, and my outflanking manoeuvre had been gloriously successful, which meant that I had managed to totally fragment the Sea Peoples’ main battle line.

This meant that my roving Knights could gang up on isolated warbands while my infantry ground inexorably forward.

Now hemorraging coins, it wasn’t long before the final Sea Peoples’ unit fell, leaving the Venetians masters of the field, with the coup de grace fittingly delivered from the left flank.

The only downside was that the loss of the Knights on the right had cost me more coins than I wanted, so the victory was a more modest 169-62 in my favour.

With three wins out of three so far, that left me in pole position at the end of day one. That meant that the next morning I would face Adrian’s Thessalians again - yes, the ones I had lost the warm-up game to just before the tournament began - with the winner then able to be fairly confident of victory overall.

Time for a curry - with only a modest amount of alcohol - and an early night!