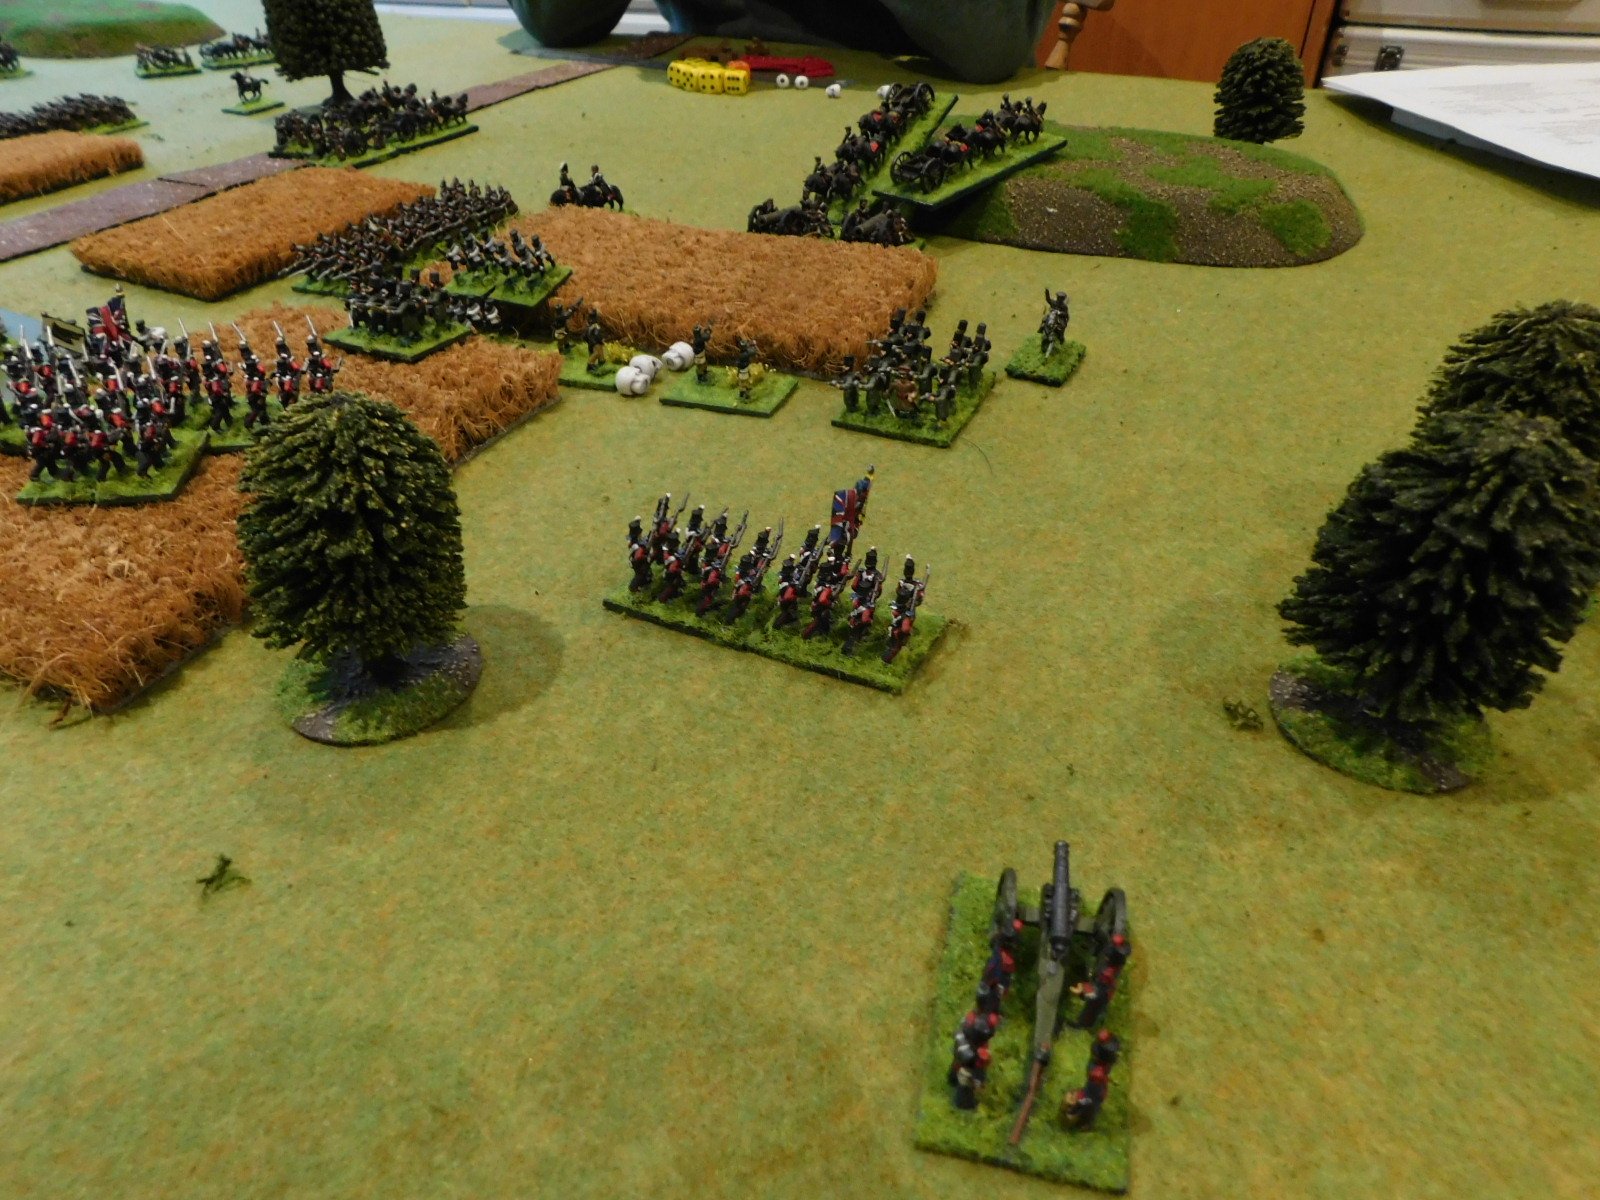
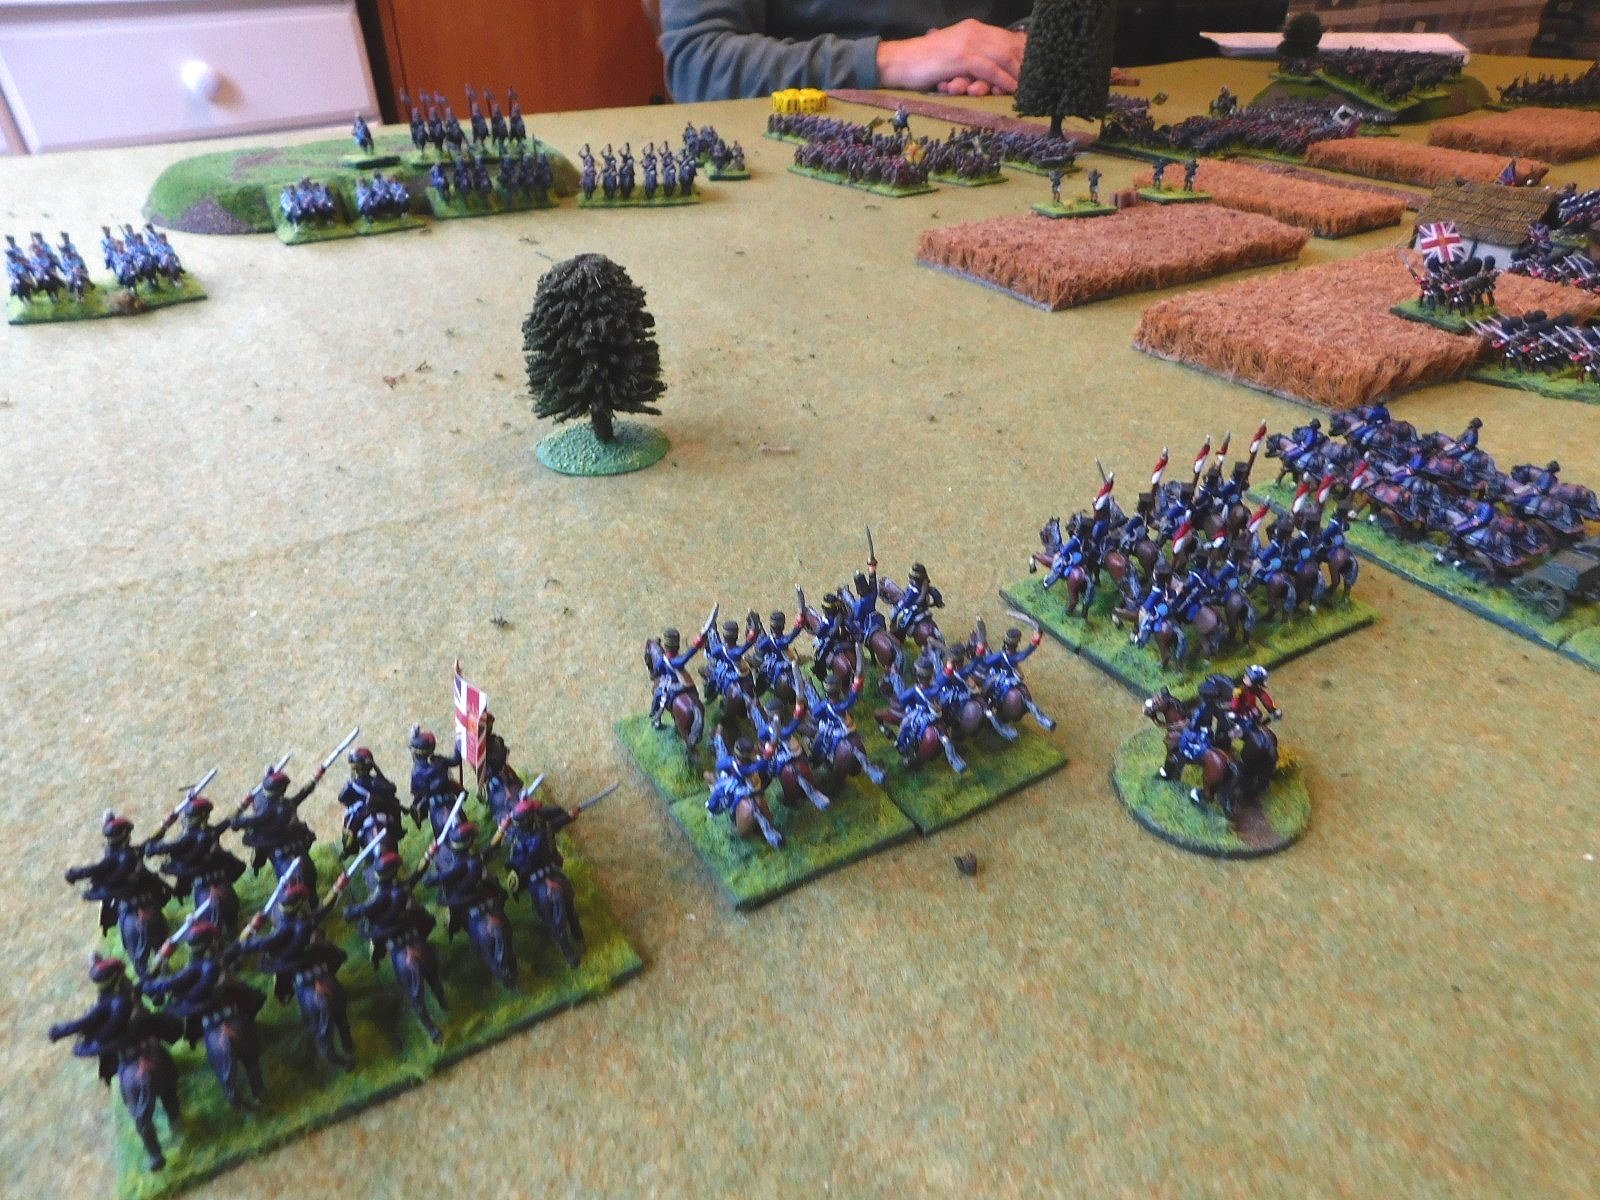
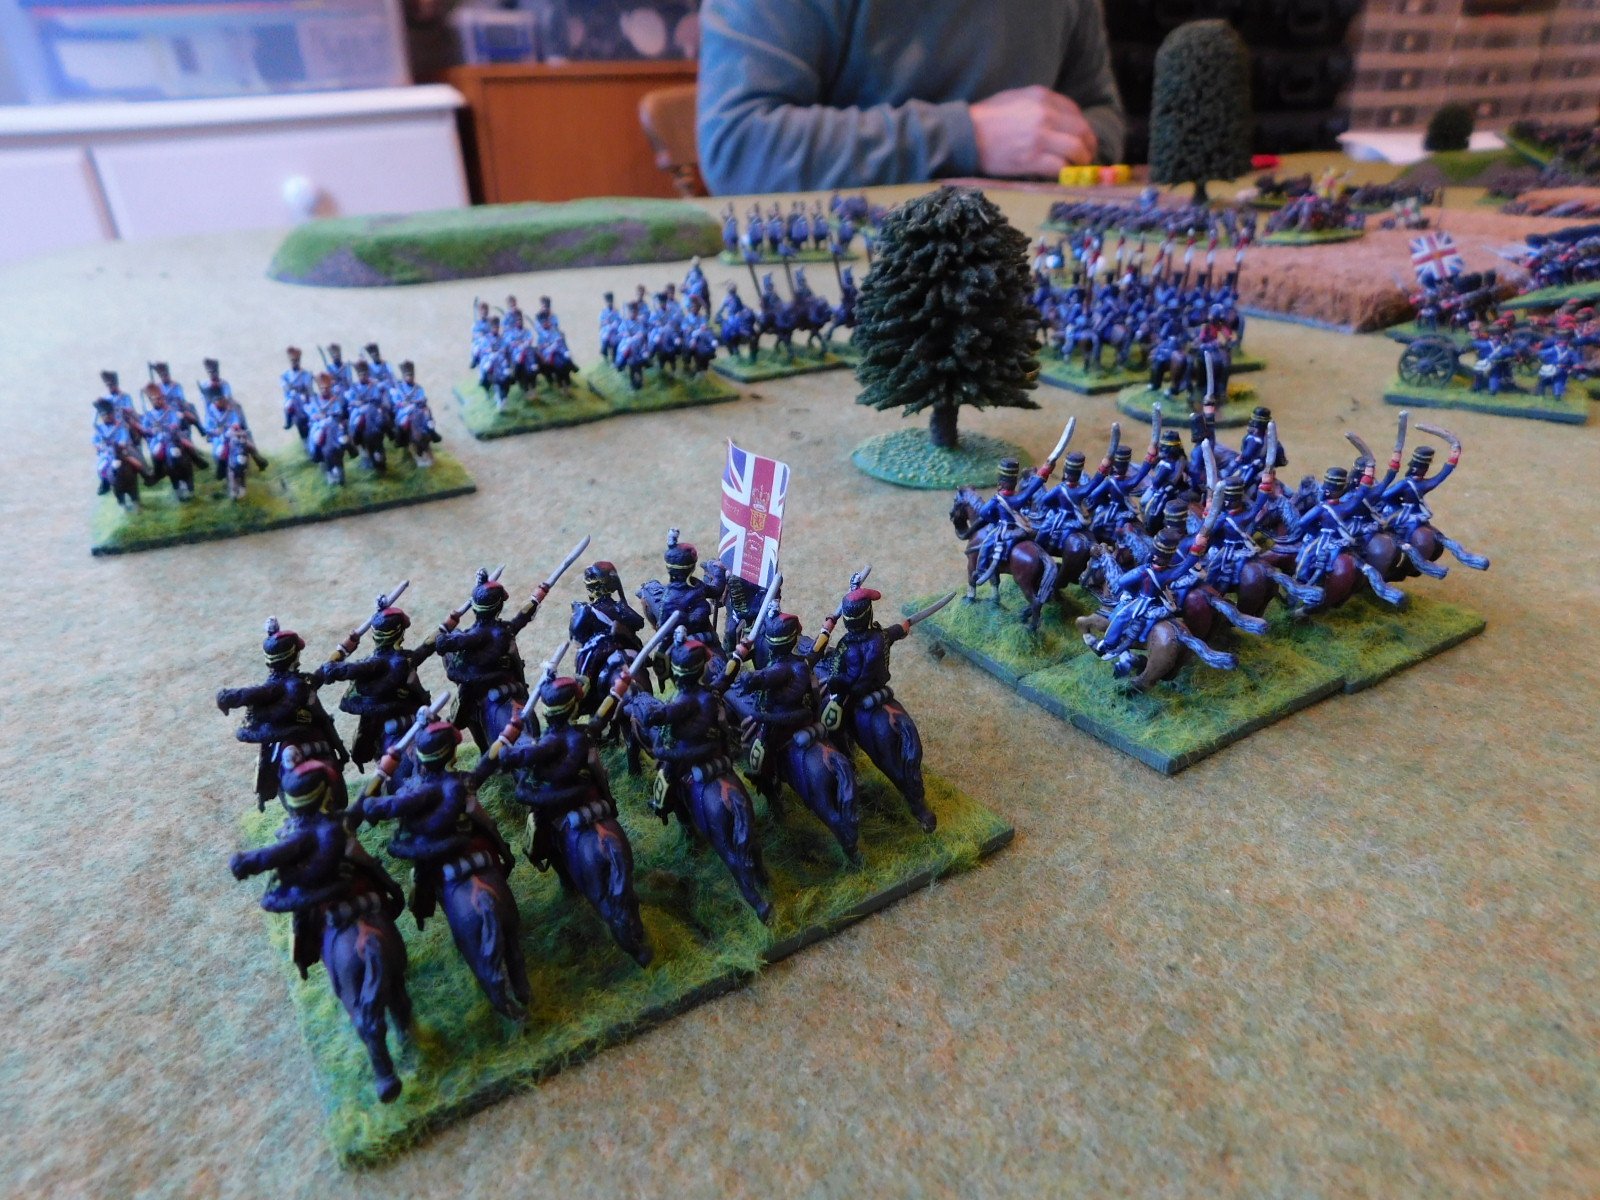
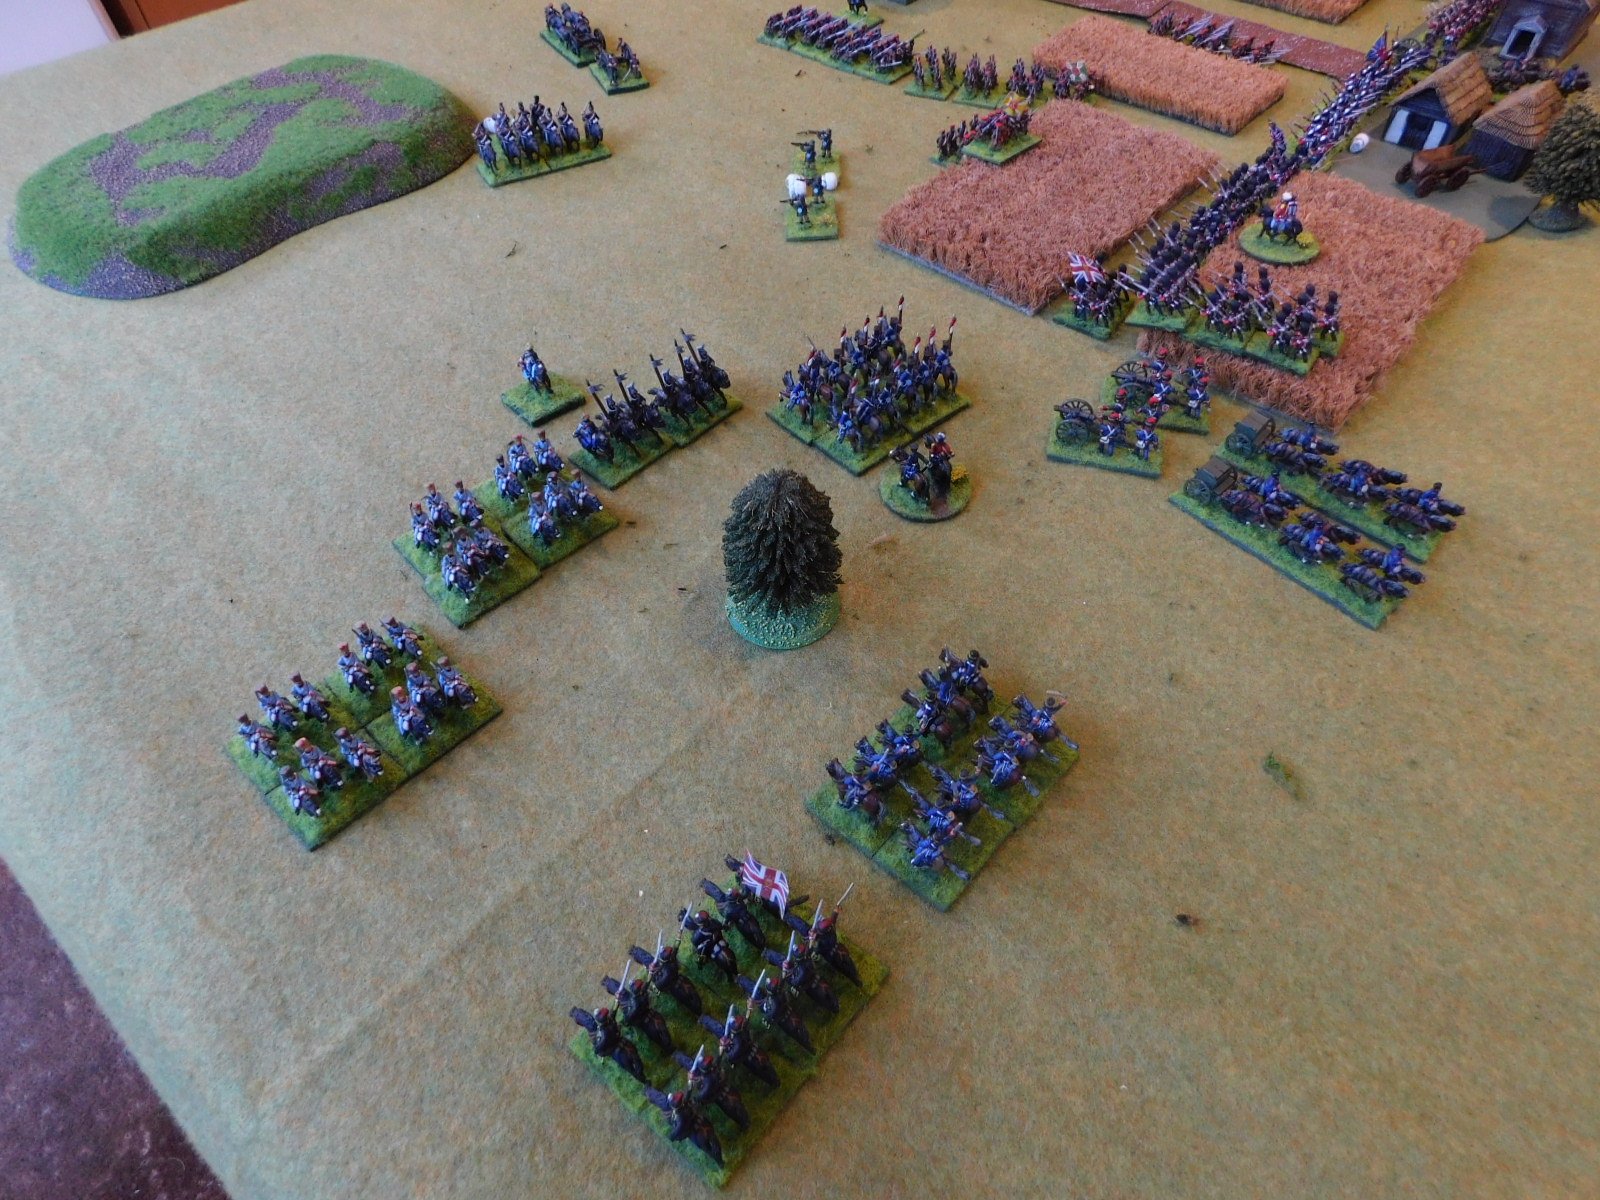
TTS AAR: Vikings Resurgent!

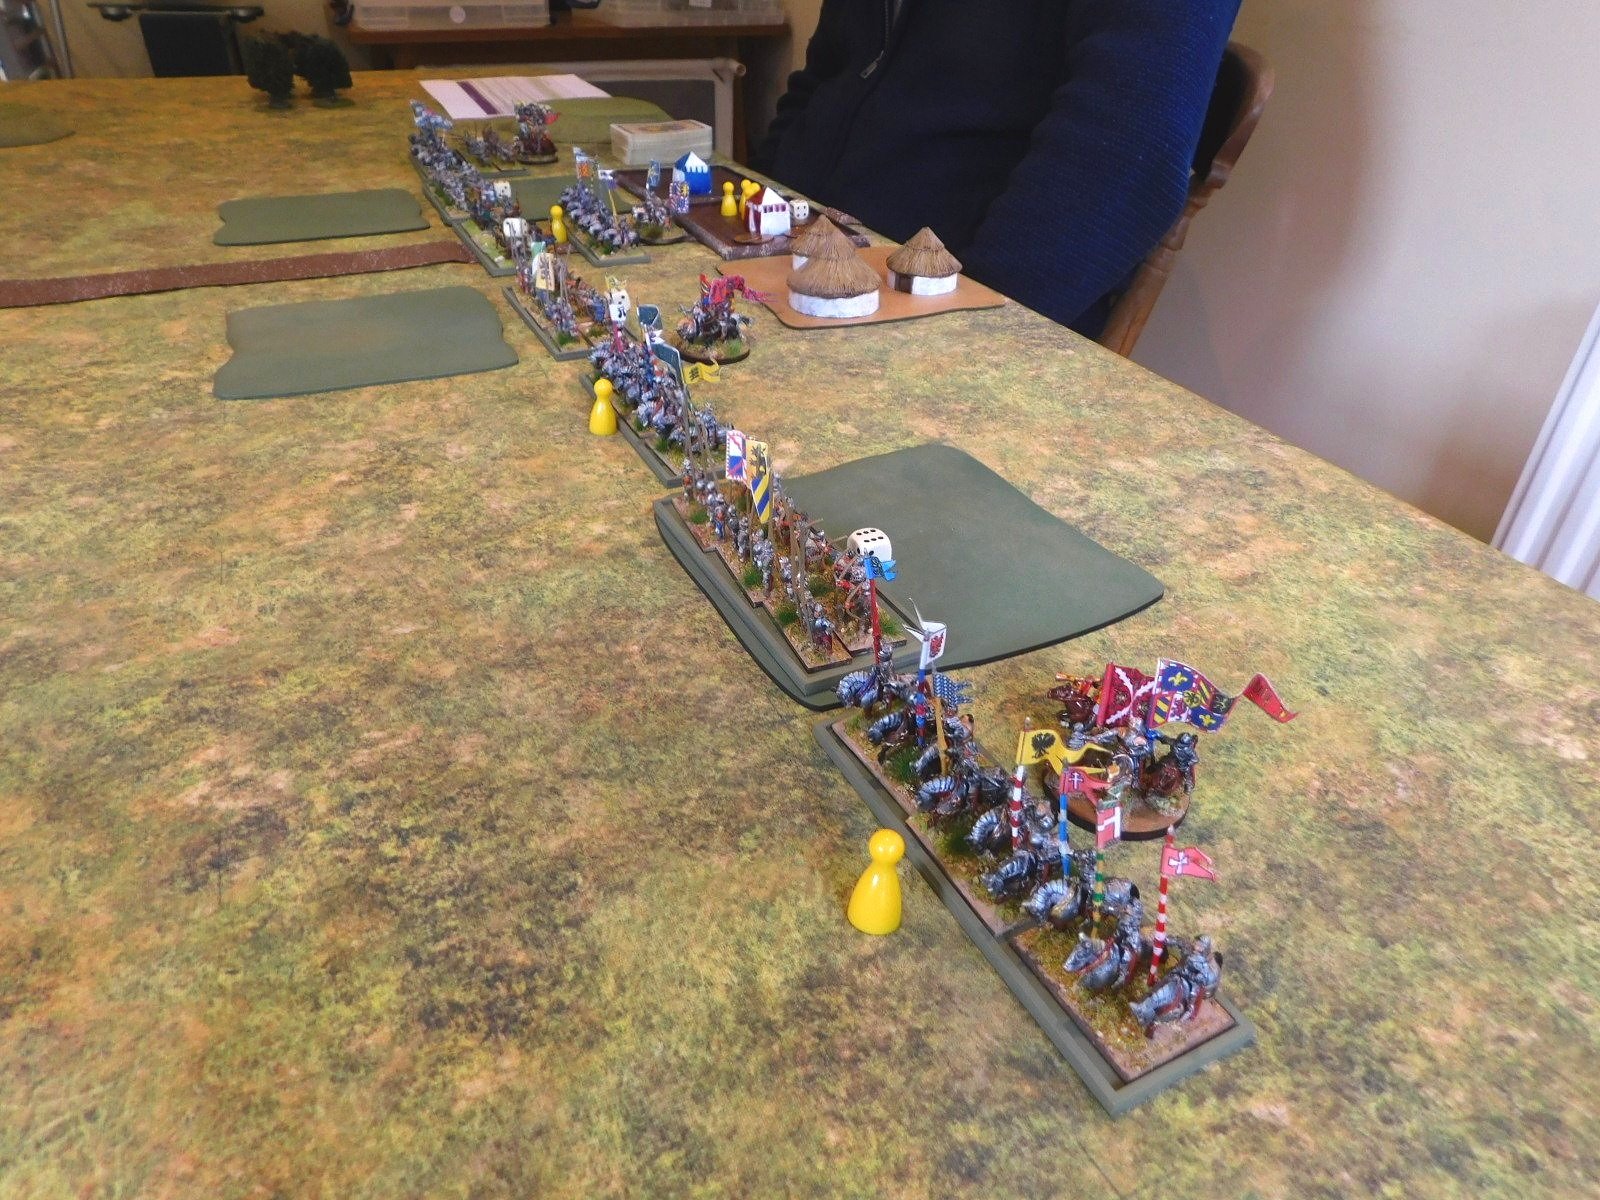
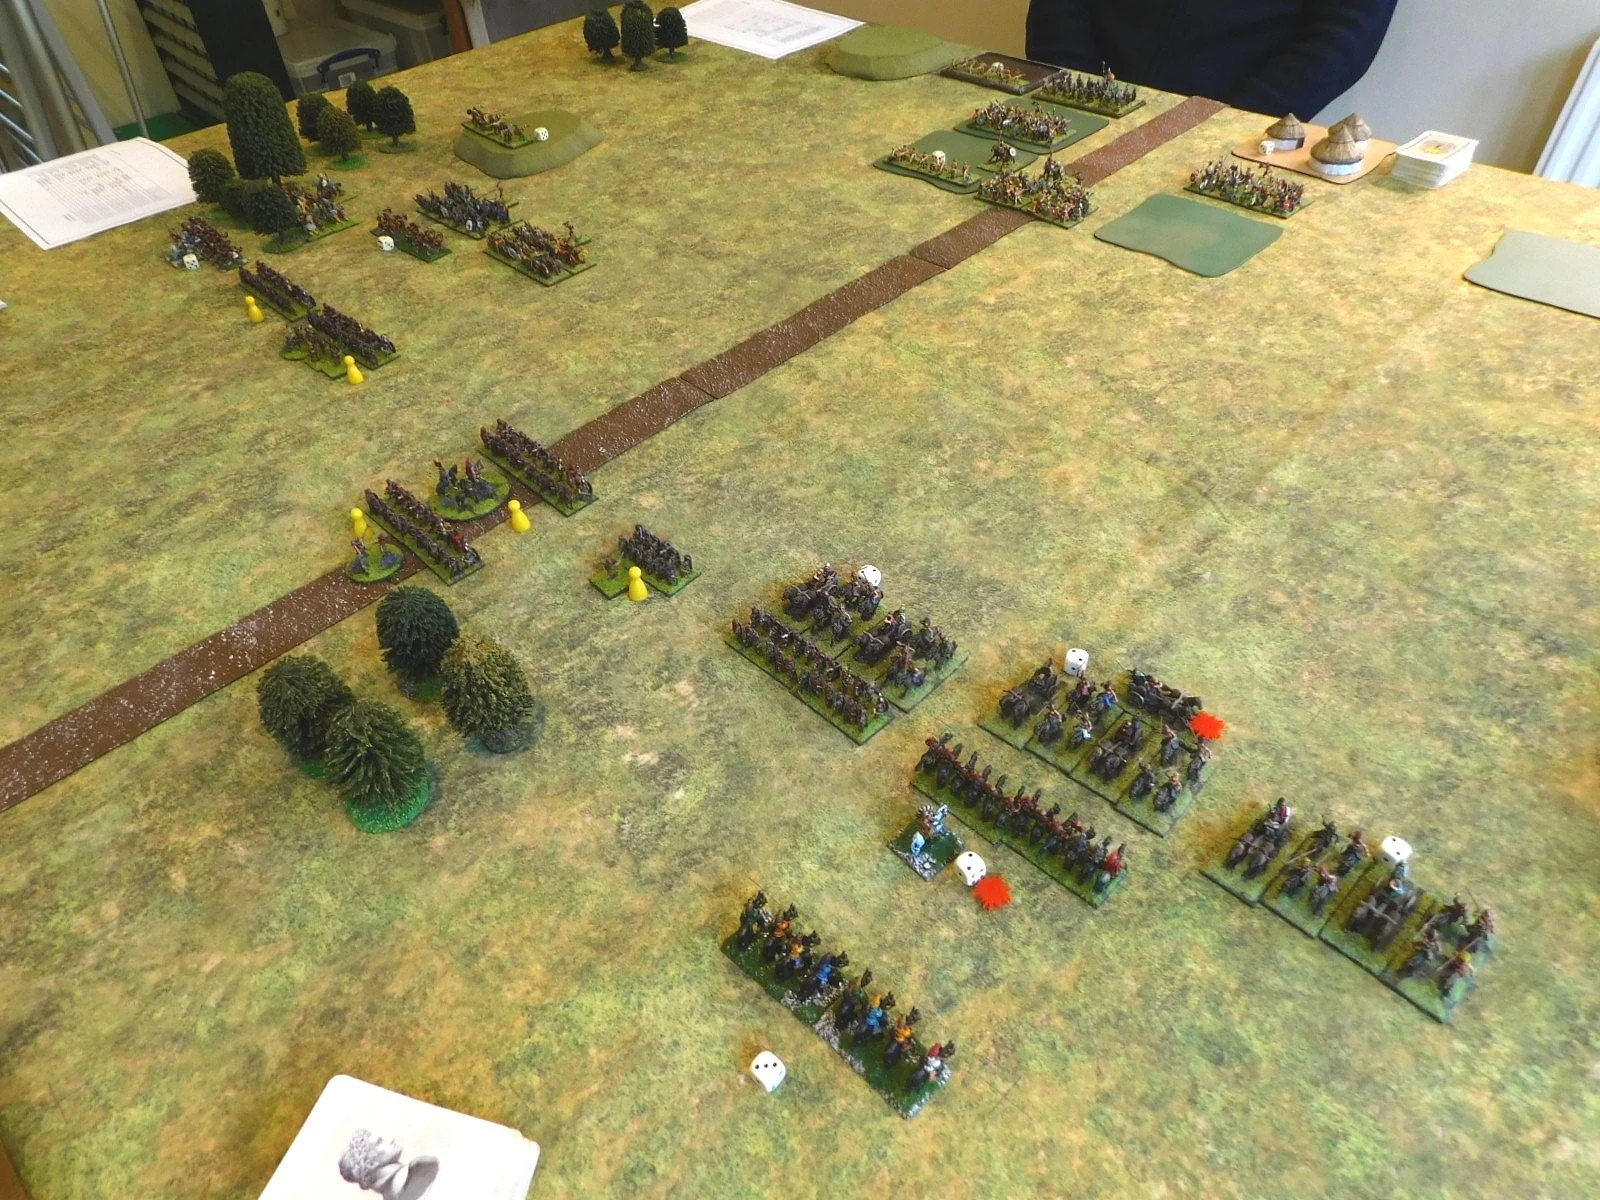
Time for a quick game of To The Strongest. Today’s game would feature the Vikings, commanded by Yours Truly, versus the Burgundian Ordnance, commanded by John.

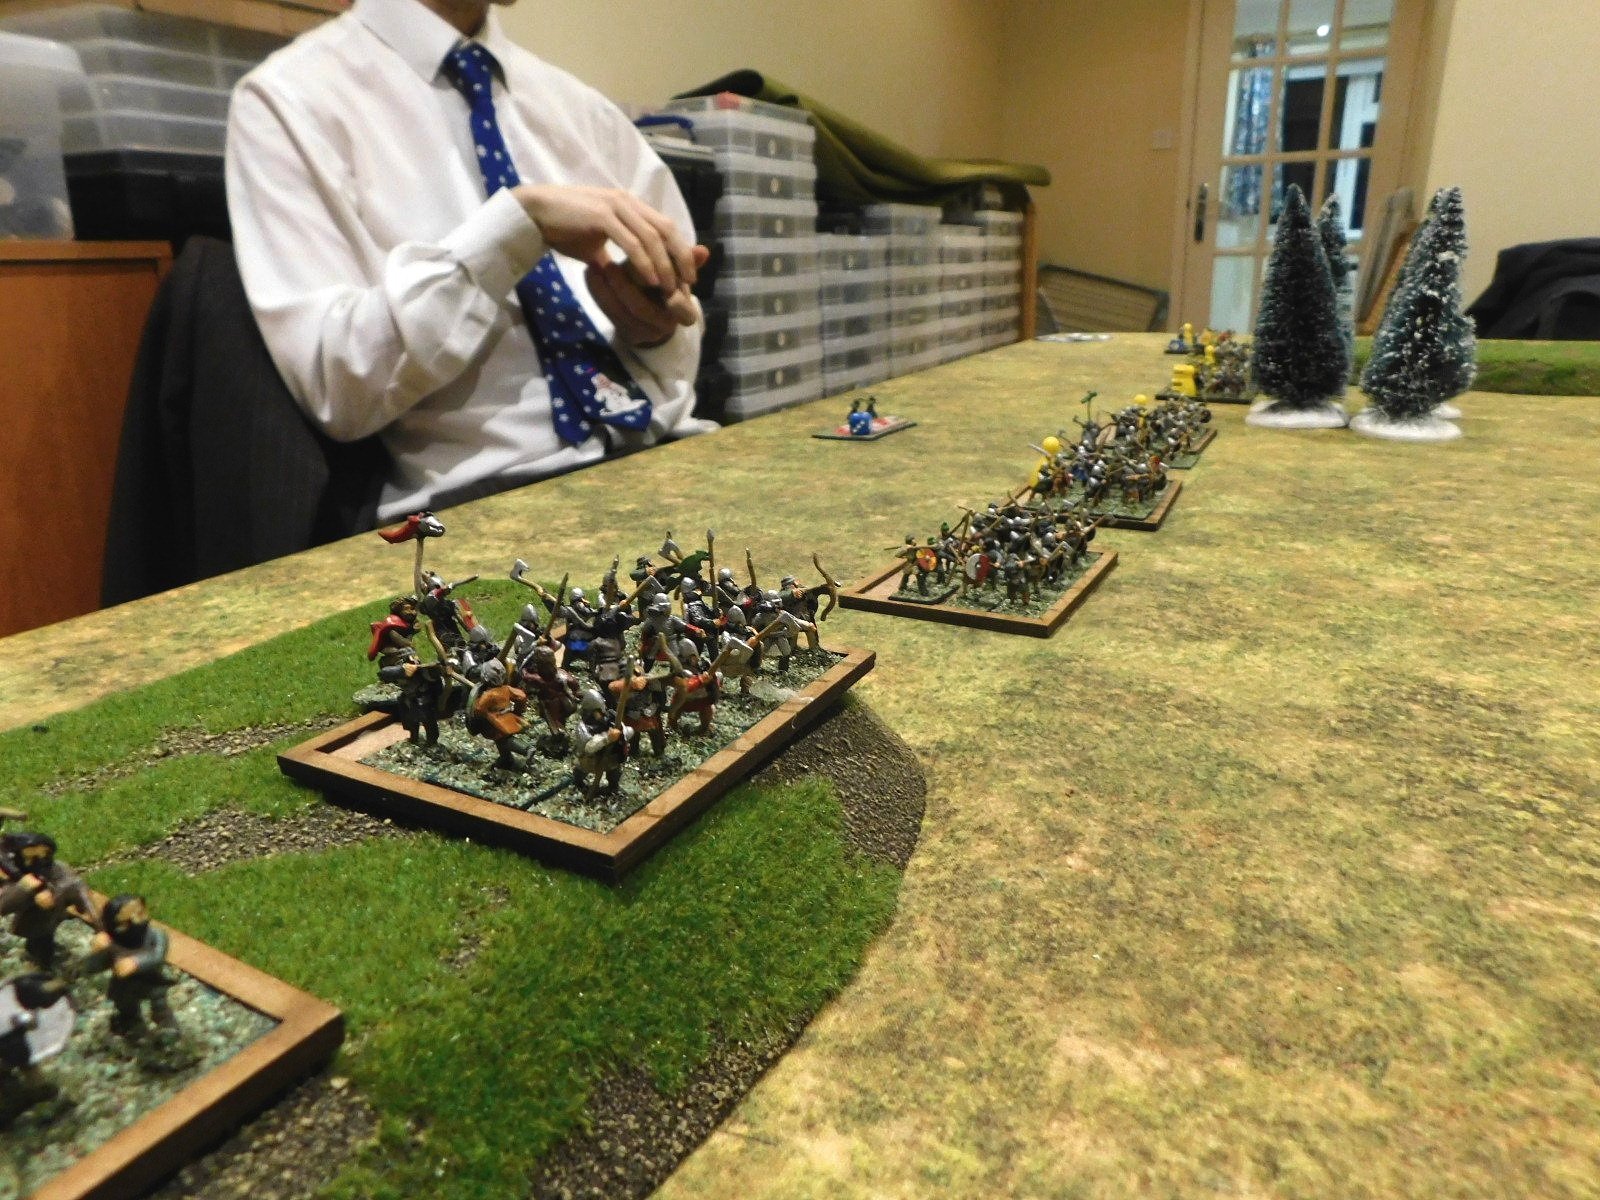
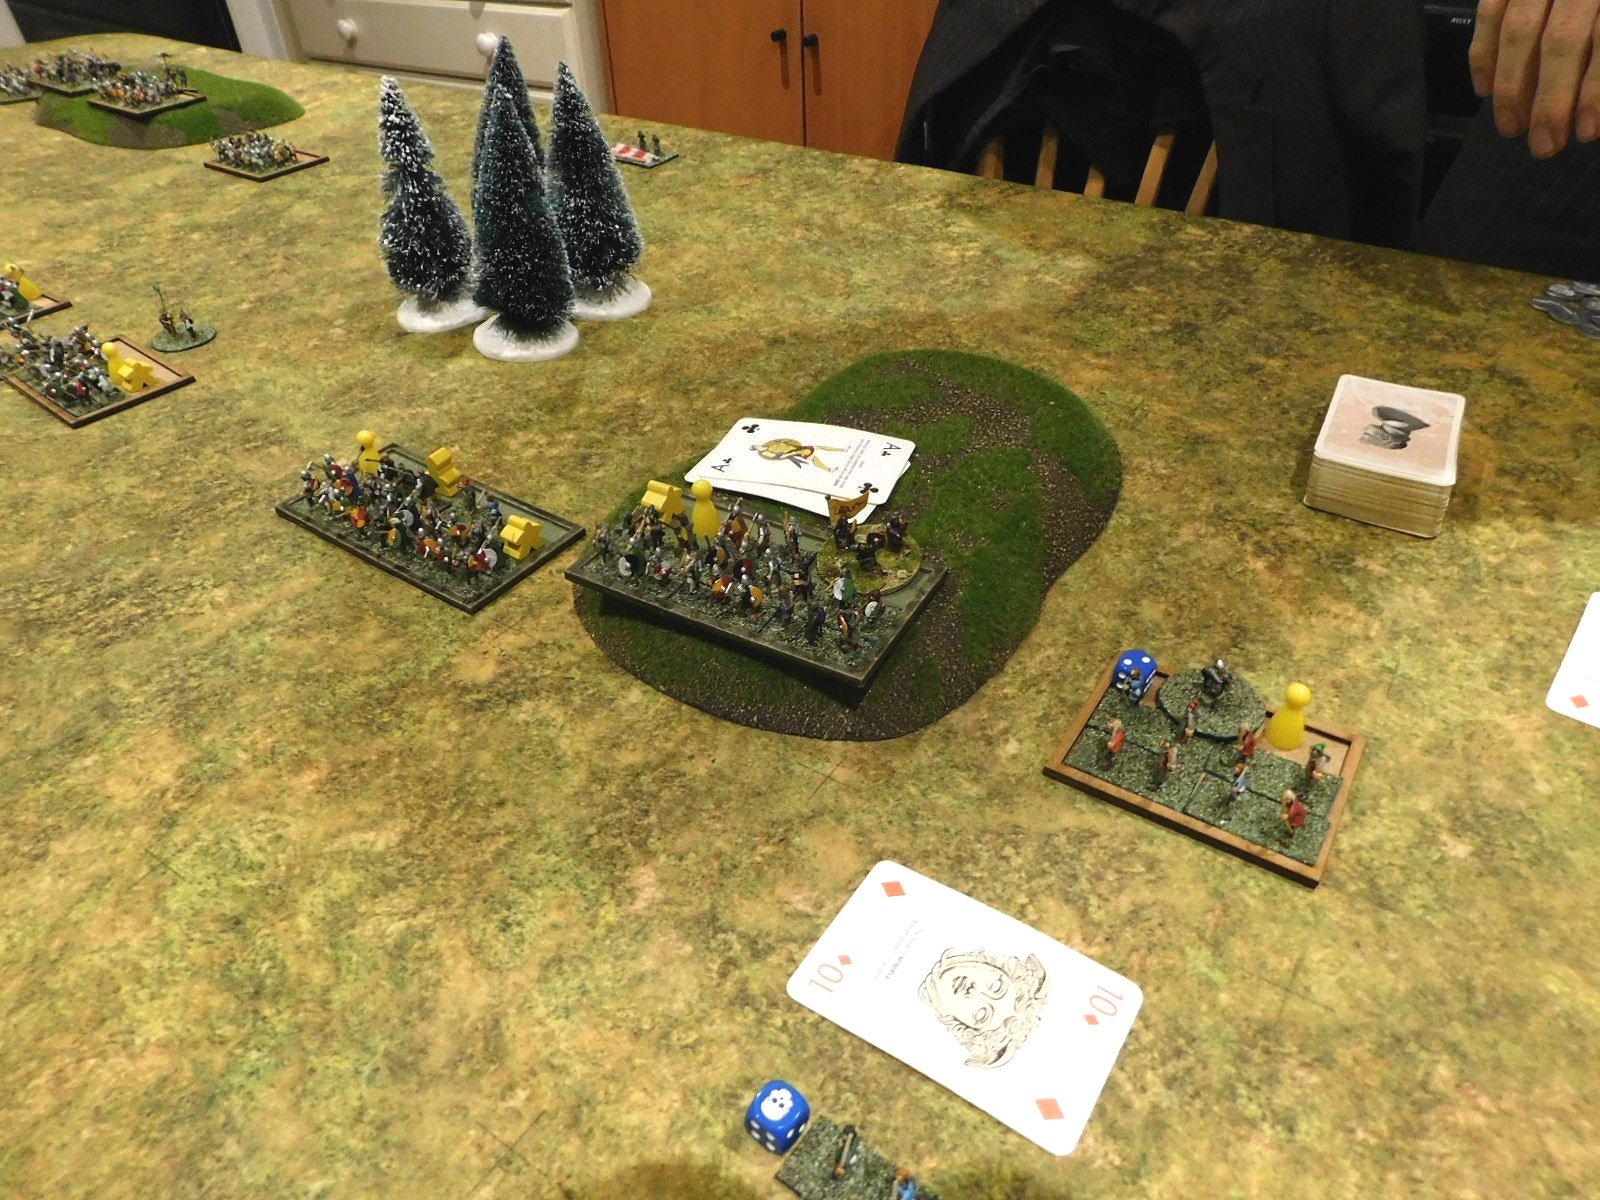
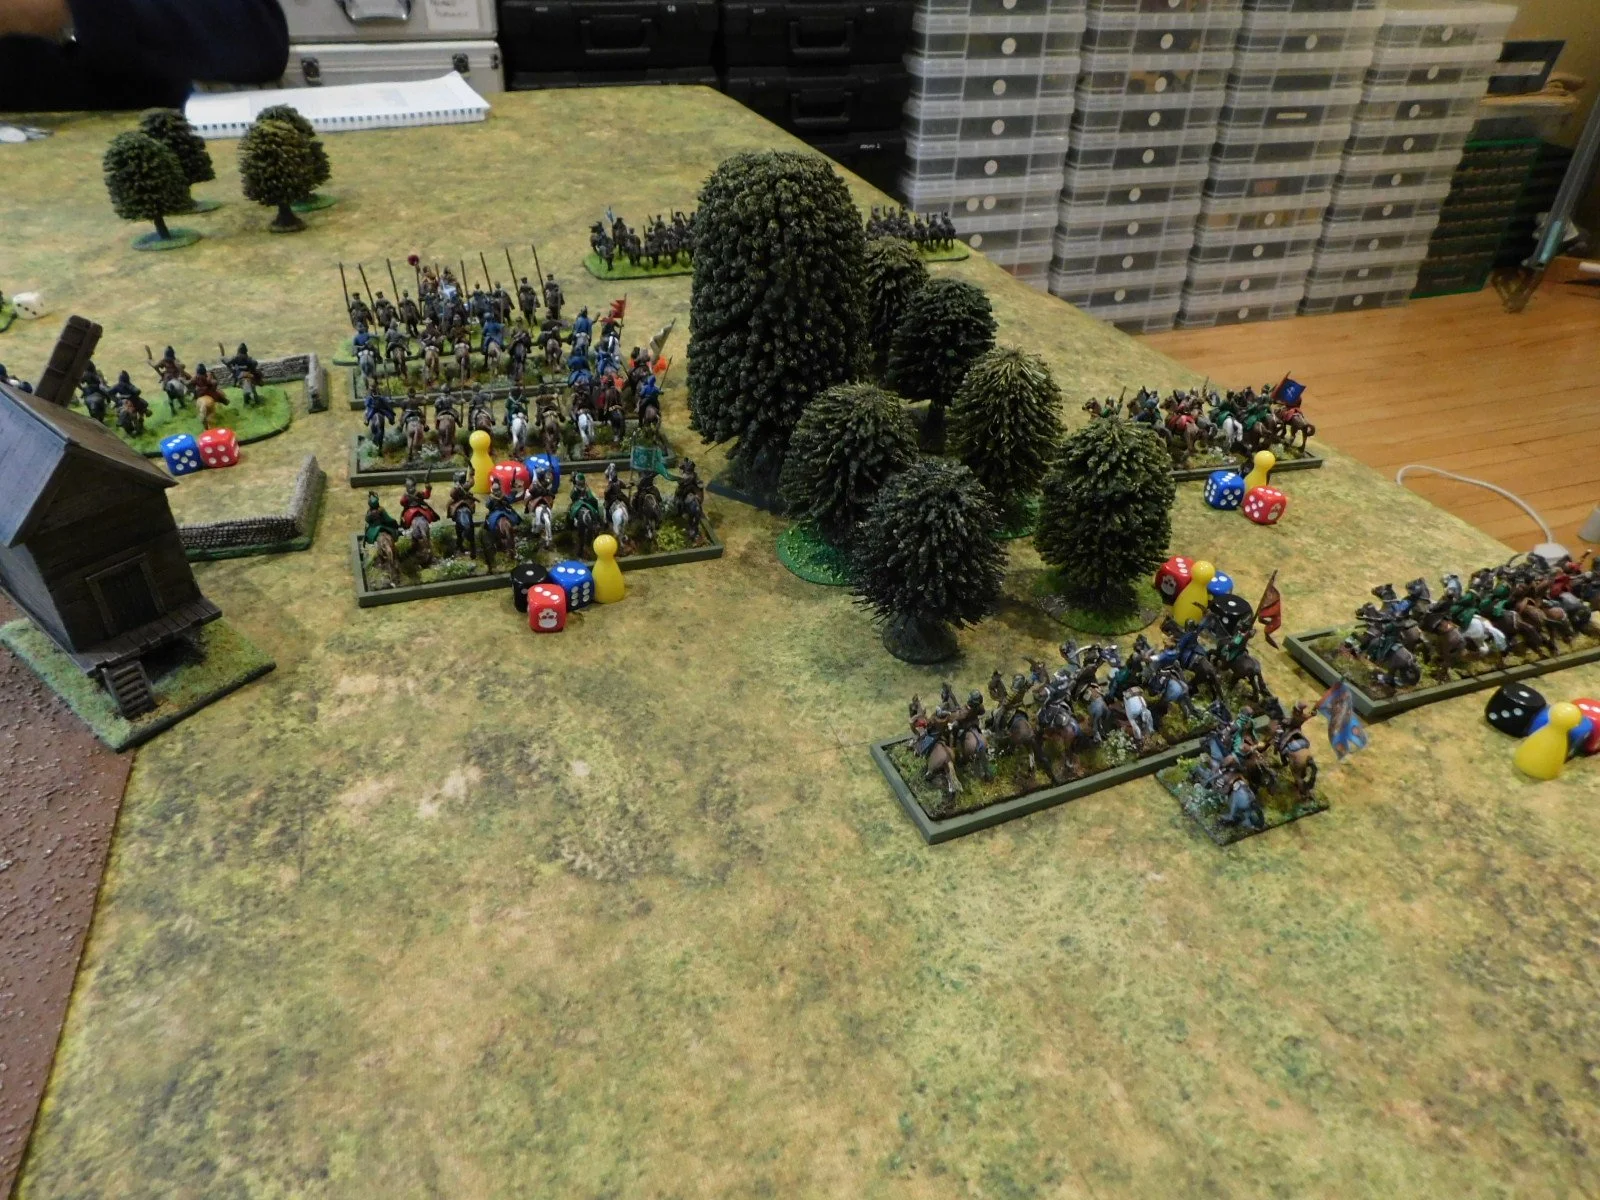
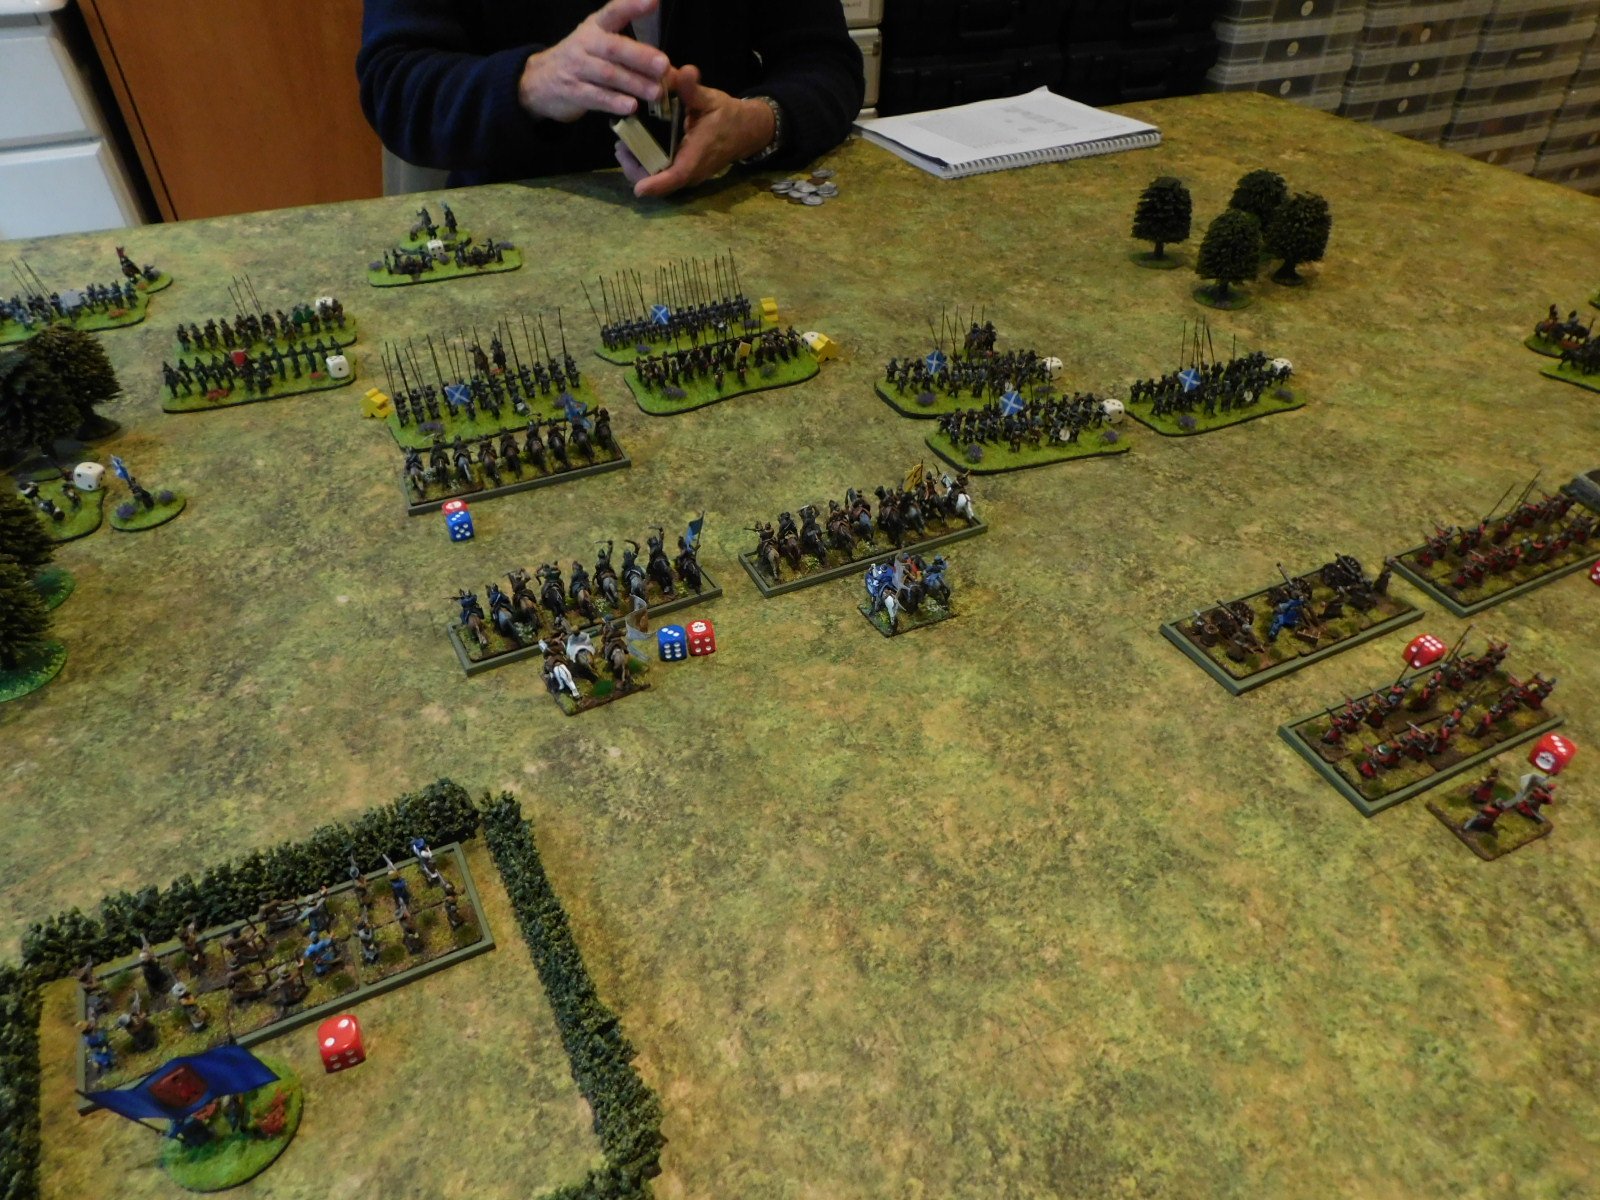
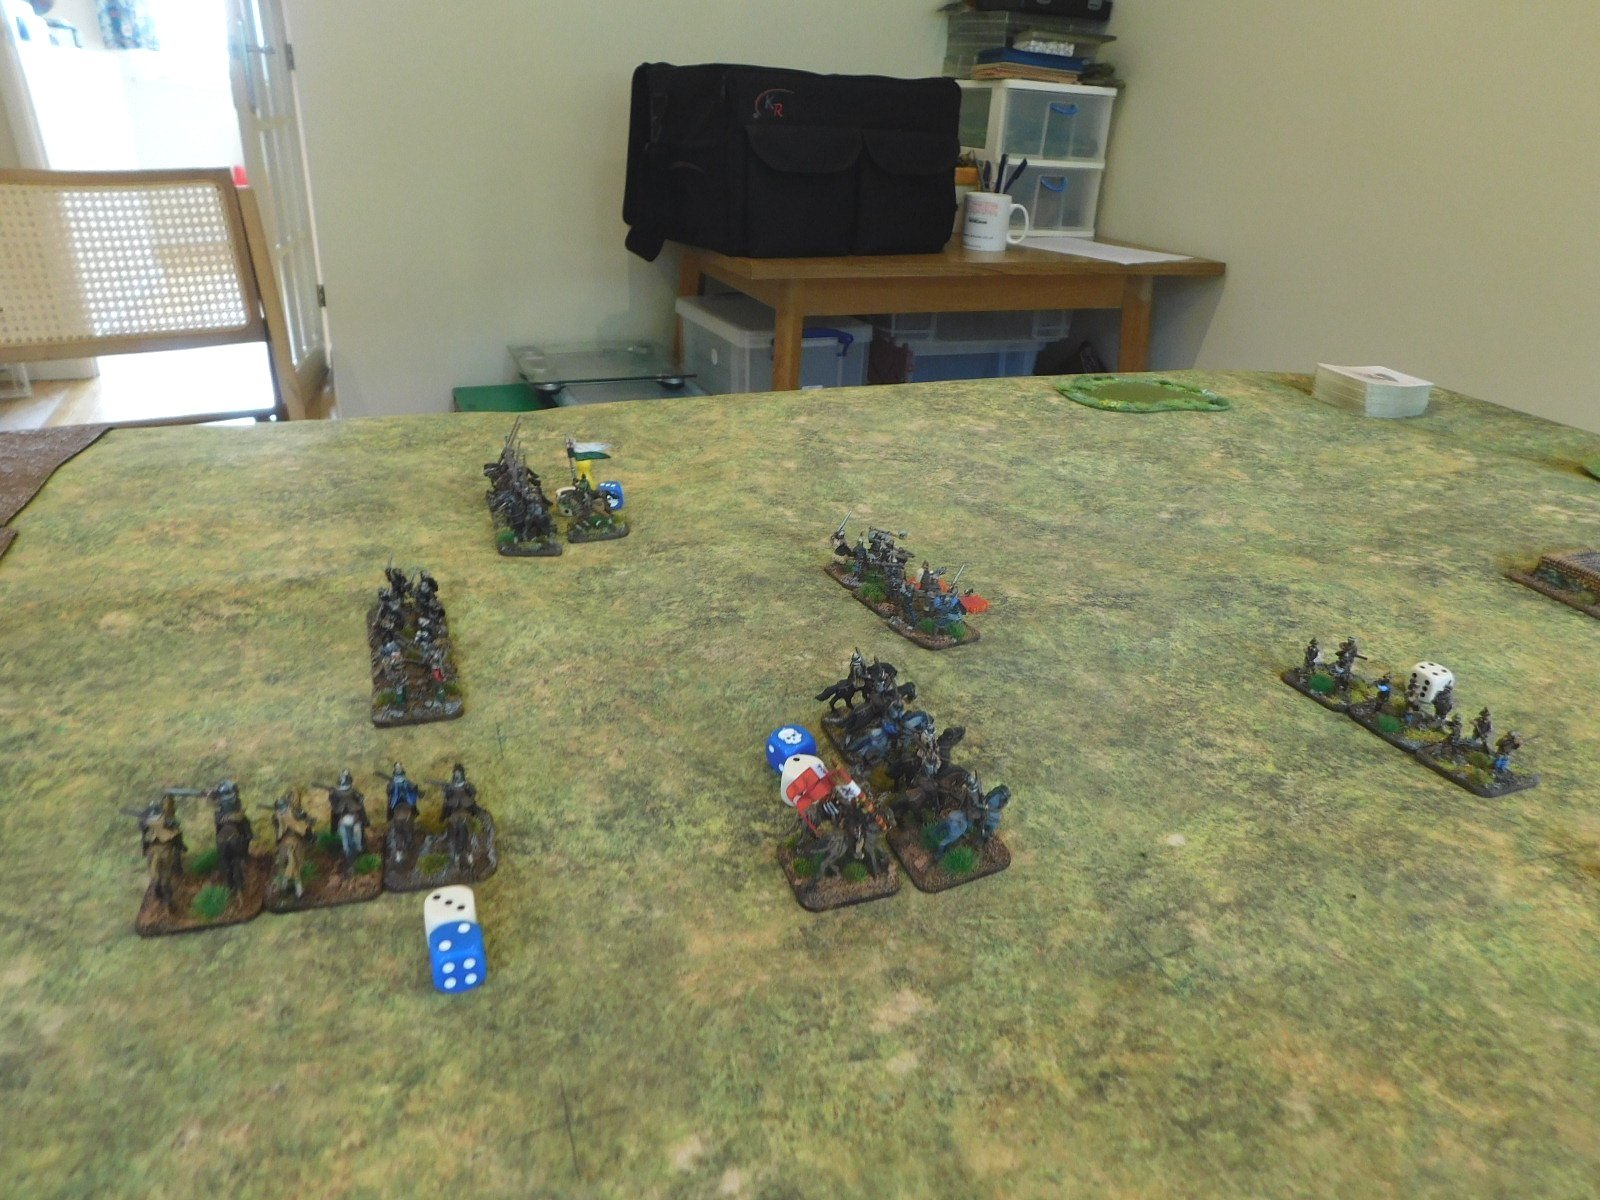
The yellow caps are lance markers, the red meeples indicate veteran Huscarl units.
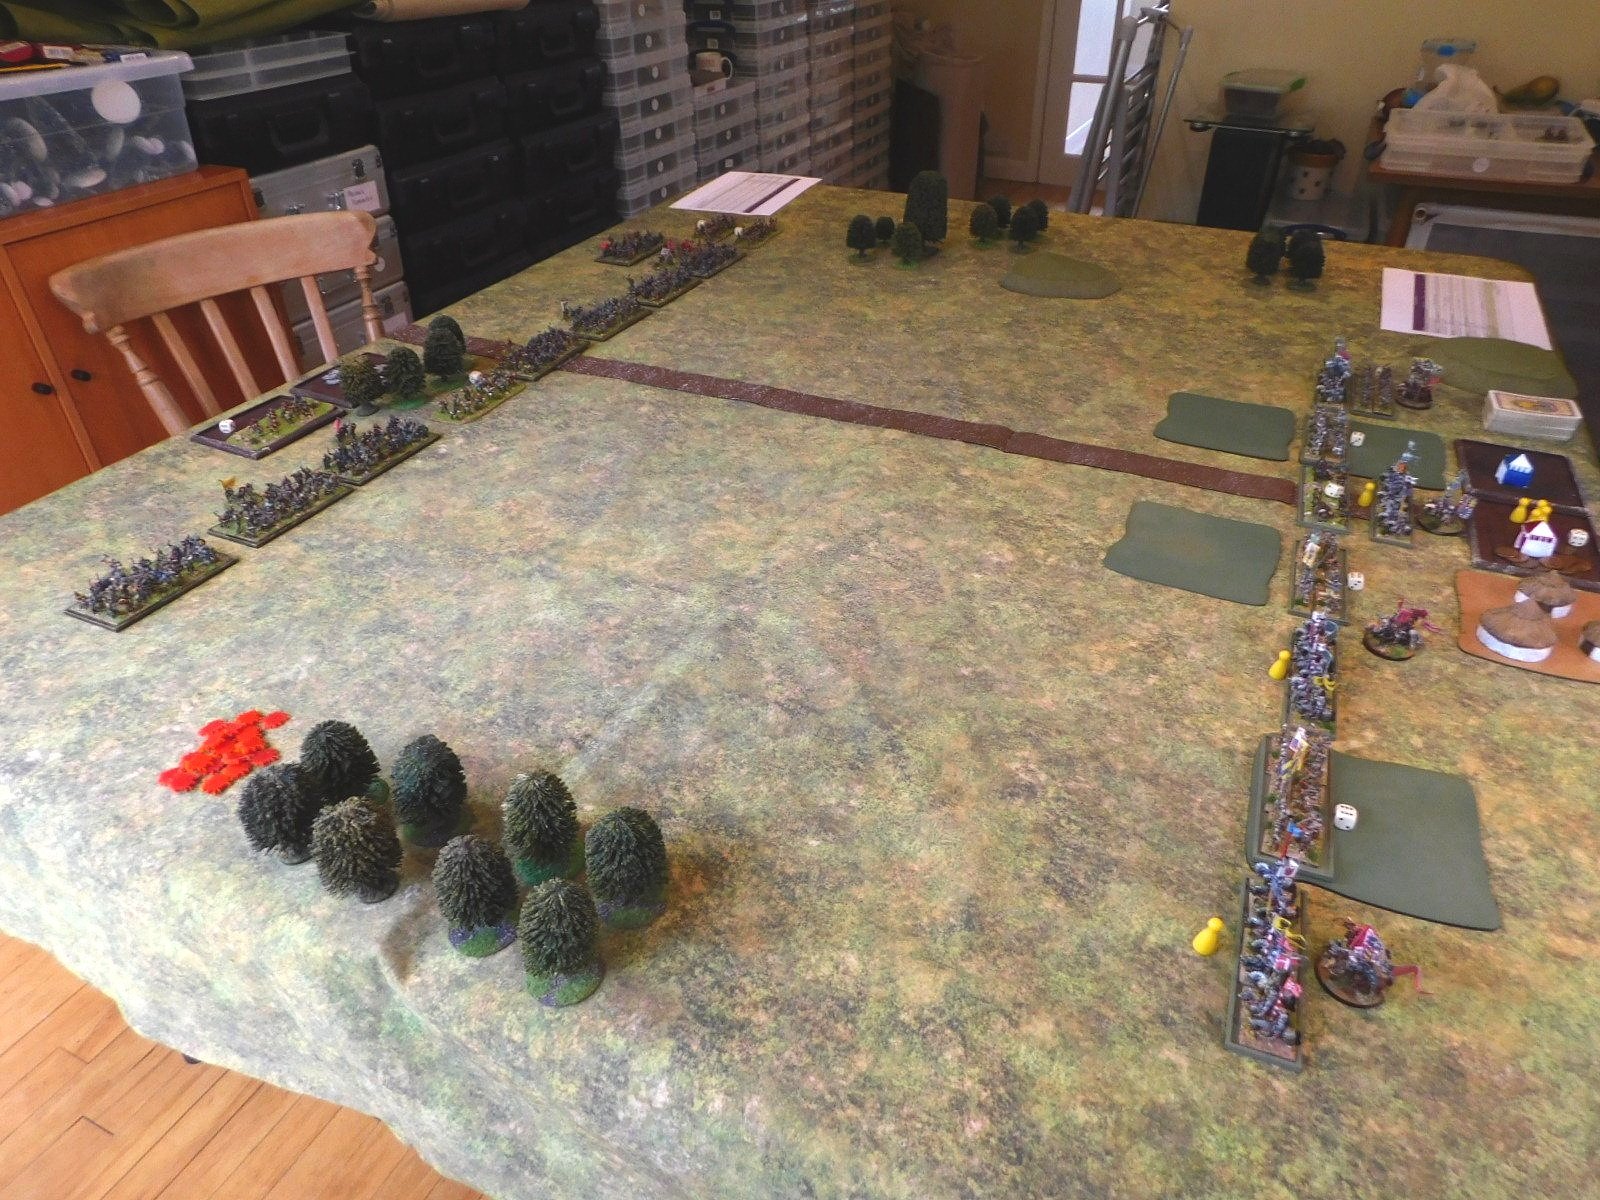
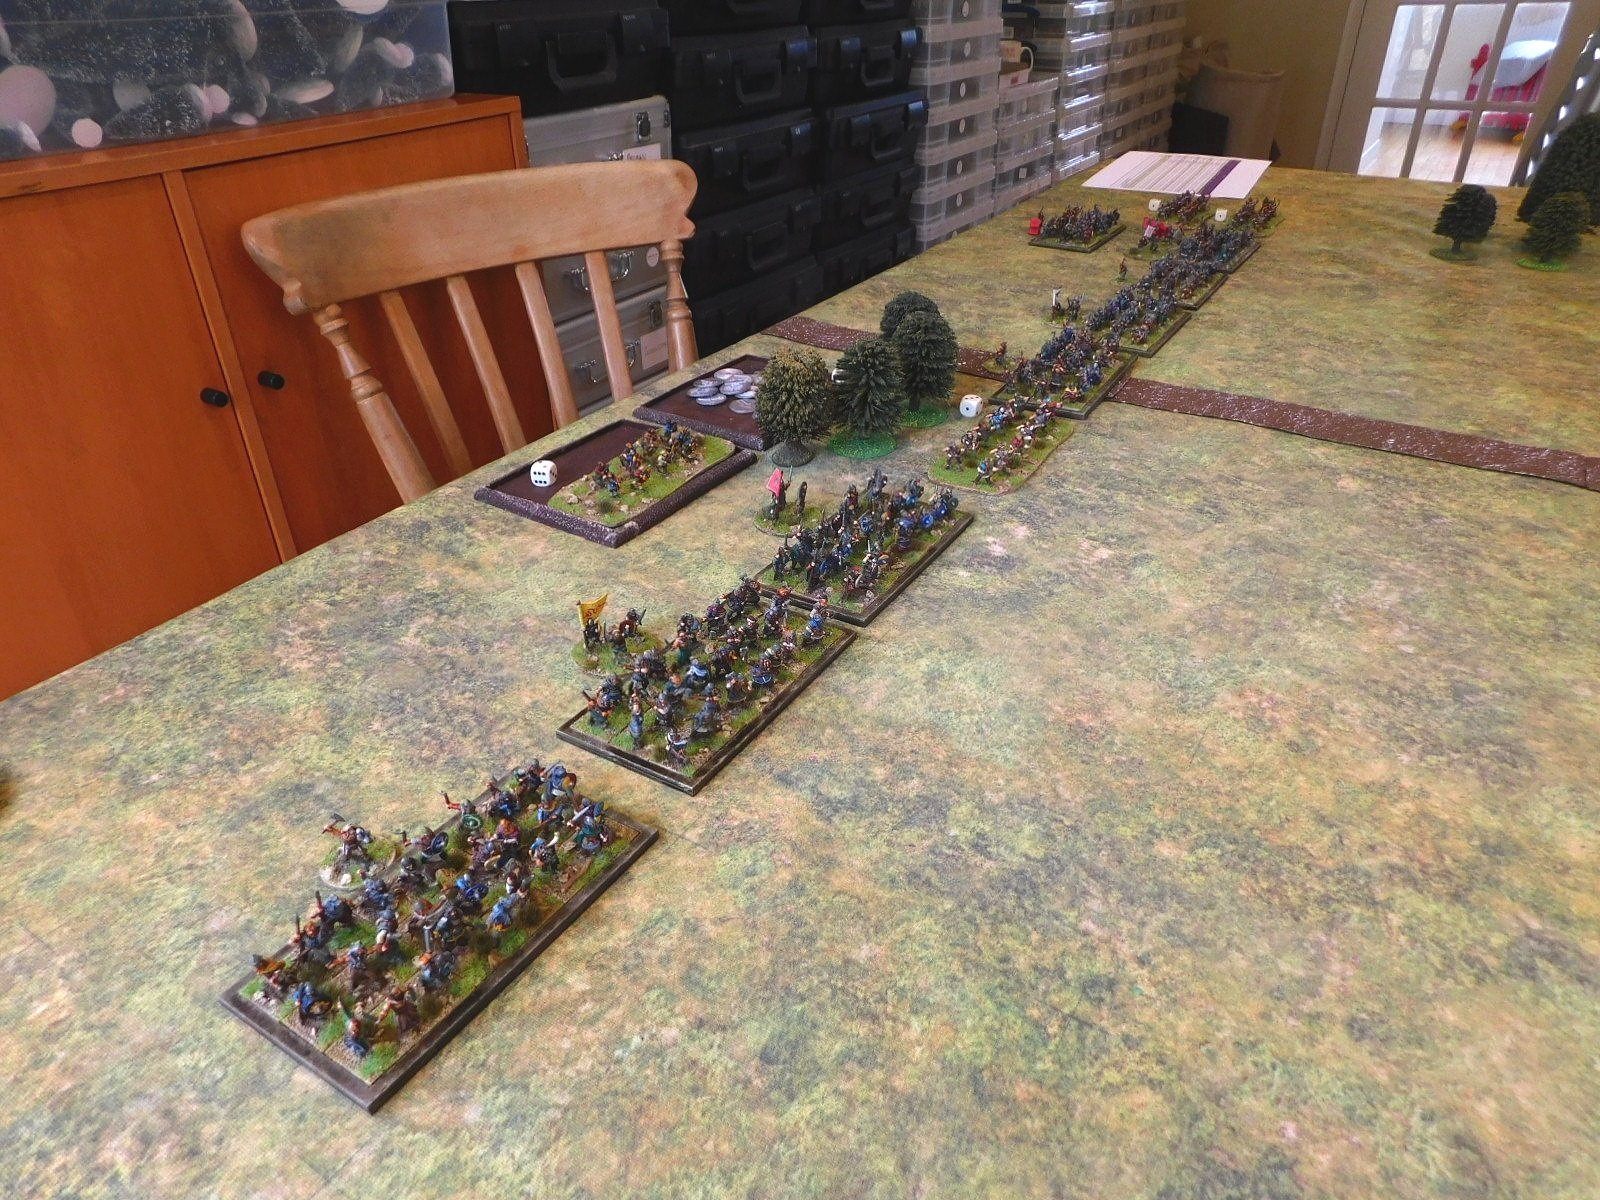
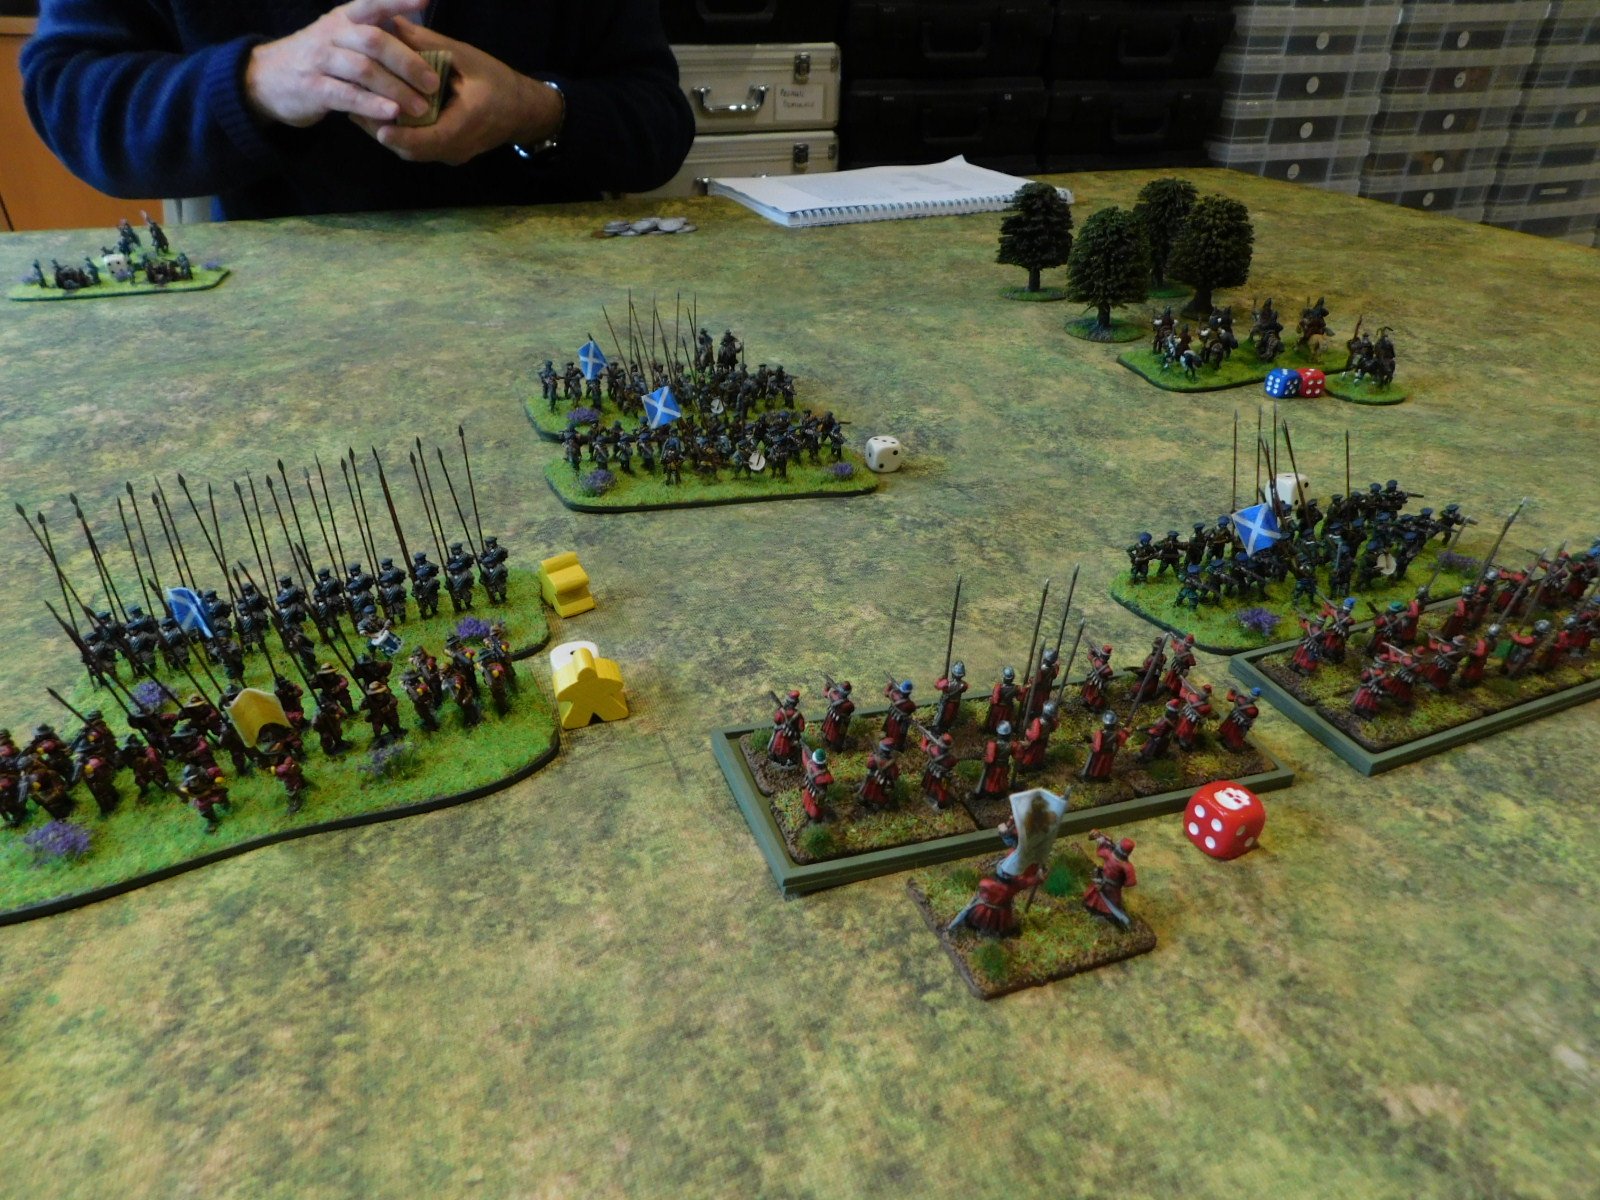
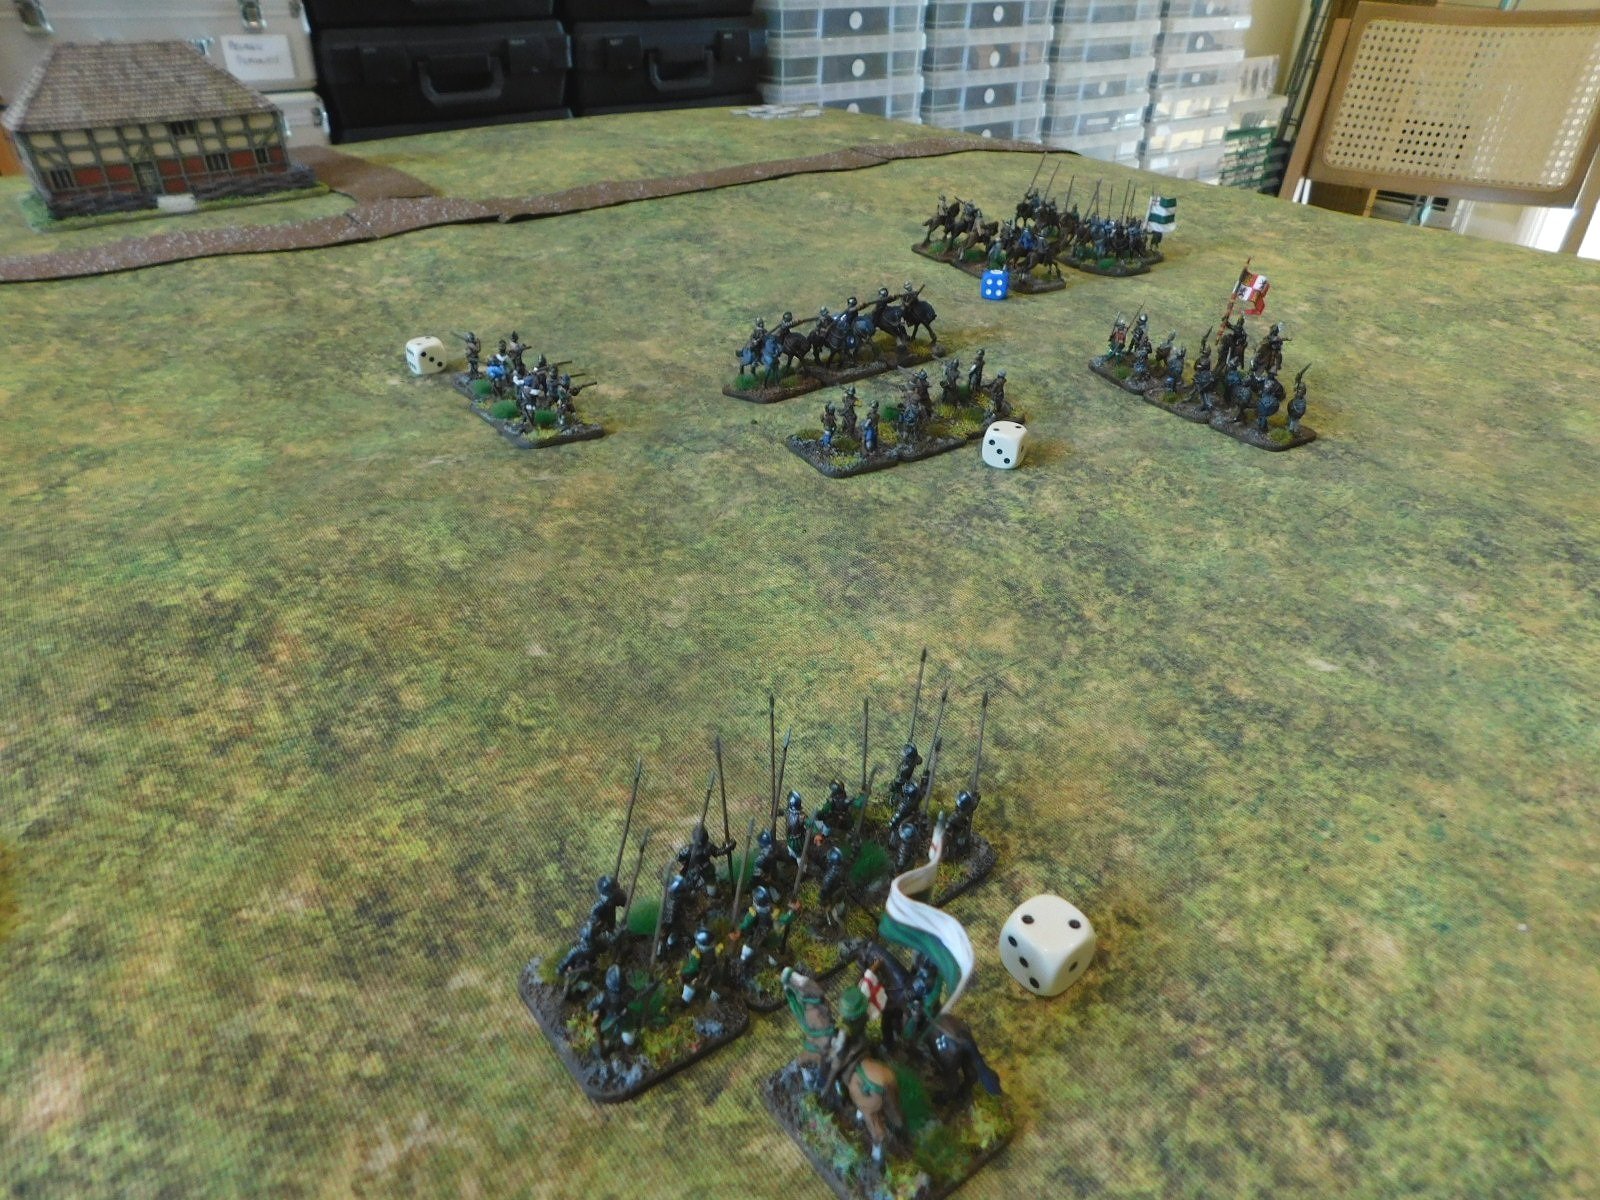
Two very different armies: my Vikings are a foot-only army comprised mostly of big shieldwall units (I’ll call them warbands) with a few lights thrown in; the Burgundians are a combination of lethal and indestructible Knights with some useful missile-armed spearmen in support.

I knew I would lose if I let the Burgundians pick me off one unit at a time: the only way to win was to move forward and attack en masse so that my battle line could absorb the initial charge of his Knights then swamp them with numbers.

I also knew that my light bowmen were useless against the Knights (the arrows would just plink off!) so determined to send both light units up the far left flank and try and get behind his battle line and into his camps, knowing that he didn’t have enough units to face my warbands and defend his rear.

I therefore moved my warbands forward in a long line, being careful not to let the more impetuous Vikings surge forward in an uncontrolled manner.

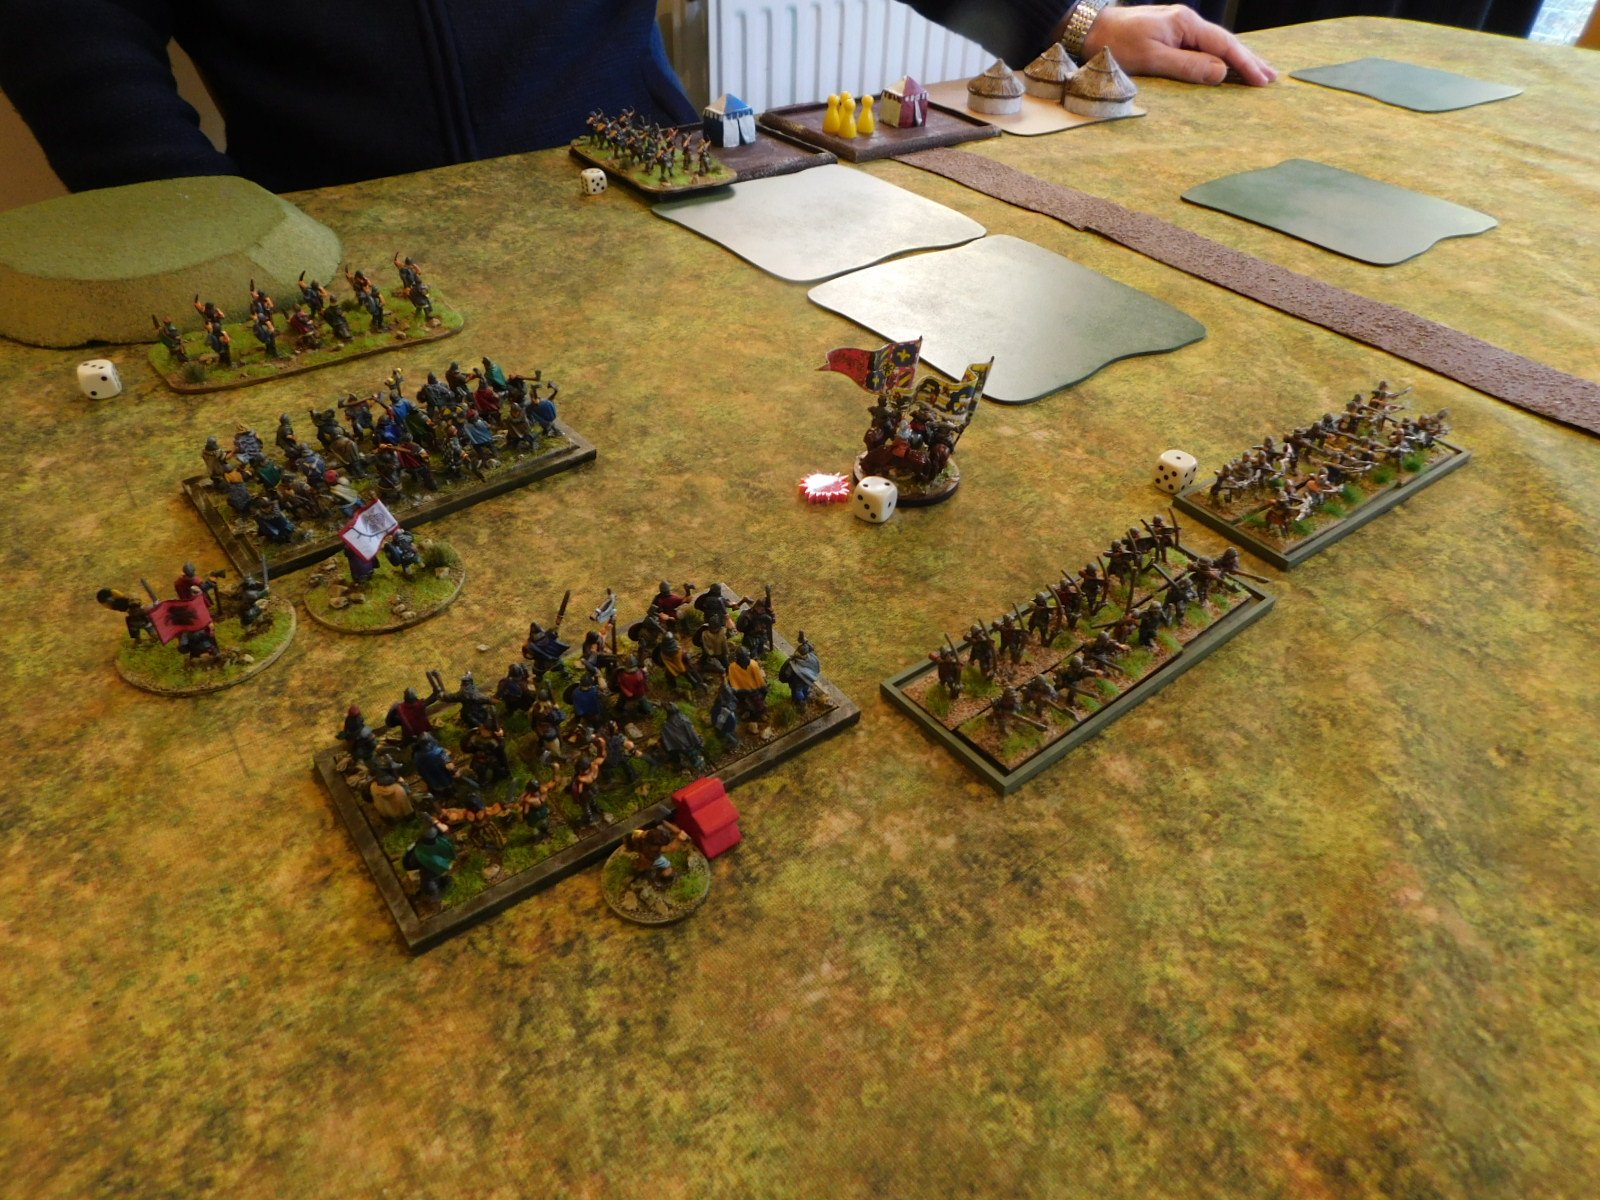
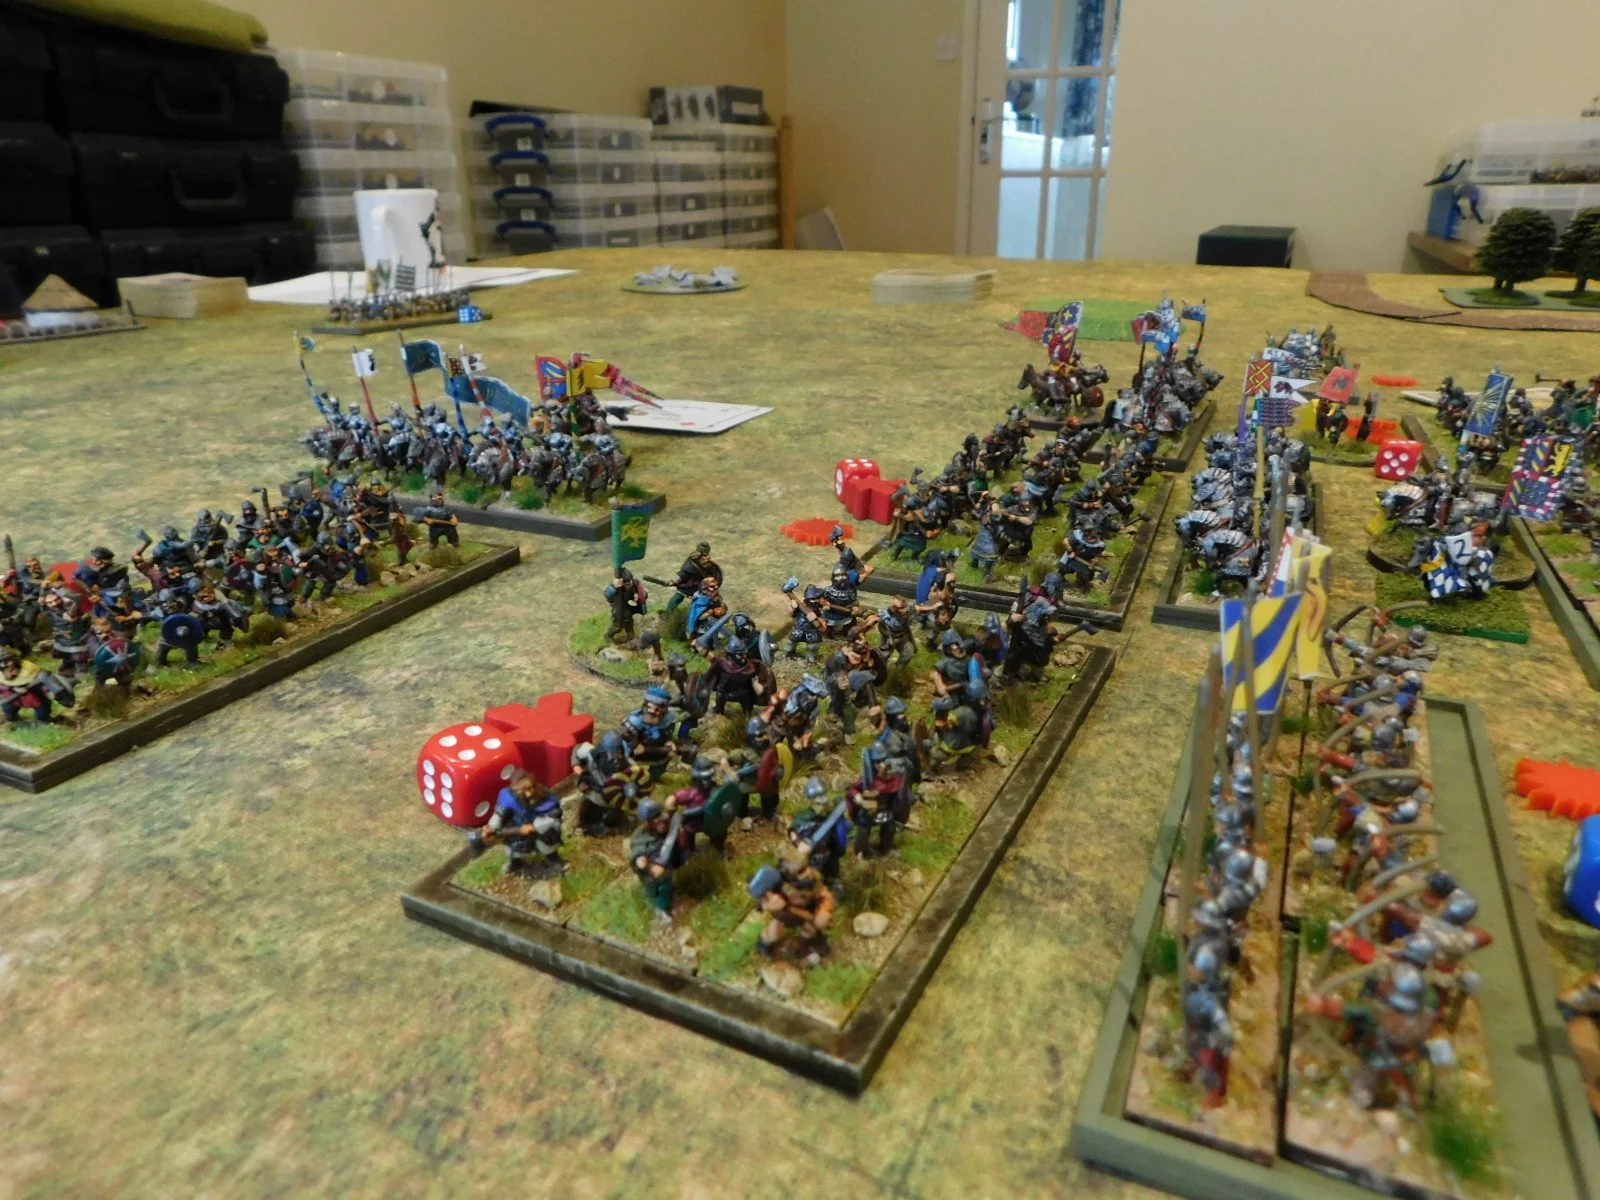
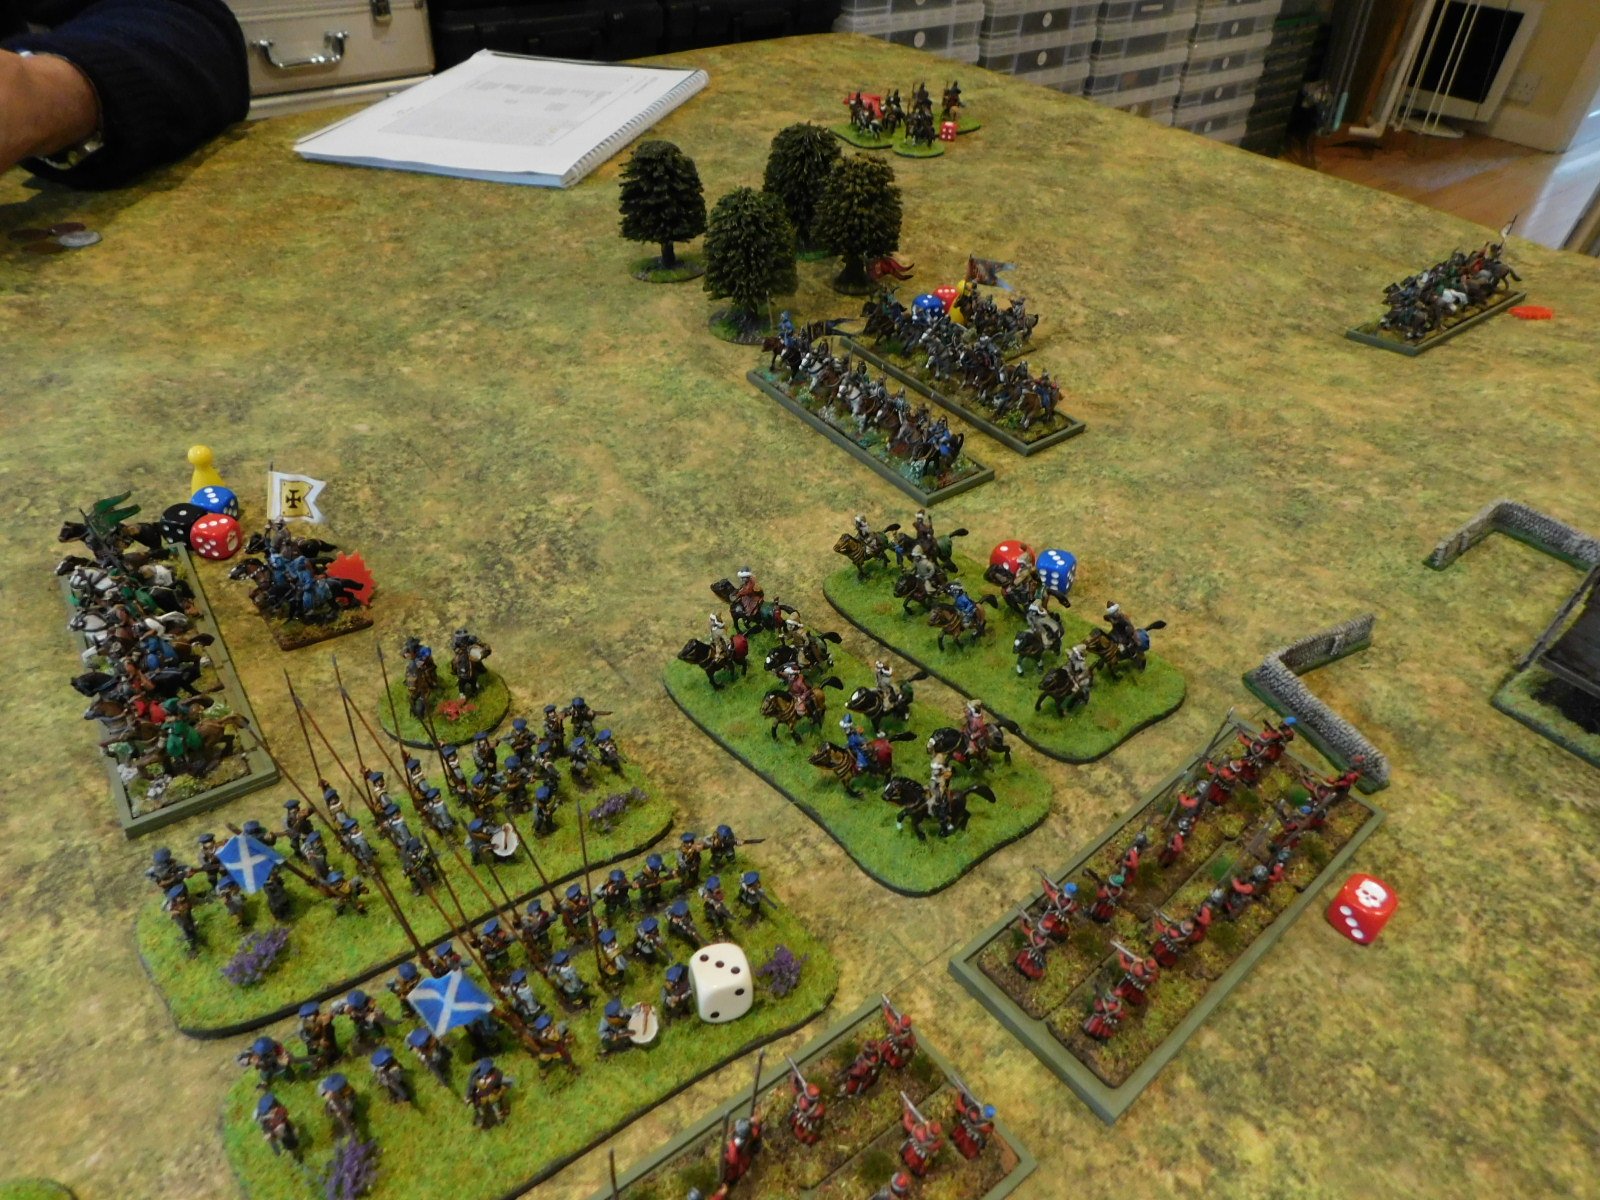
This meant that when the main lines did clash the outcome was exactly as I had predicted: the warbands hit by the Knights were badly disordered at first contact but not destroyed, and then other warbands piled in to help.

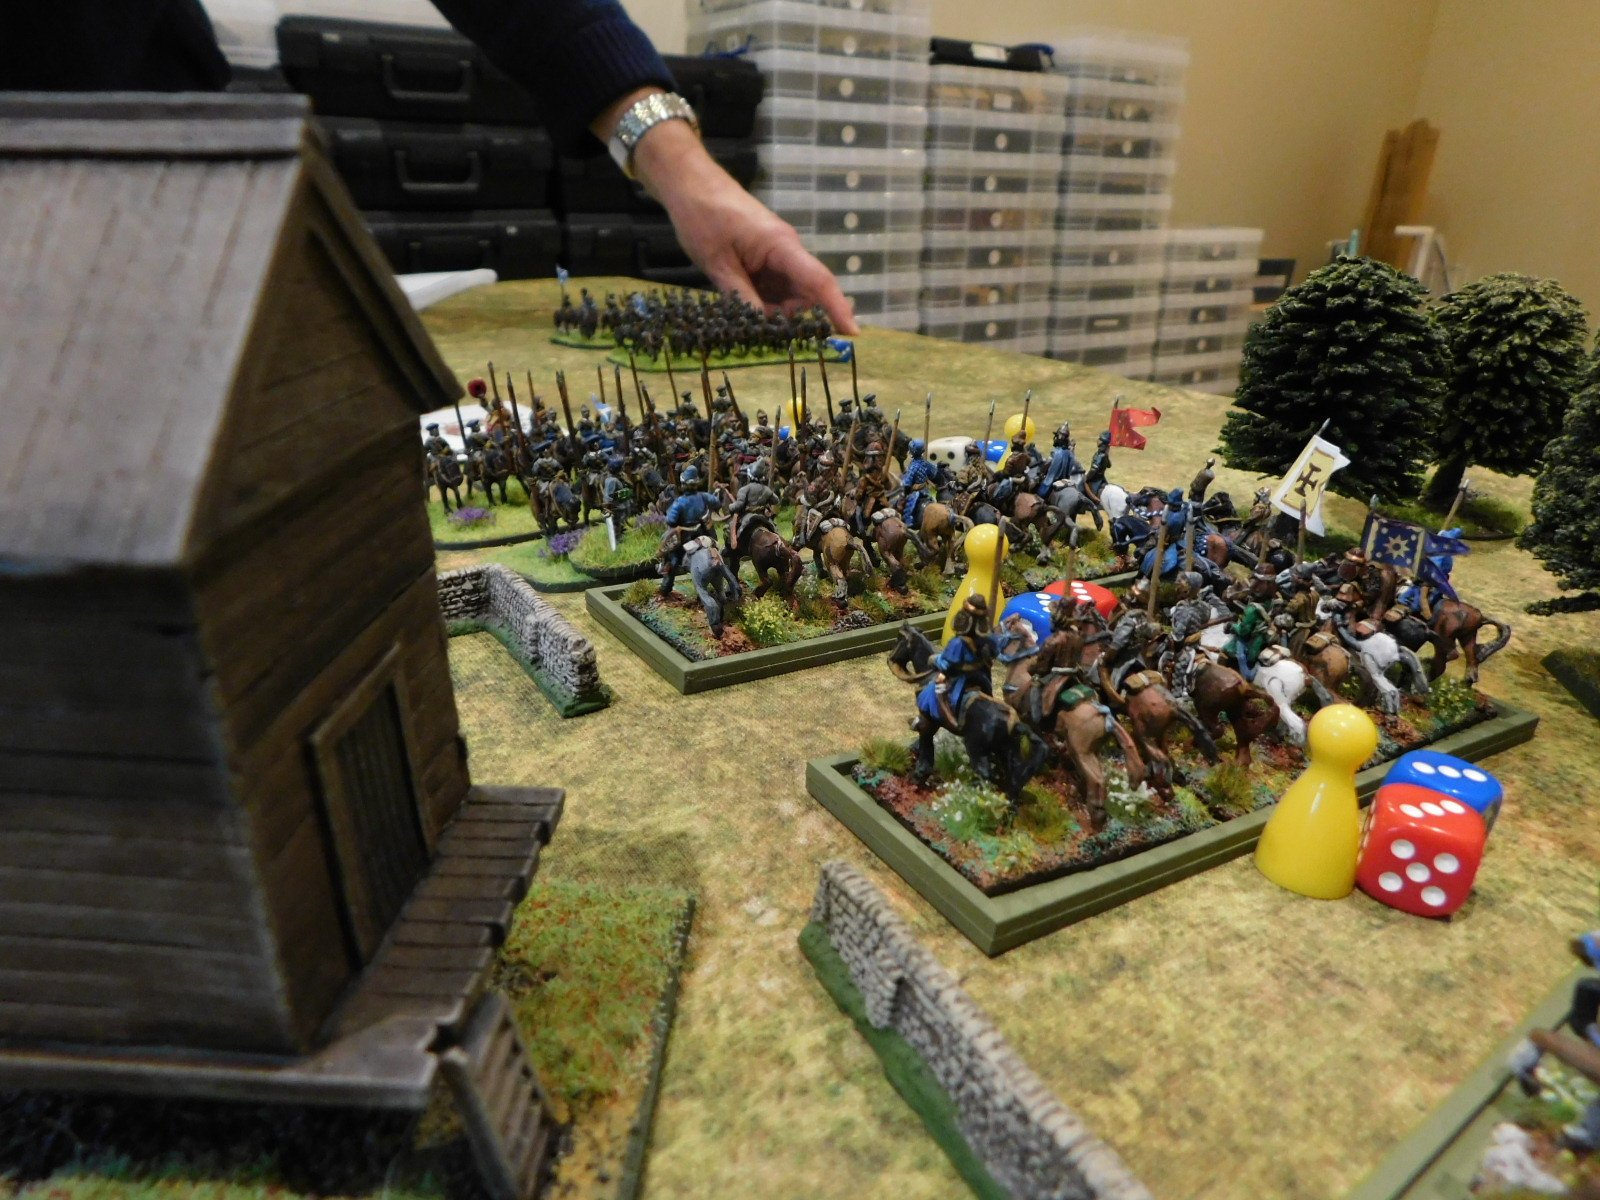
Keep your eyes on the light units to the far left as well: they are doing what they were supposed to do!

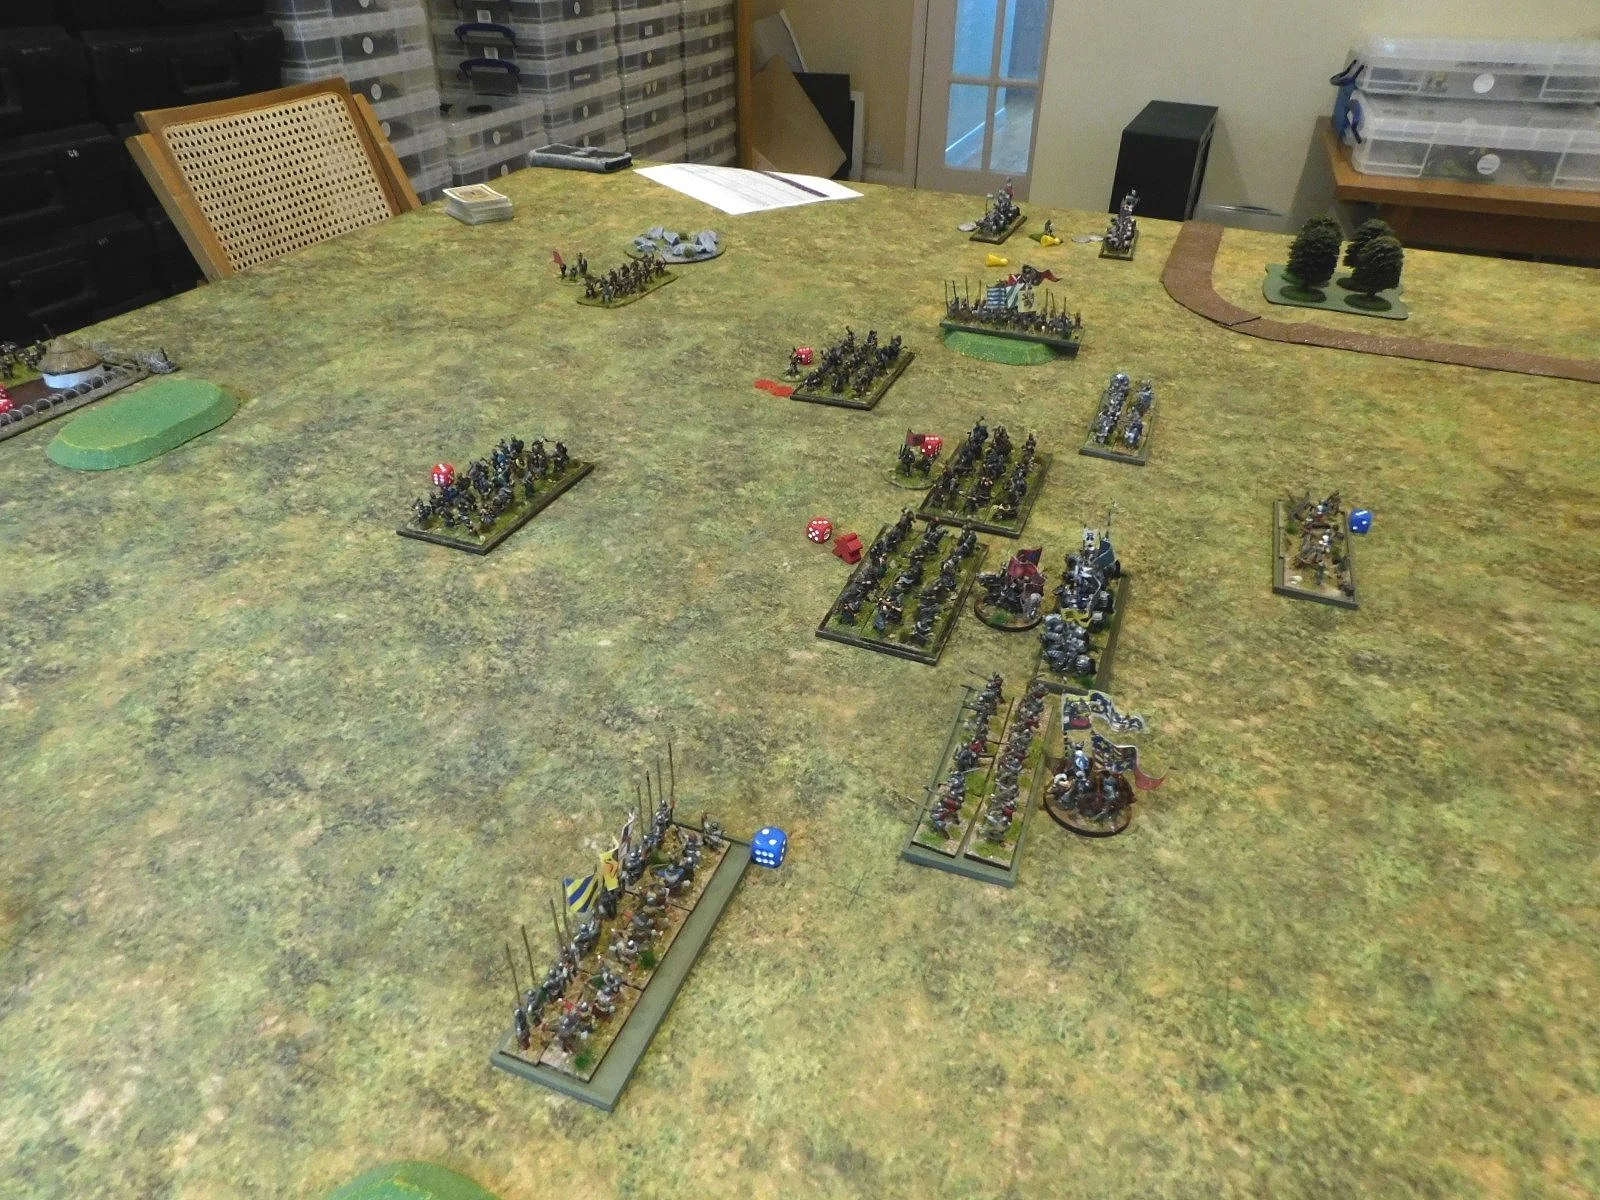
By now I was whittling down his army, especially on my right flank. With so few Burgundian units on the table, he just couldn’t afford to lose many and, as we reached the climax of the battle, I had wiped the four units on his left and left-centre for the loss of only one of my warbands.

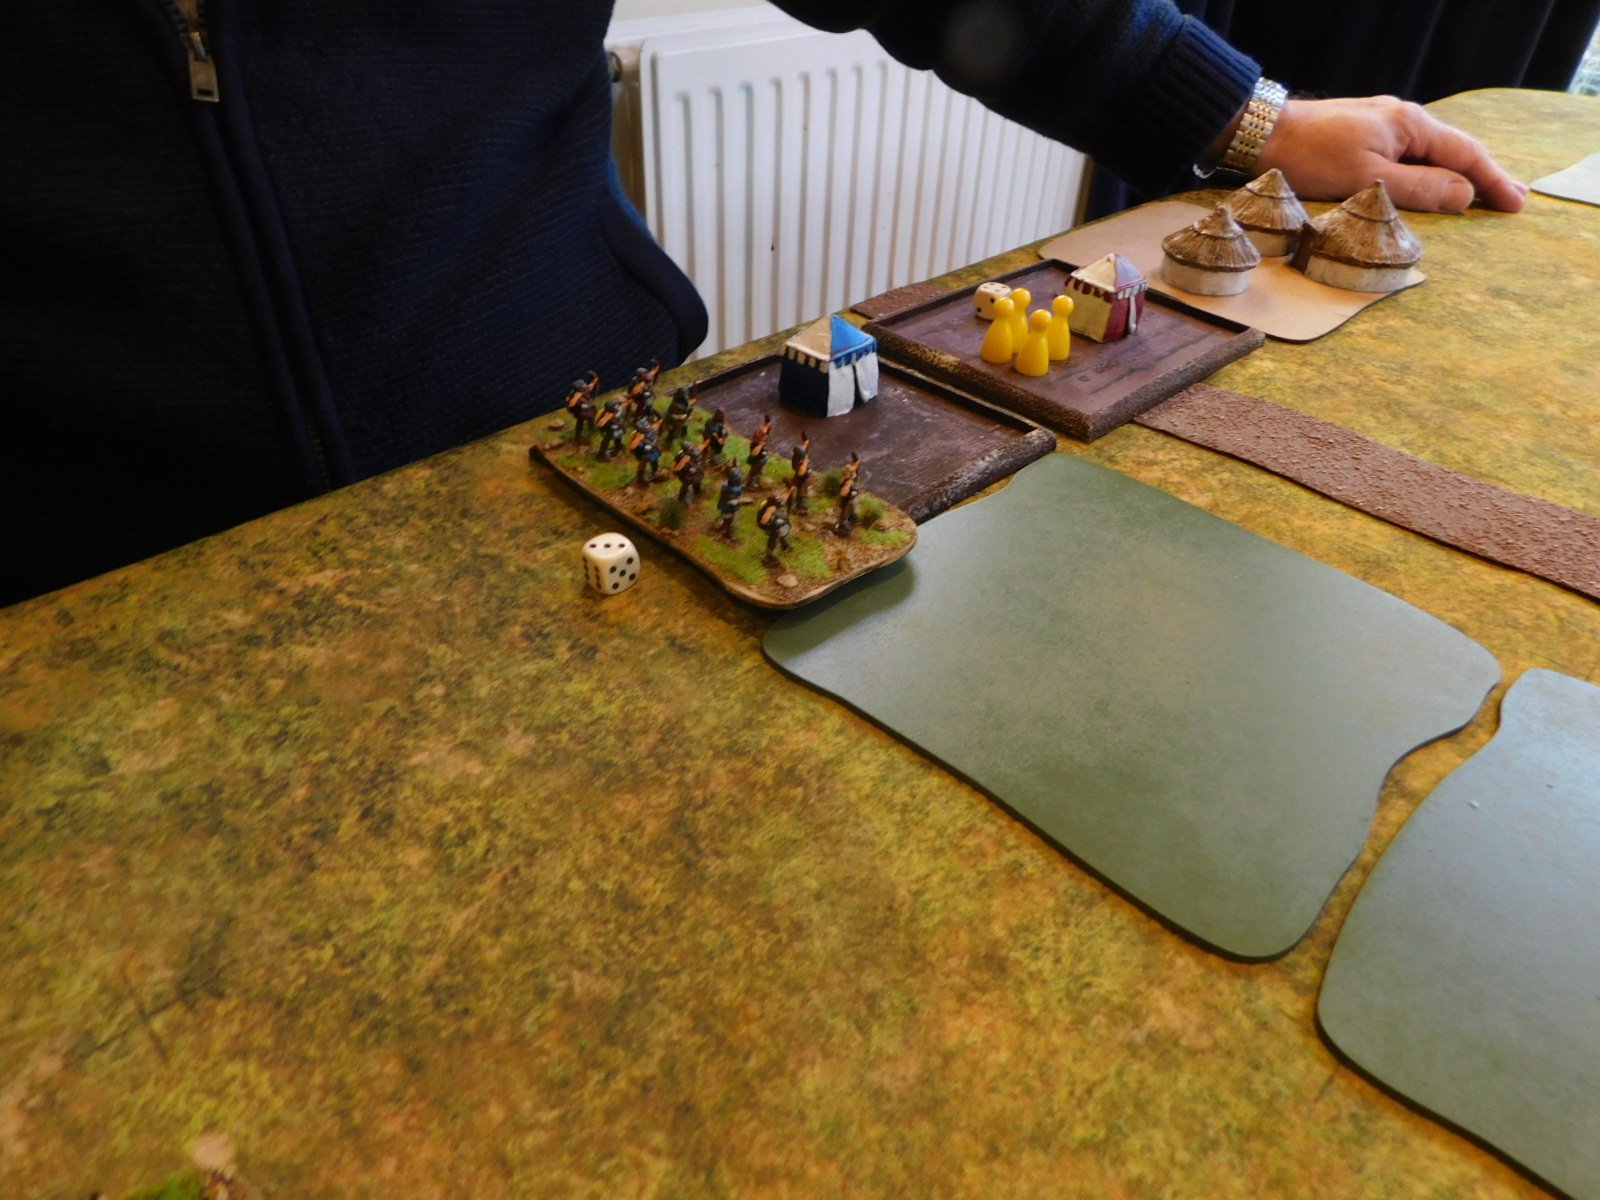
That meant that I only really needed one big push to win the day and, rather pleasingly, that came from (yes, you guessed it) one of my light units finally taking the first Burgundian camp.

With half their army destroyed and their baggage taken, that was enough to send the neo-Frenchmen packing: the Vikings had won the day!

CDS AAR: Valley of Tears at Winter Wonderlard 2023

Yesterday saw the annual Winter Wonderlard Lardie Day in Bristol.

I couldn’t be there myself (real world interfering with gaming again!) but here’s the first of the AAR using TFL company-sized rules from the day, with Steve Blease and his “Valley of Tears” Golan Heights scenario using Charlie Don’t Surf .

There were two sessions: see pictures from both, and others taken on the day, by clicking on the picture, below:

TTS AAR: A Defeat for the Legions!

Time for another game of To The Strongest with John.

Rather than play a standard pick-up game where each side lines up on opposite sides of the table, we went for a more scenario based encounter, with the Romans starting the game in three columns: their main legionary force in the centre, their horse to the right and their lights to the left. The Celtic types facing them were largely deployed as one might start a standard game, but with enough exceptions to make things interesting.

To have any chance of victory, the Romans needed to deploy for battle as soon as possible: a task completed fairly easily as the superb drill of the legionaries kicked into play. There was a gap in the line on the road itself: the Cohorts VIII and IX not performing as expected!

Note that the yellow markers indicate that the Romans have pila ready to use.

The Celts announced their intention to move forward en masse. Their wings duly did so, but for some reason (the vagaries of the cards) their centre units hung back. This gave me a real opportunity to defeat them in detail on either flank before turning to crush their centre.

On the right, my single unit of legionary cavalry, supported by some auxiliary horse archers, duly moved forward to engage the enemy horse and chariots rapidly trying to curl around my flank. I also brought four cohorts of infantry (two units in TTS terms) across in support.

This really was a good opportunity to win on this flank, but the Gods decided otherwise: consecutive 2’s drawn from the pack meant that my legionary horse sat stationary rather than charging home.

My supporting legionaries were, however, able to charge home, dispersing the Celtic cavalry in front of them (kudos to the single Cohort X base for its contribution to the fight) but this wing was still very much in dispute rather than going my way.

Things weren’t going my way on the other wing either. For some reason, my main legionary force, including the double-size Cohort I with the aquila or Eagle Standard, also hung back, meaning that rather than fighting two enemy warbands with two Roman units, I now risked a delayed fight tying up my units until they were overwhelmed by more Celts coming into the fray!

And so it came to pass: the Celtic warbands in the centre ‘woke up’, and headed forward…

It would now be much more of a traditional stand up fight, and all would be well if I could get the Roman ‘mincing machine’ into action: I needed to bring my men together, make full use of my remaining pila, and rotate units in and out of the front line as required.

Unfortunately none of that happened!

Having split my line to deal with each wing of the initial enemy attack, I couldn’t get free enough of the rampaging Celts to get it back together again. So rather than fighting as one command, my Romans had to fight as three isolated commands on the left, in the centre, and on the right.

Secondly, my legionaries had obviously packed their pila away for the march, as not a single volley had any effect on the opposition. I also suffered a wave of officer casualties including the two tribunes commanding the main body of the legion. On top of that, even John remarked that the cards had turned against me: I was missing hits that should have gone in and failing saves that should have been easy. It was just not the Romans’ day!

My cohorts were gradually disordered and then wiped by the Celts using their superior numbers, and I just didn’t have the coins to withstand those losses for long.

So a defeat for the Romans probably stemming from my failure to wipe the enemy wings at the beginning of the battle. I’d made a bold tactical decision that had a good chance of success, particularly on the right, but it hadn’t worked and I’d suffered the consequences against the remorseless Celtic hordes commanded by John!

CDS AAR: Valley of Tears

We're not in Vietnam anymore...

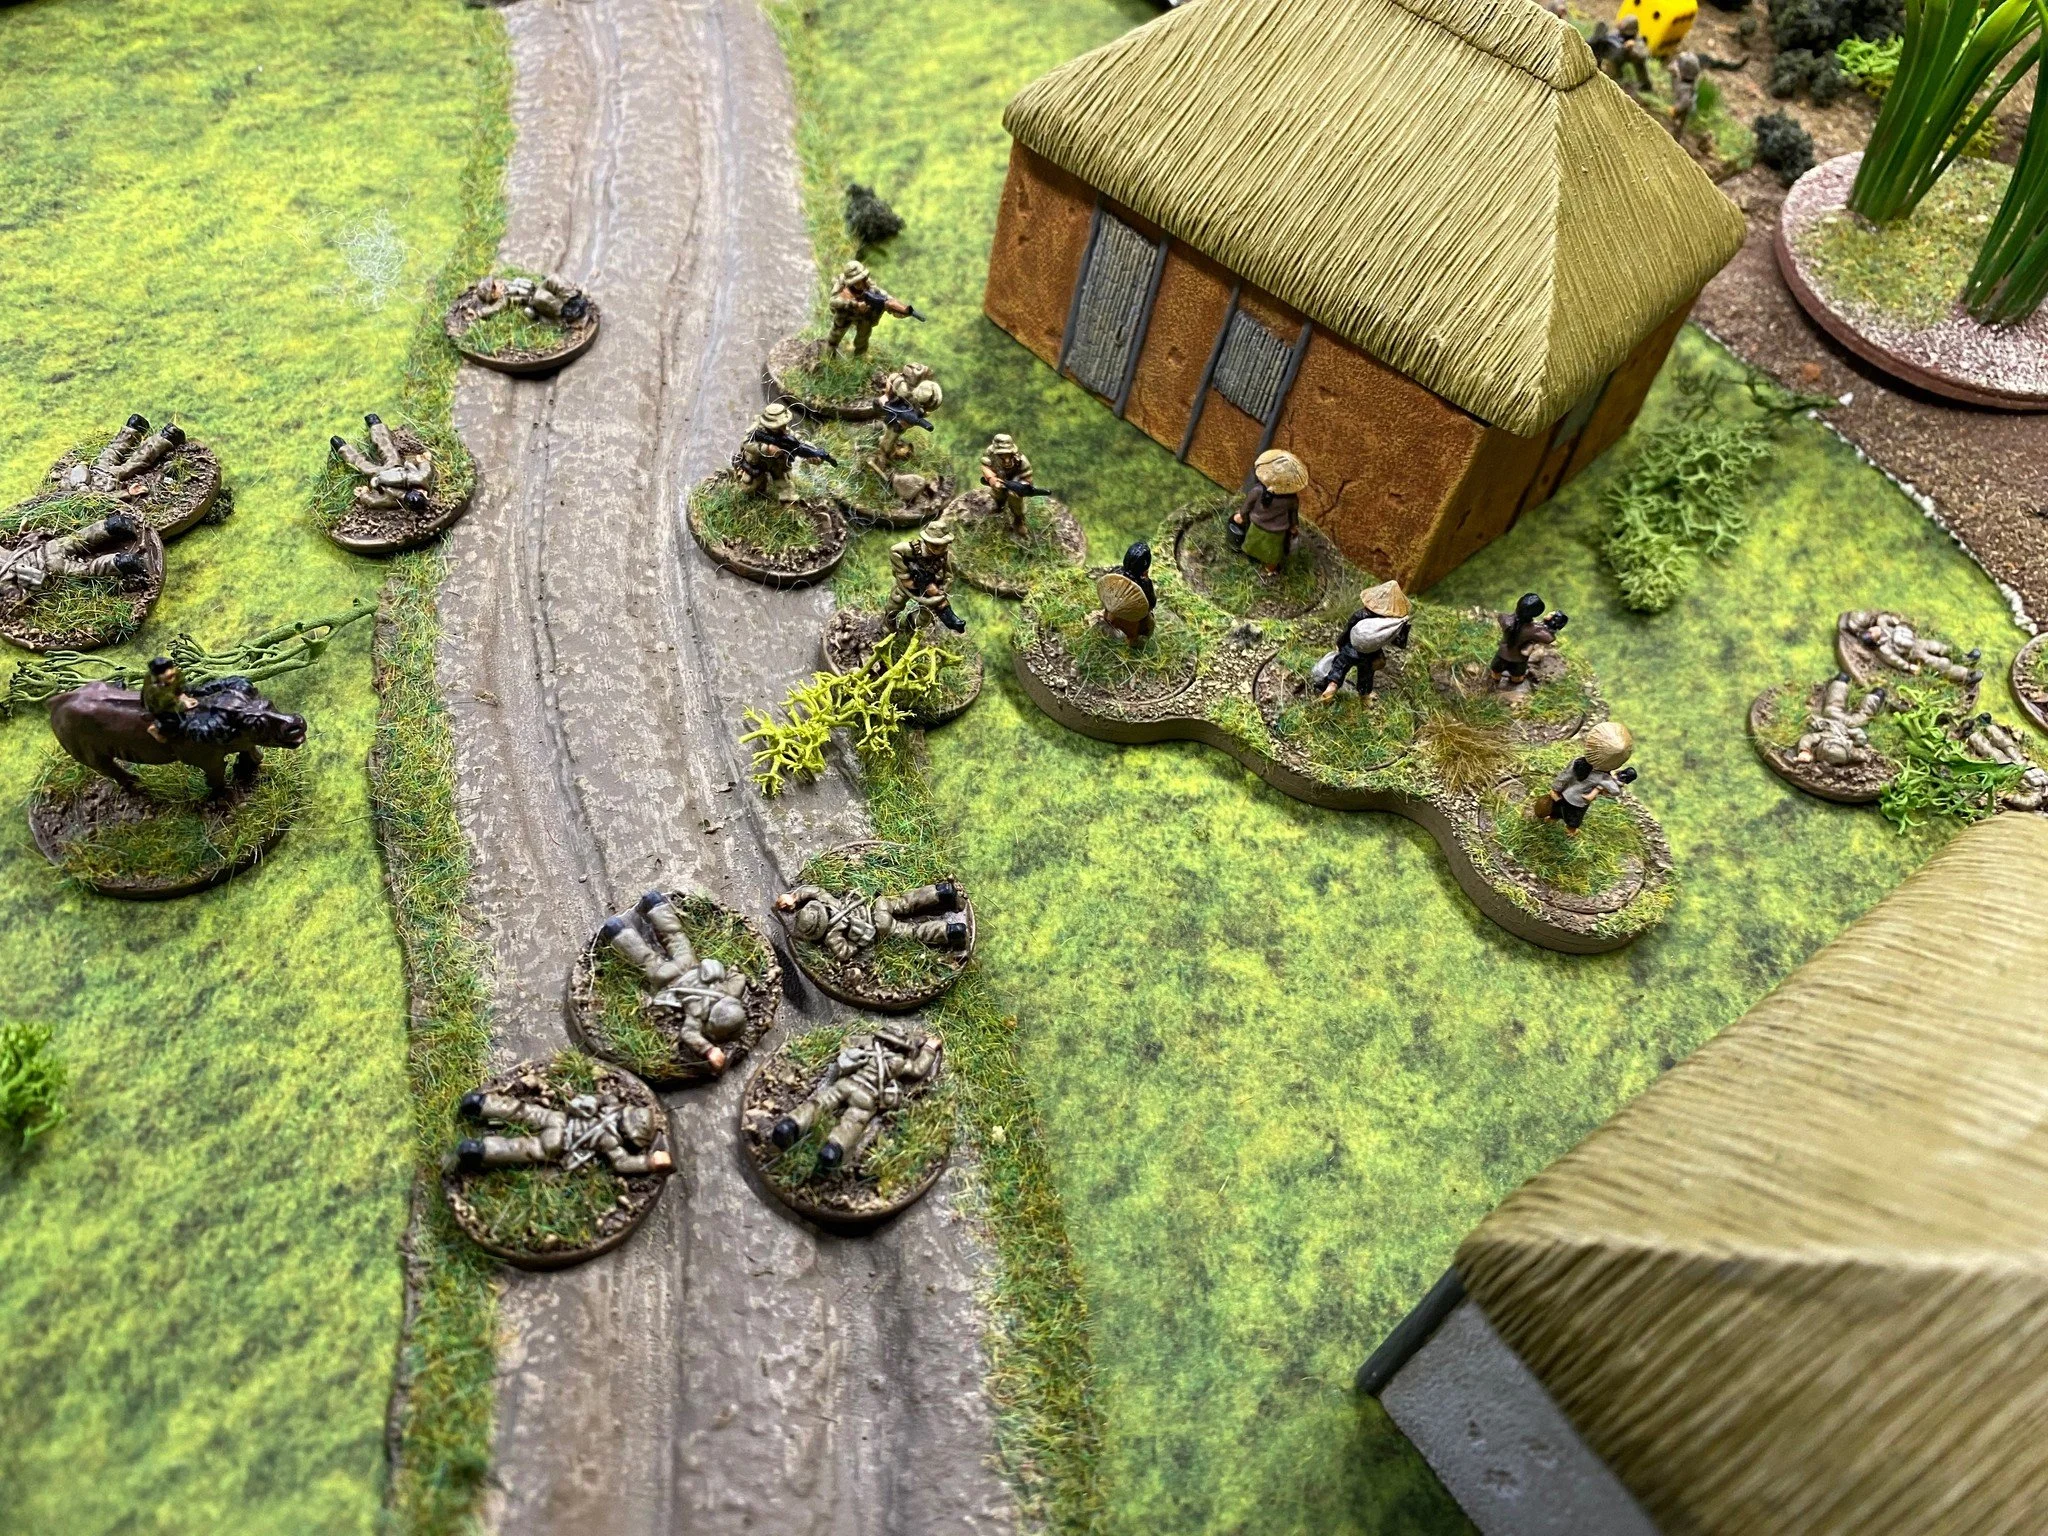
Steve Blease ran through his 6mm Yom Kippur 'Valley of Tears' CDS variant game which he'll be running at the Winter Wonder Lard III Lardy Day in Bristol later this month. Here are a few shots of the action:

19thC AAR: Battle in the Crimea

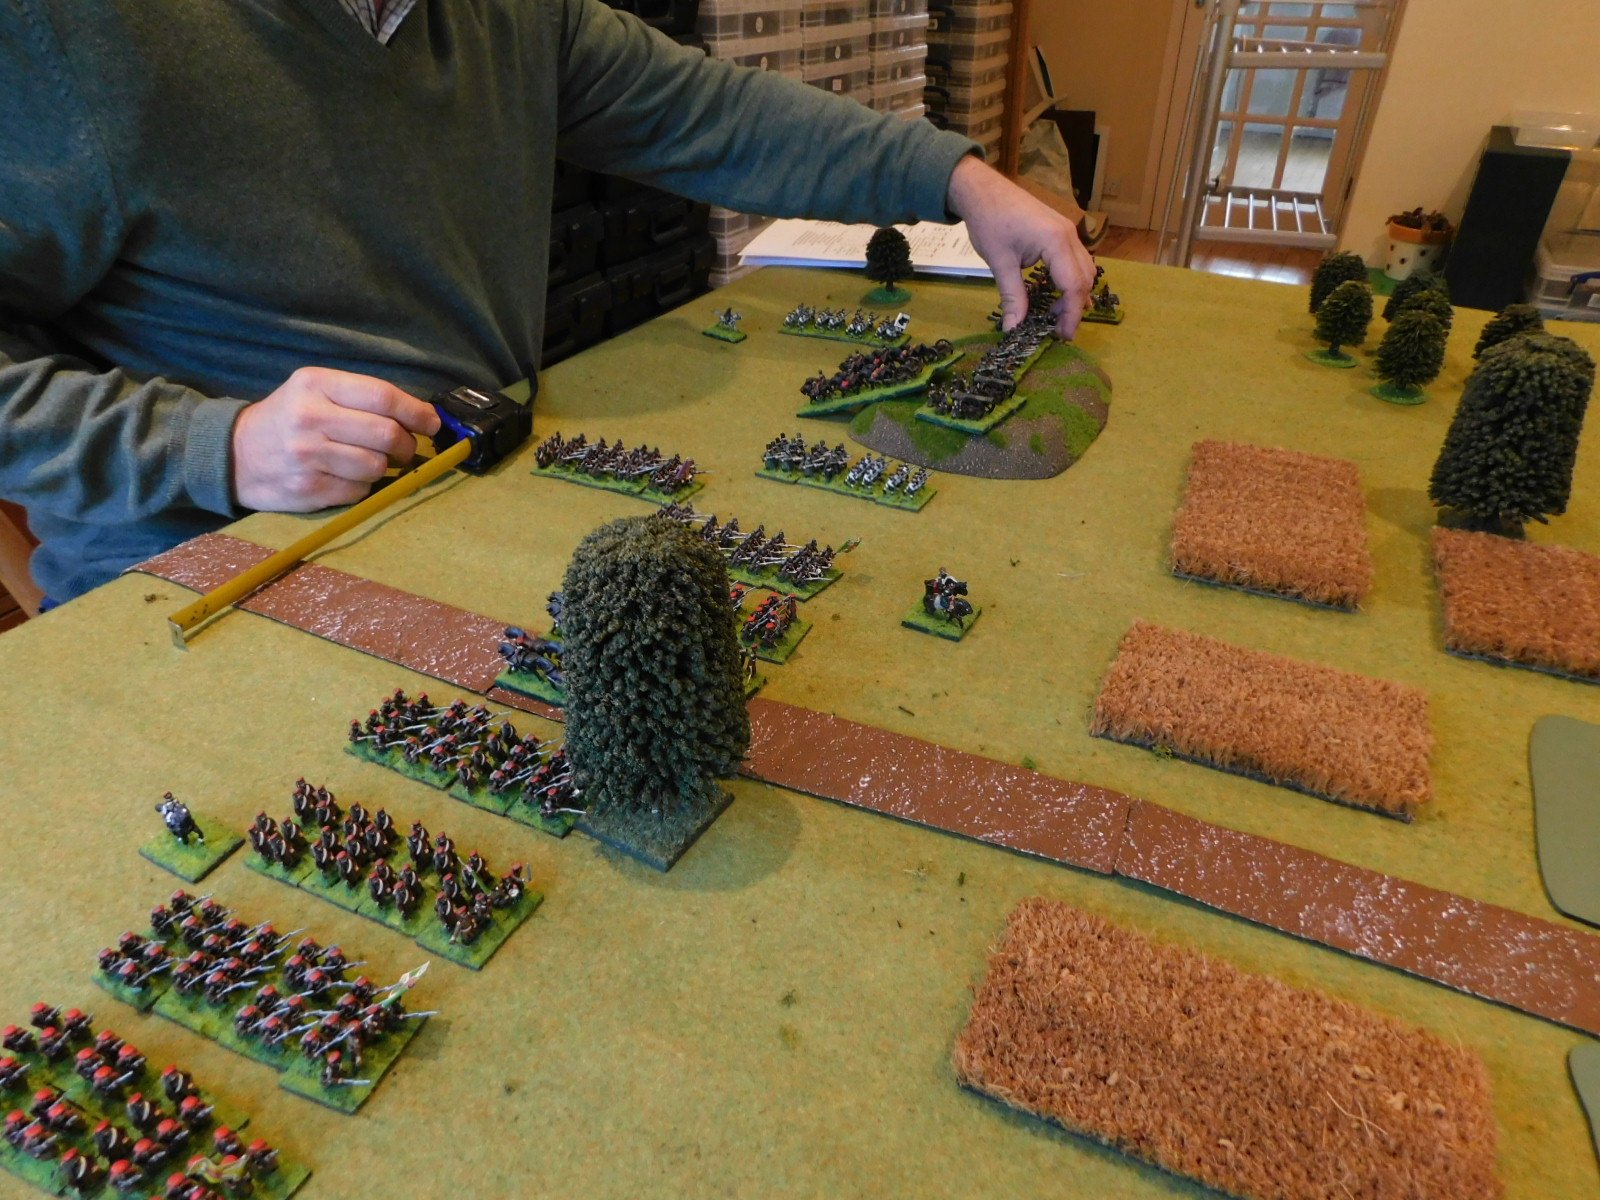
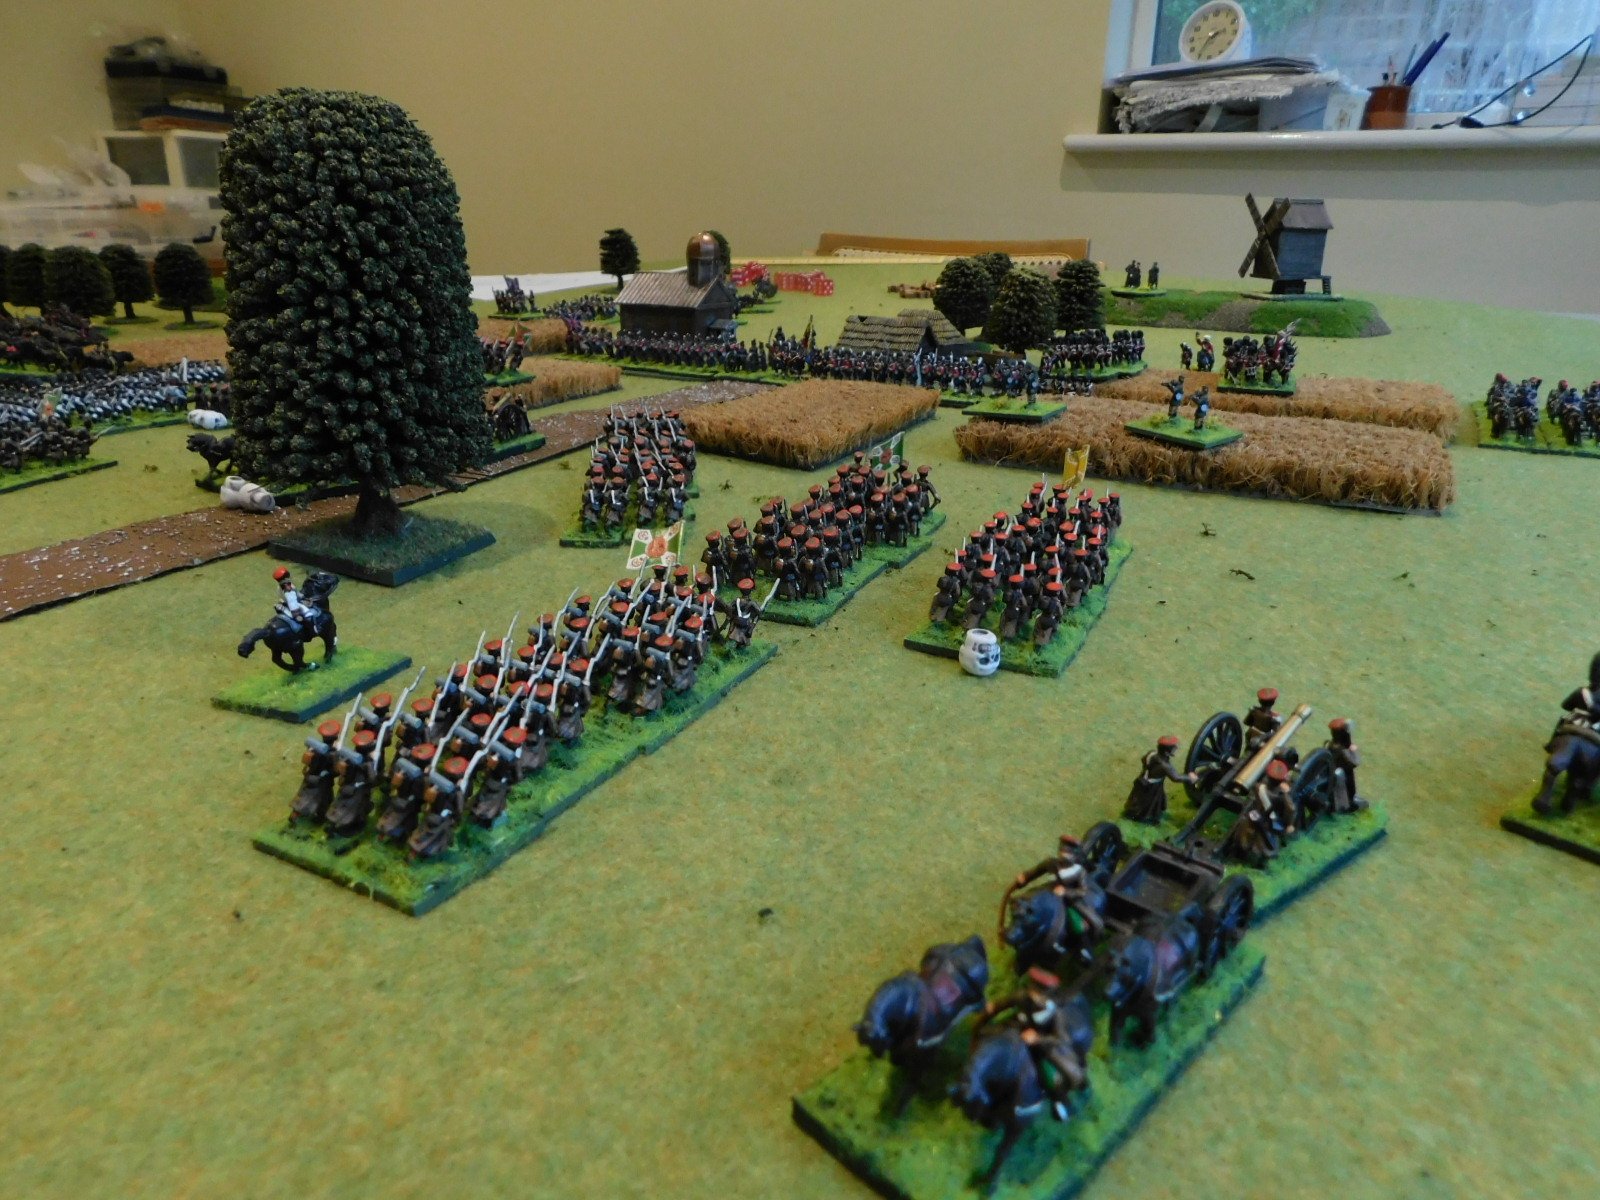
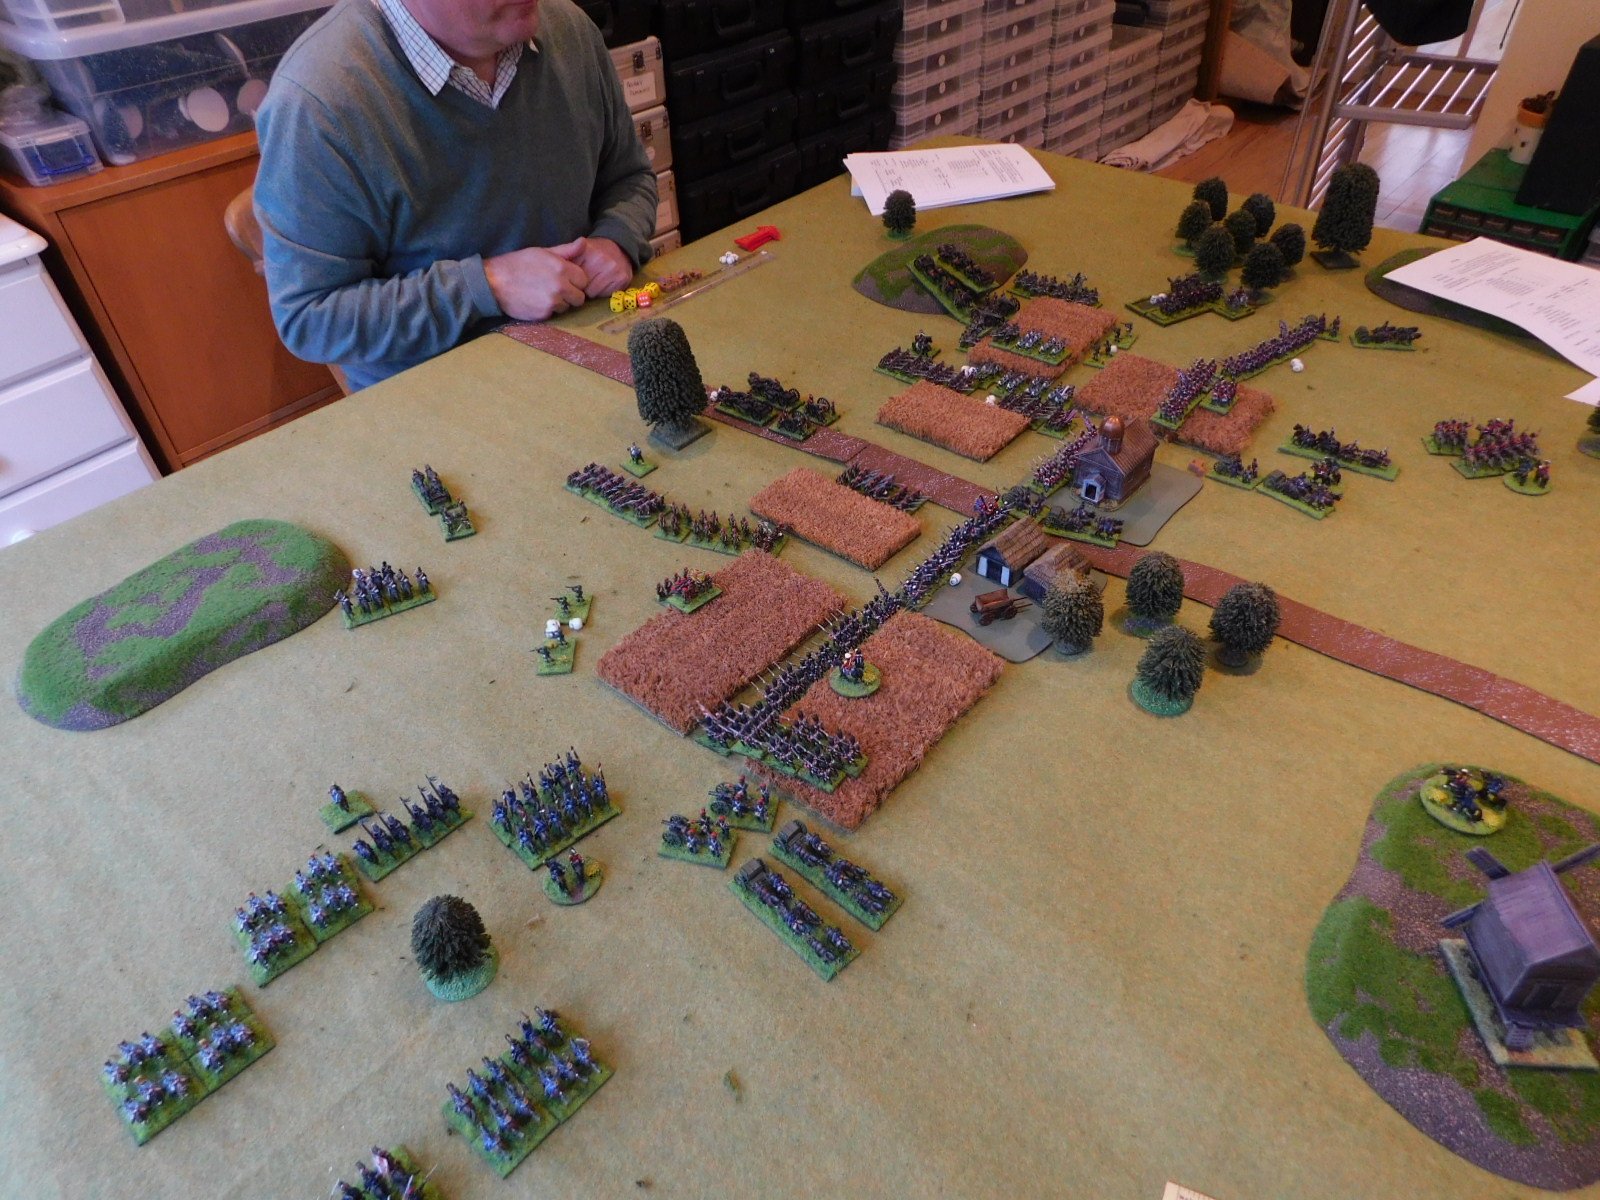
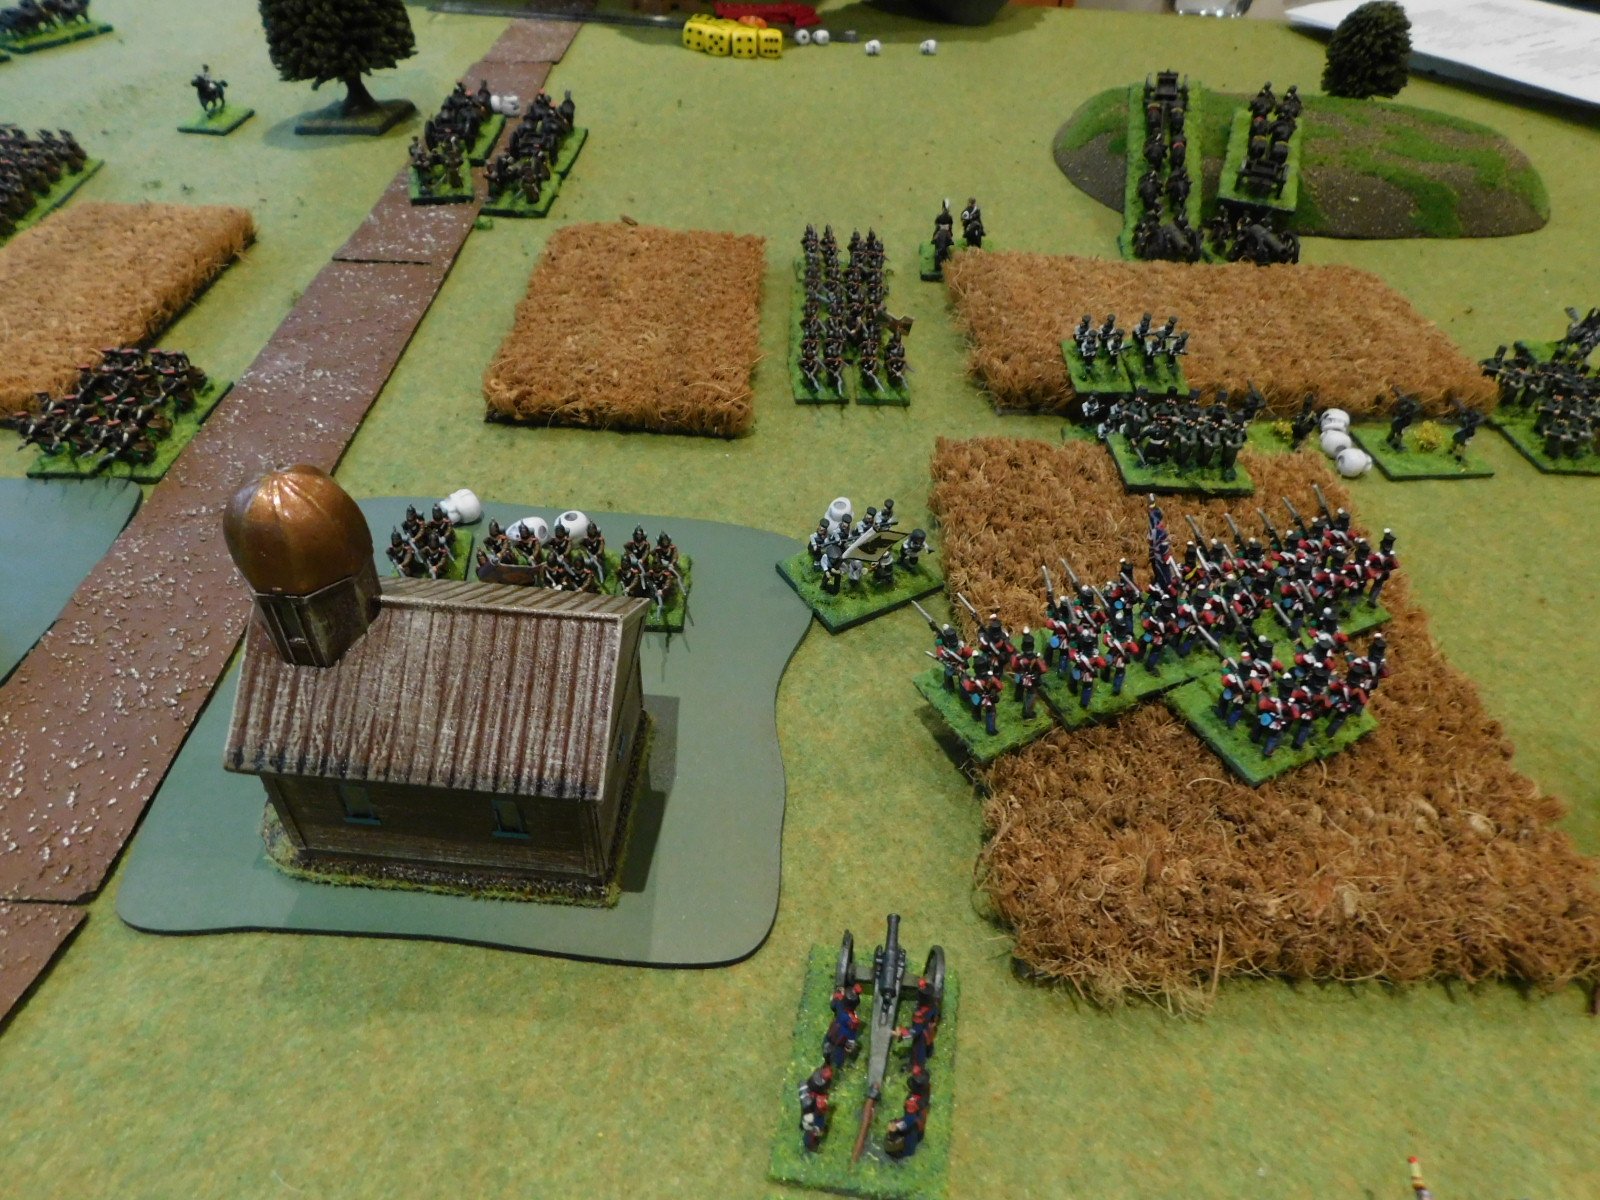
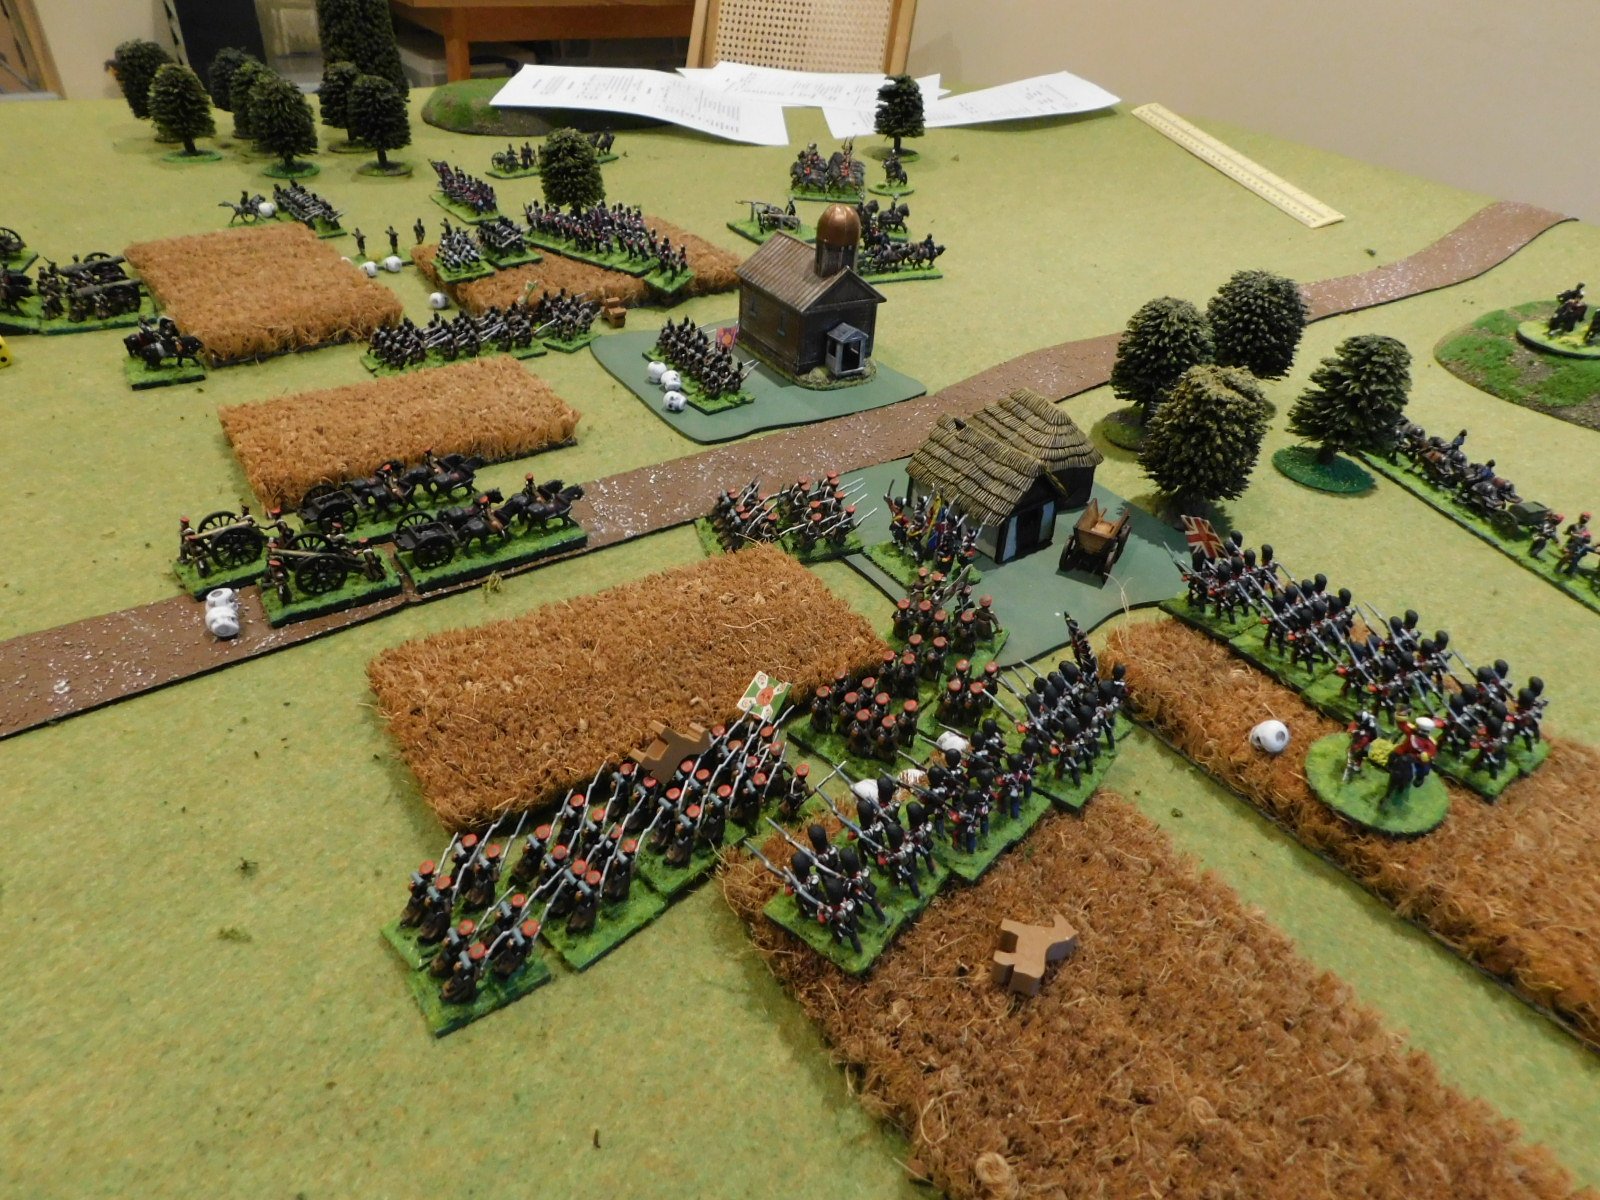
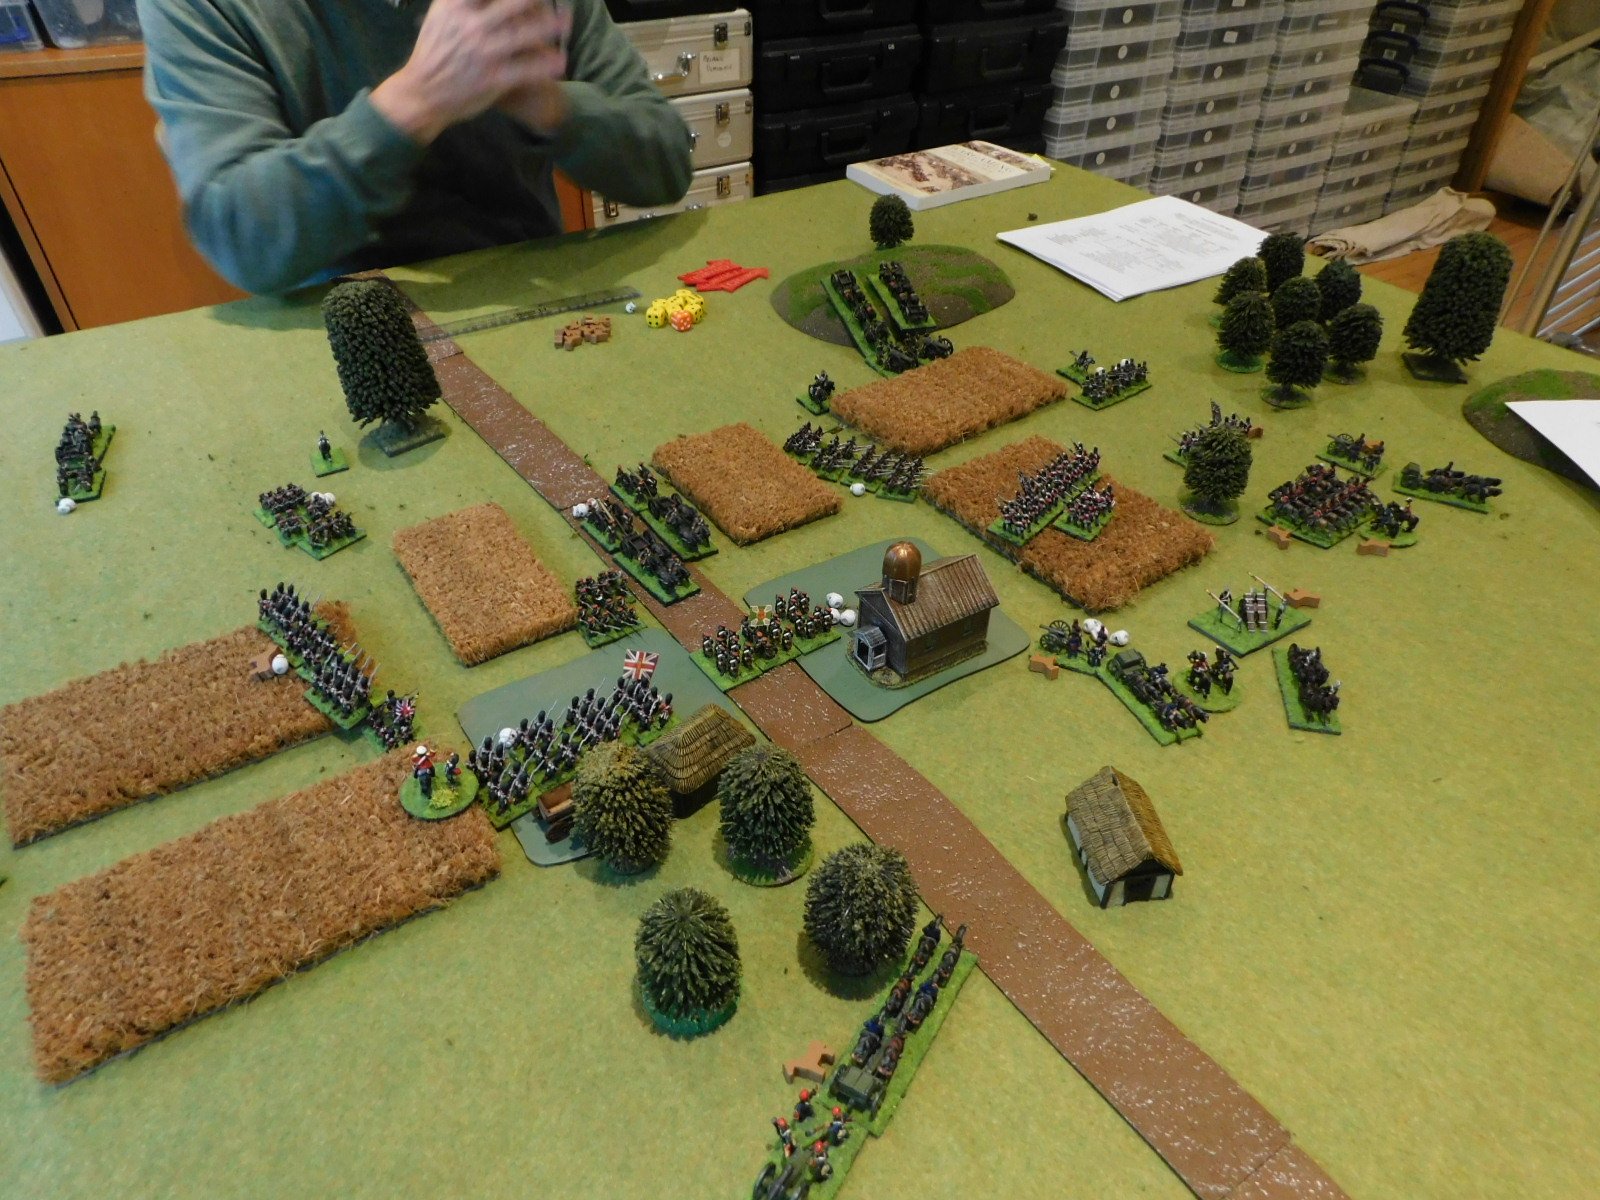
Having recently re-based all my British Crimean figures, it was time to get them onto the tabletop. Like some of my other 19thC figures, these troops hadn’t seen the light of day for almost twenty years: a testament to my inability to sell or give away any of my collection!

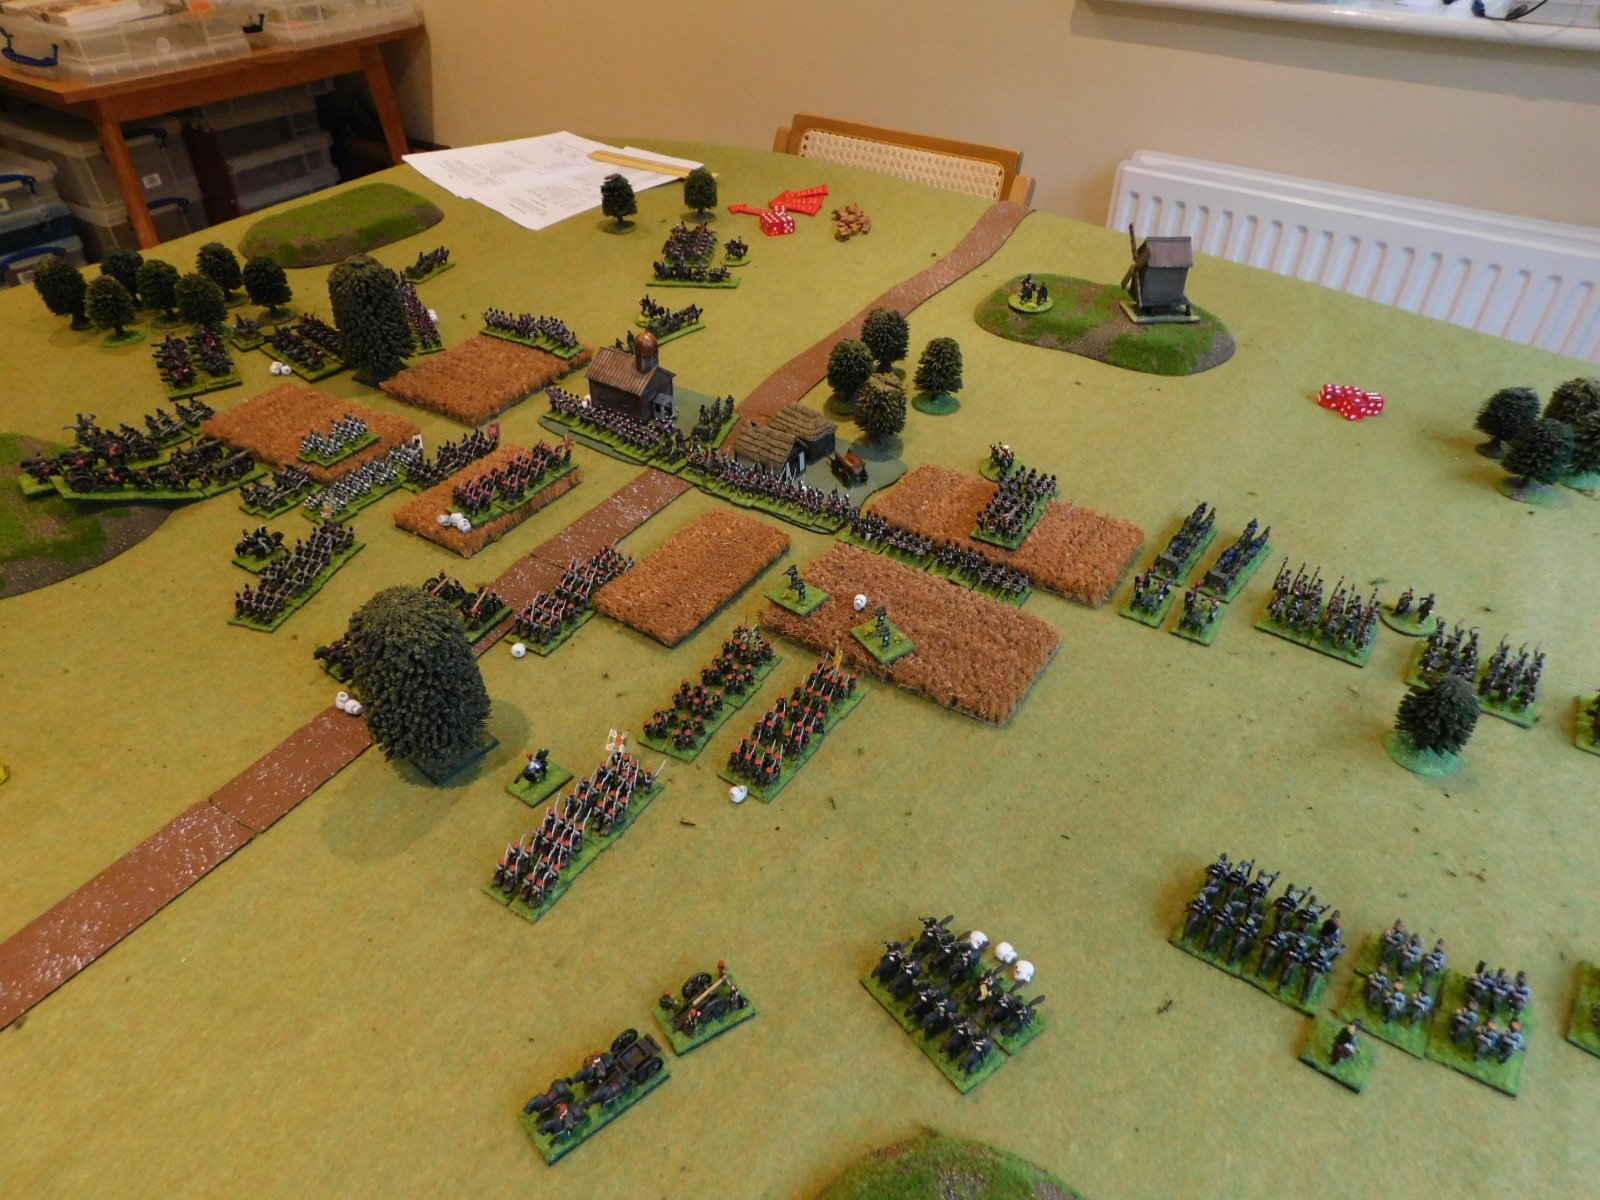
As I had done all the work, I would take the British, with friend John taking the Russians. Set up was a simple one: both sides were after possession of a strategically important village in about the centre of the table. We would use the Neil Thomas Rules for Wargaming the 19th Century.

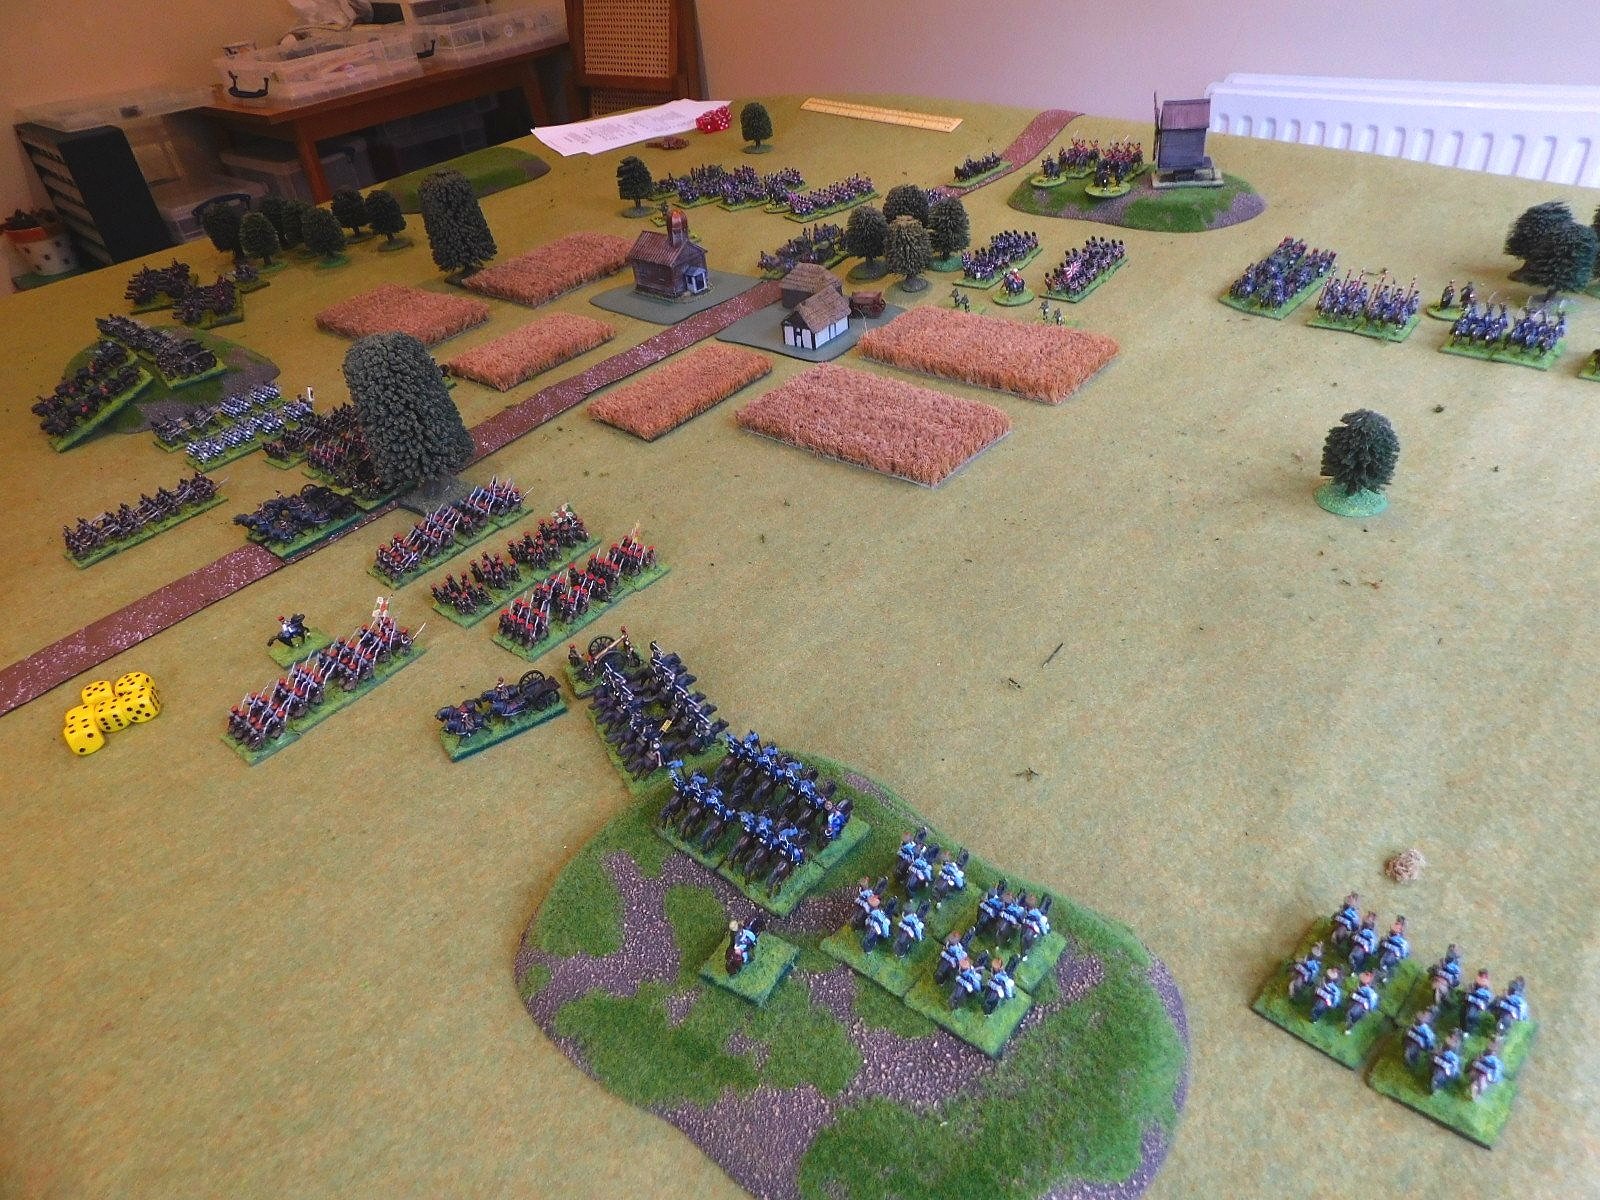
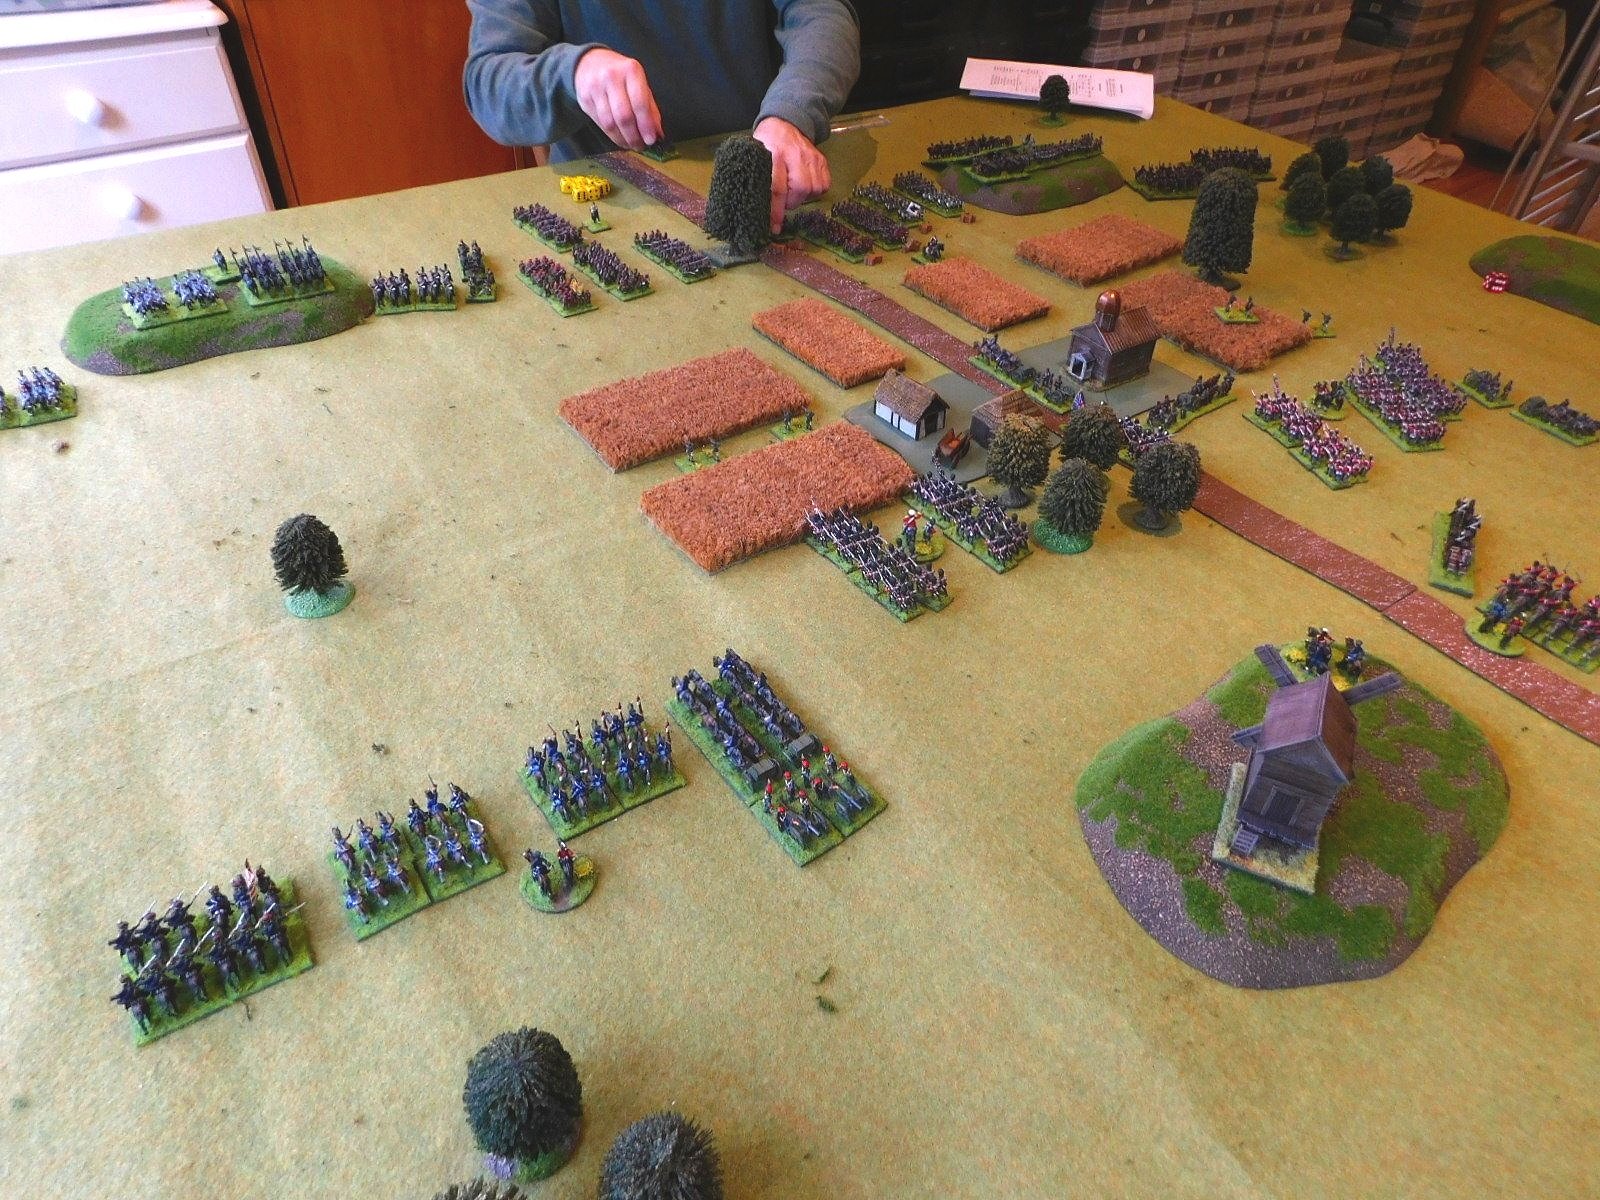
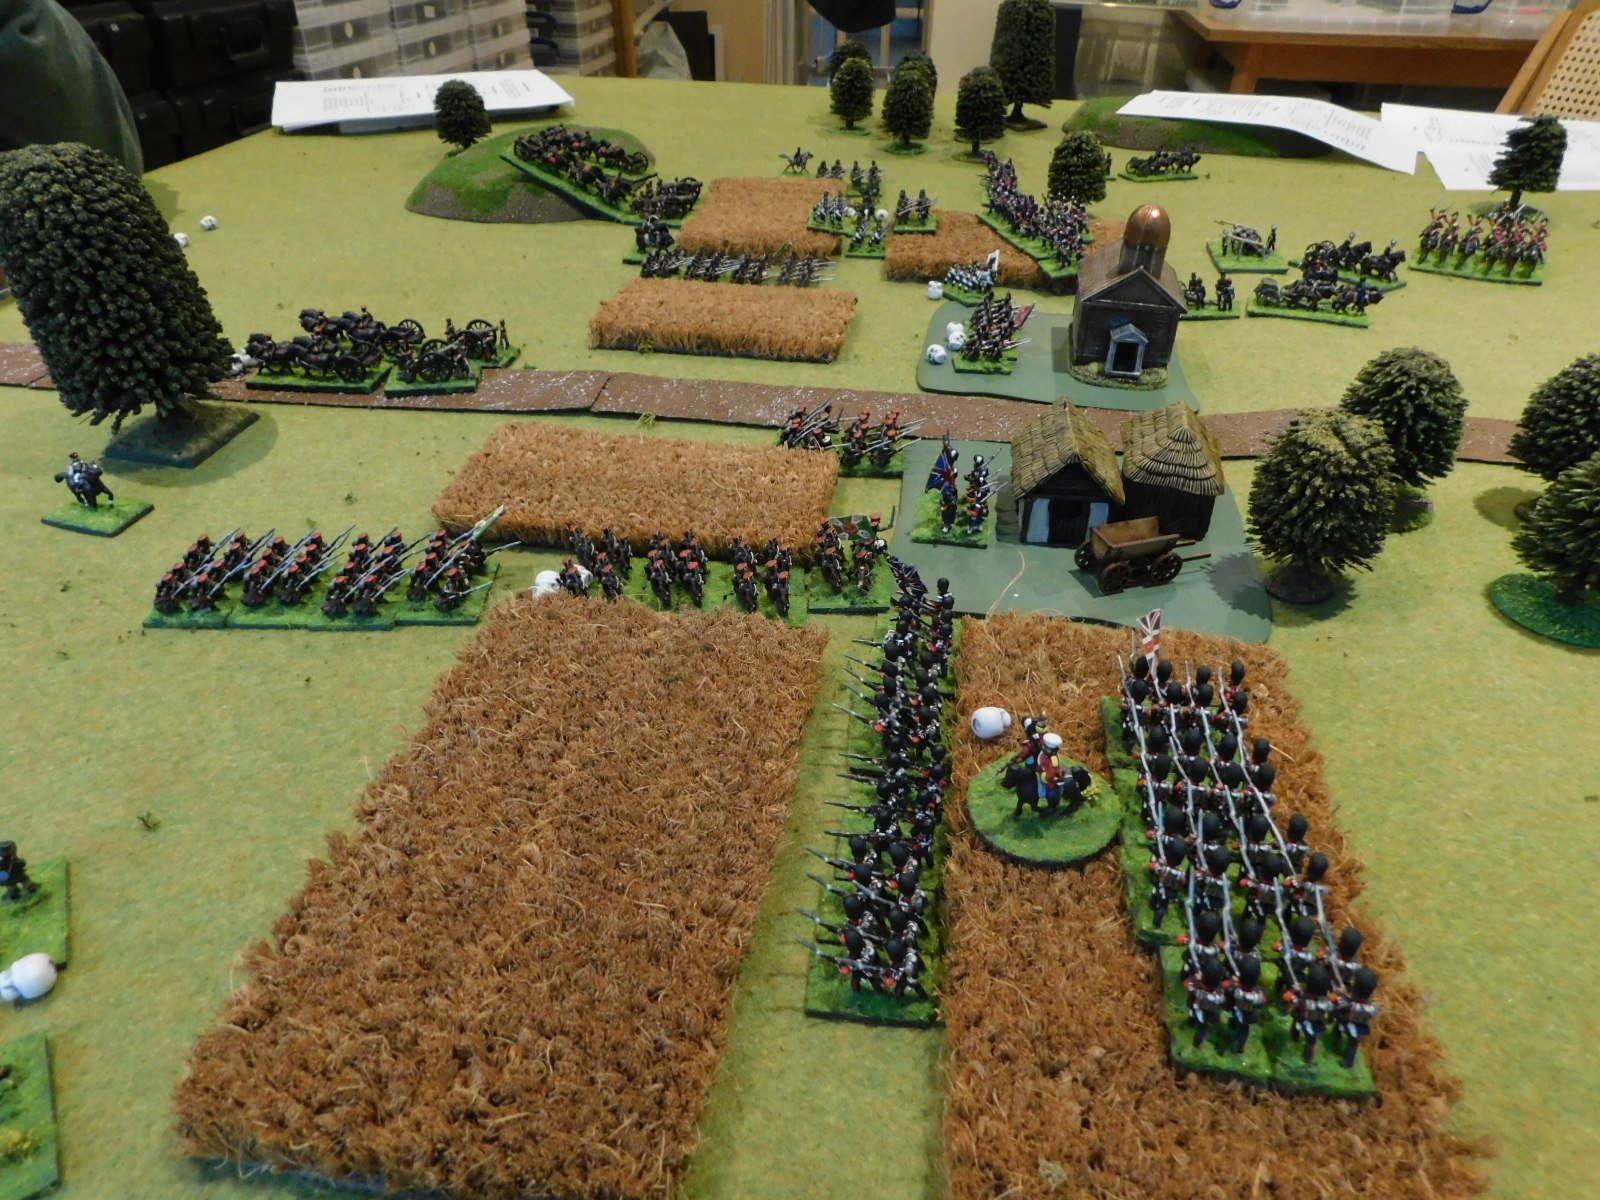
As the game begun, both sides hotfooted it towards the village.

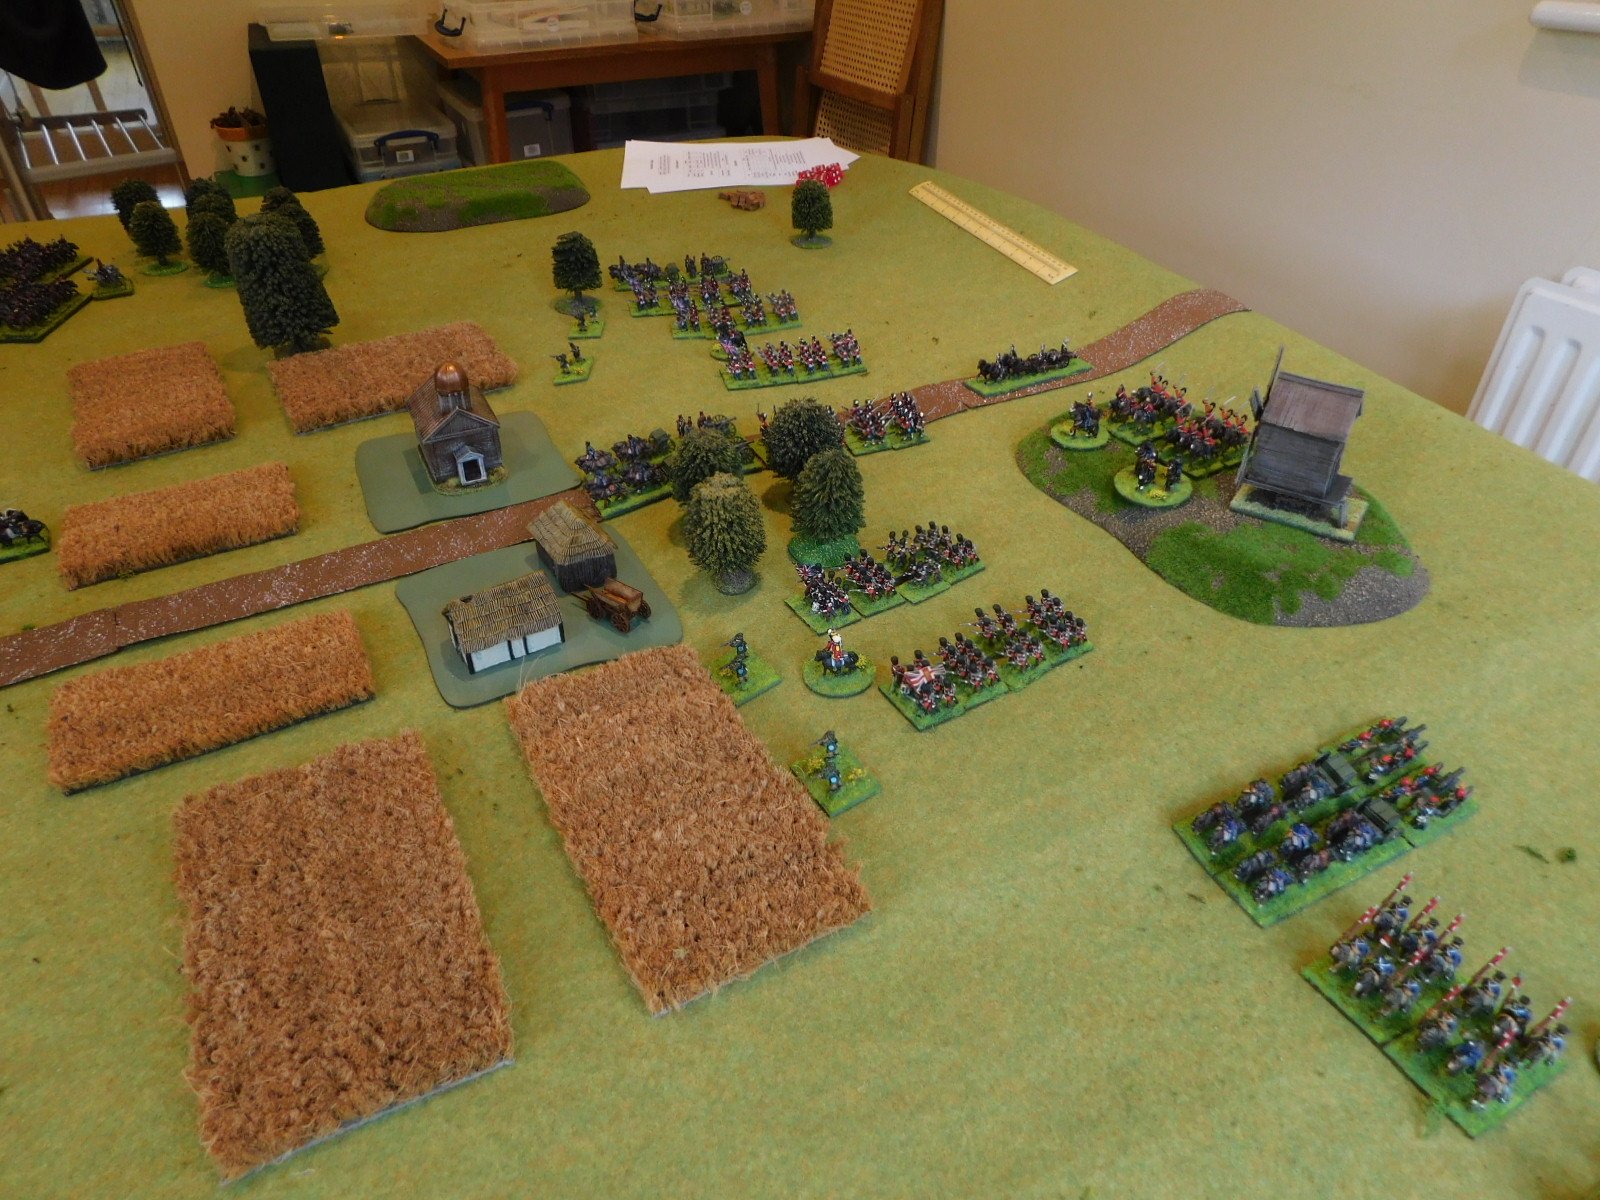
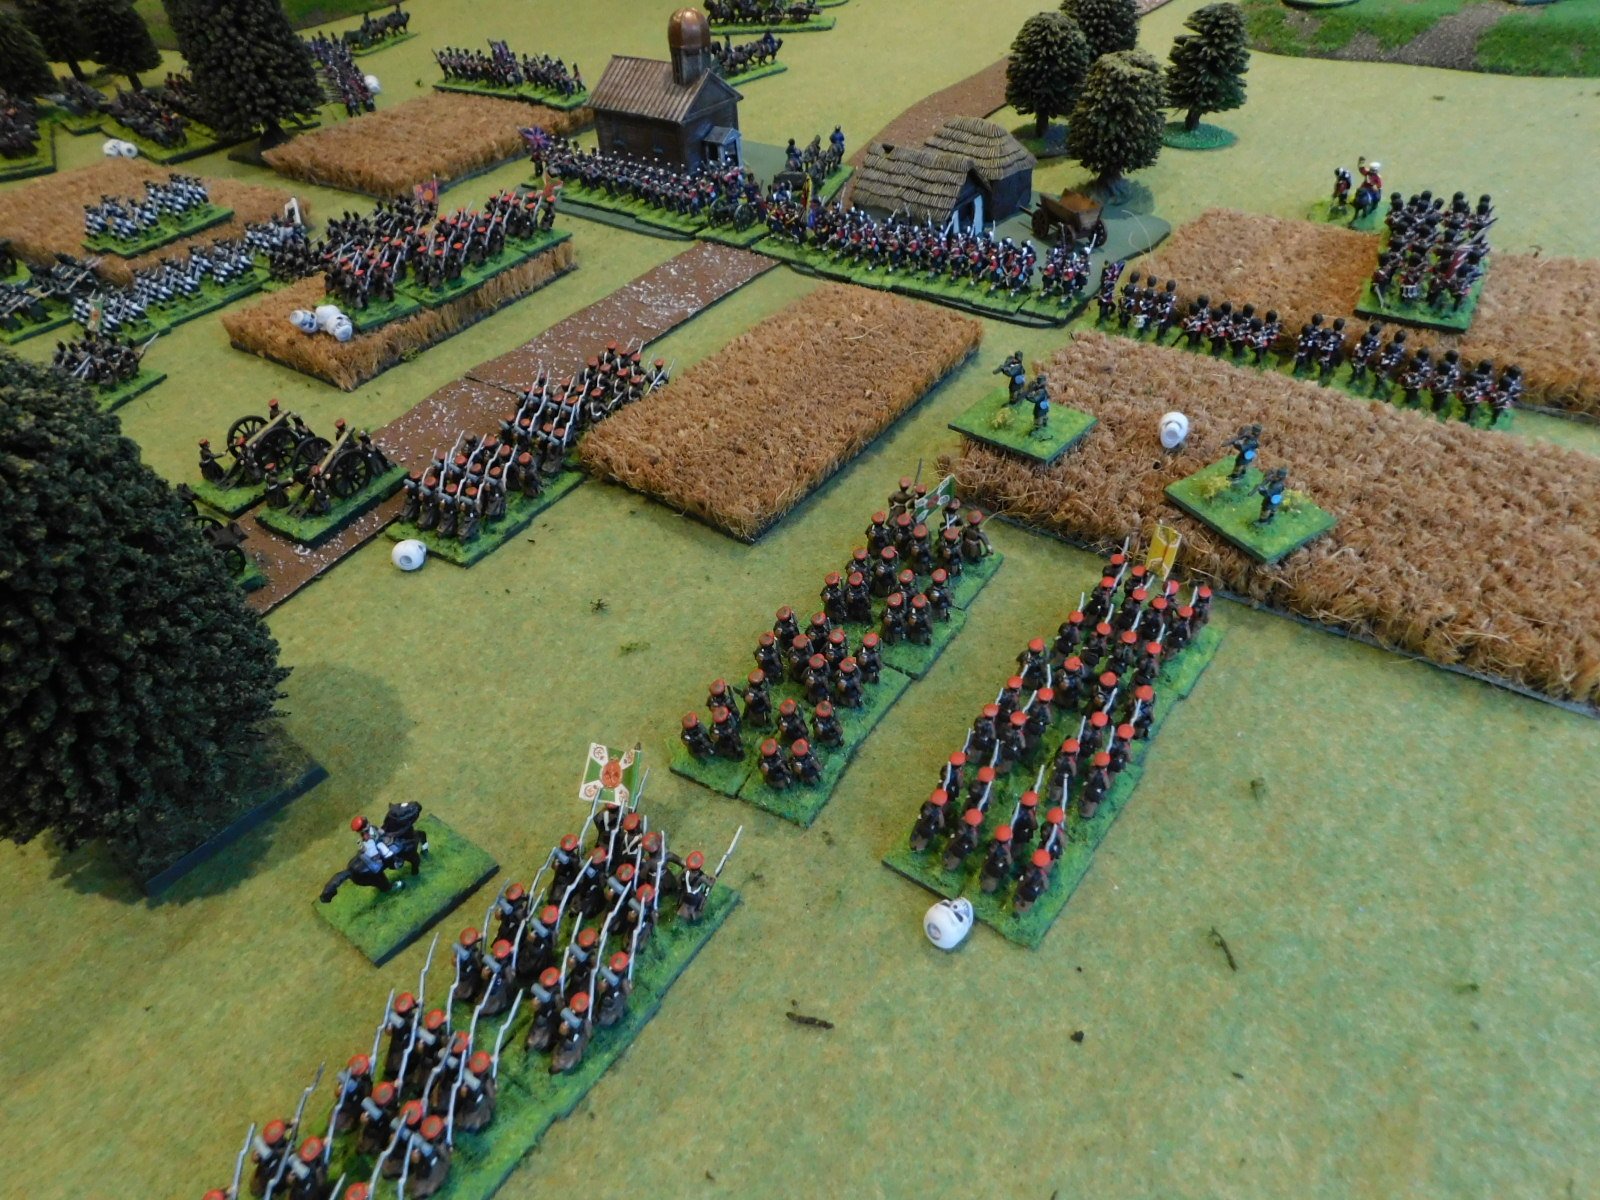
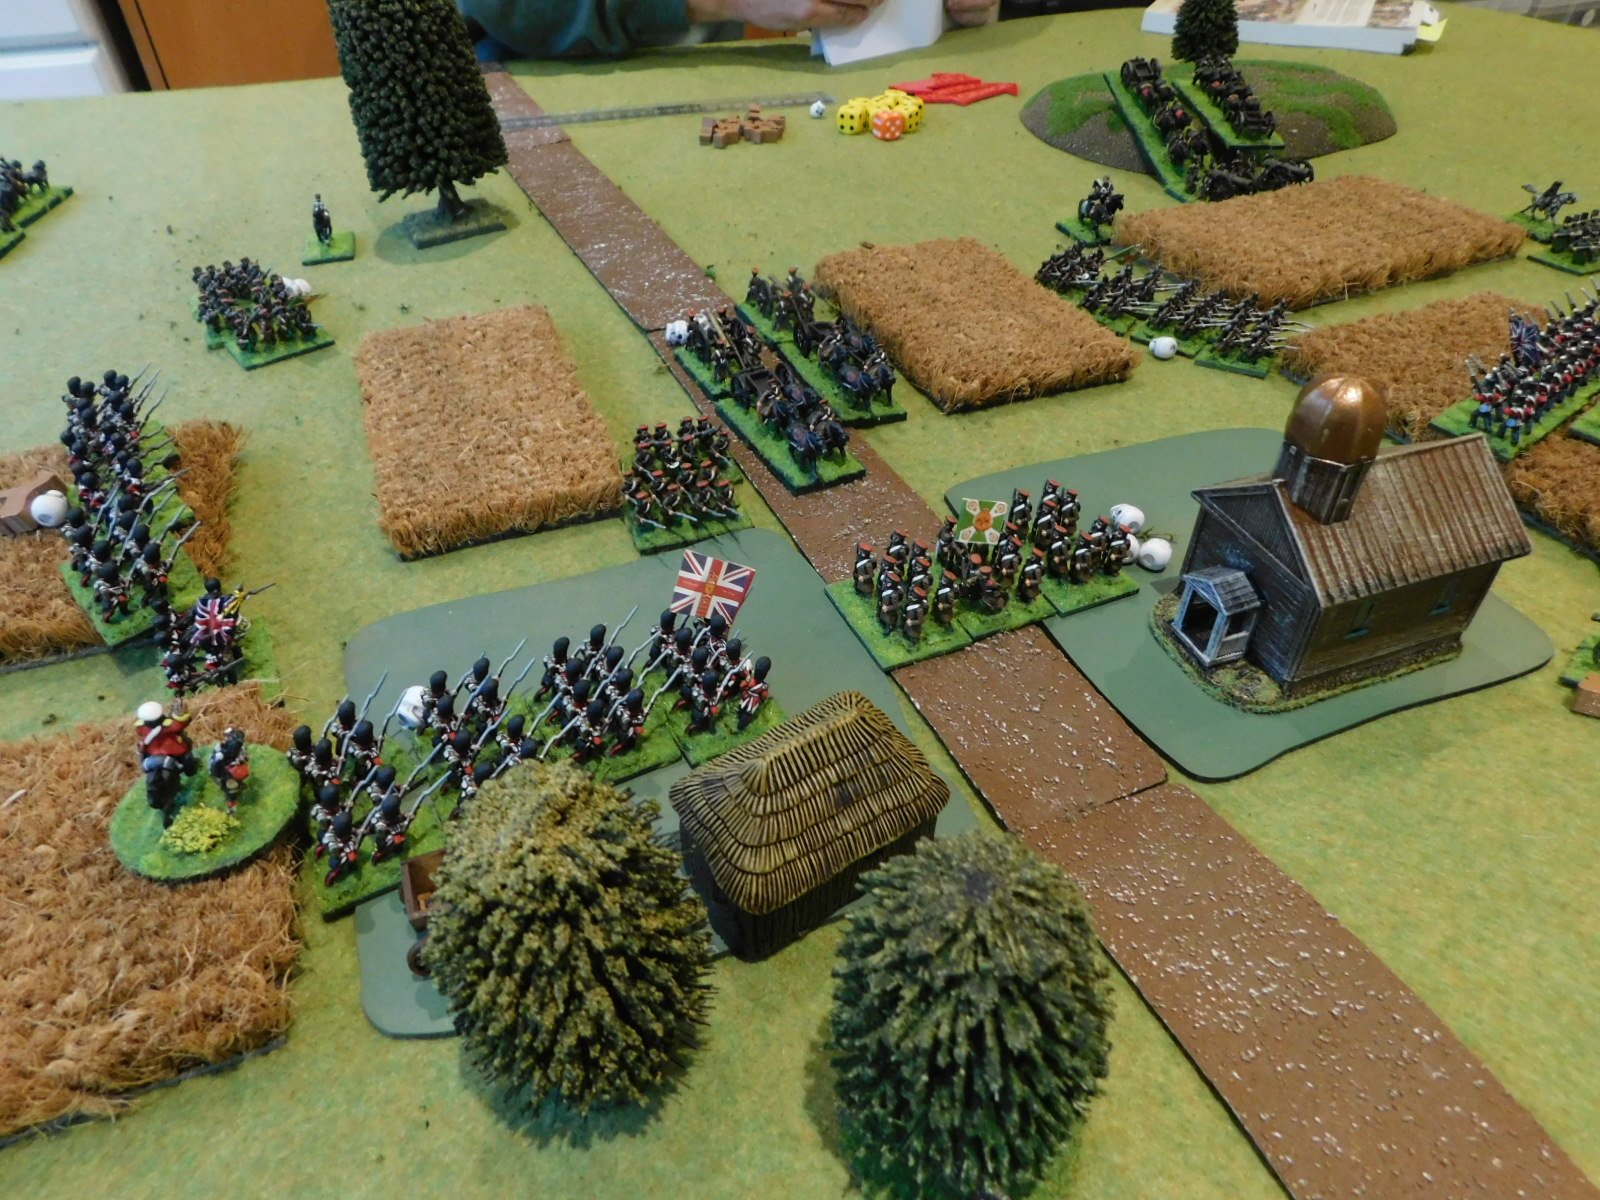
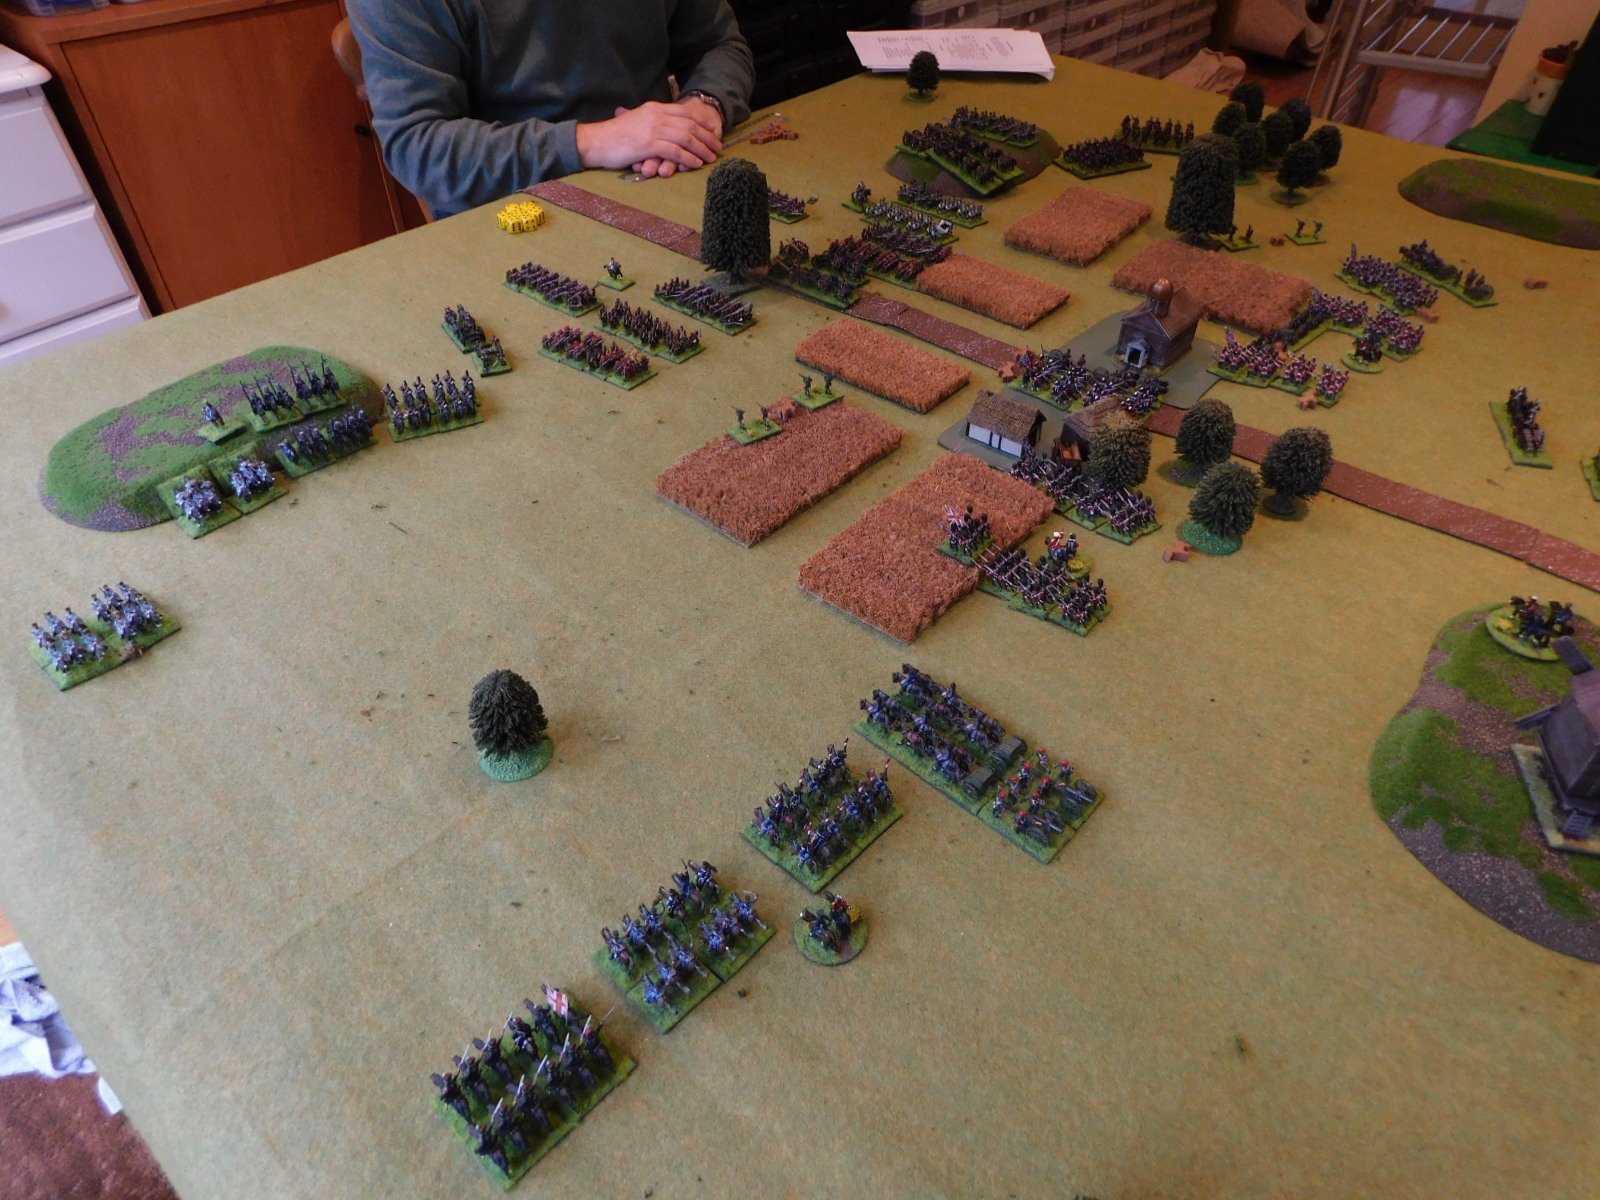
As you can see, the Brits were a bit faster (and maybe closer, but we rolled for sides!) so managed to get into the village before the Russians. Also note the opposing sides’ cavalry moving towards each other slowly on the near flank.

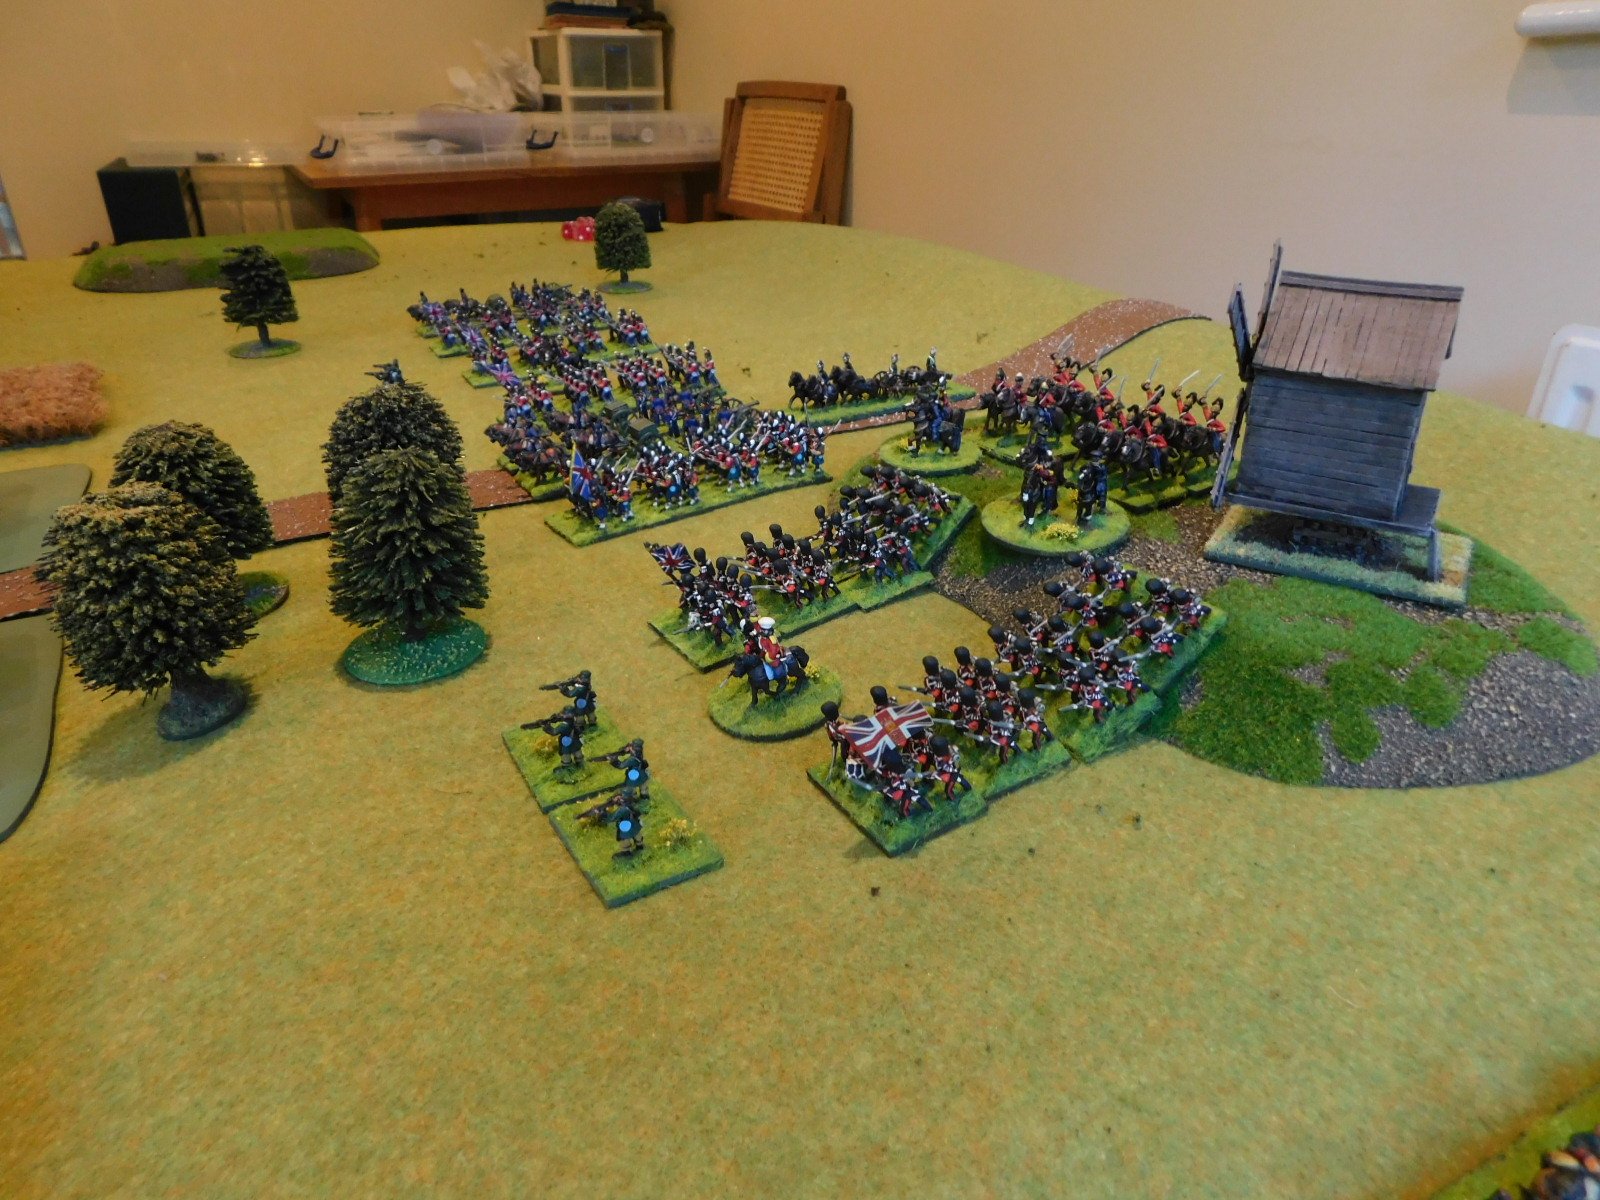
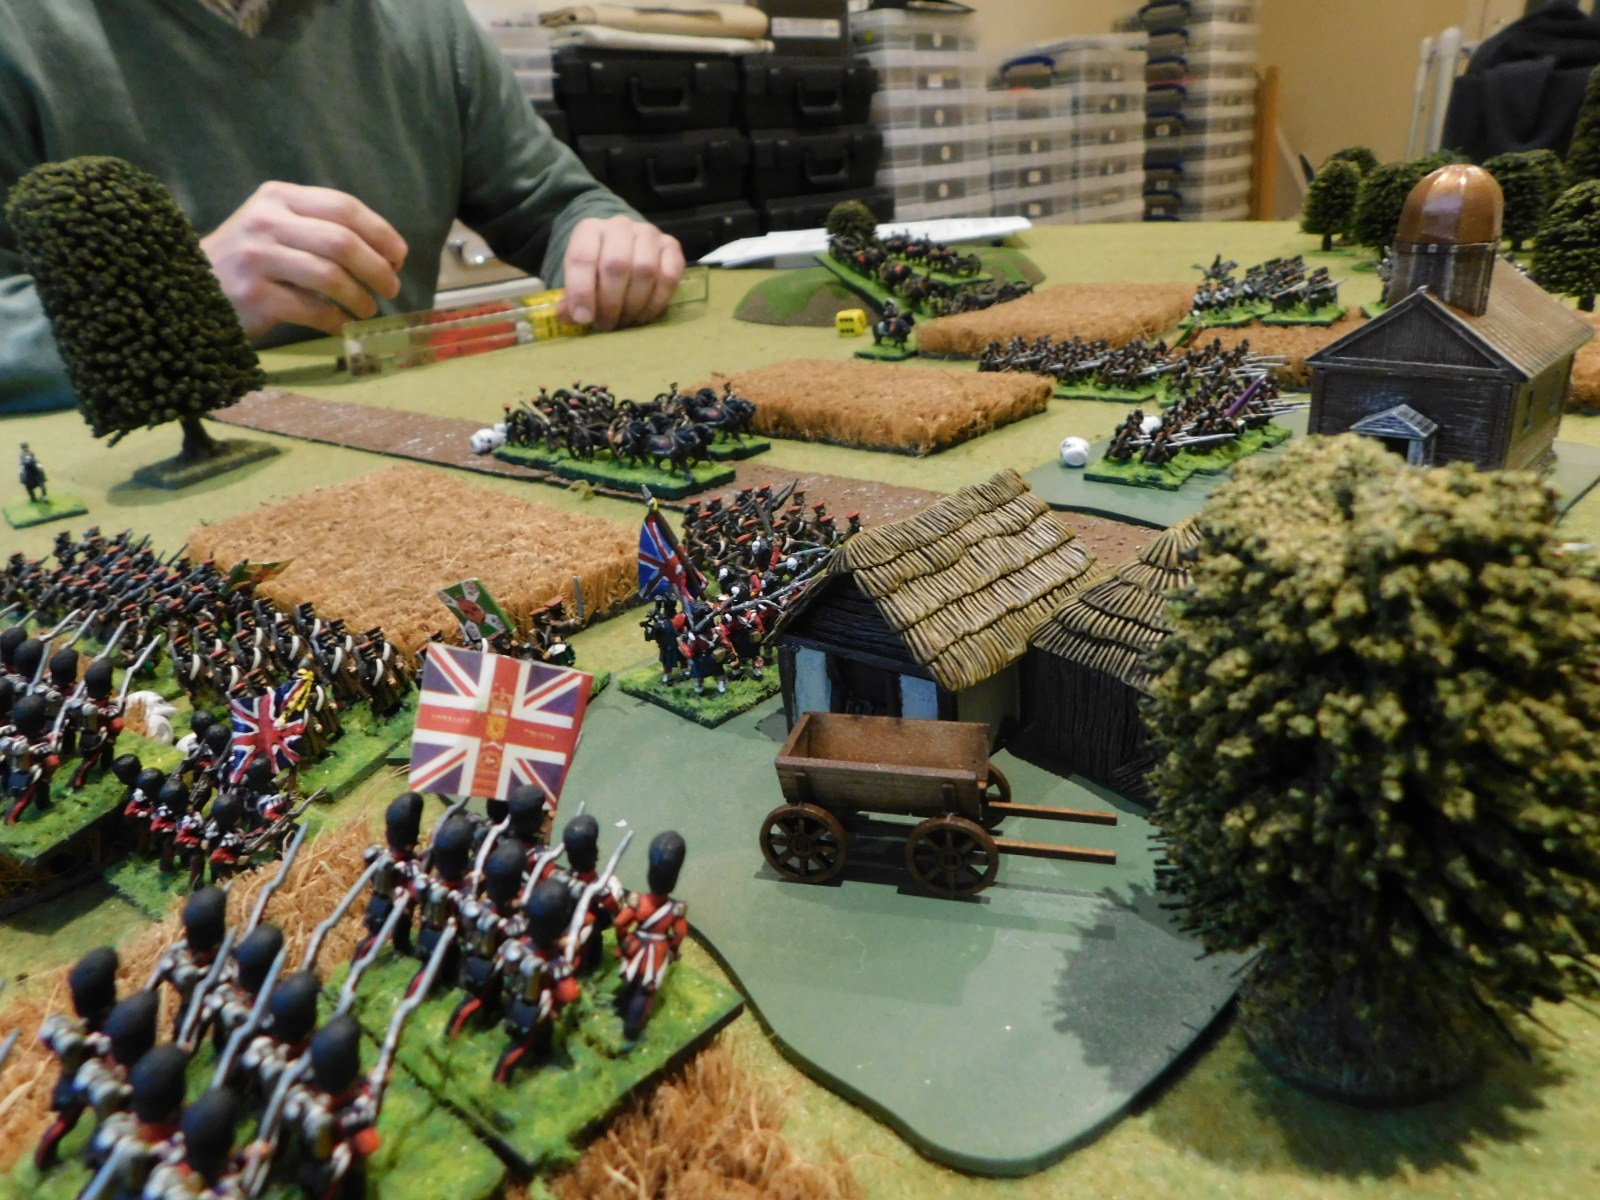
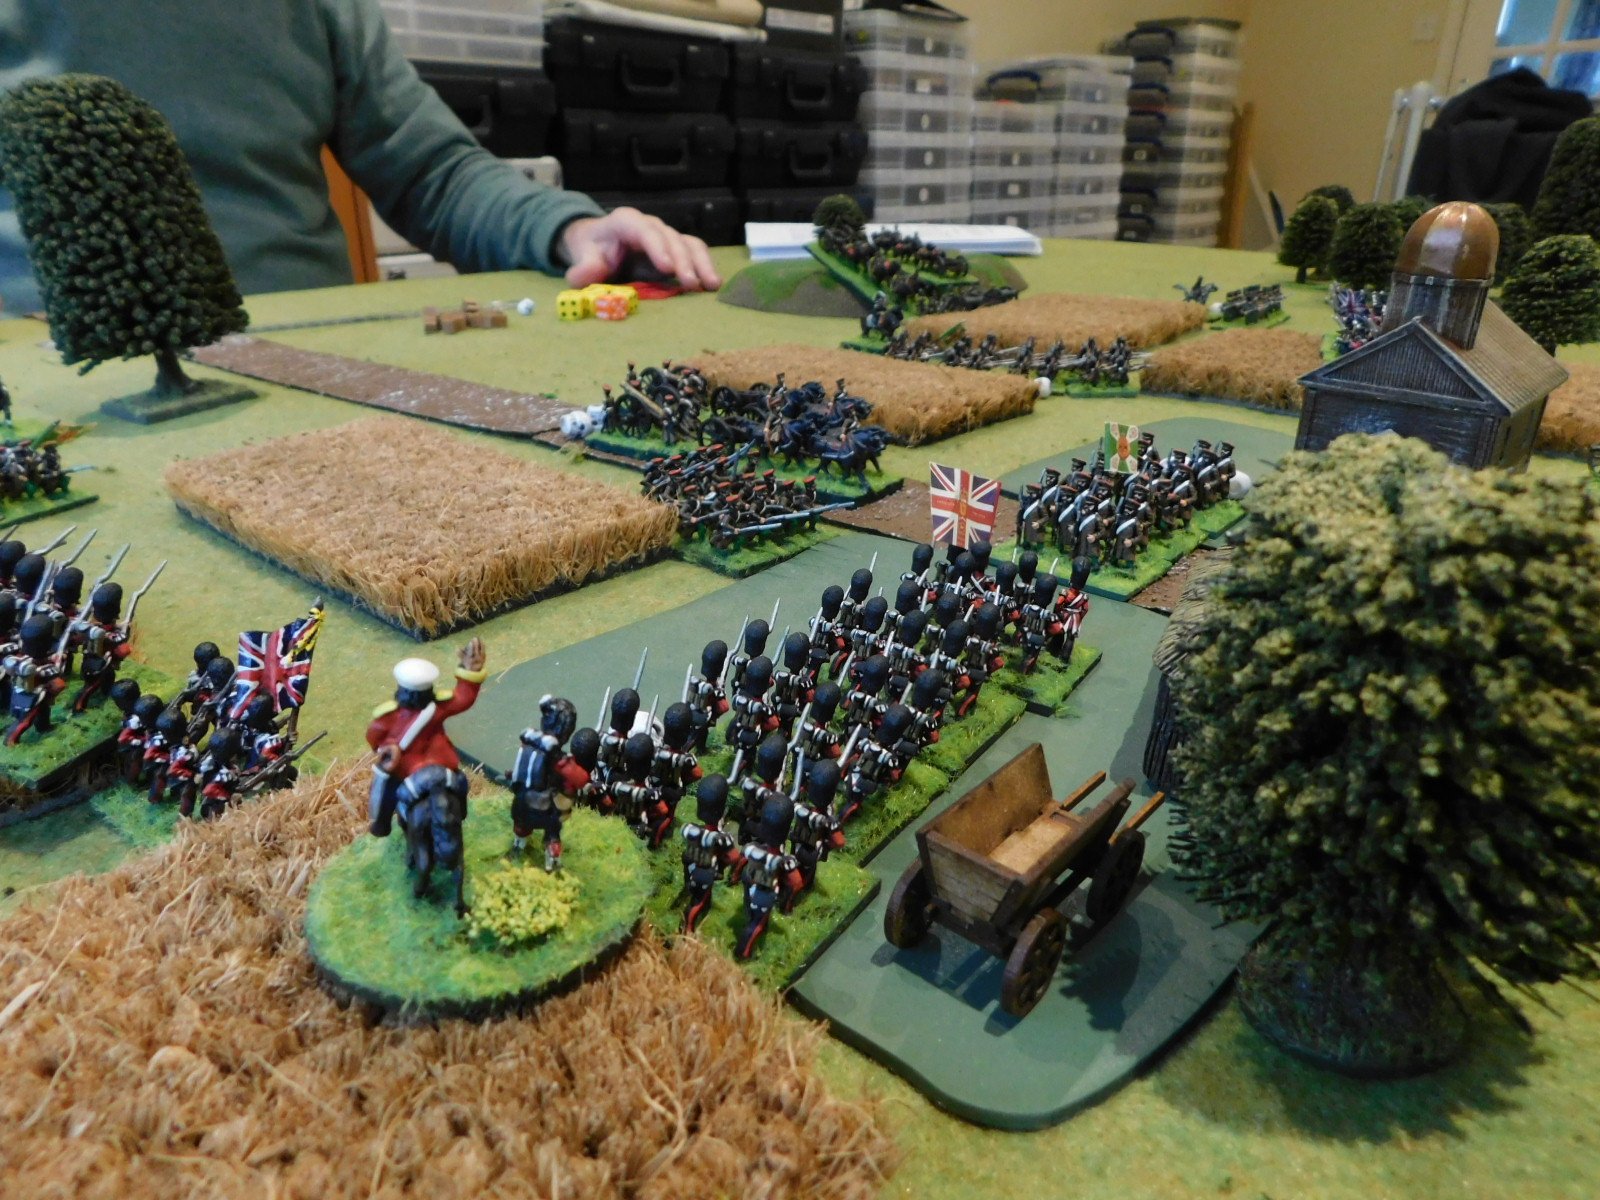
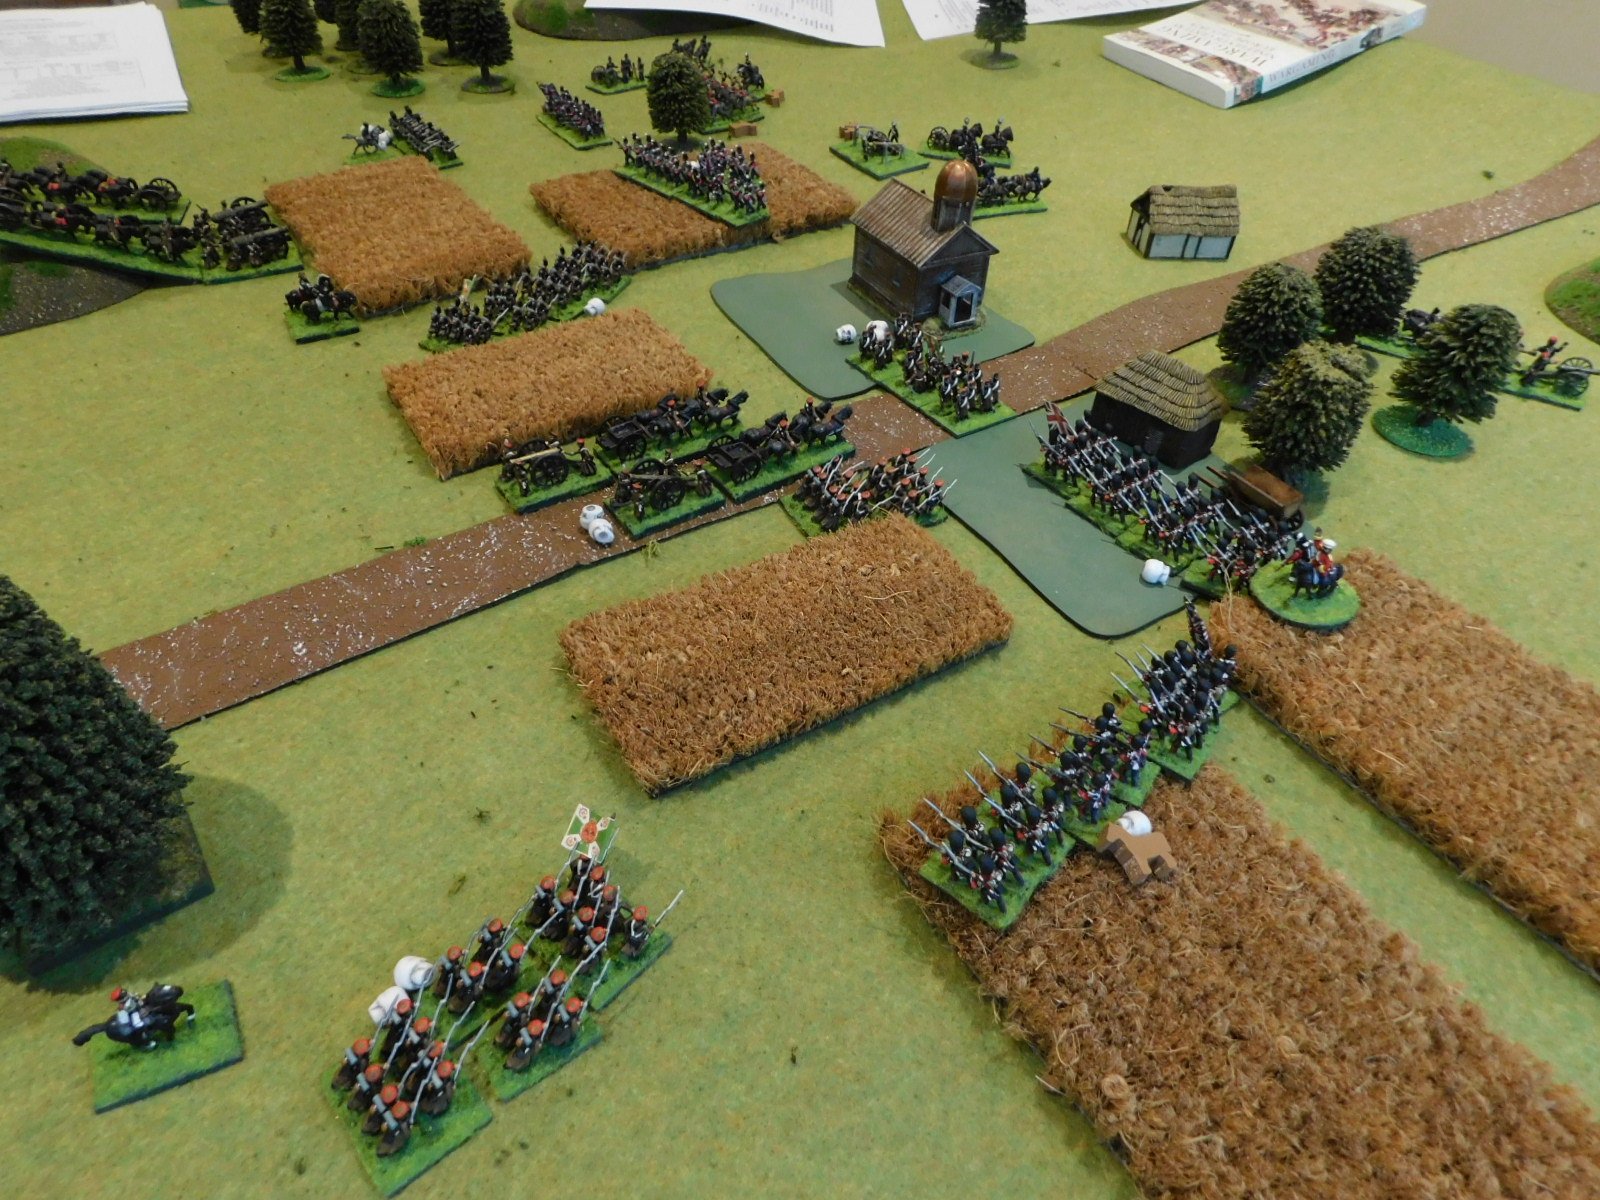
Before we move on with the narrative, here’s a great shot of the British during their approach:

The Fight for the Village

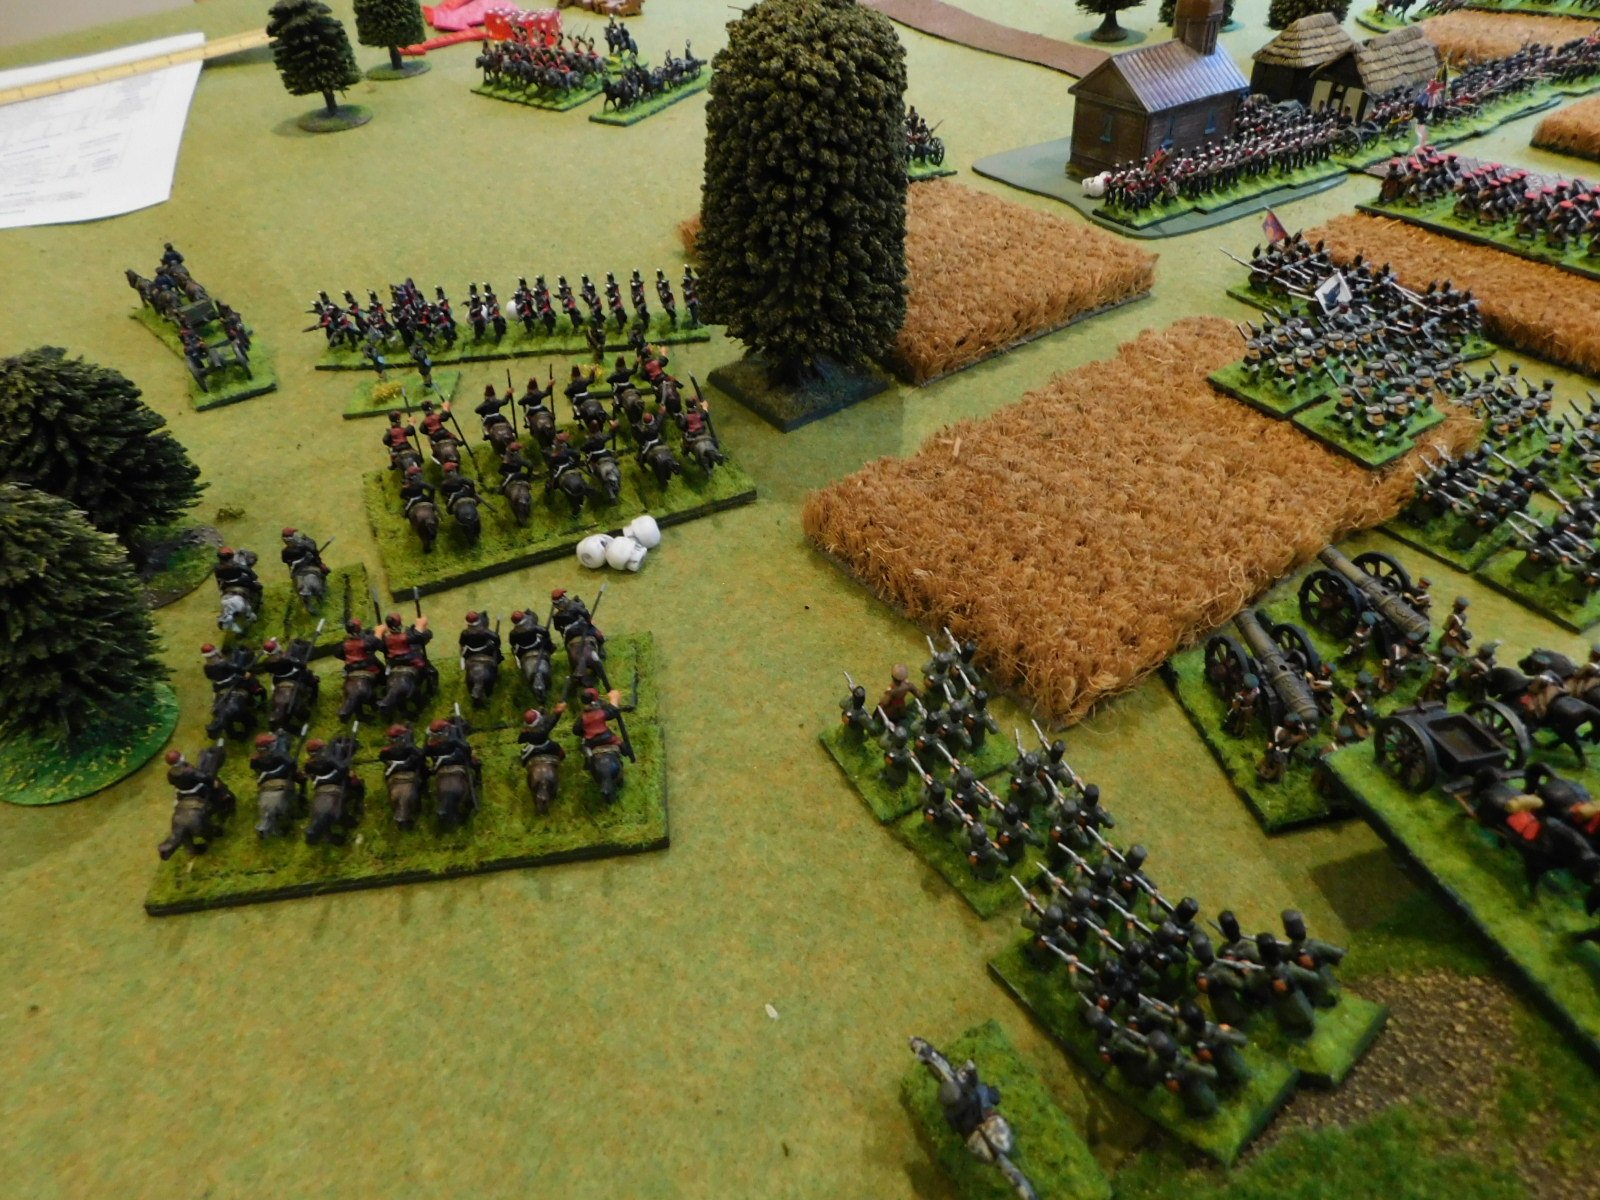
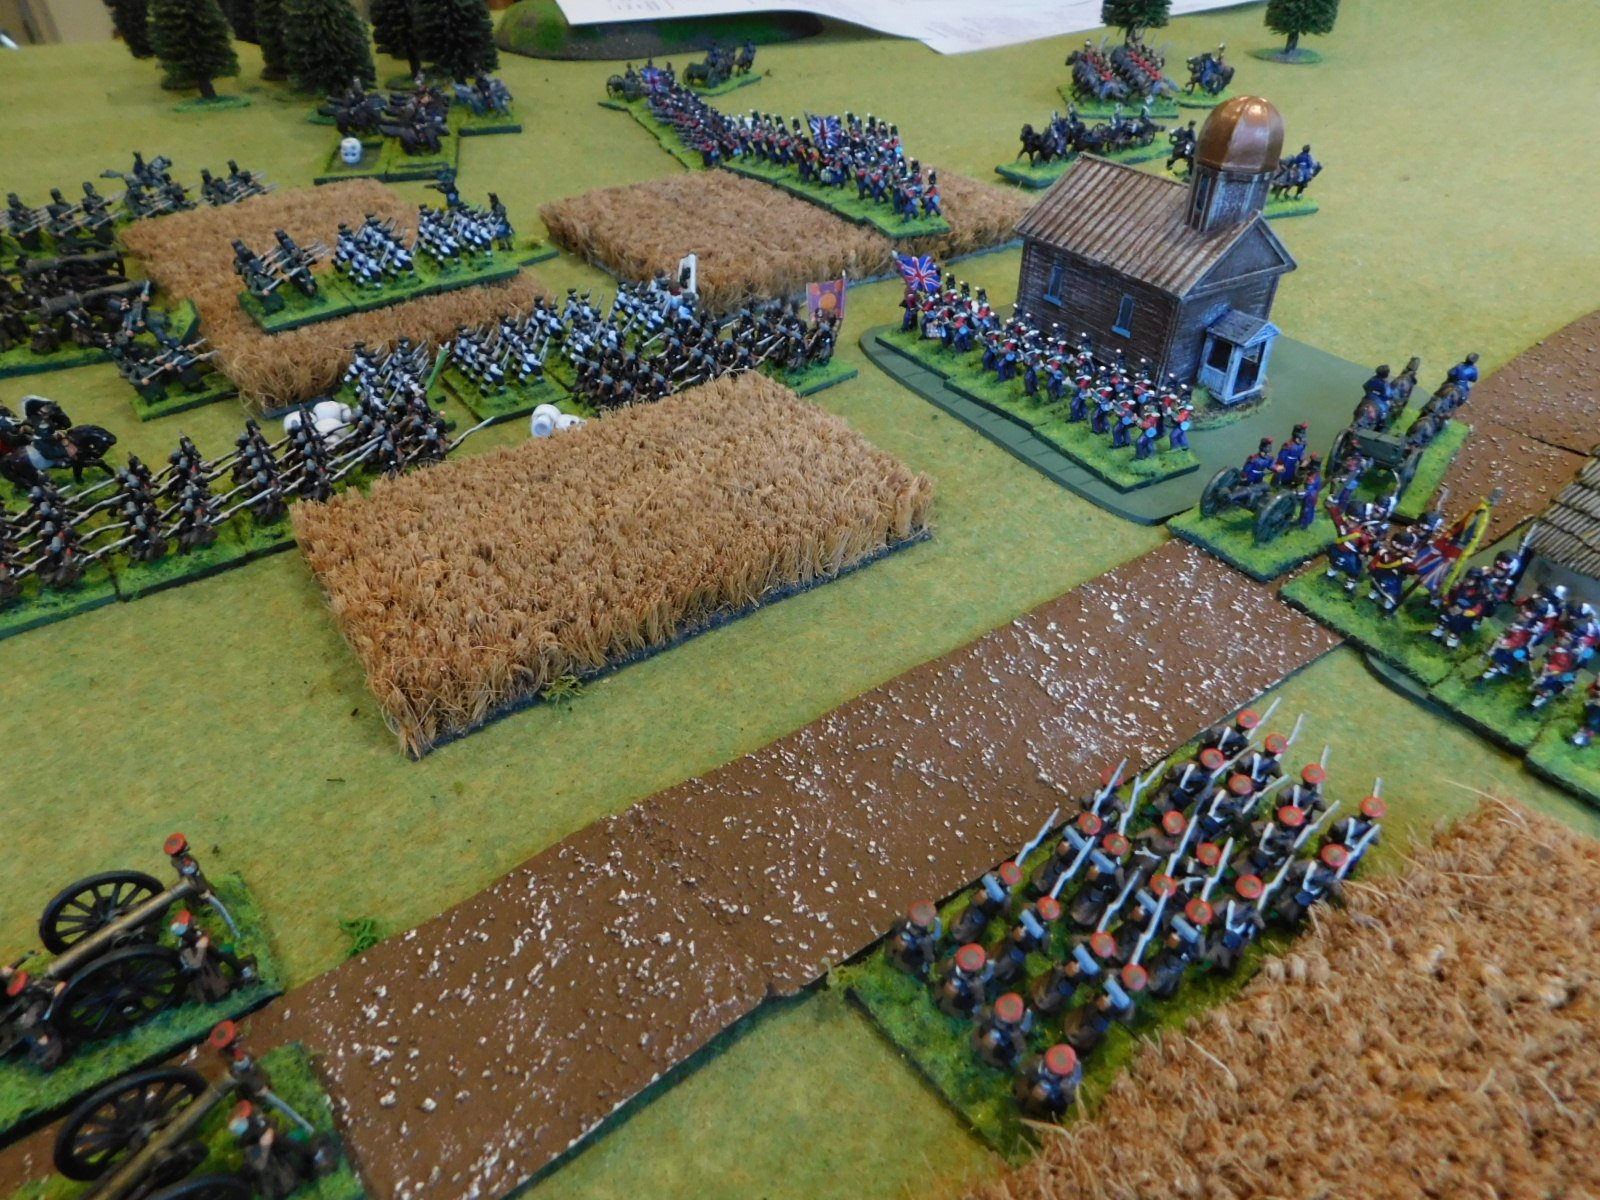
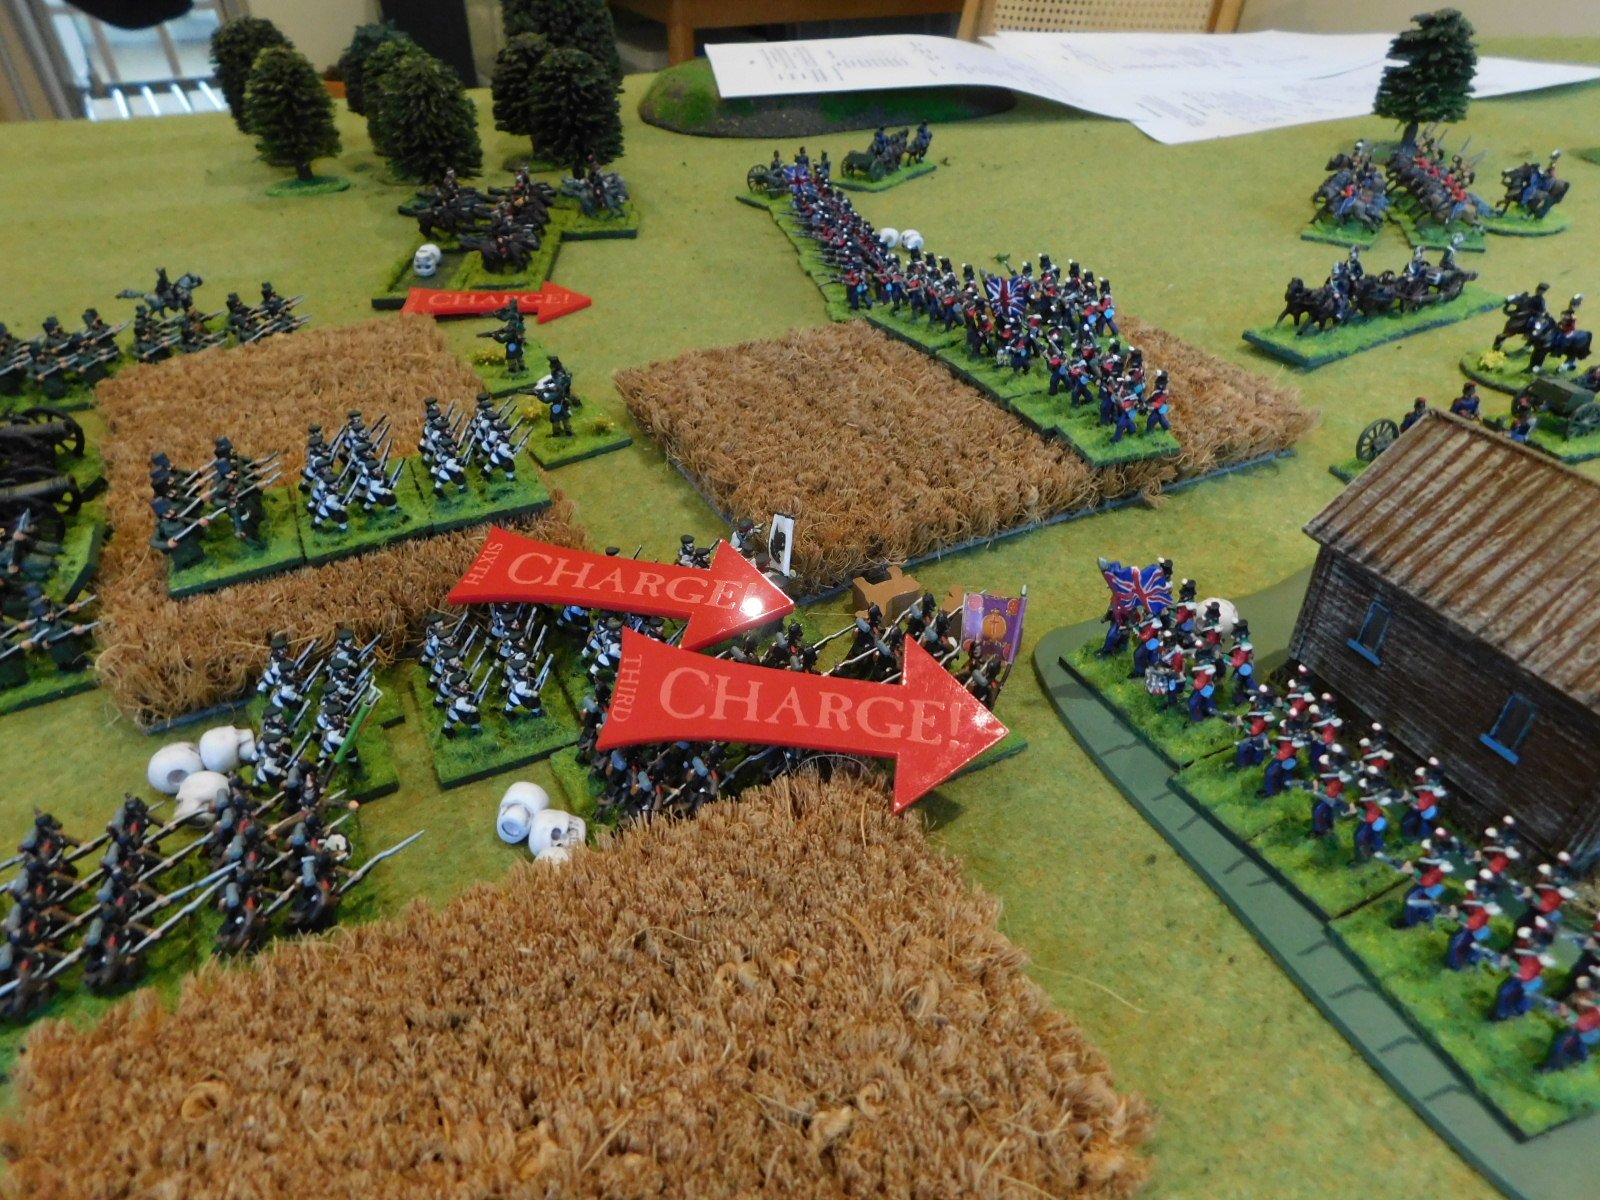
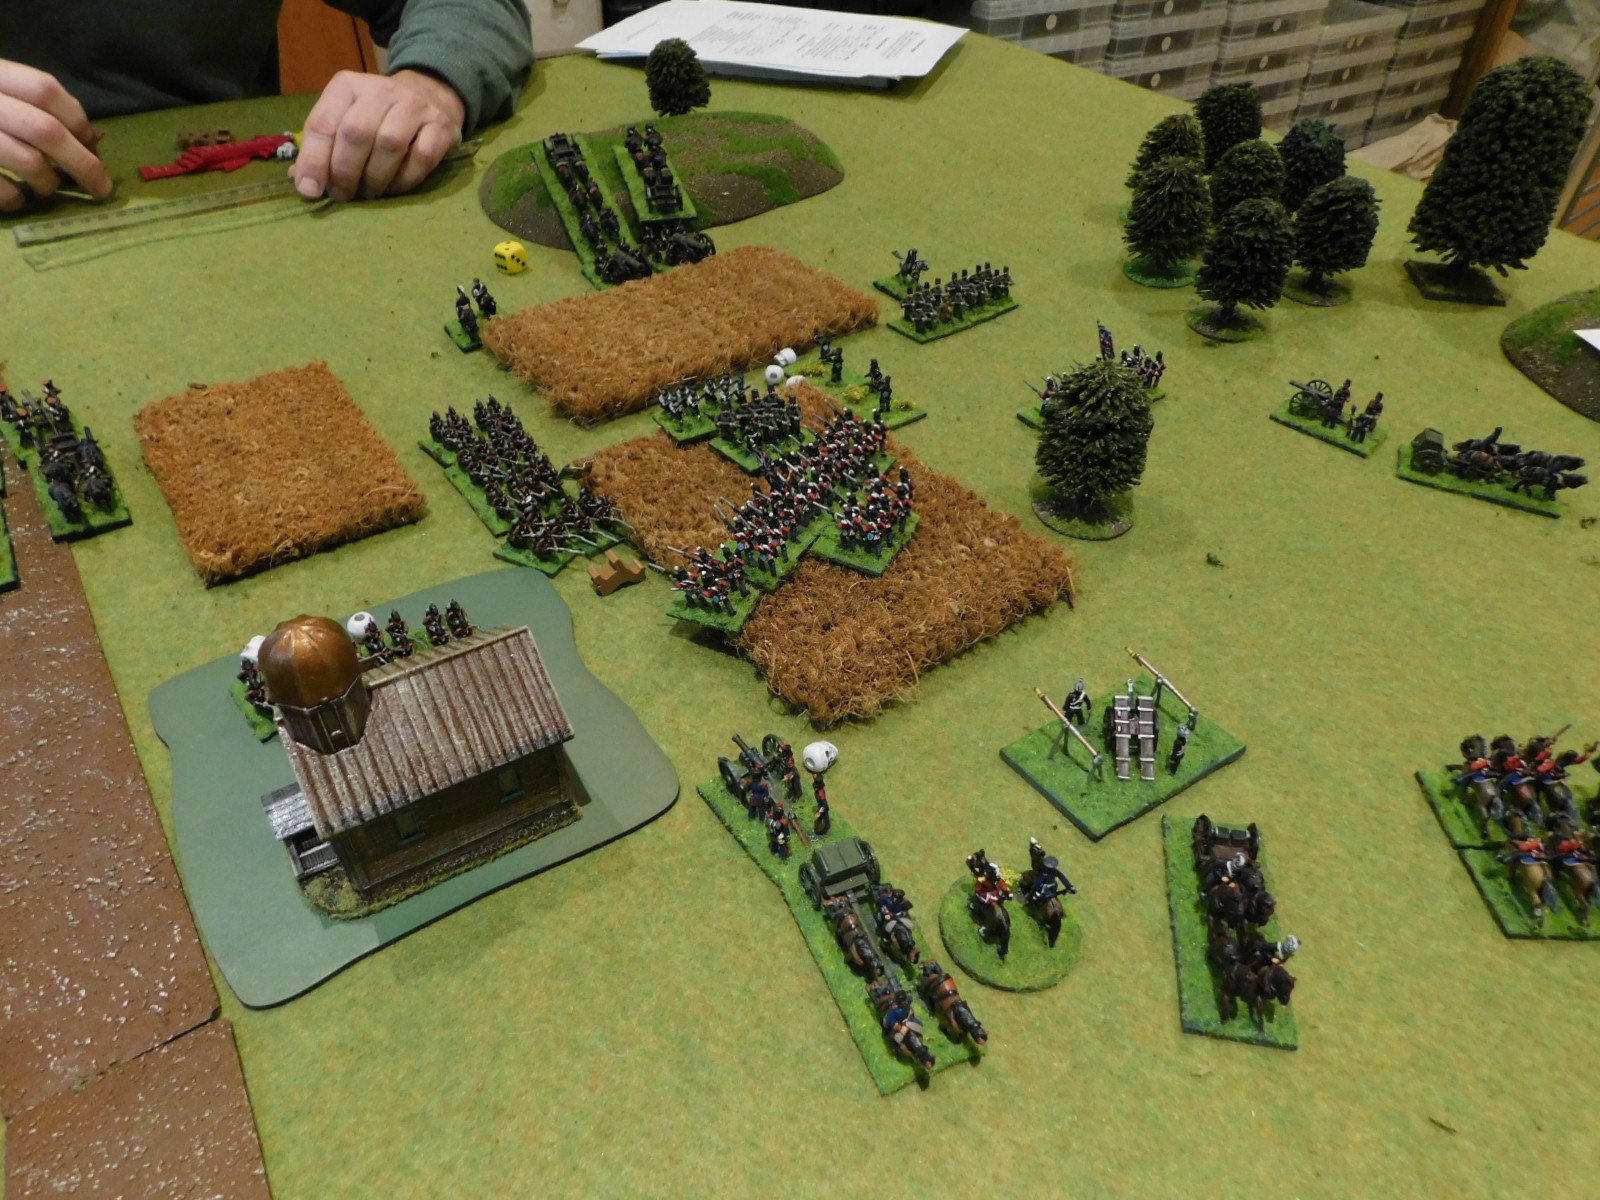
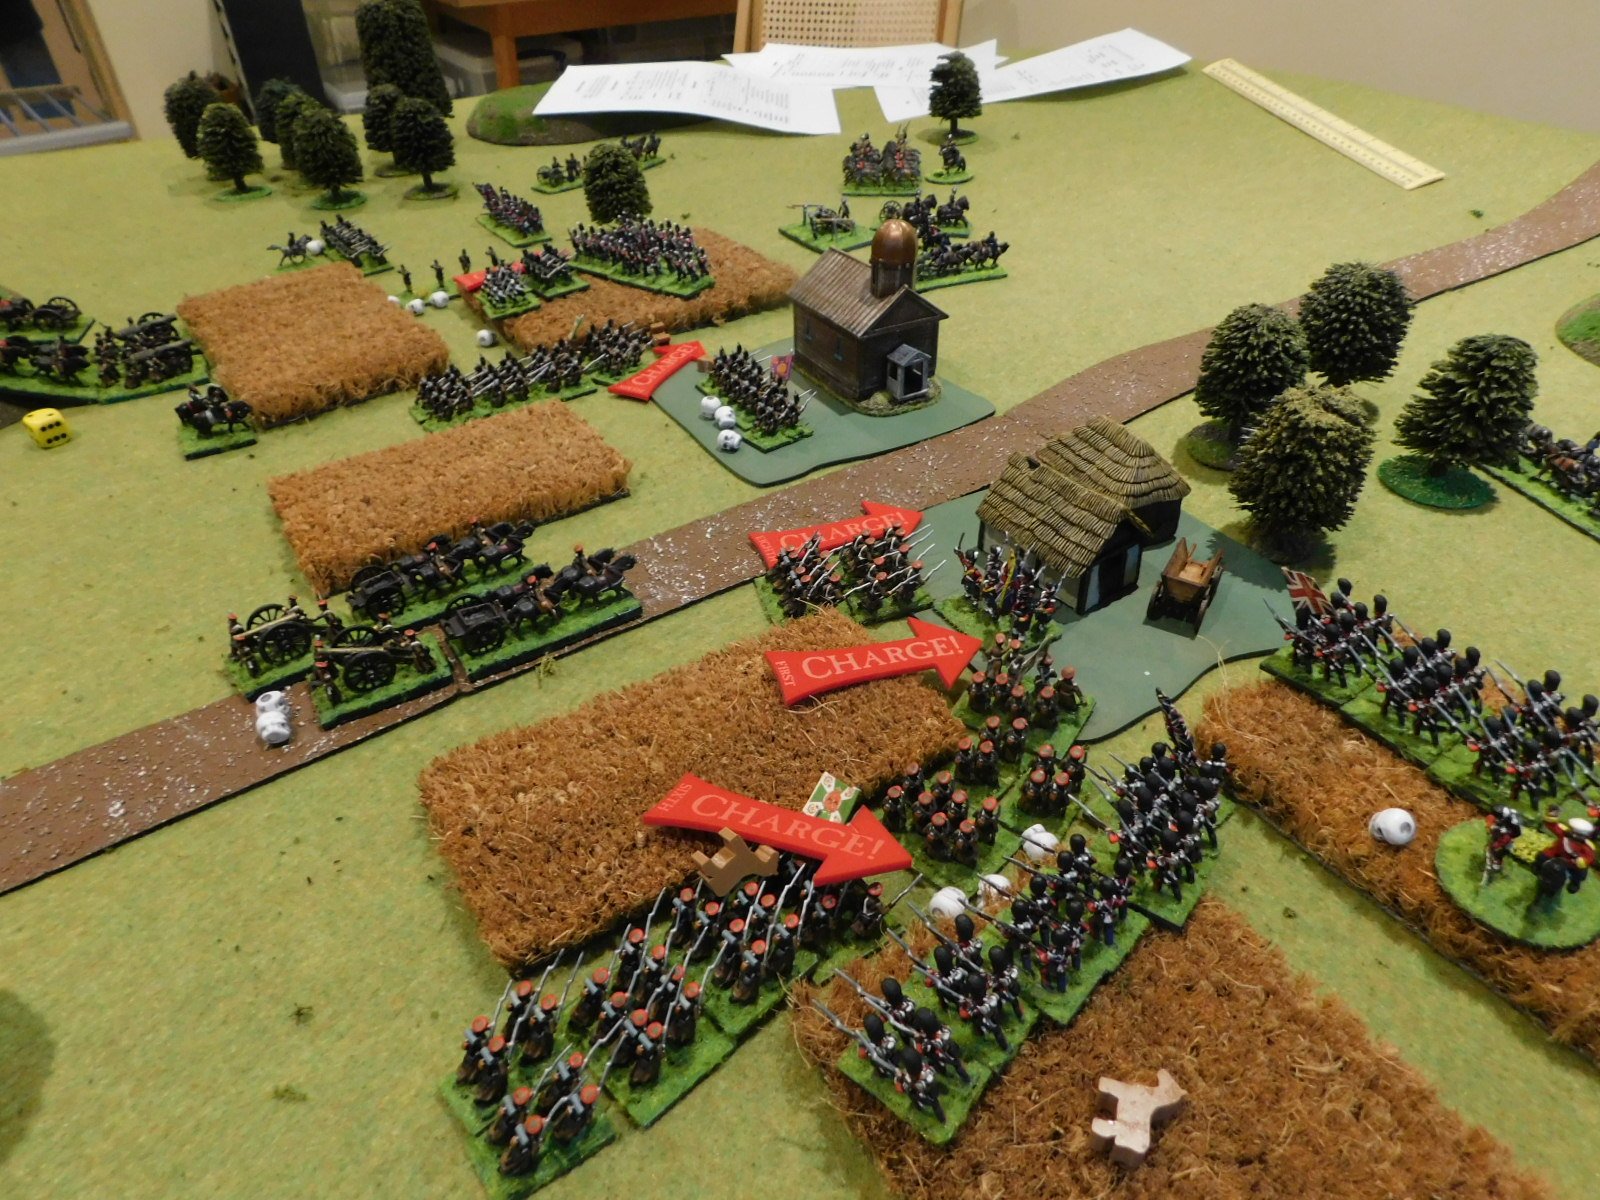
The British reached the village first and barely had time to form line before the Russian columns started to charge home.

On The Right

On the right hand side of the field, a British battalion supported by skirmishers faced off against two large masses of Cossack horse supported by heavy artillery and a battalion of Cossack foot.

Throughout the rest of the game, this battalion would hold this flank, sending the three Cossack units flying back to their steppes. The price was high: only half the British infantry were still on their feet at the end of the battle.

On The Left

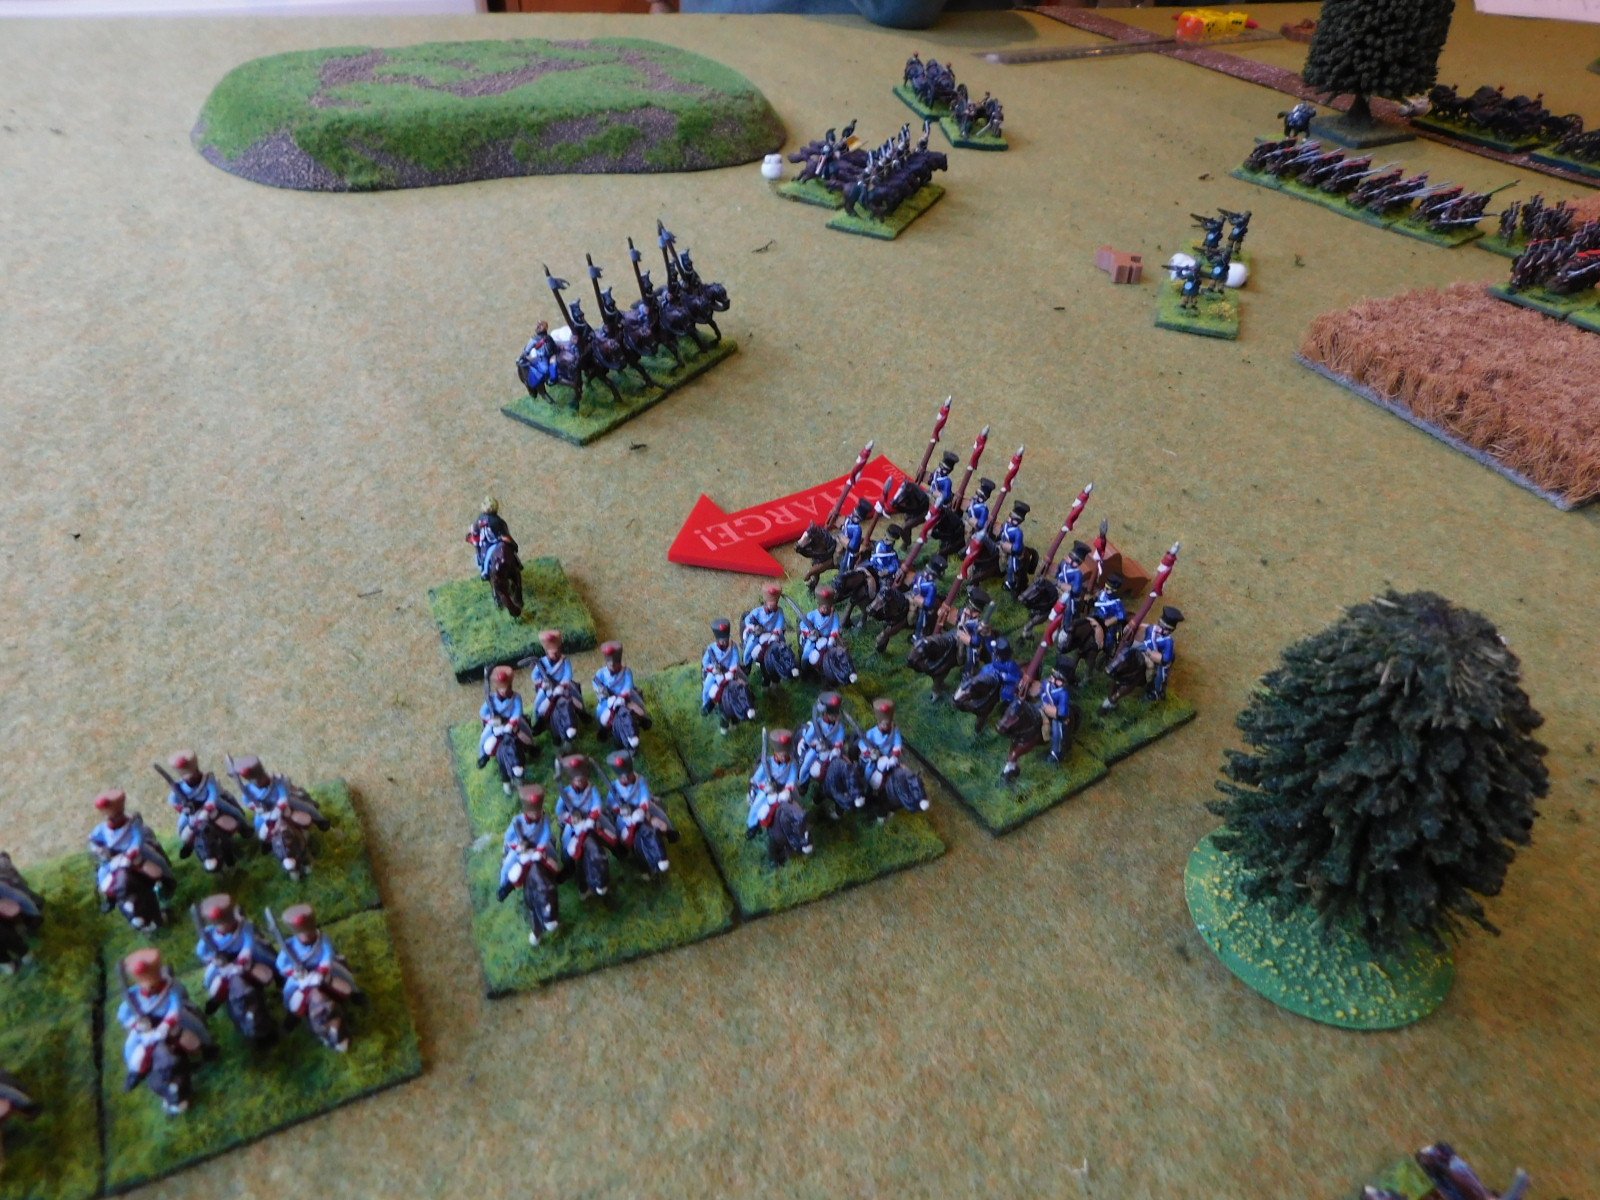
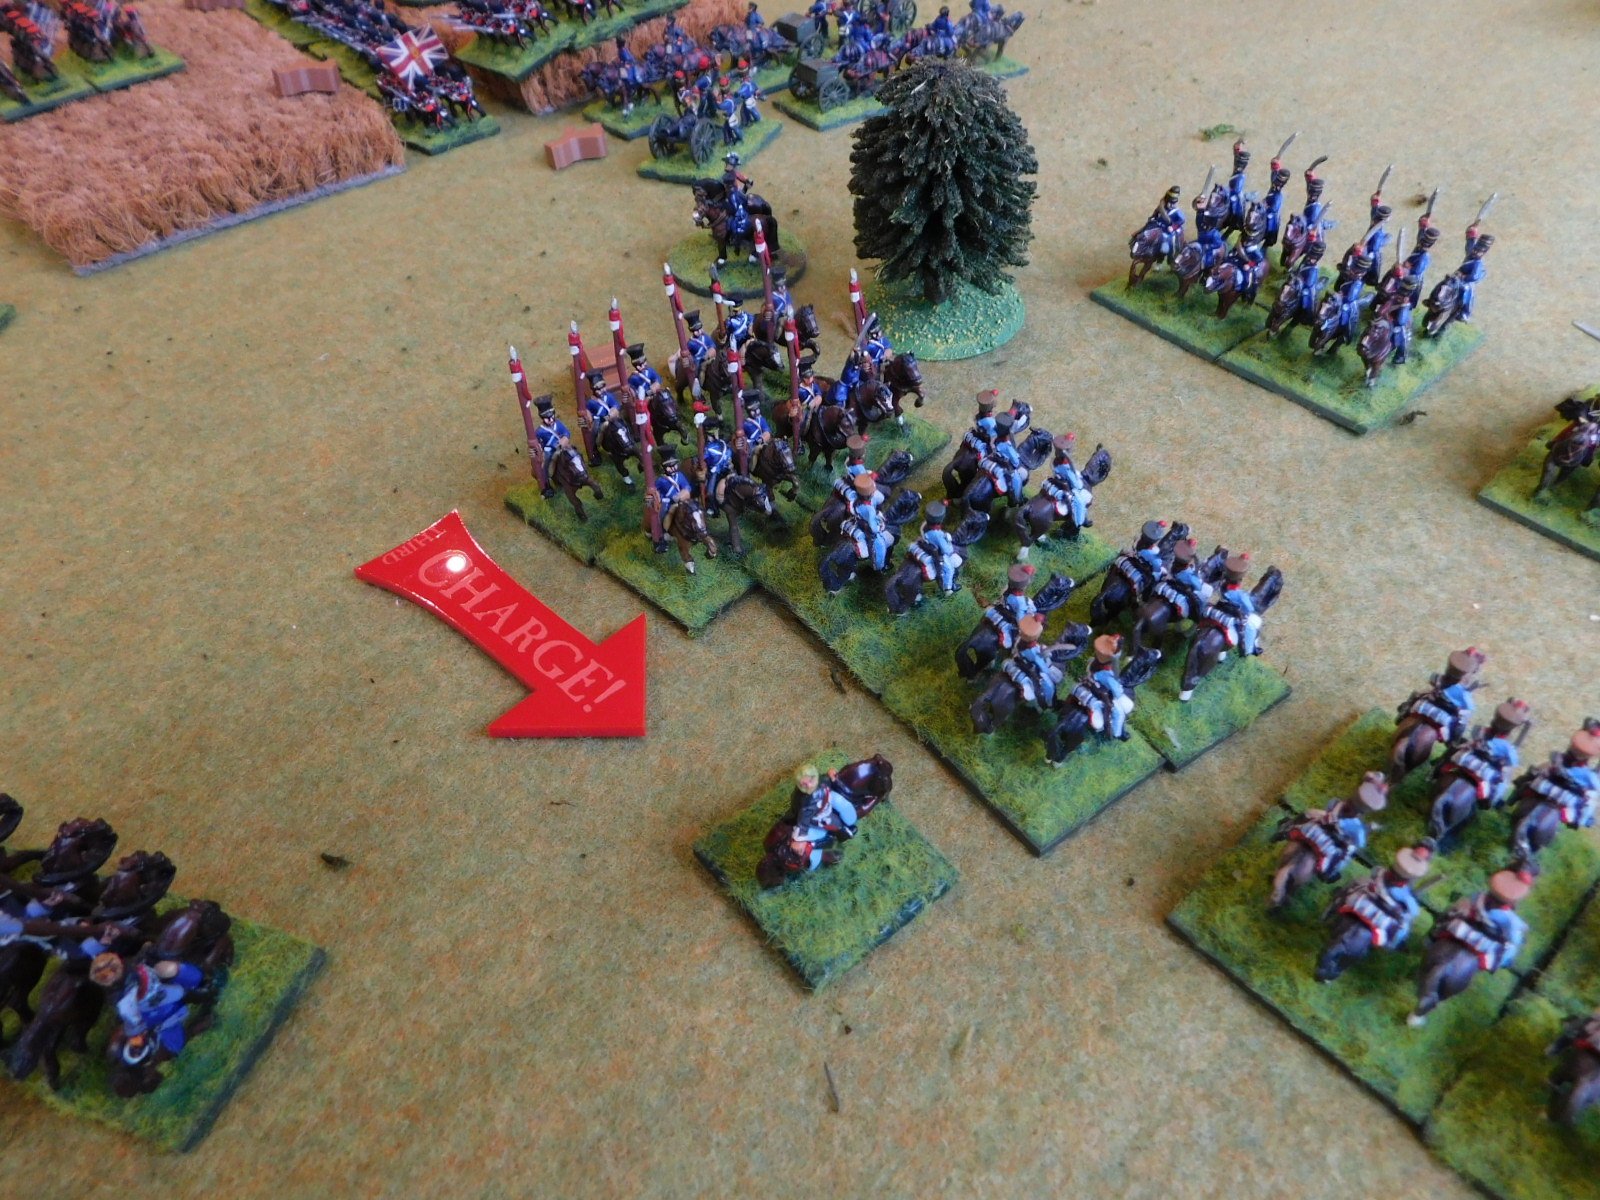
On the left hand side of the field, the British cavalry slowly advanced towards their opponents: the plan was to protect the left flank then, once the Russian infantry were fully committed to the village, to smash the enemy horse from the field before looping around the Russian rear.

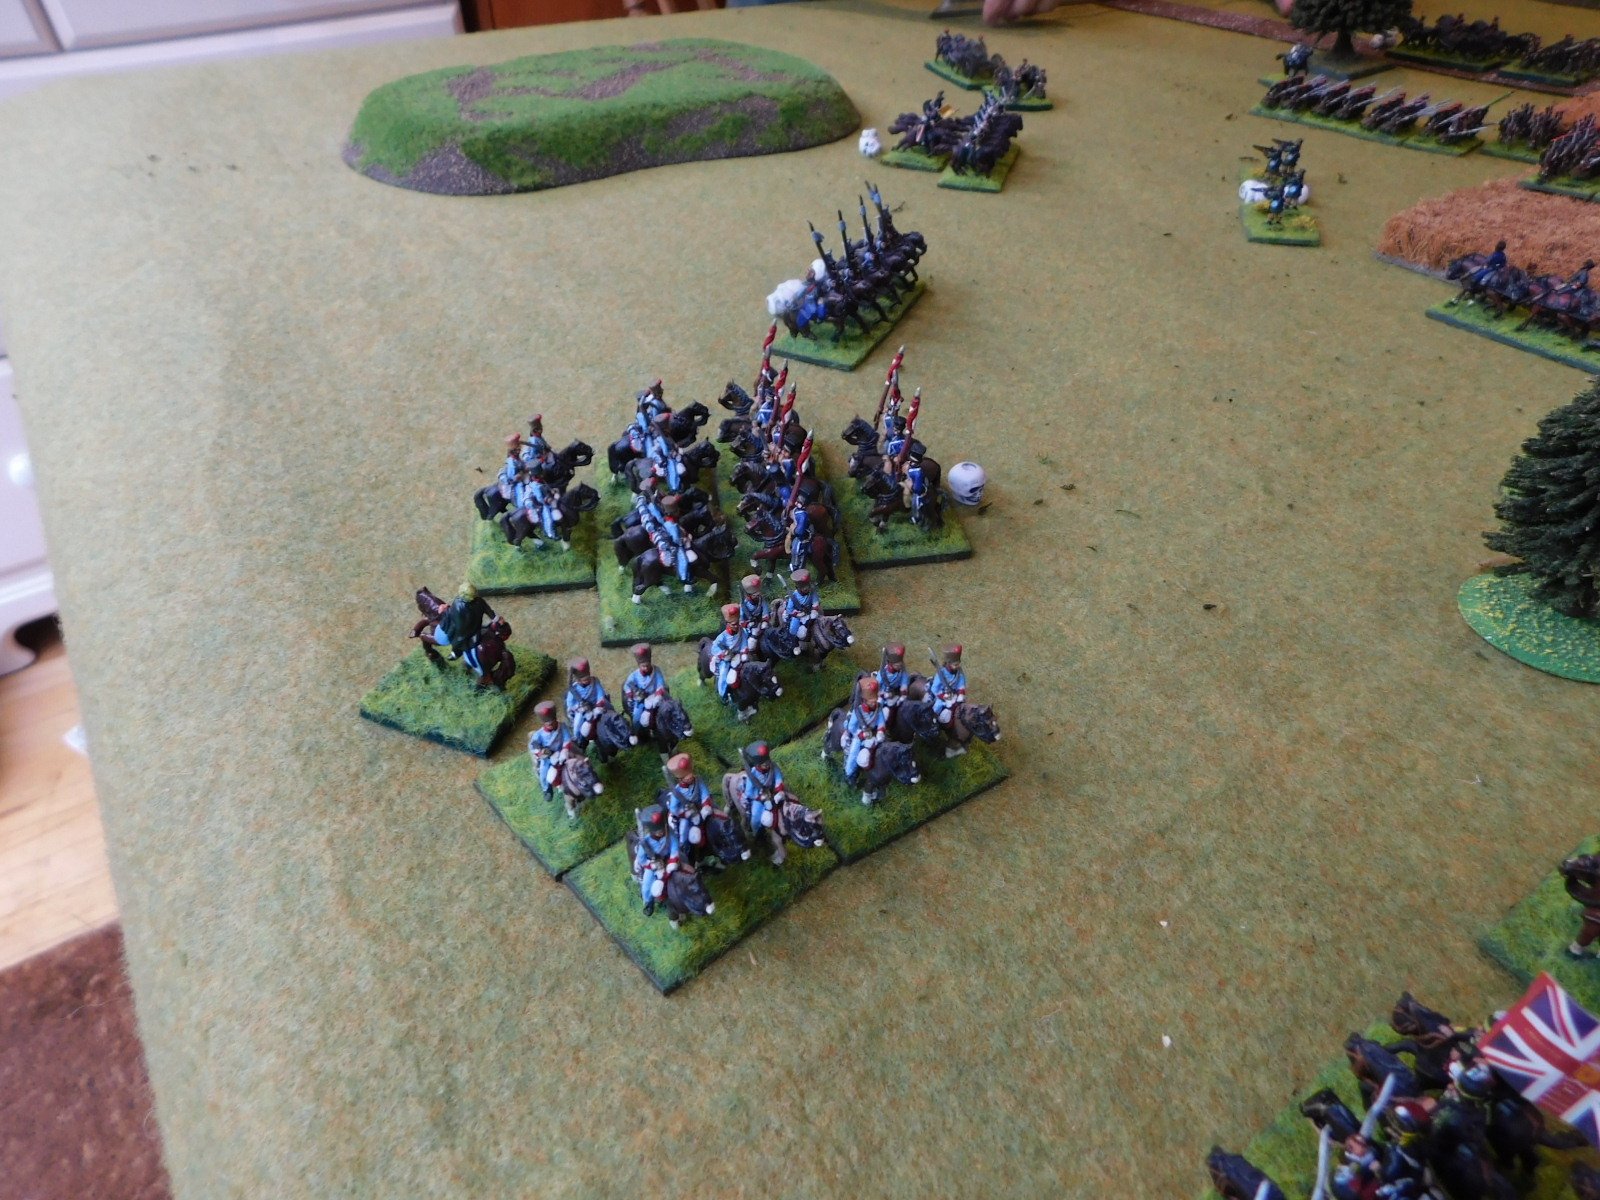
Unfortunately, although the flank was indeed protected throughout the game, when the British cavalry did eventually commit to combat, the result were…mixed! There was certainly no rapid smashing from the field going on and the situation developed into a grinding melee that lasted until the end of the battle.

The British eventually probably had the best of the encounter, but their cavalry had done all they were going to do for the day: no looping around the rear was going to occur.

This was very disappointing, as I was expecting the cavalry to quickly carve through their opponents and then go on to wreak havoc in the Russian rear.

With the two flanks fought to a standstill, resolution was going to occur in the centre.

Extreme Action In The Centre

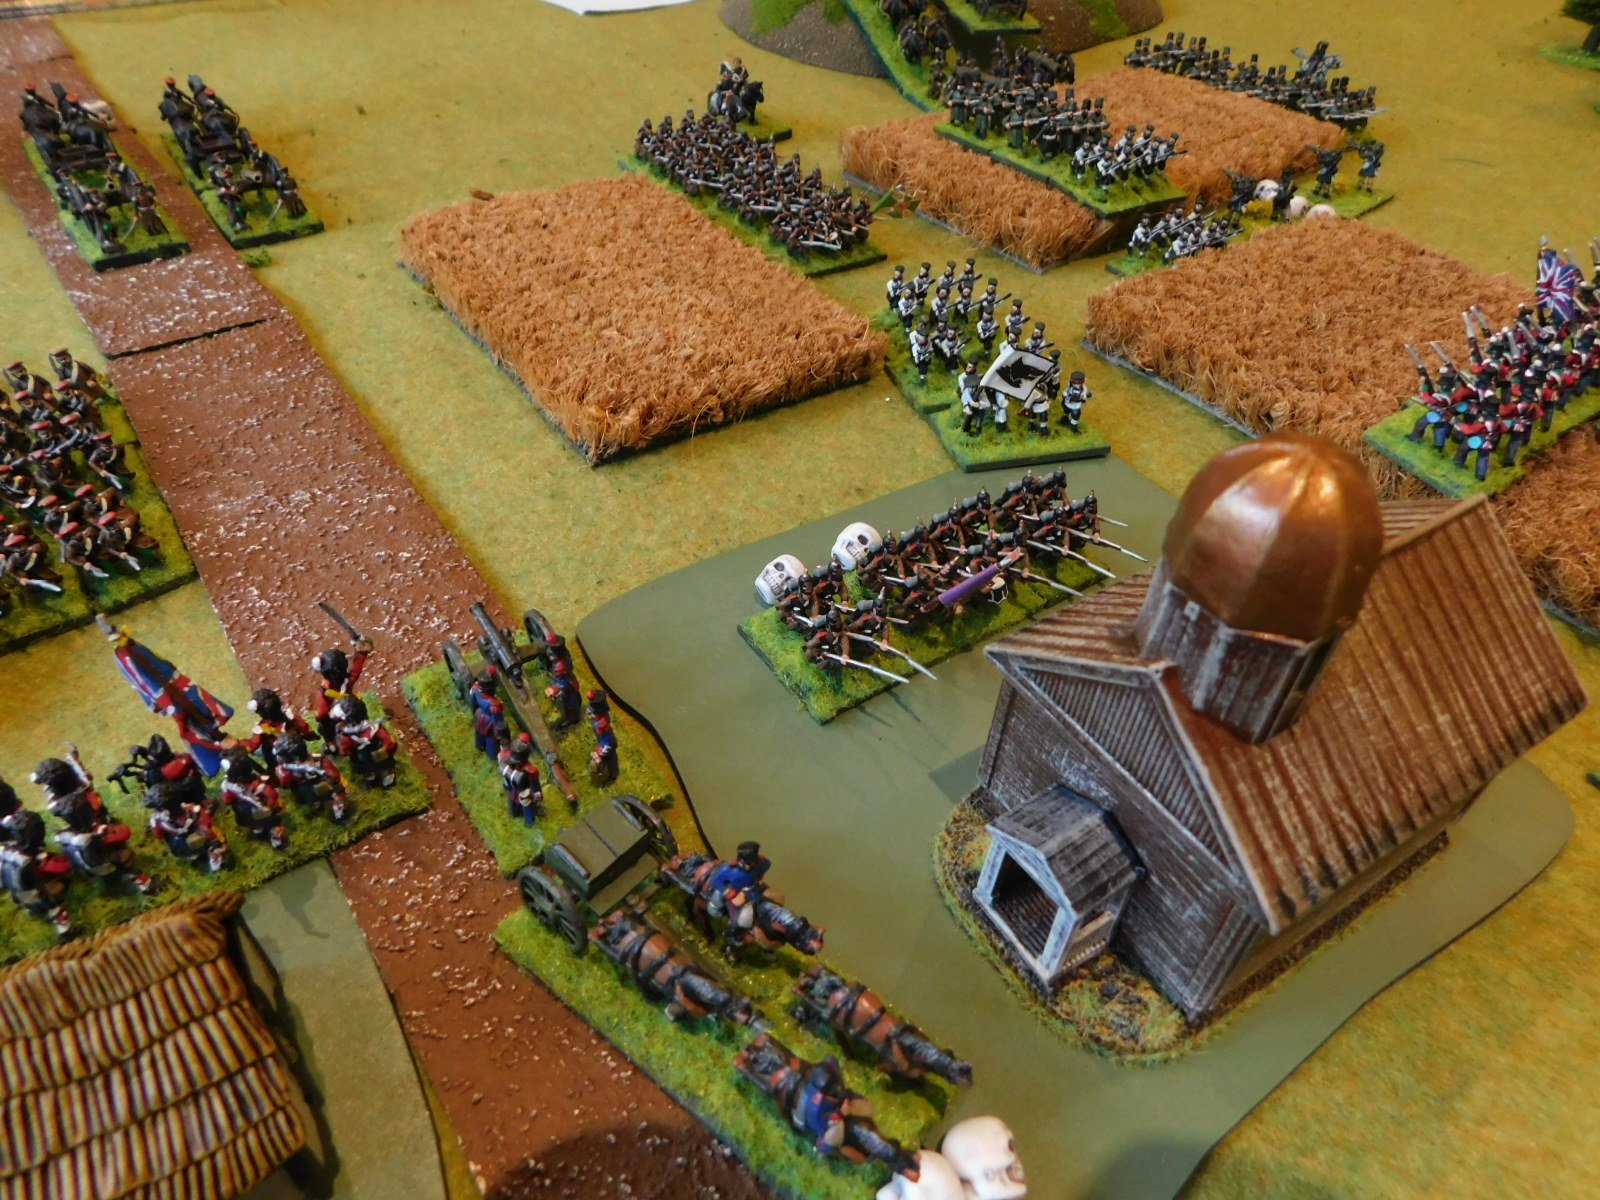
As previously mentioned, the Russian columns charged into the village, focussing their efforts on the lone battalion of Highland infantry occupying the buildings on the left hand side of the road.

Time and time again, fresh columns of brown clad infantry advanced into the fight until the area was strewn with their corpses, but sheer volume of numbers was beginning to tell and soon there were only a handful of brave Scots left. These resisted for another turn or two, then were finally sent flying, leaving the left hand side of the village in Russian hands,

At the same time as the above, more Russian columns attacked the British battalion holding the right hand side of the village. These crumbled somewhat faster than the Scots, and soon the entire village was in Russian hands! Things looked a bit grim for the Brits!

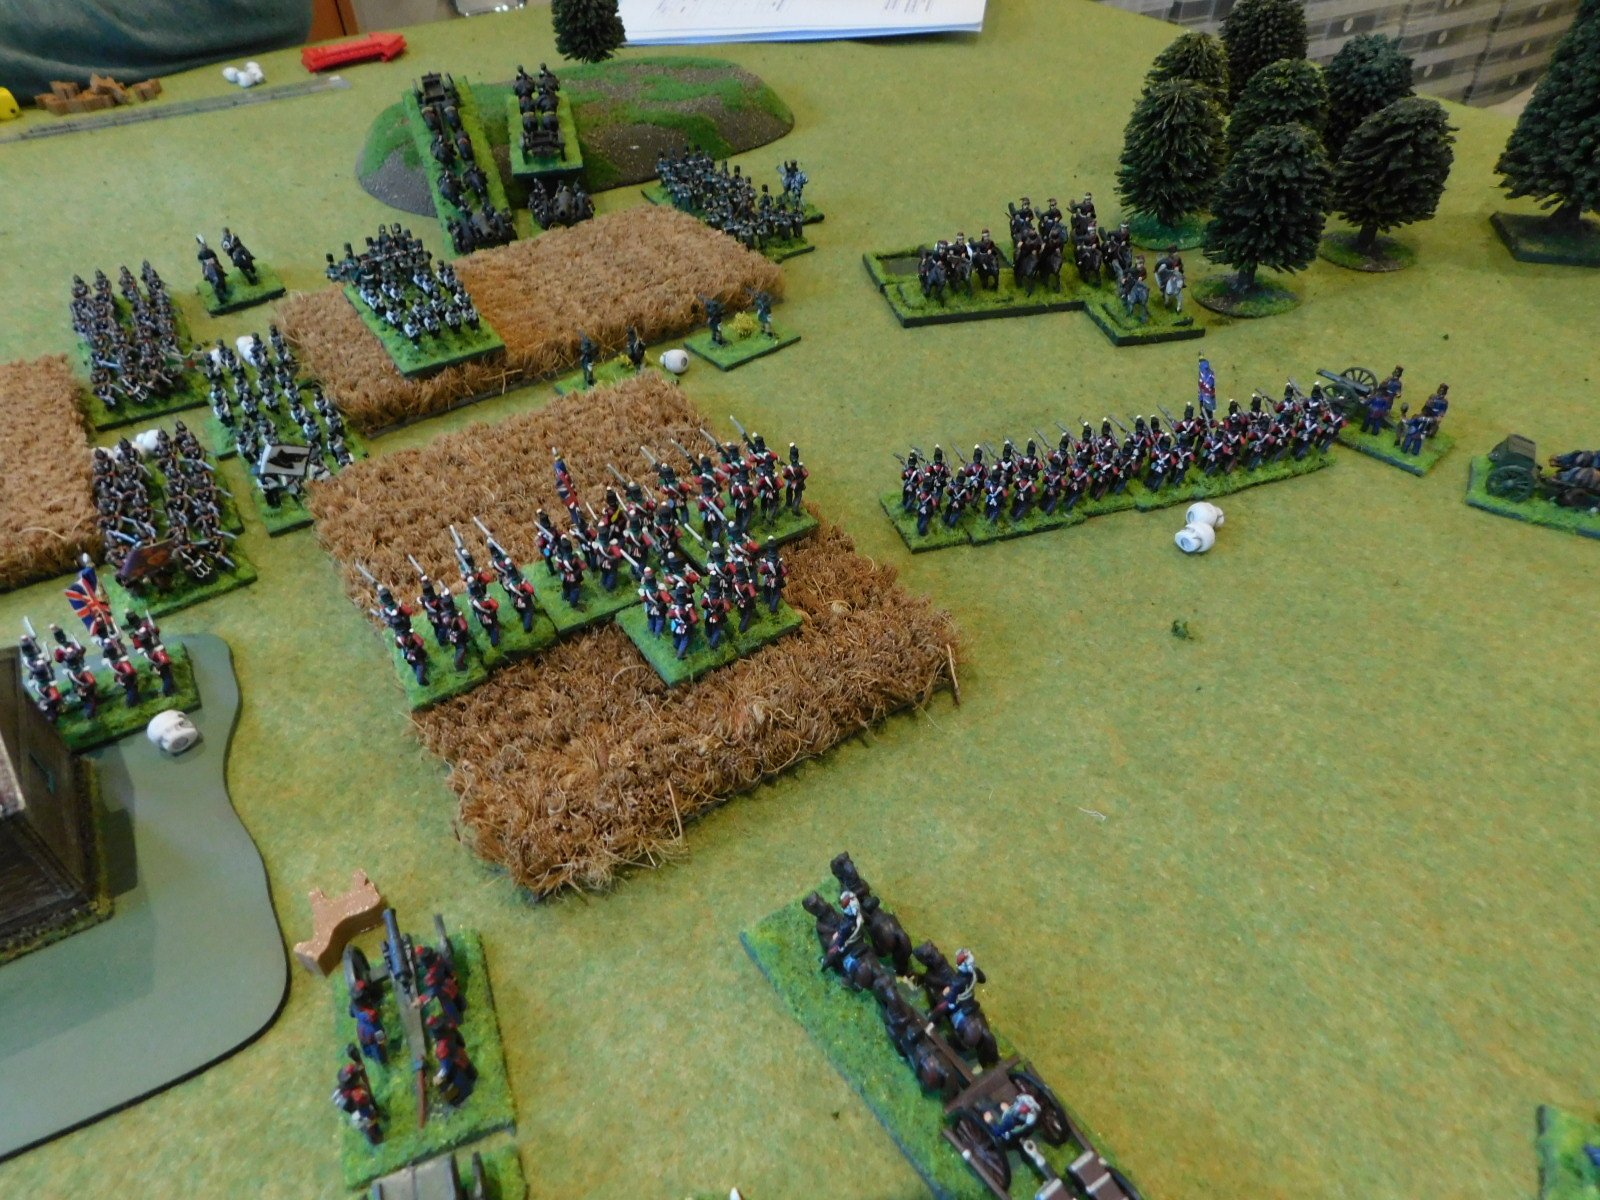
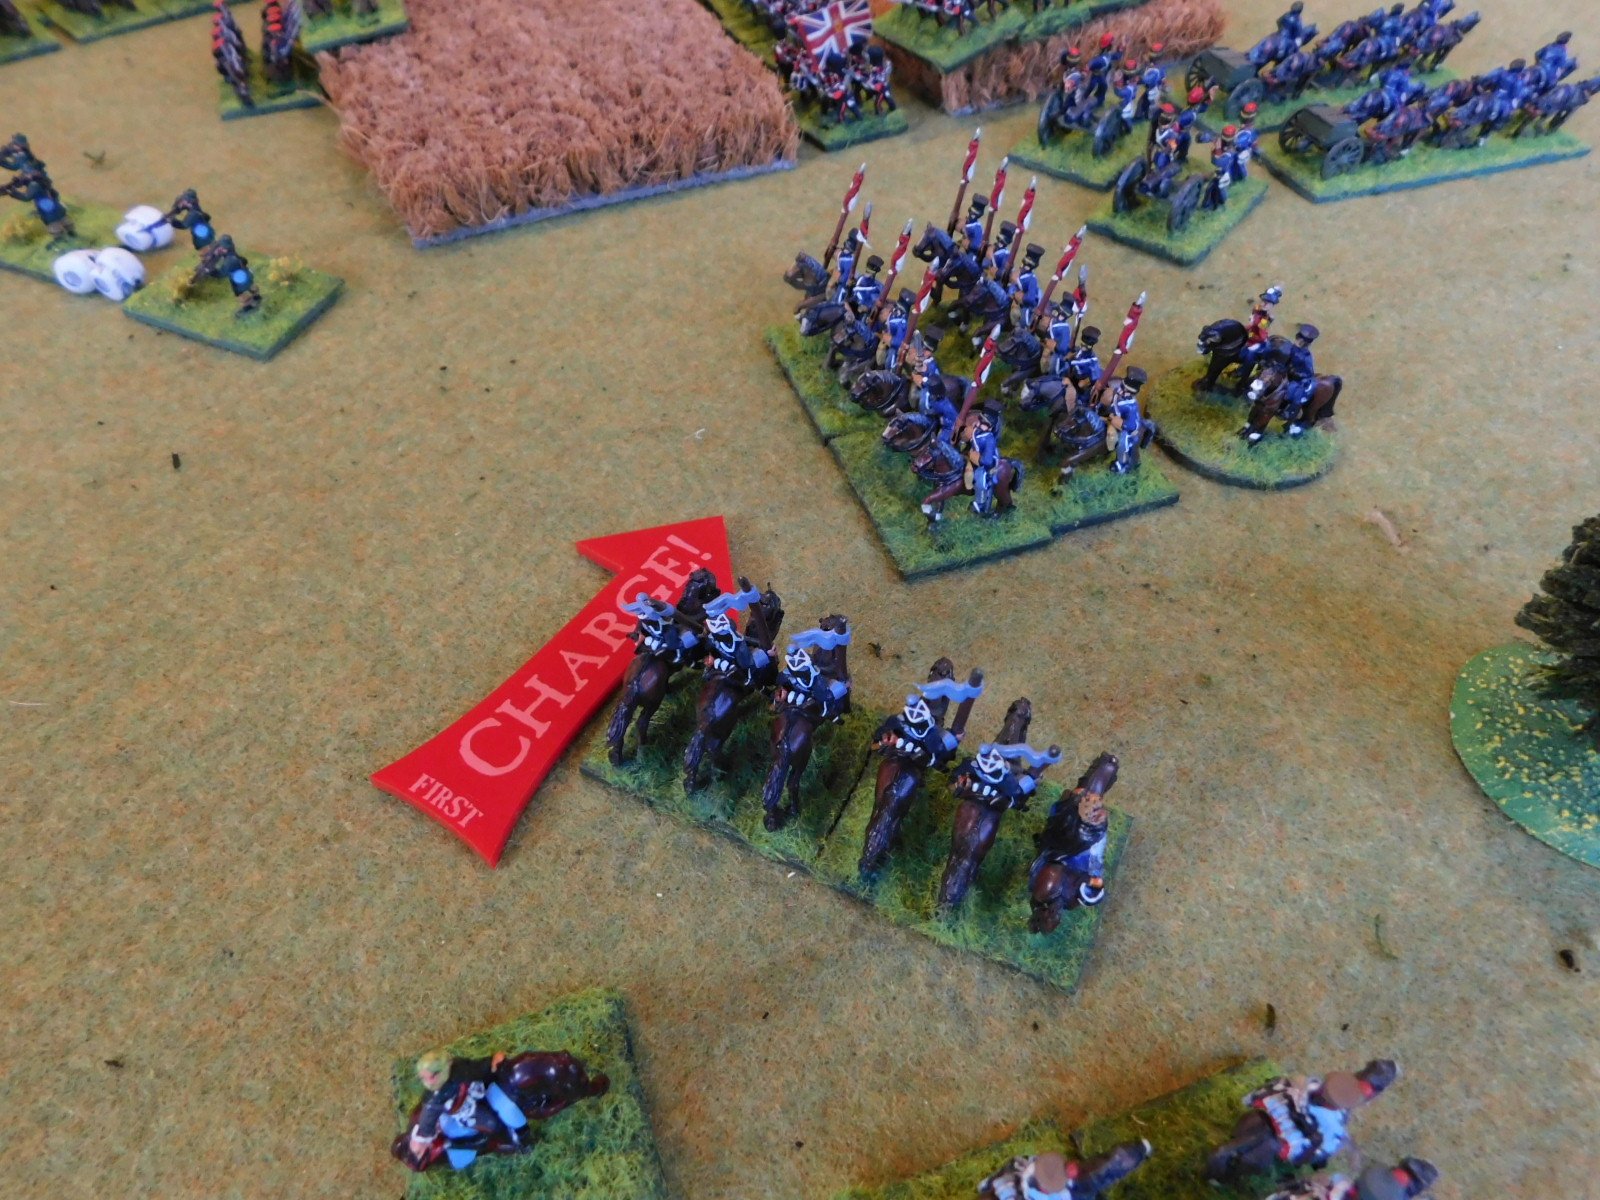
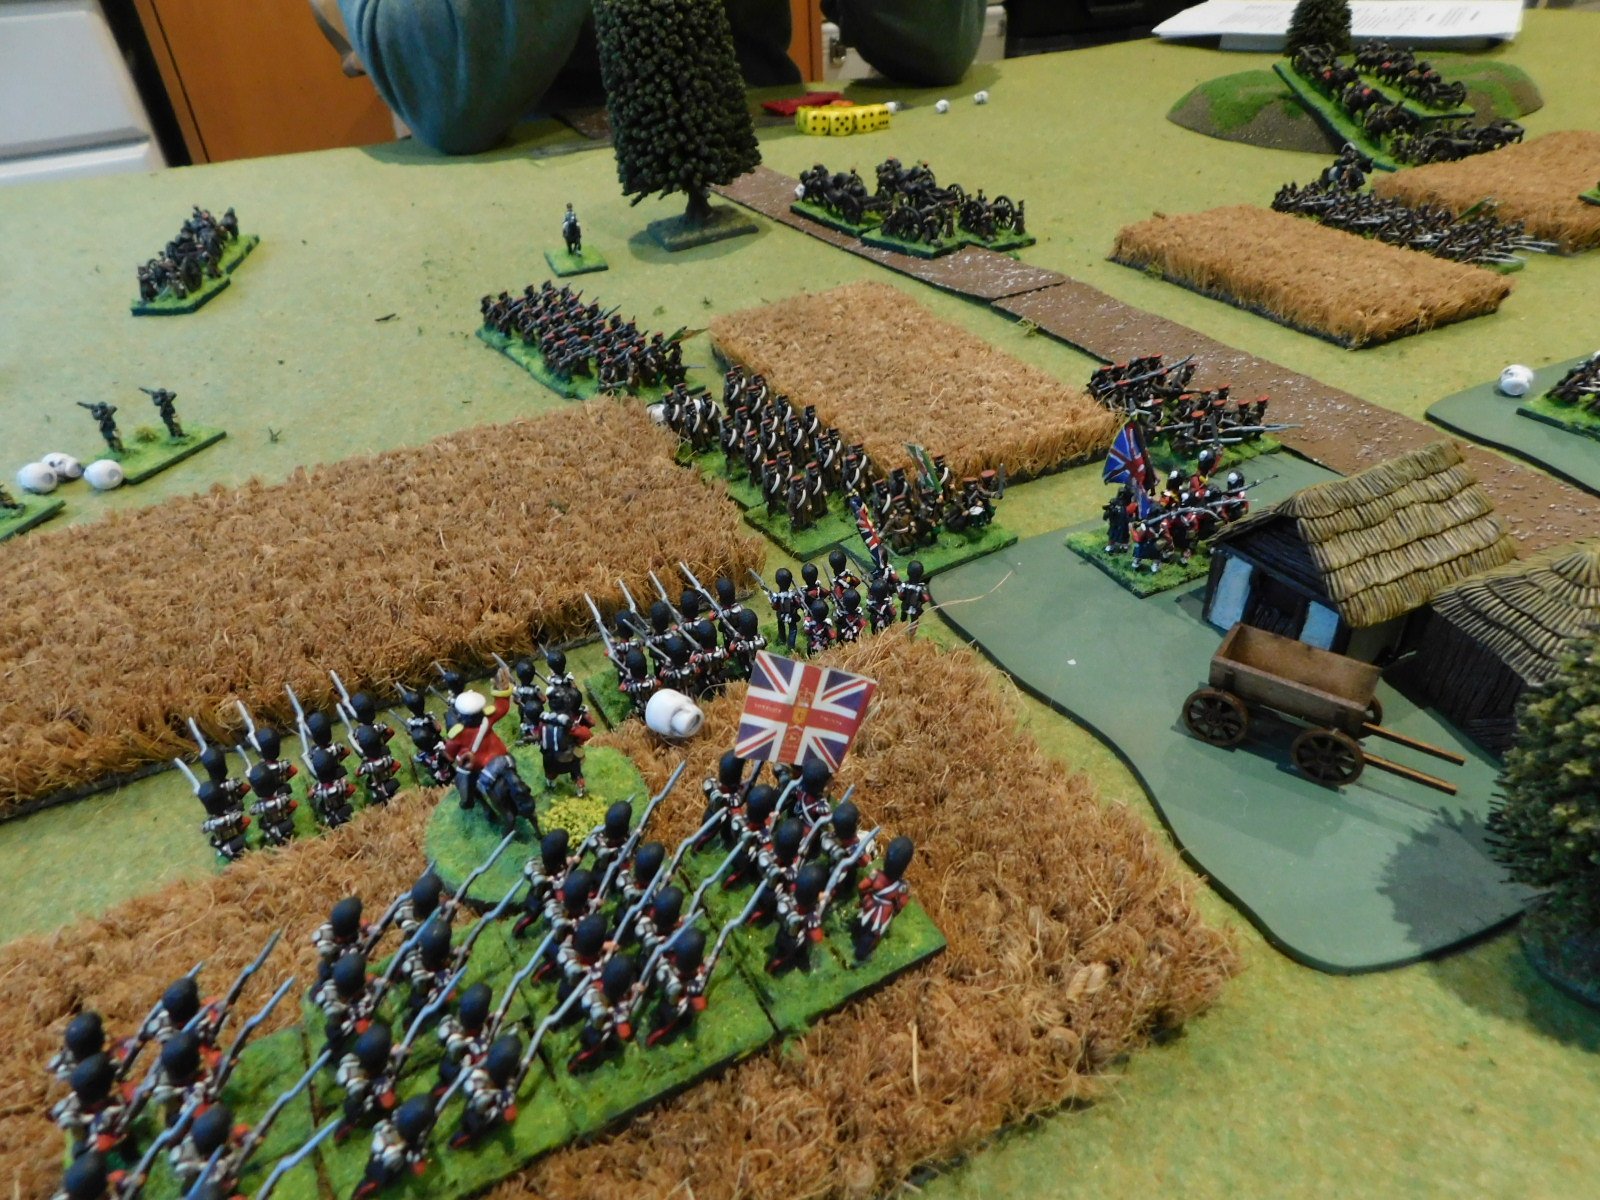
This was, however, only a temporary setback. The two battalions of Guardsmen on the left of the British line had repelled the Russians in front of them and now took the offensive. One formed columns and moved towards the left hand side of the village whilst the other pivoted around its right hand man to flank more Russian columns as they advanced forward.

This proved too much for the Russians, and soon the left hand side of the village was back in British hands, with no more Russian reinforcements on the way.

Meanwhile, on the right of the central British line, a battalion of line infantry had been holding its position in the centre of a cornfield, repelling any Russian columns who came towards them. Fortunately for the Brits, the terrain meant that the Russian attacks had come in piecemeal as opposed to a co-ordinated push.

Although honours were now technically even, with each side holding one half of the village, the Russians were down to only three effective infantry units (from eleven!) whereas the British had only lost two of their six infantry battalions. With the wings stalemated, the Russian commander declined to waste his troops on further assaults, or even to try and hold the gains that they had made, and ordered a general retreat.

Aftermath

Another great game and one that was actually very close indeed.

When the Russian columns pushed two British battalions out of the village, I was seriously concerned that I wasn’t going to get back into them, especially as my “elite” cavalry were busy getting nowhere.

To finish, here are a couple of shots not included above of the battle in progress:

IABSM AAR: Blenneville or Bust! #01: West of Pierrecourt

Just before Christmas I had a chance to play a great game of I Ain’t Been Shot Mum using the first scenario from the Blenneville or Bust! scenario pack: West of Pierrecourt.

The Allies are moving up the valley hoping to hook round Pierrecourt to the west. In order to do this, they need to be able to cross the Moire River. There’s a major bridge at Belle Maison, but Belle Maison is apparently full of Germans, so it would be good to find somewhere else to cross. Aerial assets have spotted a small bridge west of Pierrecourt, and the reconnaissance elements of the US 107th Infantry Division (nicknamed the Coyotes) have been sent forward to check it out.

The Germans, meanwhile, are keenly aware that the troops in Pierrecourt are relying on the Moire to protect their wider left flank. As the Allied advance begins, their commanders send out 30th Panzer Division’s reconnaissance units to cover as many river crossings as they can. This scenario covers the first clash between the opposing scouts.

Click on the picture below to see what happened:

TTS AAR: Burgundian Ordnance vs Vikings

As Bevan had his Vikings out and I wanted to get my still-relatively-new Burgundians onto the table, we decided to have a game that would set the two against each other.

The Viking army was the same that had beaten my Vikings: maxed out on Bondi with a few lights in support. My Burgundians fielded four units of Later Knights supported by four units of sound infantry: three mixed spear or bill and bow units and a unit of crossbowmen. I also had an organ gun present.

View from behind the Burgubdian line: there’s an awful lot of Vikings over there!

The Vikings rushed forward, but were unprepared for the sheer weight of the Burgundian Knights that charged them. Two of my armoured units, shot in by archers to disorder the shieldwalls just before impact, smashed straight through the Vikings in front of them, sending them fleeing for their longships.

One of victorious Knights units then took the enemy camp whilst the other roamed around the centre of the field looking for more Vikings to charge.

Just after the first of the viking shieldwall units disappears from the field

taking the enemy camp (top leftish); rolling them up (centre right)

Meanwhile, on the right, one unit of Burgundian infantry used their horses (i.e. the Mounted Infantry bonus) to advance forward fast enough to split the advancing Viking line. This enabled another unit of Knights to turn right and hit the right flank of the Viking left-flank force that was currently engaged in a massive shoving match with some more Burgundian infantry.

With three Bondi units and their camp now destroyed, this proved too much for the Vikings to bear and, as another Bondi unit fled the field, the rest of the enemy army crumbled and followed. A glorious victory to the Burgundians!

Actually I was a bit lucky on my left, where a huge Viking outflanking force effectively took no part in the game because (a) having the initiative meant I could stay well away from them at set up and (b) Bevan’s attempts to move them into an outflanking position were stymied by the cards, who had obviously decided they didn’t like Vikings any more!

The whole game took only about an hour and further proved the power of the Burgundian charge!

IABSM AAR: Happy Christmas!

Over the Christmas period, I got a chance to play in a Christmas-themed game of I Ain’t Been Shot Mum set in late December 1944.

It was a Battle of the Bulge scenario, with me playing a US force defending a major supply dump against an attack from a German armoured column. I could expect some support from nearby Brits, but couldn’t be sure when they would arrive.

Click on the picture below to see what happened…

TTS AAR: Vikings vs Vikings: the Decider

Having fought the Vikings versus Vikings battle twice over with one victory apiece, it was time to play the decider. Forces were unchanged from the last game.

Bevan’s Vikings had the initiative, and soon the two battle lines were thundering towards each other.

Looking at the picture above you’ll see that Bevan overlaps my main line with one unit of Bondi and a unit of lights, facing only a unit of light archers. Knowing I was going to be outnumbered, I had deliberately put my Huscarls (veteran troops indicated by the red Meeple) to protect my flank.

The lines came together with a mighty smash. What you can’t see is that out of frame to the left, his extra unit of Bondi and their accompanying lights are driving my lights backwards and will eventually send them off the table.

Much disorder on both sides after the first clash, with no-one really getting an advantage…which is not what I wanted as I needed to win quickly if I was not to be overwhelmed by superior numbers. Still out of frame to the left are his extra Bondi!

A couple of my units break through the centre, introducing the possibility of an assault on the enemy camp, but there’s now a mass of enemy units on the right flank…

…and worse, as you can see in the picture above, his Bondi on the left have finished dealing with my lights and have manoeuvred themselves into a position from which they can assault my main battle line from the rear!

Those Bondi do indeed charge me from behind and the resultant loss of my end Huscarl unit leads to a general disintegration of my line.

A resounding defeat results!

Aftermath

A great series of Viking vs Viking clashes. You can see from the picture to the right that the two enemy units in front of my Huscarls are about to give way, so if I had just been able to kill them one turn earlier, then my veterans could have turned to face the flanking unit that did so much damage.

The sagas will now record that my Vikings slunk away, defeated. Doubtless they will re-group and be back into action soon!

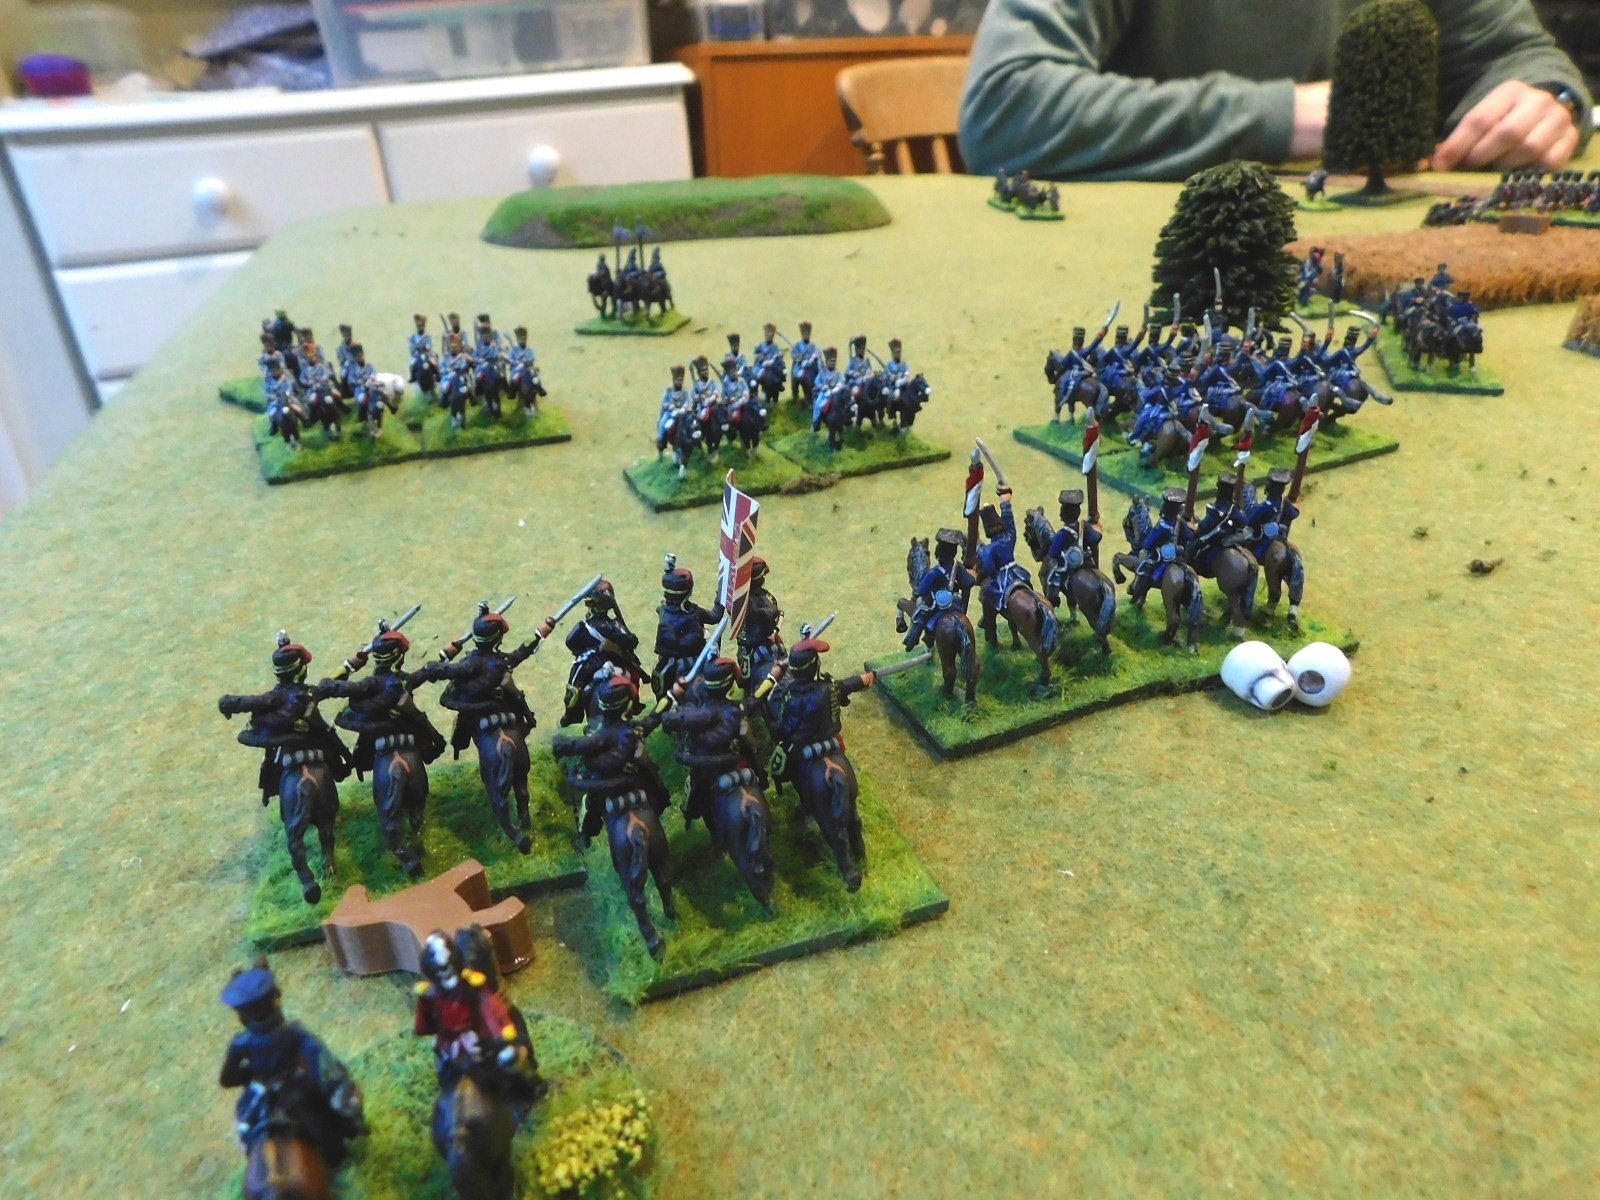
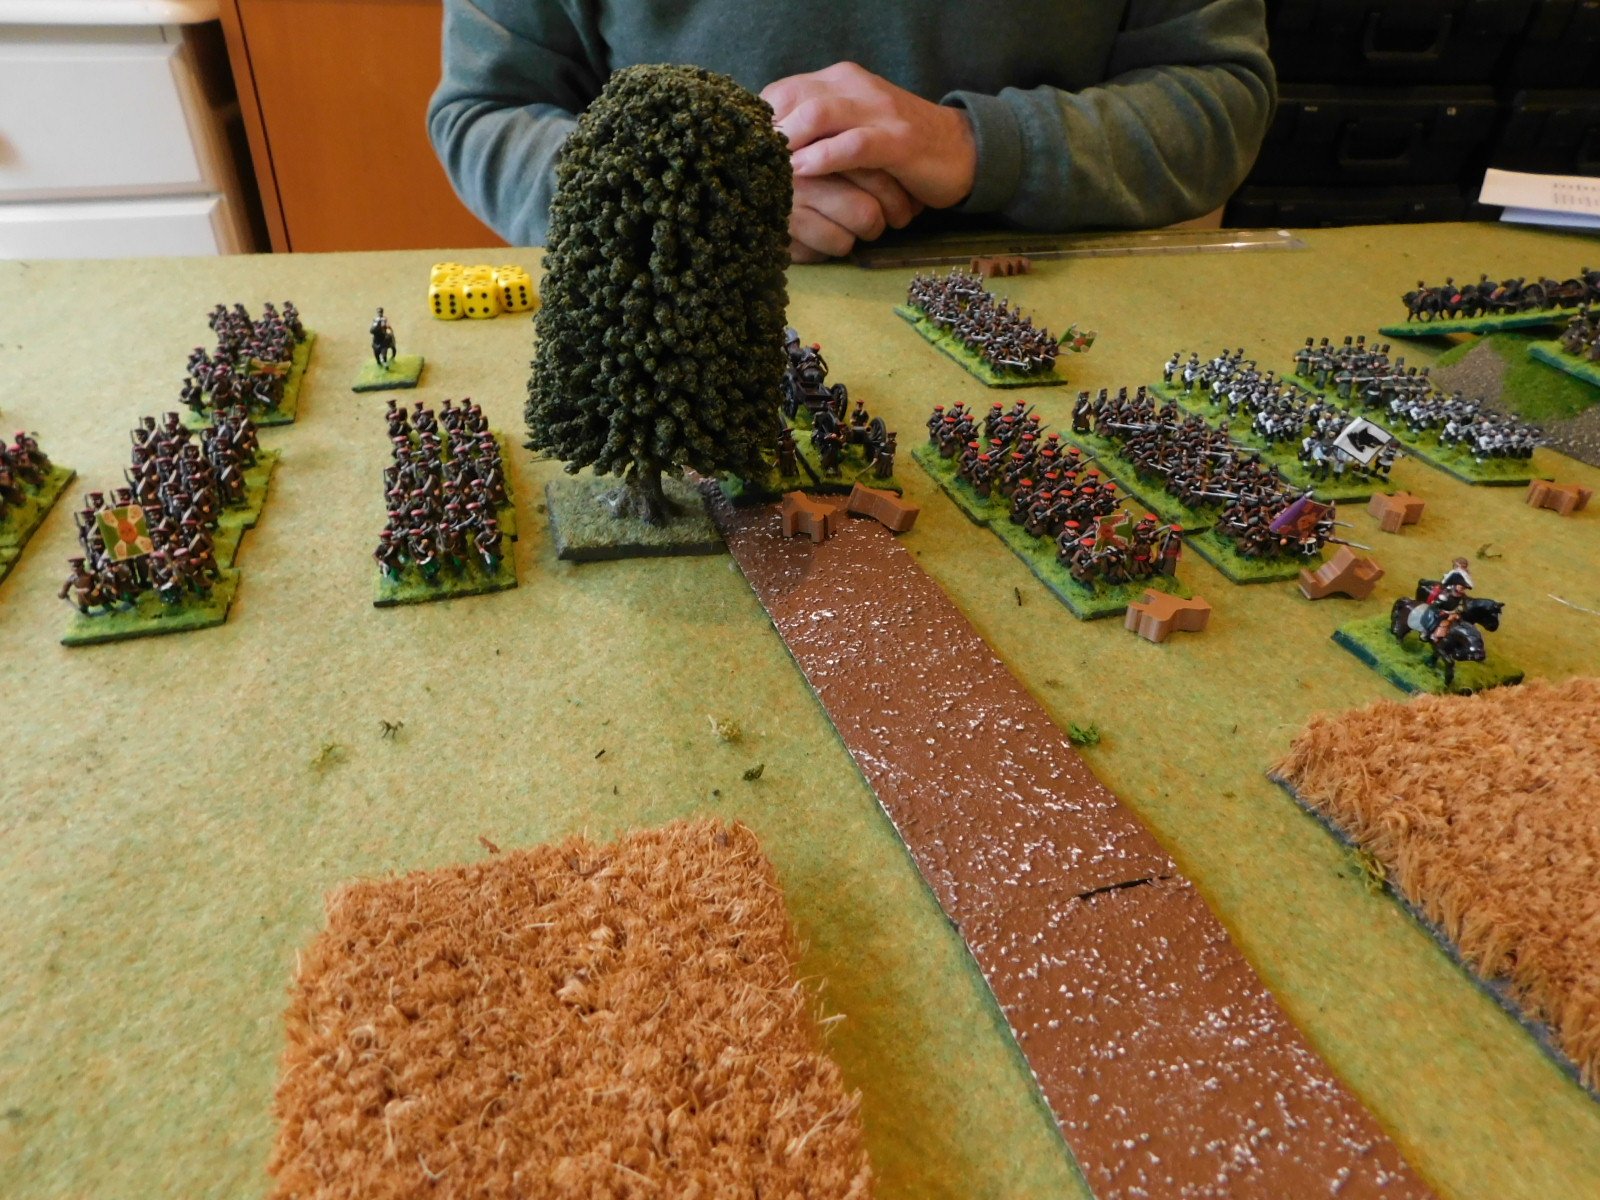
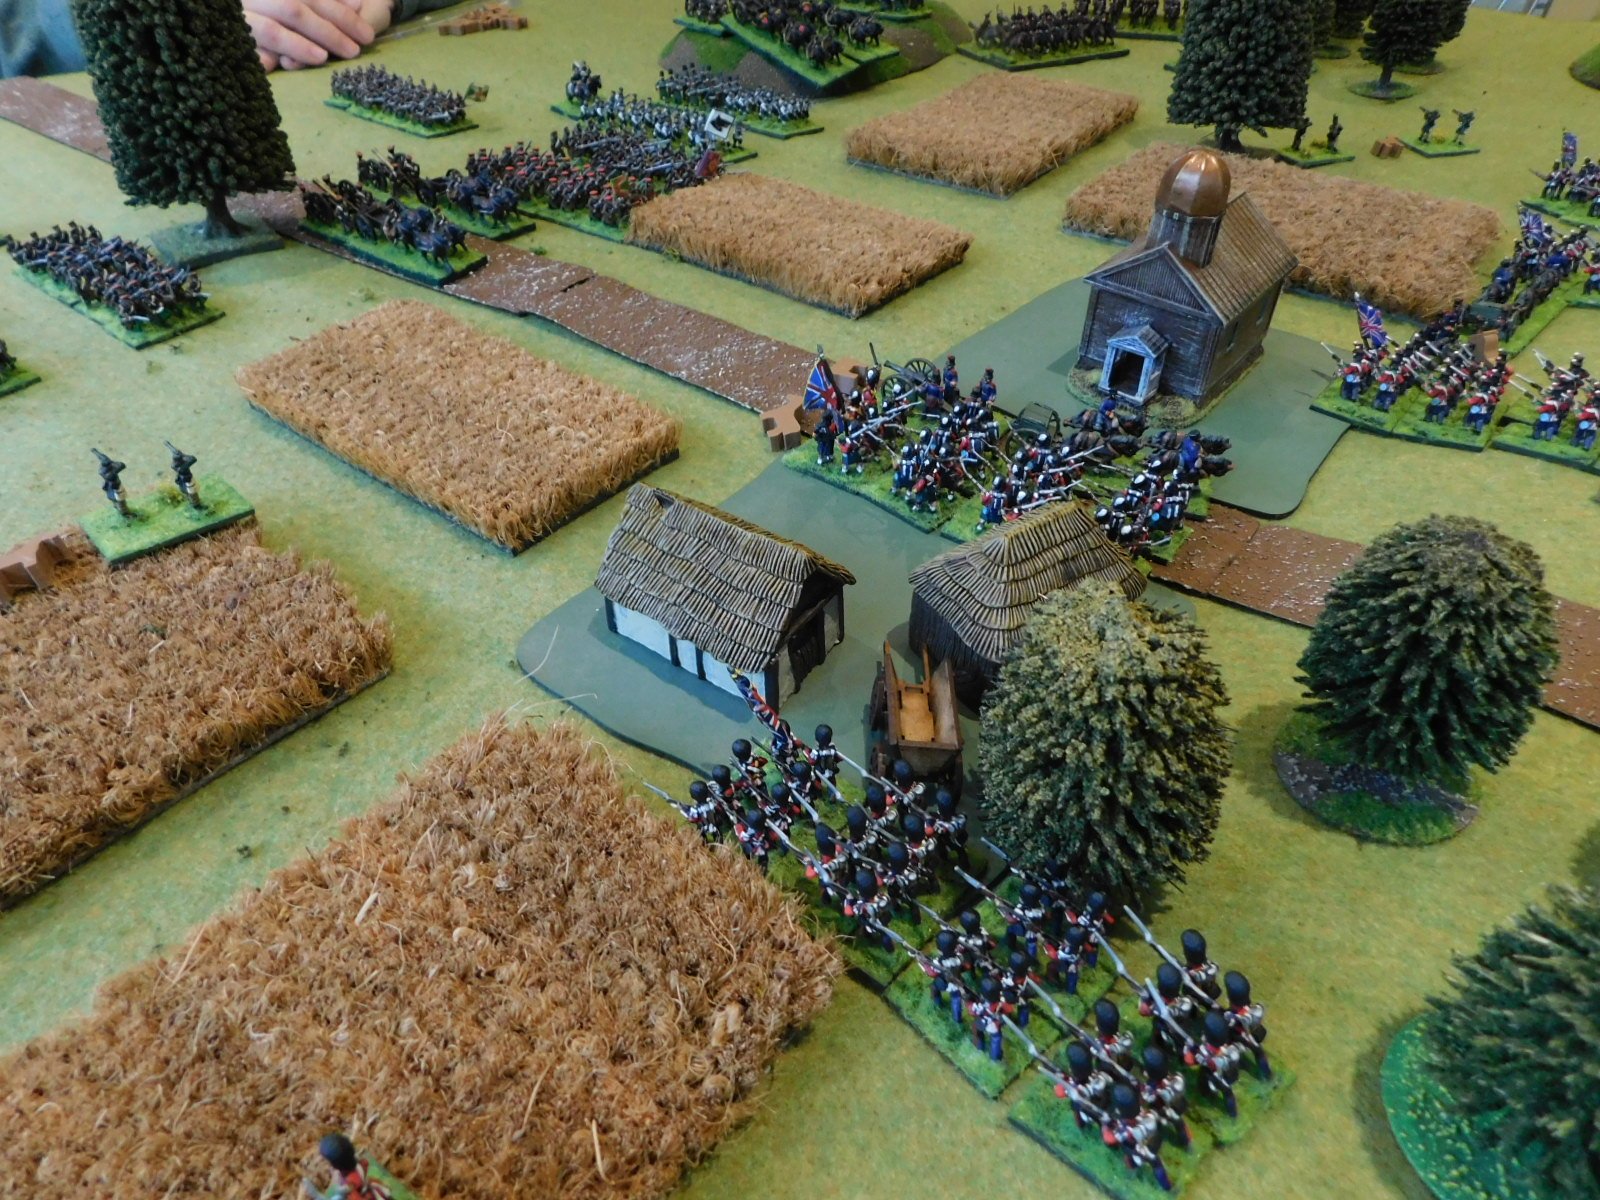
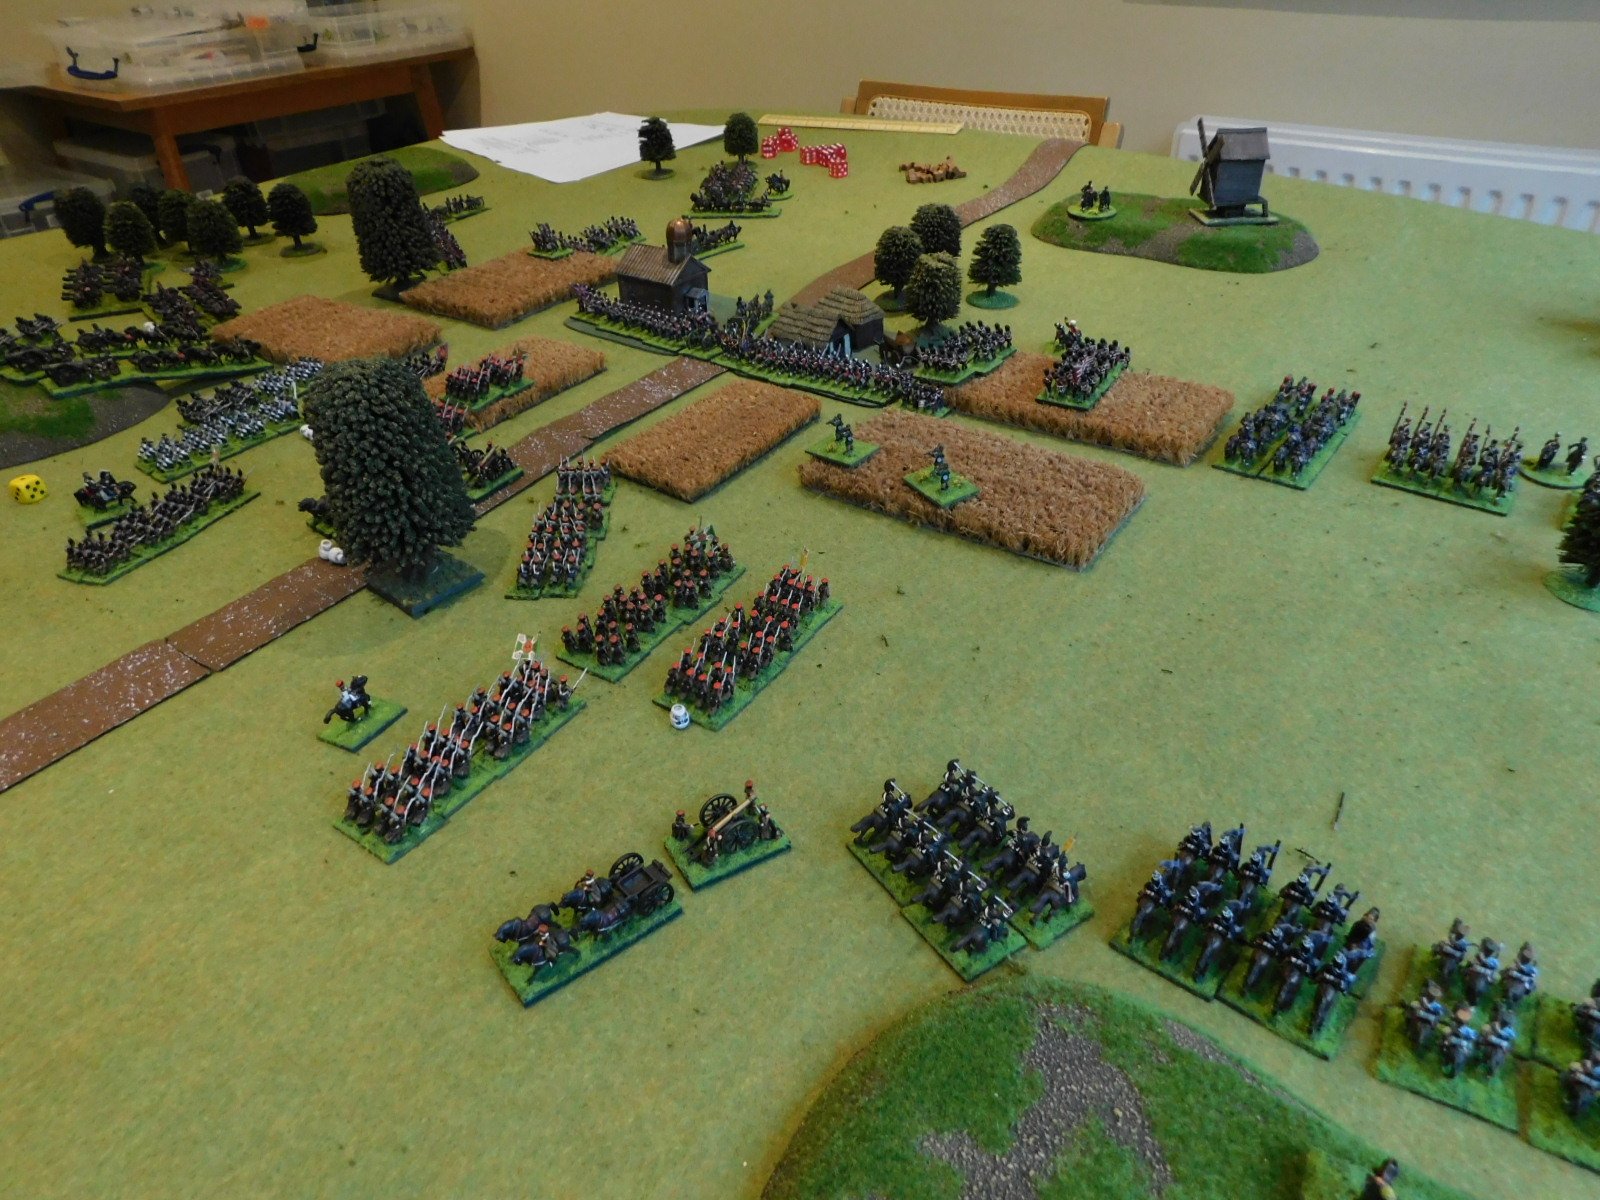
TTS AAR: Vikings Win!

Those of you who play To The Strongest will know that although the points system is supposed to make all armies equal, some armies are less equal than others.

One such are the Vikings: large numbers of unmanouverable shieldwall units lacking any cavalry and with only a smattering of lights in support. Head on it can pack a punch, but its opponents generally dance around its flanks leaving its brave warriors to be surrounded and cut down one by one.

I recently acquired a rather nicely painted Viking army in 15mm purely on the basis that I liked the idea of a Viking army. Ever in support of the underdog, however, I was under no illusions that I would have any great success with them!

Odin, hear our call: can we just win one battle please!

I was discussing the problem with friend Bevan, another proud but disappointed owner of a Viking army, when we both had a light-bulb moment of inspiration: let’s get our Viking armies on the tabletop together, to fight each other. That way one of us is bound to win and give their brave Scandinavian heroes the victory they so deserve!

With this genius idea decided upon, the next couple of weeks were spent in the customary ritual taunting - my Vikings are harder than your Vikings etc - until at last the big day arrived.

The Armies

The armies we had put together were significantly different.

My Vikings consisted of four commands: each comprising two deep, shieldwall units and one light infantry unit. One command consisted of Huscarls with mighty axes, the other were Bondi. I also had four heroes and an army standard.

Bevan’s mob also consisted of four commands, but was less pleasingly symmetrical than mine. One command comprised a couple of Huscarl units; one command was one Huscarl and two Bondi units; one command was three Bondi units; and finally he had a command consisting of some Irish javelinmen and light infantry. He also had five heroes and an army standard.

Somewhere in Scandinavia

Bevan’s Mob

My Glorious Vikings

The Battle

Both sides tried to outflank on the right. Bevan’s outflanking manoeuvre got off to a terrible start when he drew a couple of Aces for movement, but mine was more successful: a Huscarl unit led by the CinC got past the woods in front of them and were in a great position to chew into the enemy’s Irish allies.

Unfortunately, the Irish proved a lot more resilient than planned (is it not ever so!) and one of my best units spent the rest of the game blocked from doing anything useful!

Blocked!

Meanwhile, in the centre, the two main battle lines had closed and, for a time, things swayed backwards and forwards as a mighty shoving match took place. My lights proved useless in this sort of game: they shot off their arrows with little effect, then spent the rest of the time hanging around behind my line, unable to get around an enemy flank and unwilling to mix it with the big boys.

On my left, Bevan’s Vikings finally got moving, and a separate battle developed between various Bondi units from each side. This I won fairly decisively and for a time it looked as if I had the advantage.

Unfortunately, back in the centre, the left hand side of my main line eventually gave way, and two enemy units burst through. This allowed them to turn and charge into the rear of the rest of my Bondi, who spectacularly survived one turn being hit twice from behind, and then almost did the same thing next turn as well.

By this time, Bevan was down to four coins, I was down to one, so when my Bondi hit-from-the-rear gave way, the rest of my men lost heart and fled the field. If I had survived that impact (and I almost did: drawing a Ten and a Six when a Ten and a Seven would have done it) then I would almost certainly have won the game…it was that close!

Two enemy units, top right, have burst through my line. One is about to charge my rear!

But it was not to be: my Vikings had lost…but at least Bevan’s Vikings had won!

Despite my defeat, it was a glorious game, and one that we will definitely be repeating, although this time let’s hope the correct set of Vikings come out on top!

The Return Match

Time for the re-match: this time I would take the Burgundian Ordnance and John would take the Medieval Scandinavians.

My plan was hold the centre with my infantry and half my Knights, and use the rest of my Knights to lap around the ends of his line, hopefully achieving some kind of roll-up. Comparing notes afterwards, John’s plan was to close with my troops as quickly as possible, using sheer mass and ferocity to win victory.

I had the initiative, and wasted no time in getting forward into the centre of the field. I then halted my centre and waited until the Scandies came forward.

The Scandies did indeed come forward, with one warband getting out in front, and soon battle was generally joined in the centre of the field.

Warbands are pretty hard to kill, even with Knights, but all I needed to do was to hold them in place whilst my horns lapped around his flanks.

On my right flank, this worked like a dream: a squadron of Knights got into the perfect position for a flank charge on the Scandinavian main line and thundered forward to do enough damage that a Burgundian spear-and-longbow unit could finish off the unfortunate warband that was their target.

Unfortunately on my left flank I got a bit too enthusiastic, and although the initial outflanking manoeuvre worked and sent more Scandies from the field, his lone unit of tax-free Knights was able to get forward fast enough to out-flank my out-flankers and consign one quarter of my Knights to the recycle bin! Whoops!

Fortunately this didn’t matter, as my right flank continued to chew through his centre having achieved exactly the roll-up I was after.

I will spare you the gory details, but you’ll see from the pictures below that pinned from the front and hit from the flank (by Knights as well) is not just a recipe but a whole cook book for disaster!

The coup de grace (to put it as the Burgundians would) came either from a unit of my infantry taking the enemy camp or the loss of a unit of light archers being the final straw that broke the Scandinavian back. To be honest, I can’t remember which.

A great game, for me at any rate, and a cautionary tale for warband armies going up against more combined arms forces: watch those flanks!

A Game...Finally!

What with work and Christmas and everything, it’s been weeks since I actually got to have a battle, so thanks to friend John for braving the freezing fog coming over this morning for a couple of games of To The Strongest.

I had two new armies that were ready to try the tabletop: the first were the Burgundian Ordnance boys I had bought complete ay Colours; the second were my Vikings, finally complete after some time with the figure painter I like to use.

Ideally I would have fought them as is, but these days I try to make encounters as contemporaneous as possible, so the Burgundians would fight as Burgundians but the Vikings would, with the aid of a unit of lancers borrowed from my 17th Transylvanians, manifest as Medieval Scandinavians. Still not exactly contemporaneous, but close enough for jazz! For the first game, I would take the Scandies and John would take the Burgs.

My force consisted of only three commands. The first, headed by the CinC, consisted of my single unit of Frasle or “tax free” Later Knights and two unit of light archers. The second comprised three deep units of Hird: hard men with axes and extra bows. Finally there were the Leidangr bondi types: three of them in a third command.

The Burgs consisted of four commands, each a unit of Later Knights accompanied by a unit of foot. Three of the foot units were either billmen or spearmen with extra longbows, the third were crossbowmen, with the command with the crossbowmen also having a unit of organ gun artillery.

The First Game

With neither side being particularly hot on scouting - Later Knights don’t scout! - a straight draw of the cards meant the John and the Burgs had the initiative. I set the Scandies up in a long line with the Frasle and lights on the left, Leidangr in the centre and Hird on the right. With two camps and almost no cavalry, I was nervous about his cavalry lapping around my flanks.

The Burgs remained in attack columns: coming forward with their infantry sheltering their Gendarmes.

I was keen to get my Hird into his troops as soon as possible, so ignored my bows and headed forward on the right asap. As I came into range, his infantry fired a couple of longbow volleys which actually did me more damage than I had anticipated. At the same time, one unit of his Knights managed to get past his sheltering infantry and charge into one Hird warband. This proved disastrous for the Scandies: with a glorious or pitiful (dependent on your point of view!) run of cards leading to me losing both a unit of Hird and their general!

Meanwhile on my left wing, my Frasle had proved themselves victory-free as well as tax-free: being sent fleeing from the field through a combination of bow fire and the attentions of some Gendarmes. The battle was definitely not going well!

I continued to lose ground on the right - my remaining Hird were outnumbered but putting up a good fight, and those deep units are hard to finish off - but it was in the centre and centre-left that a unit of Leidangr started to properly fight back.

The Gendarmes that had dealt so summarily with my cavalry were wounded by some light bowmen and then polished off by a warband; and another unit of Gendarmes was smashed from the field by some Hird. I was still down to only four coins, so would lose the game if I lost another two units/generals, but now John was down to only five coins, meaning I would win the game if I could kill three of his units/generals.

Unfortunately I could not sustain this momentum (you can see in the gallery above that most of my units were by now disordered) and was soon down to just one coin.

The final action of the game was for a unit of Gendarmes to lap around my right flank, and although I had some Leidangr to face them, Later Knights versus damaged Shieldwall was a foregone conclusion.

Post-Match Analysis

A good first game with the two new armies. I was surprised at how effective the Burgundian shooting was, and how fragile my deep units were in the first half of the game. That was, however, probably an atypical result of the actions that took place, as the second half of the game saw my surviving Hird and Leidangr soak up huge amounts of damage whilst still dishing it out effectively.

So the game was probably decided in that first clash, when I lost a unit of Hird and their general in a shock result. After that, even with things being 50/50, I was on the road to a defeat. All kudos to John, though, for maintaining the pressure and not giving me the opportunity I needed to turn the tables.

The next game will see us swap sides…

FK&P AAR: Muscovites and Scots

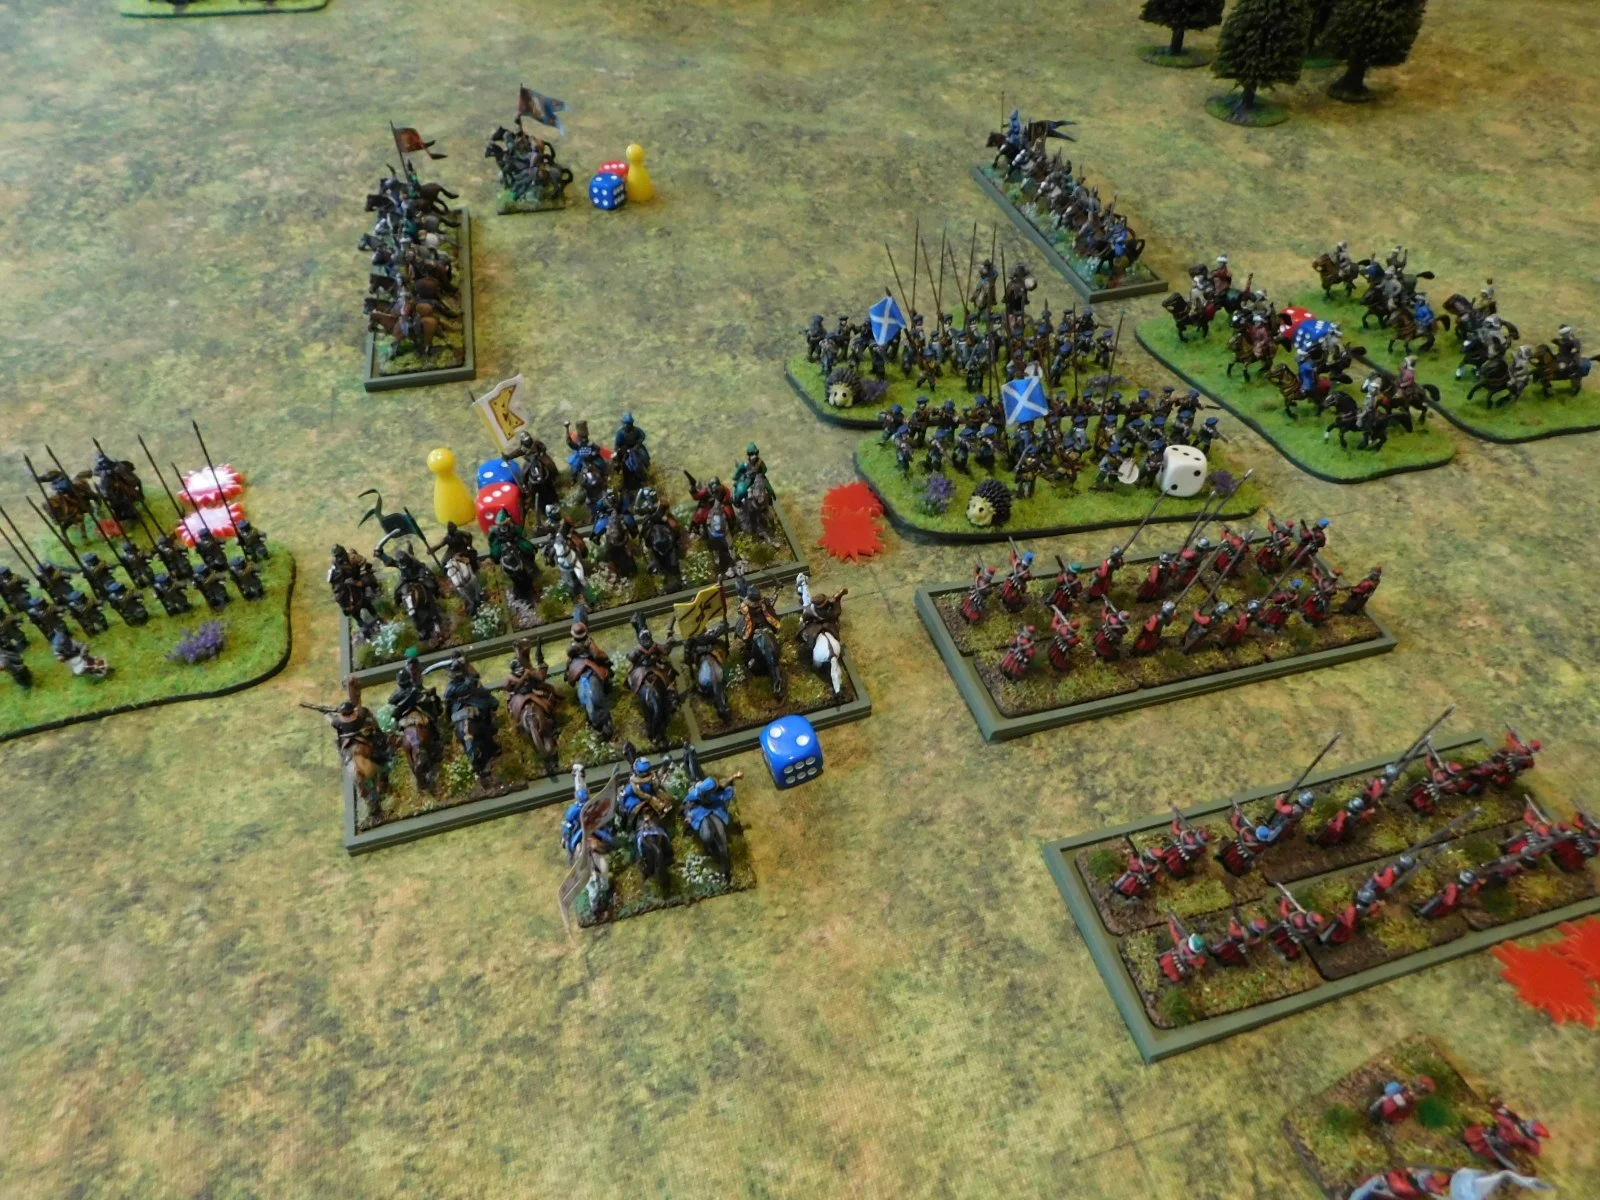
John and I fancied a game of For King & Parliament, but I didn’t fancy using straight ECW armies. Eastern front was a possibility, but I didn’t fancy using the Cossacks, which meant my only complete army was the Muscovites, but who to fight against them? Step forward the Scots and we were good to go, albeit for a rather odd if contemporary mash up!

I would play the Muscovites and, incredibly considering the amount of horse I had, immediately lost the initiative and had to start deploying first. My plan was to put most of my cavalry on the right and win there whilst my infantry held the centre and left, then swing my victorious cavalry into the rear of his infantry once they were fully engaged with mine.

Only potential problem was that I didn’t have much infantry, so had to use a brigade of Reiters (heavy horsemen) in the middle to fill a gap.

The Scots read my cavalry deployment superbly, and placed their large cavalry brigade opposite them, meaning that not only were my Tatar light cavalry immediately wrongfooted (I wanted to sneak them round the flank but their way there now led through some Scots Pistoliers) but my National Cavalry were squashed up behind a windmill! C- could do better for deployment!

Lots of lovely Muscovite horse, but they’re not quite in the right place

As battle commenced, the Scots hung back: advancing only their Highlanders on my left and their cavalry on my right. I quickly led my entire army forward except for the Servant Cossacks and Border Dragoons on my far left: I didn’t fancy mixing it with some mad Clansmen!

I also attempted to sort out the mess on my right flank by getting one of the brigades of National Cavalry to swap places with the Tatars: what a mess!

The aforementioned mad clansmen

Swapping two brigades of cavalry over is not easy

Fortunately John’s Scots had a fit of the slows, and I was able to get my horse sorted out and push forward to start the engagement that should sweep the Scots cavalry from the field and thus fulfil stage one of my cunning plan.

Meanwhile in the centre, the main body of Scots infantry had finally started moving forward. My Reiters headed out to meet them, but as I didn’t fancy charging well-ordered pike blocks, my cavalry turned around and retreated before any significant action took place.

The enemy were now effectively advancing in echelon towards me, which suited me fine as it gave my National cavalry more time to win on the right. The only trouble was that the Scots horse were proving hardier than expected!

The cavalry melee on the right went on and on, and I just couldn’t seem to break the Scots donkey-wallopers!

This meant that the Scots infantry were able to advance on my line and a series of sporadic firefights and melees broke out. My Reiters were still able to outpace the advancing Scots, but my Soldats and Border Dragoons were not so fortunate. A good thing, however, was that my Tatars had now managed to slip through the enemy line, going over the crest of the hill through the grounds of the windmill.

Finally, however, the Scots horse broke, and my cavalry were able to turn and head to the left. The Tatars led the way, forcing the nearest Scots pikemen into hedgehog. My heavier horse cantered past the spikey beasts and then curled round and slammed into the rear of the units next to them. At the same time my Reiters now charged forward meaning the Scots were caught front and rear.

Once the surviving Muscovite heavy horse got into a position on the flanks and rear of the enemy line, the battle was really all over for the Scots. I won’t describe every moment of the roll up: suffice to say that it got very bloody very quickly, and once one or two of their pike blocks had broken, the domino effect soon had all their troops fleeing for the safety of the Glens!

It hadn’t quite been a text book victory: too much had gone wrong with my initial deployment, meaning that my left and centre had only just held out for long enough to let my right wing do what they did. Had the Scots been even a little quicker off the mark on their left and centre, then I would have lost the battle there before my National Cavalry had even dealt with the Scottish horse.

CDS AAR: A Writtle Bit of Lard

Also on show at the Lardy Games Day A Writtle Bit of Lard was a great looking game of Charlie Don’t Surf put on by Nick Bellamy.

Here are some pics, also from Ian Roberts, but this time from the CDS Facebook Group:

And as Preparation Prevents Piss-Poor Performance, here are some shots of the playtest that Nick ran a few weeks before:

IABSM AAR: A Writtle Bit of Lard

I couldn’t make this year’s Lardy event in Writtle, A Writtle Bit of Lard, but, looking at the photographs up on various Facebook groups, I wish I had.

Legendary game runners Phil and Jenny put on a superb looking I Ain’t Been Shot Mum: here are a few photos from the day posted by Ian Roberts on the IABSM Facebook Group.

FK&P AAR: Fire Over Barsetshire, Round 2

This was the return match of Rob and I’s clash of Elizabethan English and Spanish forces in a fictional encounter in the equally fictitious county of Barsetshire.

In our first game, I had played the Spanish and achieved a decent win, so now it was time to see if I could do the same thing playing the English.

The Spanish Tercio: veterans all!

I was a bit nervous about the Spanish Tercio, so determined to avoid it for as long as possible. I therefore placed my Militia on my left flank, opposite the Tercio, determined to use the walled enclosures as a fortress from which to fight from. That left my Hunting Party longbowmen and commanded shot in the centre; and the contingent from the Royal army on the right.

As mentioned above, my plan was to hold the Militia back and push the Royal Army forward as fast and hard as possible, hopefully winning on the right flank before turning to roll up the Spanish once I’d done so.

As the battle opened, I therefore pushed forward my right, but the Spanish facing the Royal Army didn’t come forward. In fact they moved slightly sideways into the centre of the field, leaving my best troops hanging facing no-one to fight!

Meanwhile, on the left, the Tercio moved forward ponderously, but it was in the centre that we would first see action as the Spaniards’ Irish contingent, led by some Kerns, rushed forward towards the Hunting Party troops.

As the Kerns came forward, the English longbowmen did their thing, and the wild Irish were soon sent packing. This left the Irish pike, commanded shot and swordsmen to contest the centre: a fight that would continue for some time without clear resolution.

Meanwhile the Tercio were still ponderously heading for my refused left flank:

But it was on the right flank that things became very intense very quickly.

As mentioned above, my Royal Army contingent had marched forward as quickly as possible, determined to win the battle before the Spanish Tercio could get stuck in. They were facing the left hand edge of the Irish brigade and a brigade known as the Volunteers consisting of swordsmen and mounted arquebusiers. My veteran troops should have carved their way through them nicely but actually ended up effectively losing the individual melees that followed!

Besides costing me my best troops and about half my victory medals, this let a unit of Spanish mounted arquebusiers slip through my line to threaten the Royal Artillery.

Now those of you who play For King and Parliament will know that artillery is usually not very useful in open battle. Rarely do you have the equivalent of a Grand Battery to blow huge swathes out of the enemy line: the standard is to have one or maybe two slow-firing pieces that are as useful as battlefield dressing. As the arquebusiers charged in, therefore, I resigned myself to losing another unit and another victory medal!

I had obviously underestimated the Royal gunners, as rather than being run down like rabbits, they sent the arquebusiers routing off the field!

A nice success, but now the Spanish Tercio arrived.

Choosing to drift into the centre of the field, the enemy pike and shot launched an attack on the two walled enclosures defended by the Militia and the remnants of Sir Fitzgerald Percy’s Hunting Party.

Although my troops survived this first wave of attacks, it was a costly business. Admittedly the Militia were relatively unscathed, but they were under severe threat from the front and flank; and my centre had taken a hammering and was still faced by an unbroken line of enemy pike and shot.

I was also now down to only two victory medals (meaning the loss of one more unit would cost me the battle as my men lost their morale and fled) and although my opponent was in the same situation, his units were mostly much healthier than mine and, as you can see in the pics above, in a far better tactical position.

I had the initiative, but if I didn’t win the battle this turn, then that would most likely be it as the relatively fresh Spanish troops hit my tired and disordered troops in the flank.

You remember how I said that artillery was mostly useless in open battle? Well the Royal Artillery were about to prove me wrong again.

Up ahead of their position, a unit of Spanish swordsmen threatened the flank of some already-disordered English pike. Unbelievably, the Royal Guns managed to not only fire three times in the same turn but, with their last round of ammunition, they also managed to score three hits on the Spaniards…sending them from the field and costing Rob his last two victory medals just before he could finish me off!

I really did feel that I had managed to snatch the narrowest of victories from the gaping jaws of defeat!

It had been a great game that showed how flexible the FK&P engine is: able to cope with the peccadilloes of the Elizabethan era as well as it does the English Civil War and Eastern Front.

One final picture, if only to showcase Rob’s beautifully painted troops and terrain. Here is the Spanish Forlorn Hope: the crew of the Sao Martinho happily taking no part in the battle as they loot a nearby farm!

IABSM AAR: Strongpoint Hillman

James Mantos played in a D-Day scenario put on by Brian Hall: Strongpoint Hillman. Not a full report but duplicating the pictures he posted to the I Ain’t Been Shot Mum Facebook Group:

On a beautiful October Saturday, when I should have been doing some gardening, I instead drove with Weirdy-Beardy to deepest, darkest, downtown Hamilton for a Lardy themed game day. A change in route thanks to recommendations from a Hot Lead friend made the drive there and home much less fraught with peril, unlike my last three trips to play in Hamilton. Victory for old fashioned map reading! Take that Google Maps and GPS!

I got a spot in friend Brian's 6mm I Ain't Been Shot, Mum game refighting the 1/Suffolk Regiment's 2nd assault on Strongpoint Hillman during the afternoon of D-Day. See also a Youtube video here.

Brian is a fantastic game master who always brings his depth of knowledge about the battle being played to the game to help the players understand what is going on and facilitate any rules interpretation required. His terrain is also very well made and thought through.

This scenario was one of the players fighting the GM/table since the Germans were pretty static and didn't have much to do except react. Looking at the situation I quipped to my team mates: "Two up, one back, bags of smoke?" One of them replied, "Yeah, sounds good."

Fortunately our supporting 25 pdr batteries got on the job quickly and the first missions were on target so we had the most dangerous German MG emplacements blinded for the critical break in phase while the Engineers widened the gap in the minefield to let the tanks in.

Brian introduced me to using Force Morale for IABSM, which is a great idea that I'll use from now on instead of troops fighting to the bitter, ragged end.