

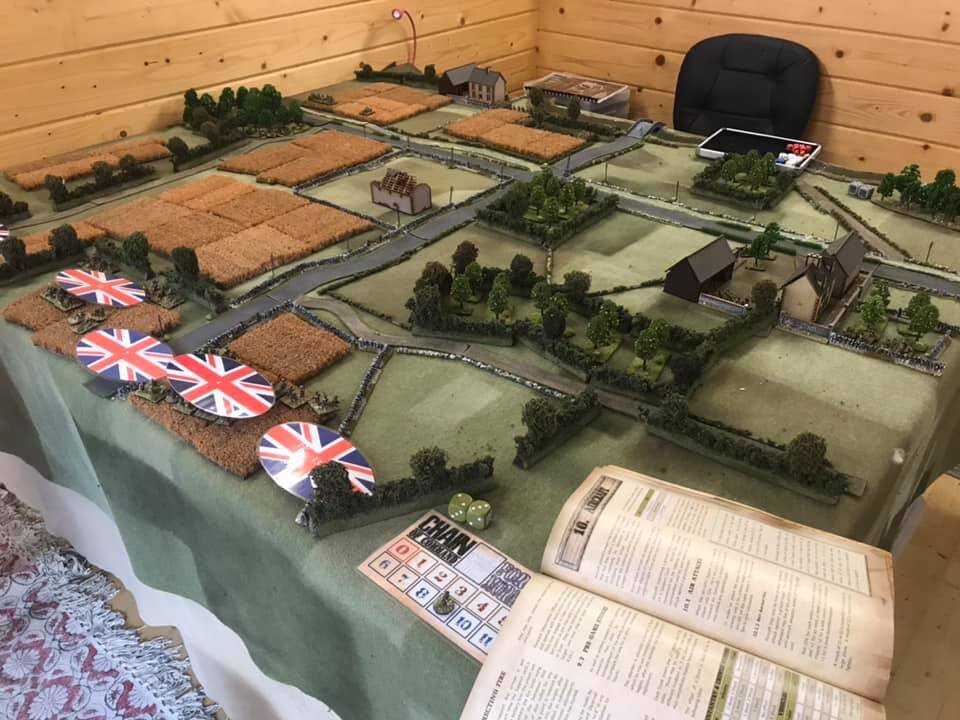
IABCYM game this afternoon. First three turns of the dice driven version of IABSM.
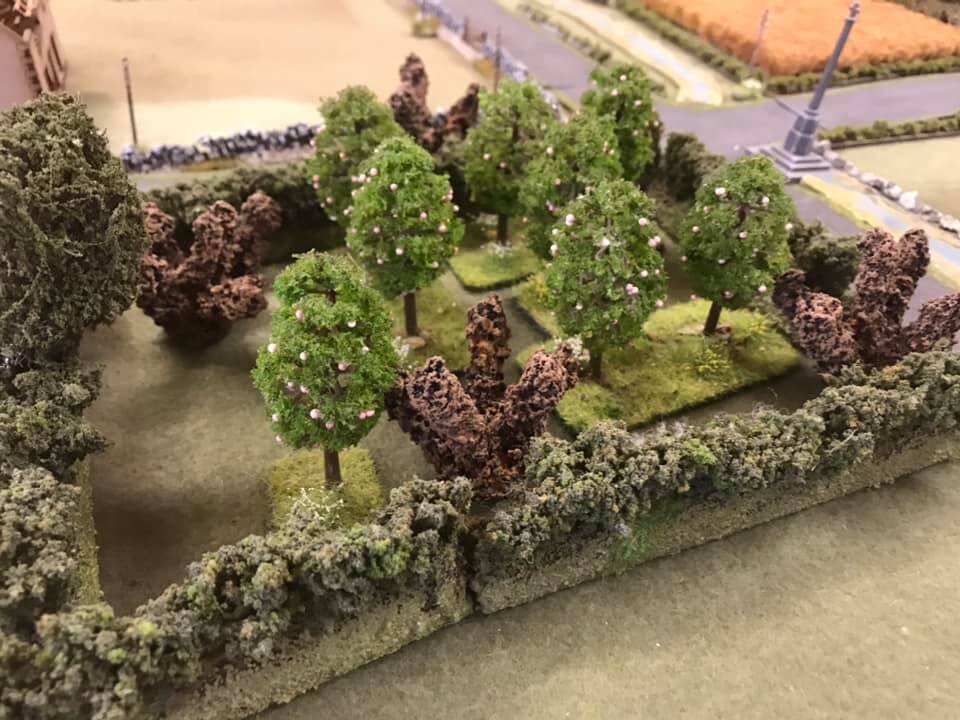
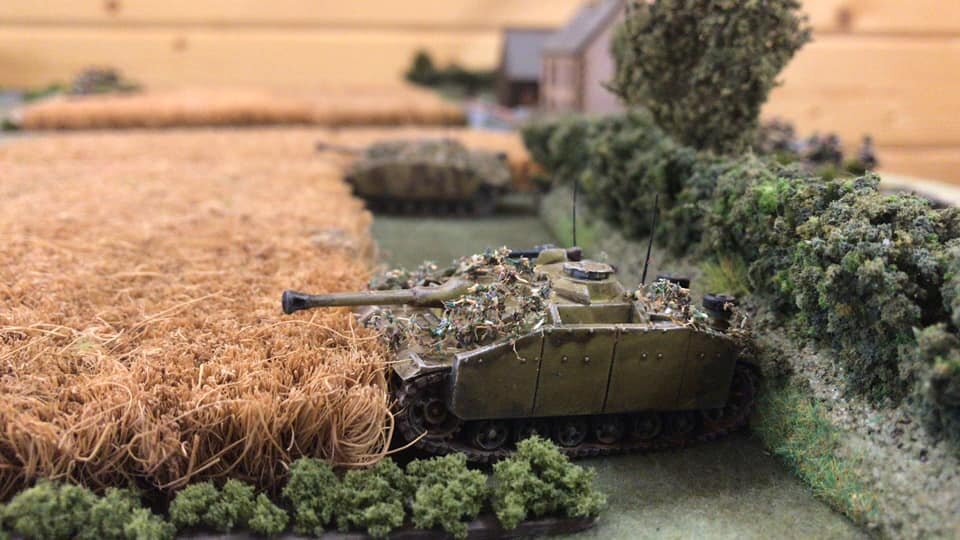
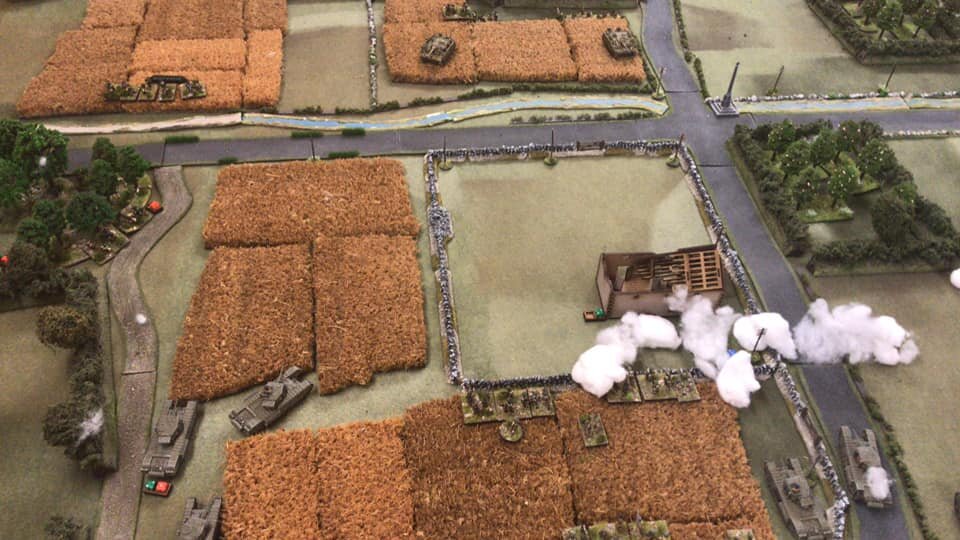
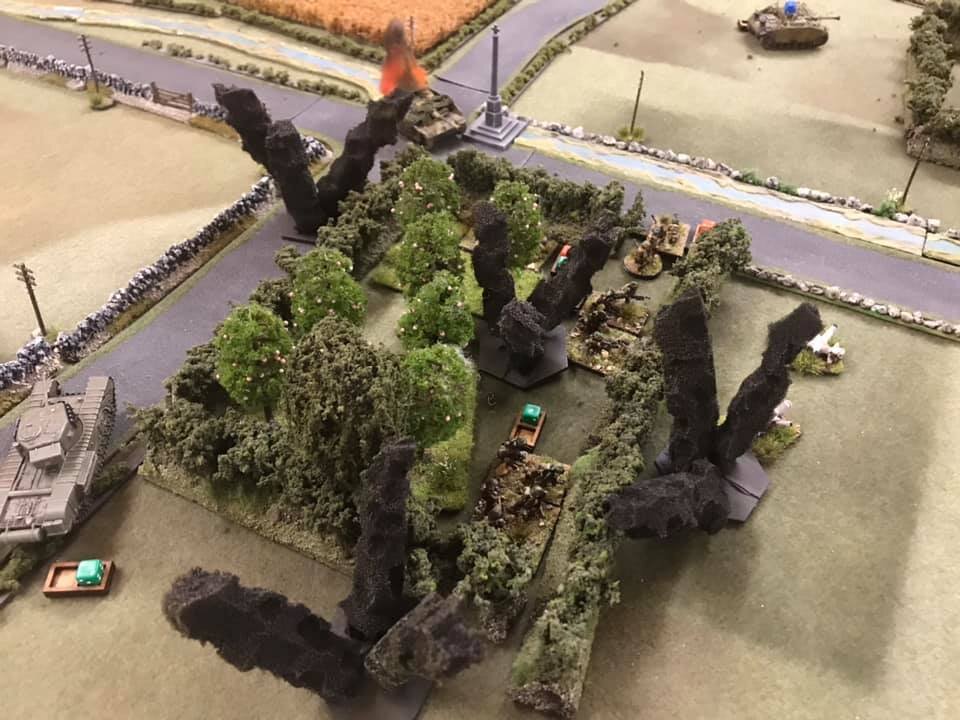
A British company supported by two troops of Churchills are tasked to capture the crossroads and the small bridge. Artillery support is readily available and a pre game stonks have messed up Monsieur Gartier’s Orchards. Opposing them are three infantry zugs and a zug of STuGs.
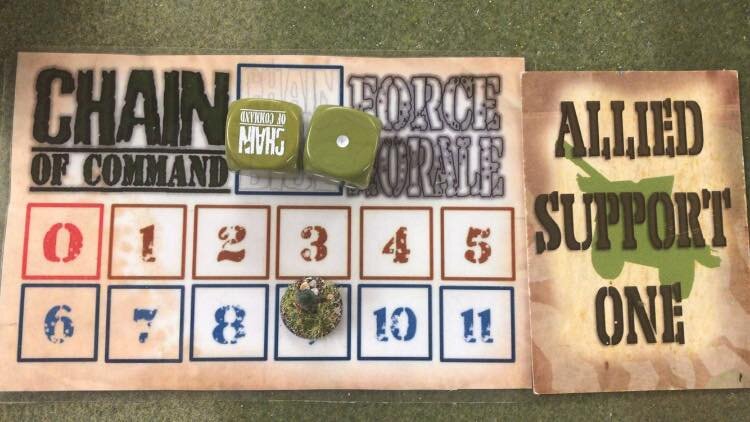
British Morale is 9, the Germans 8 (air attacks on the way to the deployment area has left the Germans a touch nervy).
The Game Begins
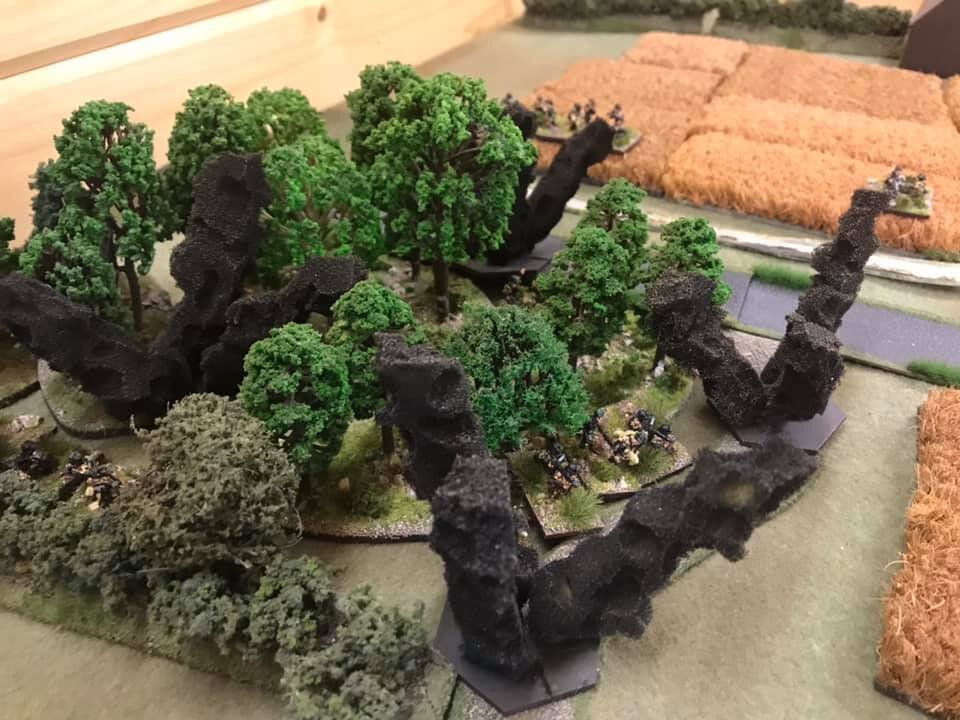
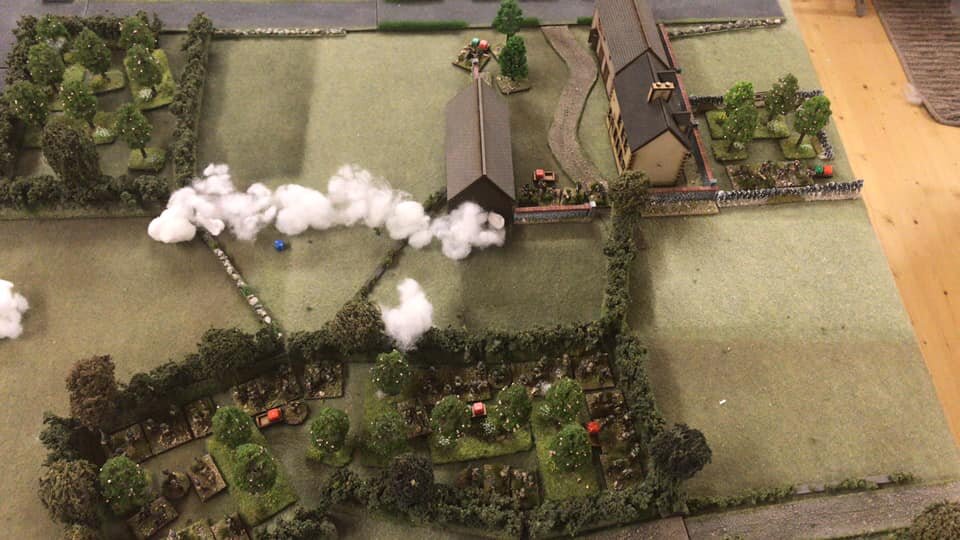
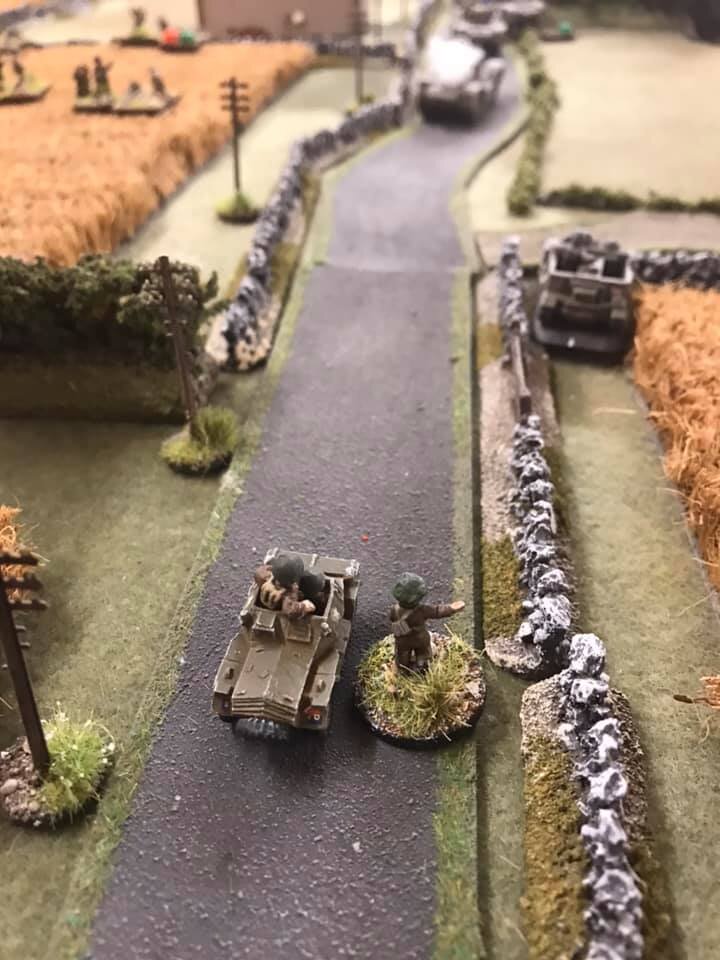
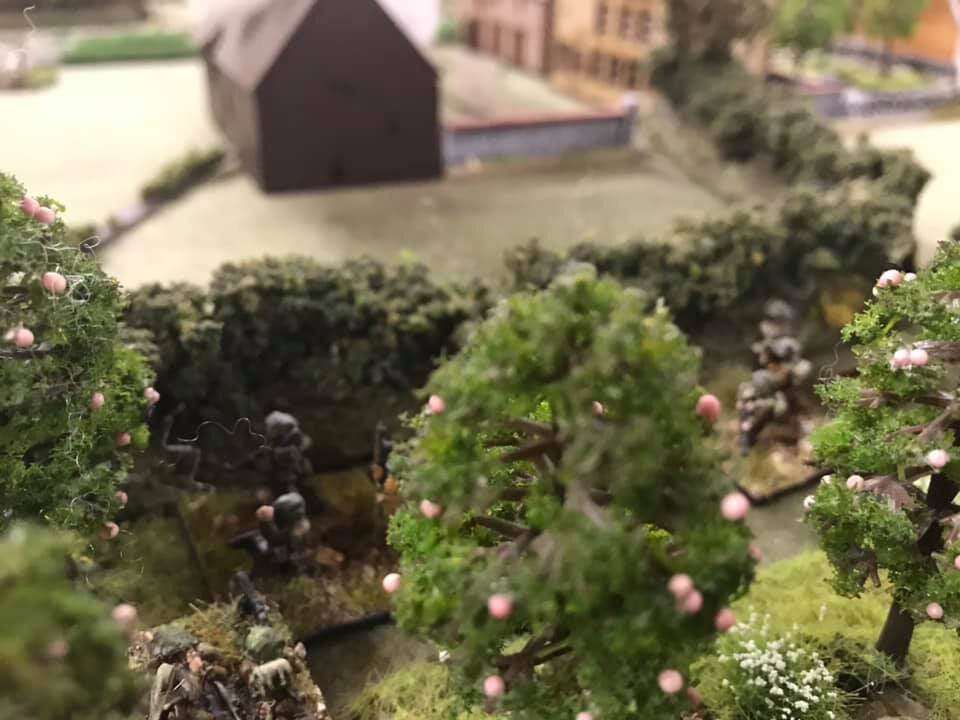
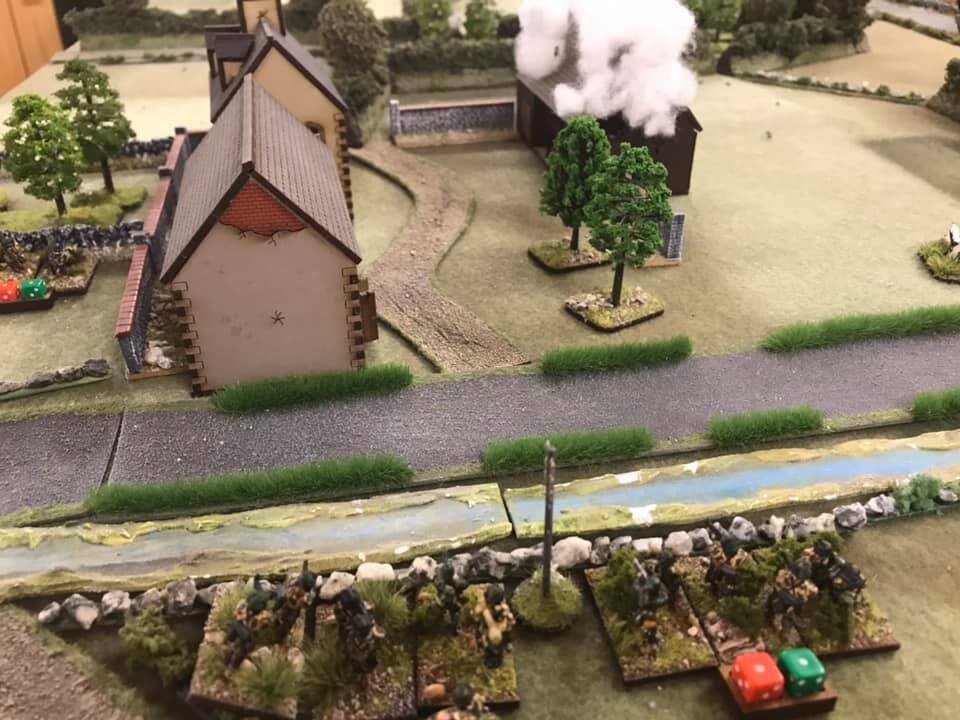
The British advanced on Blinds with two infantry platoons advancing, expecting a hard fight for the orchard. Churchill troop A moved under a Blind to support. The final platoon was spotted by the German Commander who was installed in the two storey building, rolling 11 on the spotting dice, but no German fire poured down. The Germans used their dice to put zugs on Overwatch and remove Shock off hidden units. The spider sat back, waiting for the prey.....
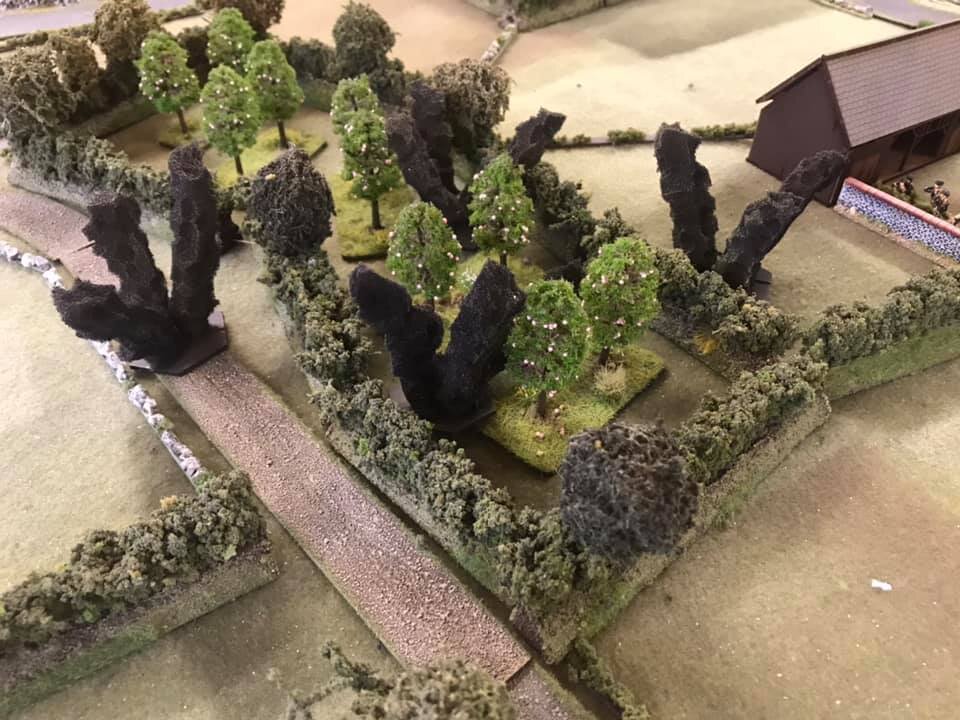
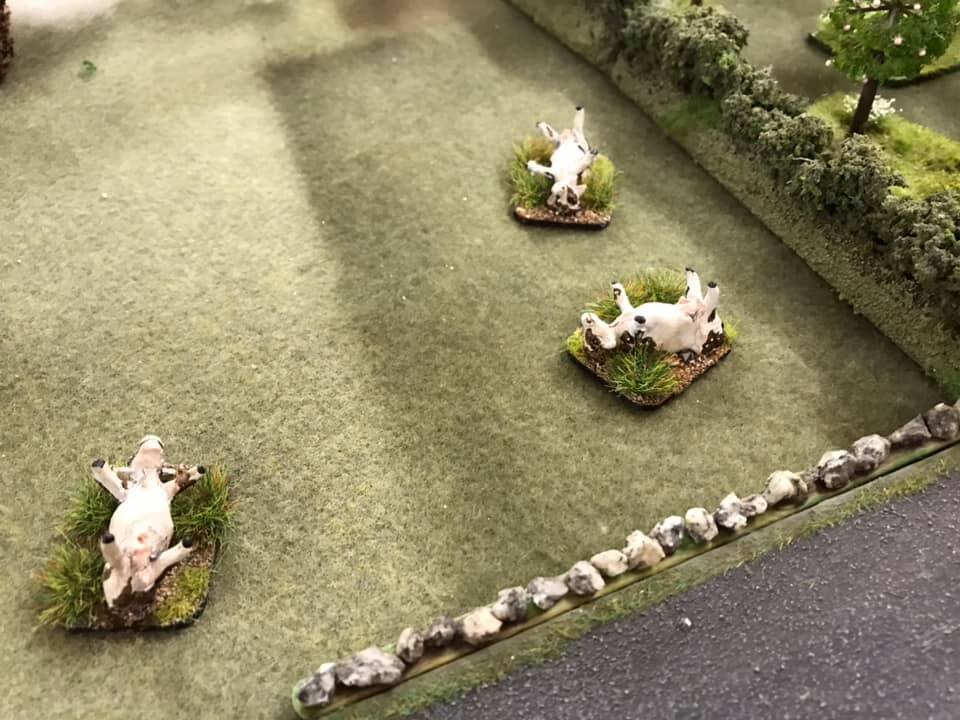
The British pushed into the orchard expecting a close combat..... empty slit trenches were all they found.
The Germans activated their FOO and called in fire on Platoon C. This takes time to arrive, and the Germans do find it difficult to get this, but if it arrives it can be devastating.
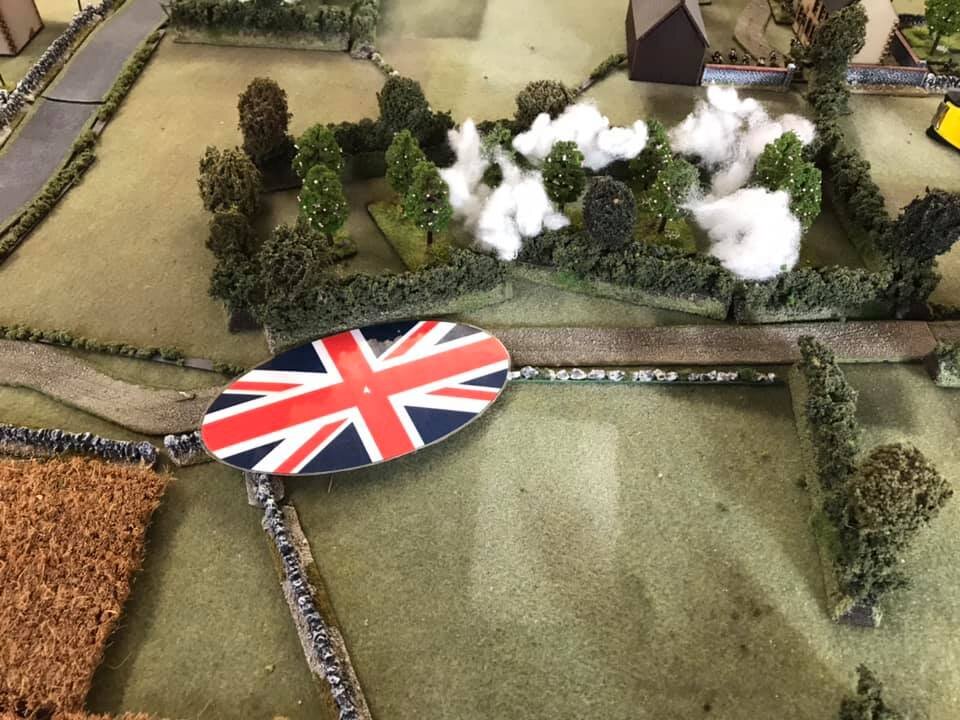
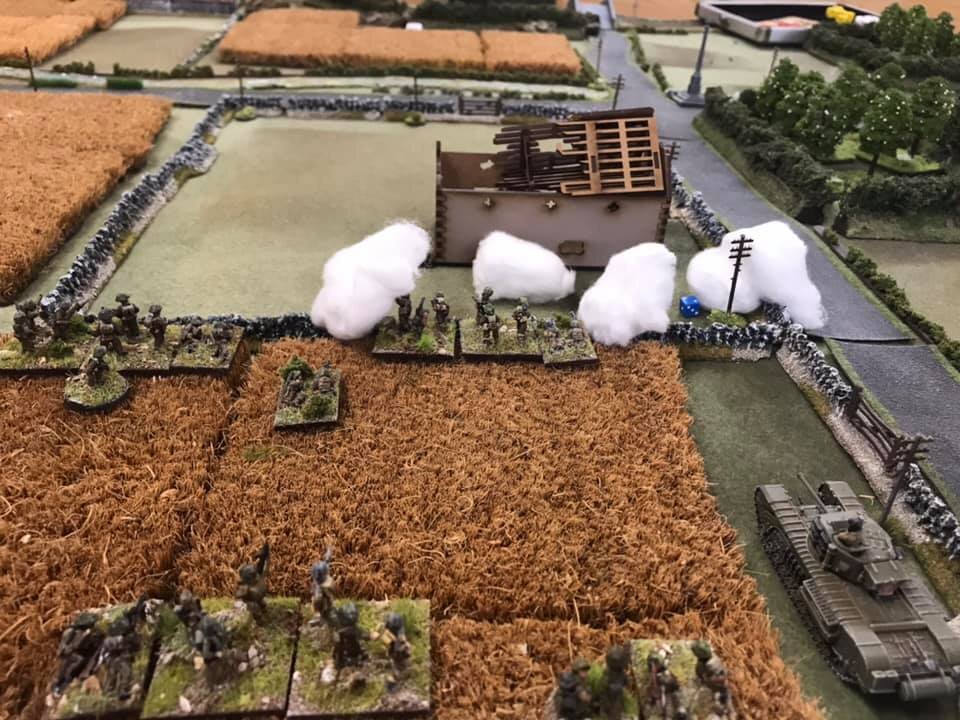
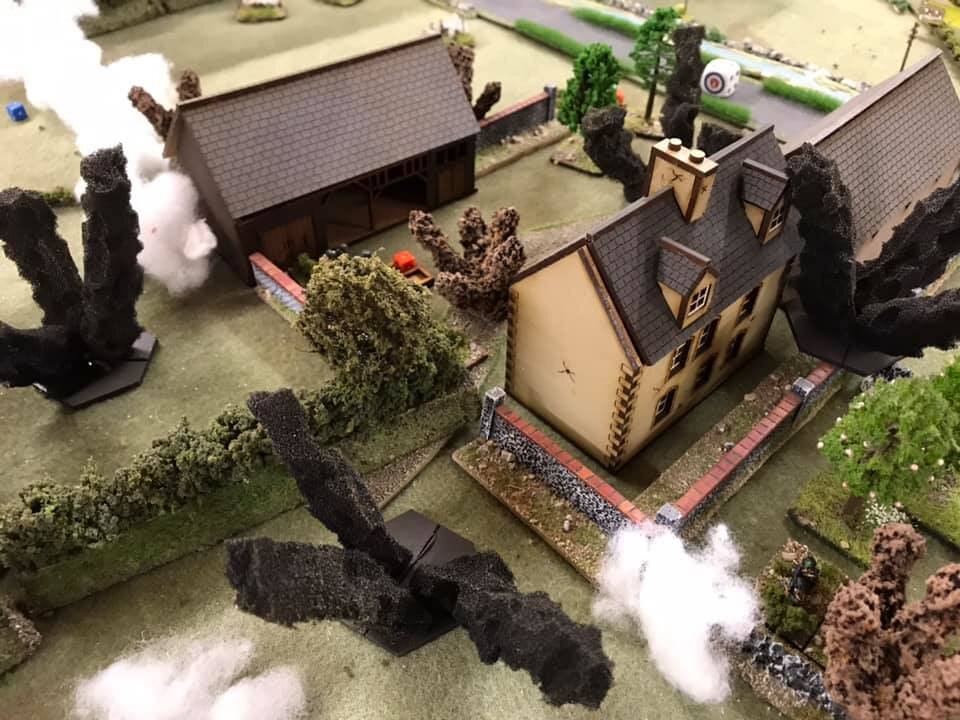
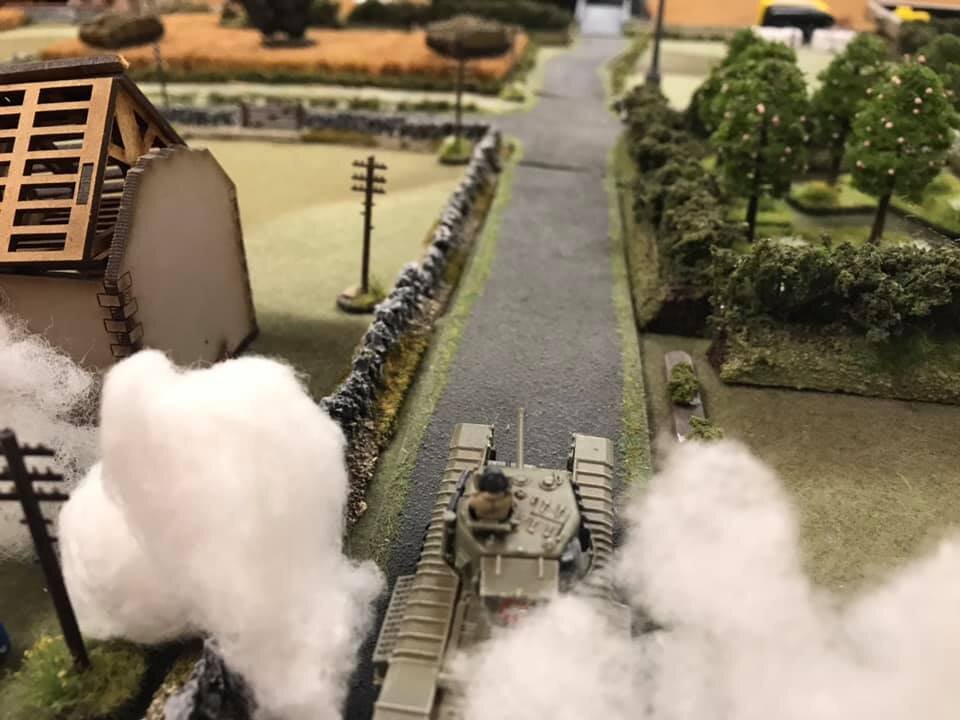
The British decided on turn three to lay a 2” smoke screen in front of the deployed platoon C, and the first troop of Churchills deployed on table and poured HE on the two storey building on the edge of the table. This is a house rule - you may fire at a physical feature and “brass it up”. However, you can only inflict Shock. No kills, no pinned or suppression. Clearly the two storey building is an obvious FOO location, so it was deemed a legitimate target. The result was somewhat disappointing for the British ( in a two player game they would obviously not know if there was anyone impacted by the HE fire)
The turn ended with the British some what relieved that first line had been captured, but the concern was where was the enemy? A long one that with over 6 phases per side.
Turn four will see the British move to capture the next orchard and watch the flanks. For the Germans the prey edges further into the trap....


The Game Continues
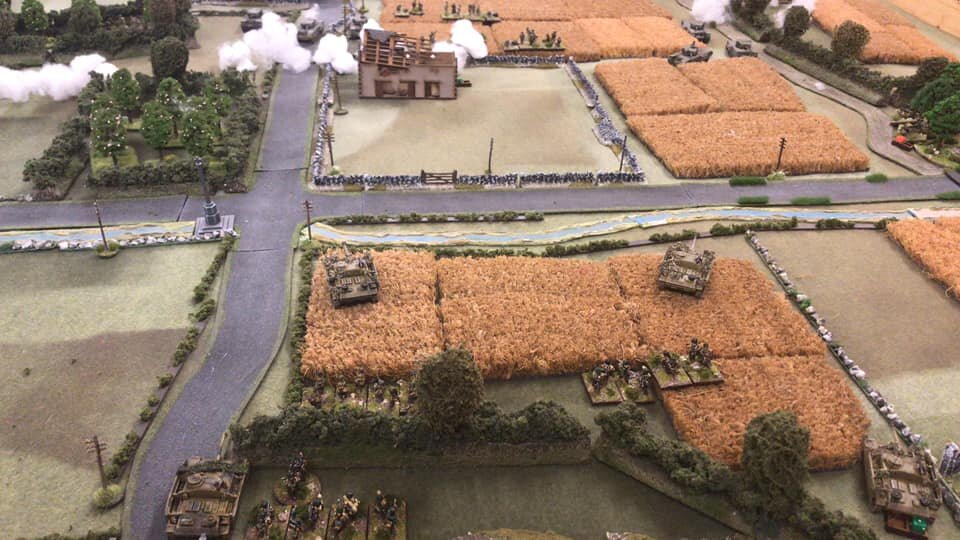
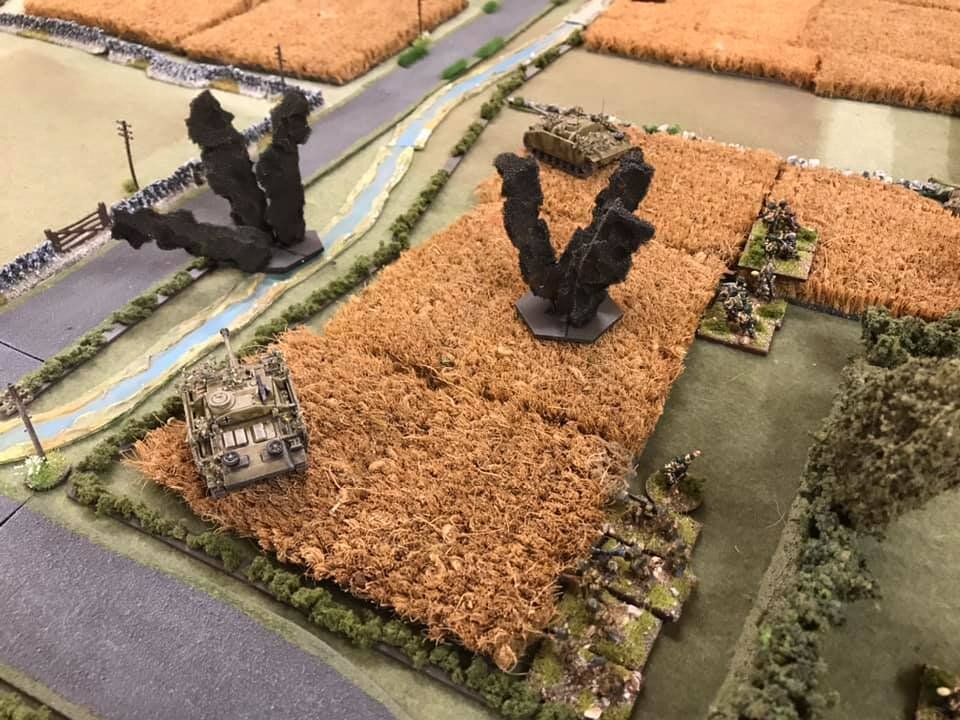
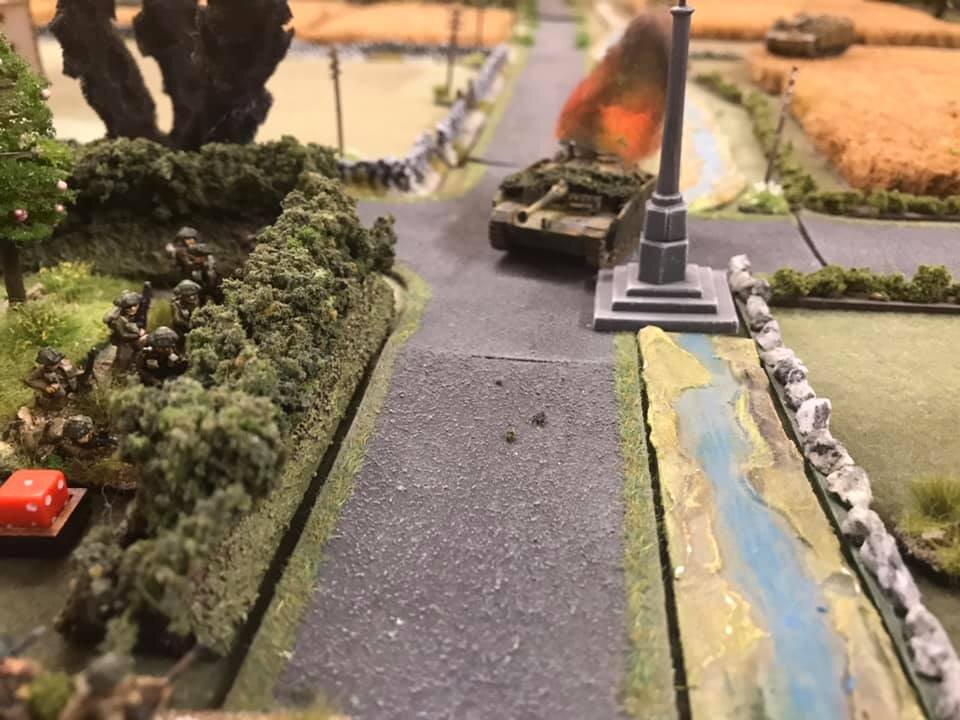
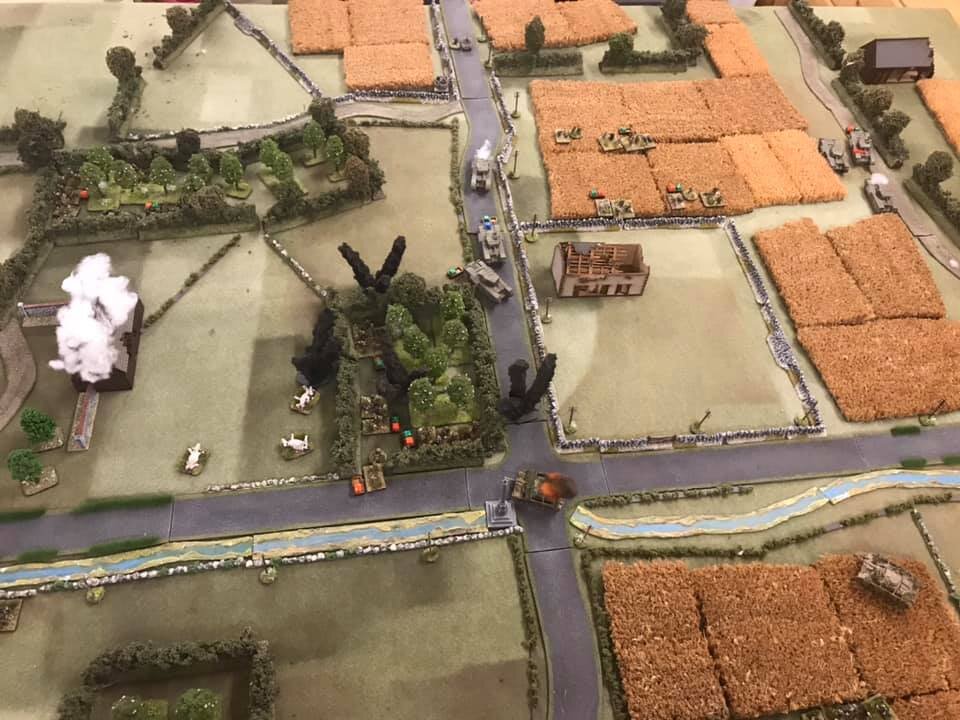
The British FOO got a ranging shot close to the StuGs near the bridge and they wisely have dispersed as much as cover will allow. The German infantry have hunkered down around the bridge praying Lt. Percil is no good with maps.
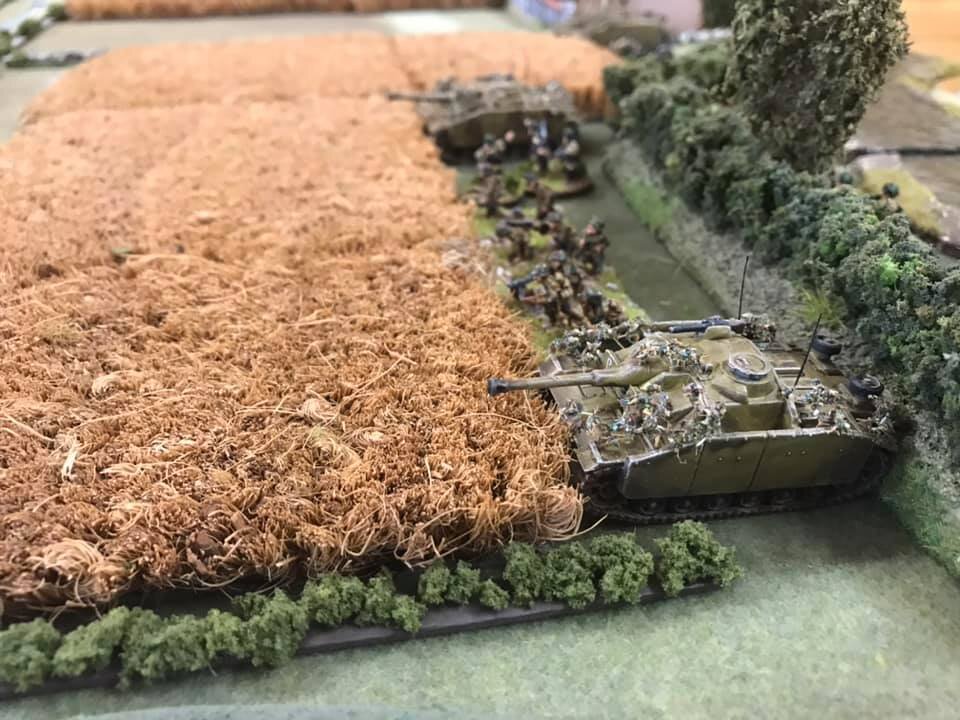
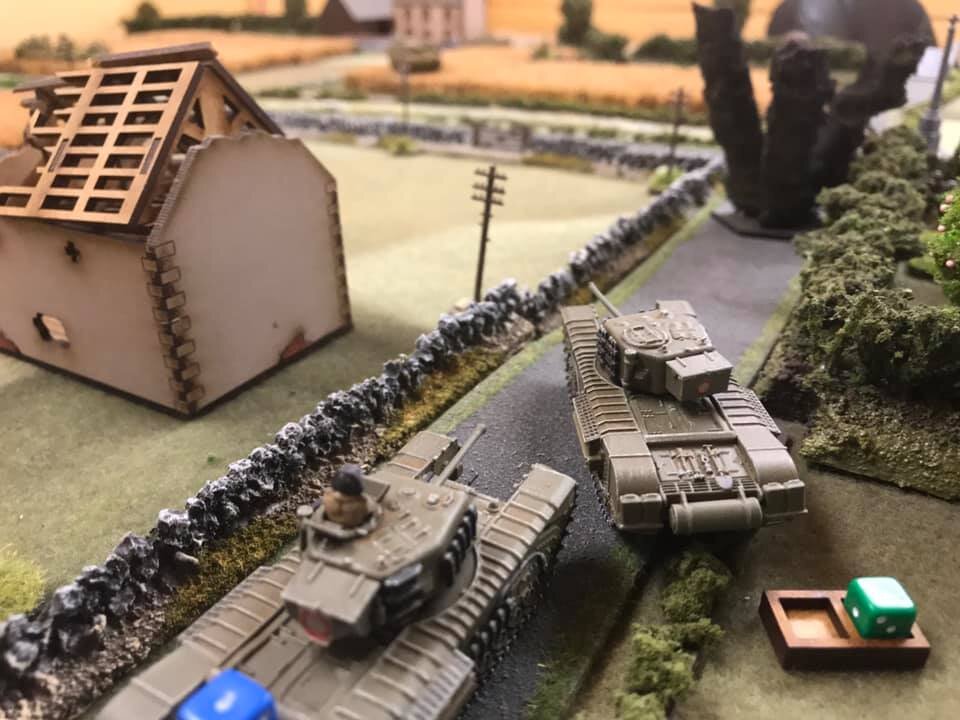
On the left Churchill Troop A wont move forward without infantry support so it is holding position peppering the StuGs with AP but with little impact. In the centre Platoon C has taken the barn but is waiting for Platoon B to attack the orchard and remove that threat from their attack route. Troop B is holding place, but “ Devastator” had to be abandoned when its gun was badly damaged by an AP round, the crew losing their bottle and abandoning the beast.
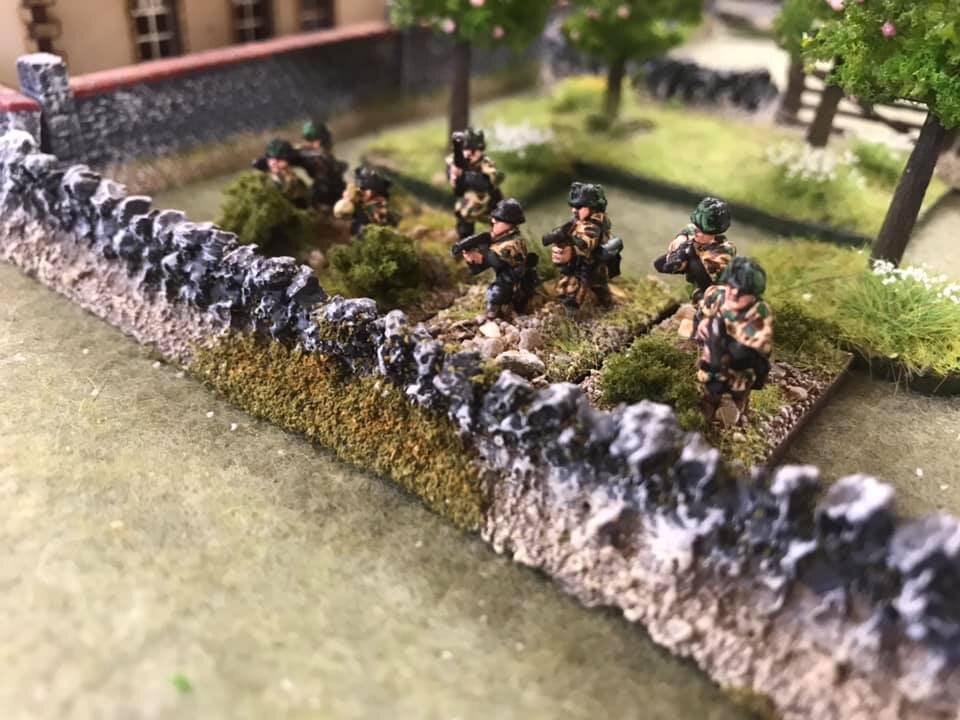
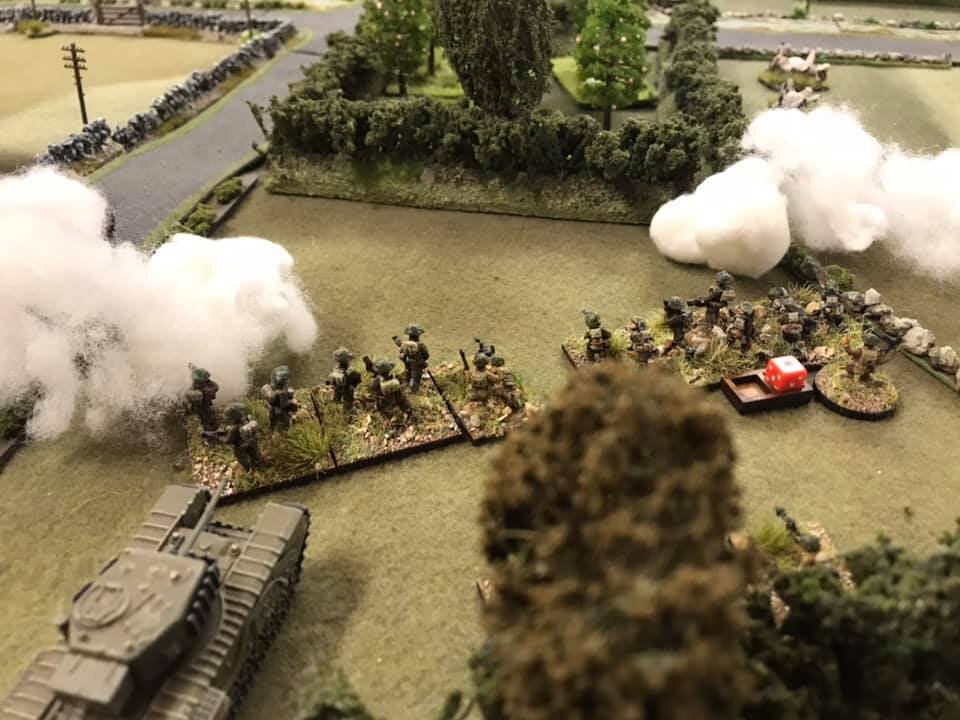
Platoon A and B are heavily engaged in a firefight with the zug in Le Bleu Ferme. The sneaky zug deployed off a blind, fired using three dice and then went prone. The British had little to aim at, but combined four sections firepower got one or two of the defenders and pinned the MMG. Bad news for the Germans was that Oberleutnant Neumann was killed by steady British fire. Bad Things happen was not kind, the Germans rolling a 6, so losing two morale. They are at 6 vs British 9.
All to play for and now the 25pdrs are in the game.

Two More Phases
The weather out in the real world was too nice to stay inside today so only got the two phases per side done. The British got the second support request approved and Battery B opened up, and almost on target! Le Bleu Ferme was smothered in 25pdr HE. The damage was not as bad as it could of been in terms of hits, but for the Germans, the problem was these were almost all Kills.
In the centre British Platoon B has begun the assault on the orchard covered by a 2”smoke screen and supported by Churchill tanks. No fire came from the orchard so the Churchills inched forward and engaged the StuGs but to only limited effect.
On the far side the StuGs continued to disperse as another ranging shot from Battery A landed too close for comfort. StuG “ Lowenbrau” managed to cause enough shock that the crew of “Determined” abandoned her and fled for the safety of the rear. The continuing action is slowly tilting in the favour of the StuGs.
No Bad things Happened to either side
With the British barrage now on table, the Germans must hope loads of 6’s are rolled and the Turn ends, the barrage ending. If not, the troops in Le Bleu Ferme will be in deep trouble.
A Sudden & Bloody Conclusion
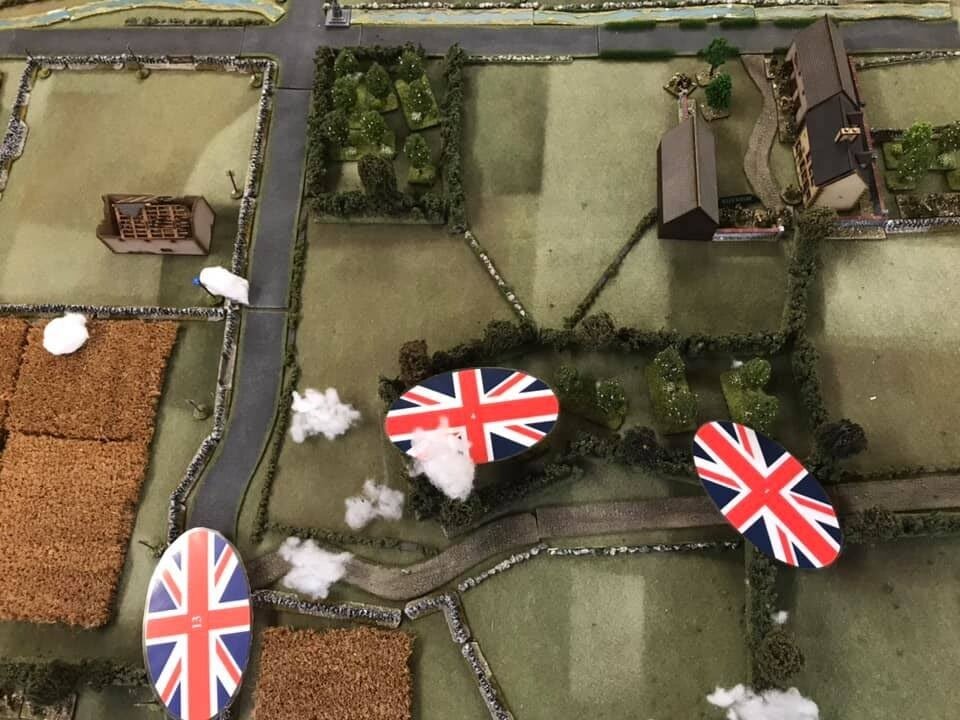
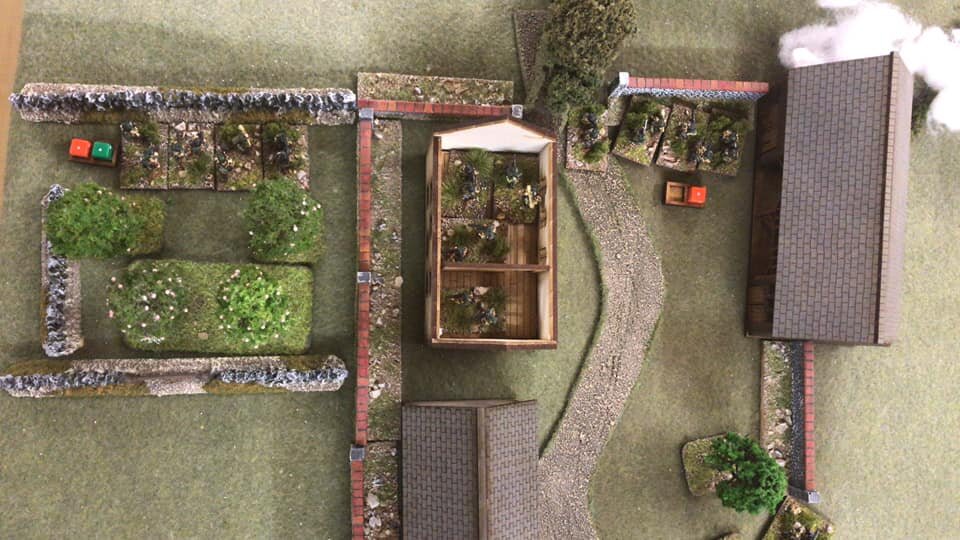
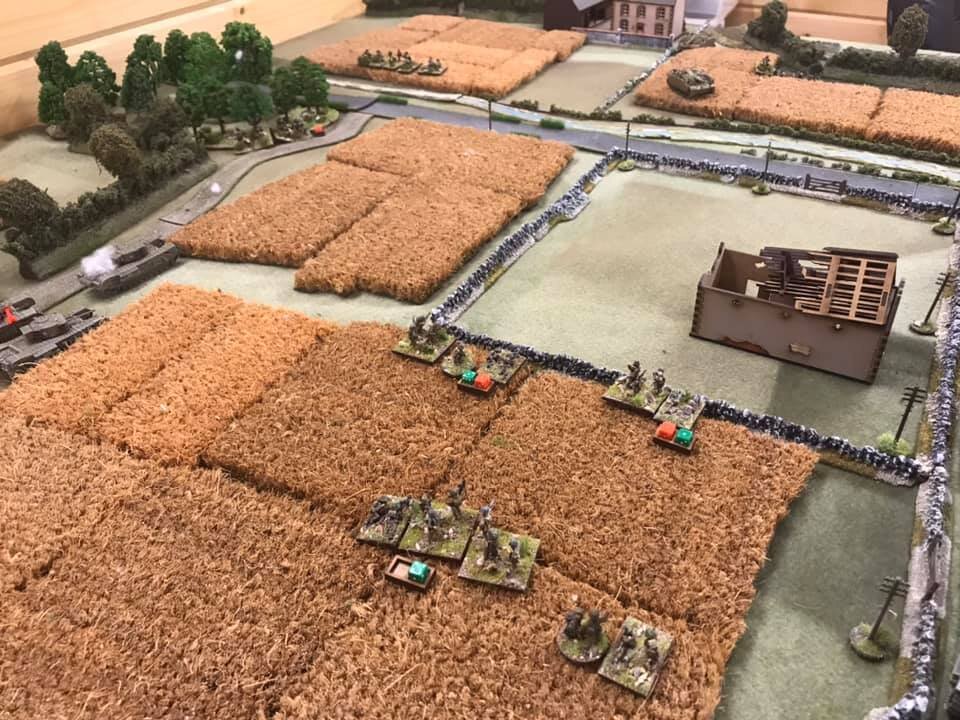
The British had been making steady progress in the centre with Platoon B supported by Churchill tanks securing the orchard beside the crossroads. Le Bleu Ferme on their flank was blasted by 25pdr HE while the StuGs to their front were hit by Battery B. Platoon A awaited orders to attack Le Bleu Ferme, while Platoon C ready to cover any German zugs that showed their heads. Things were progressing well.
Platoon B dashed for the orchard and found no opposition, quickly capturing it and defending the hedgerow line. The PIAT team moved forward to fire on the forward StuG. The Churchills inflicted some shock and the crossroads looked within the Brits grasp.
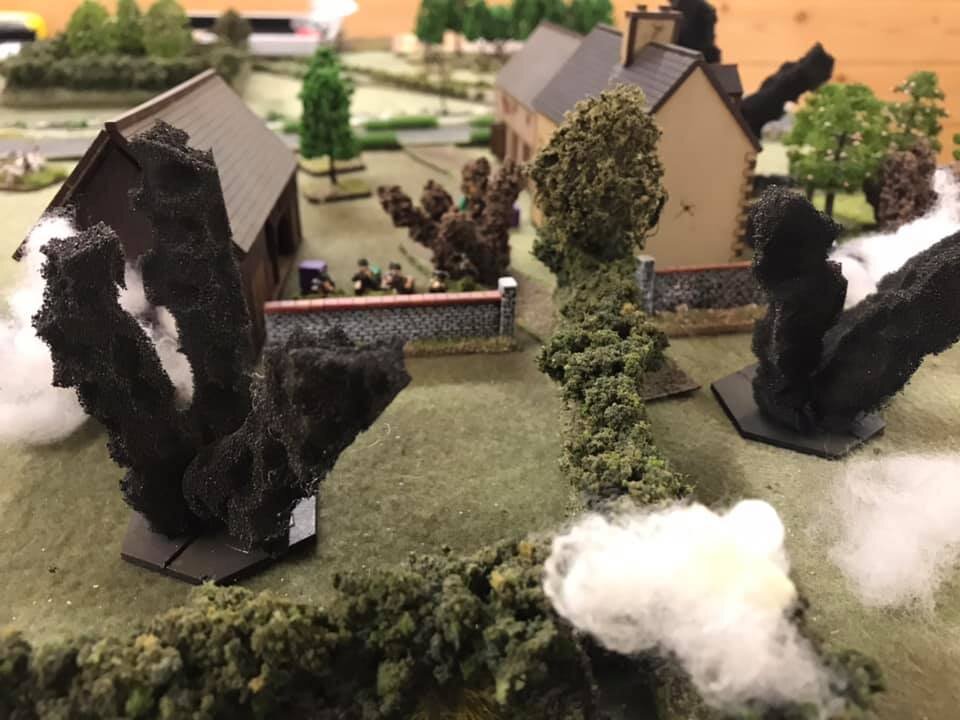
The Germans suffered badly in the barrage in Le Bleu Ferme, and as soon as it ended pulled out leaving comrades dead and wounded and fell back on the second line. Zug 2 and 3 were still hidden, and they chose to remain that way until the Brits advanced further. One was close to the bridge, the other on the far right, looking across the British advance.
In a phase, the game was decided. The German player rolling a D6, indicating two phases in a row. Also a 1 was rolled and a support request confirmed (it was requested phase before). The German player needed a 5 to request, but used two “Mums Dice” to reduce that to a 3, which they duly rolled. The deviation dice rolled a “On Target” and the orchard beside the crossroads disappeared in smoke and shrapnel
Dice were rolled and at the end of the phase six infantrymen were dead and four Shock taken. Lt Jefferies was also dead.
The Germans had the next phase as they rolled D6 and promptly rolled a 1 again, so the barrage kept firing. Inside the orchard the death toll rose and the shock mounted.
At that point it became clear the lead Platoon was a write-off and the attack had faltered. The CO called off the attack and told Platoon C to fall back and Platoon A to hold position. The remnants of platoon B struggled back later in the evening a sorry state.
A Clear German Victory
The scenario was certainly favourible to the defenders, but I had forgotten really how powerful a defense can be in these rules. Yes the British had the choice of avenue of attack, but I think the firepwer I gave the Germans easily countered that. The British artillery should of had a bigger part to play, but was largely ineffective.
A great game and once again reaffirmed my belief the Toofatlardies produce the best WW2 Company sized rules.
British OOB
3 platoons regular infantry, 1 additional BM per platoon.
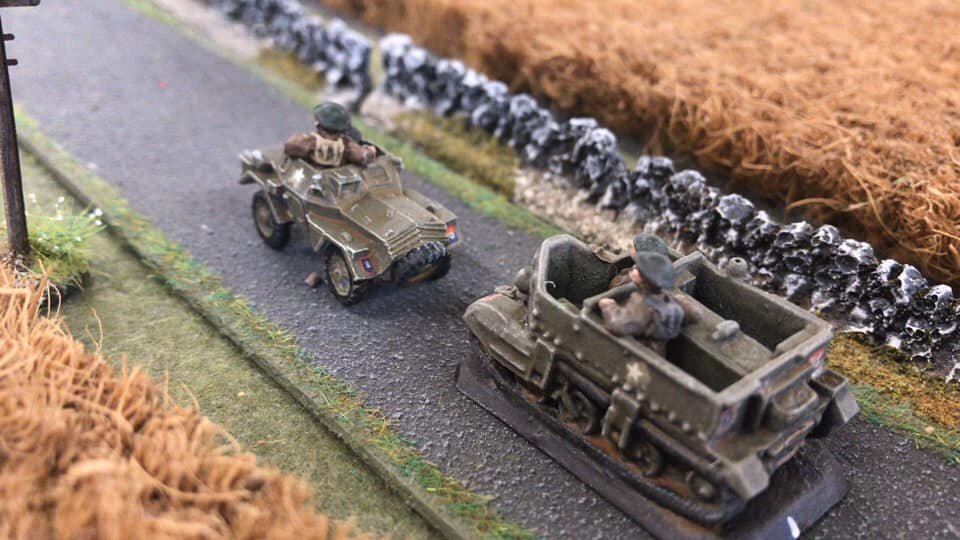
CO in Bren carrier
FOO in Dingo AC
2 troops of Churchill tanks
2 Batteries of 25pdrs
2 sections of pre-game stonks
German OOB
3 zugs of infantry with additional BM.
CO BM 3
2MMG assugned to the zugs
4 StuGs
1 mortar battery
Aftermath
In retrospect the British force was too weak to take the objectives, but they did their best. If you are inclined, make the game a two day affair. Let the Germans hold their end of Day One positions and let the Brits attack again with fresh forces on Day 2. This would reflect the problem the Germans had in continually trying to stop fresh attacks with no fresh troops of their own
Time to pack up!!
Des Darkin