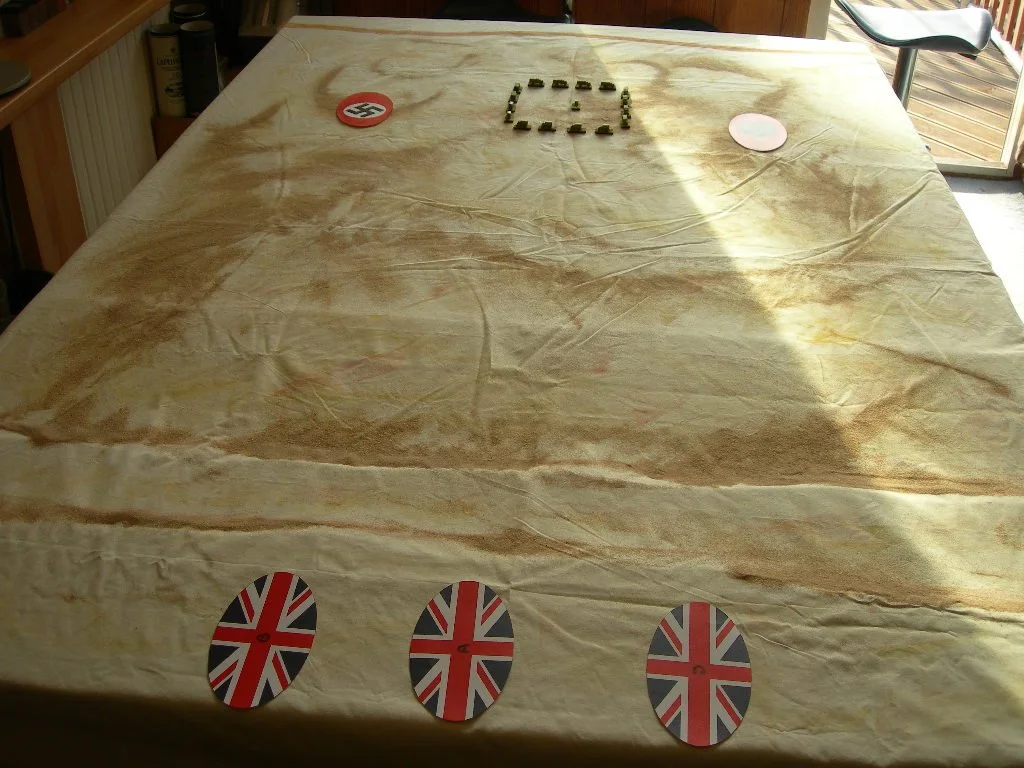
Early June means its time for the annual Operation Market Larden games day in Evesham. This year, 2016, I had volunteered to run a couple of games of I Ain't Been Shot, Mum! and had decided to run a couple of games from my Bashnya or Bust! late war, eastern front scenario pack.
As Bashnya or Bust is a five-level pyramid campaign, I decided to make life easy for myself by using the same setting for both games, but to use two of the different scenarios set there. The morning game would therefore use scenario 3D (q.v.), the afternoon game would use scenario 4F.
Scenario 4F: Zhena
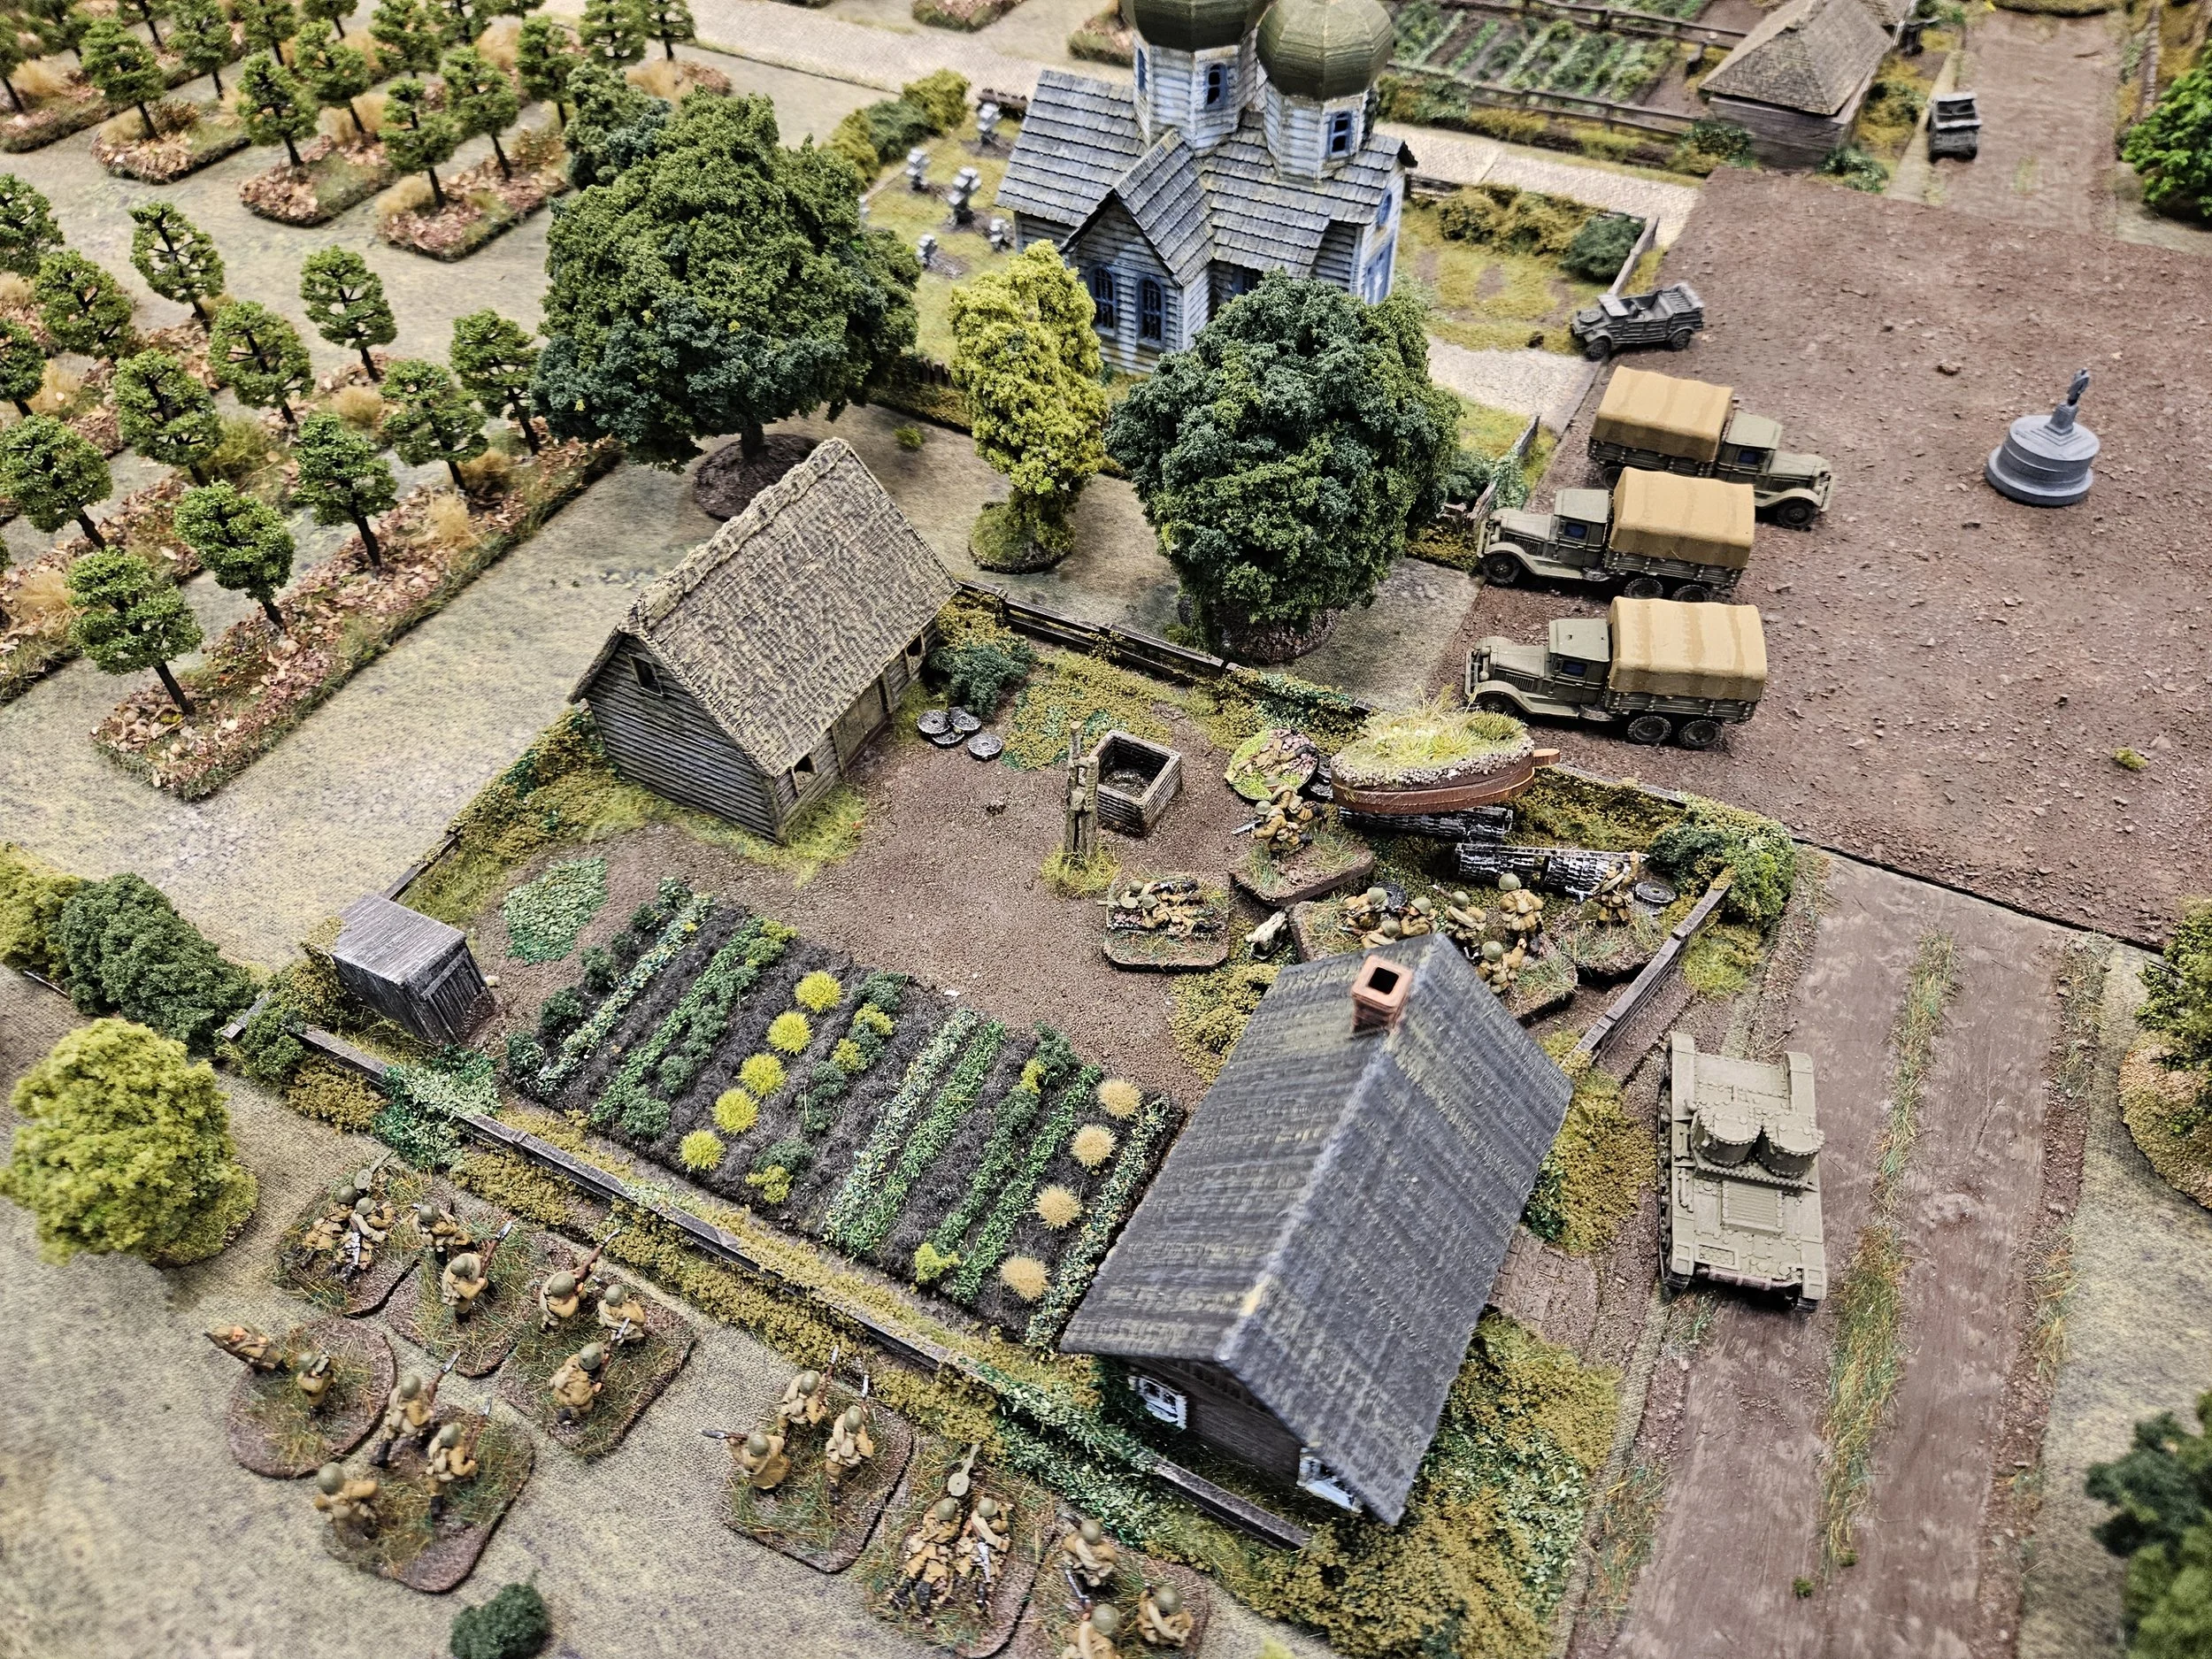
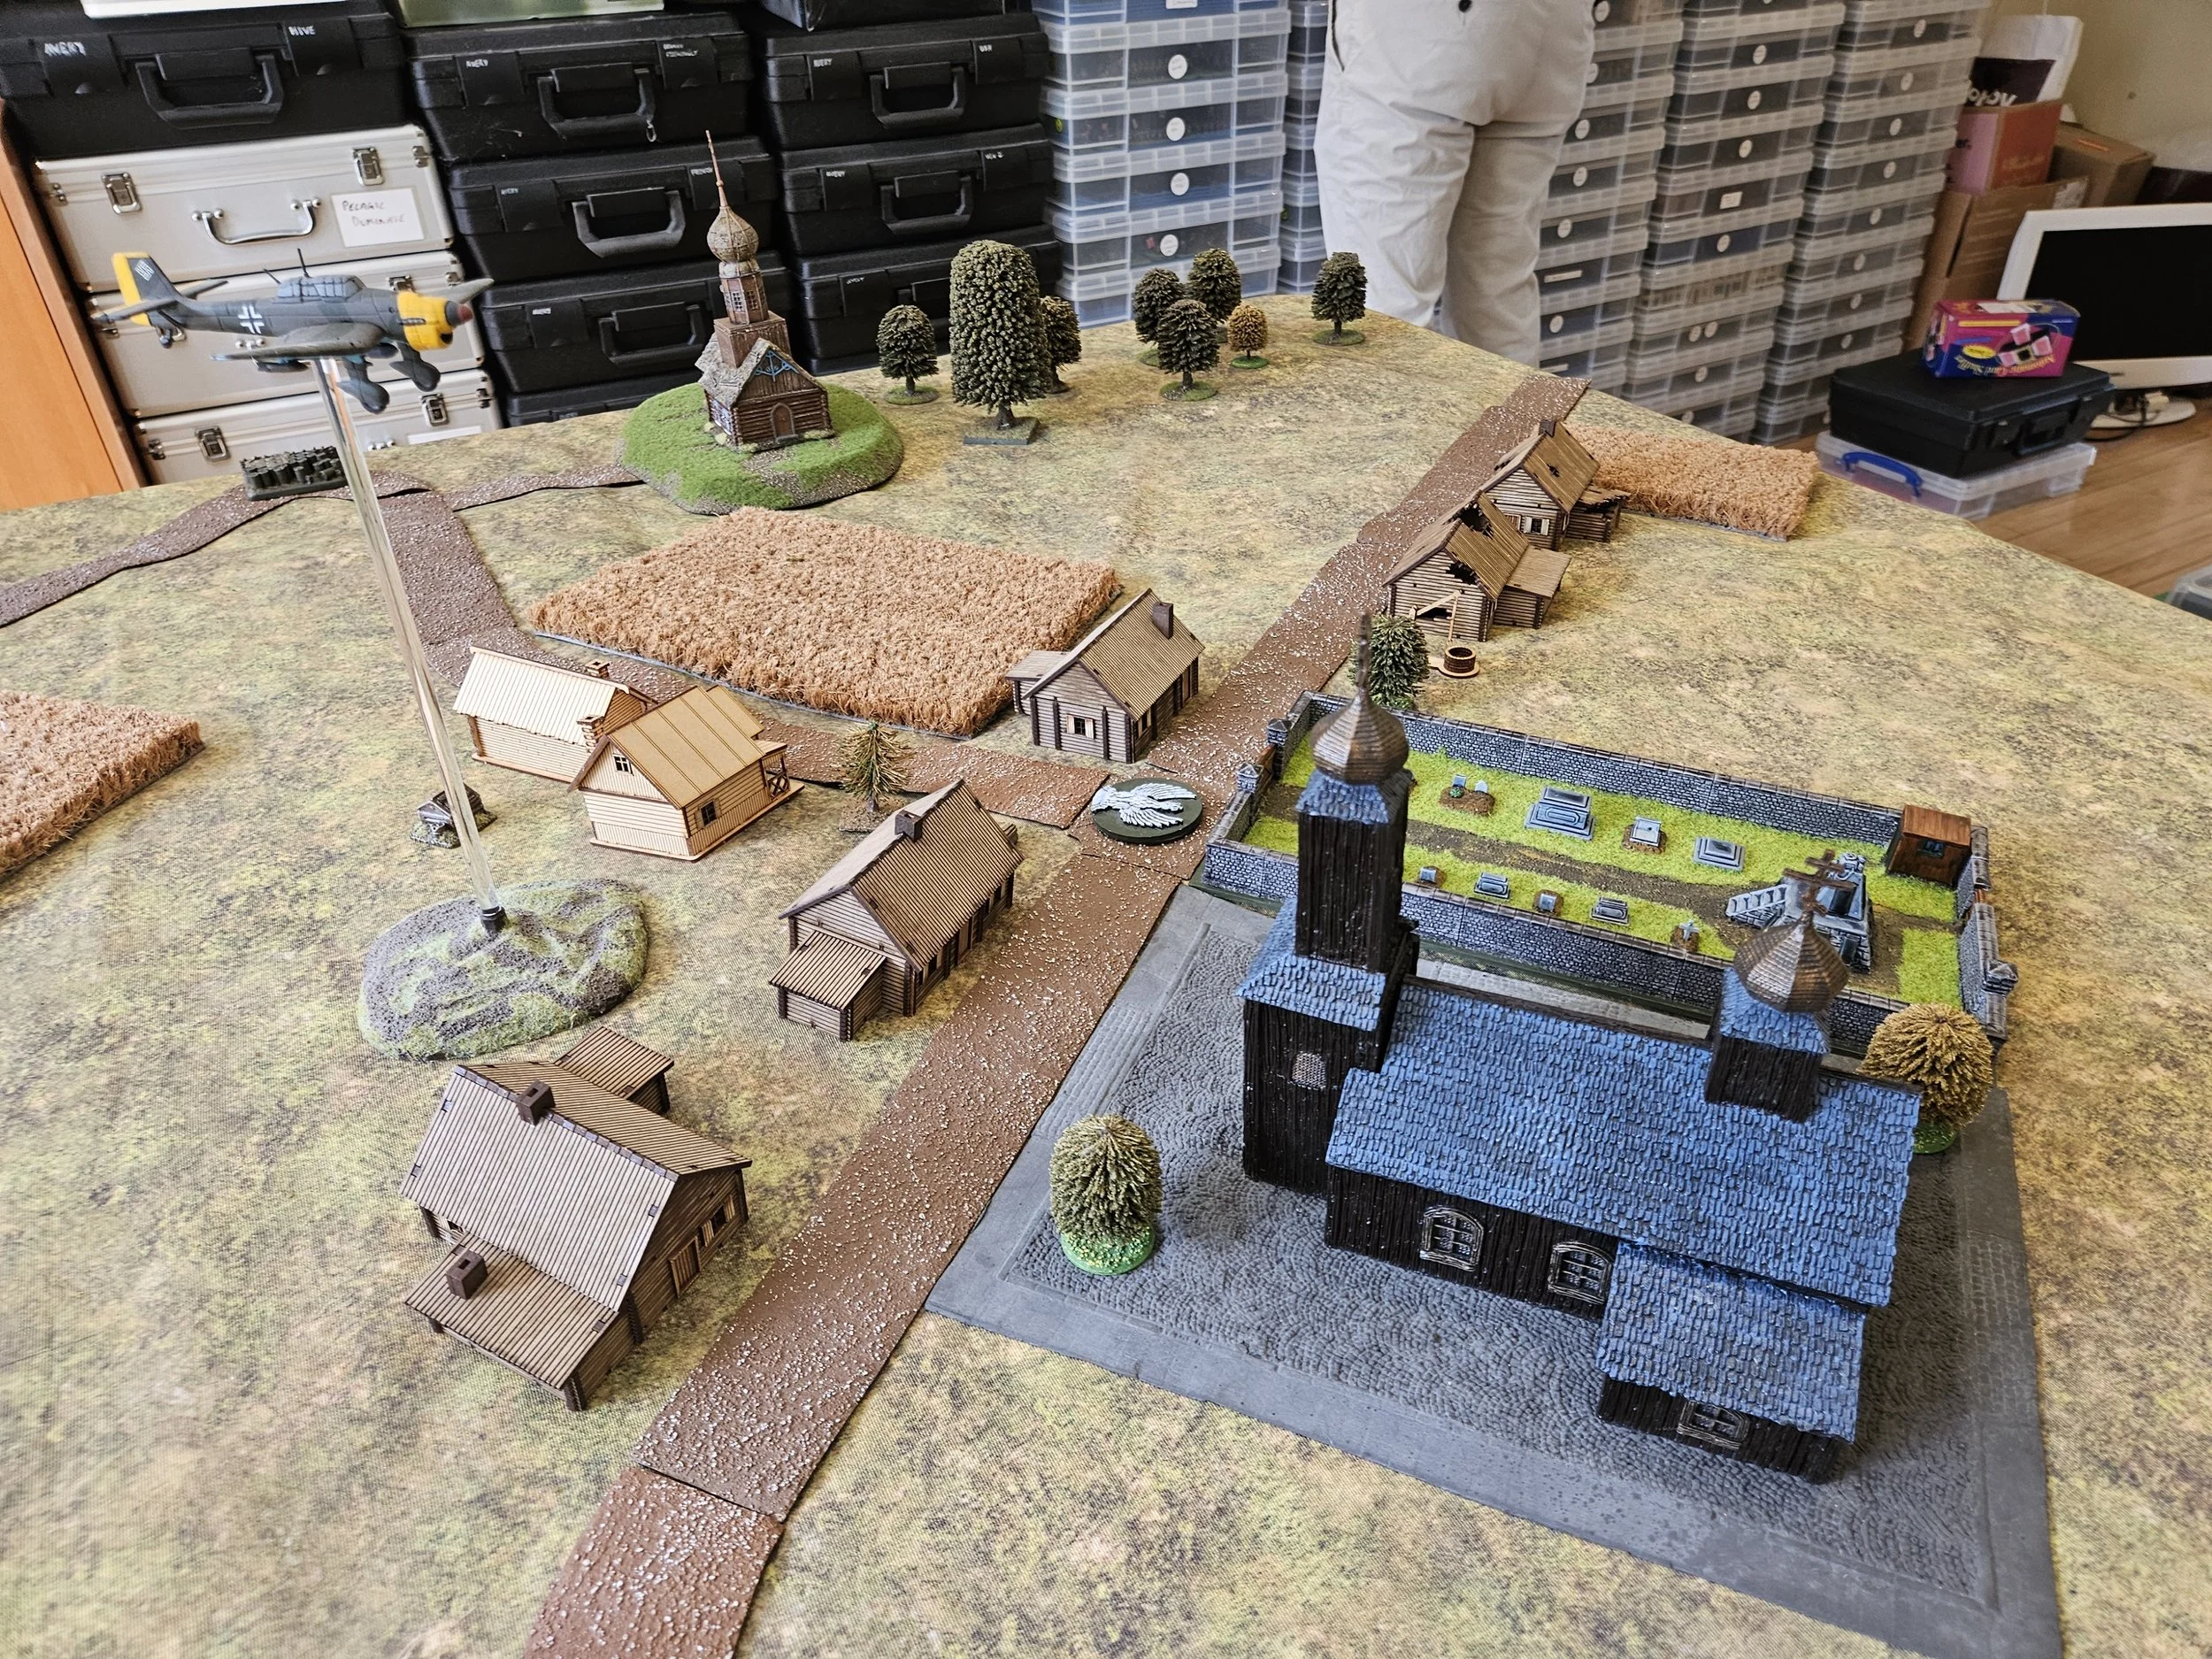
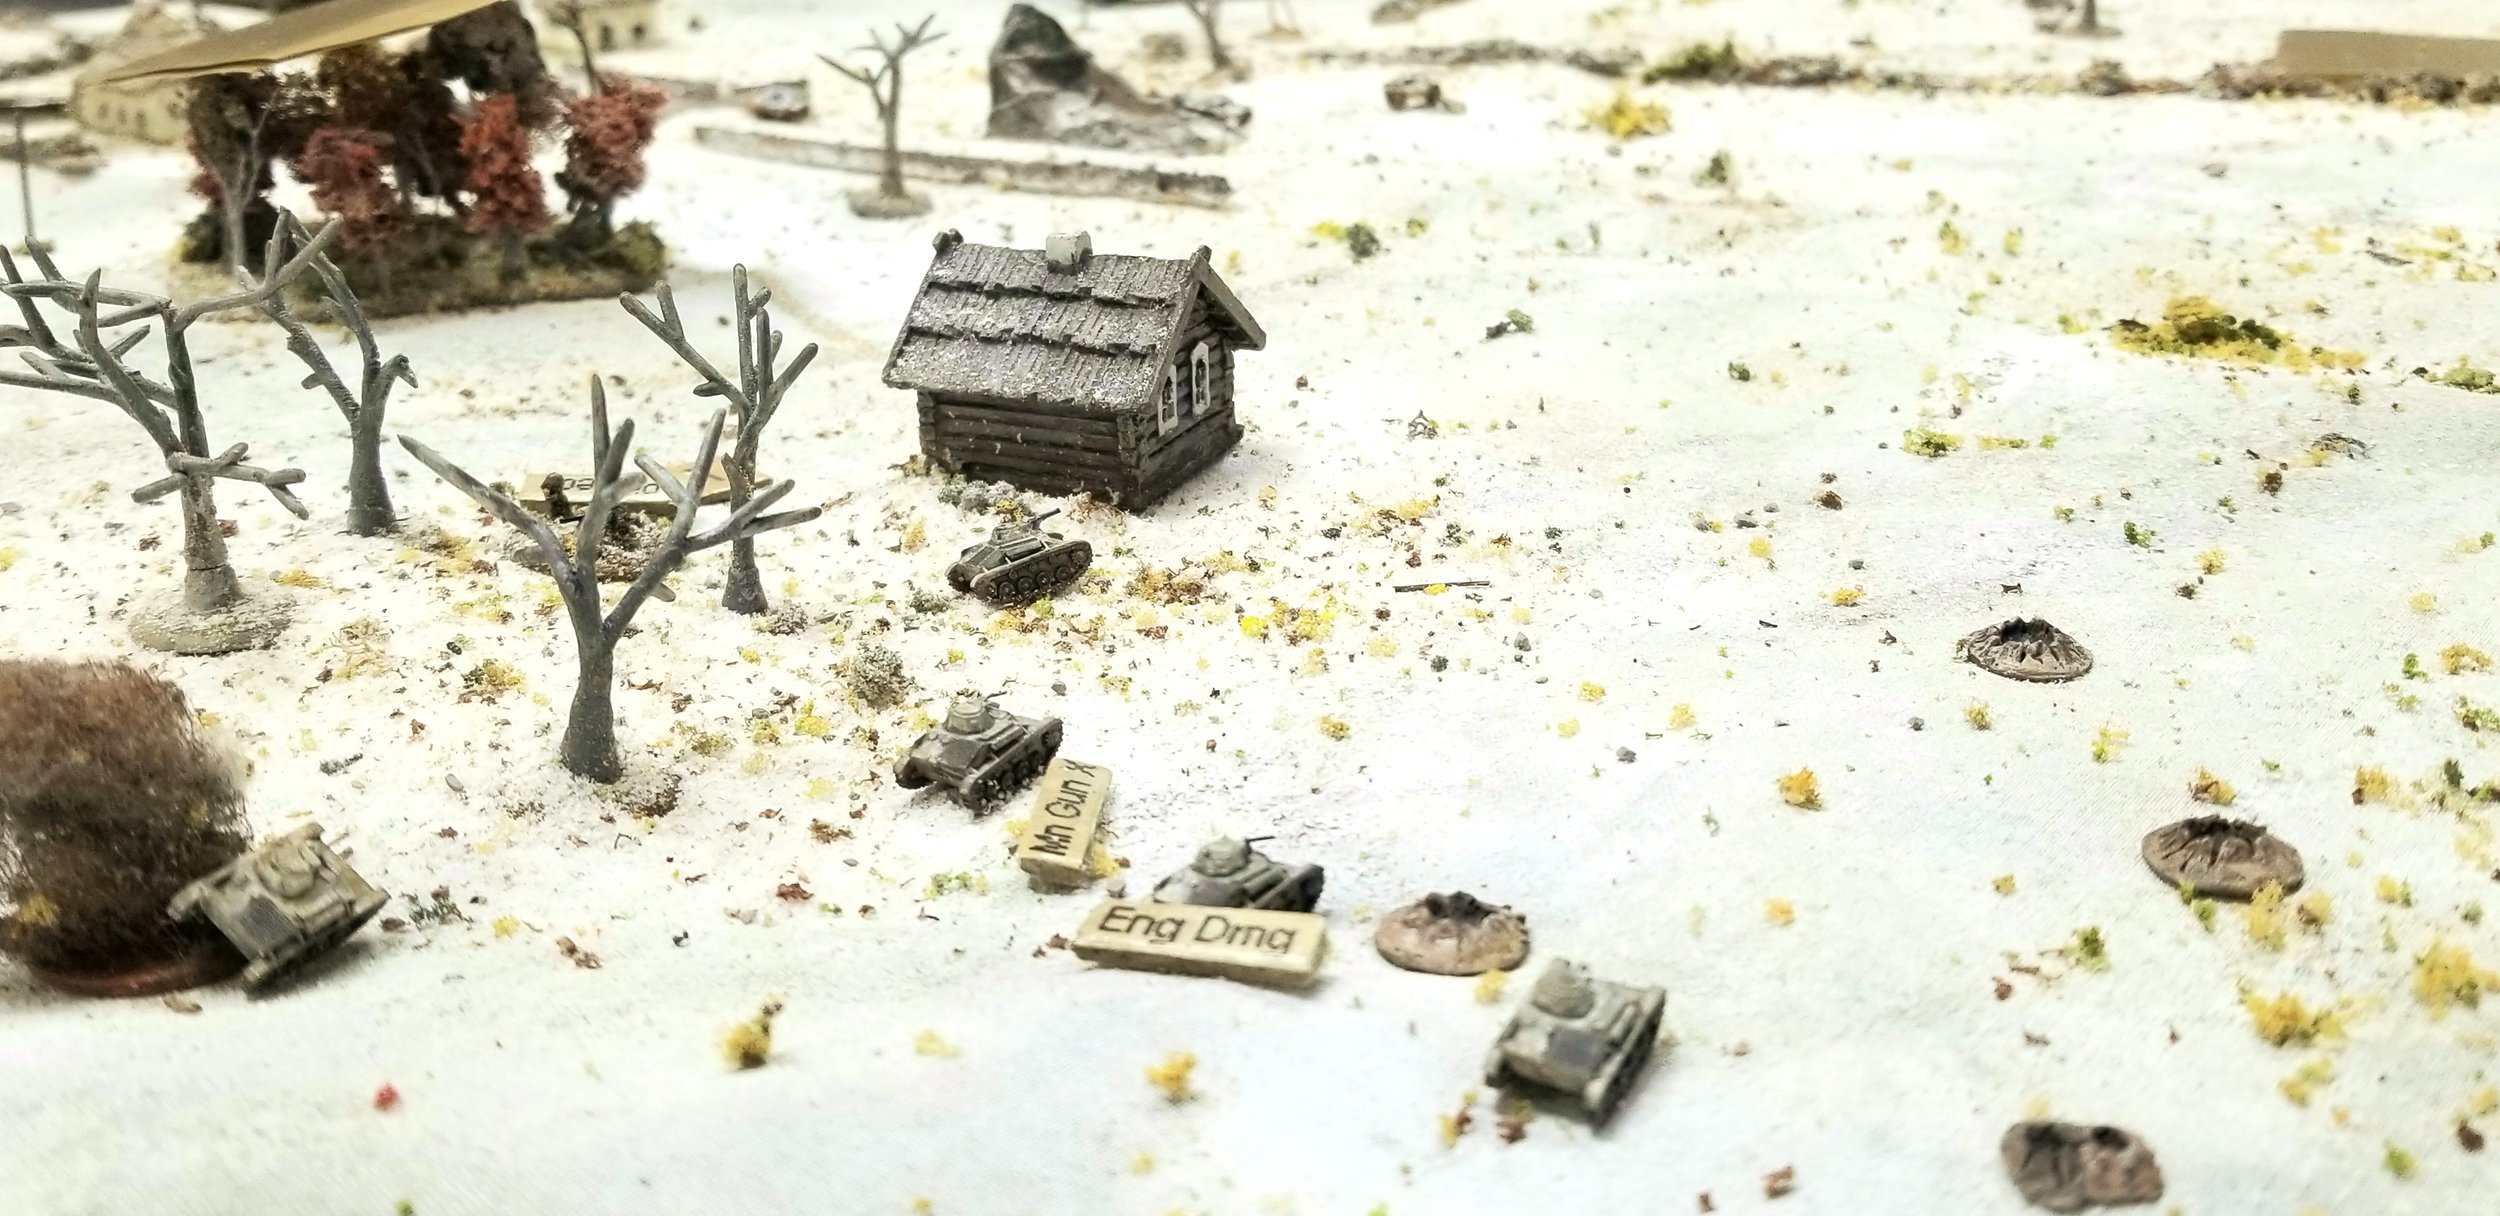
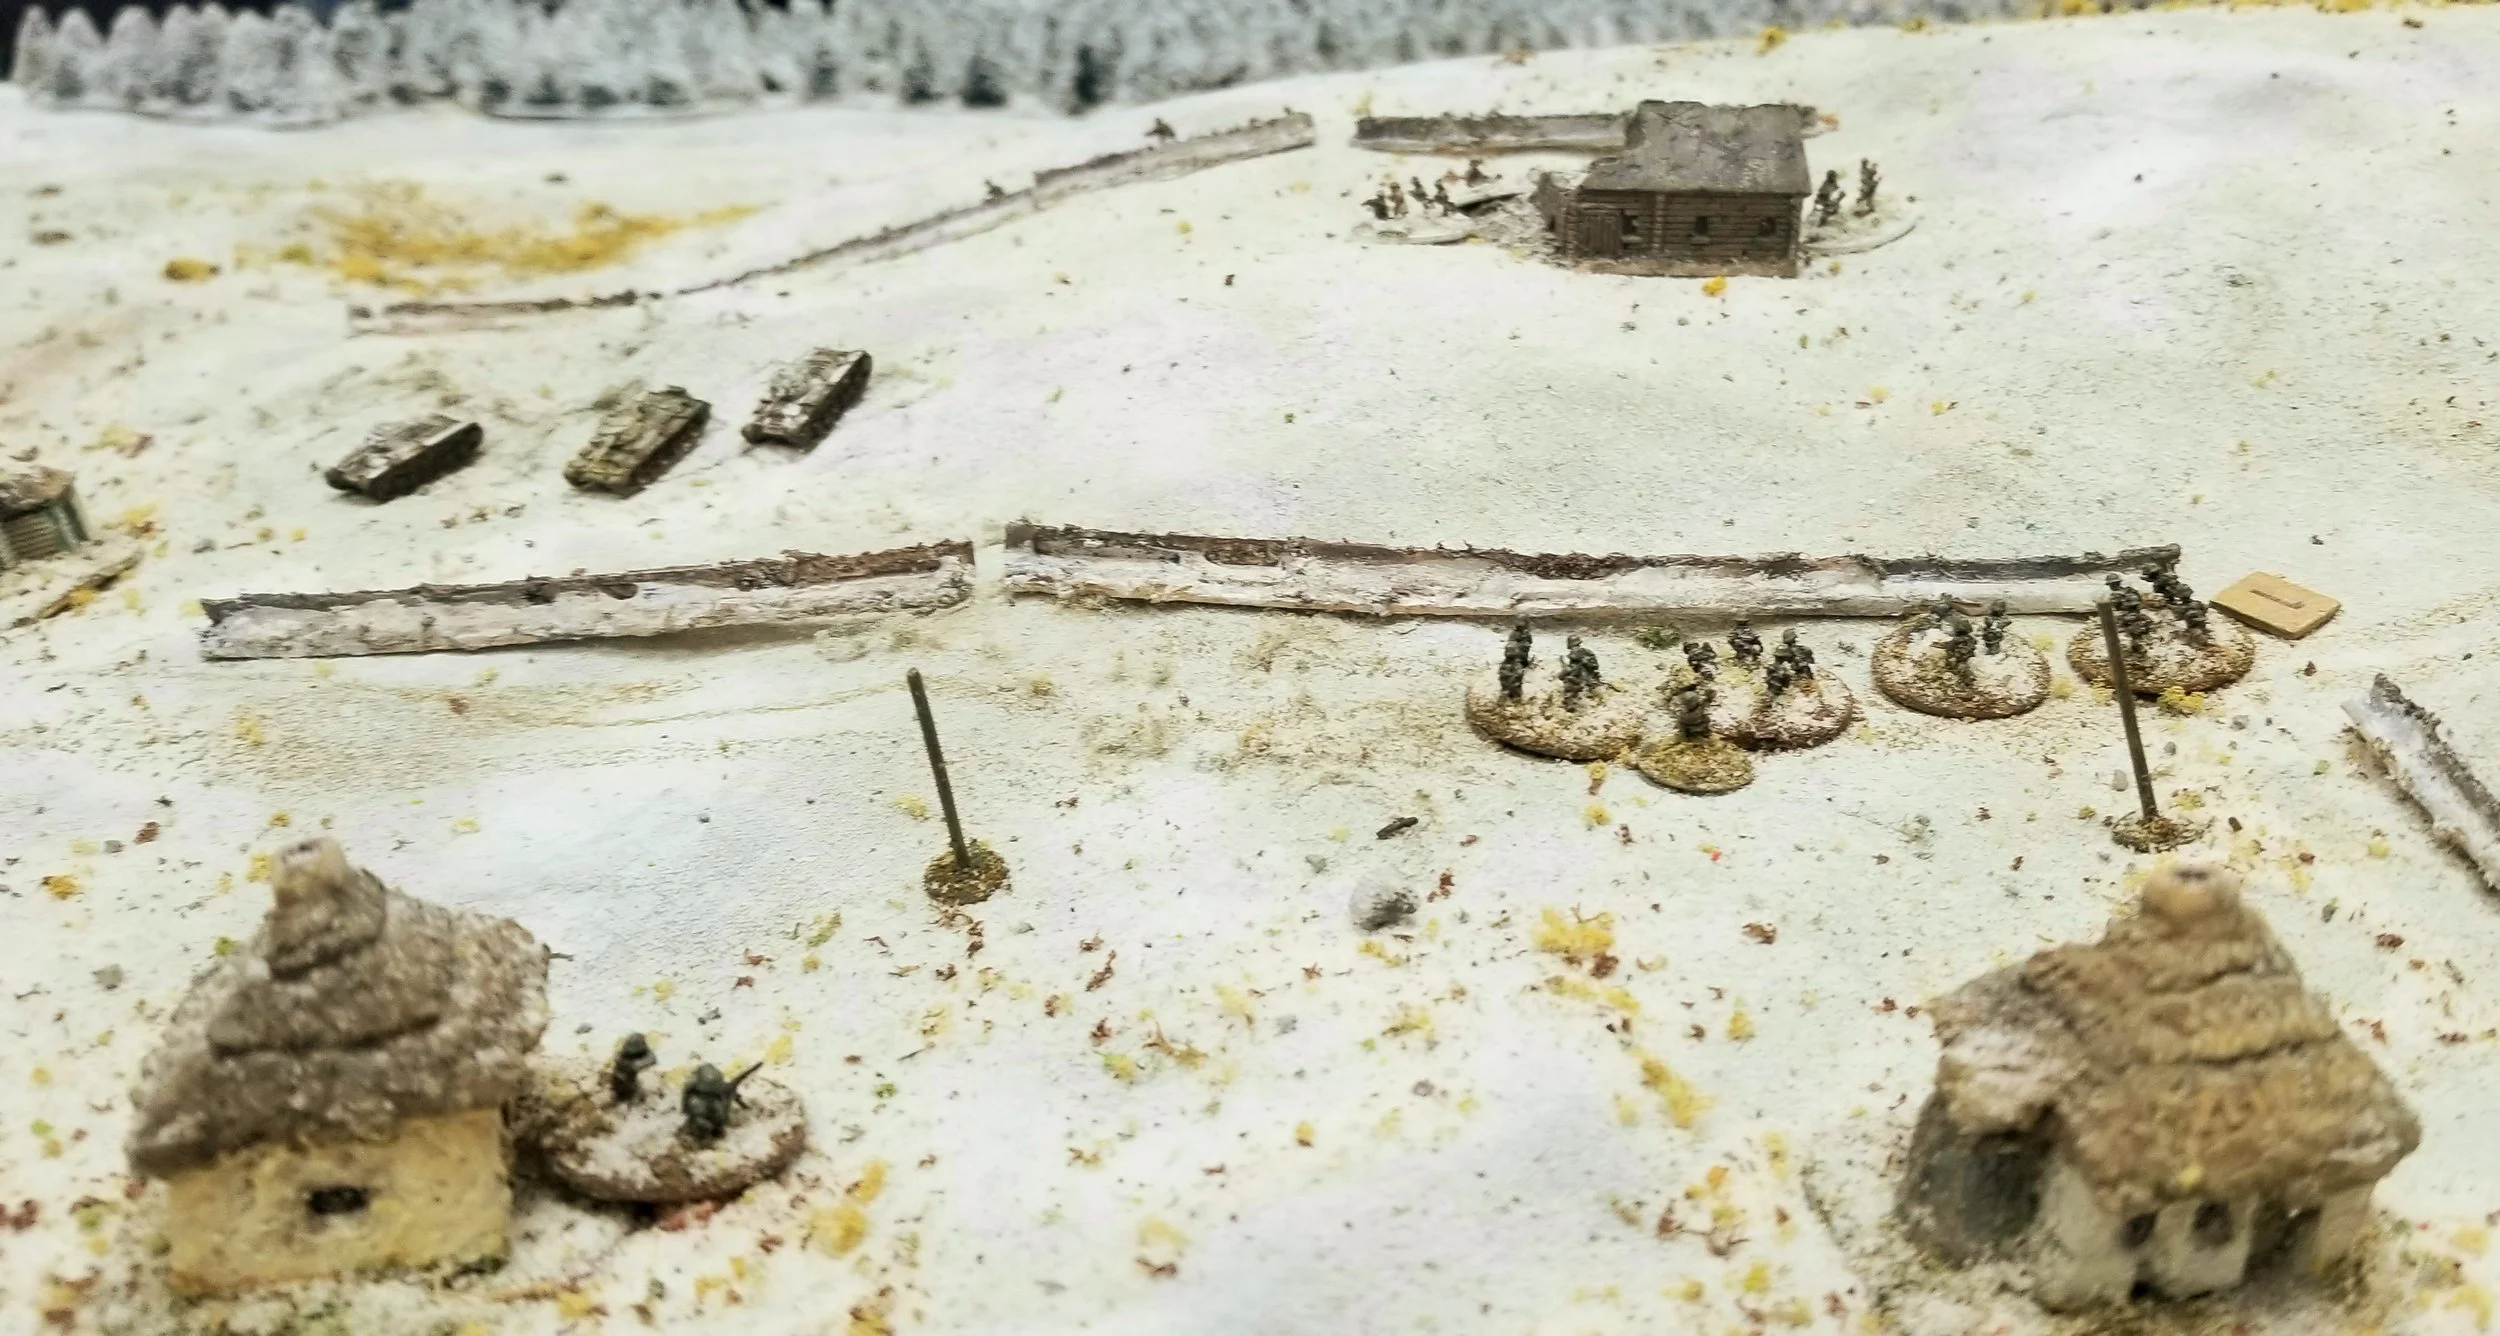
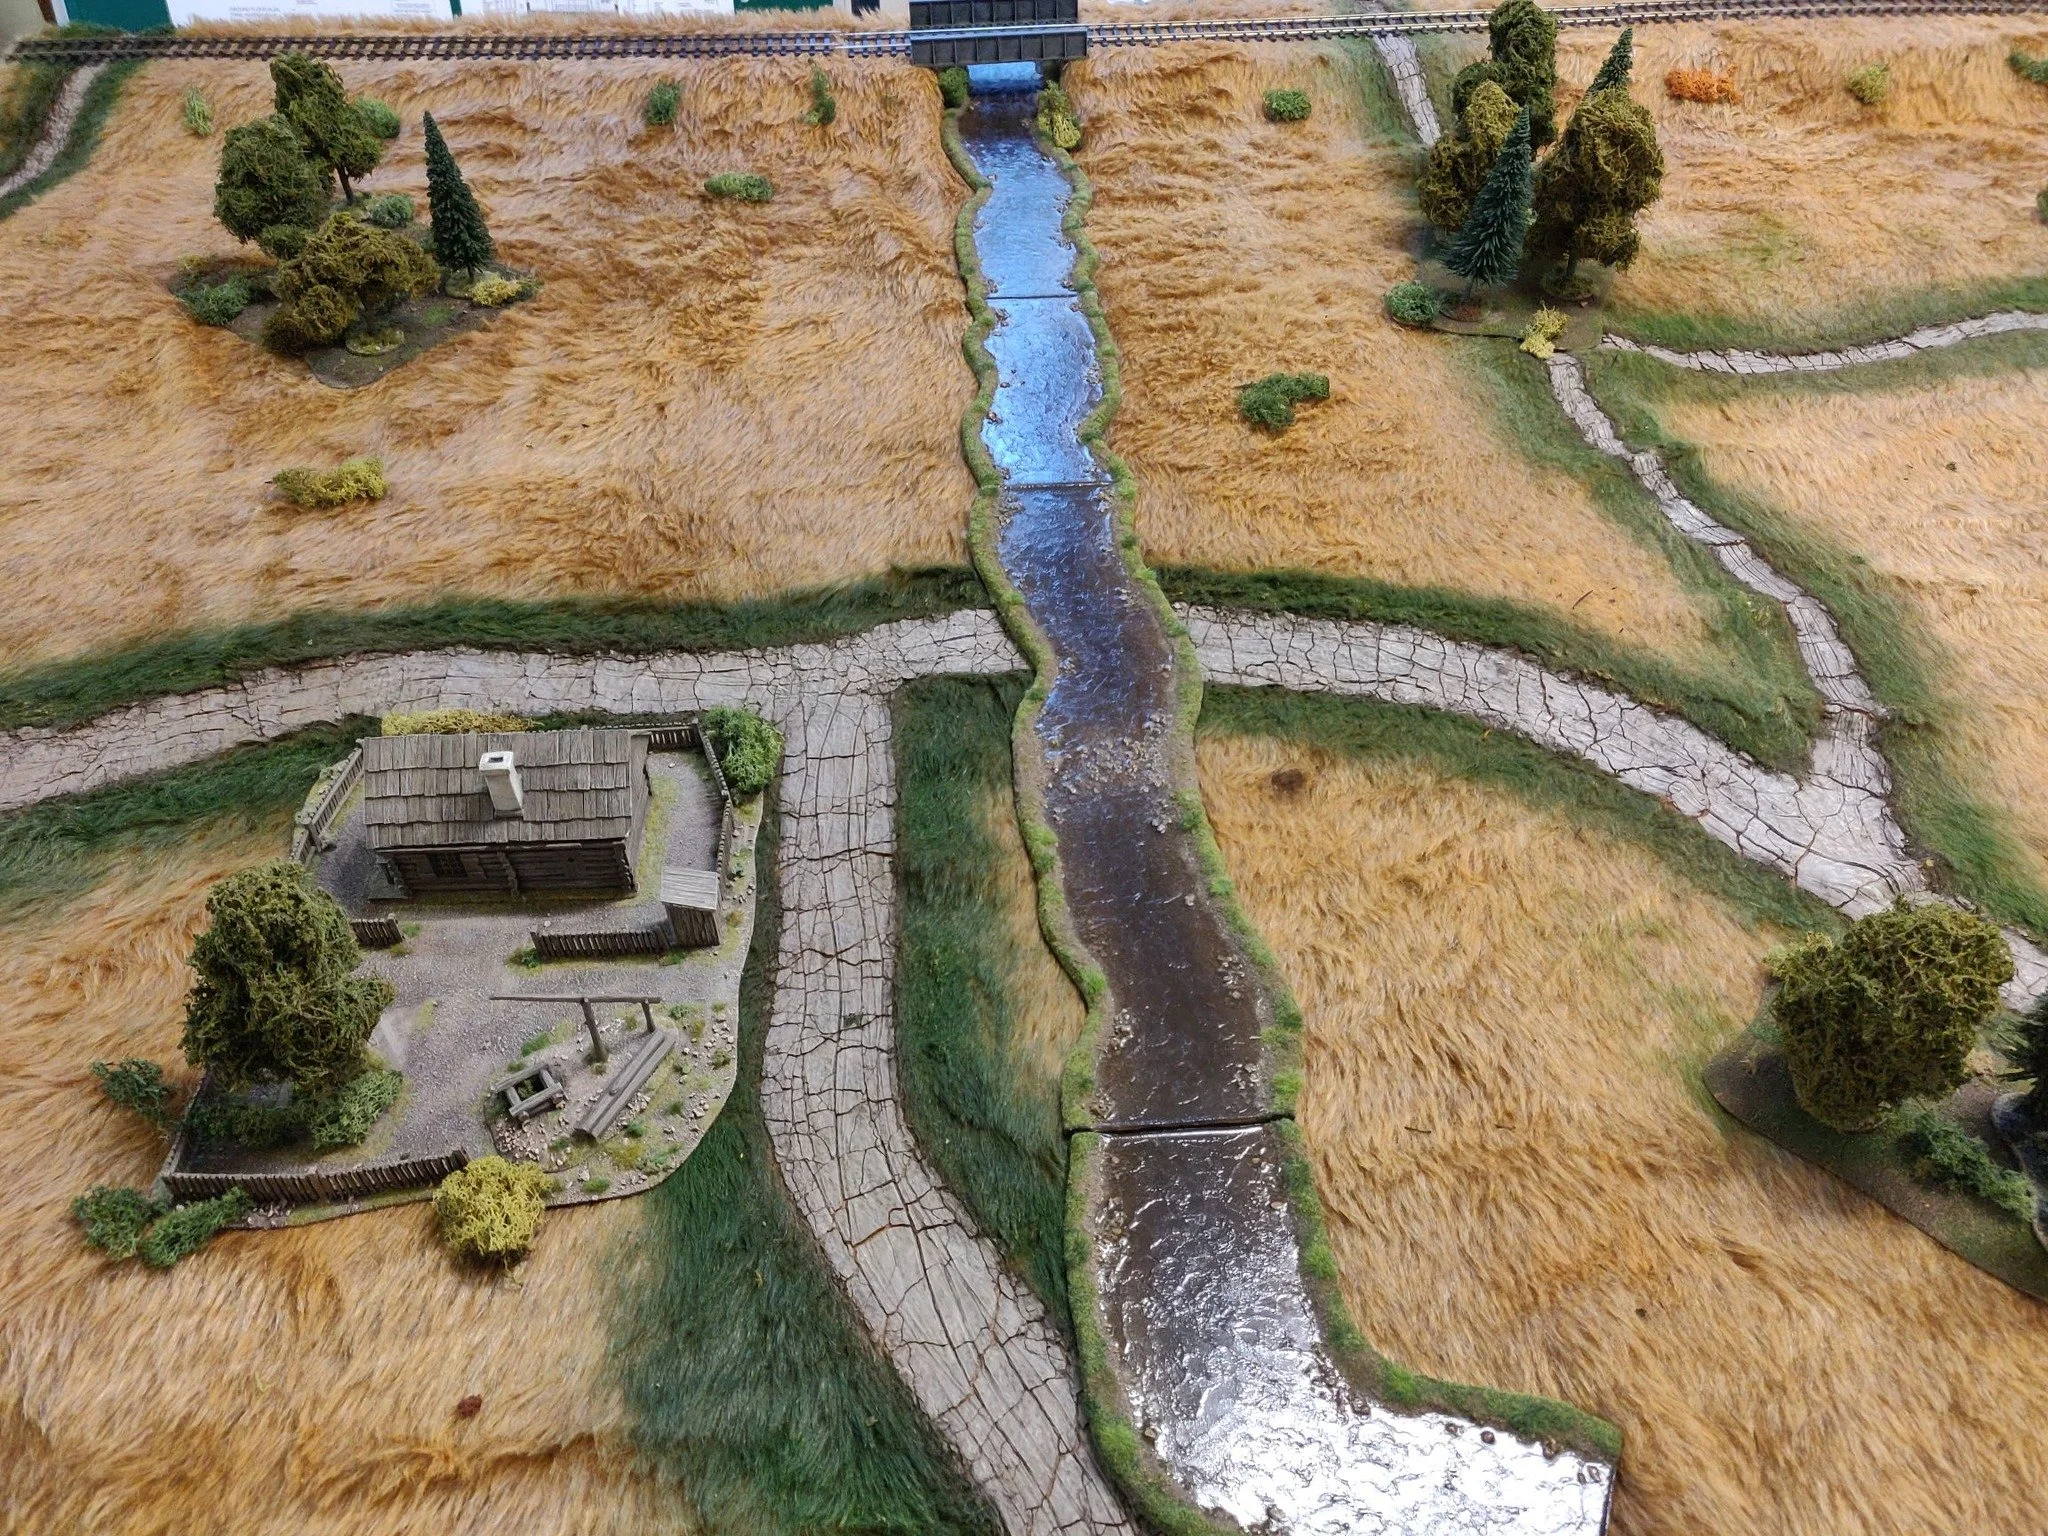
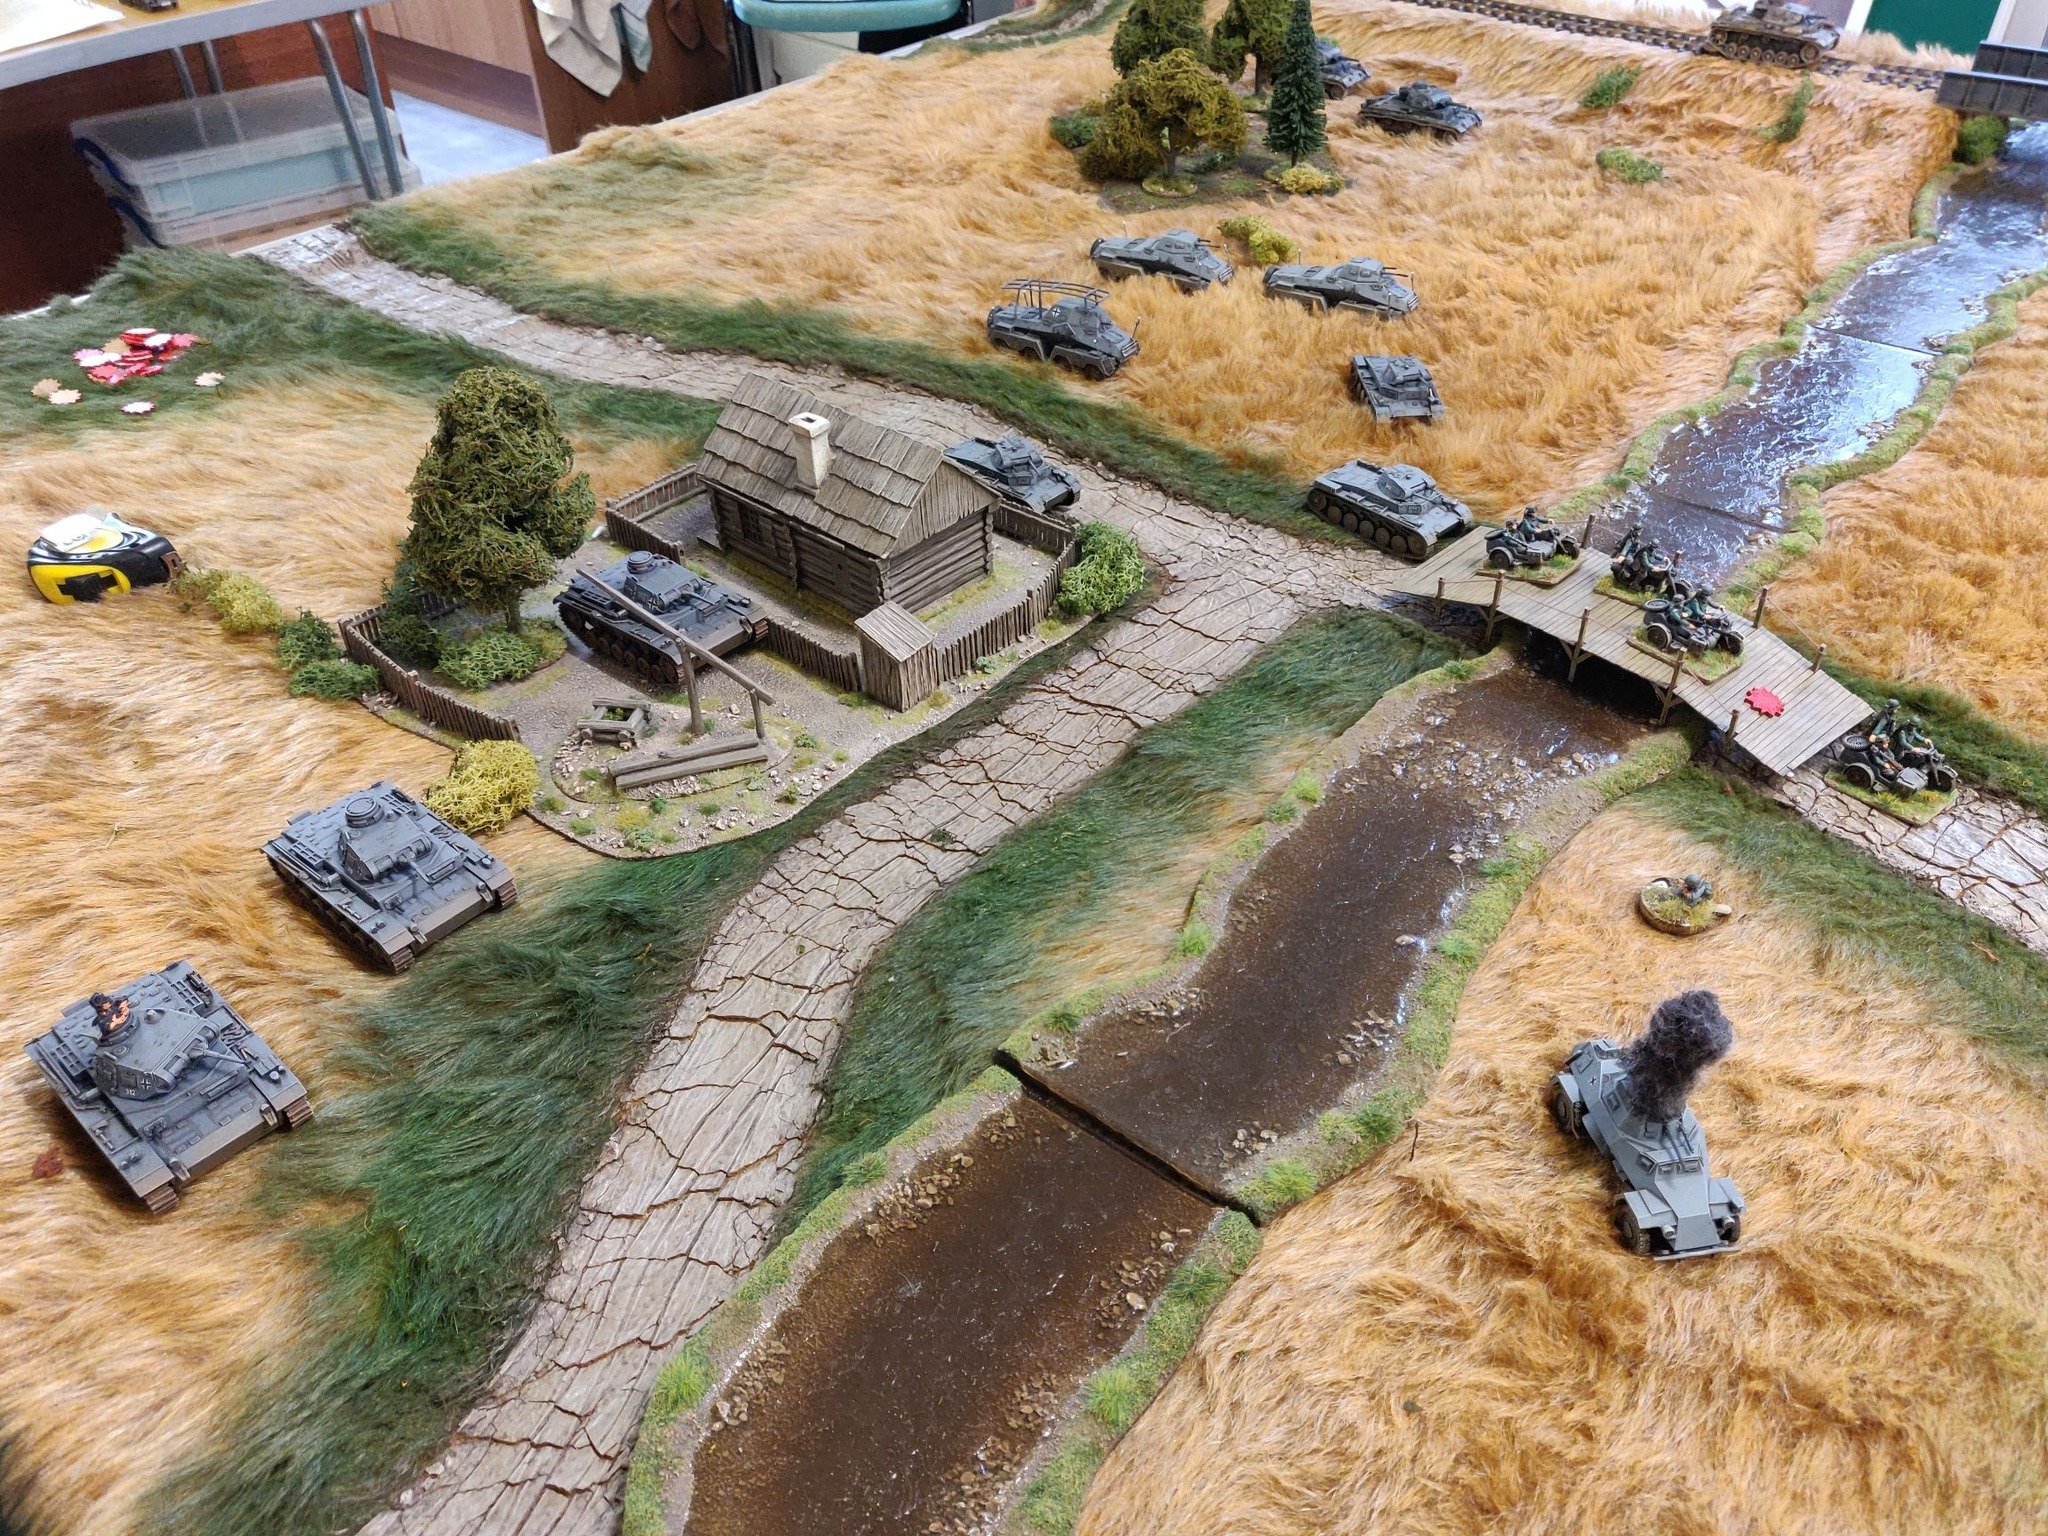
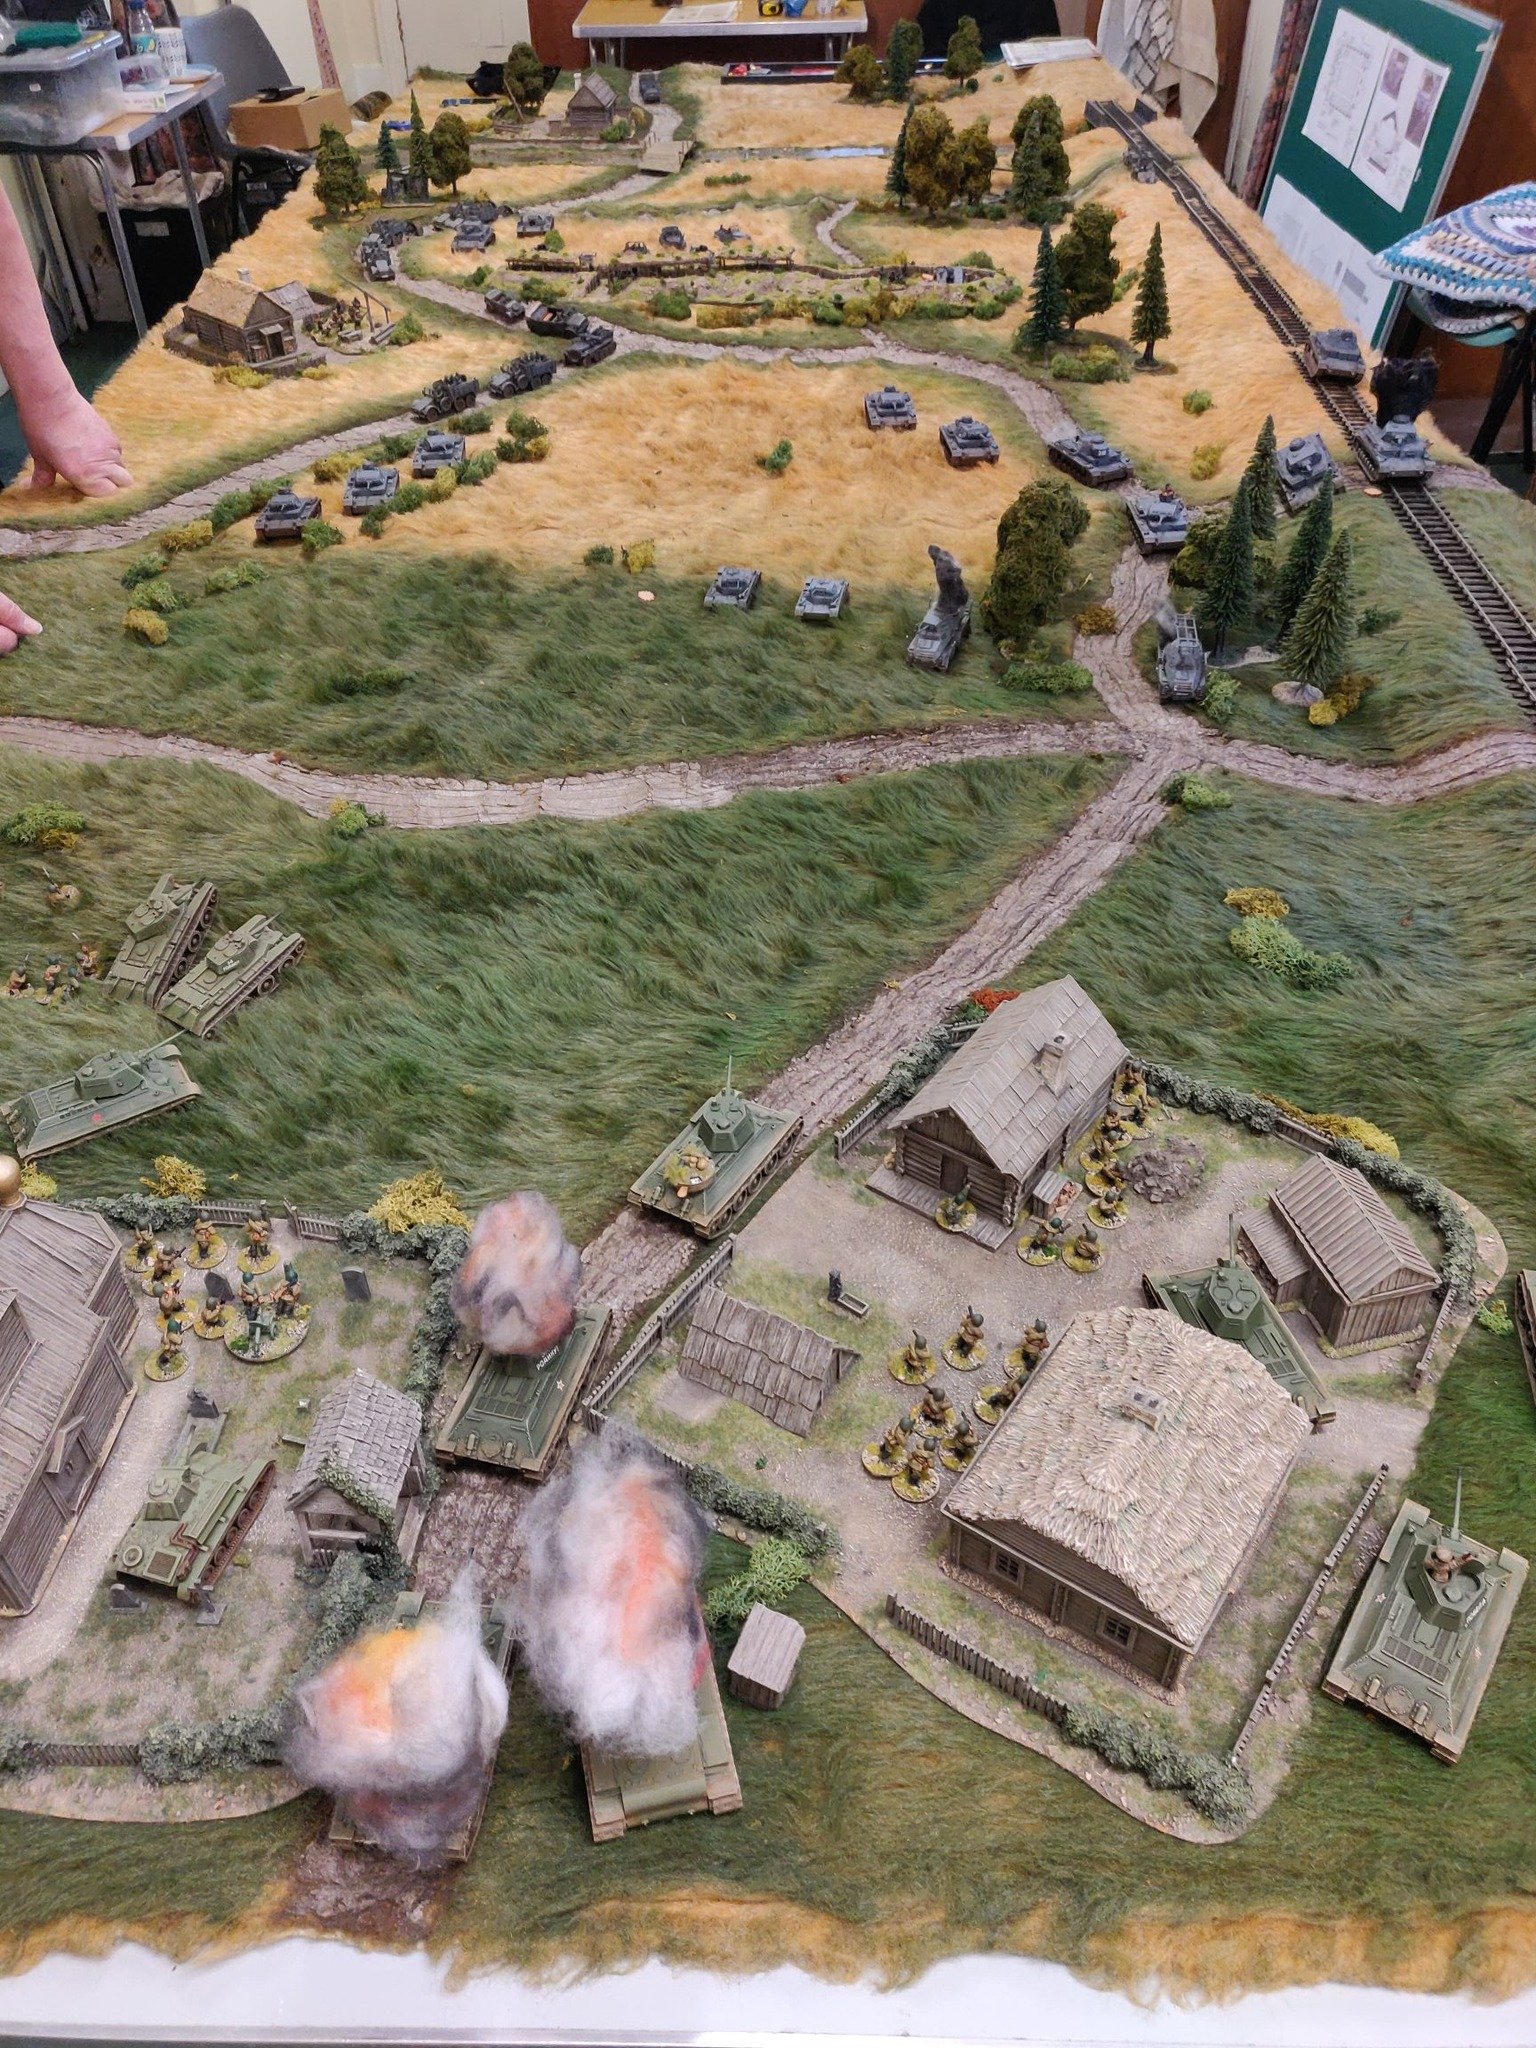
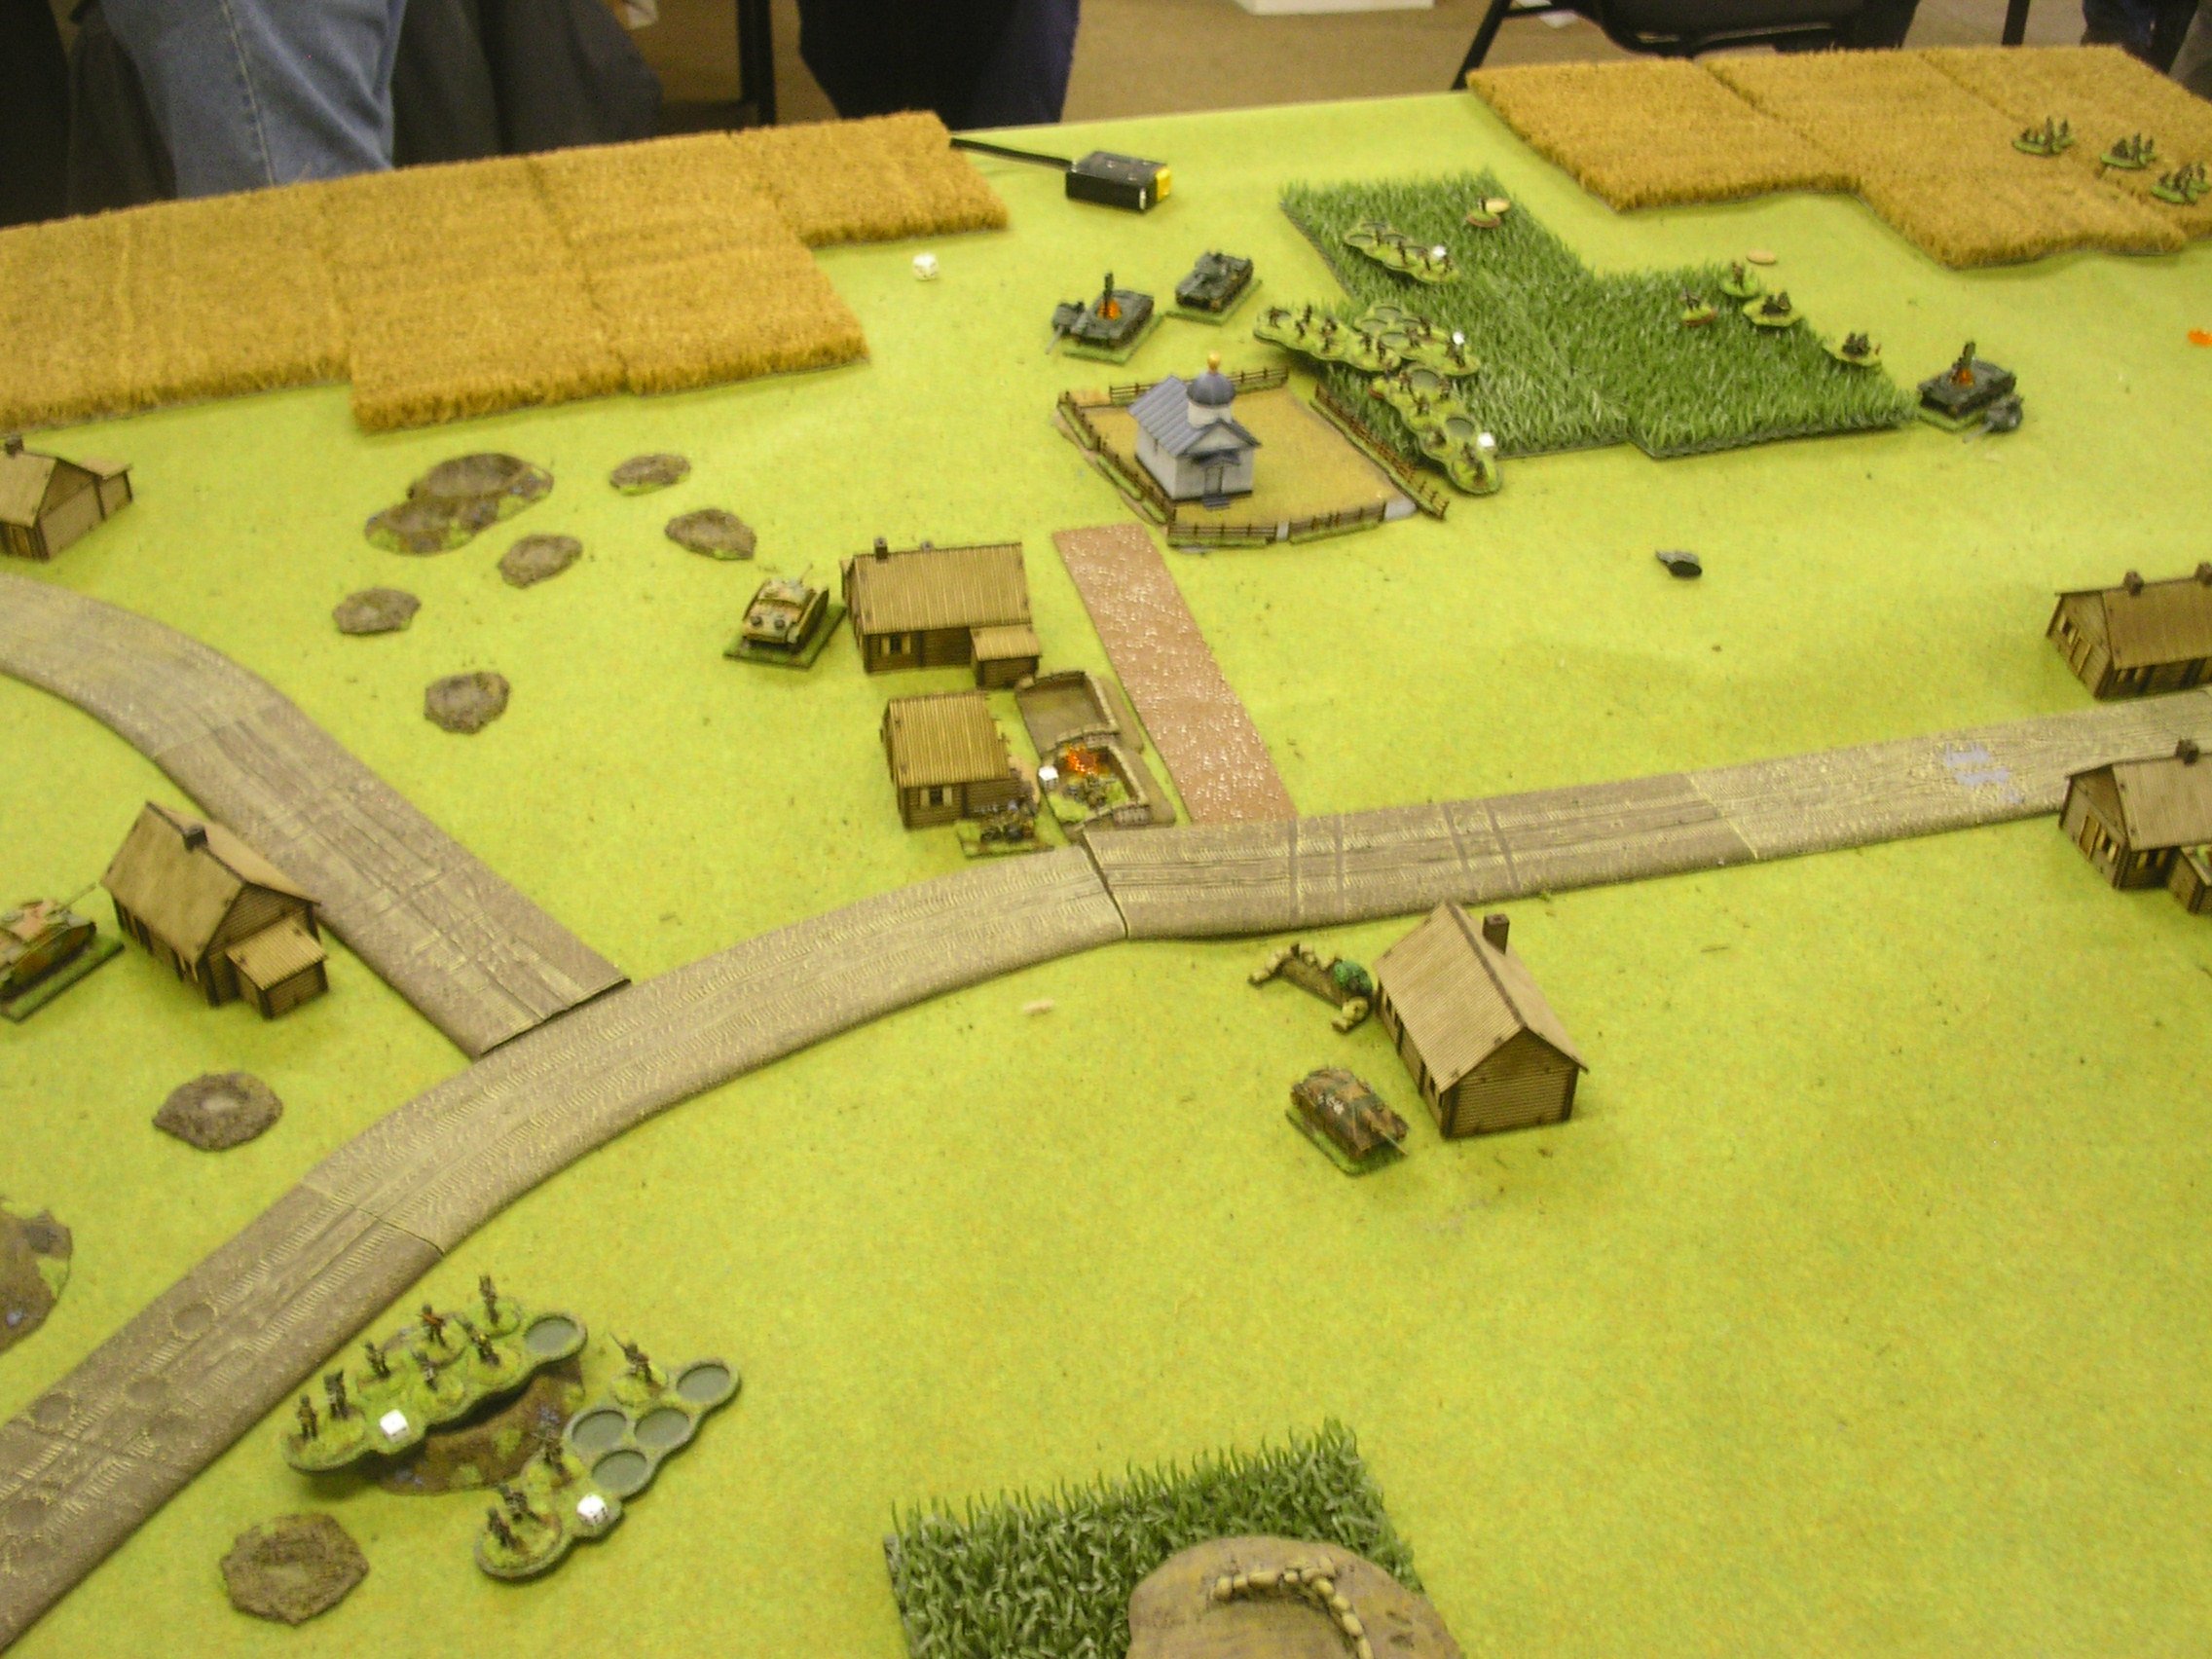
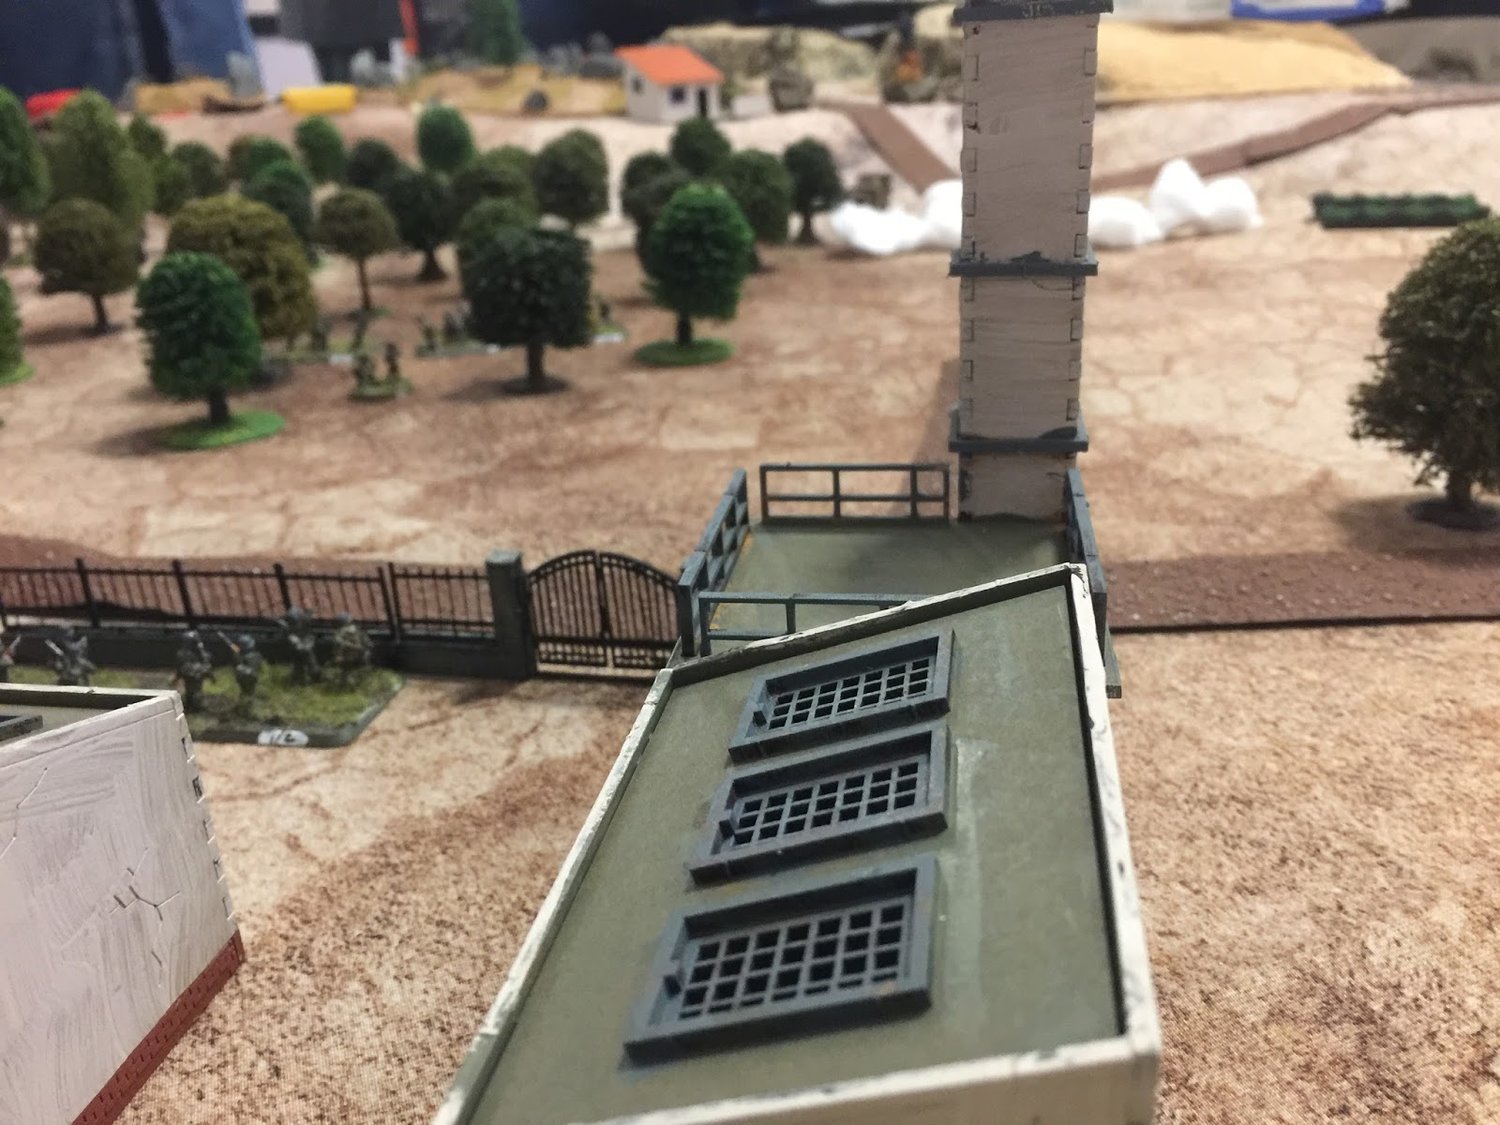
Zhena is a small village that lies to the north of Devyat. The main feature of the village is the junction of the three roads leading to Zima, Devyat and Vcheva. The villagers are very proud of the 'avenue' of seven trees leading south from the junction: their neighbours considering it very French, very cosmopolitan!
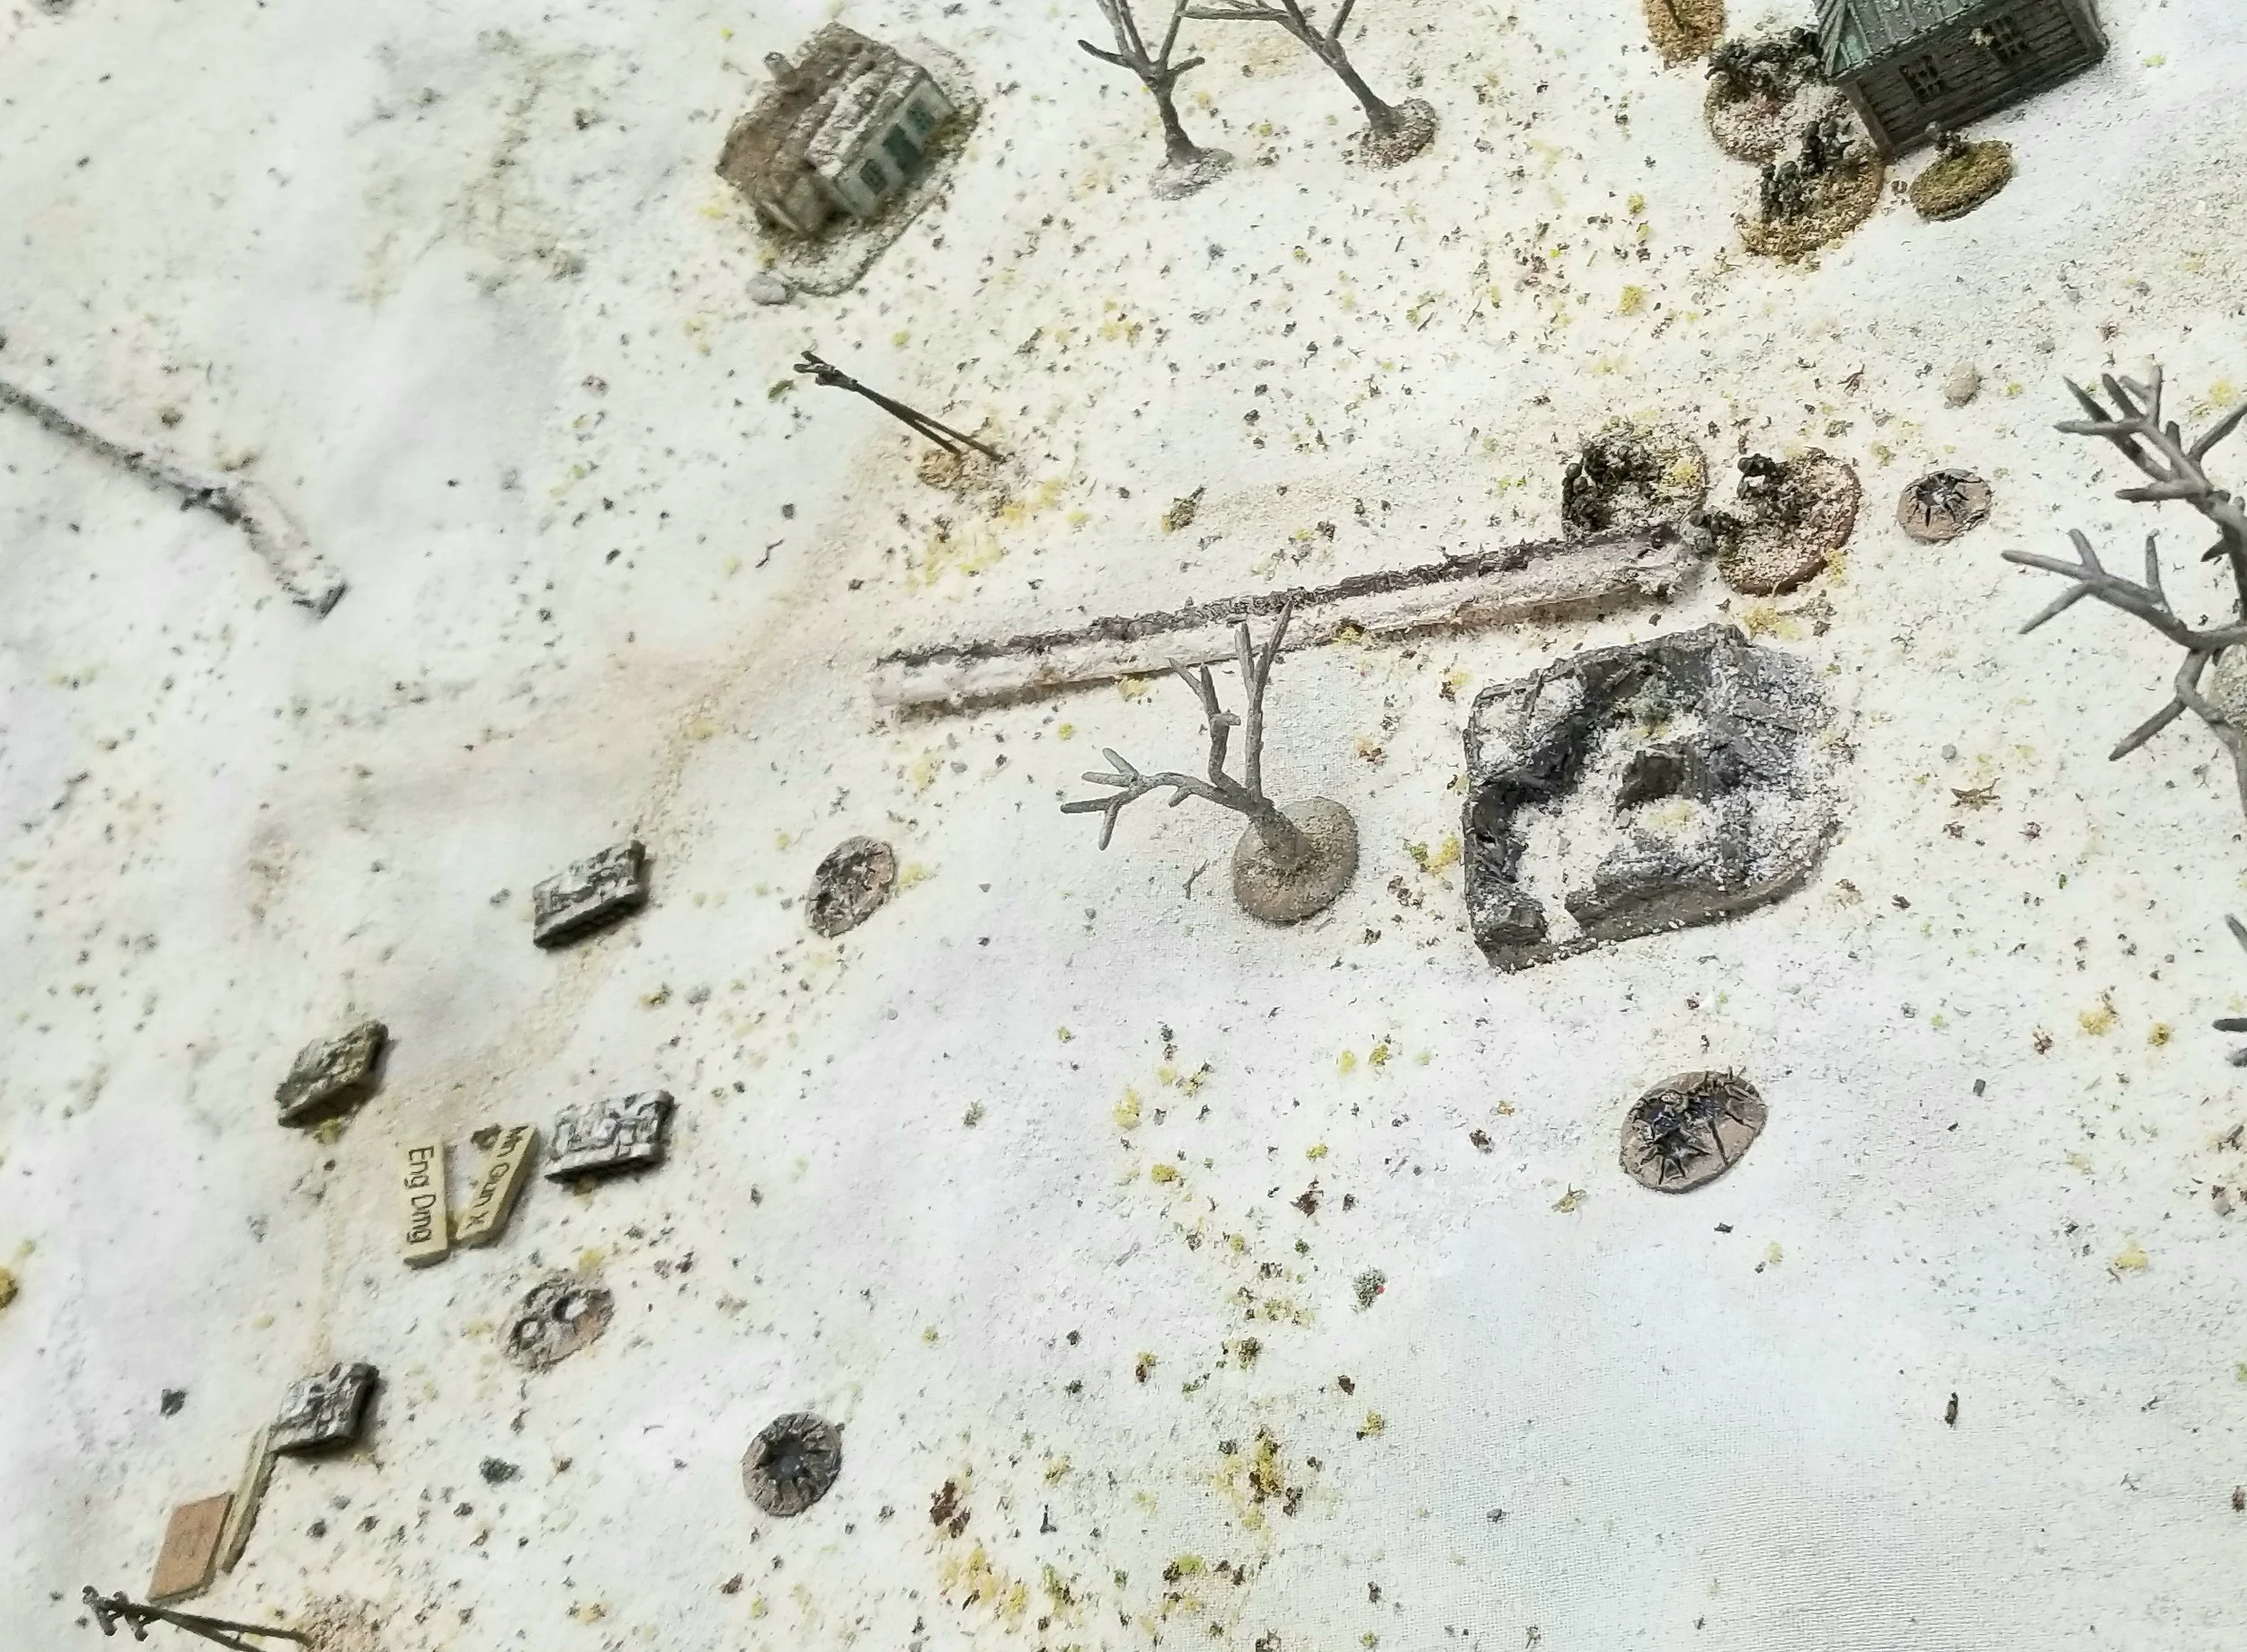
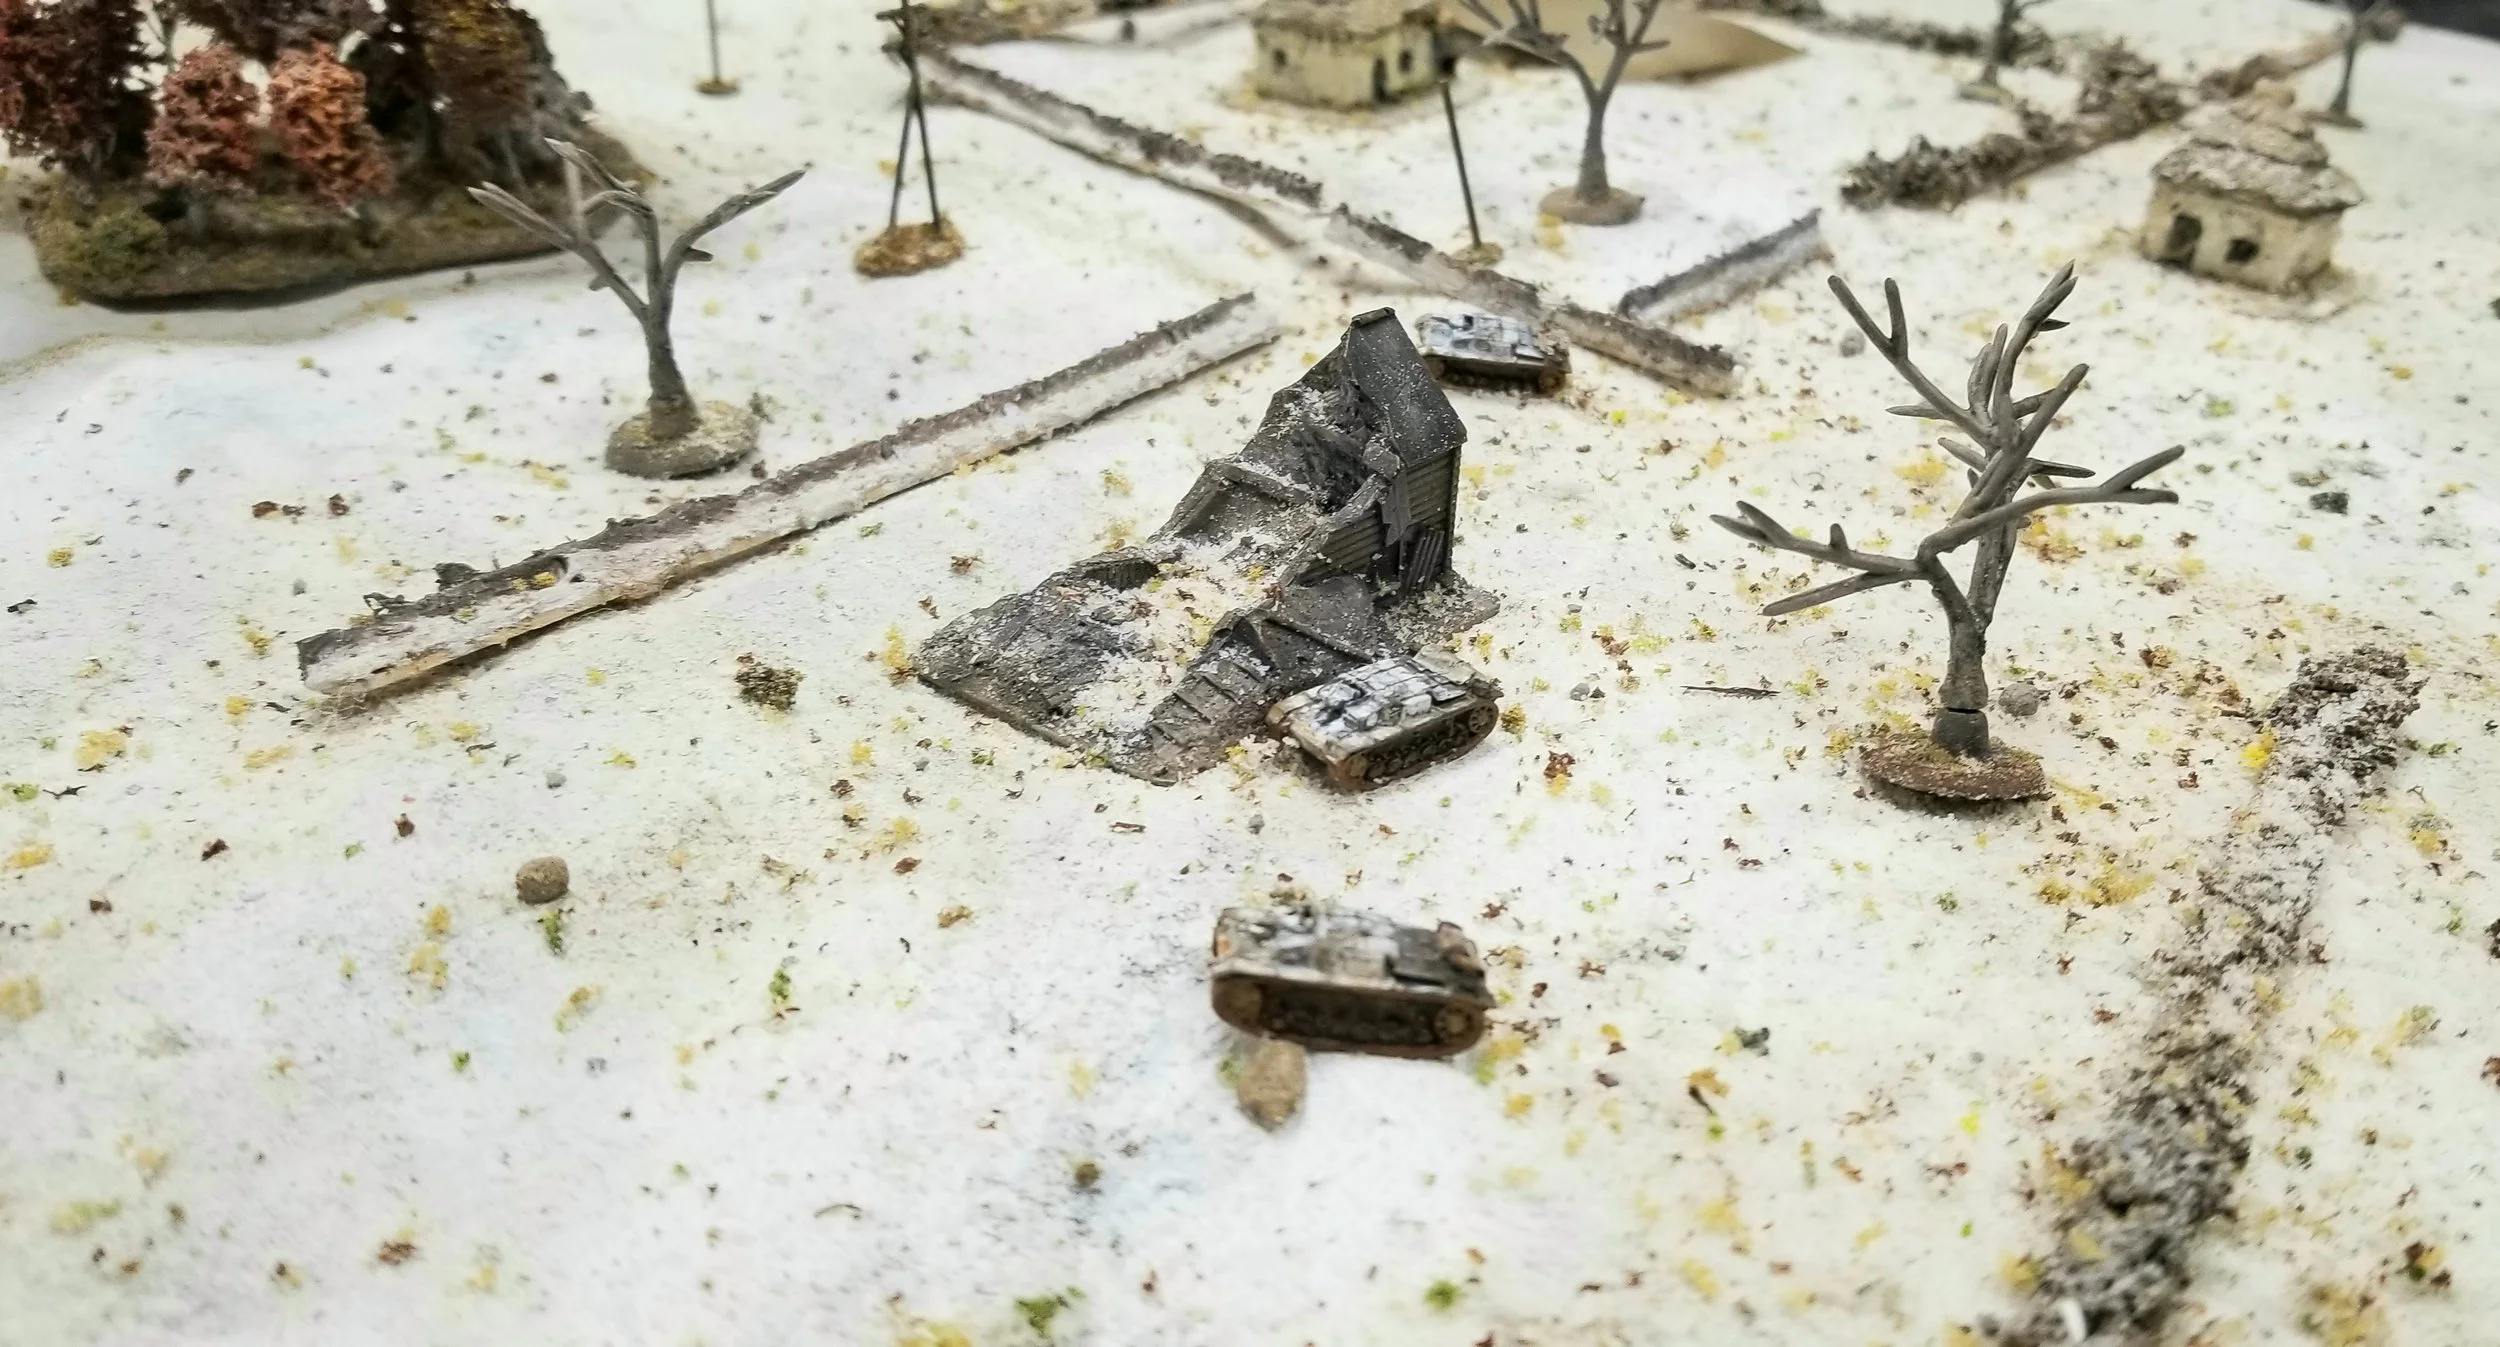
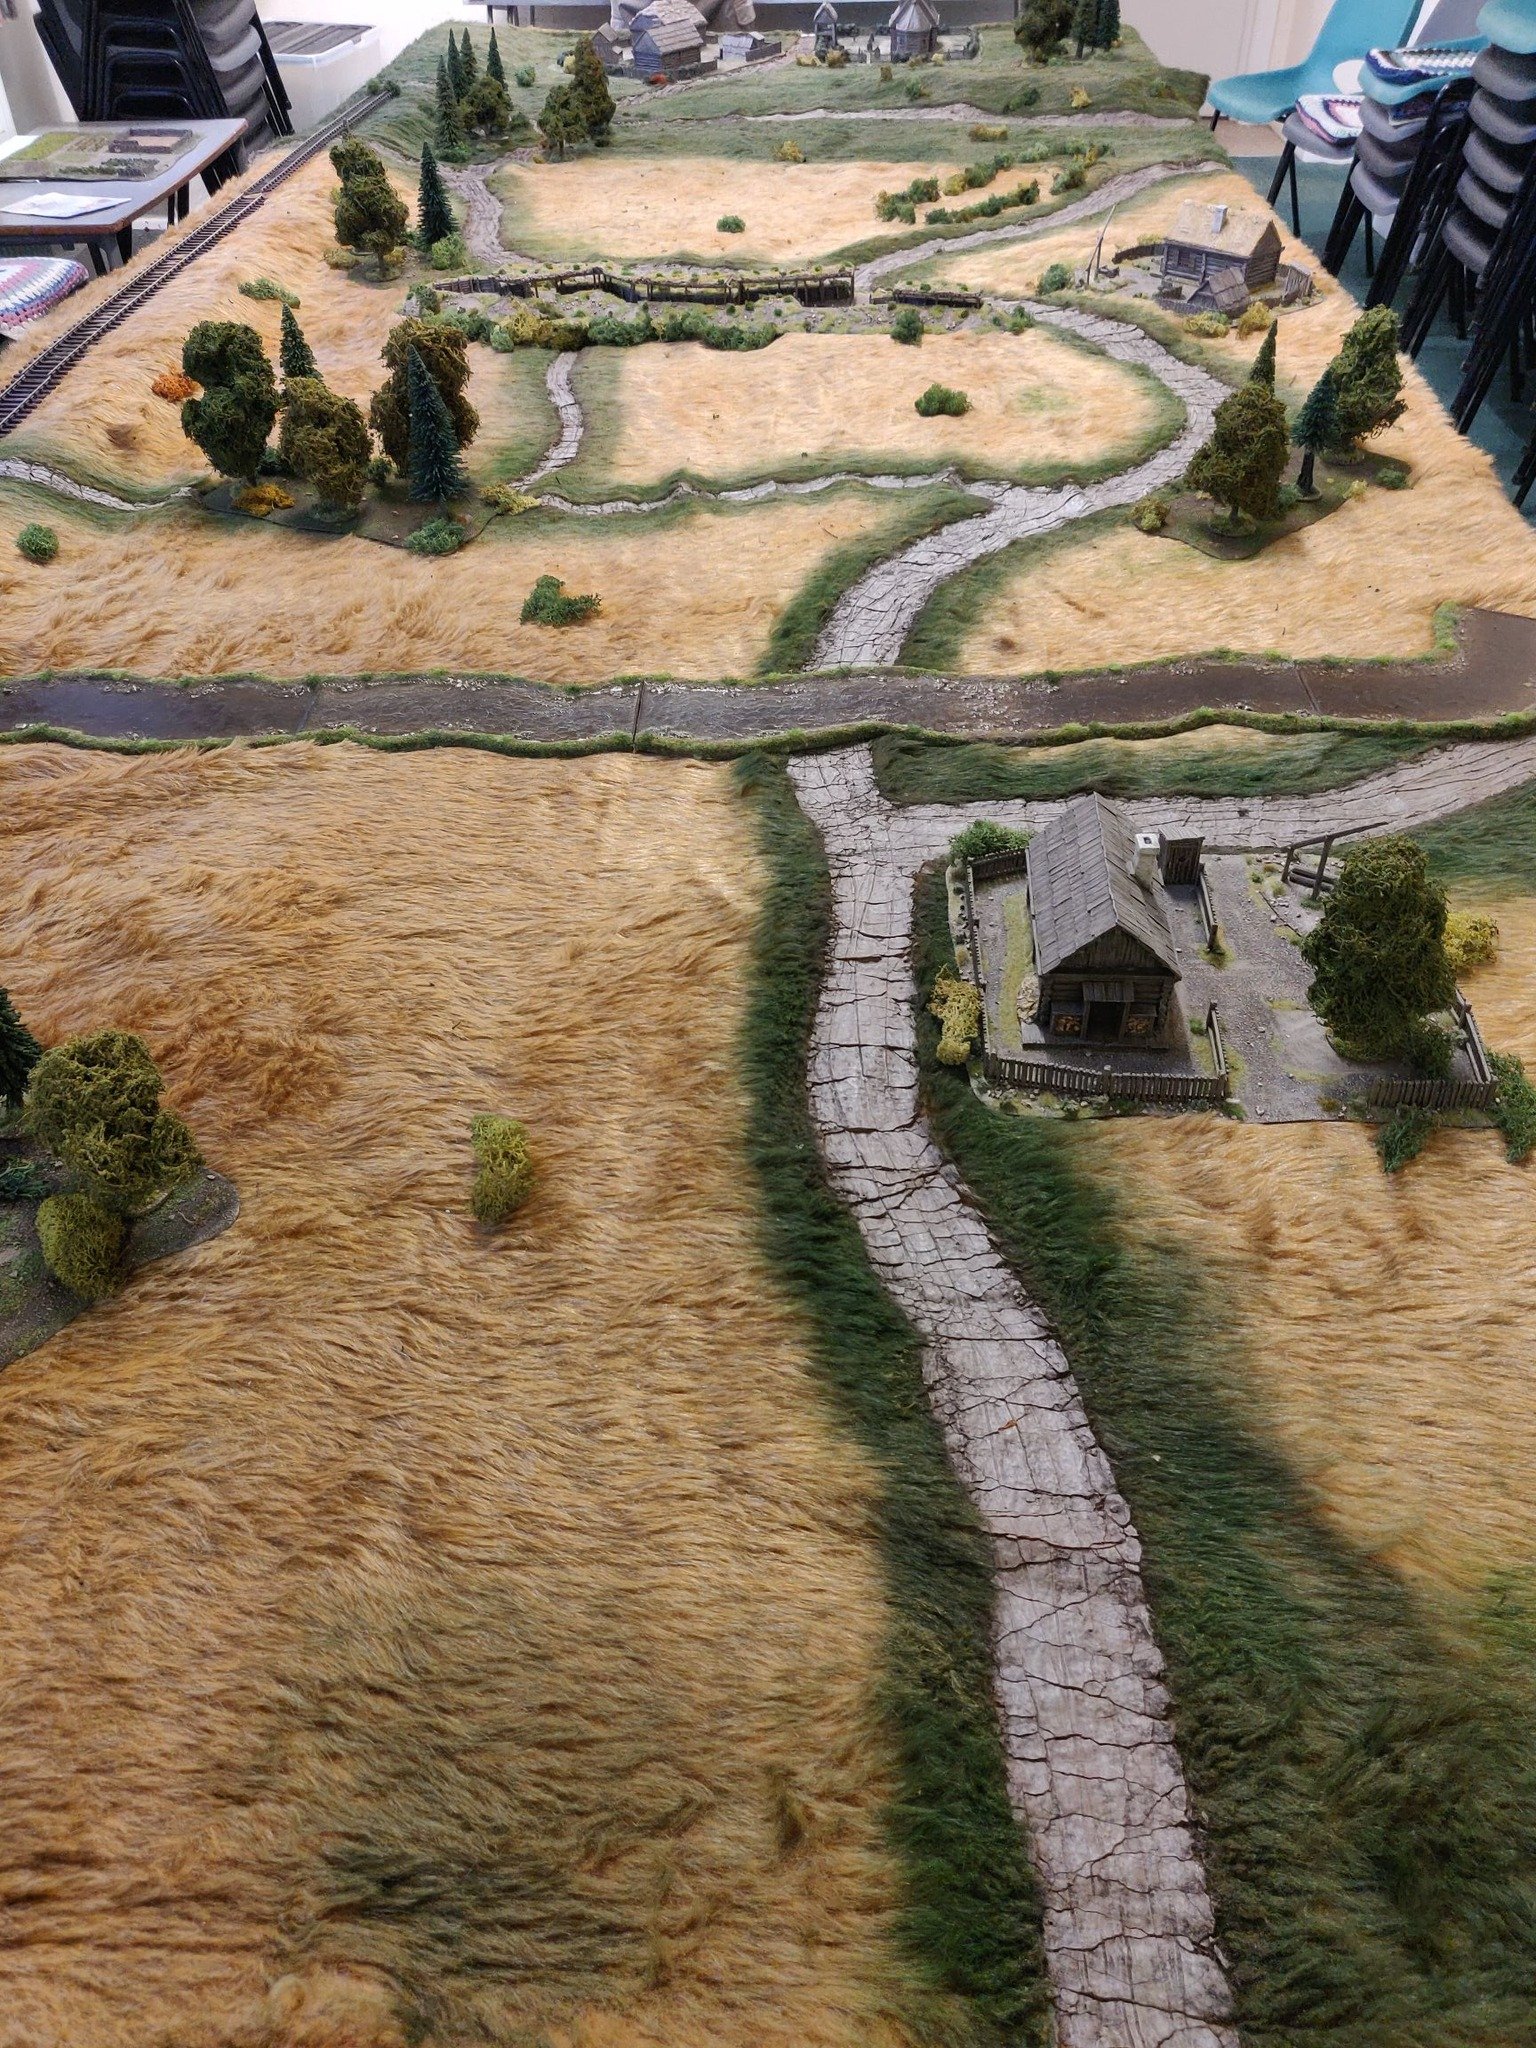
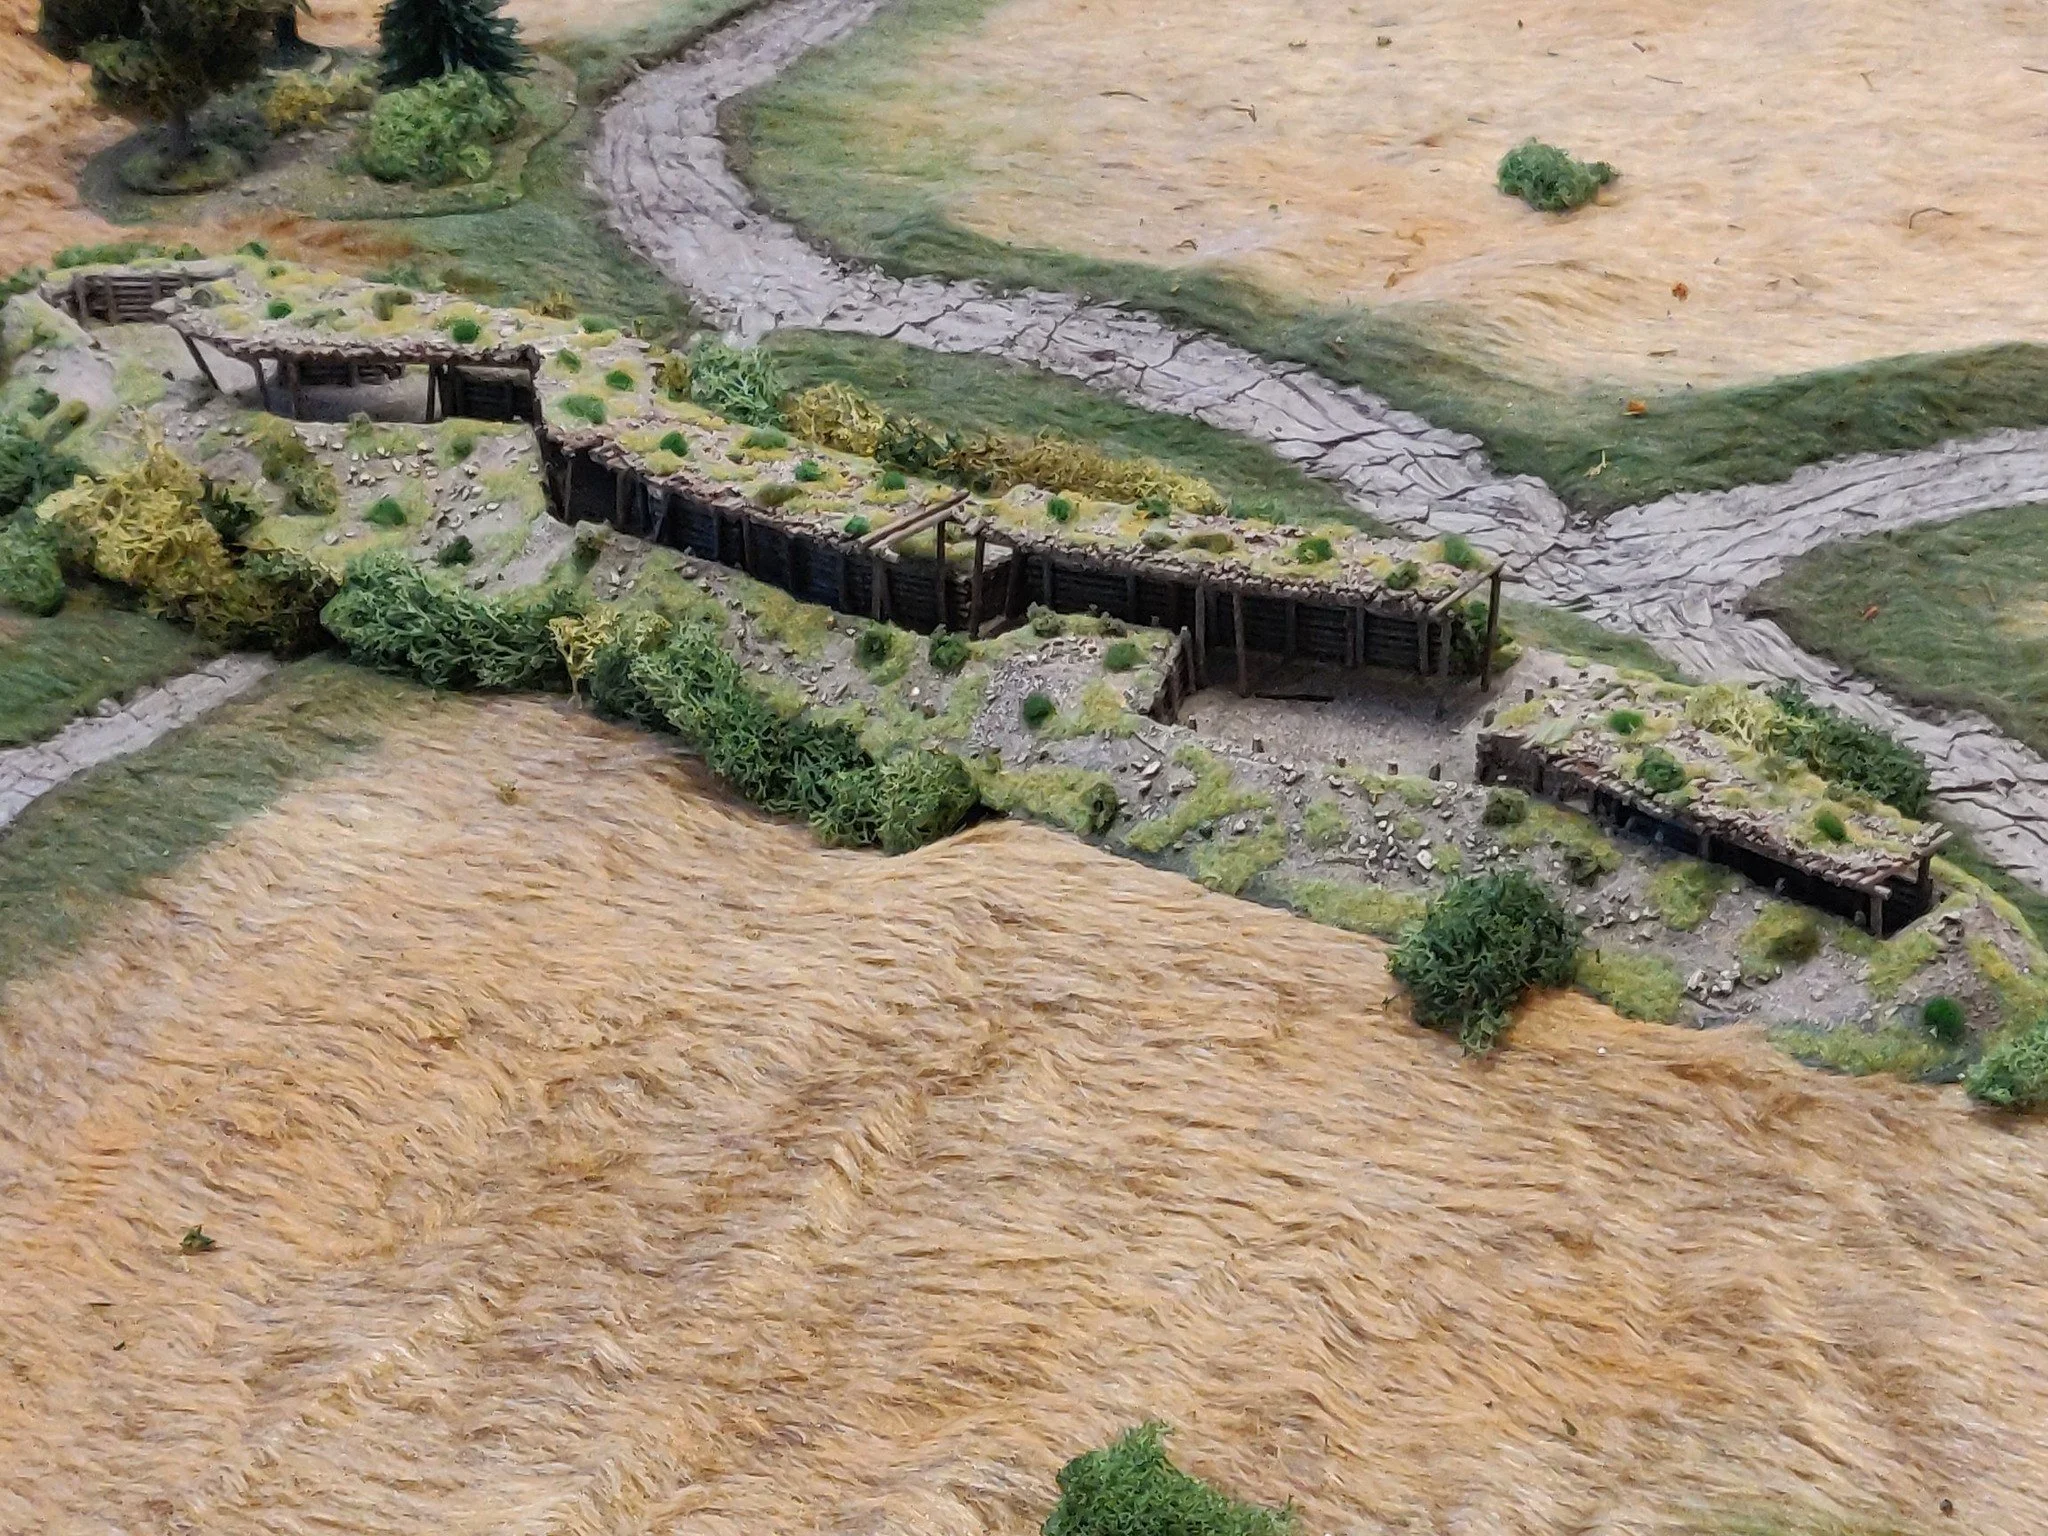
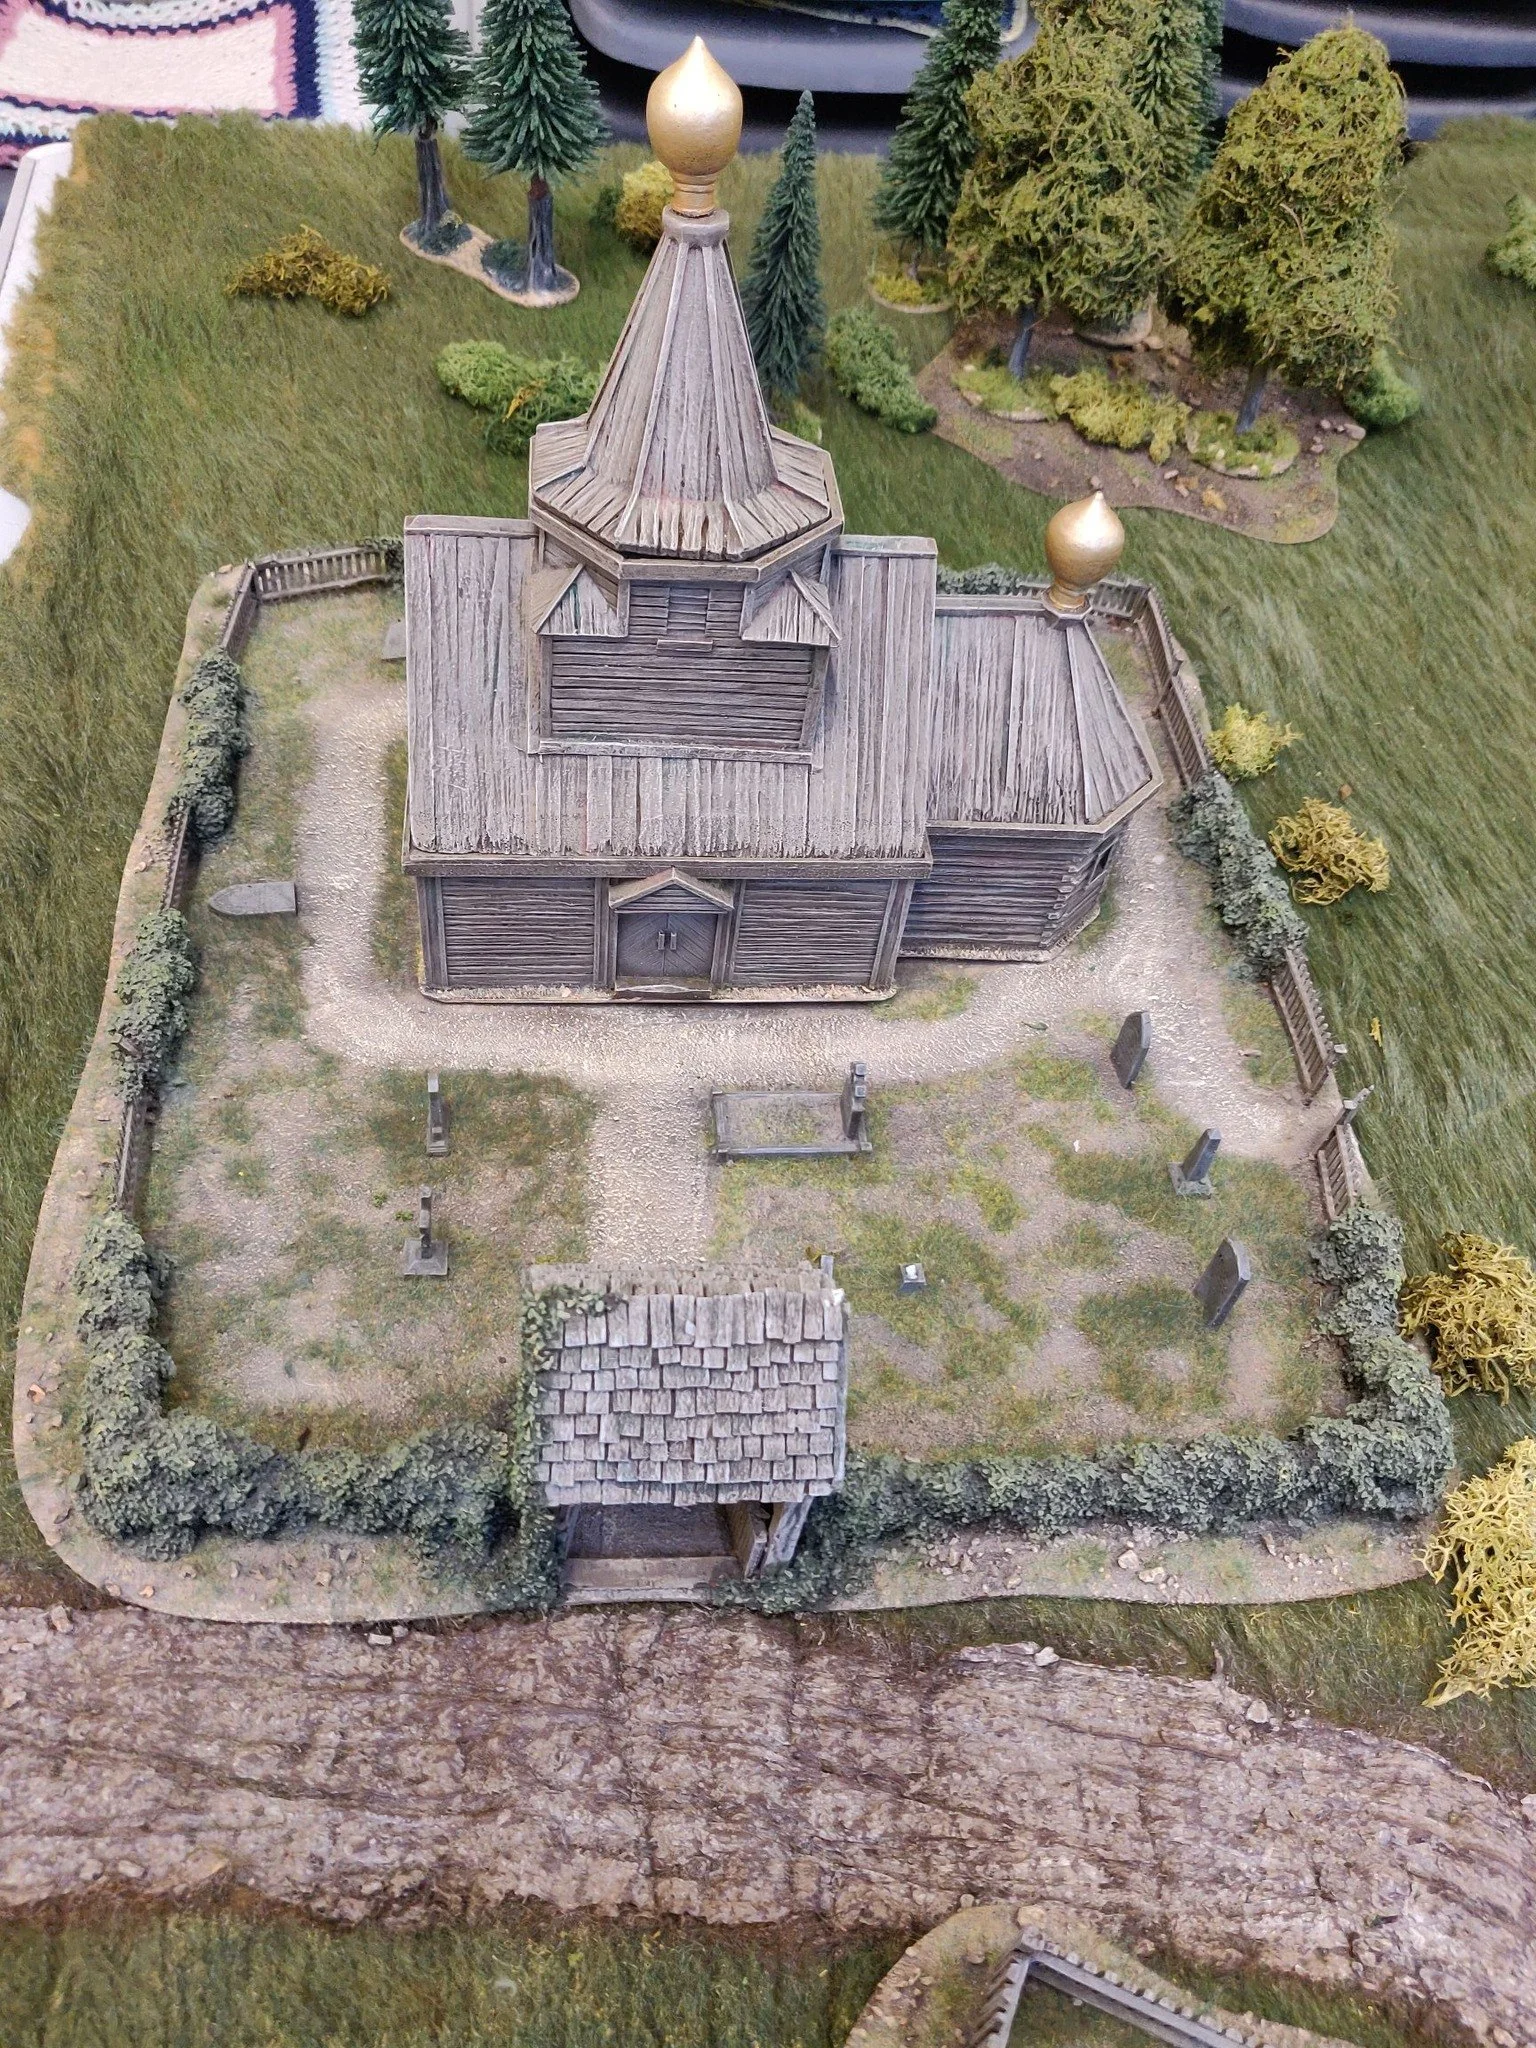
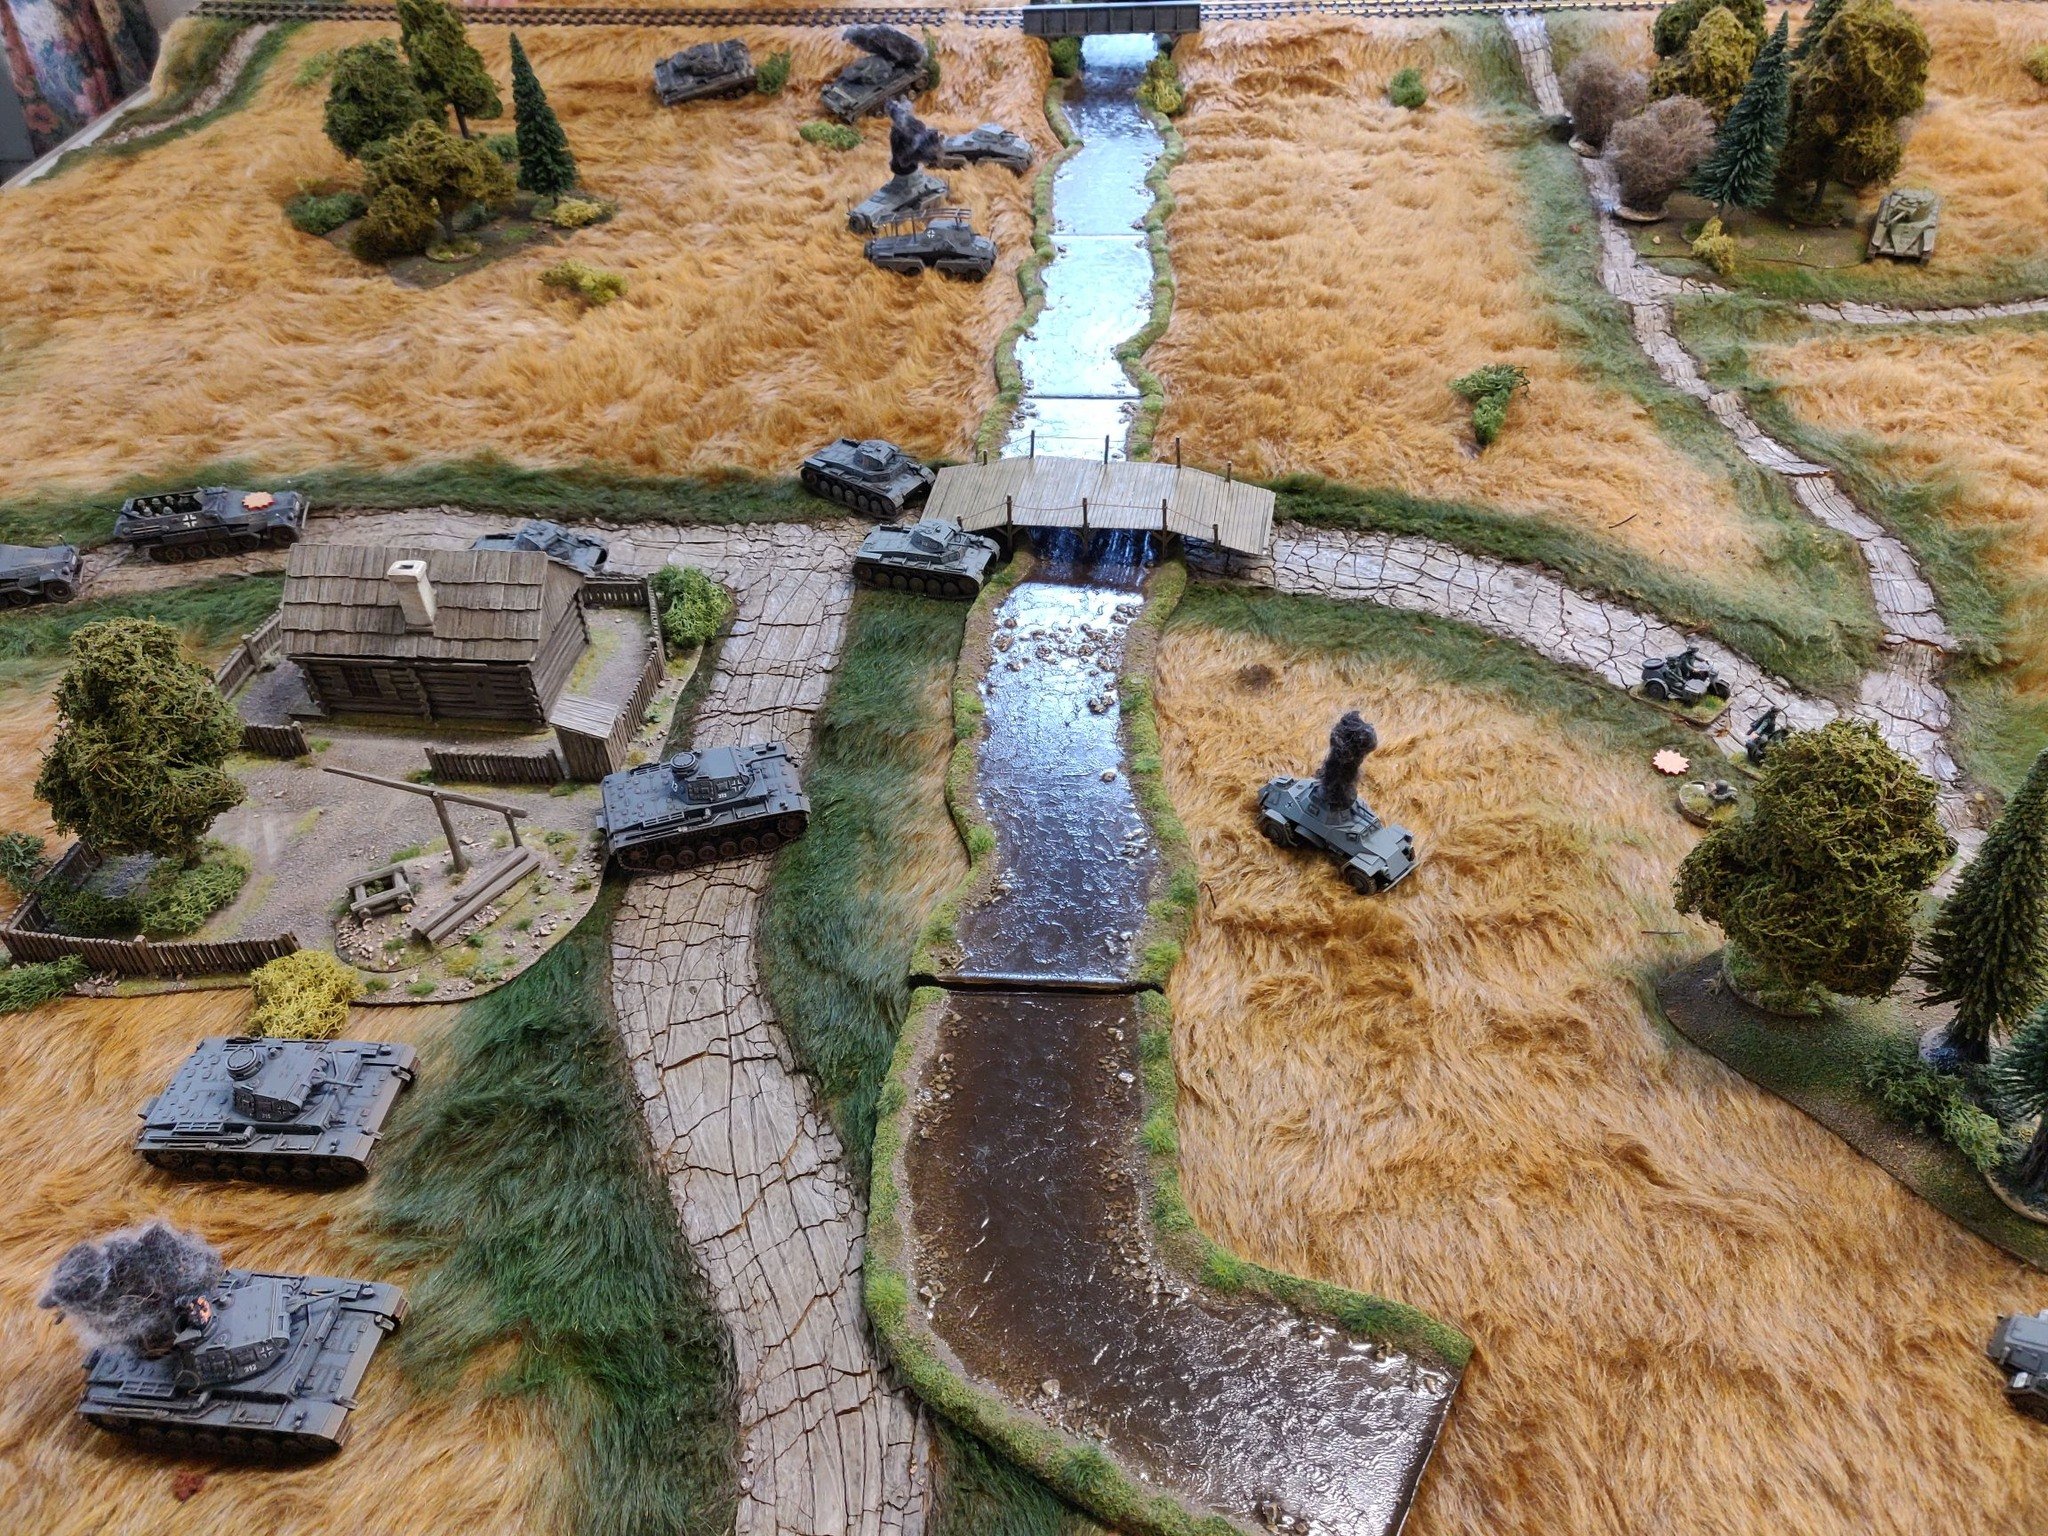
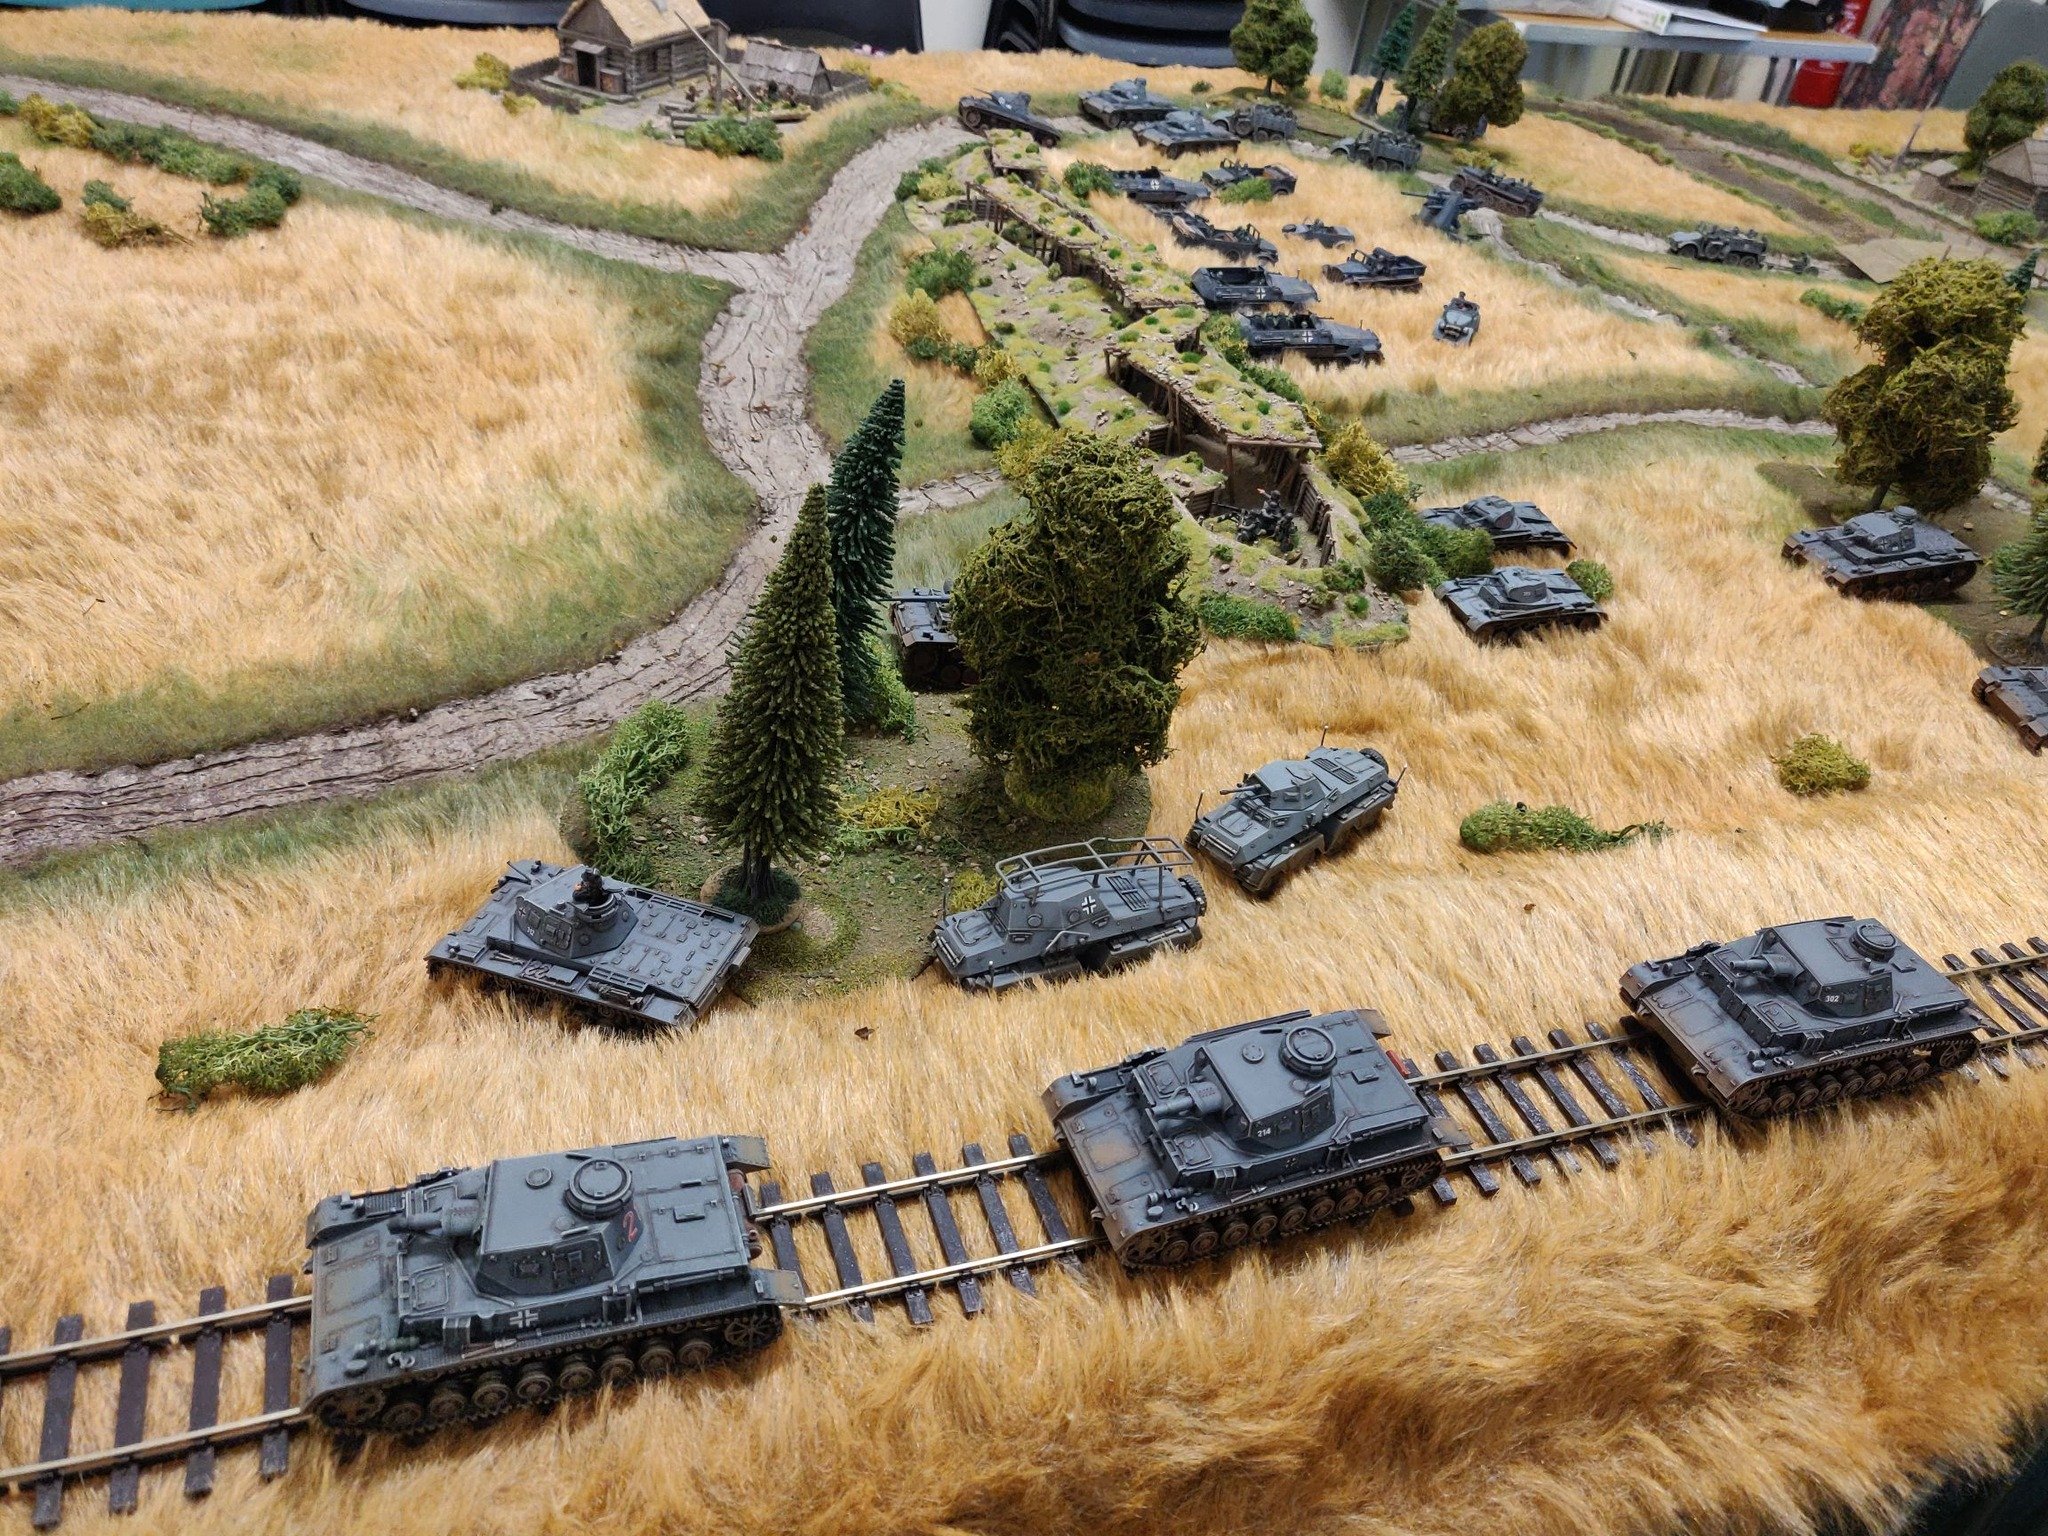
Otherwise, Zhena is a collection of wooden huts and a burnt out church, surrounded by waist-high crop fields. Outside of that, the terrain is open grassland studded with clusters of trees. There is a large hill just to the north of the village.
For this version of the game, the Soviets would start with a small force on table. A large German force would then appear and launch an attack. After 2-3 appearances of the Turn Card (determined randomly), a hefty force of Soviet reinforcements would join the fray. Each side's objective was to take and hold the road junction in the centre of the village.
The Soviets
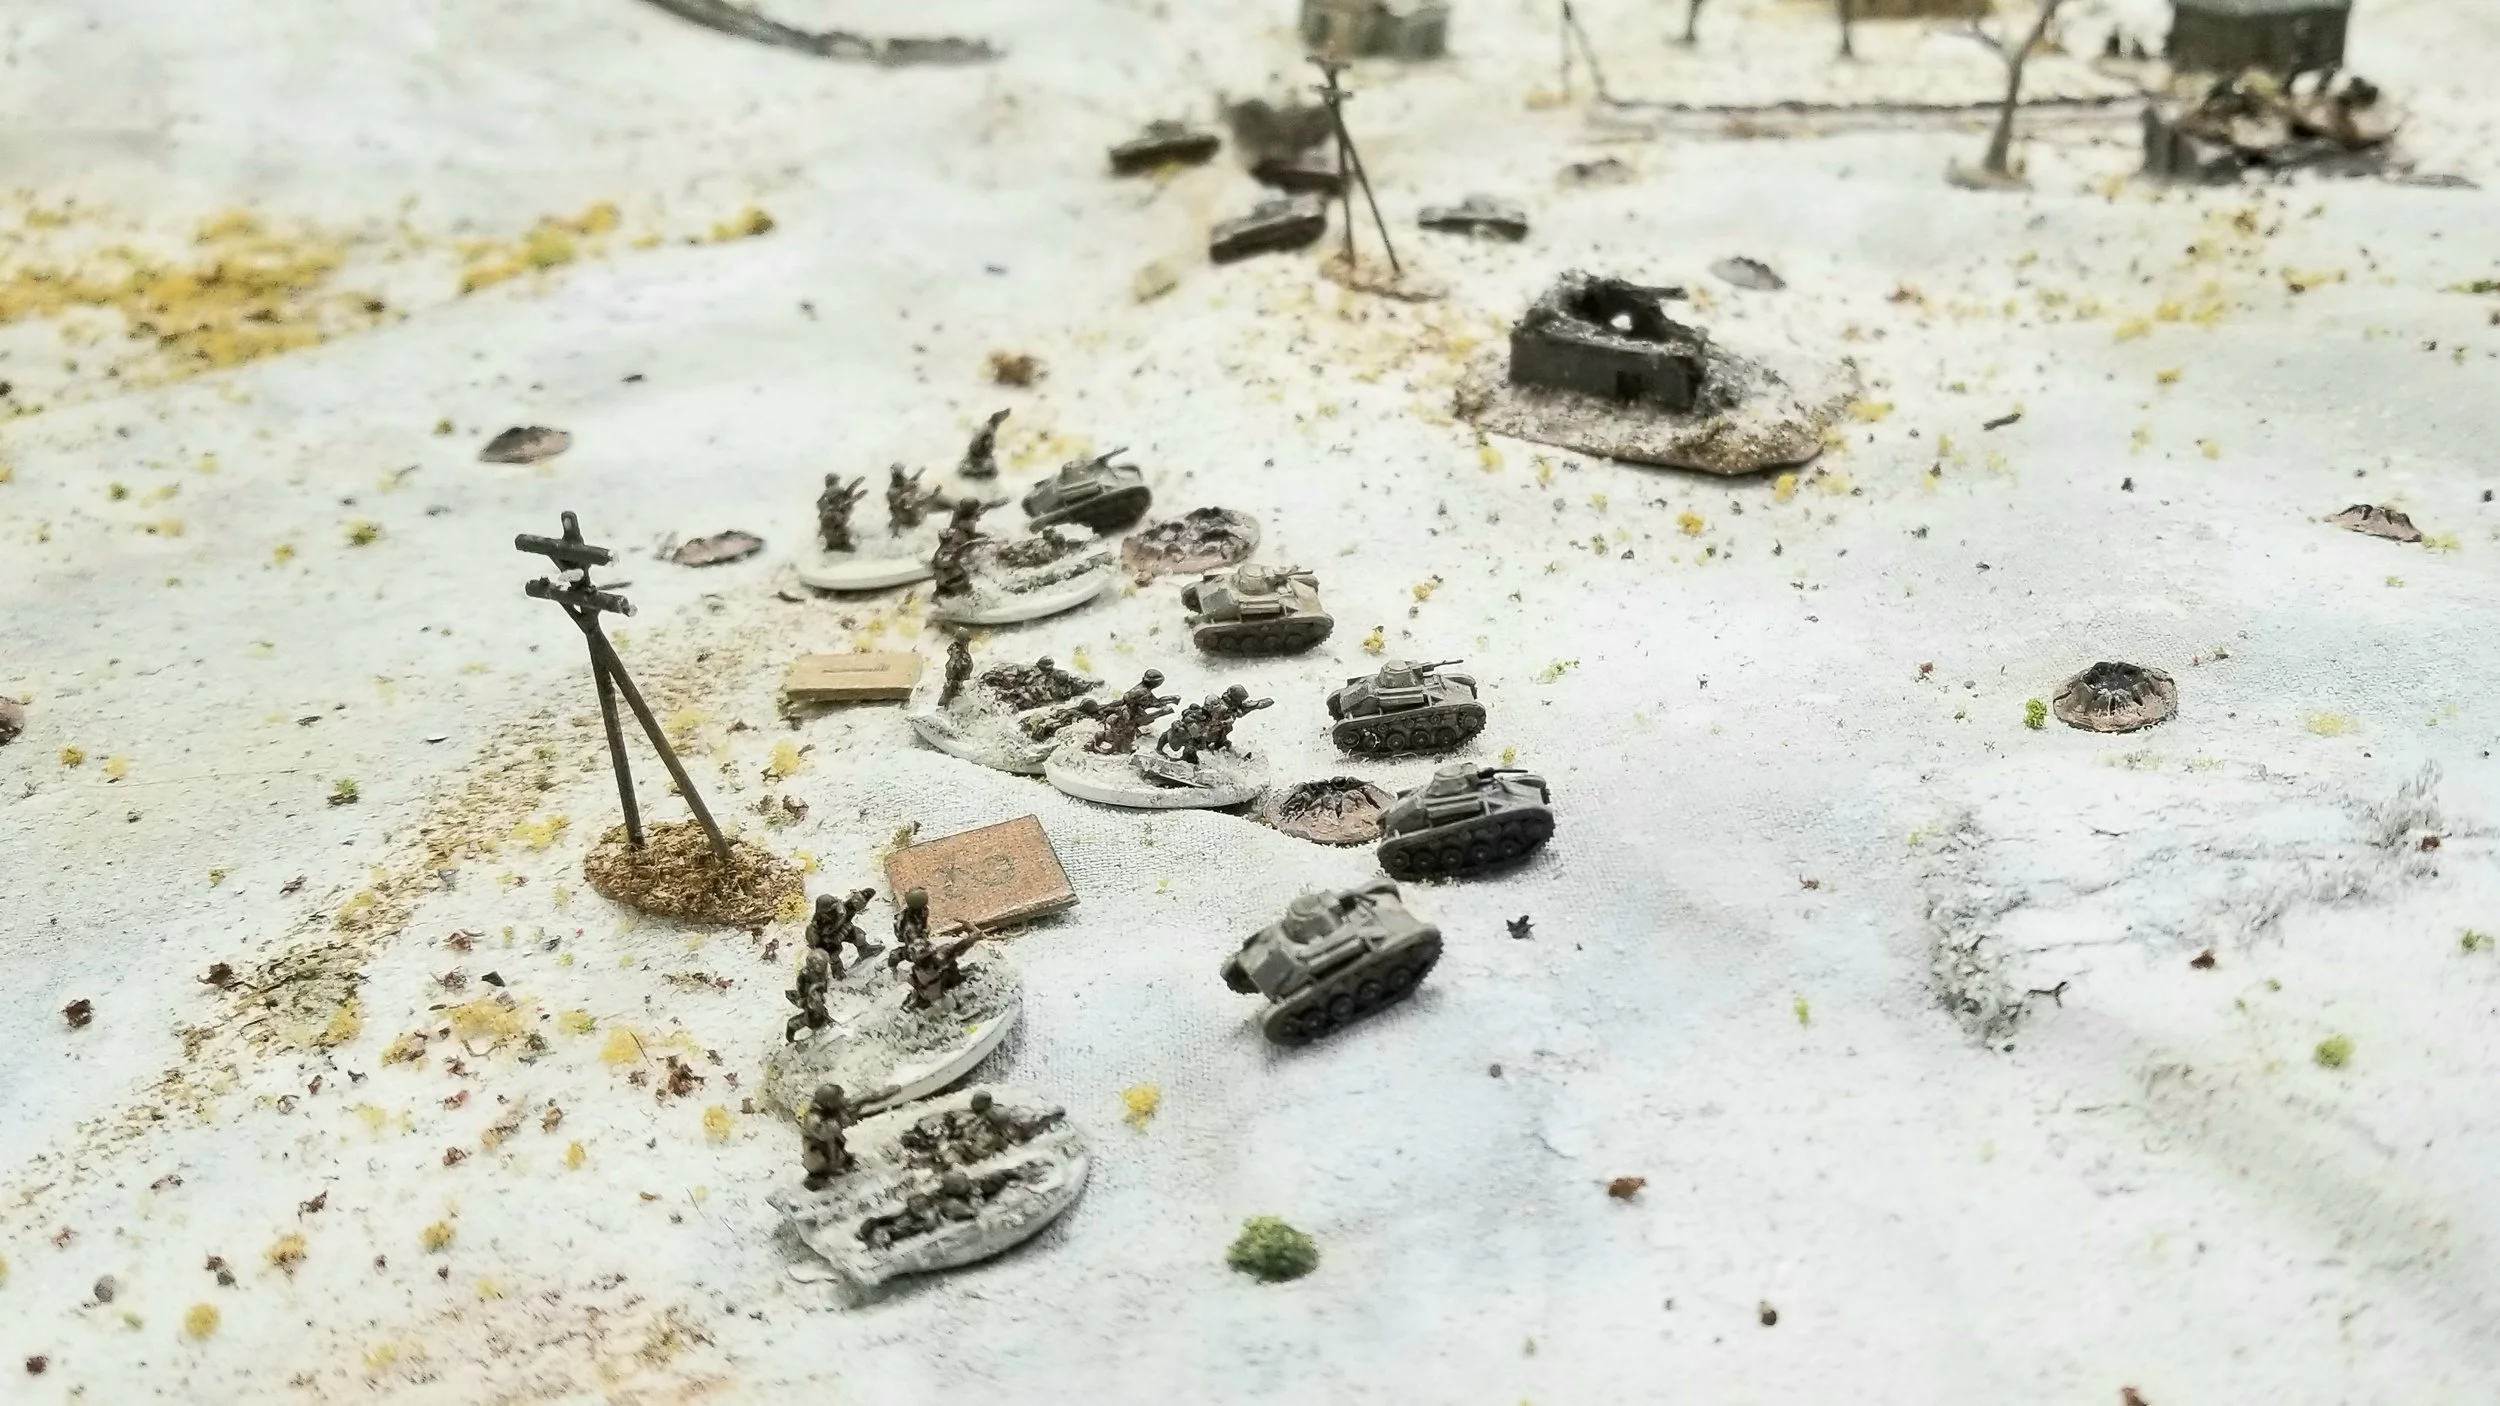
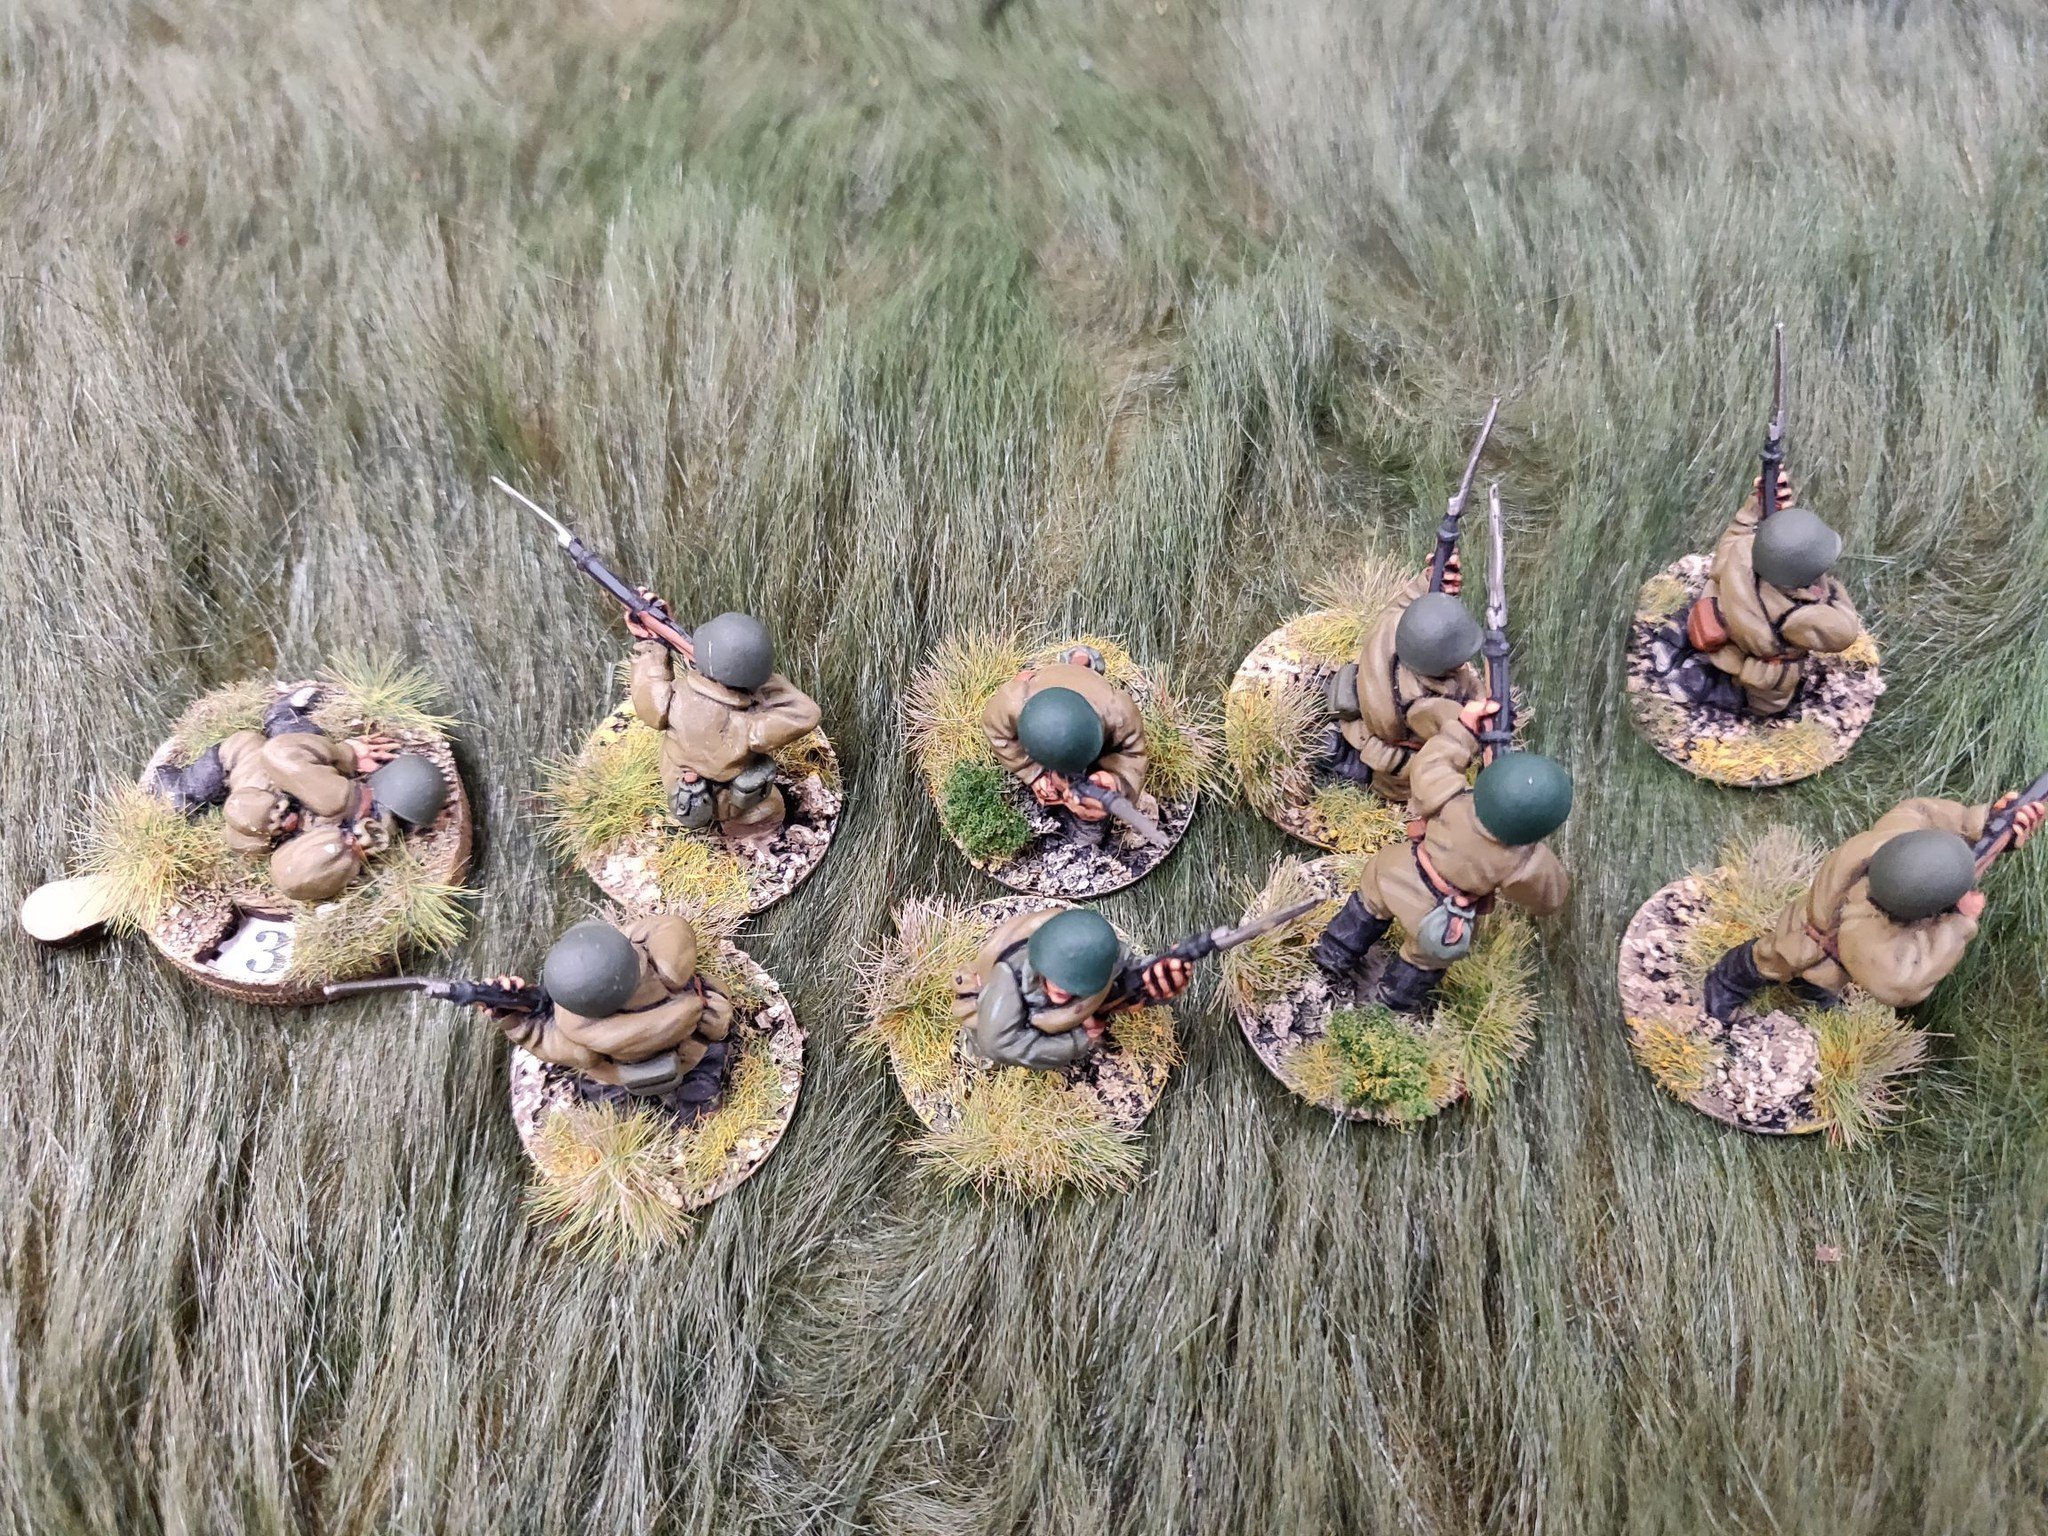
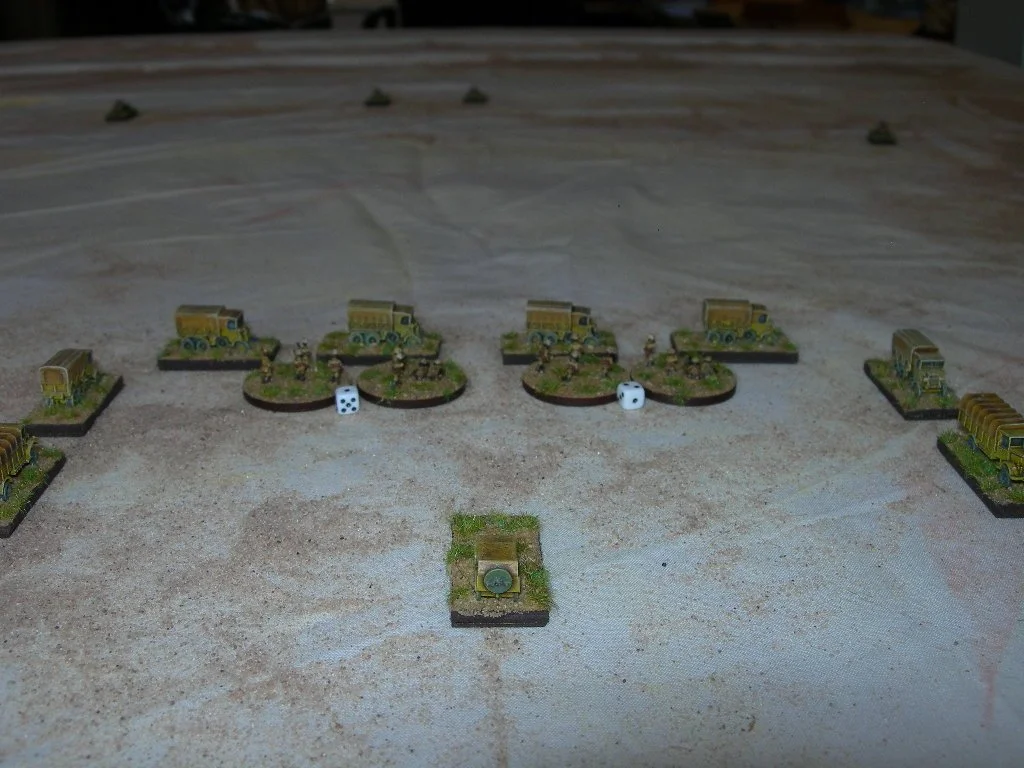
The initial Soviet force that would begin the game on-table consisted of a single BA-64B armoured car and a couple of squads of infantry.
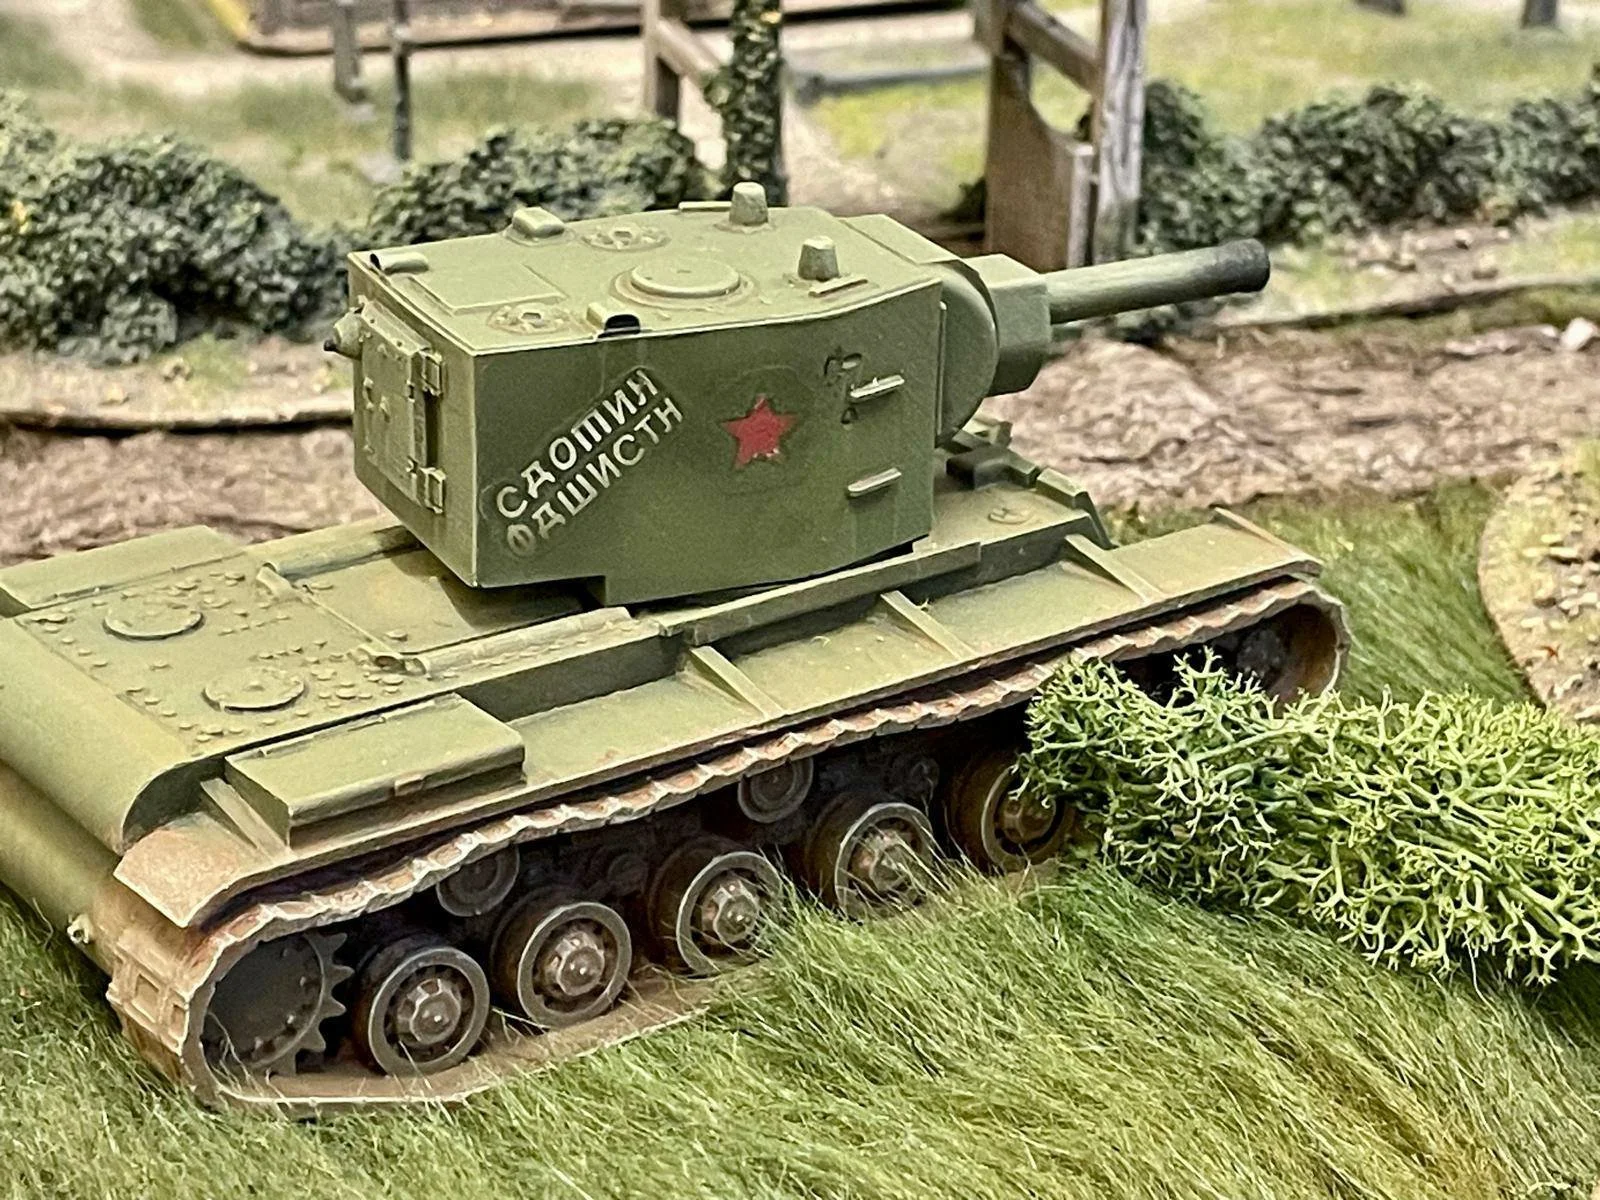
The Russian reinforcements consisted of a two-company battalion of infantry, with each company consisting of two two-squad infantry platoons. The infantry was backed up by the battalion anti-tank guns and mortars, and a platoon of JS-II heavy tanks (with tank riders) from division. The Soviets also had access to air support (a Sturmovik armed with cannon).
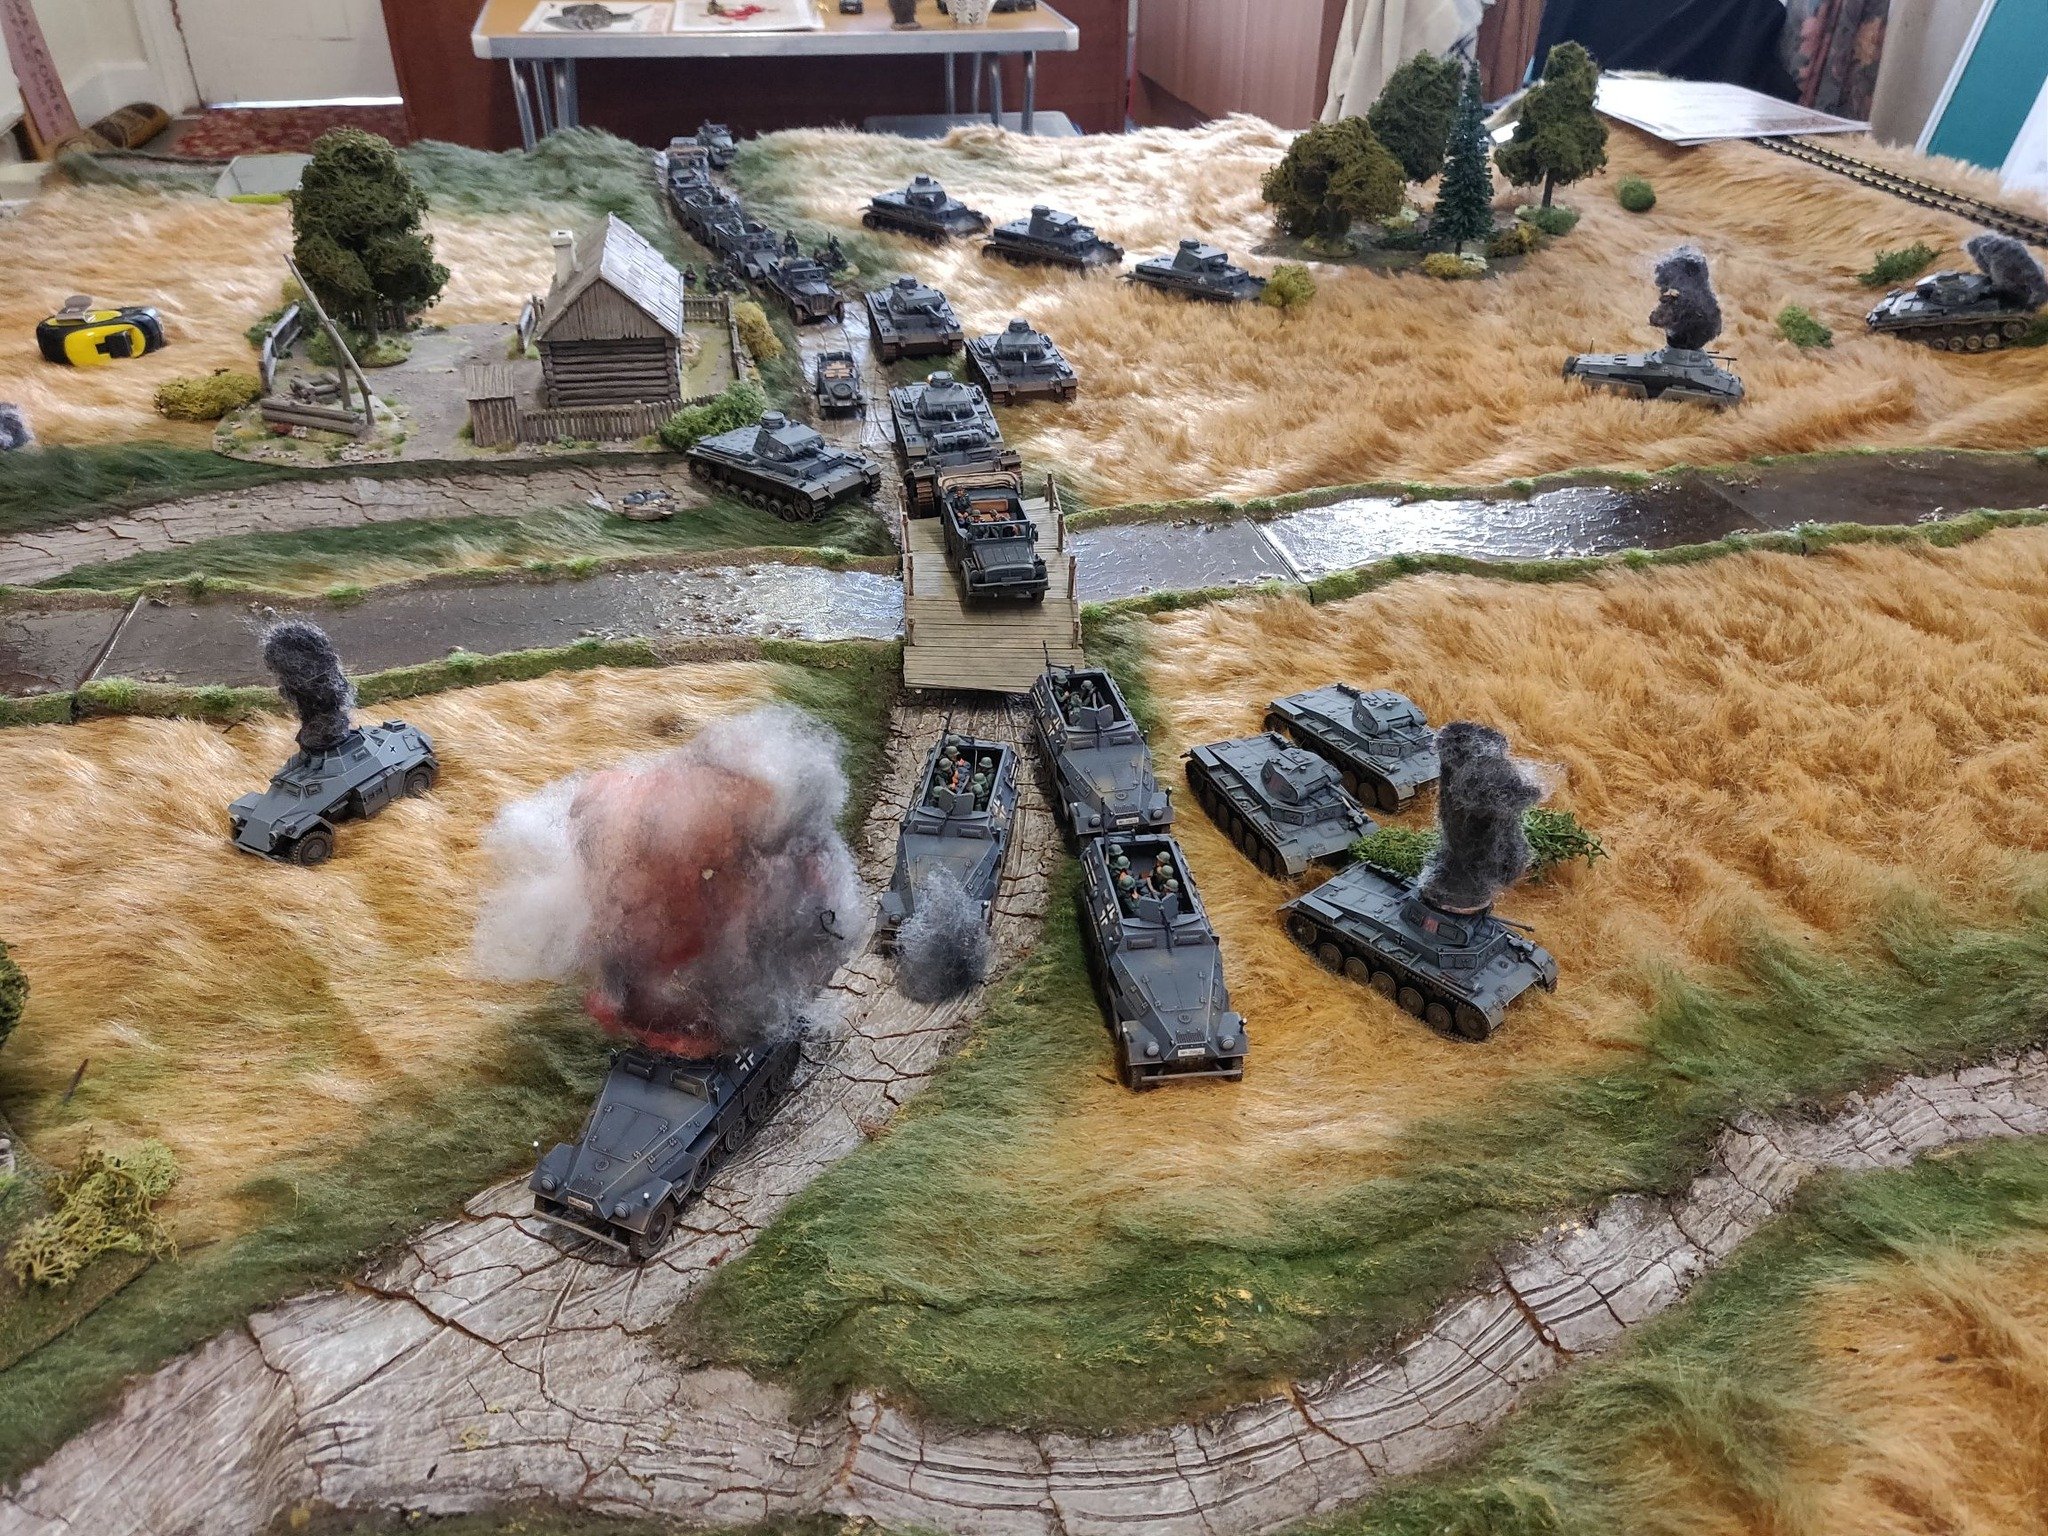
The Germans
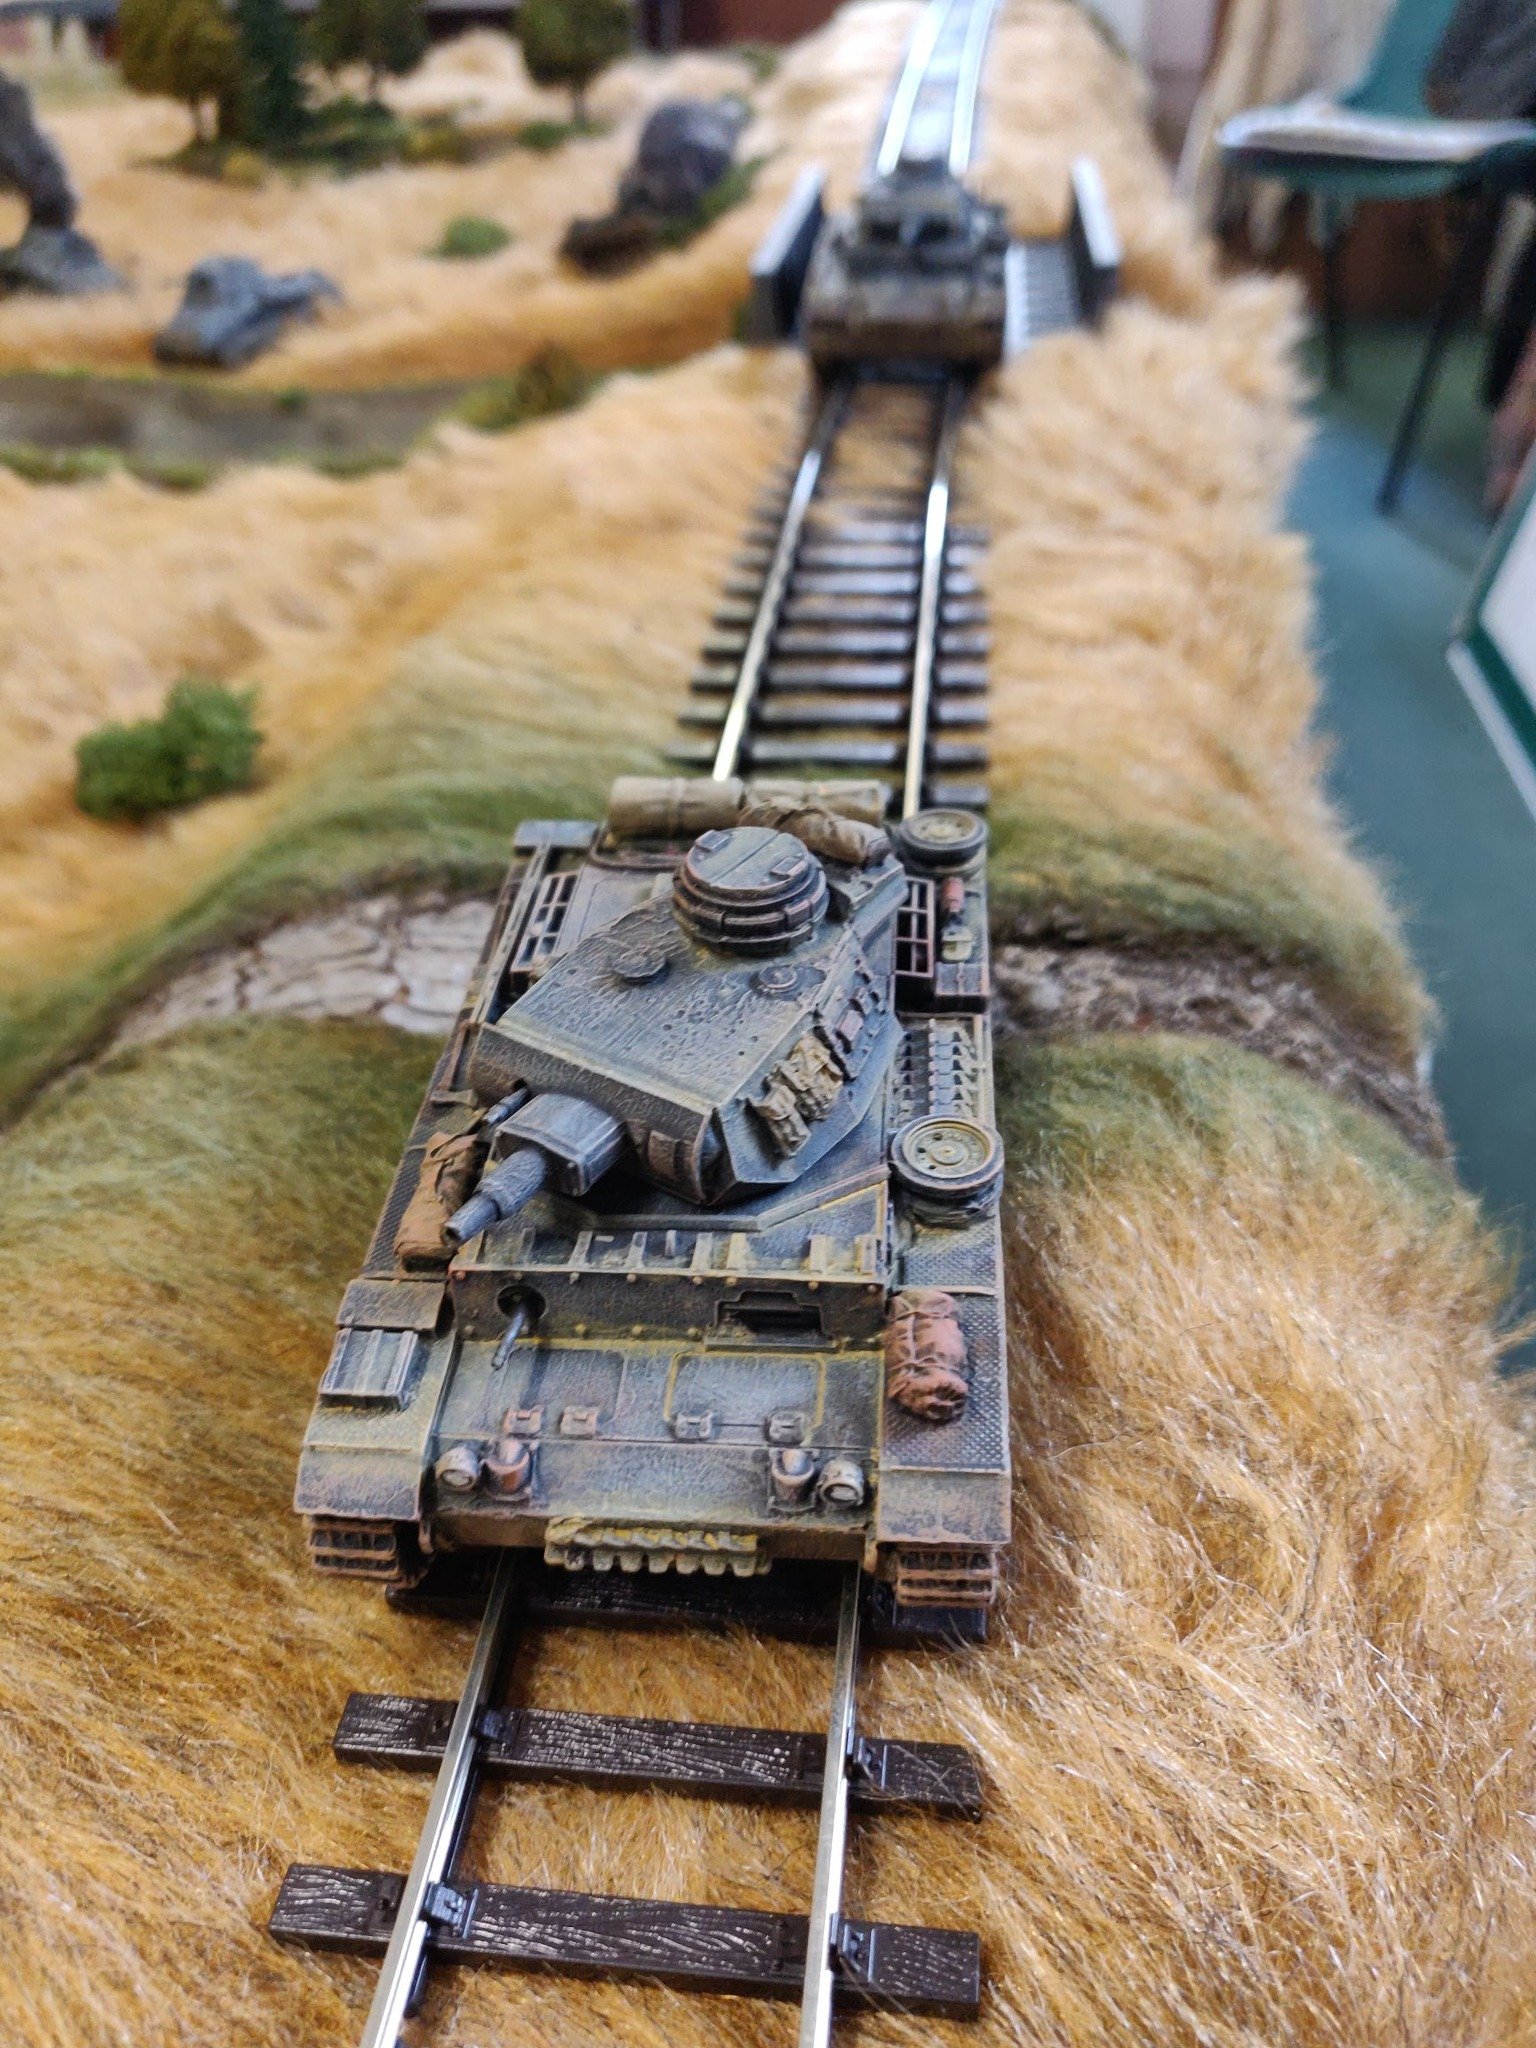
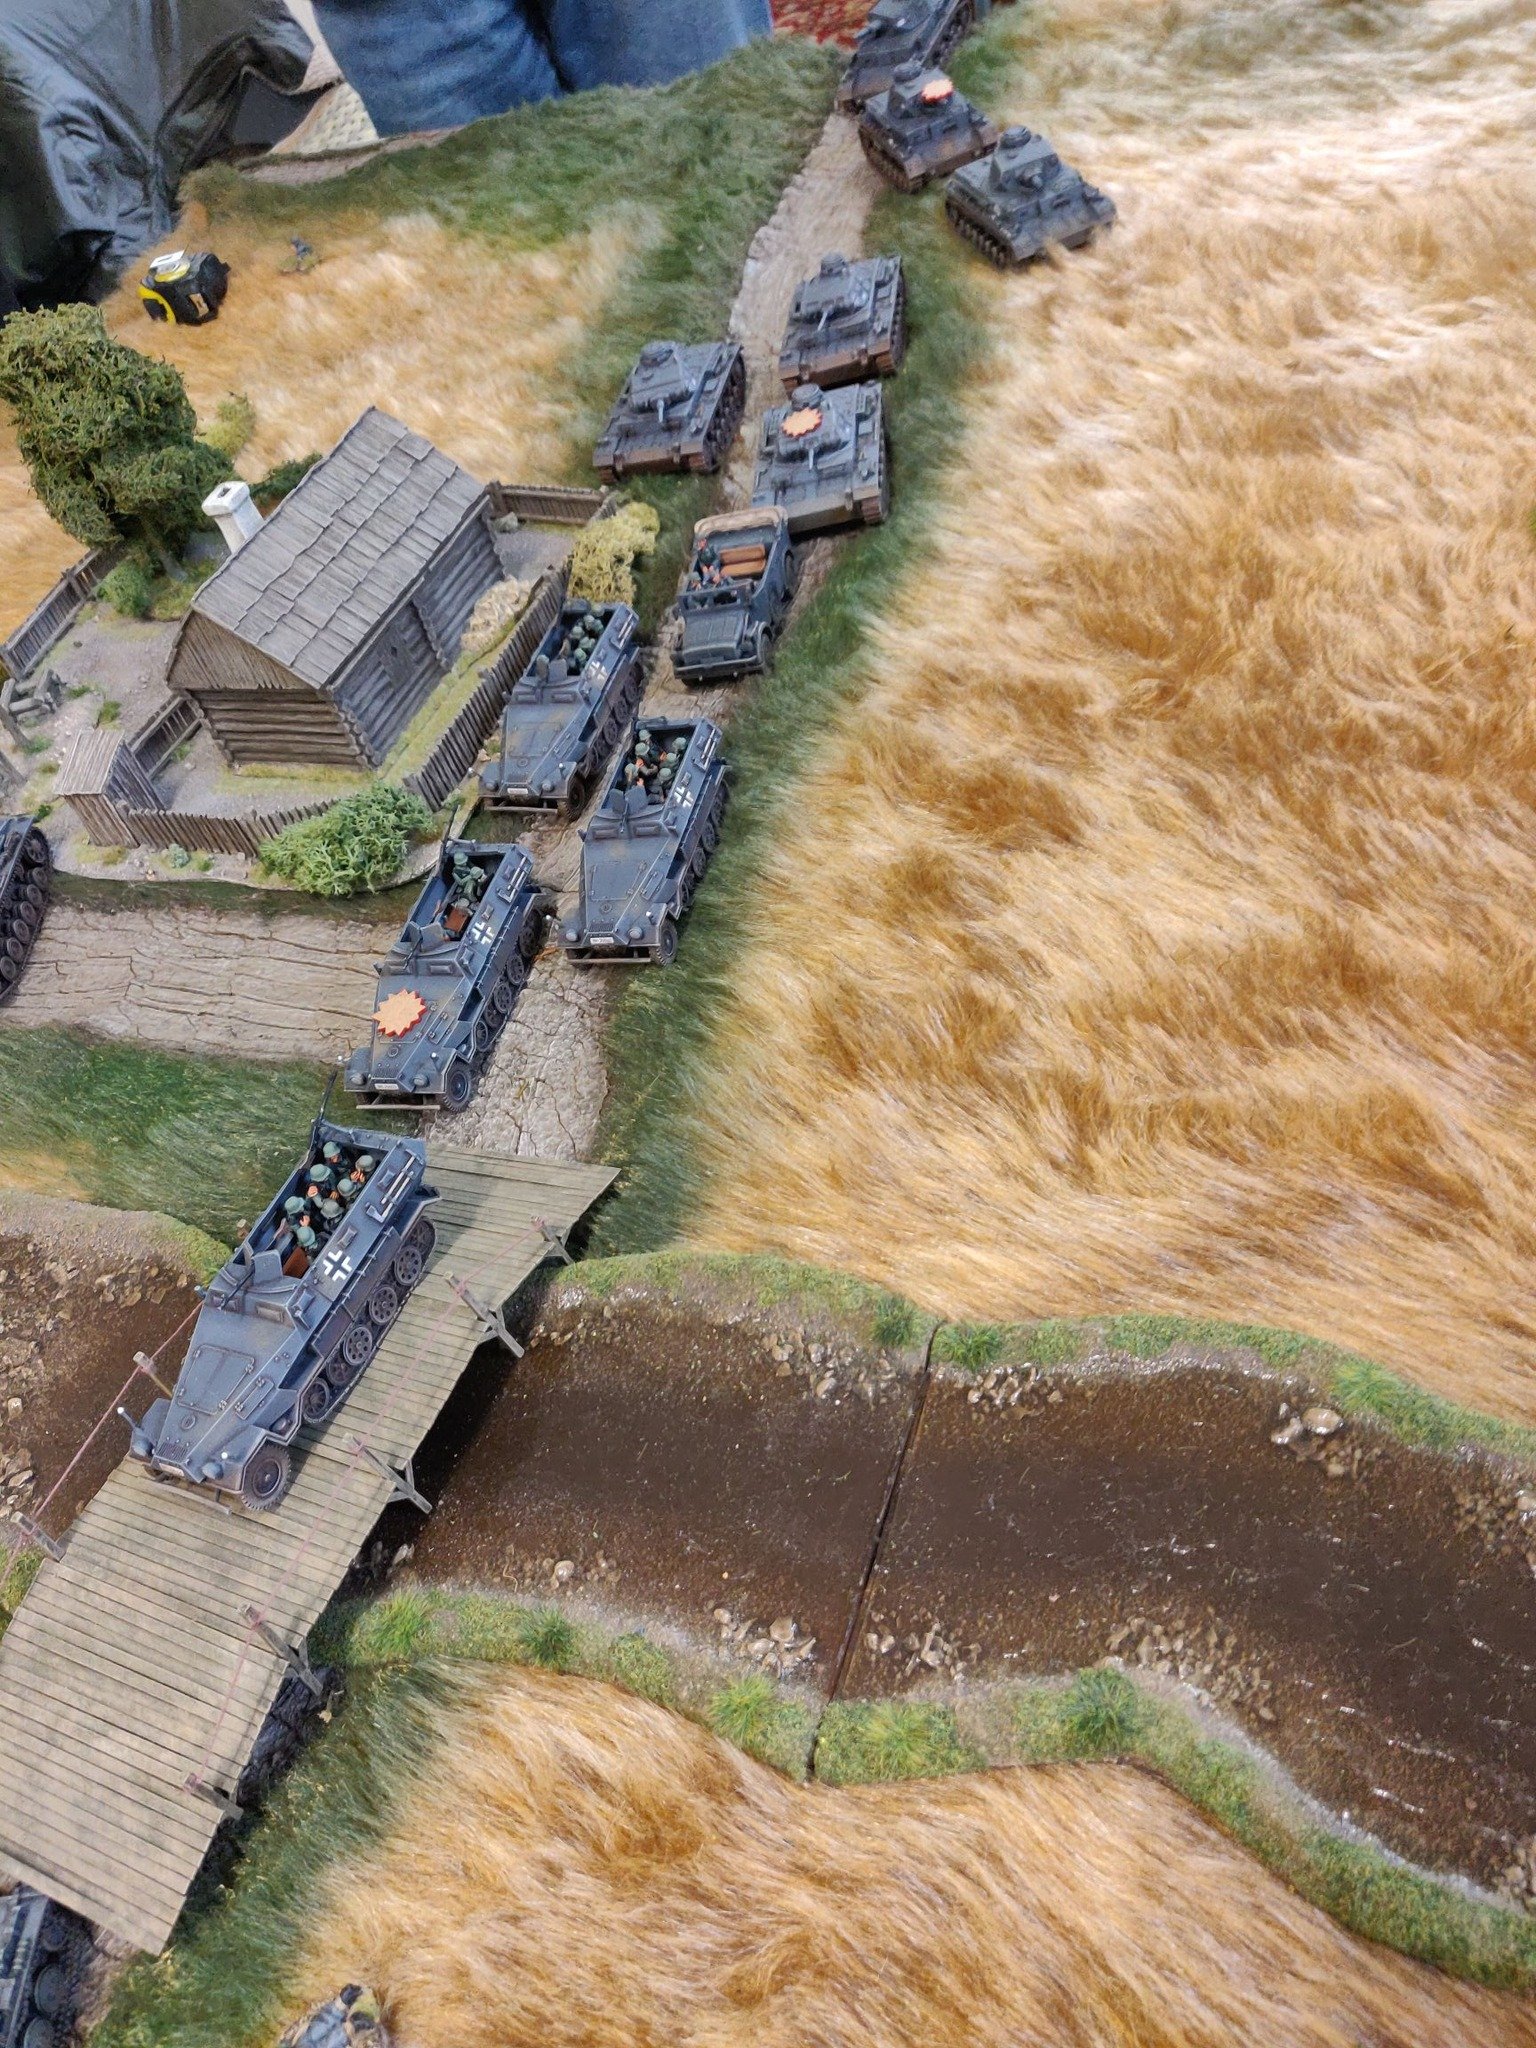
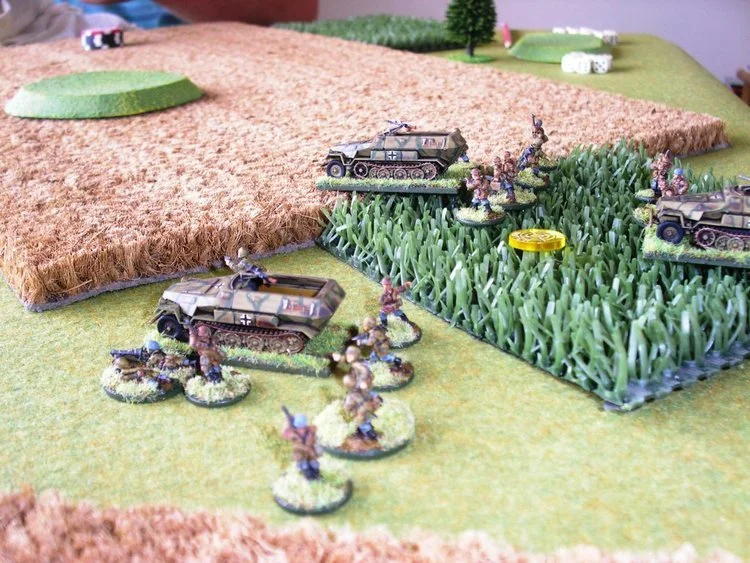
The German attacking force consisted of a reduced tank company of five Panzer IV Js backed up by Schwerer Zug of a couple of Tiger IIs. In addition, the Germans fielded an infantry company of three platoons of assault-rifle-armed infantry, supported by a couple of Wespe self-propelled 105mm guns.
What would be interesting about this game was the contrast in the forces. The Soviets were very infantry heavy, and the deciding factor was likely to be the result of the battle between the Rusian JS-IIs and German Tiger IIs.
The Game
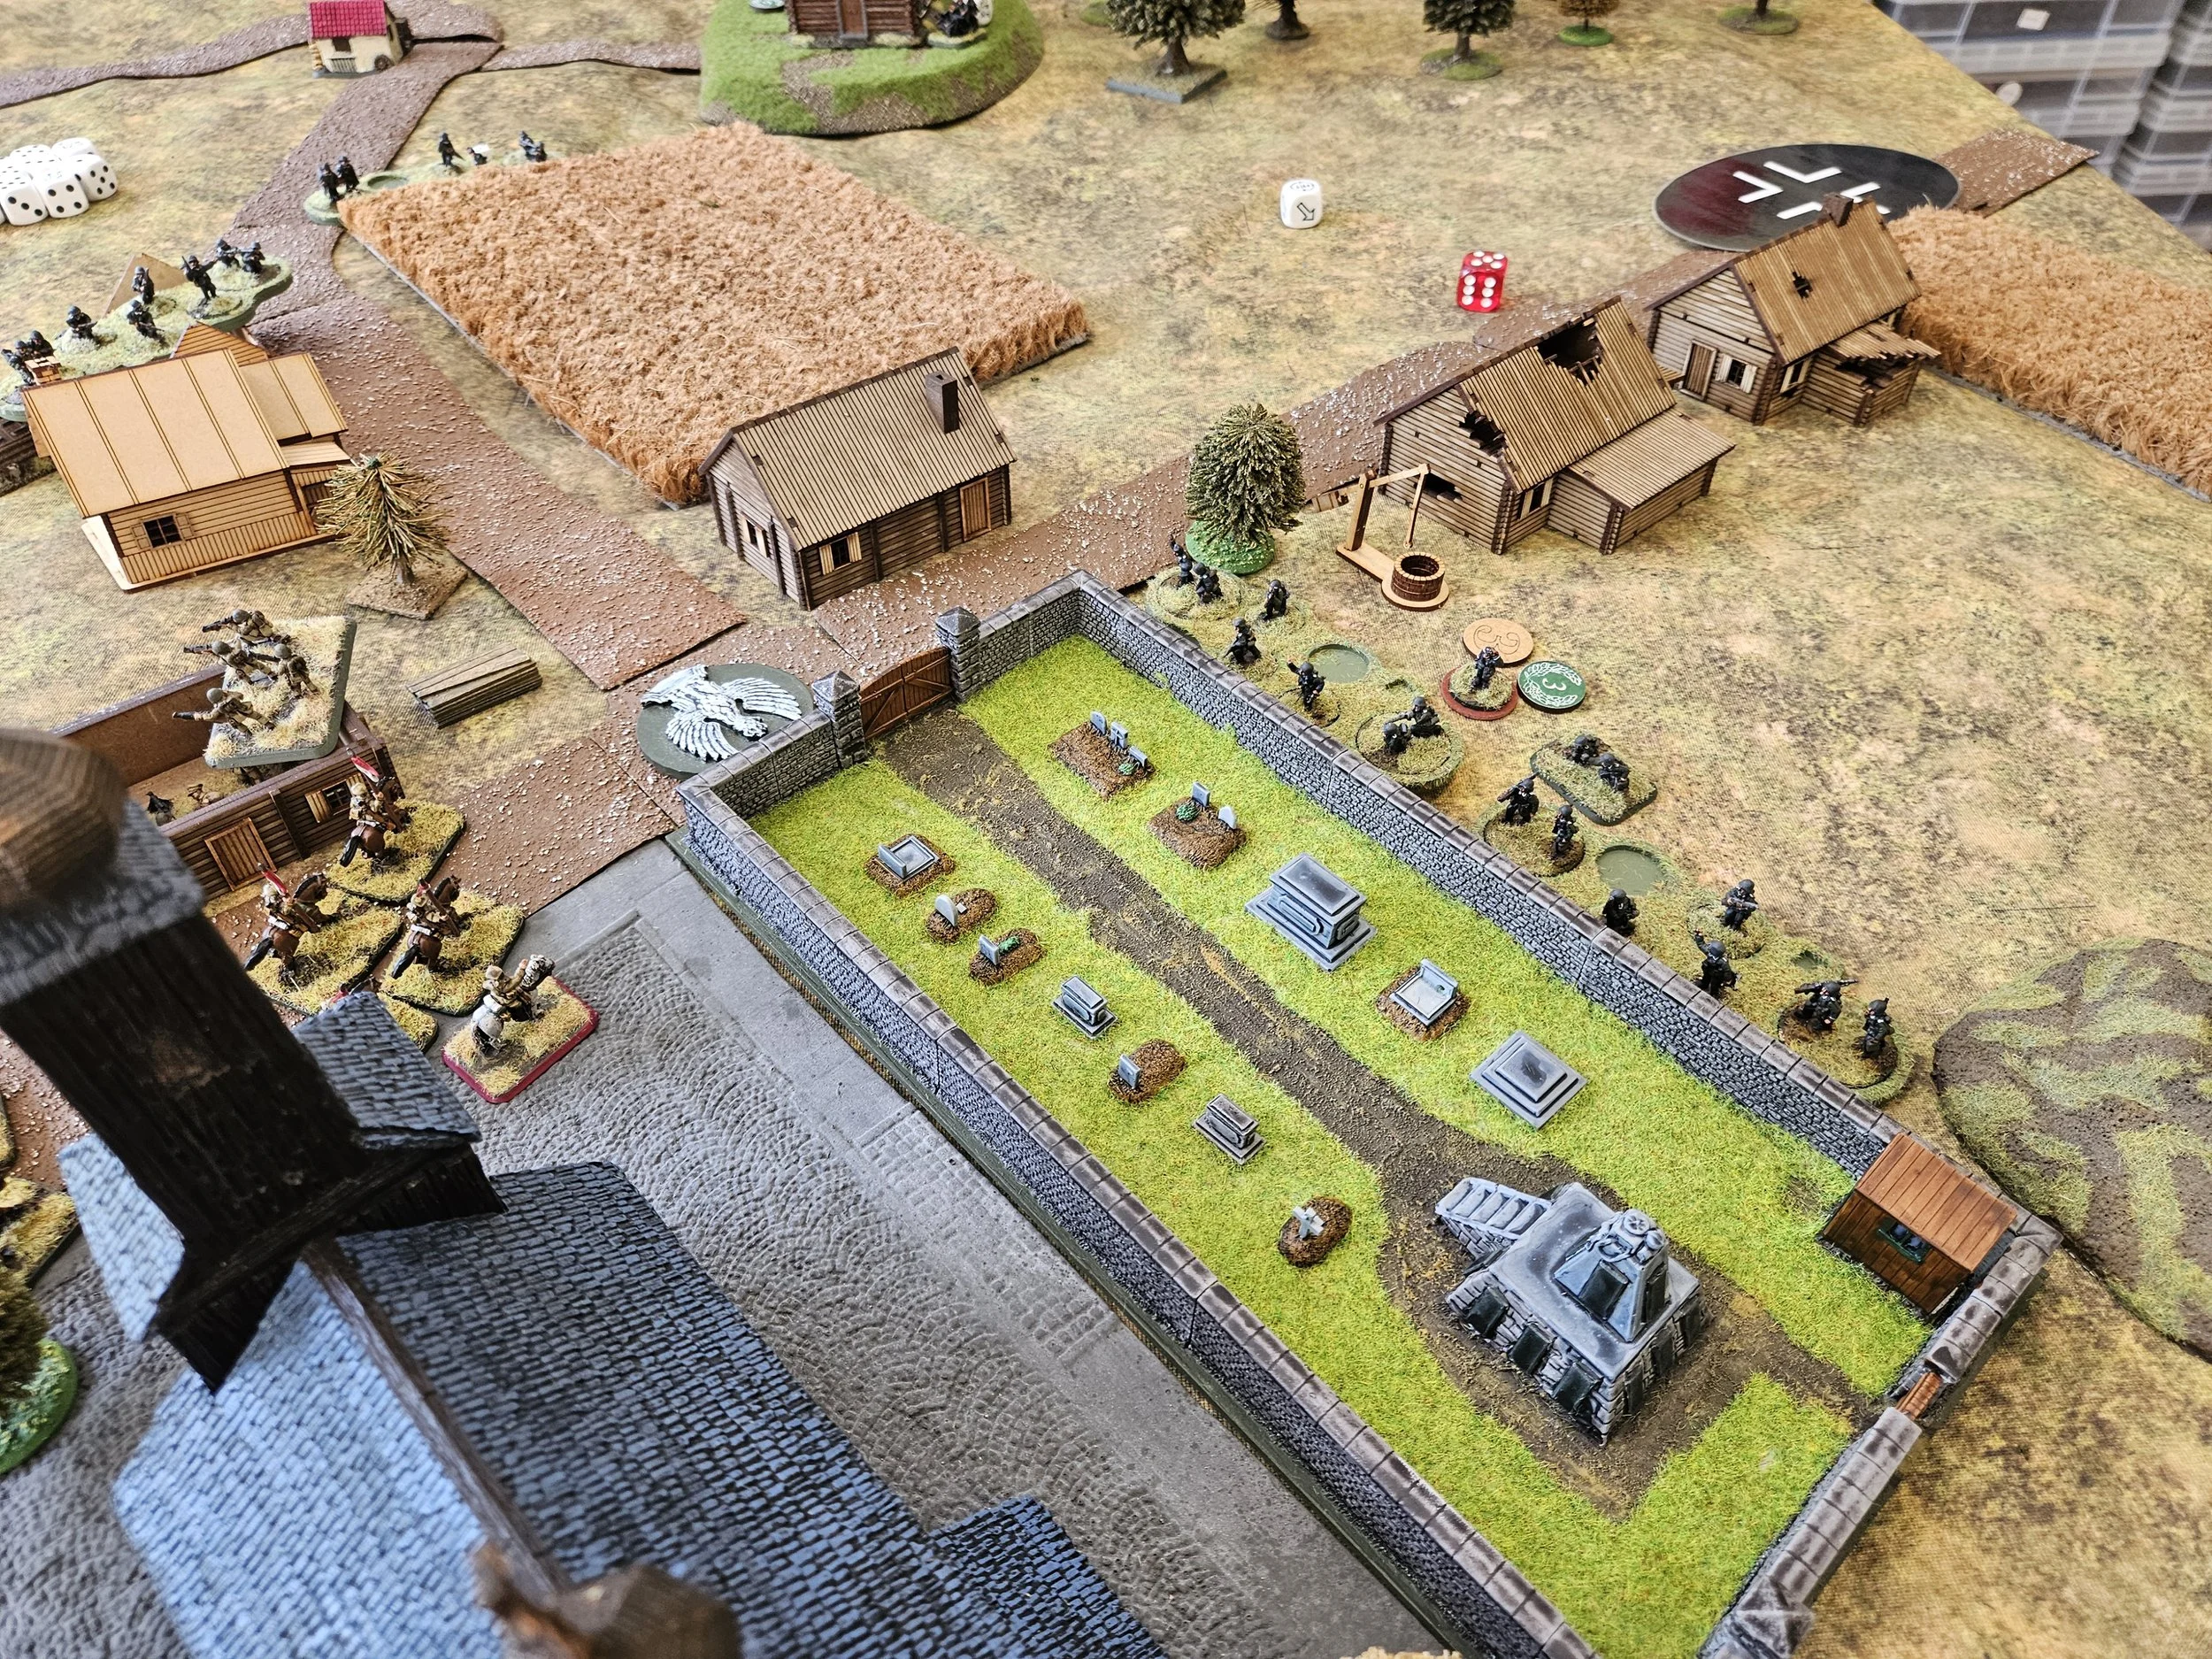
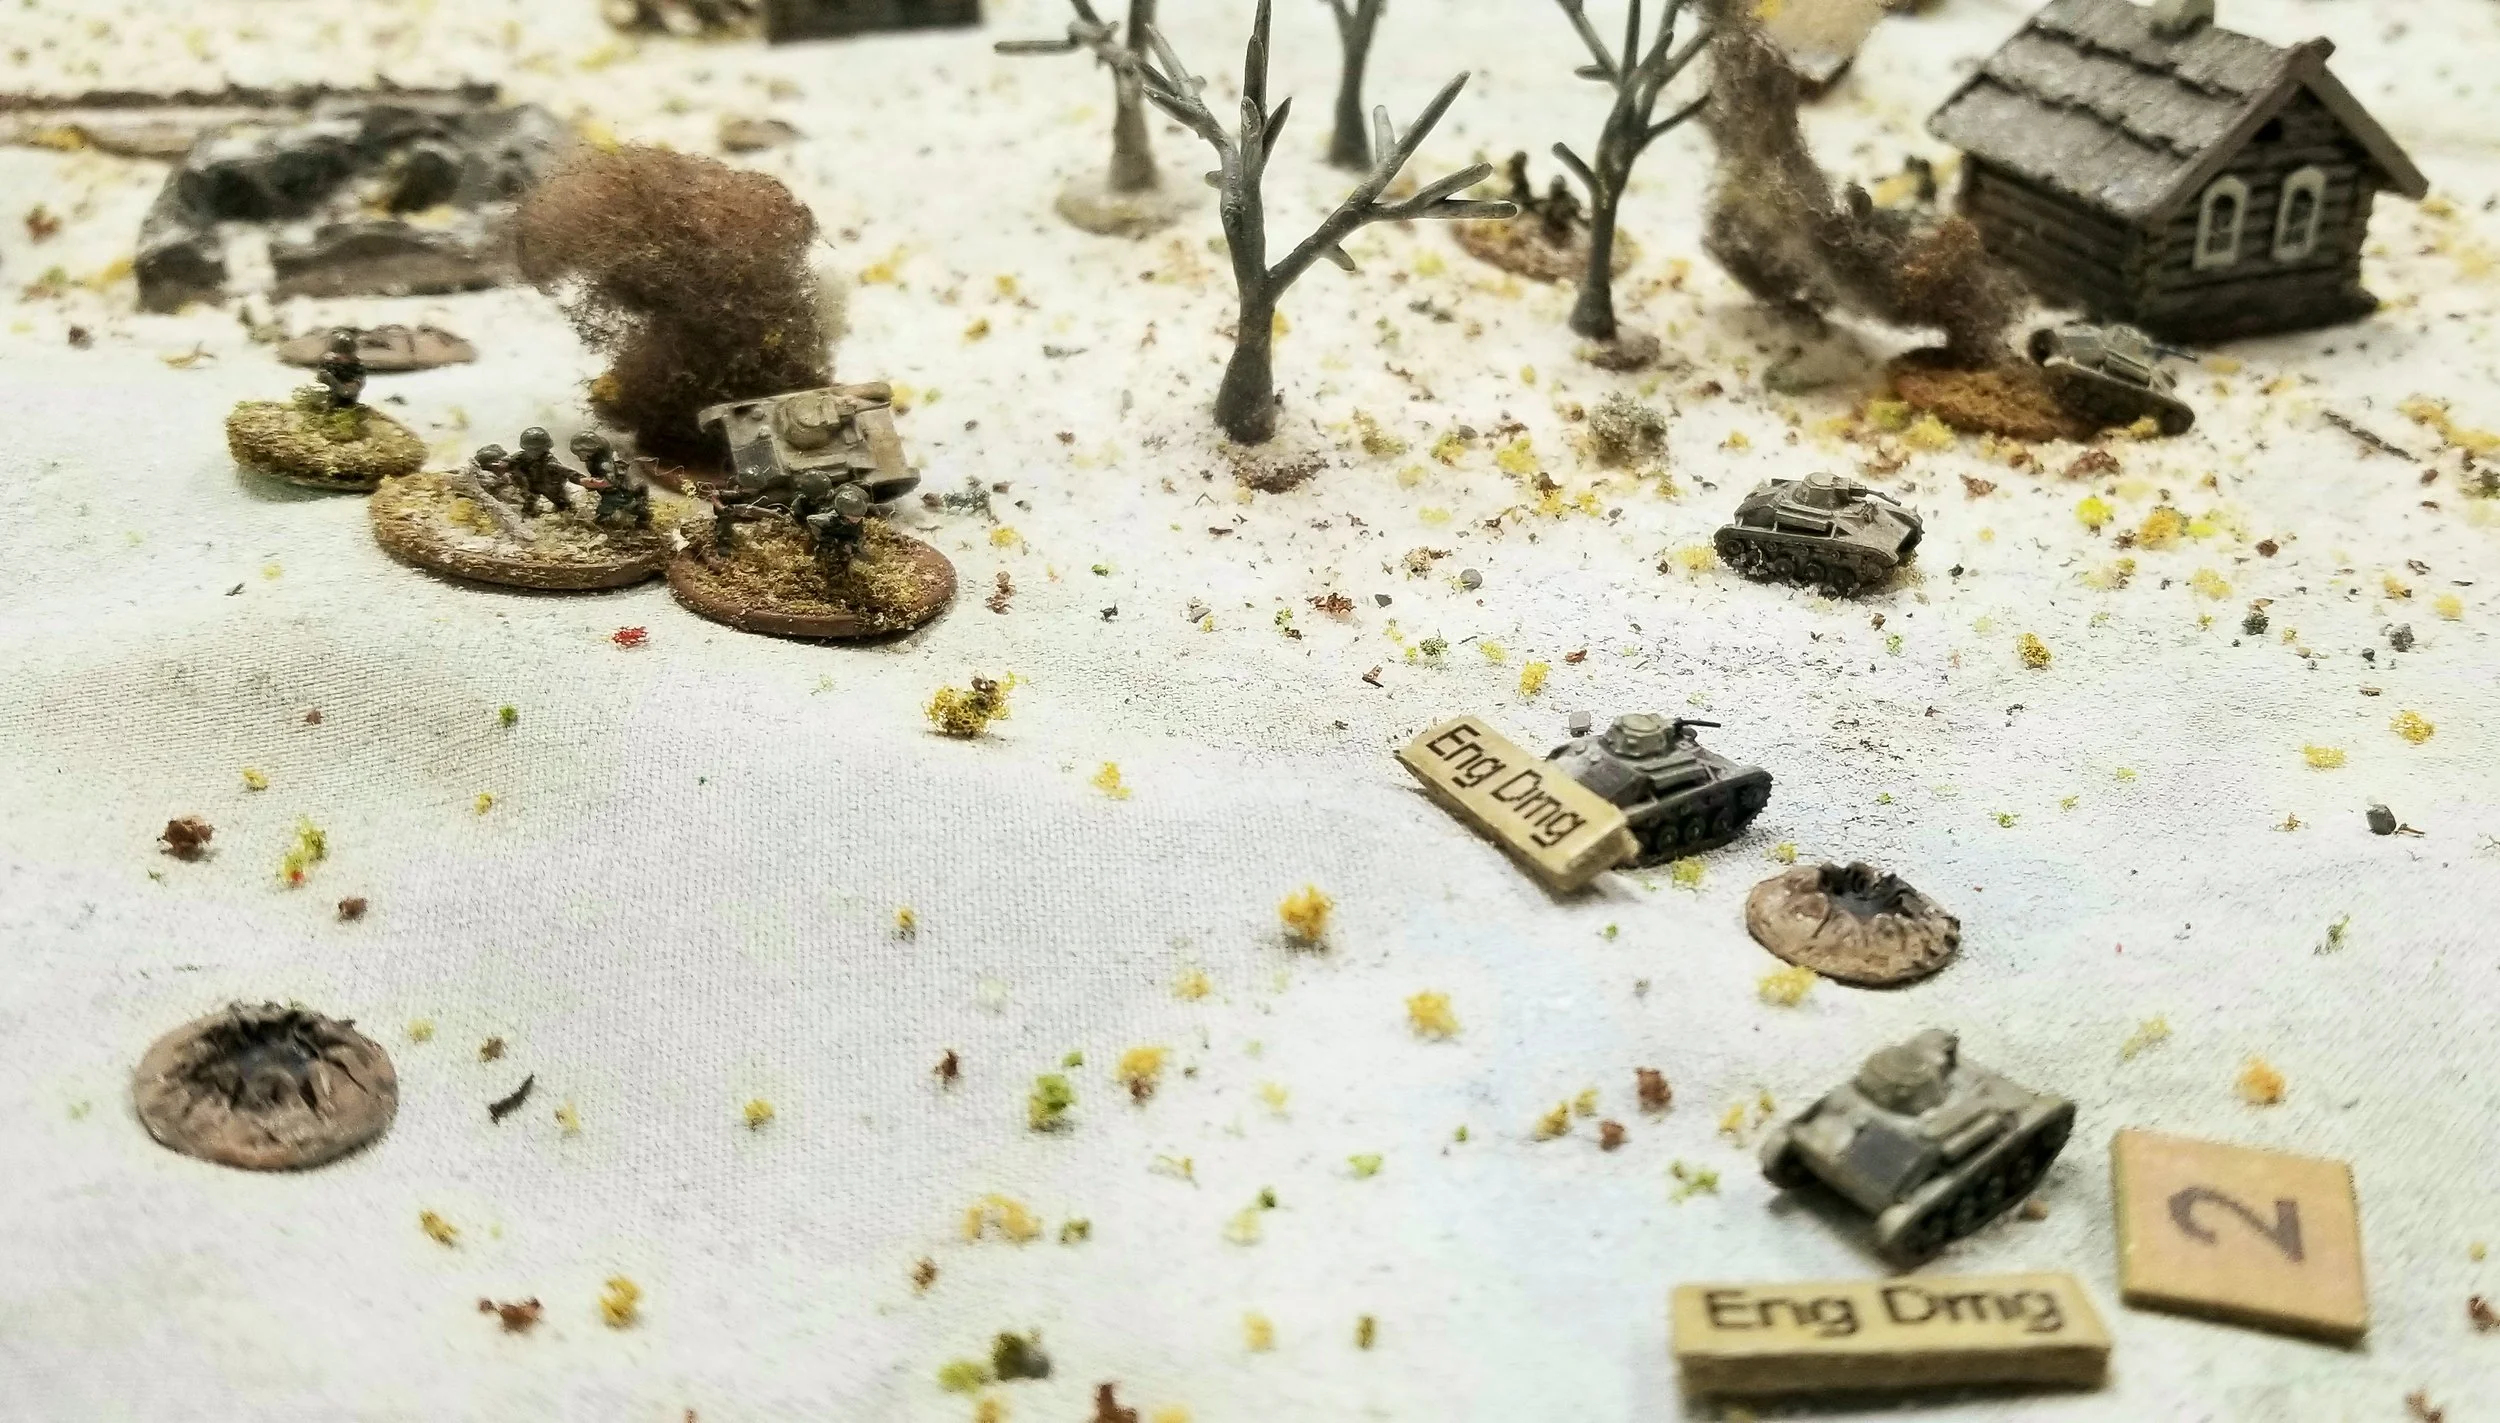
The attacking Germans poured rapidly onto the table. Throwing caution to the wind, their lead Blind, advancing along the road, was revealed to be the platoon of Tiger IIs. These quickly neutralised the Russian infantry on the edge of the village, and it looked as if the Germans would quickly achieve a dominant position.
Soviet reinforcements, however, were quickly on their way. Equally boldly, their lead Blind was revealed as the JS-IIs, with this Blind dropping off single heavy tanks as it advanced towards the village.