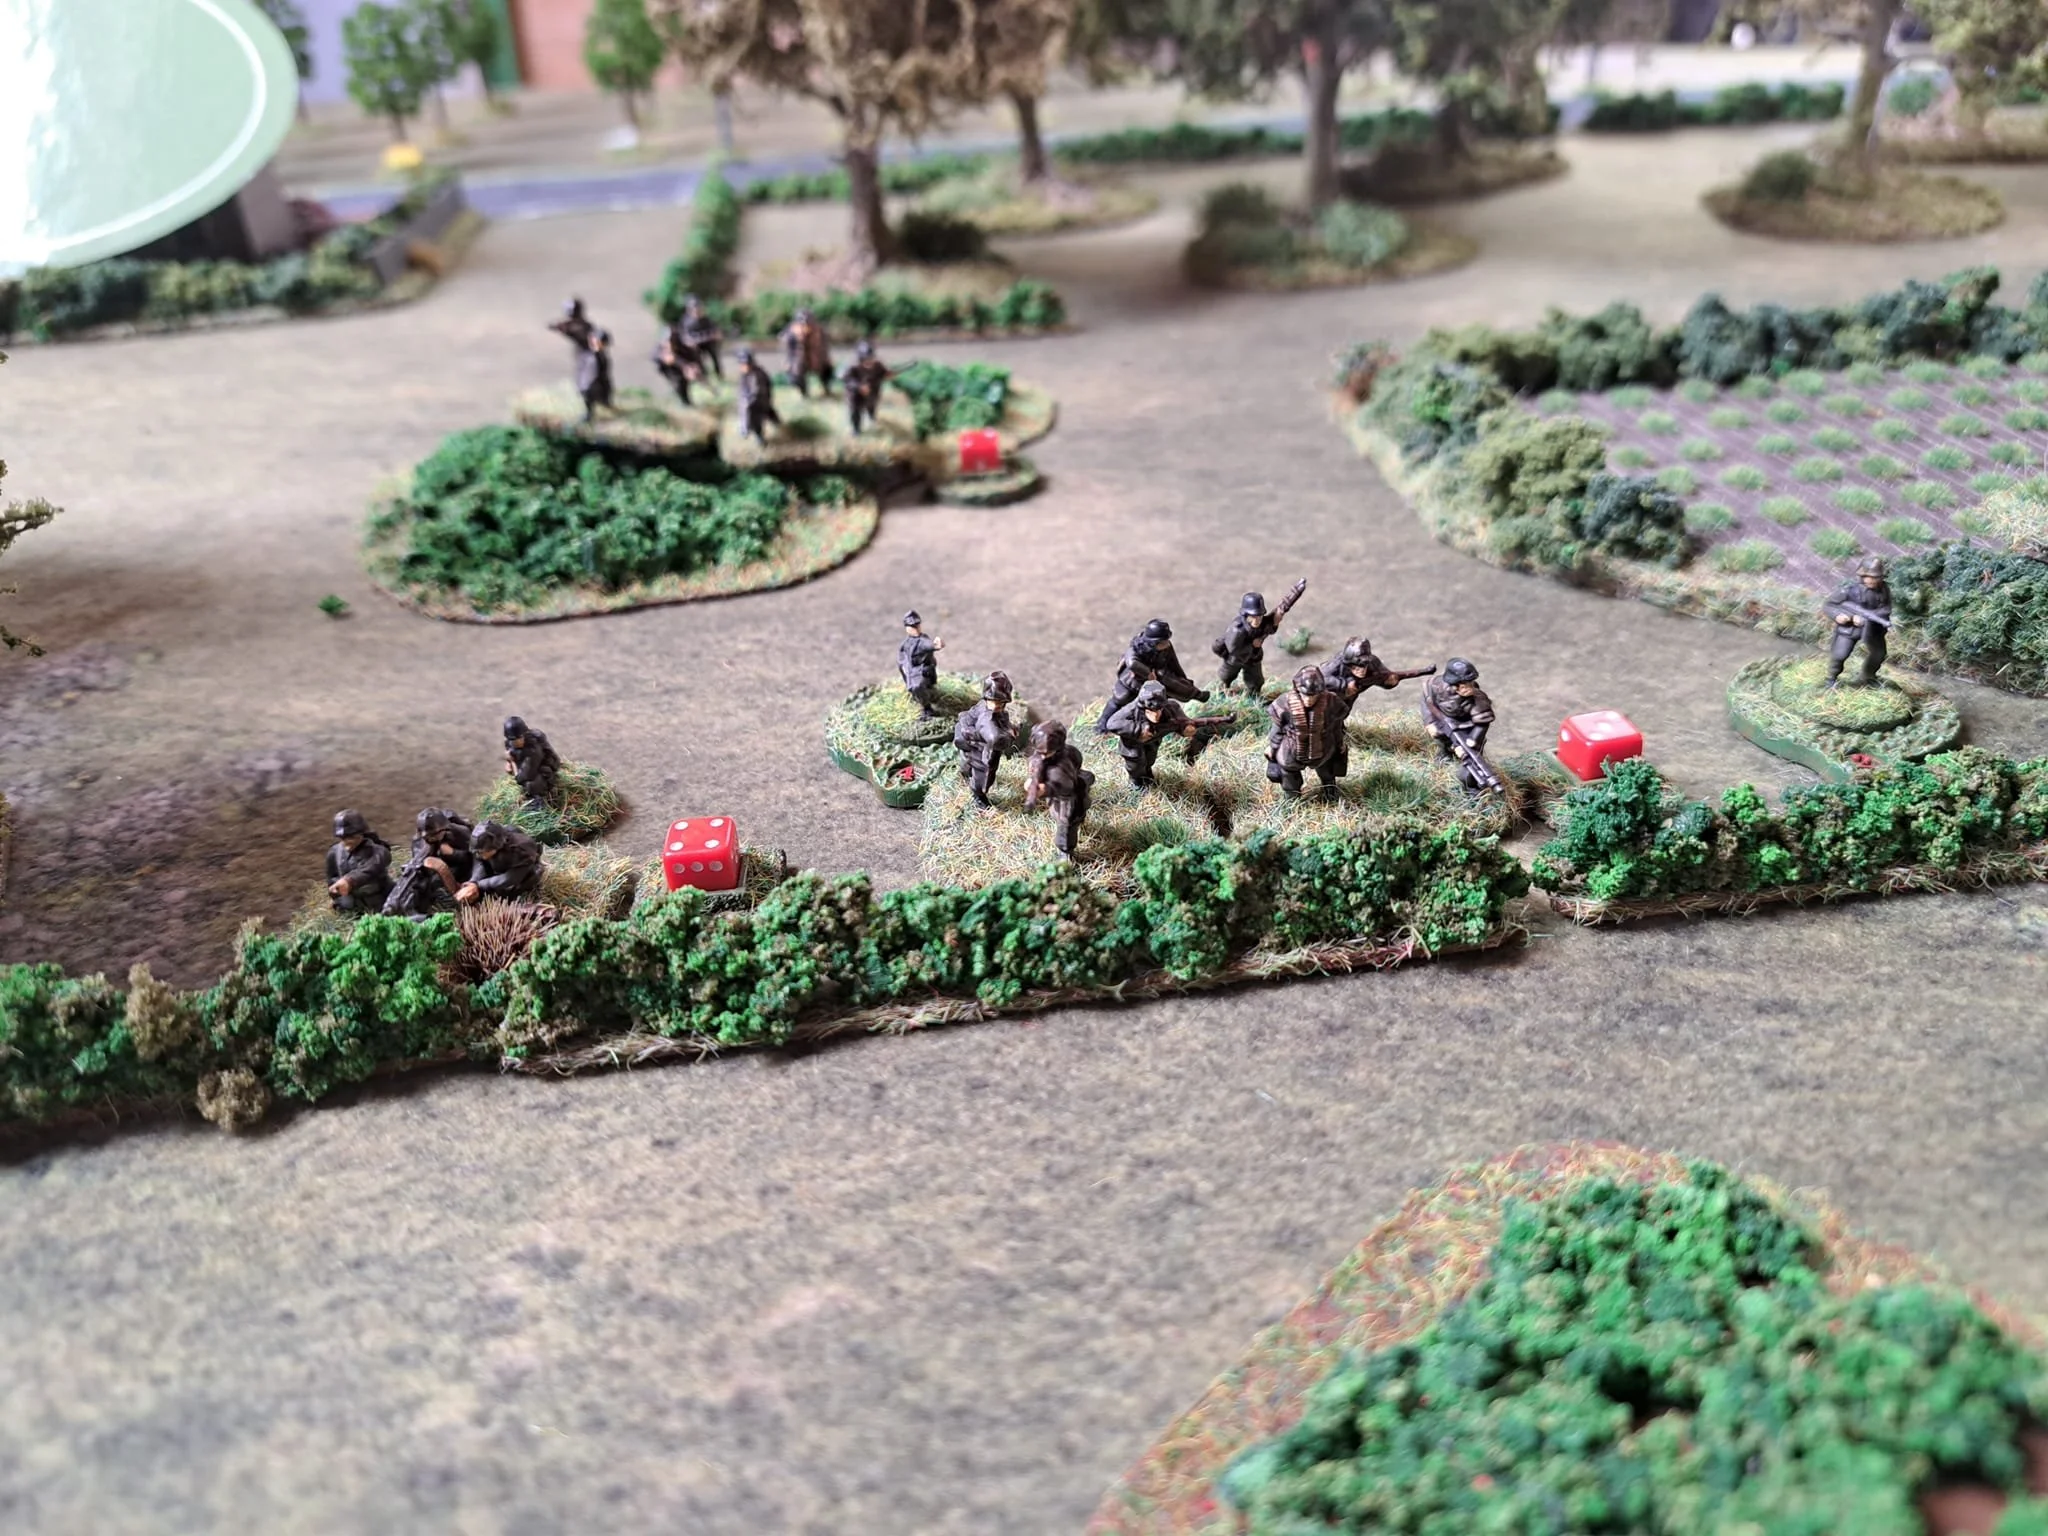
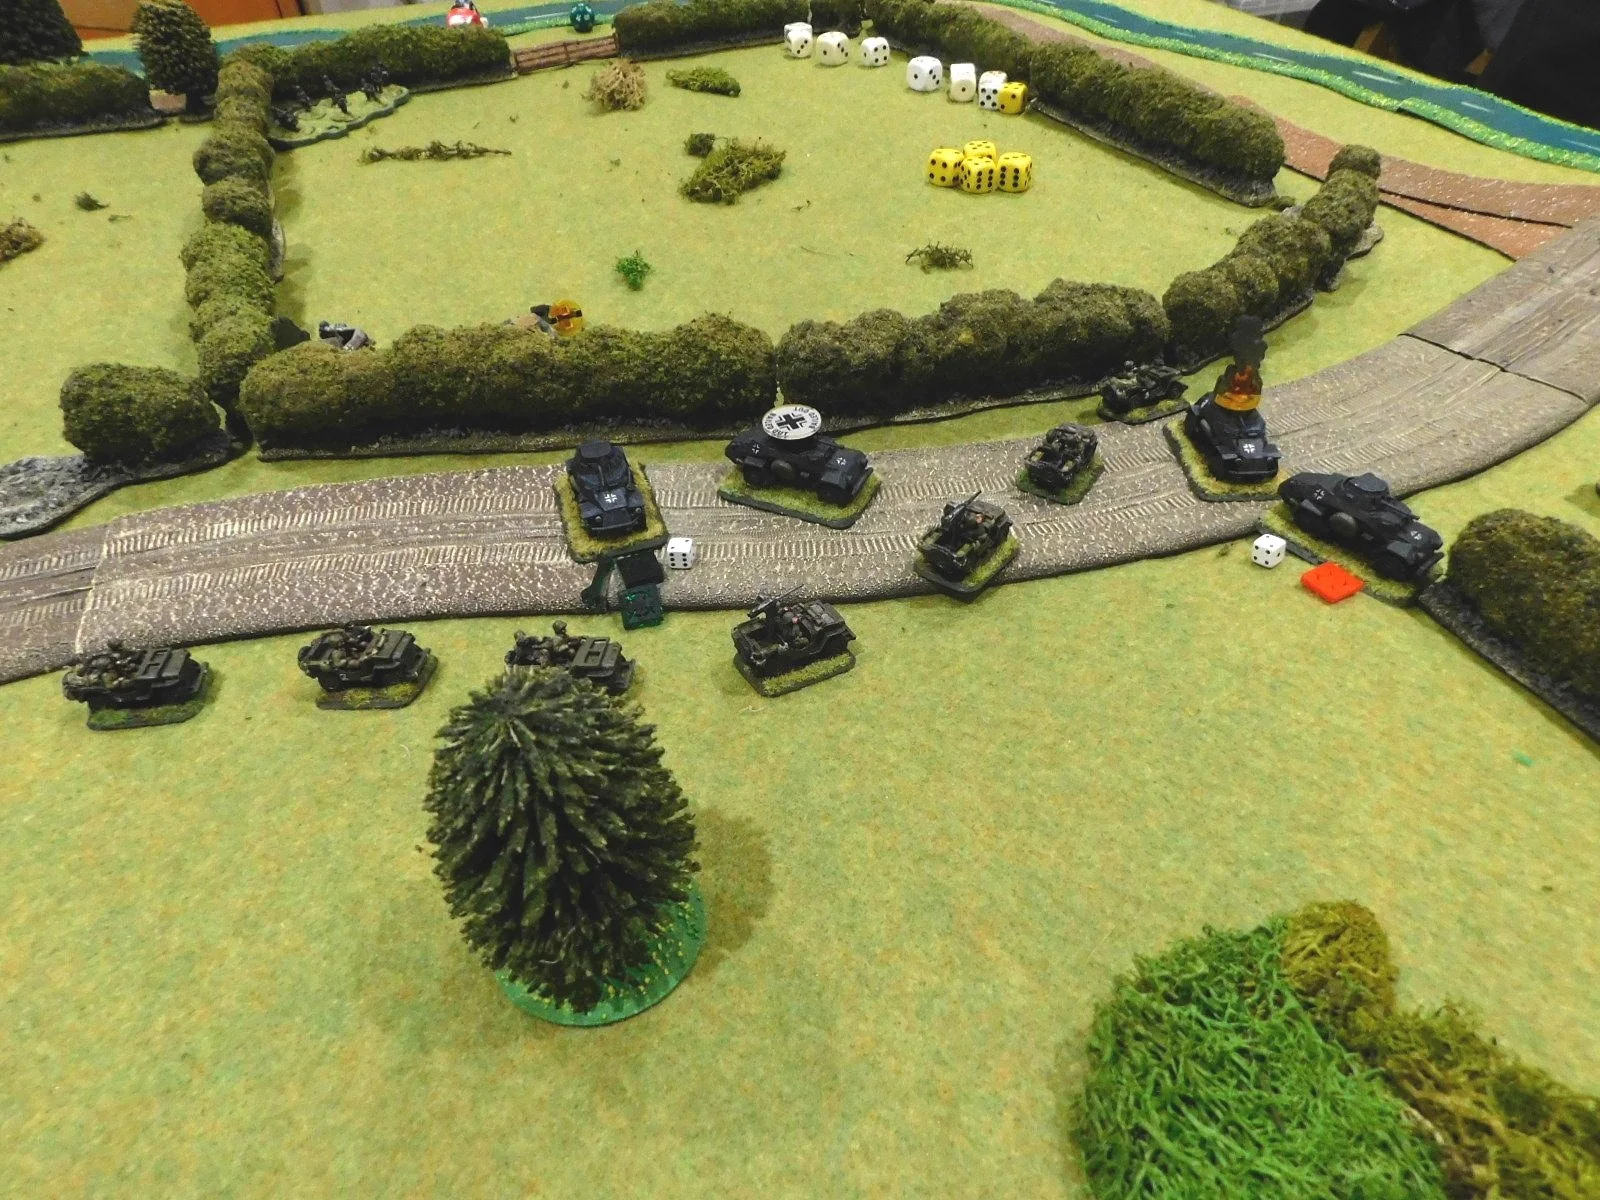
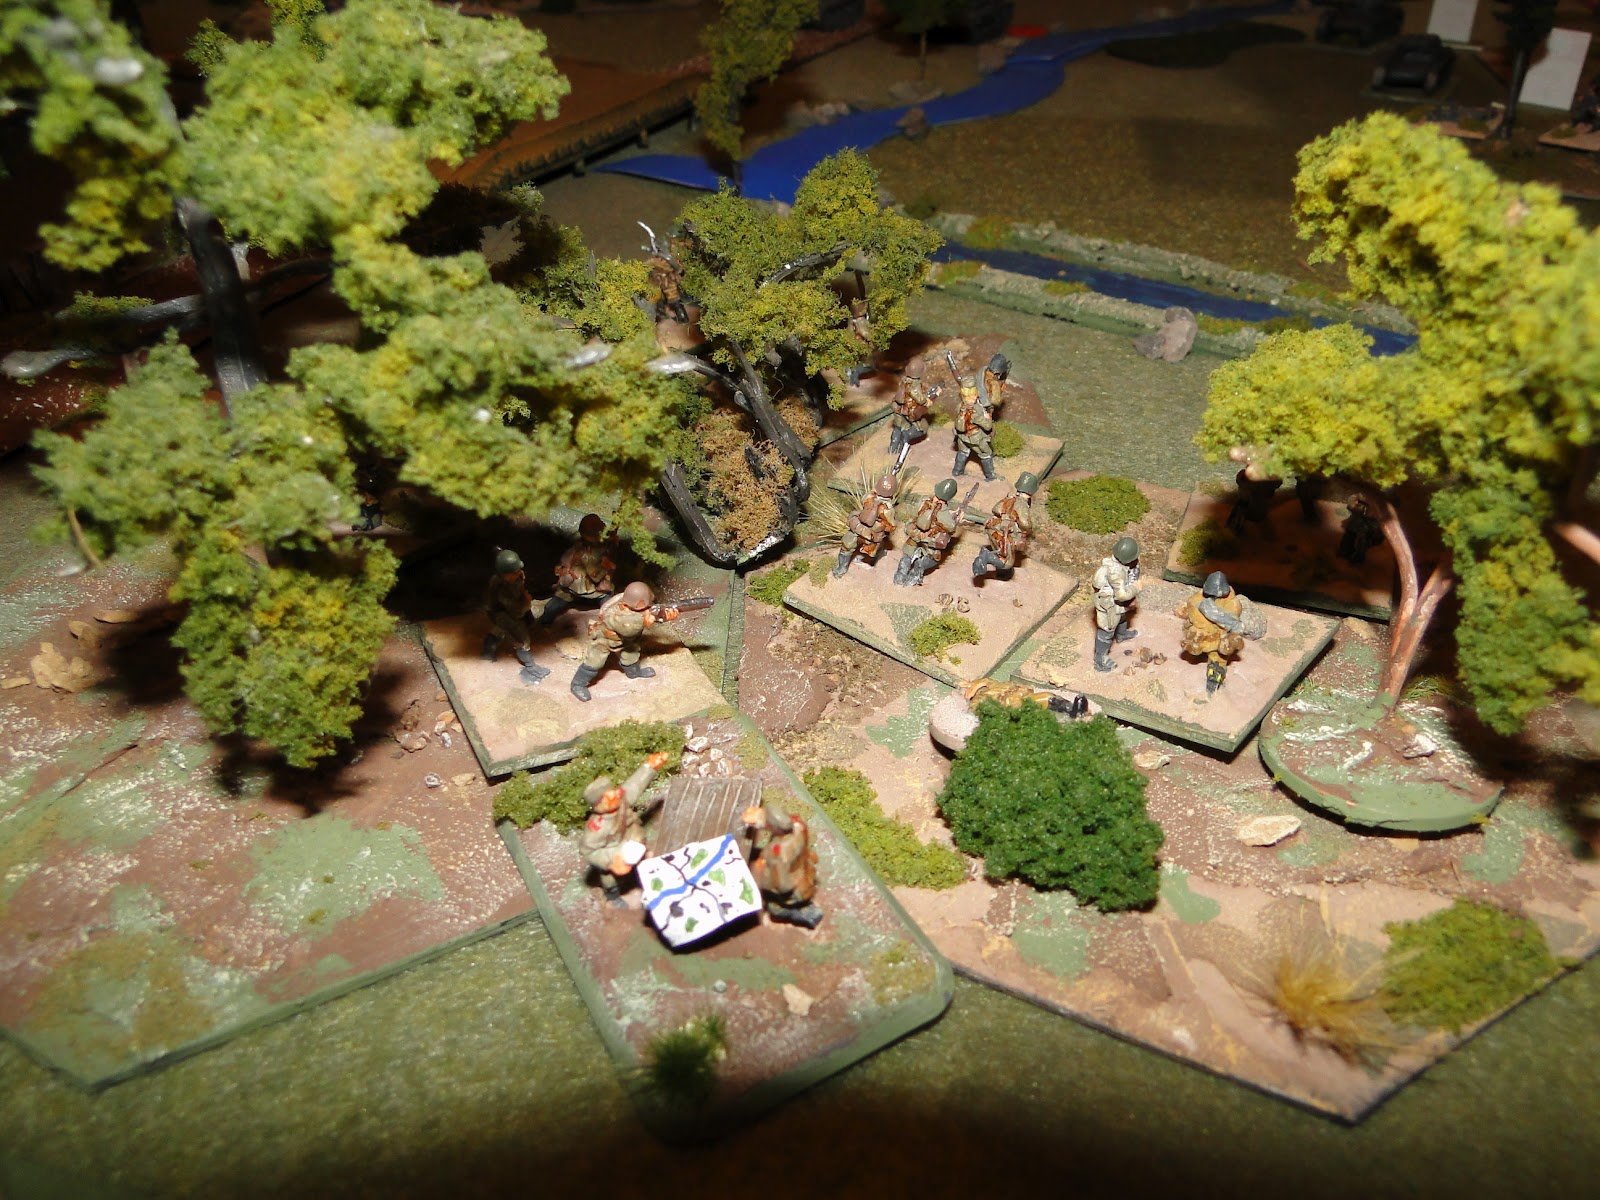
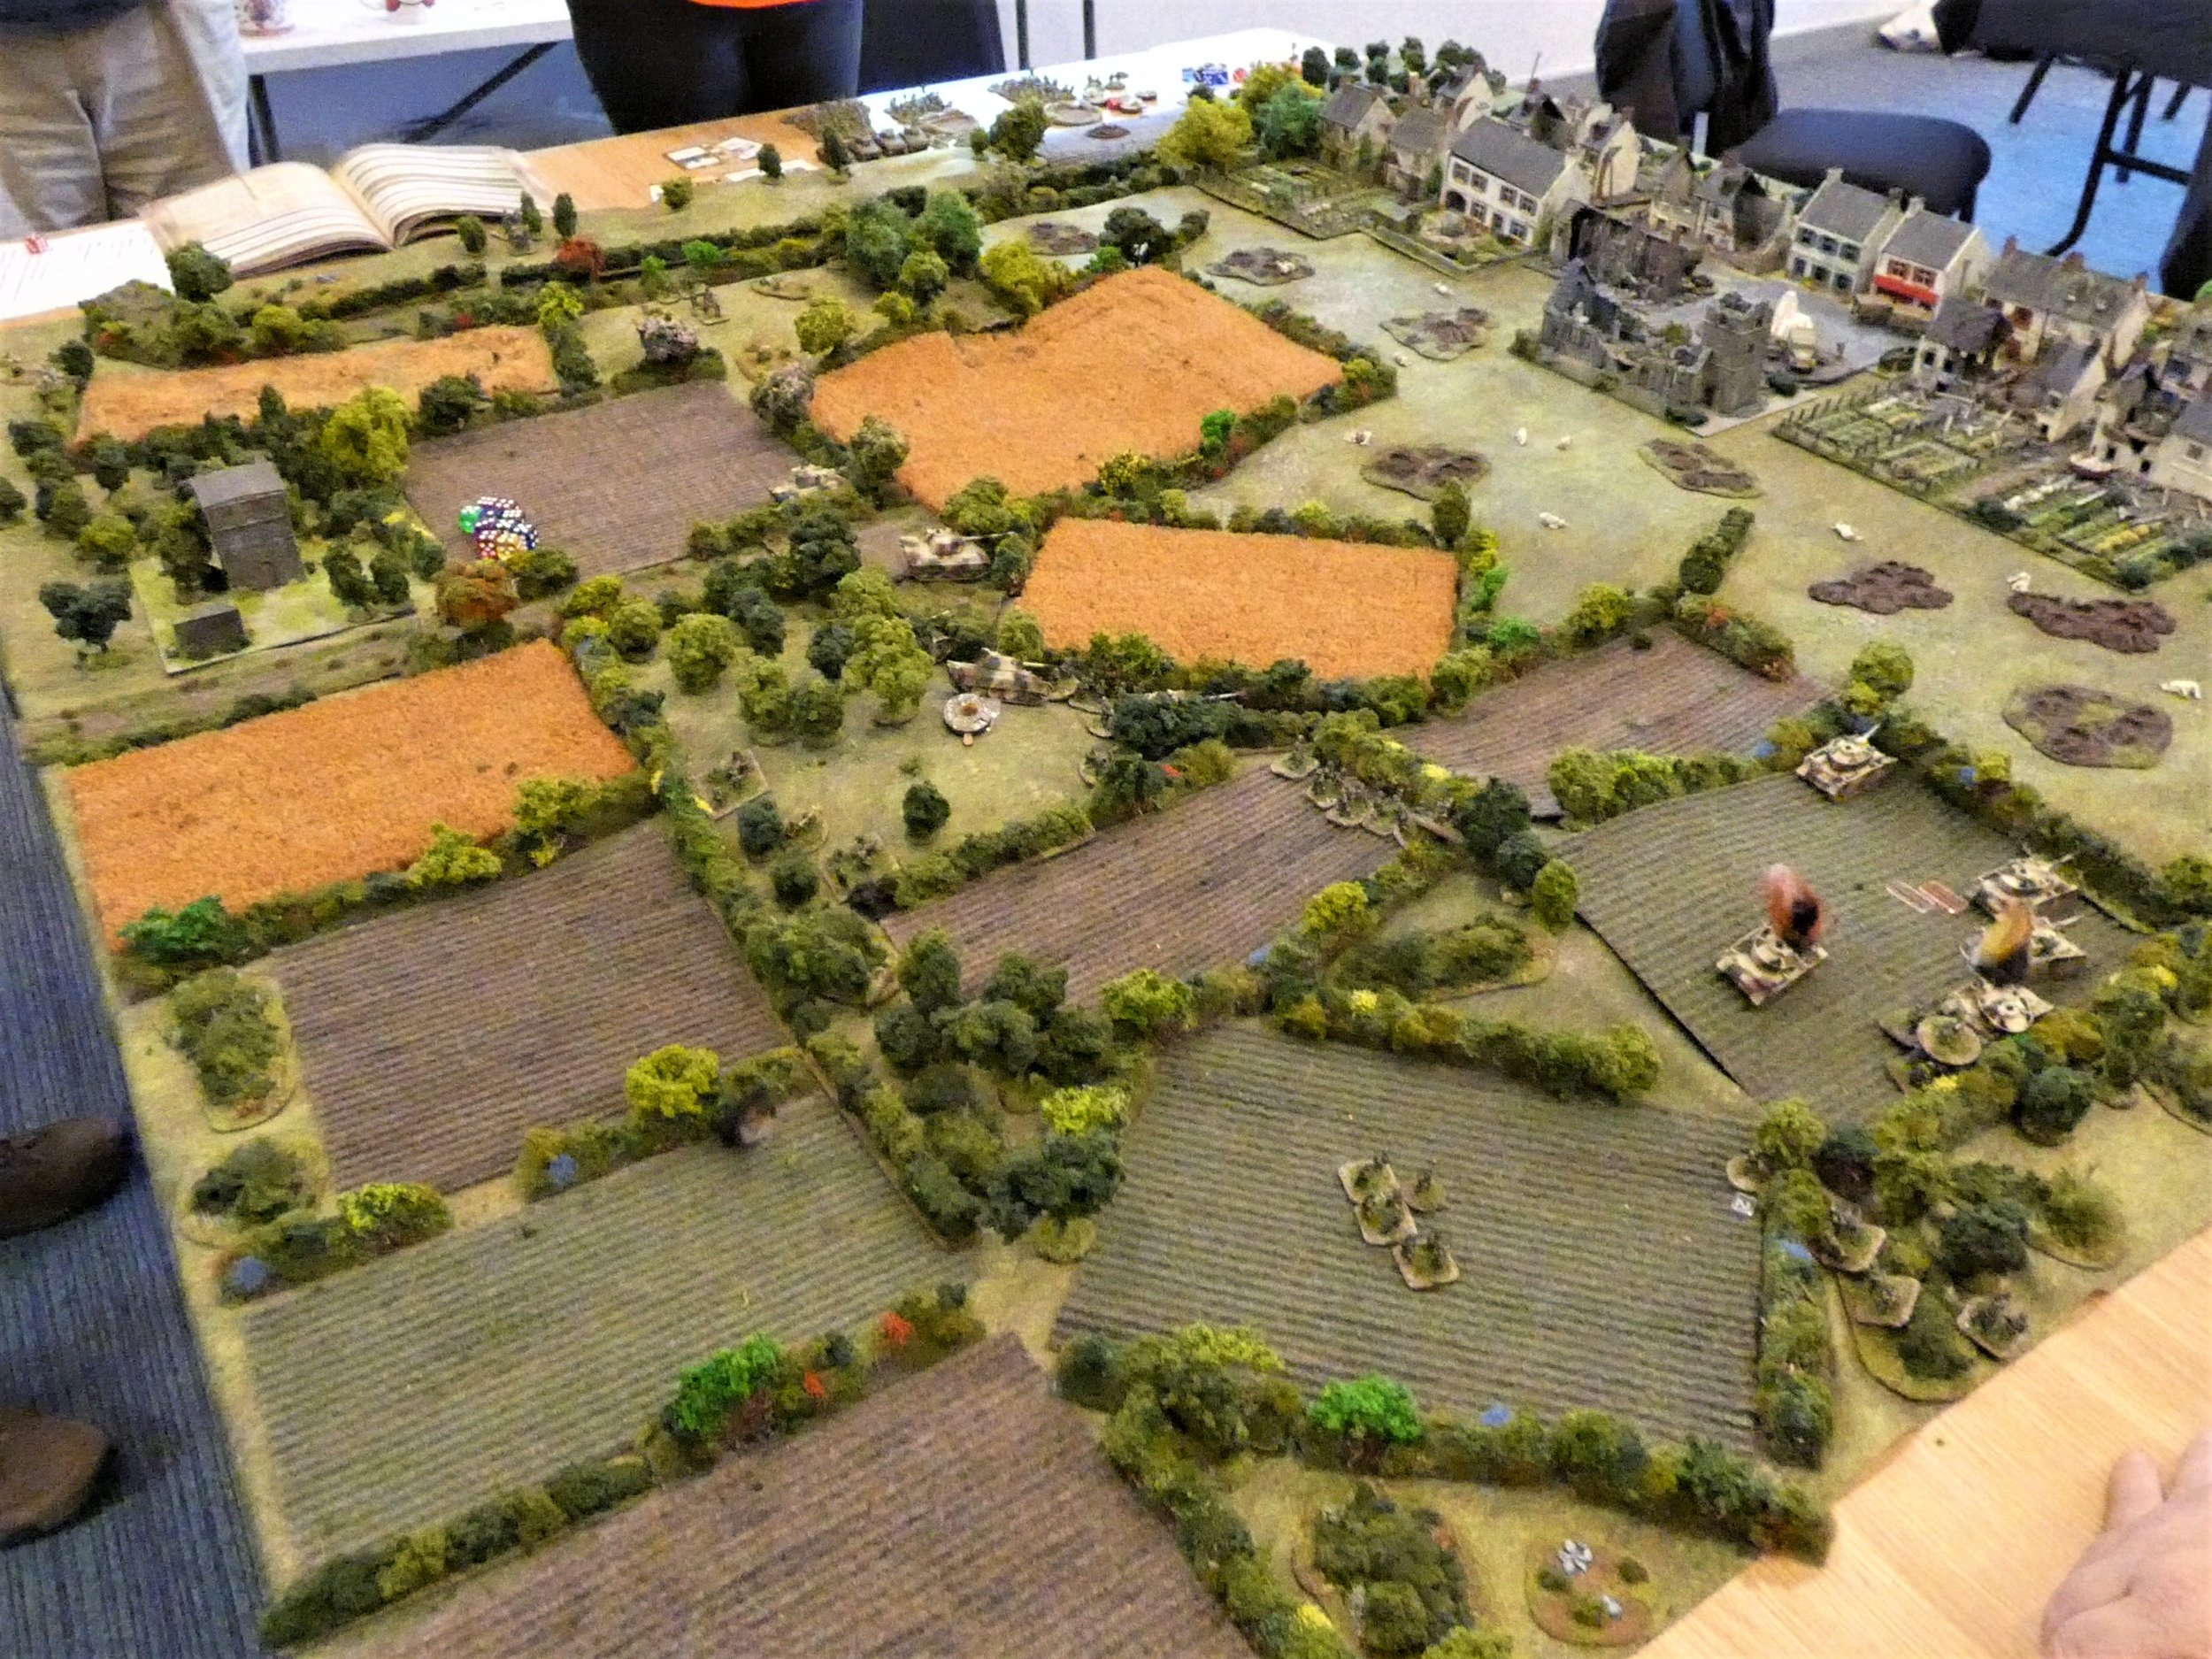
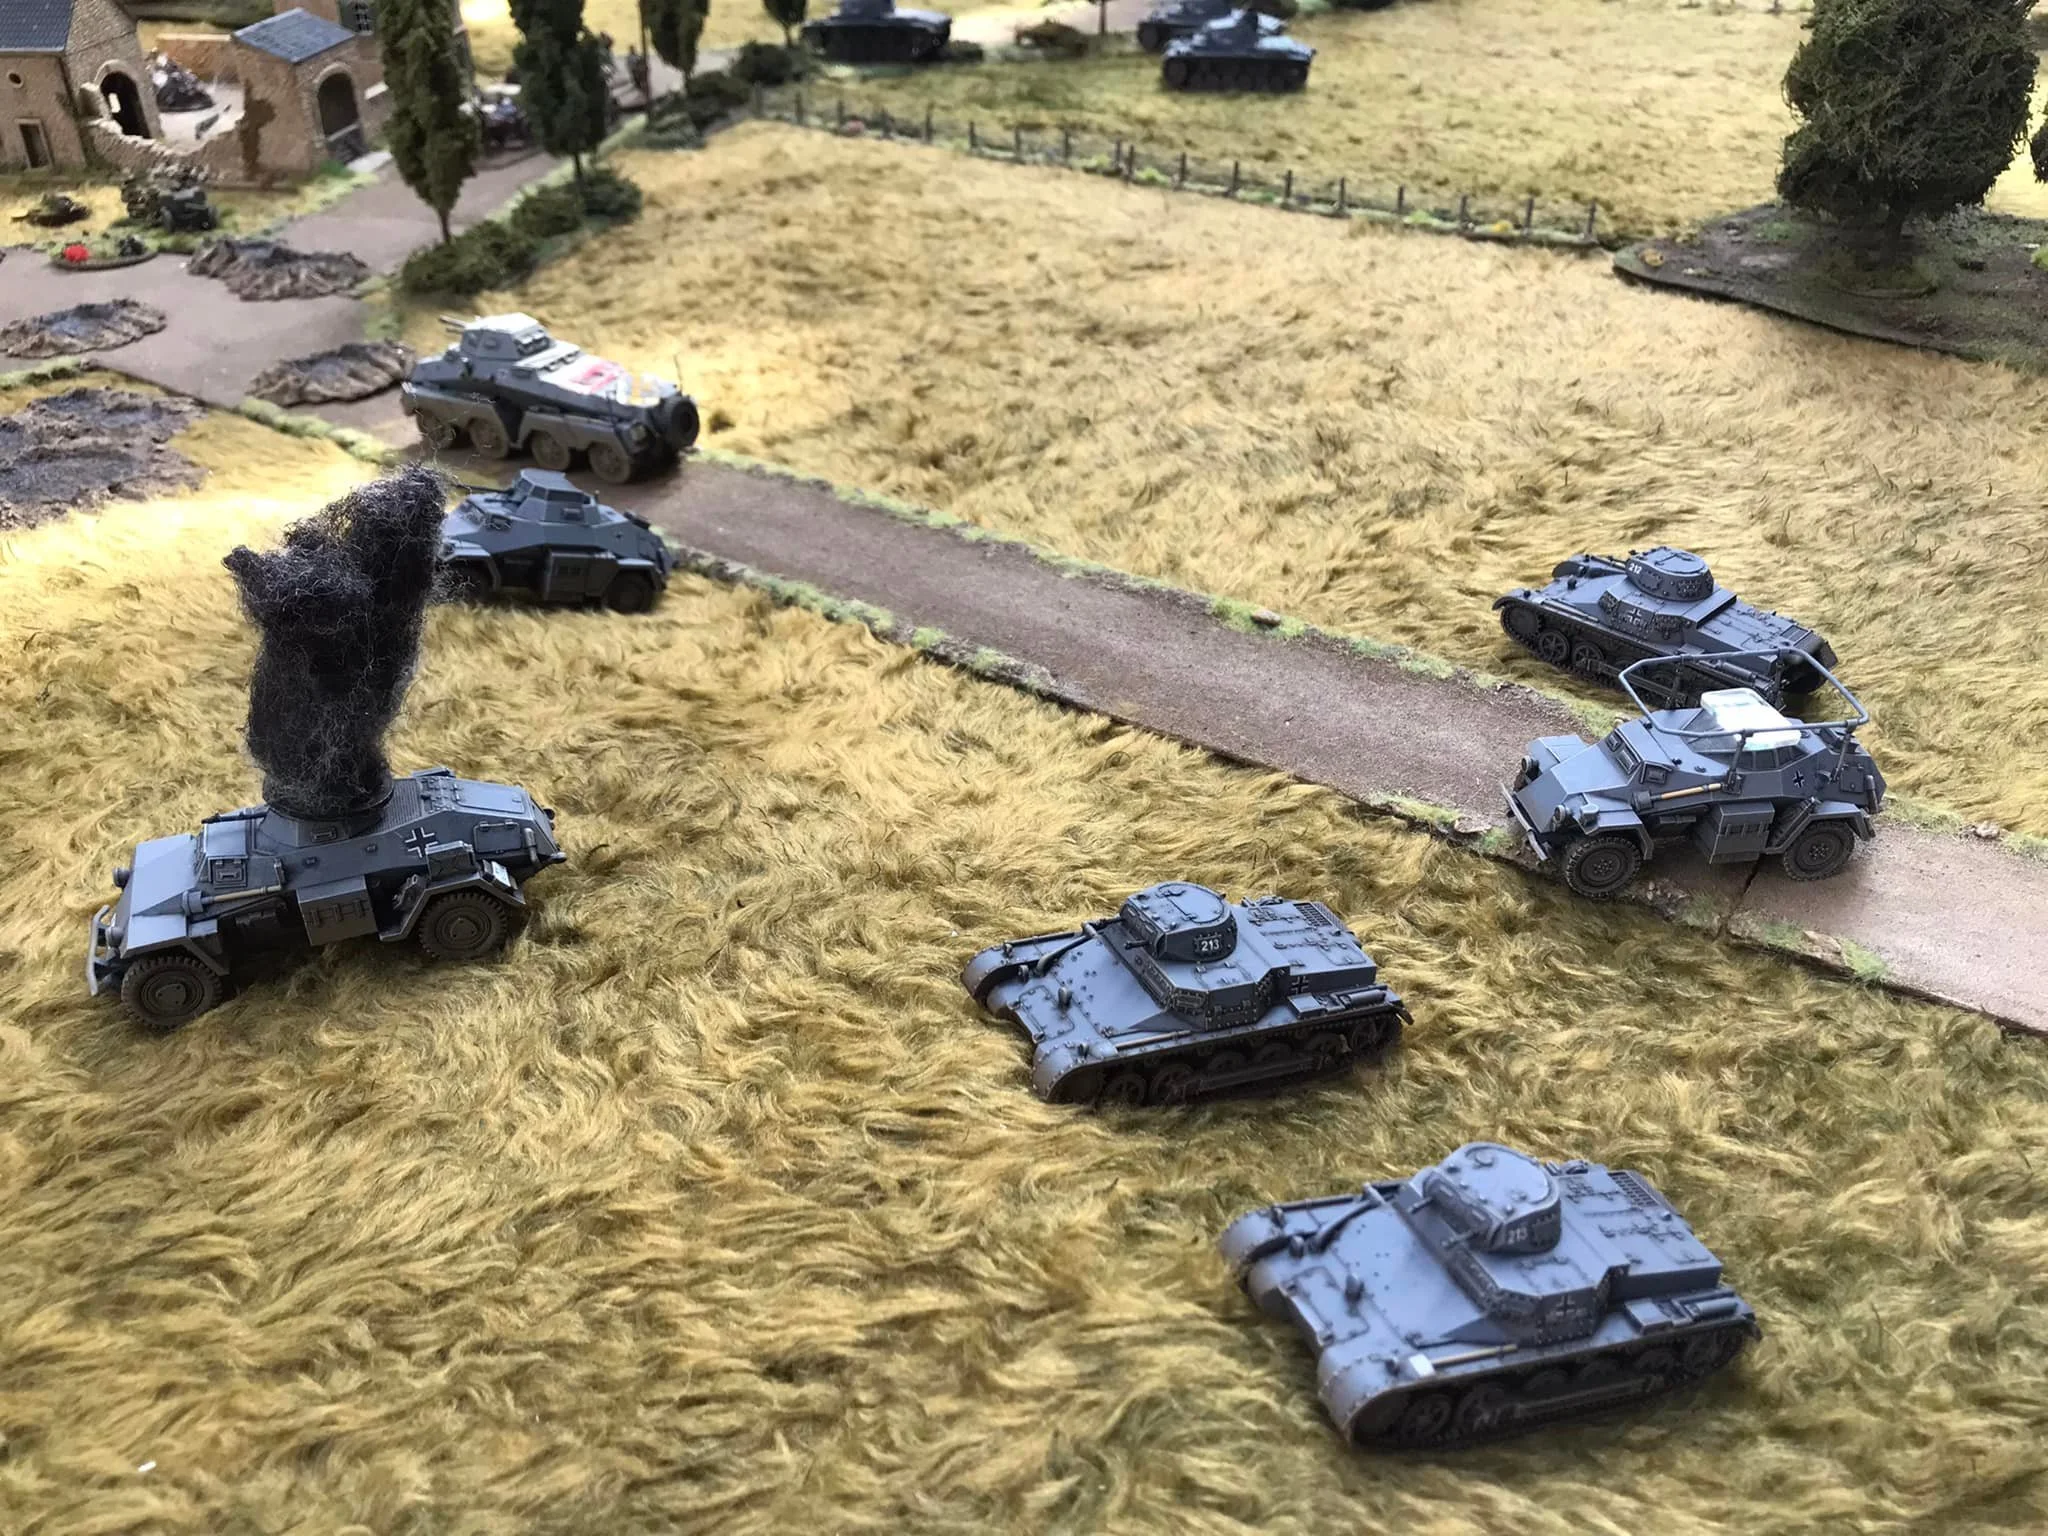
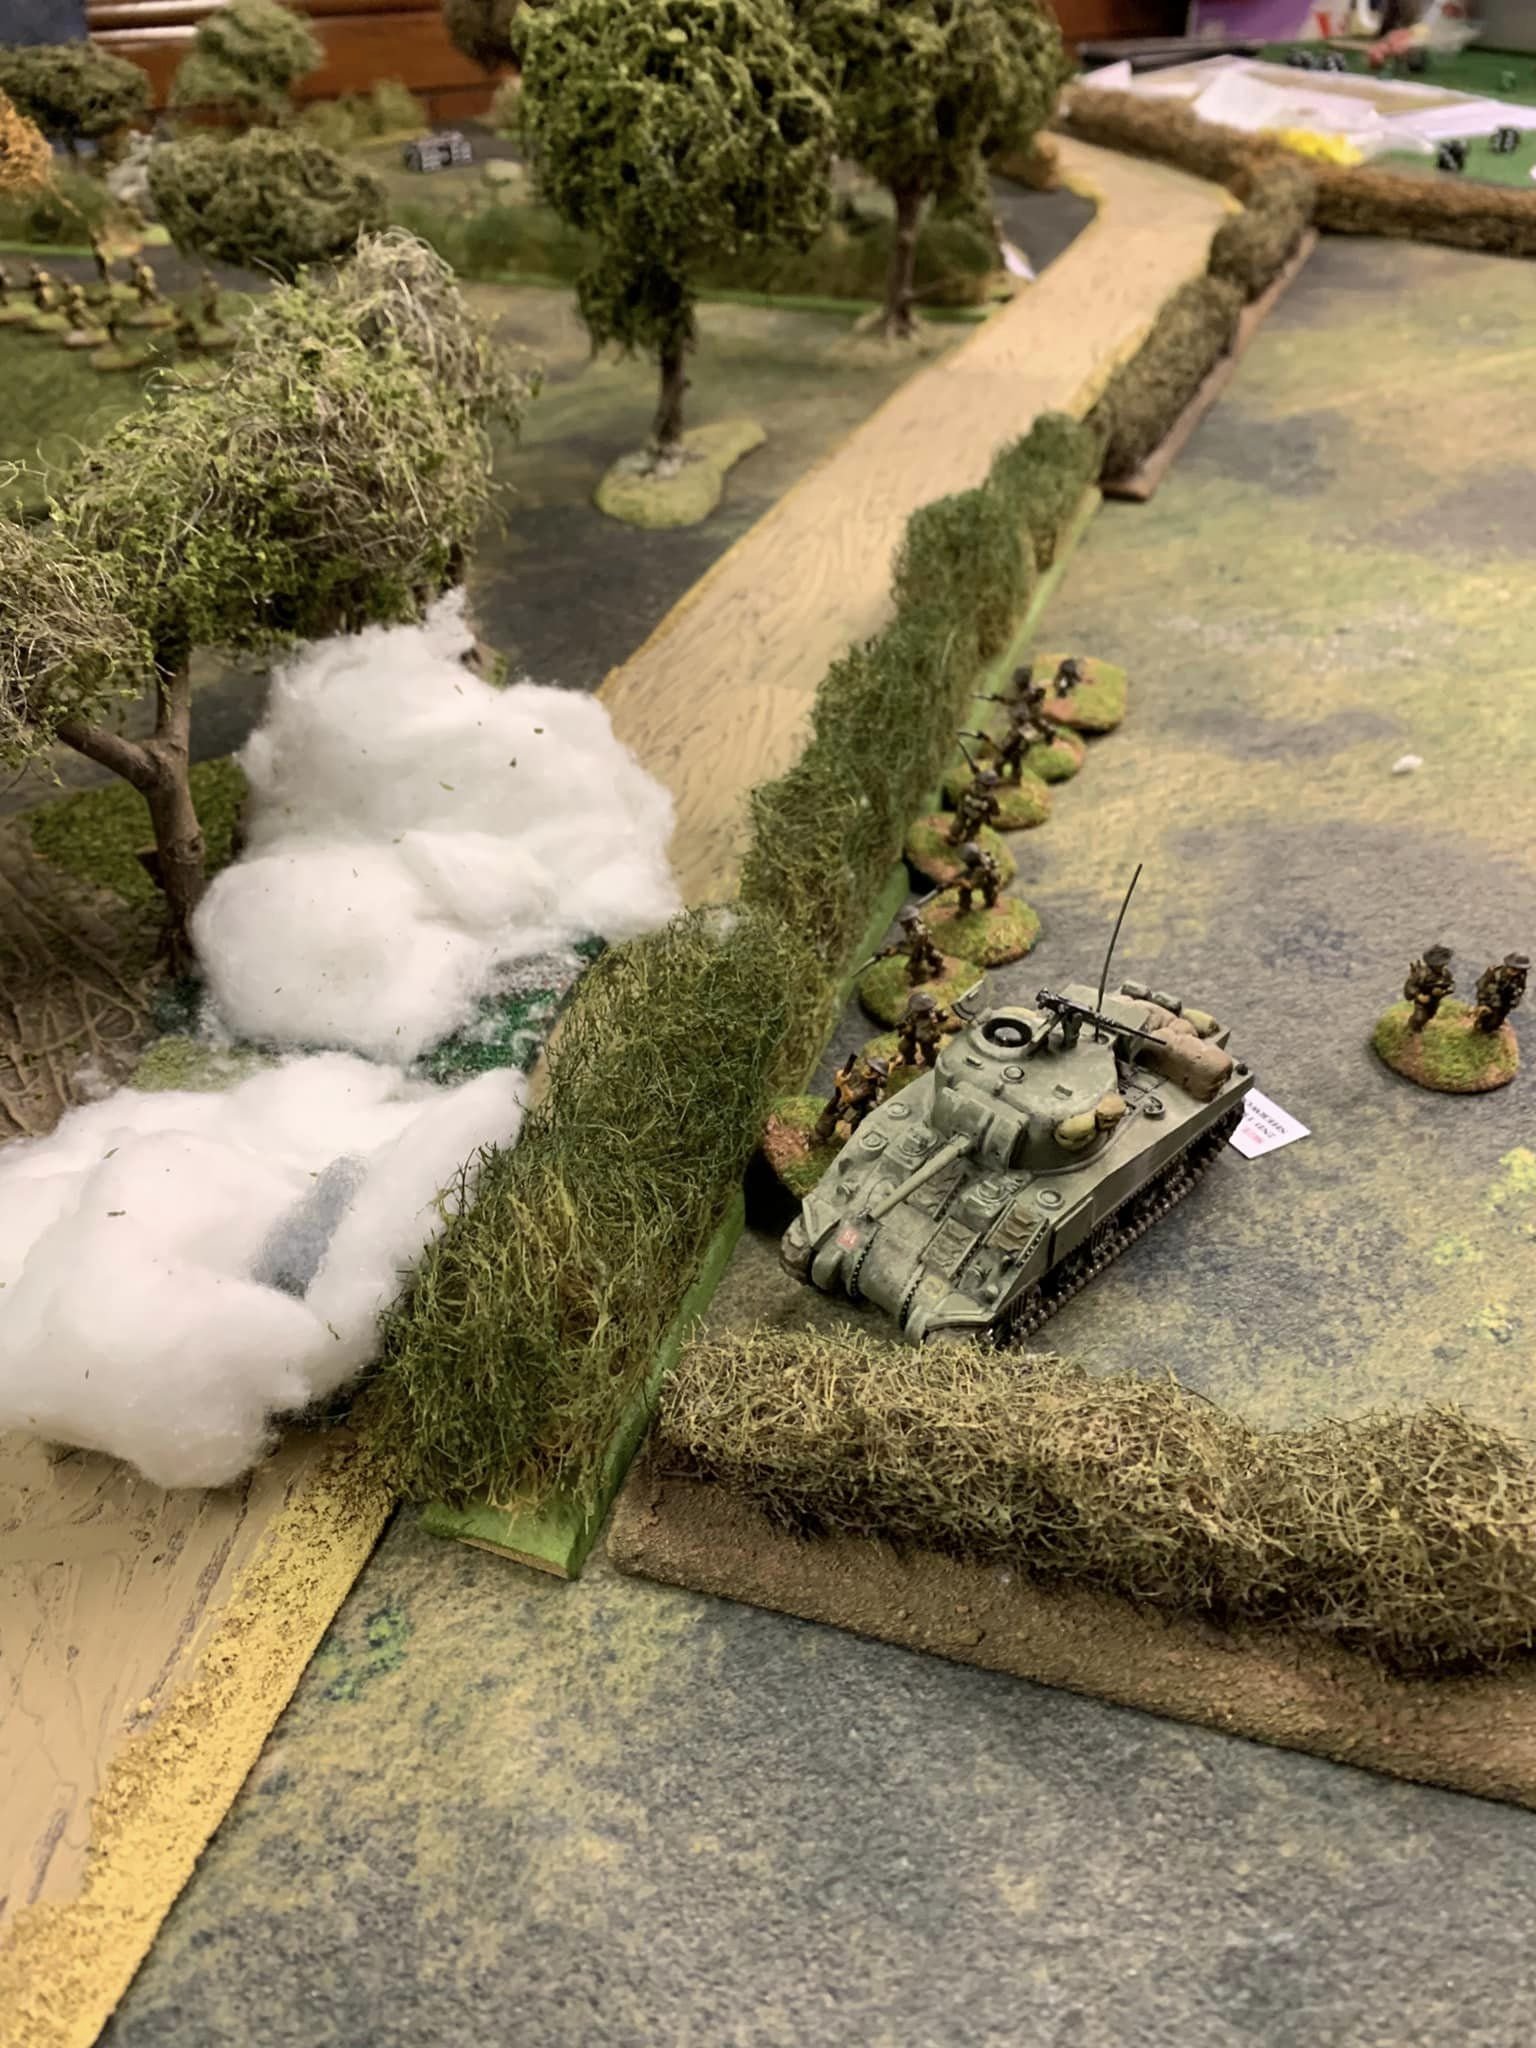
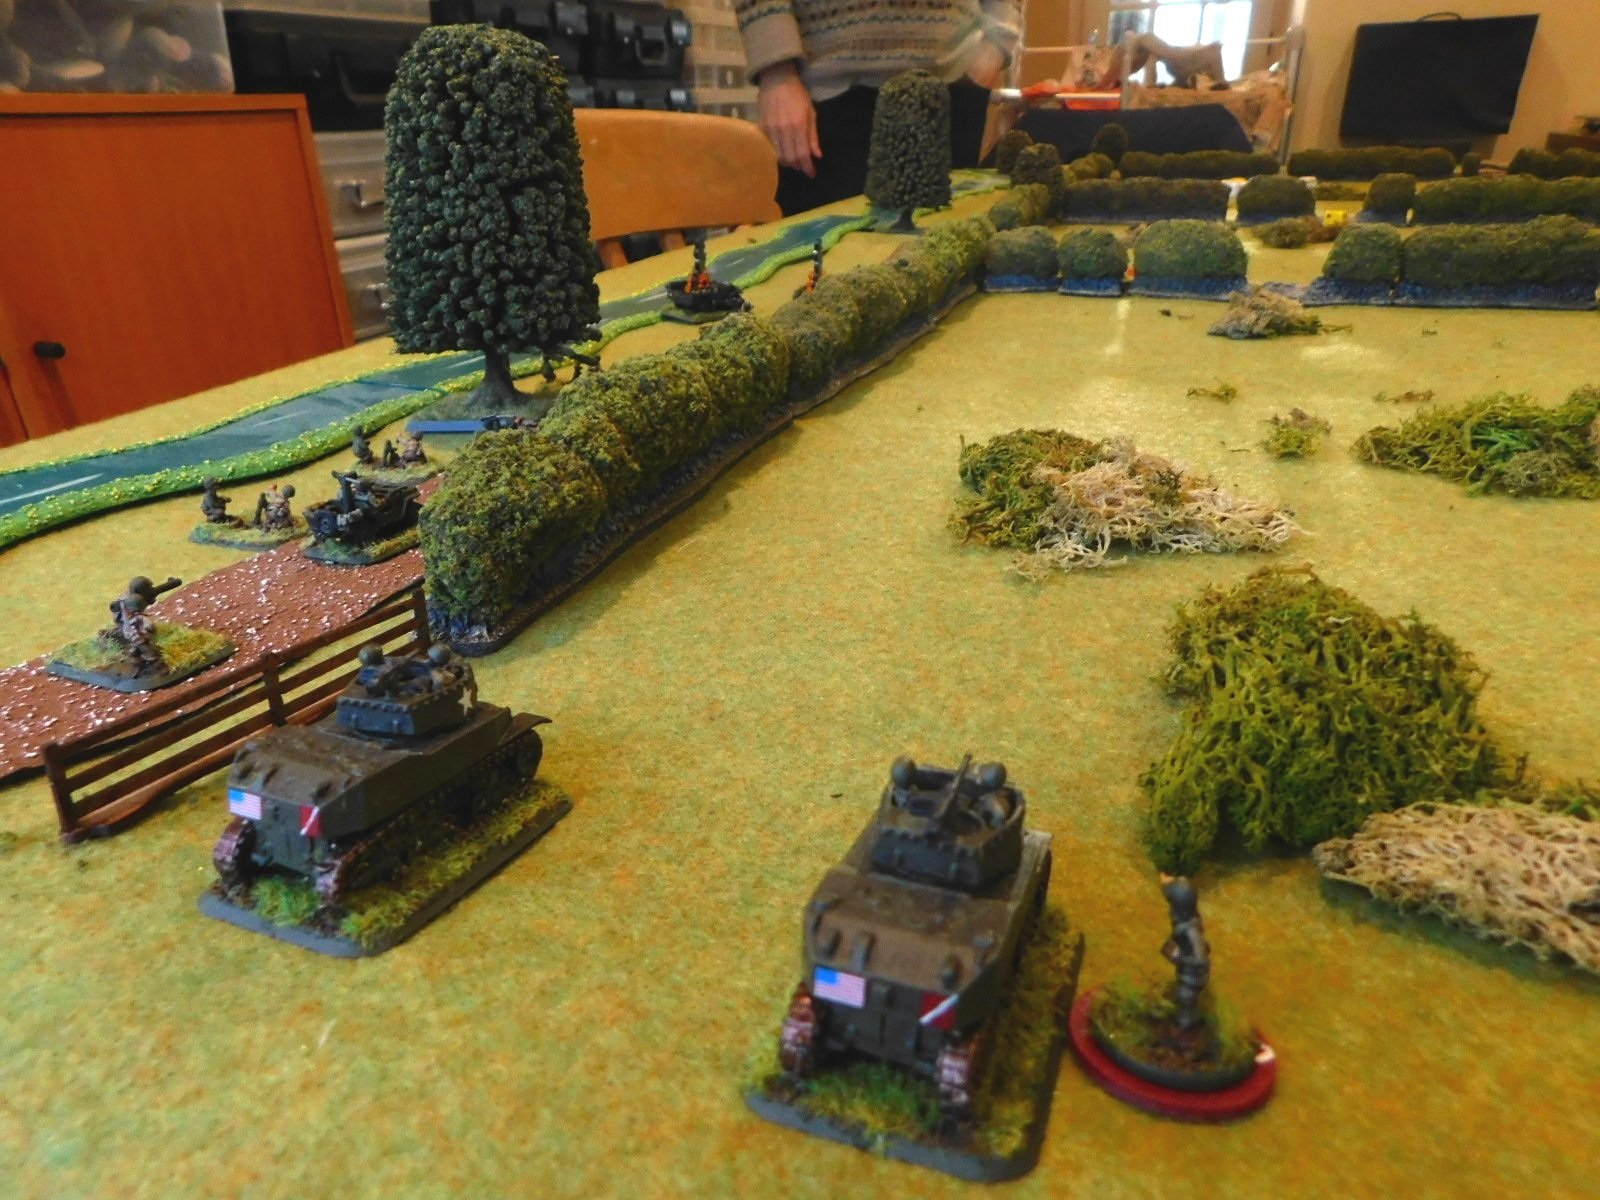
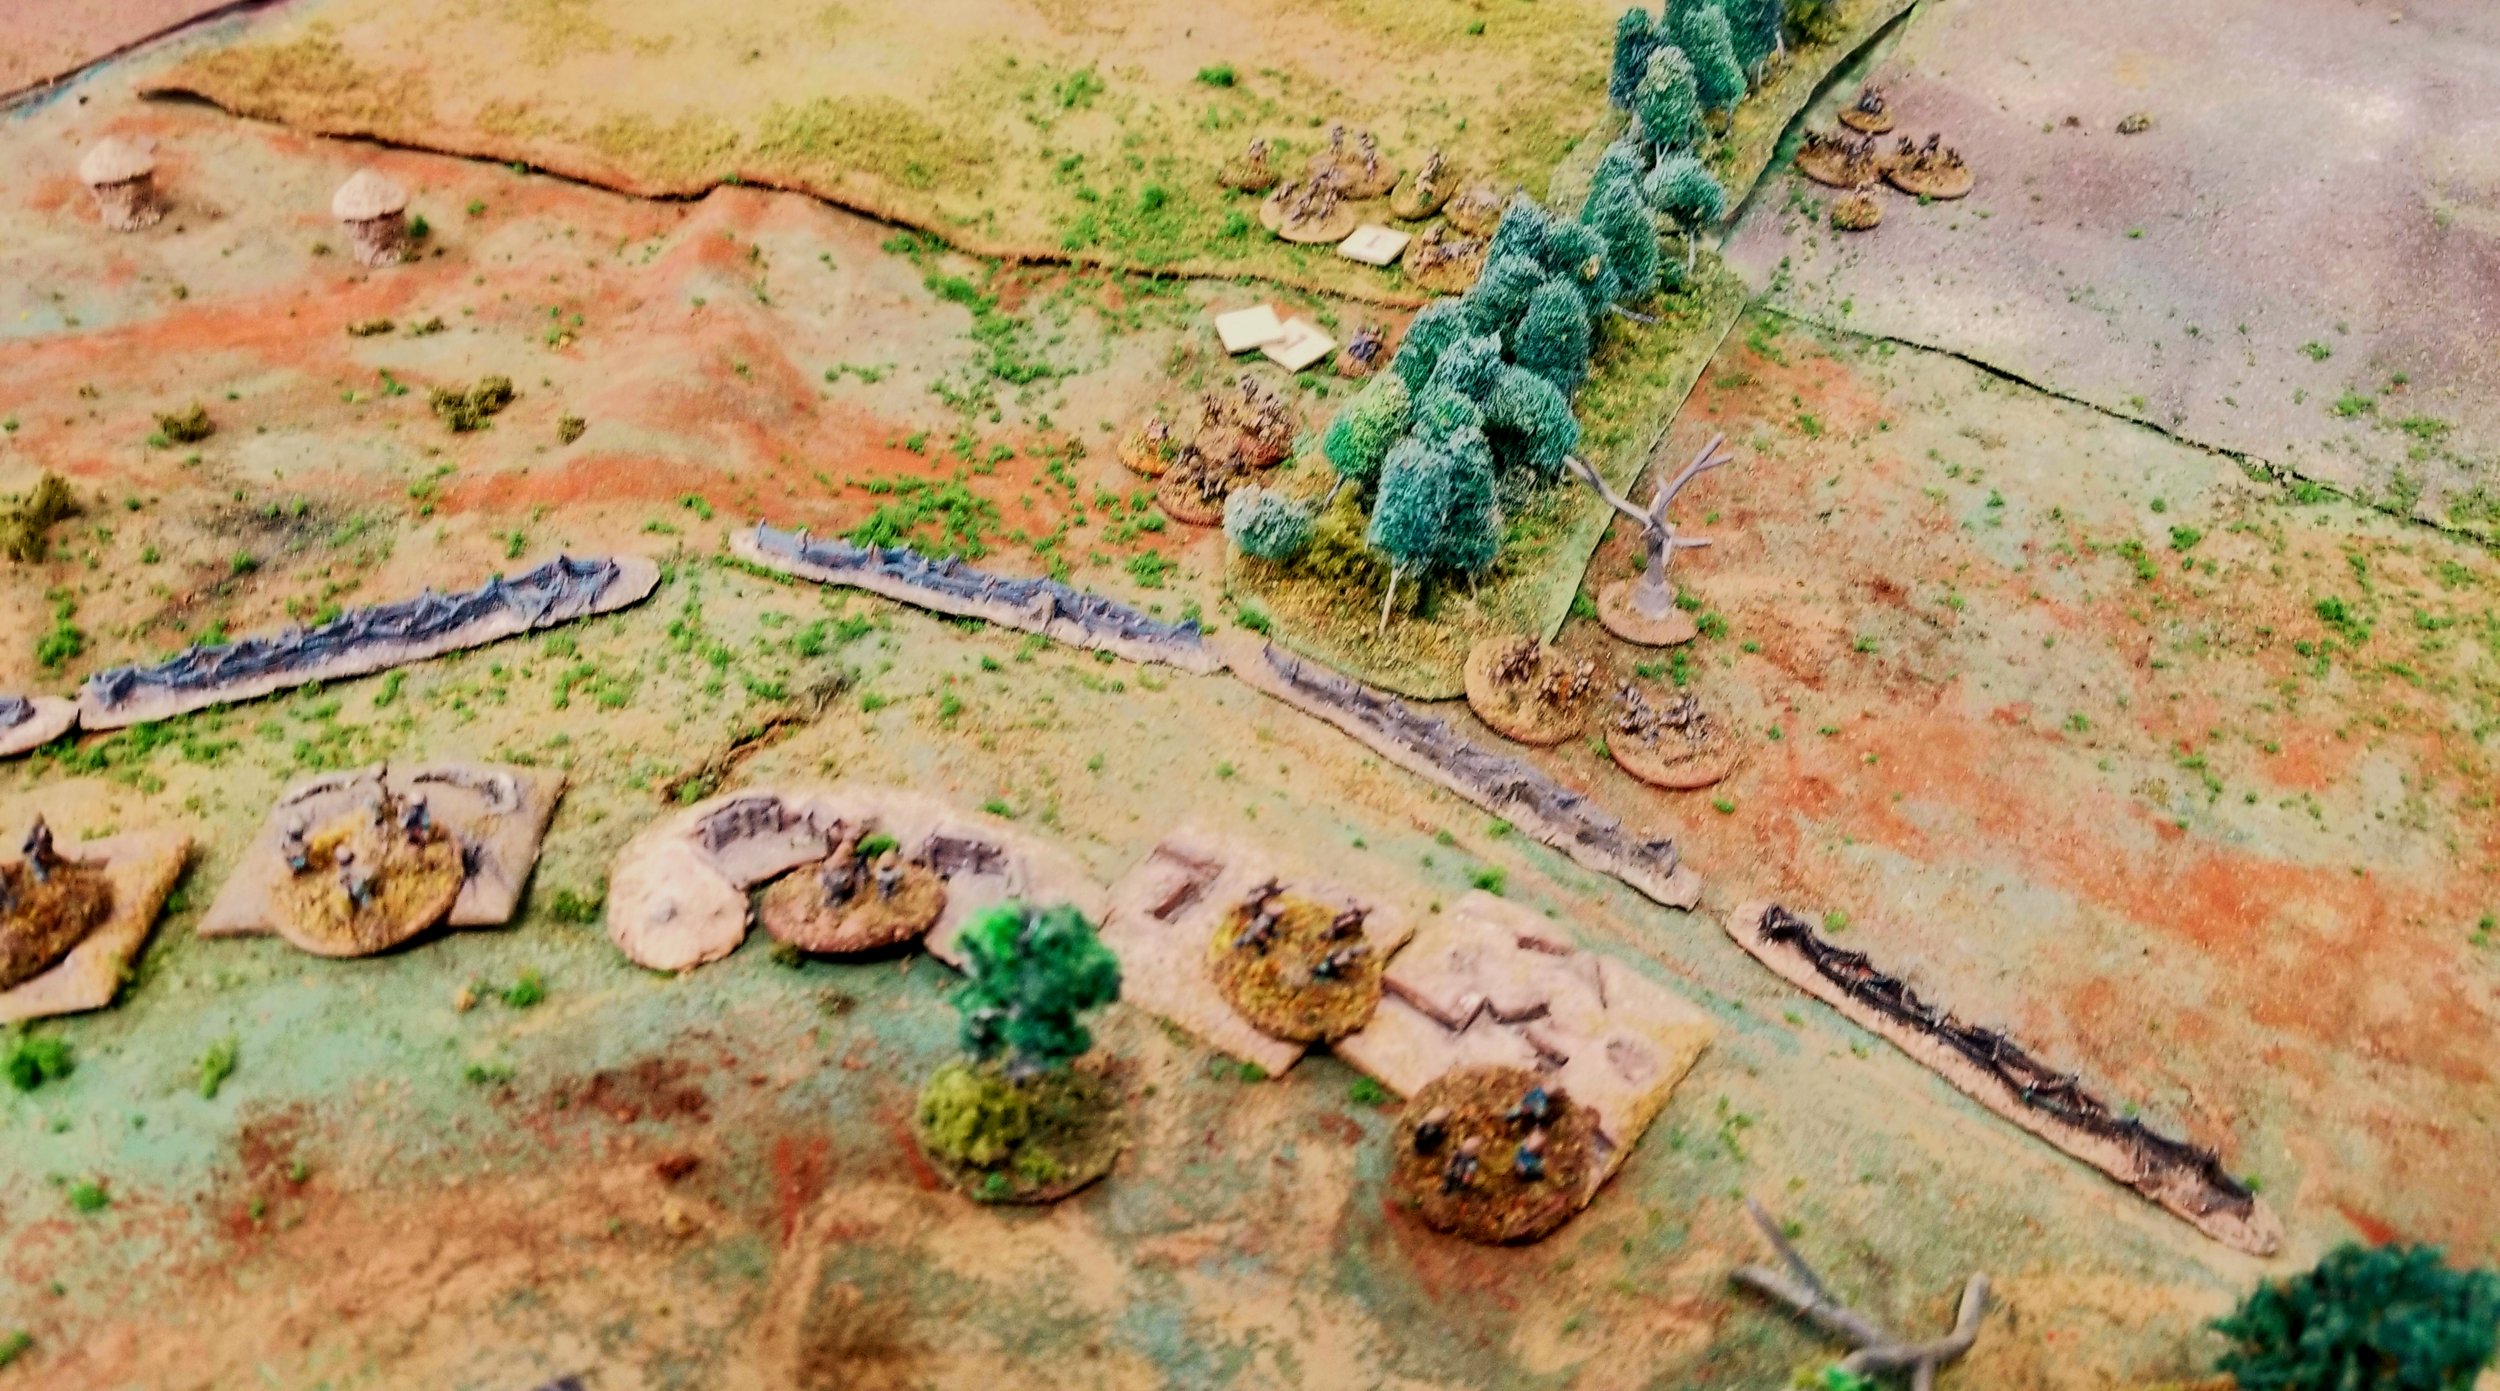
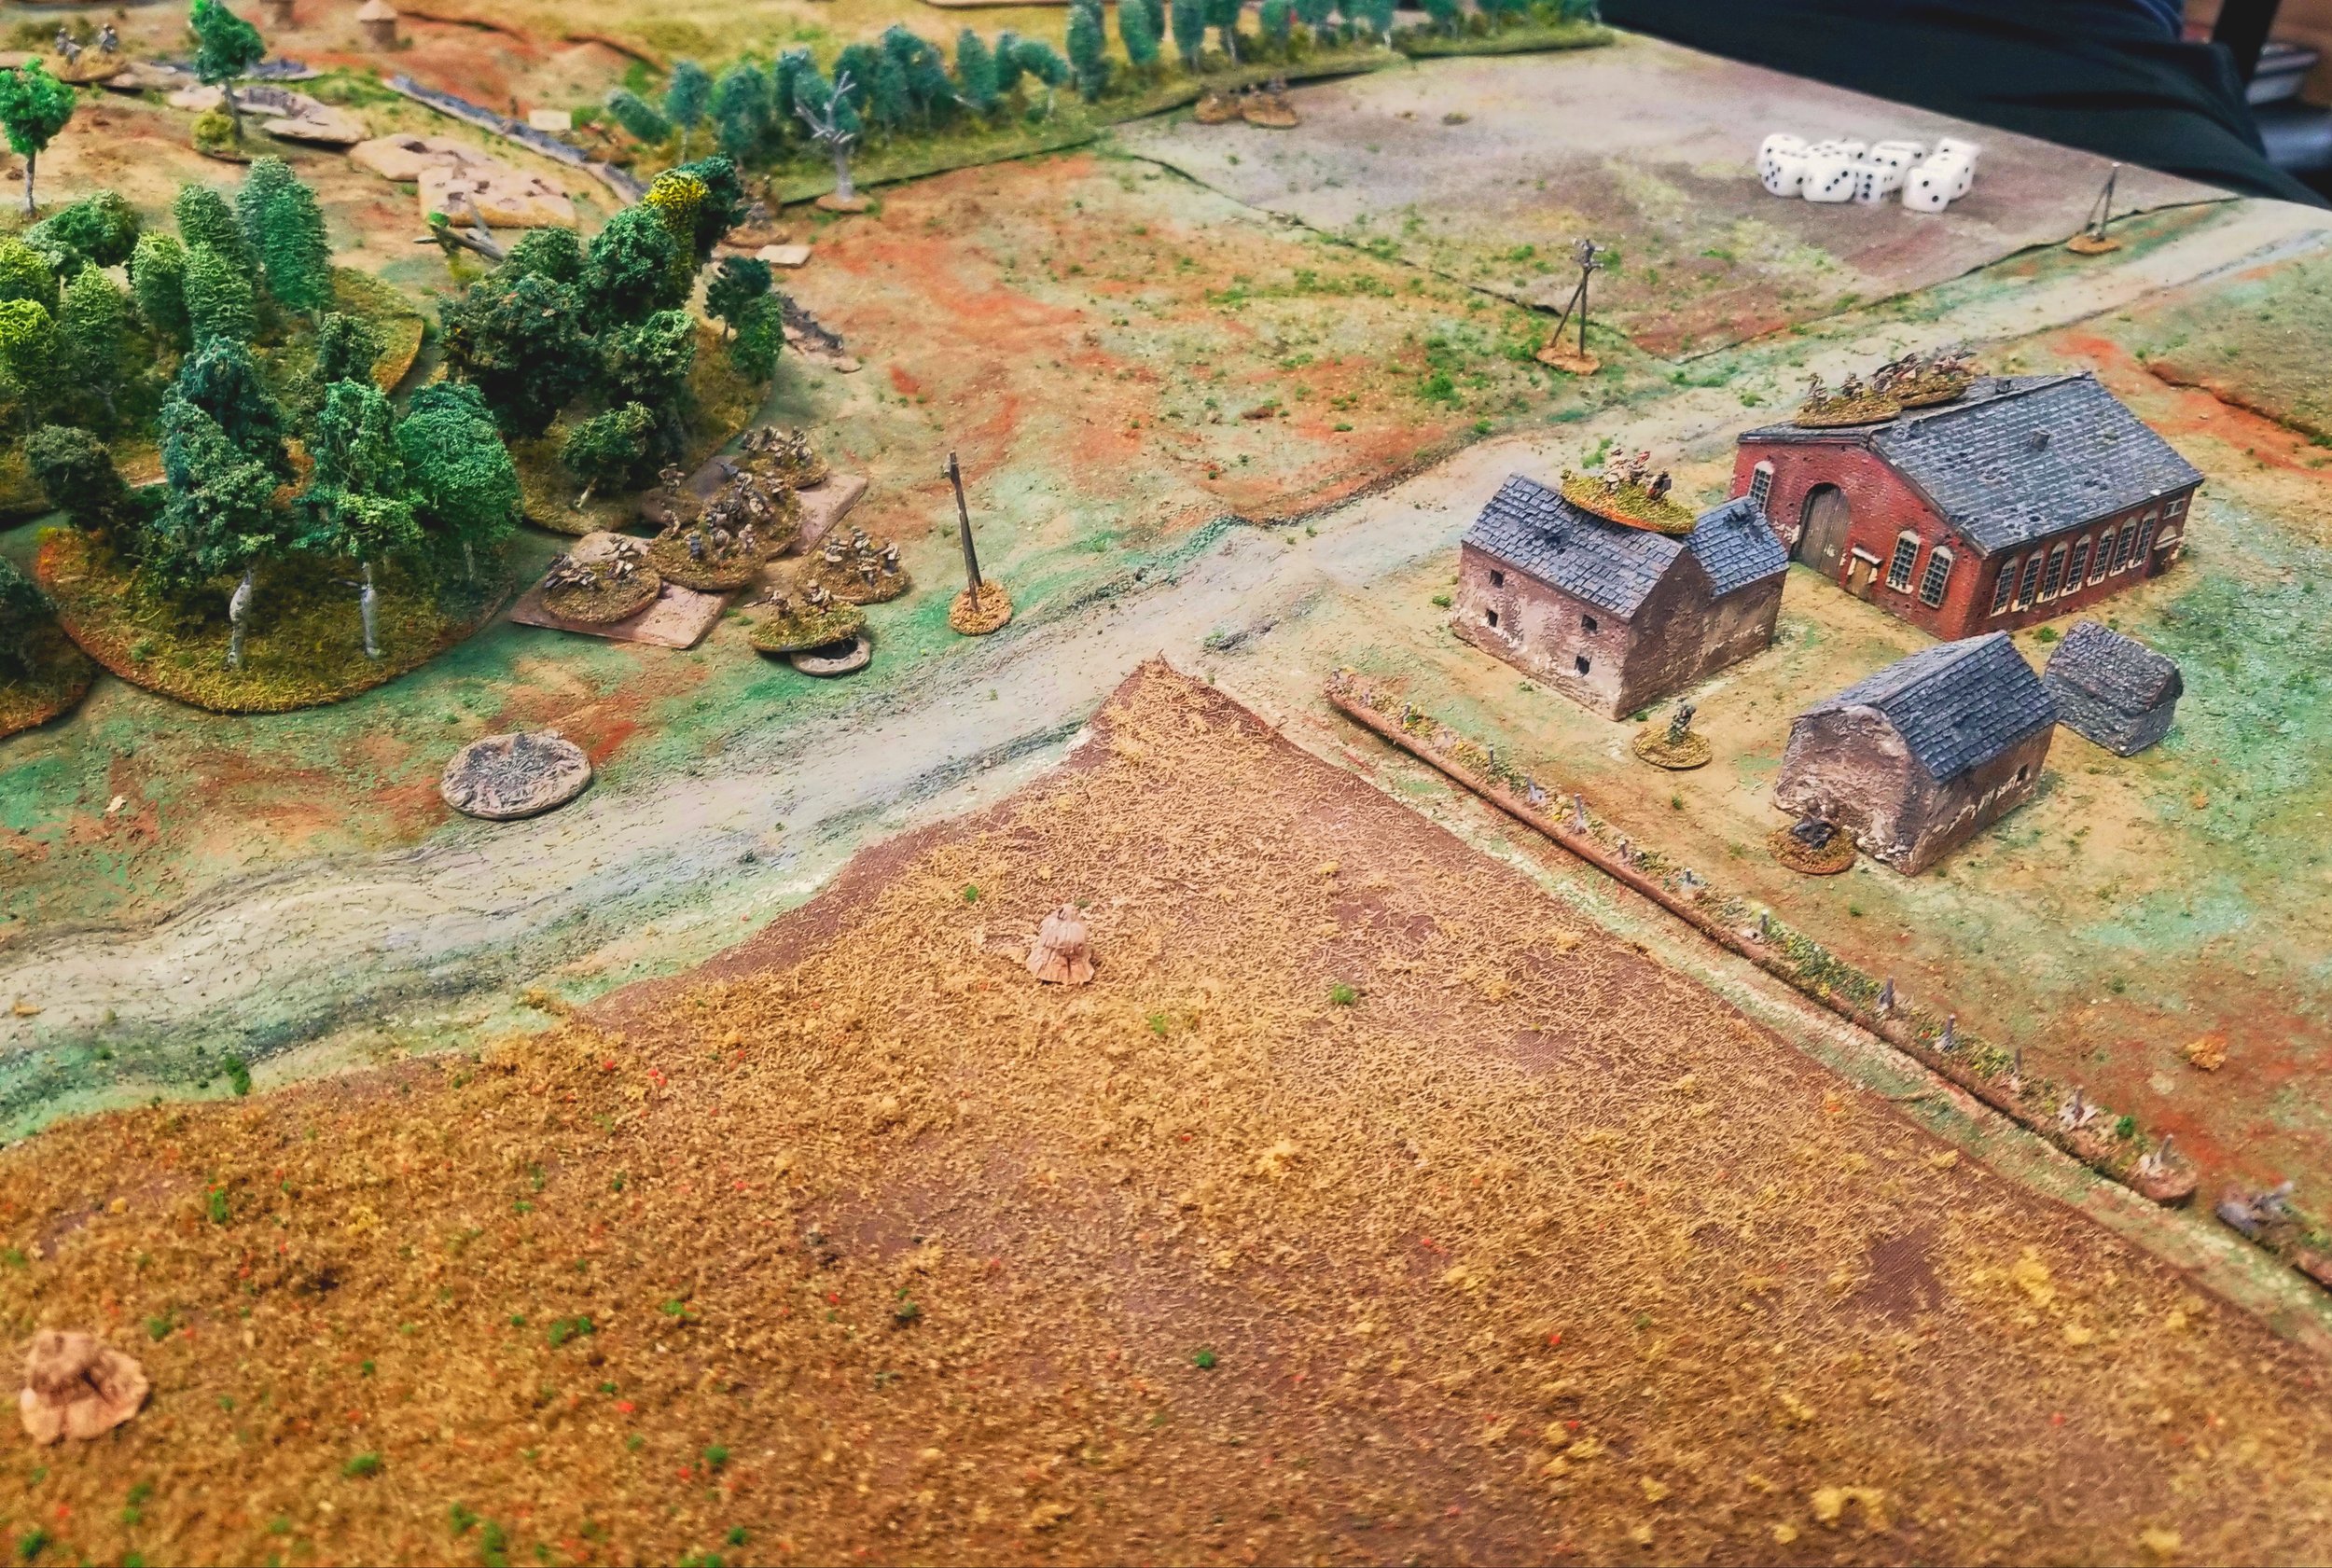
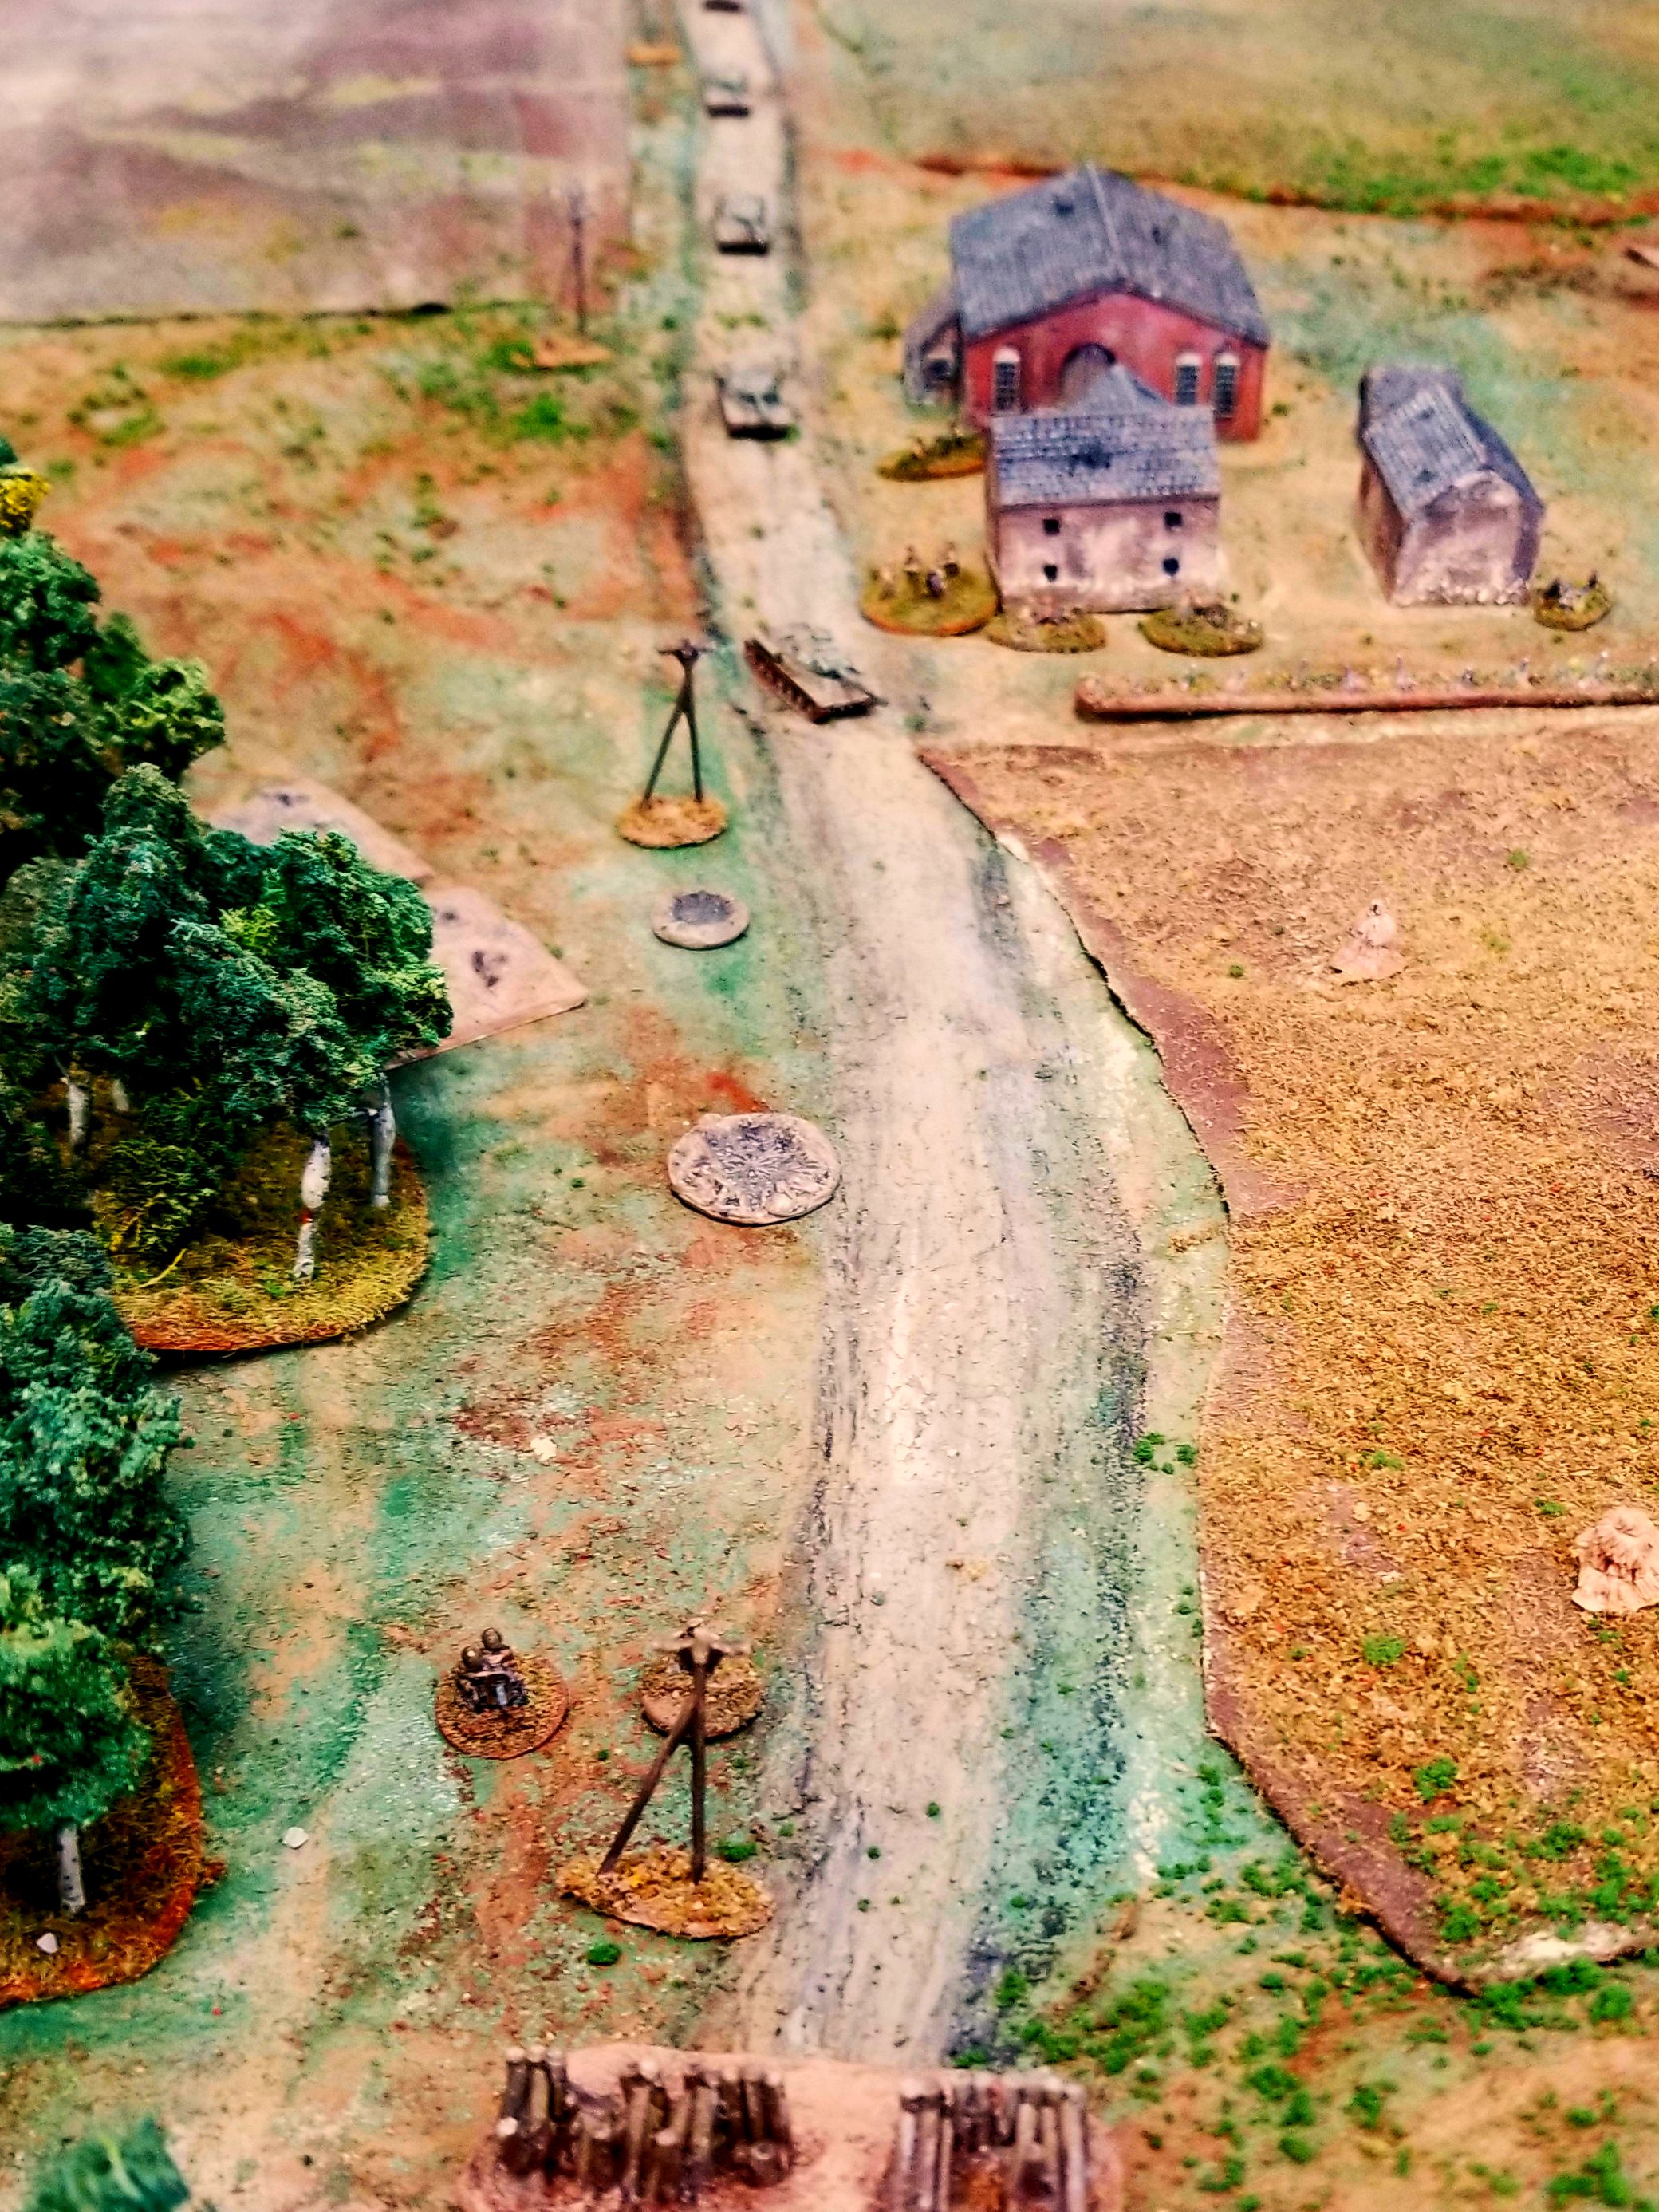
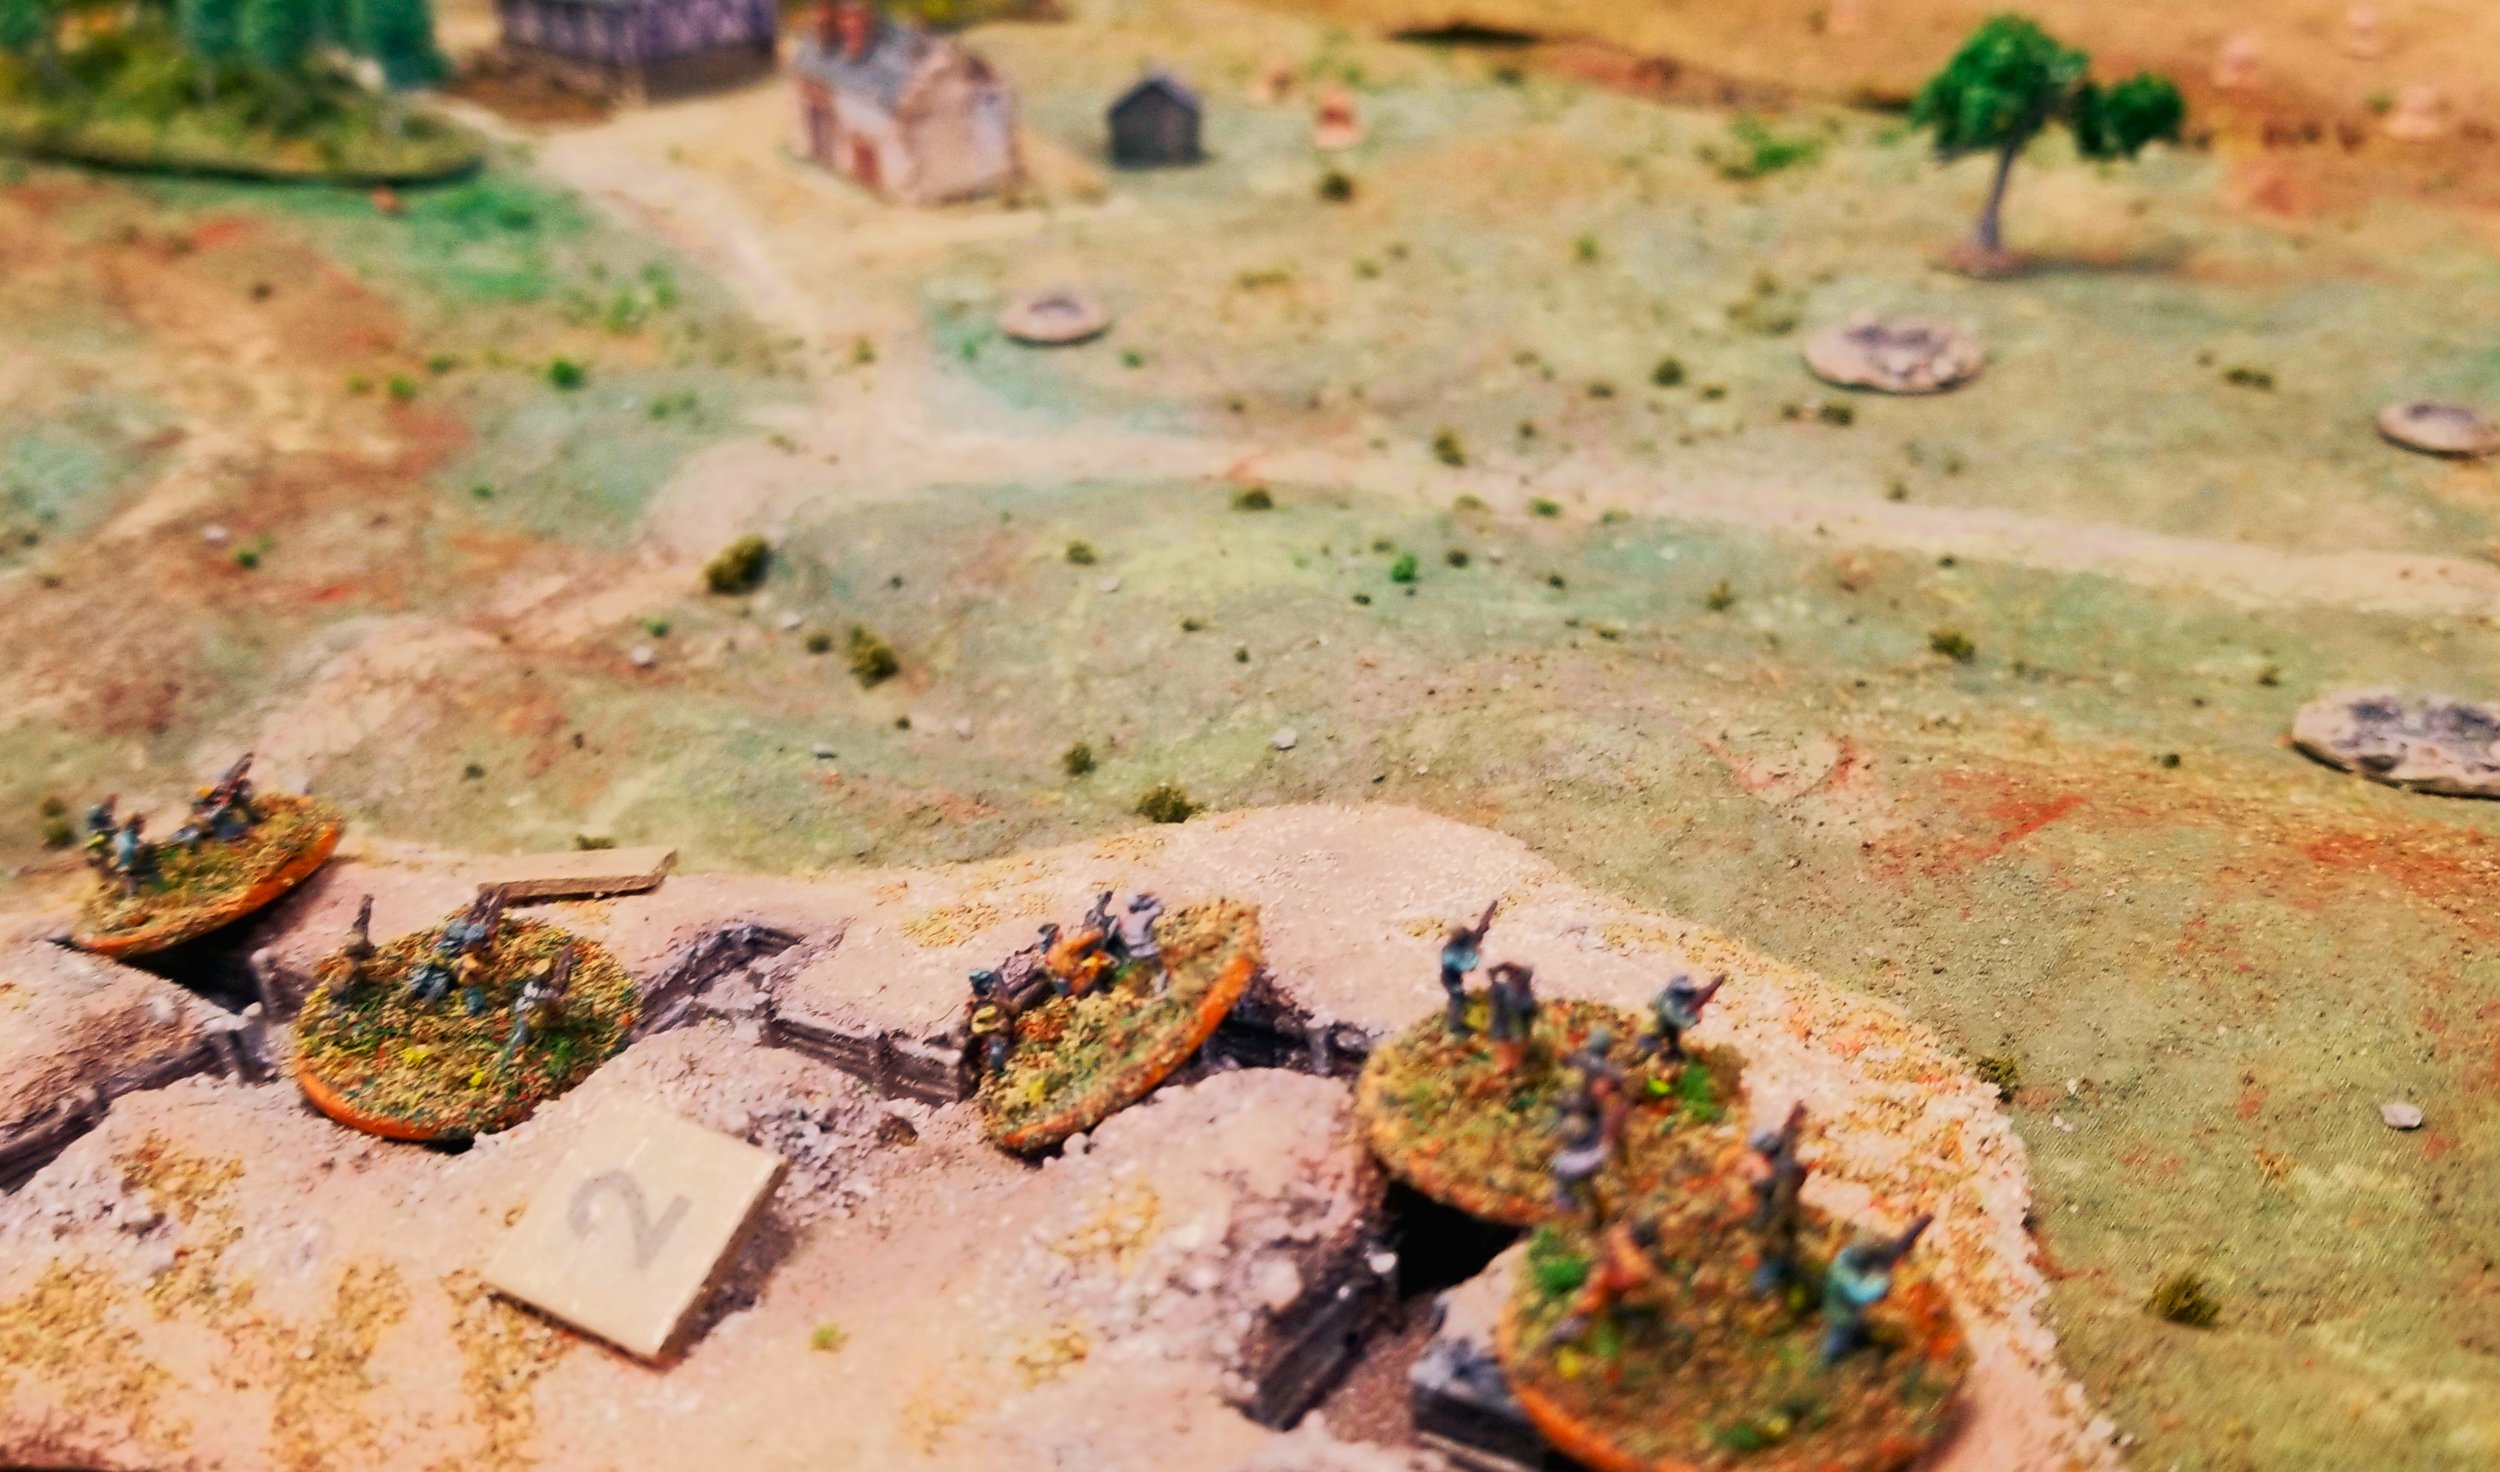
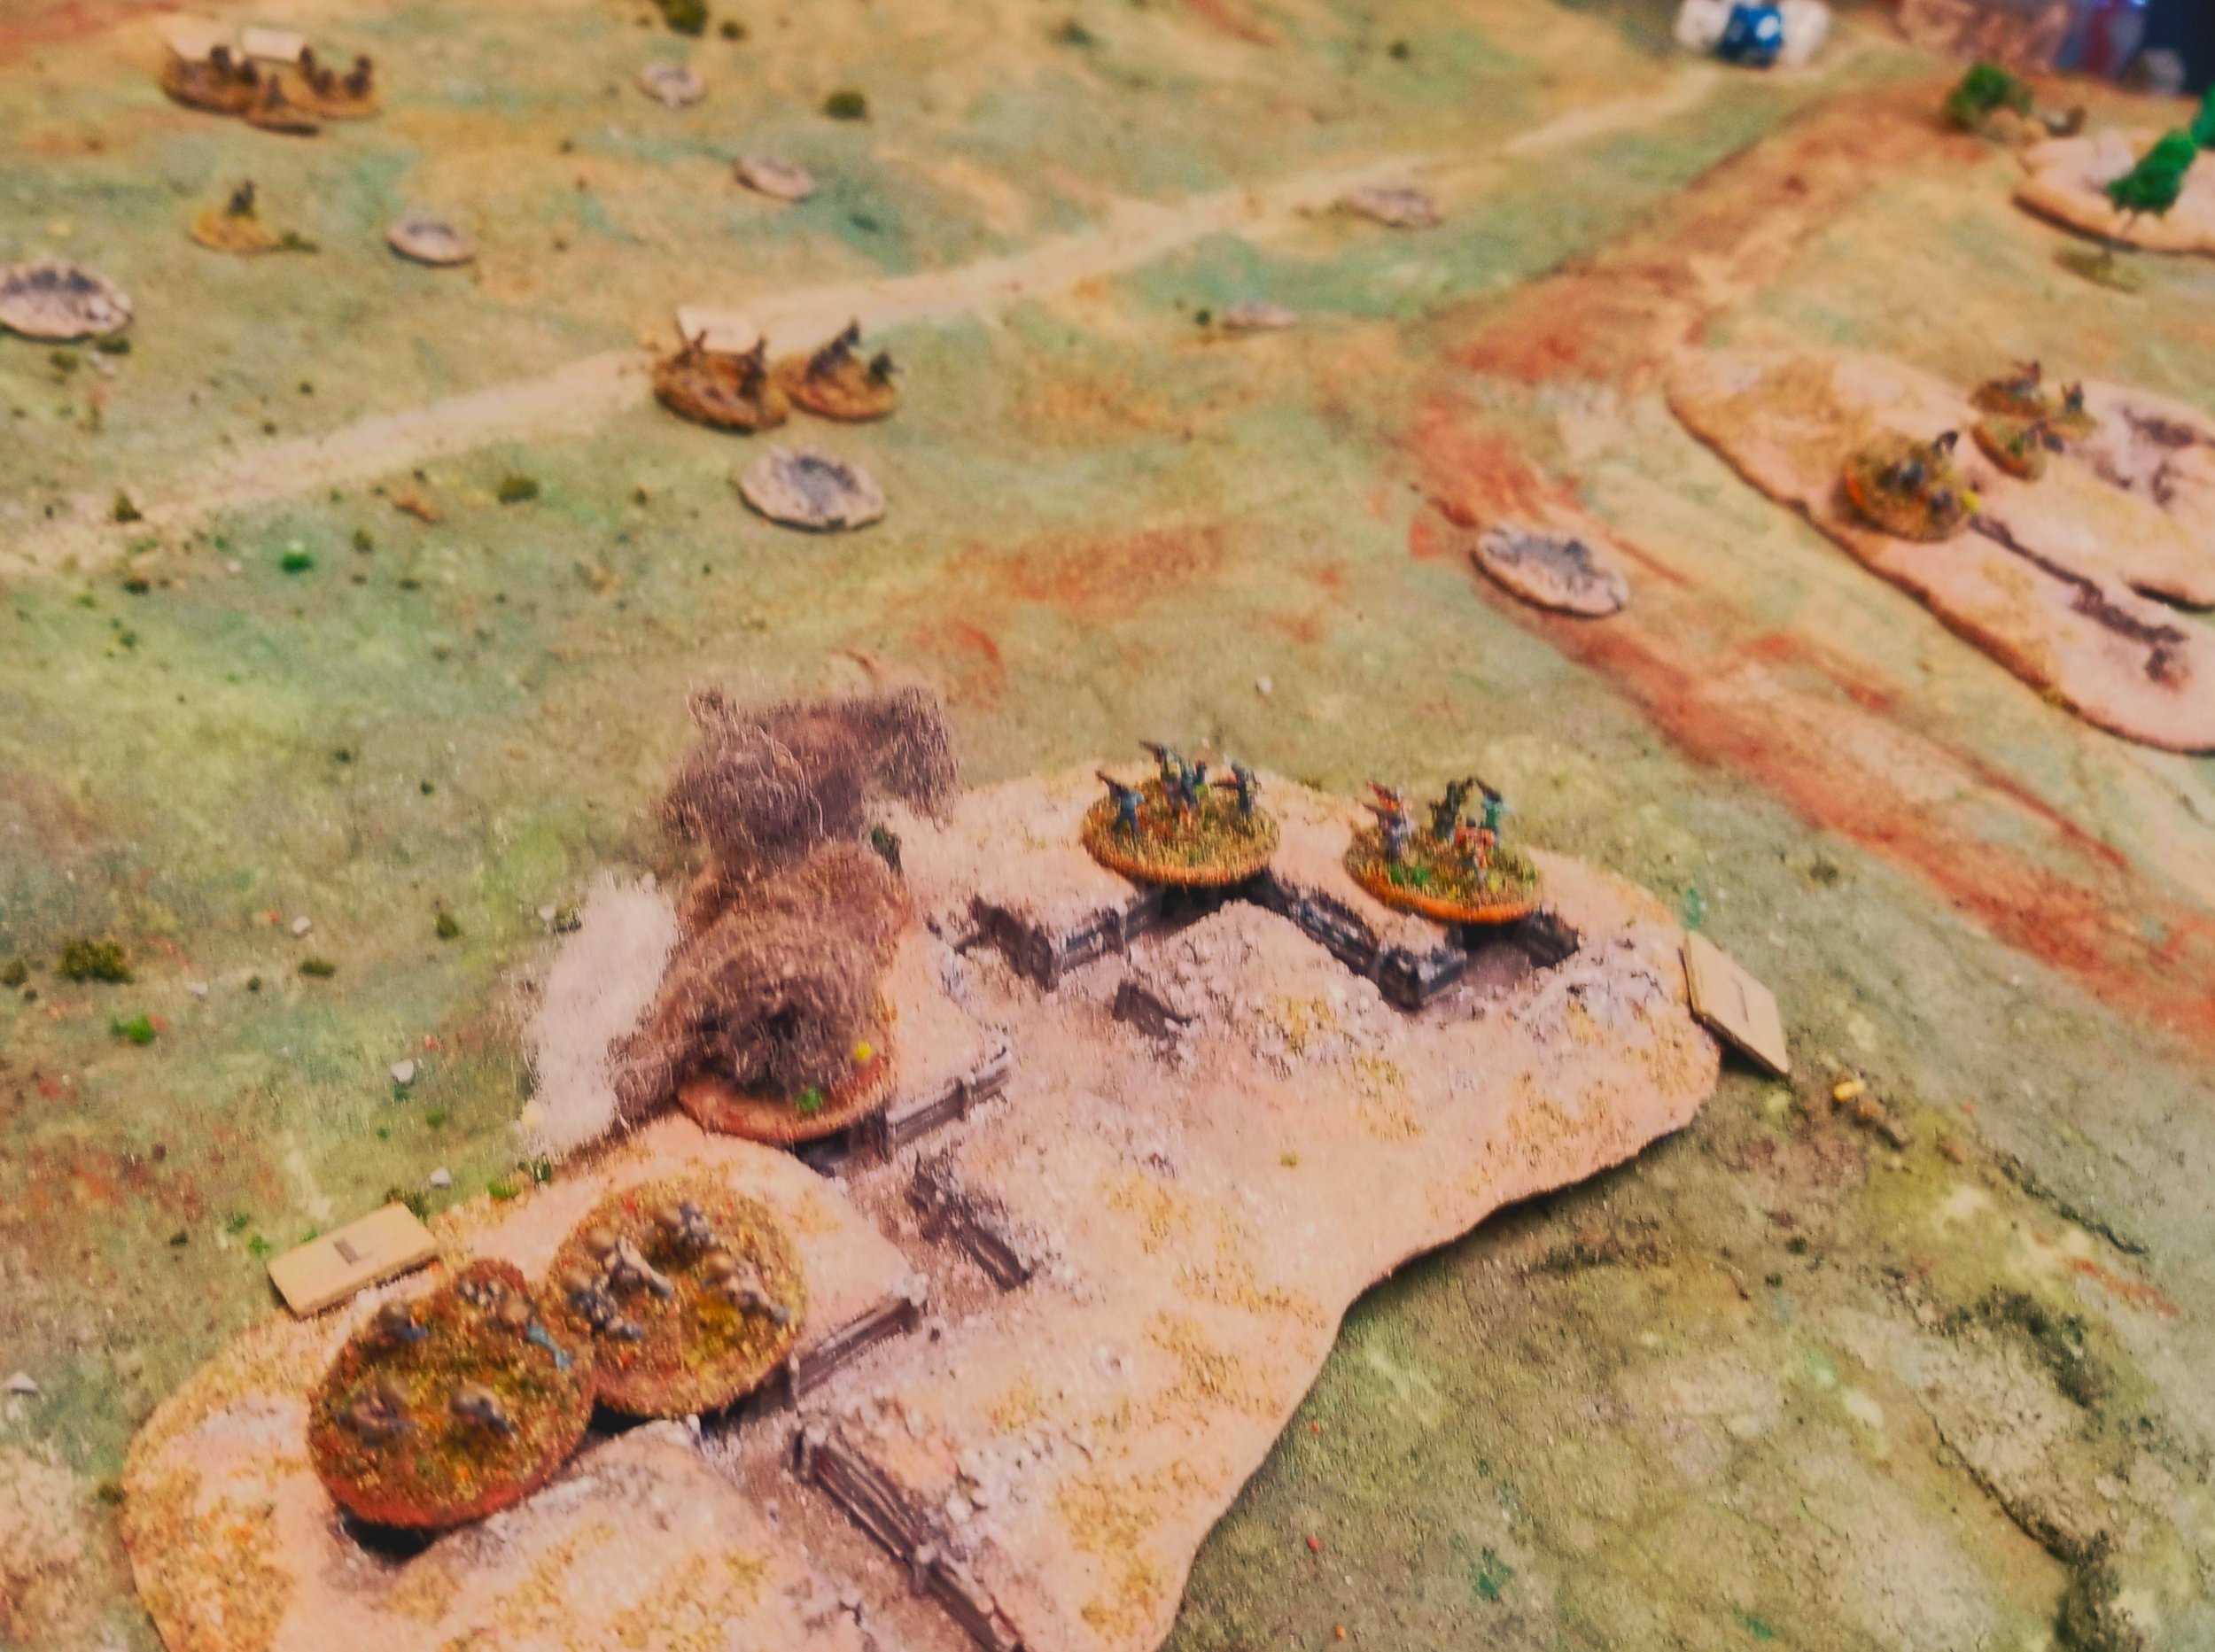
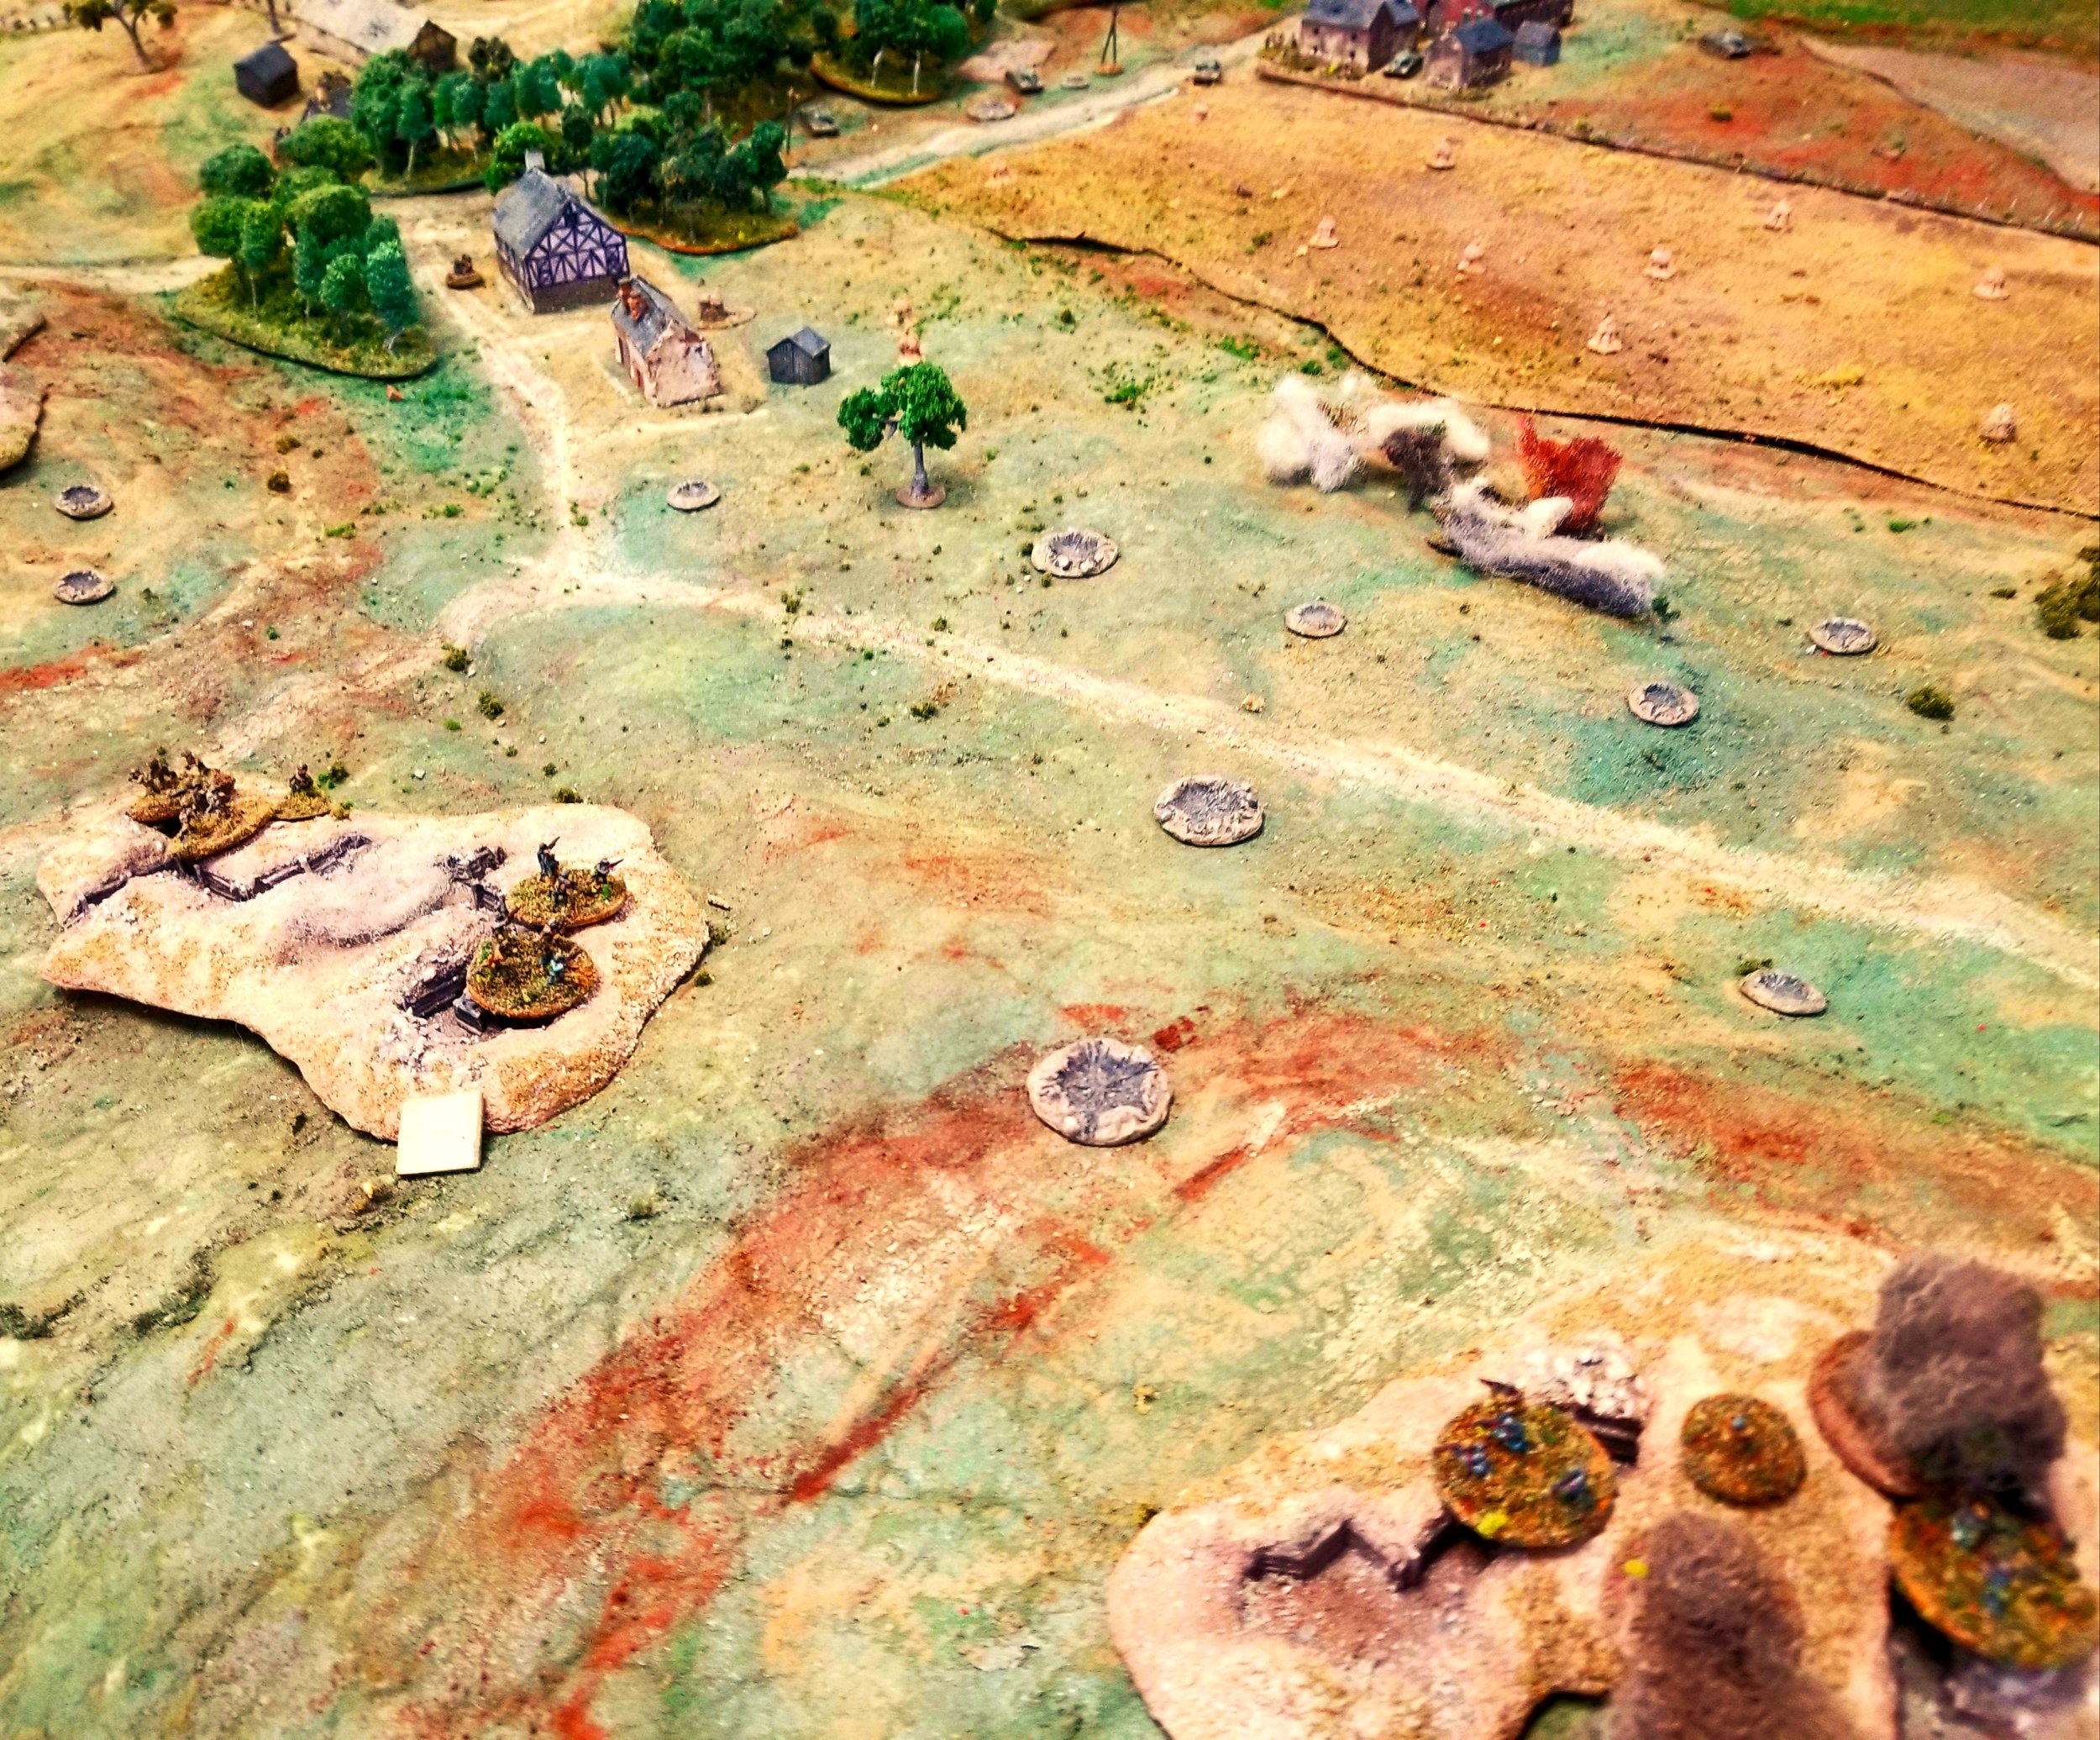
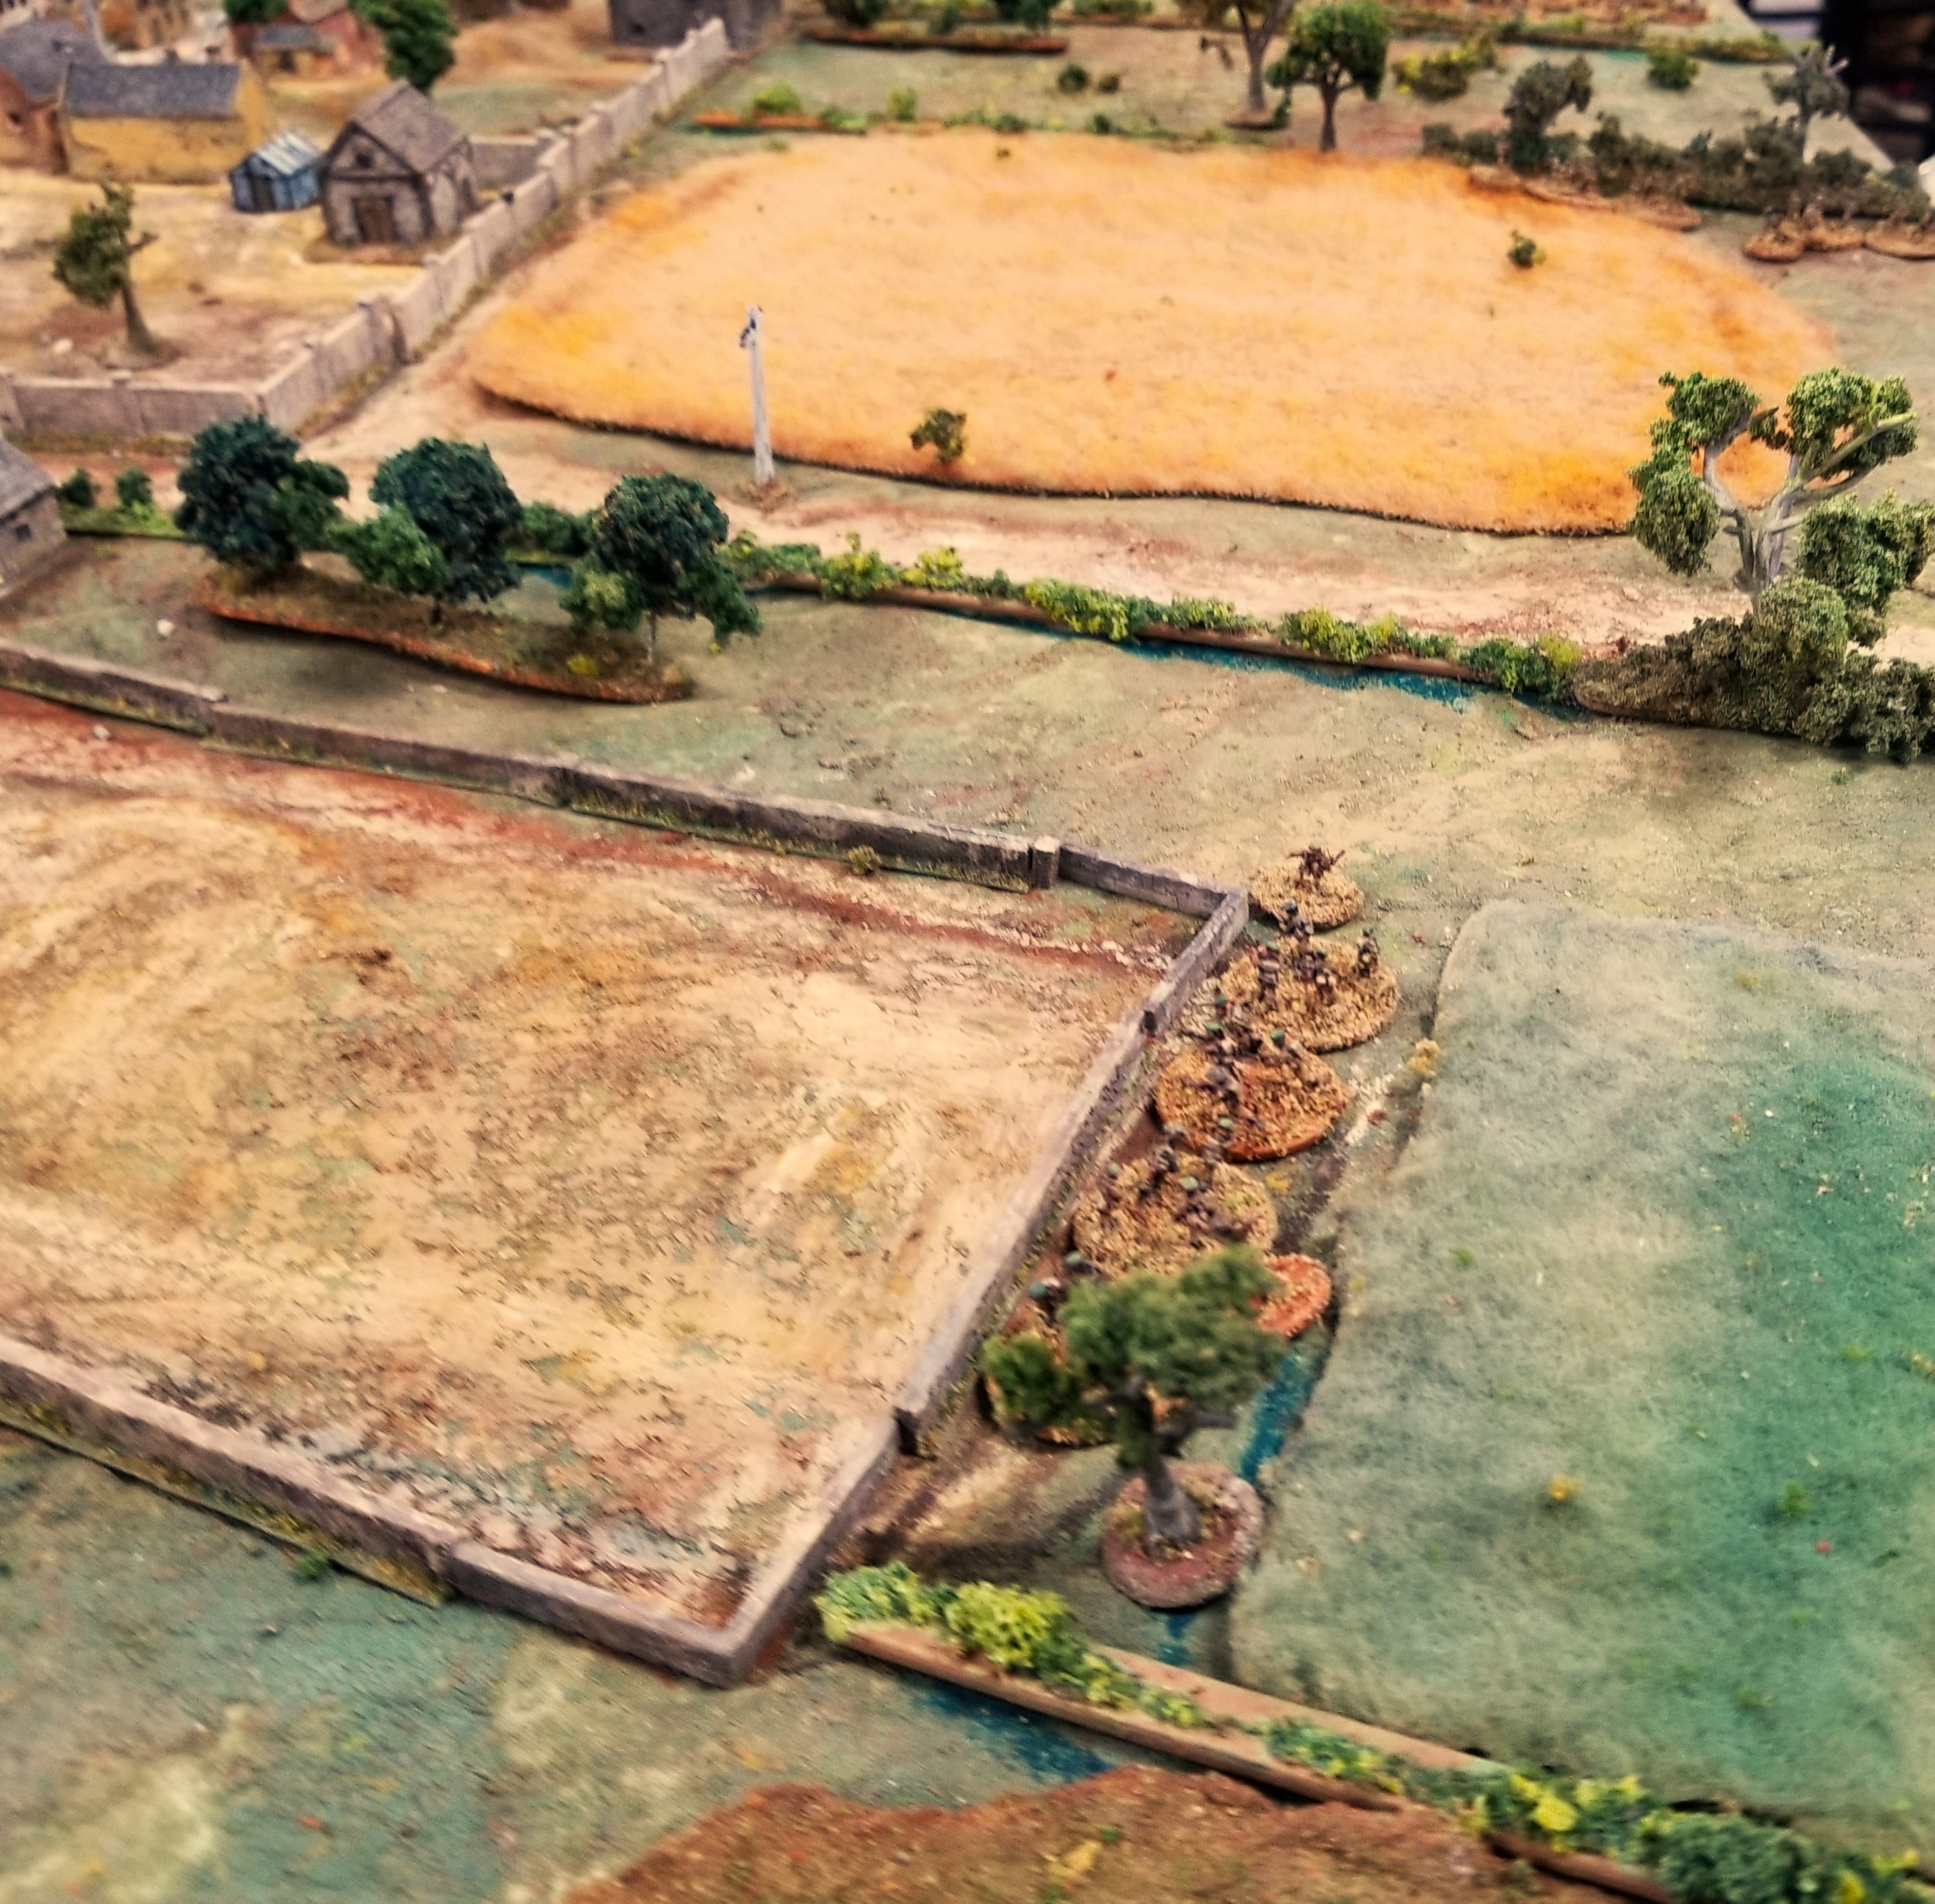
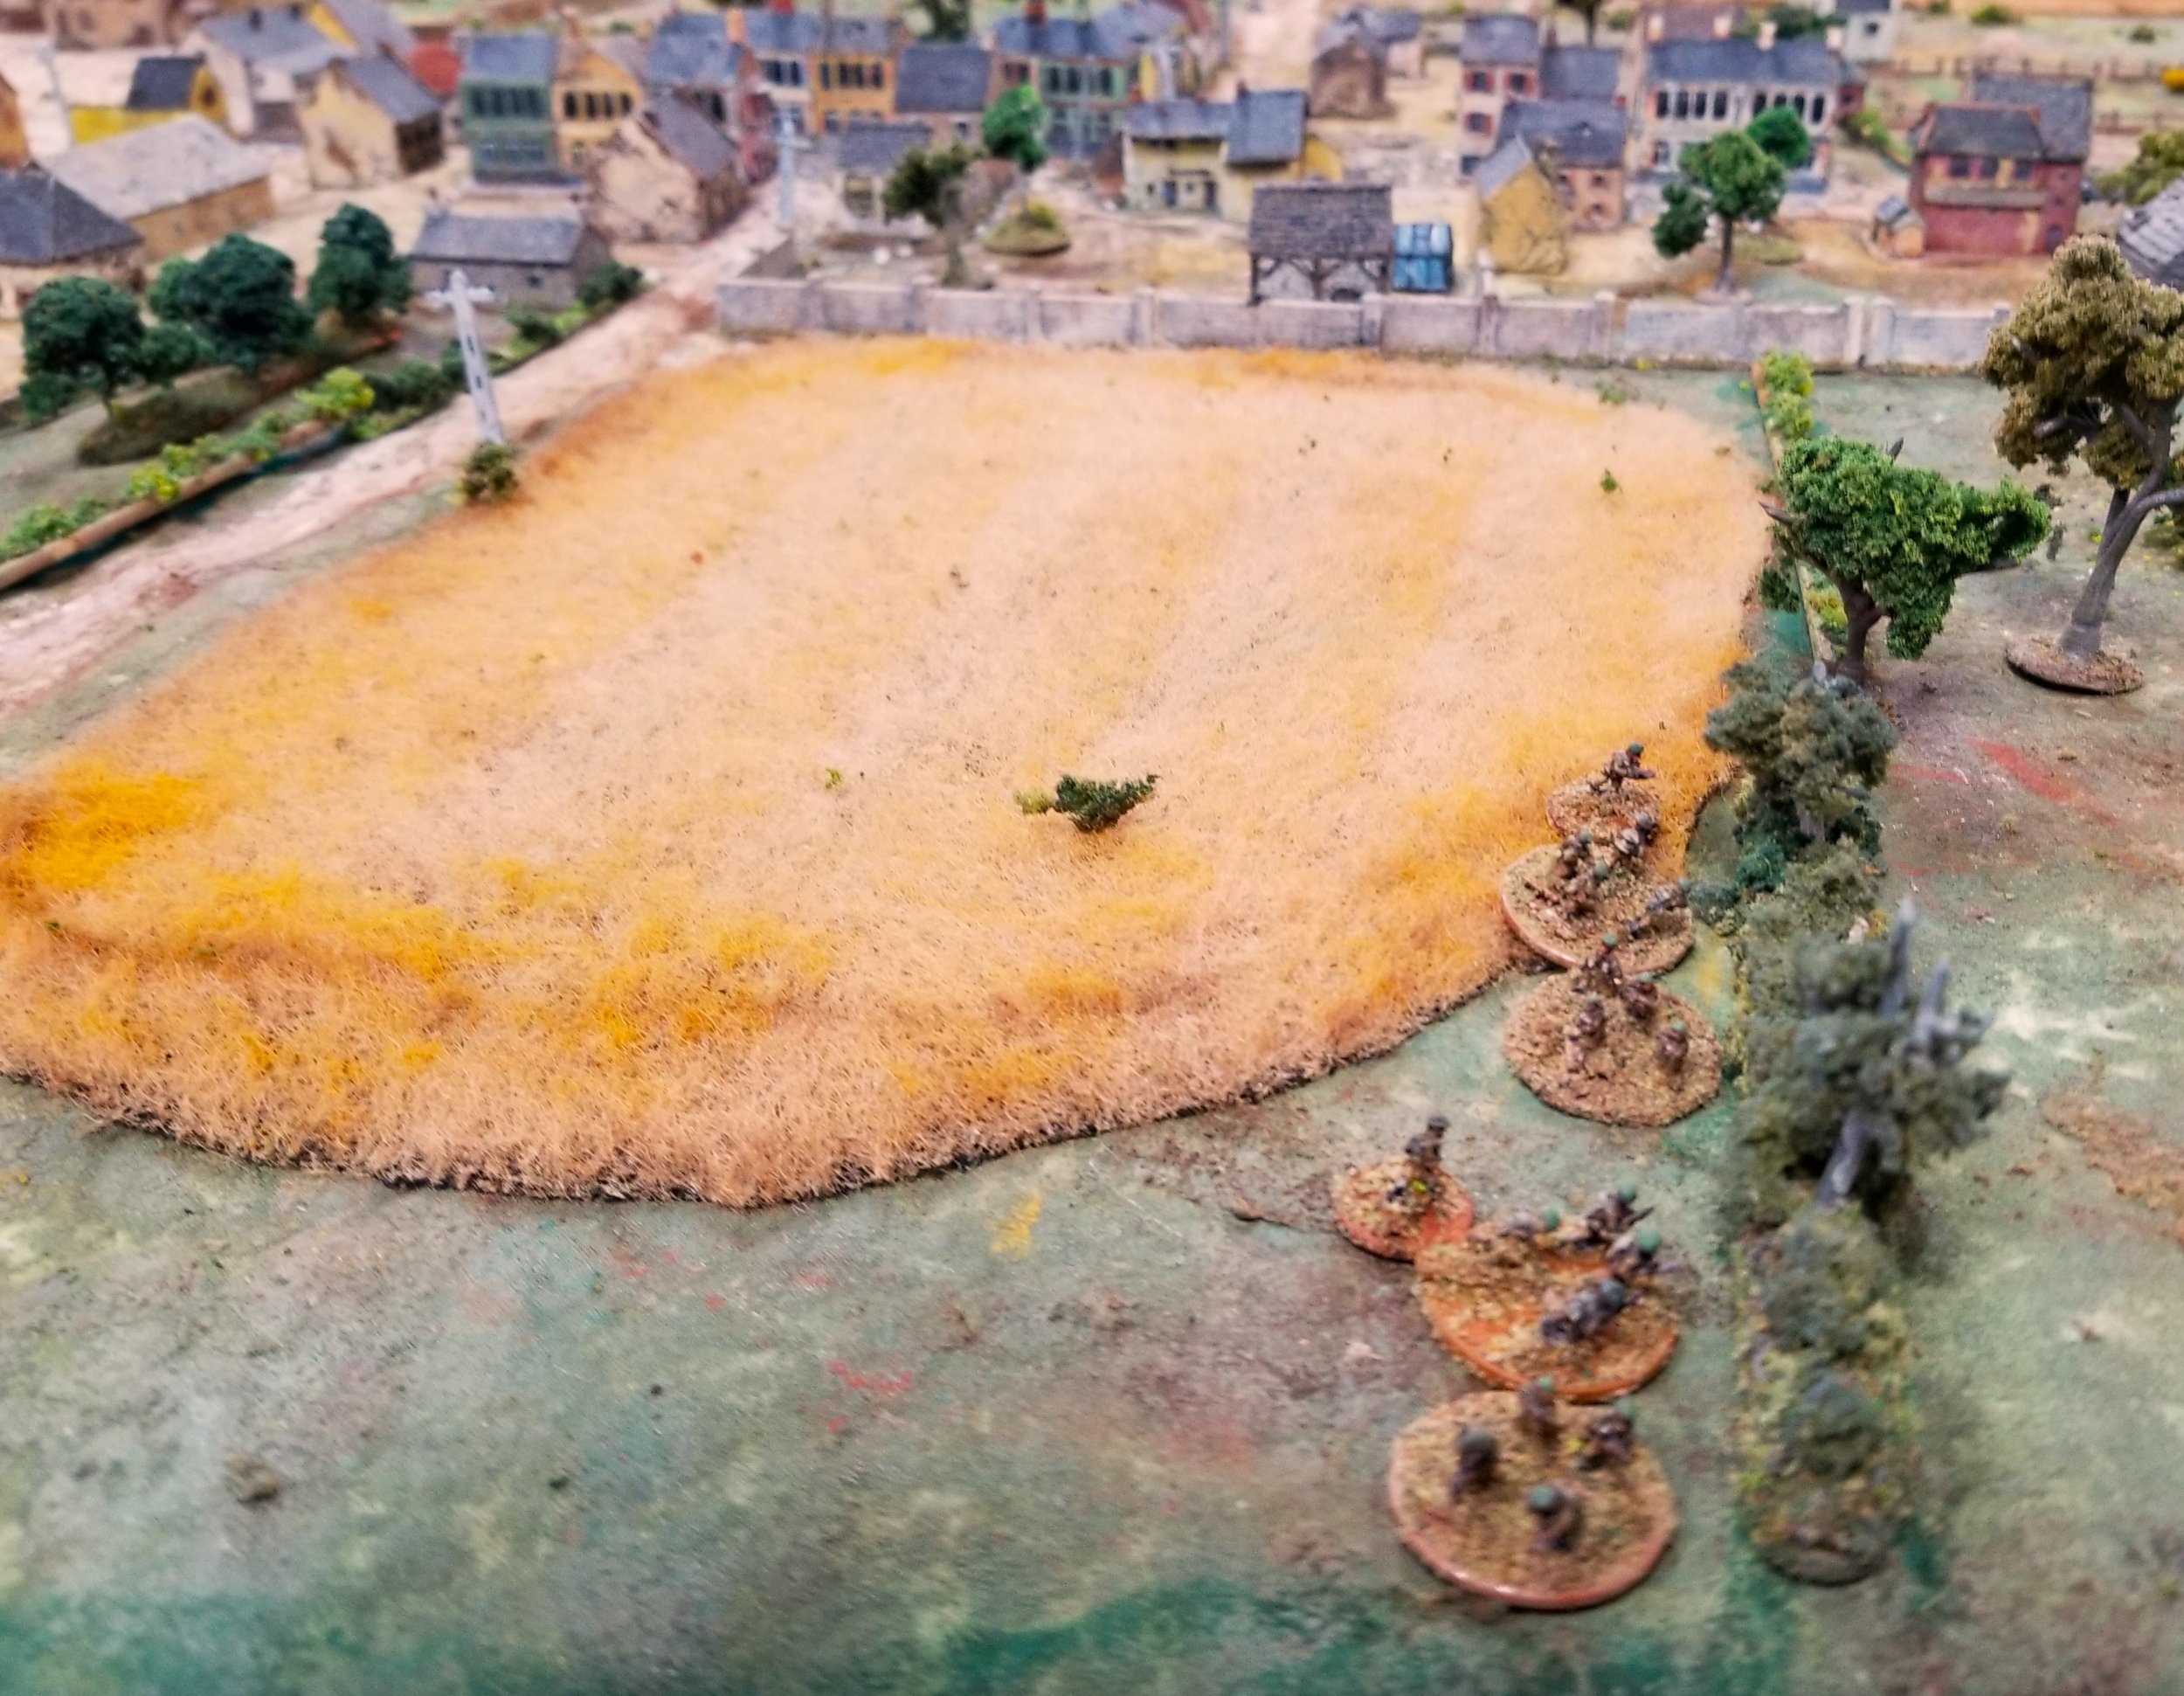
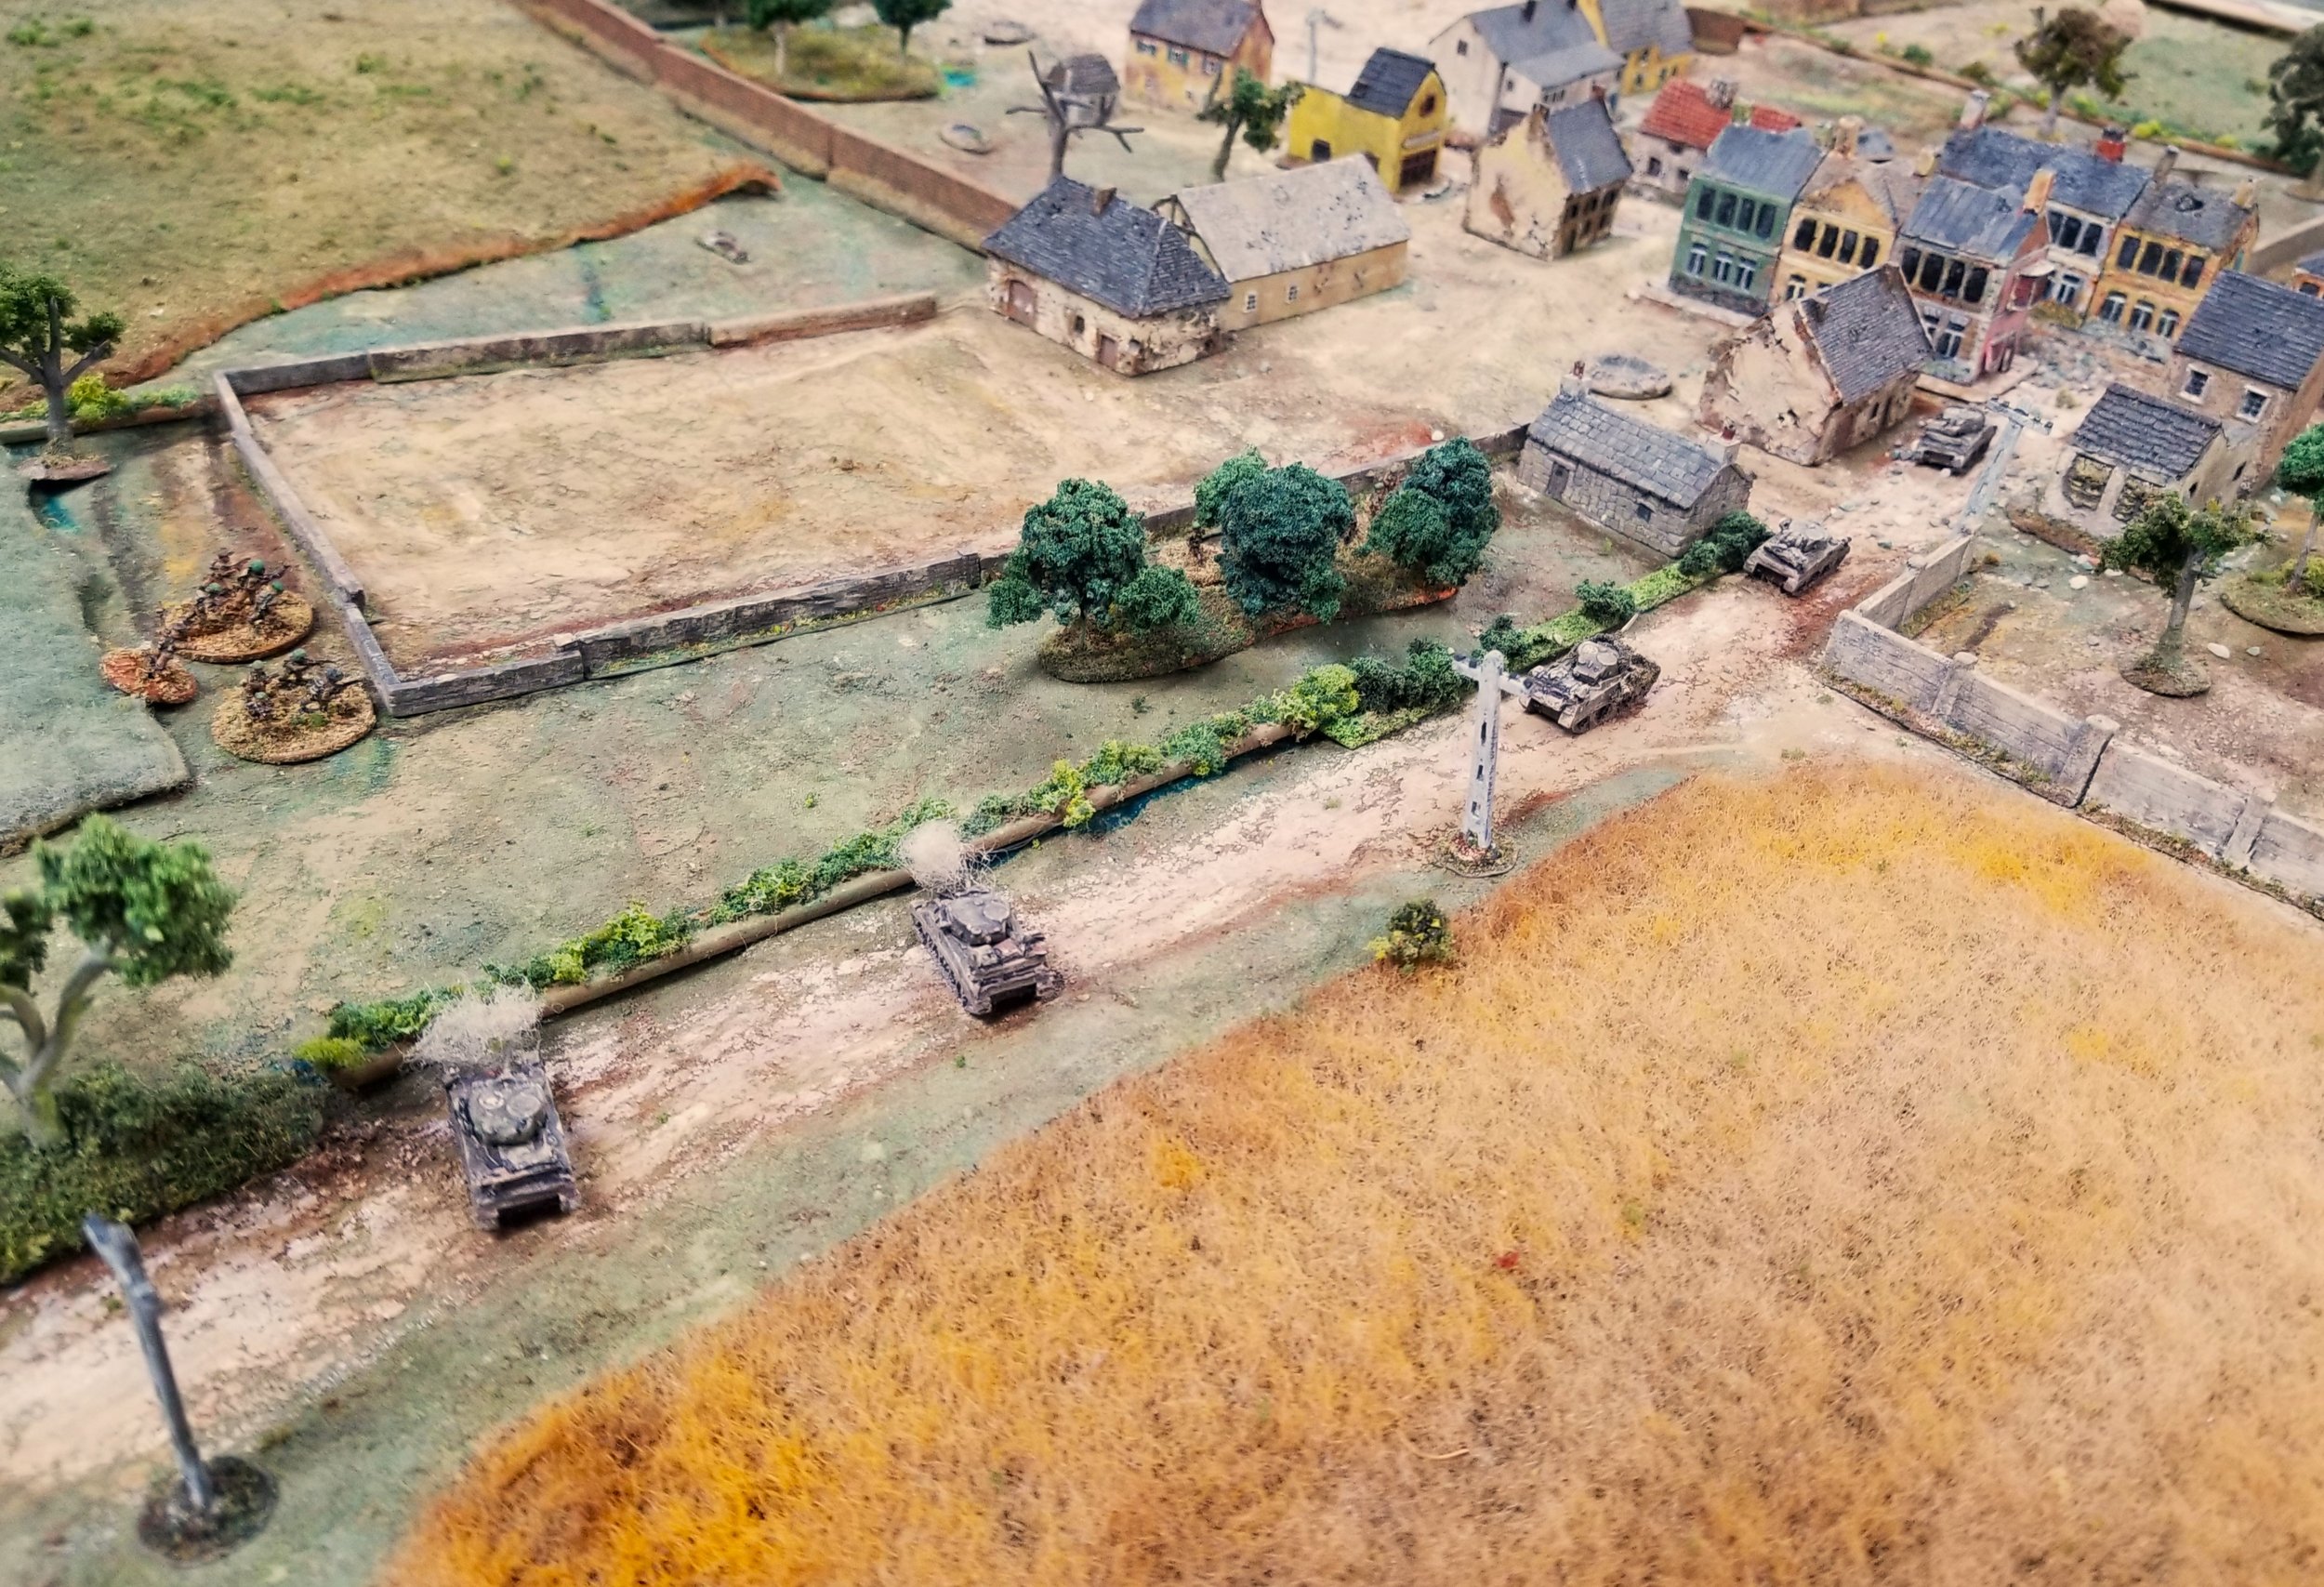
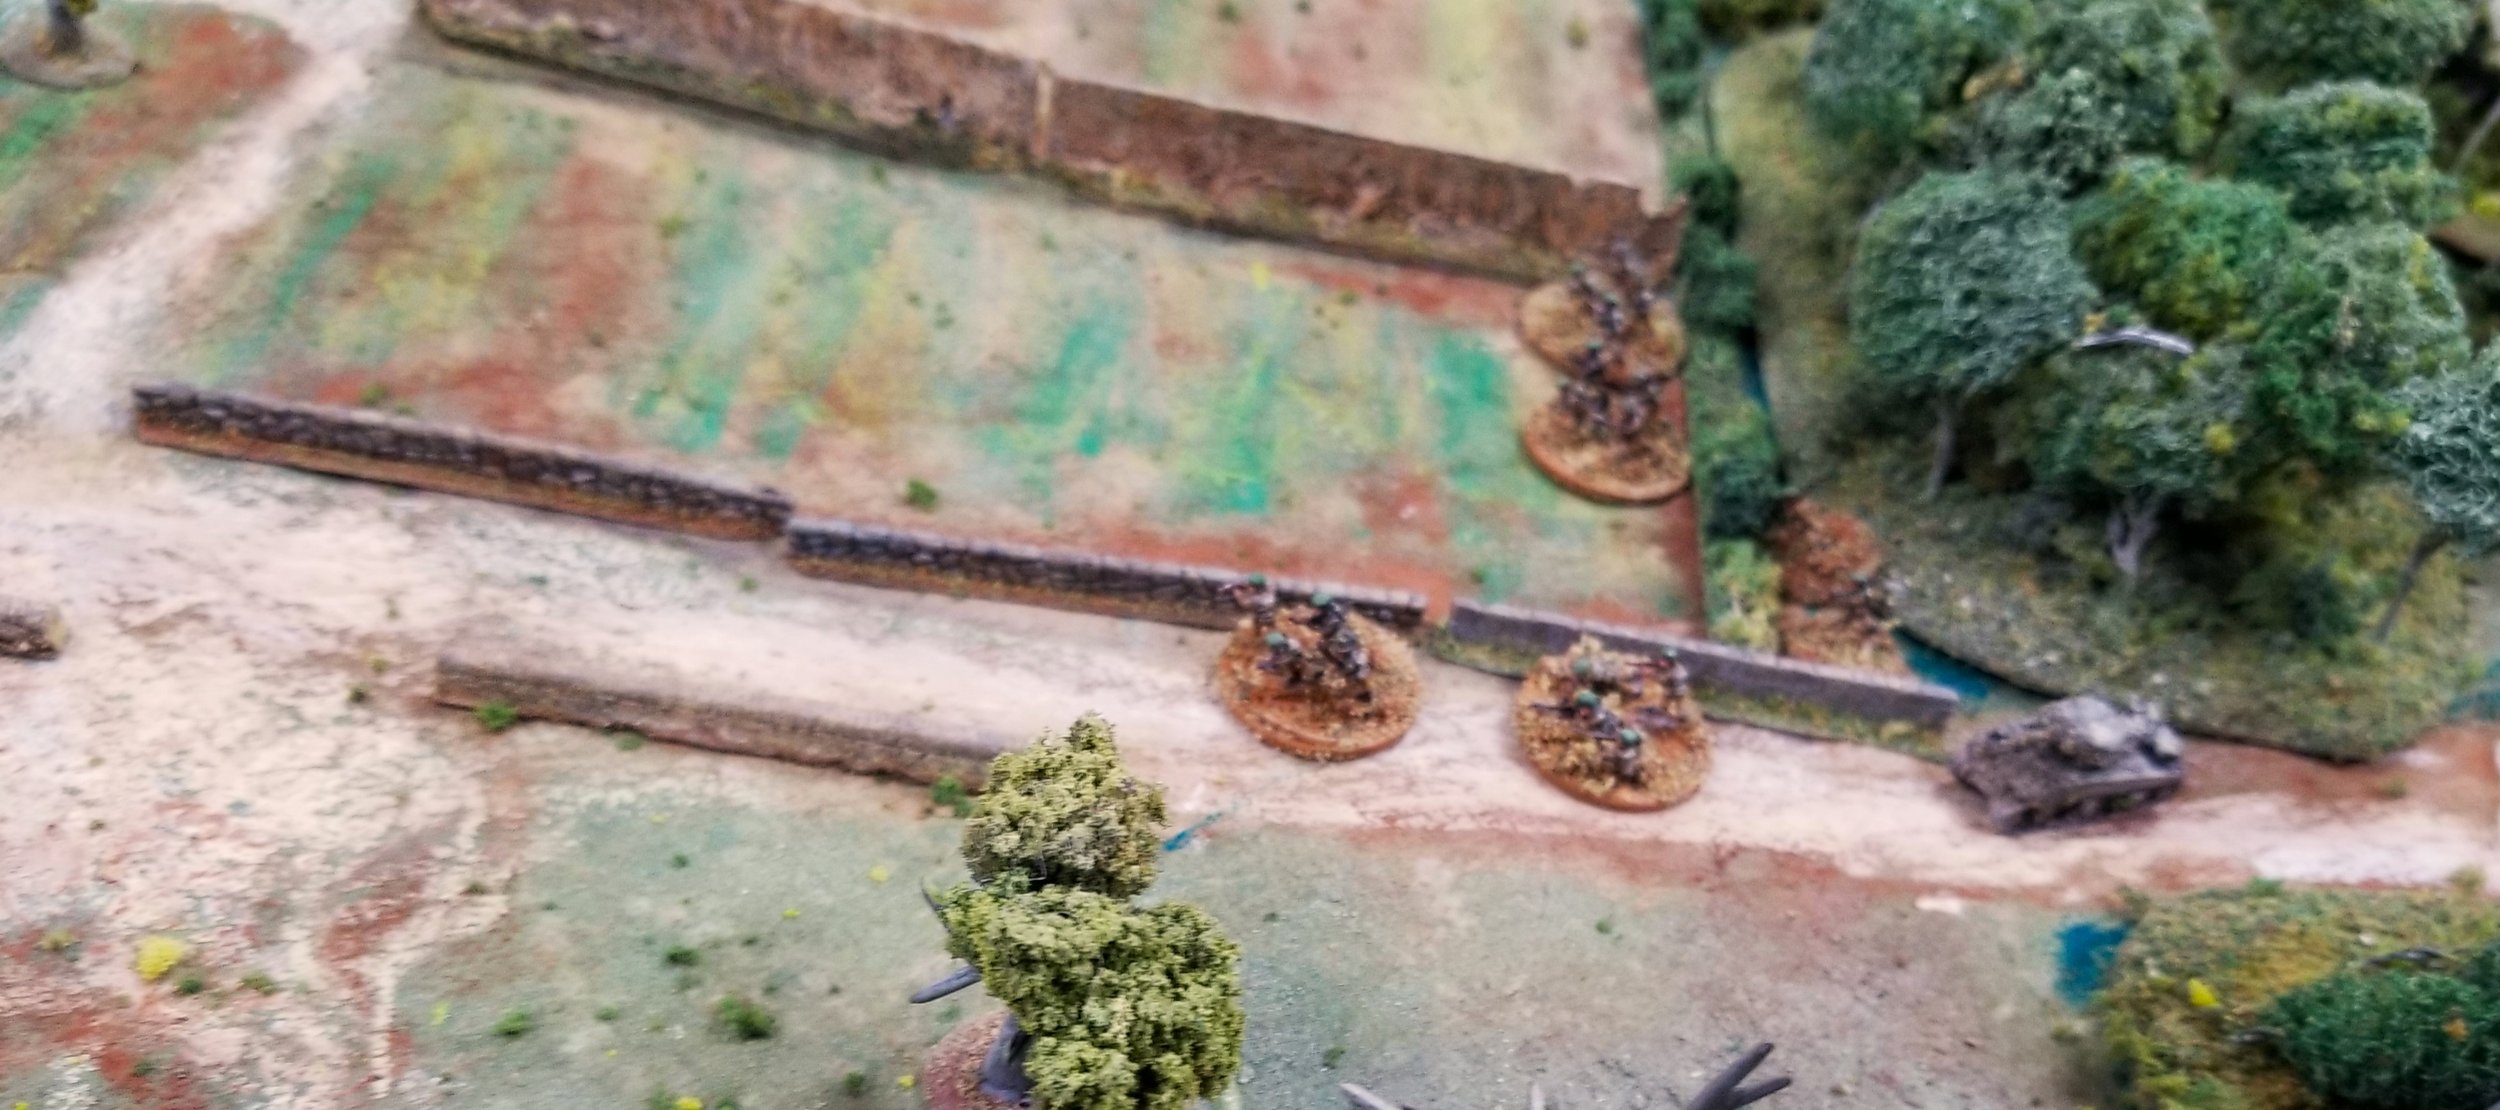
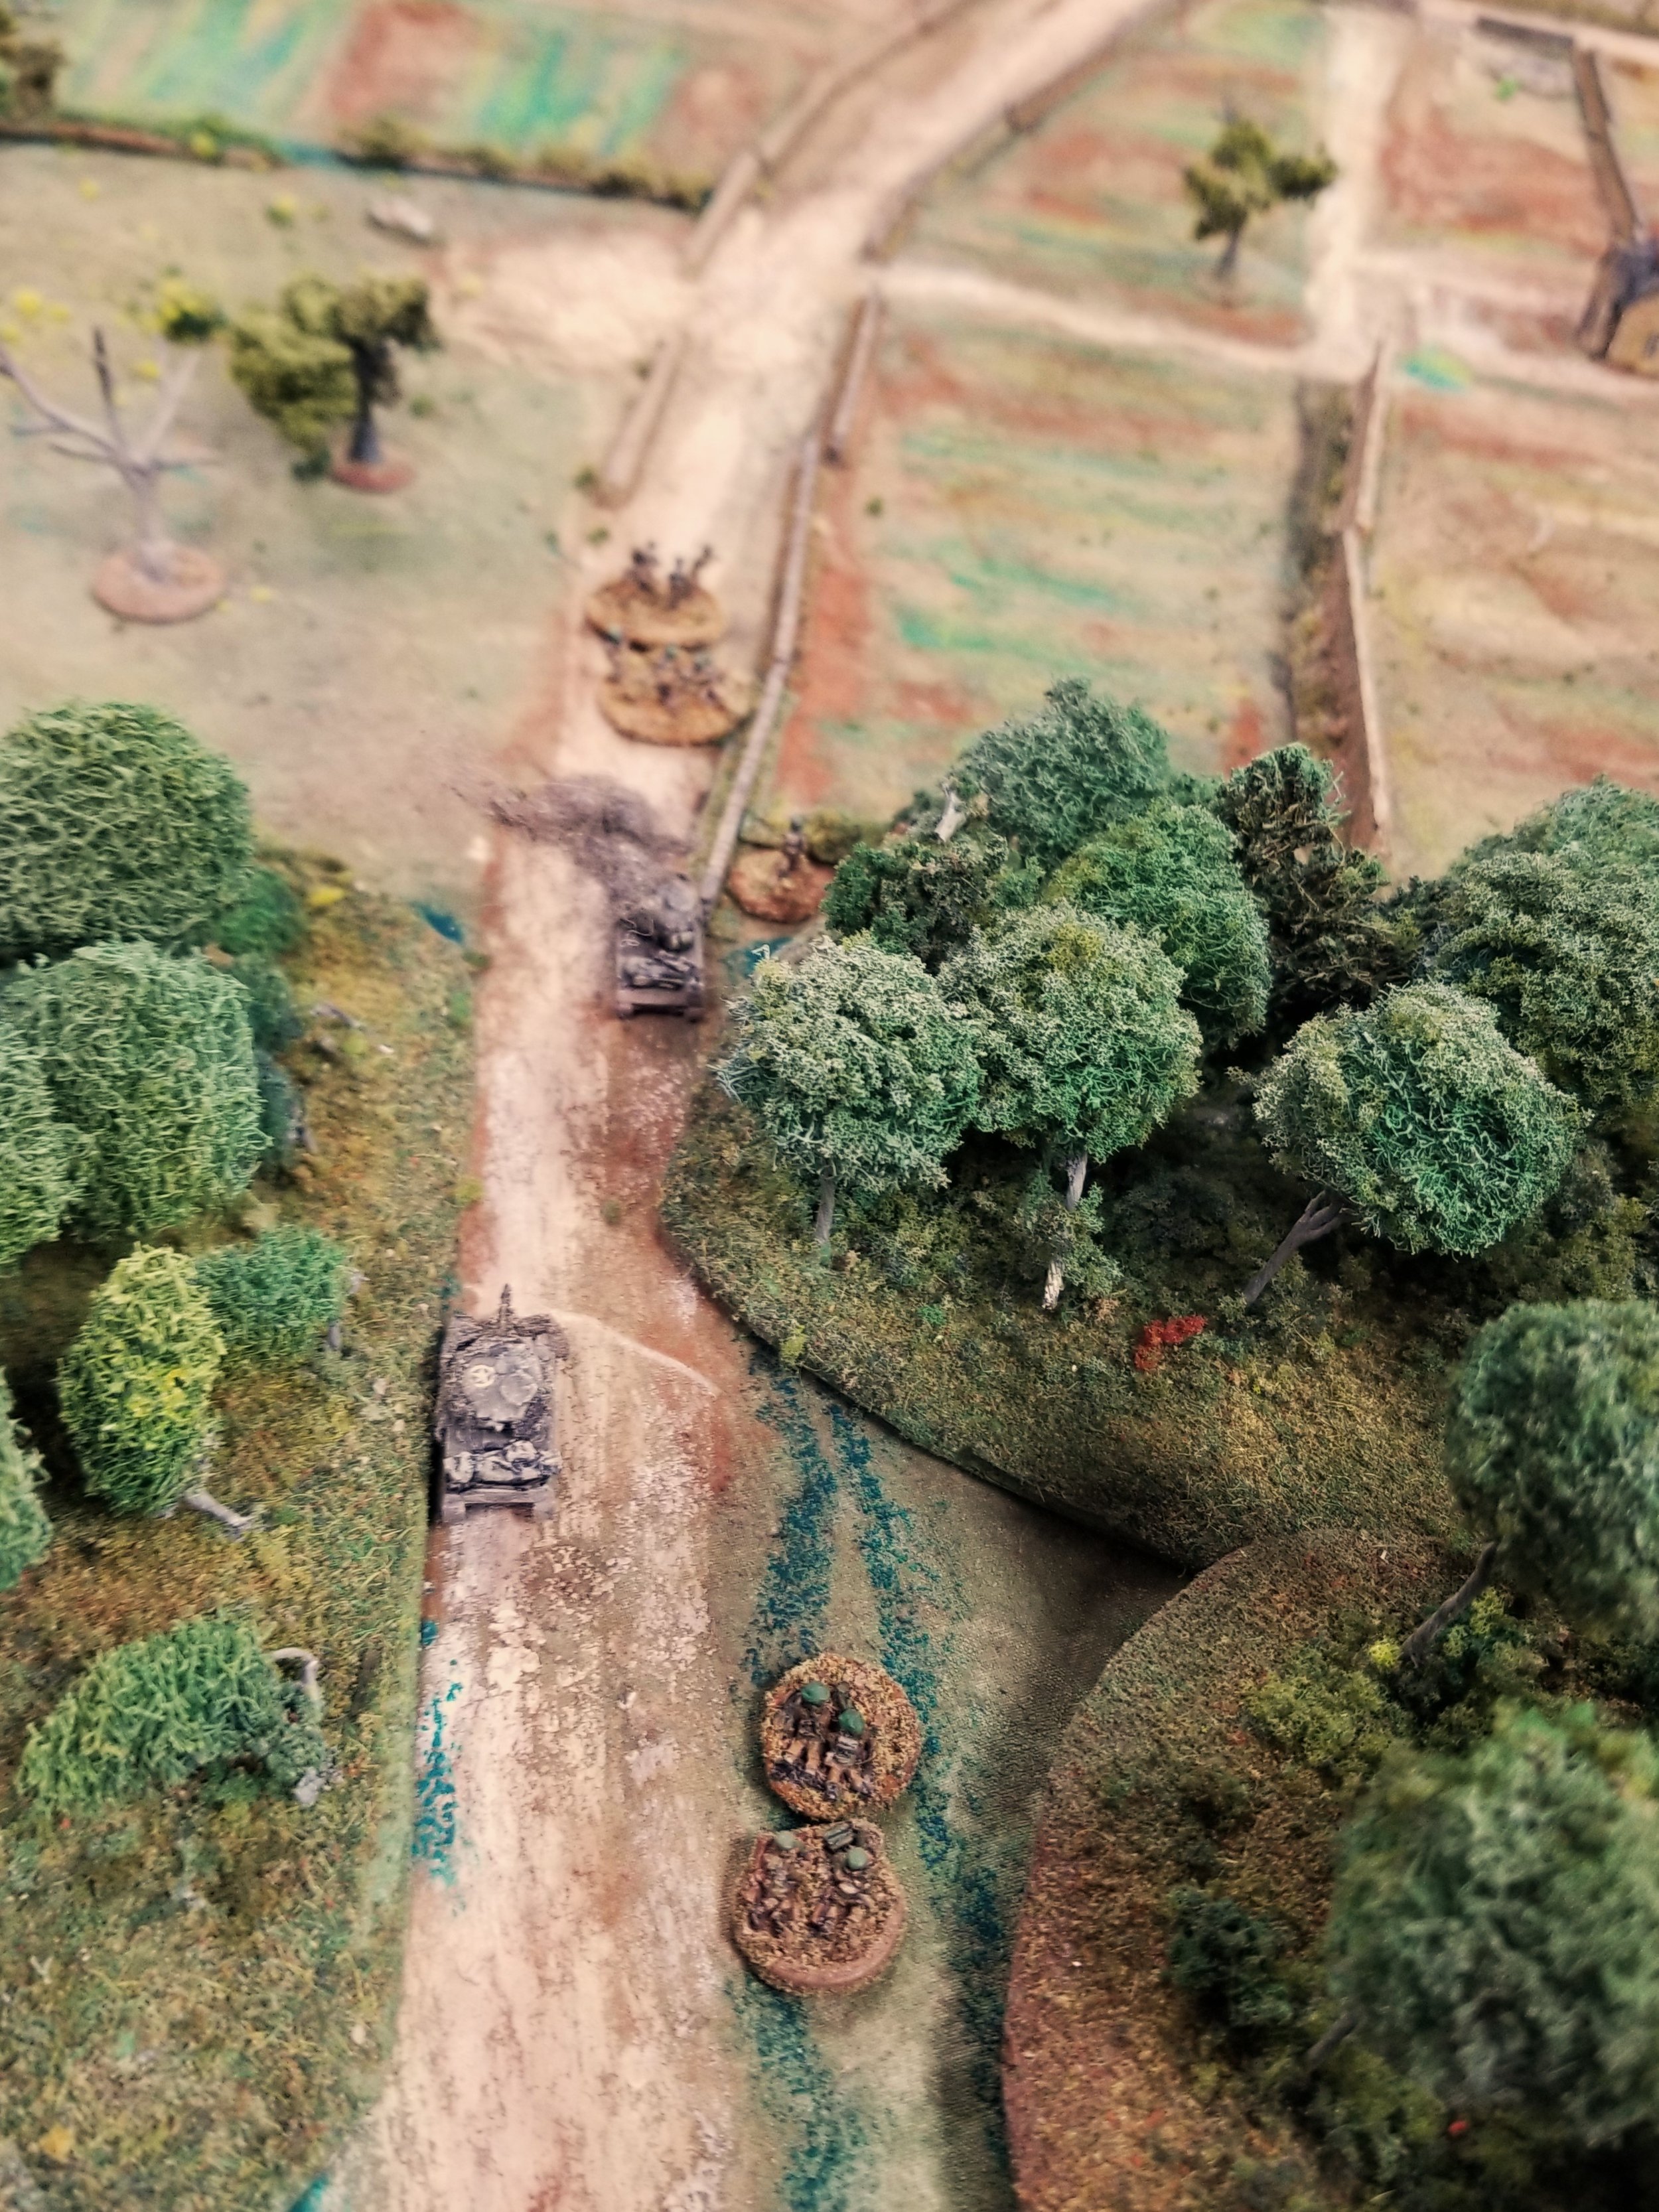
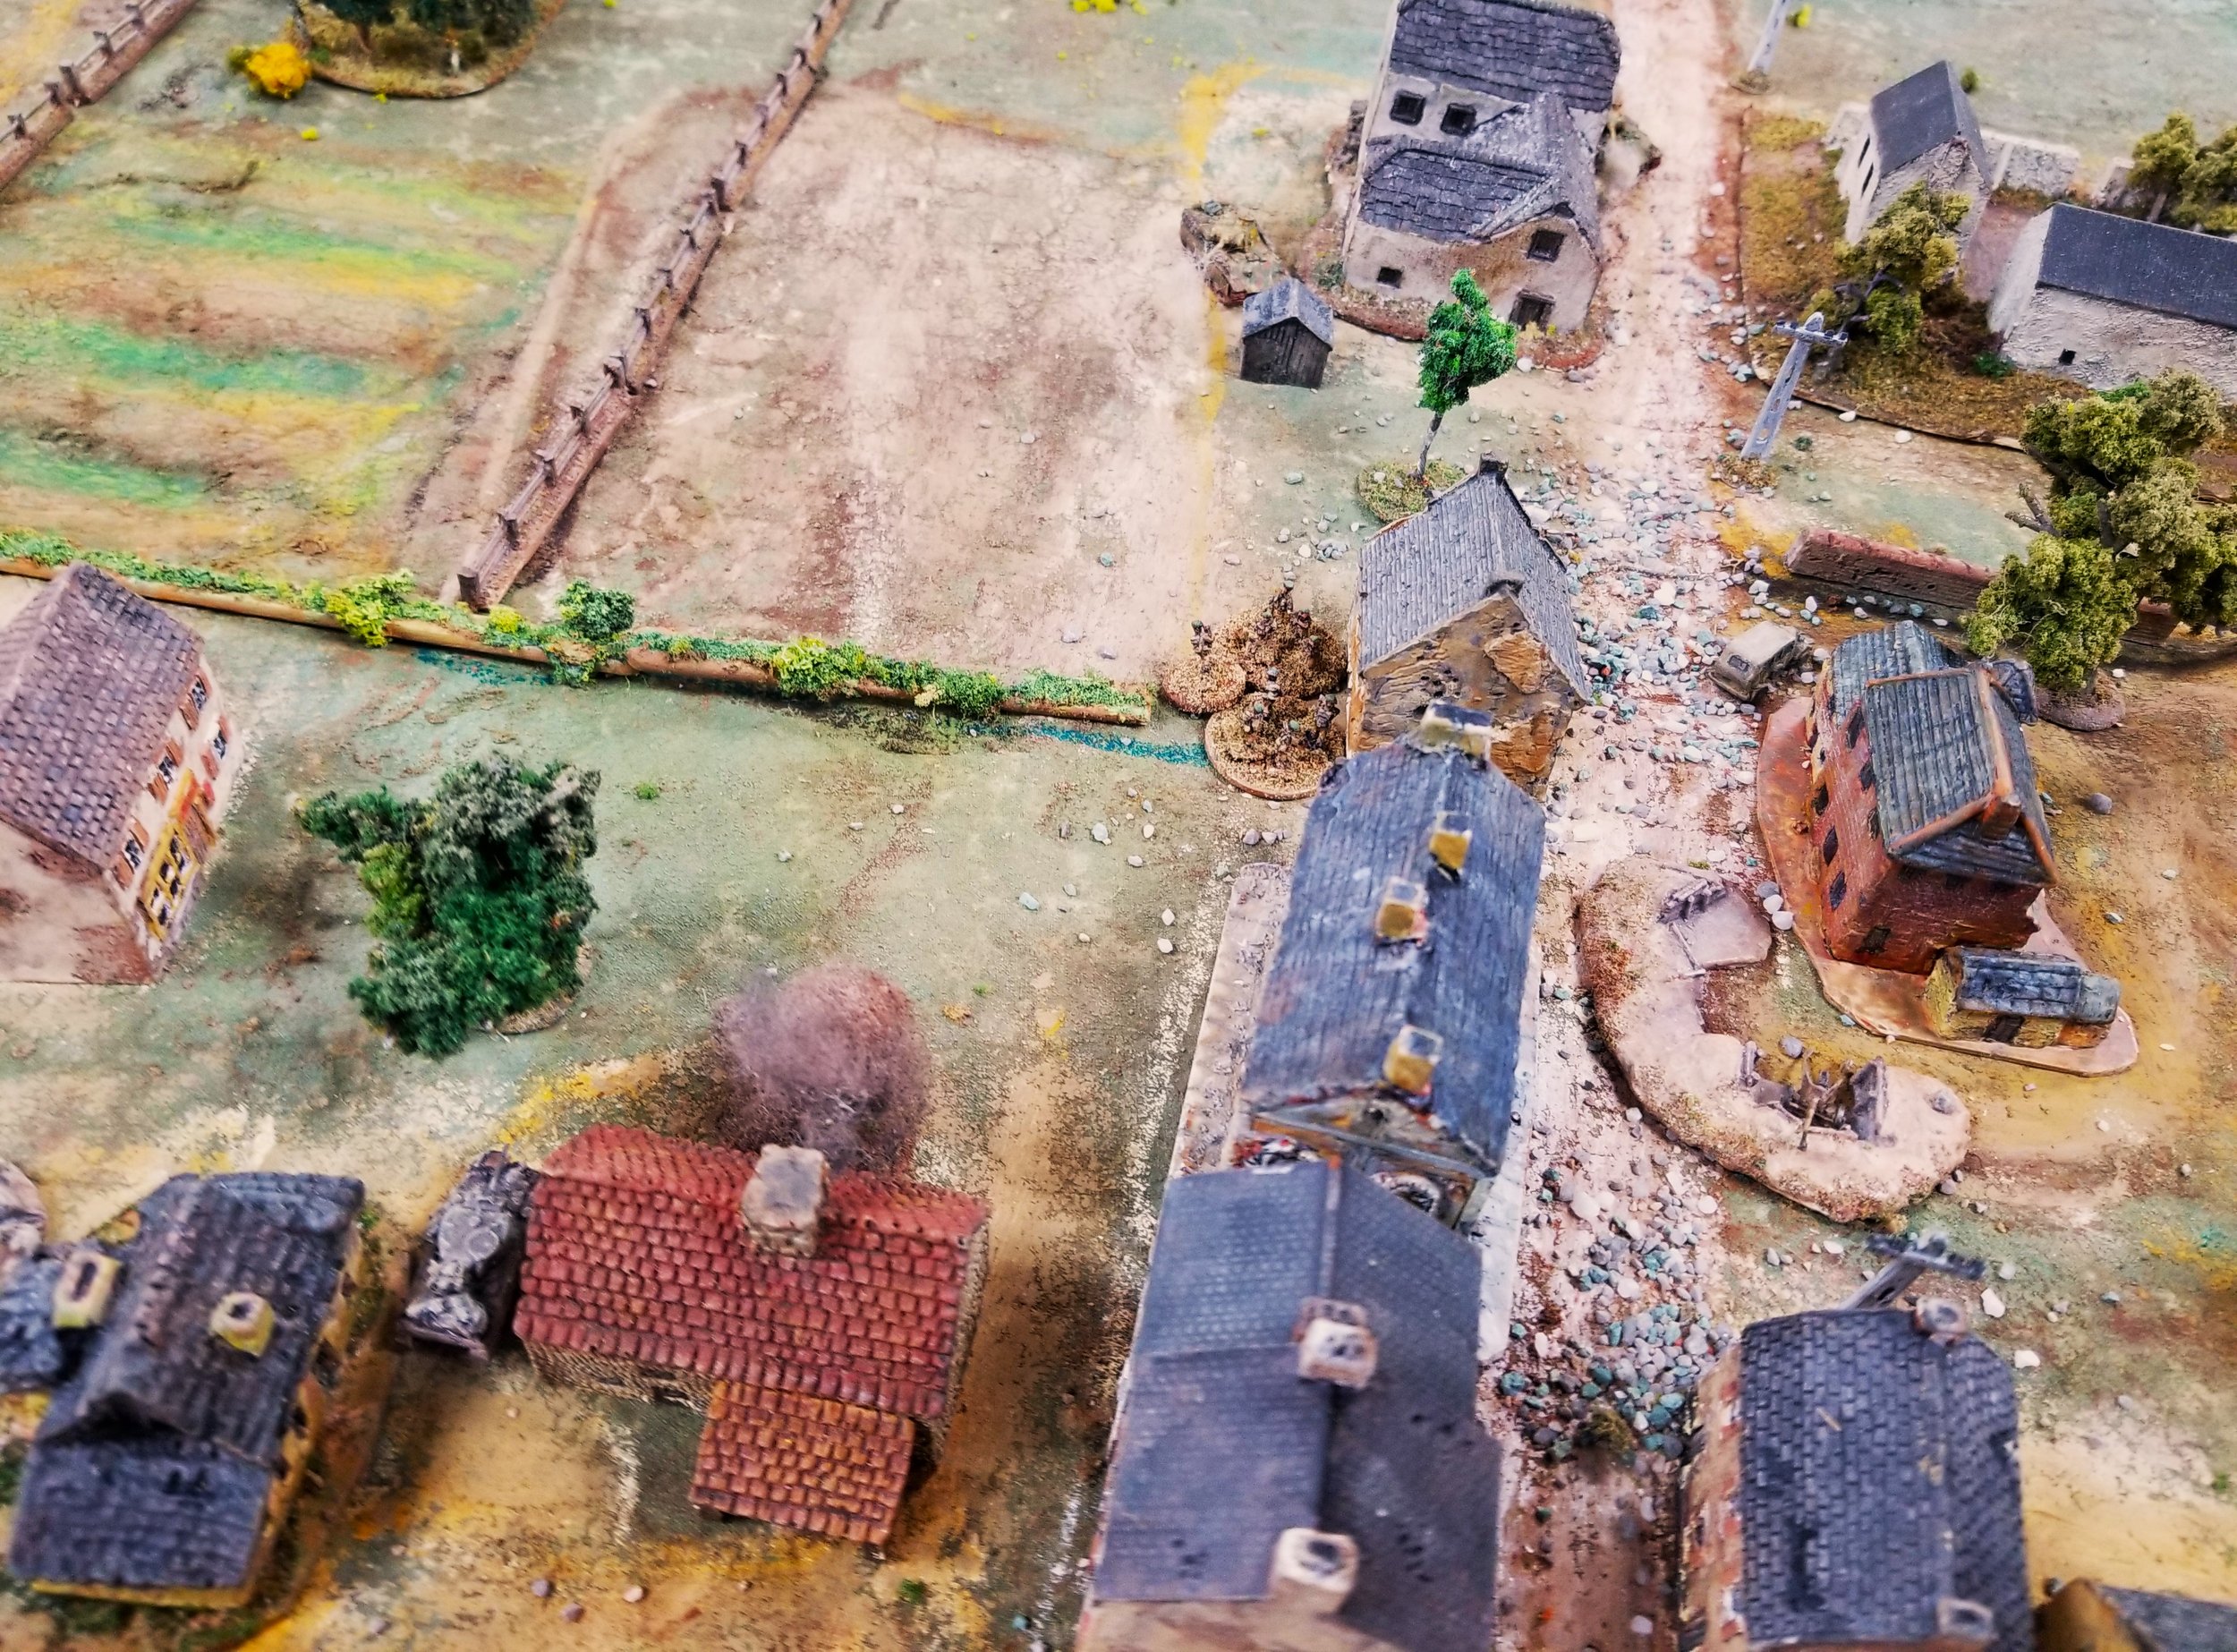
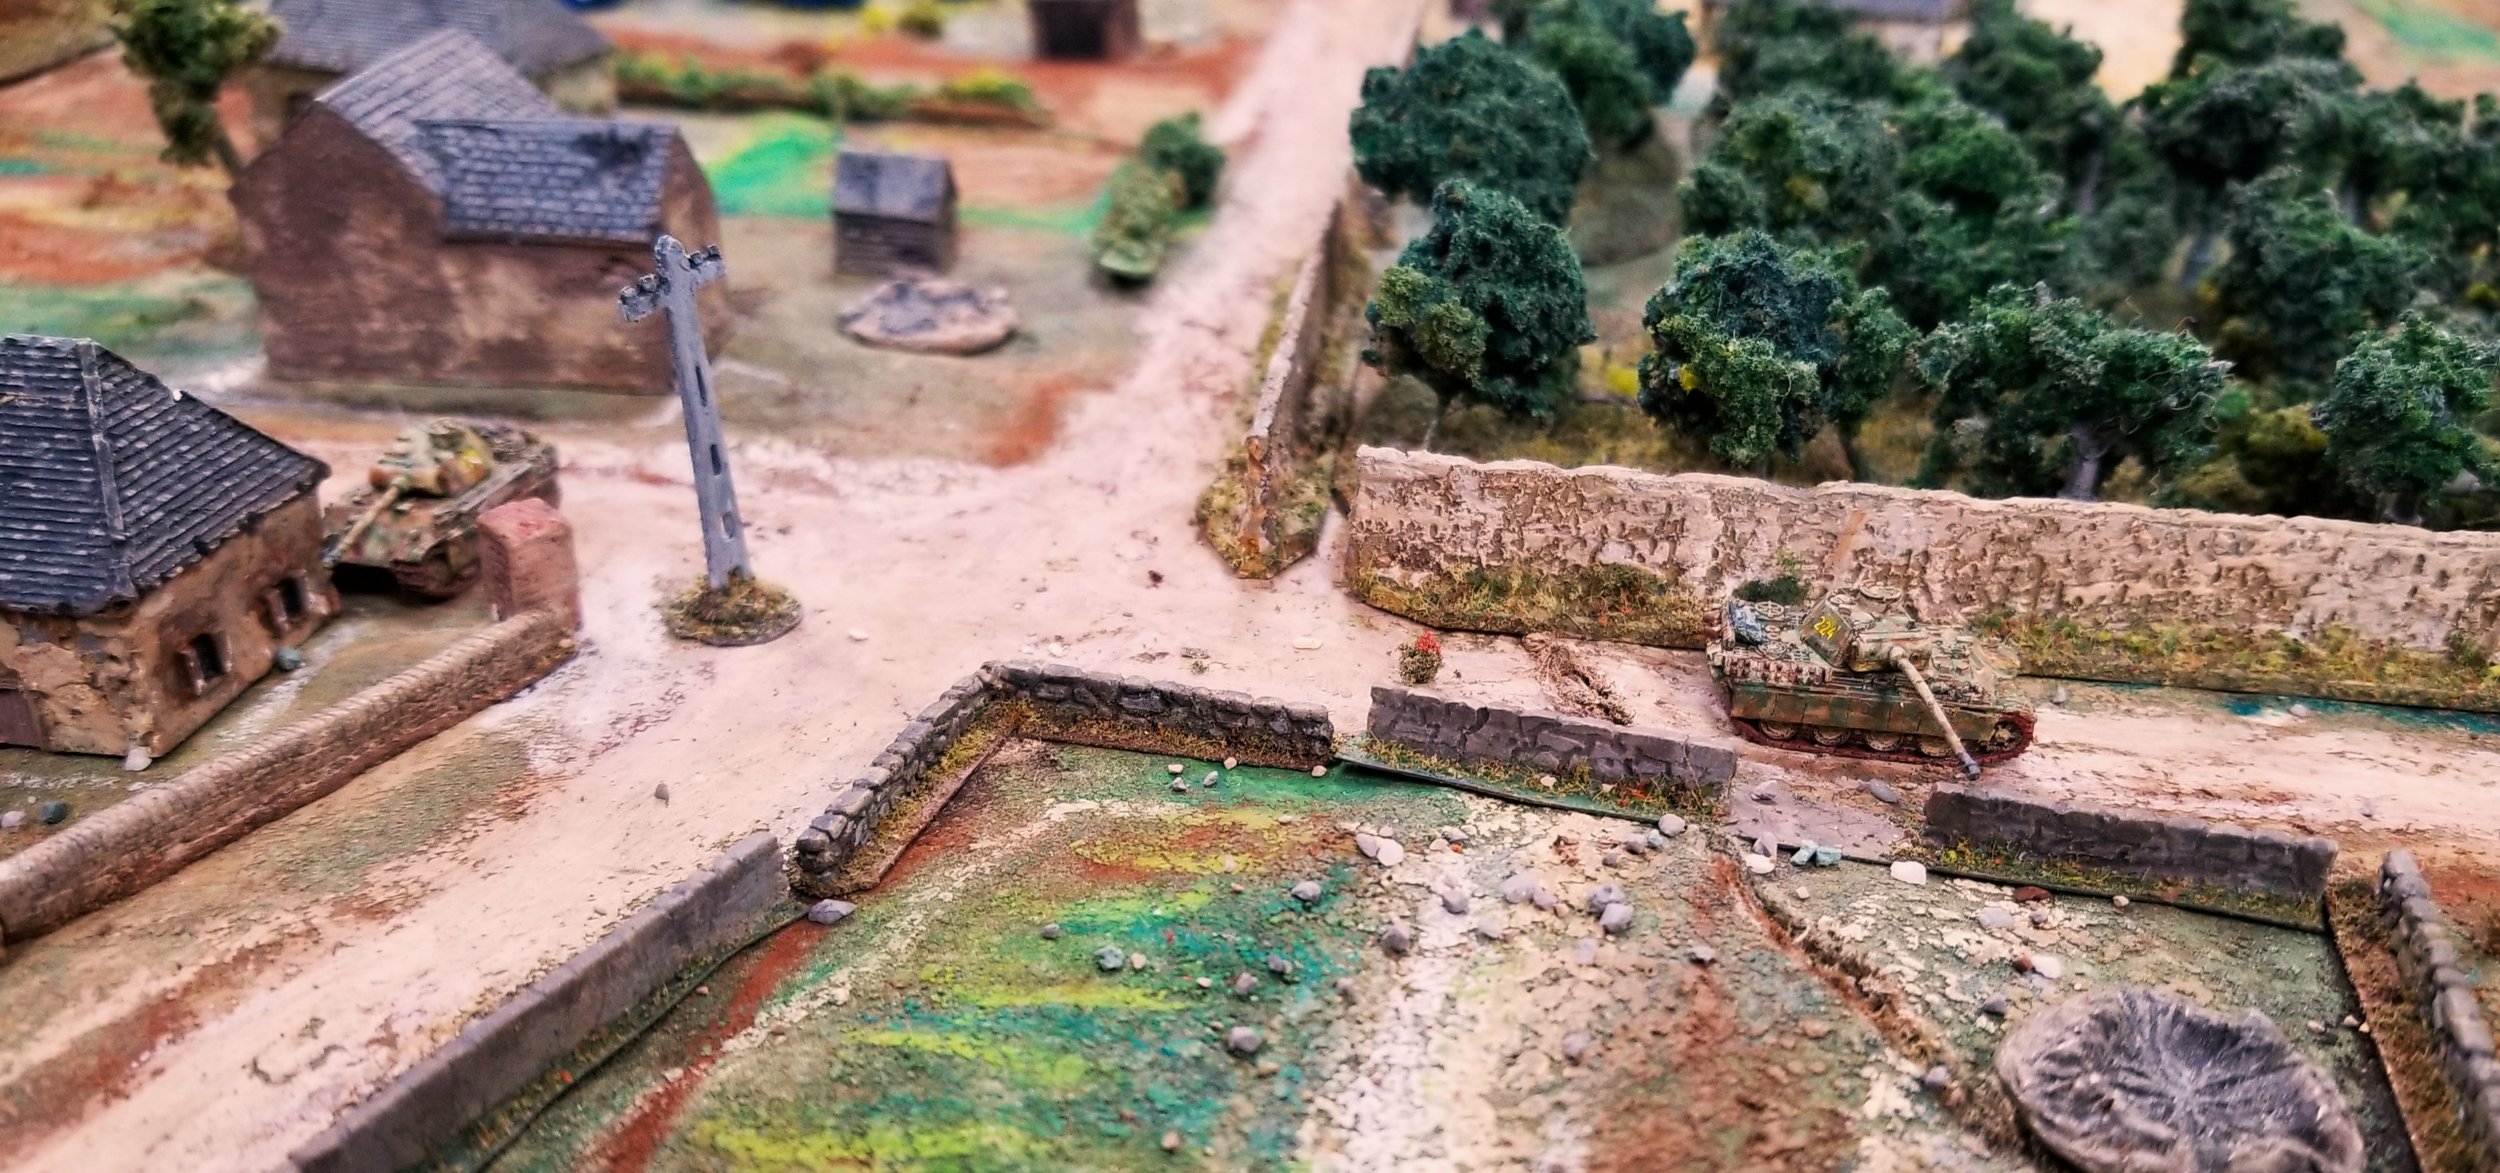
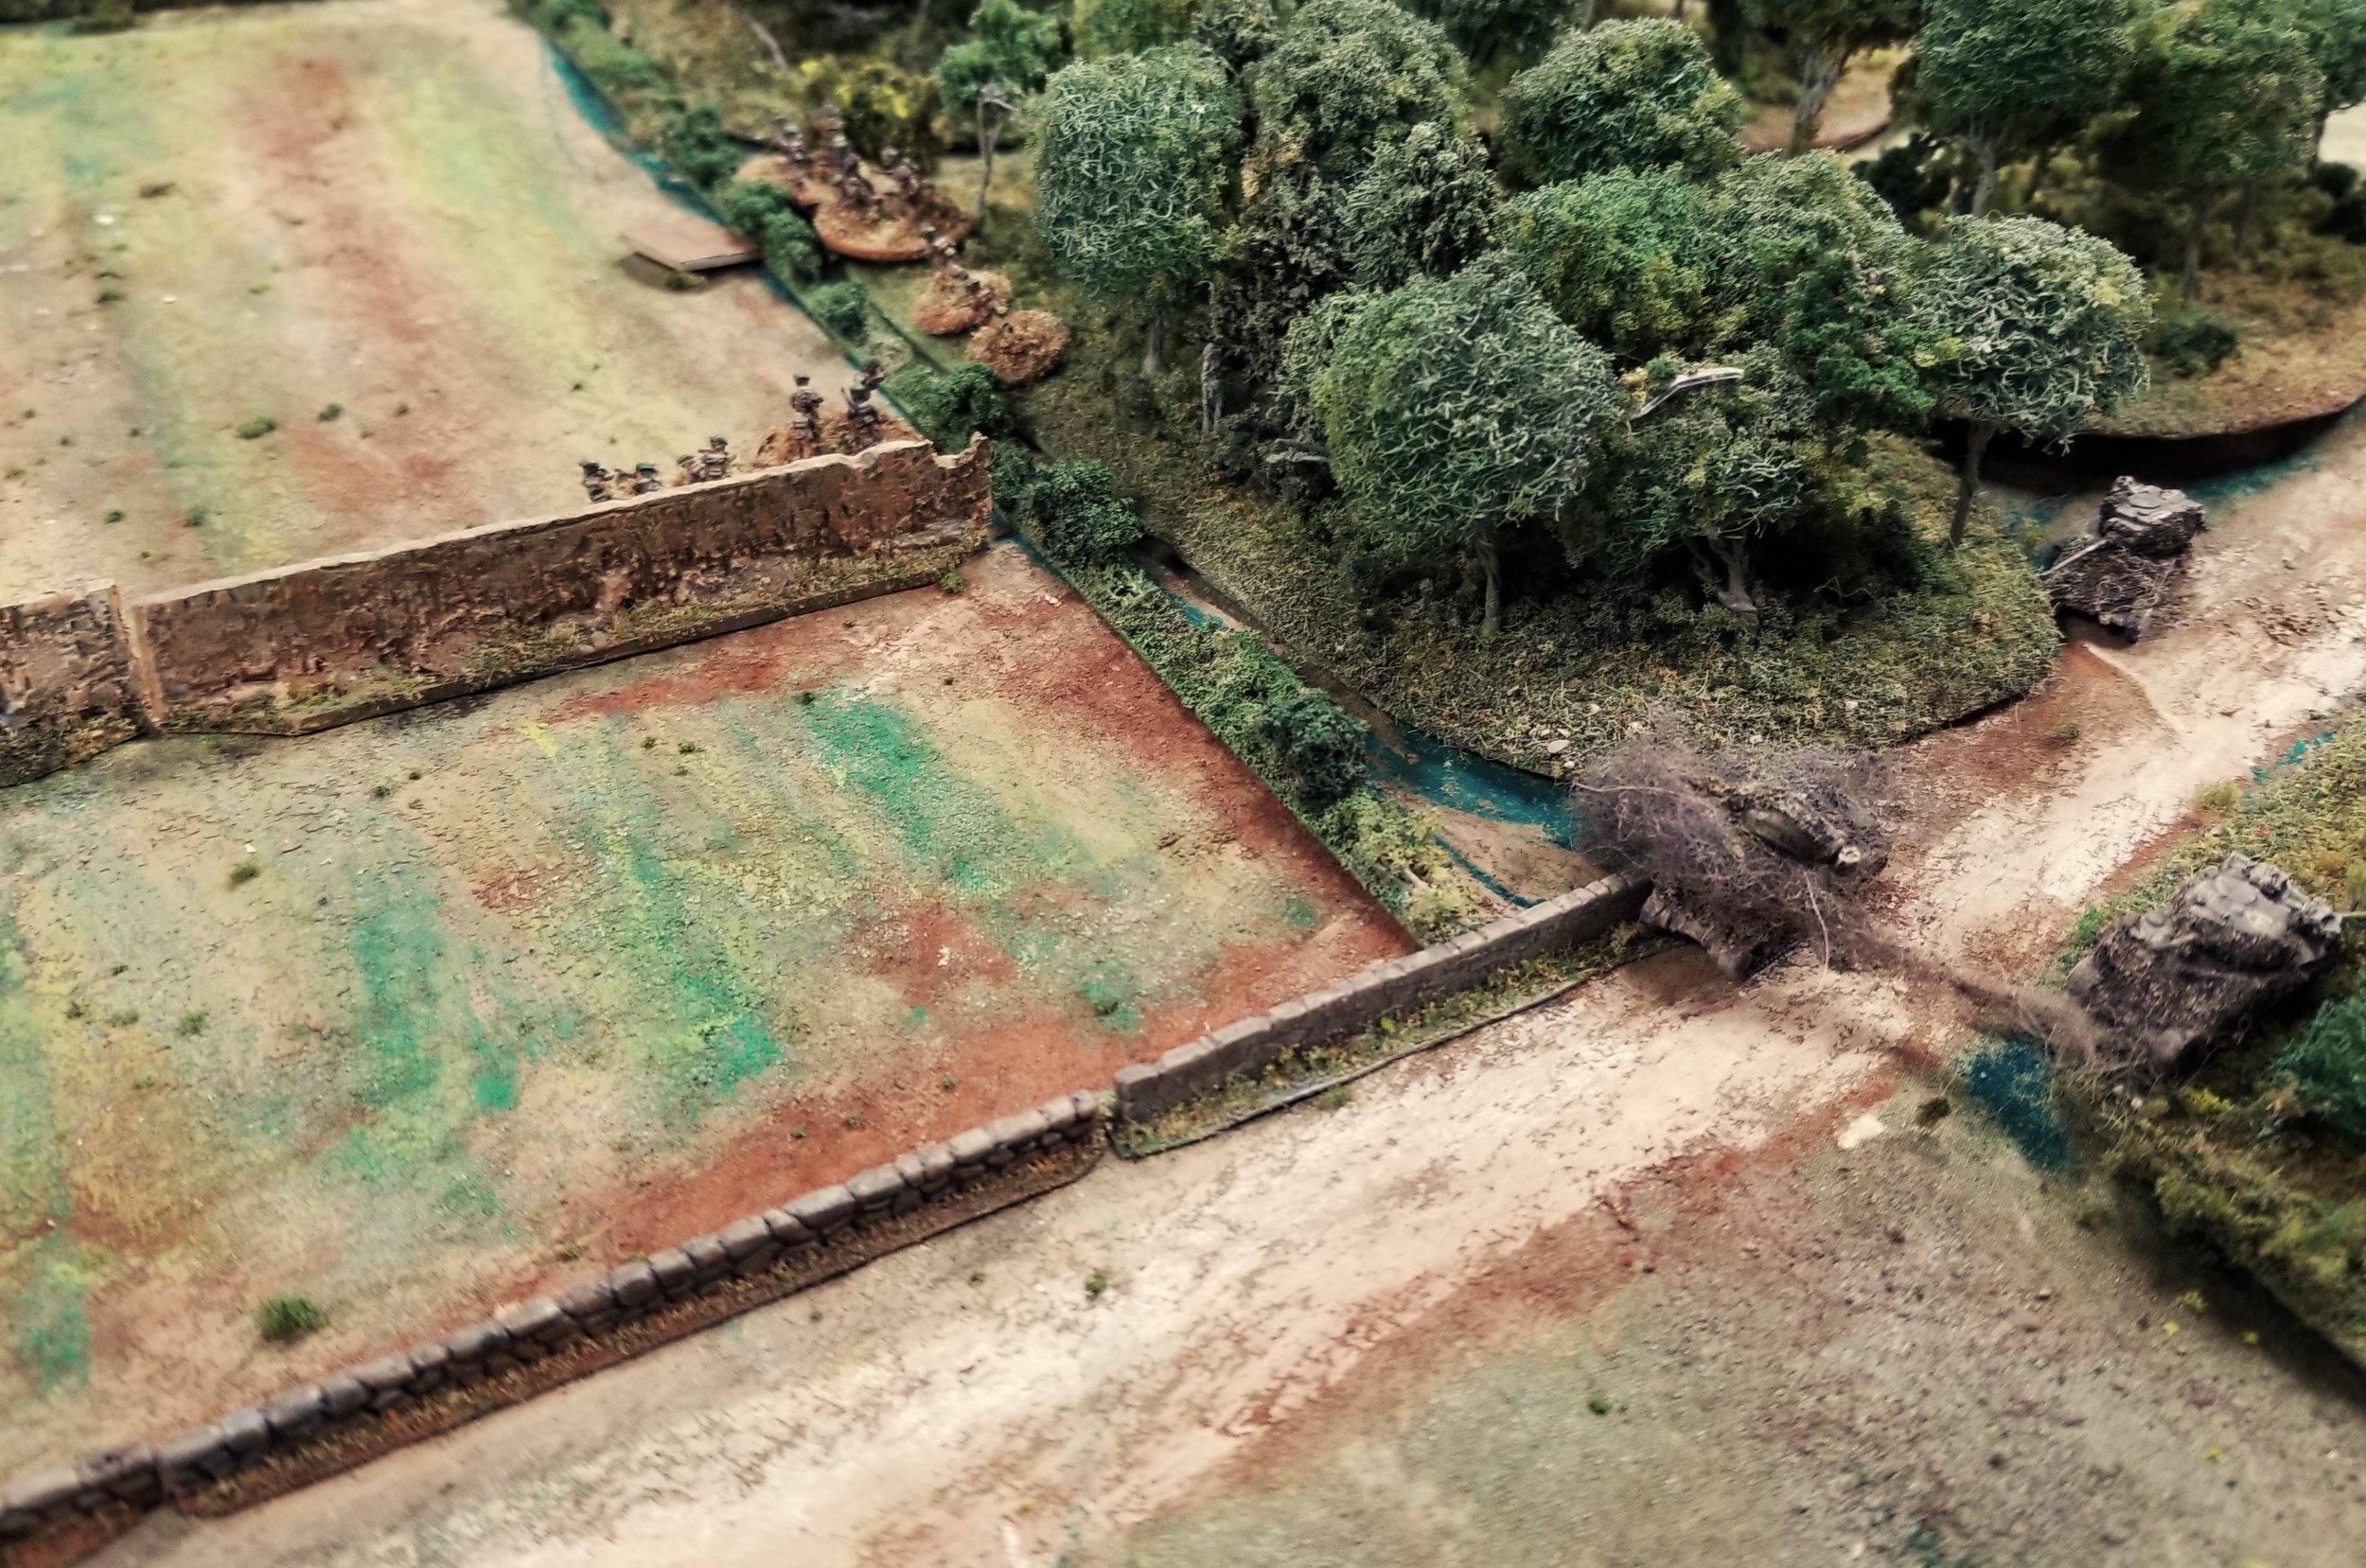
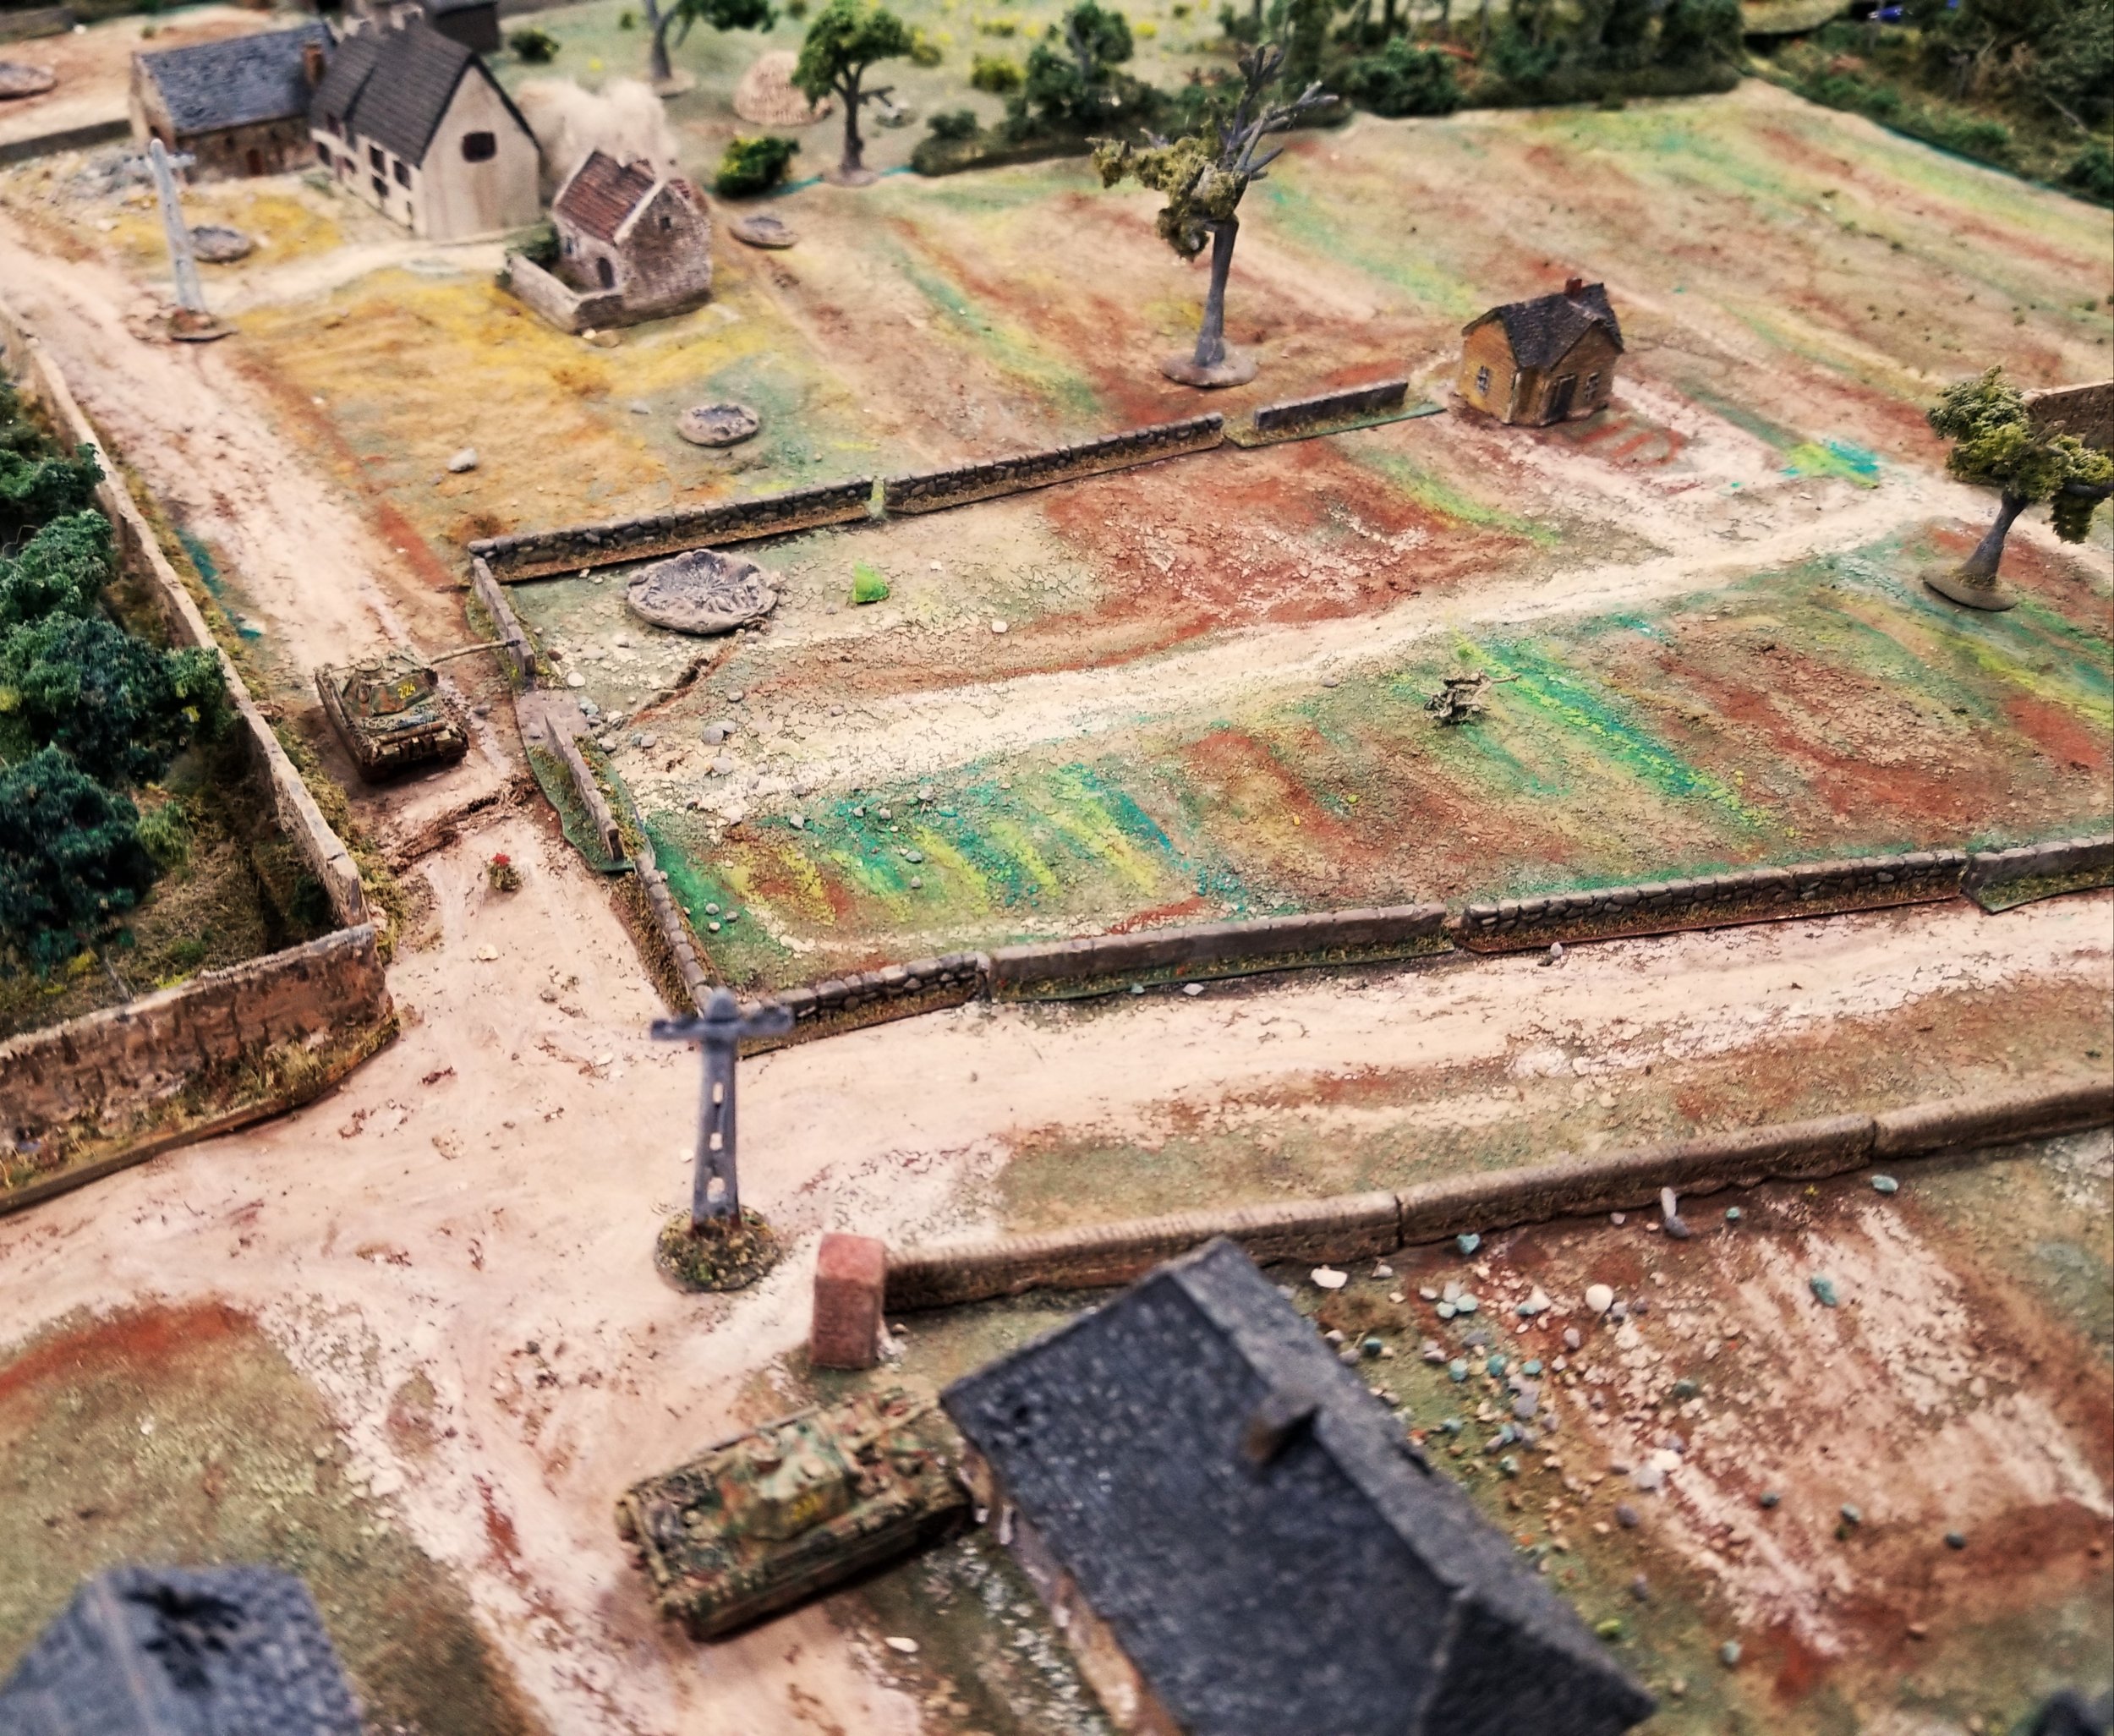
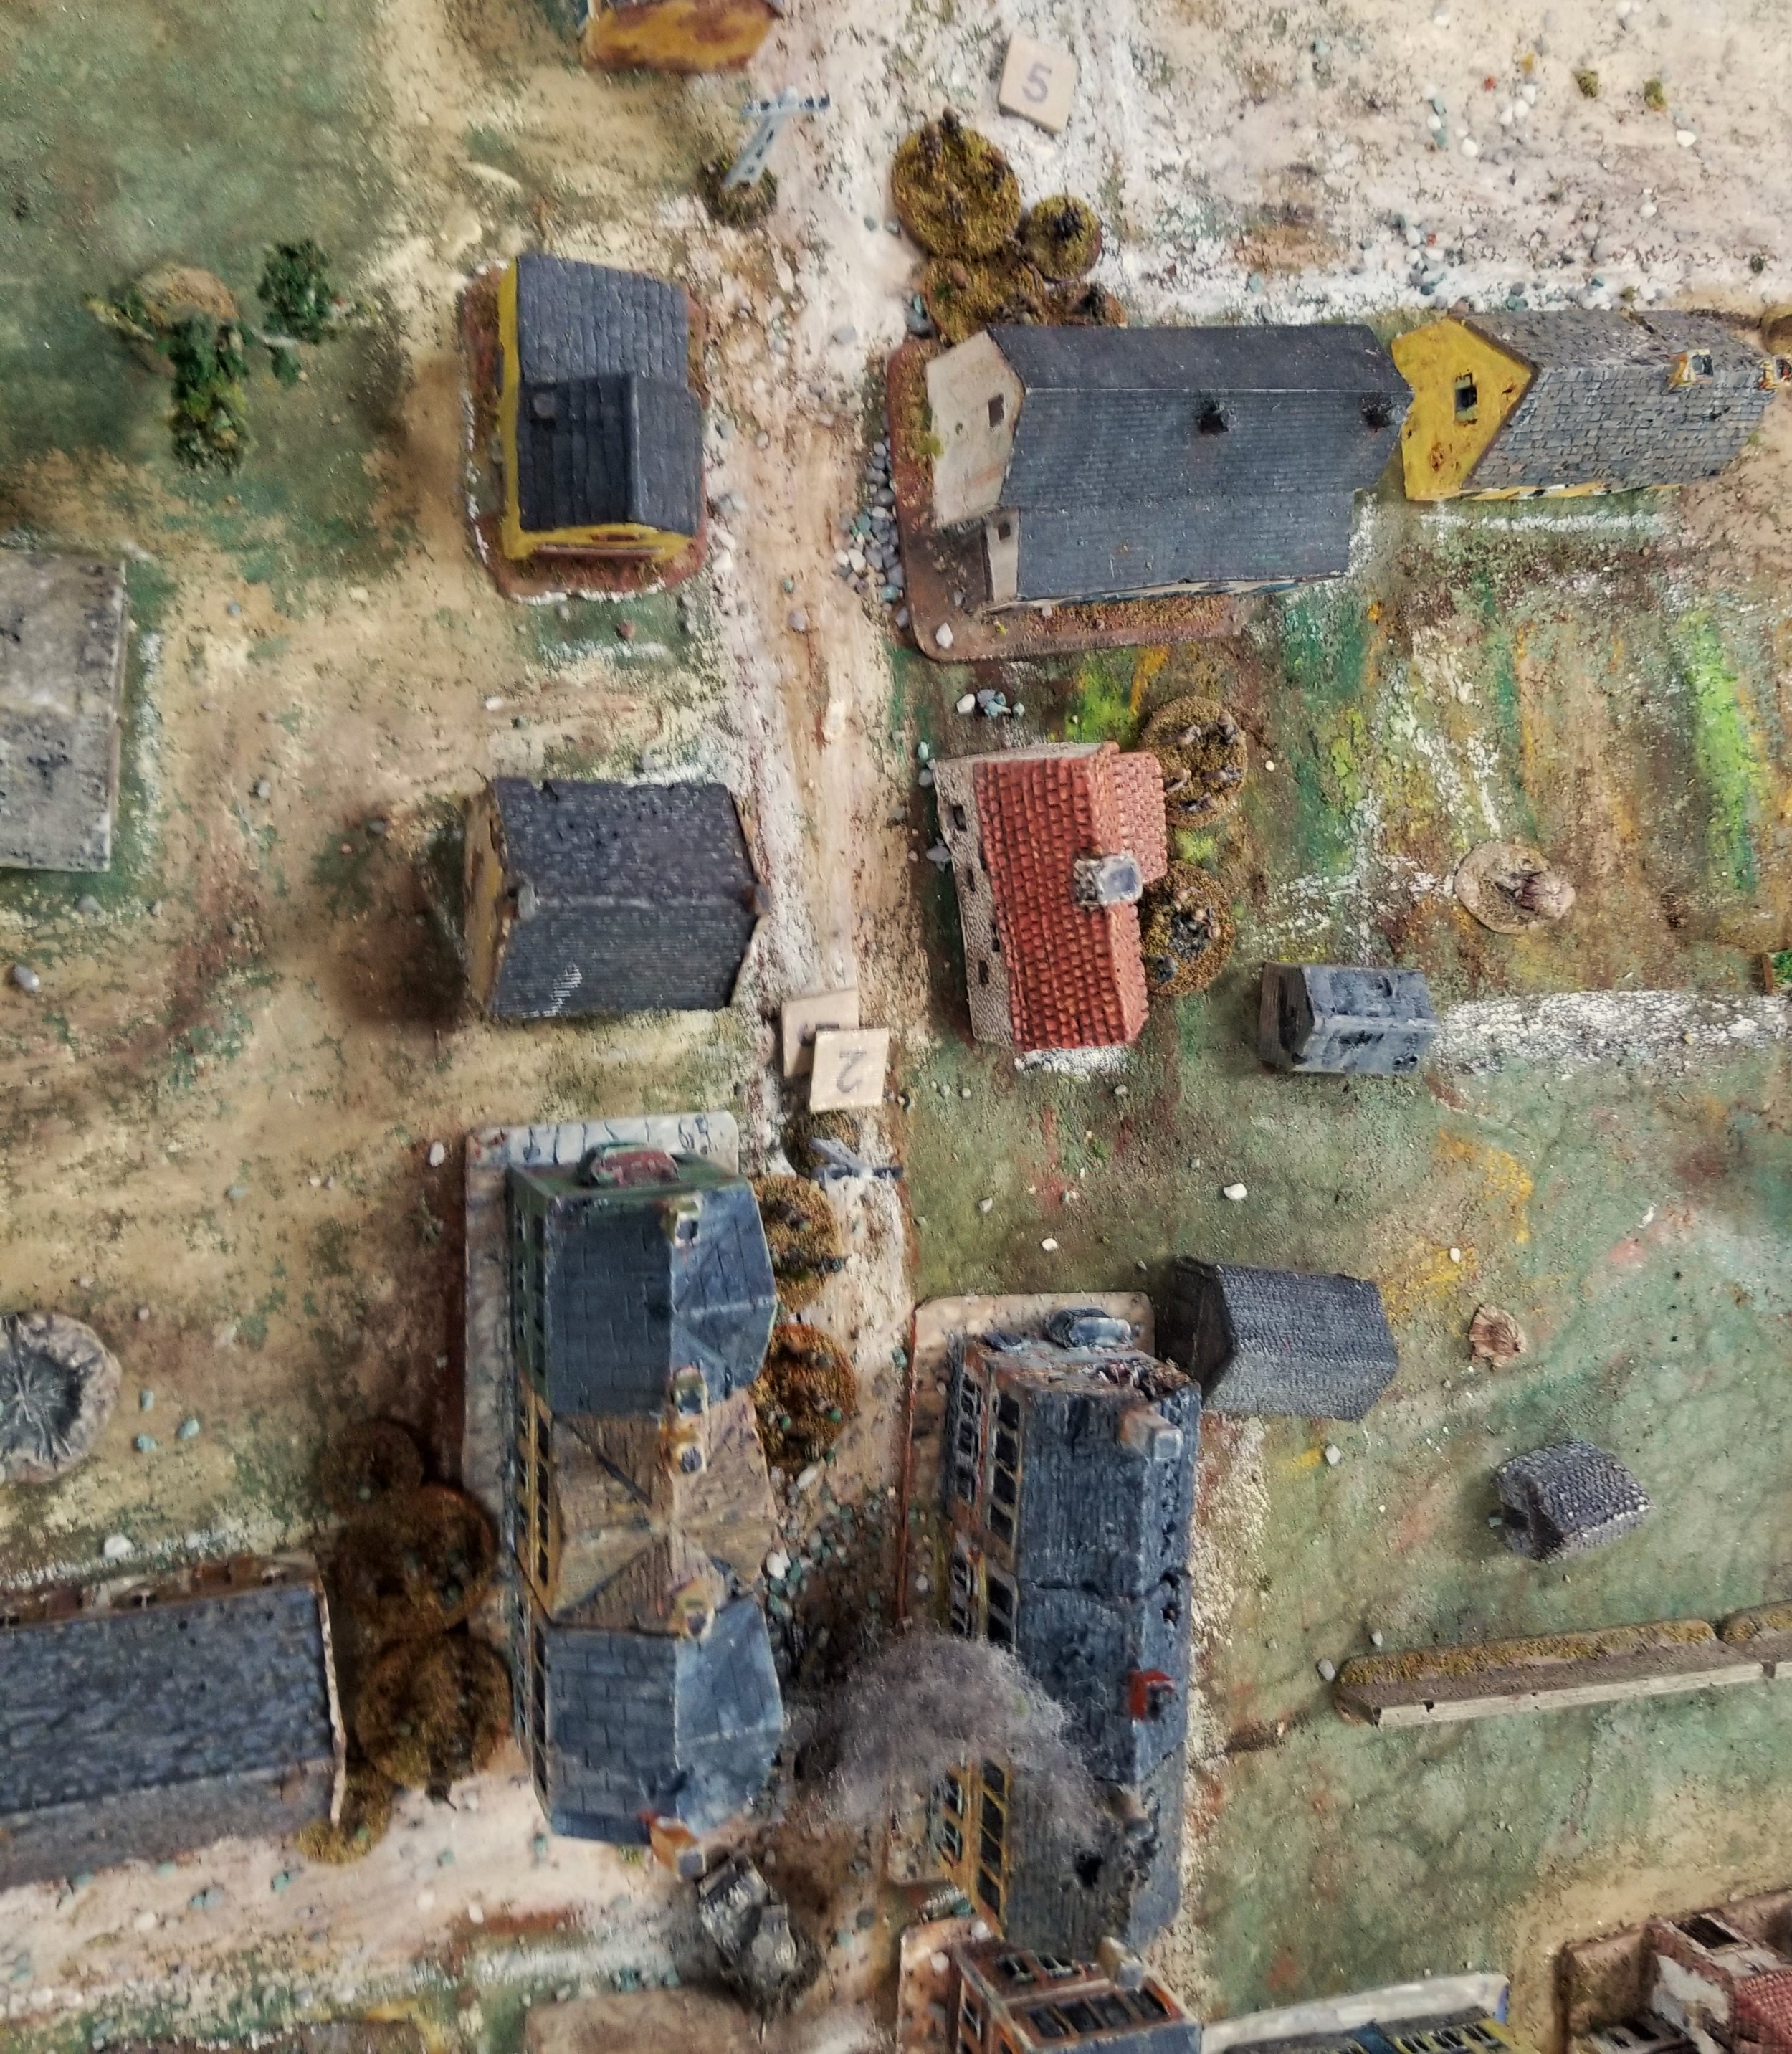
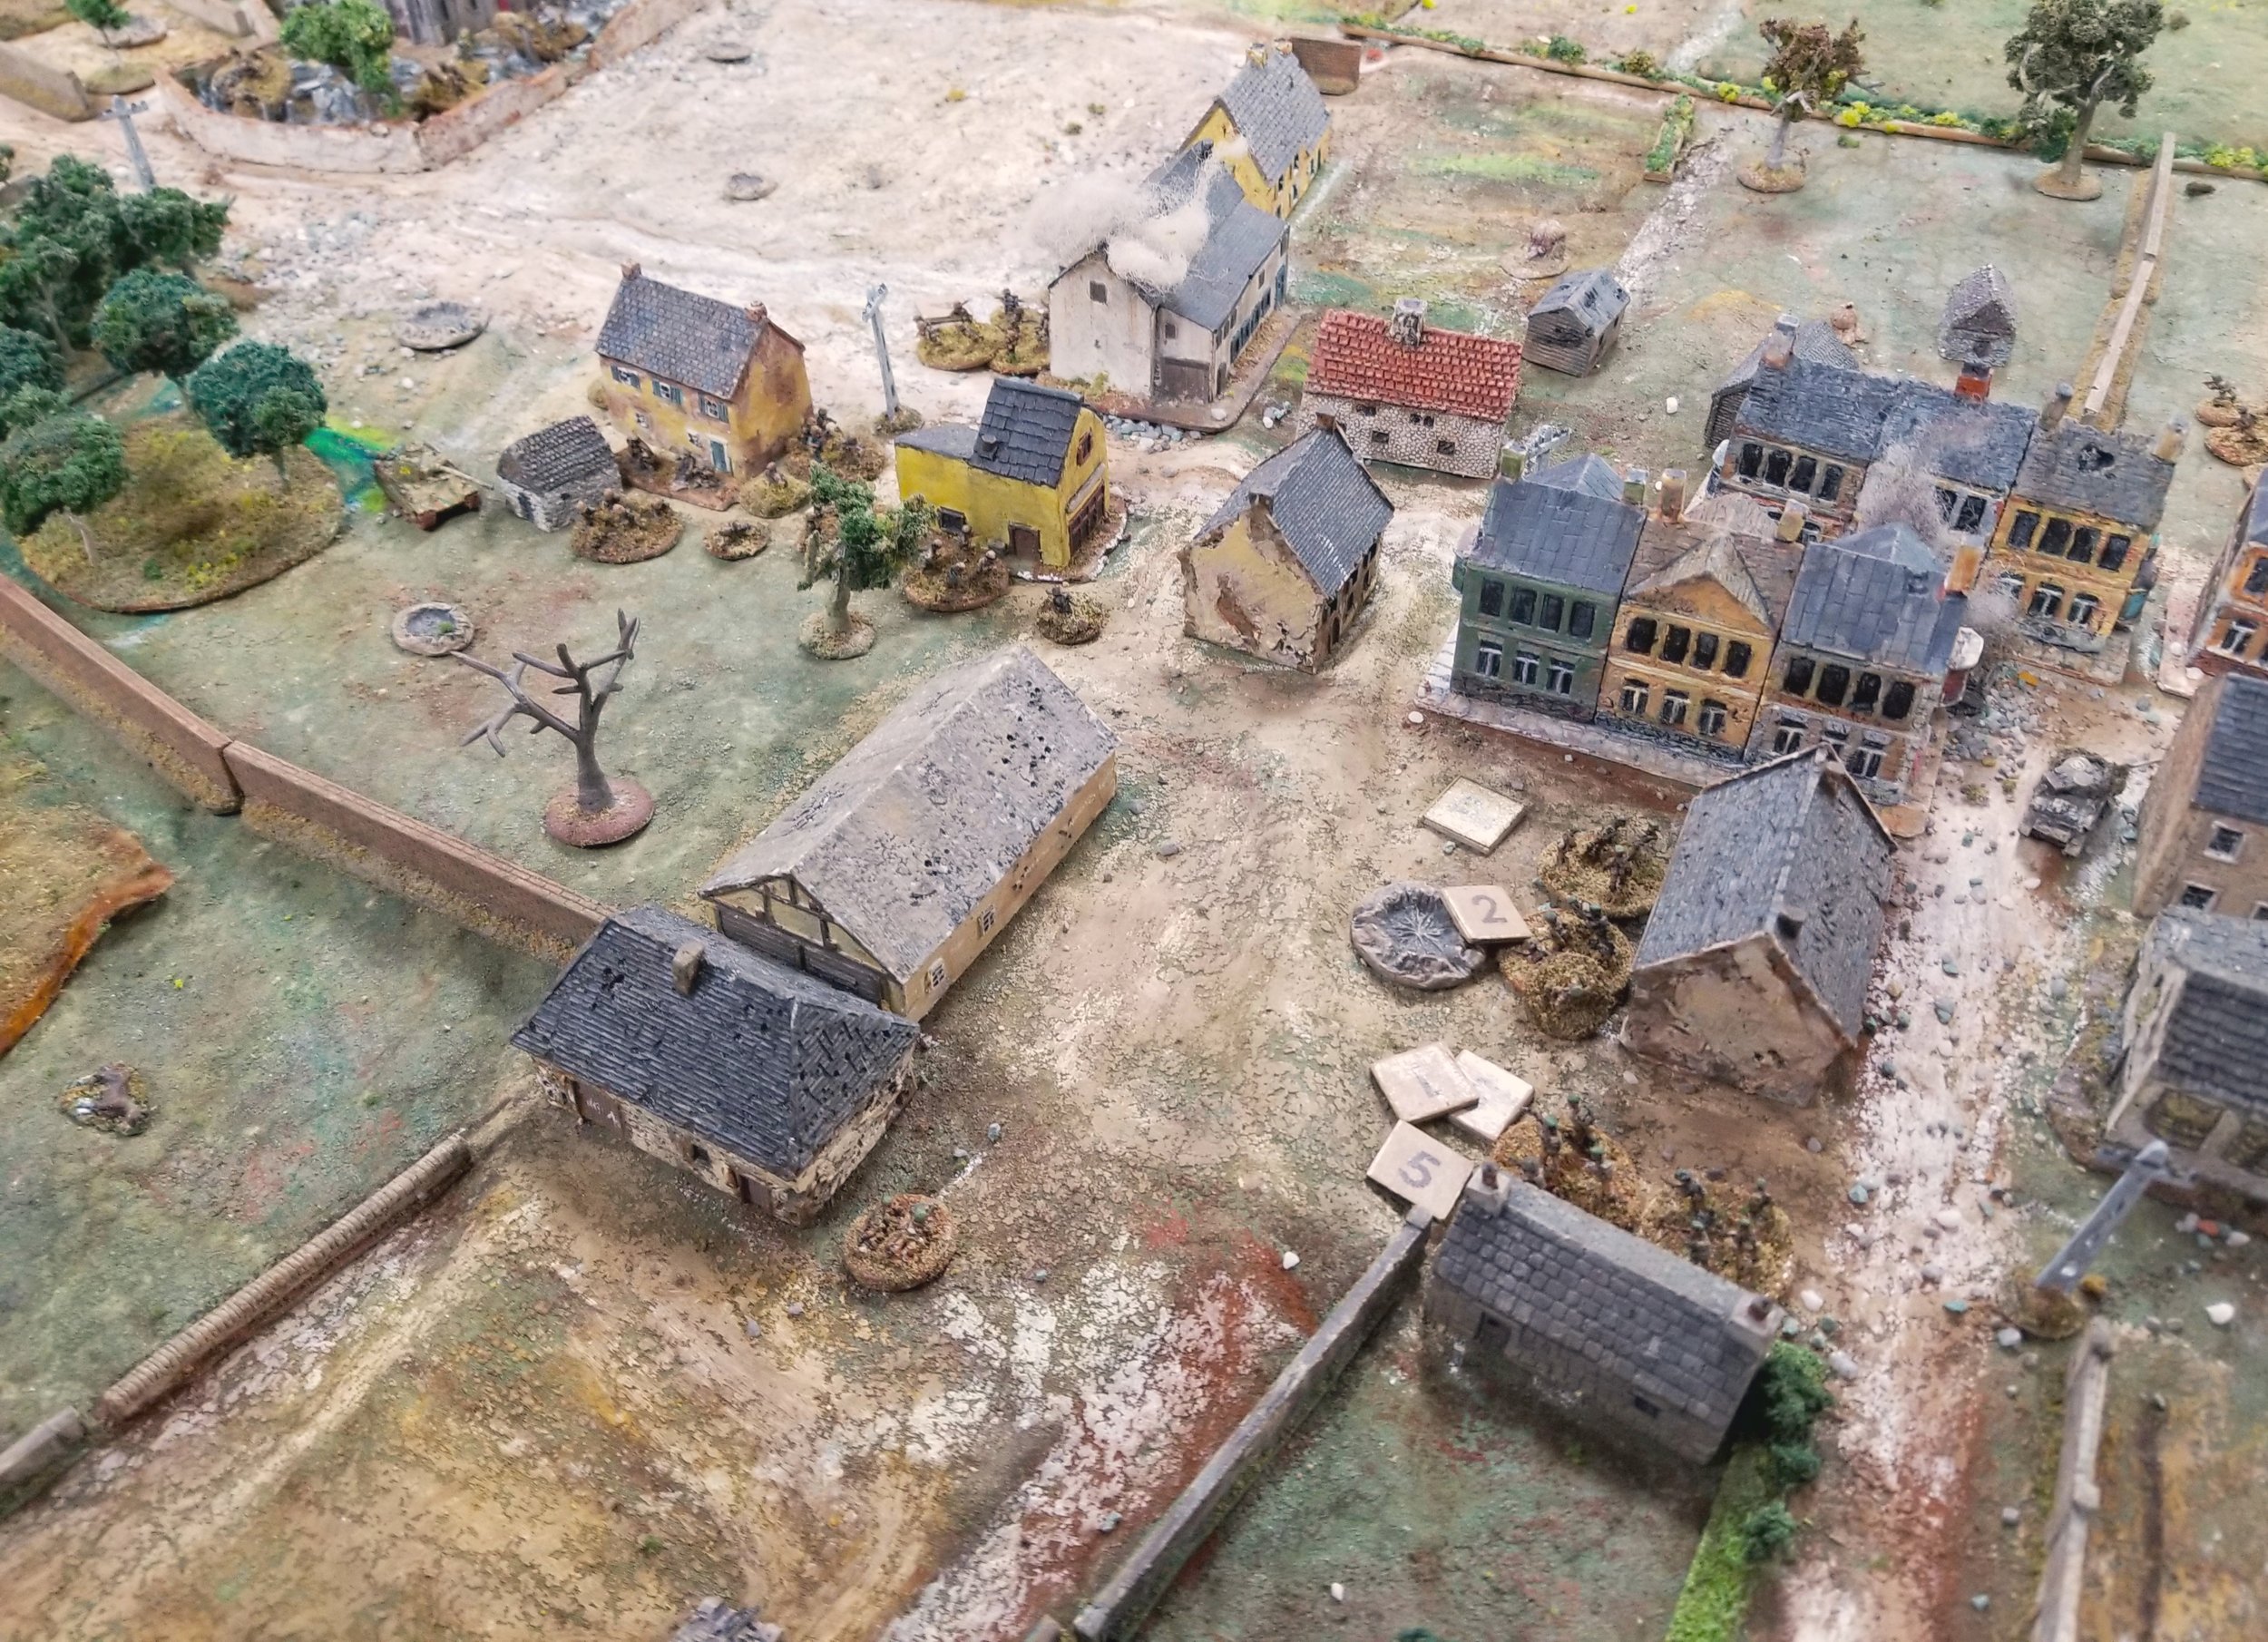
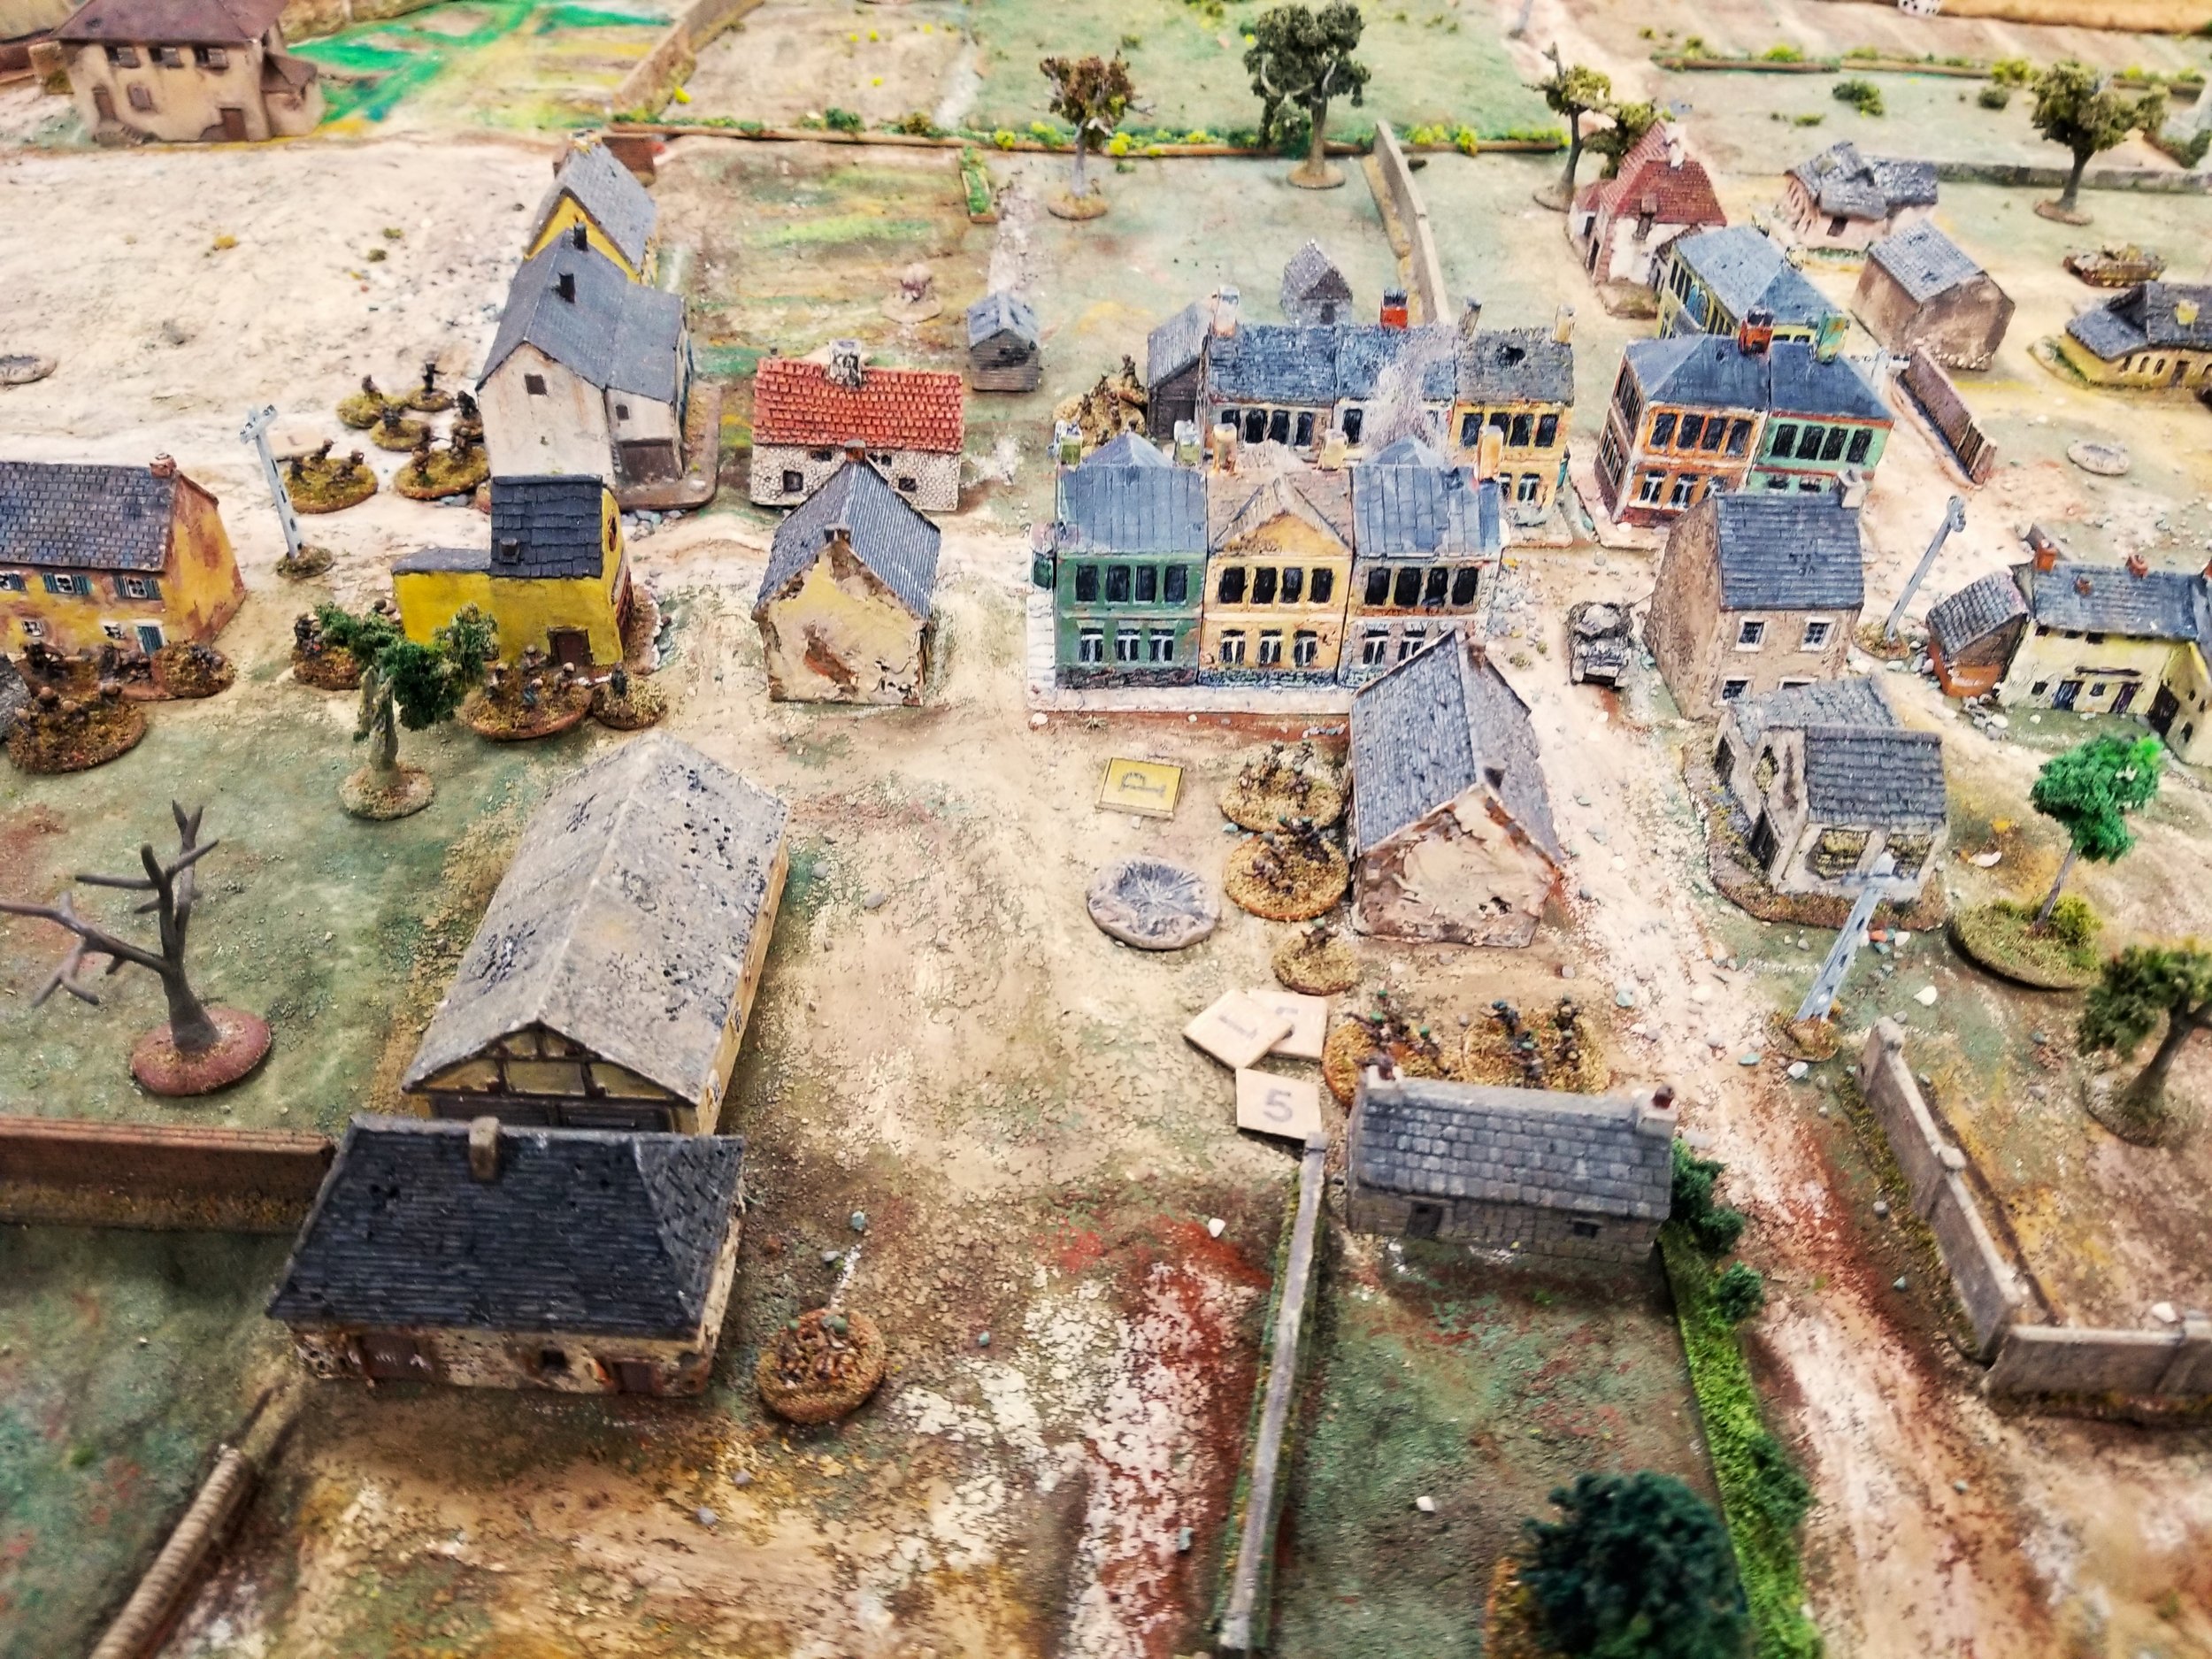
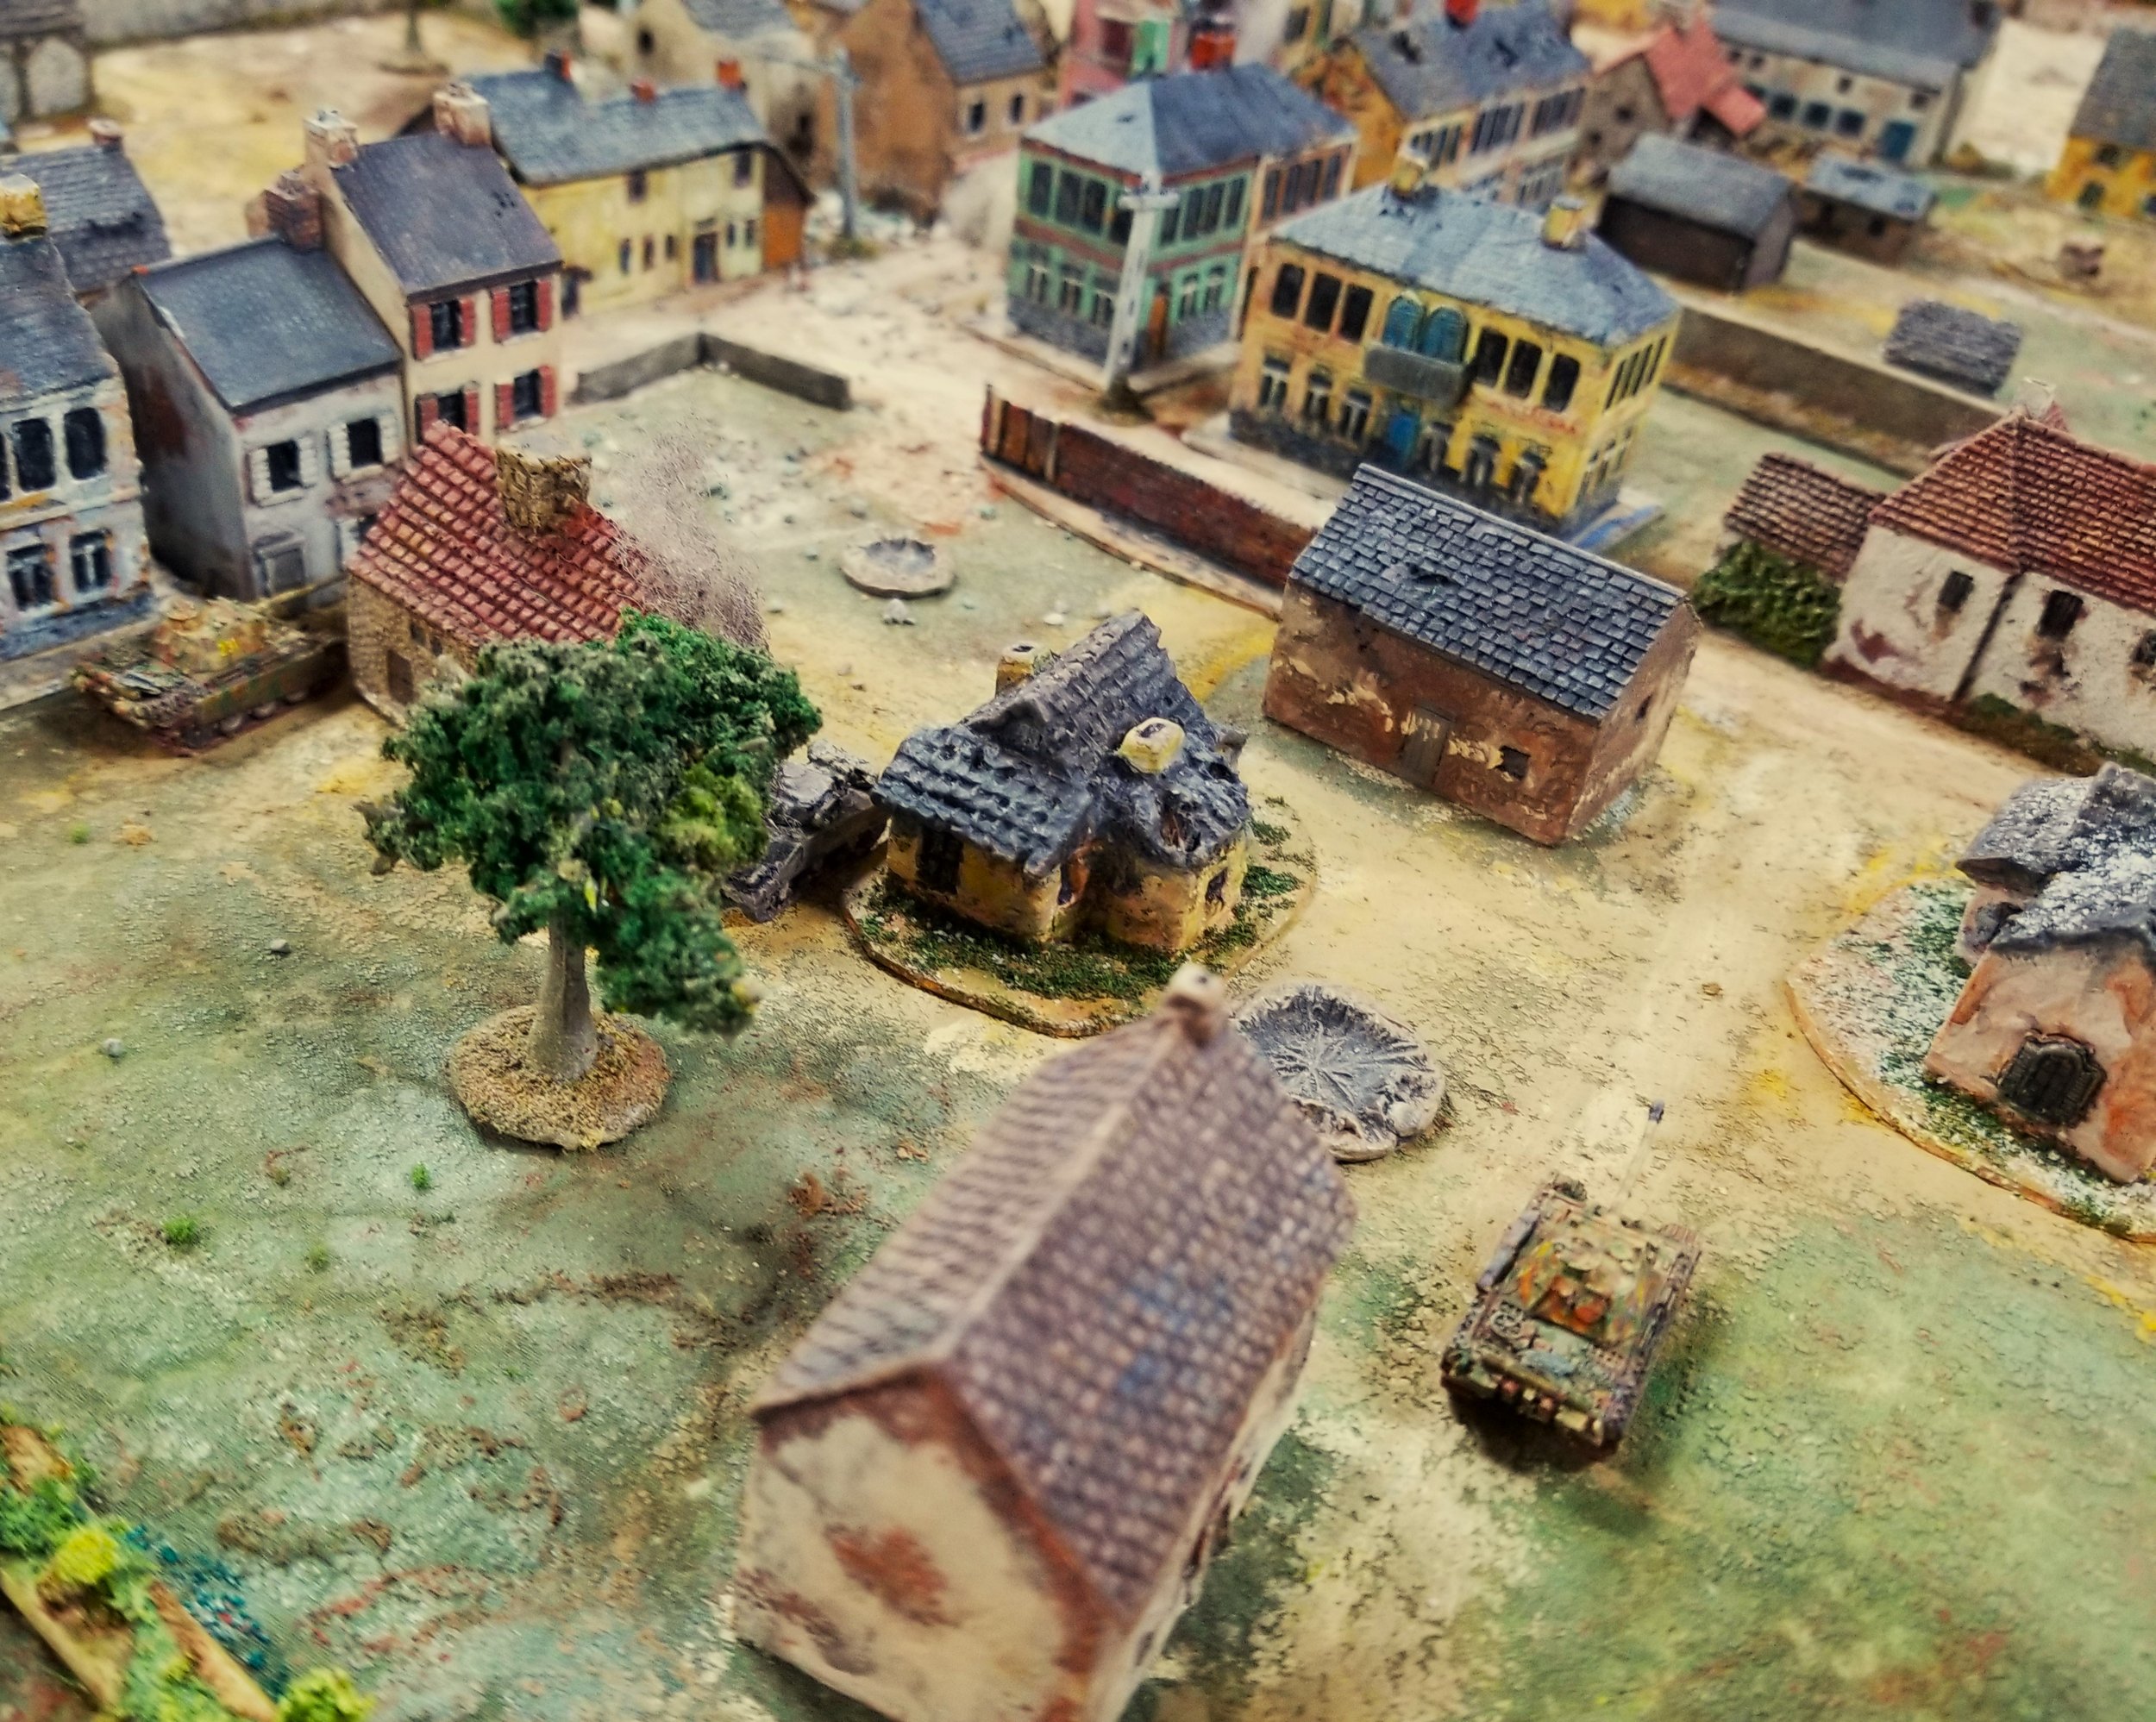
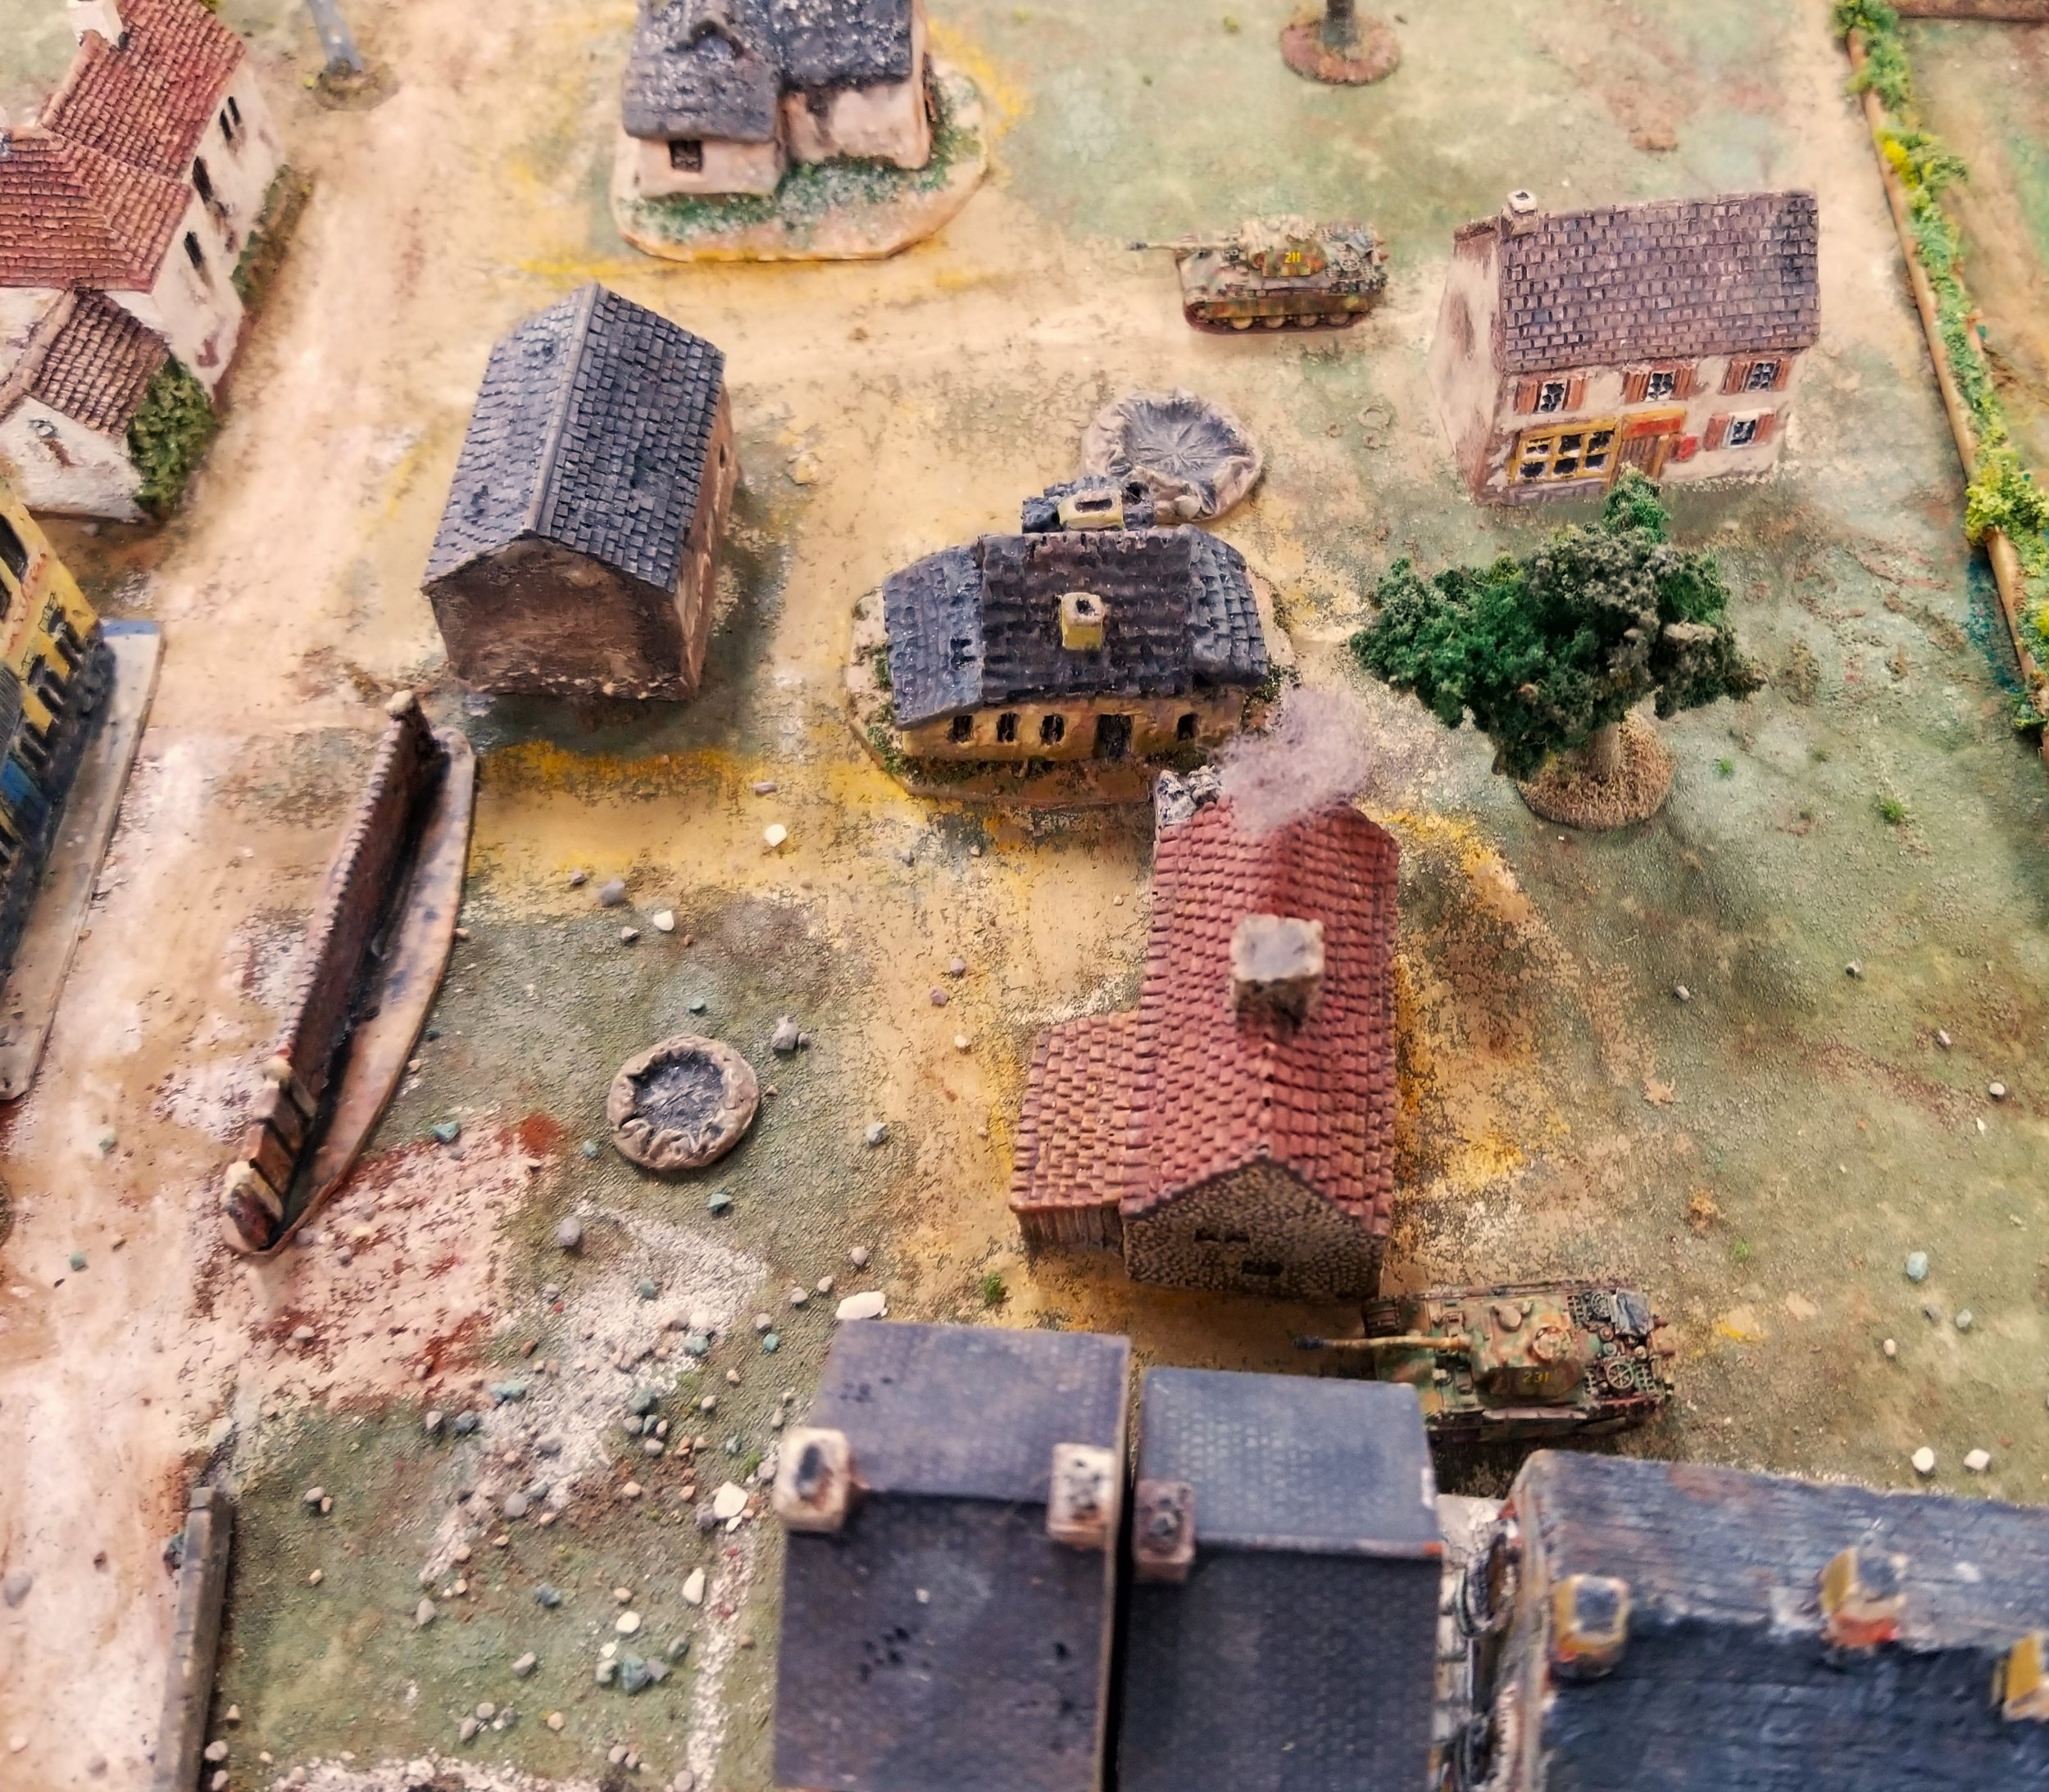
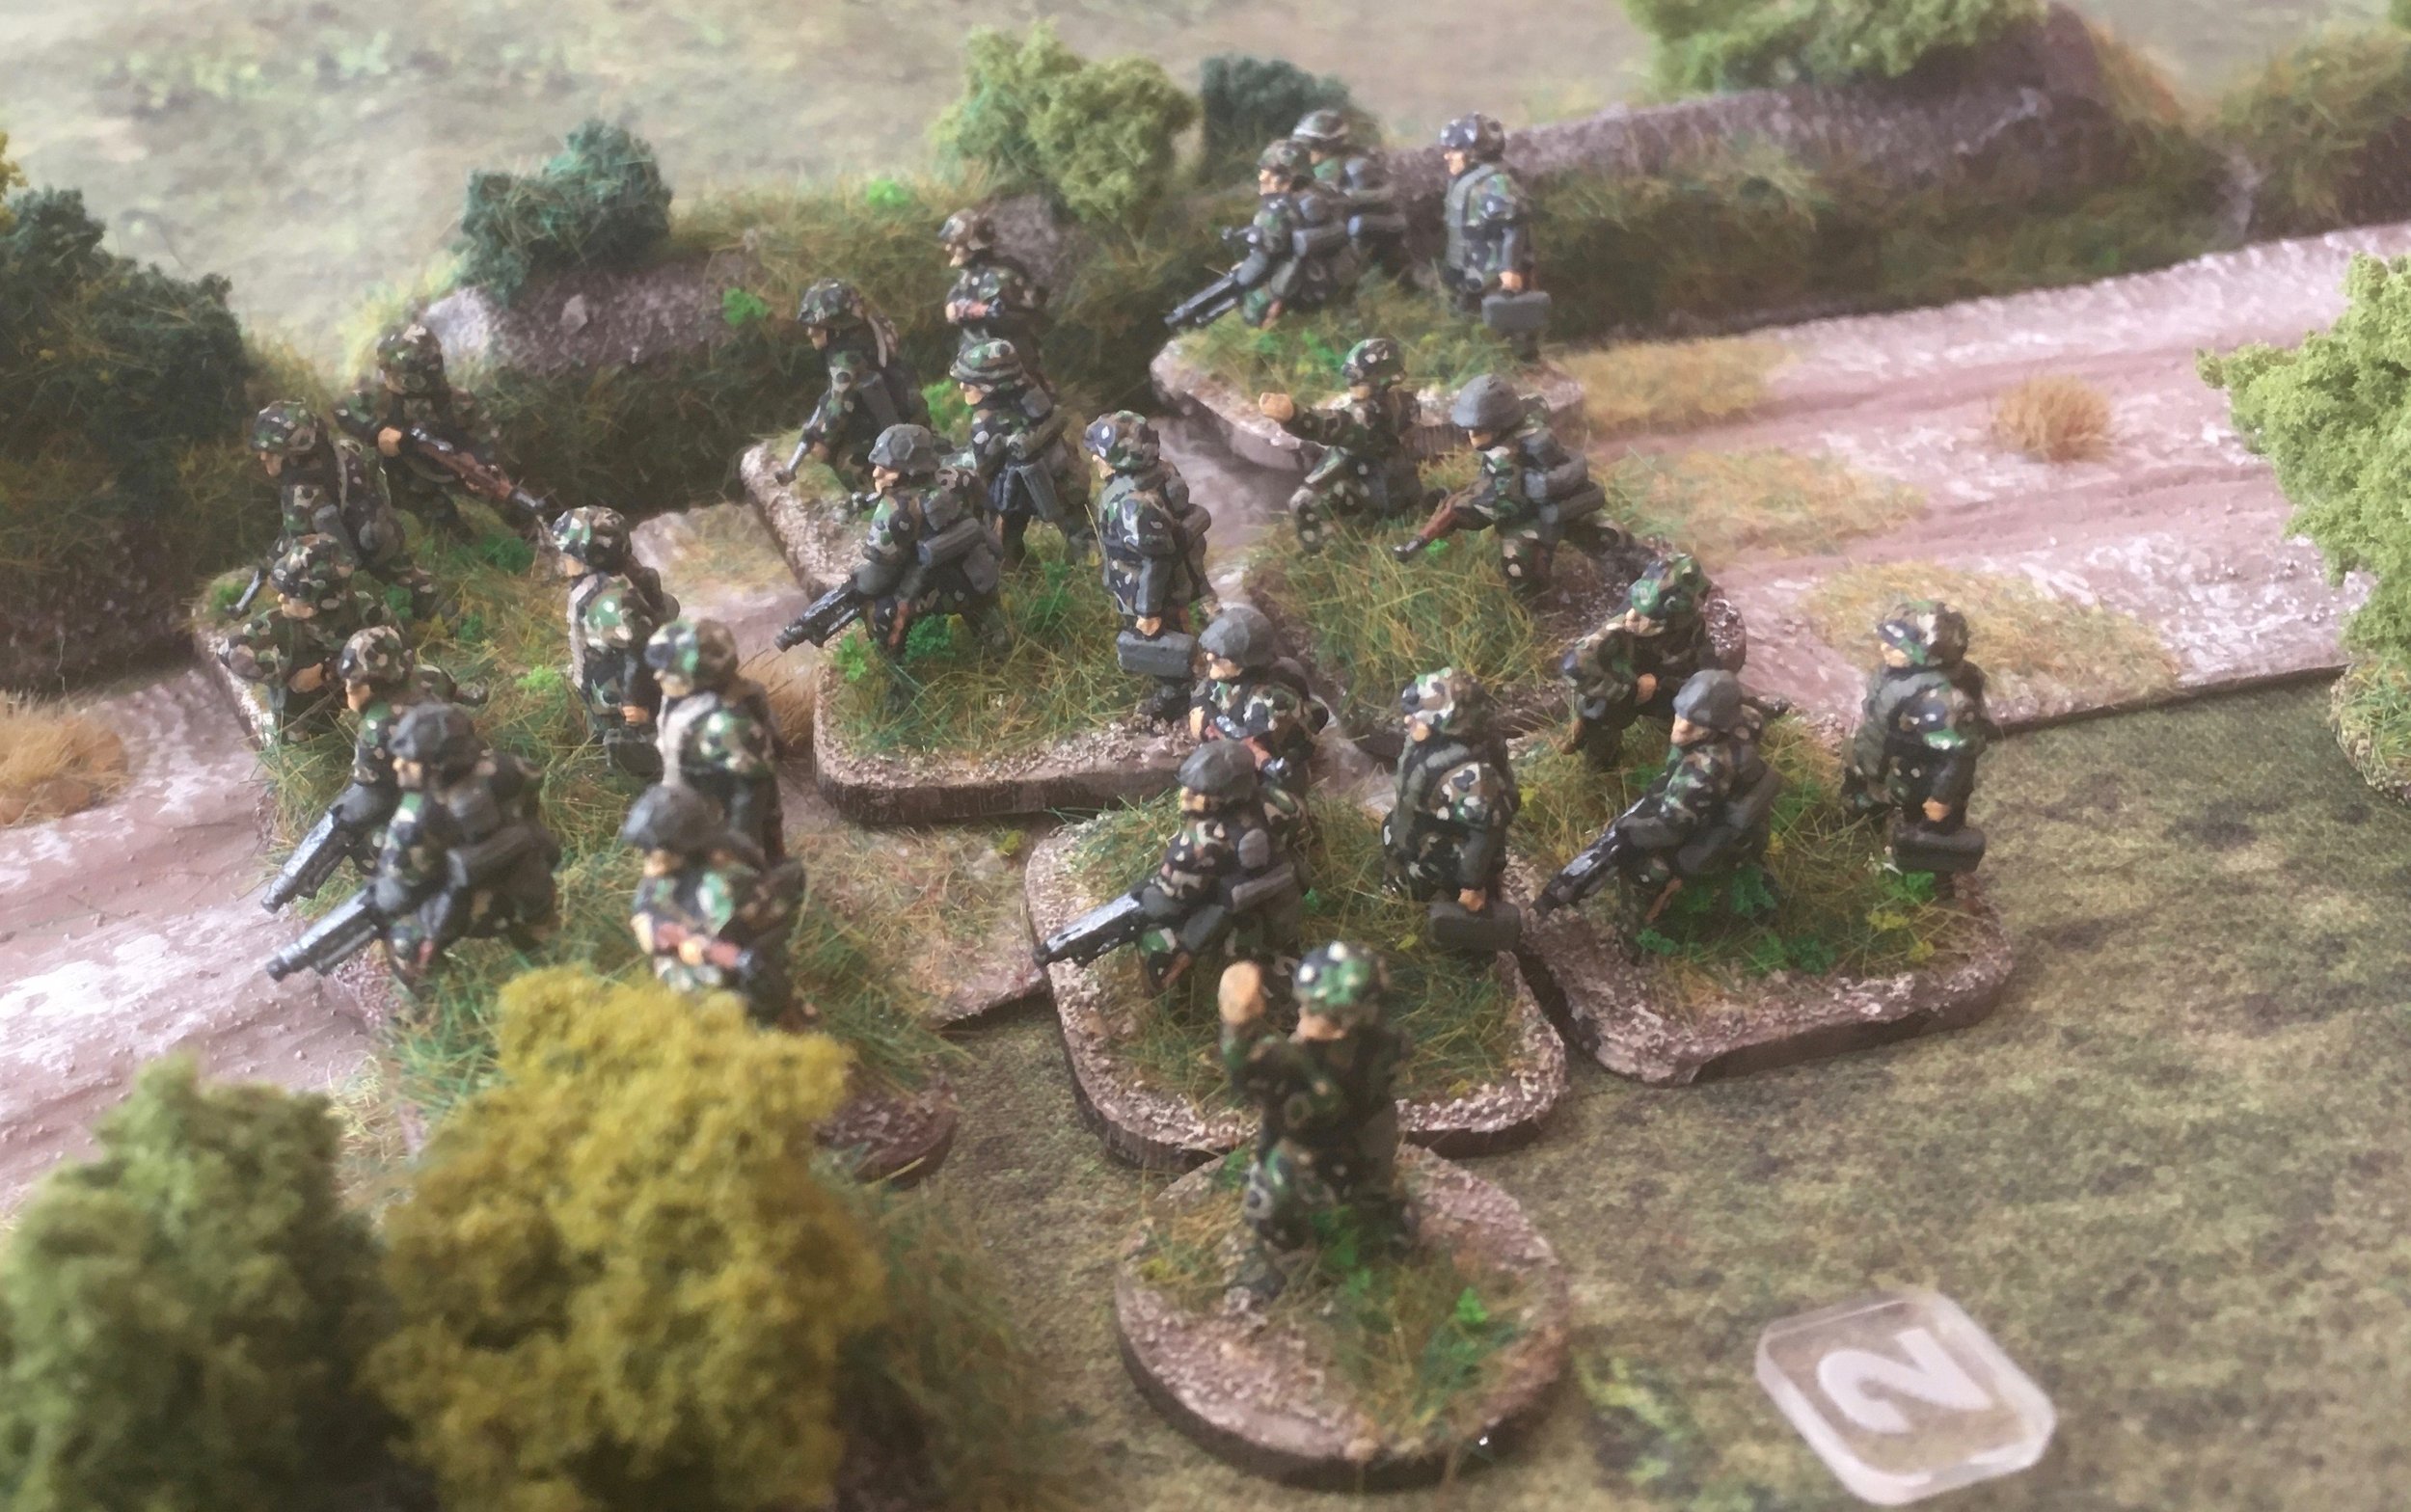
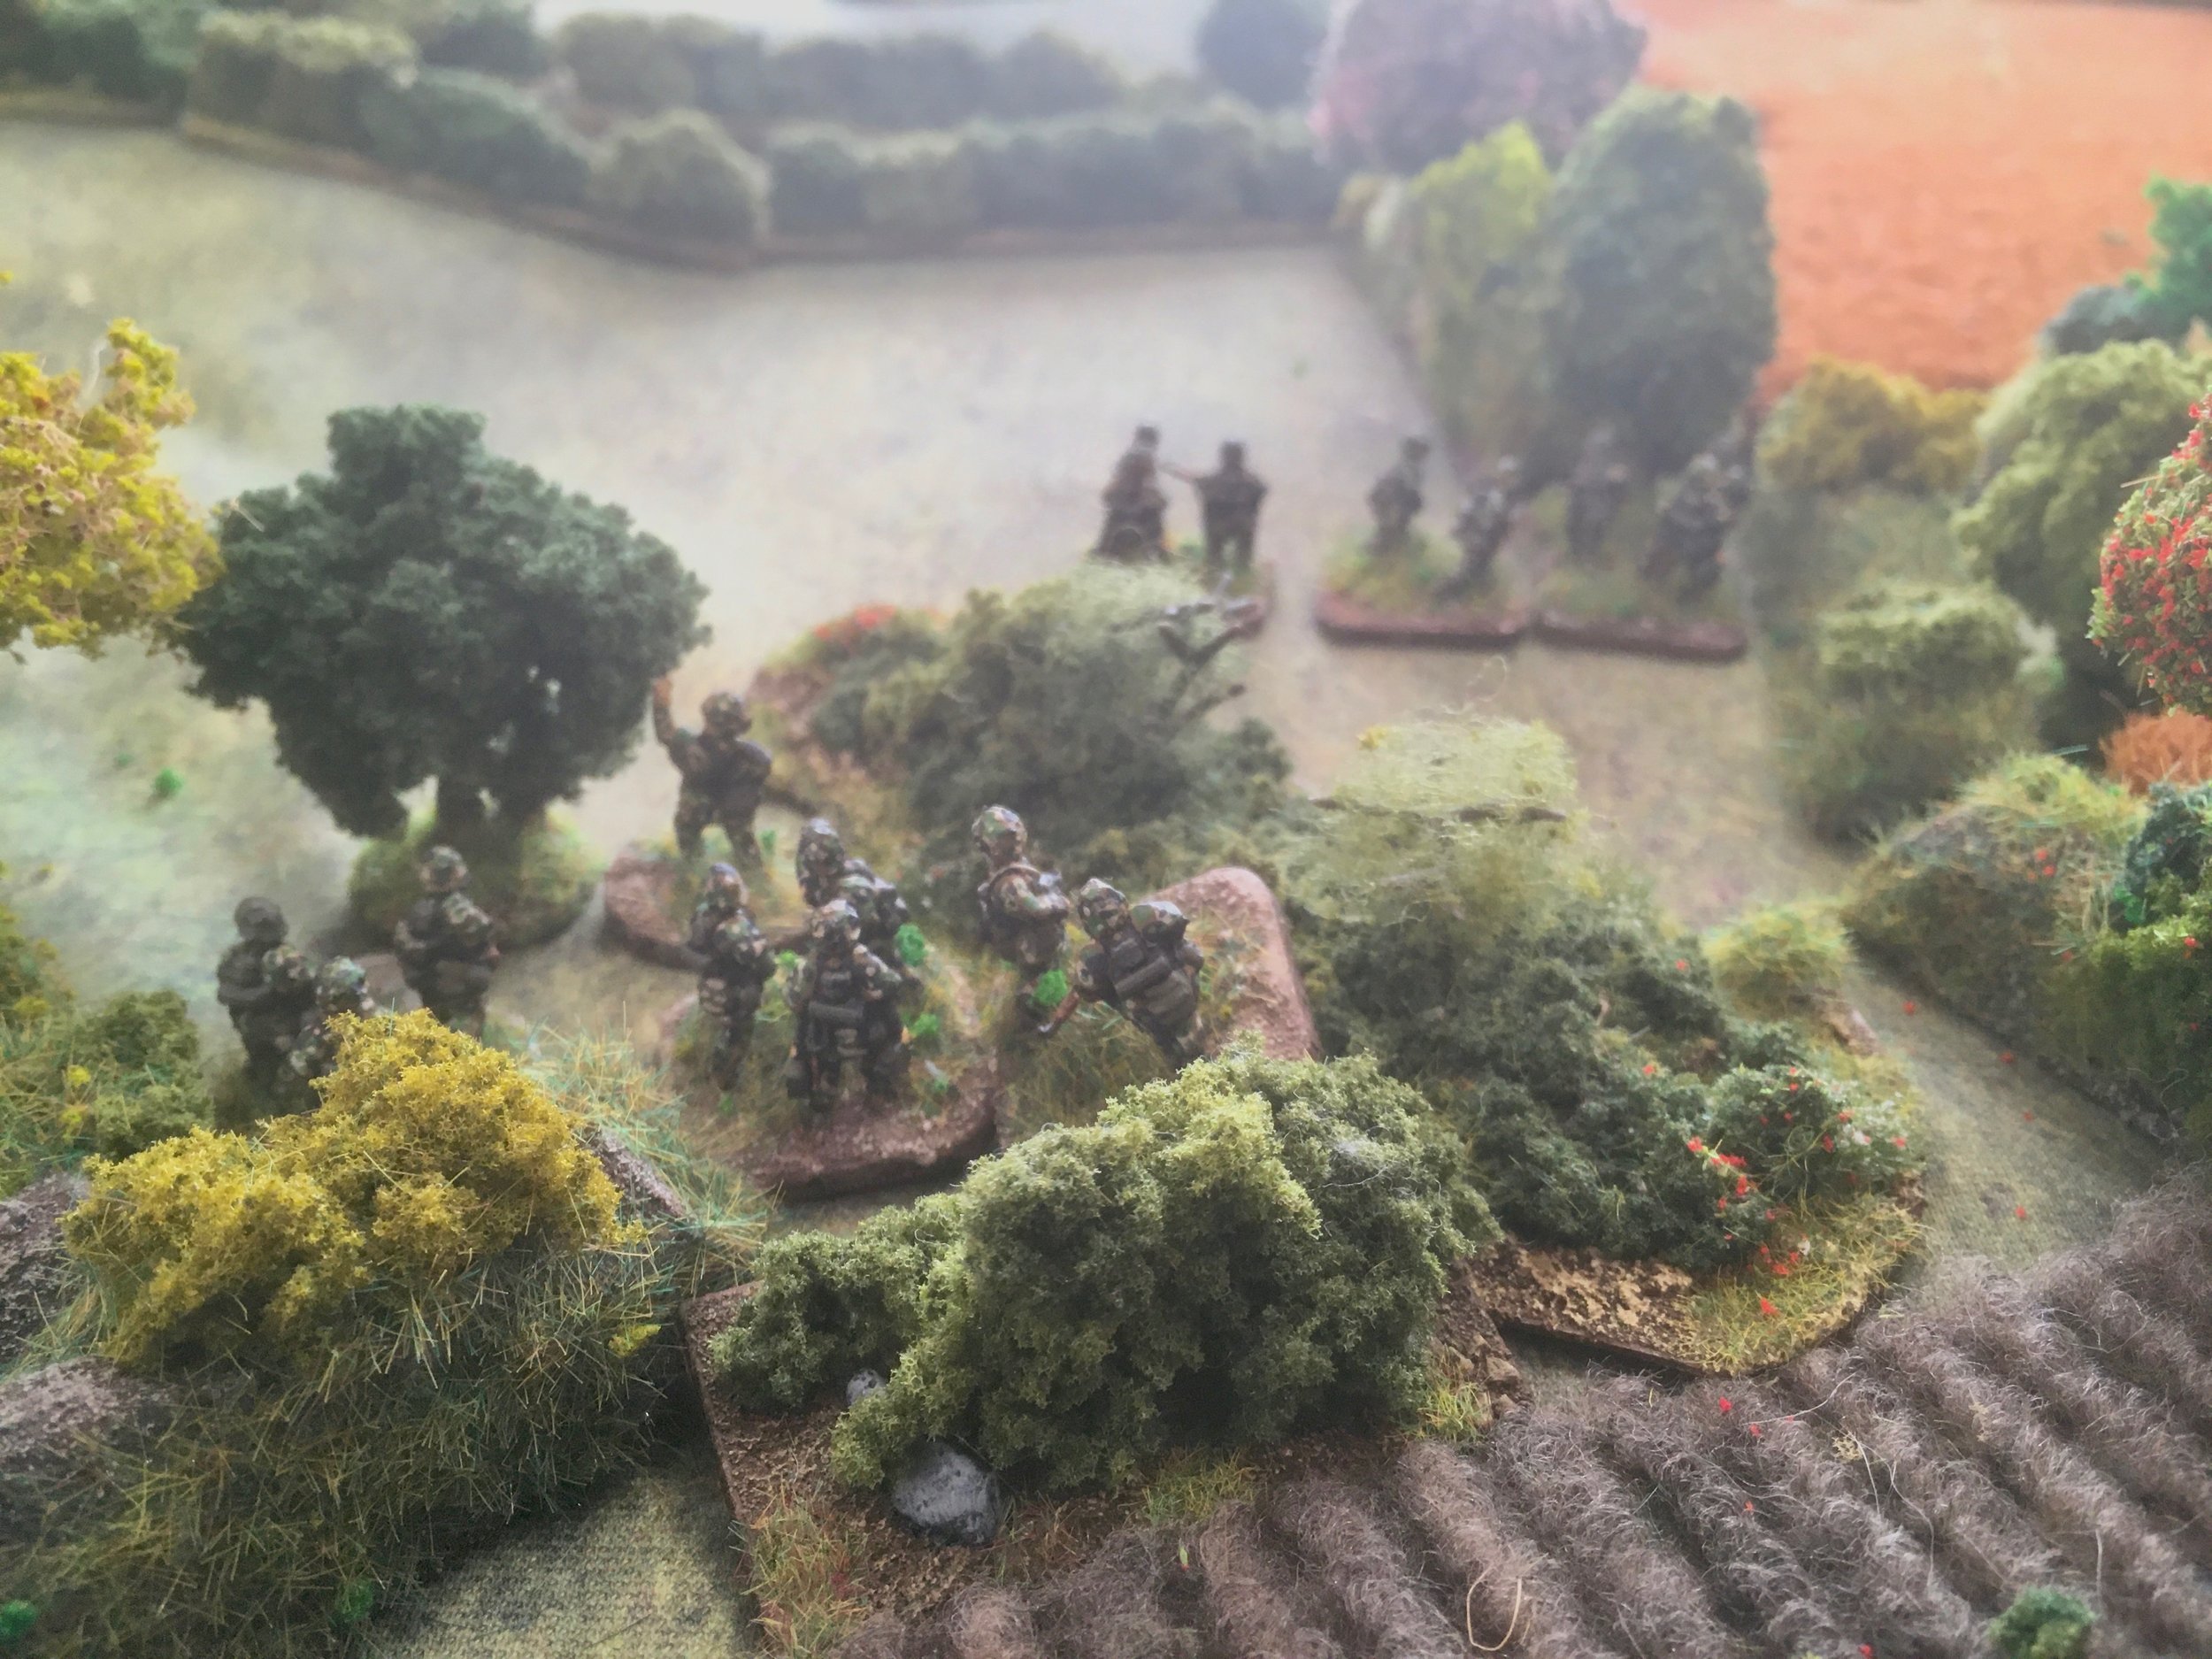
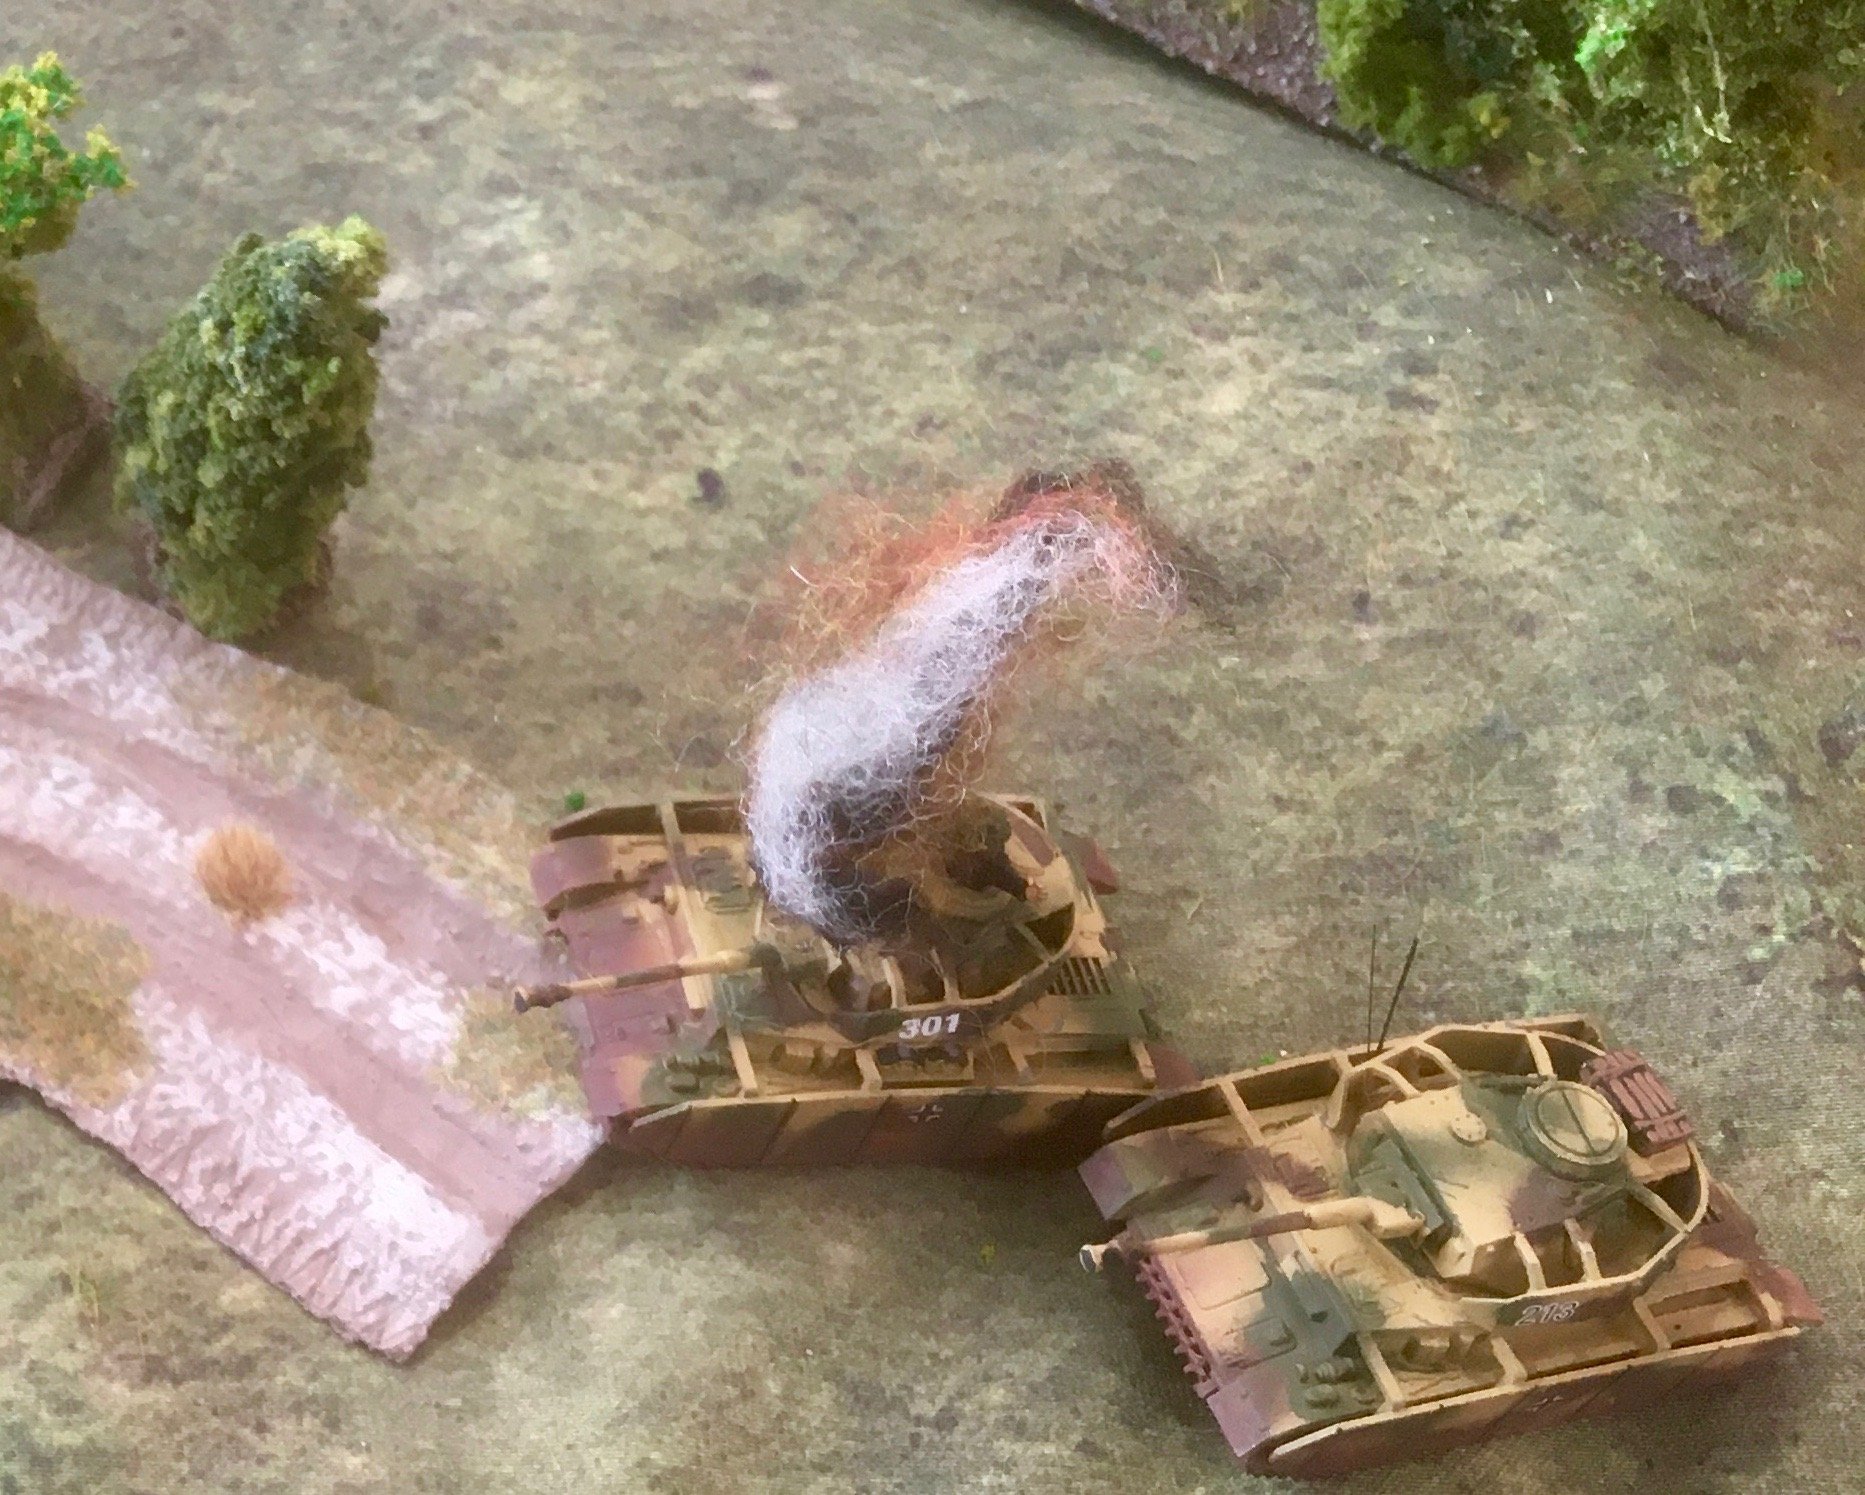
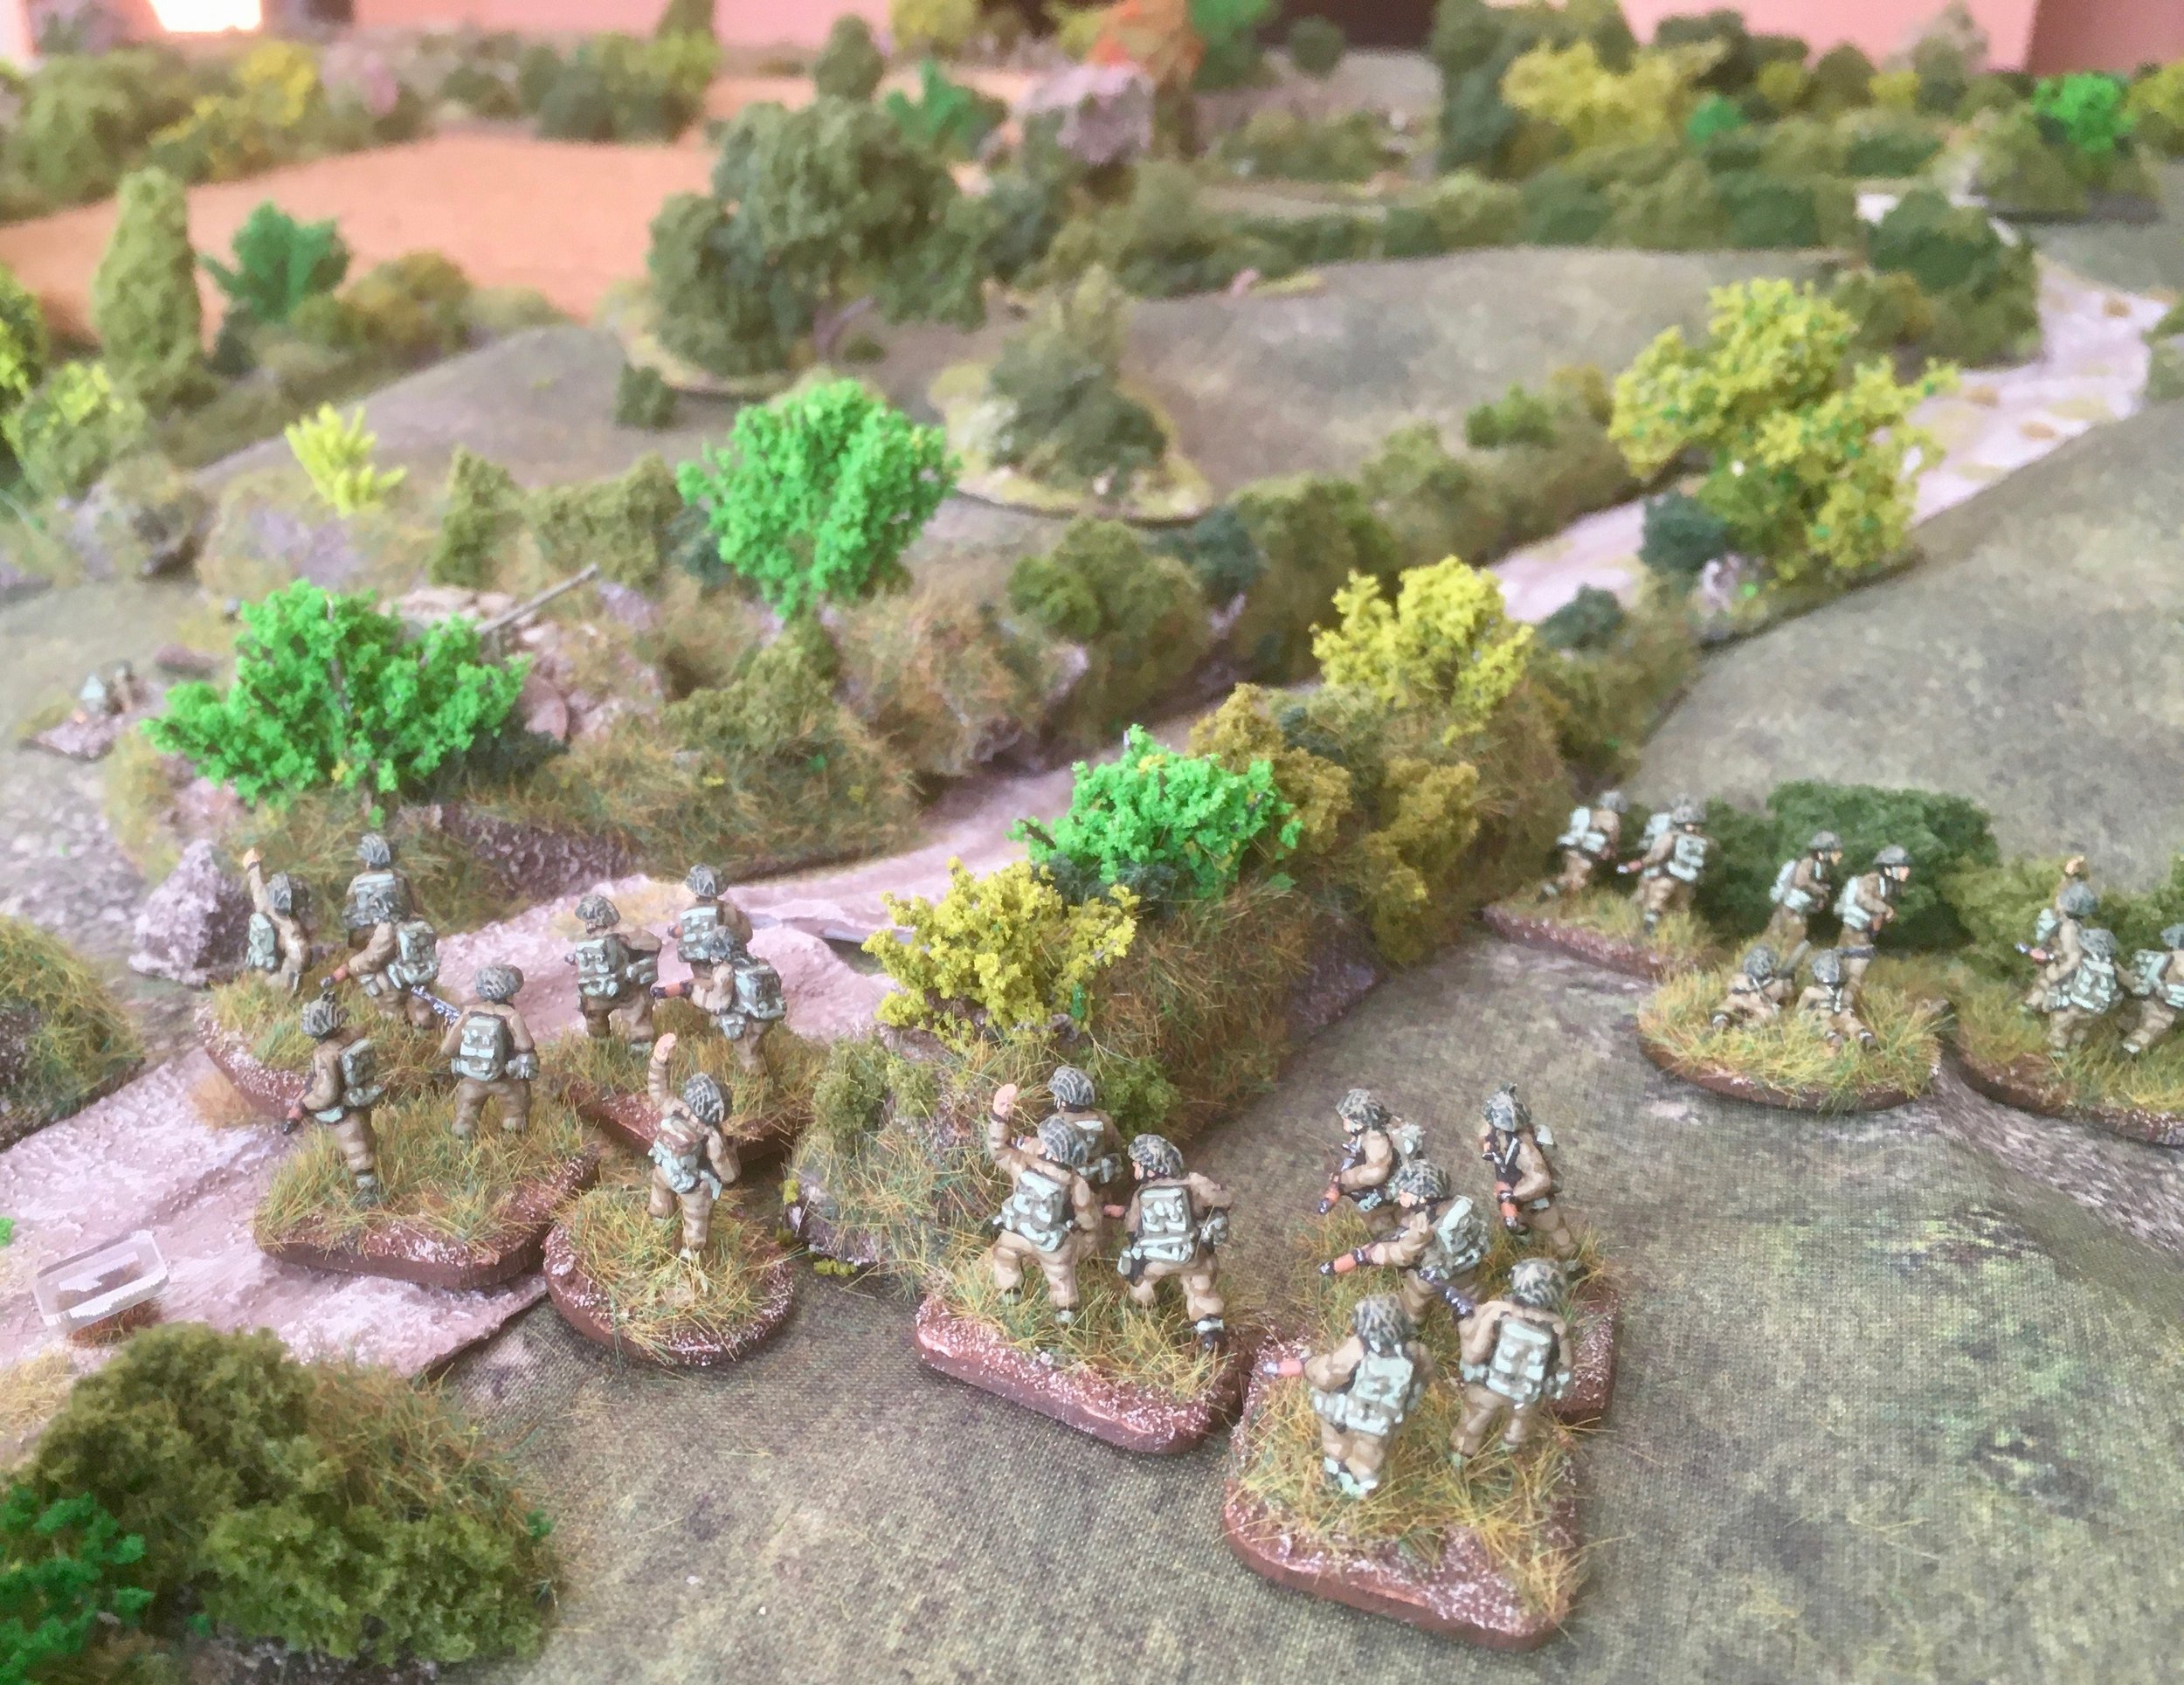
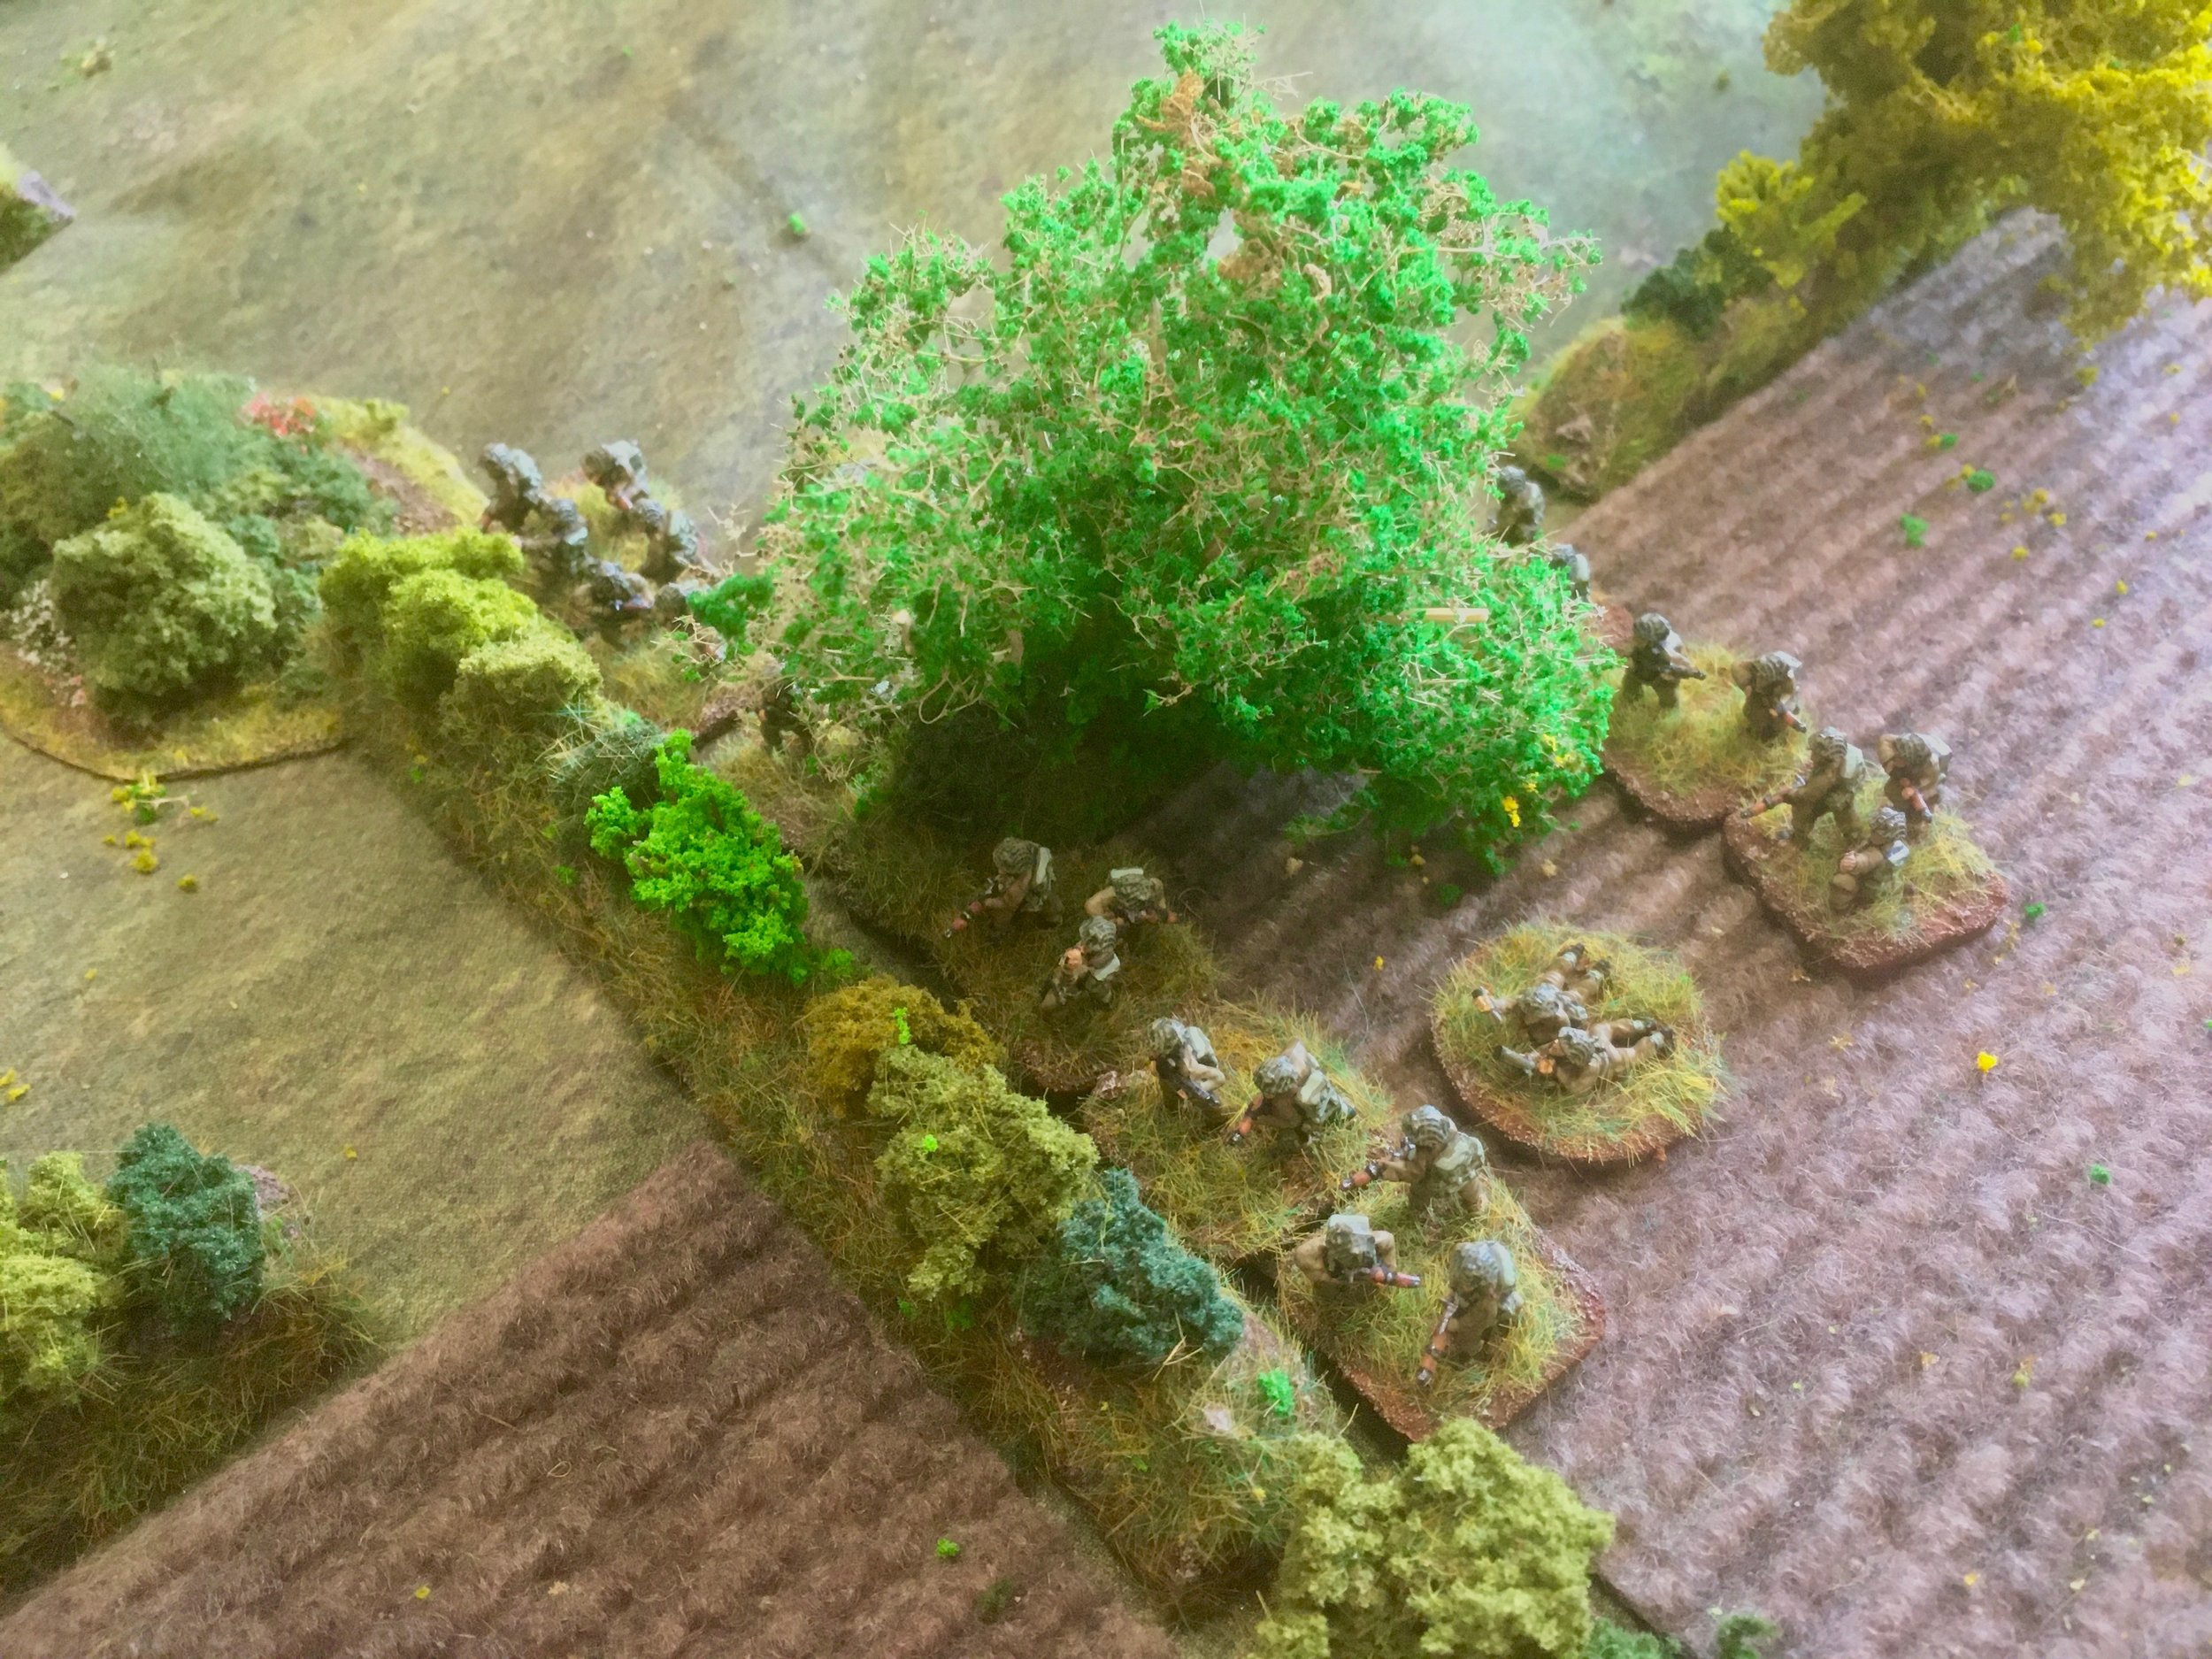
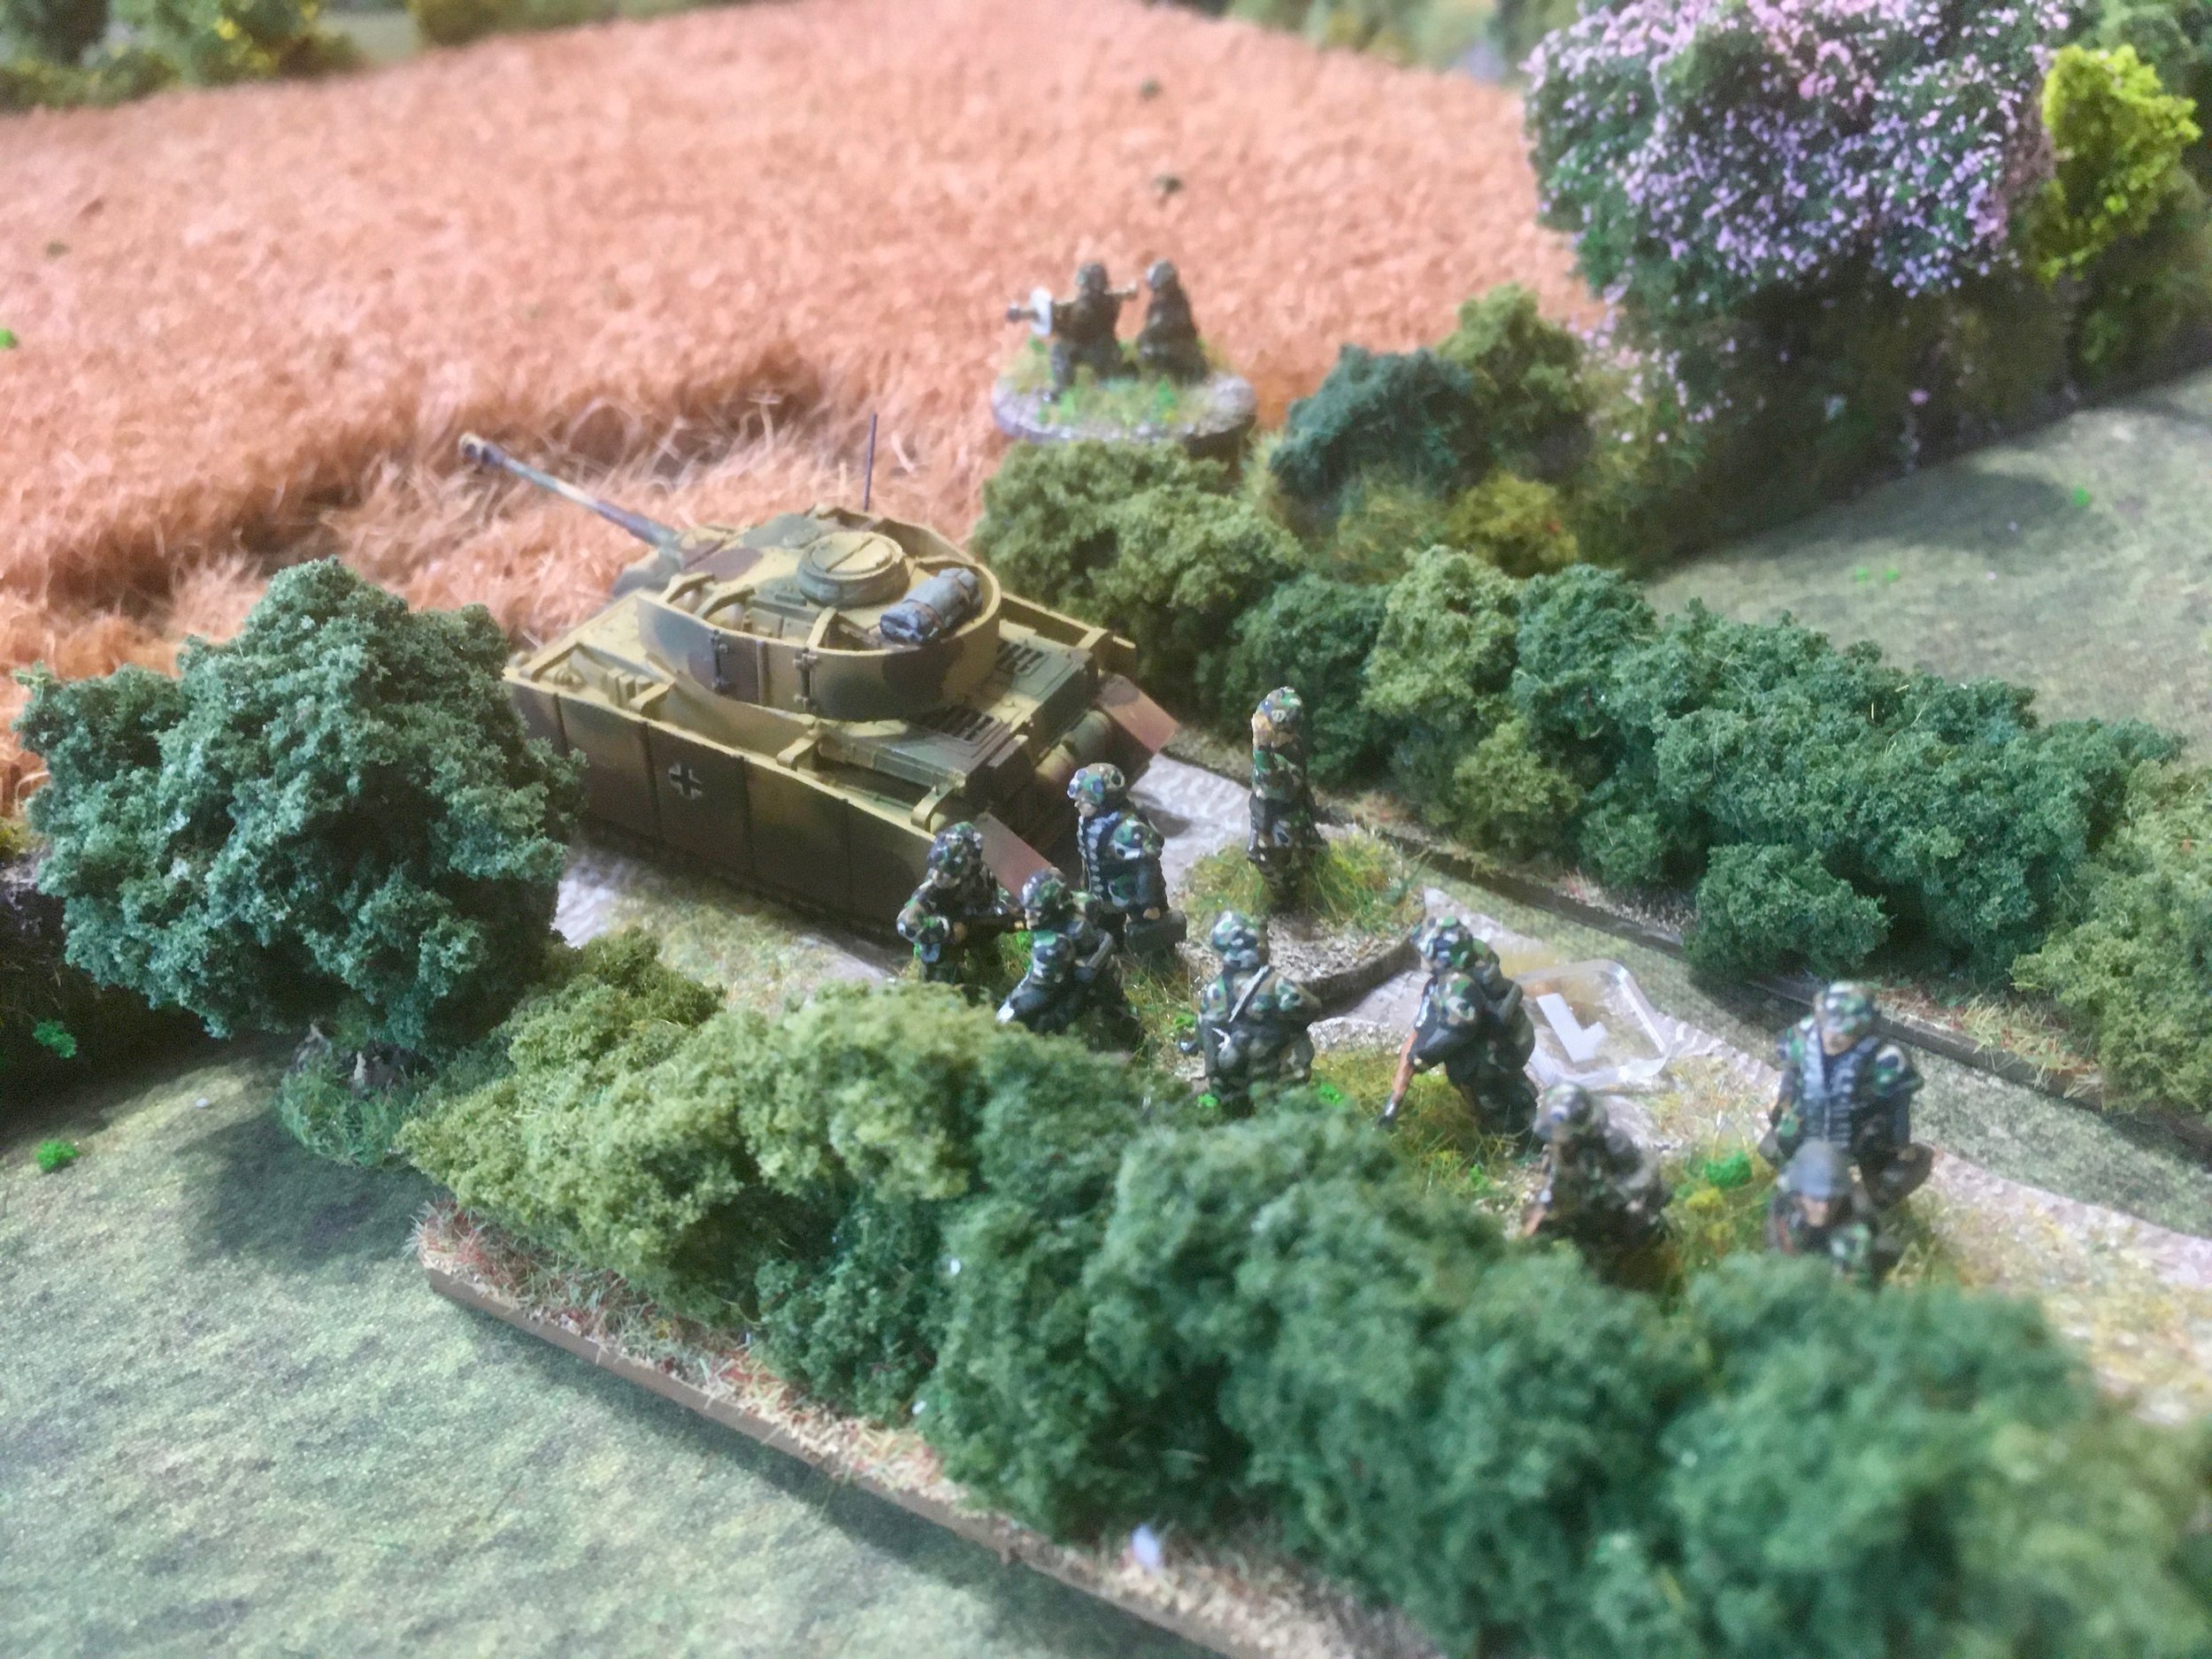
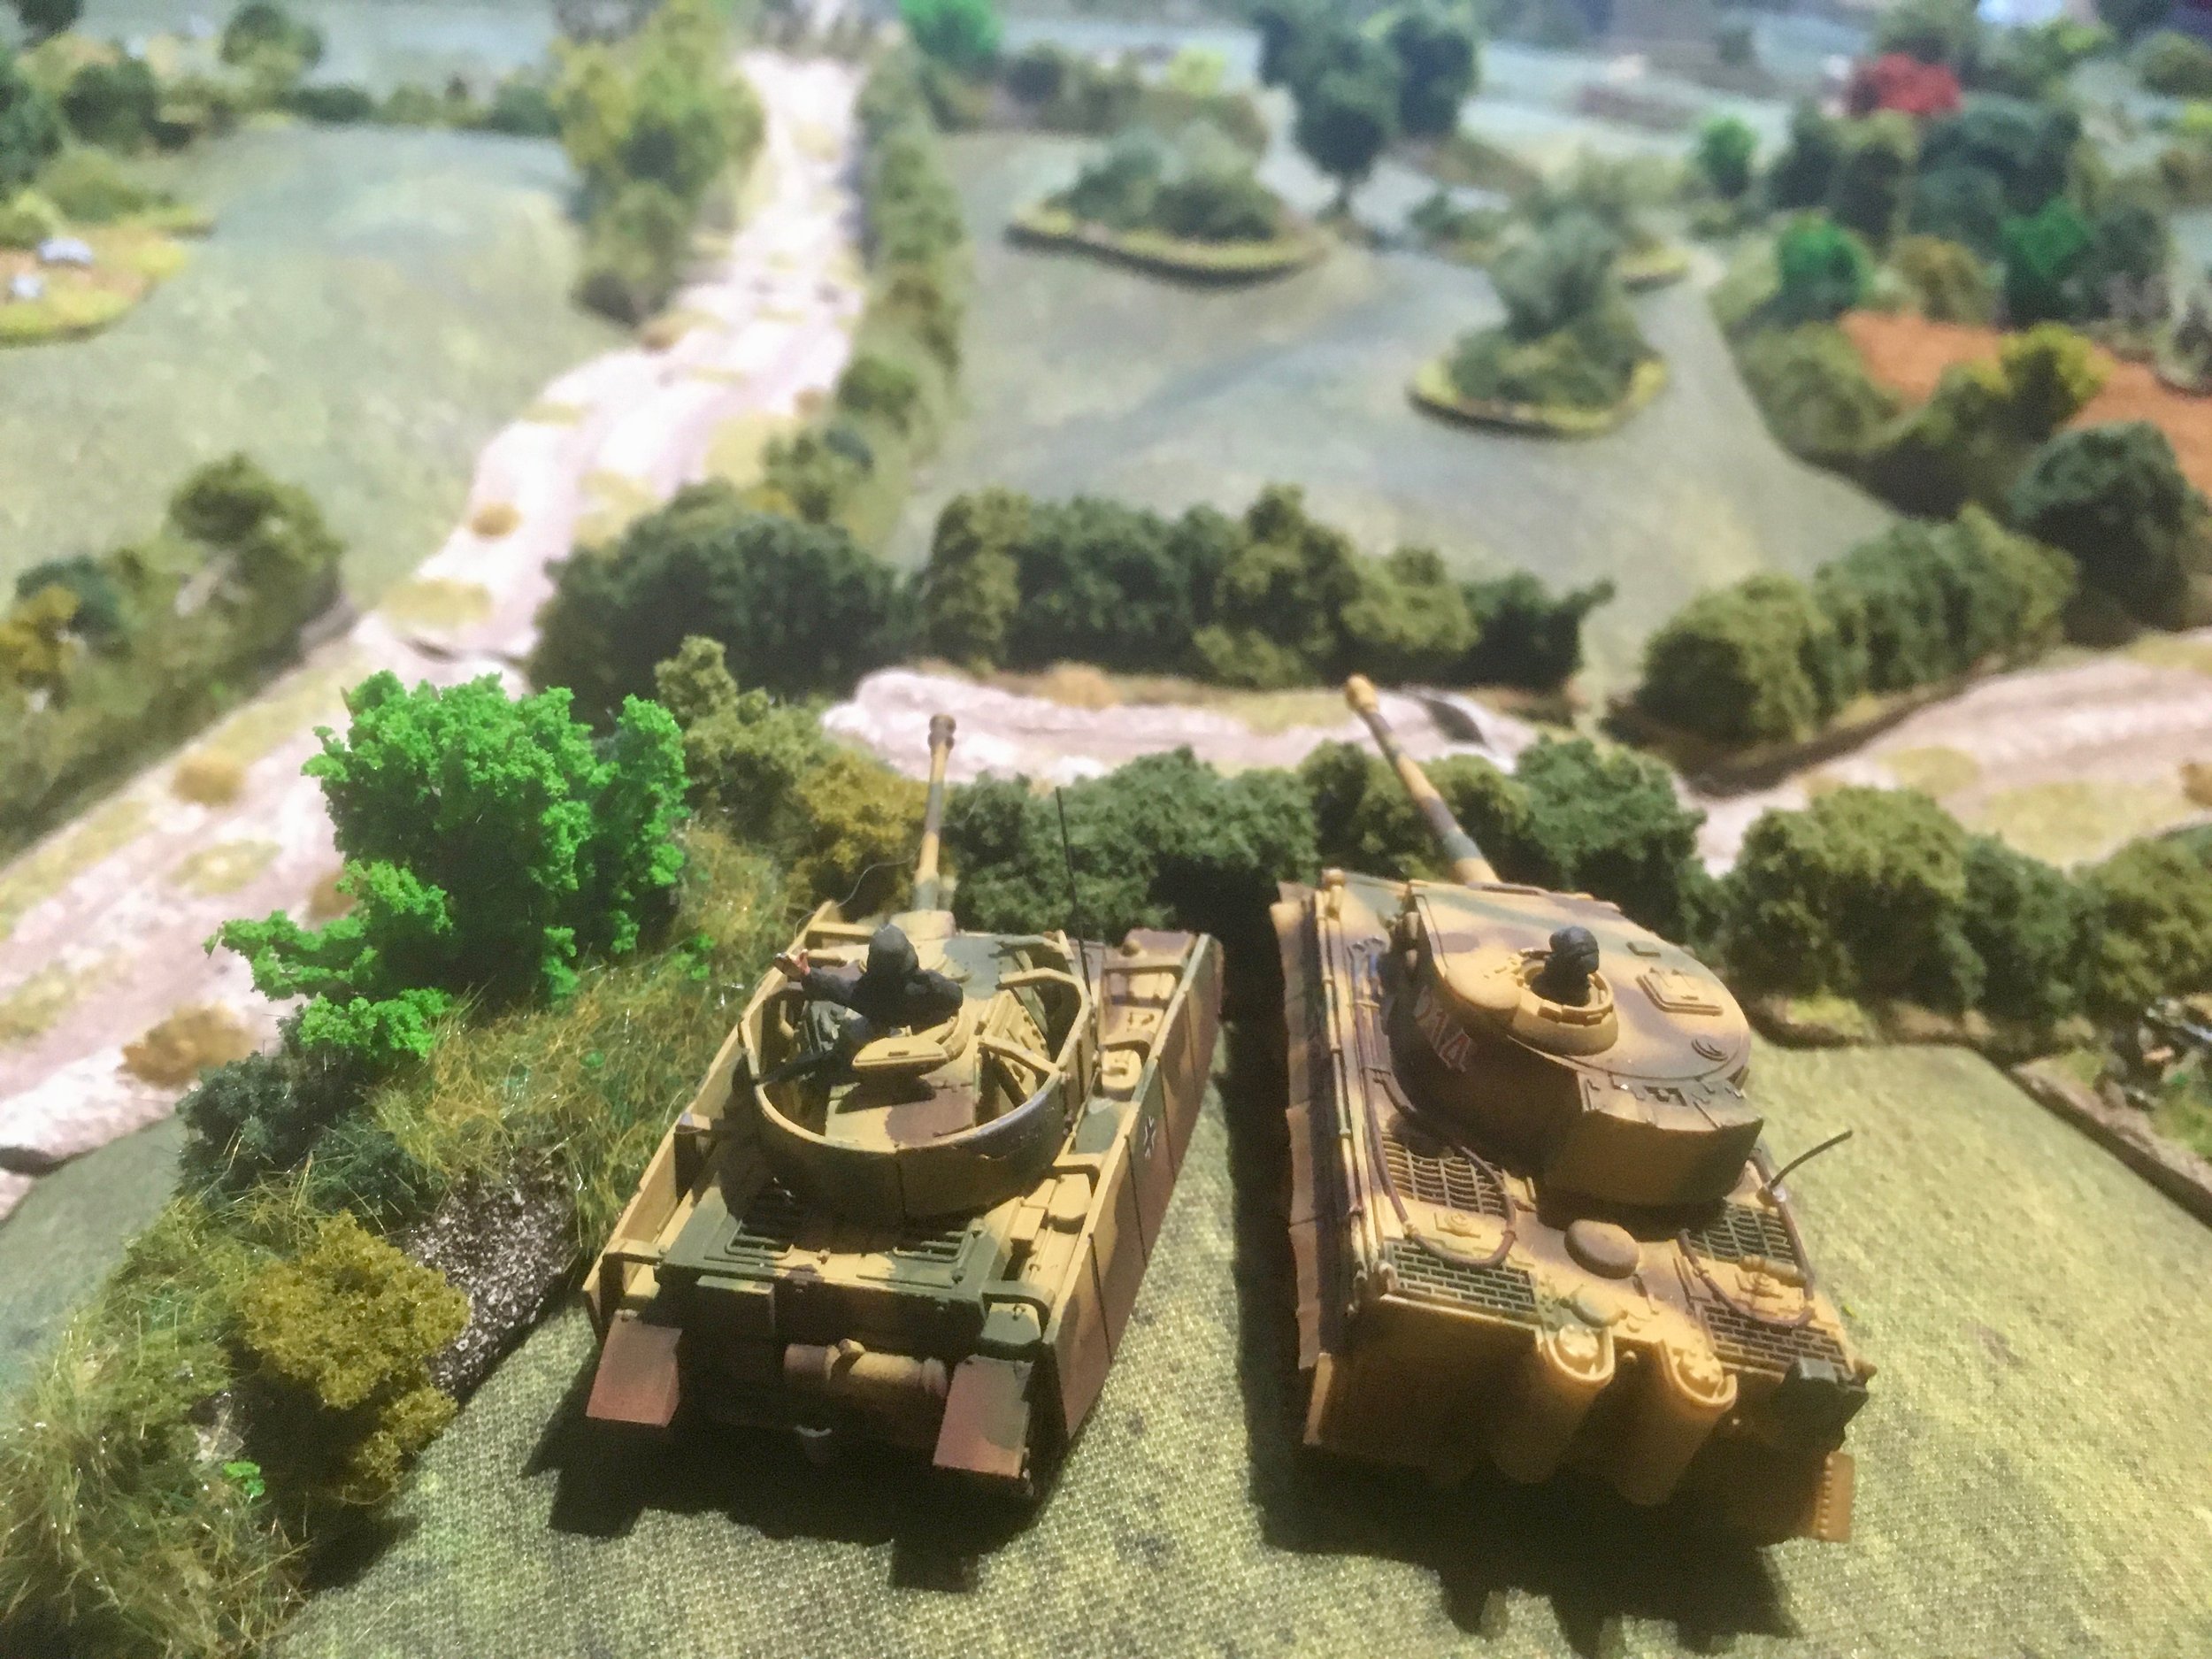
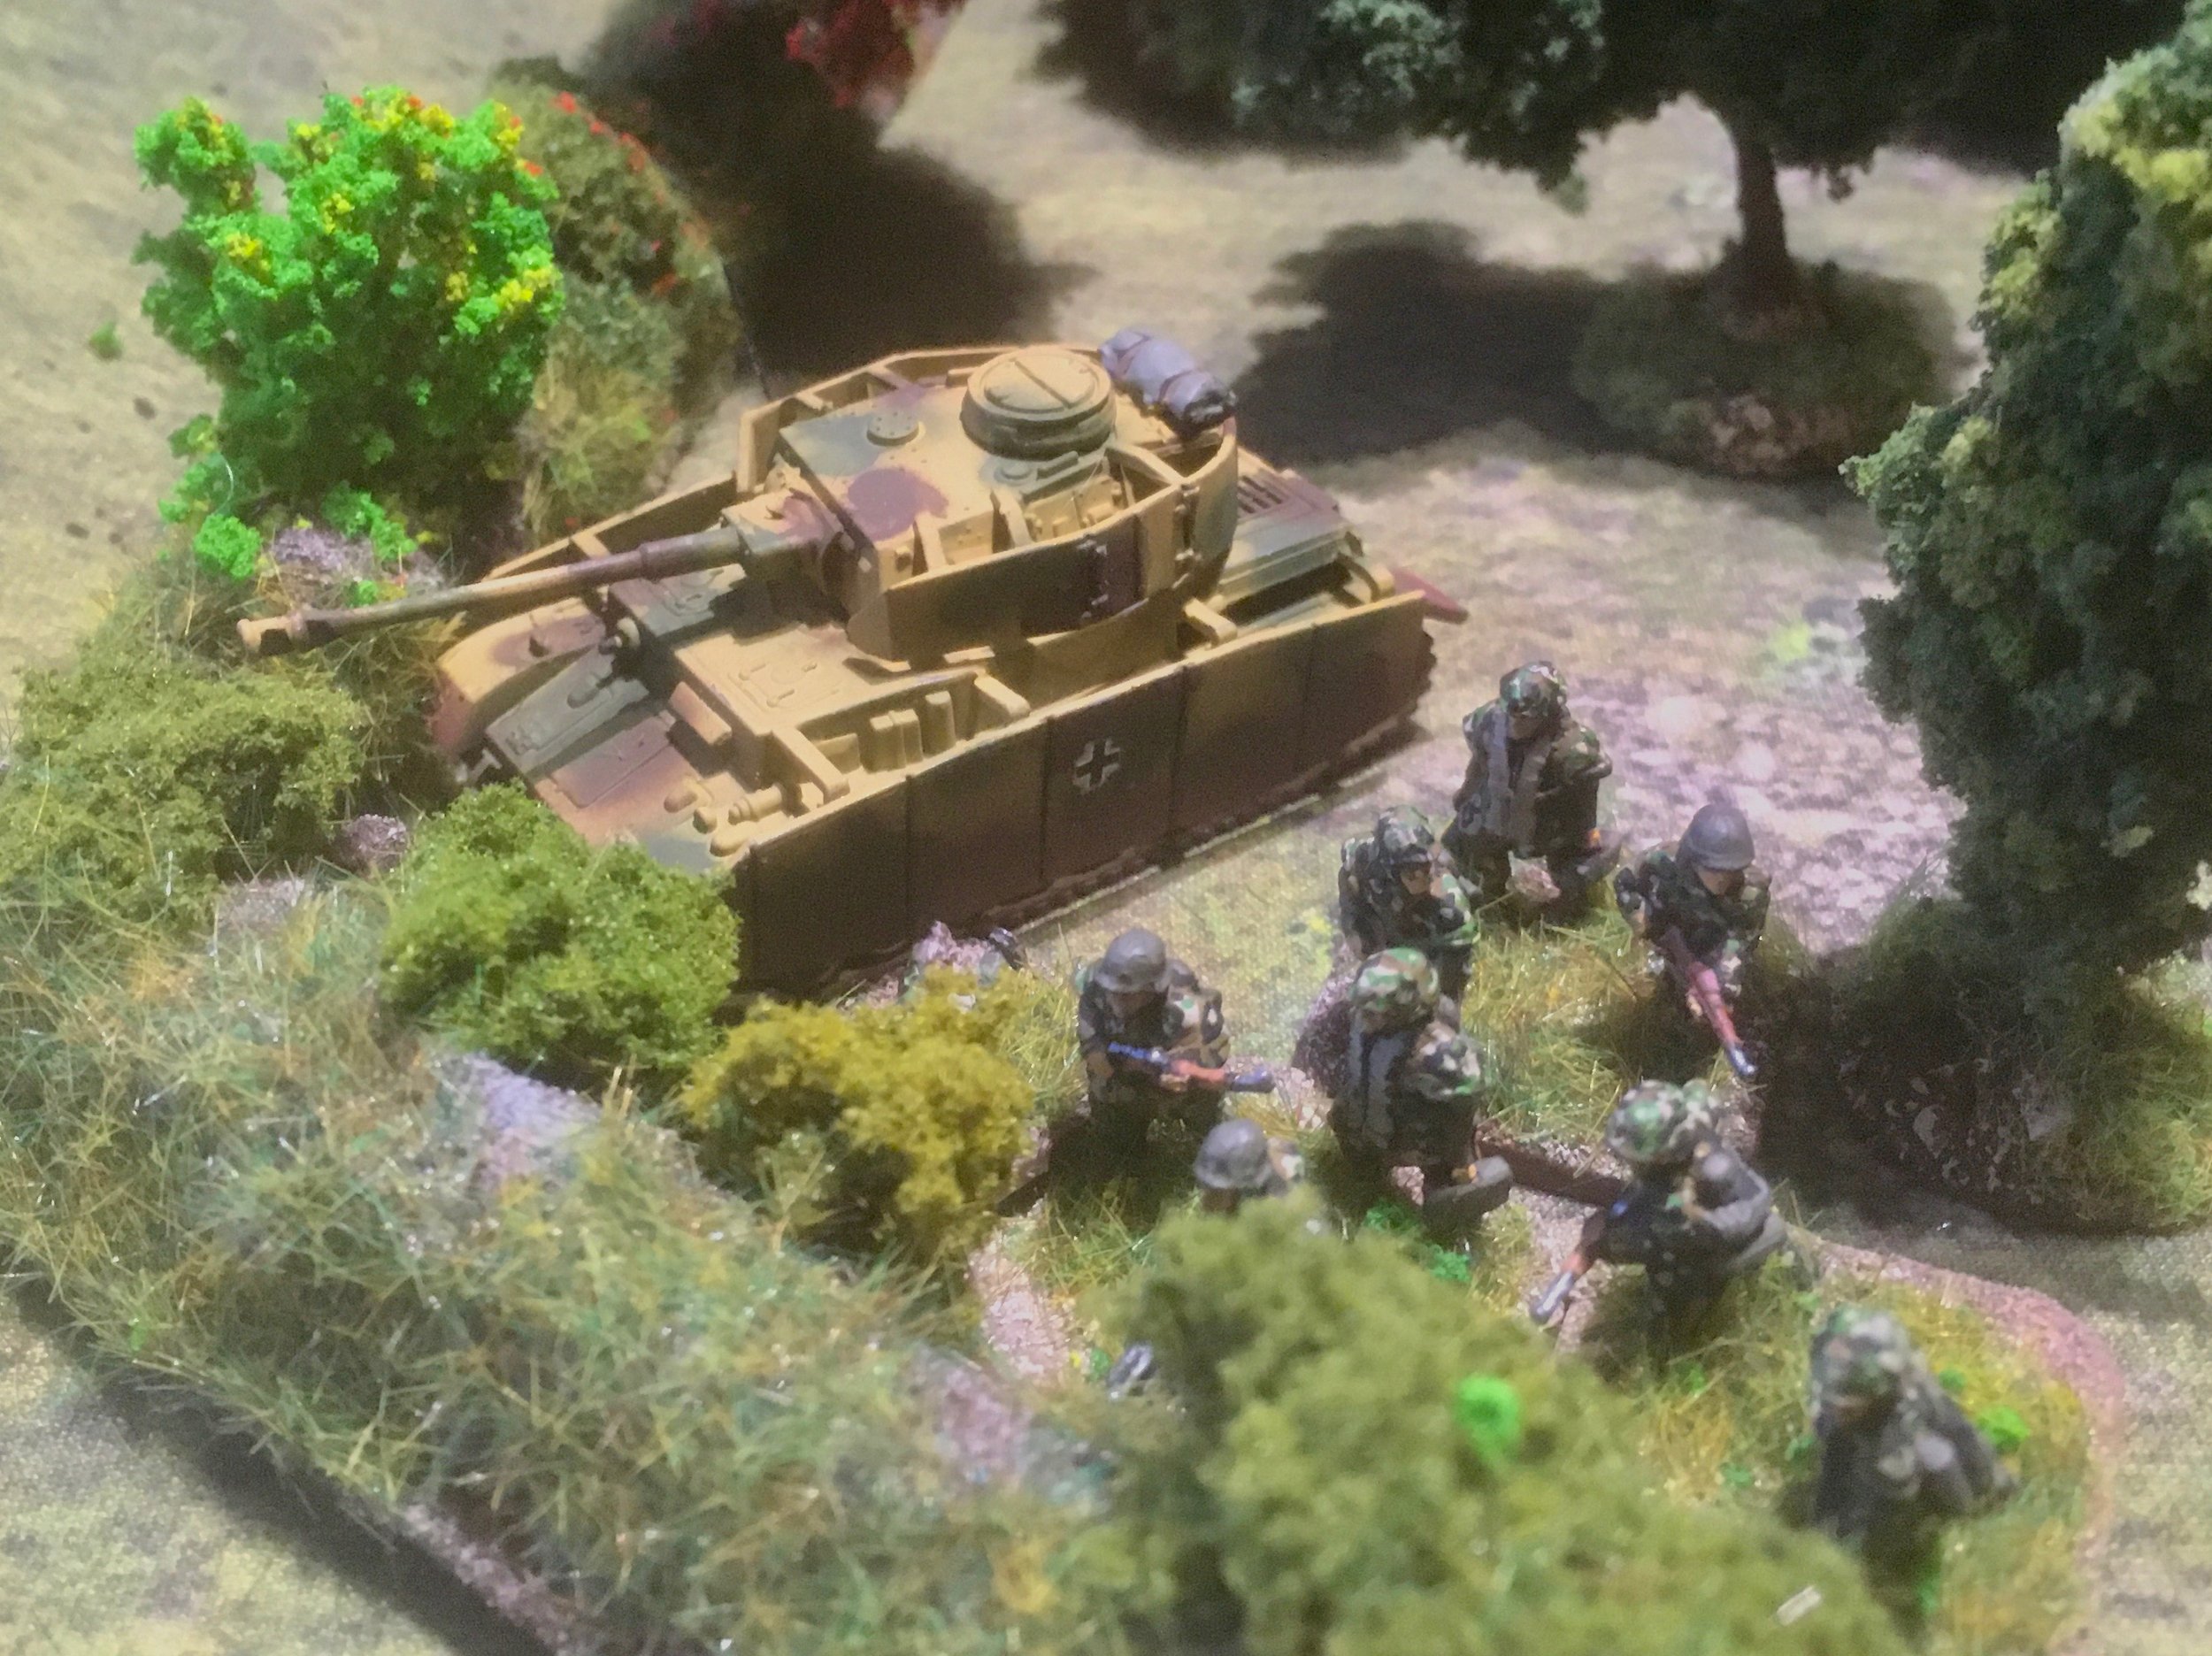
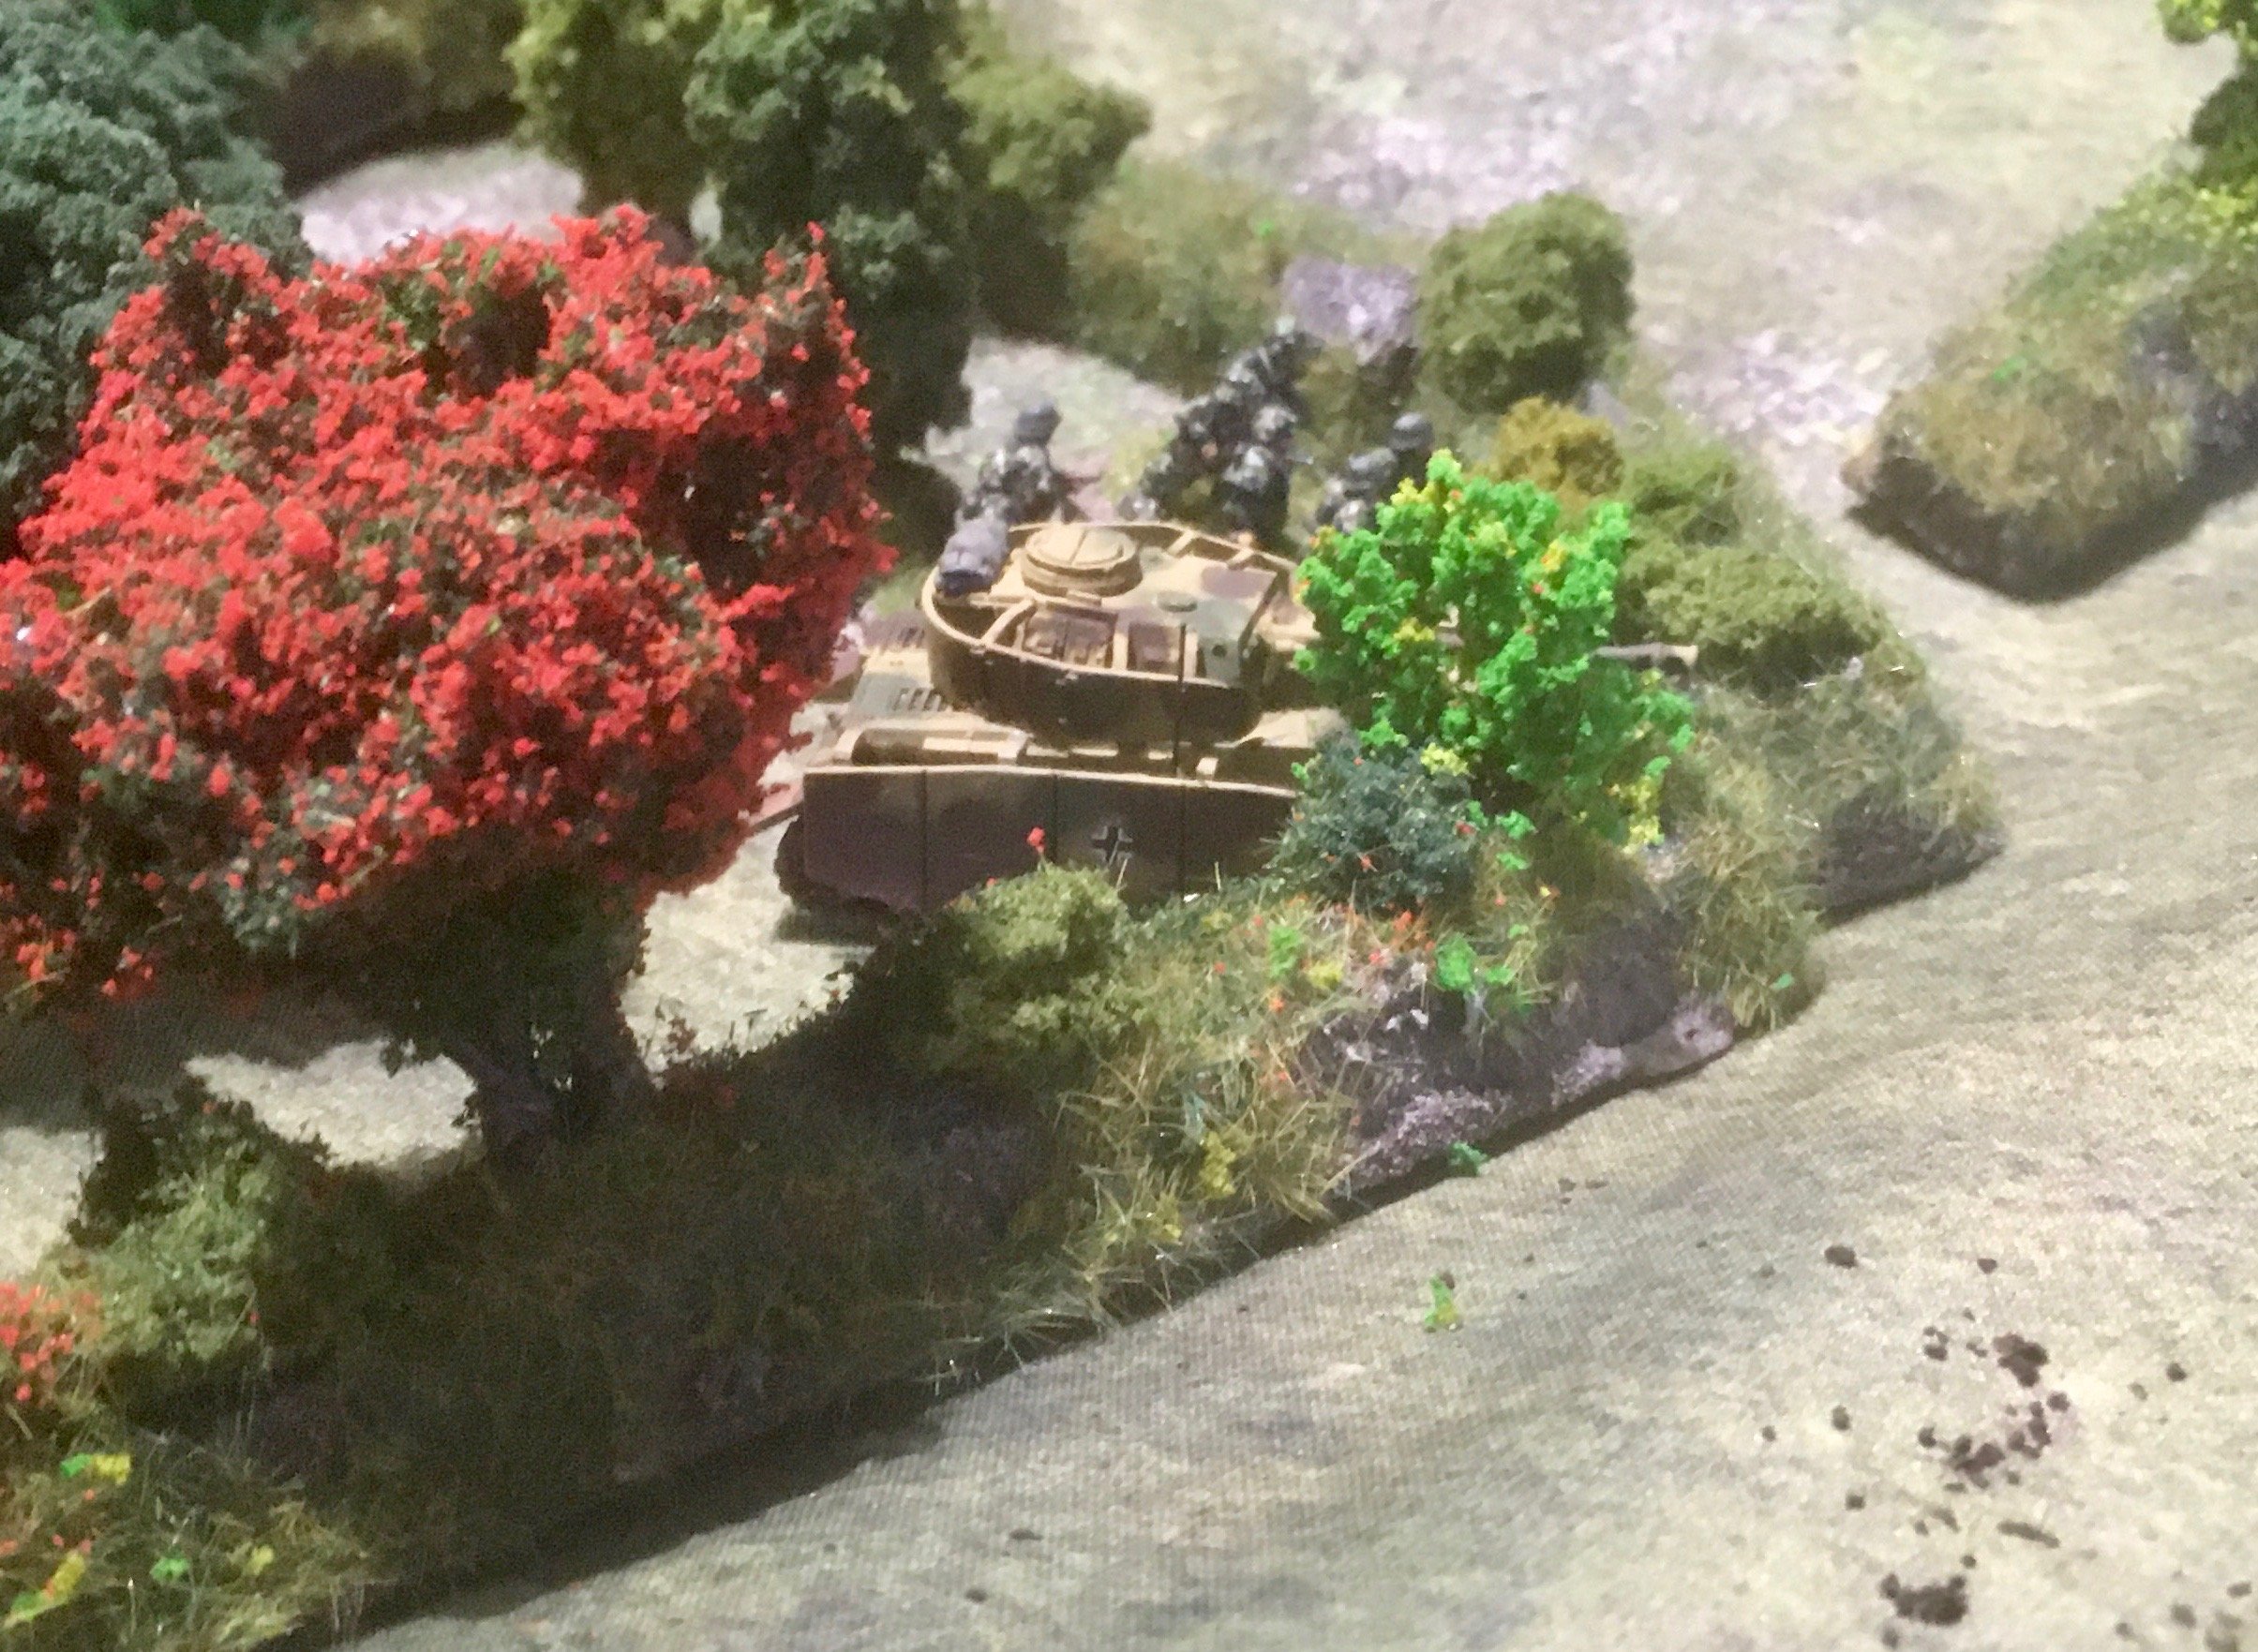
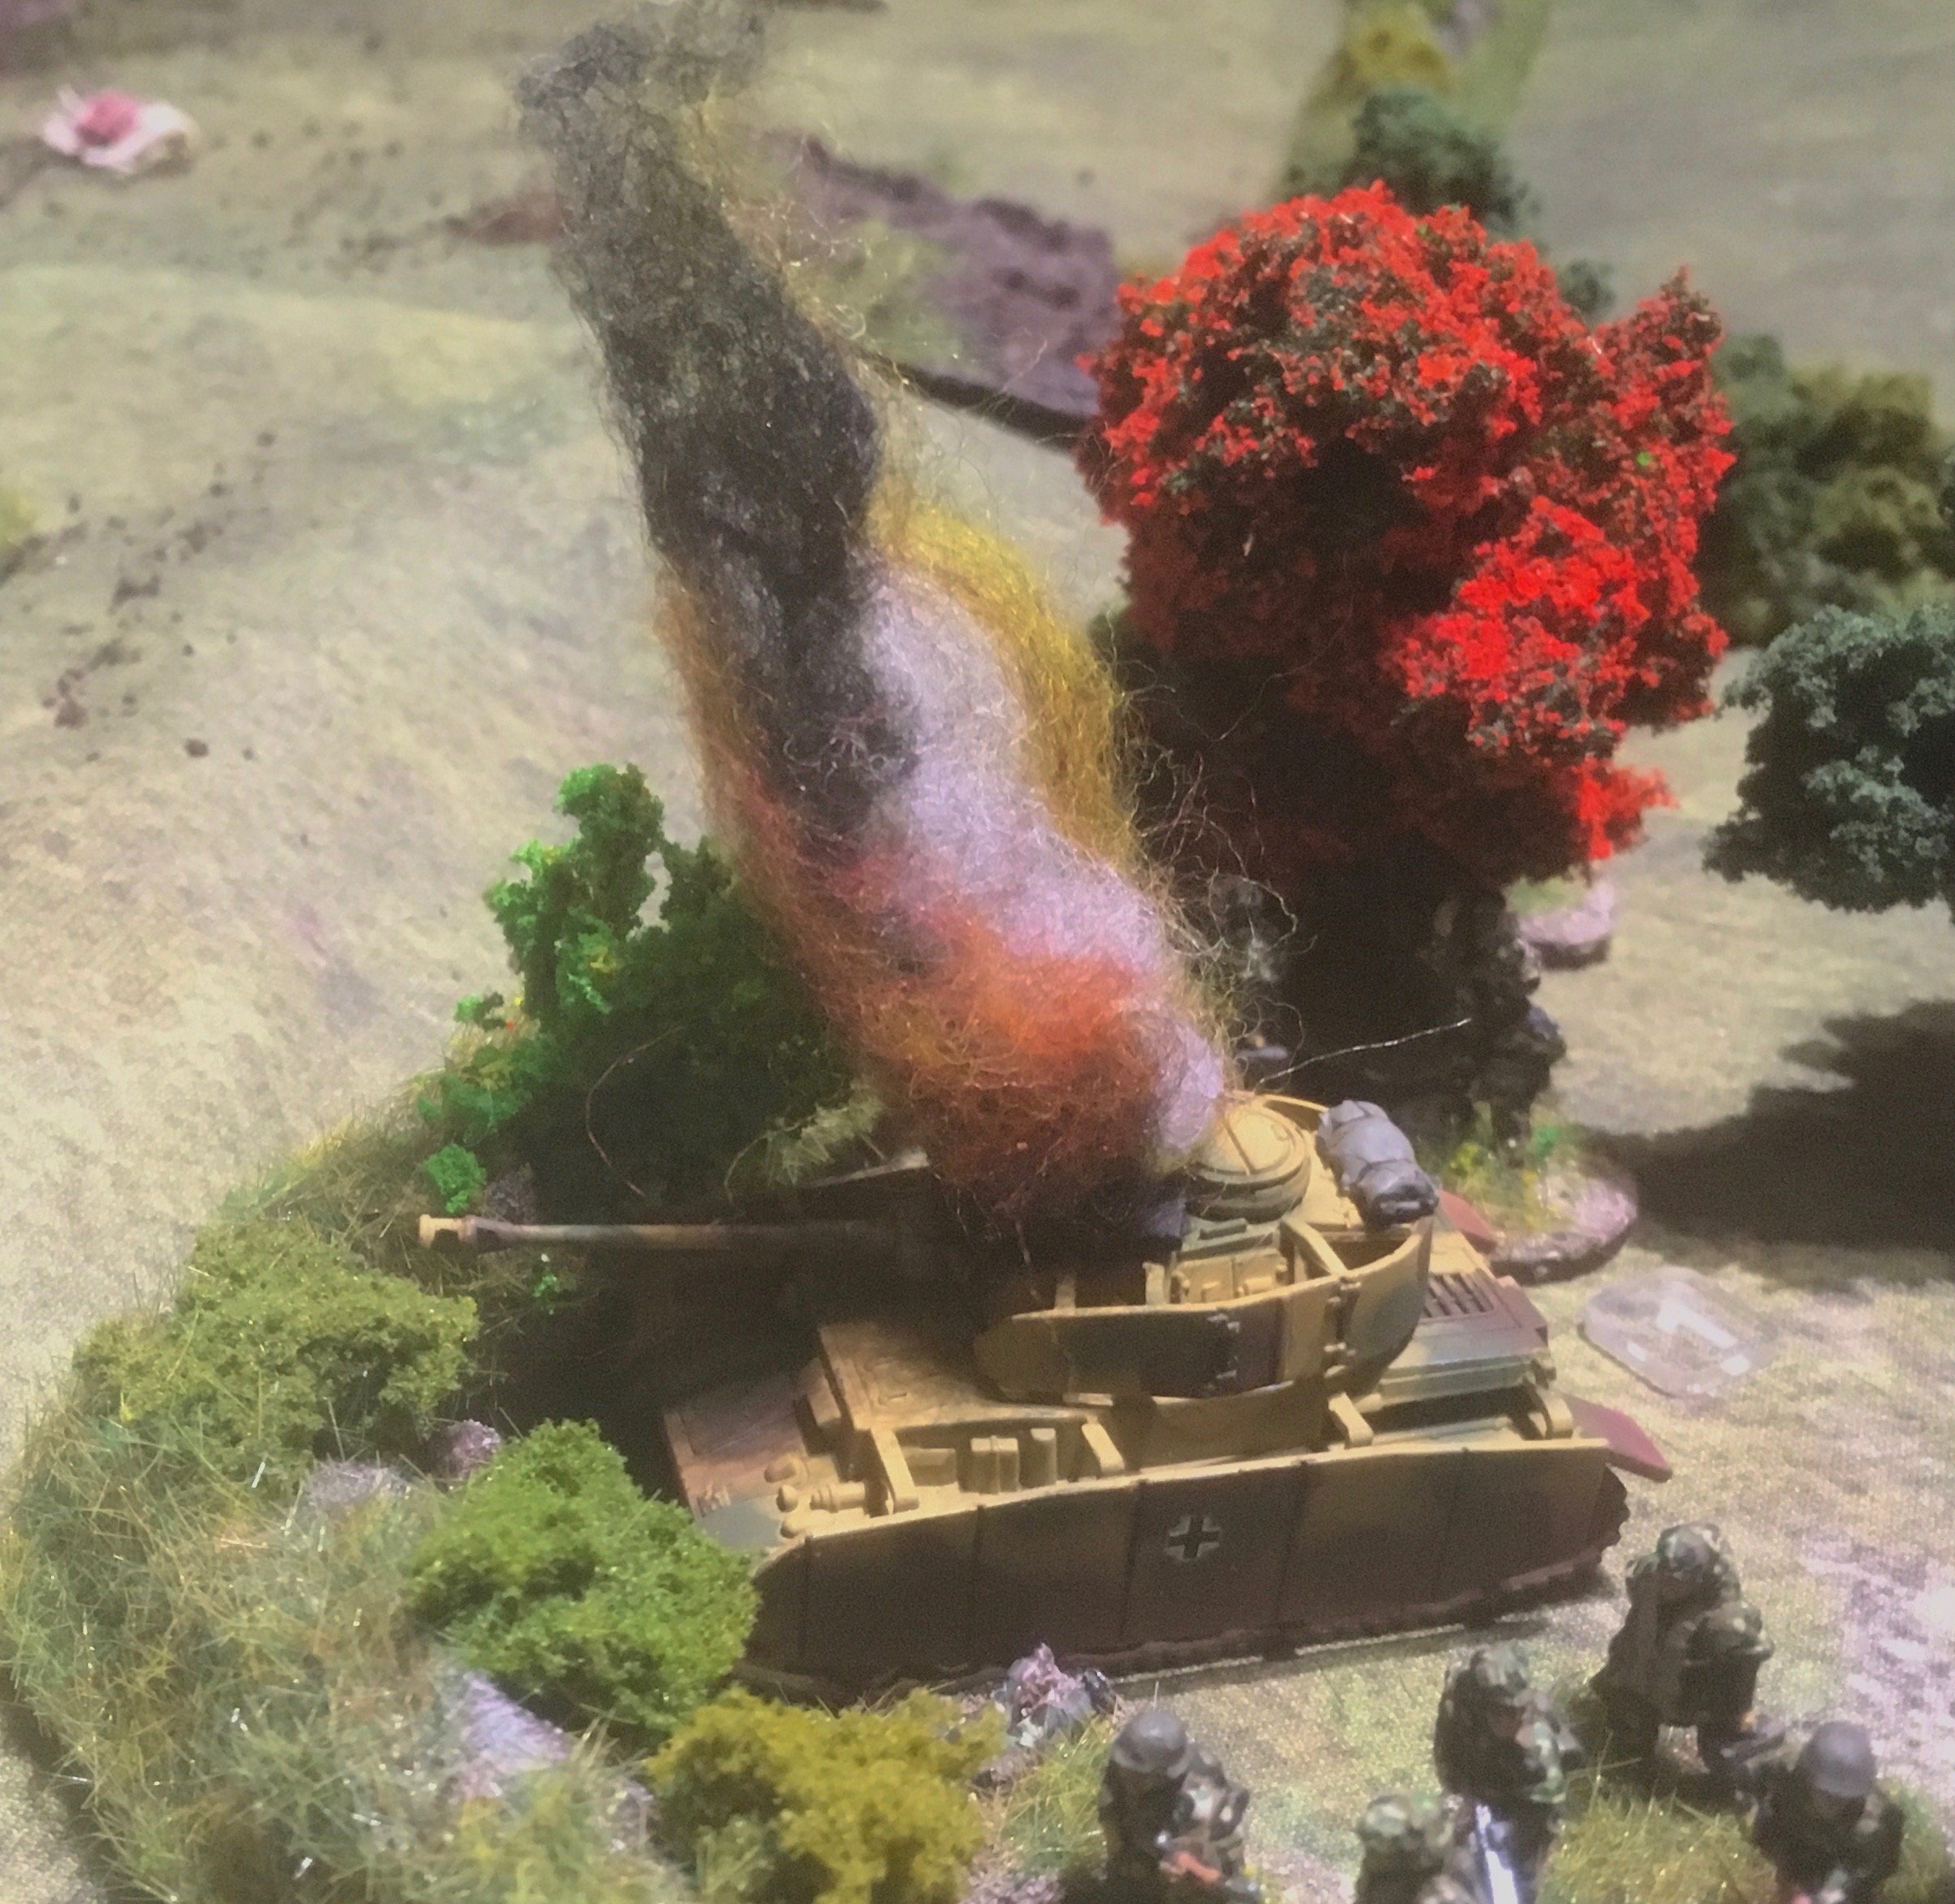
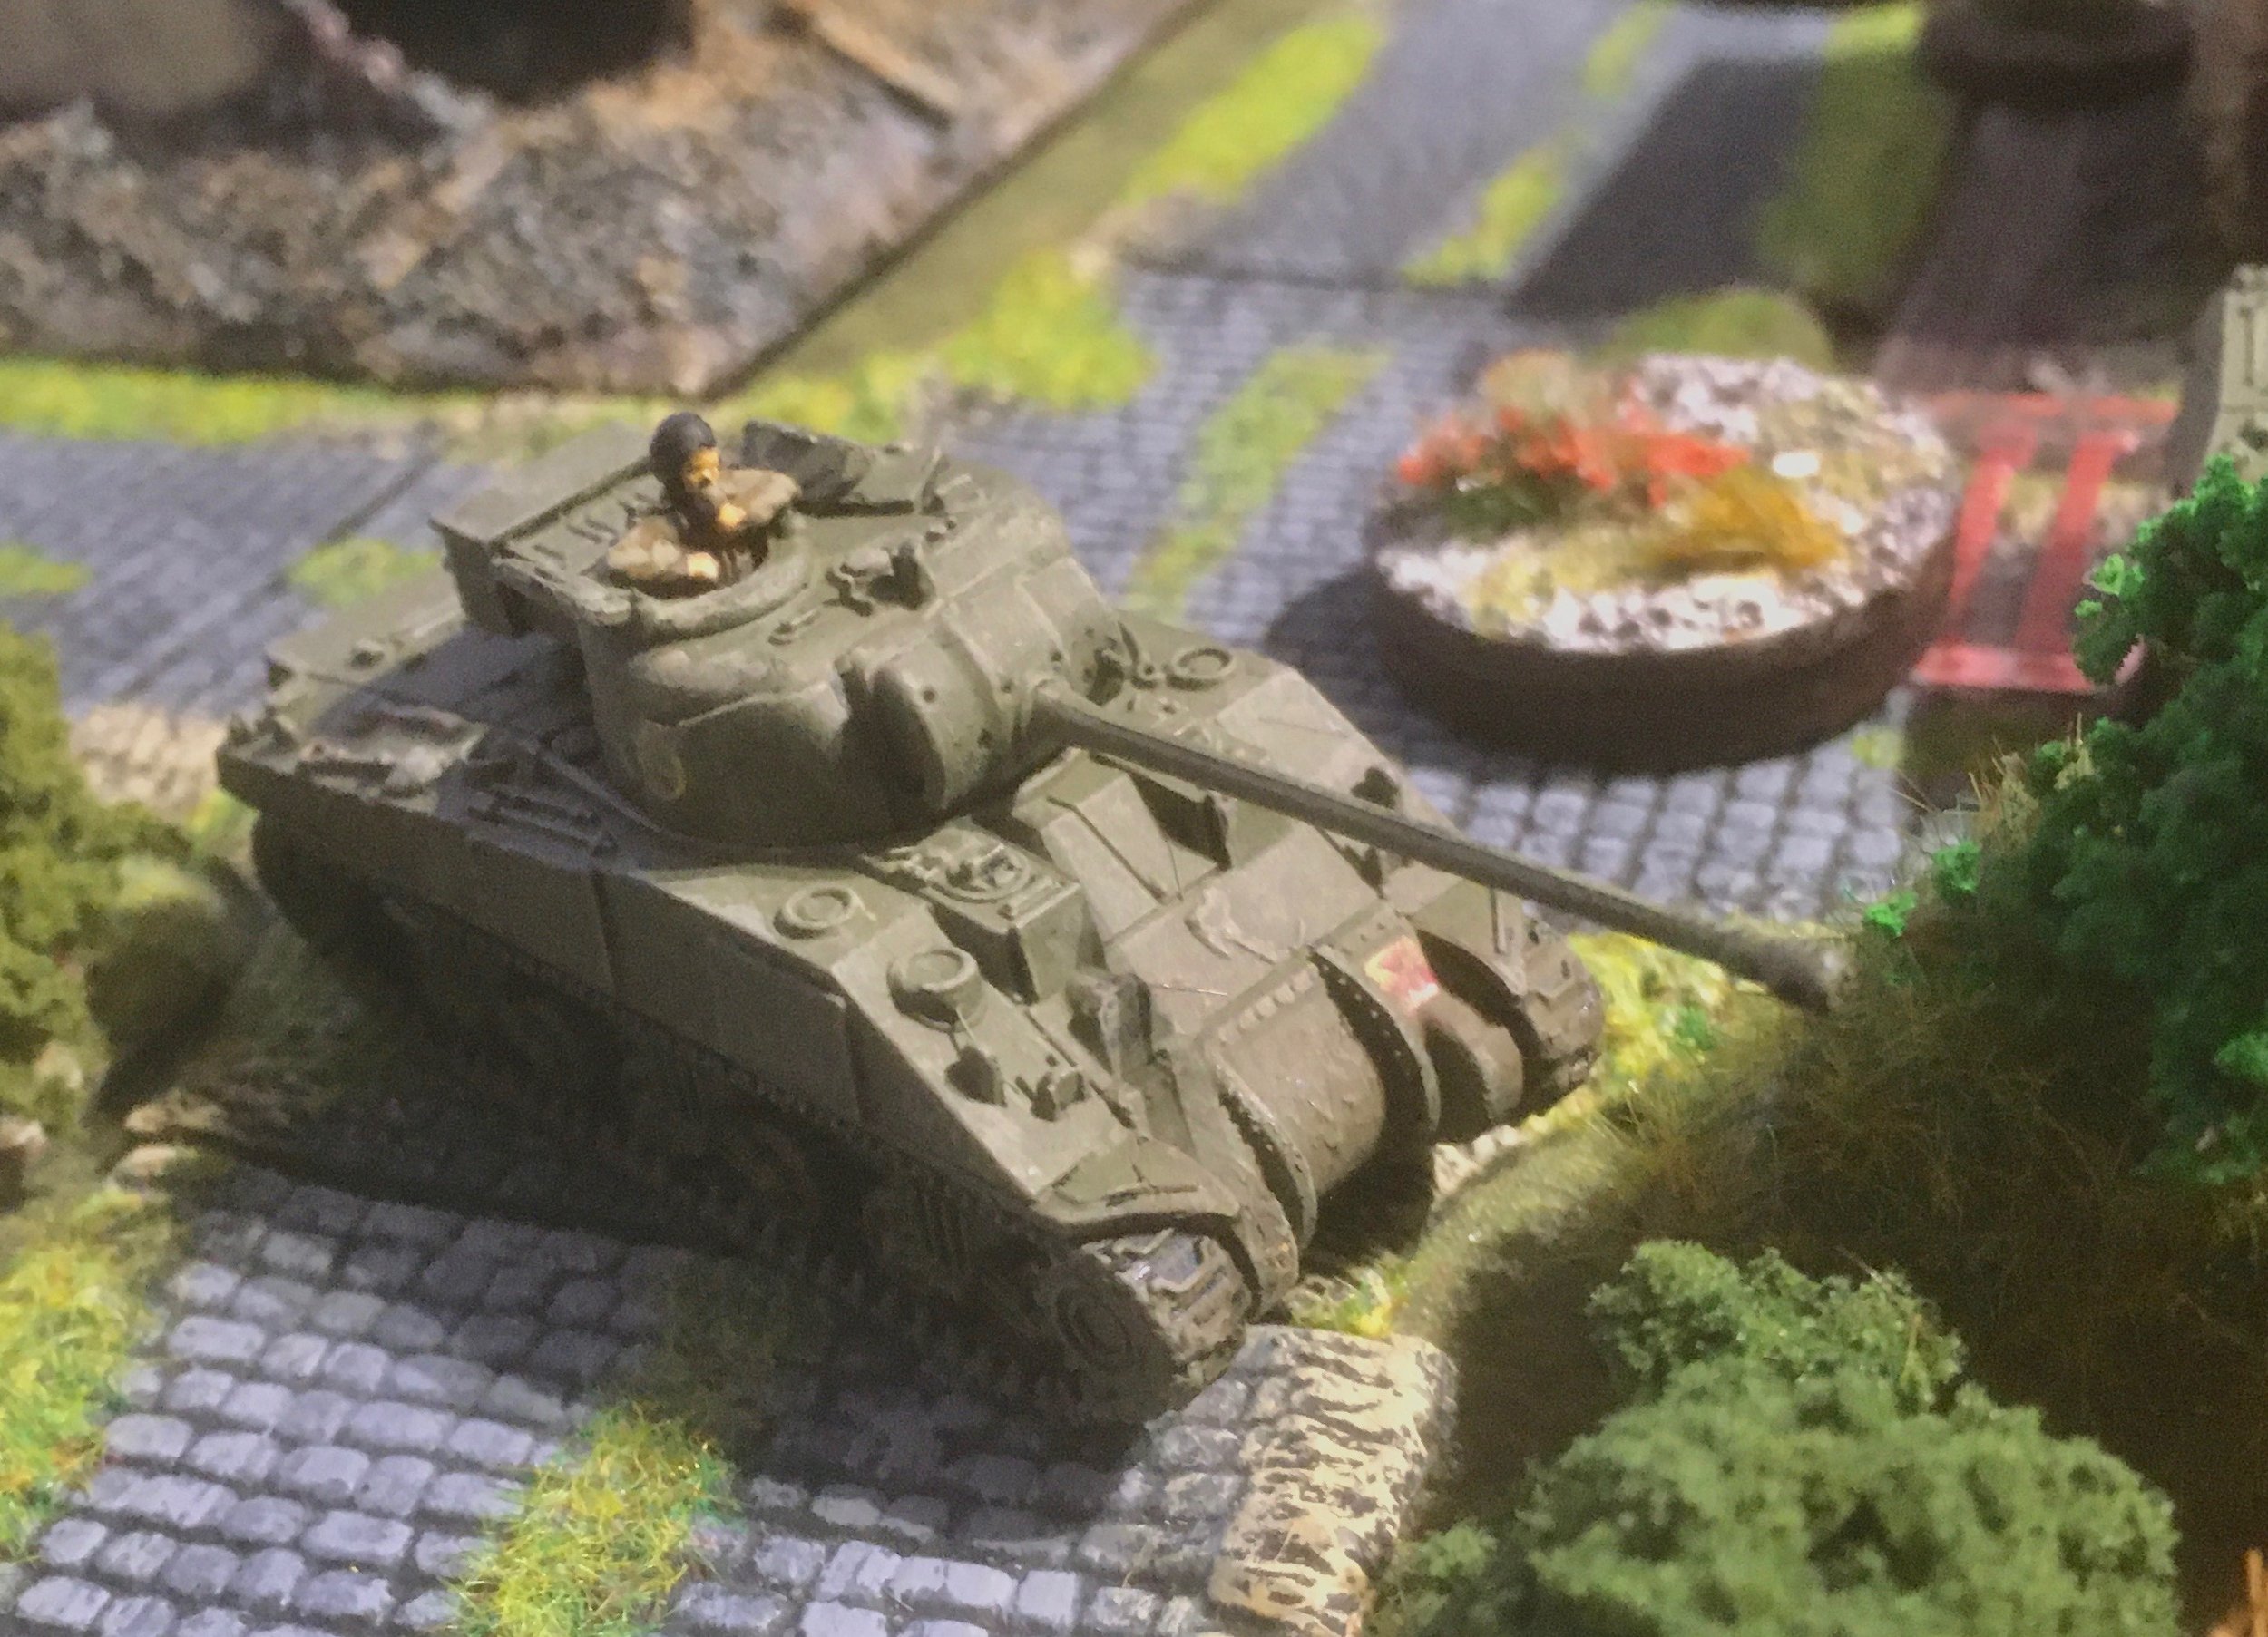
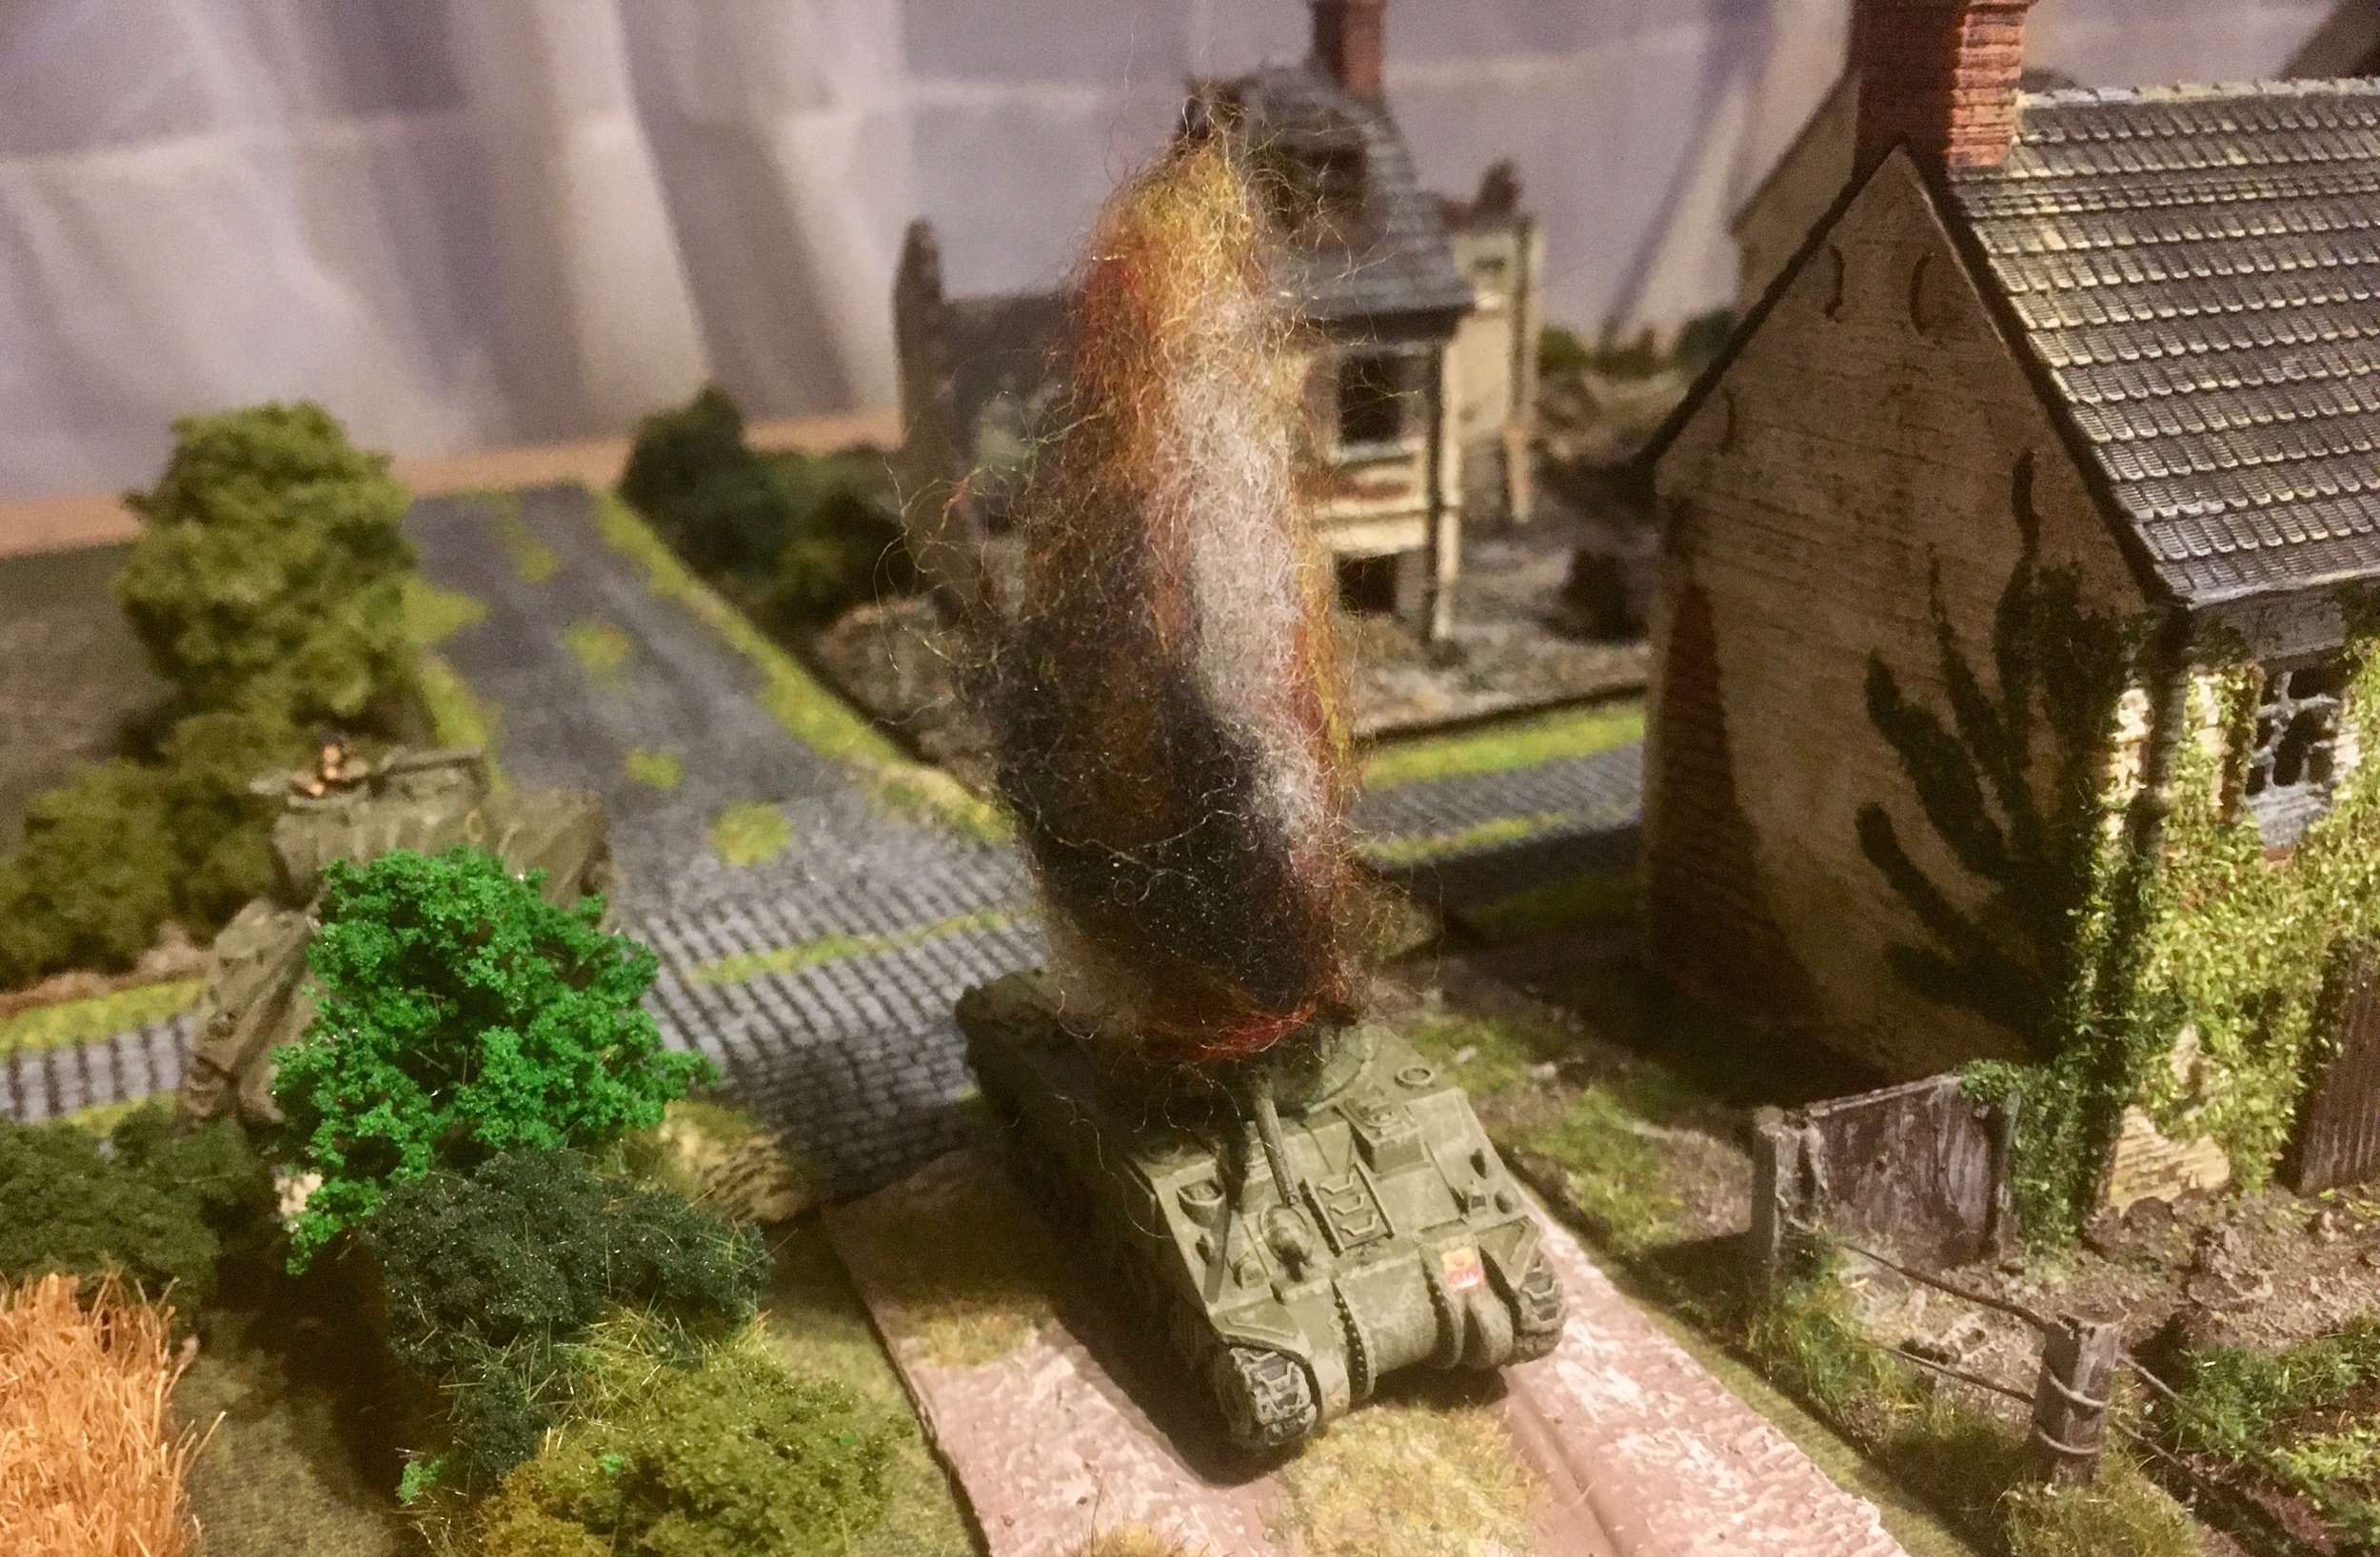
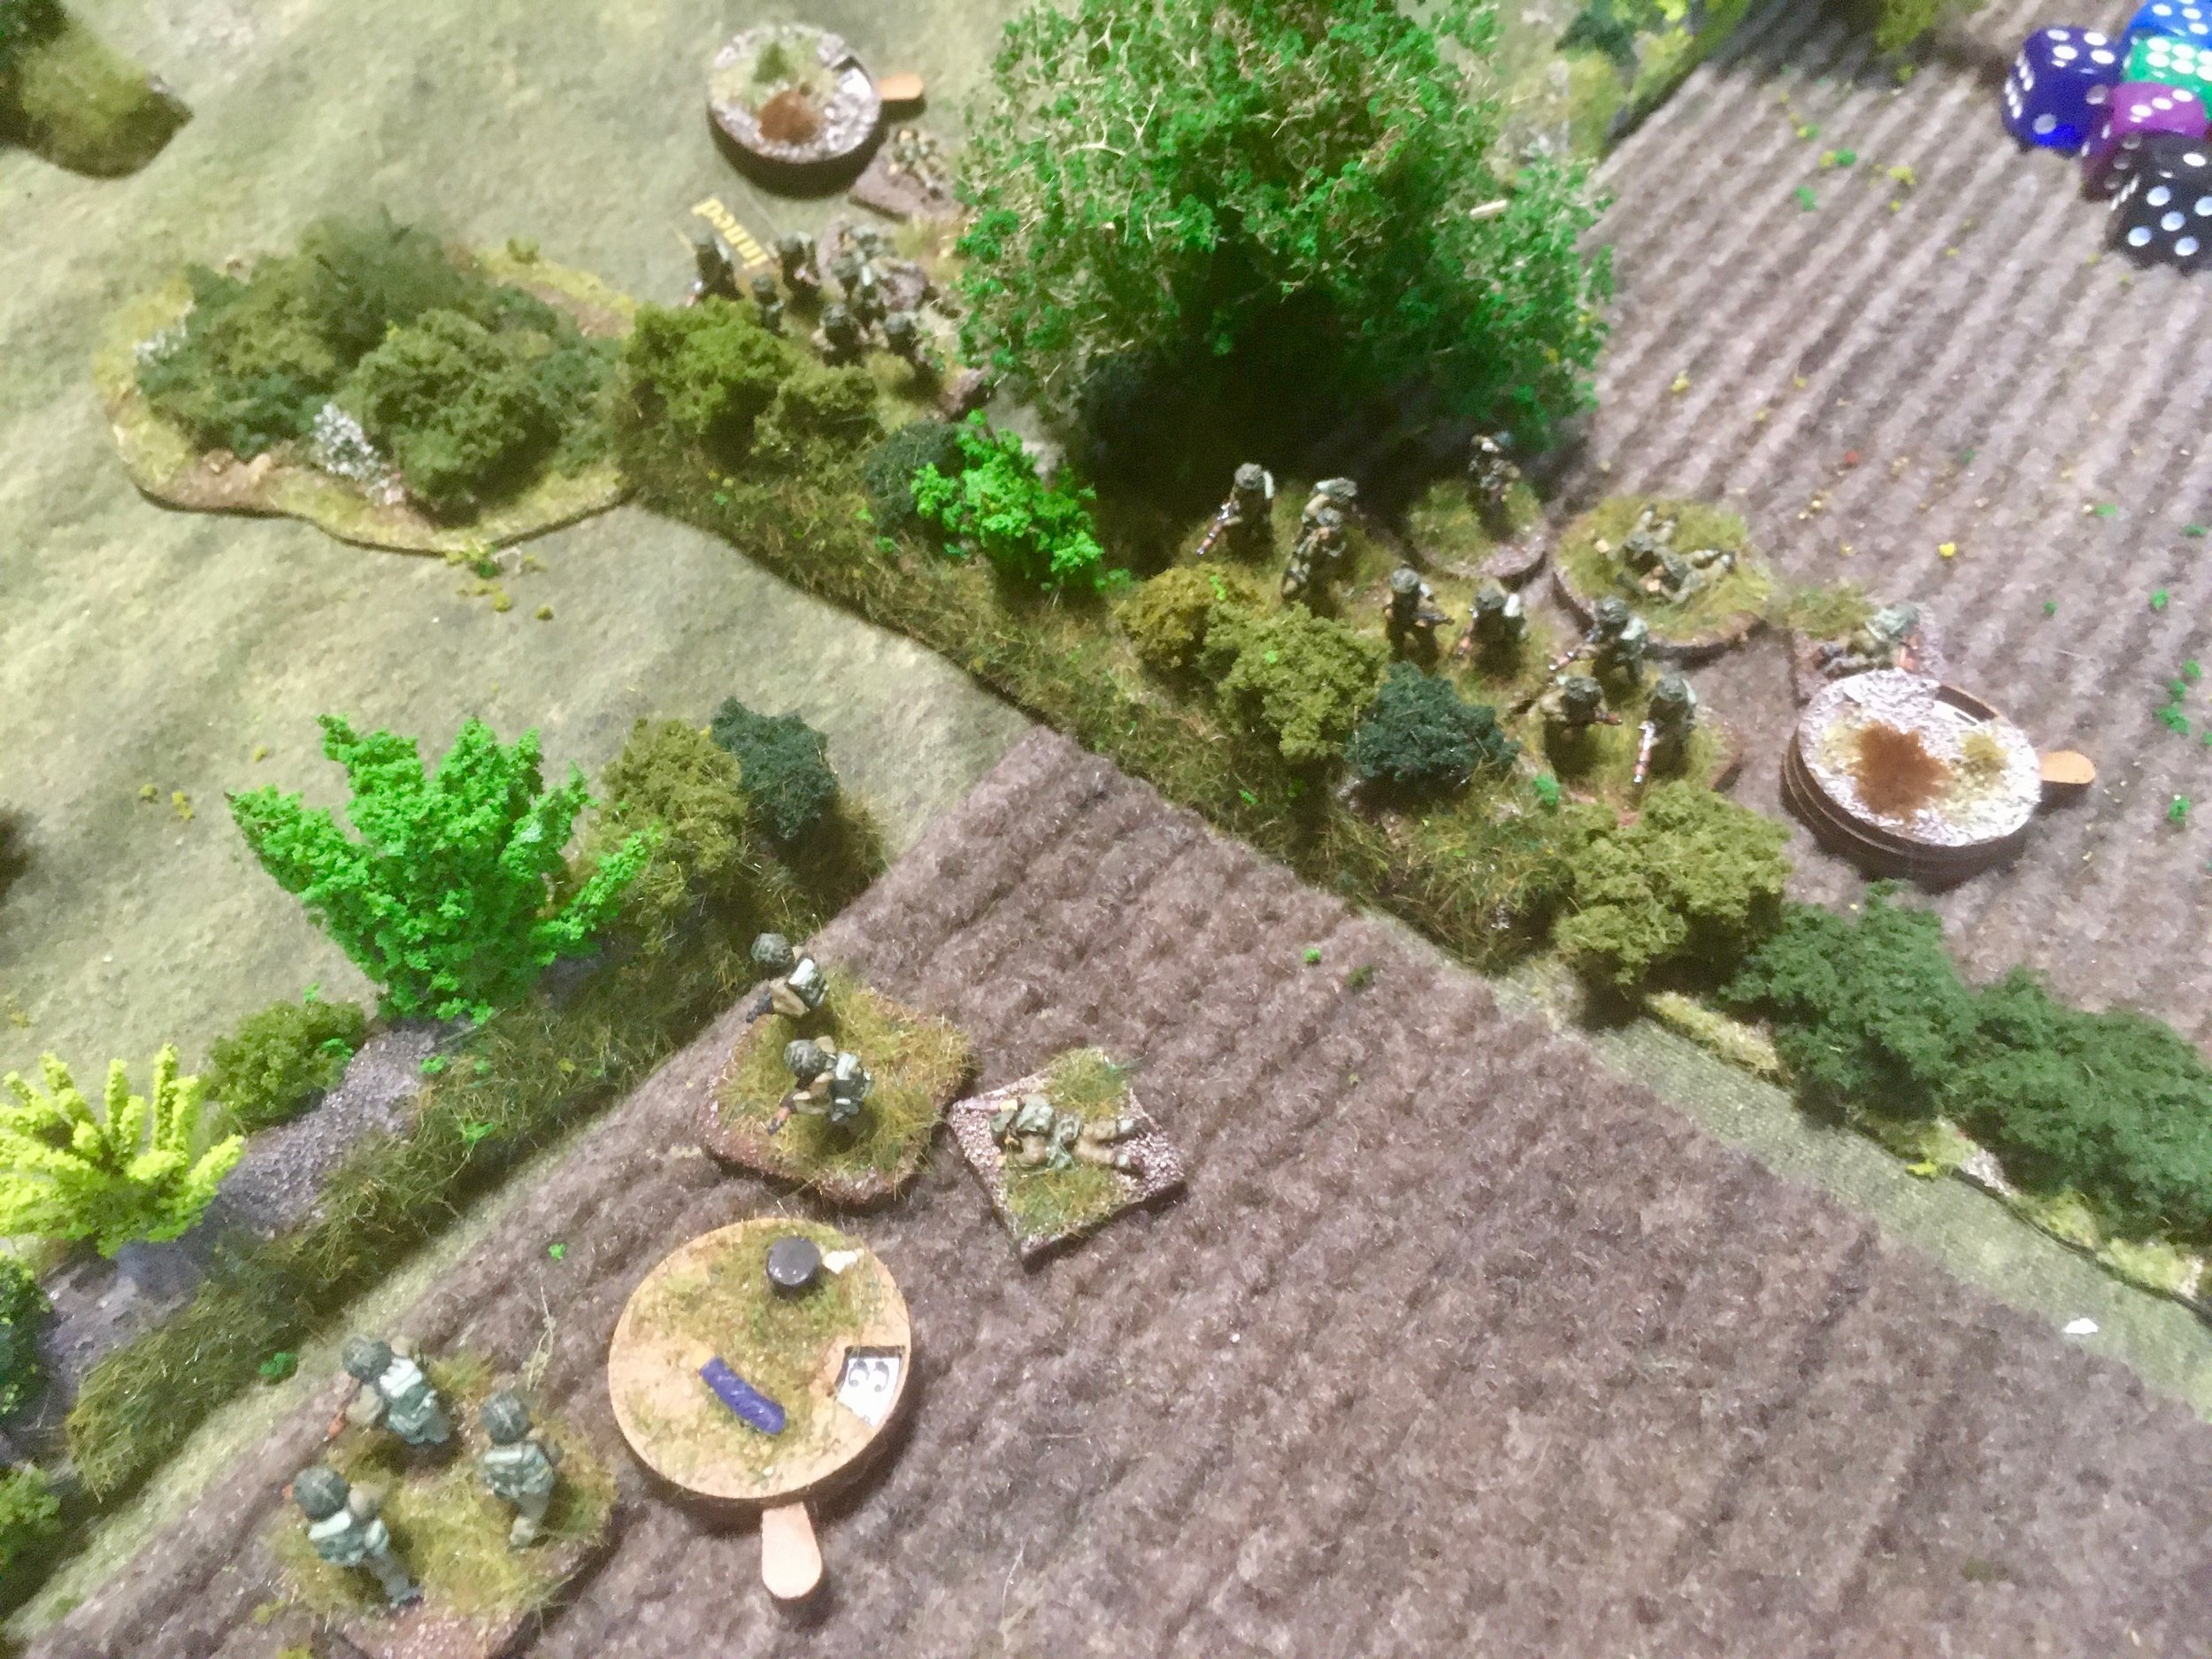
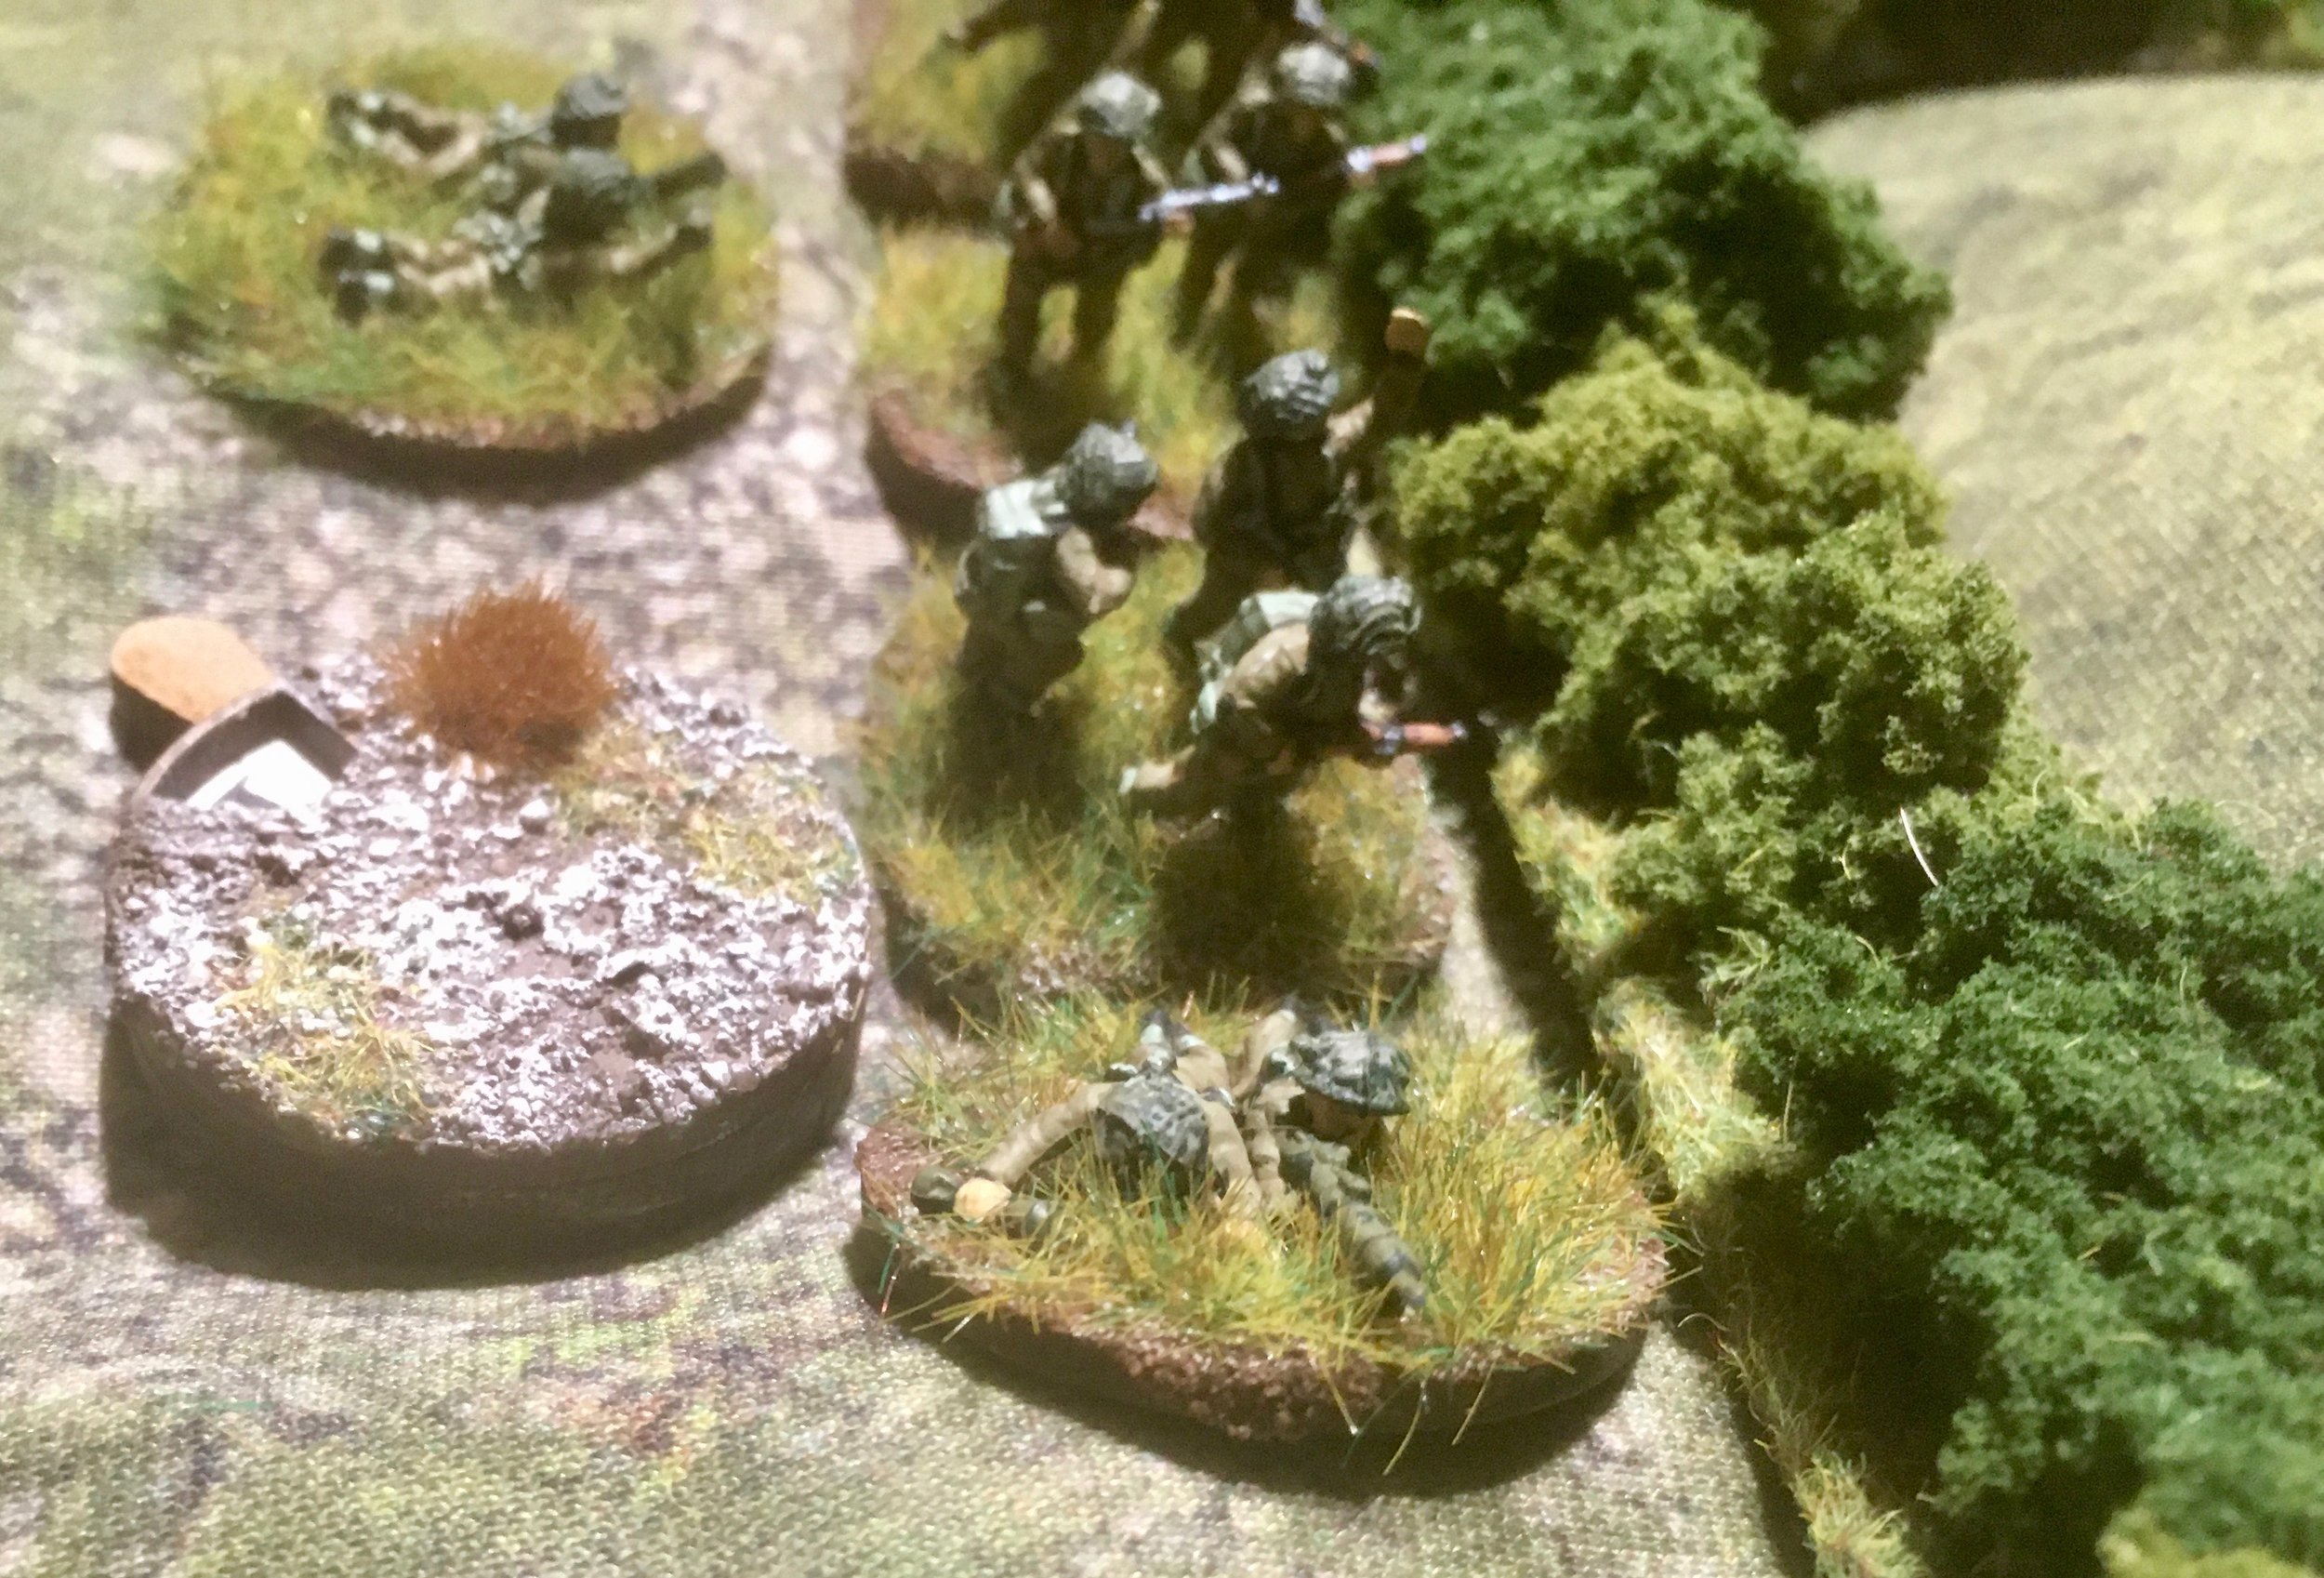
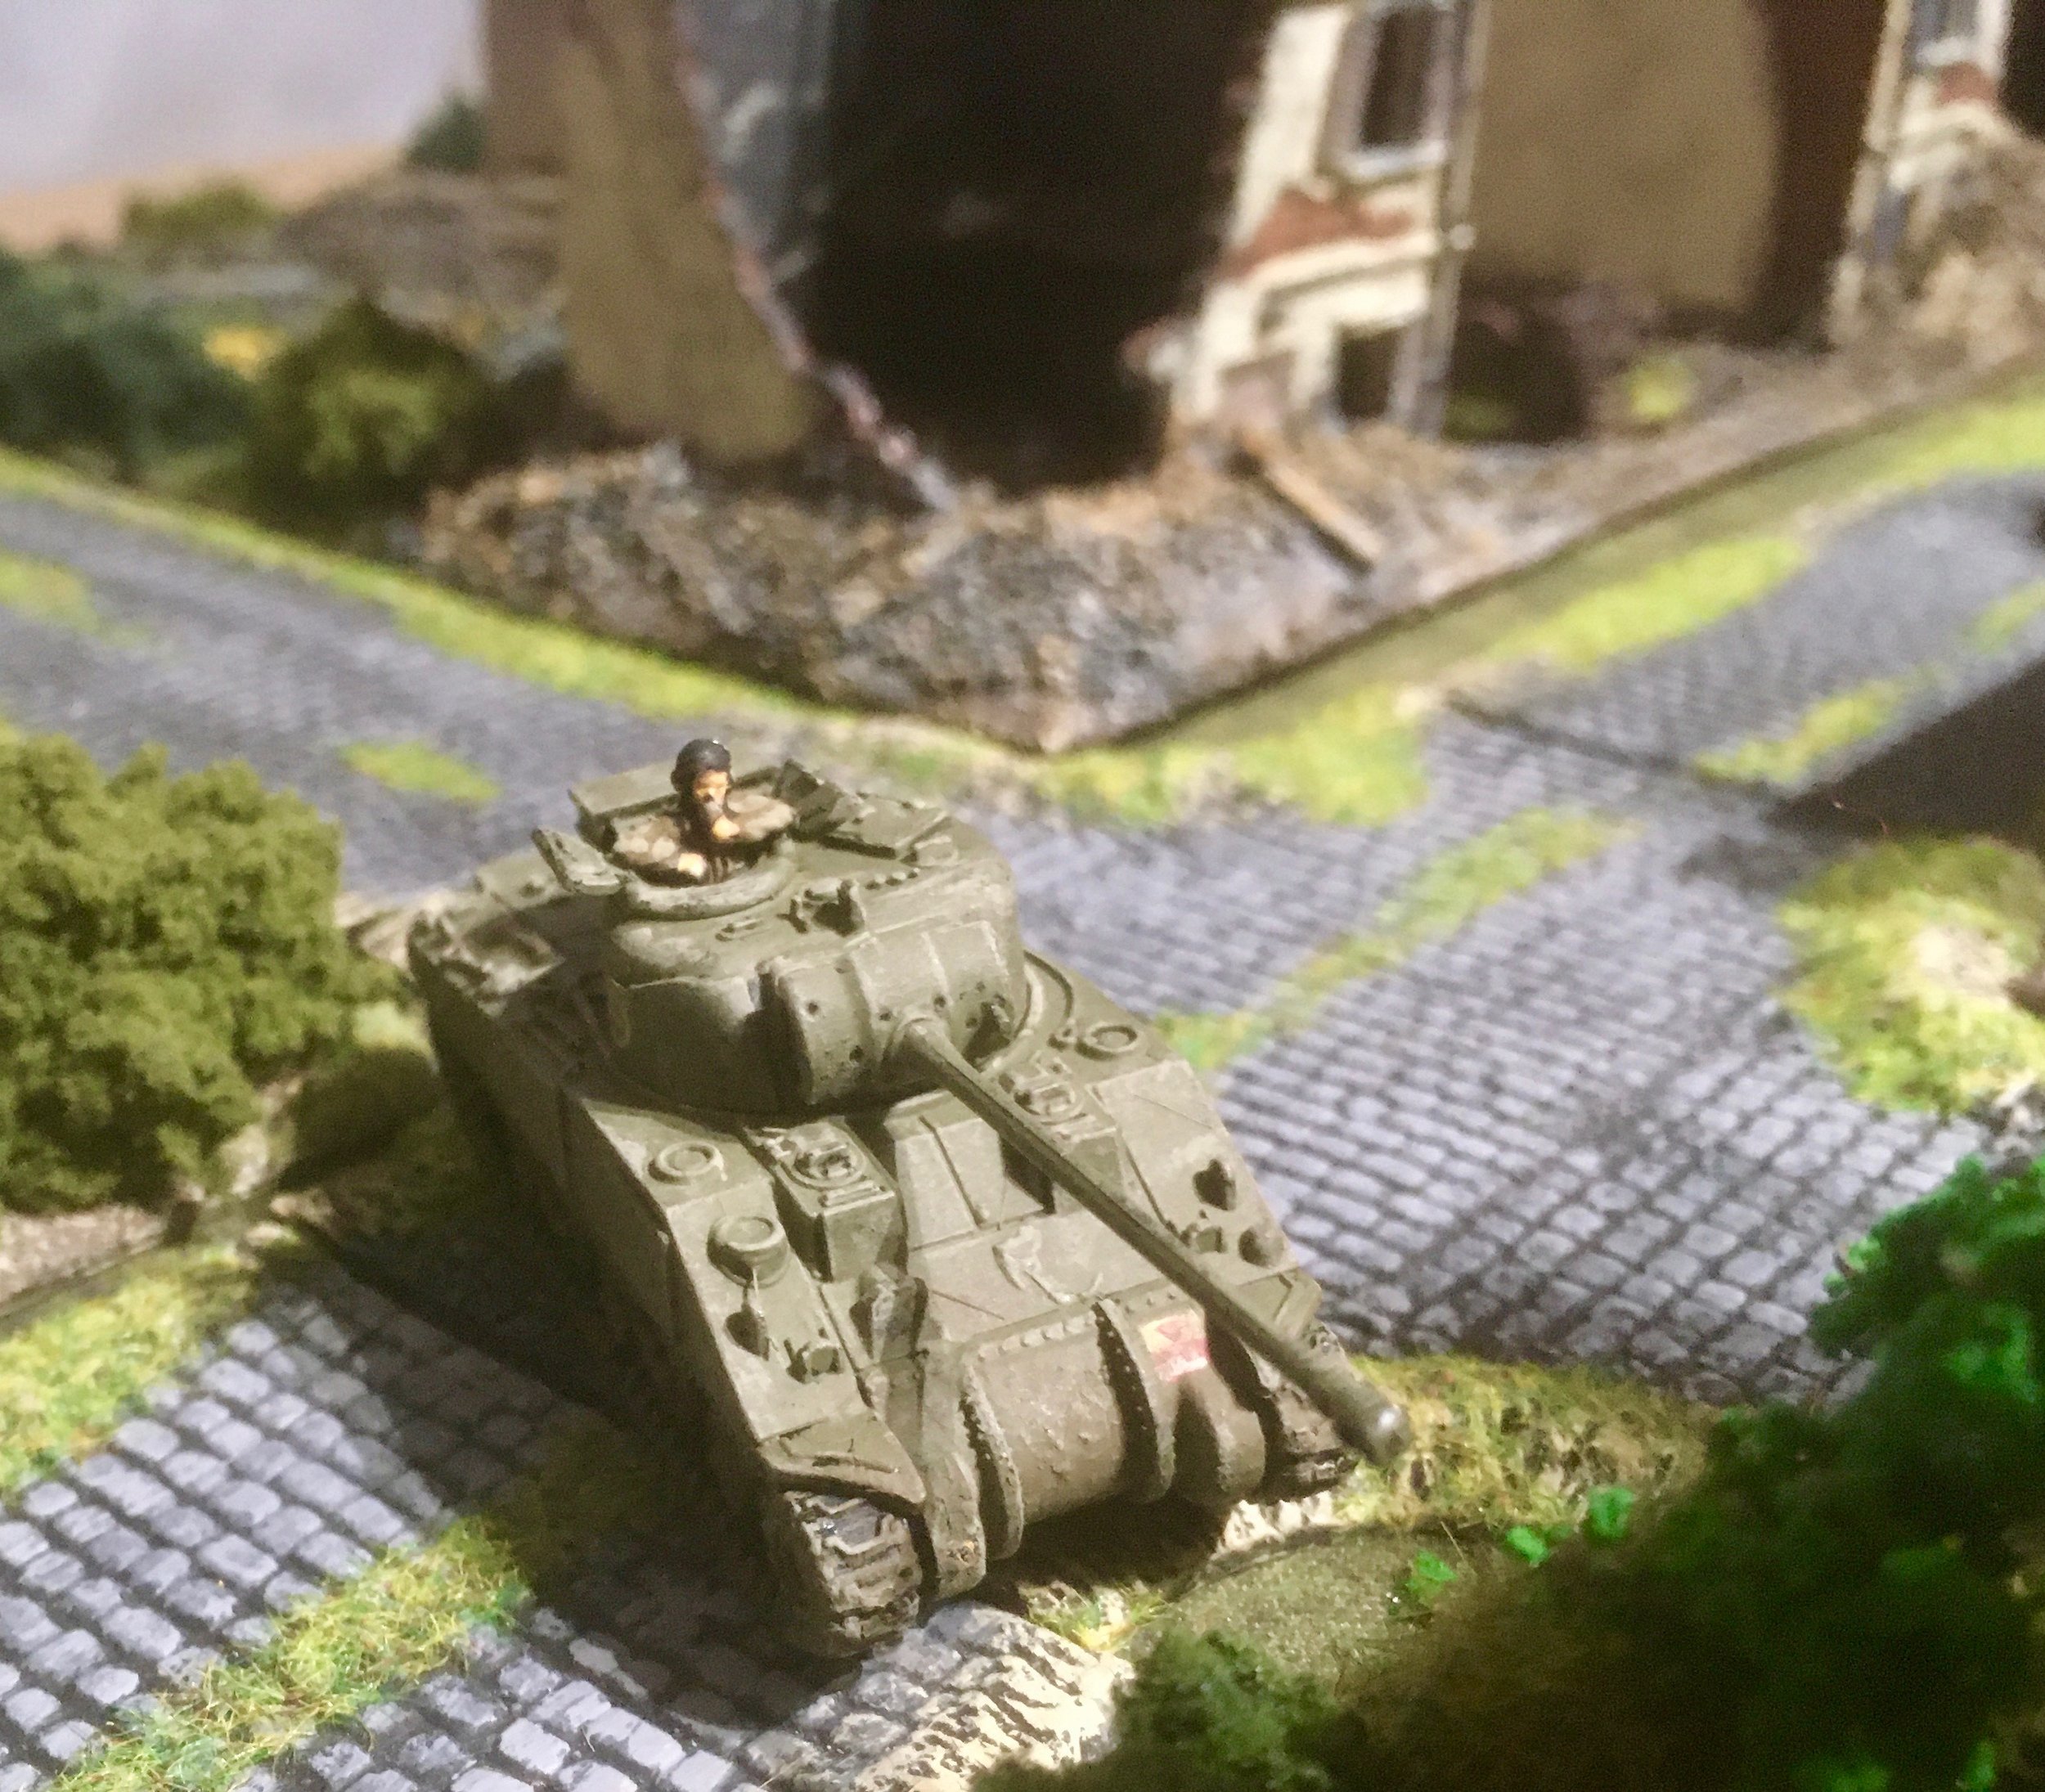
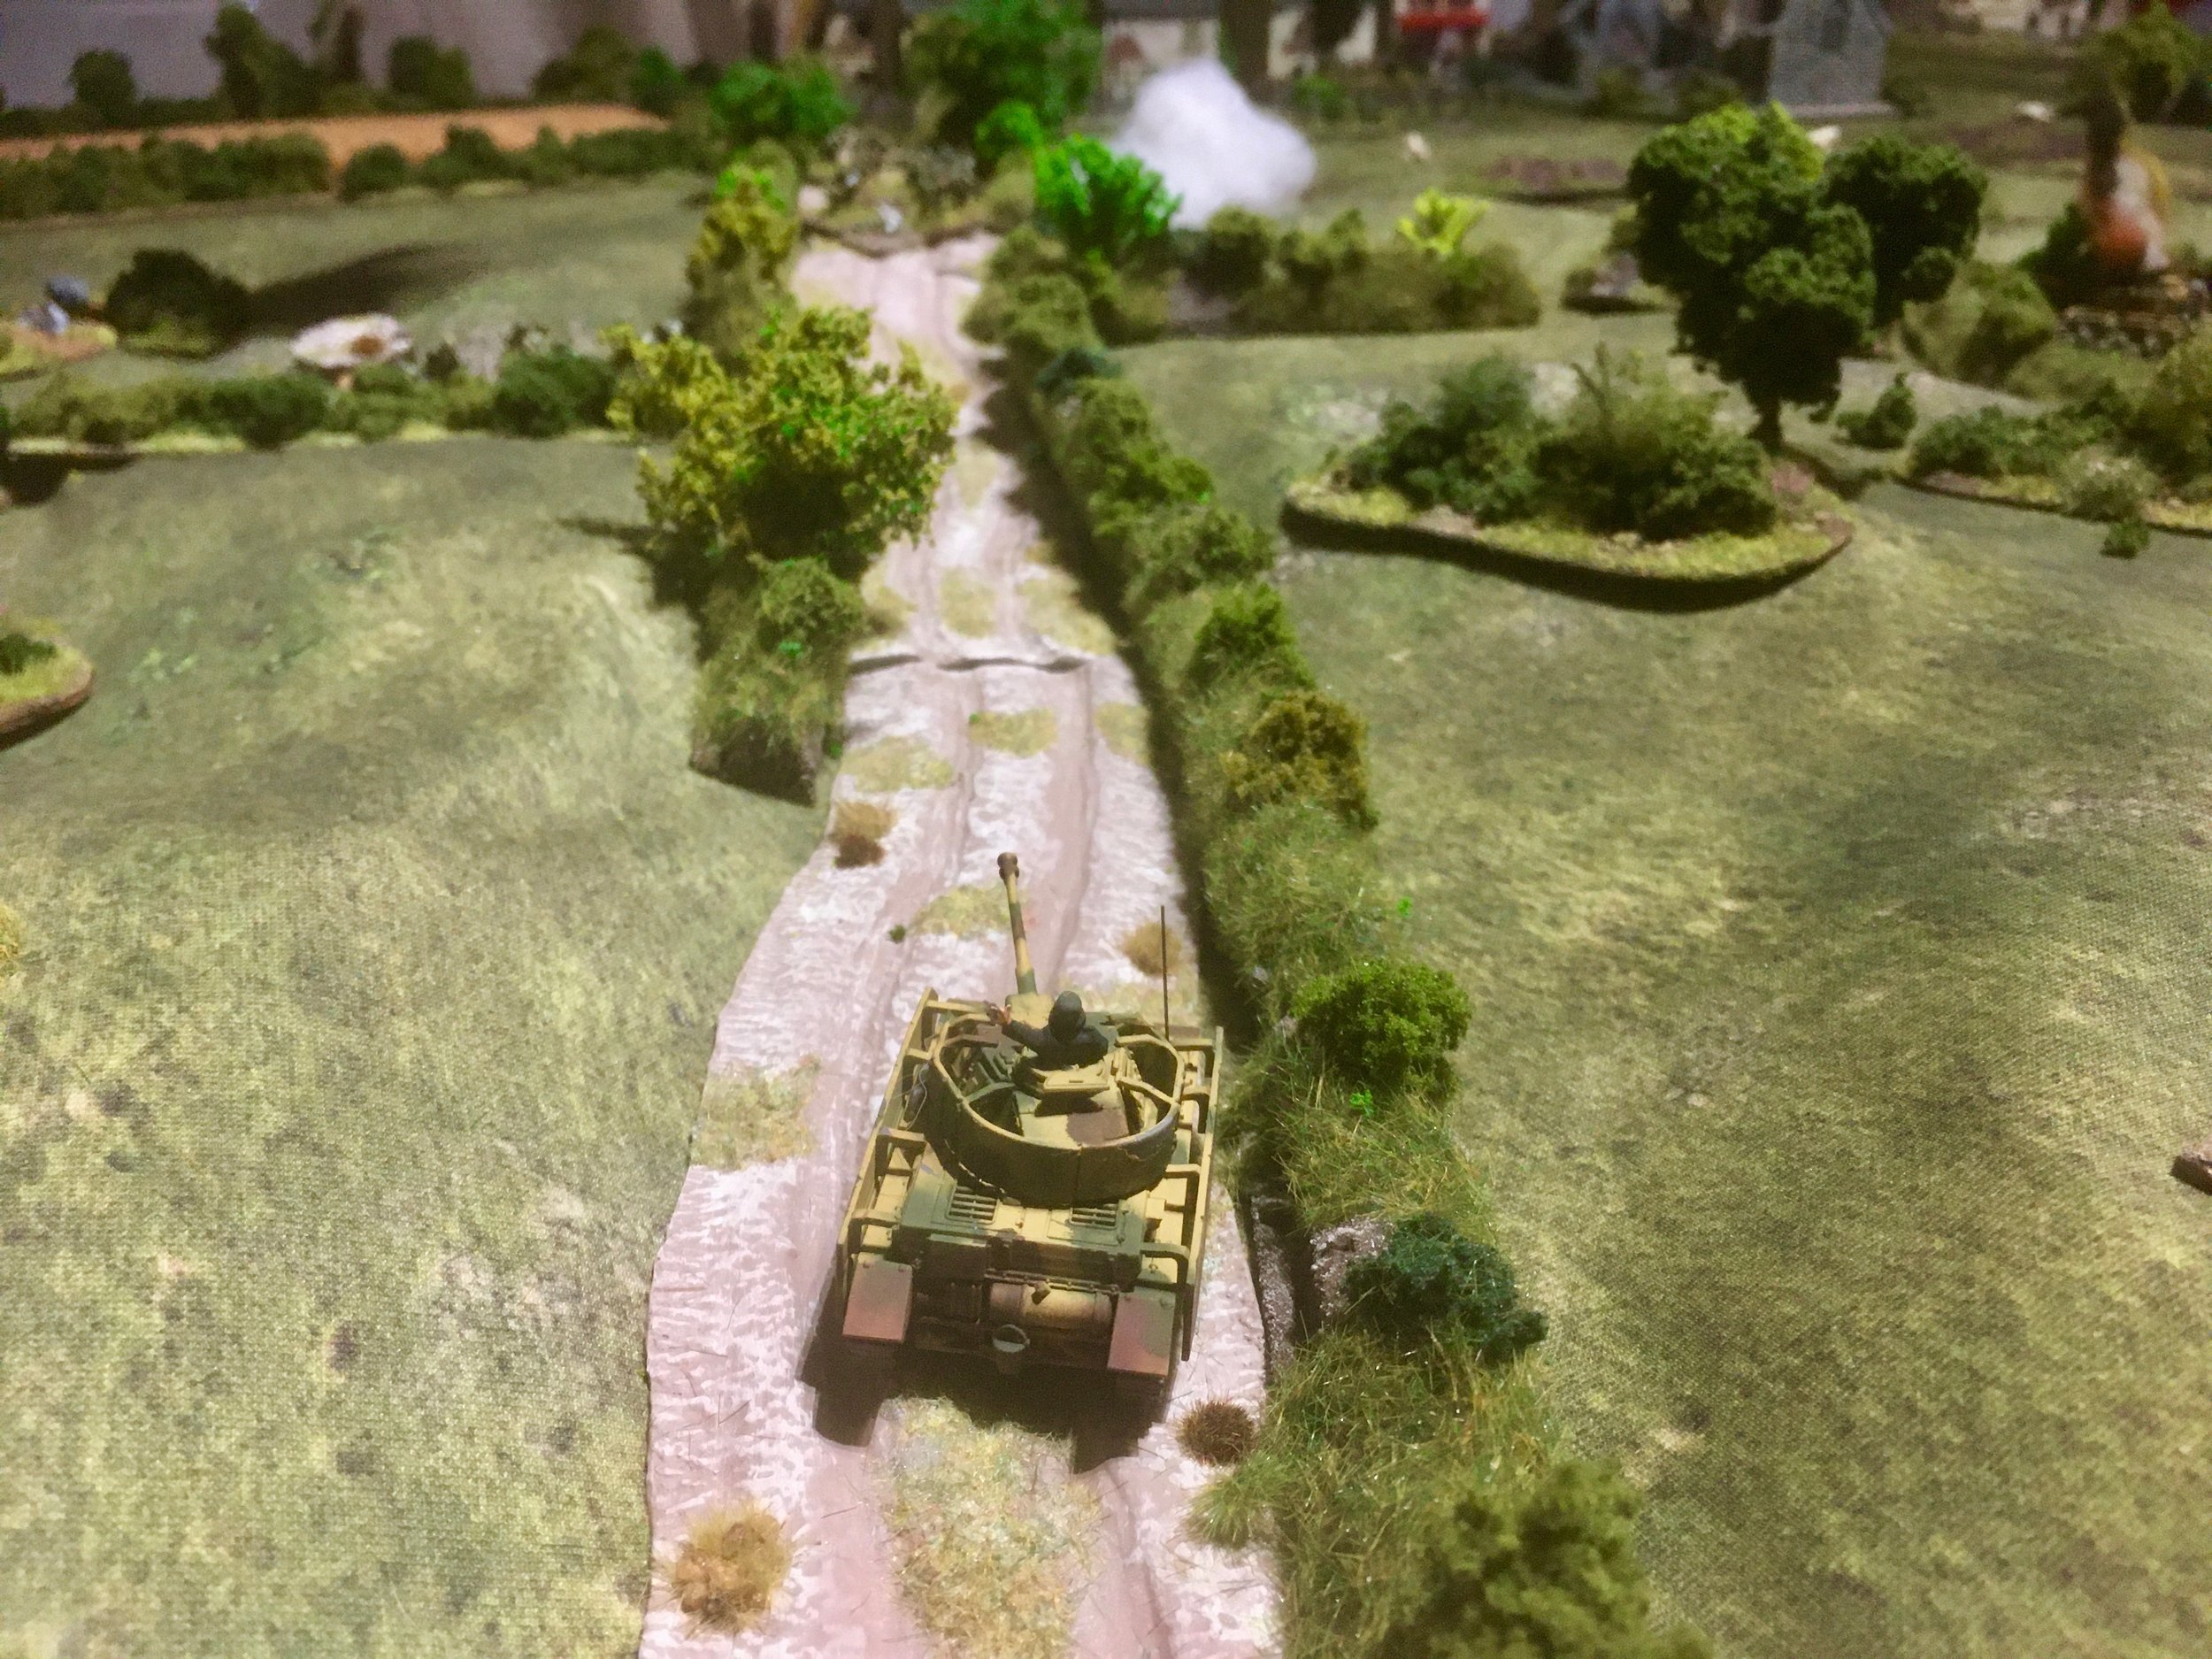
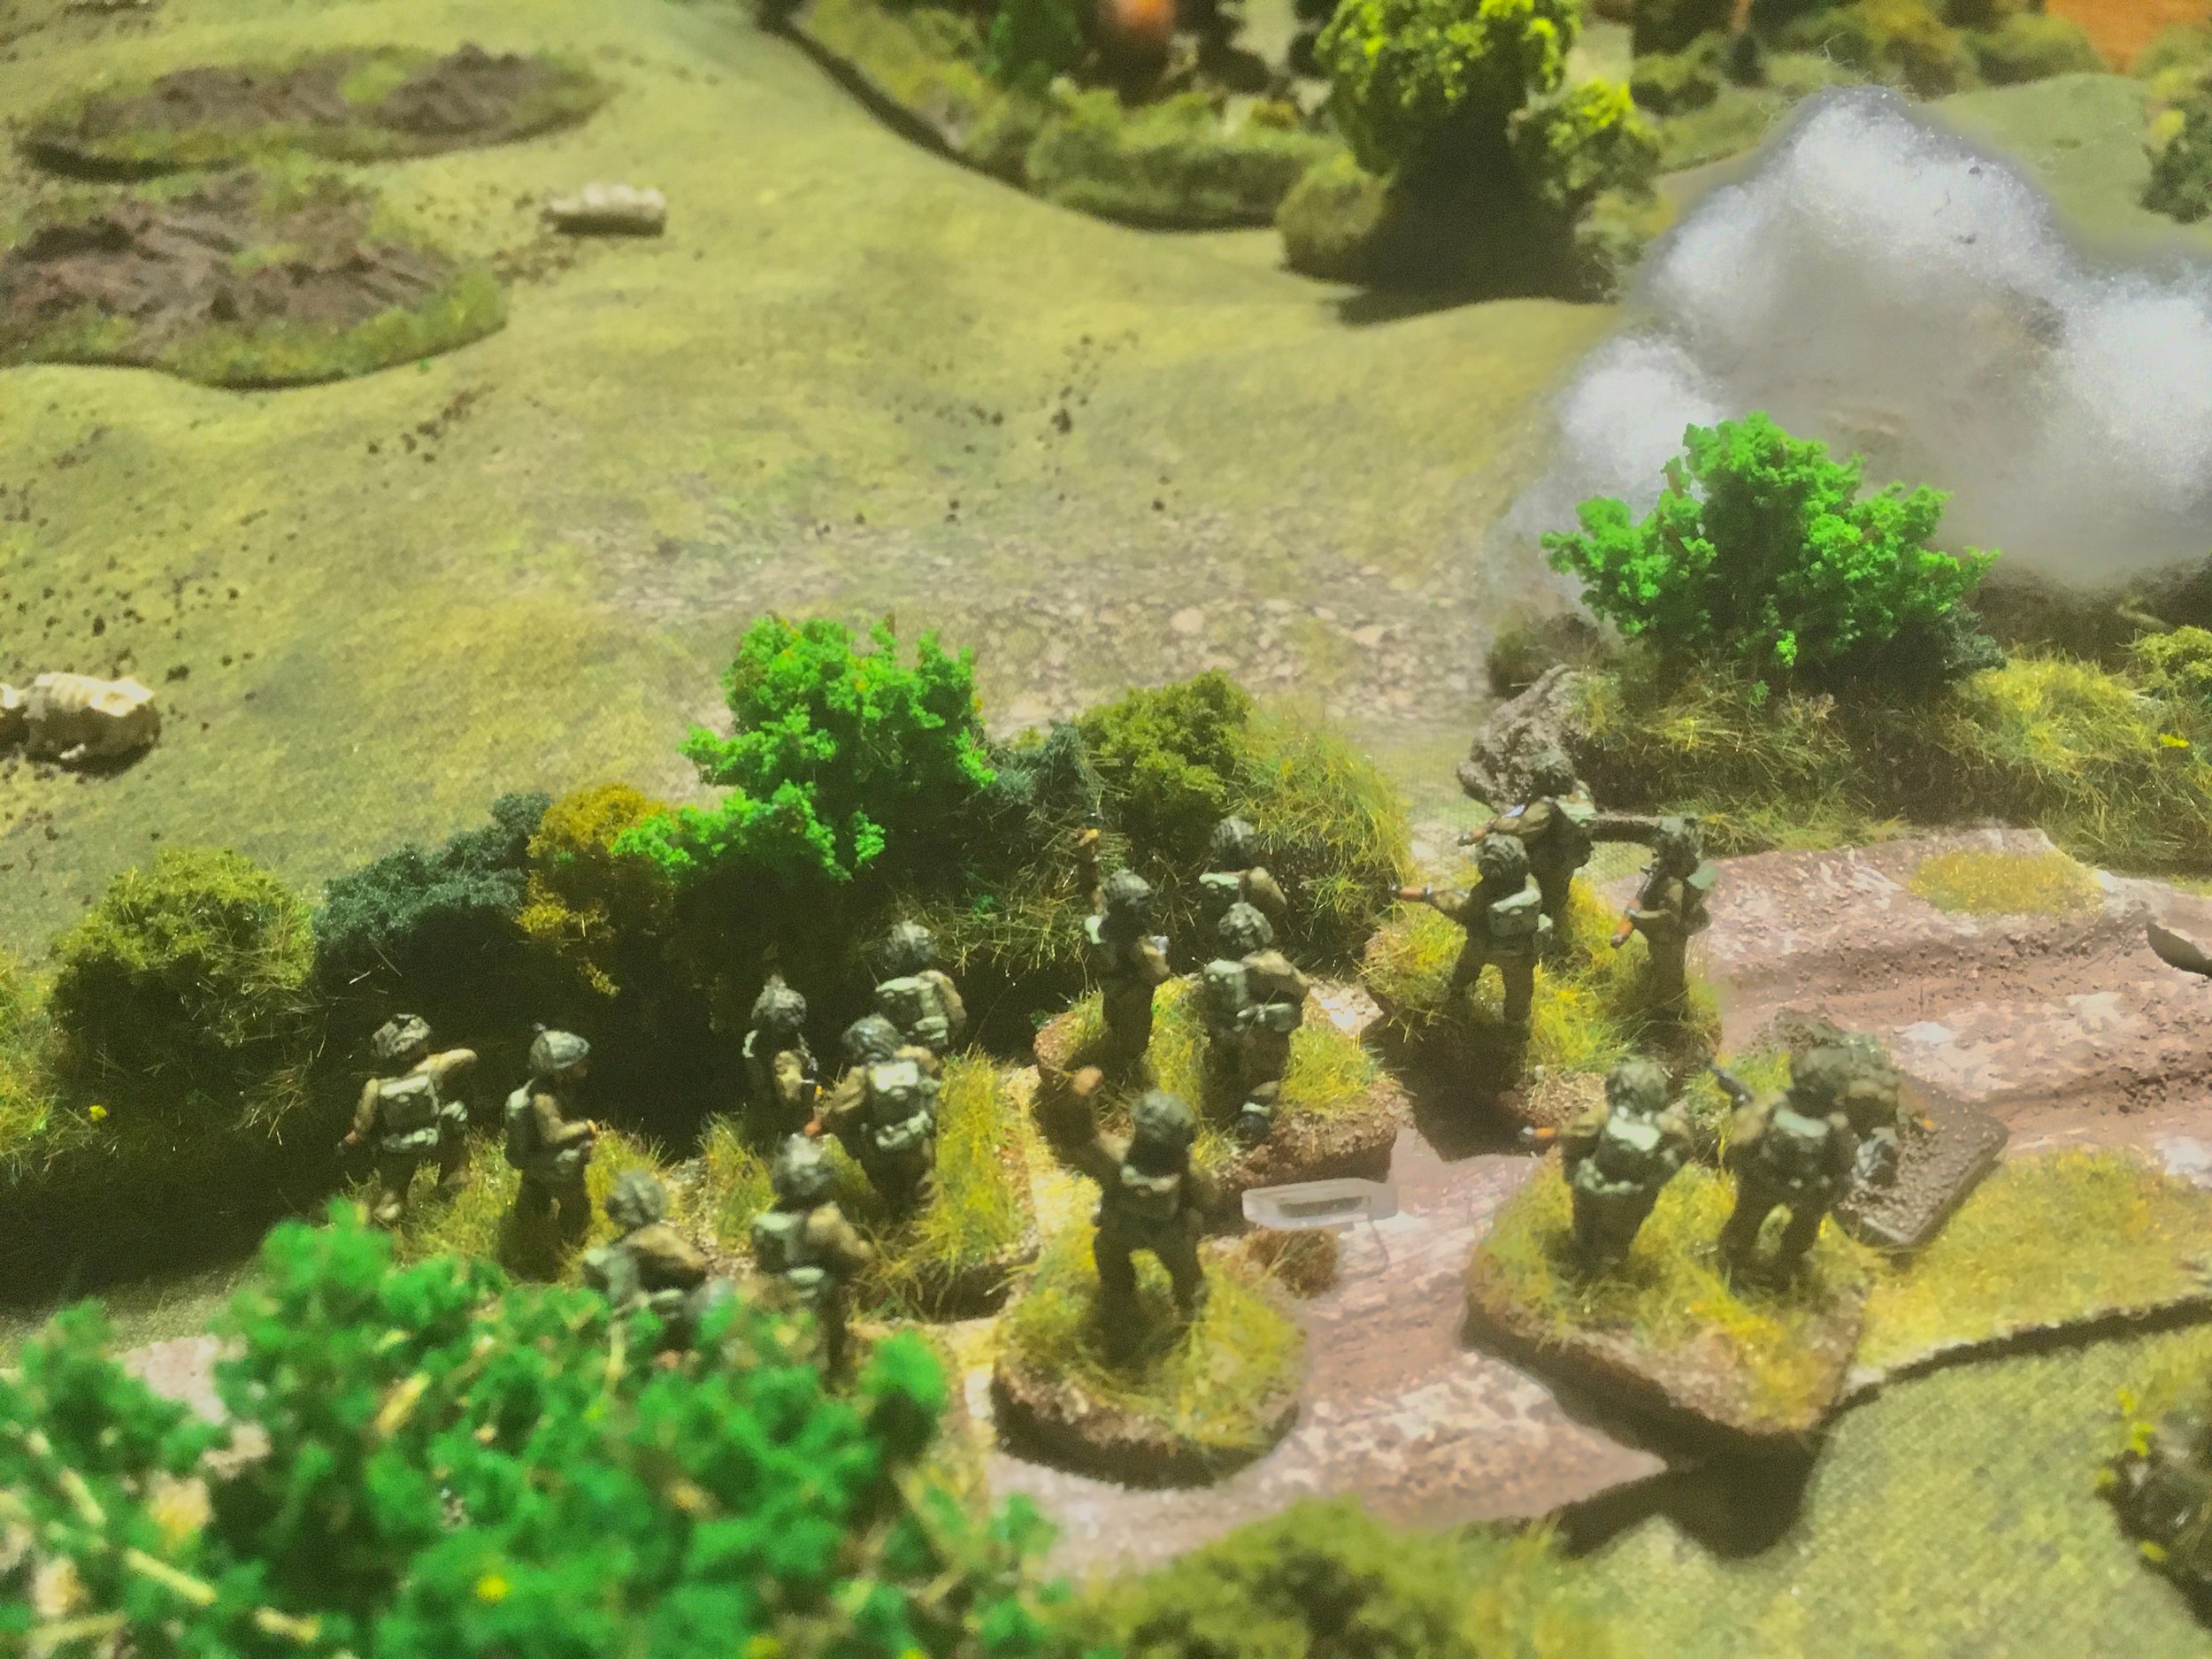
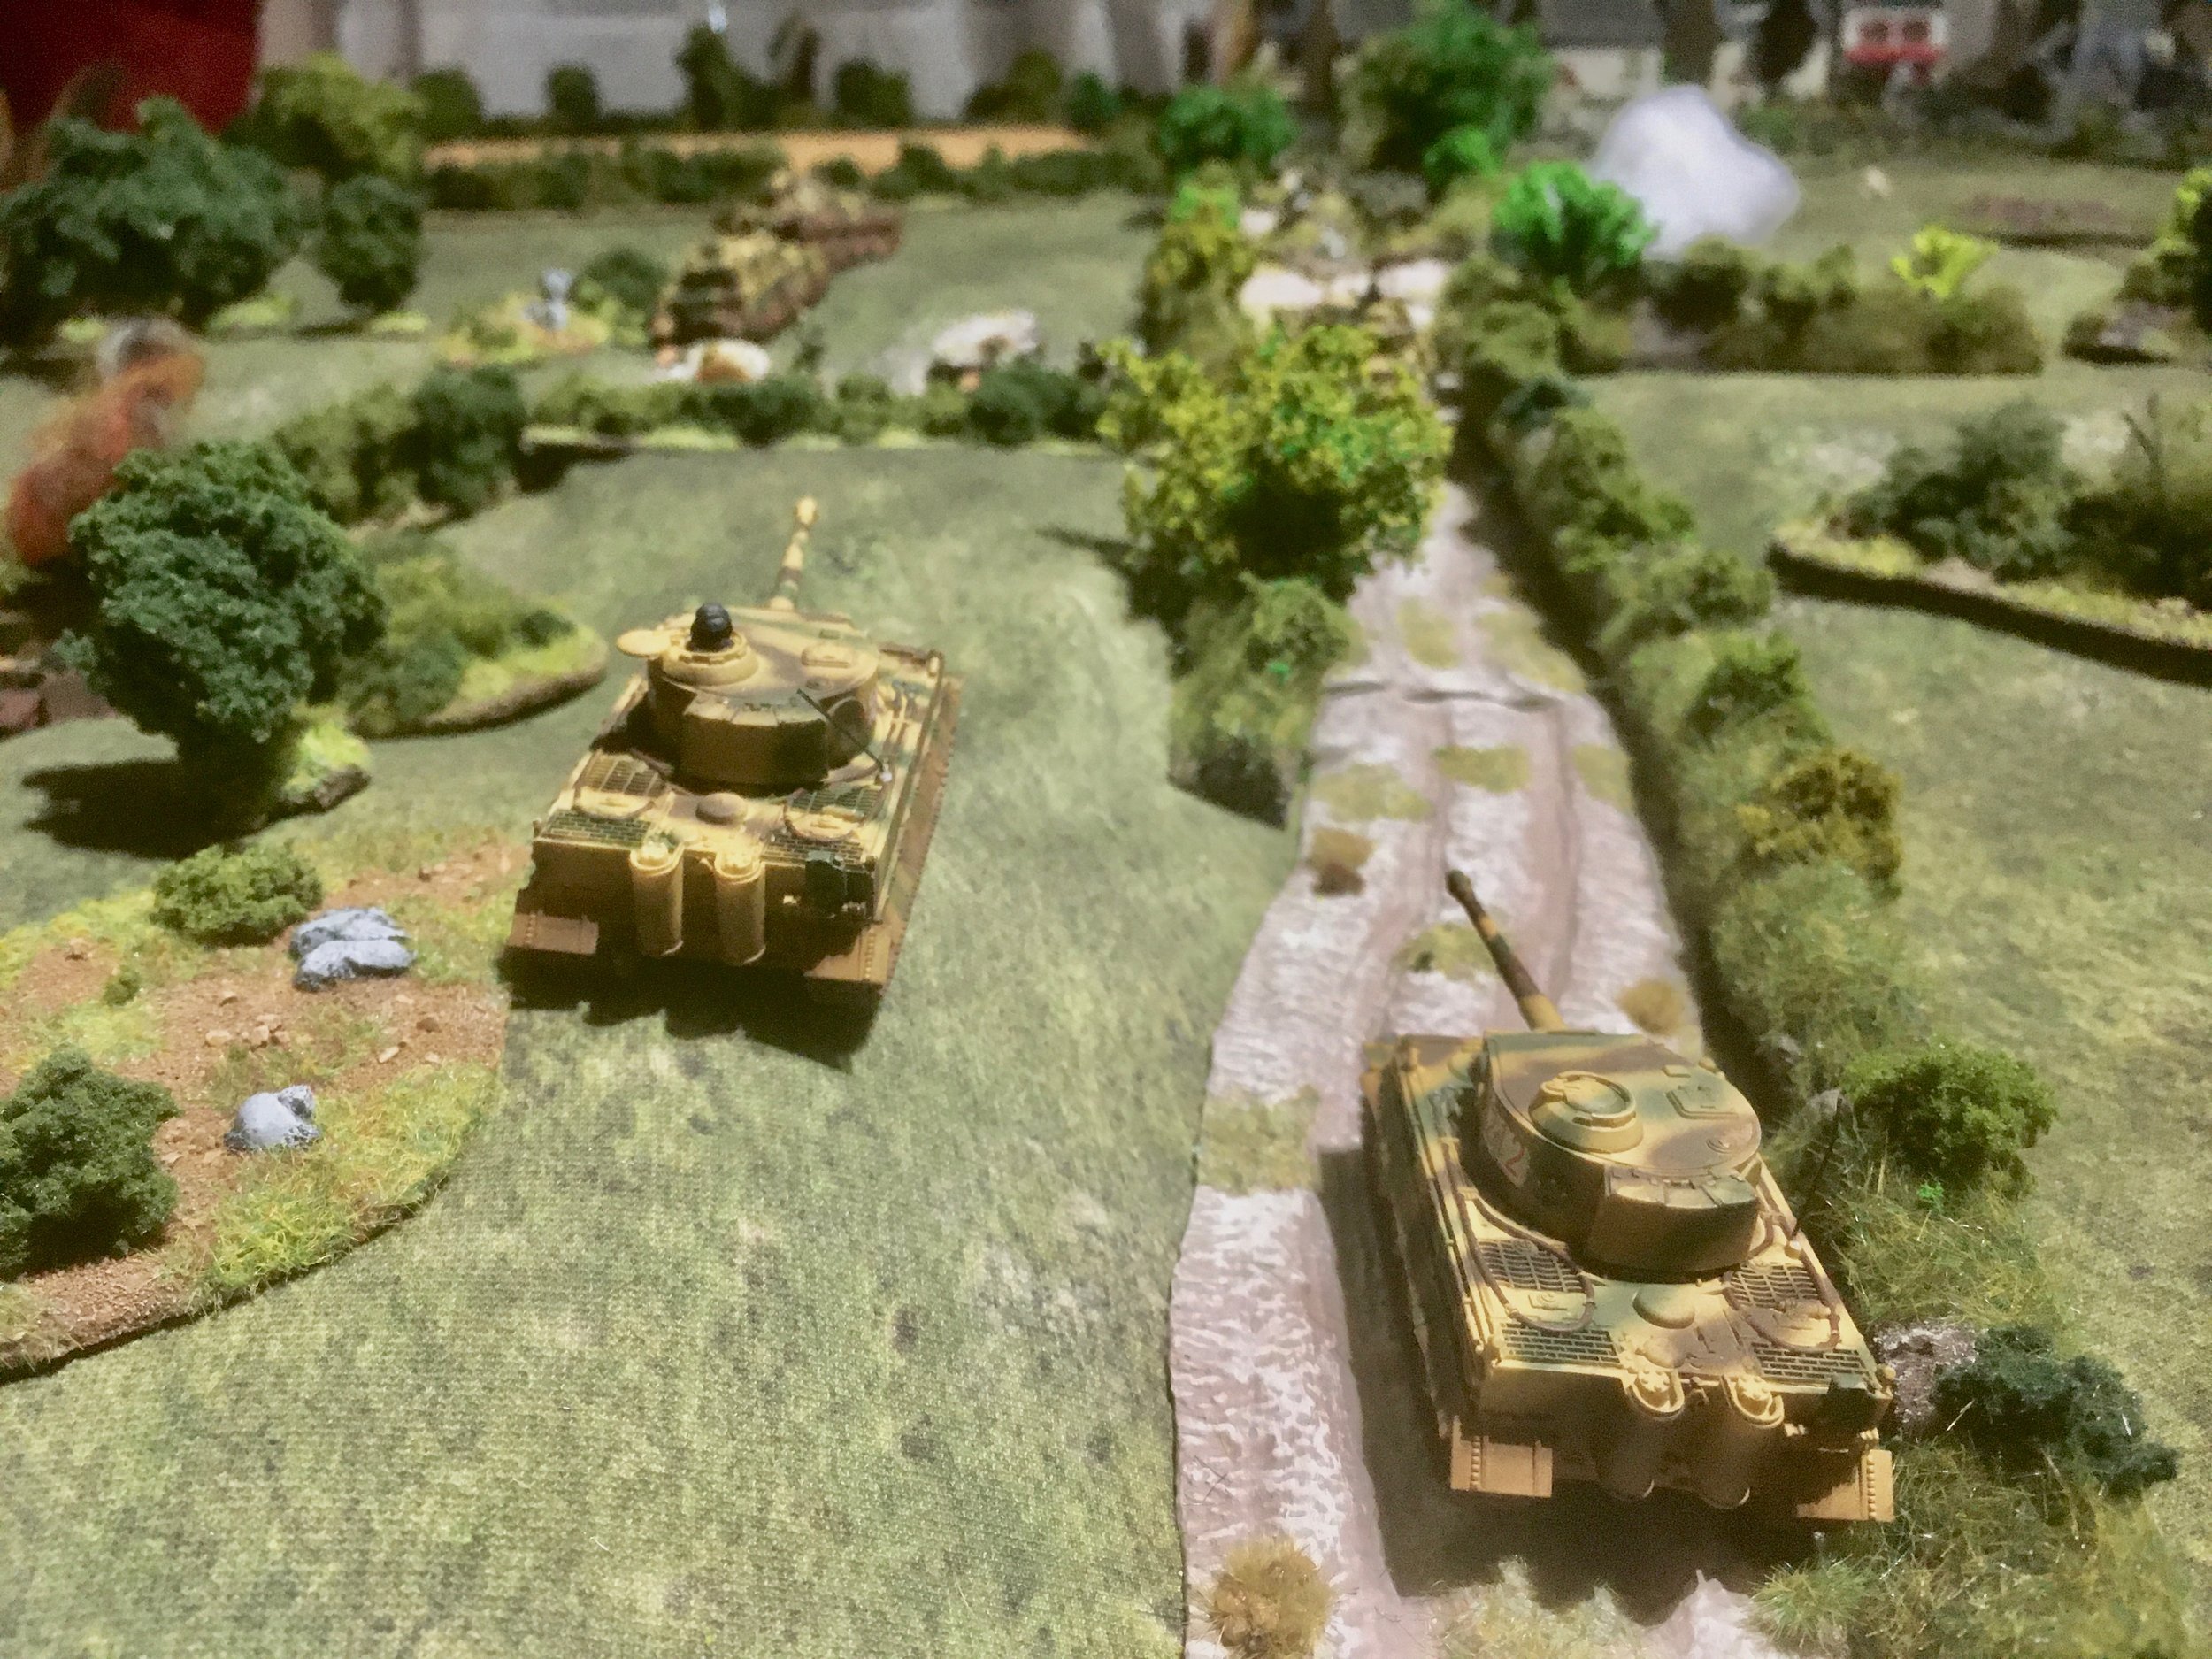
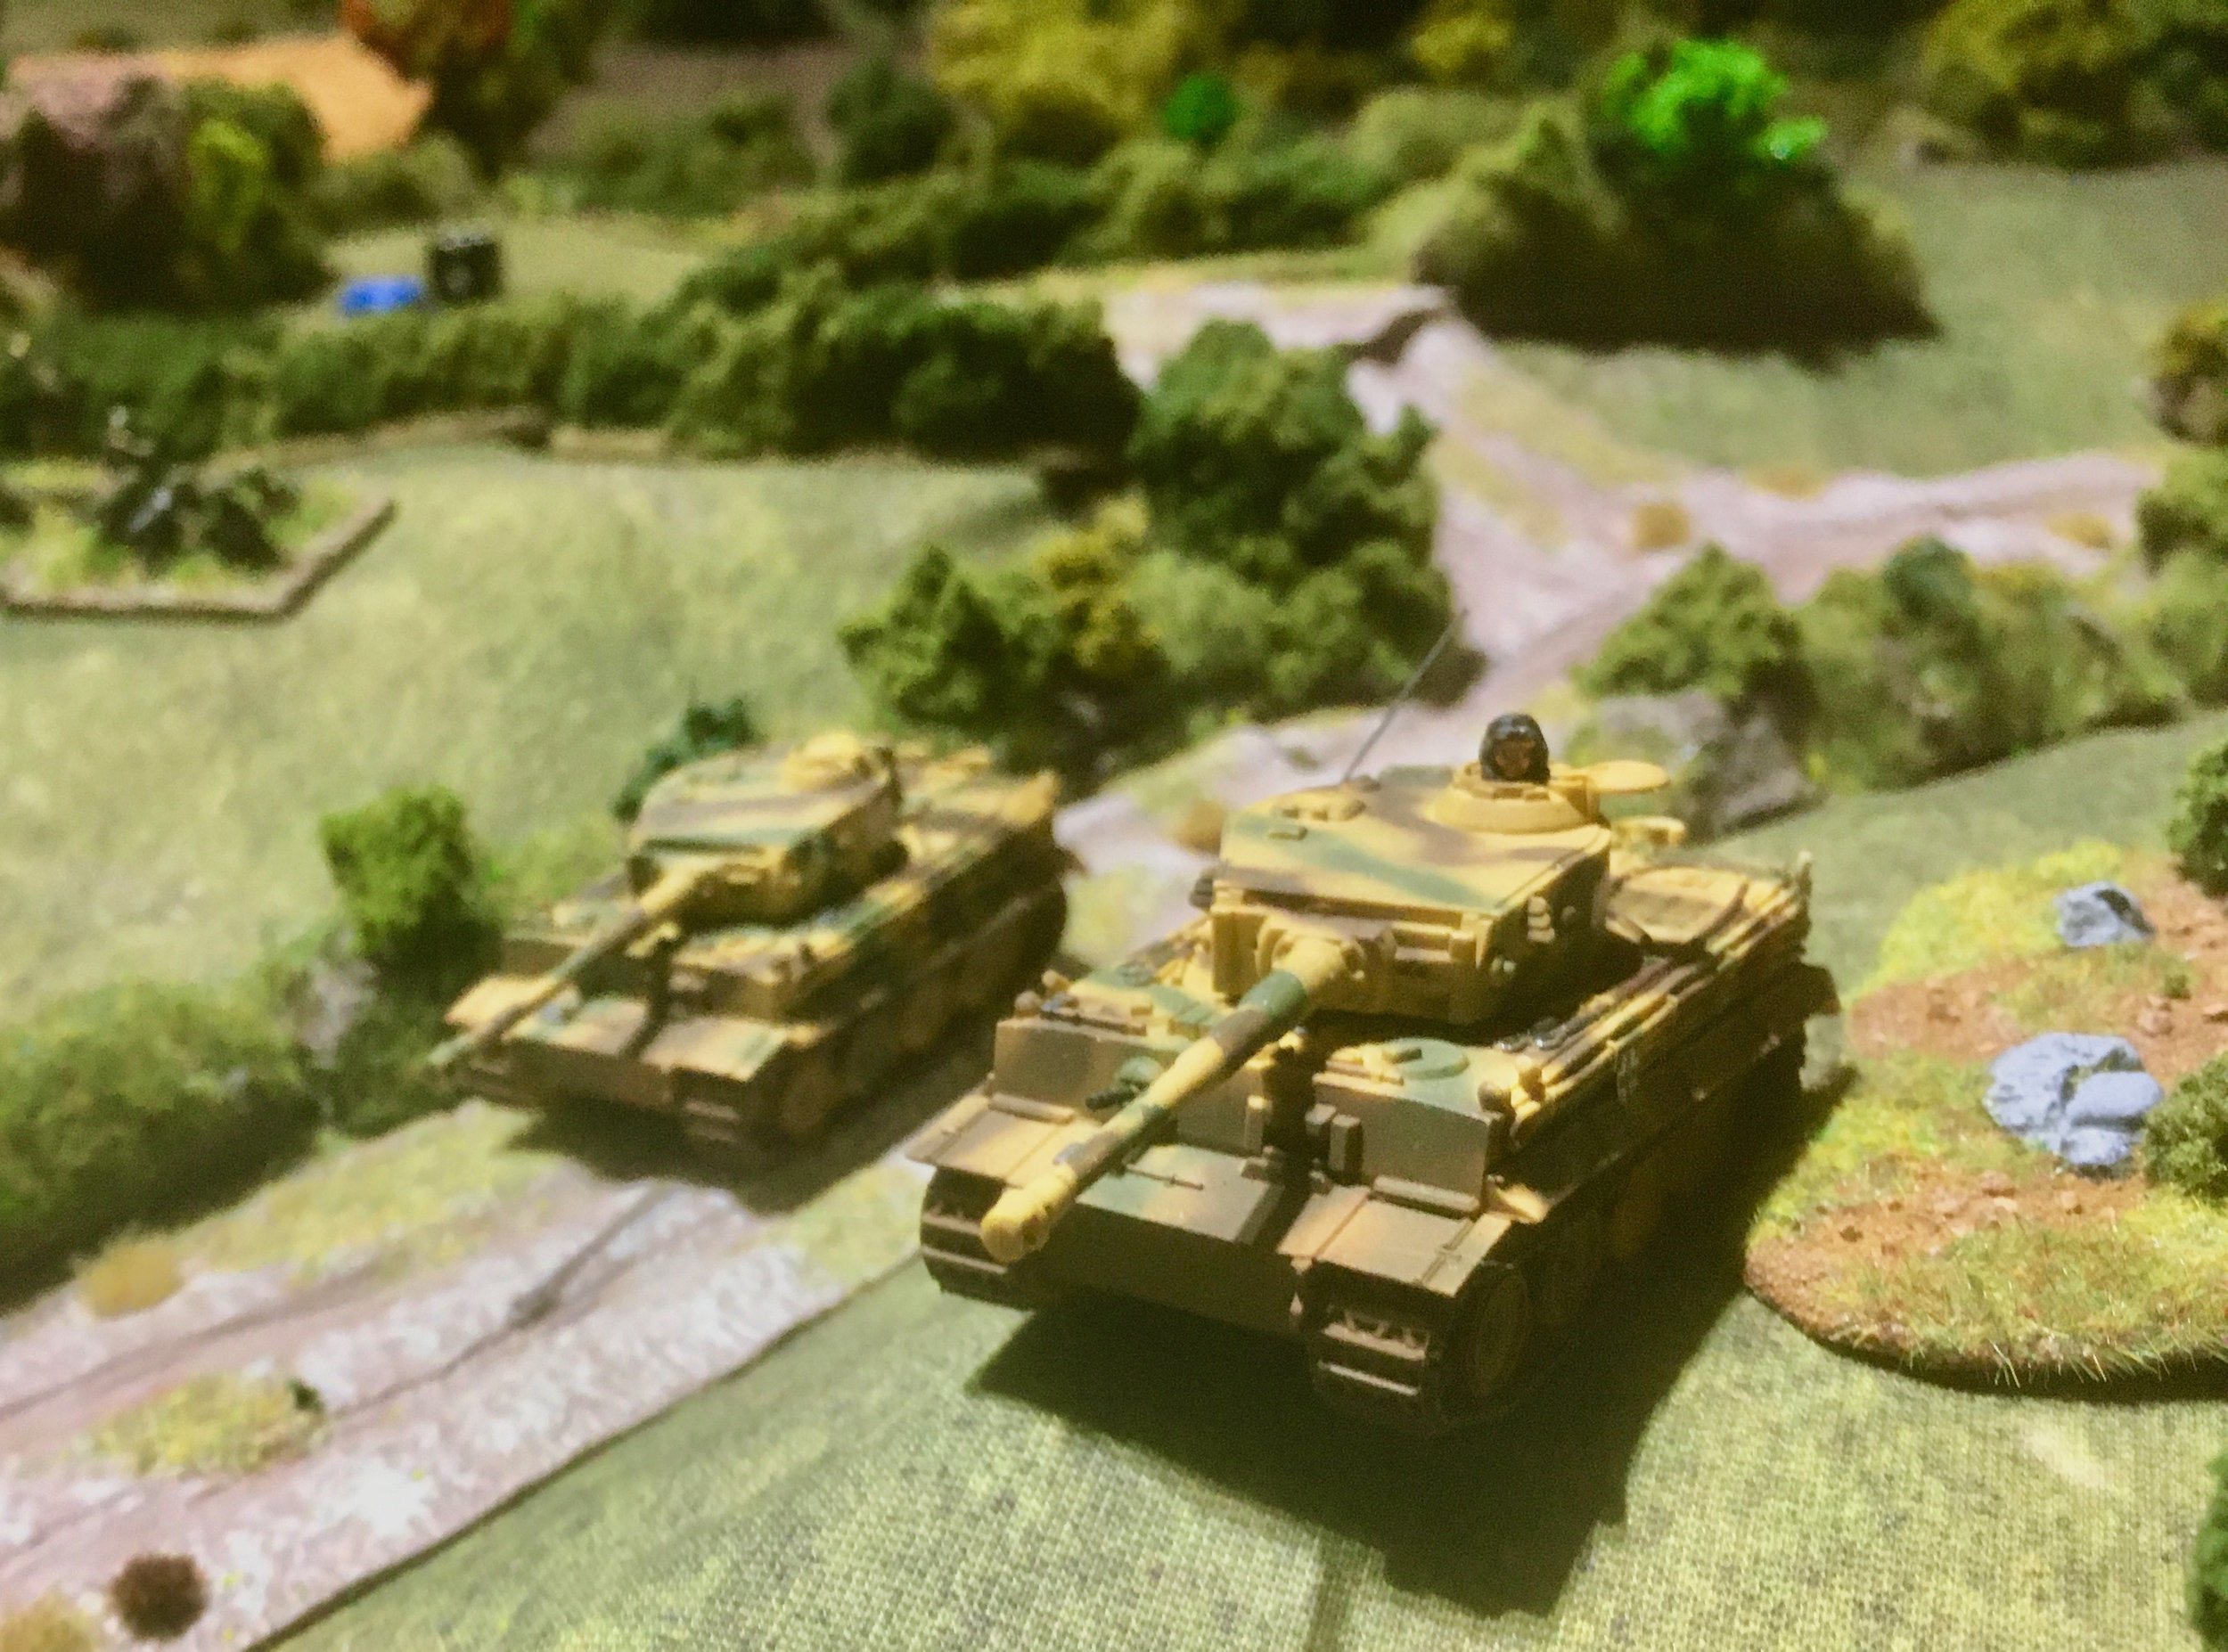
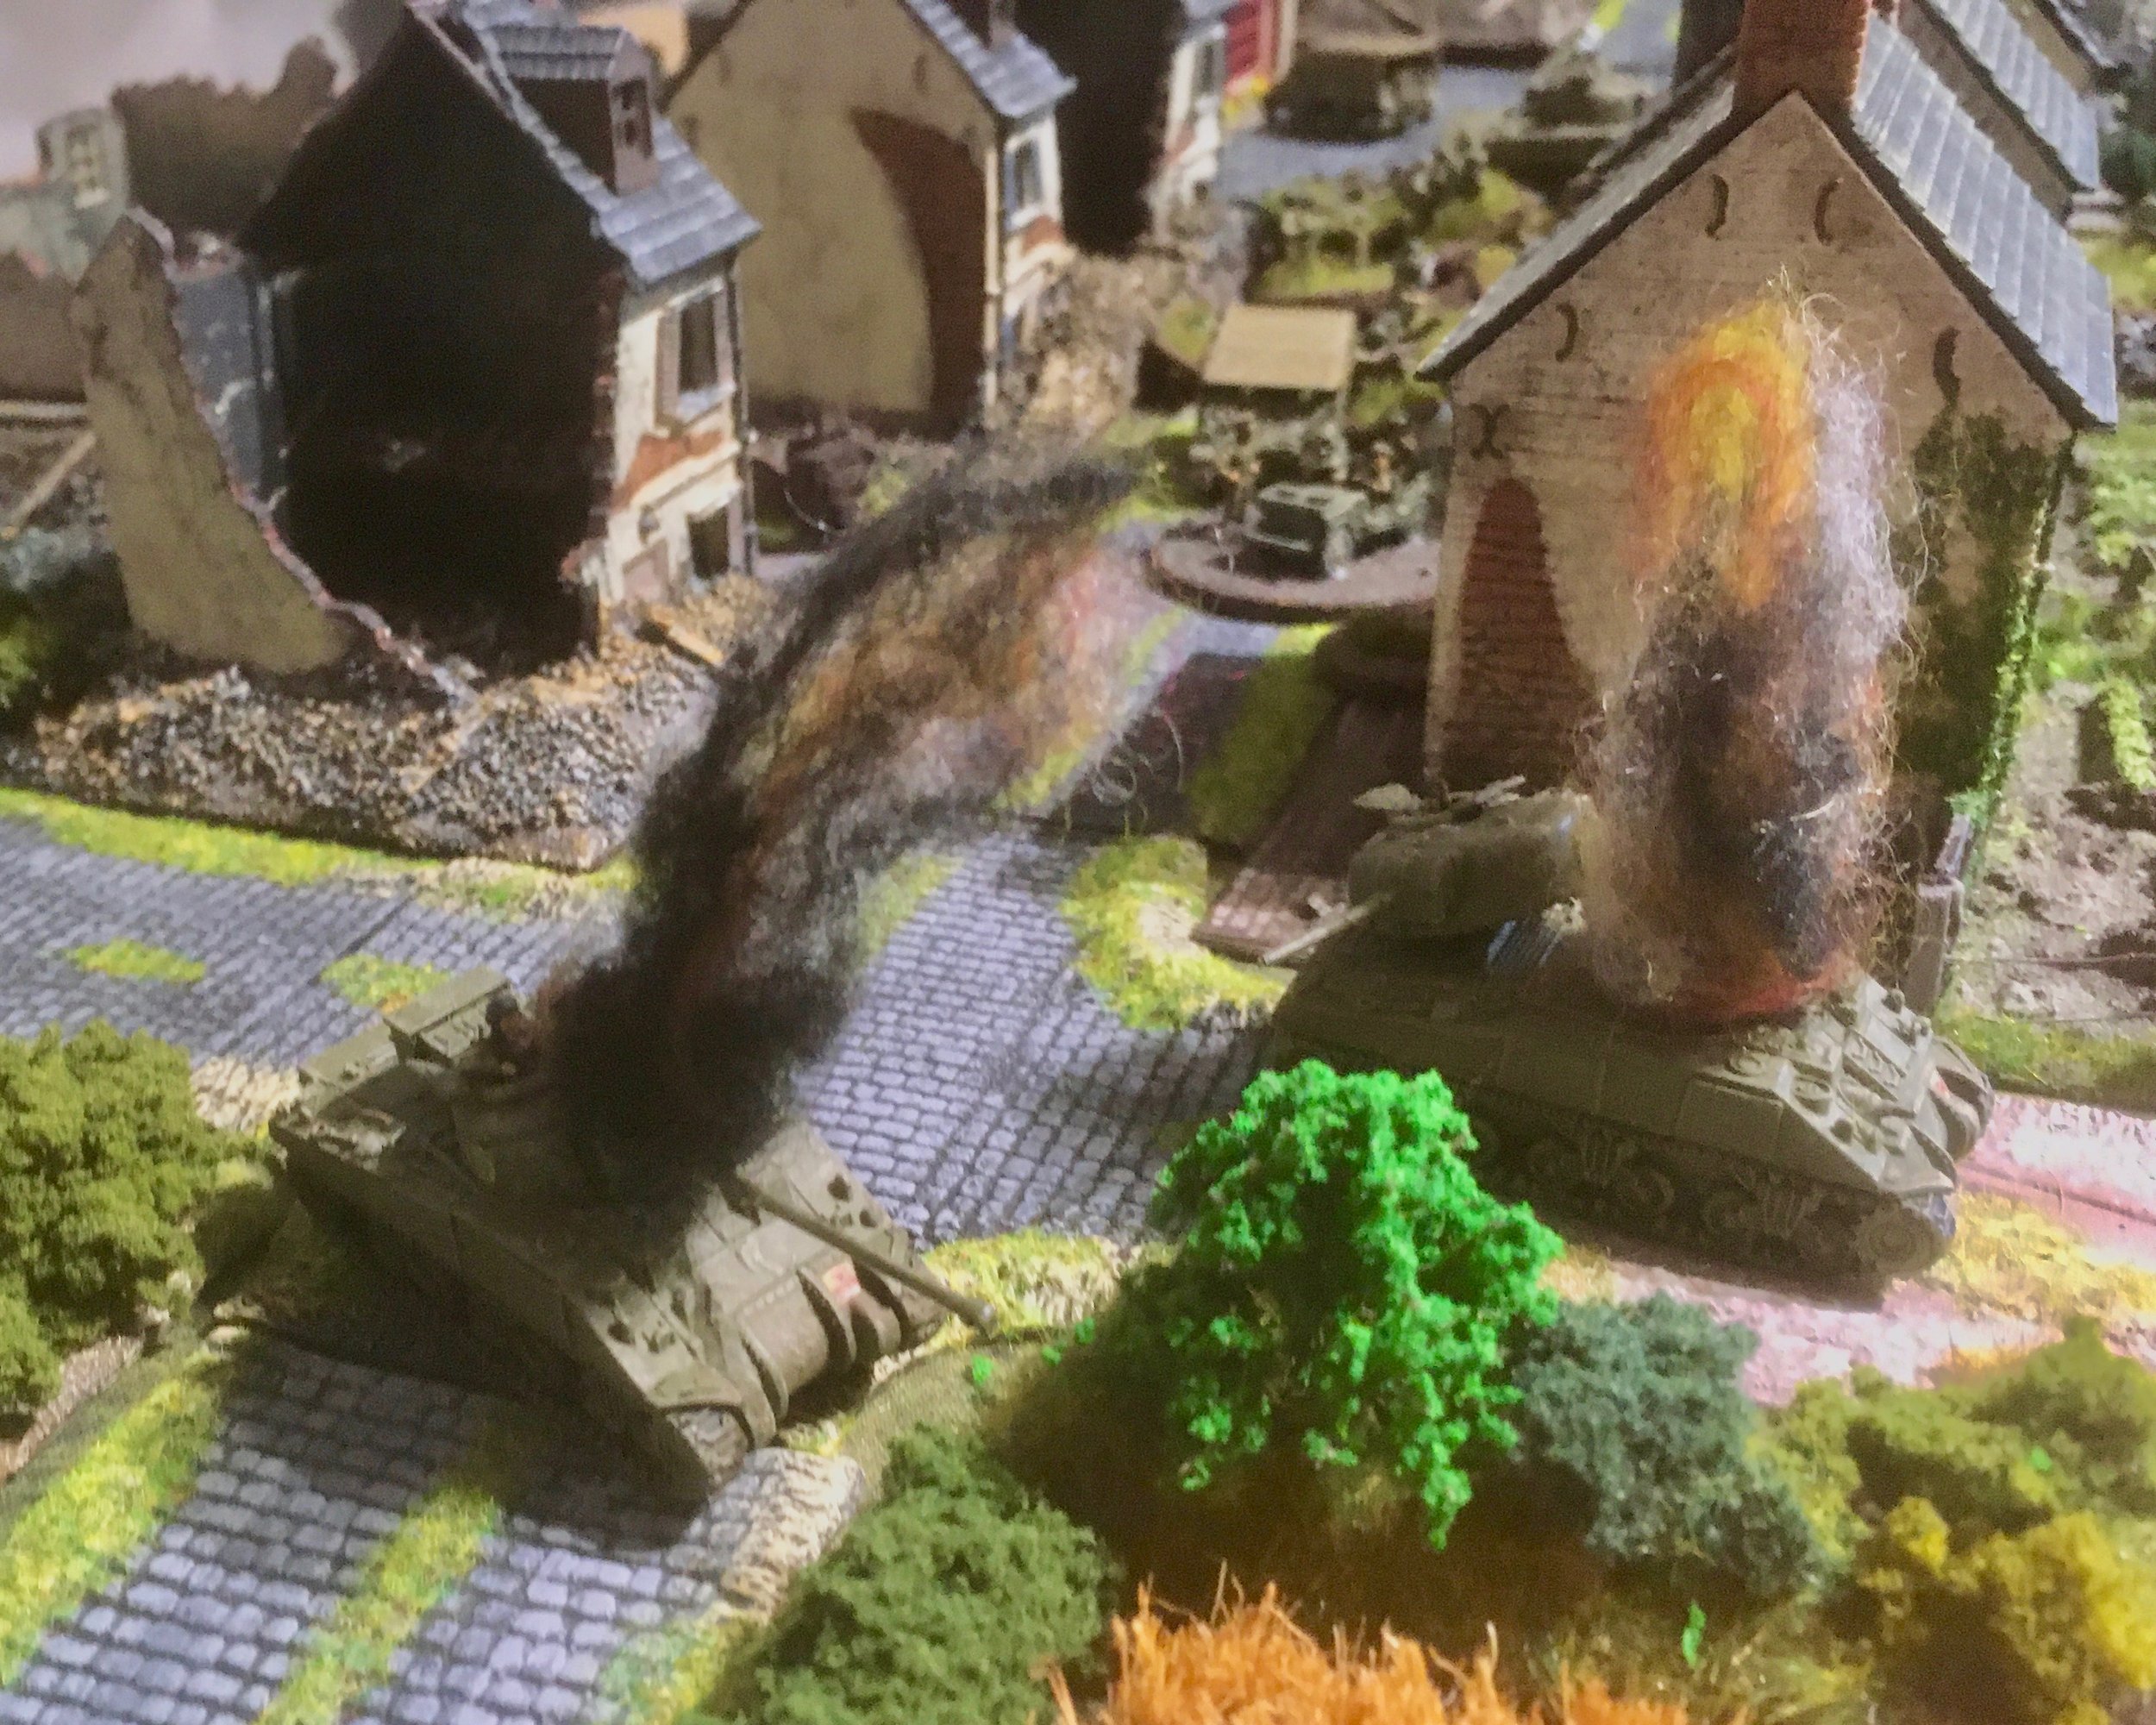
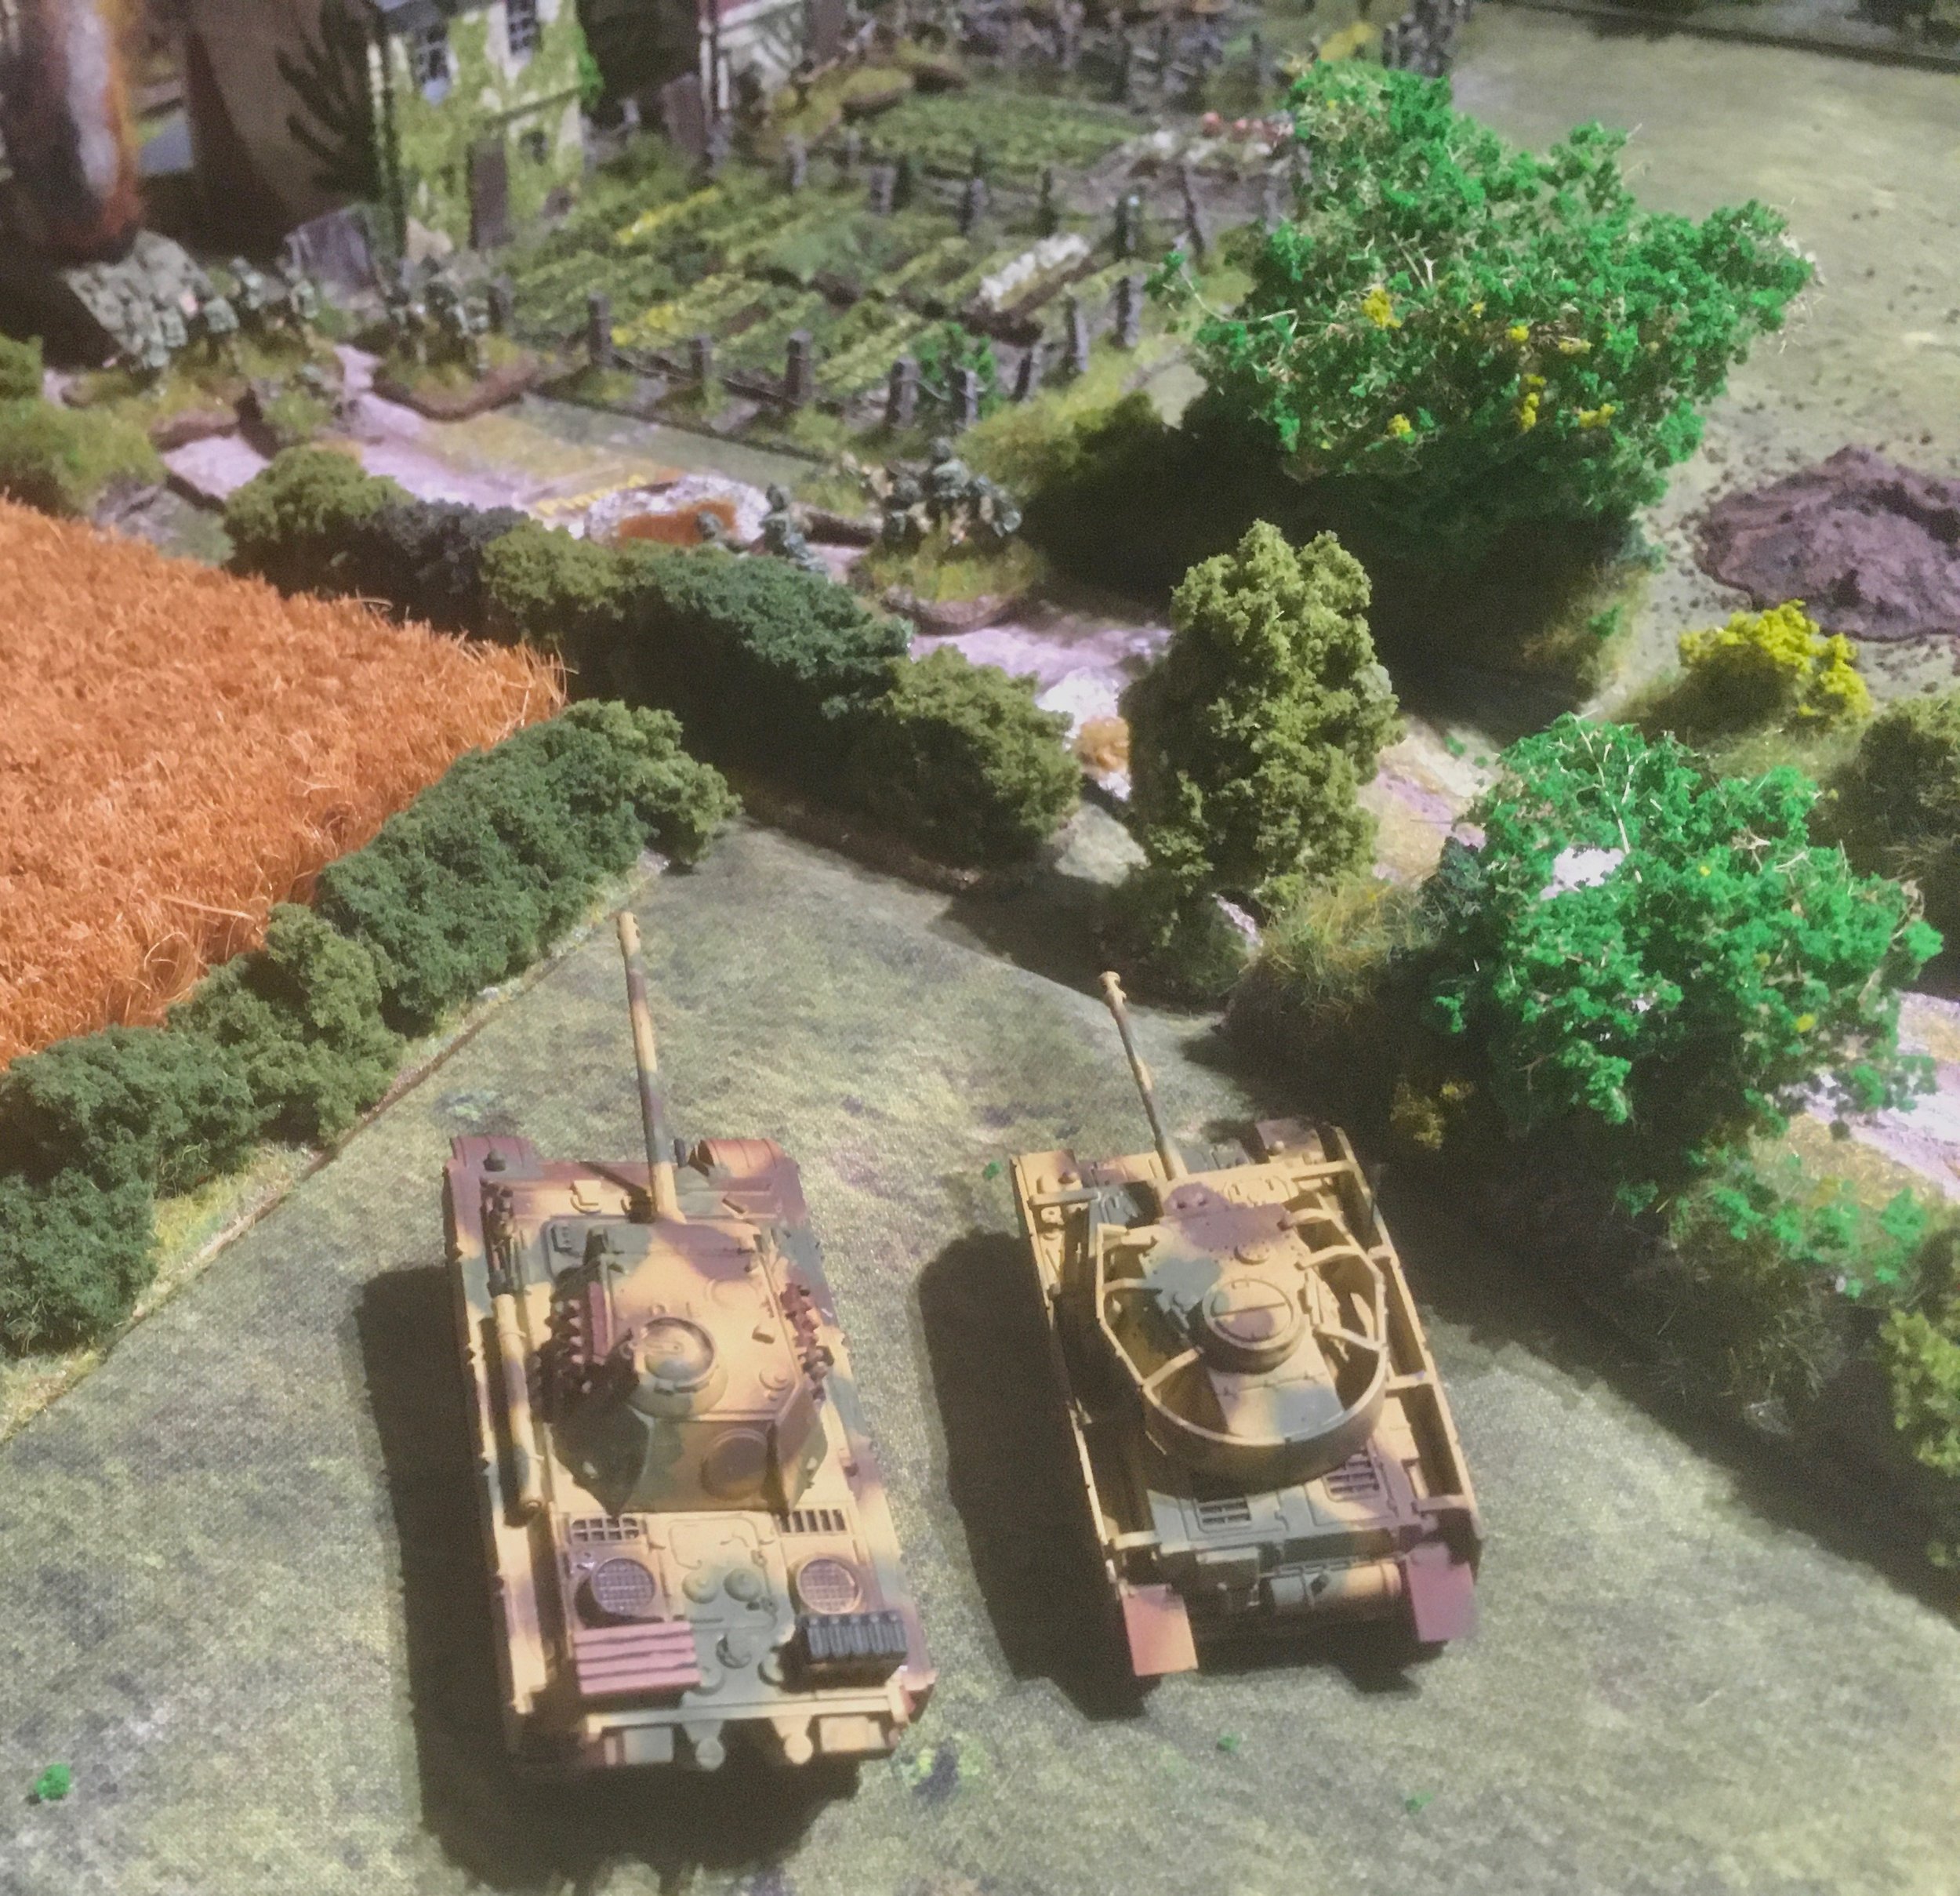
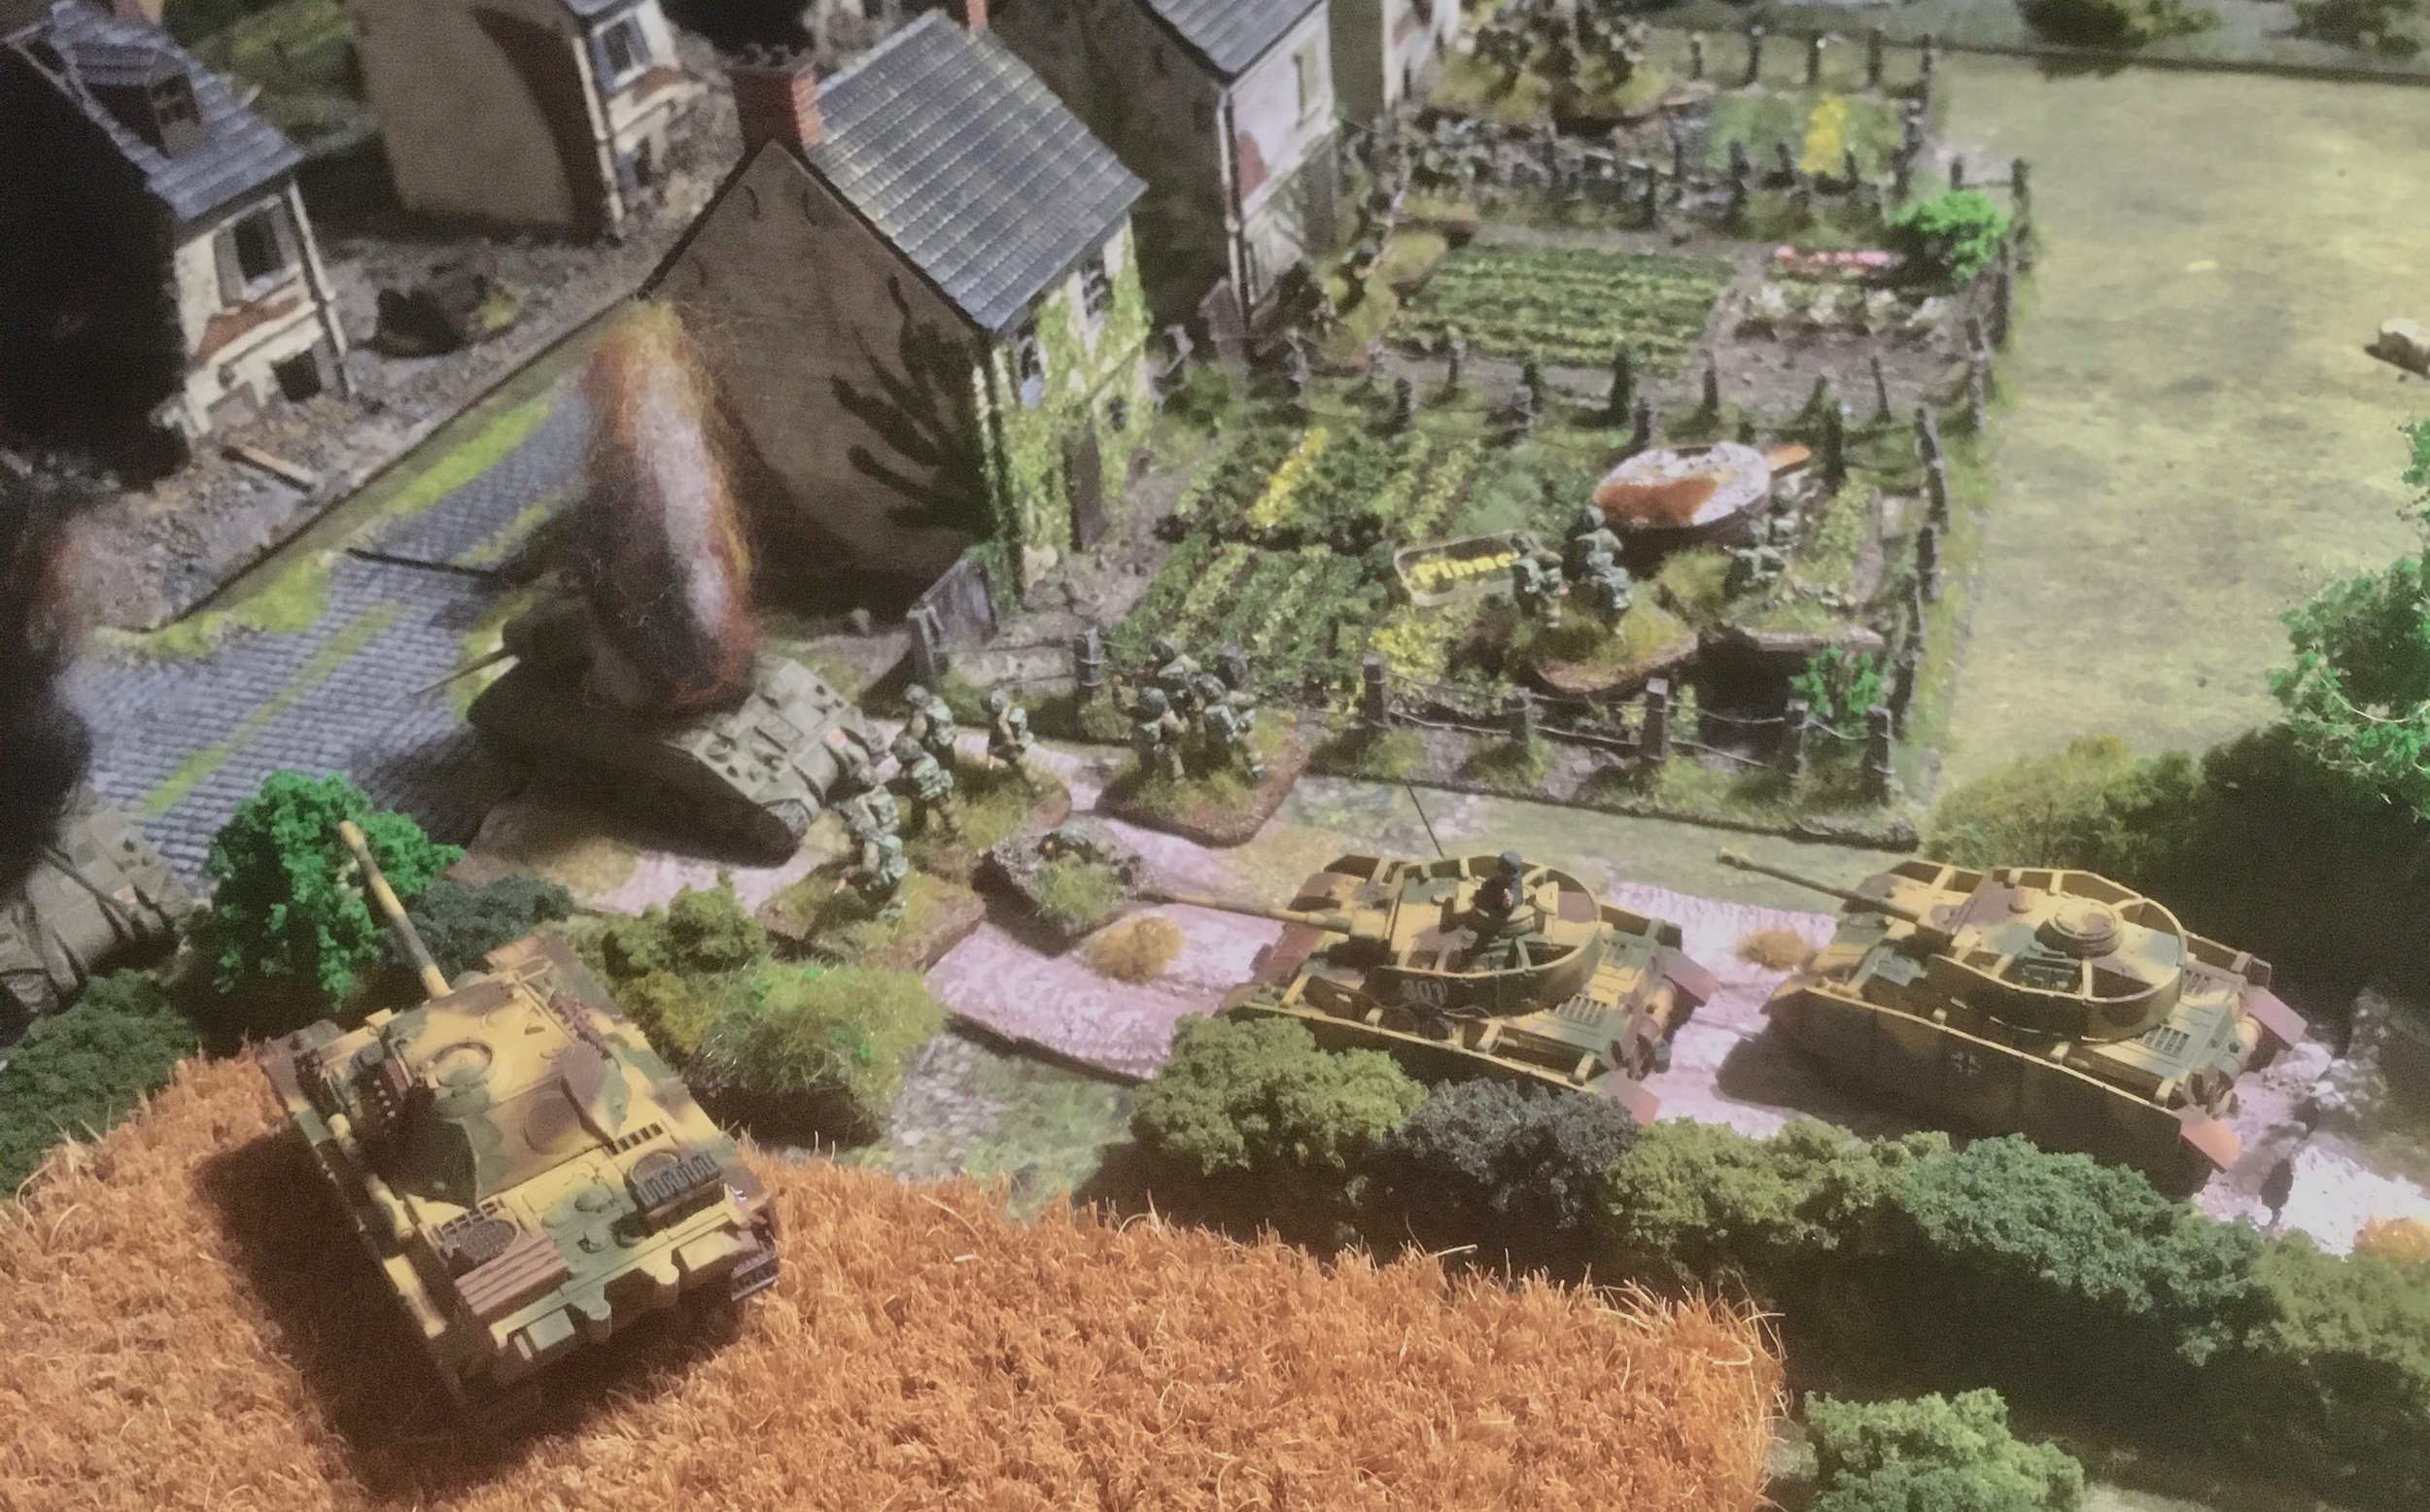
The Germans are currently having their arses handed to them on the outskirts of Caen. The British are moving forward with a combination of fire and manoeuvre and smoke screens. Even the dreaded MG42s have been silenced.
Alex Sotheran


The Germans are currently having their arses handed to them on the outskirts of Caen. The British are moving forward with a combination of fire and manoeuvre and smoke screens. Even the dreaded MG42s have been silenced.
Alex Sotheran

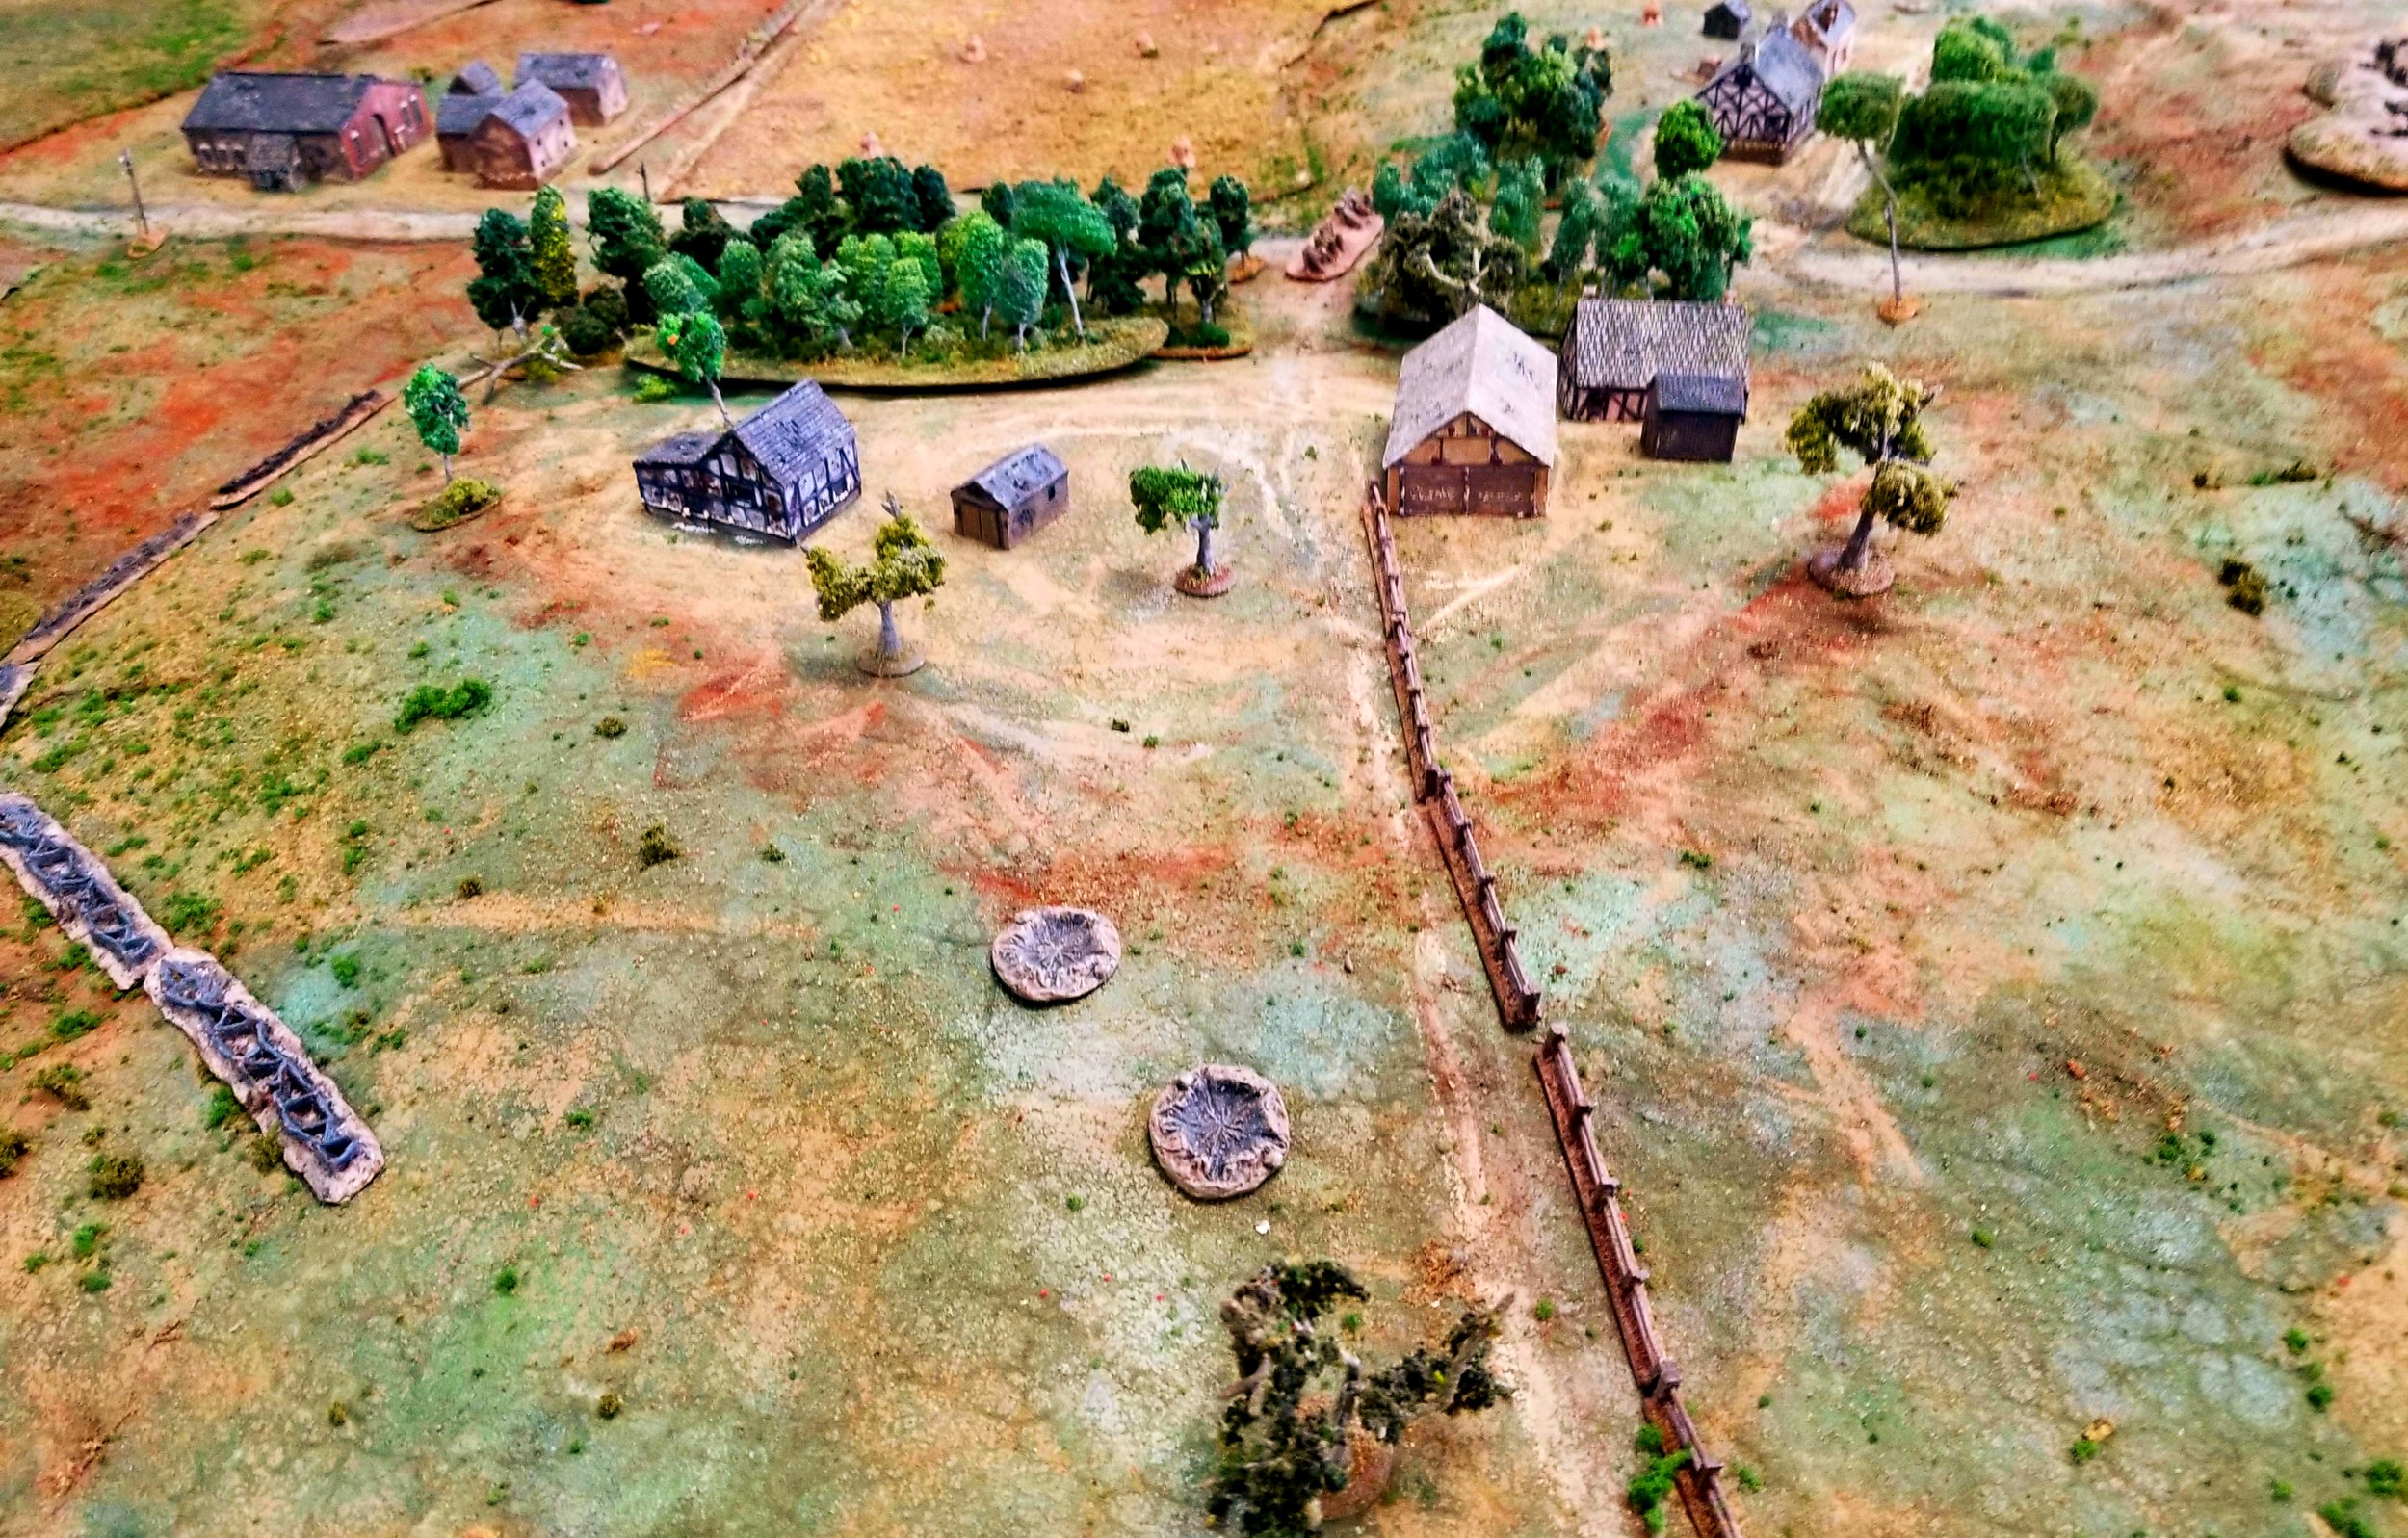
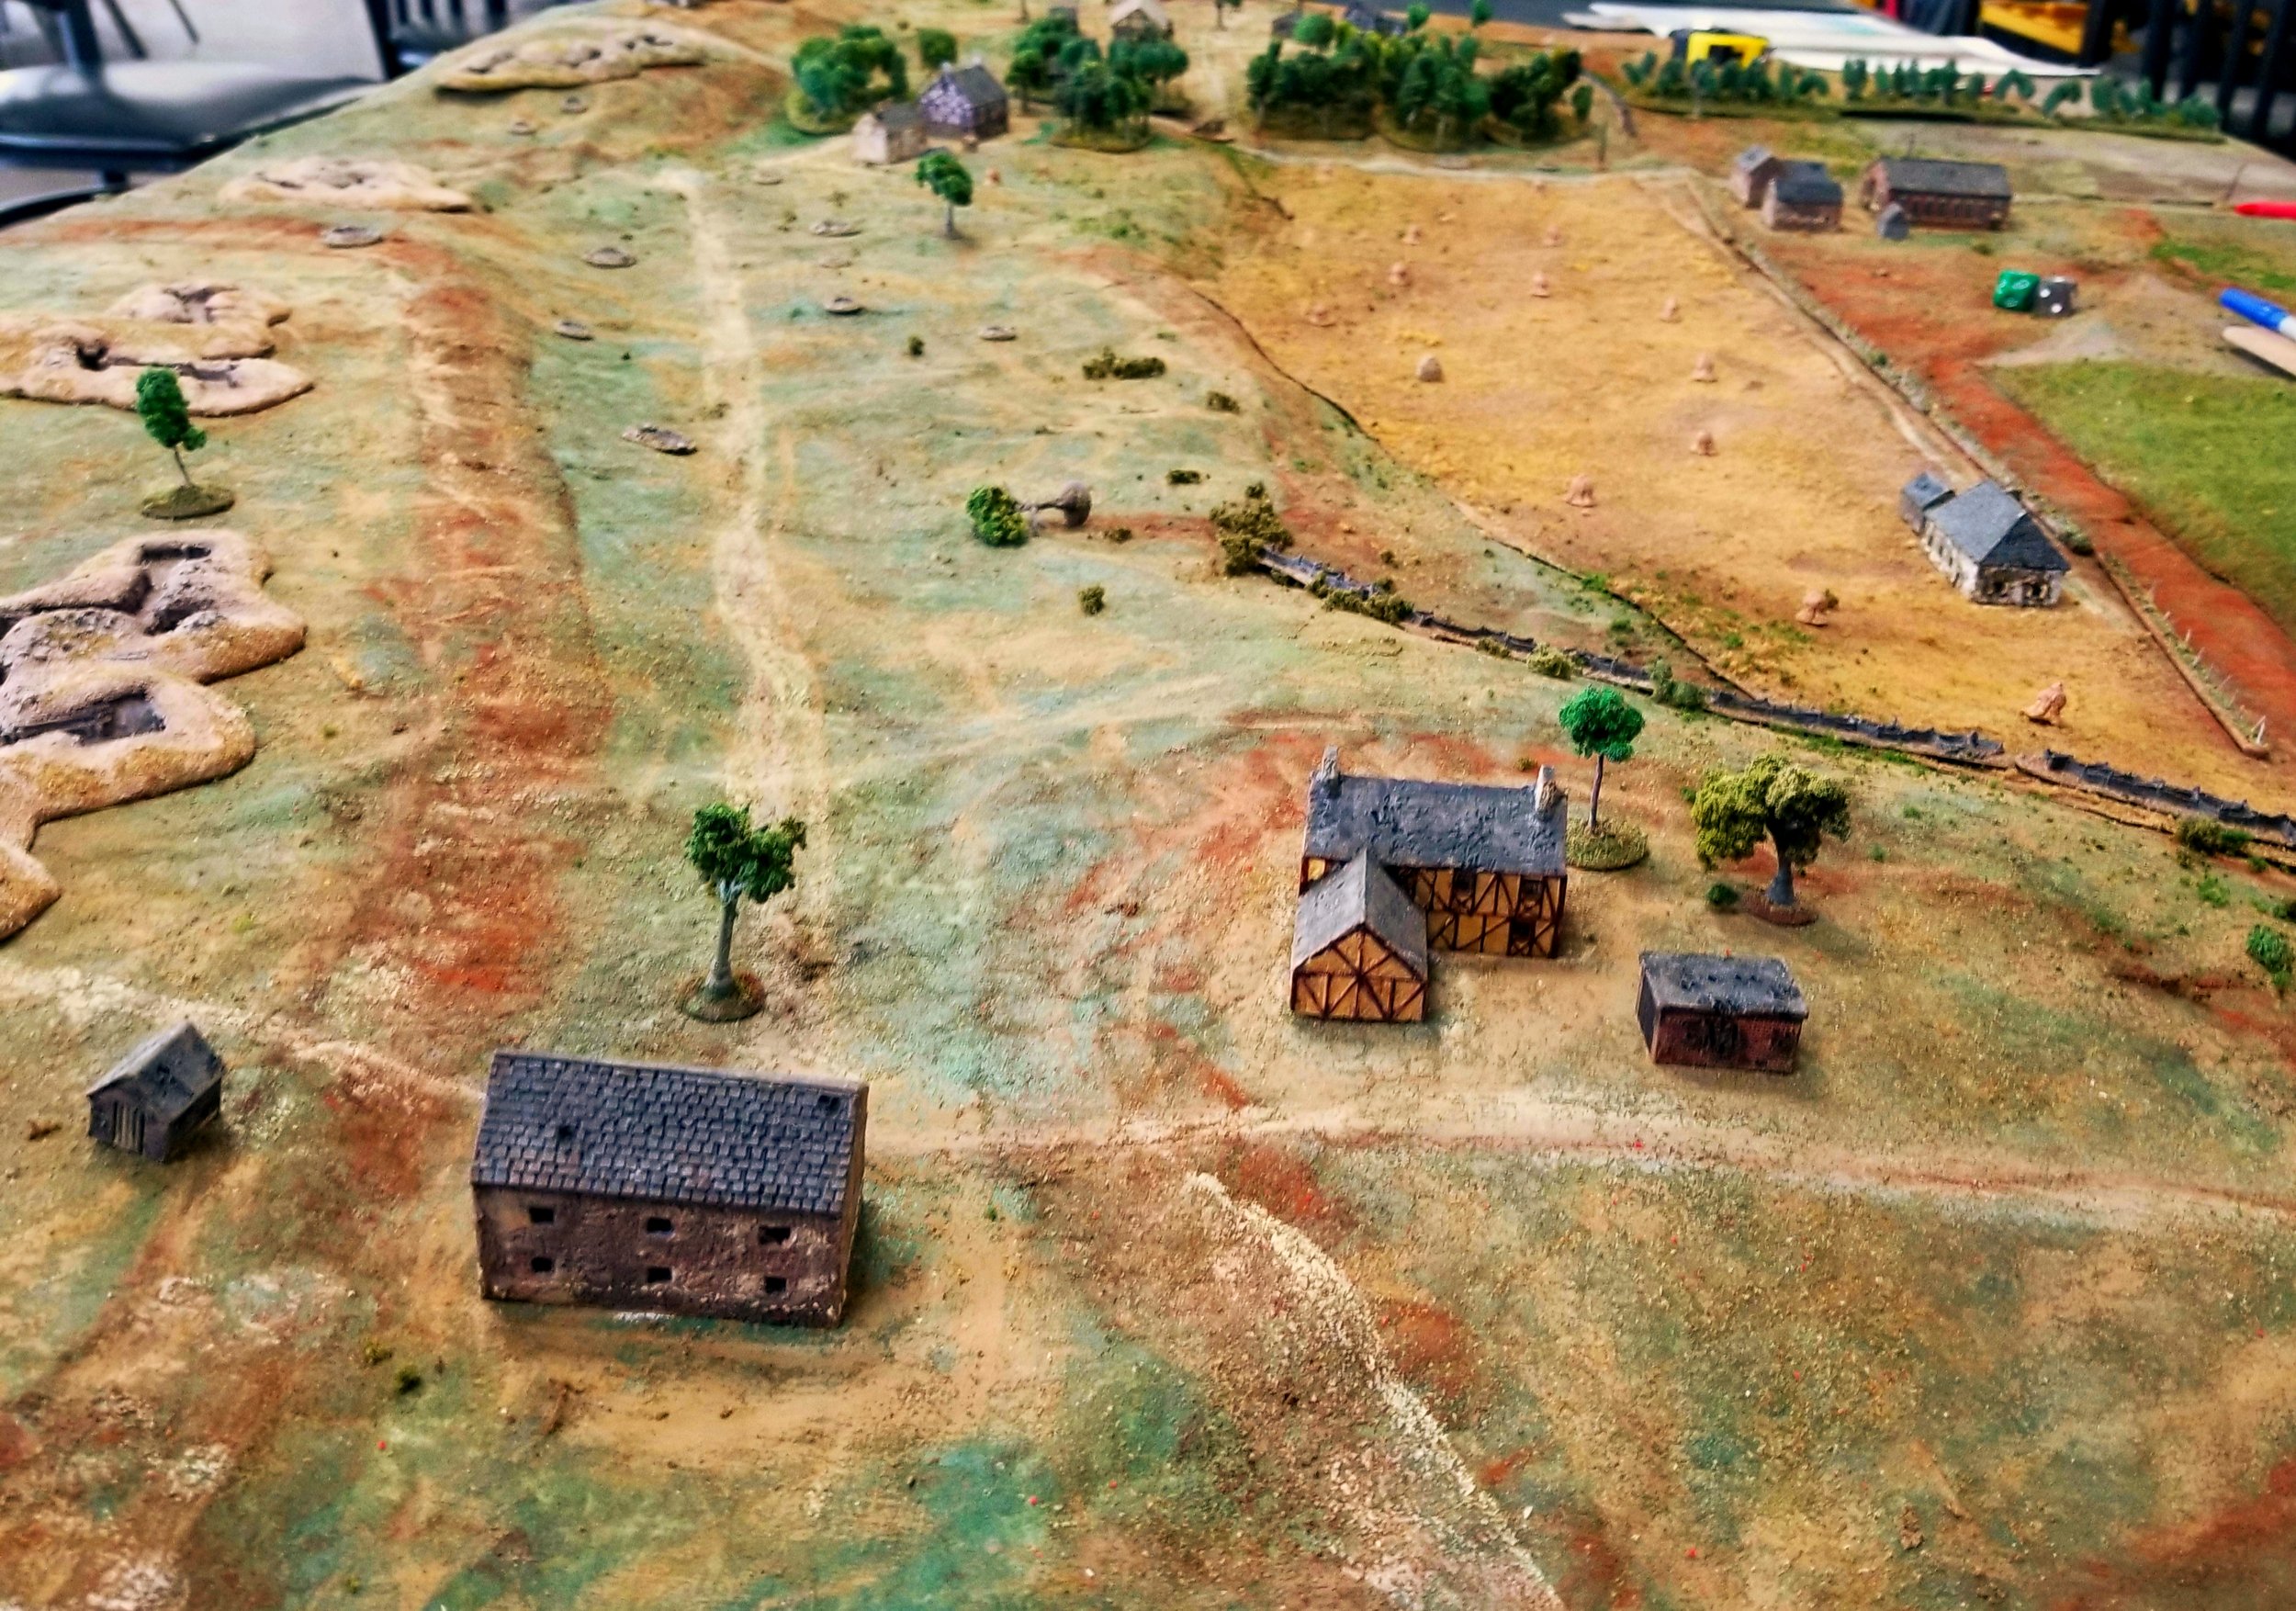
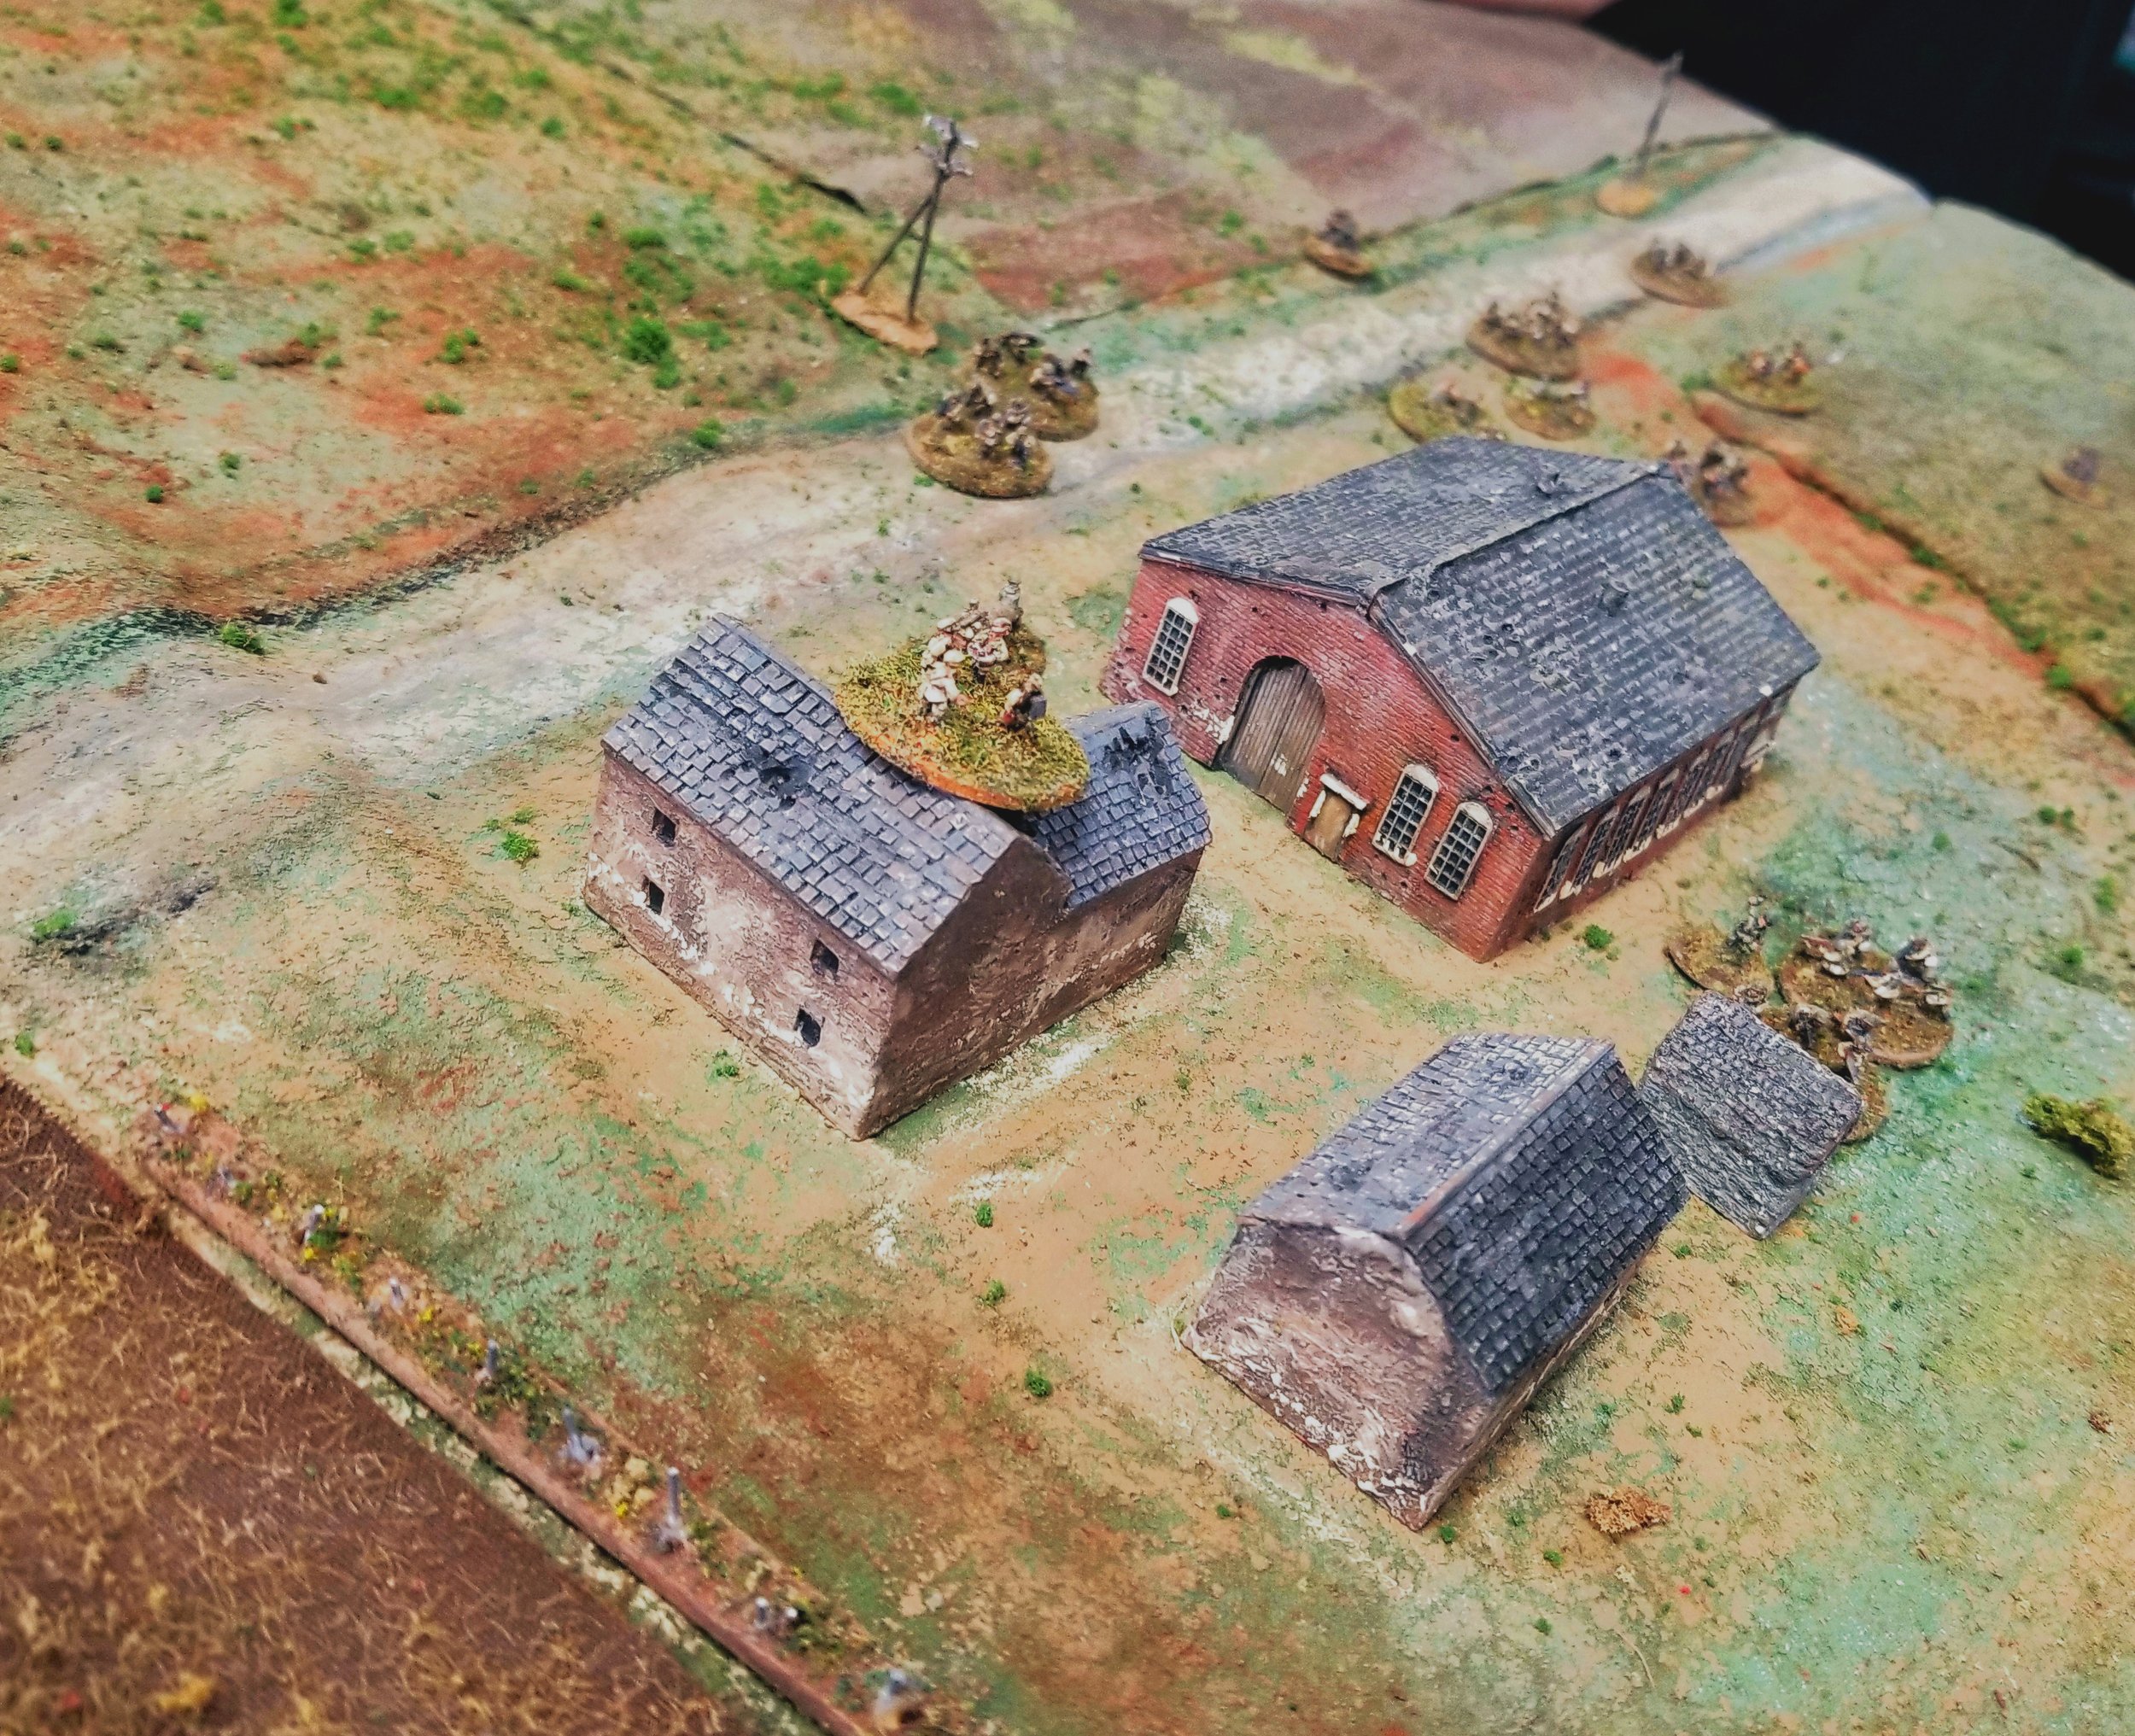
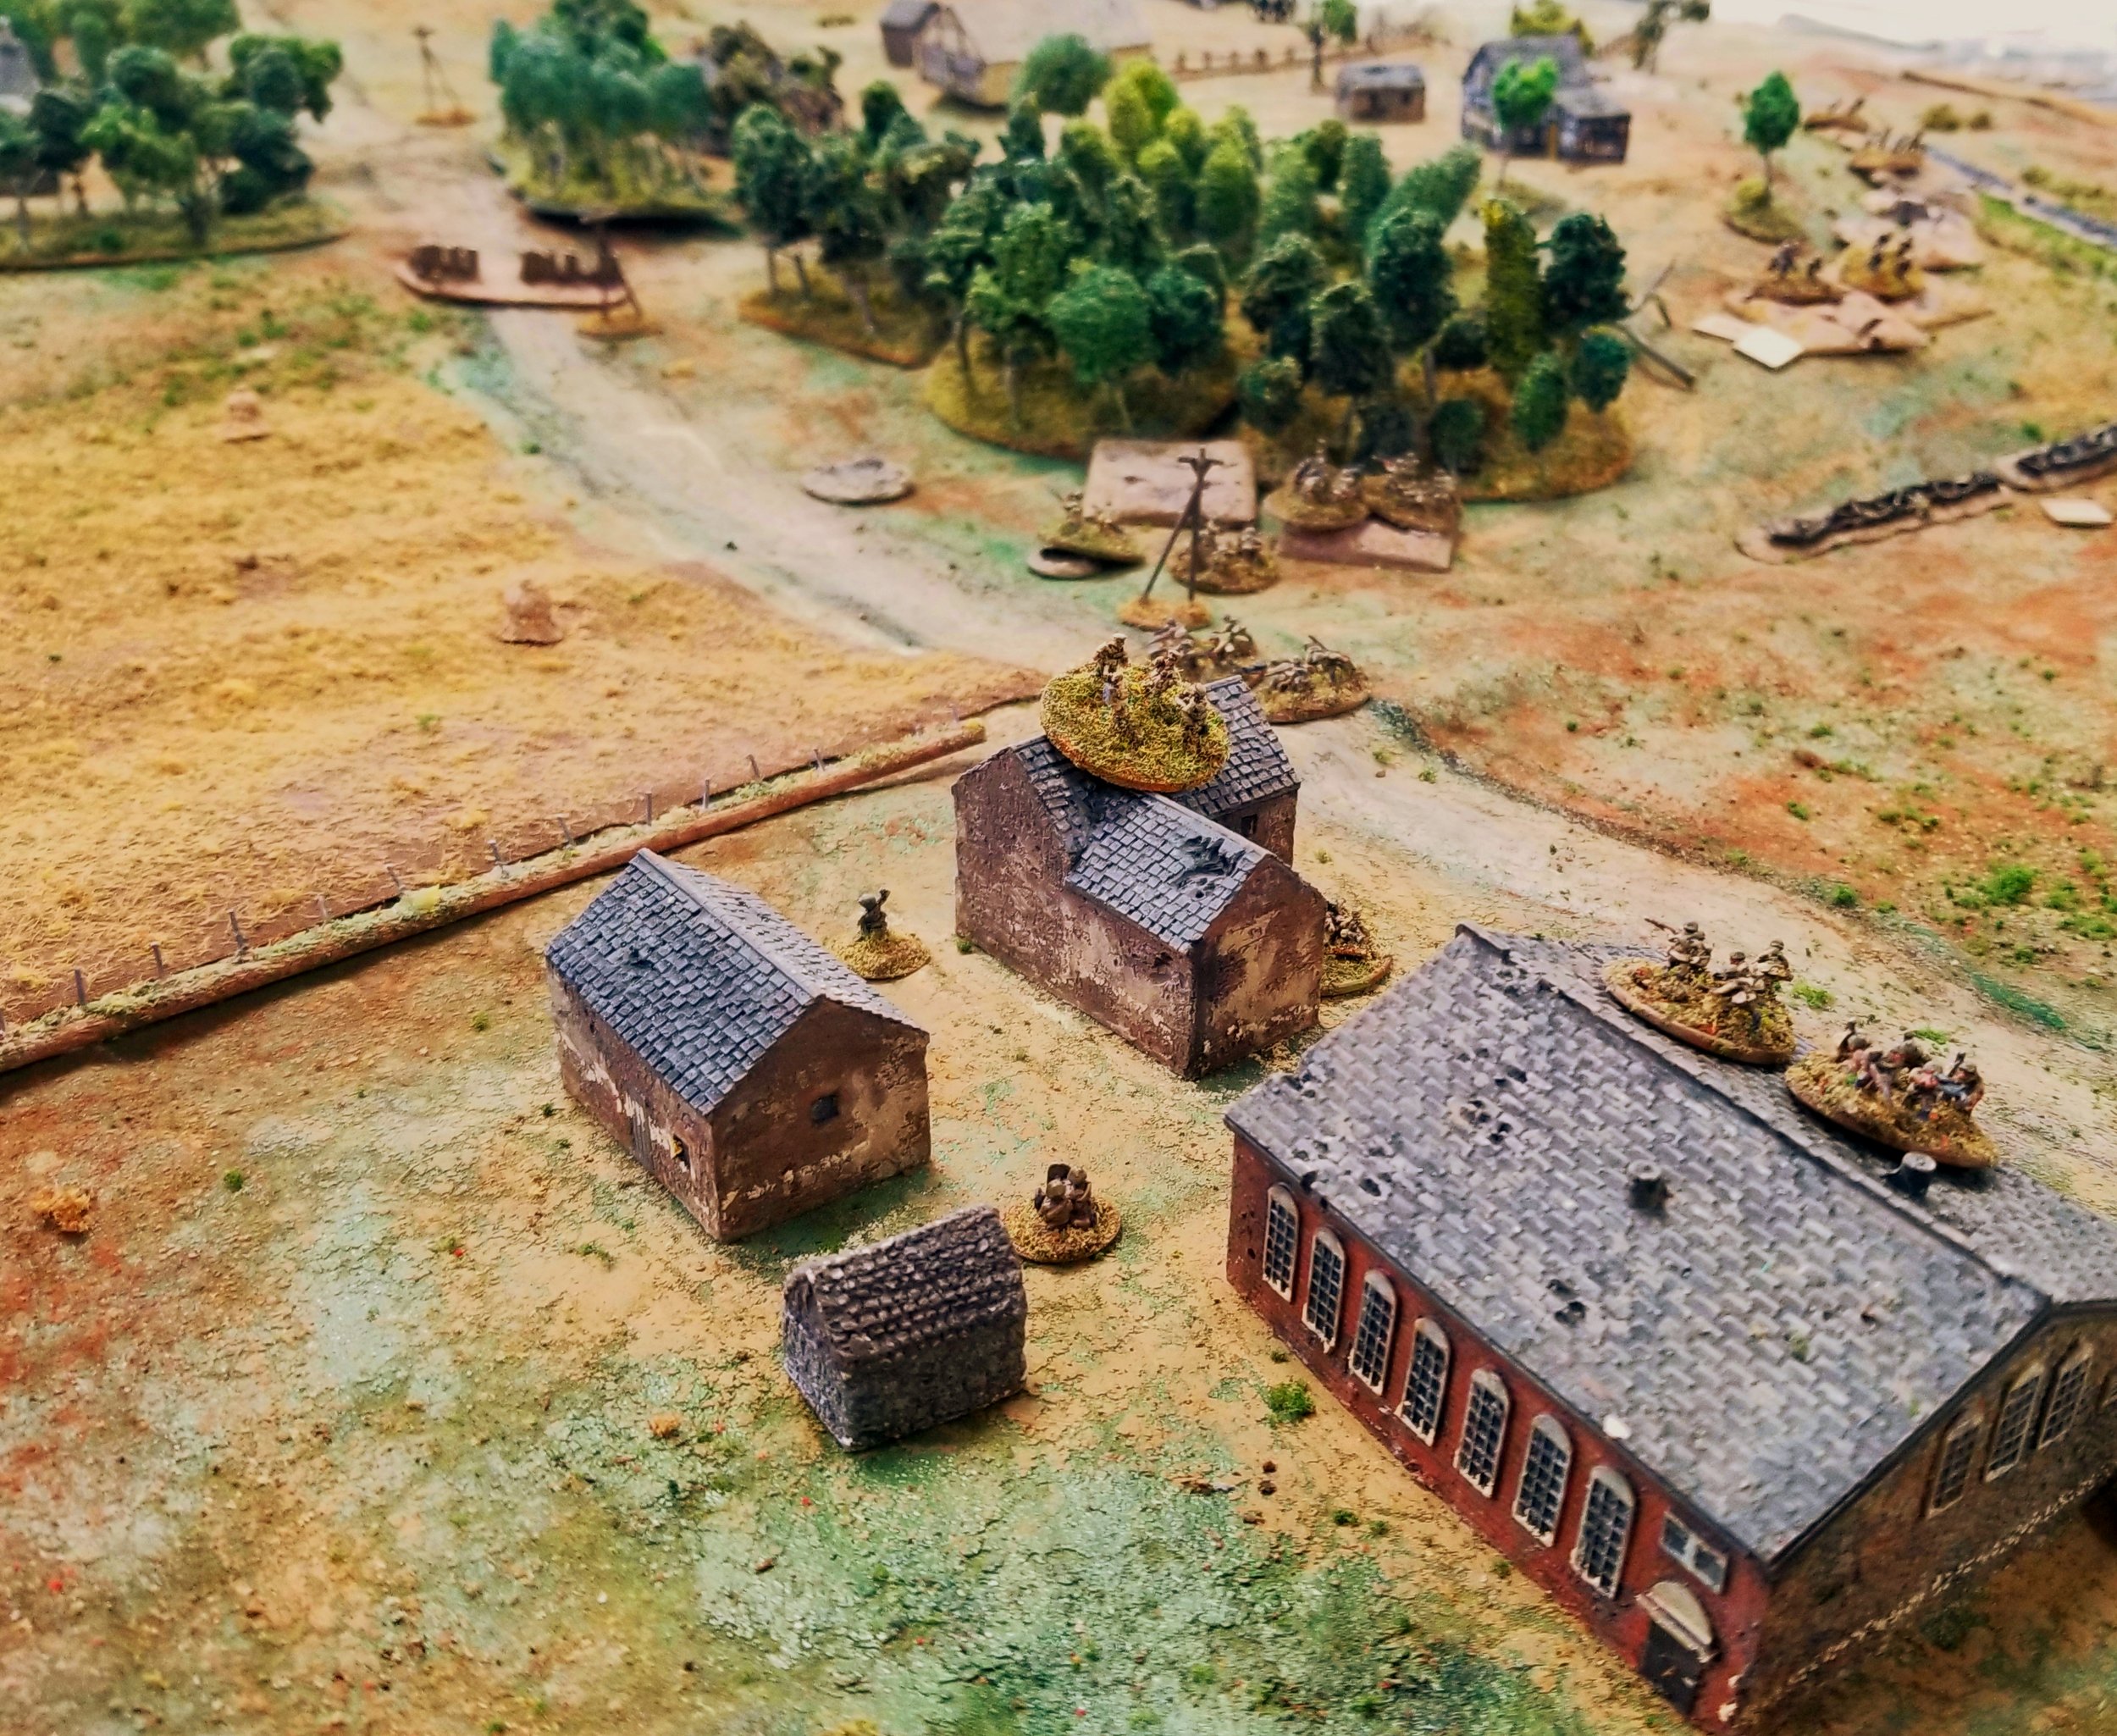
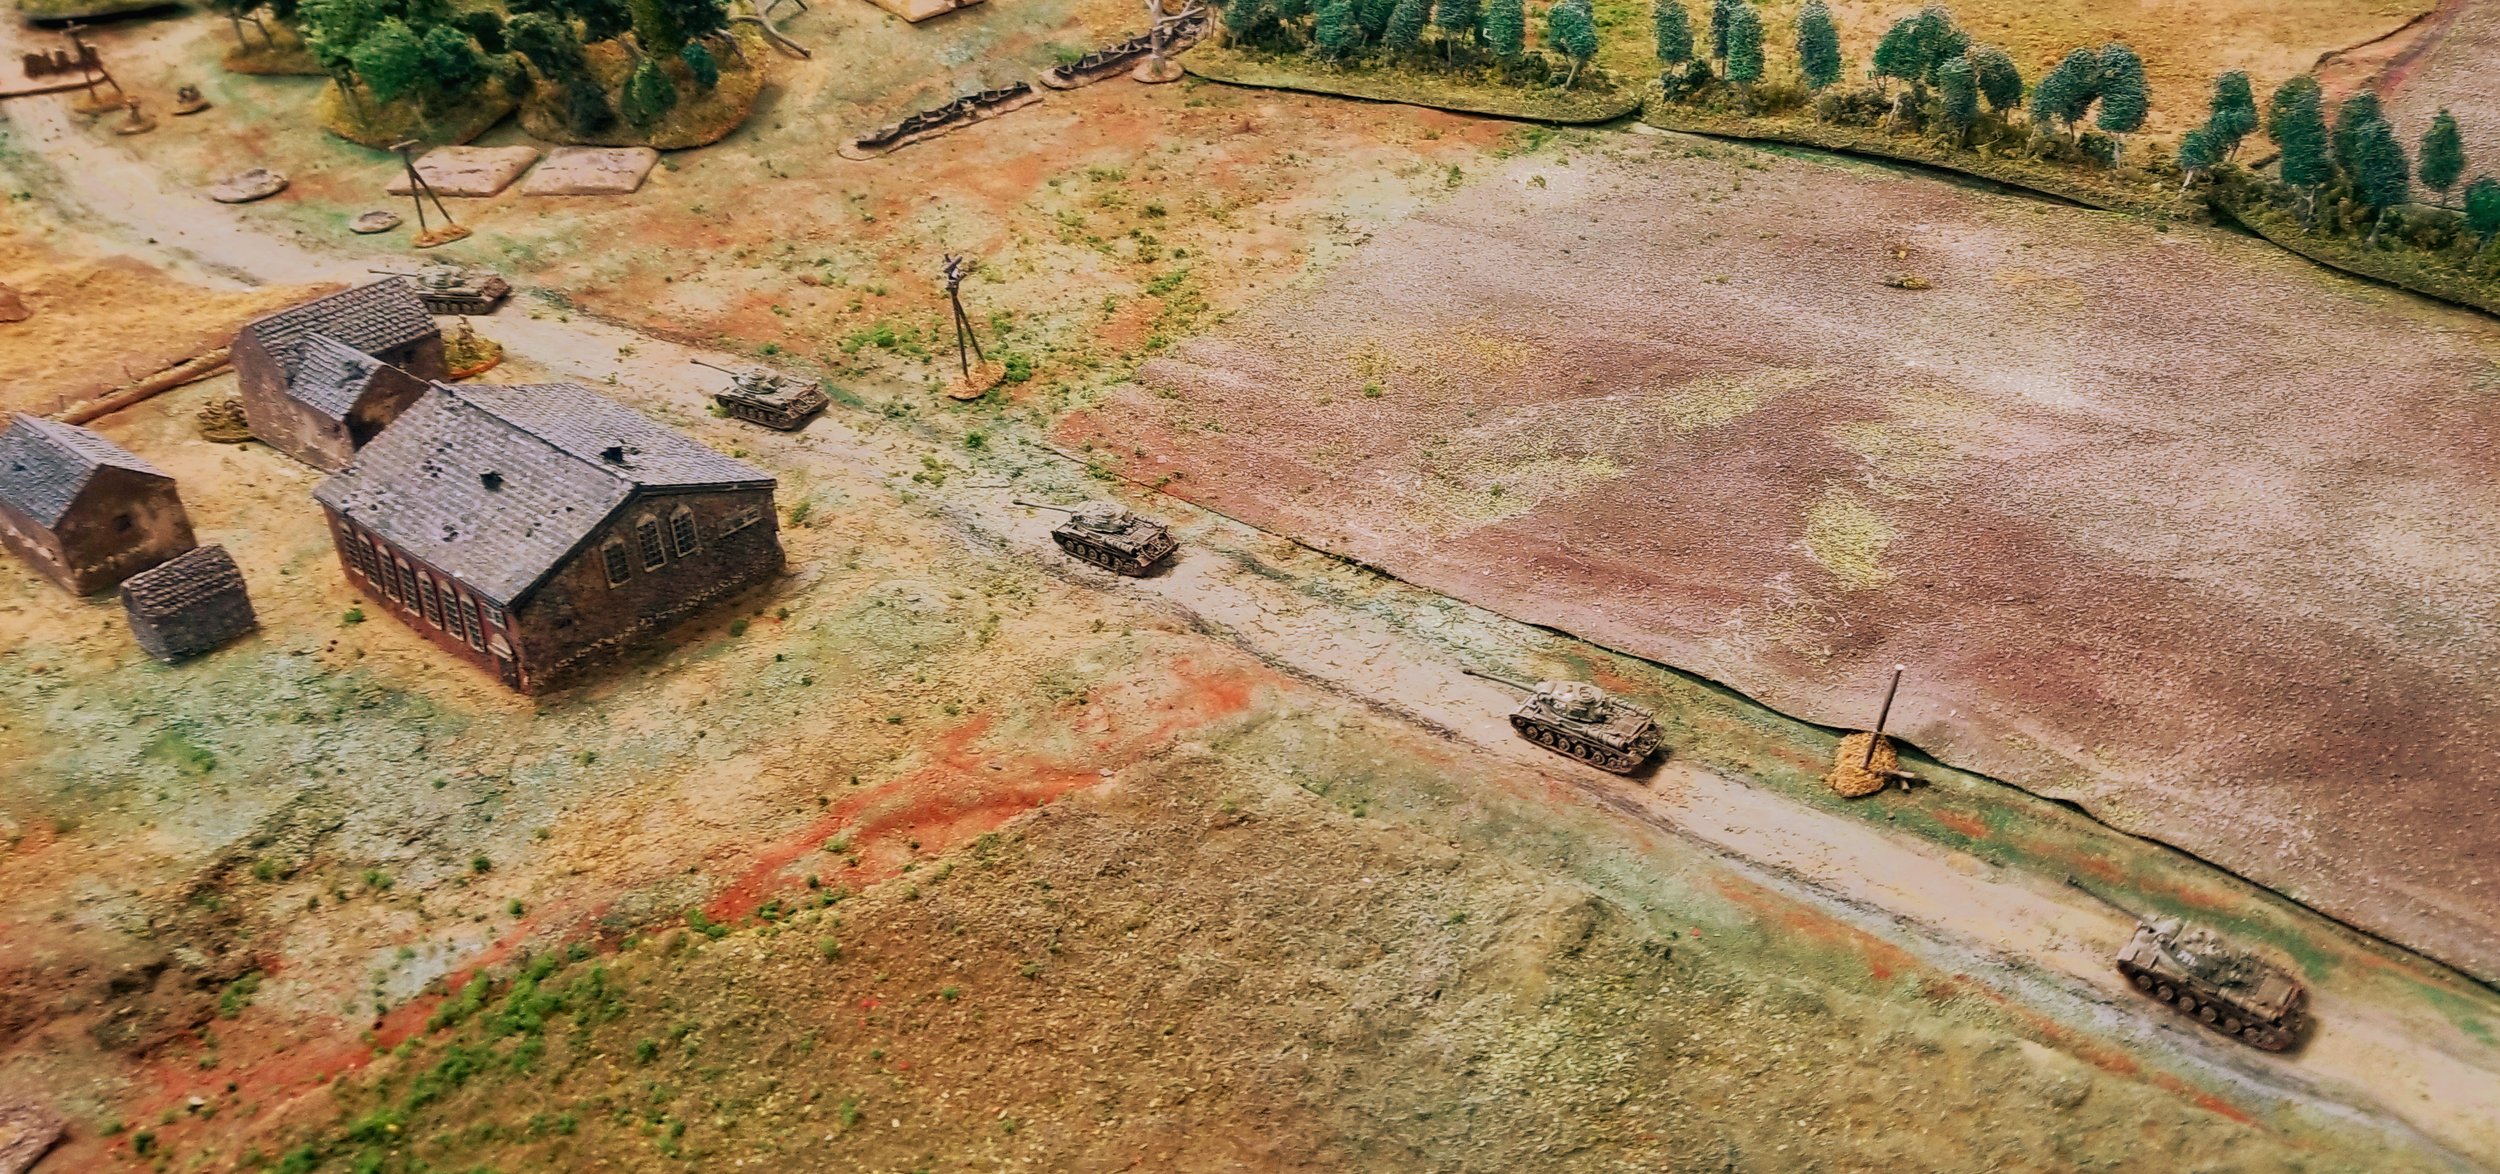
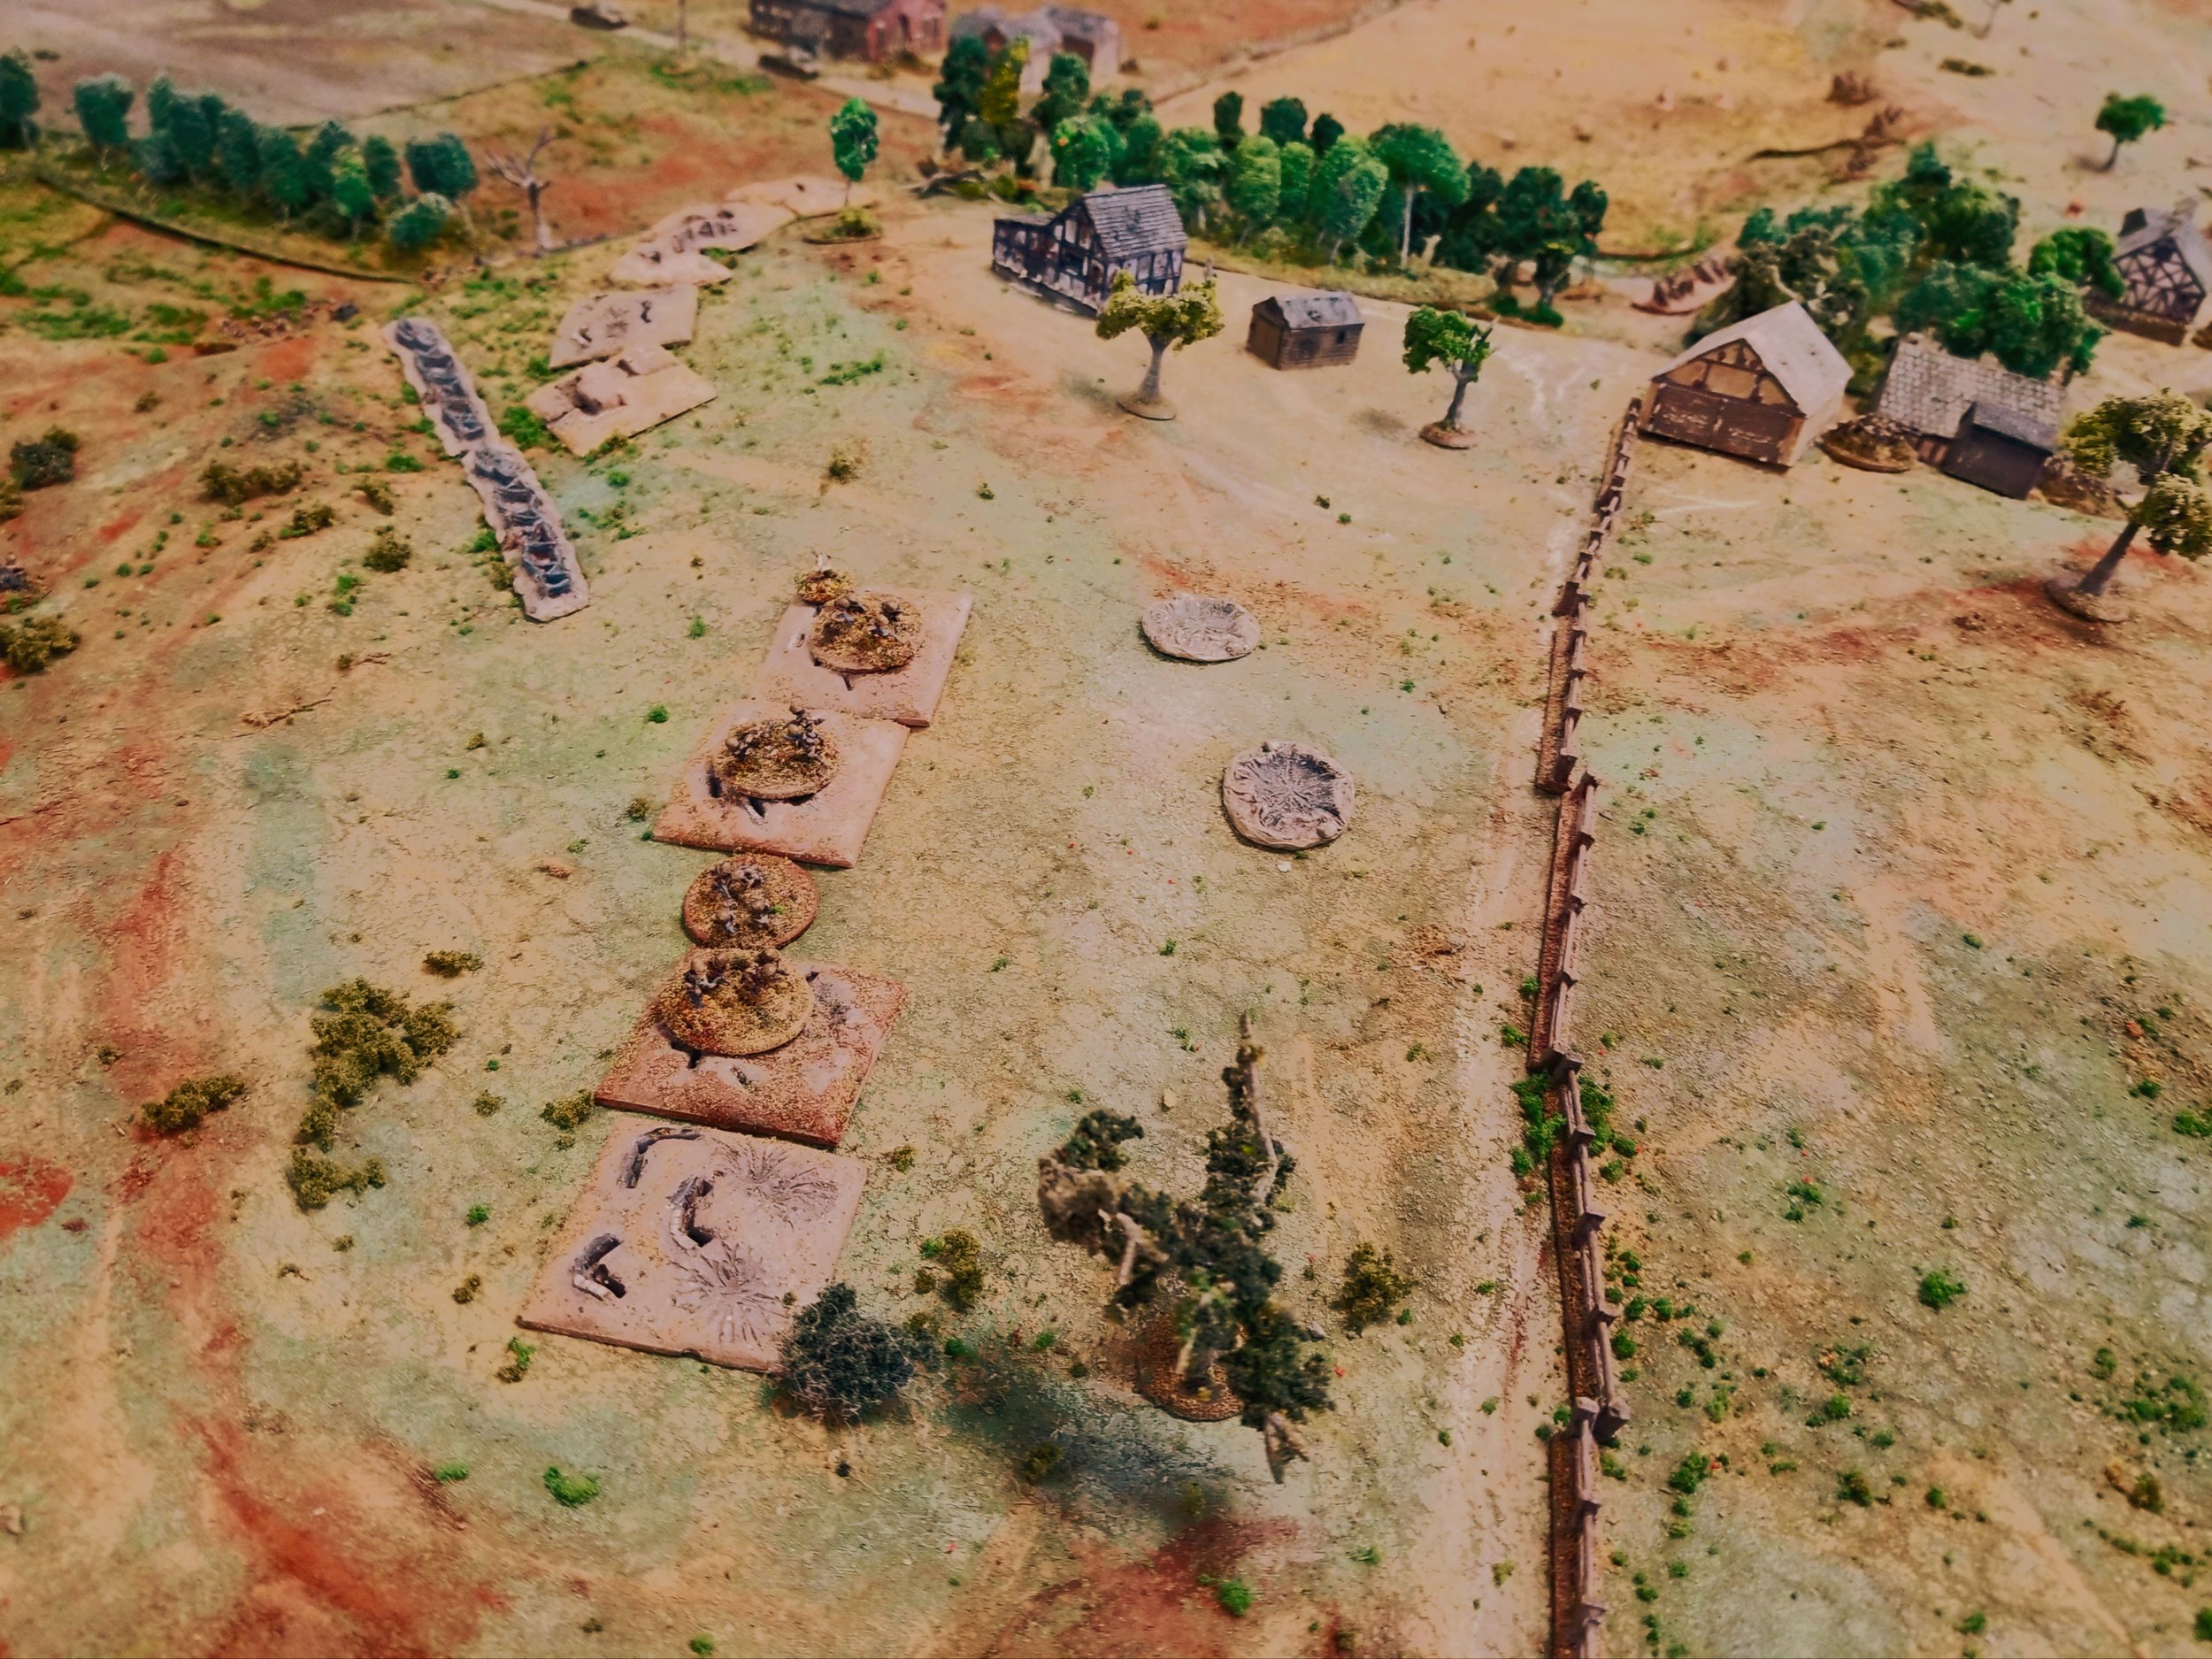
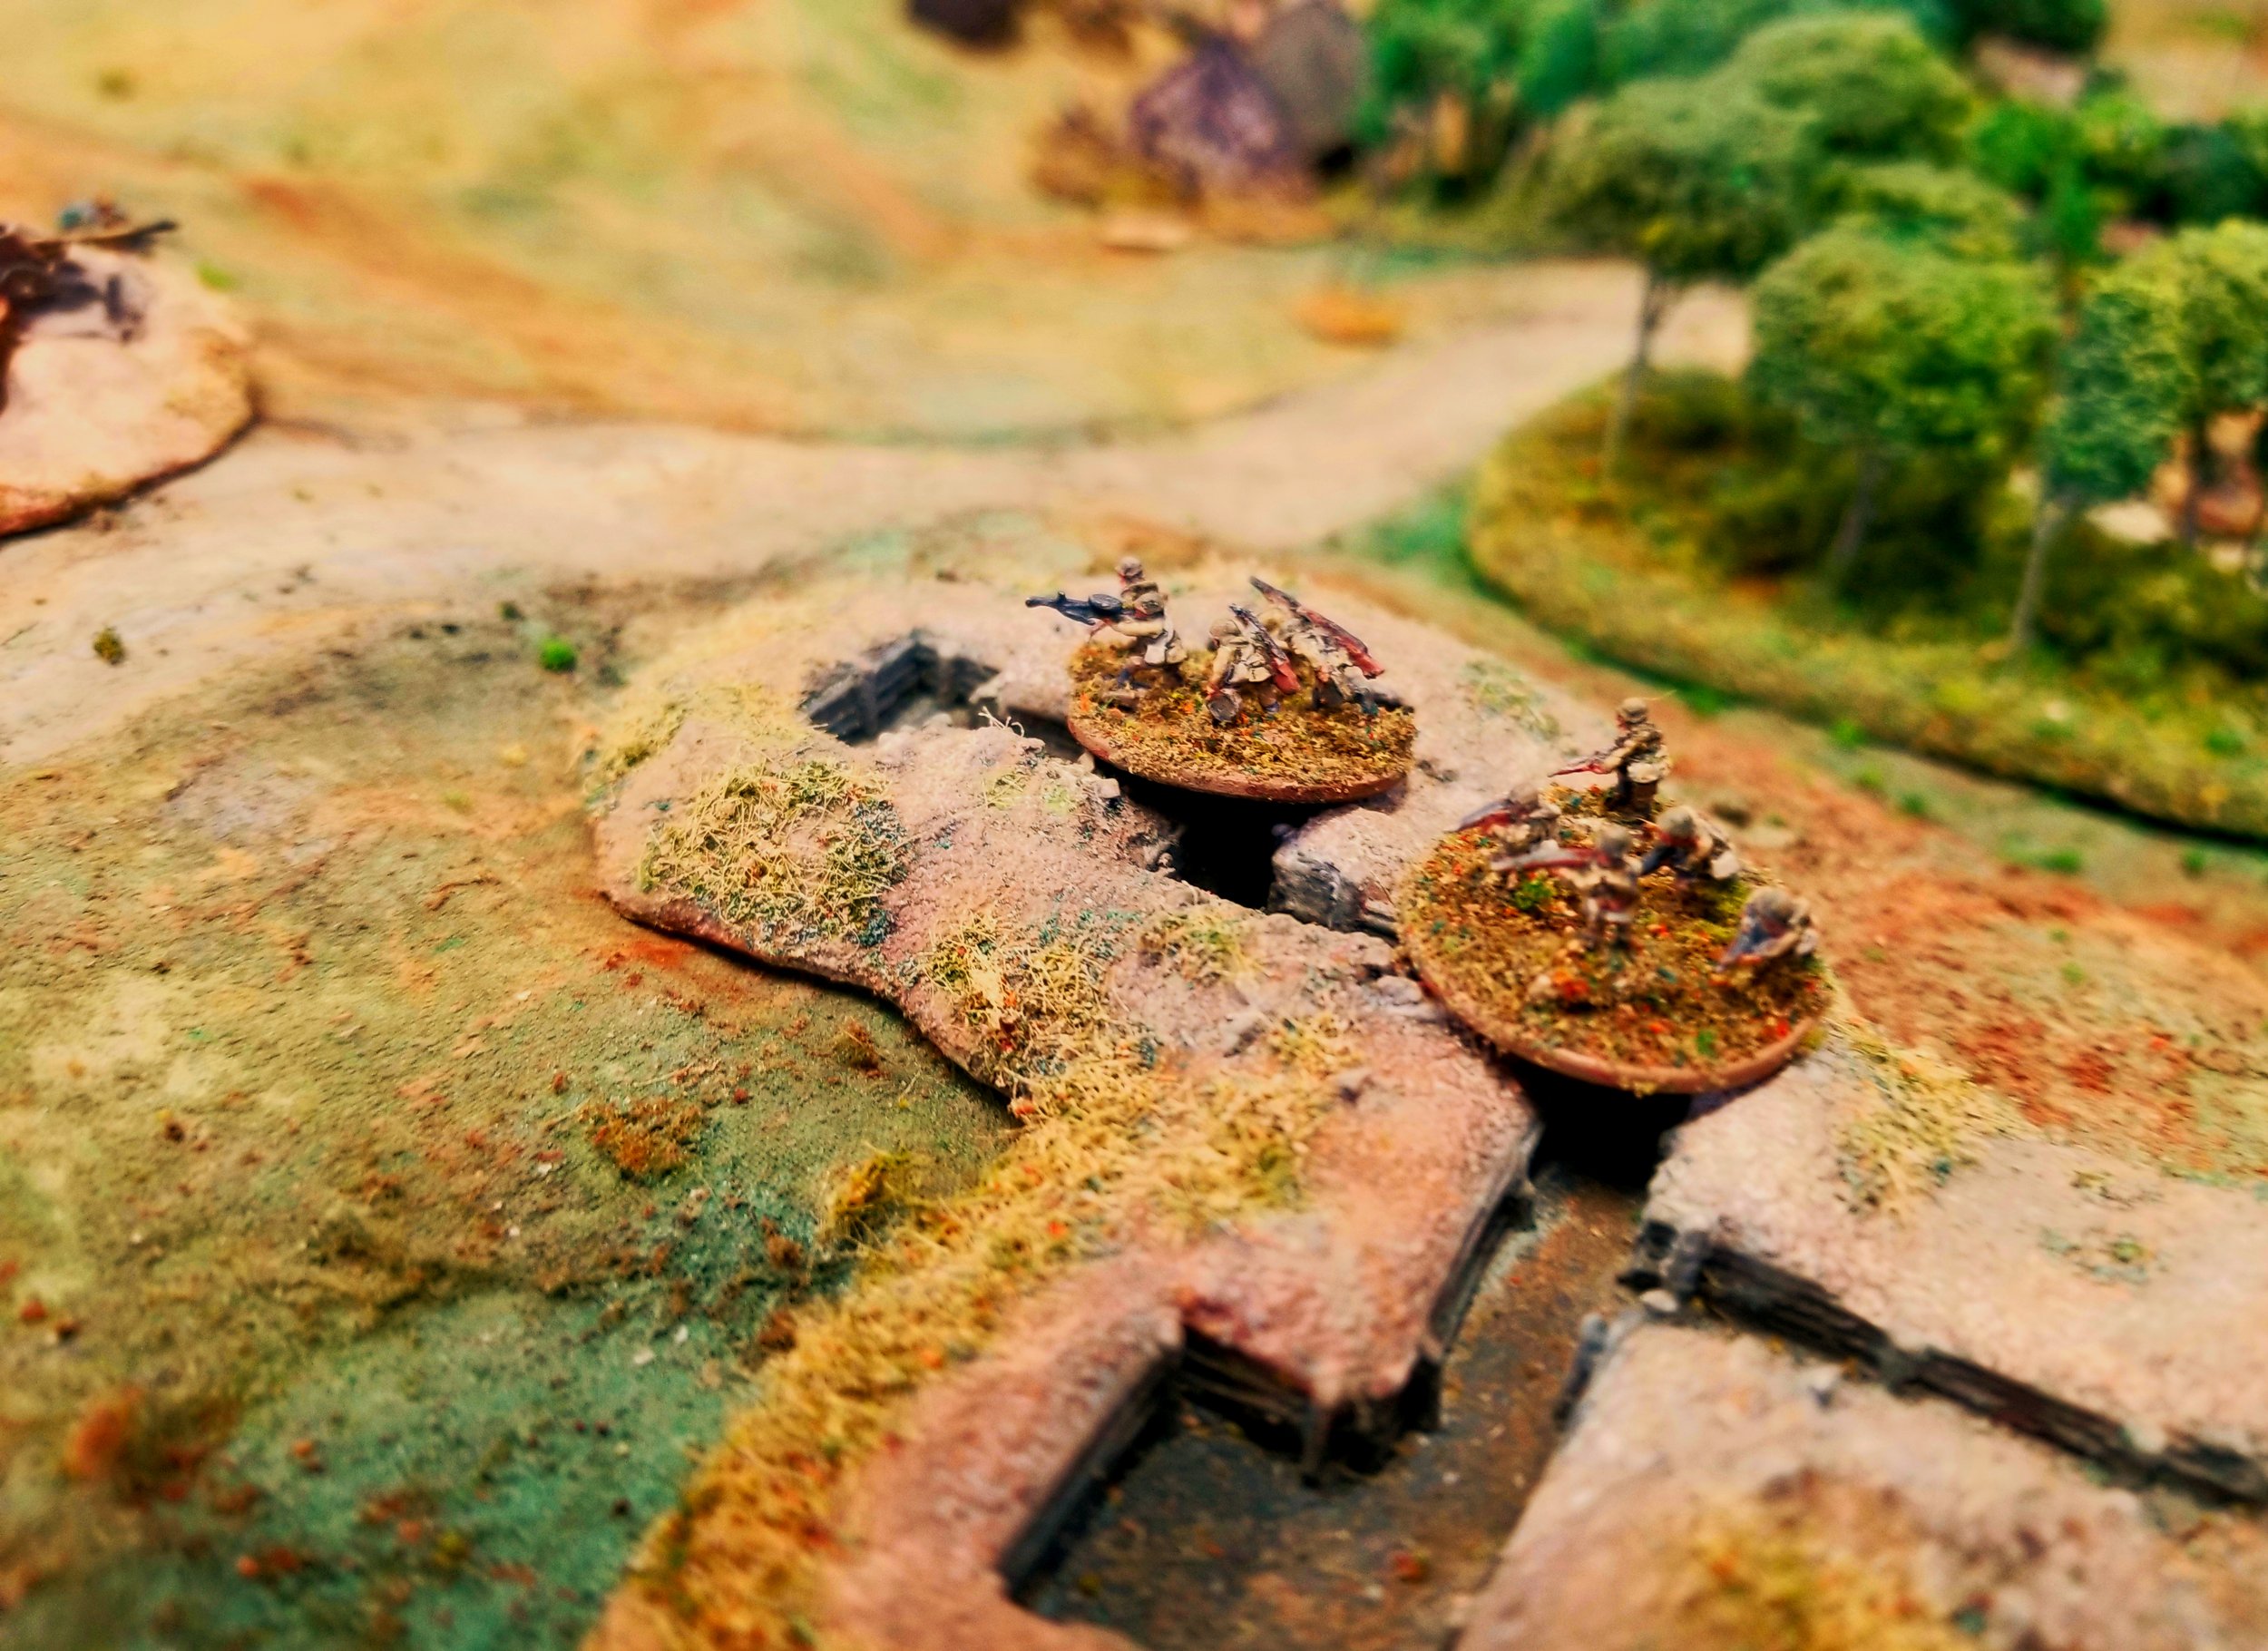
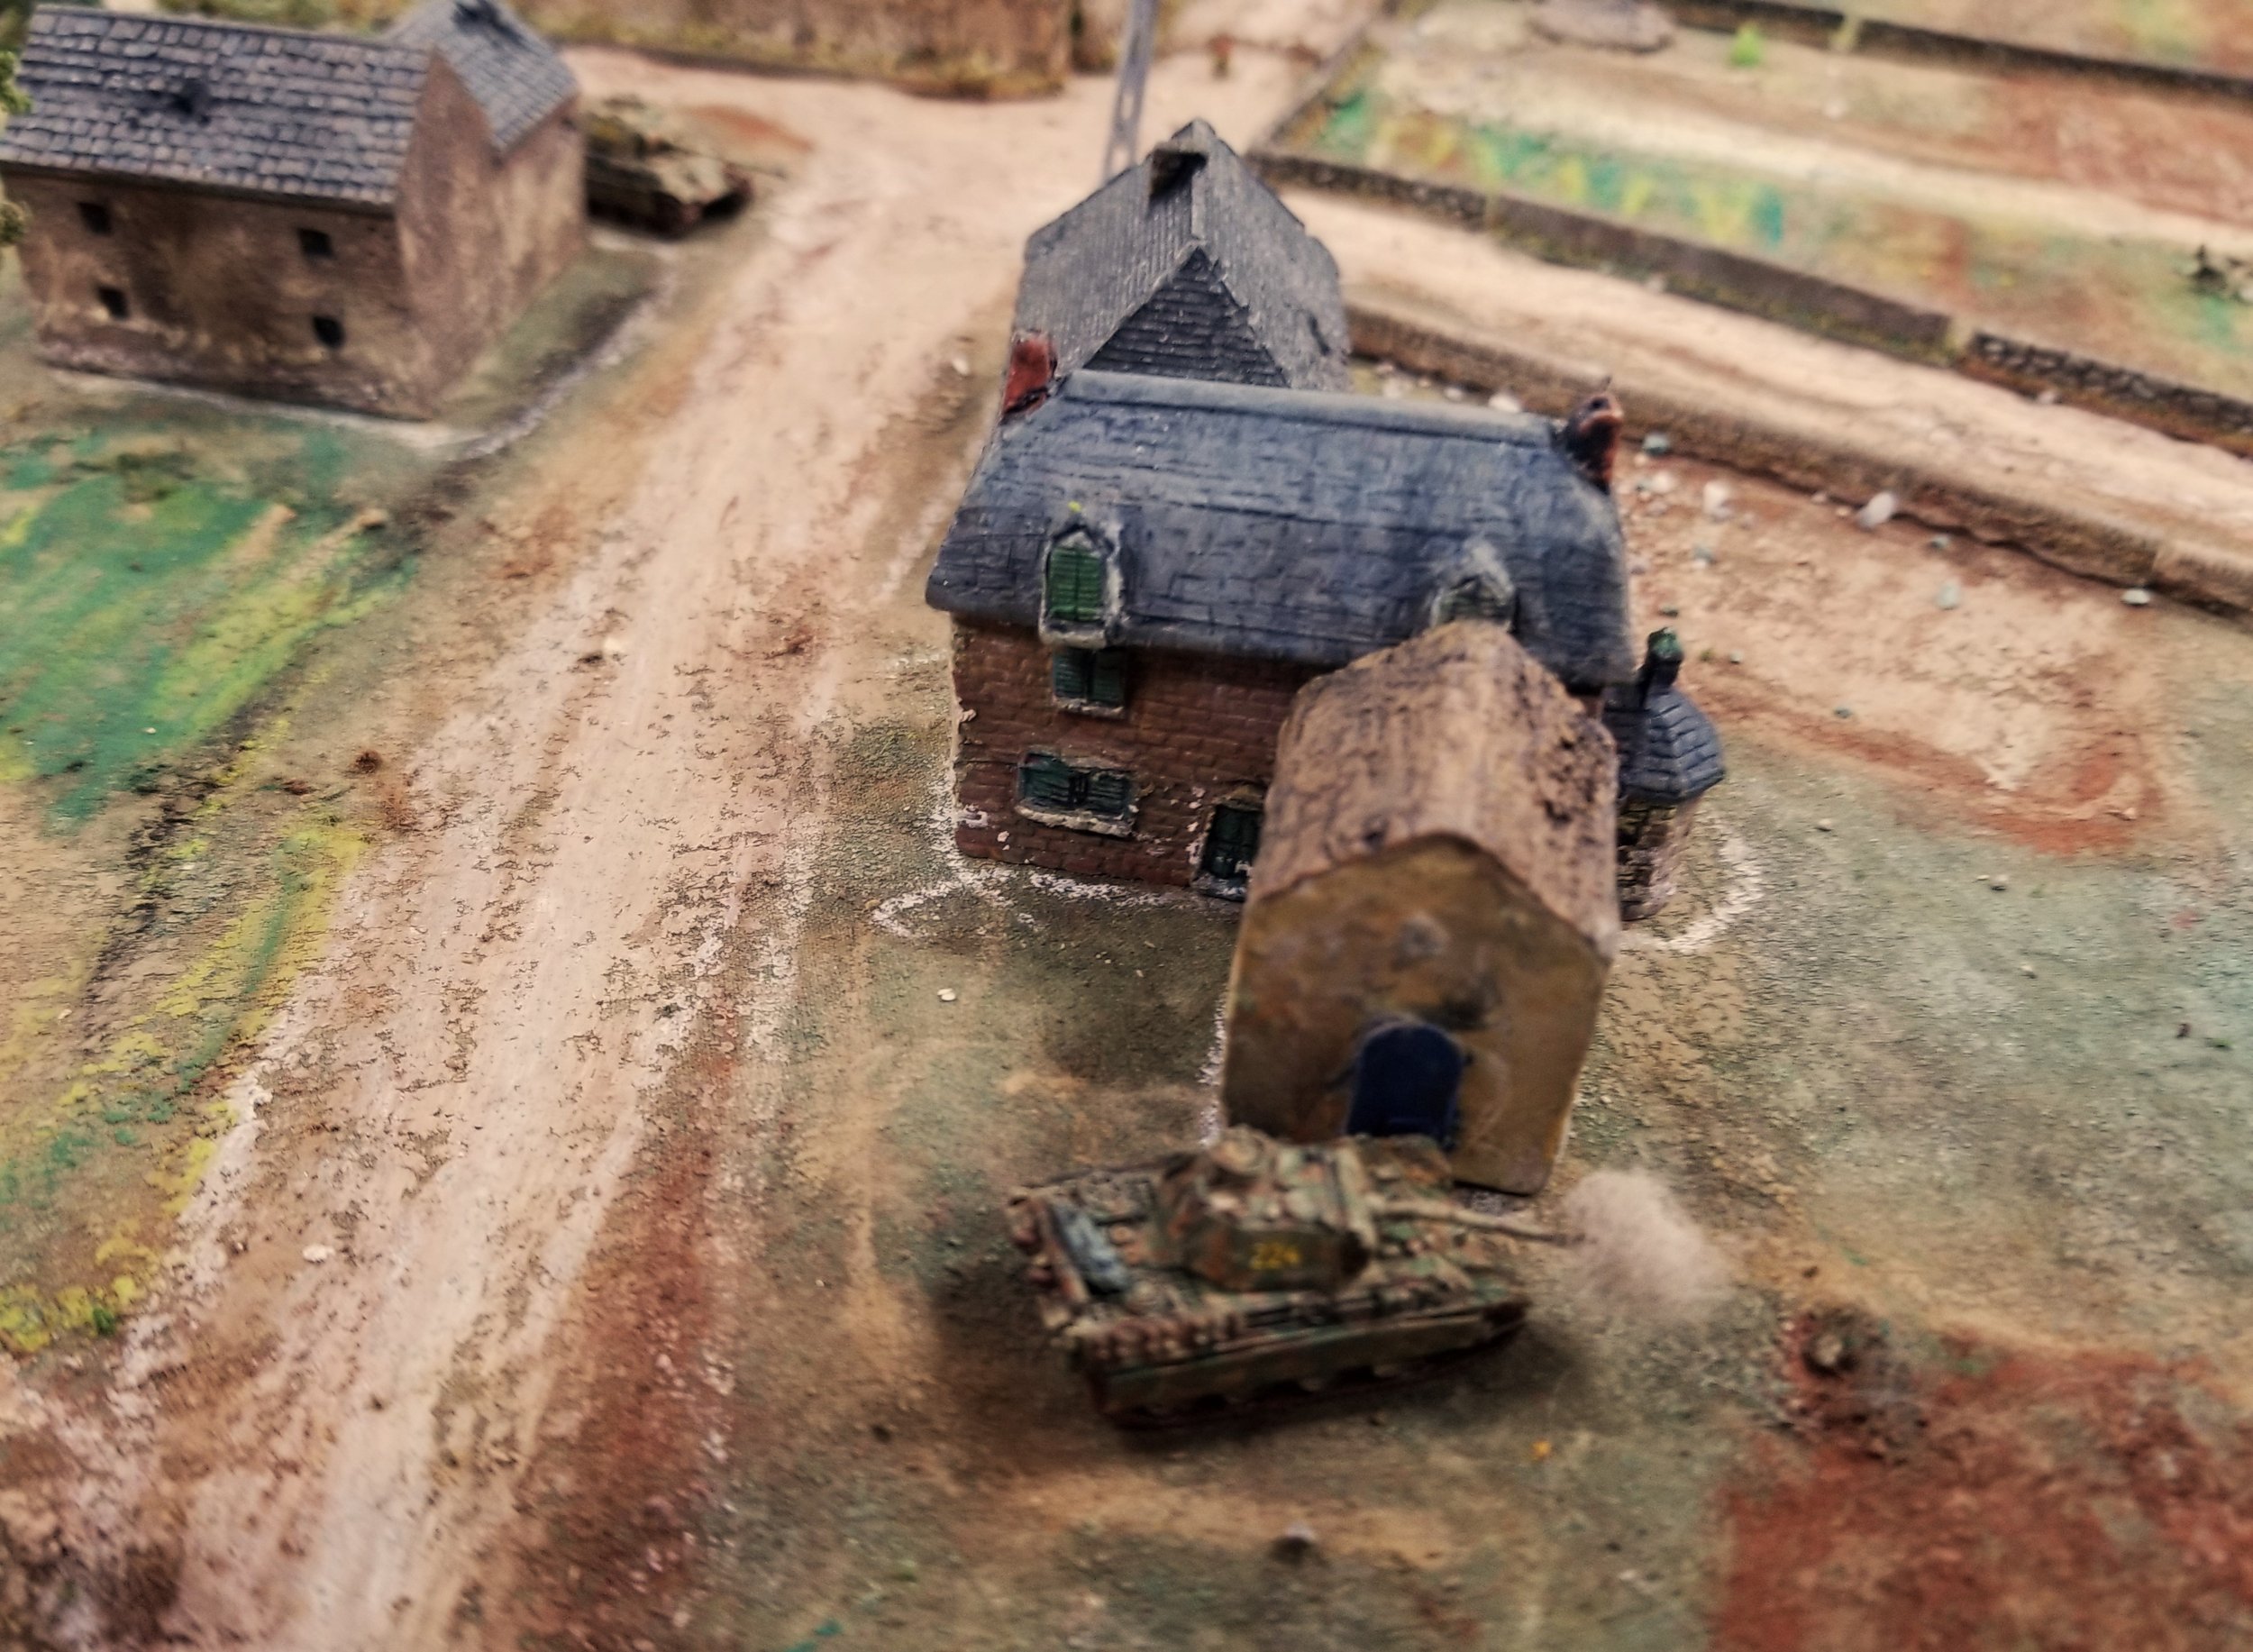
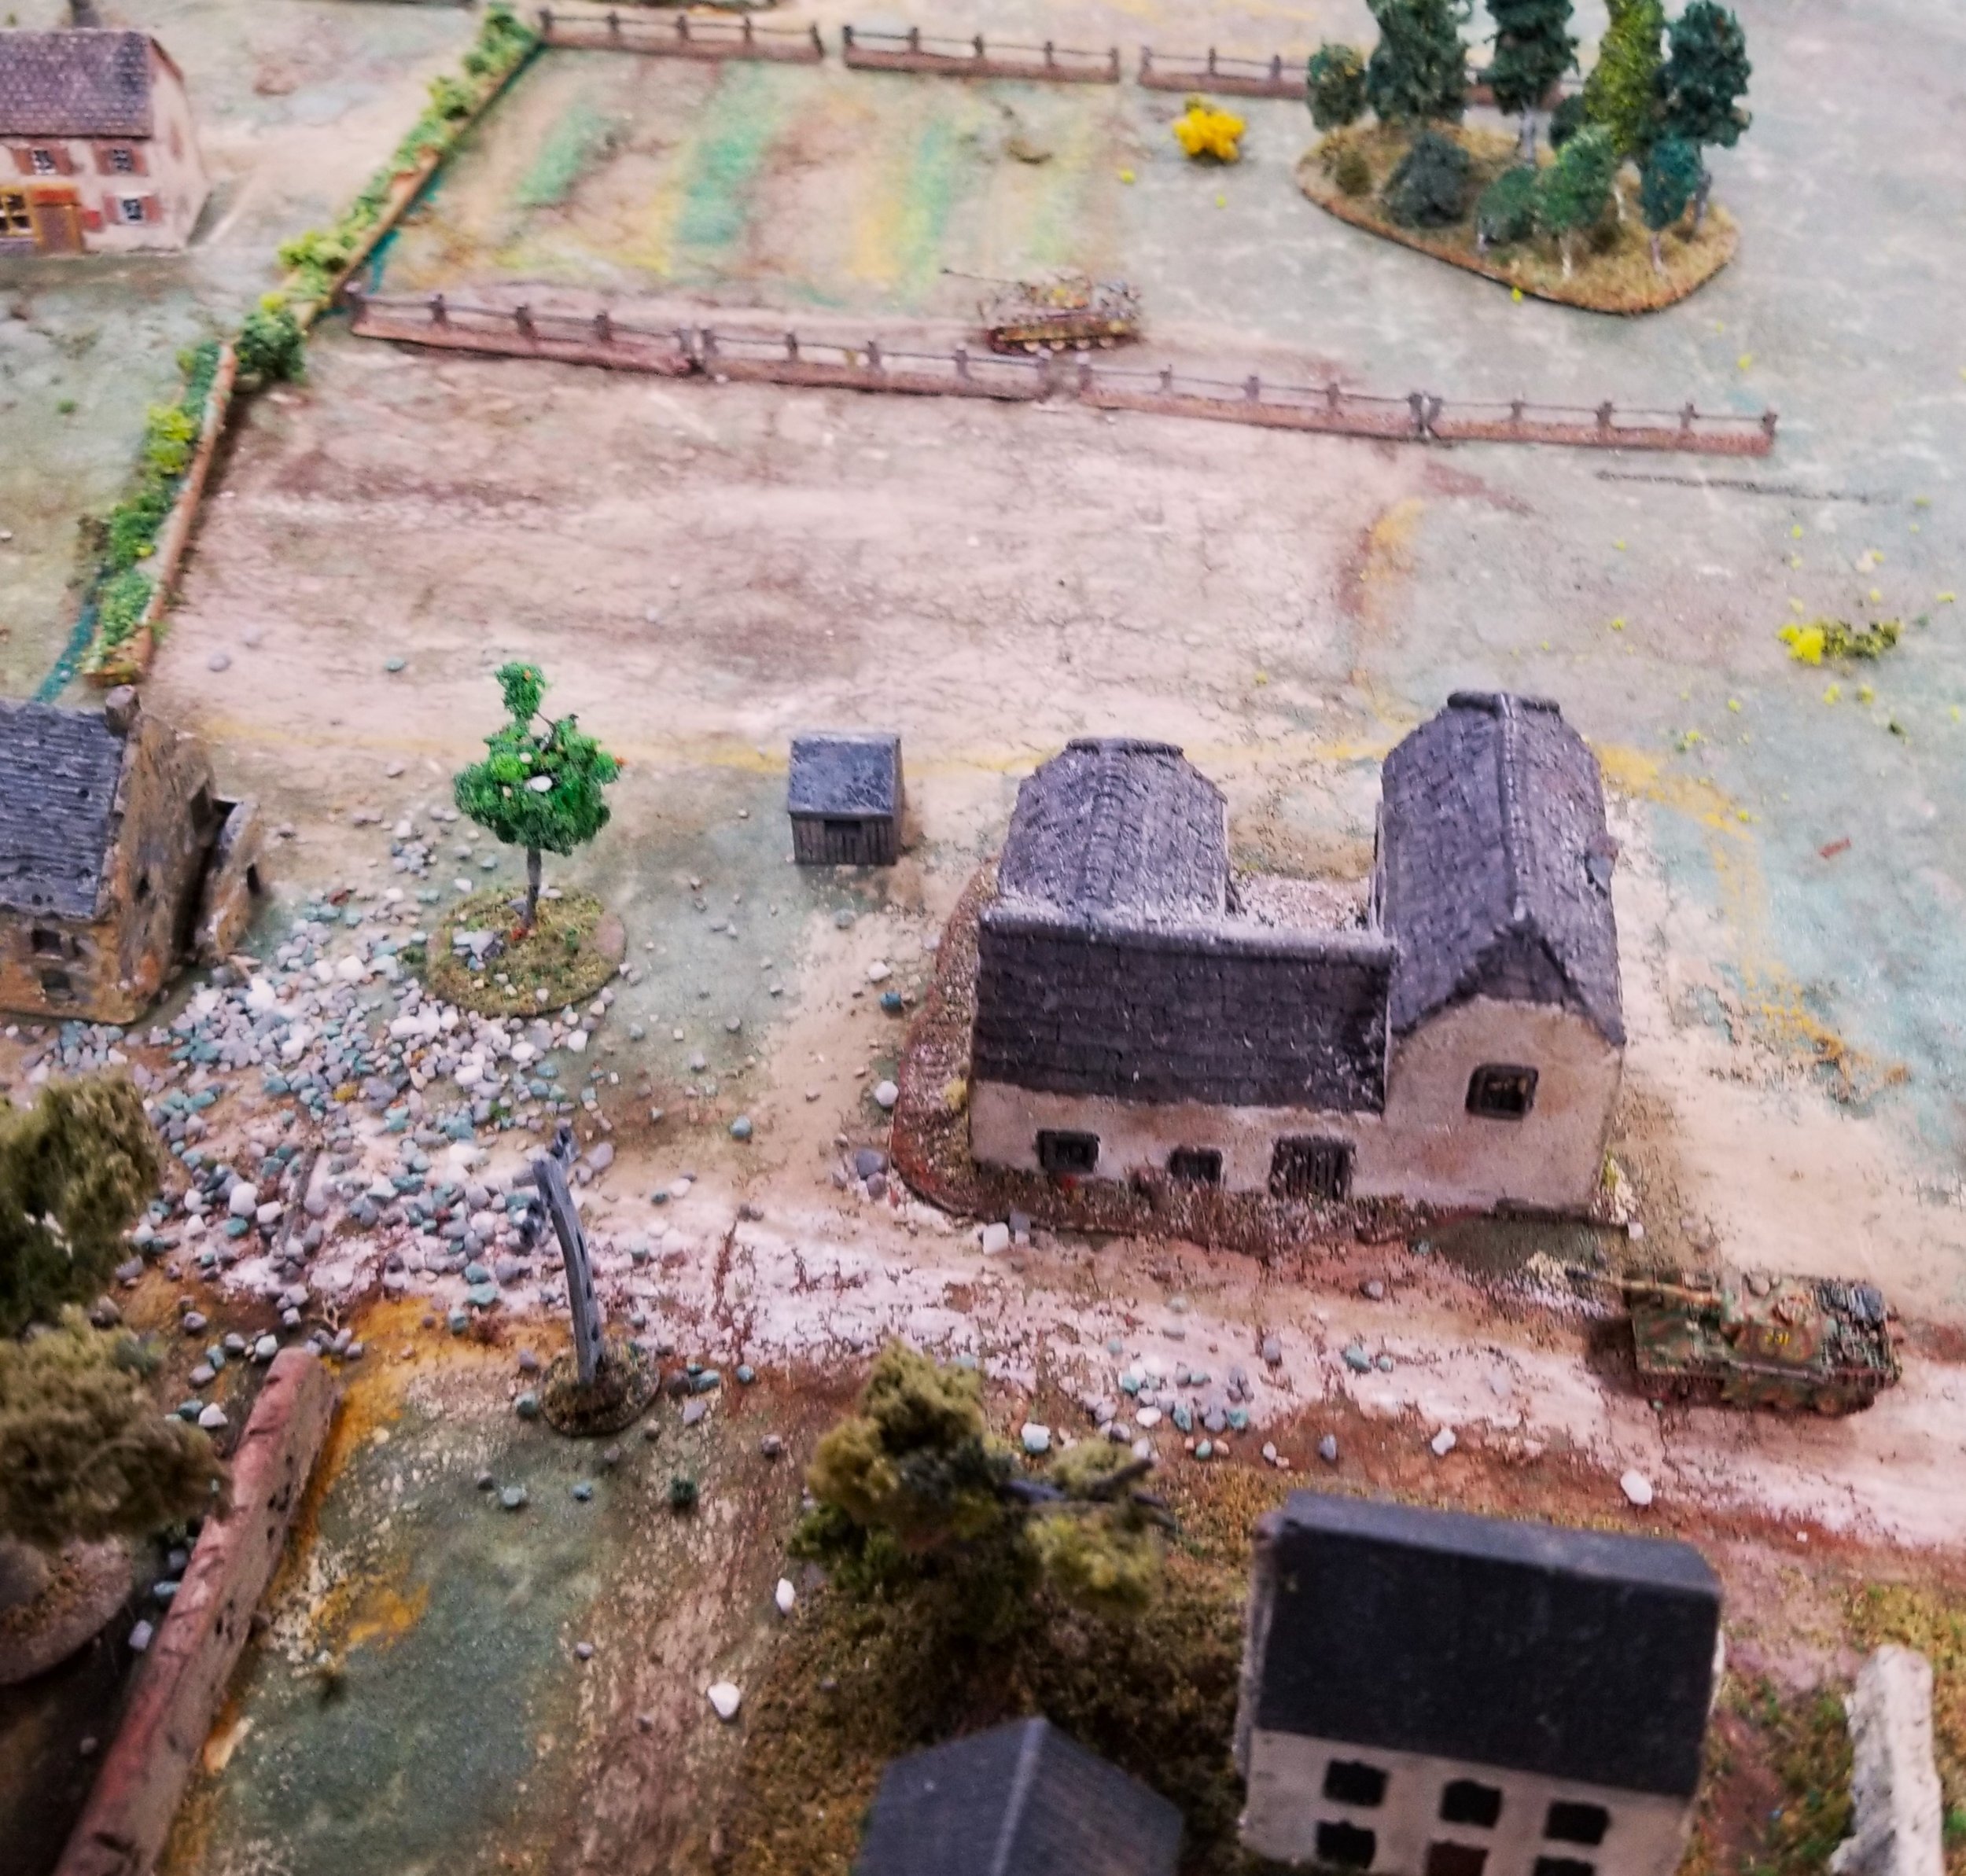
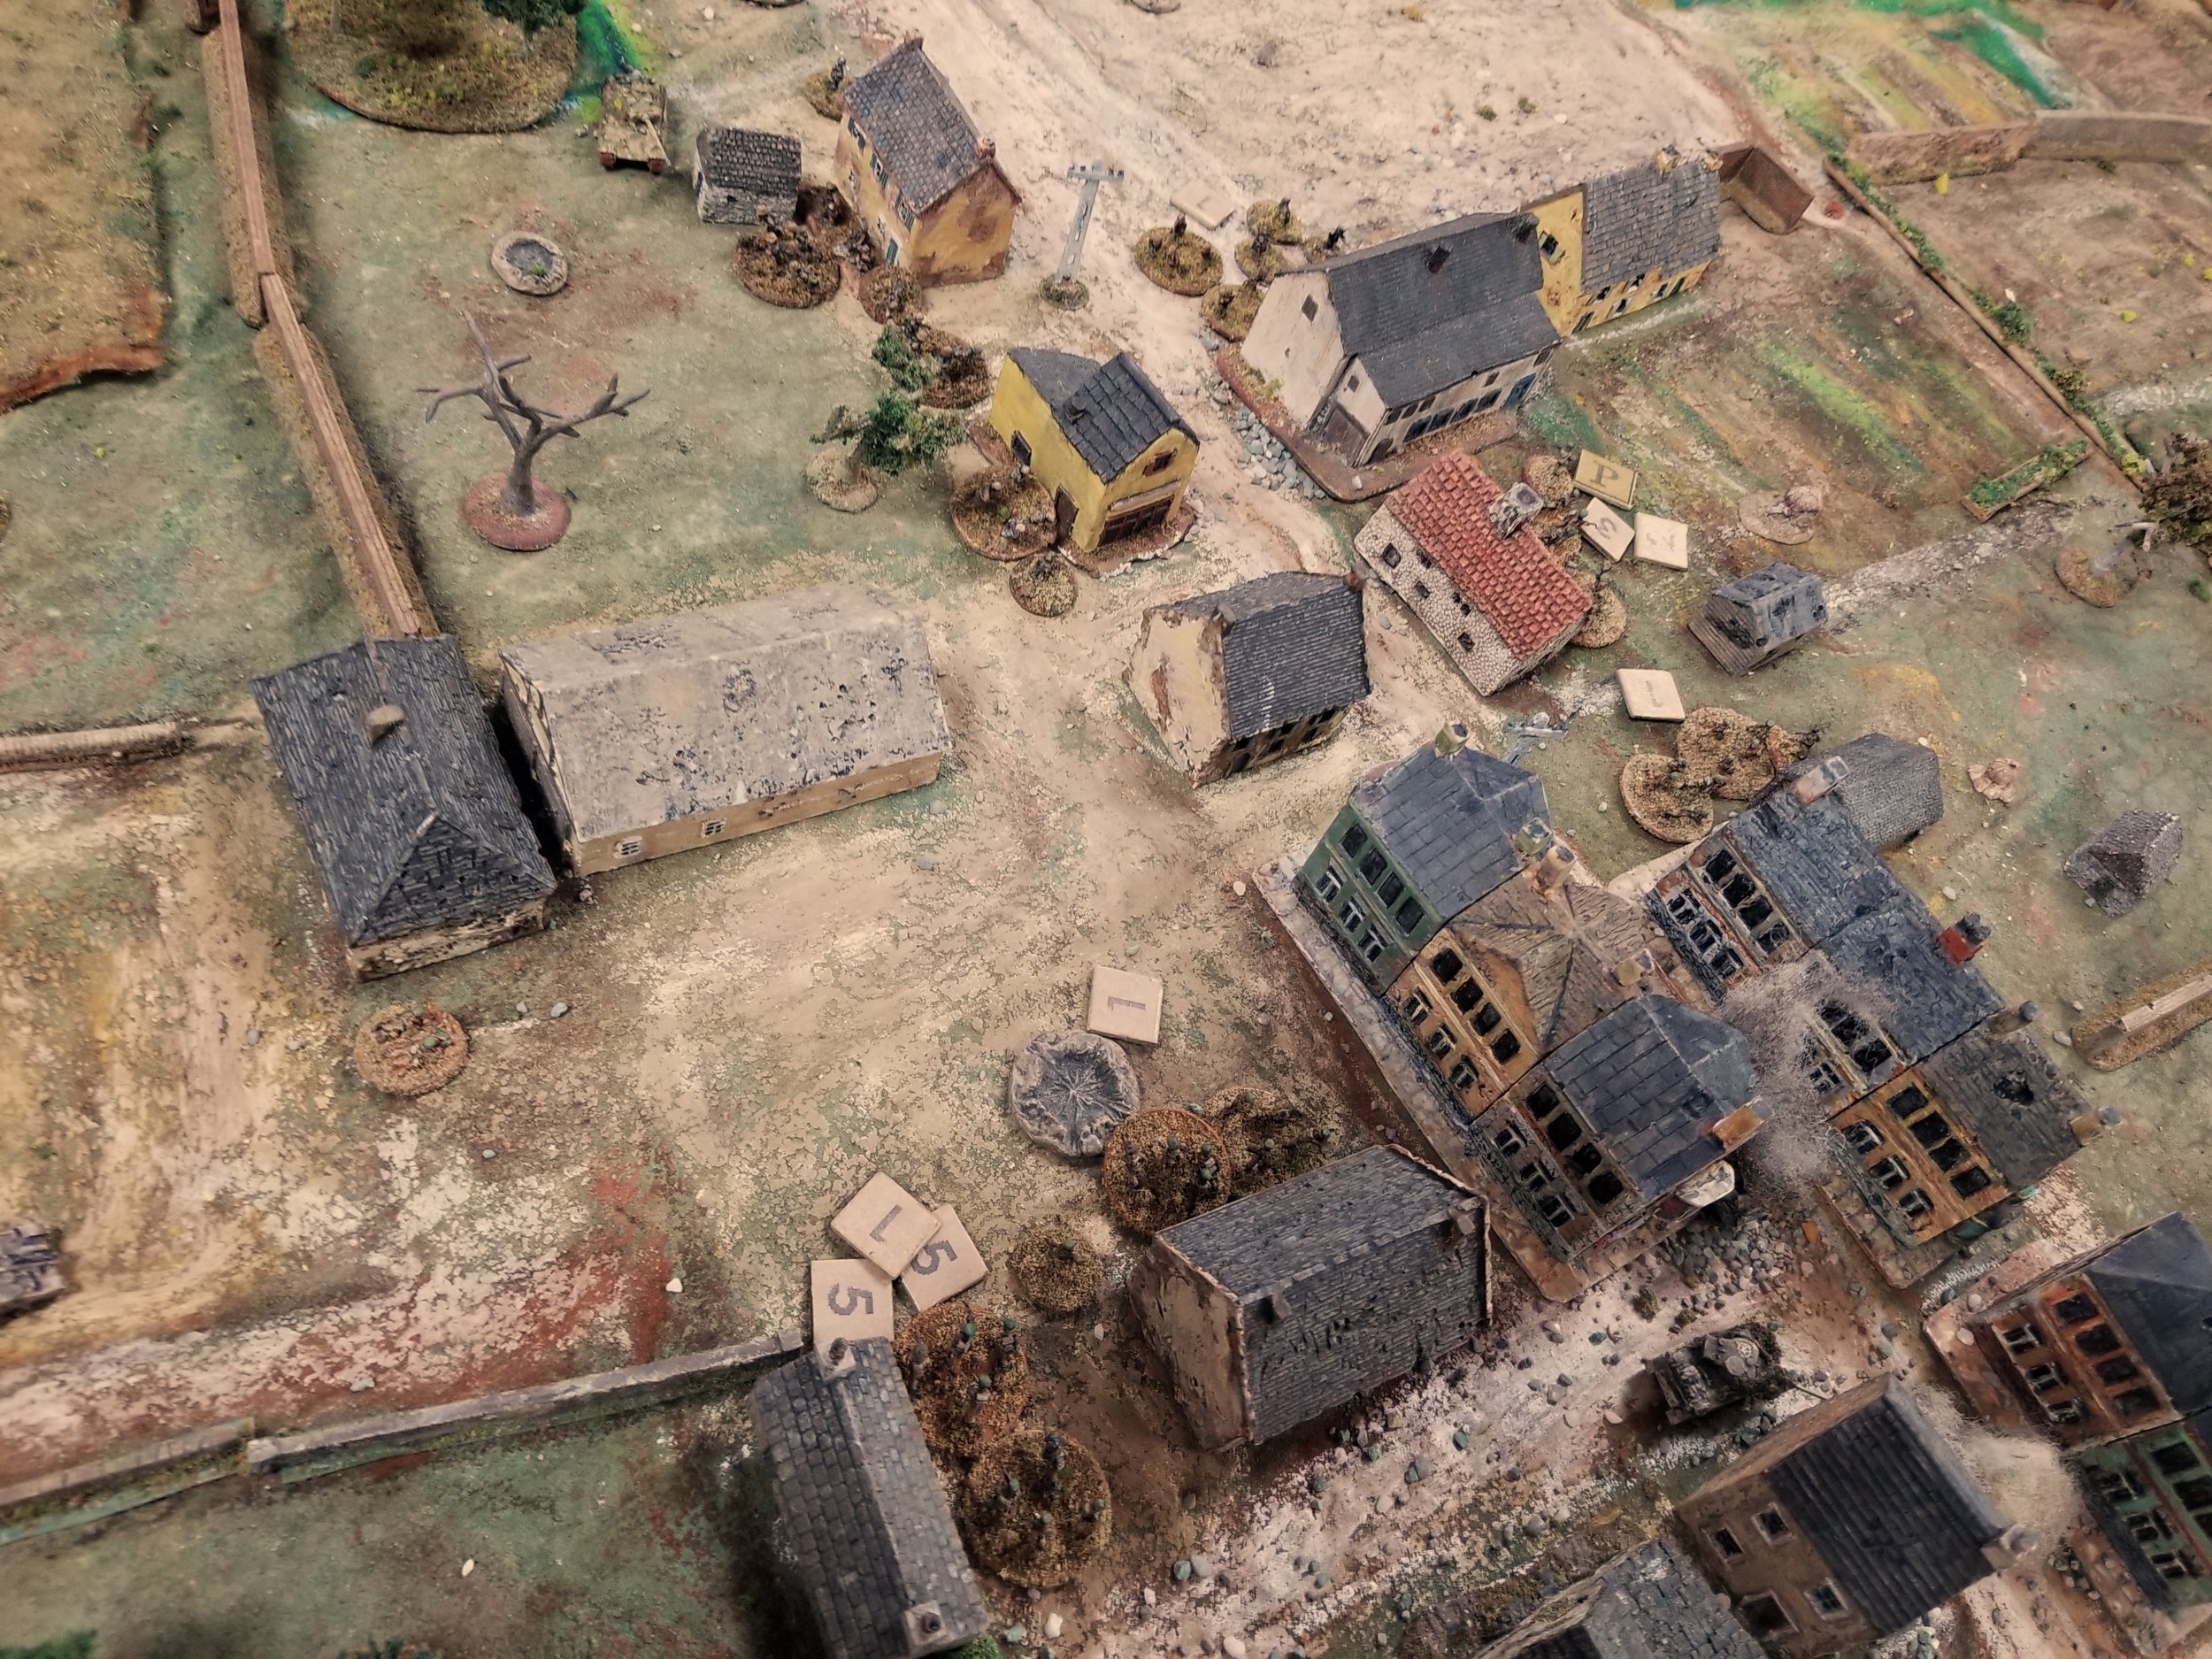
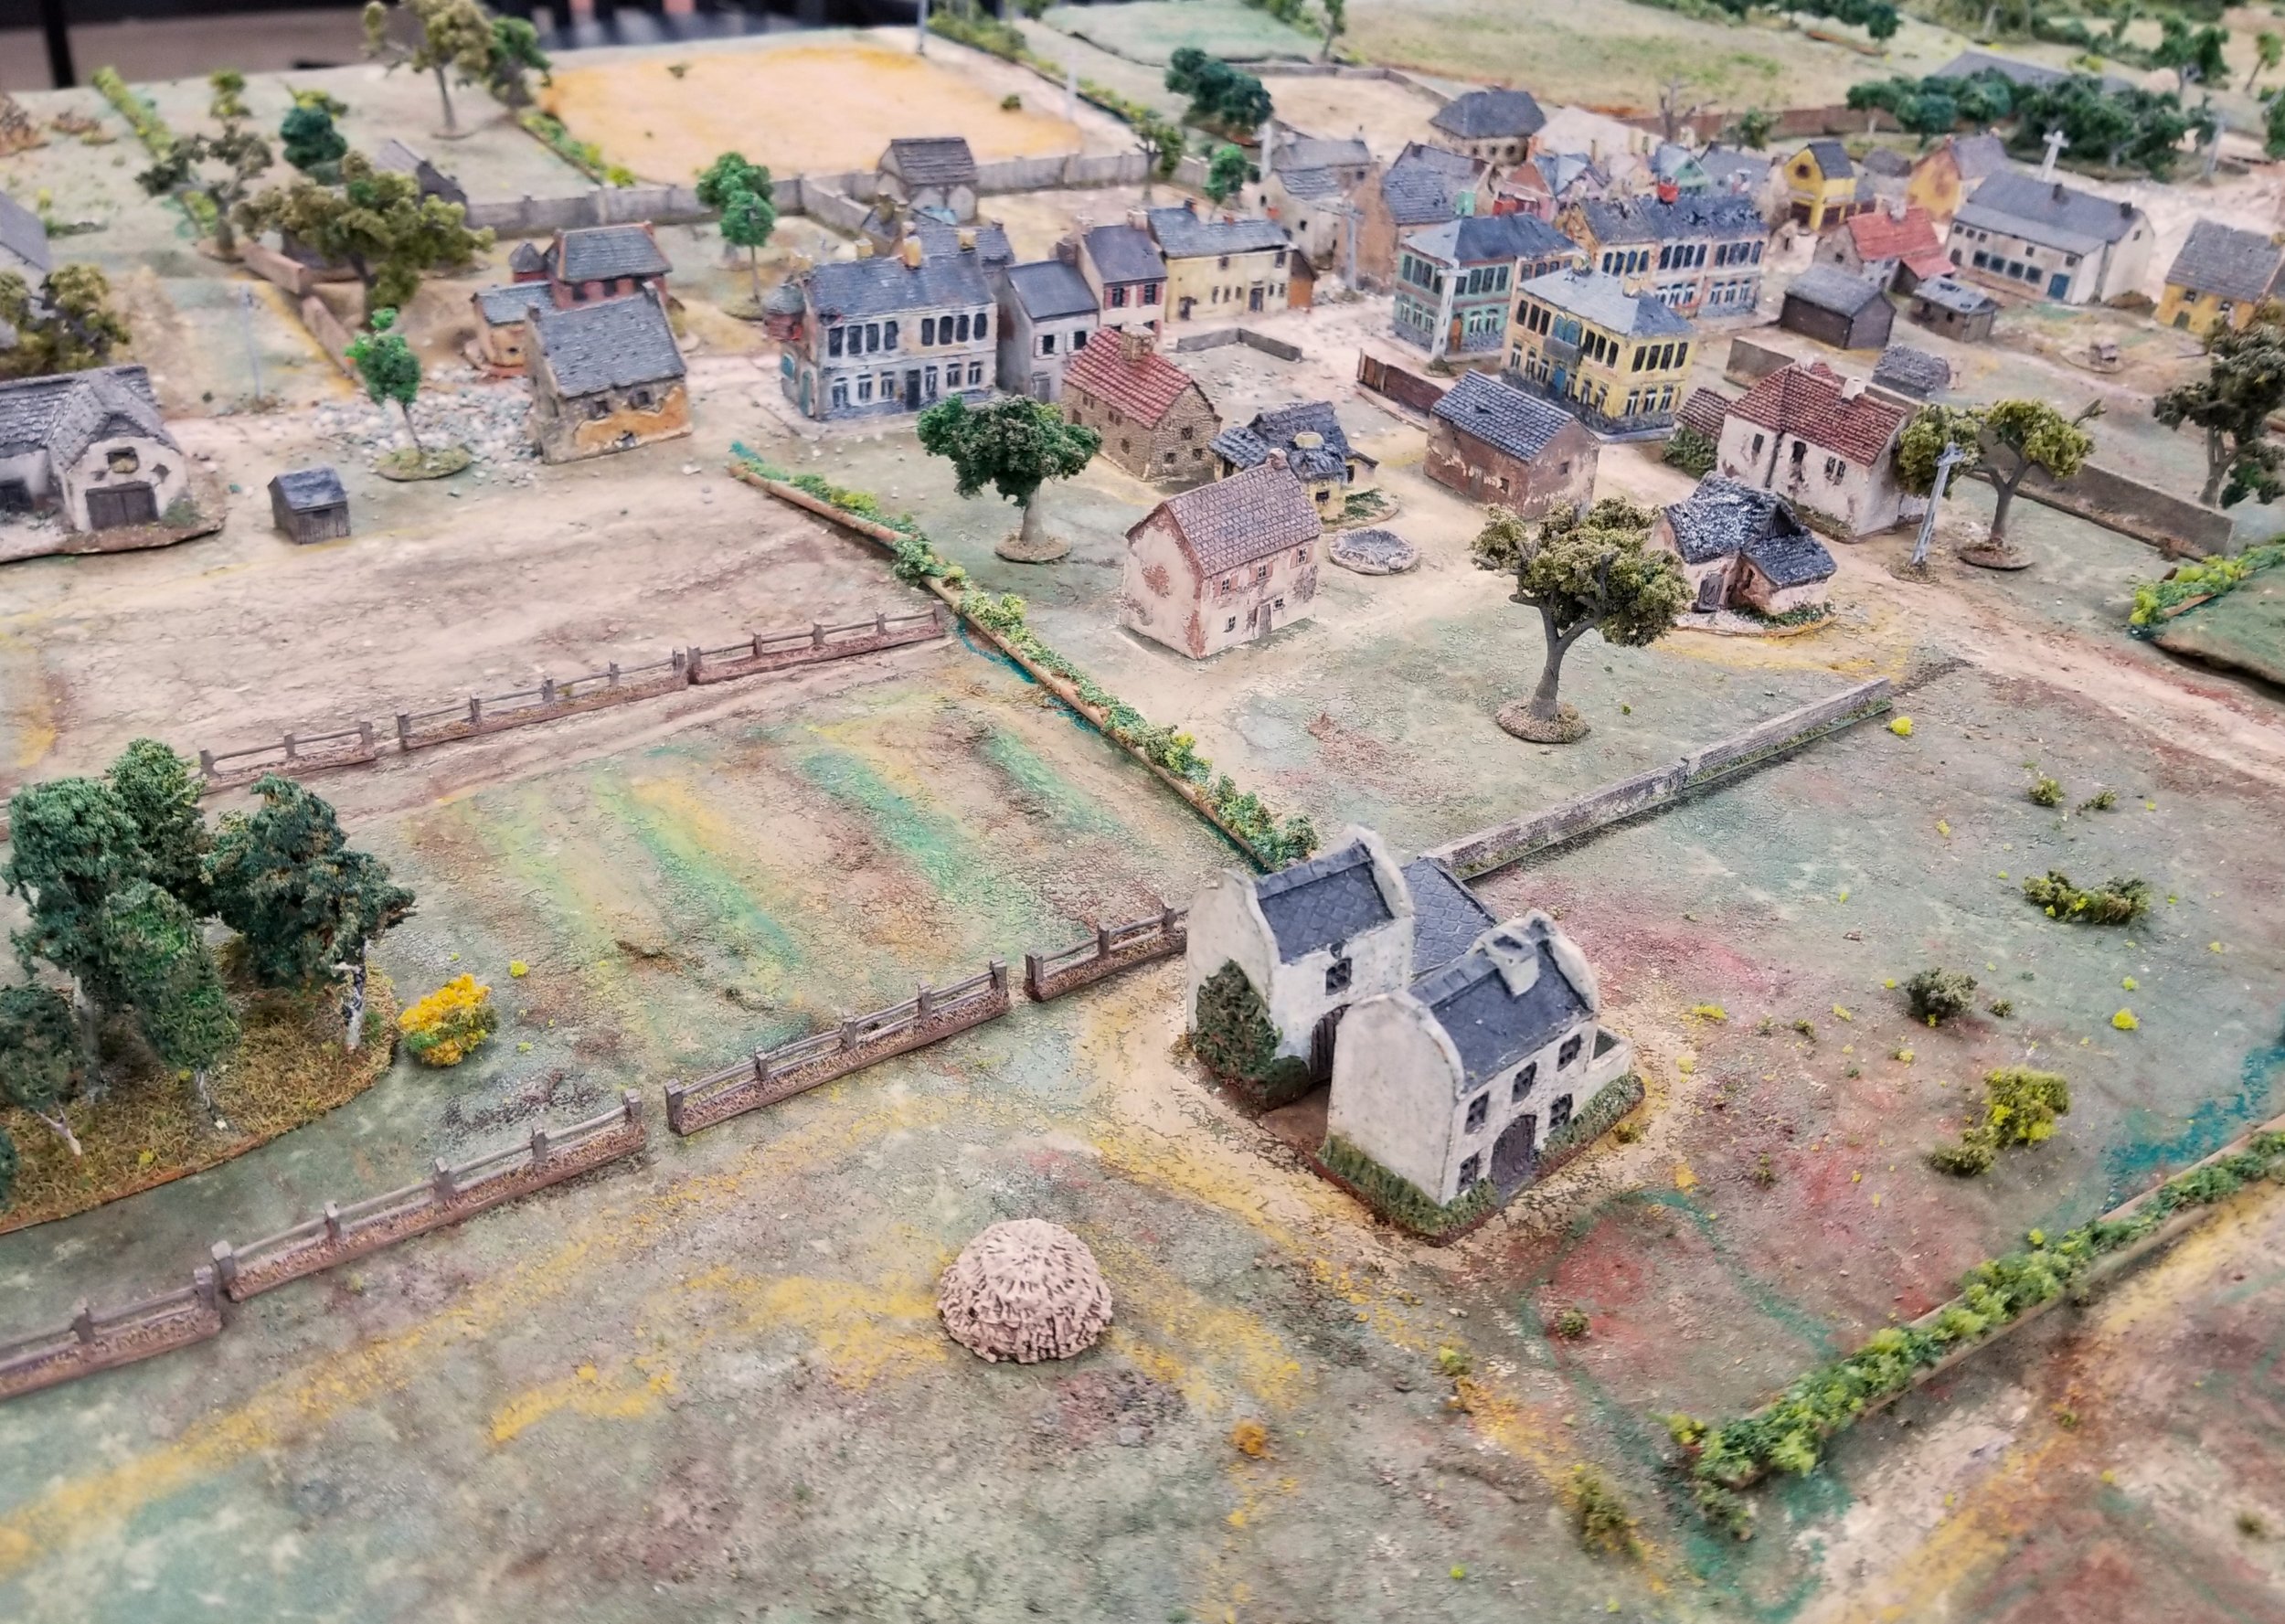
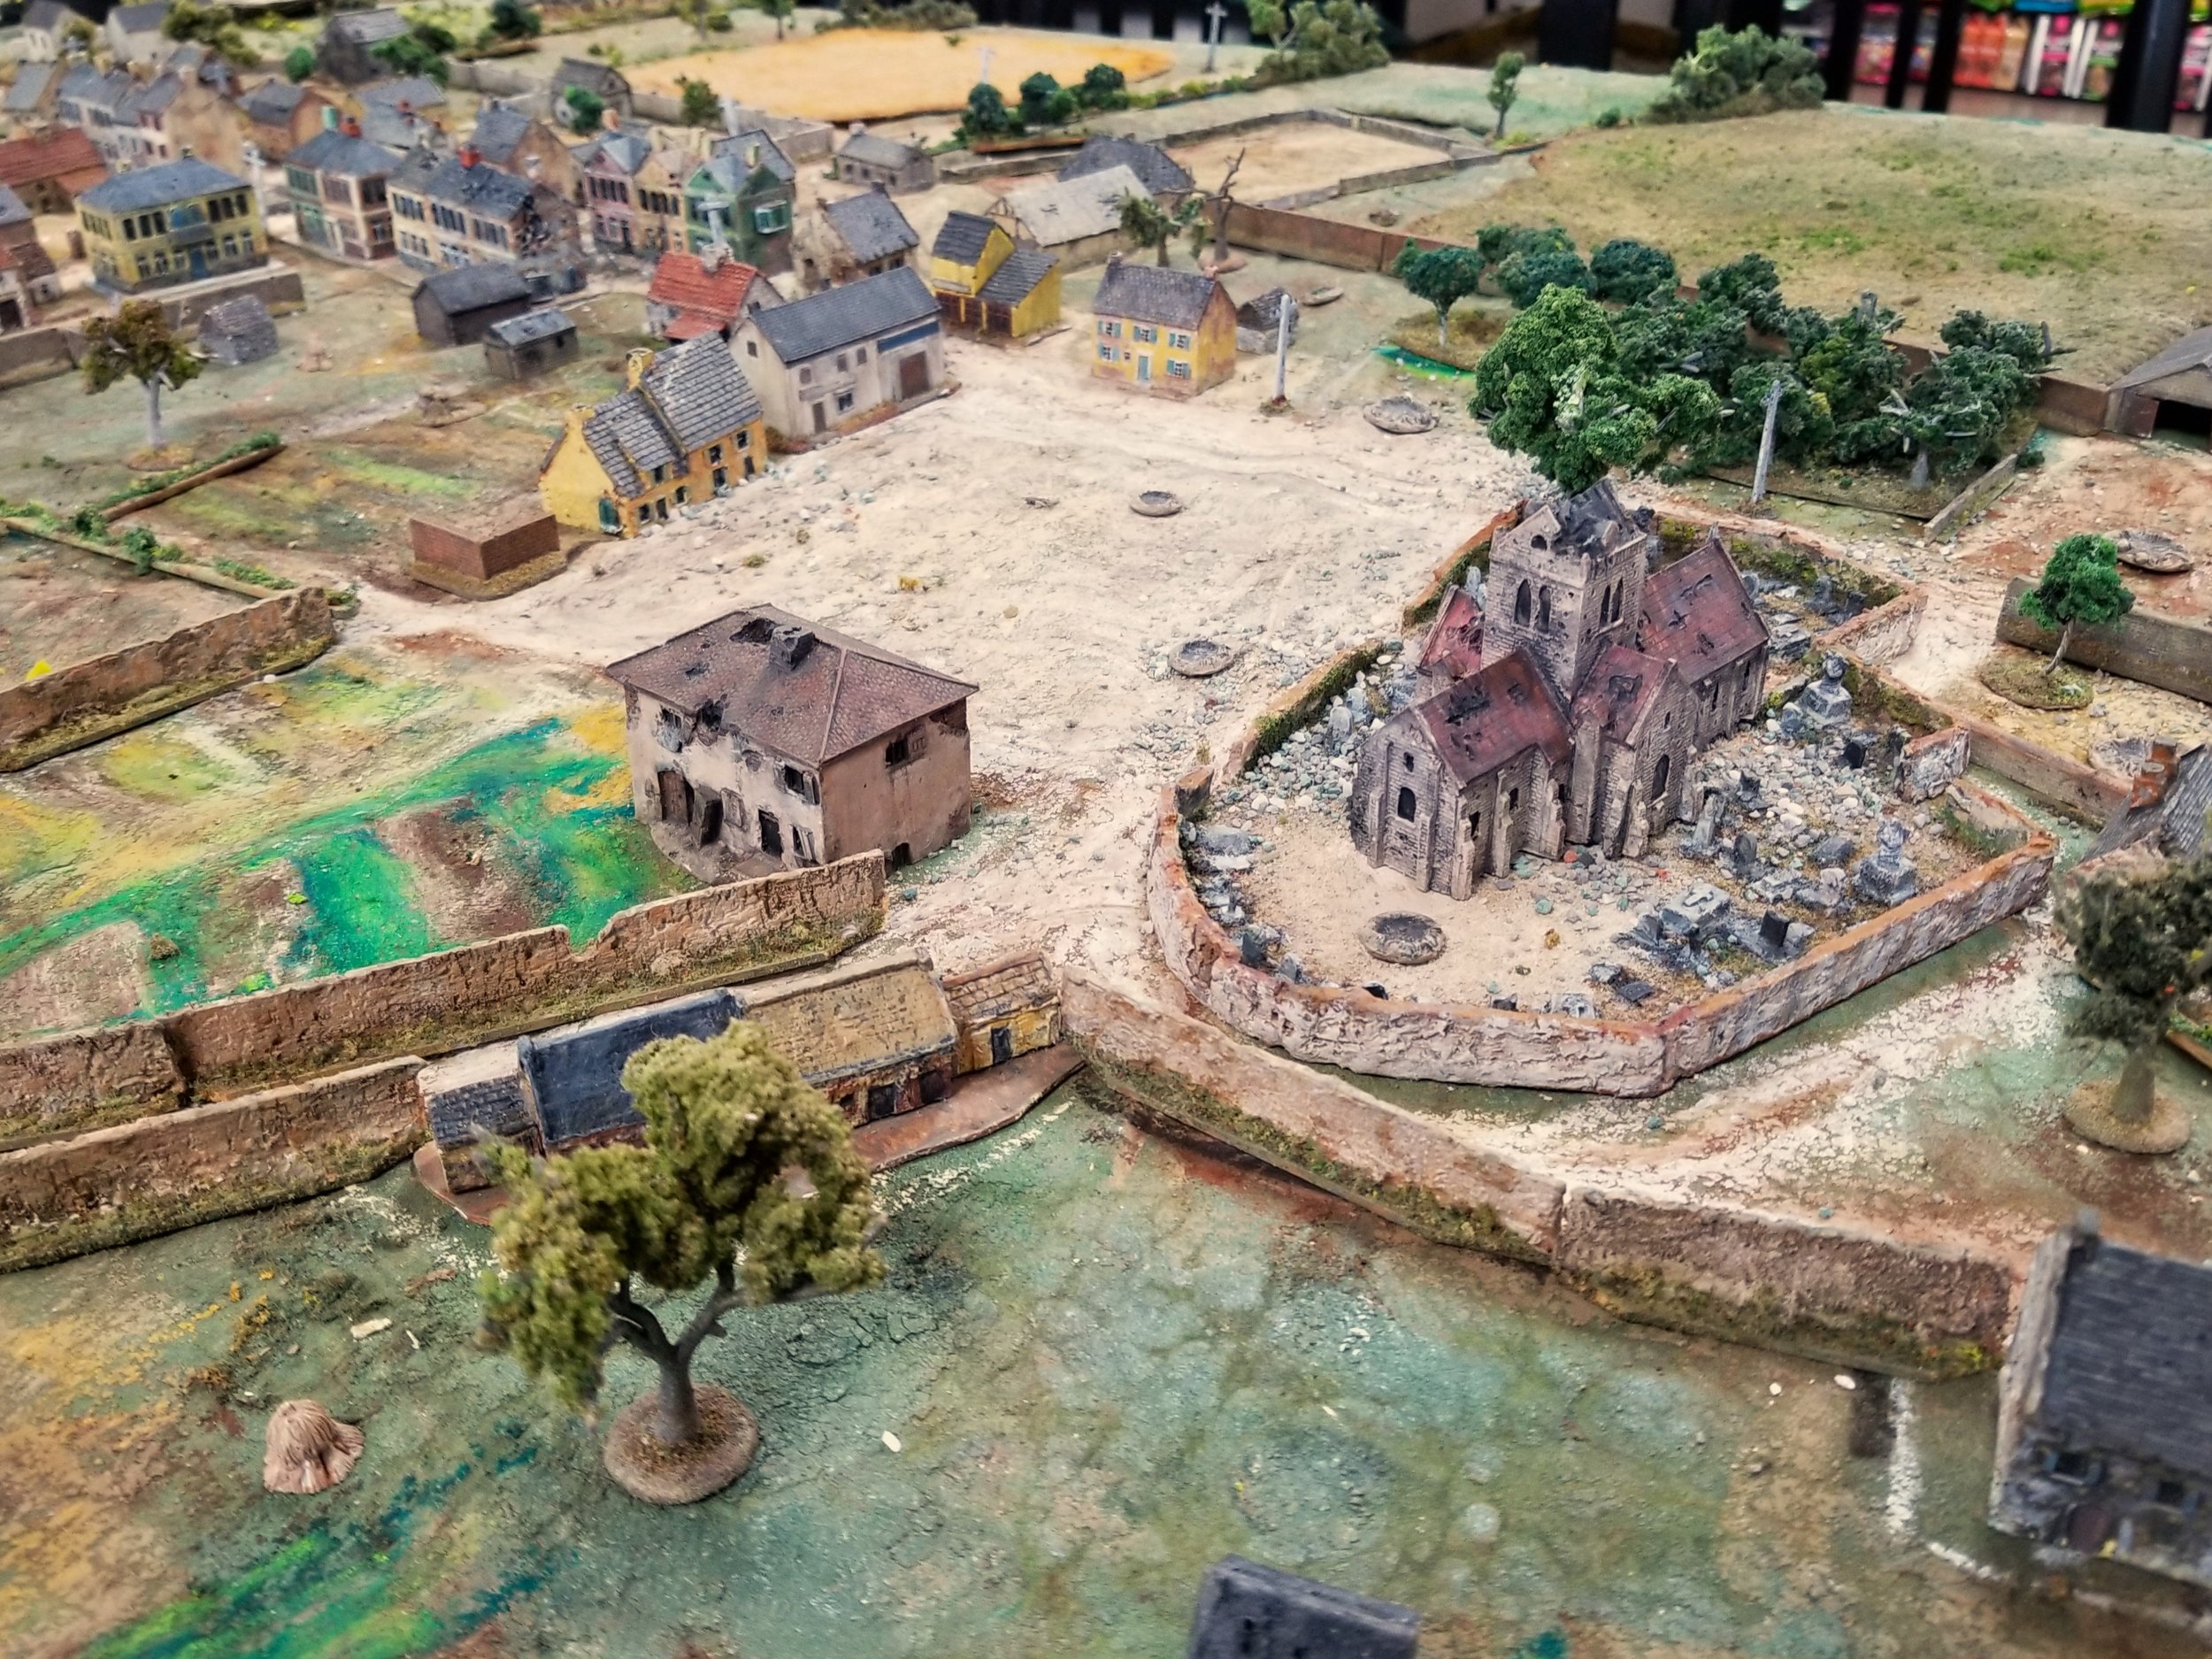
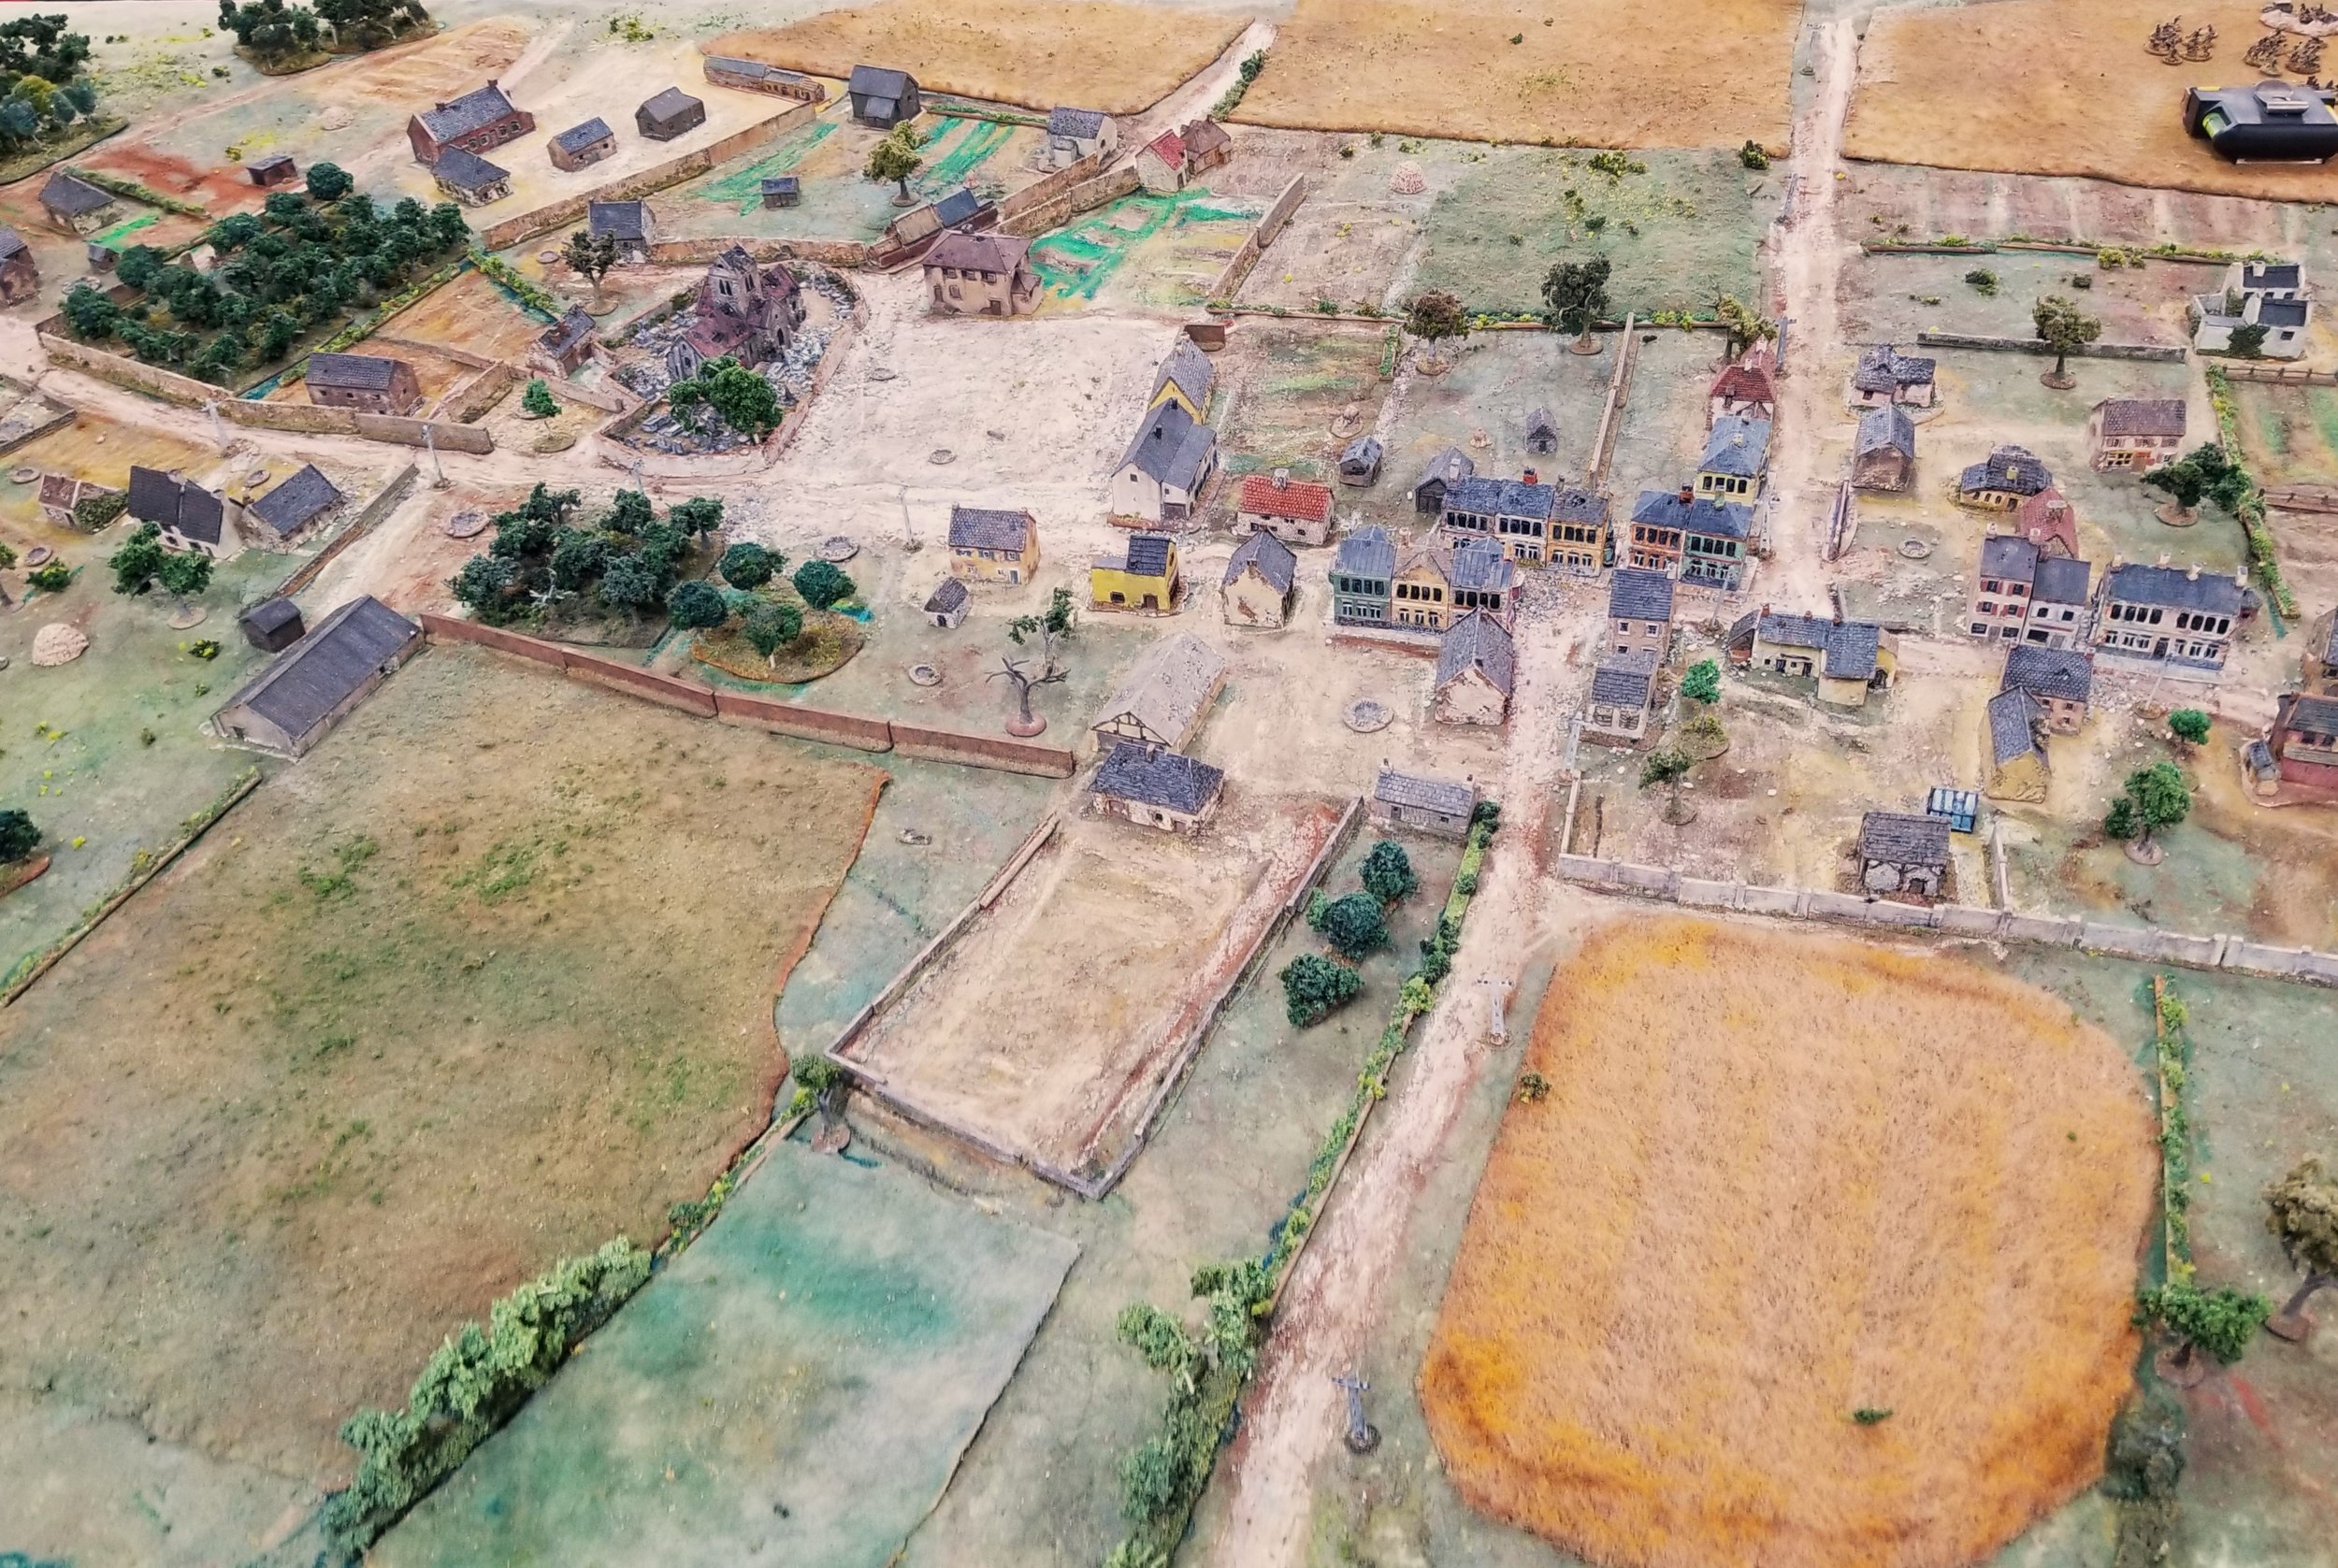
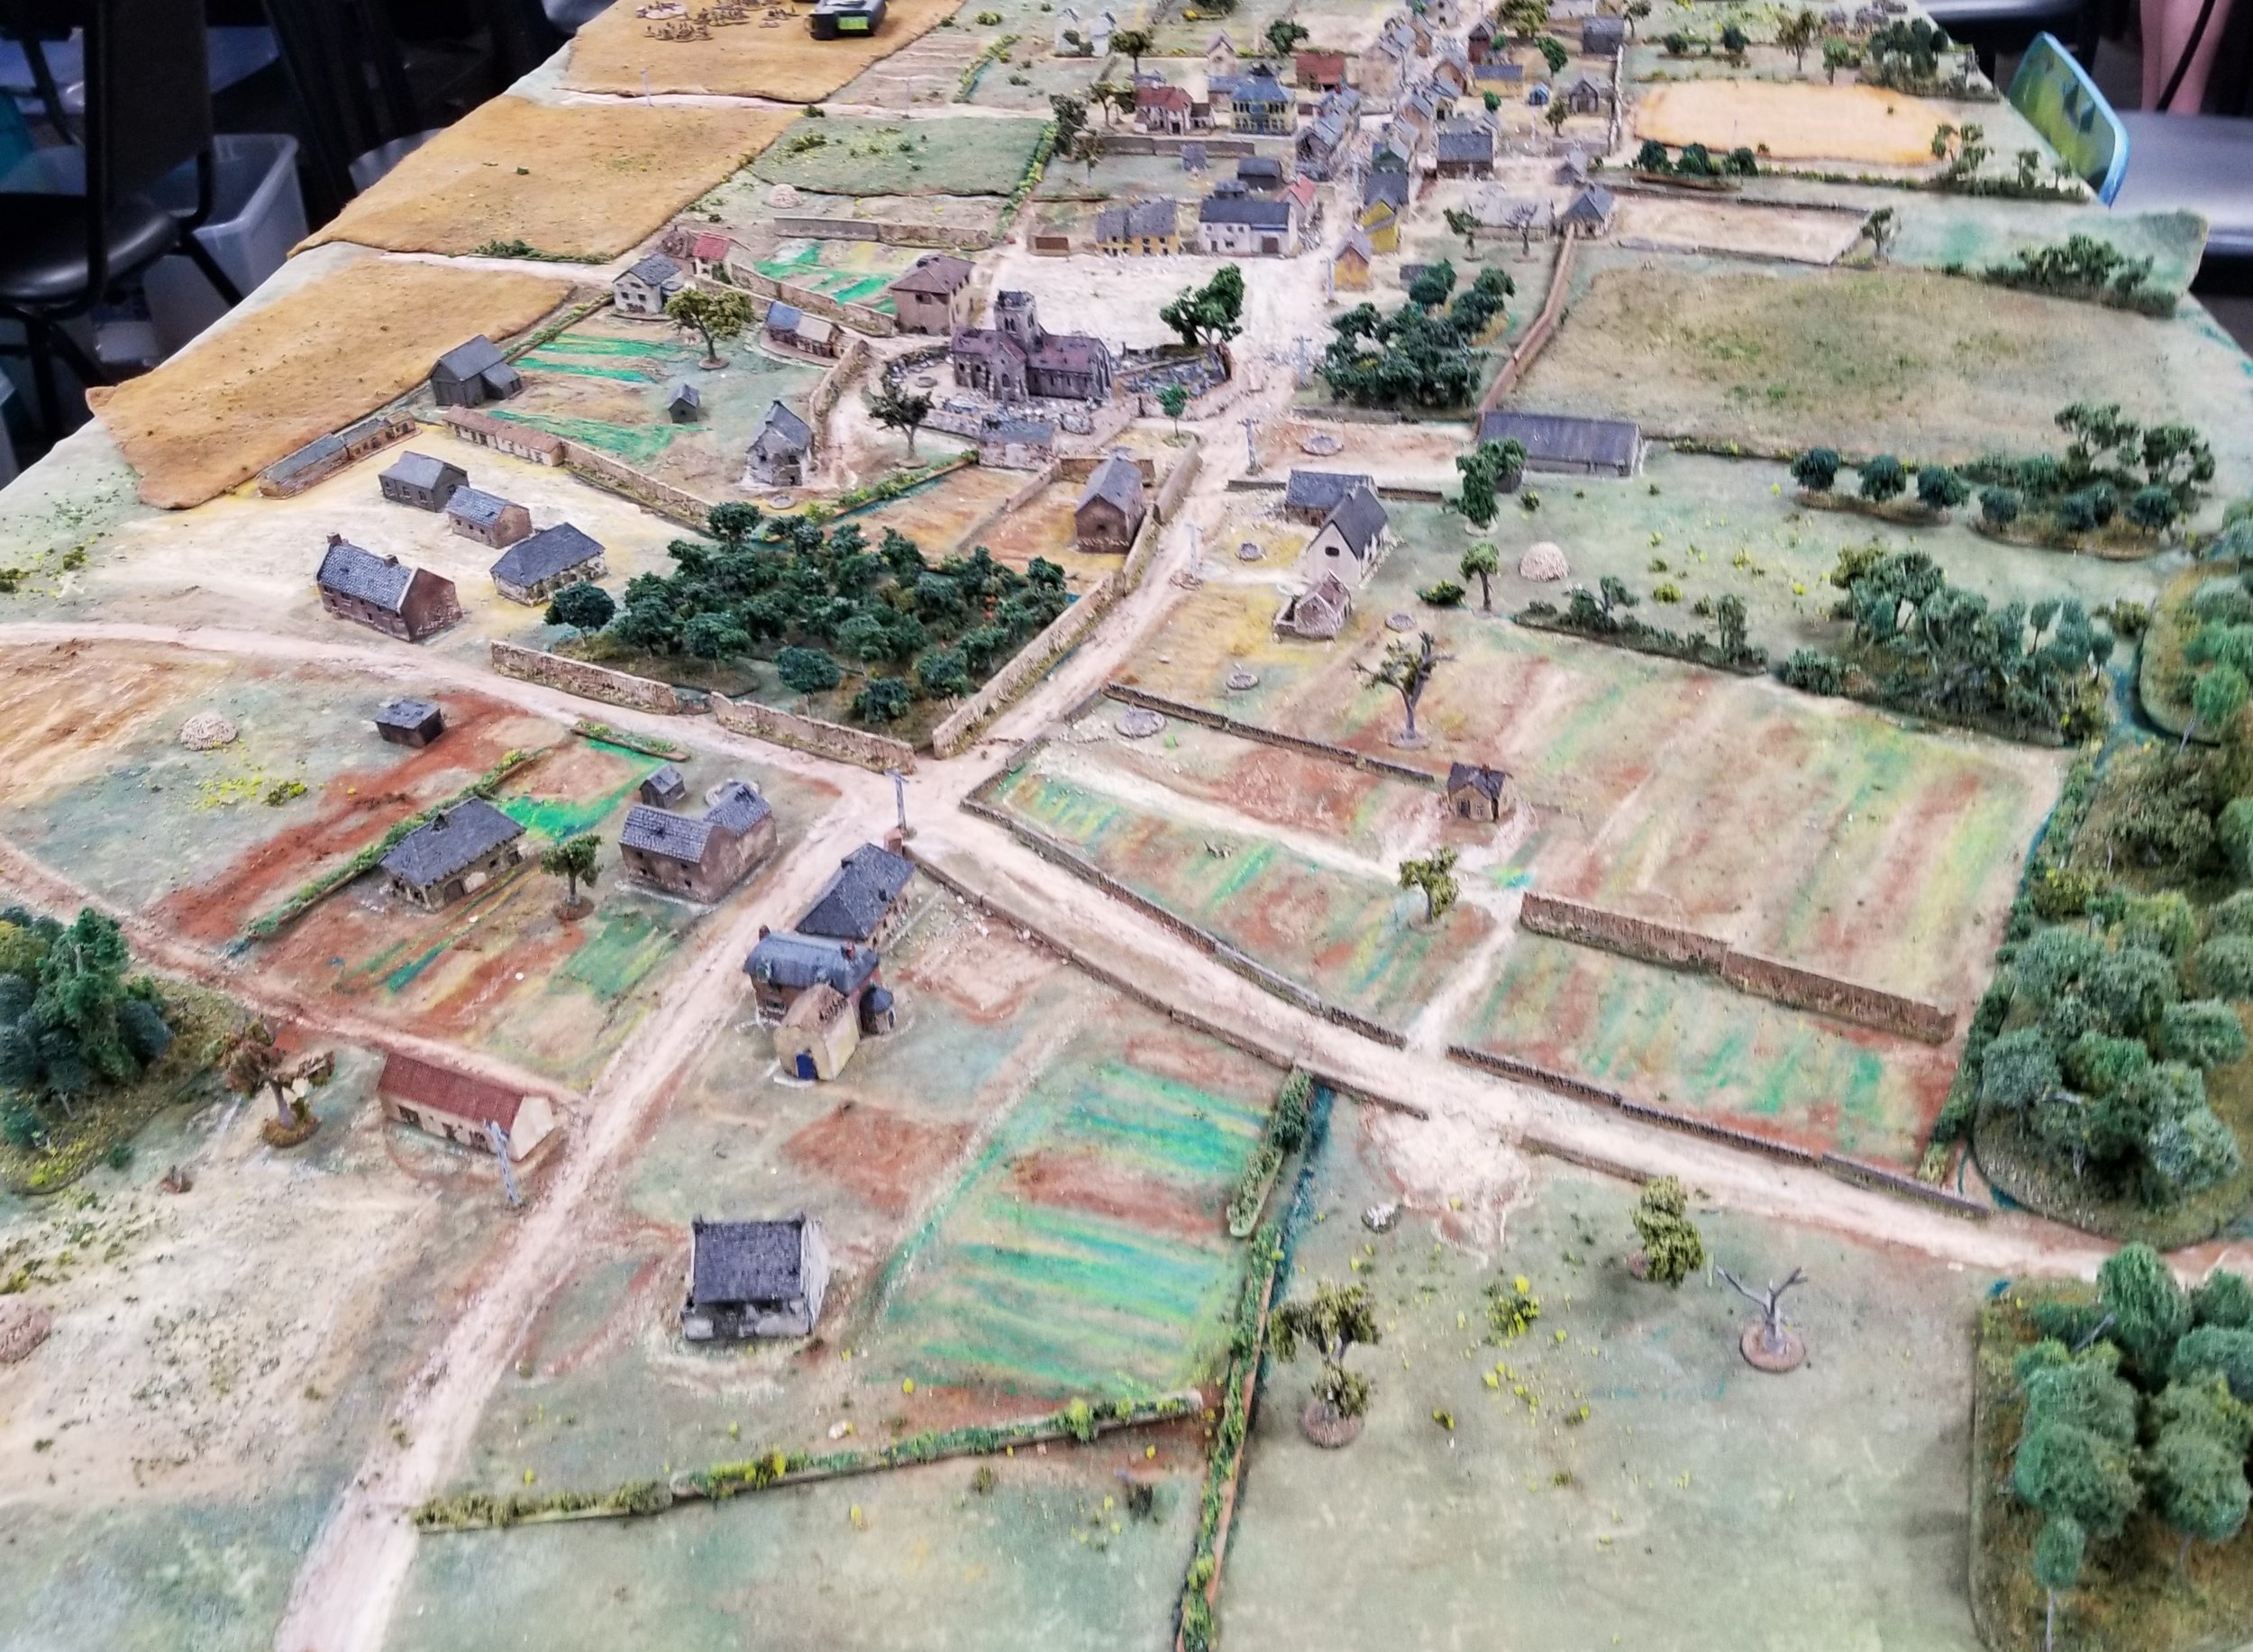
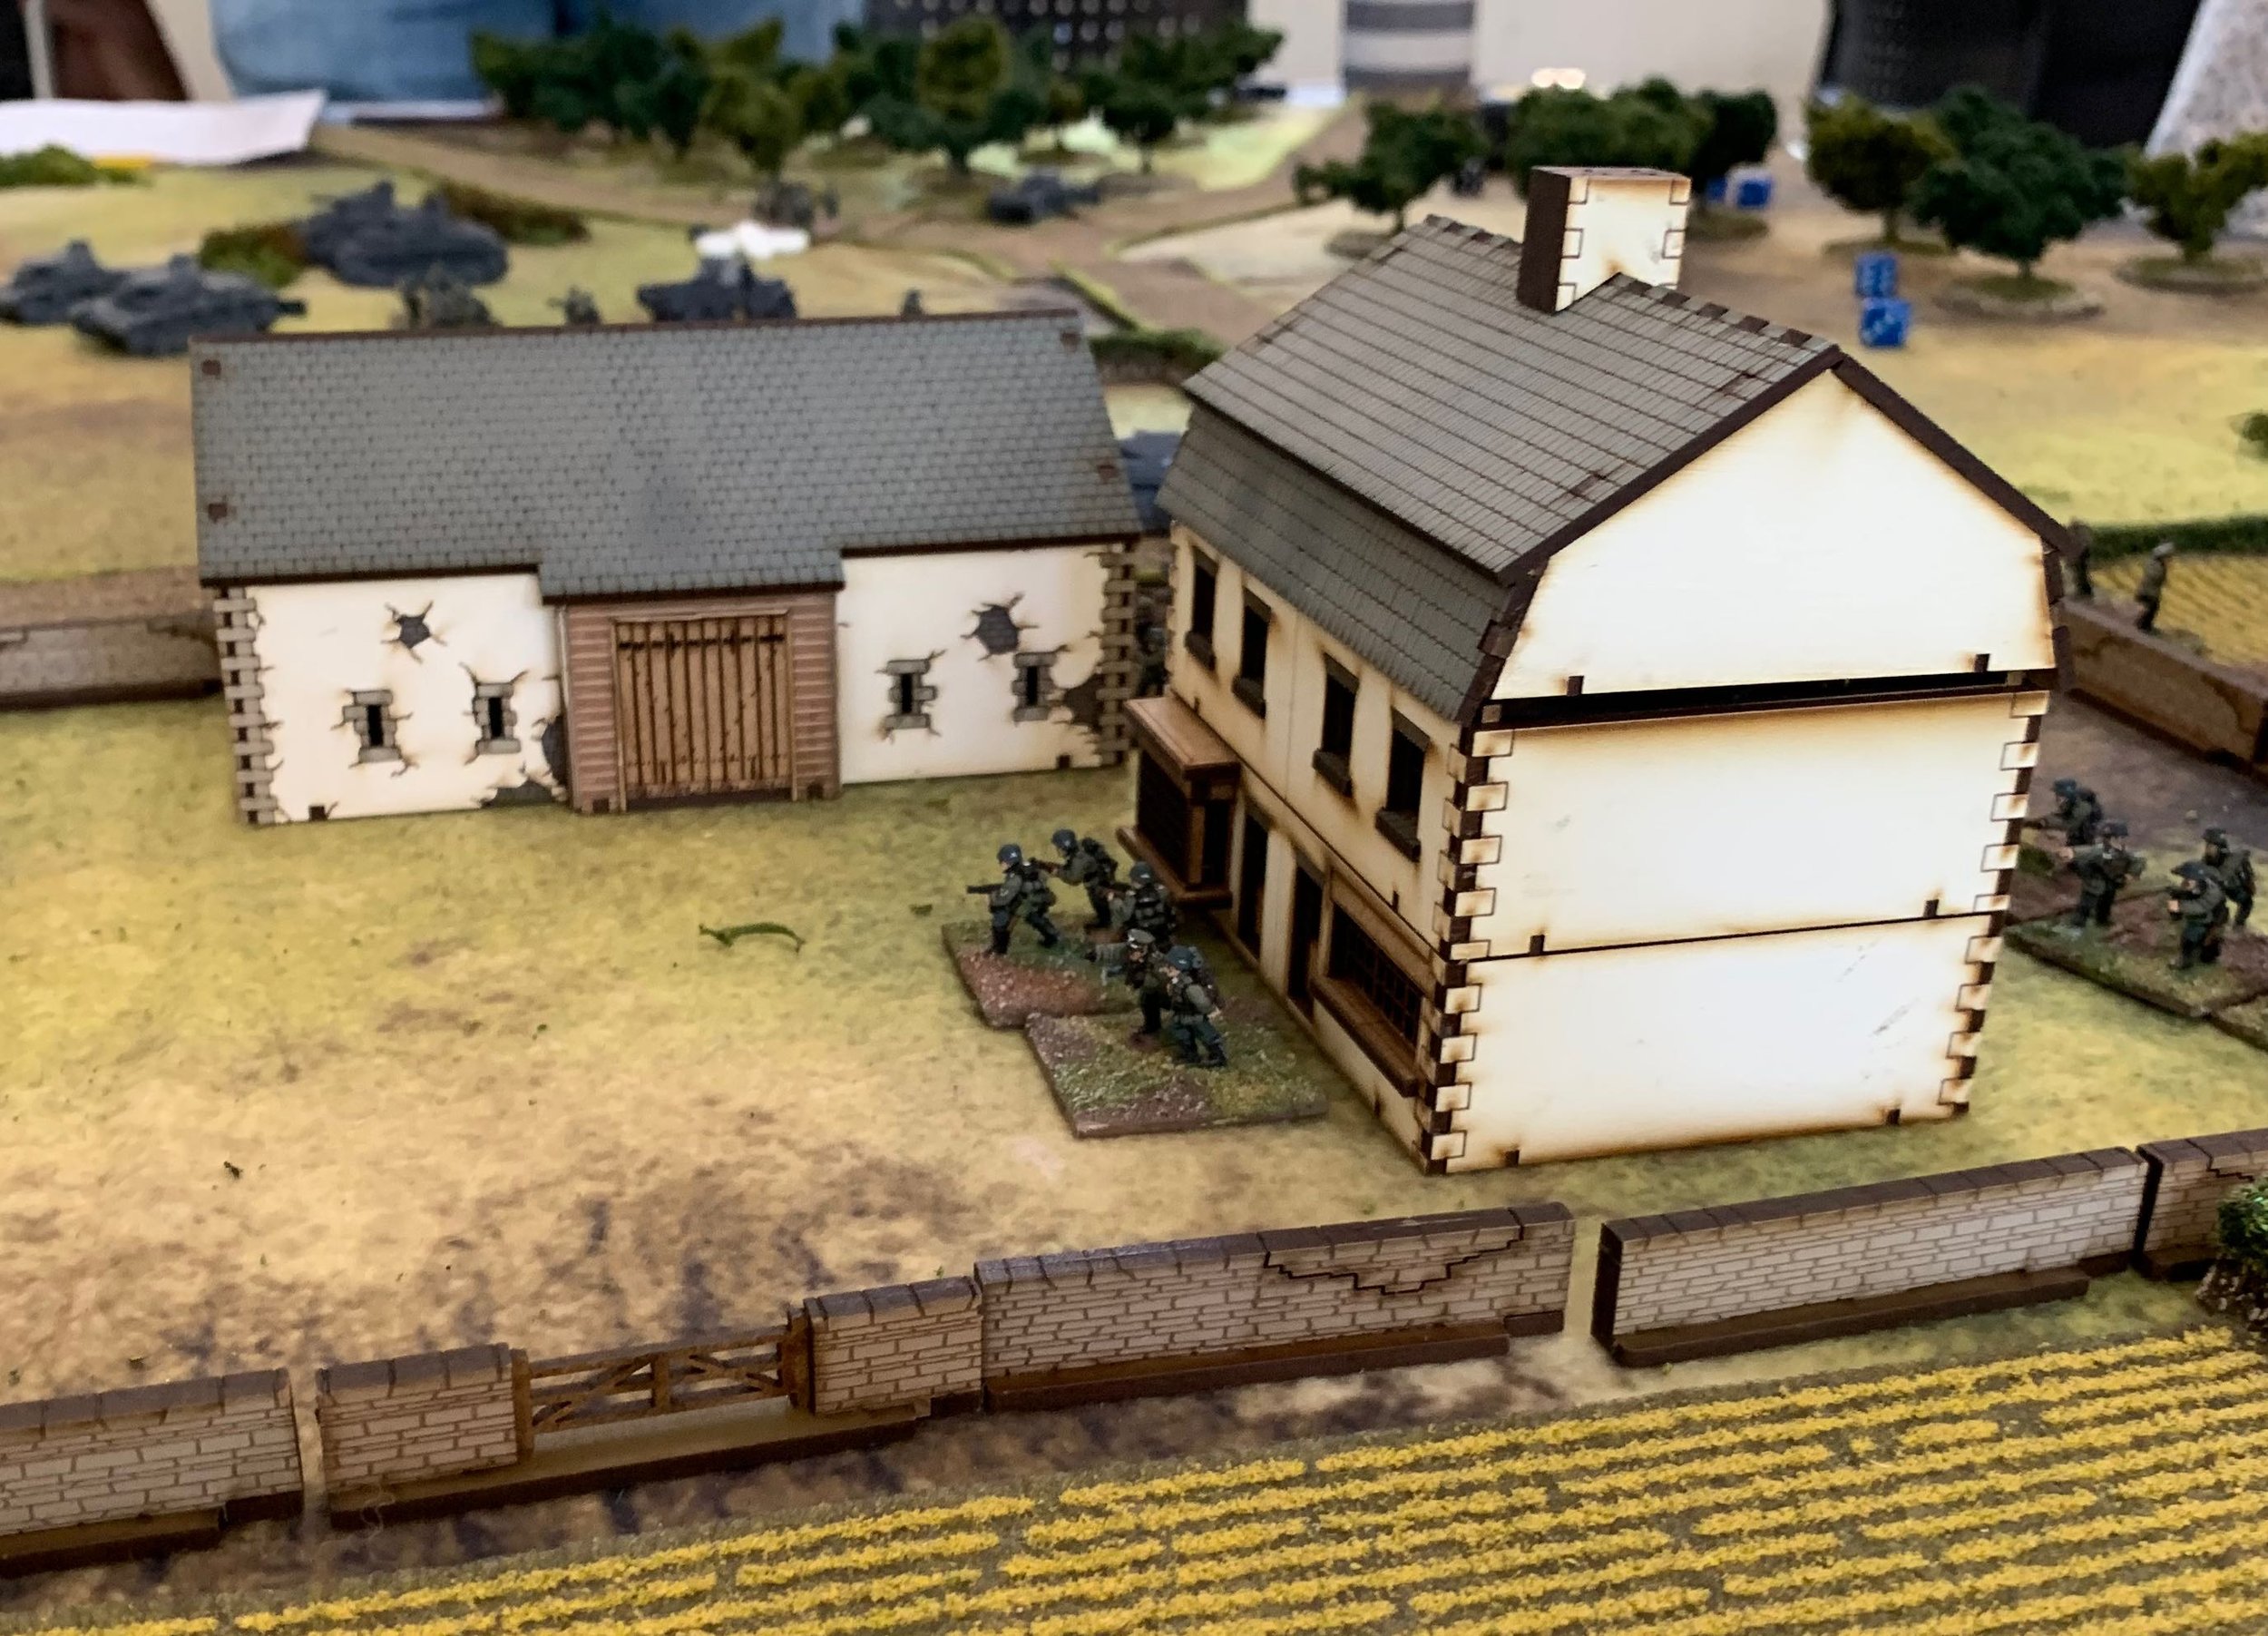
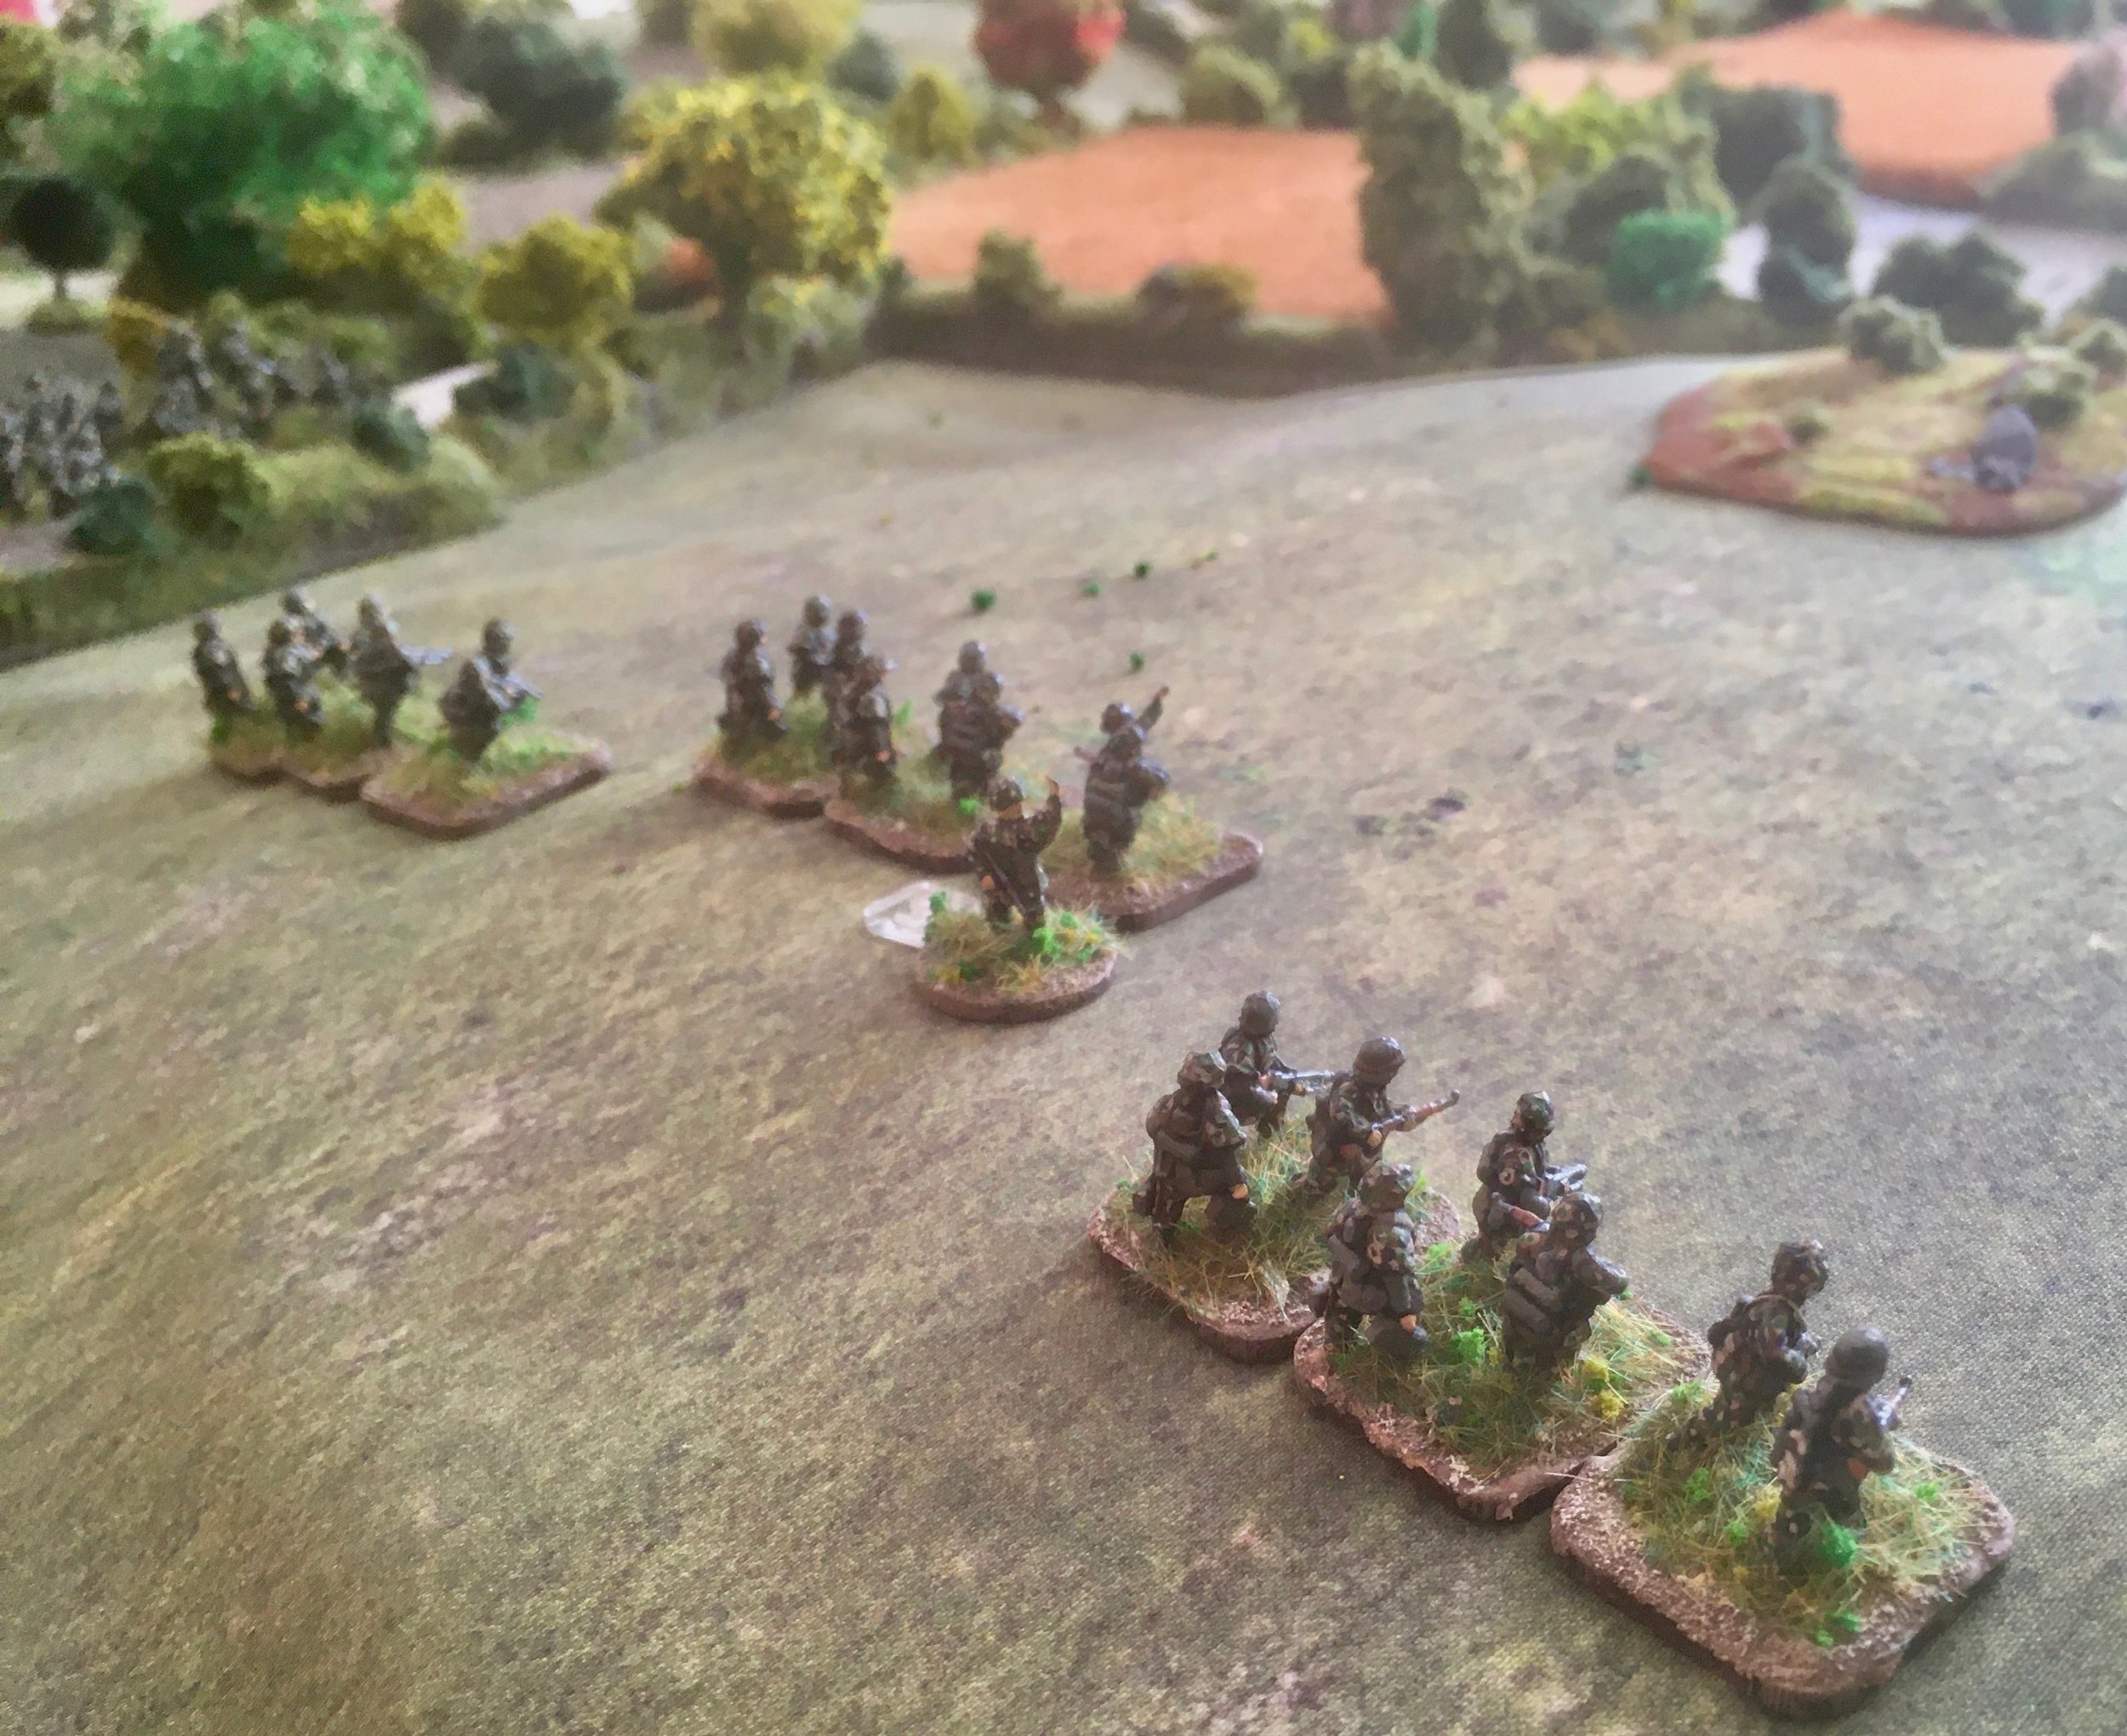
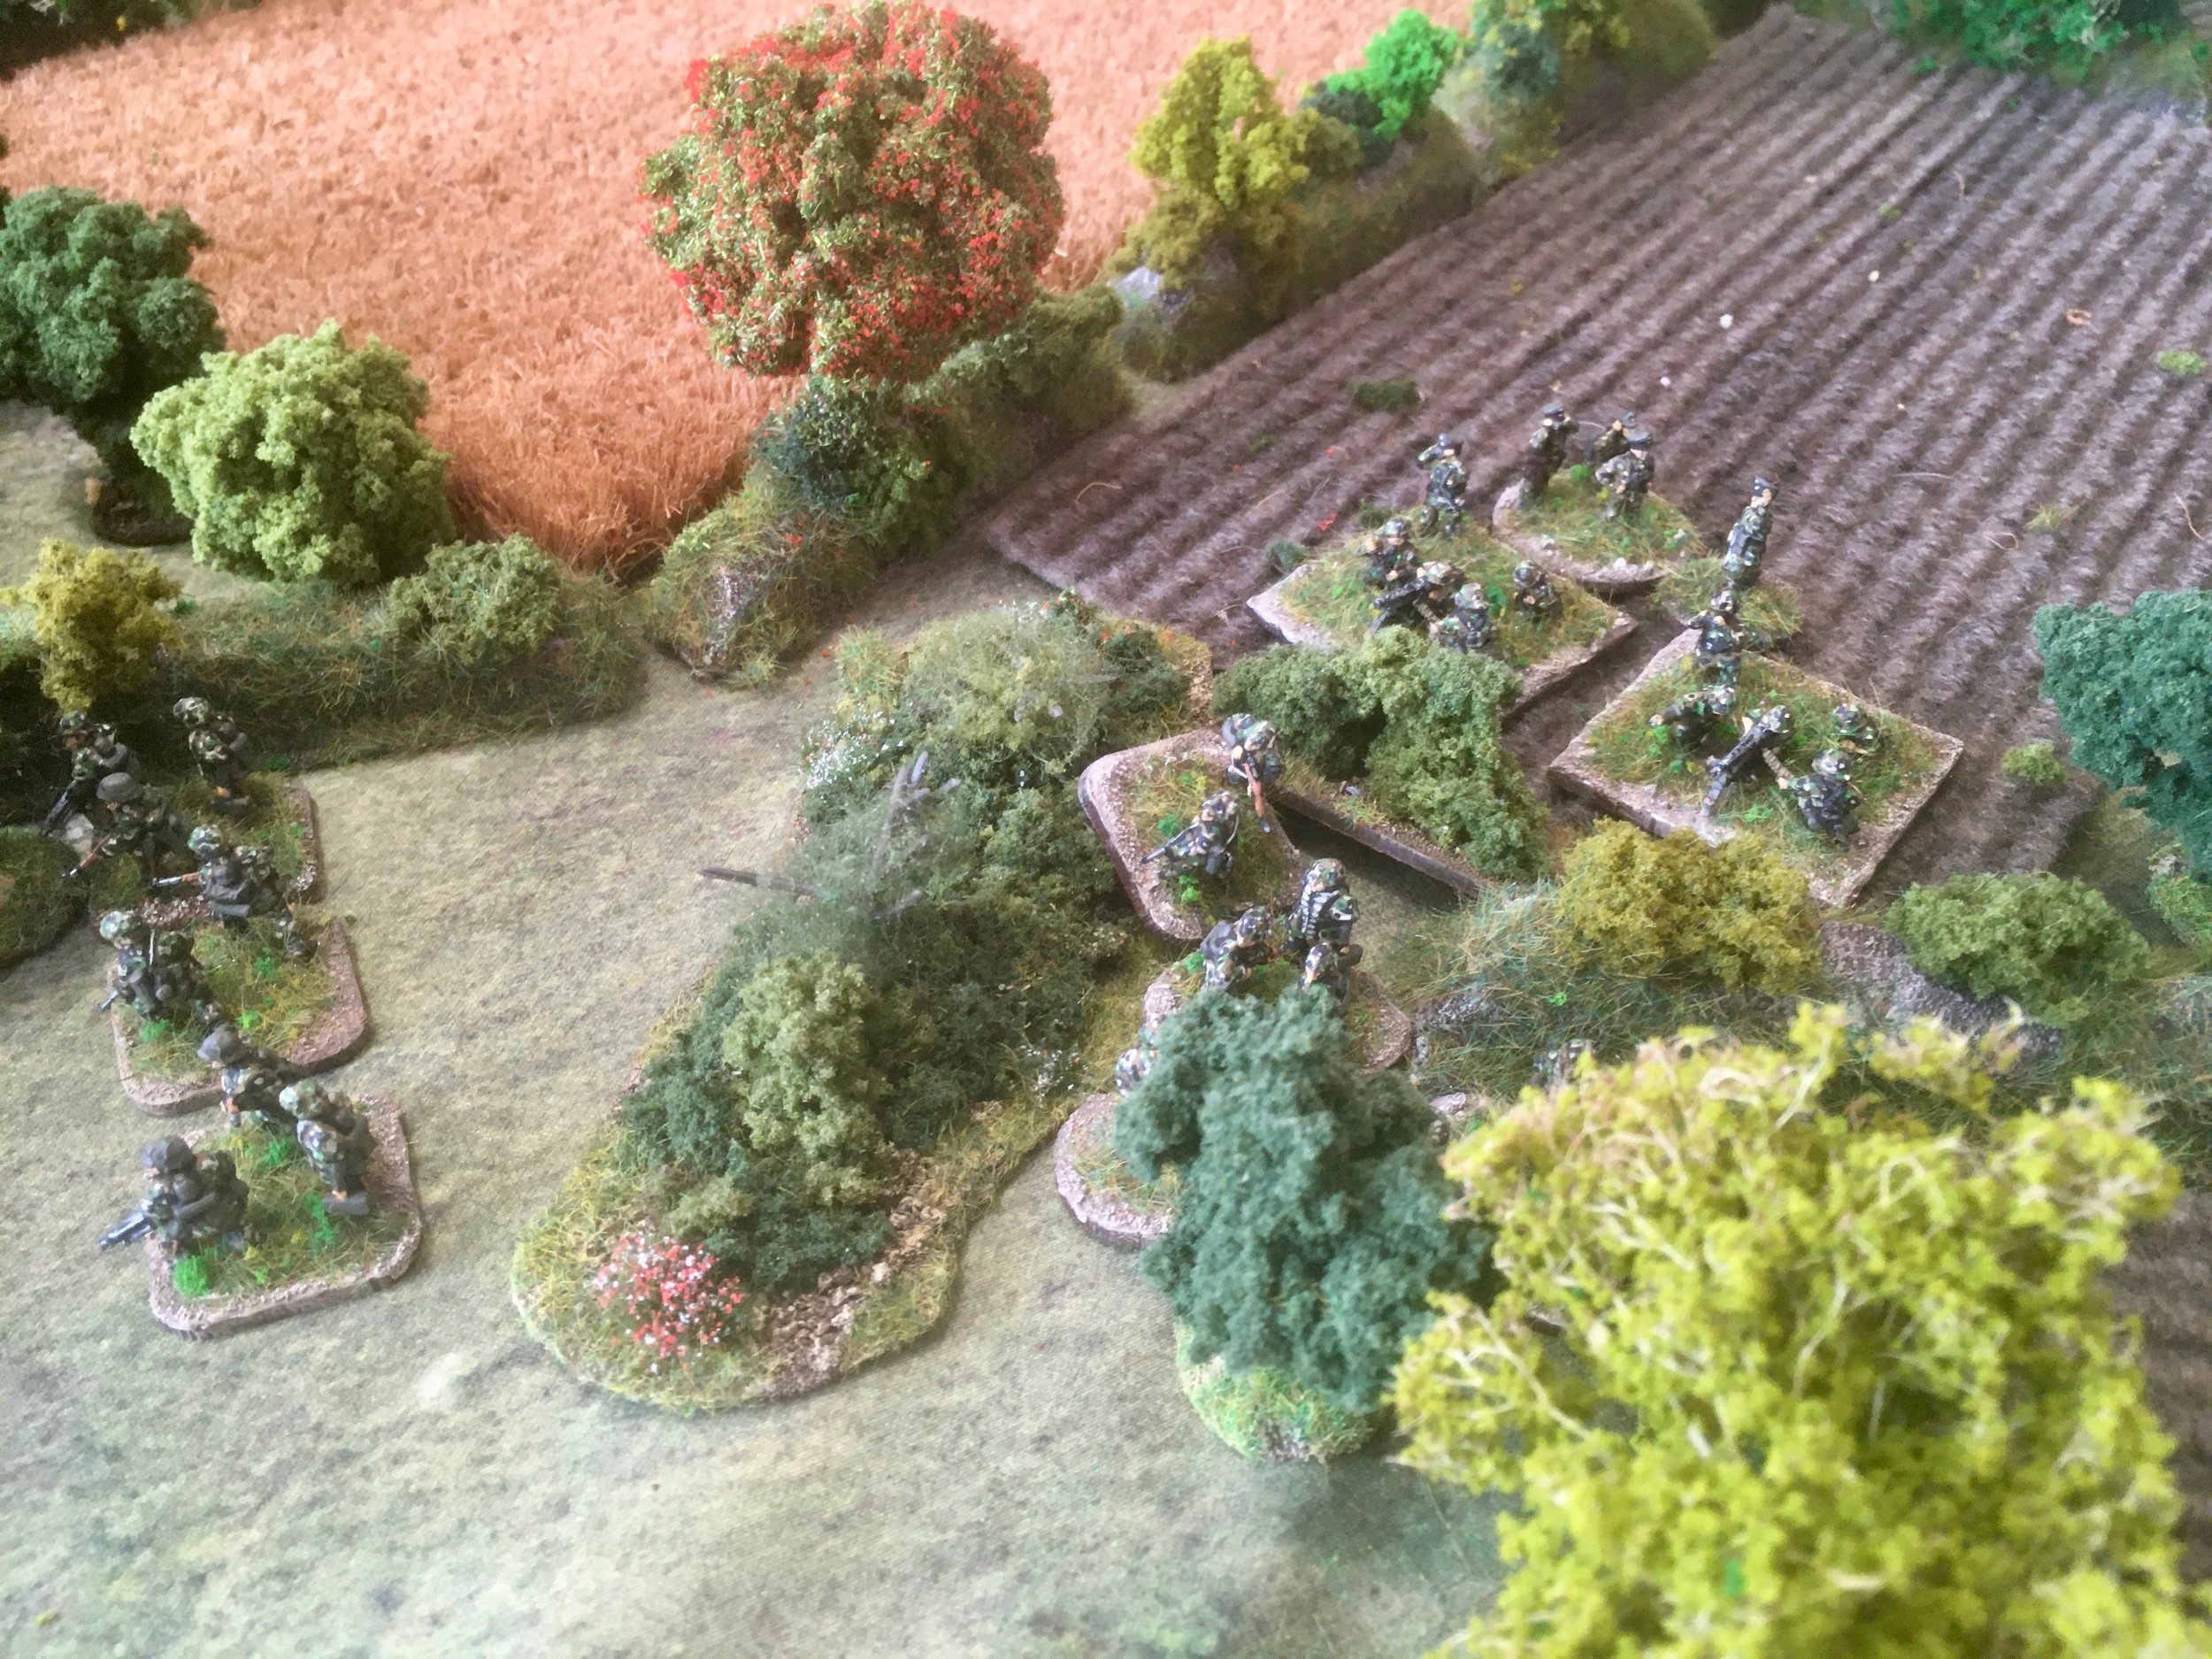
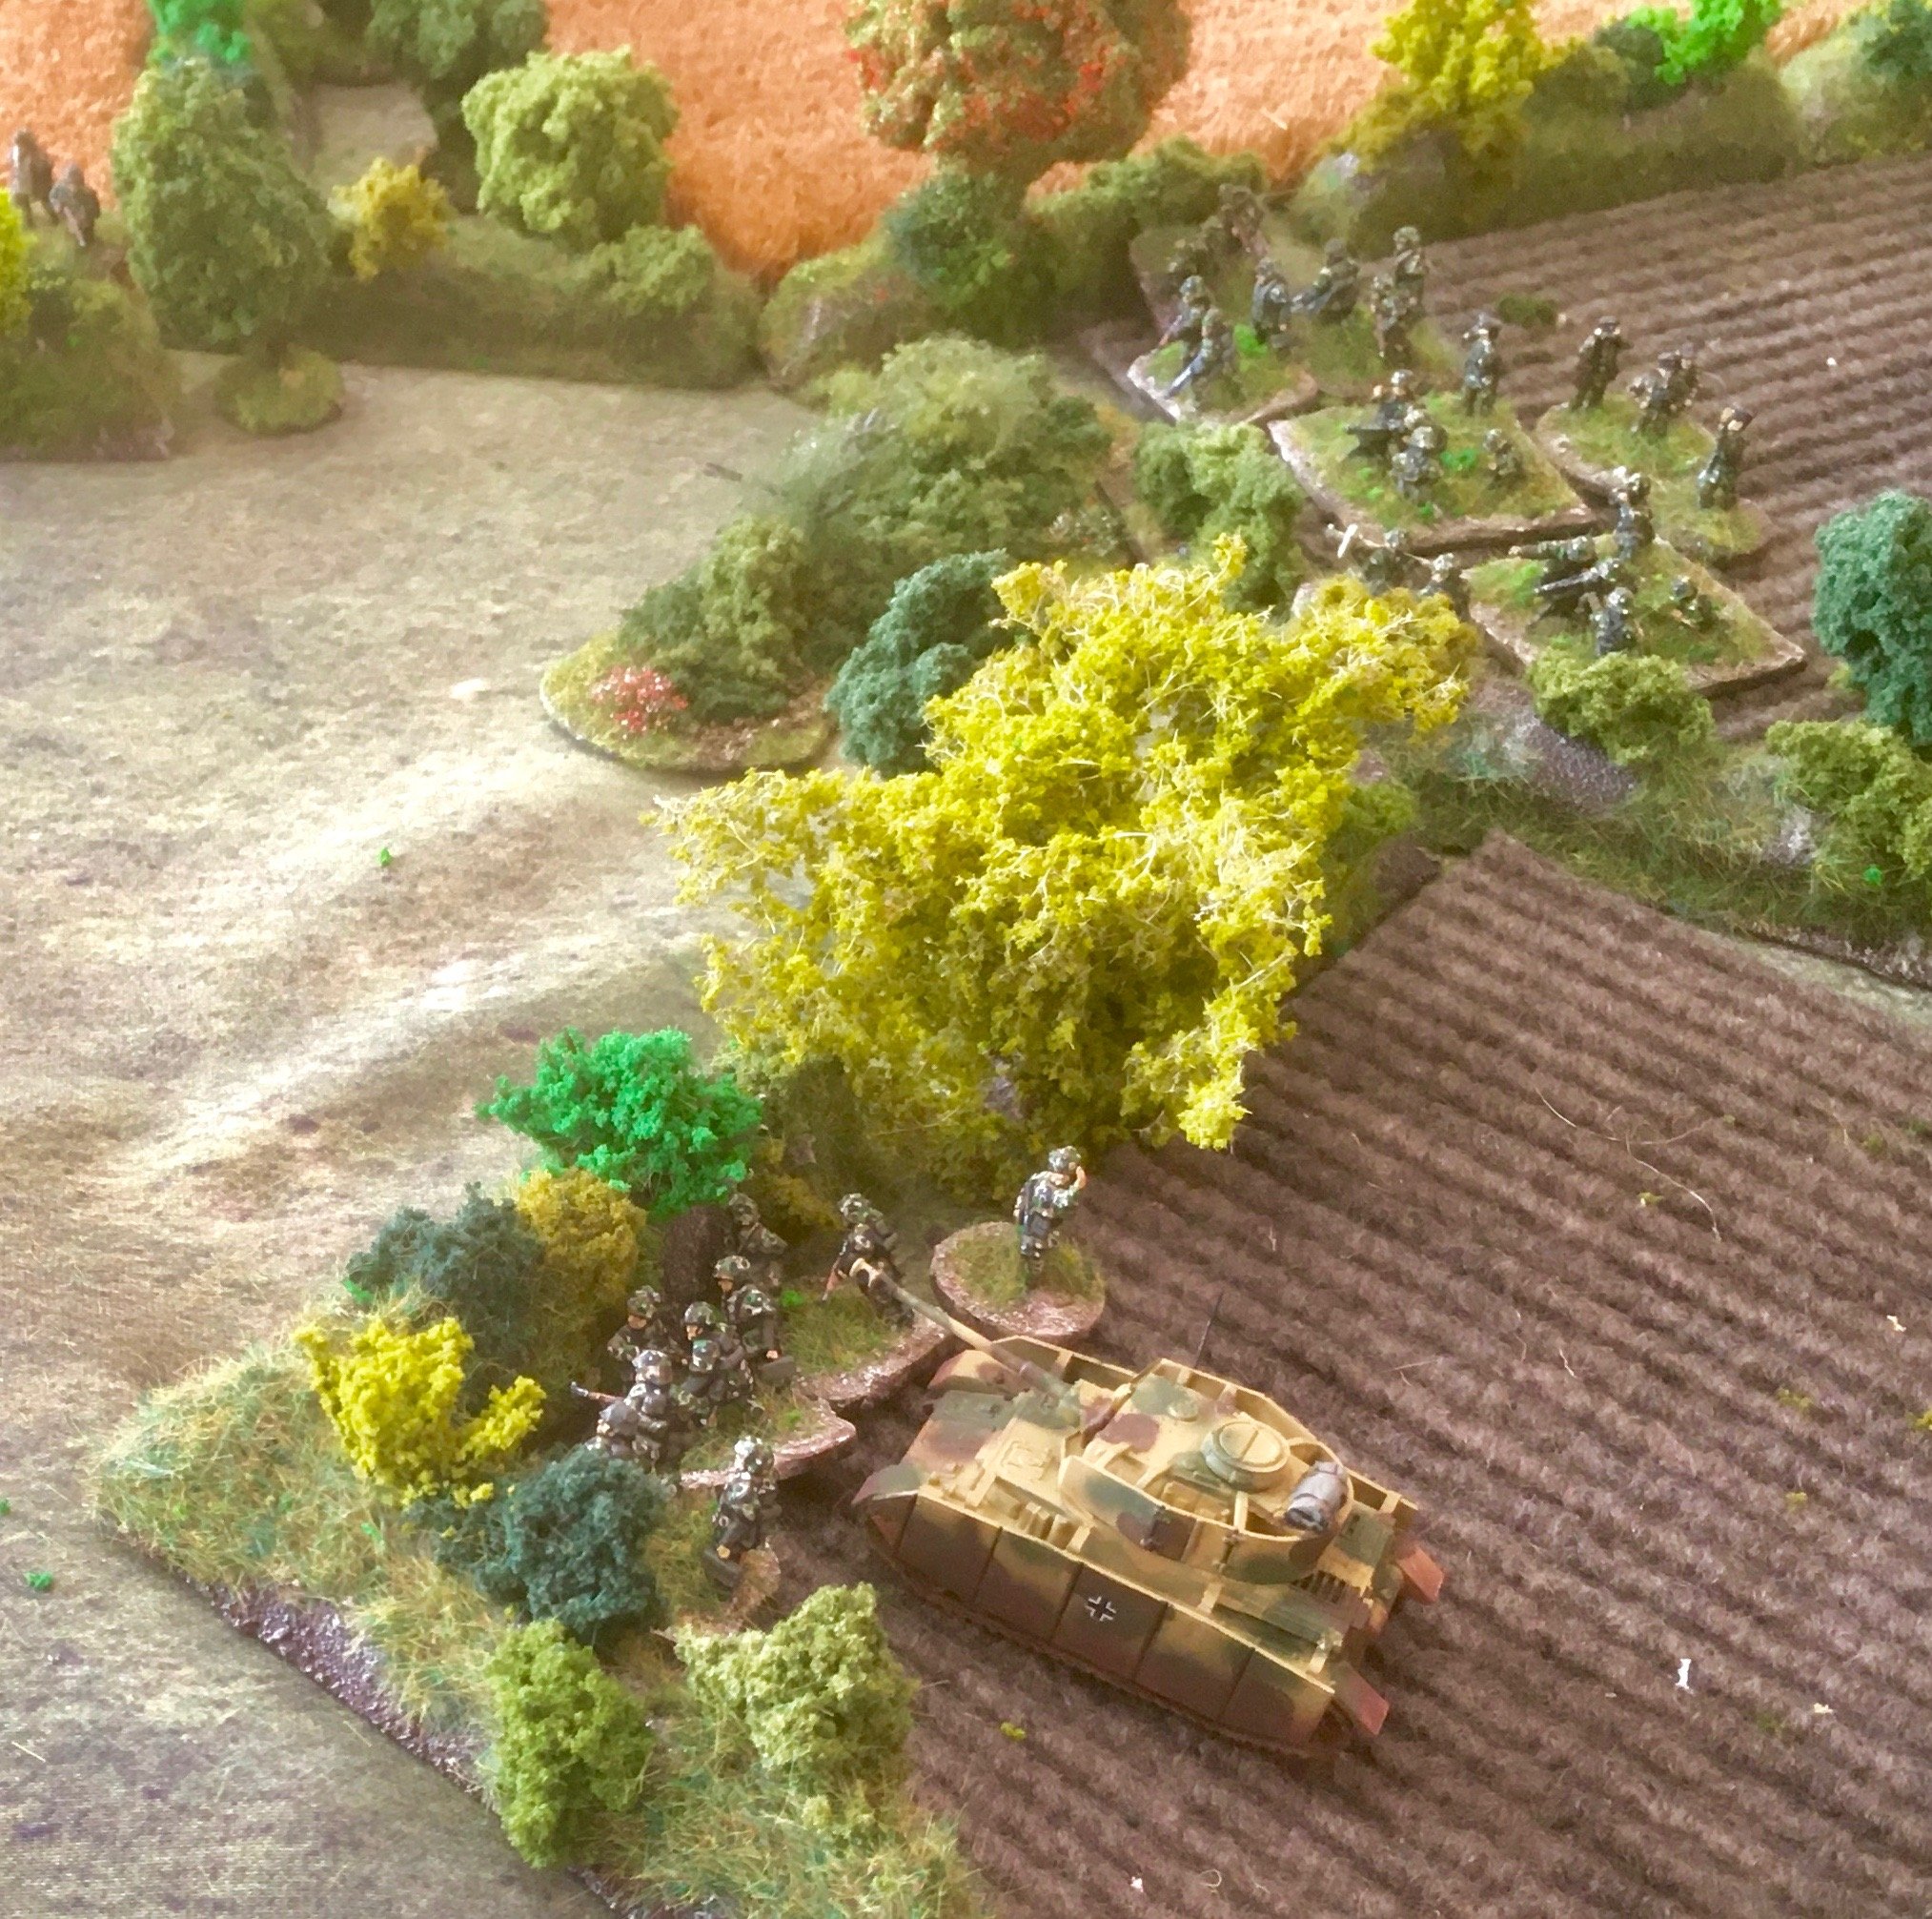
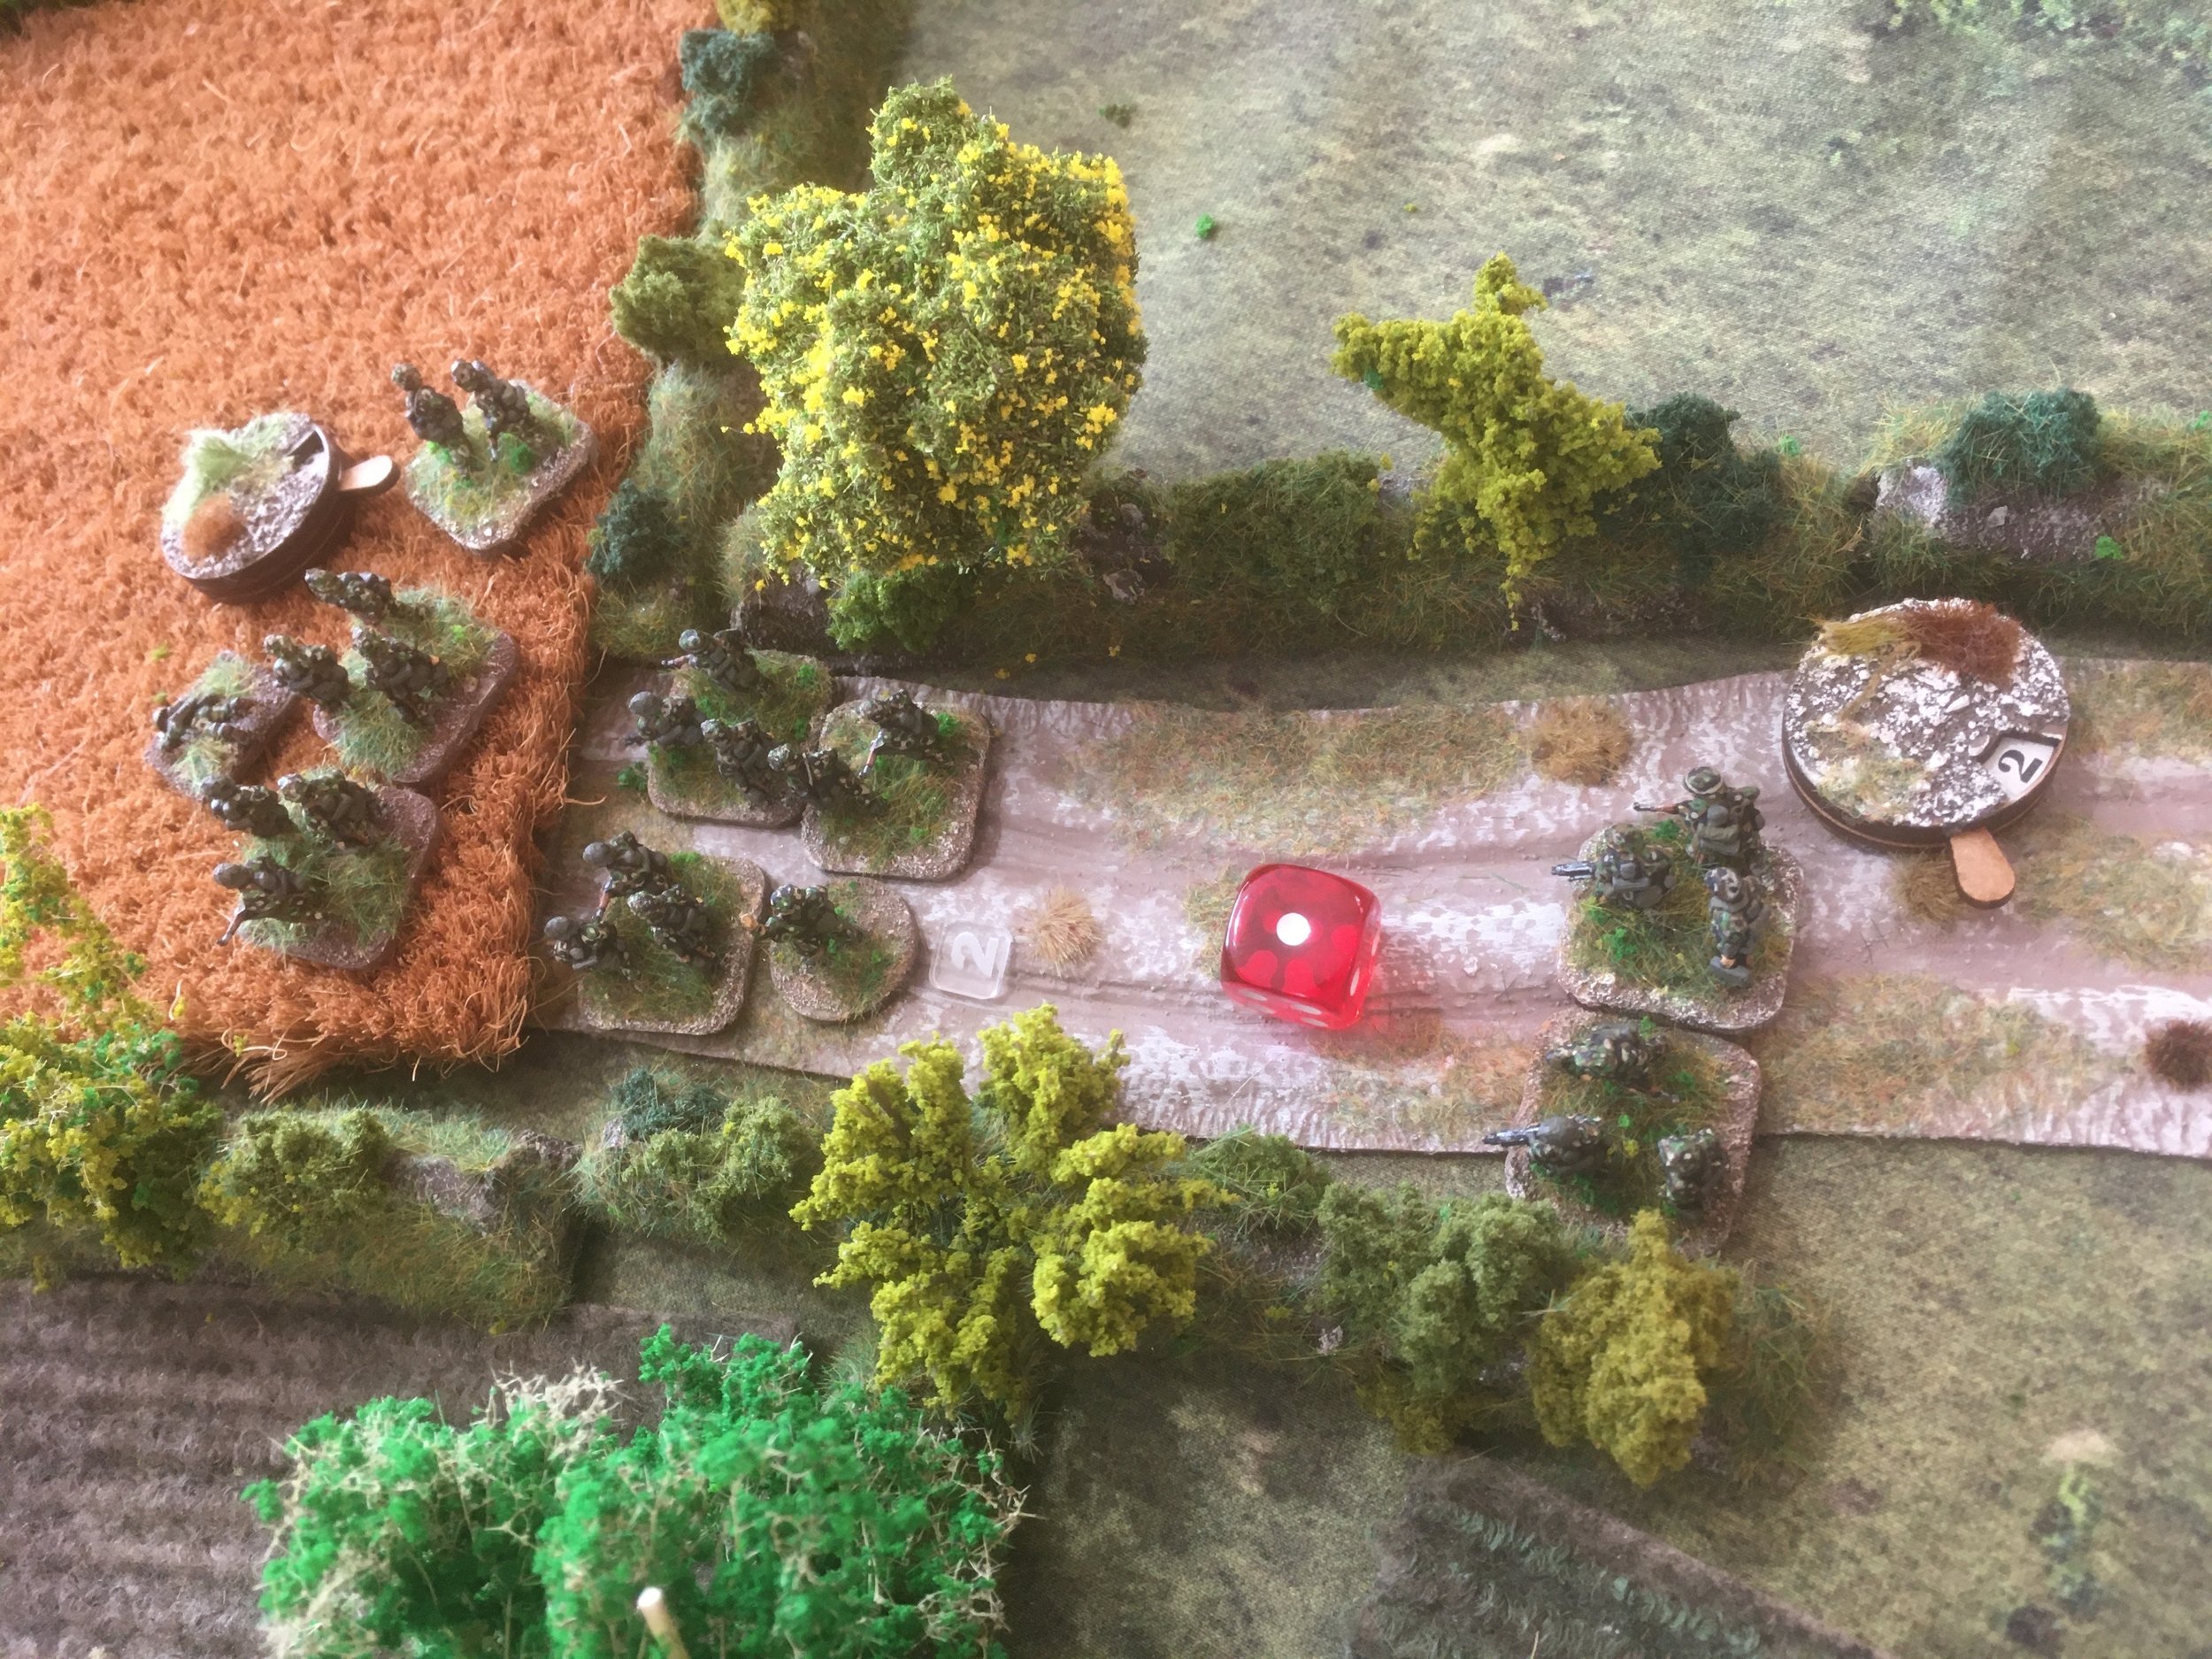
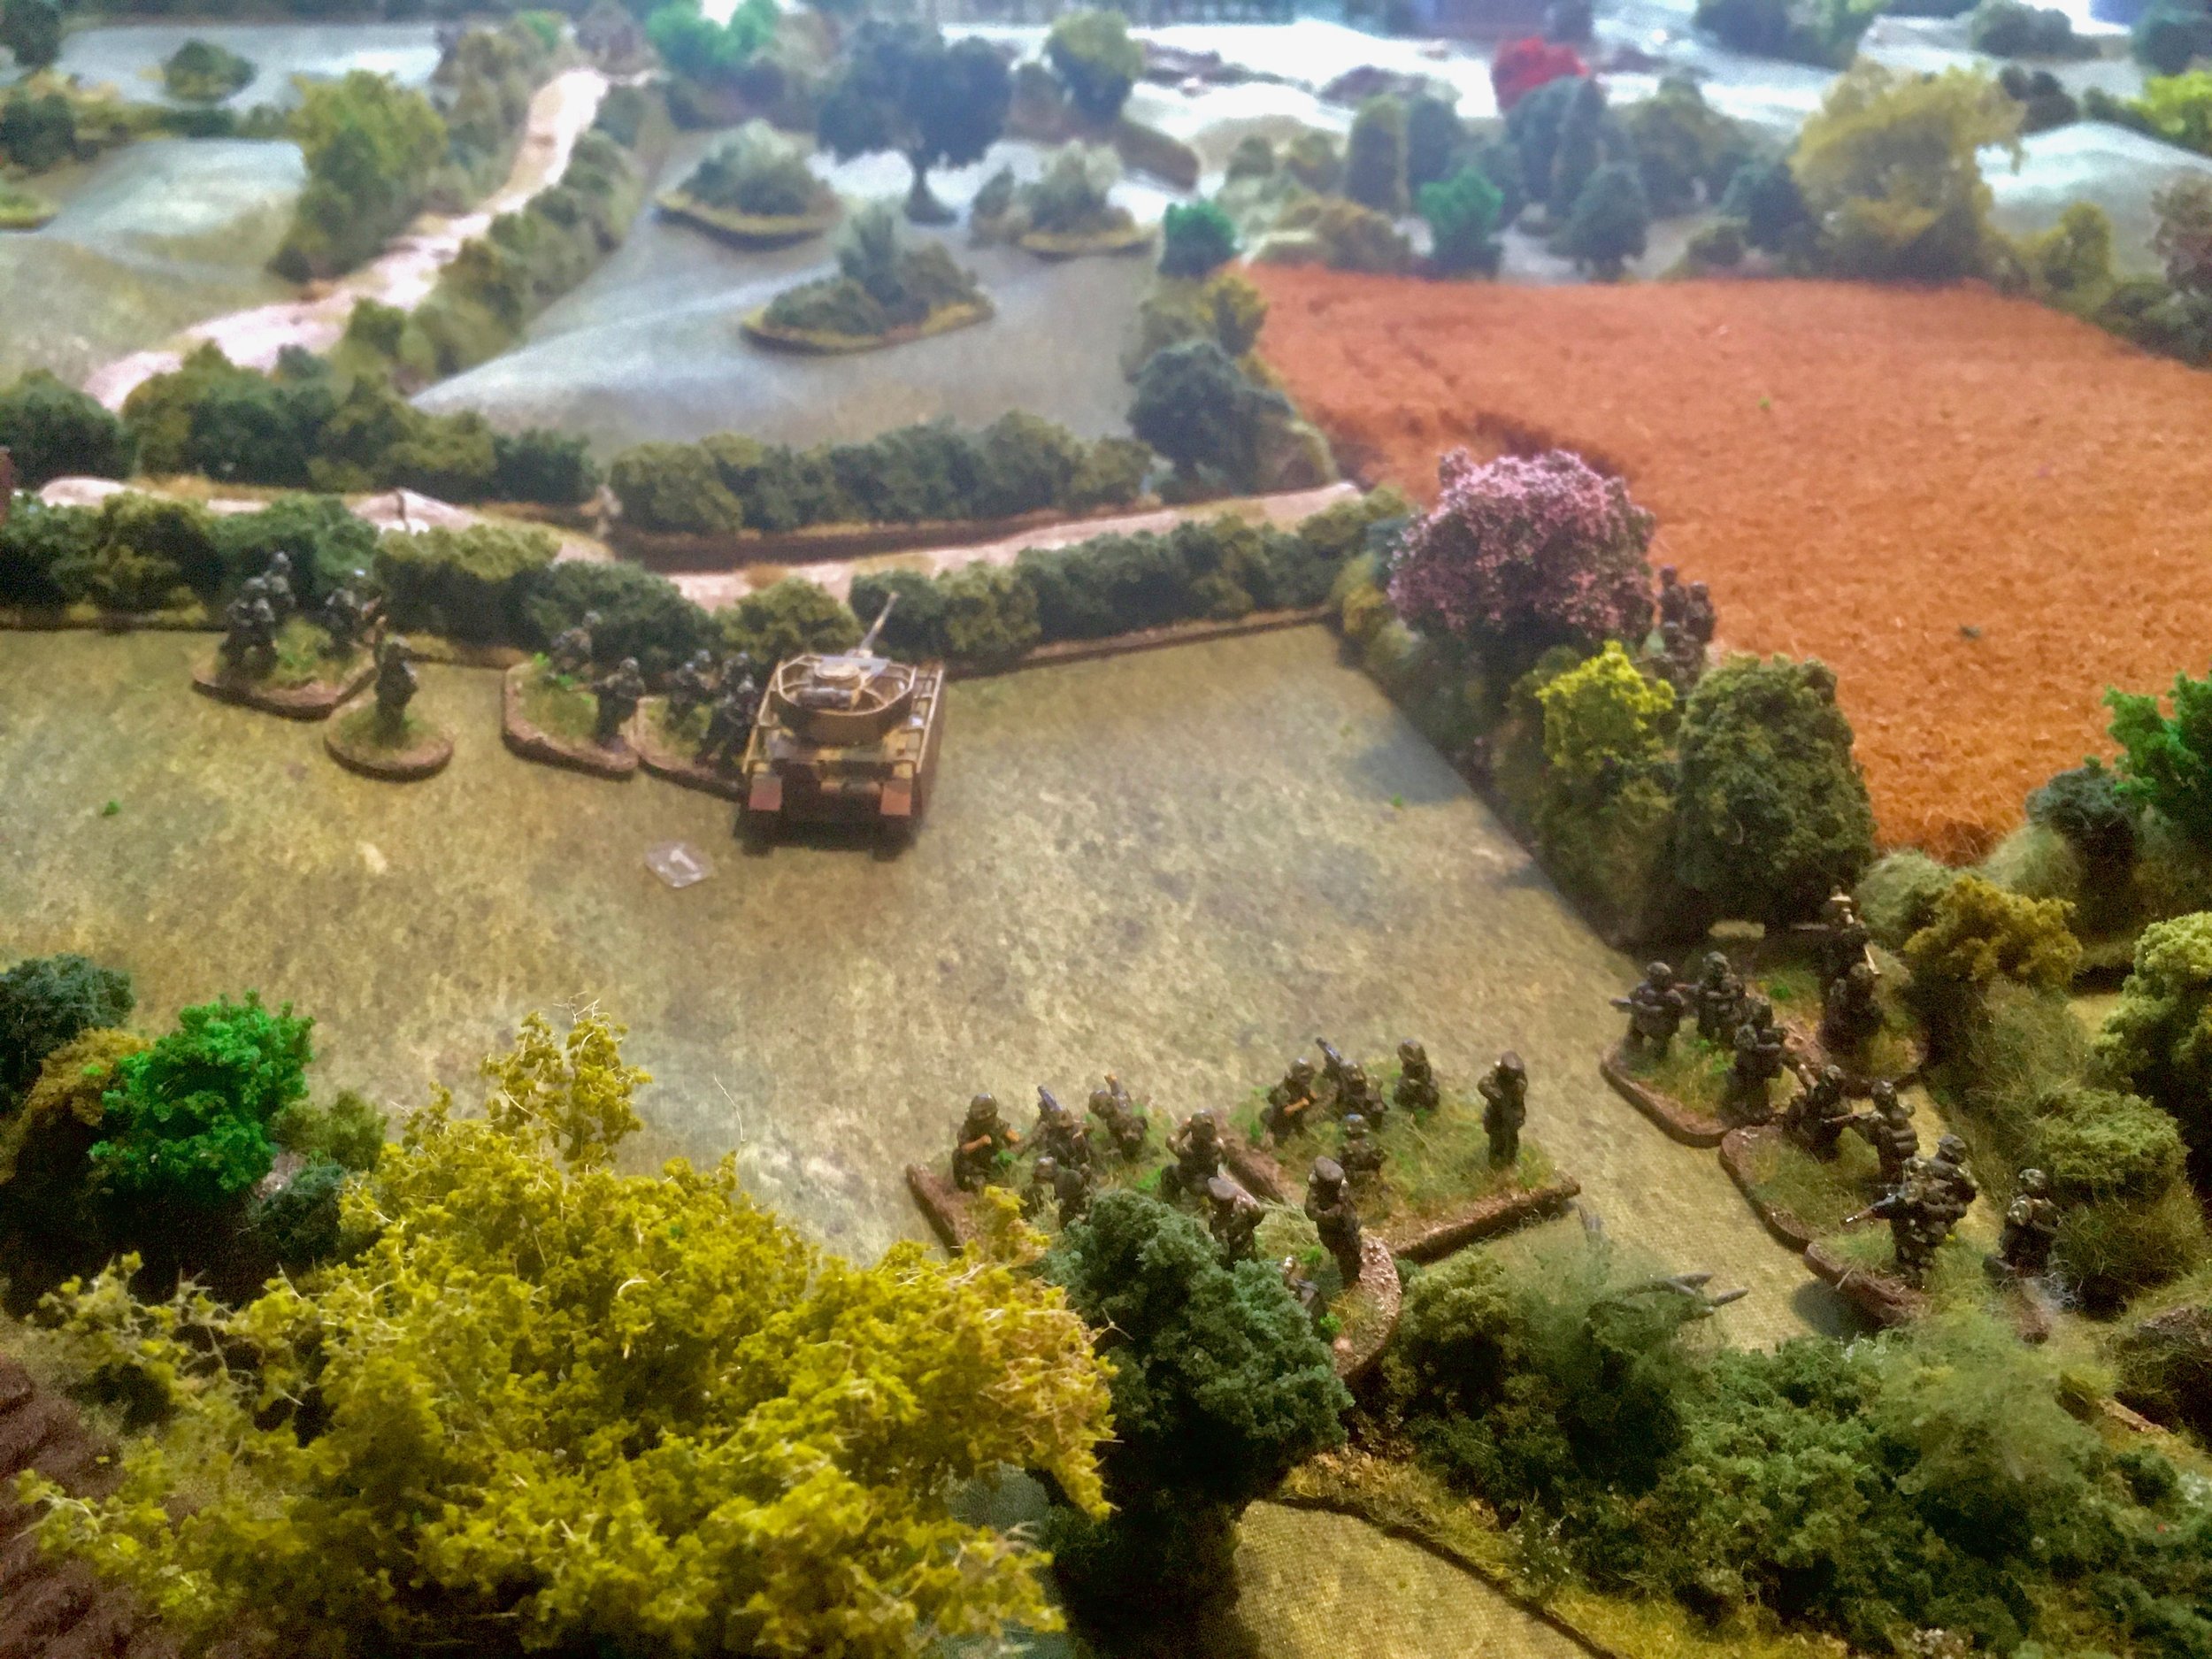
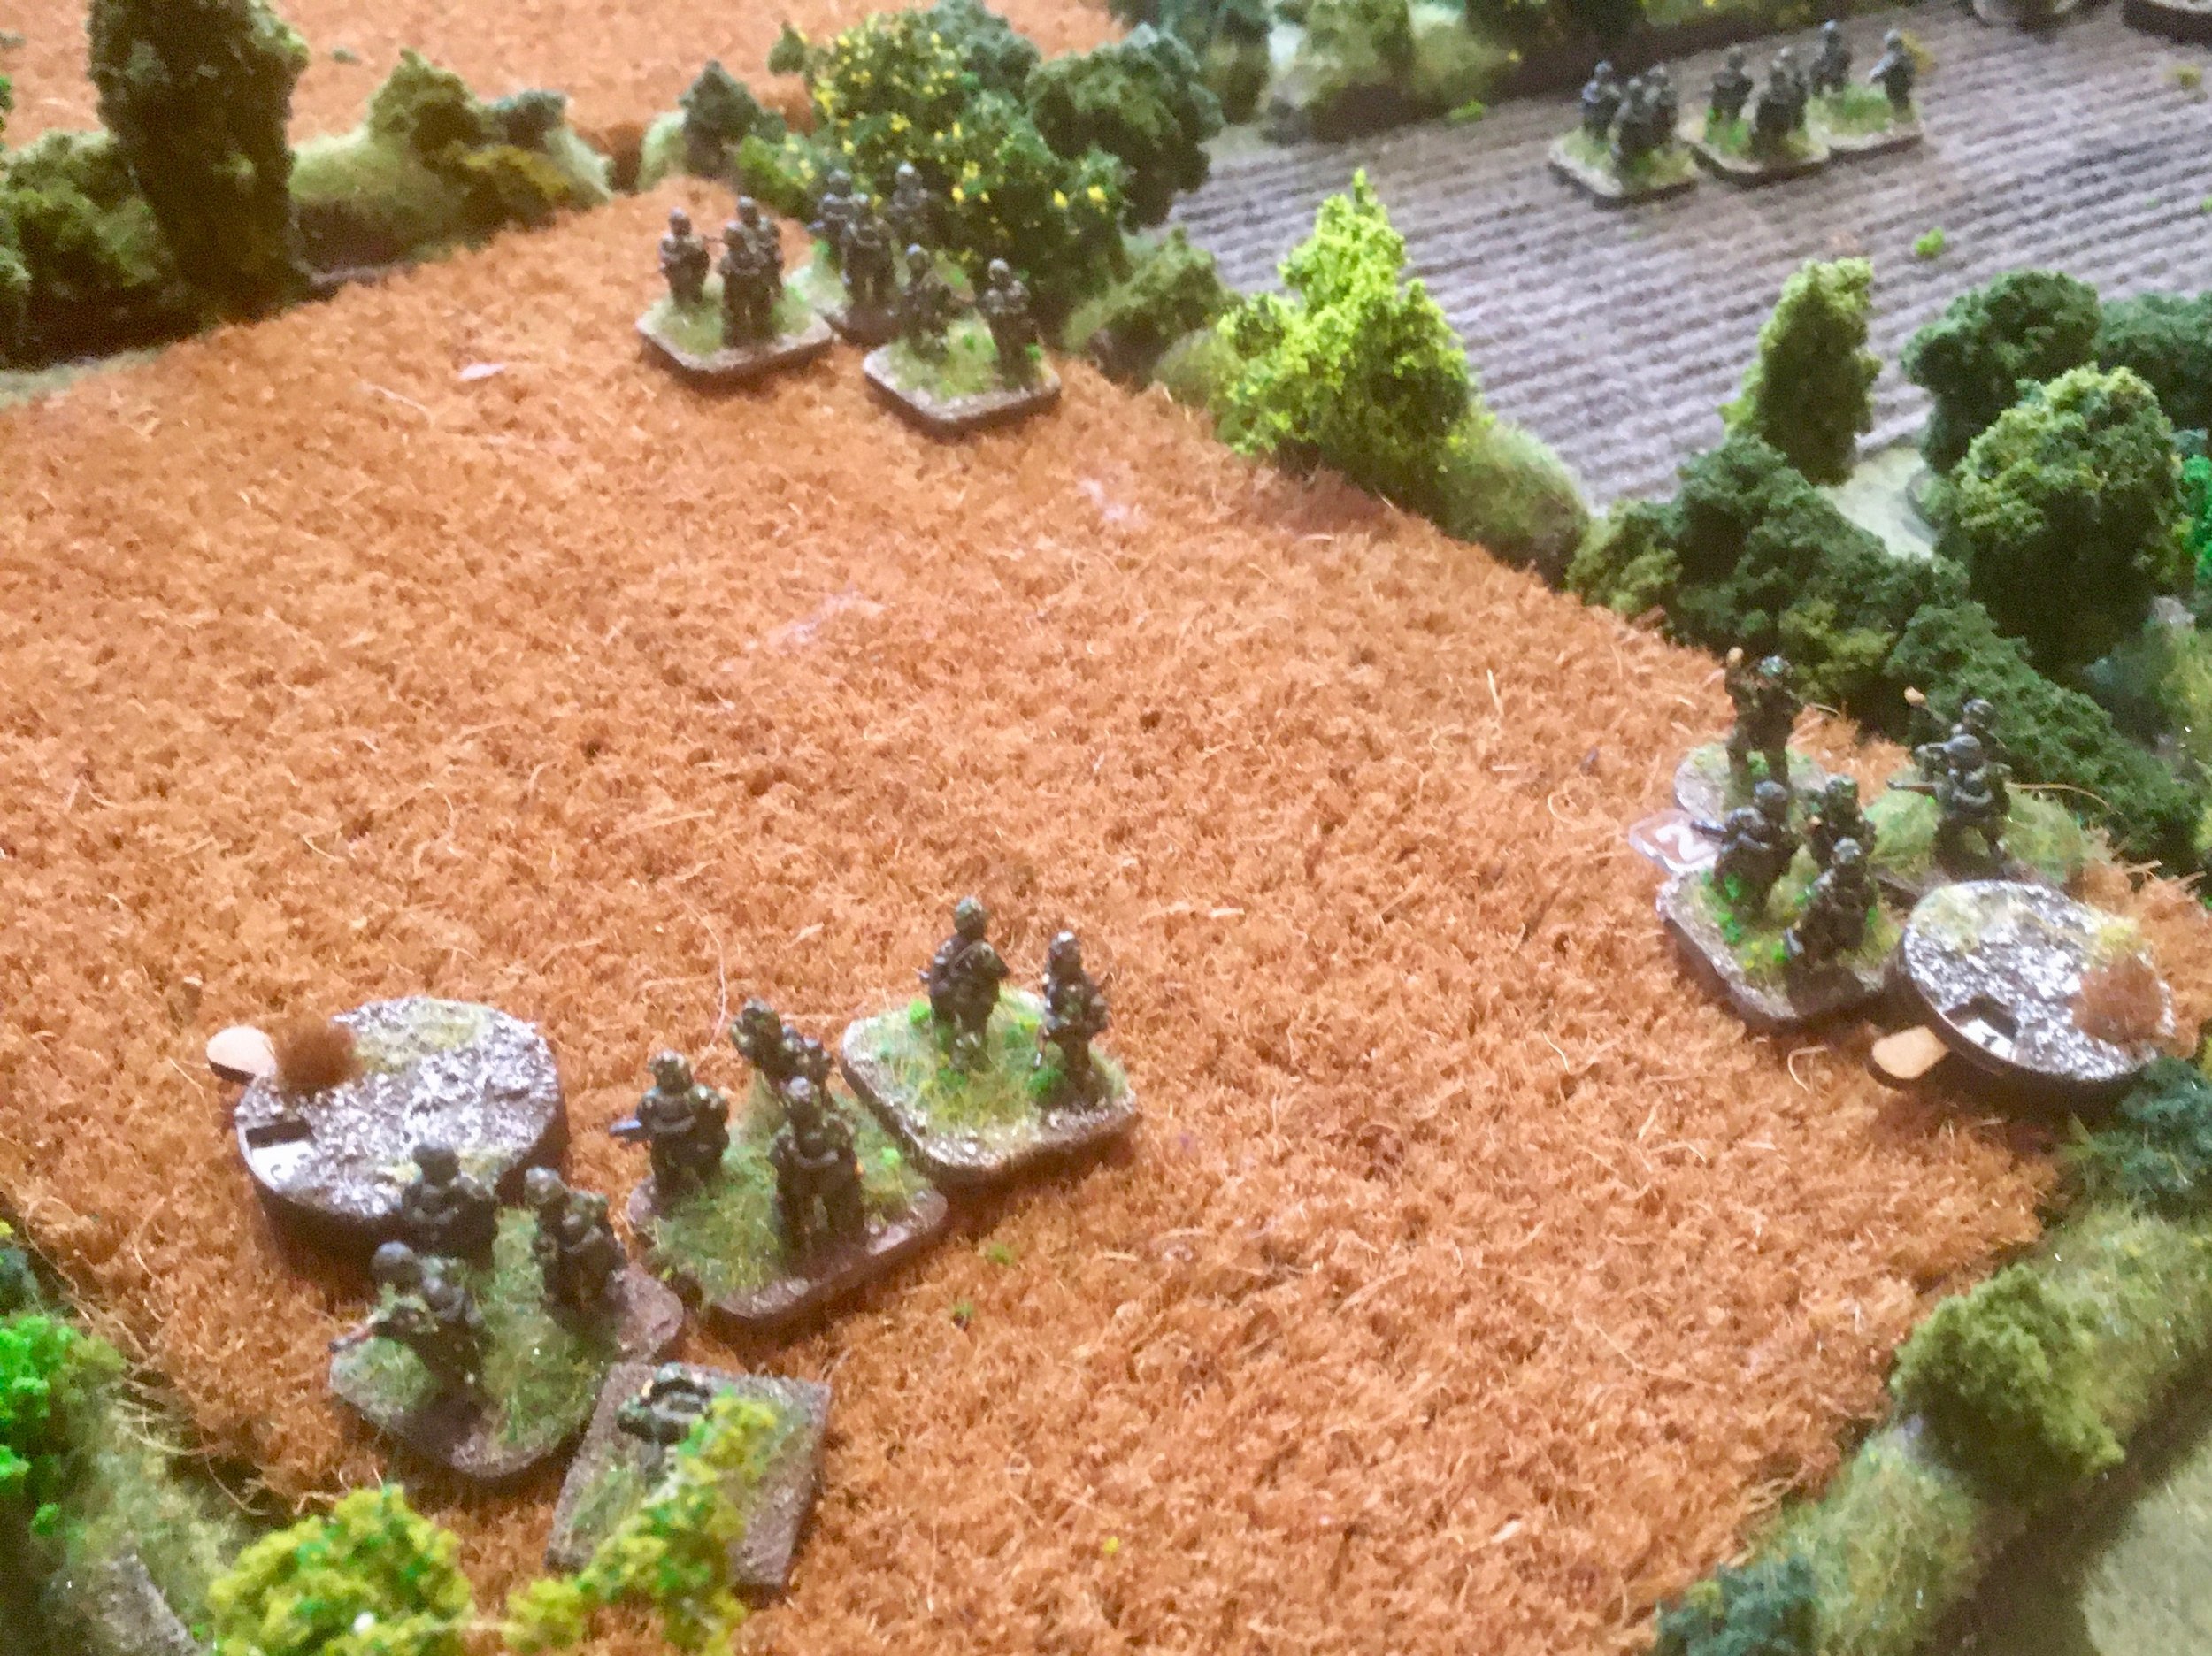
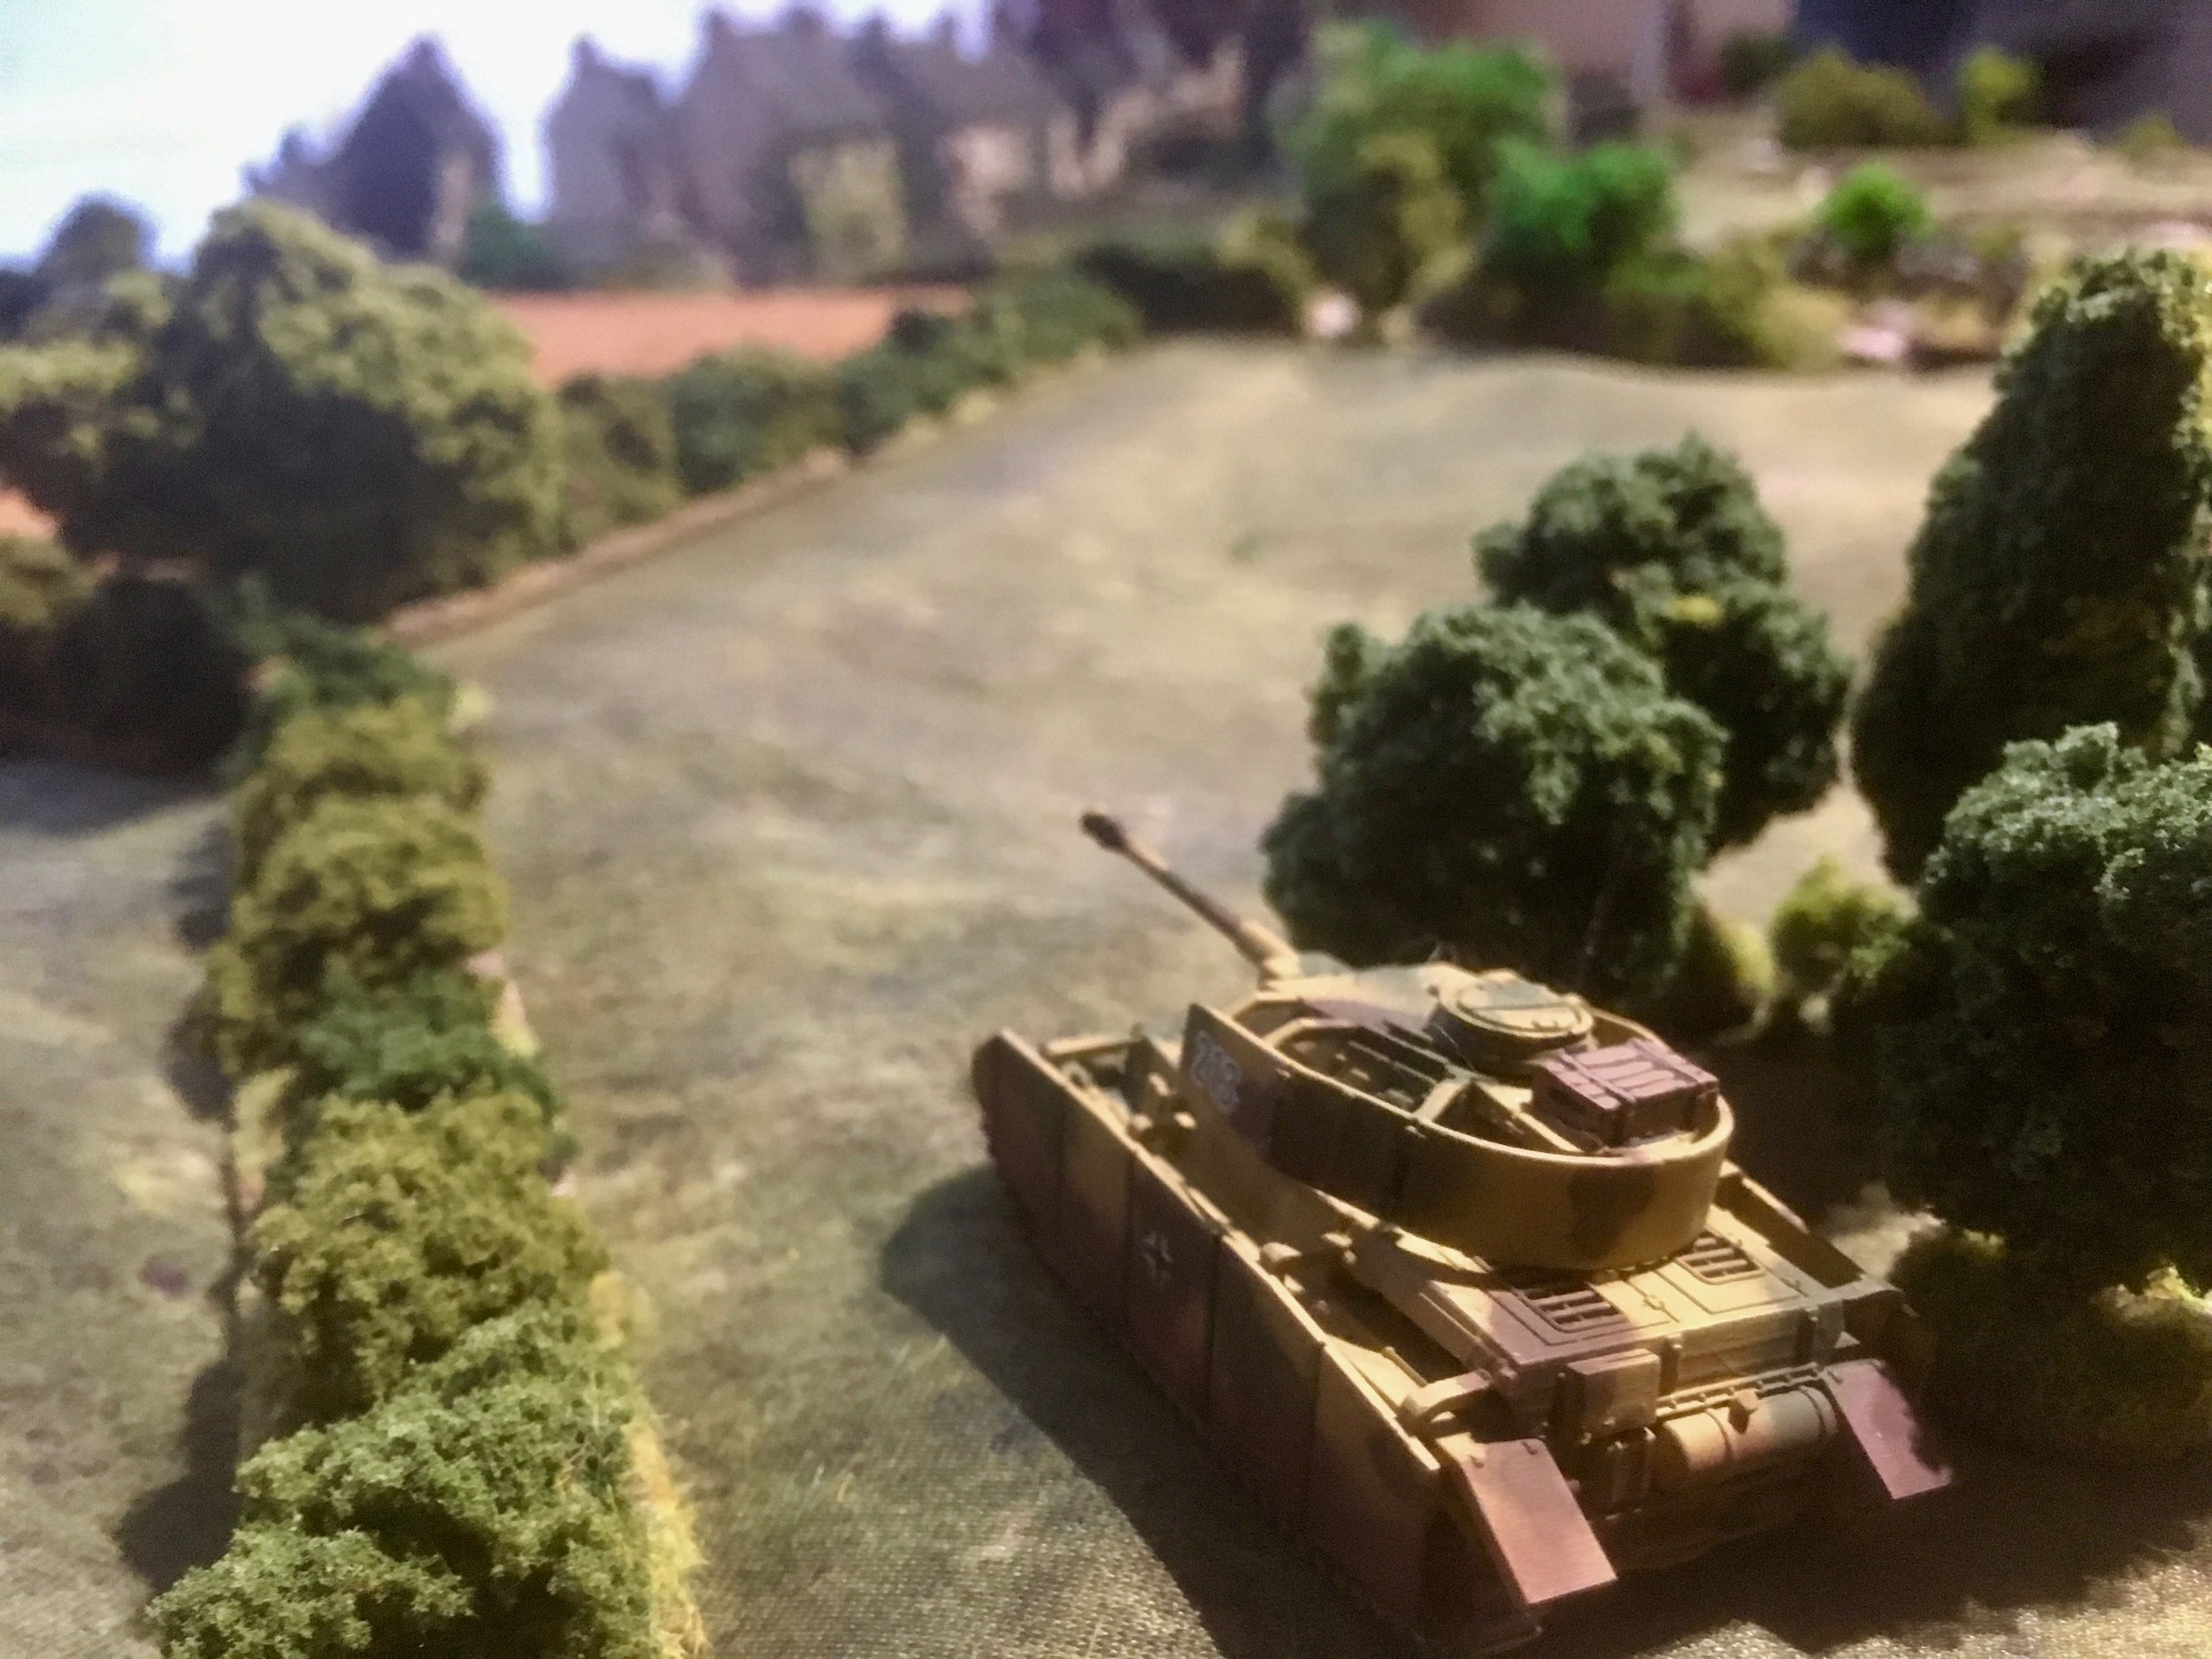
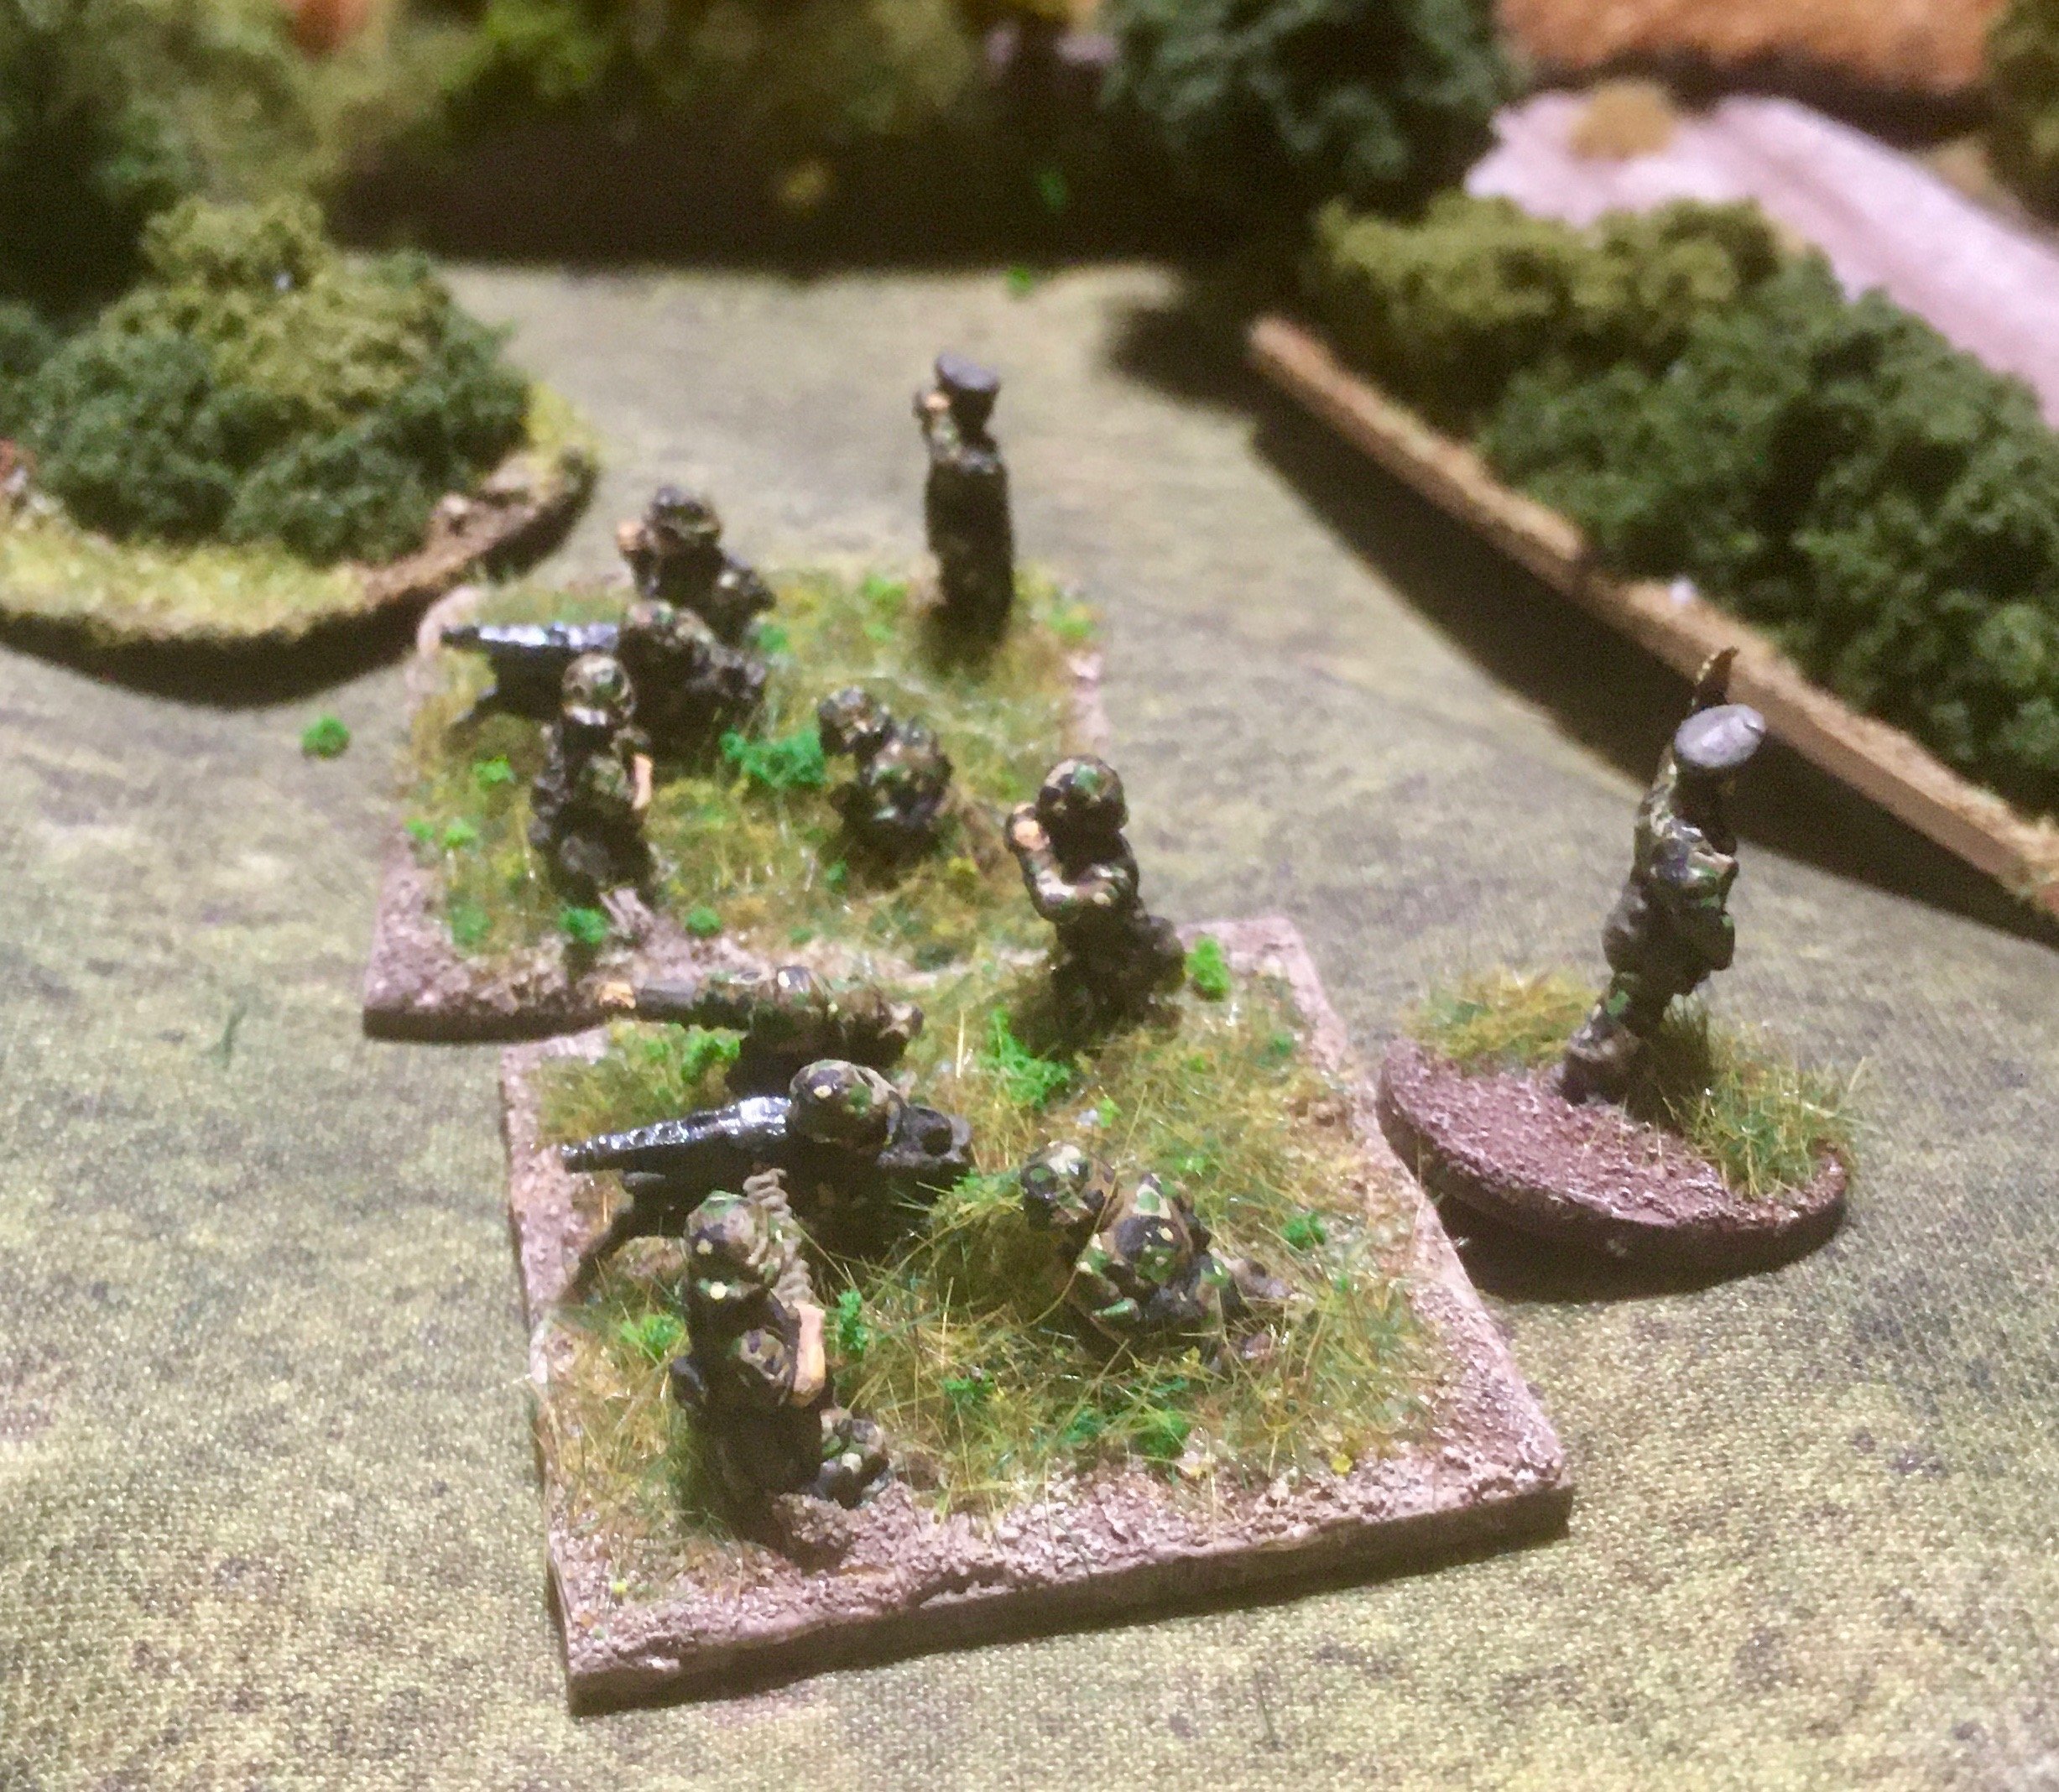
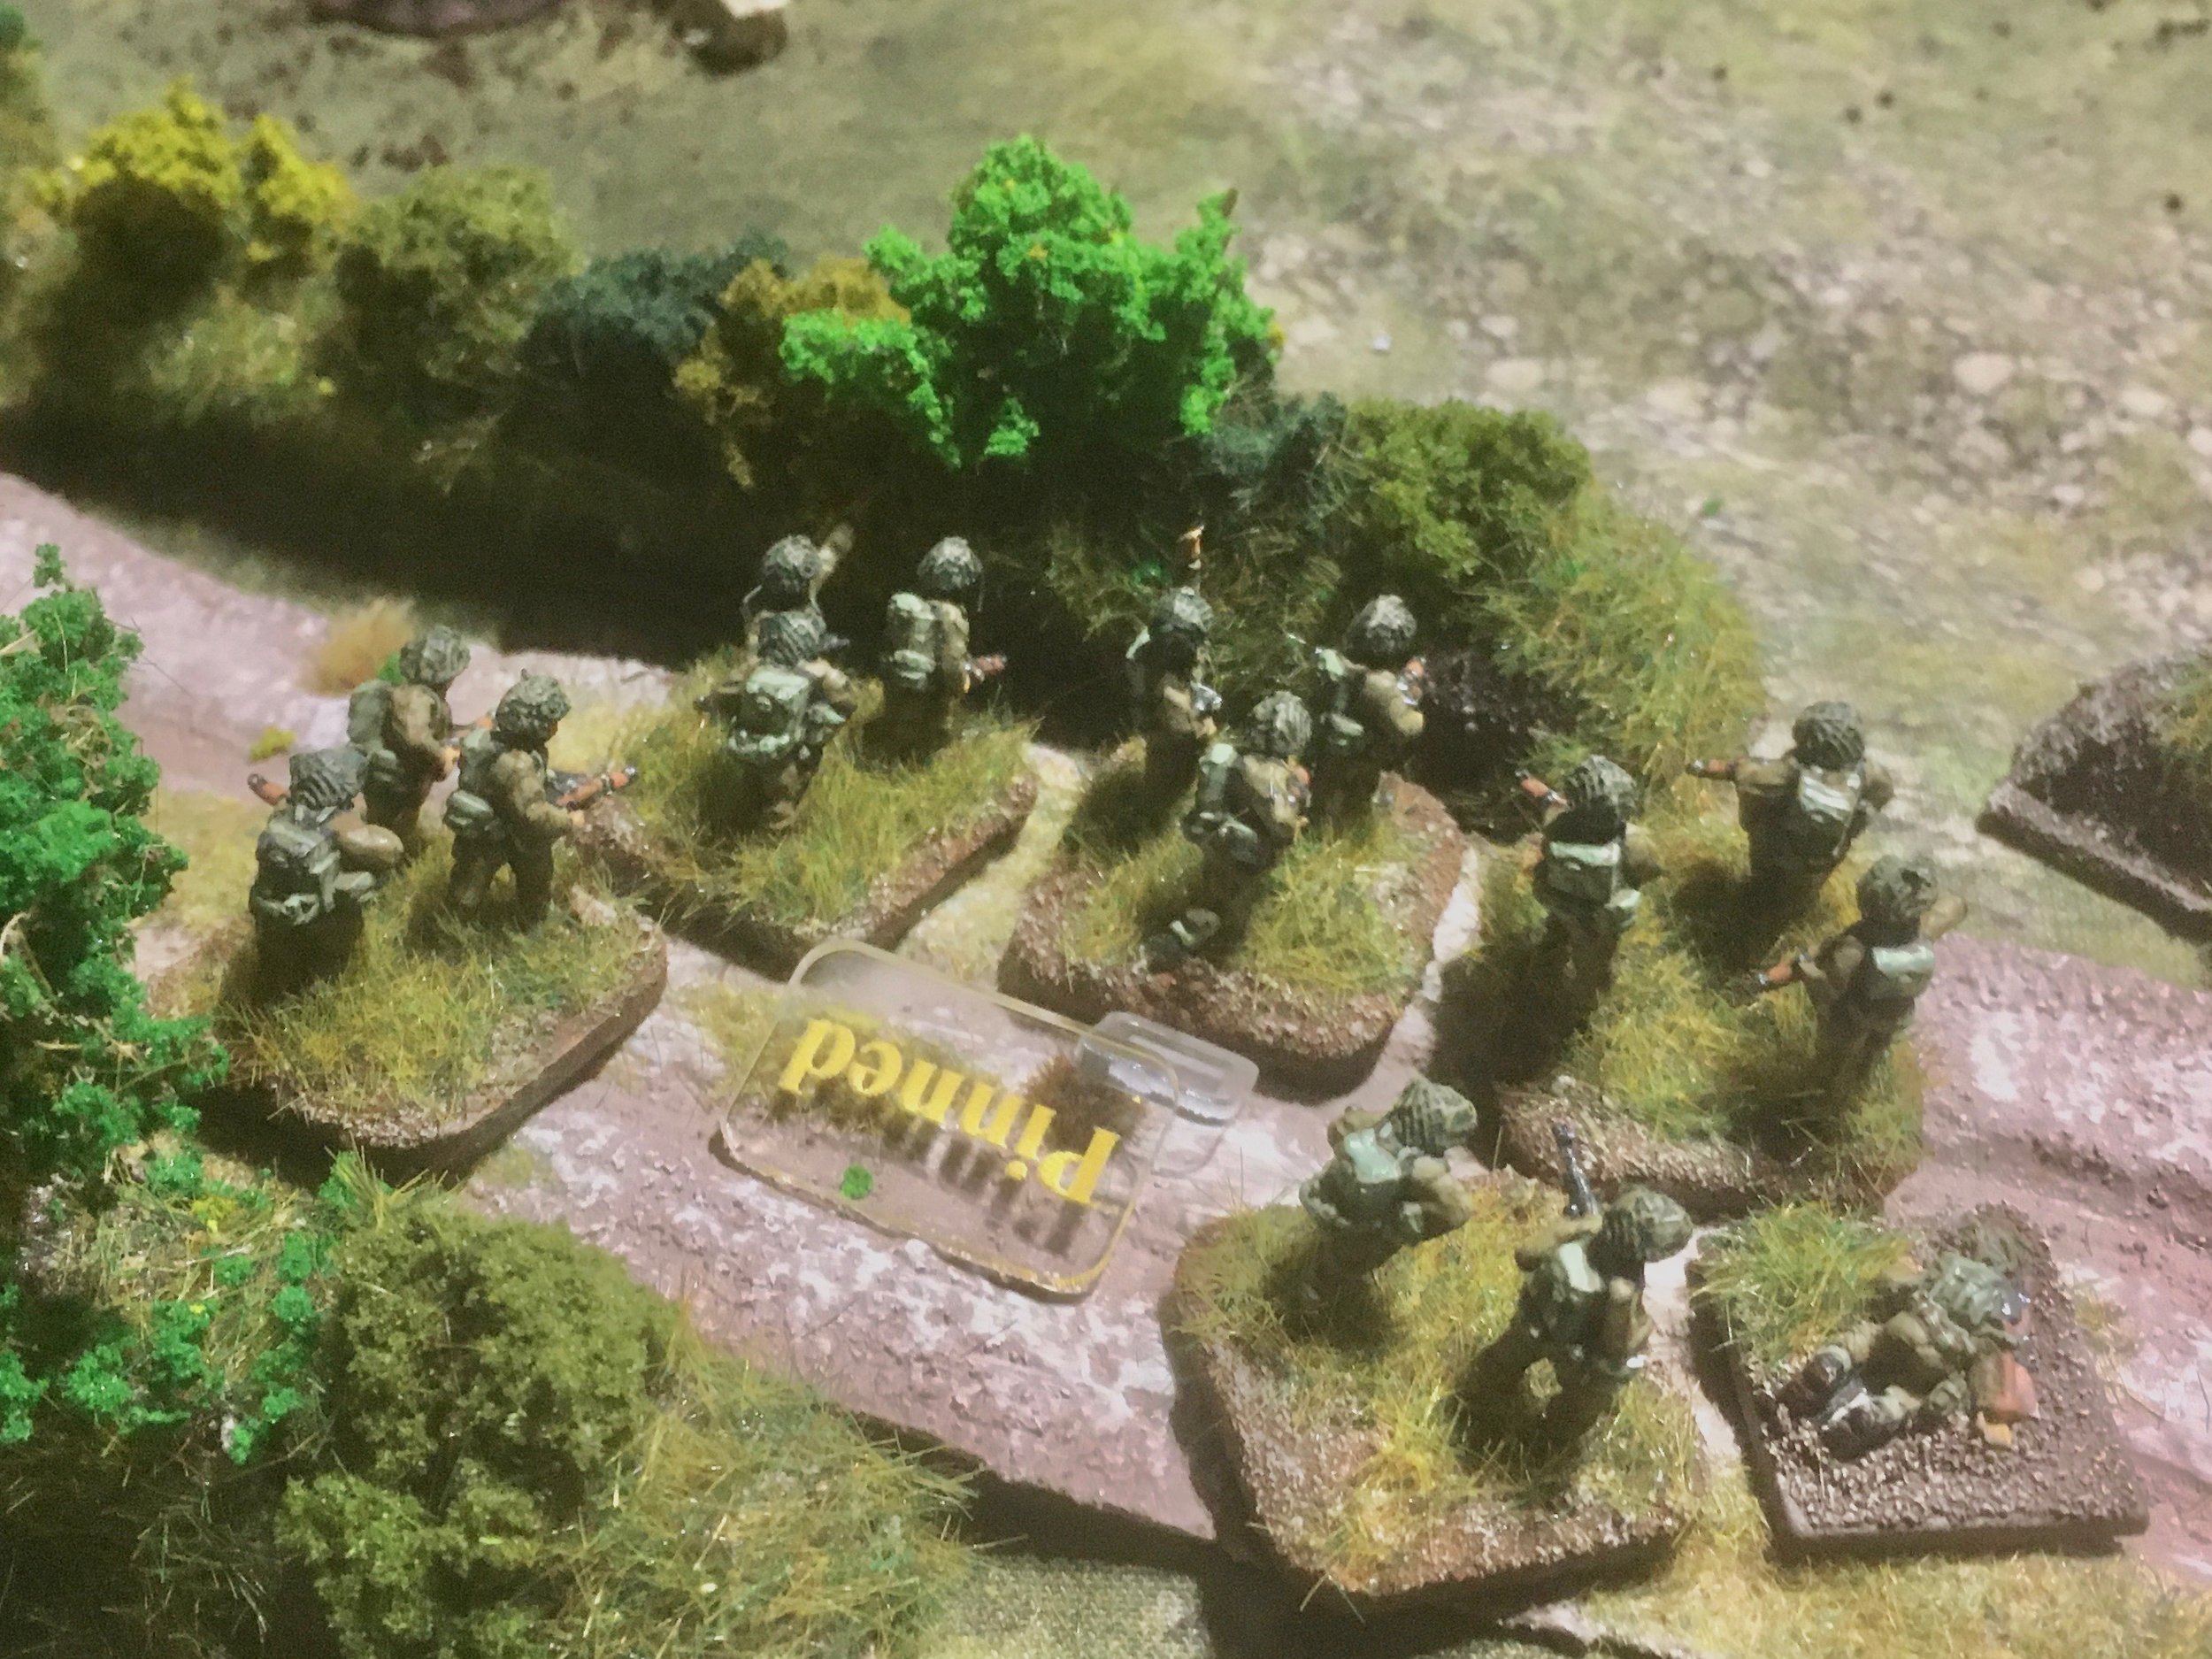
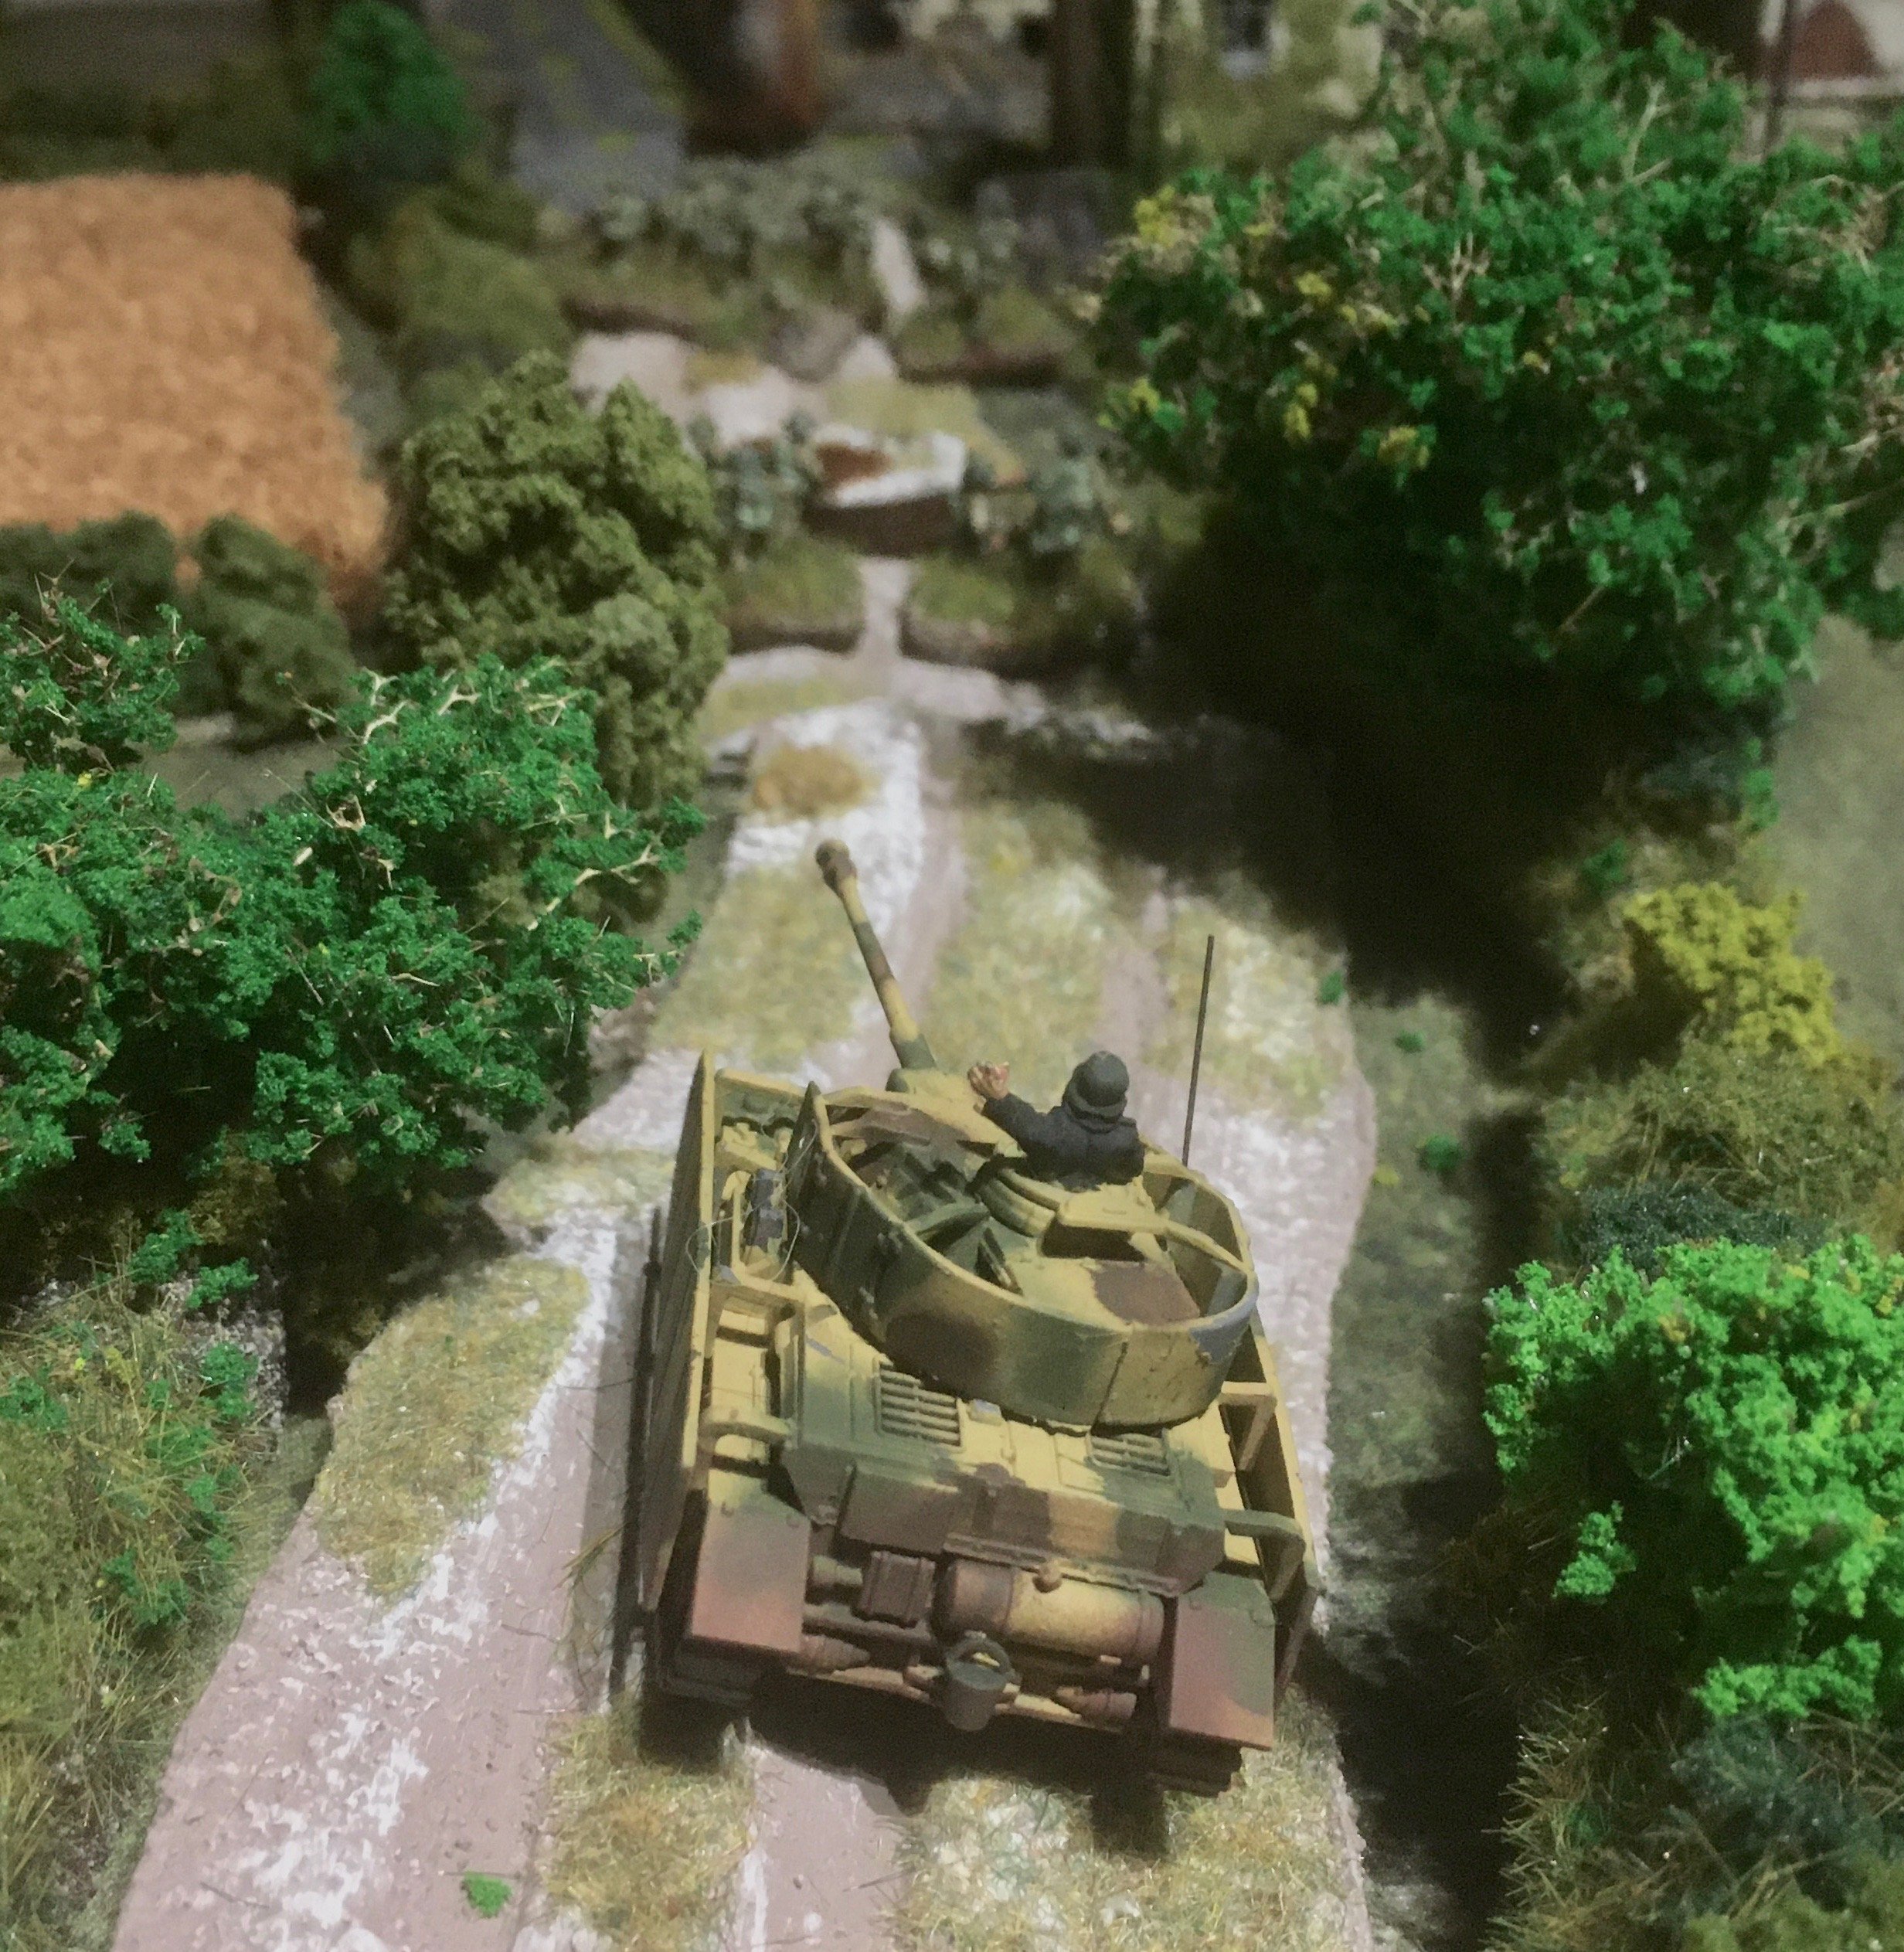
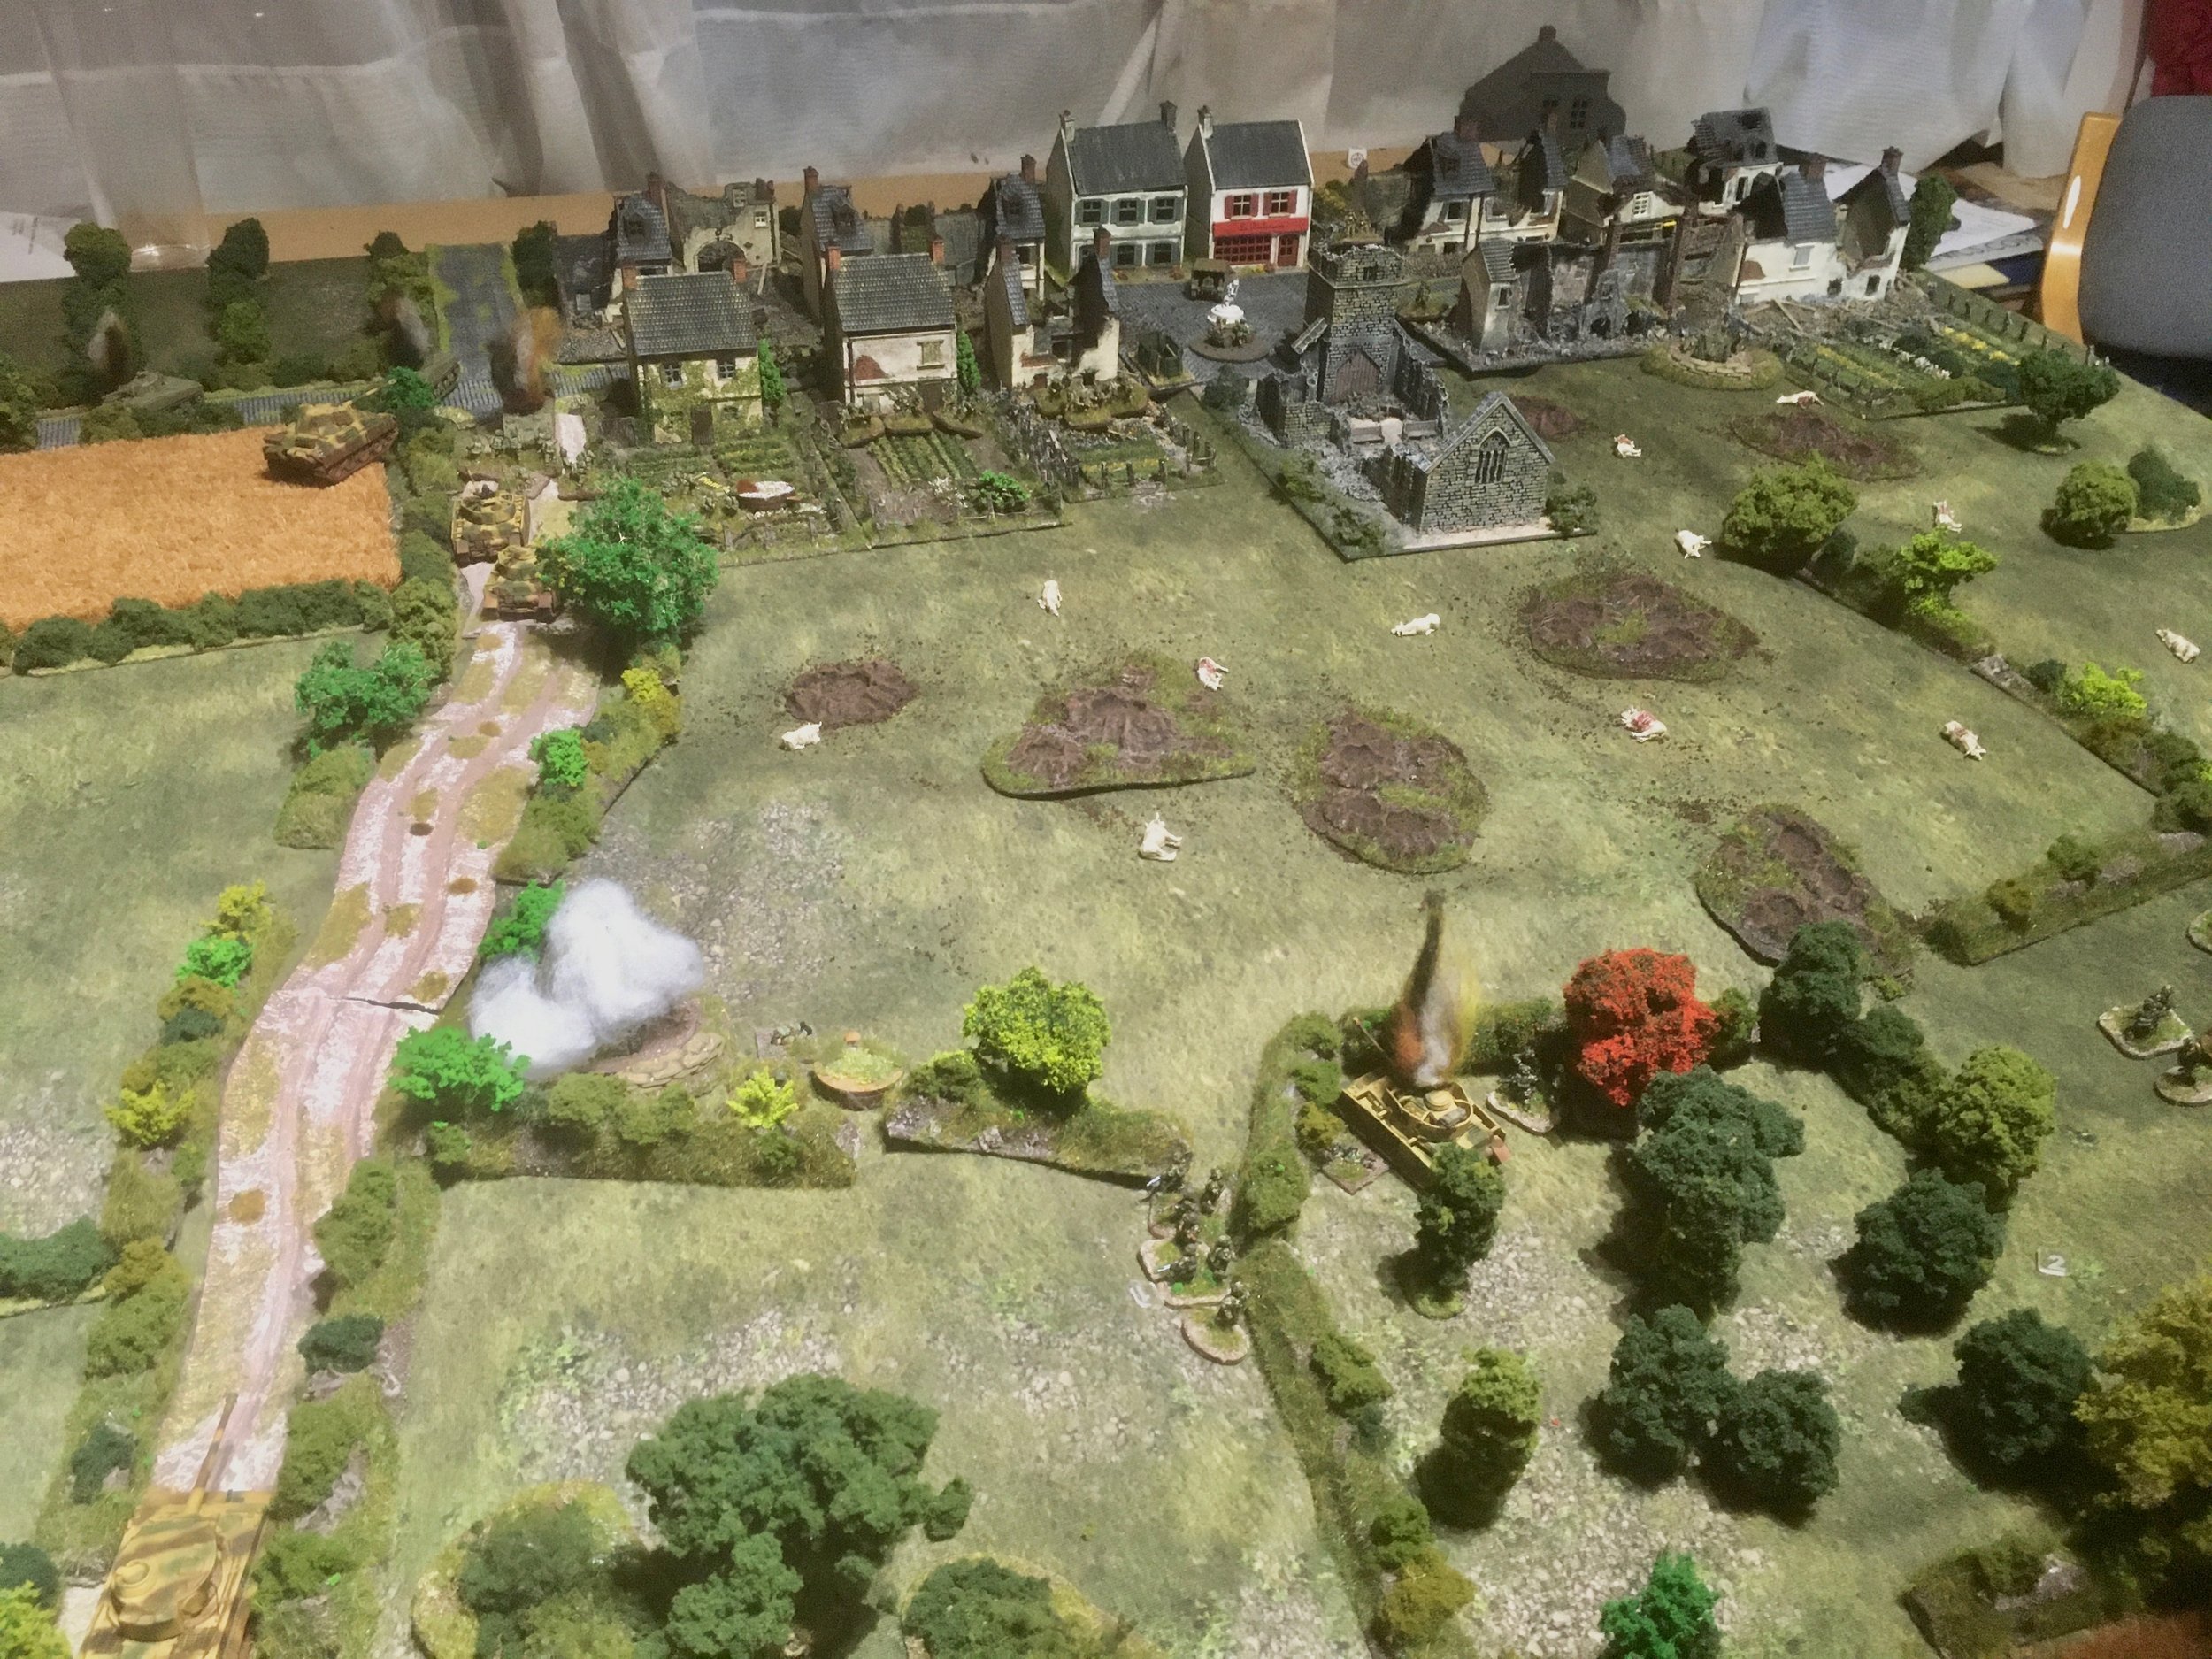
Second ever game of IABSM: solo historical scenario, C company 5th Wiltshires tackle Les Duane's farm in the opening stages of operation Jupiter.
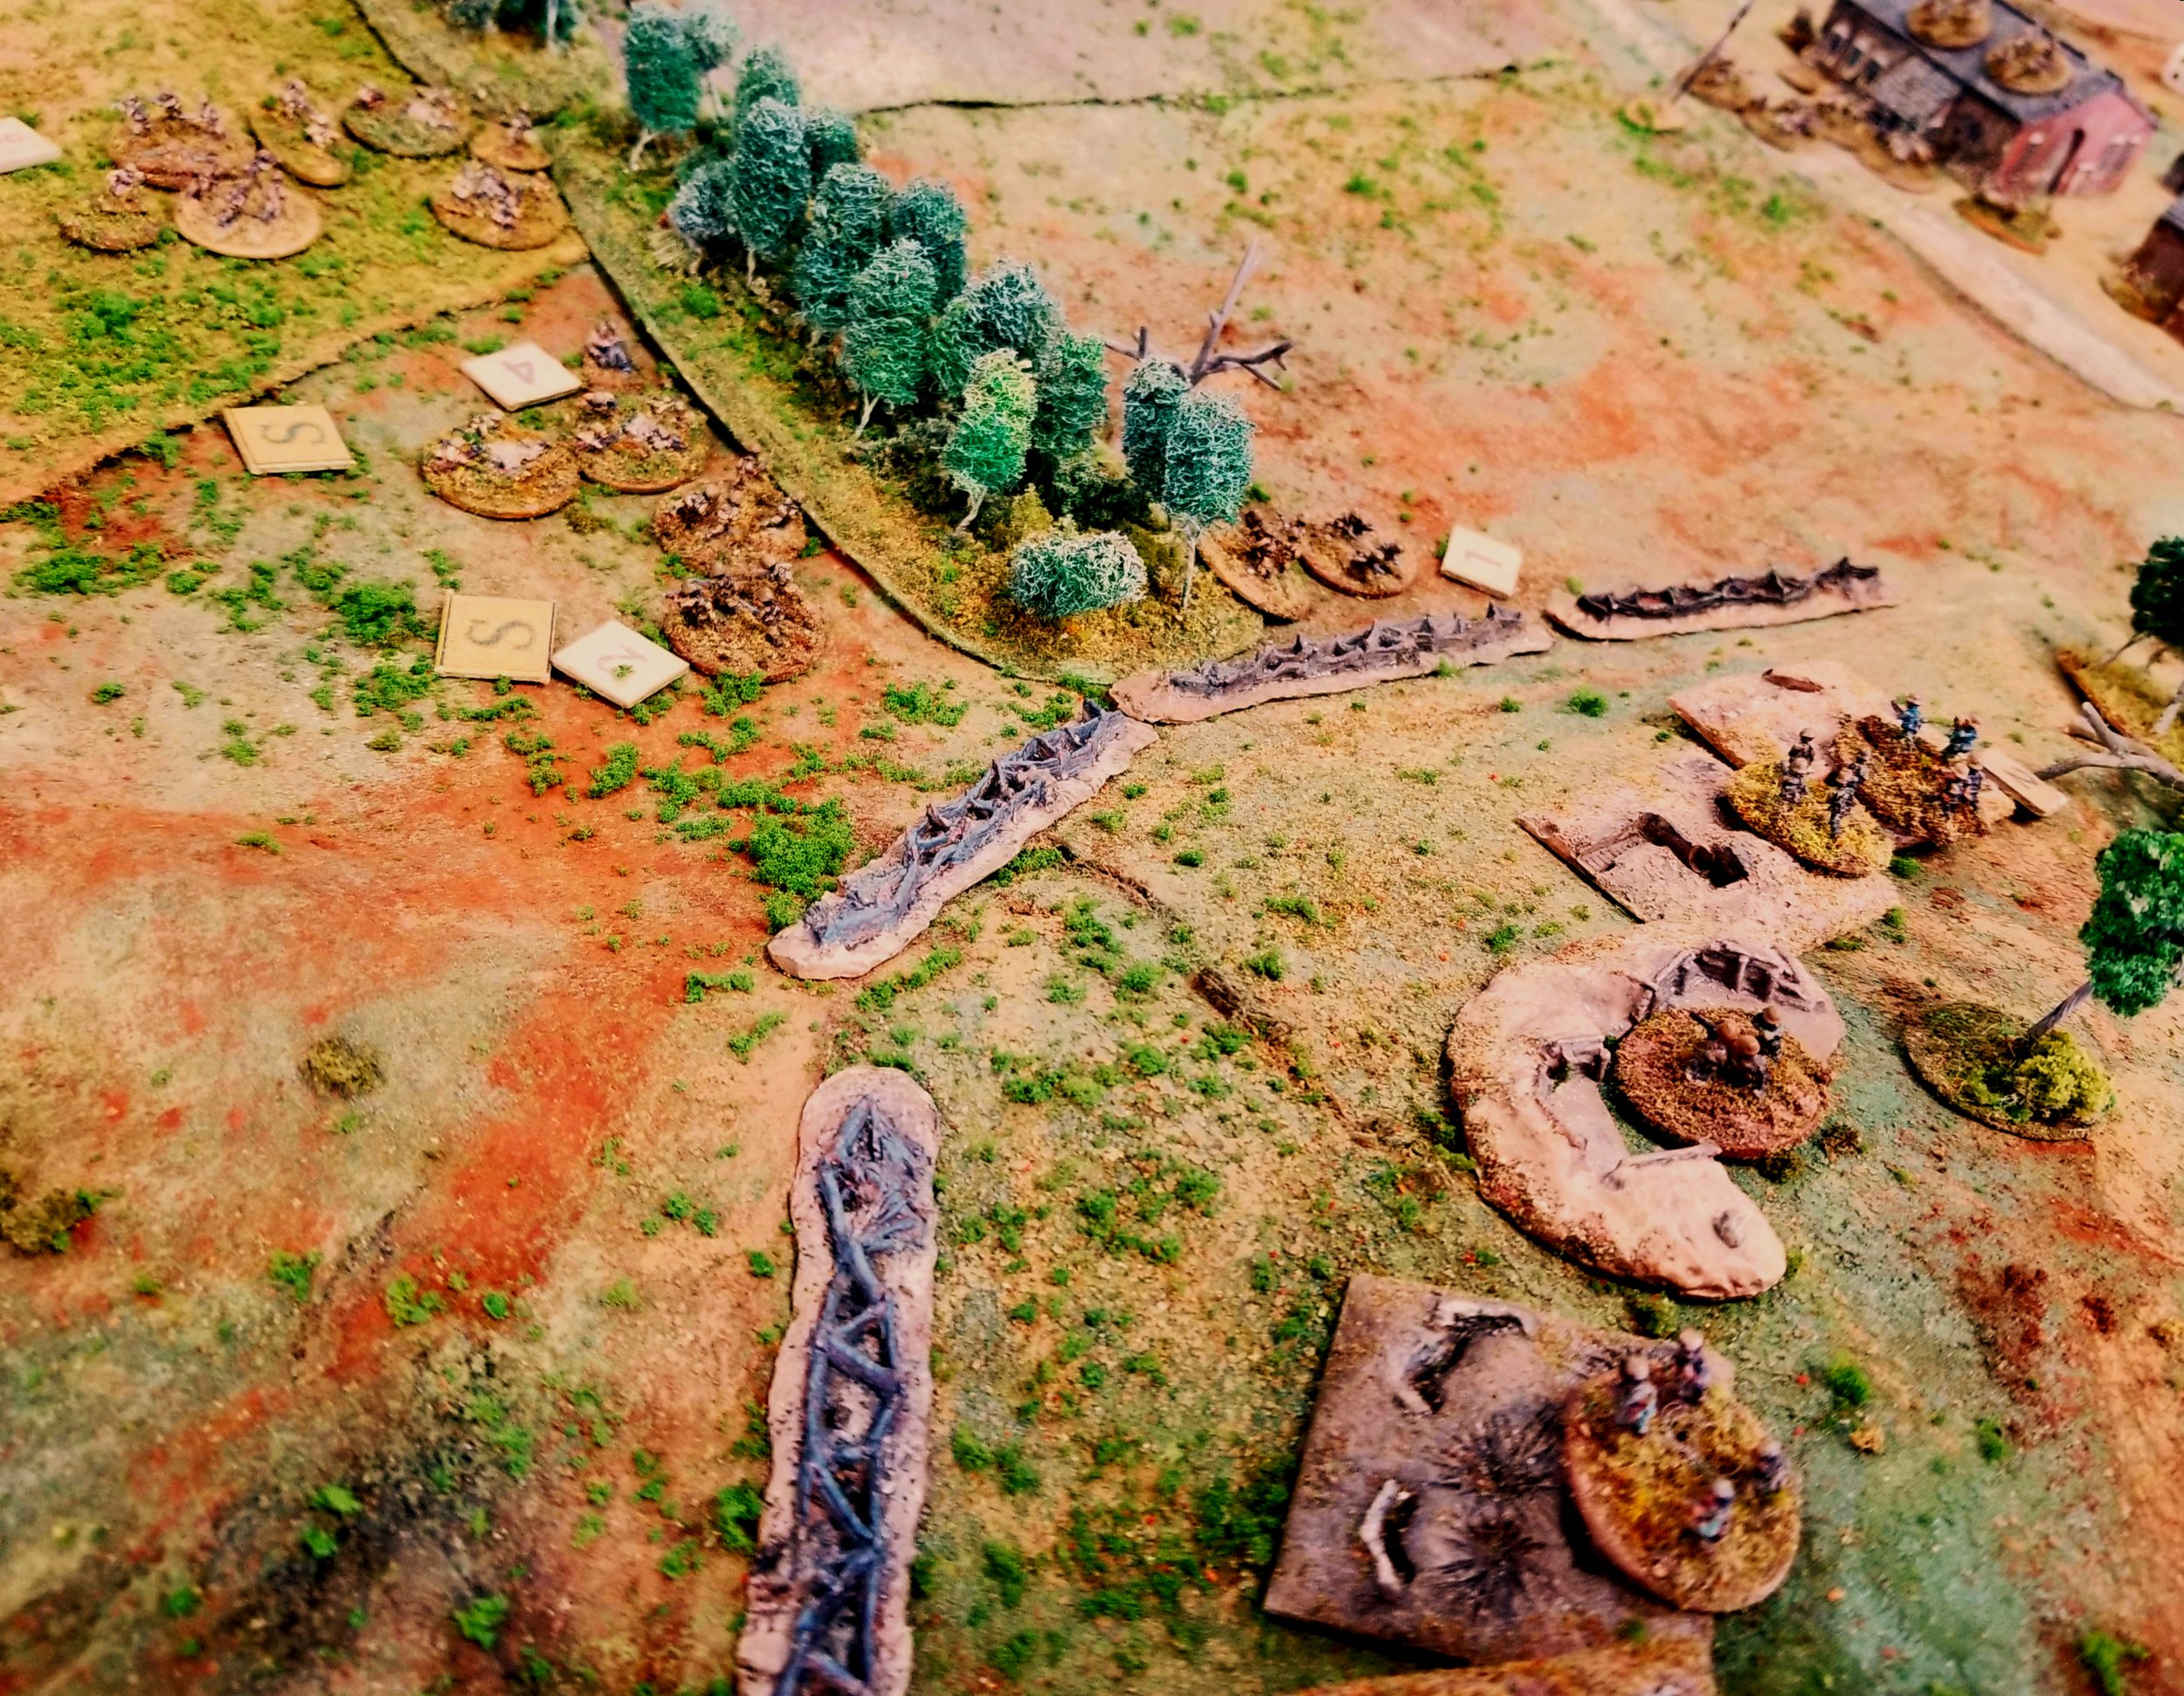
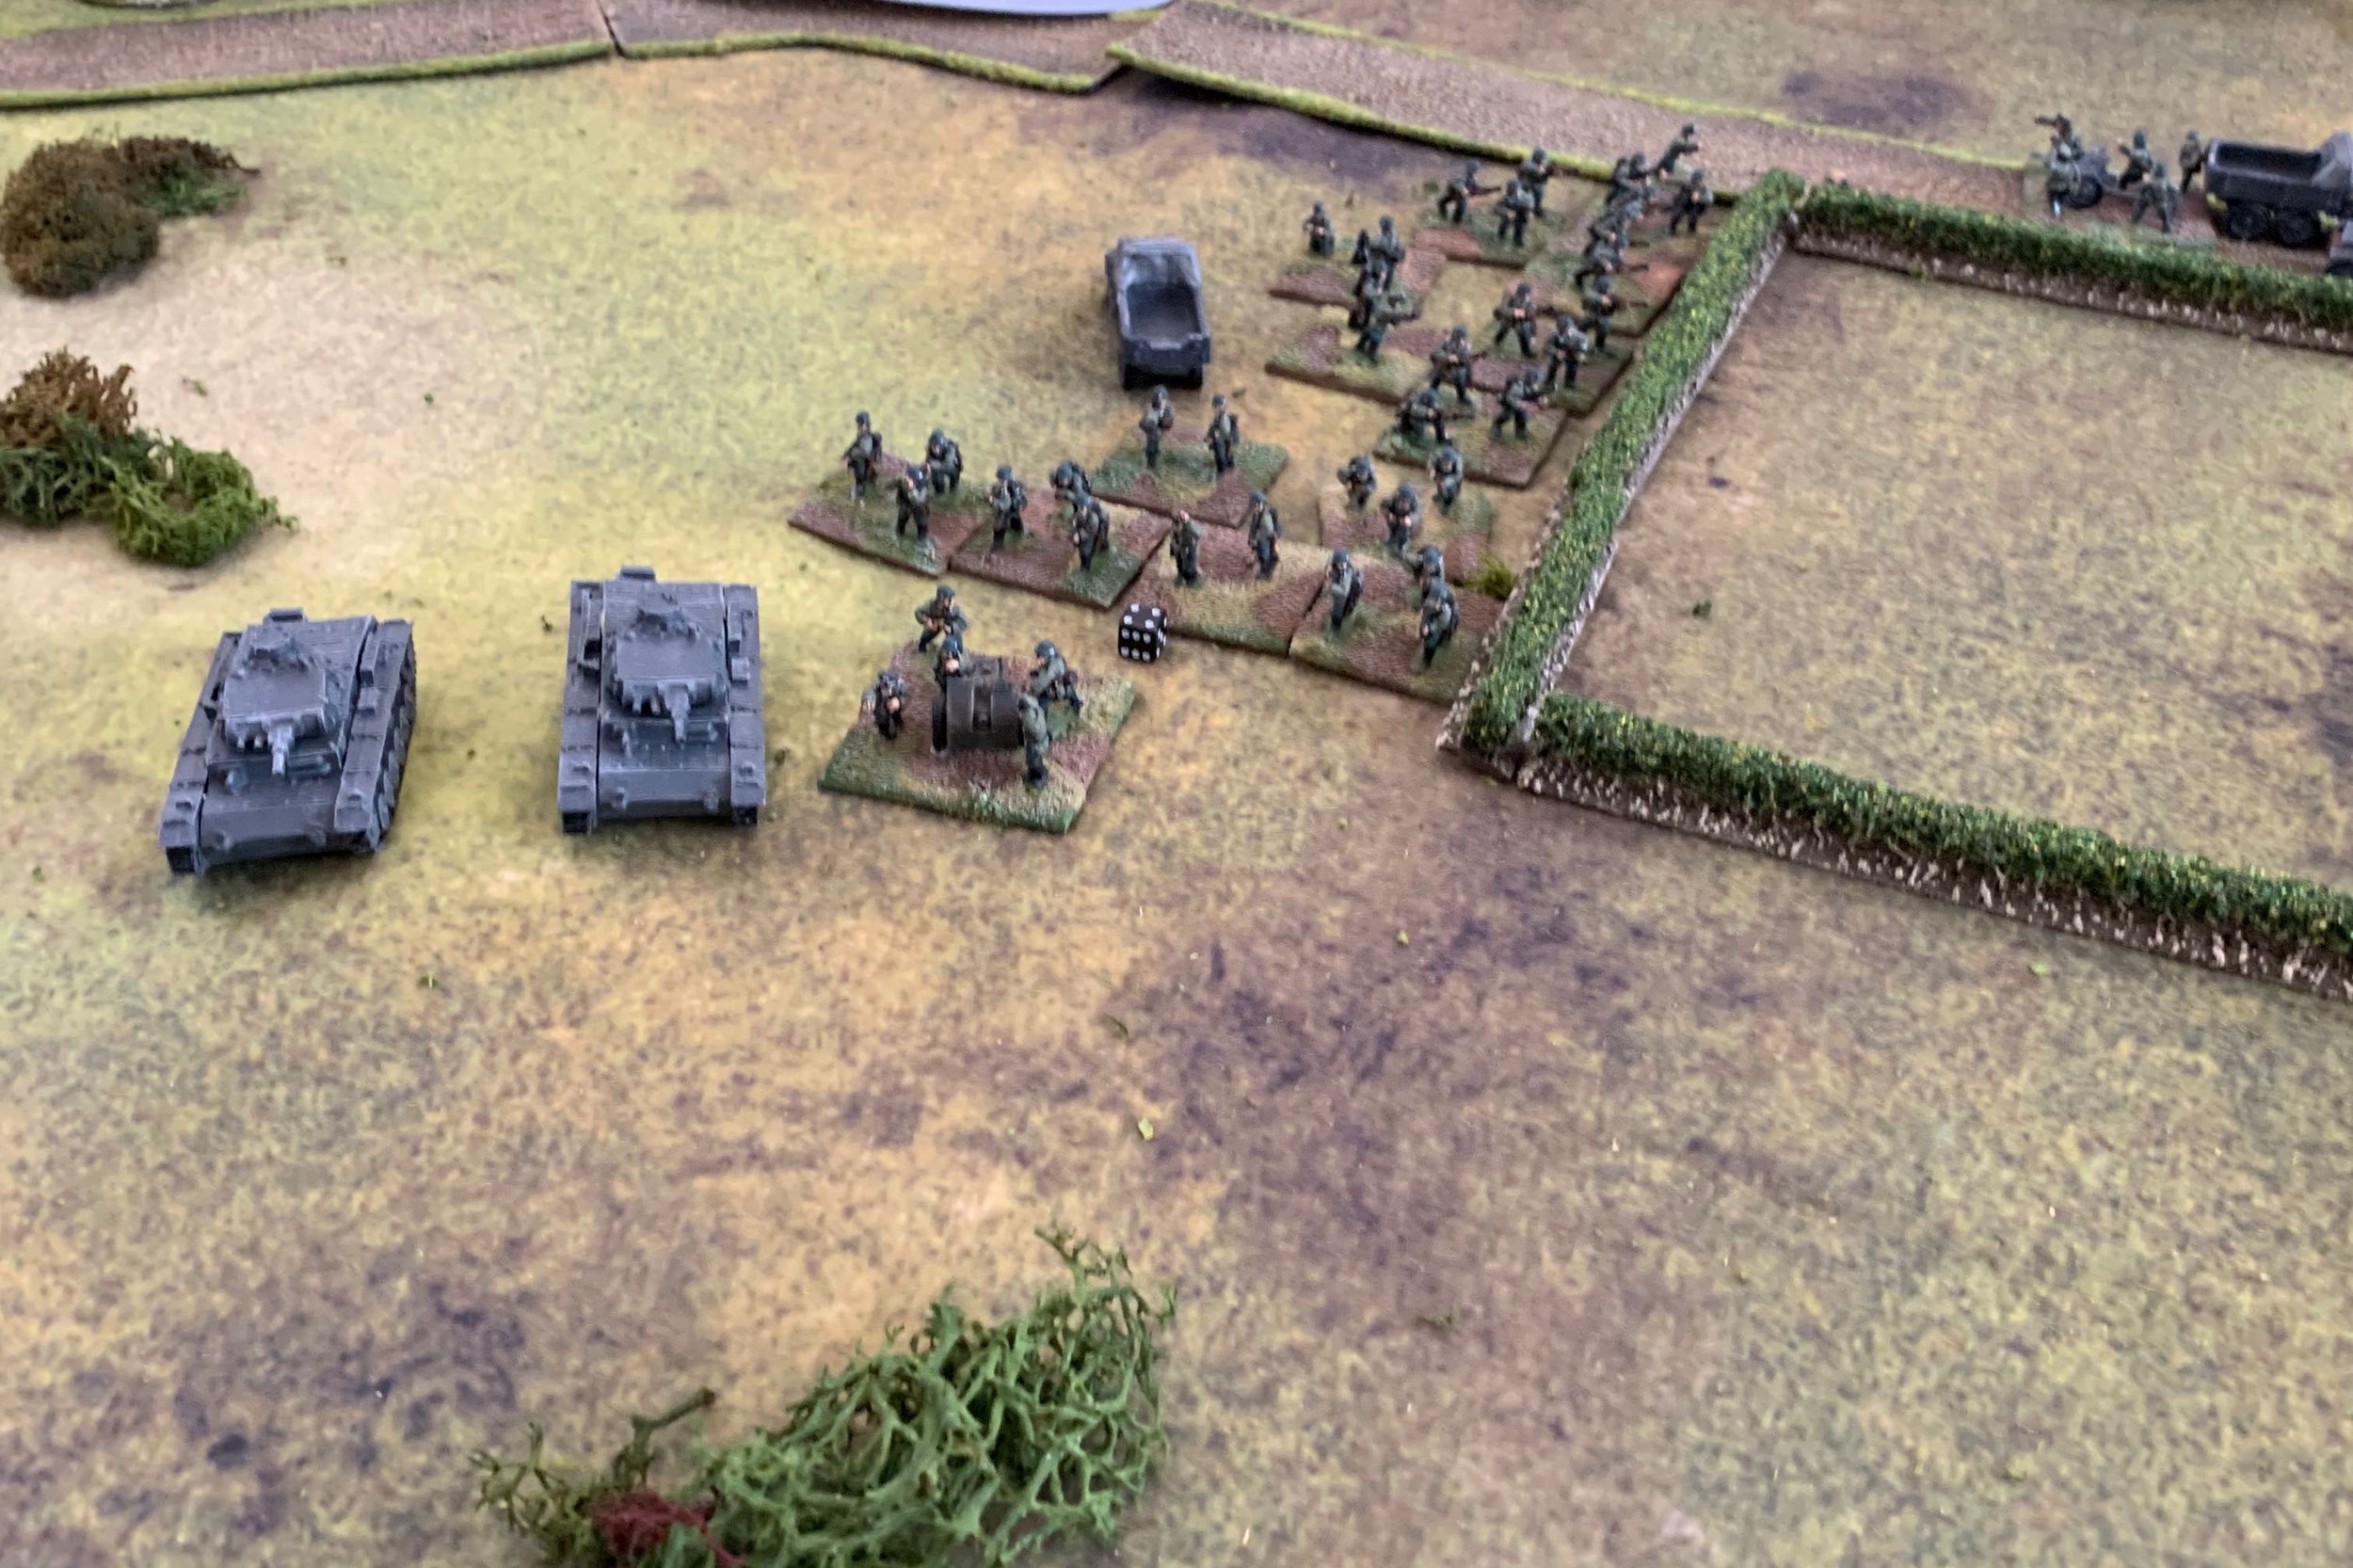
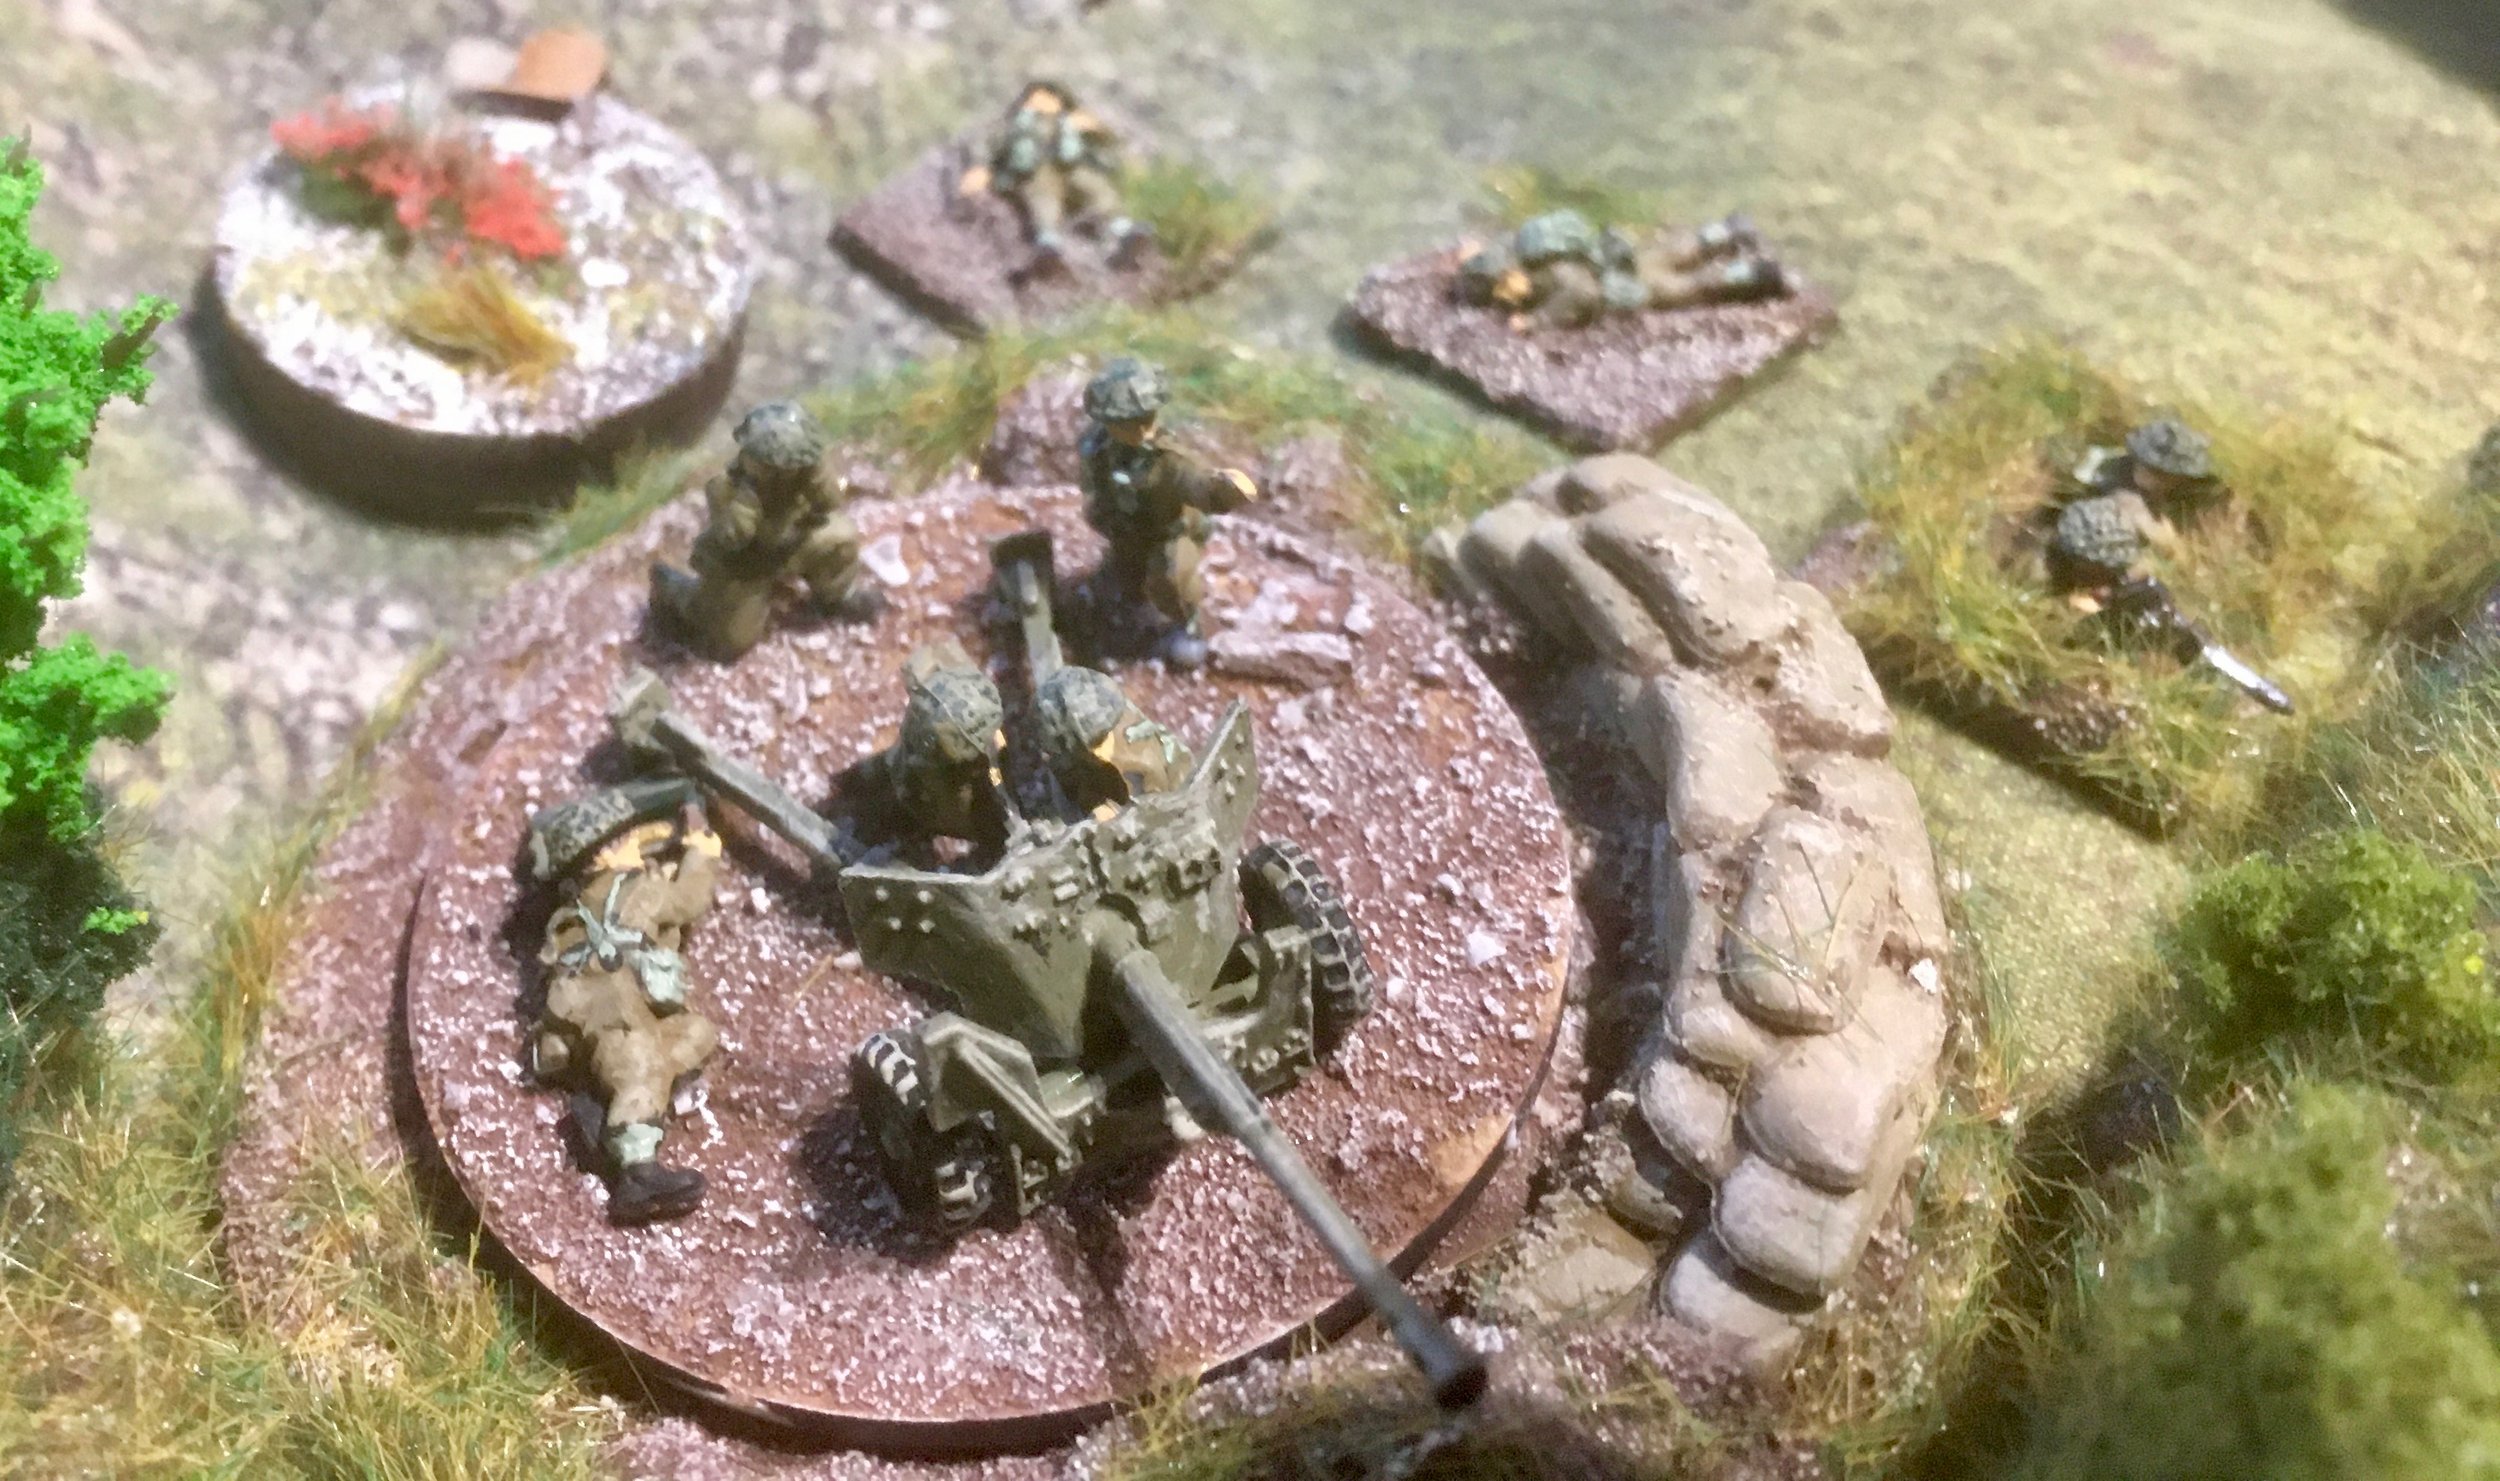
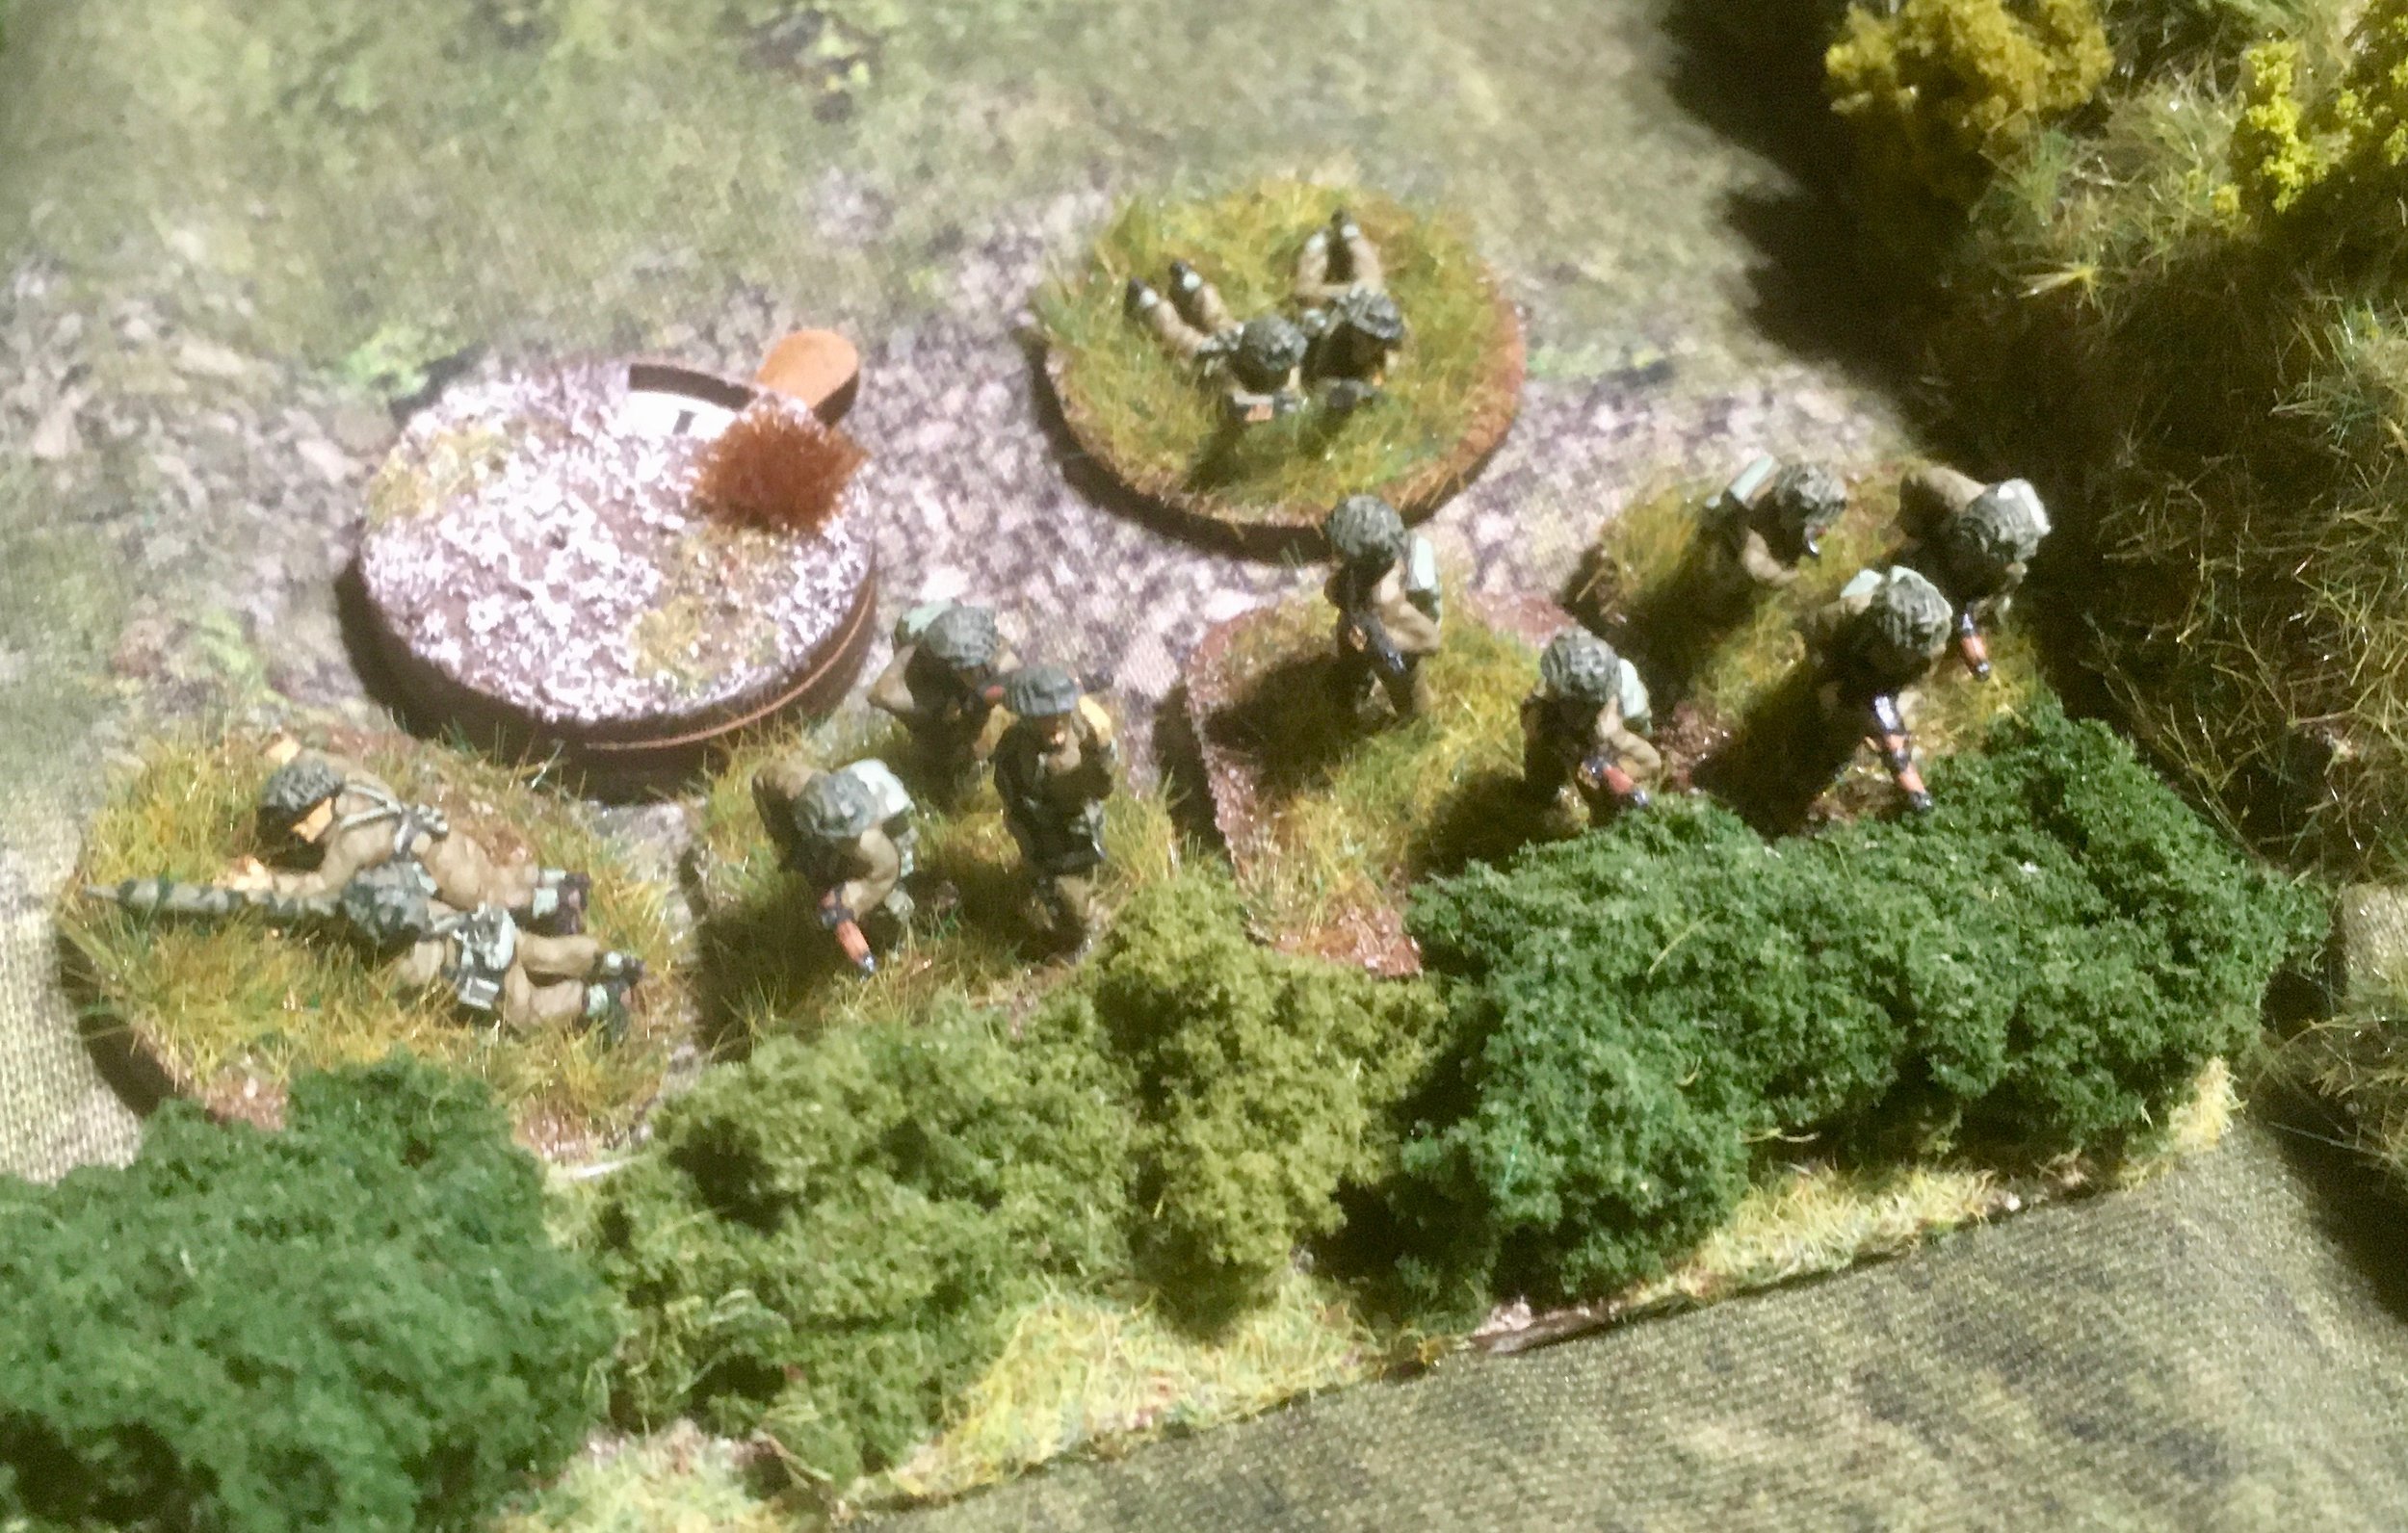
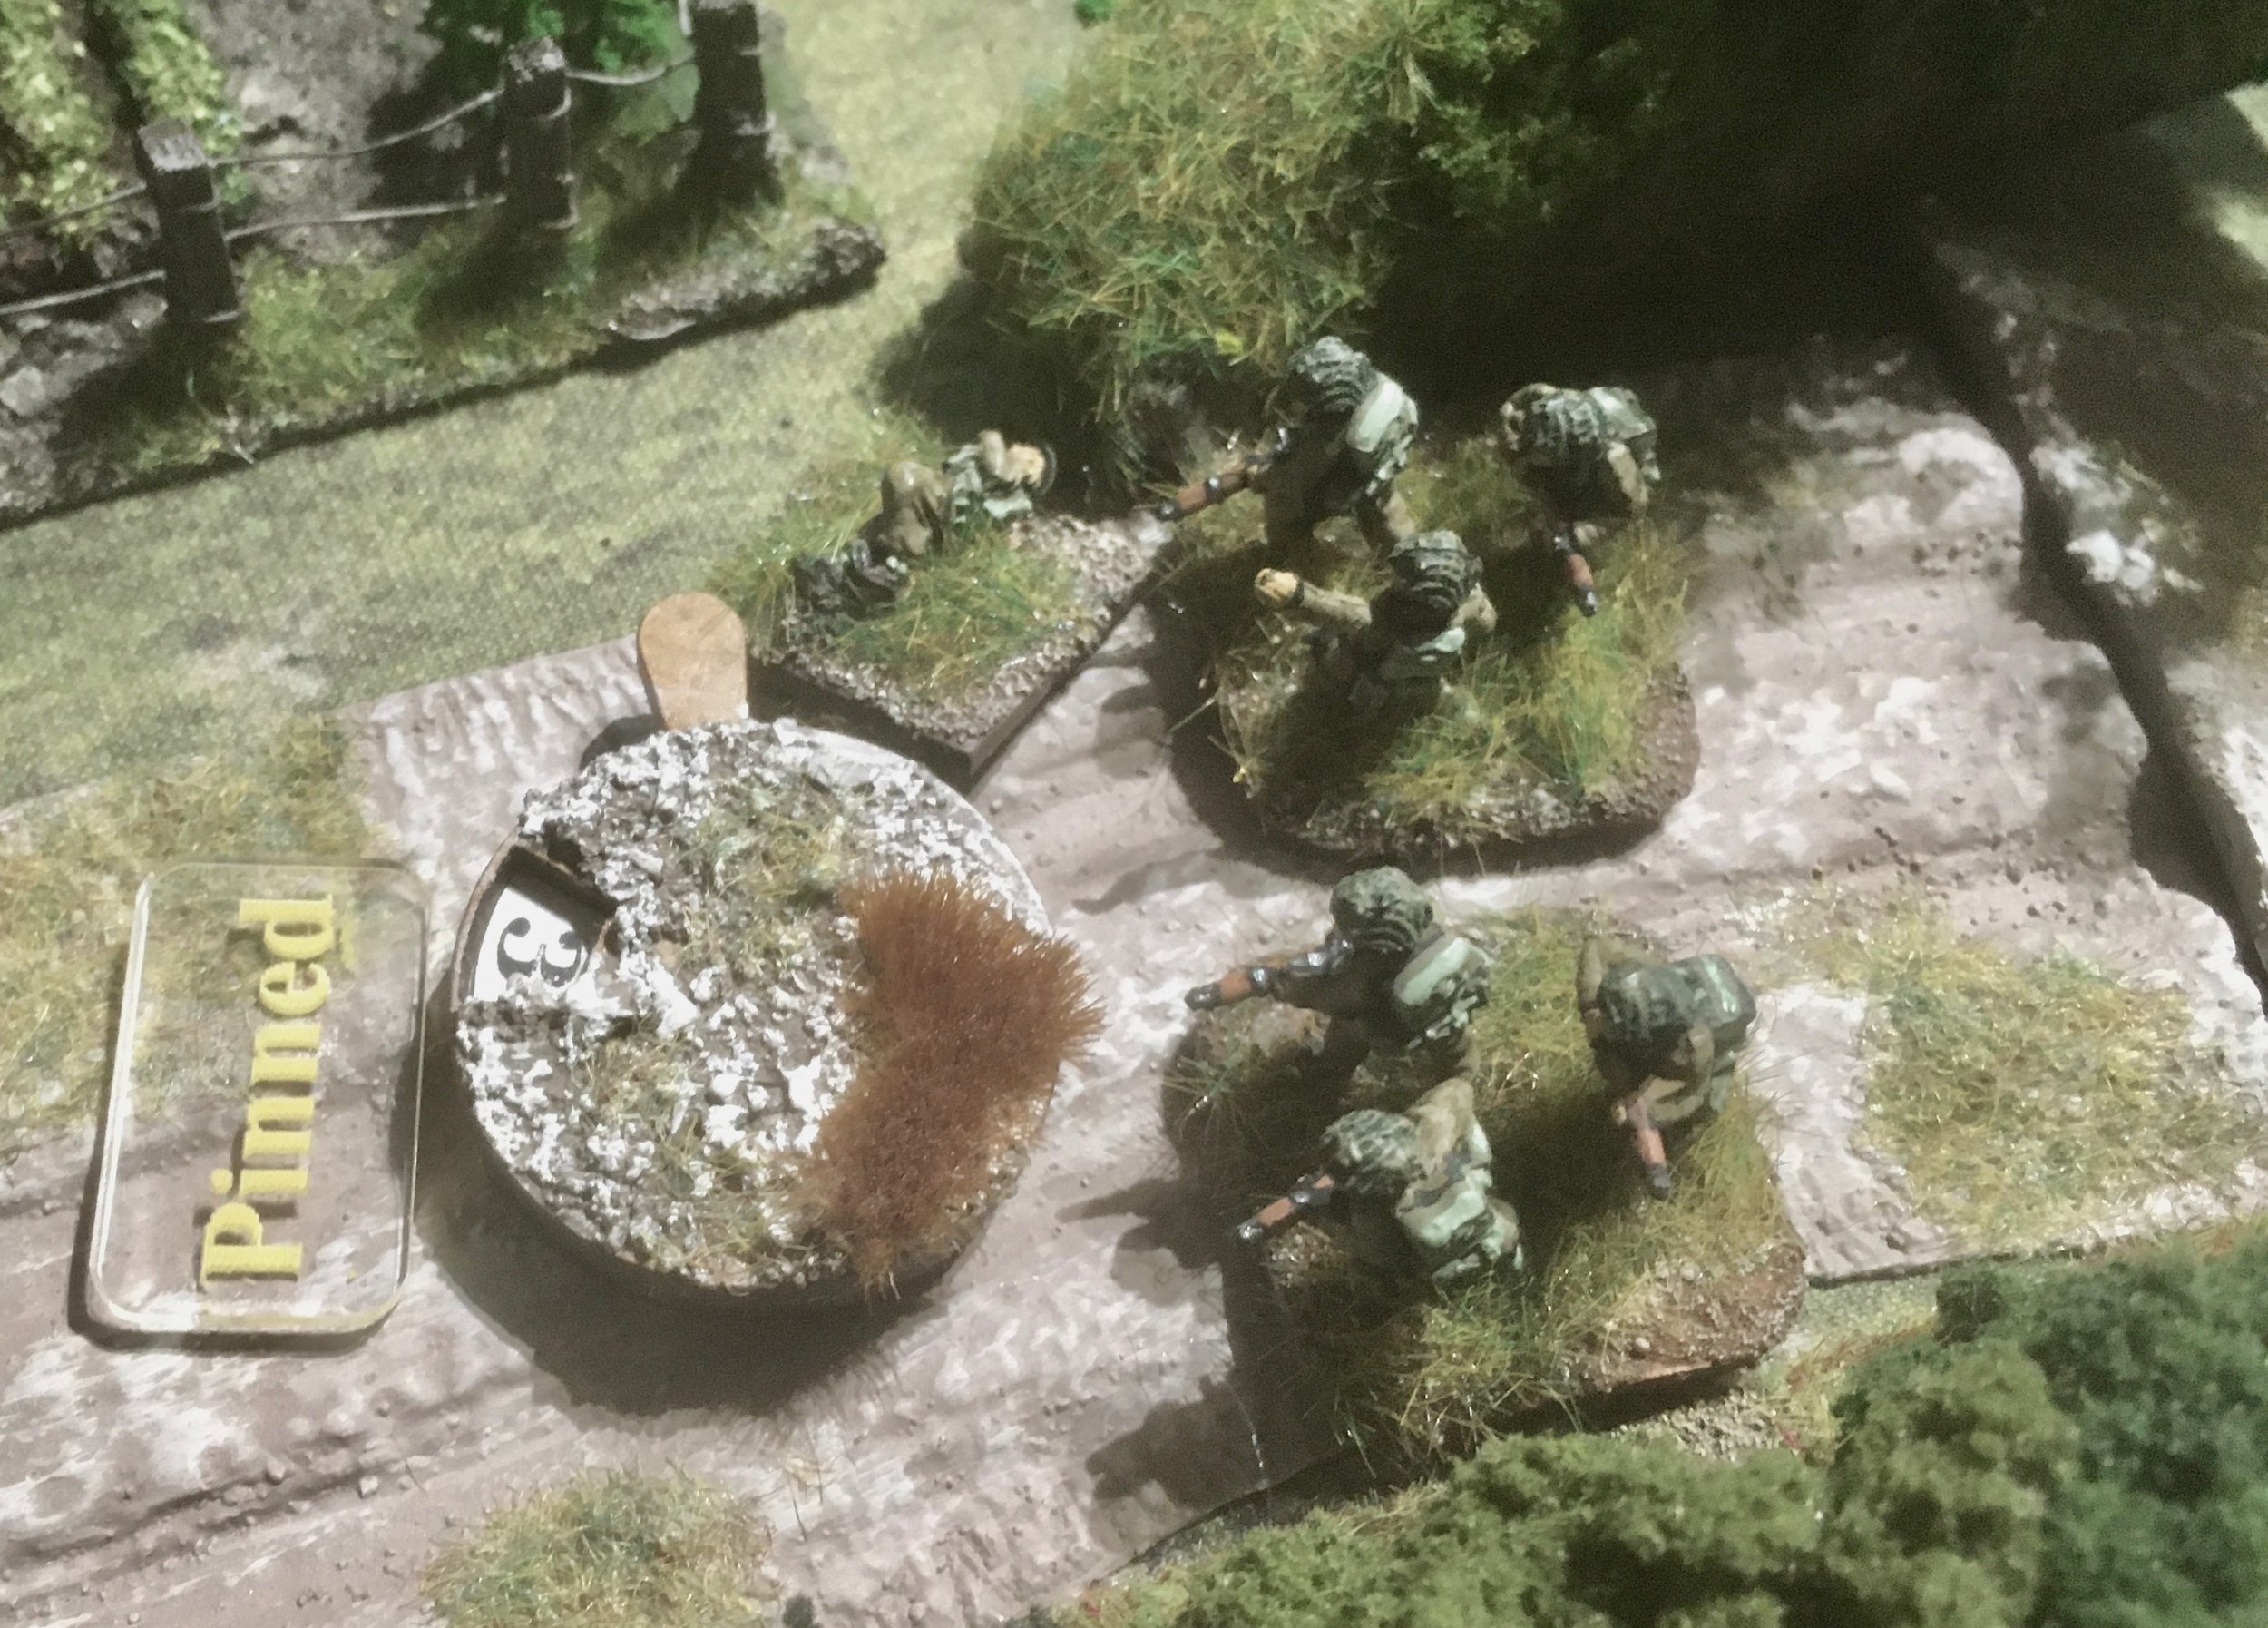
Held by a dug in and fortified company of the 10th SS with Pak 40, and infantry gun support, it was tough nut to crack, with the Brits attempting to make the most of the very effective opening barrage by rushing the farm and first hedge line, forcing the SS out of the main farm building and away from the hedges but having to fall back themselves to regroup.
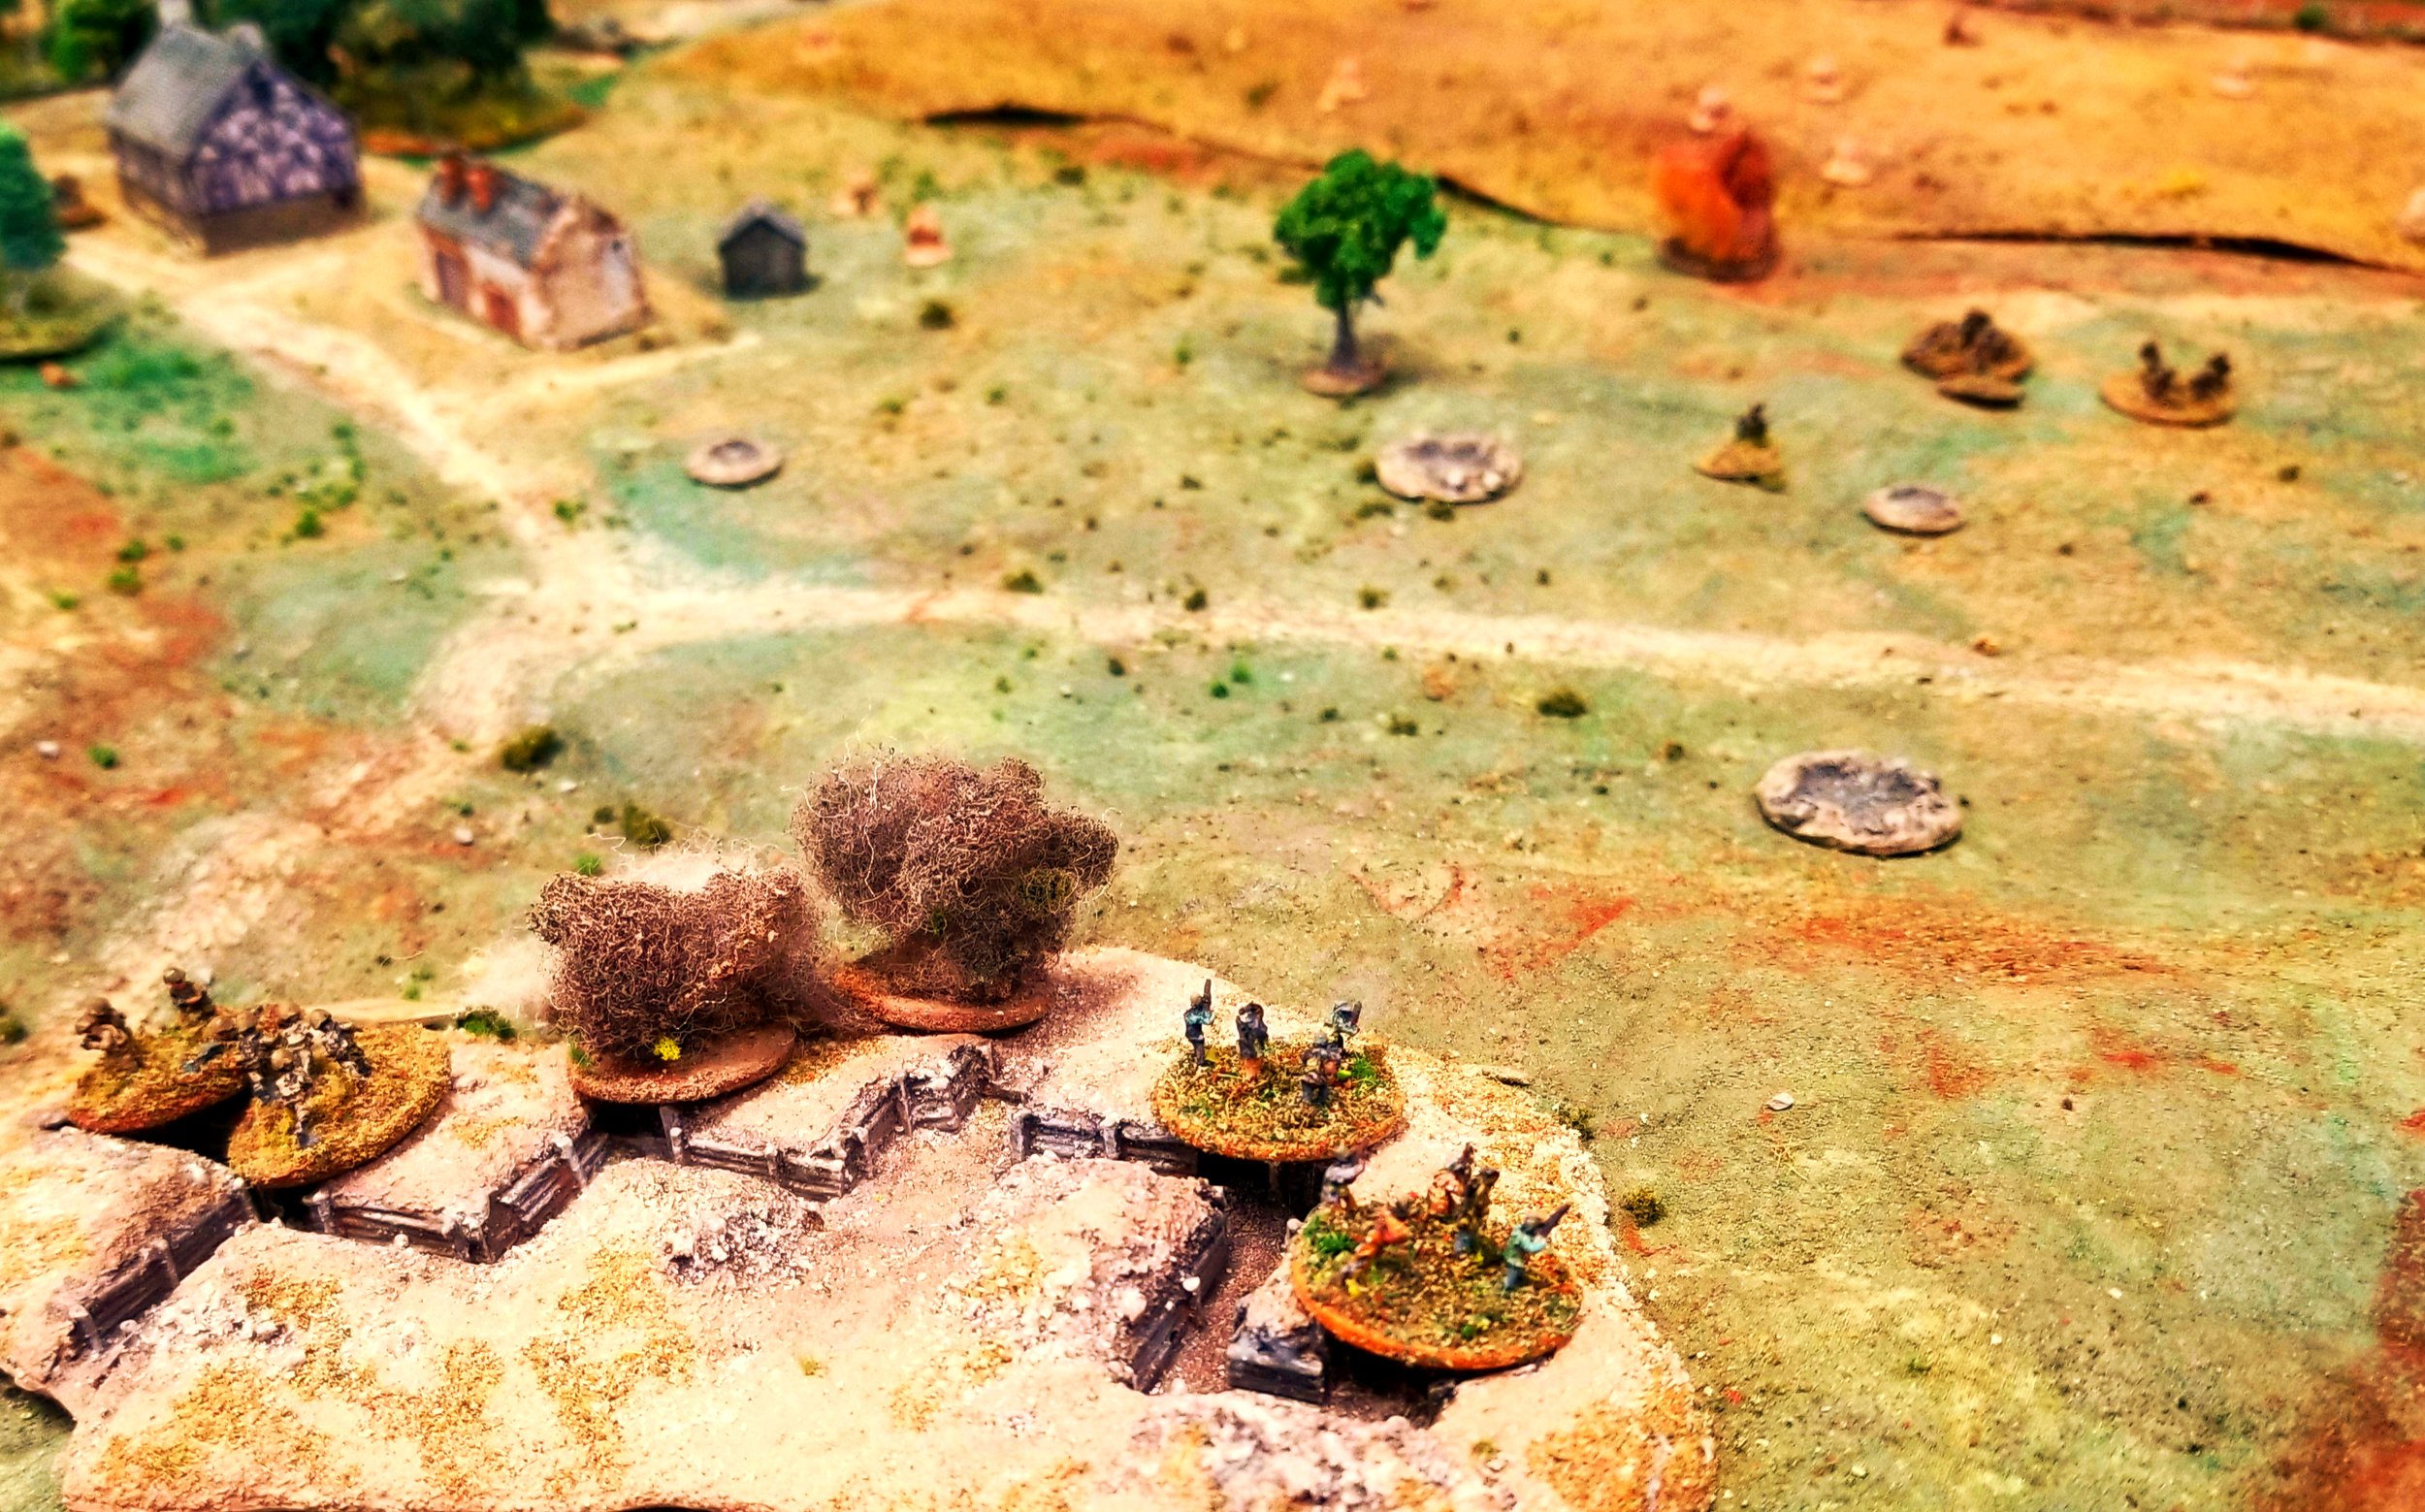
The small arms firepower of the SS taking a heavy toll on the British infantry as the firefight continued. But the British 3rd platoon flanked the farm on the left and massed firepower forced the defenders back.
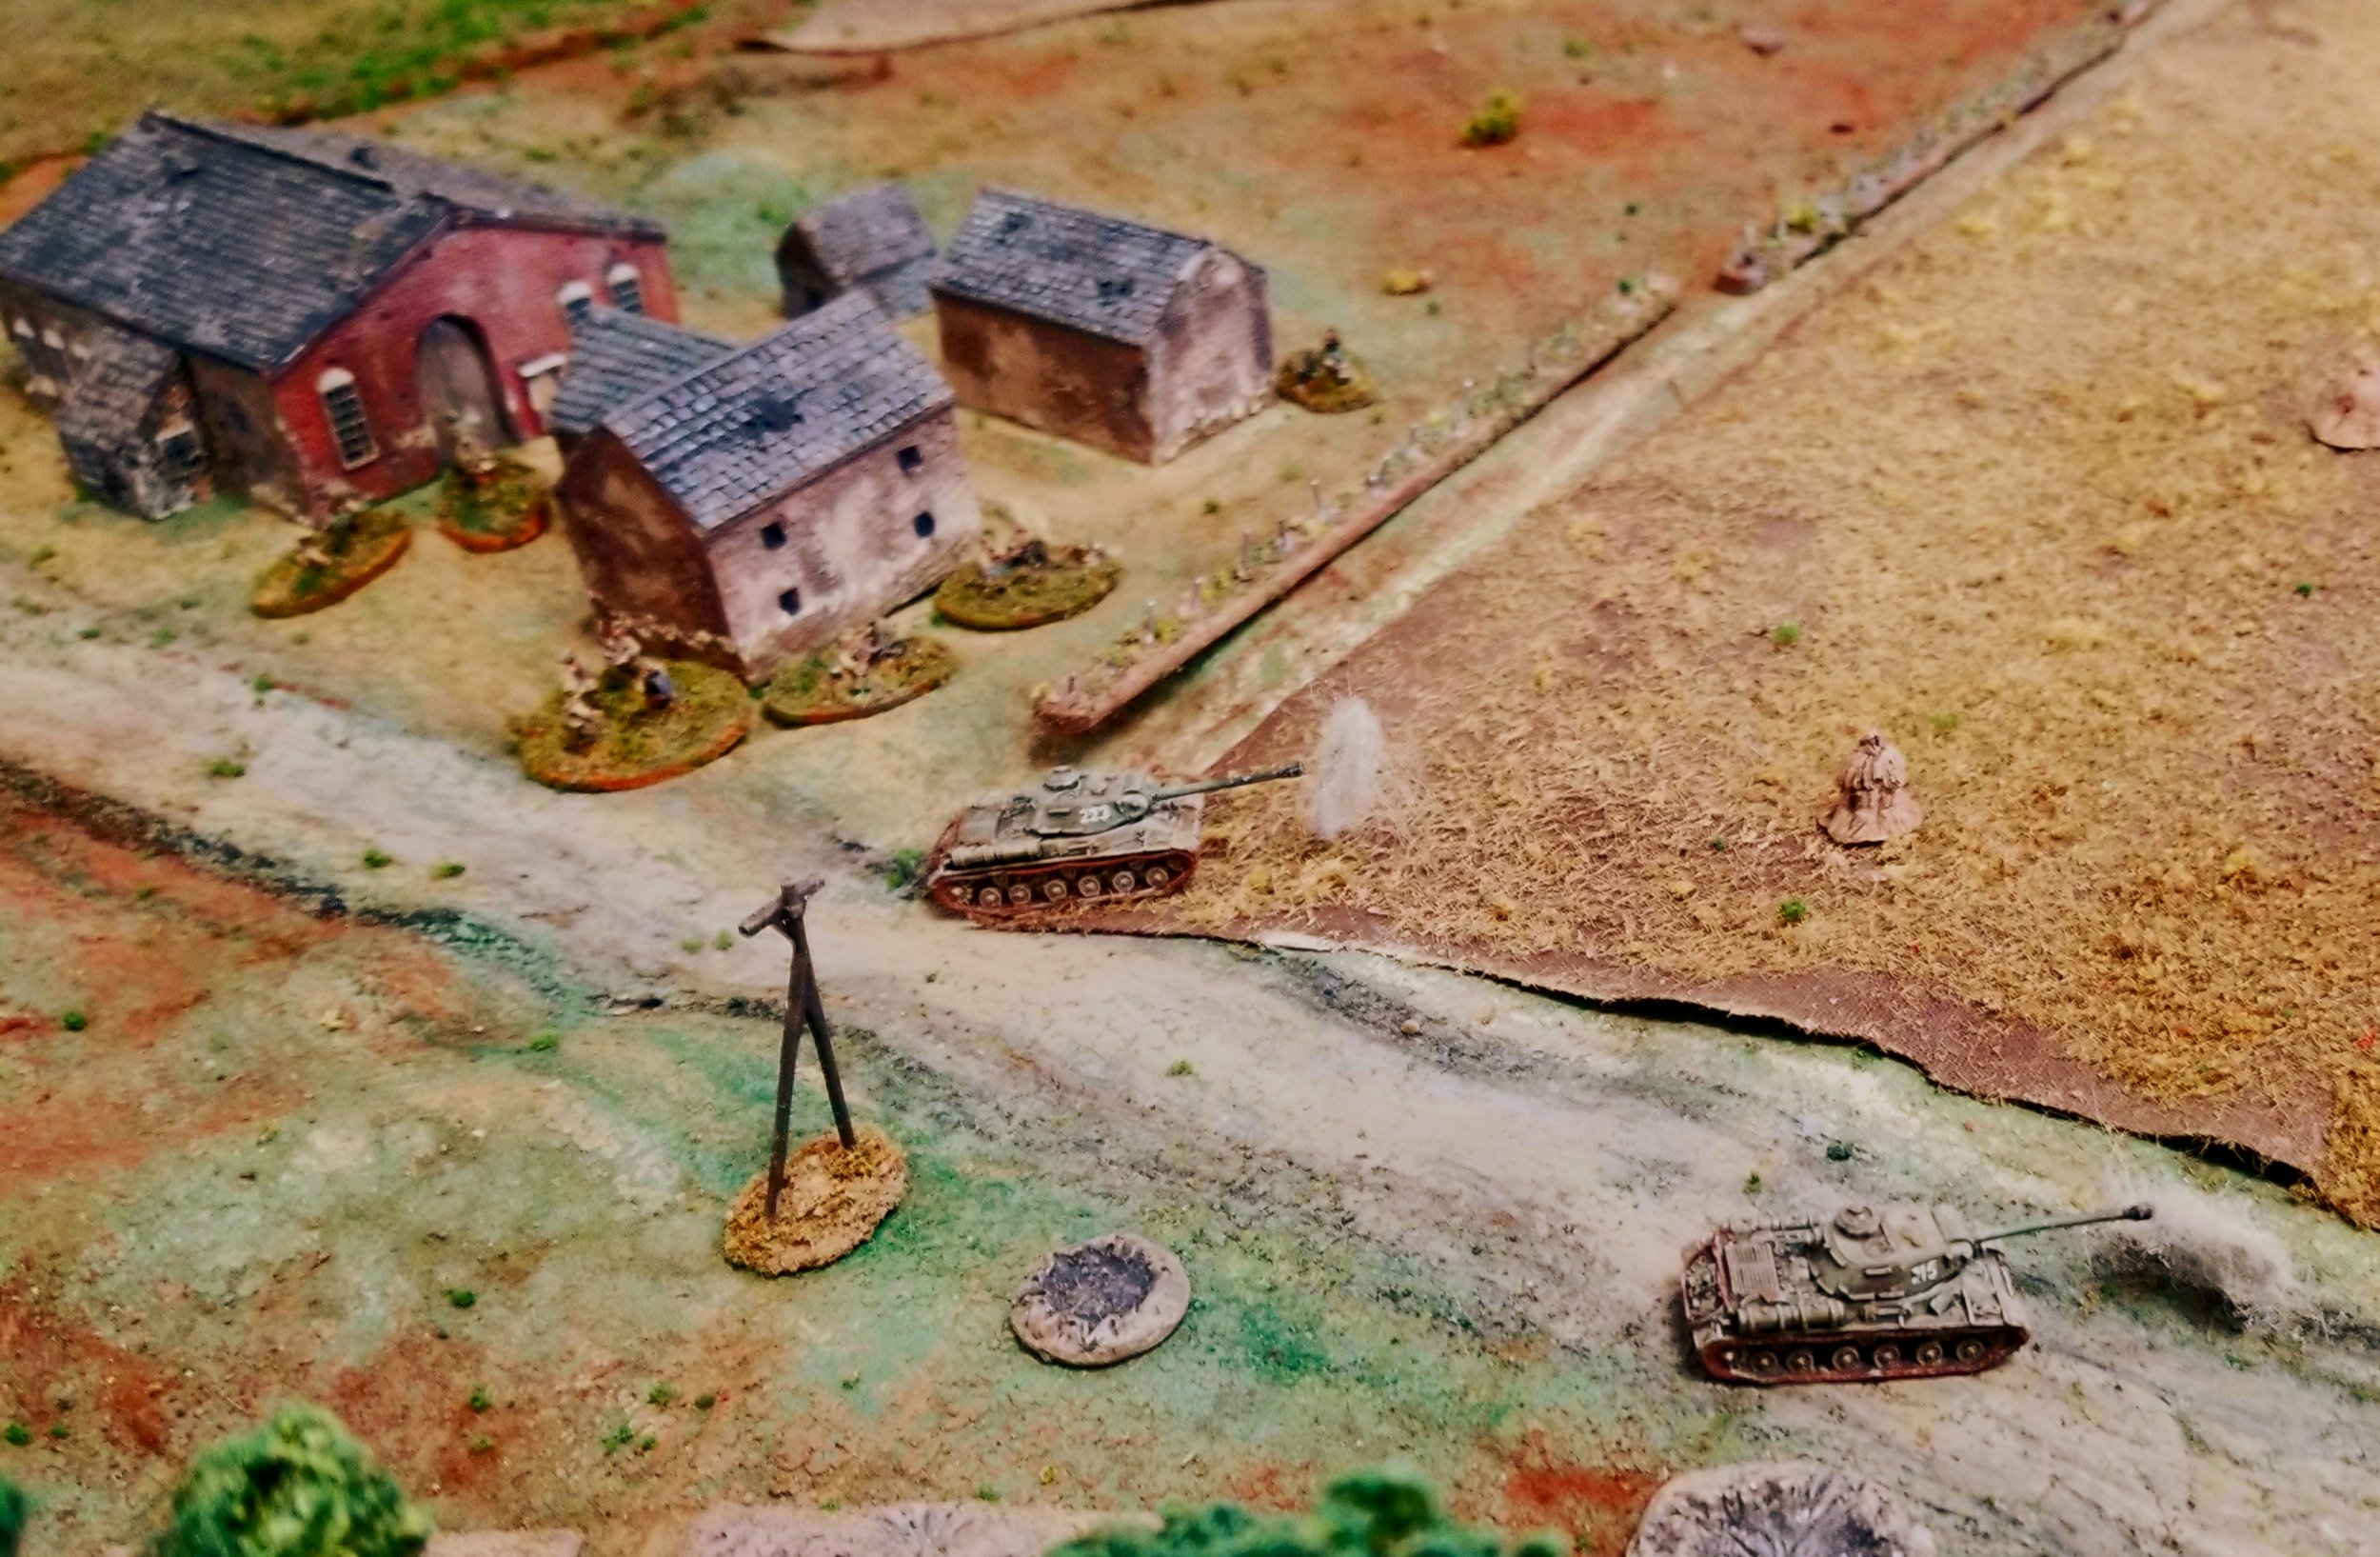
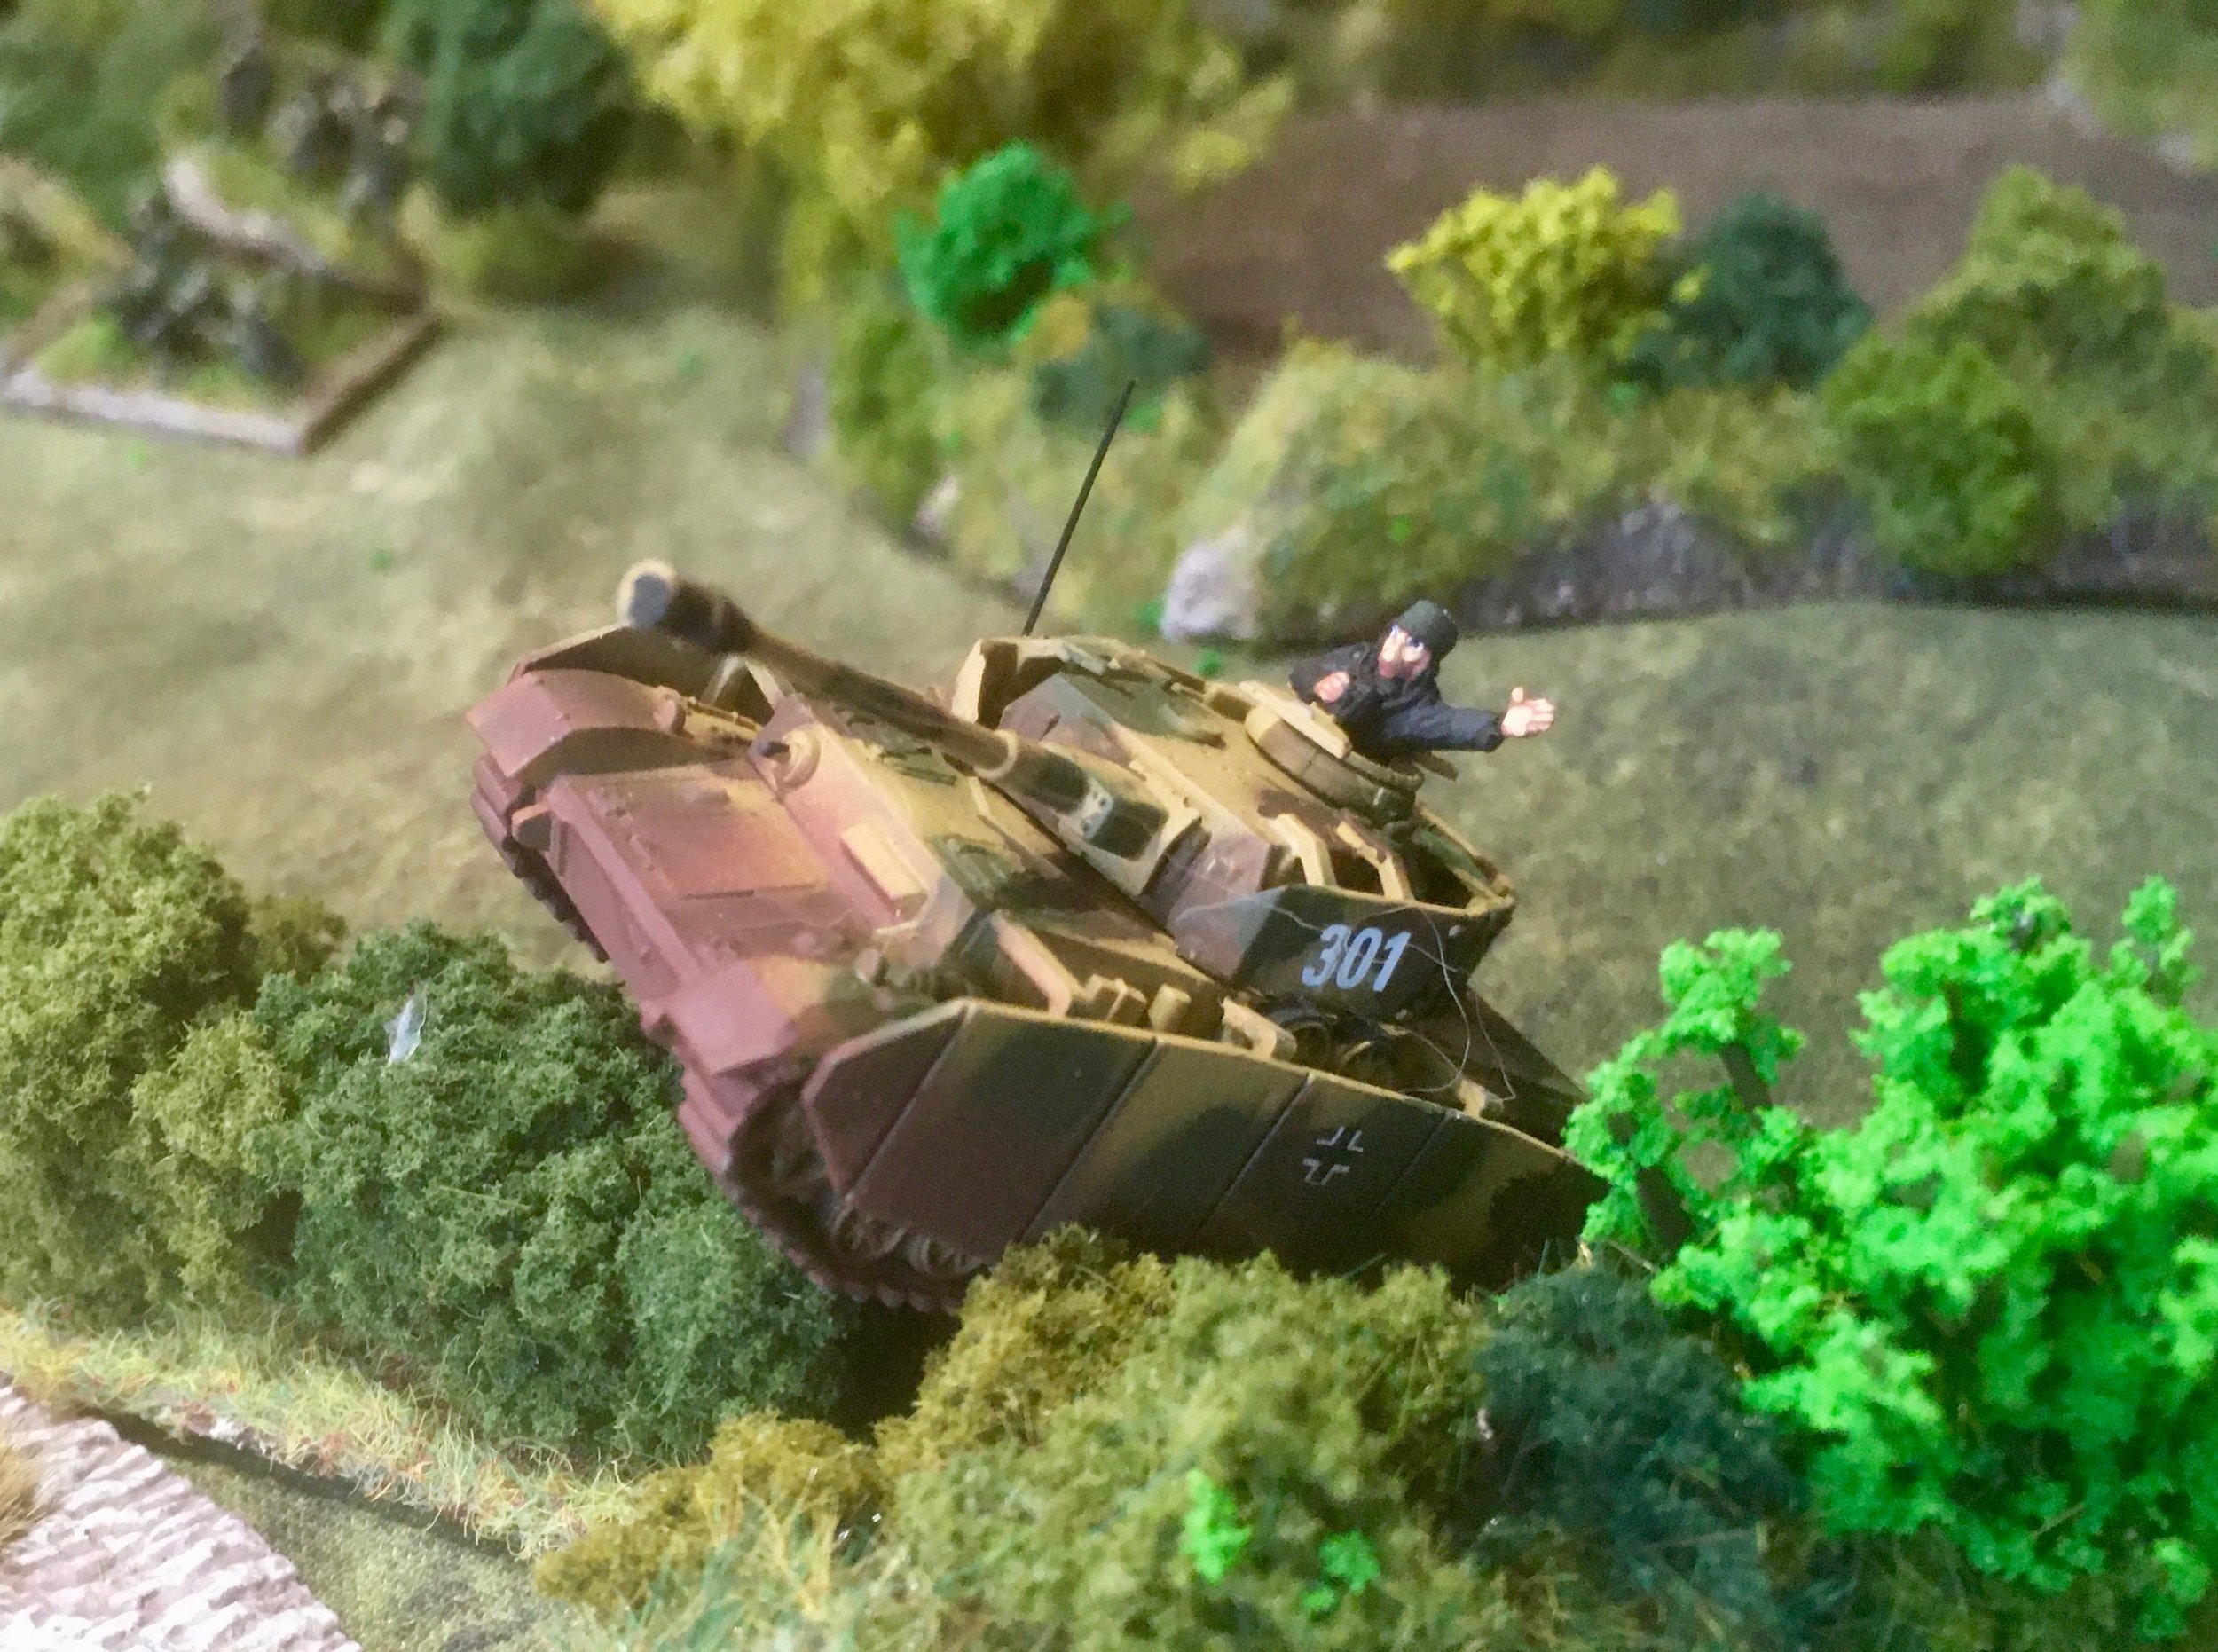
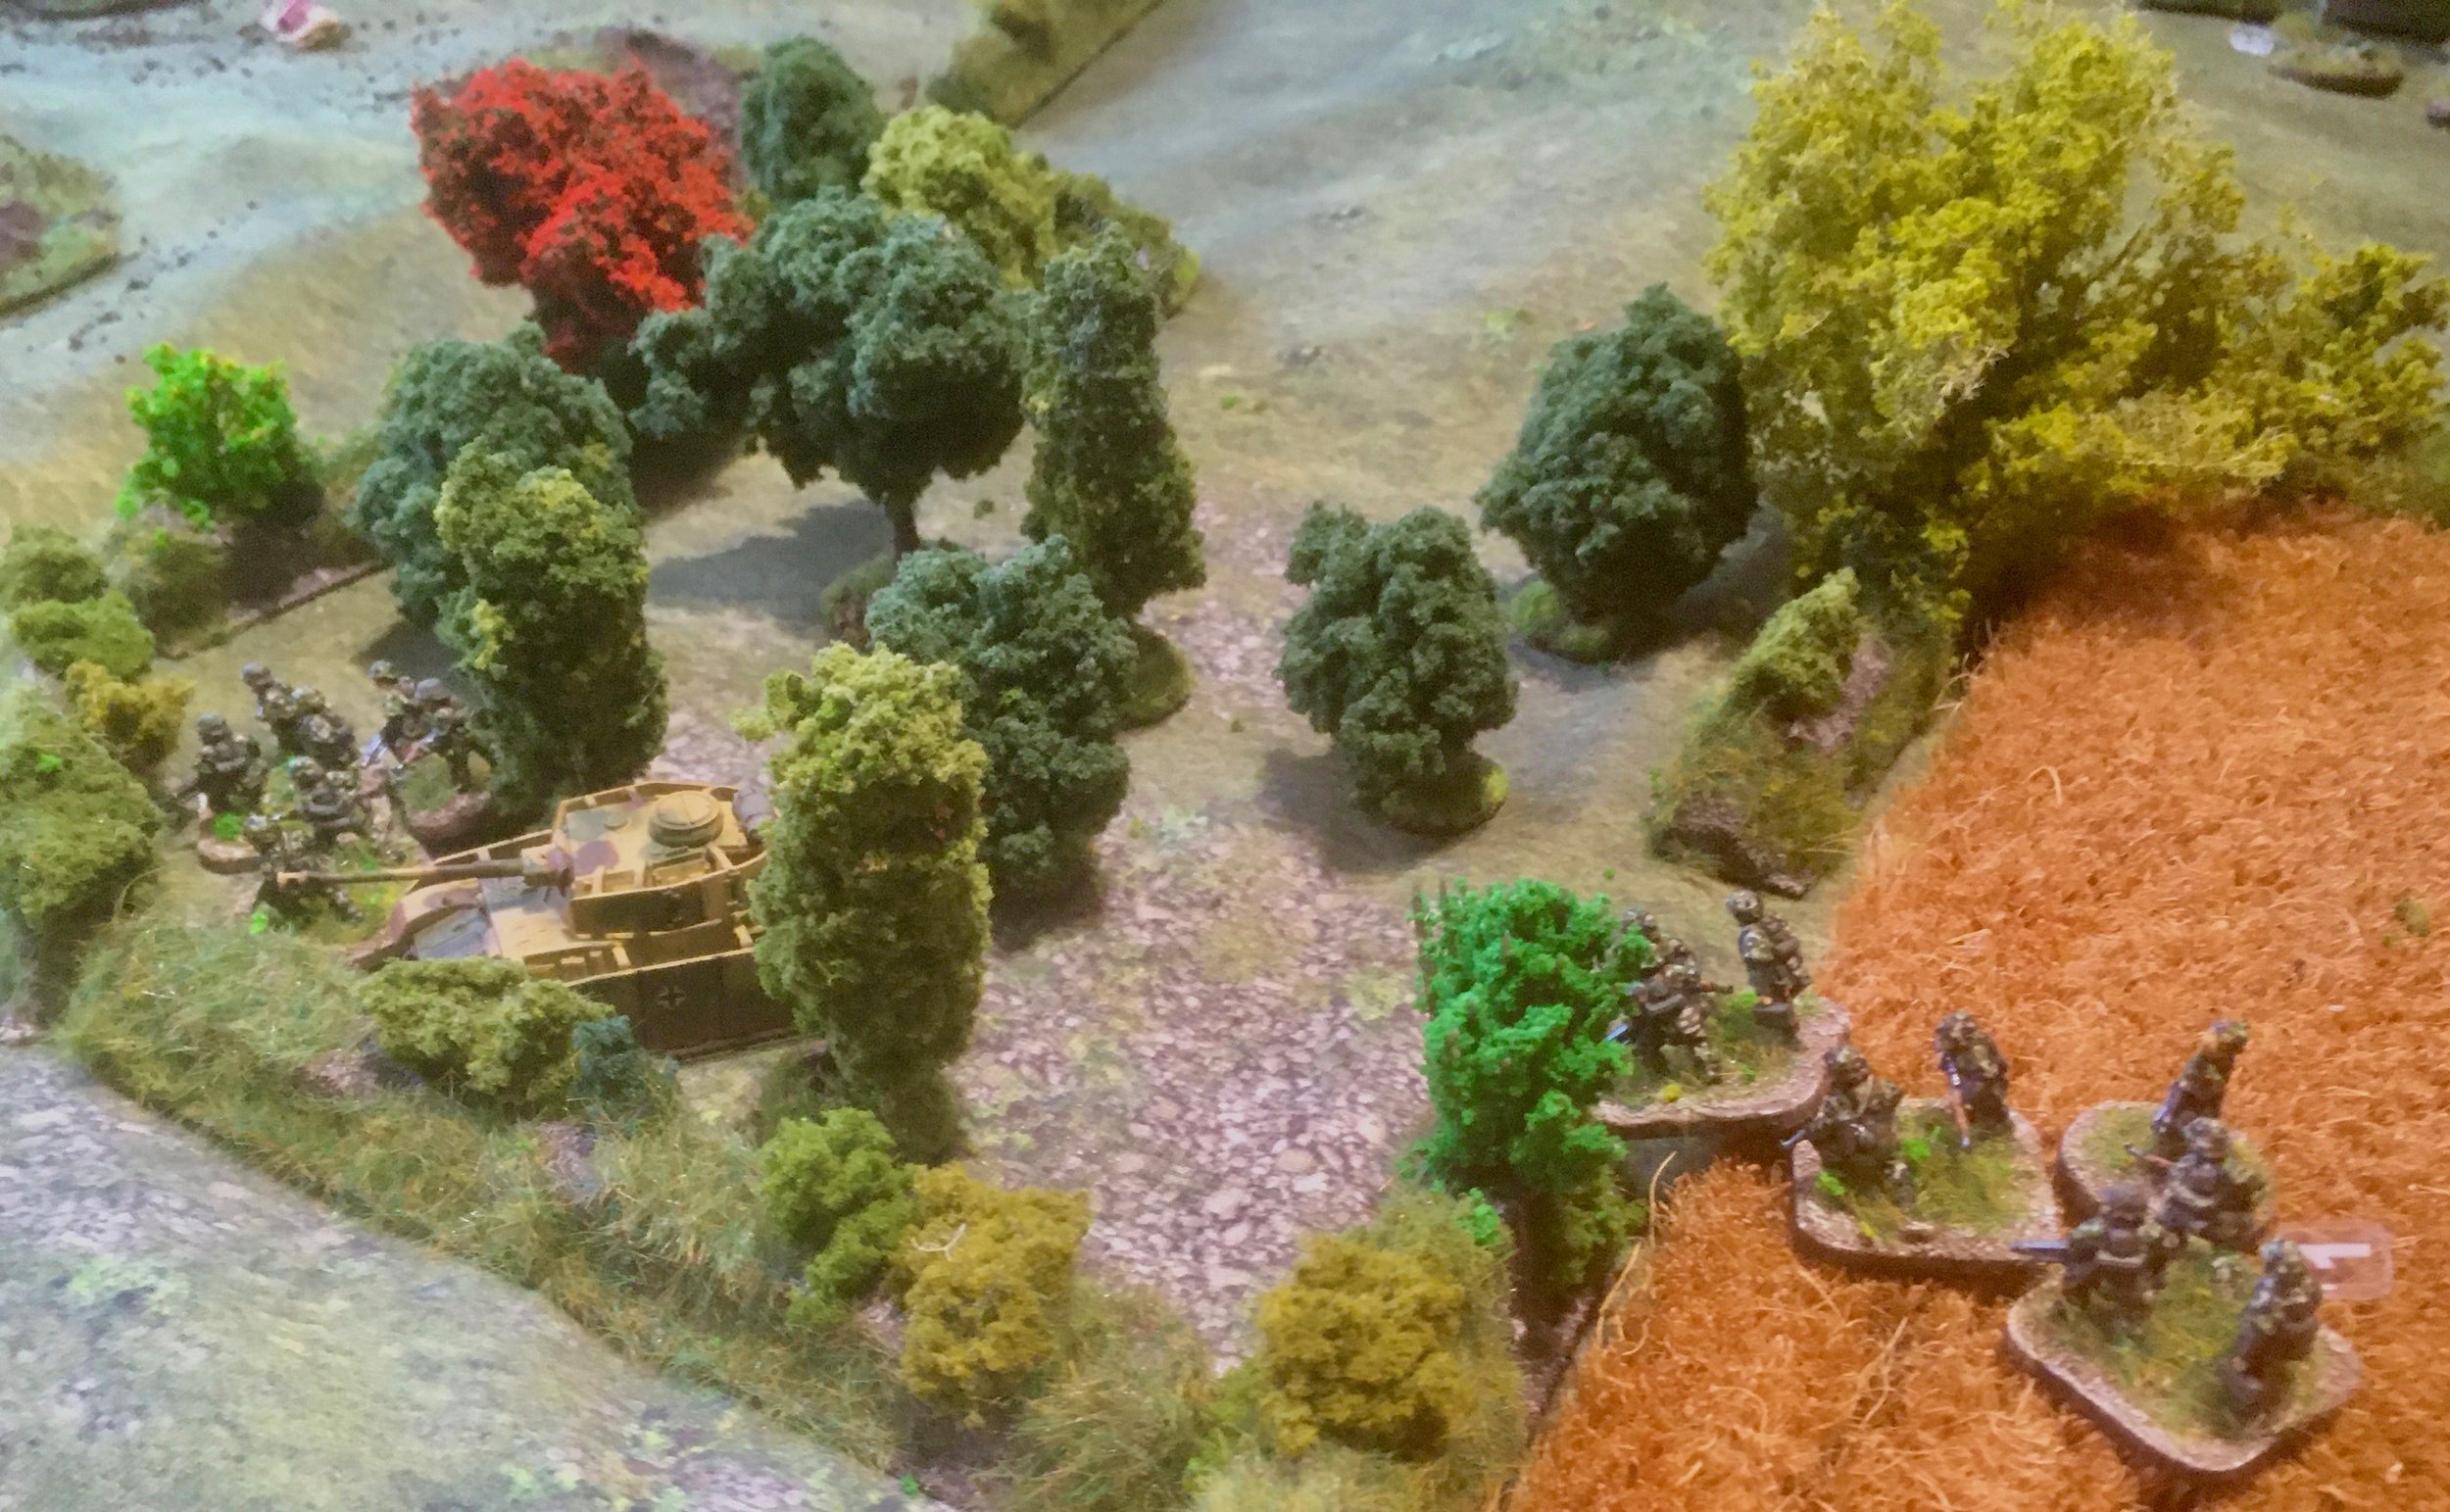
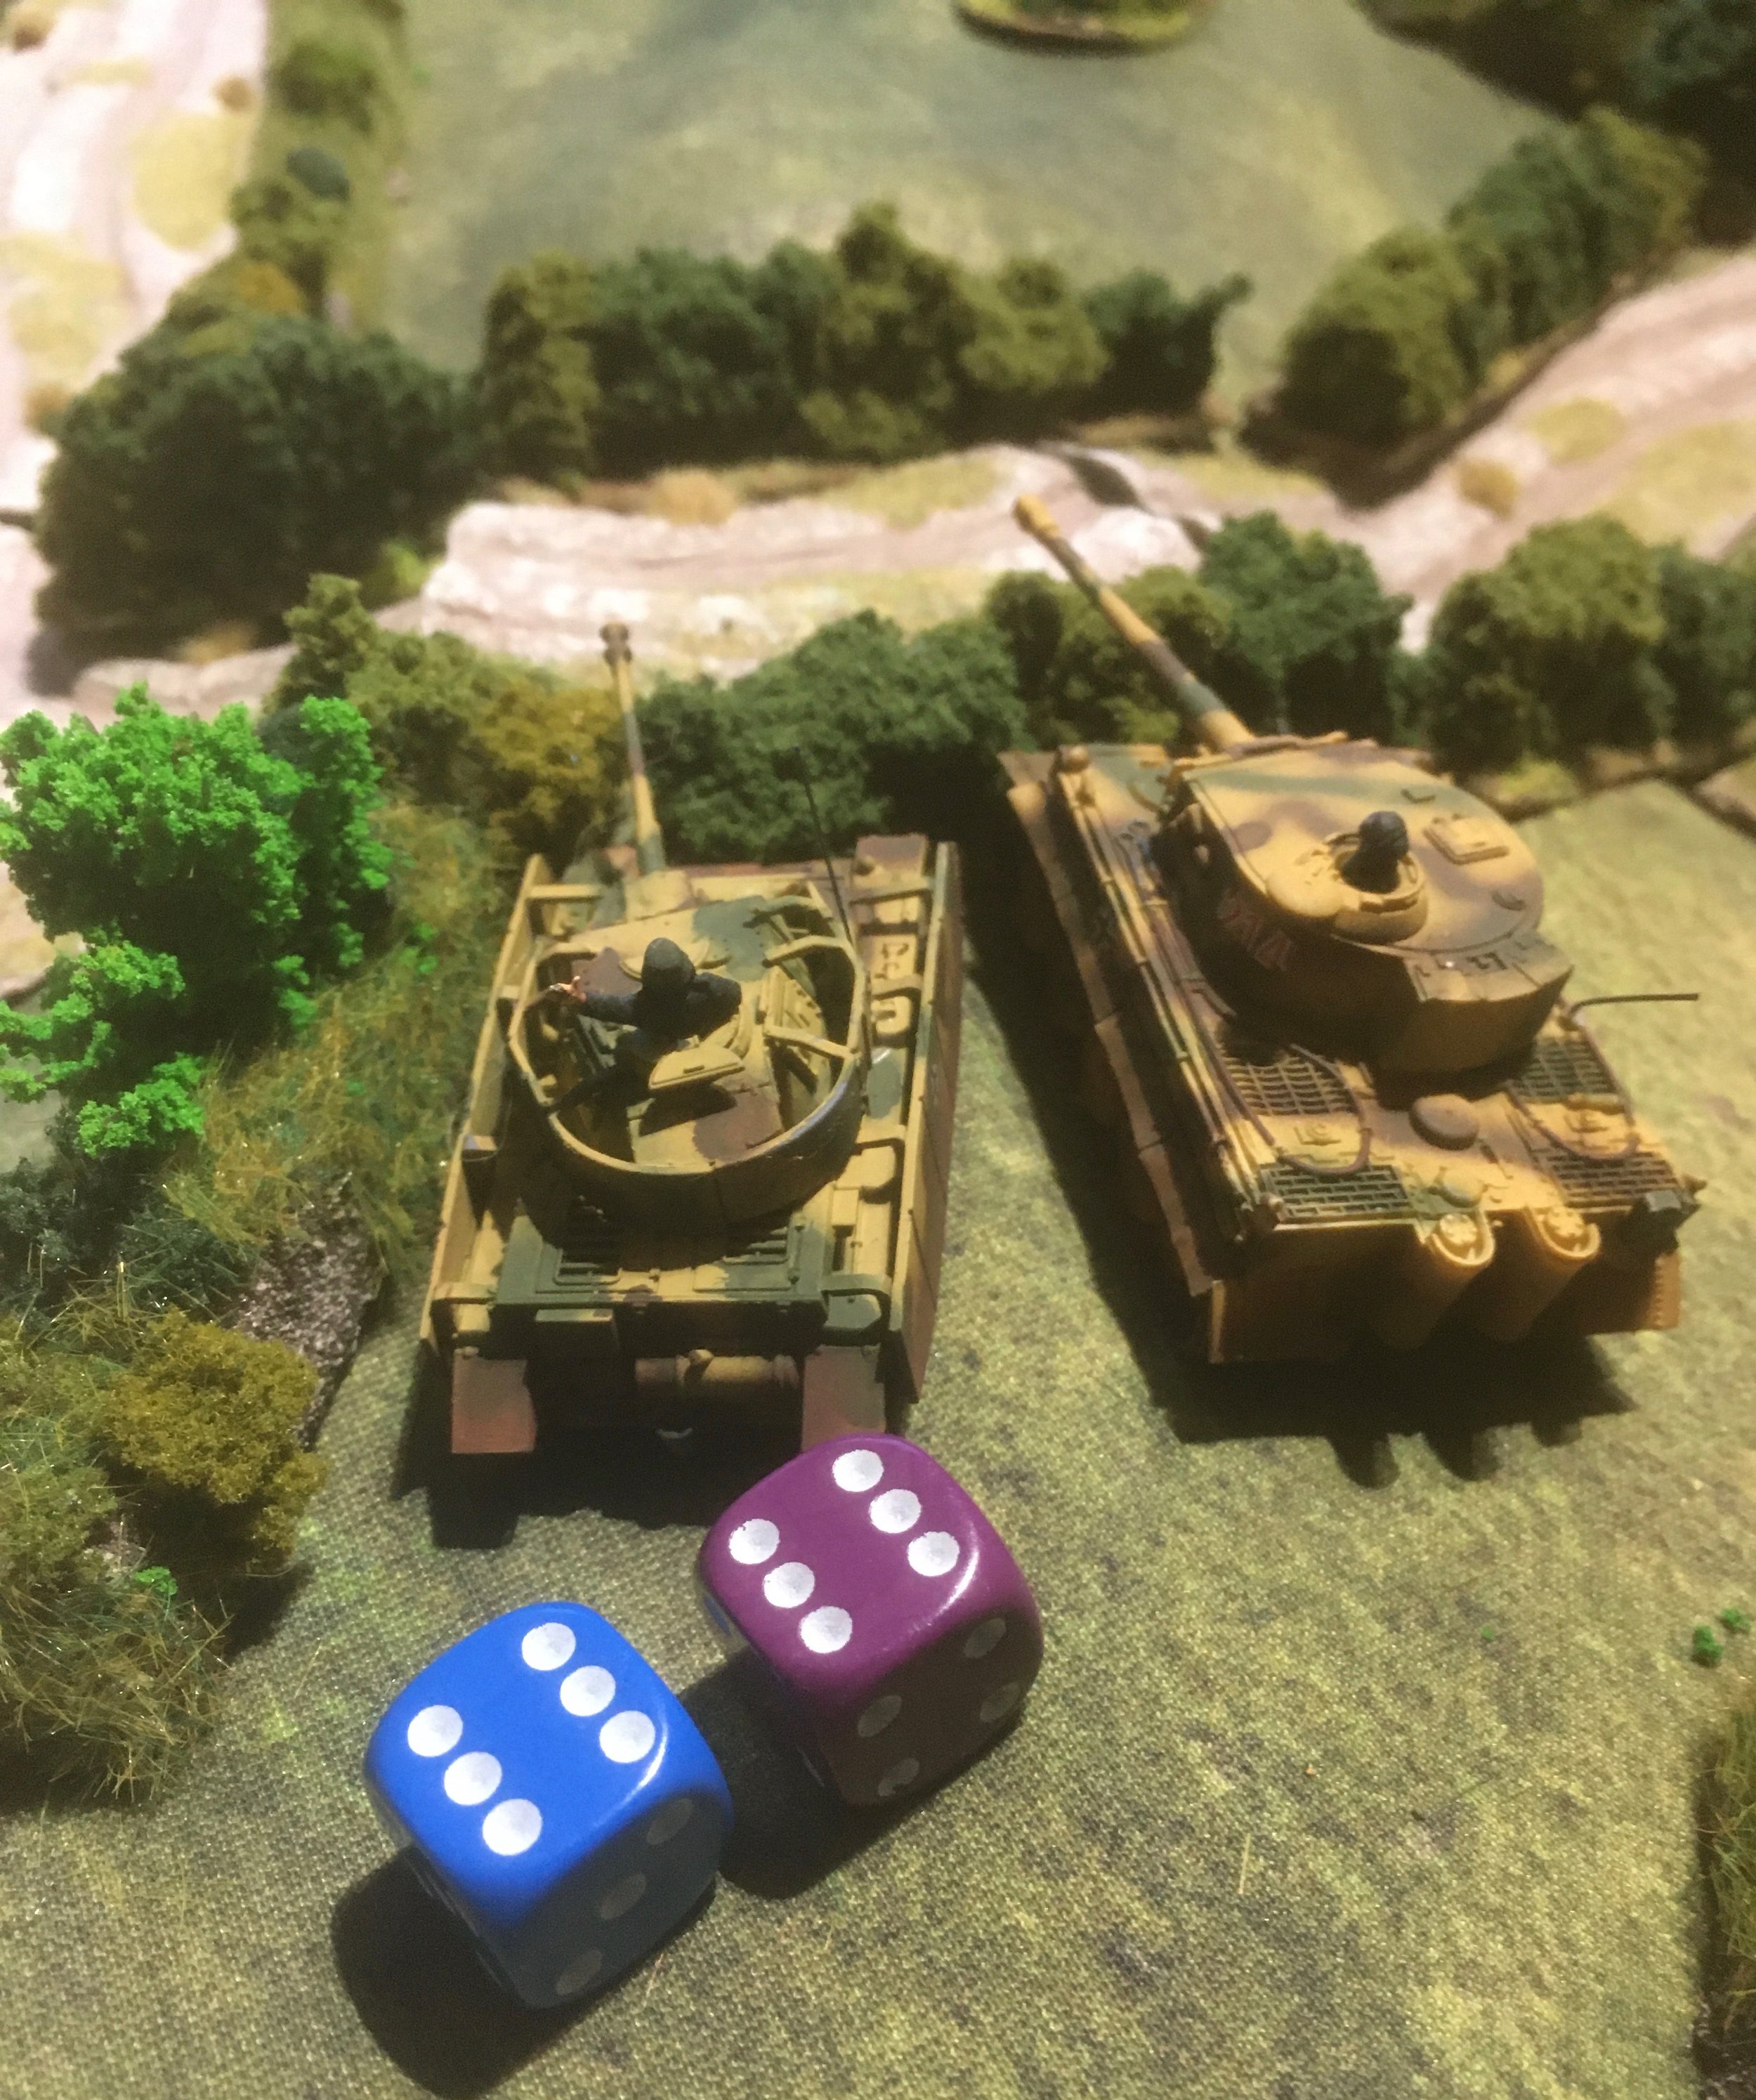
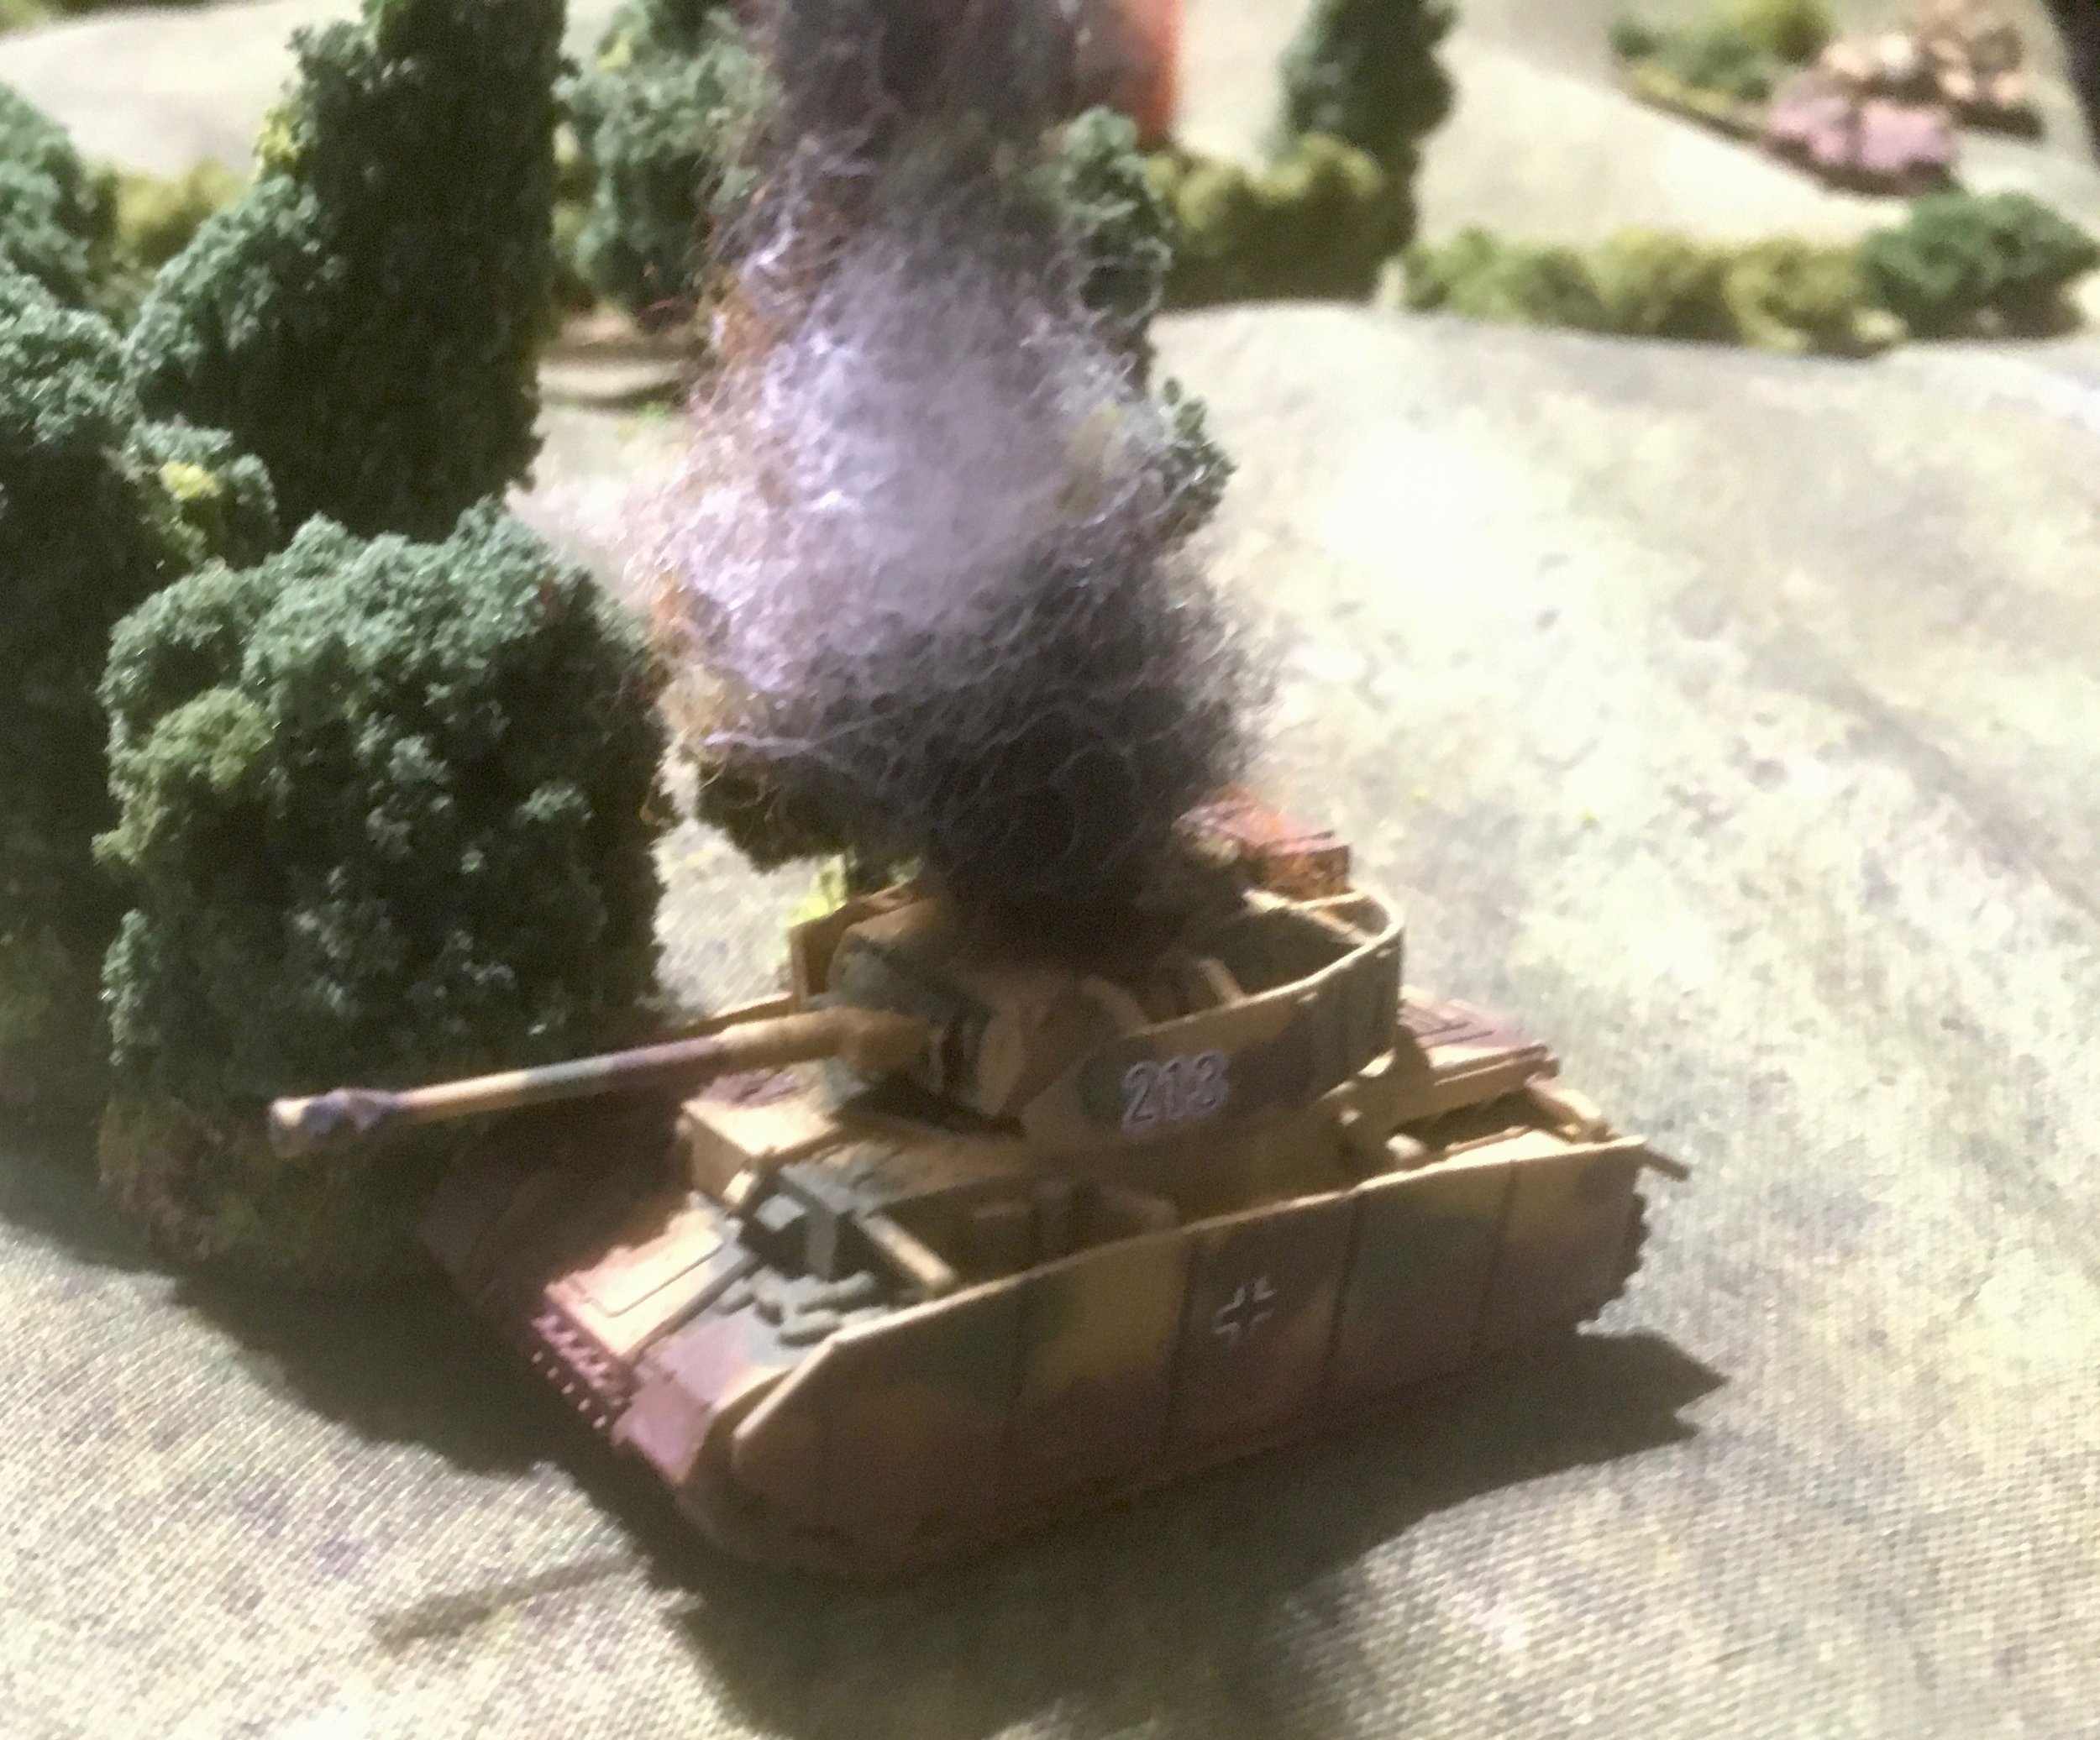
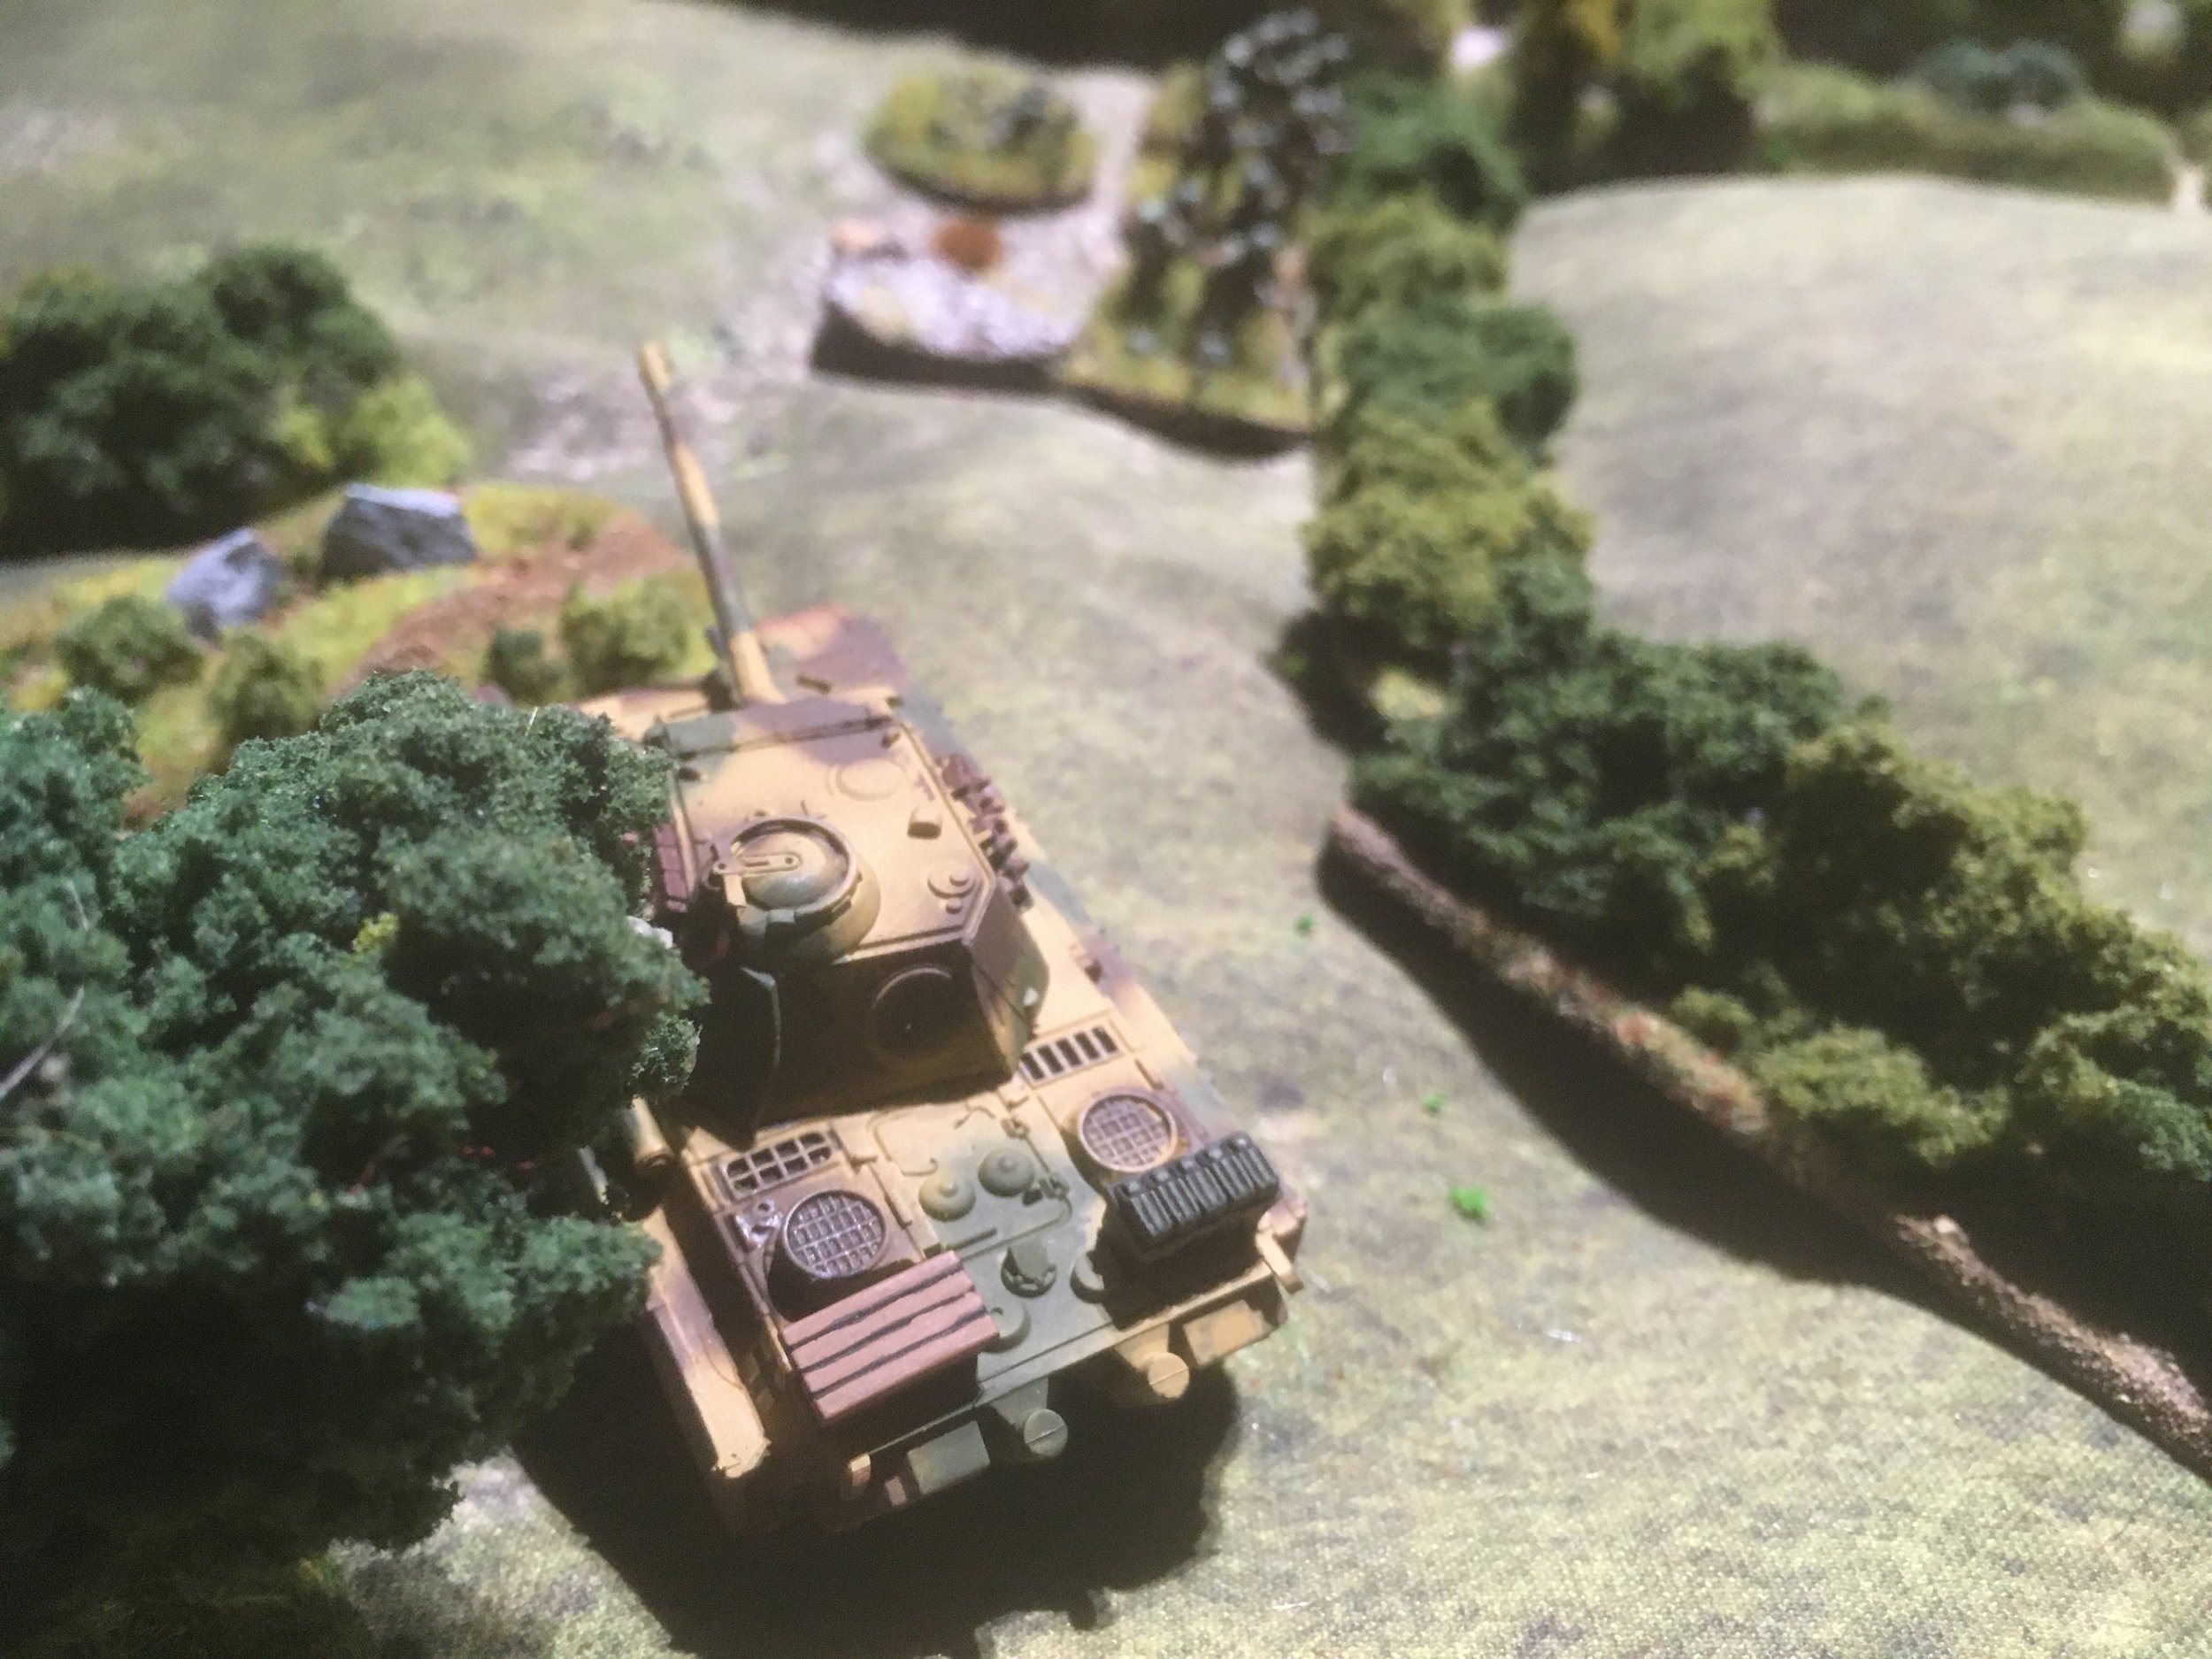
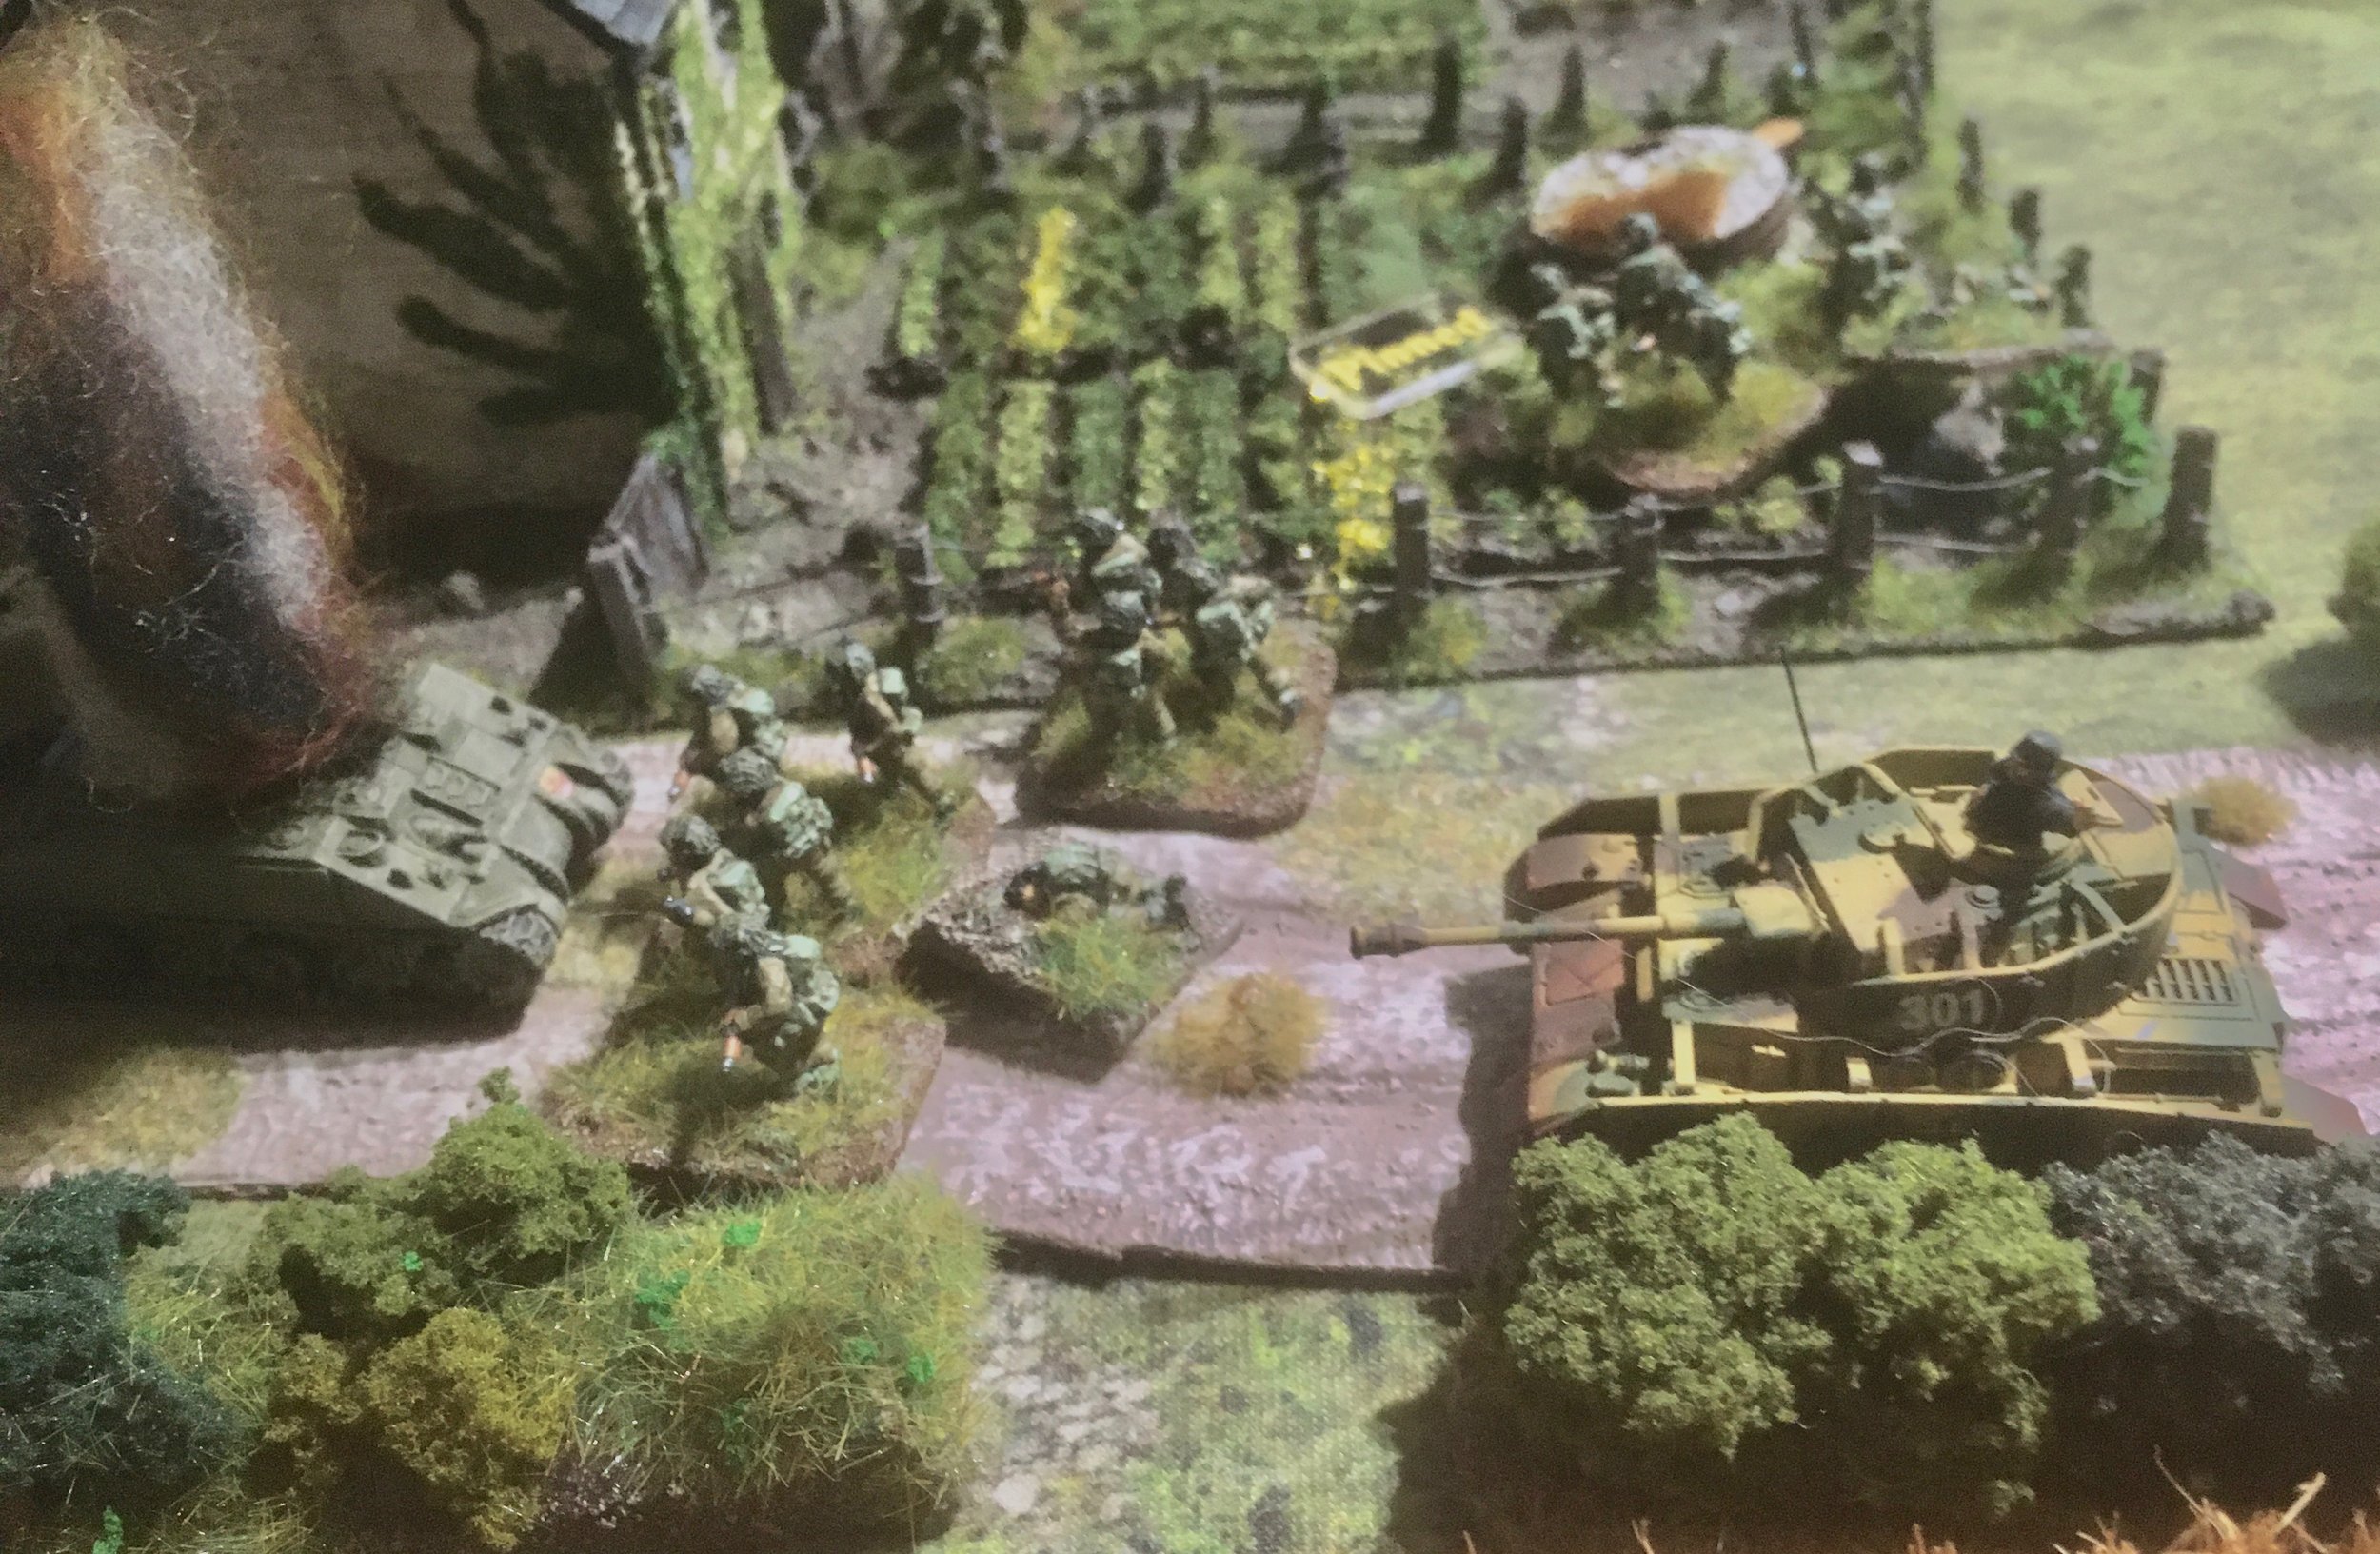
The two supporting Churchill tank troops lumbered forward and finished off the last of the defenders in the first hedgerow - after one tank shrugged off 3 hits from a Pak 40!
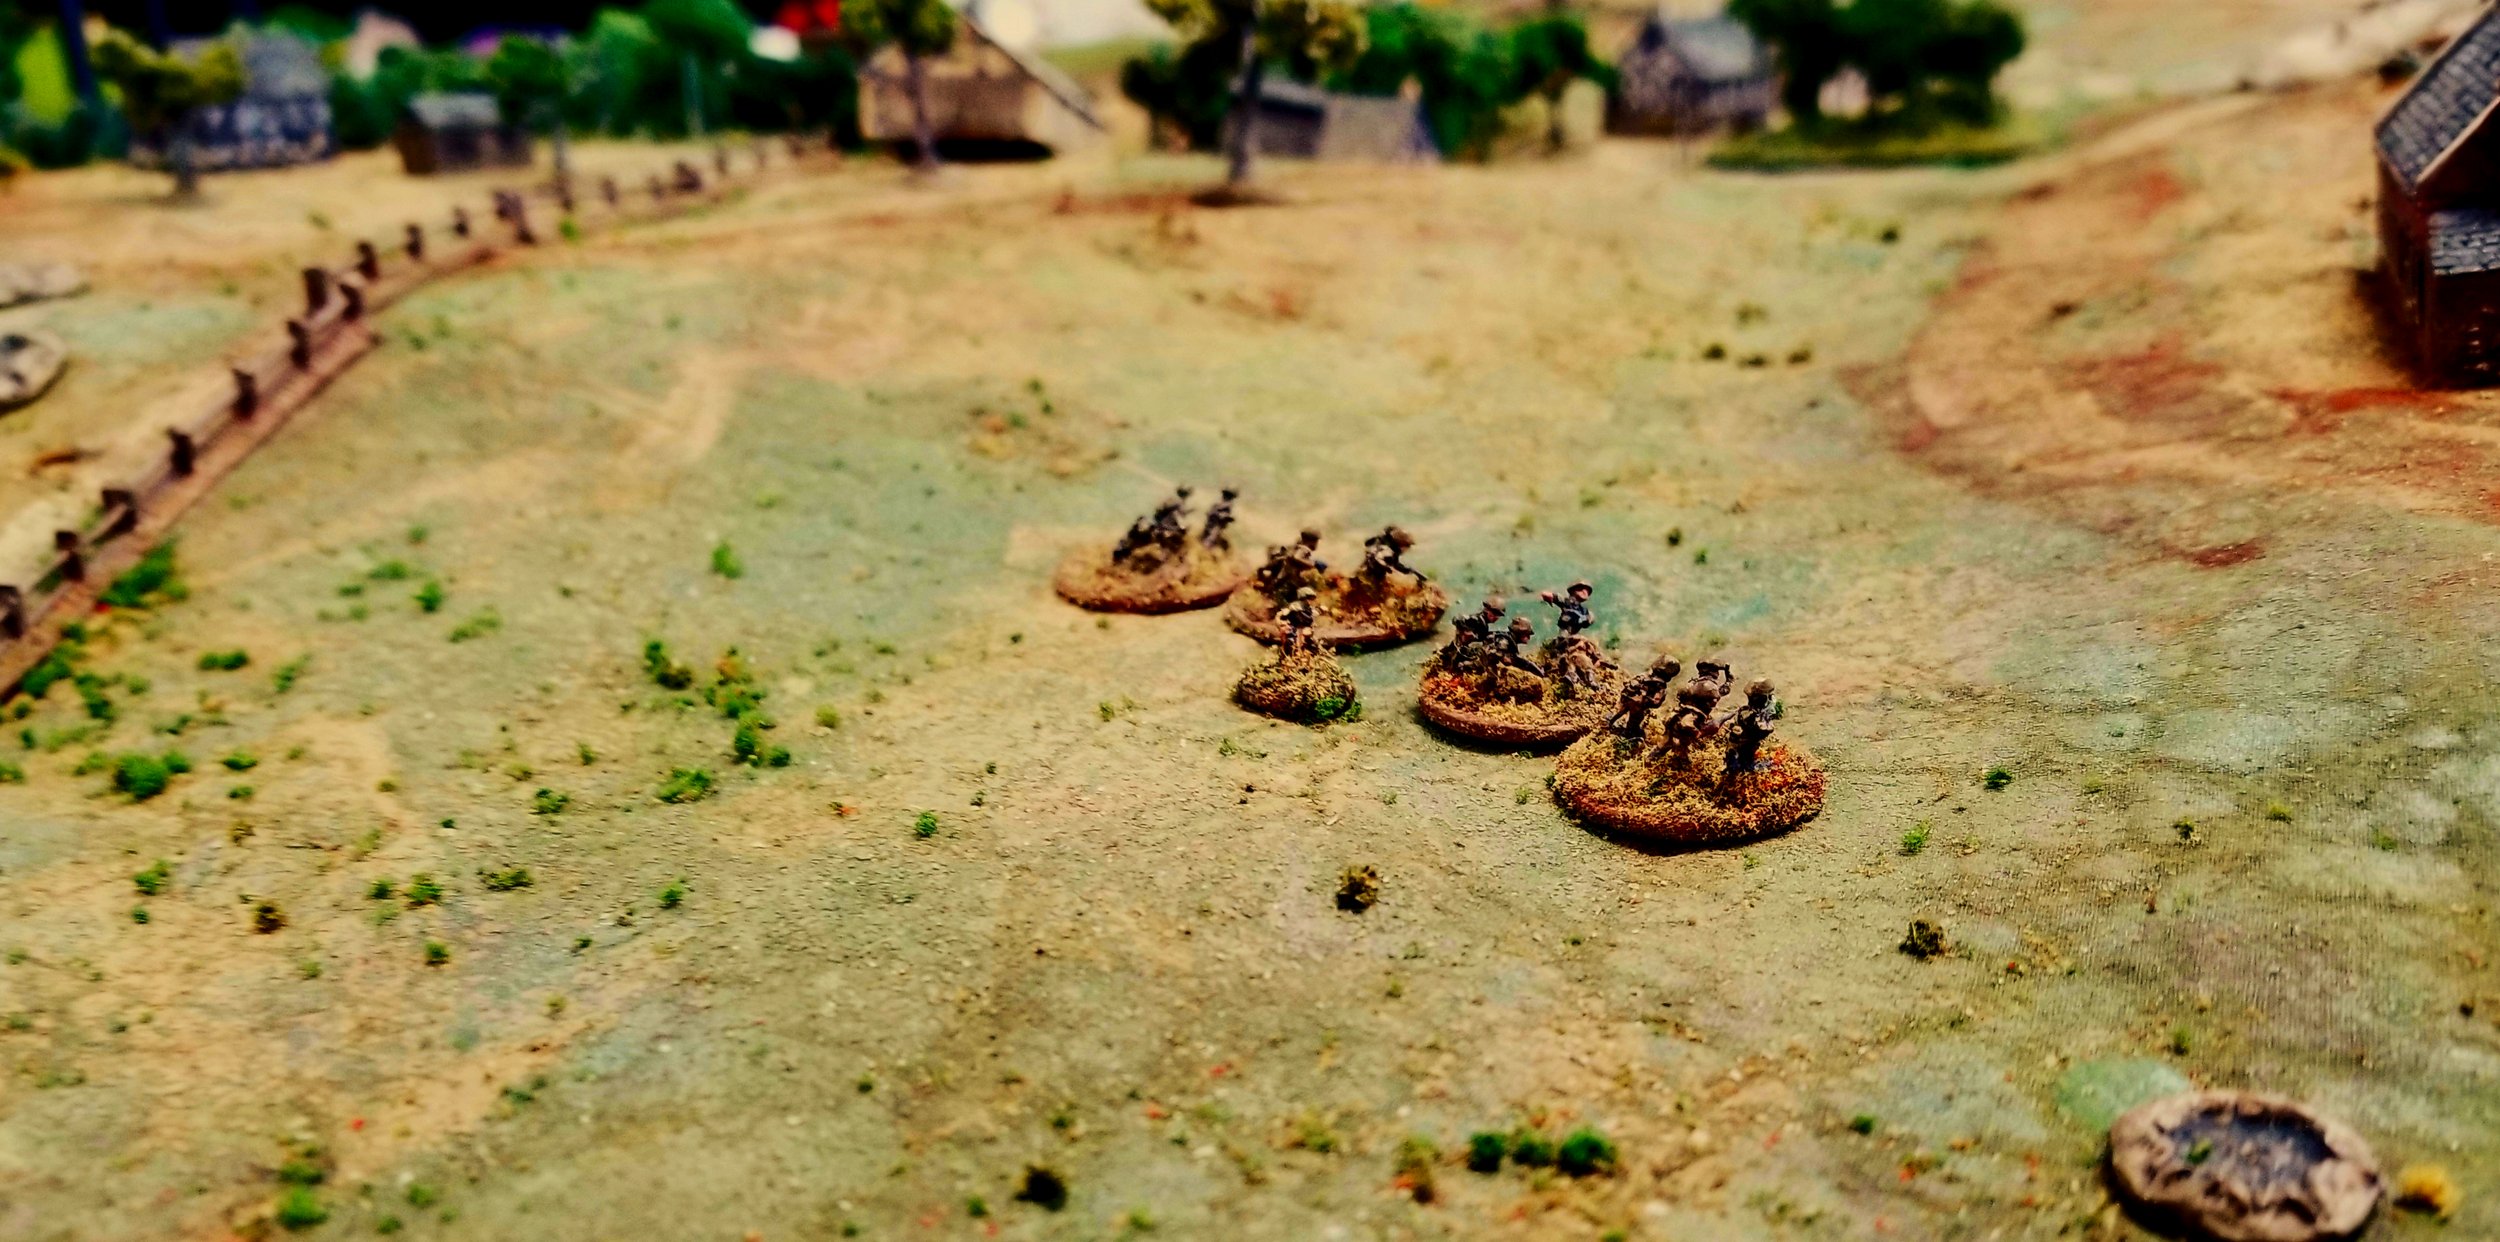
The firefight went to and fro with the infantry on both sides struggling to retain control of the farm buildings, but the sheer weight of fire of the Churchill's gradually wore down the SS defenders and they were eventually forced to retreat, with 2/3rds losses, but not before a parting mortar barrage on the farm.
Victory for the British but it took longer and was a much bloodier fight than it's historical counterpart.
Matt Clark

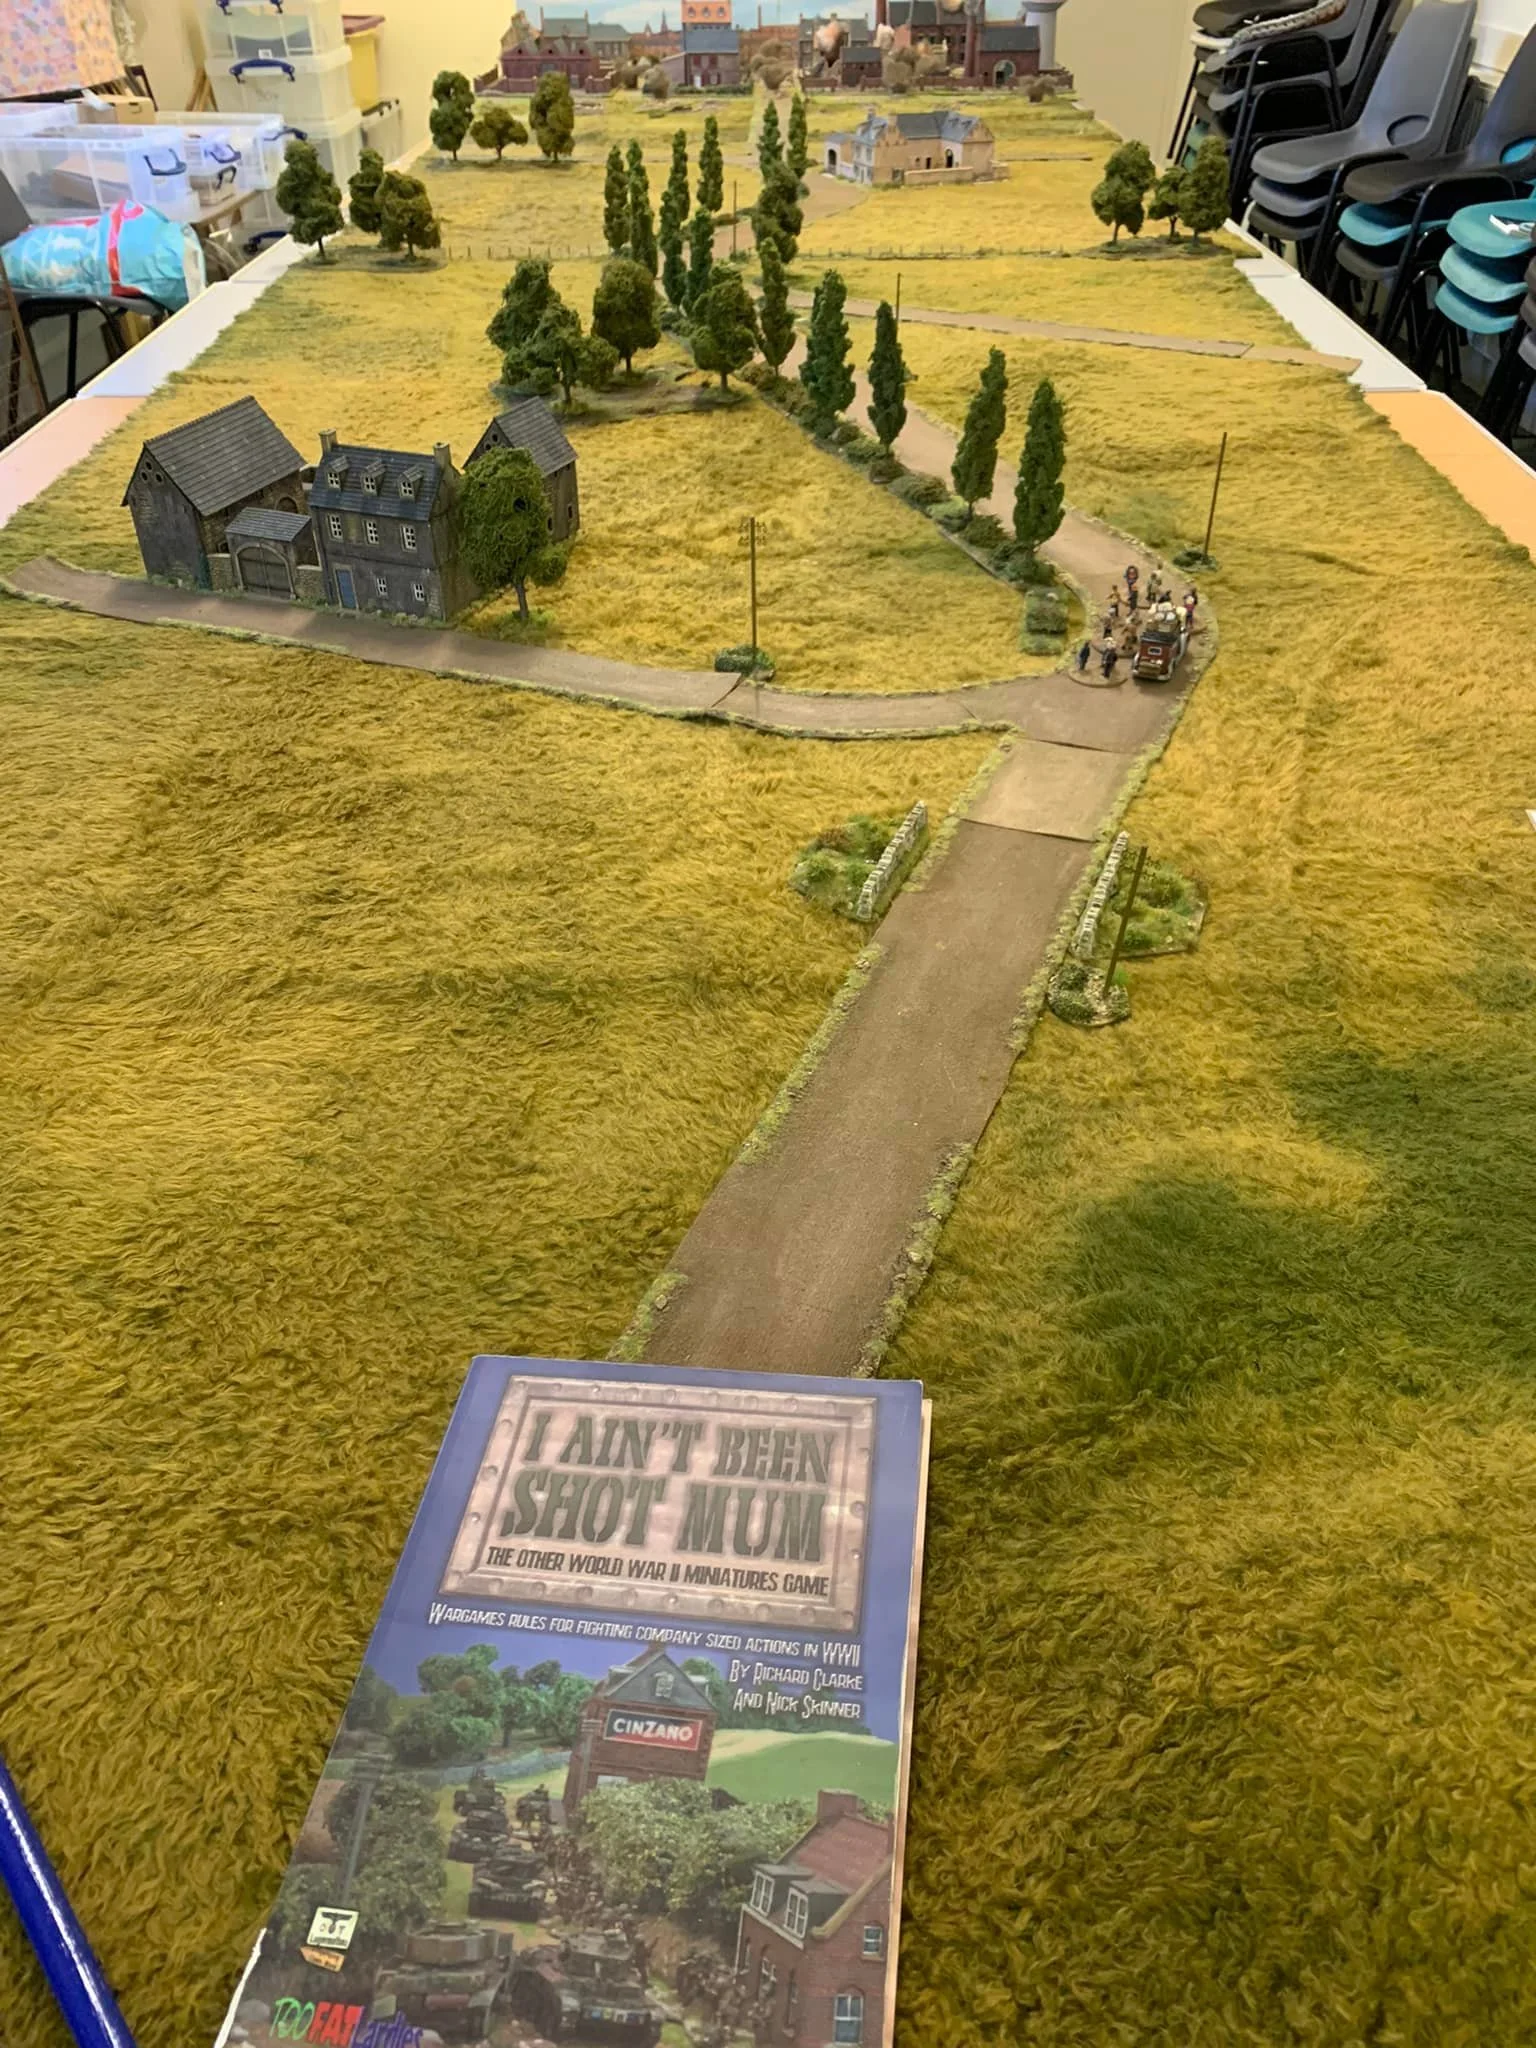
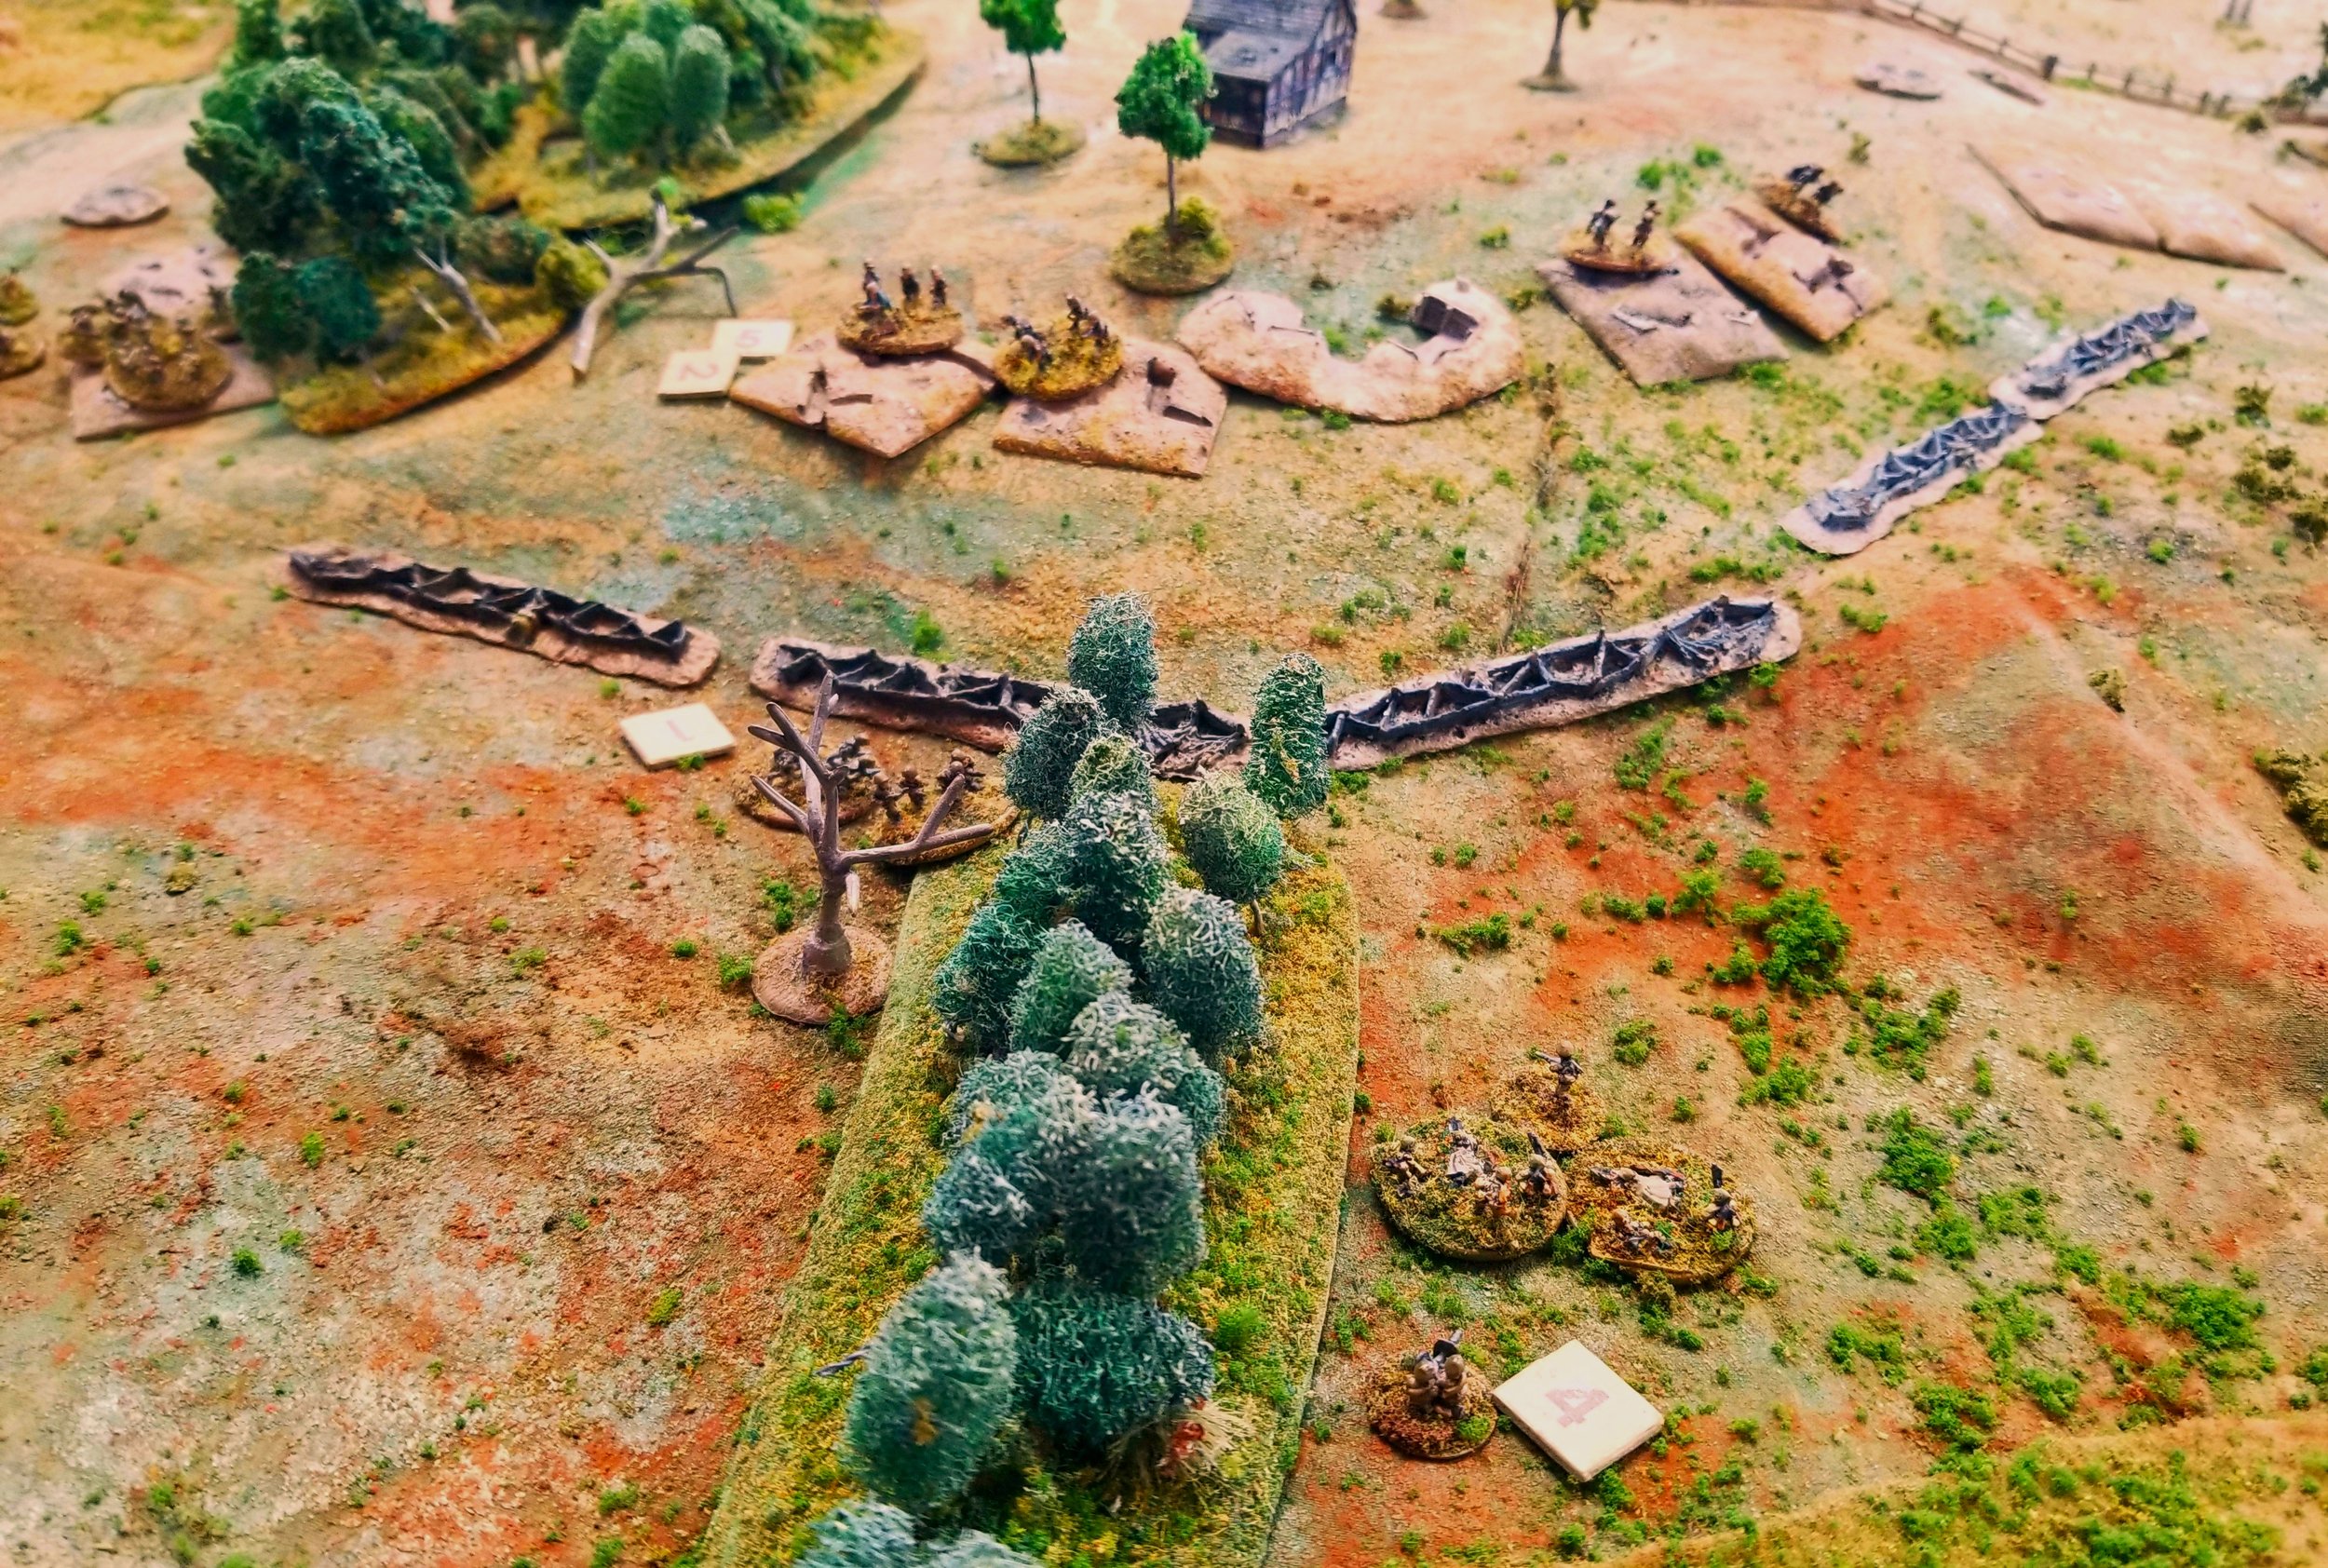
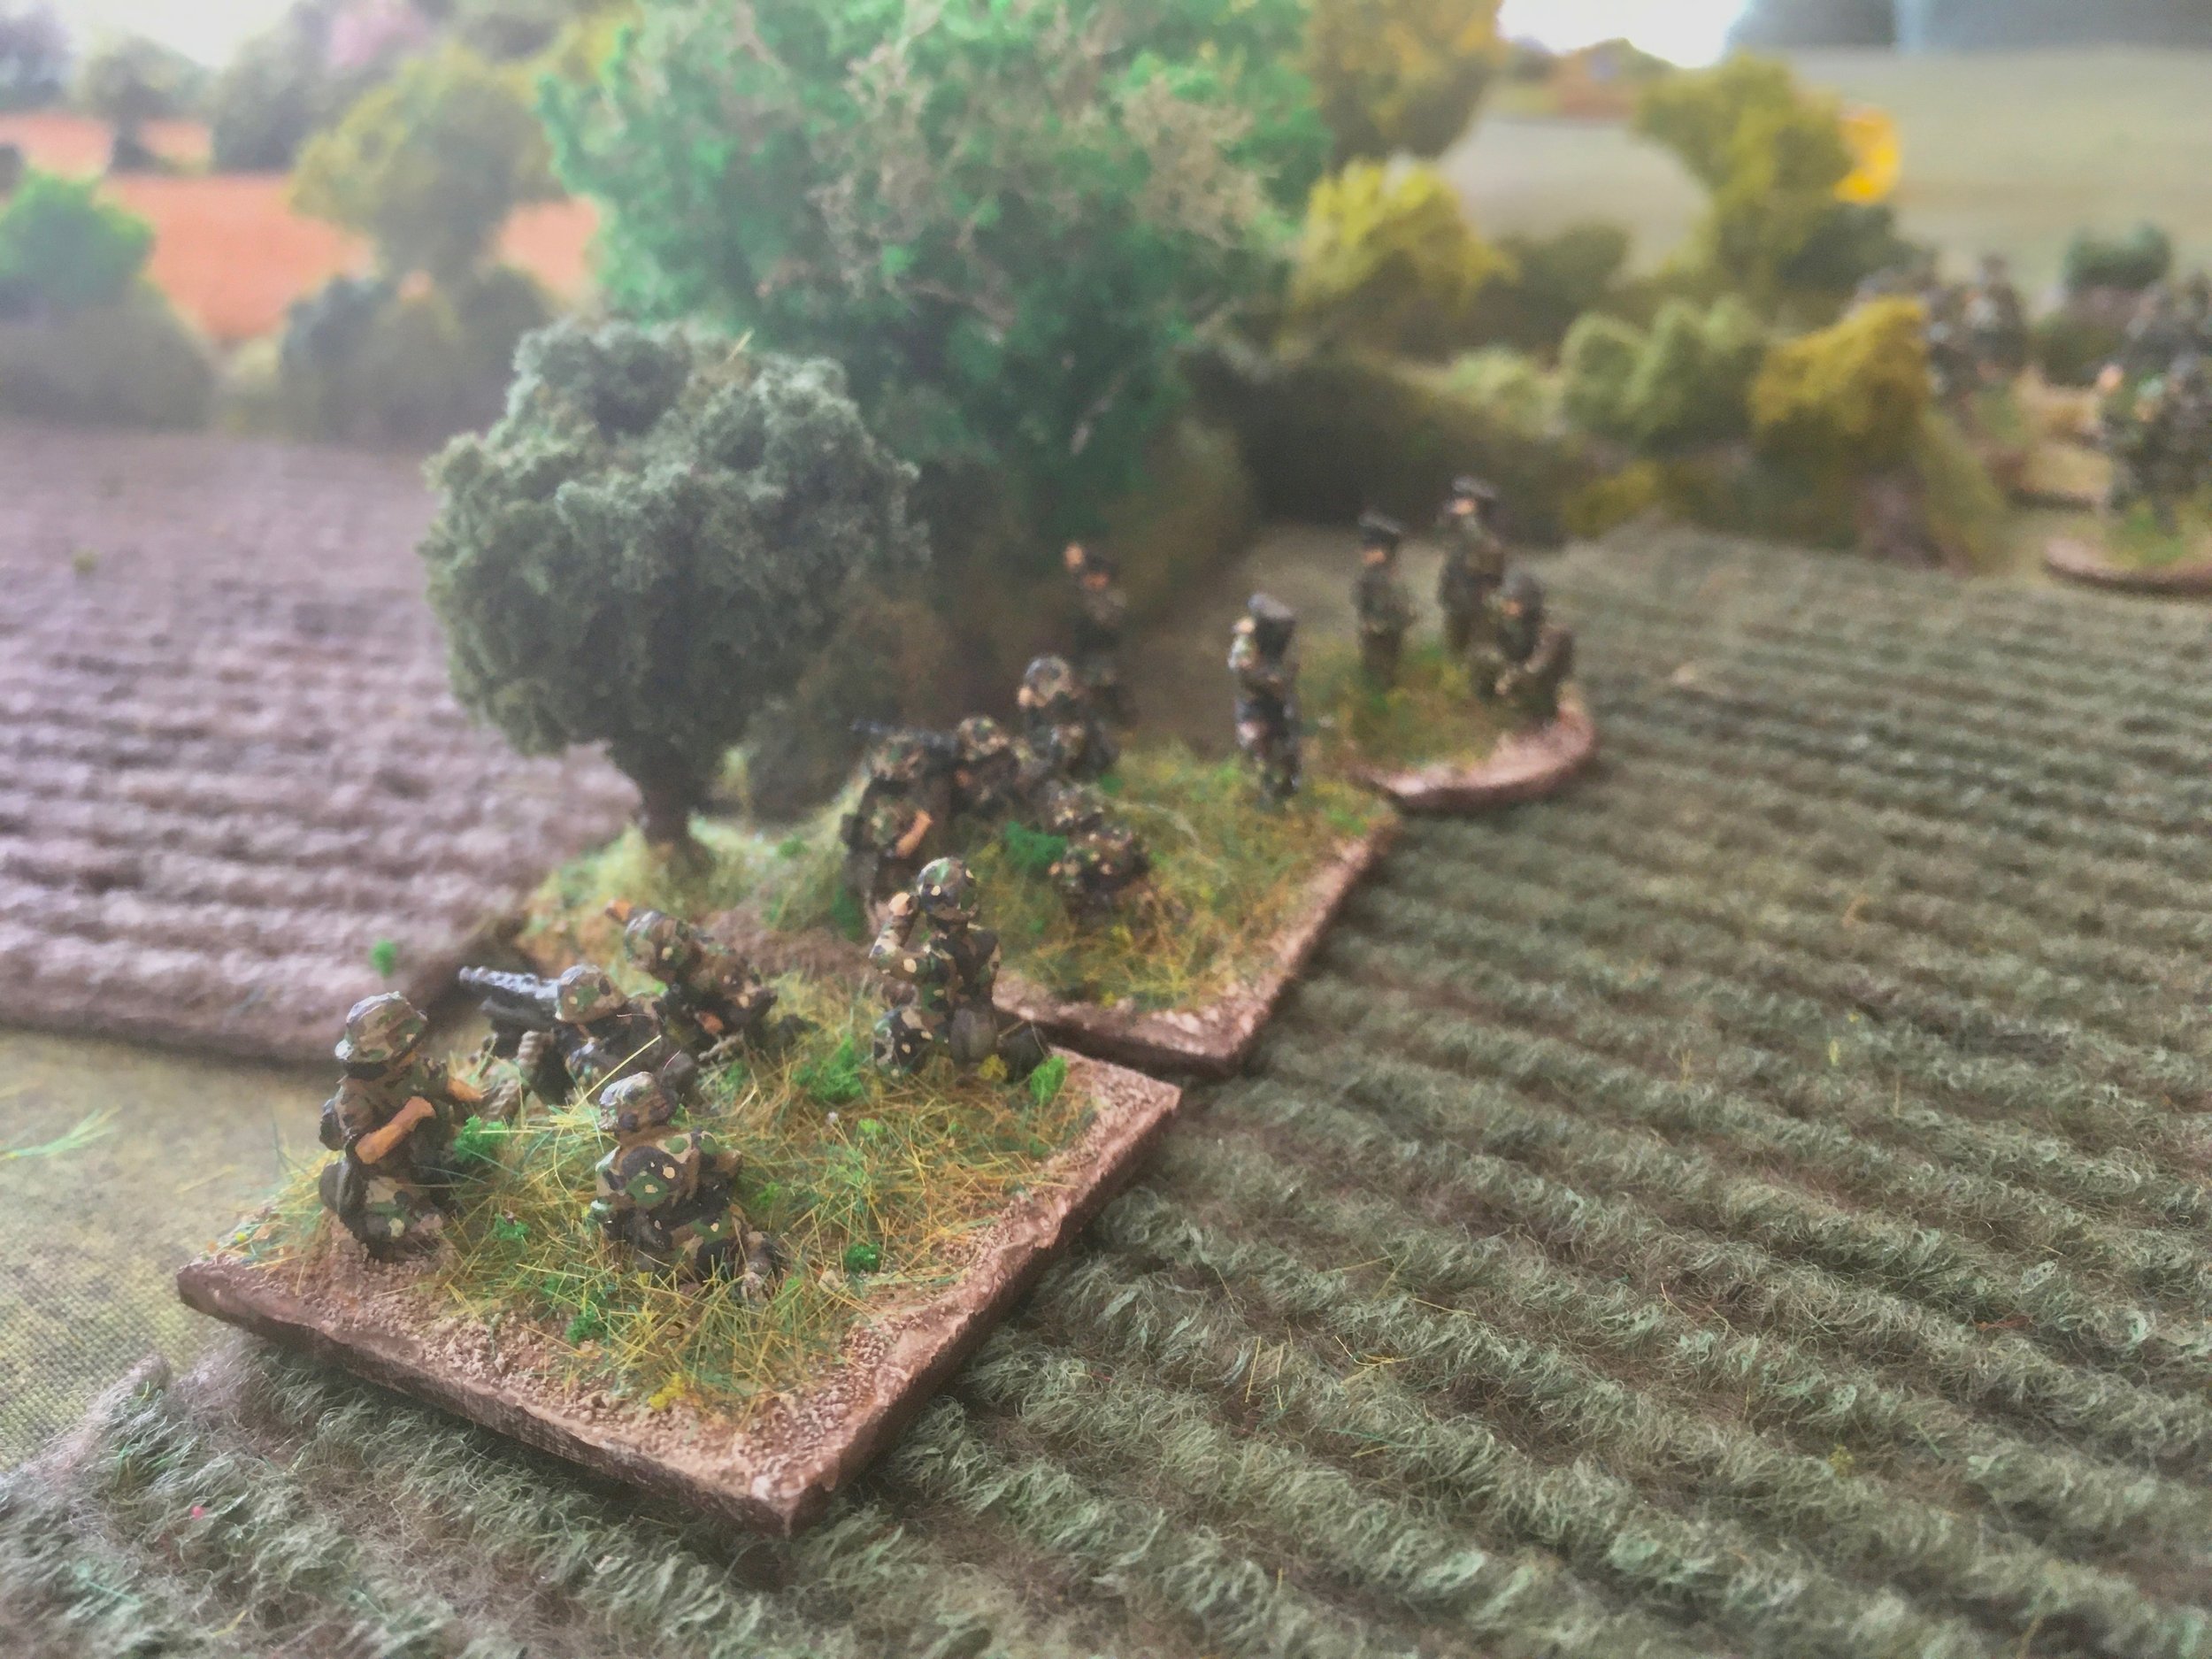
Testing out a 1944 Scenario using TFL’s I Ain’t Been Shot Mum rule set.
The Sherwood Rangers Yeomanry in action at Gheel, Belgium in September 1944. This action was a diversion/ precursor attack to Market Garden. Unusually for me, I played the defending Germans comprising a reduced strength company supported by a platoon of Jadgpanthers.
The Rangers squadron was supported by a full strength company of the Durham Light Infantry.
The table size was 8 feet by 6 feet and the figures were 1/72 scale.
Tim Whitworth
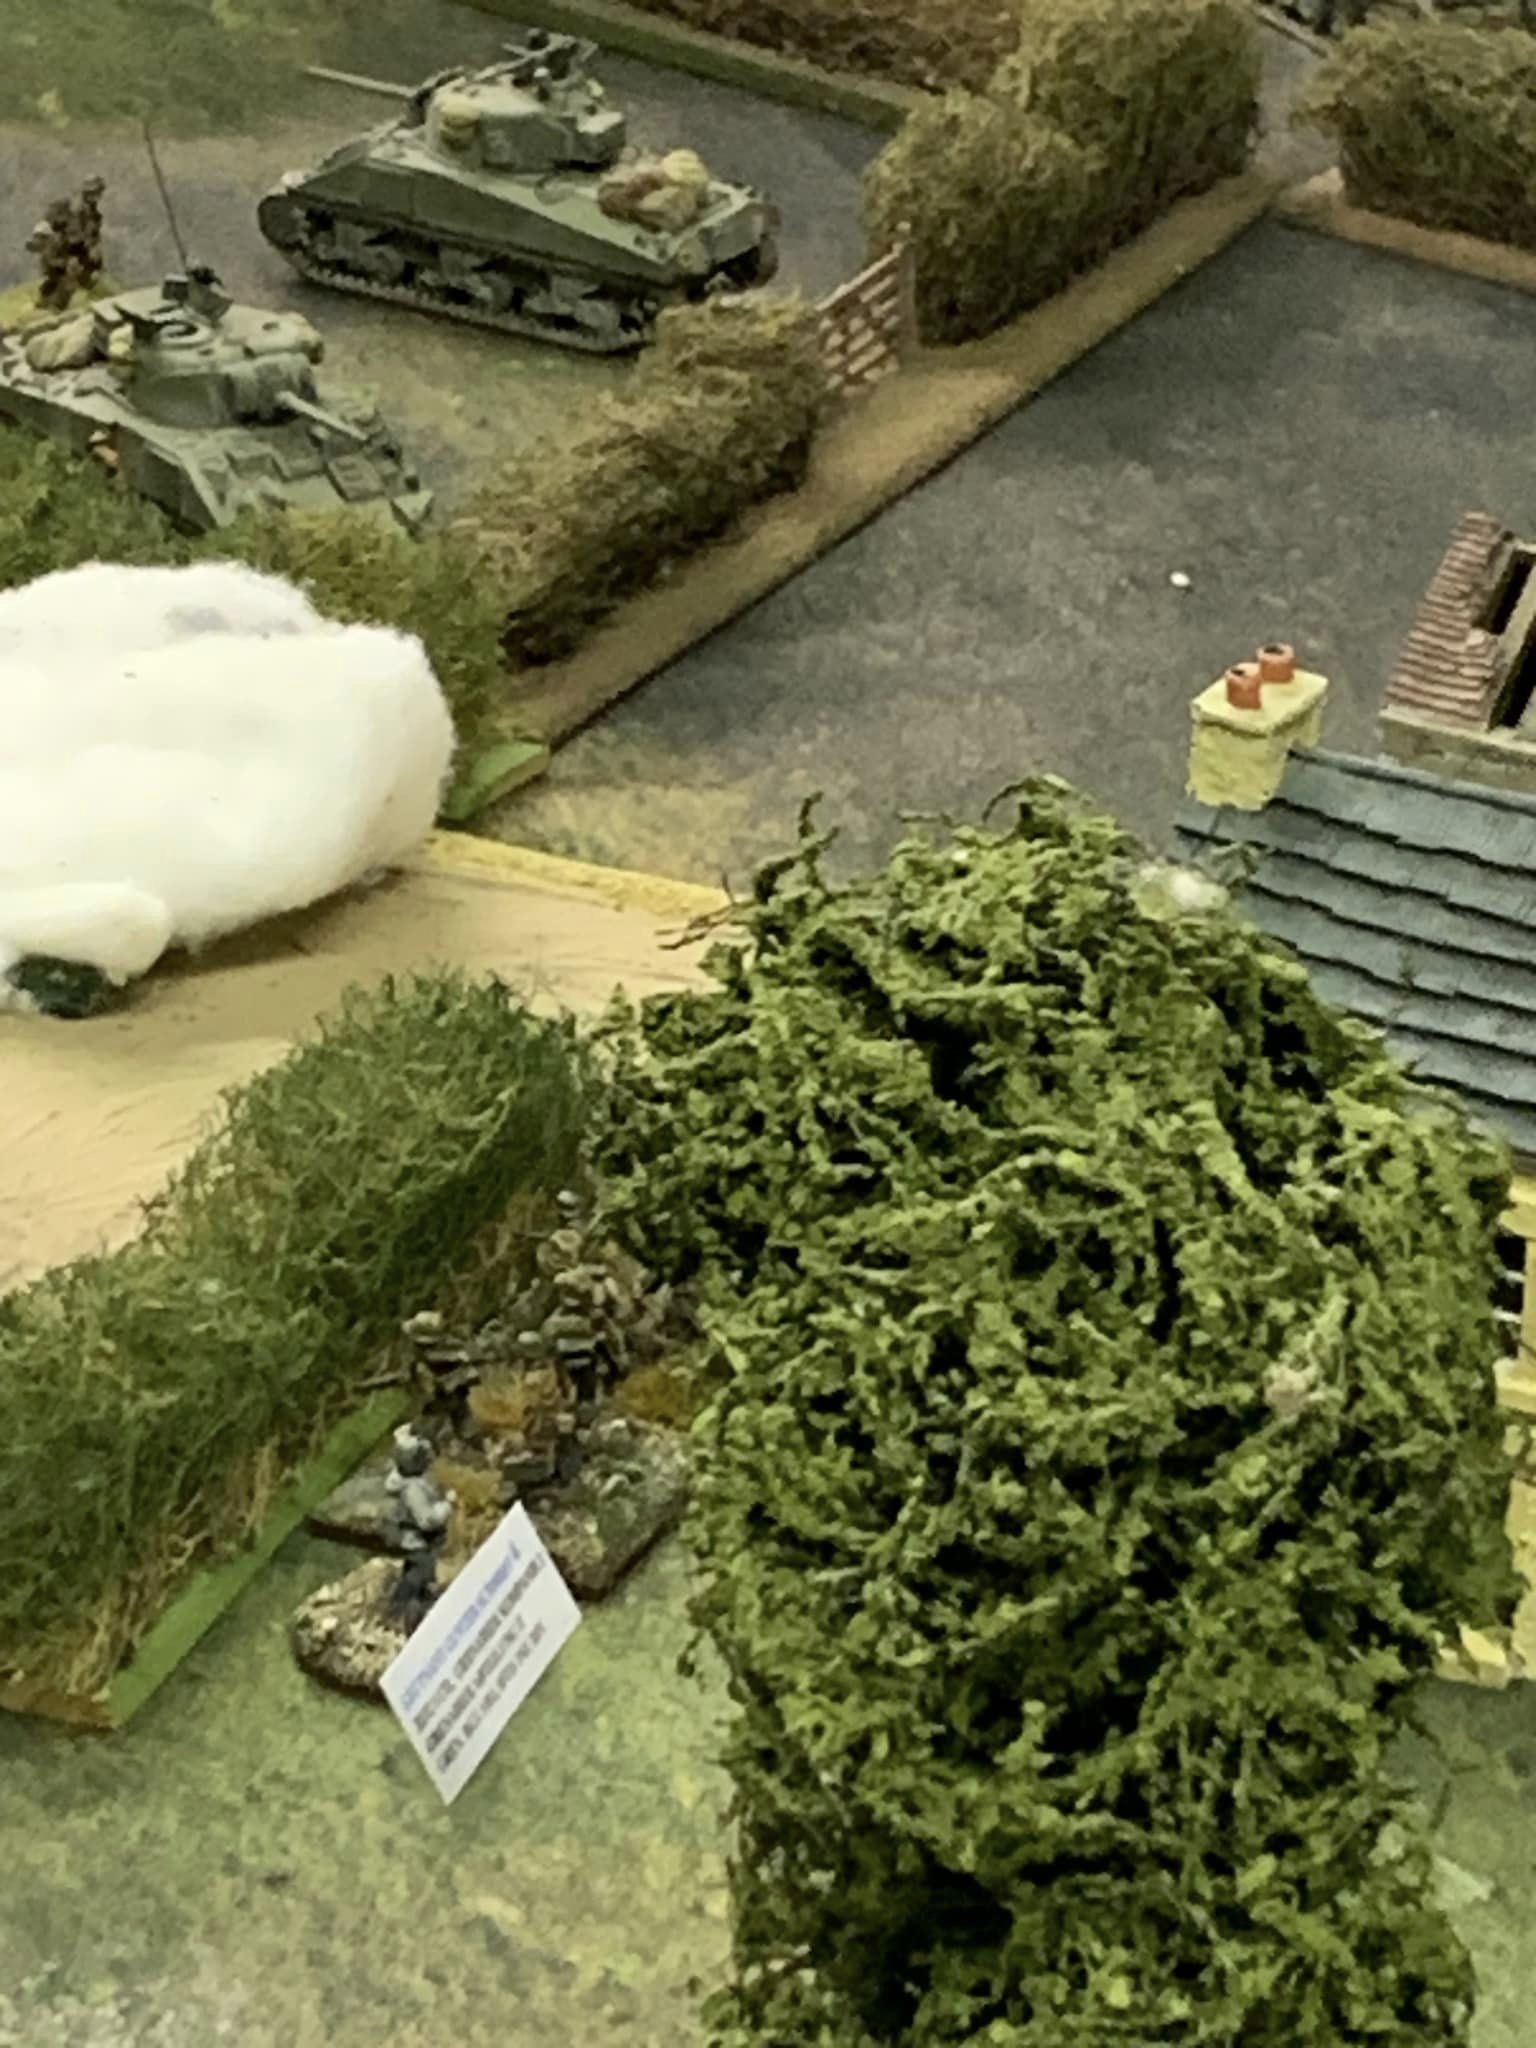

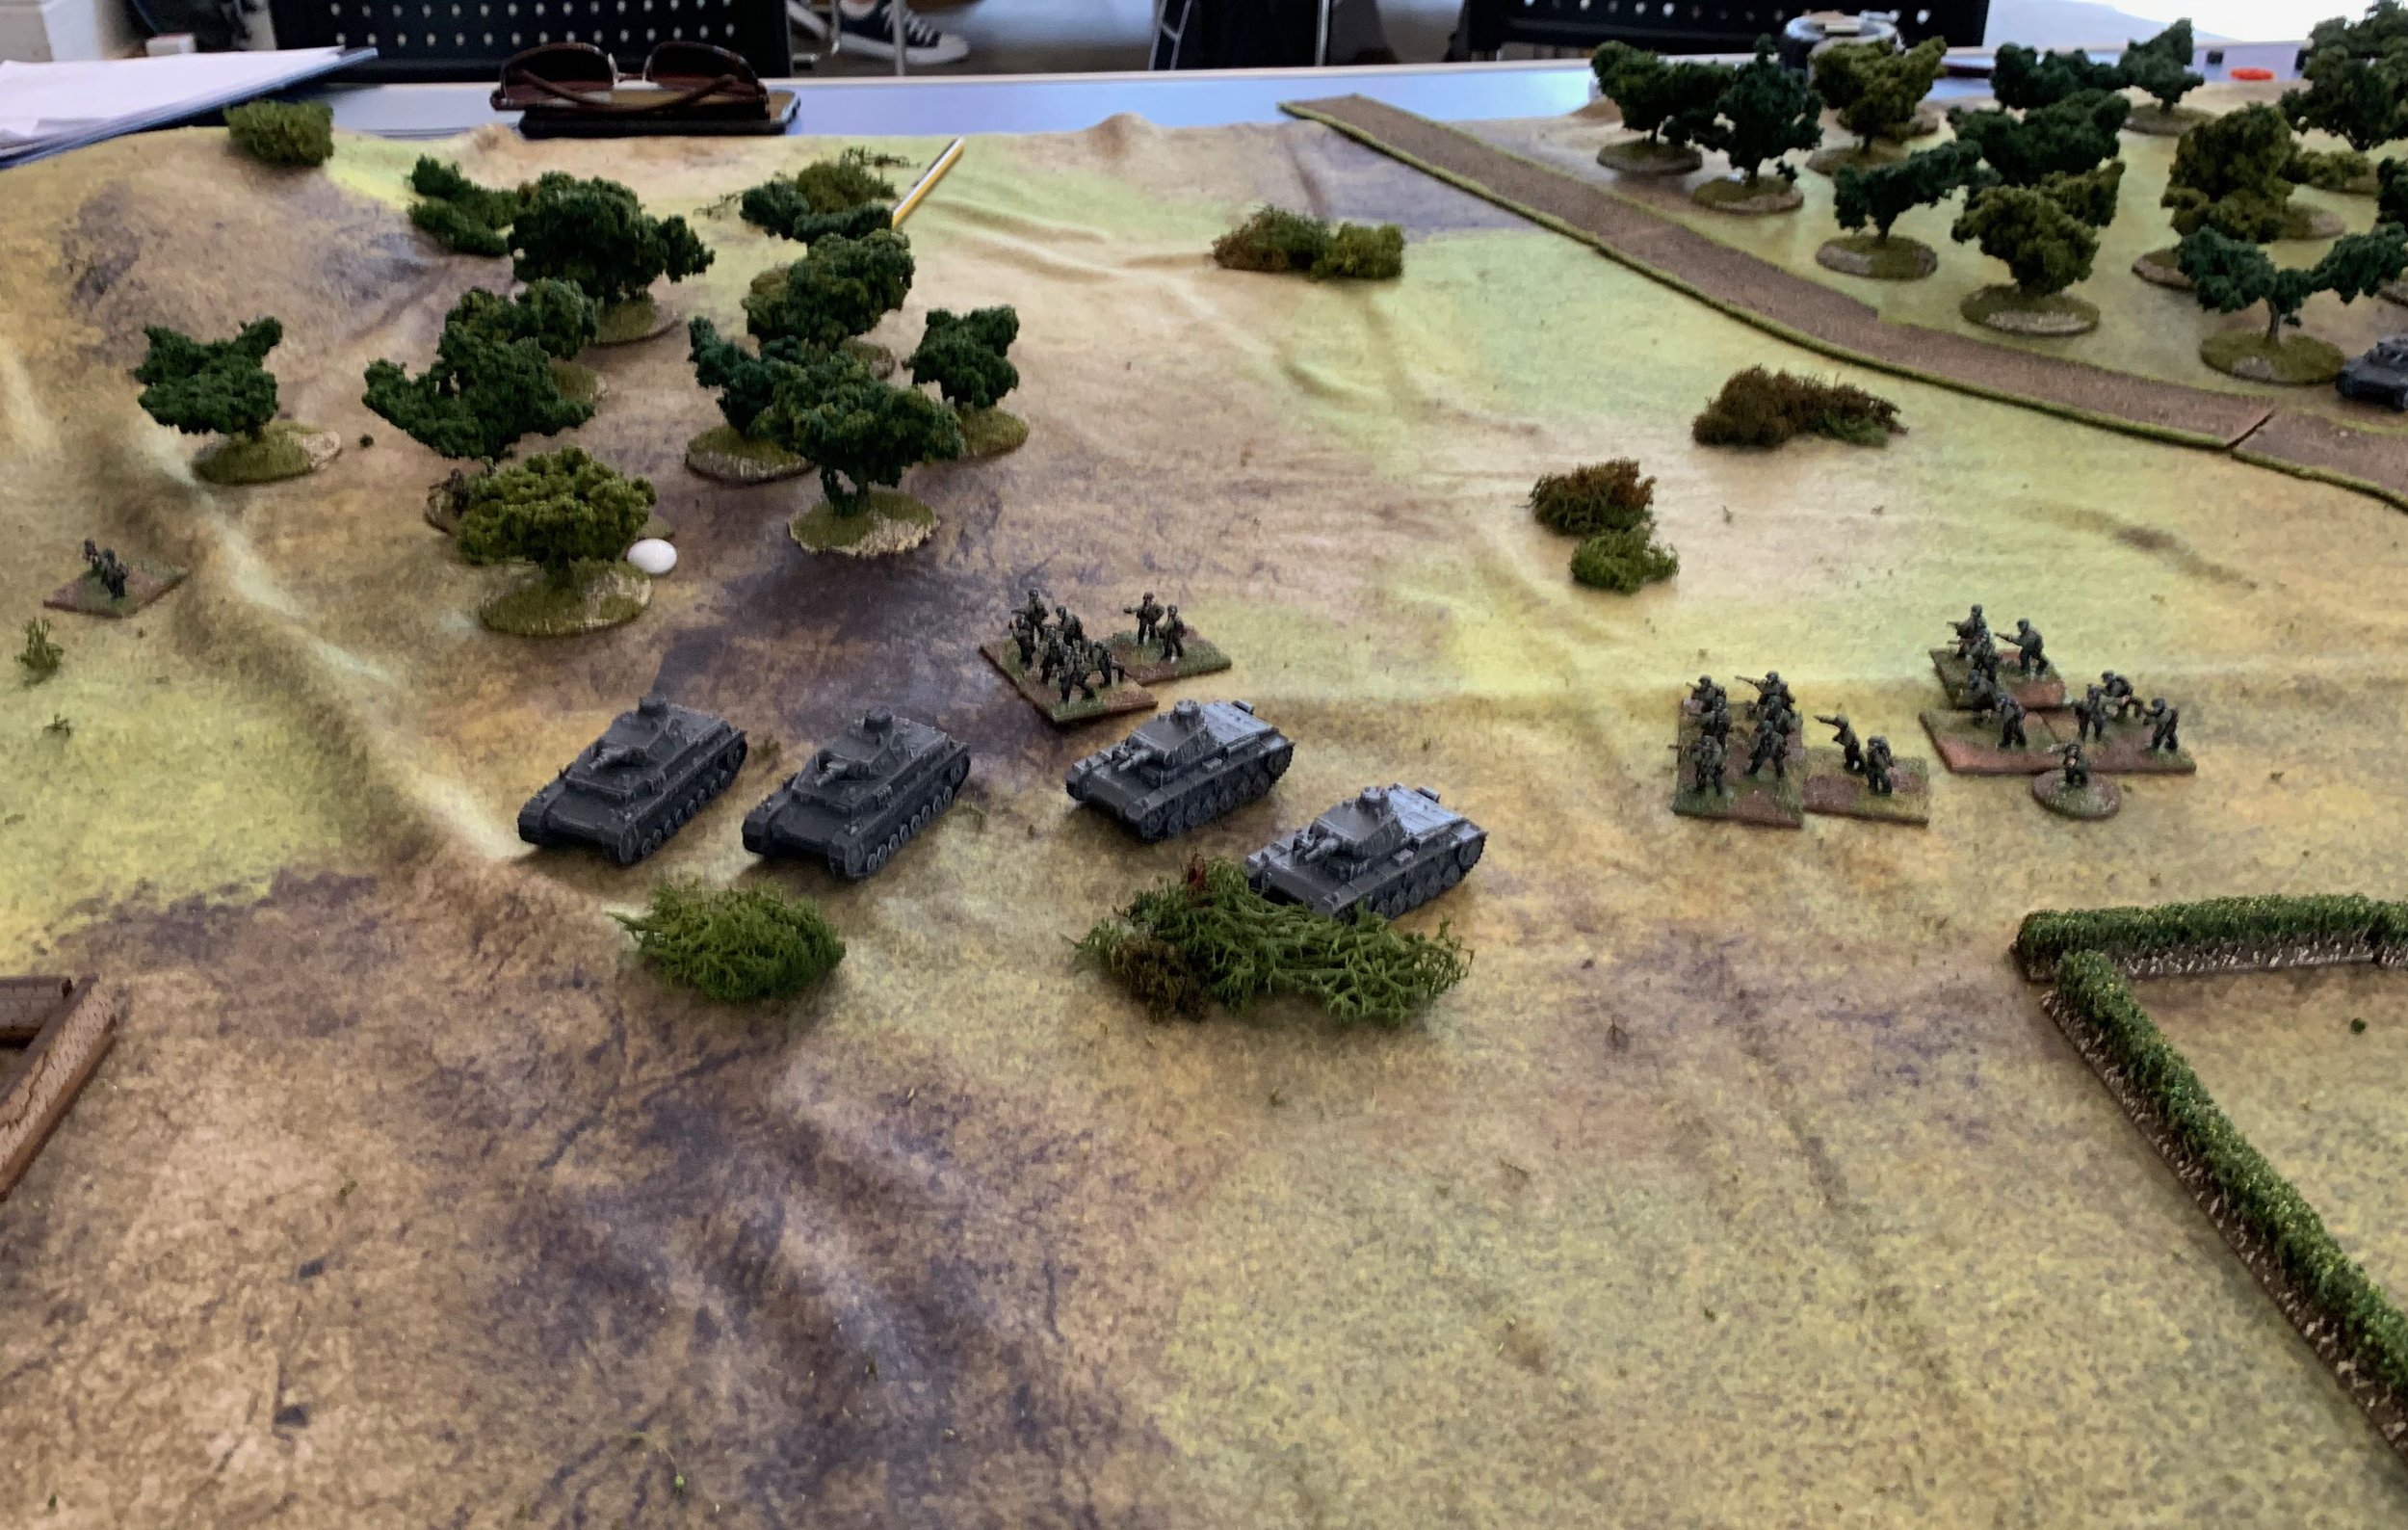
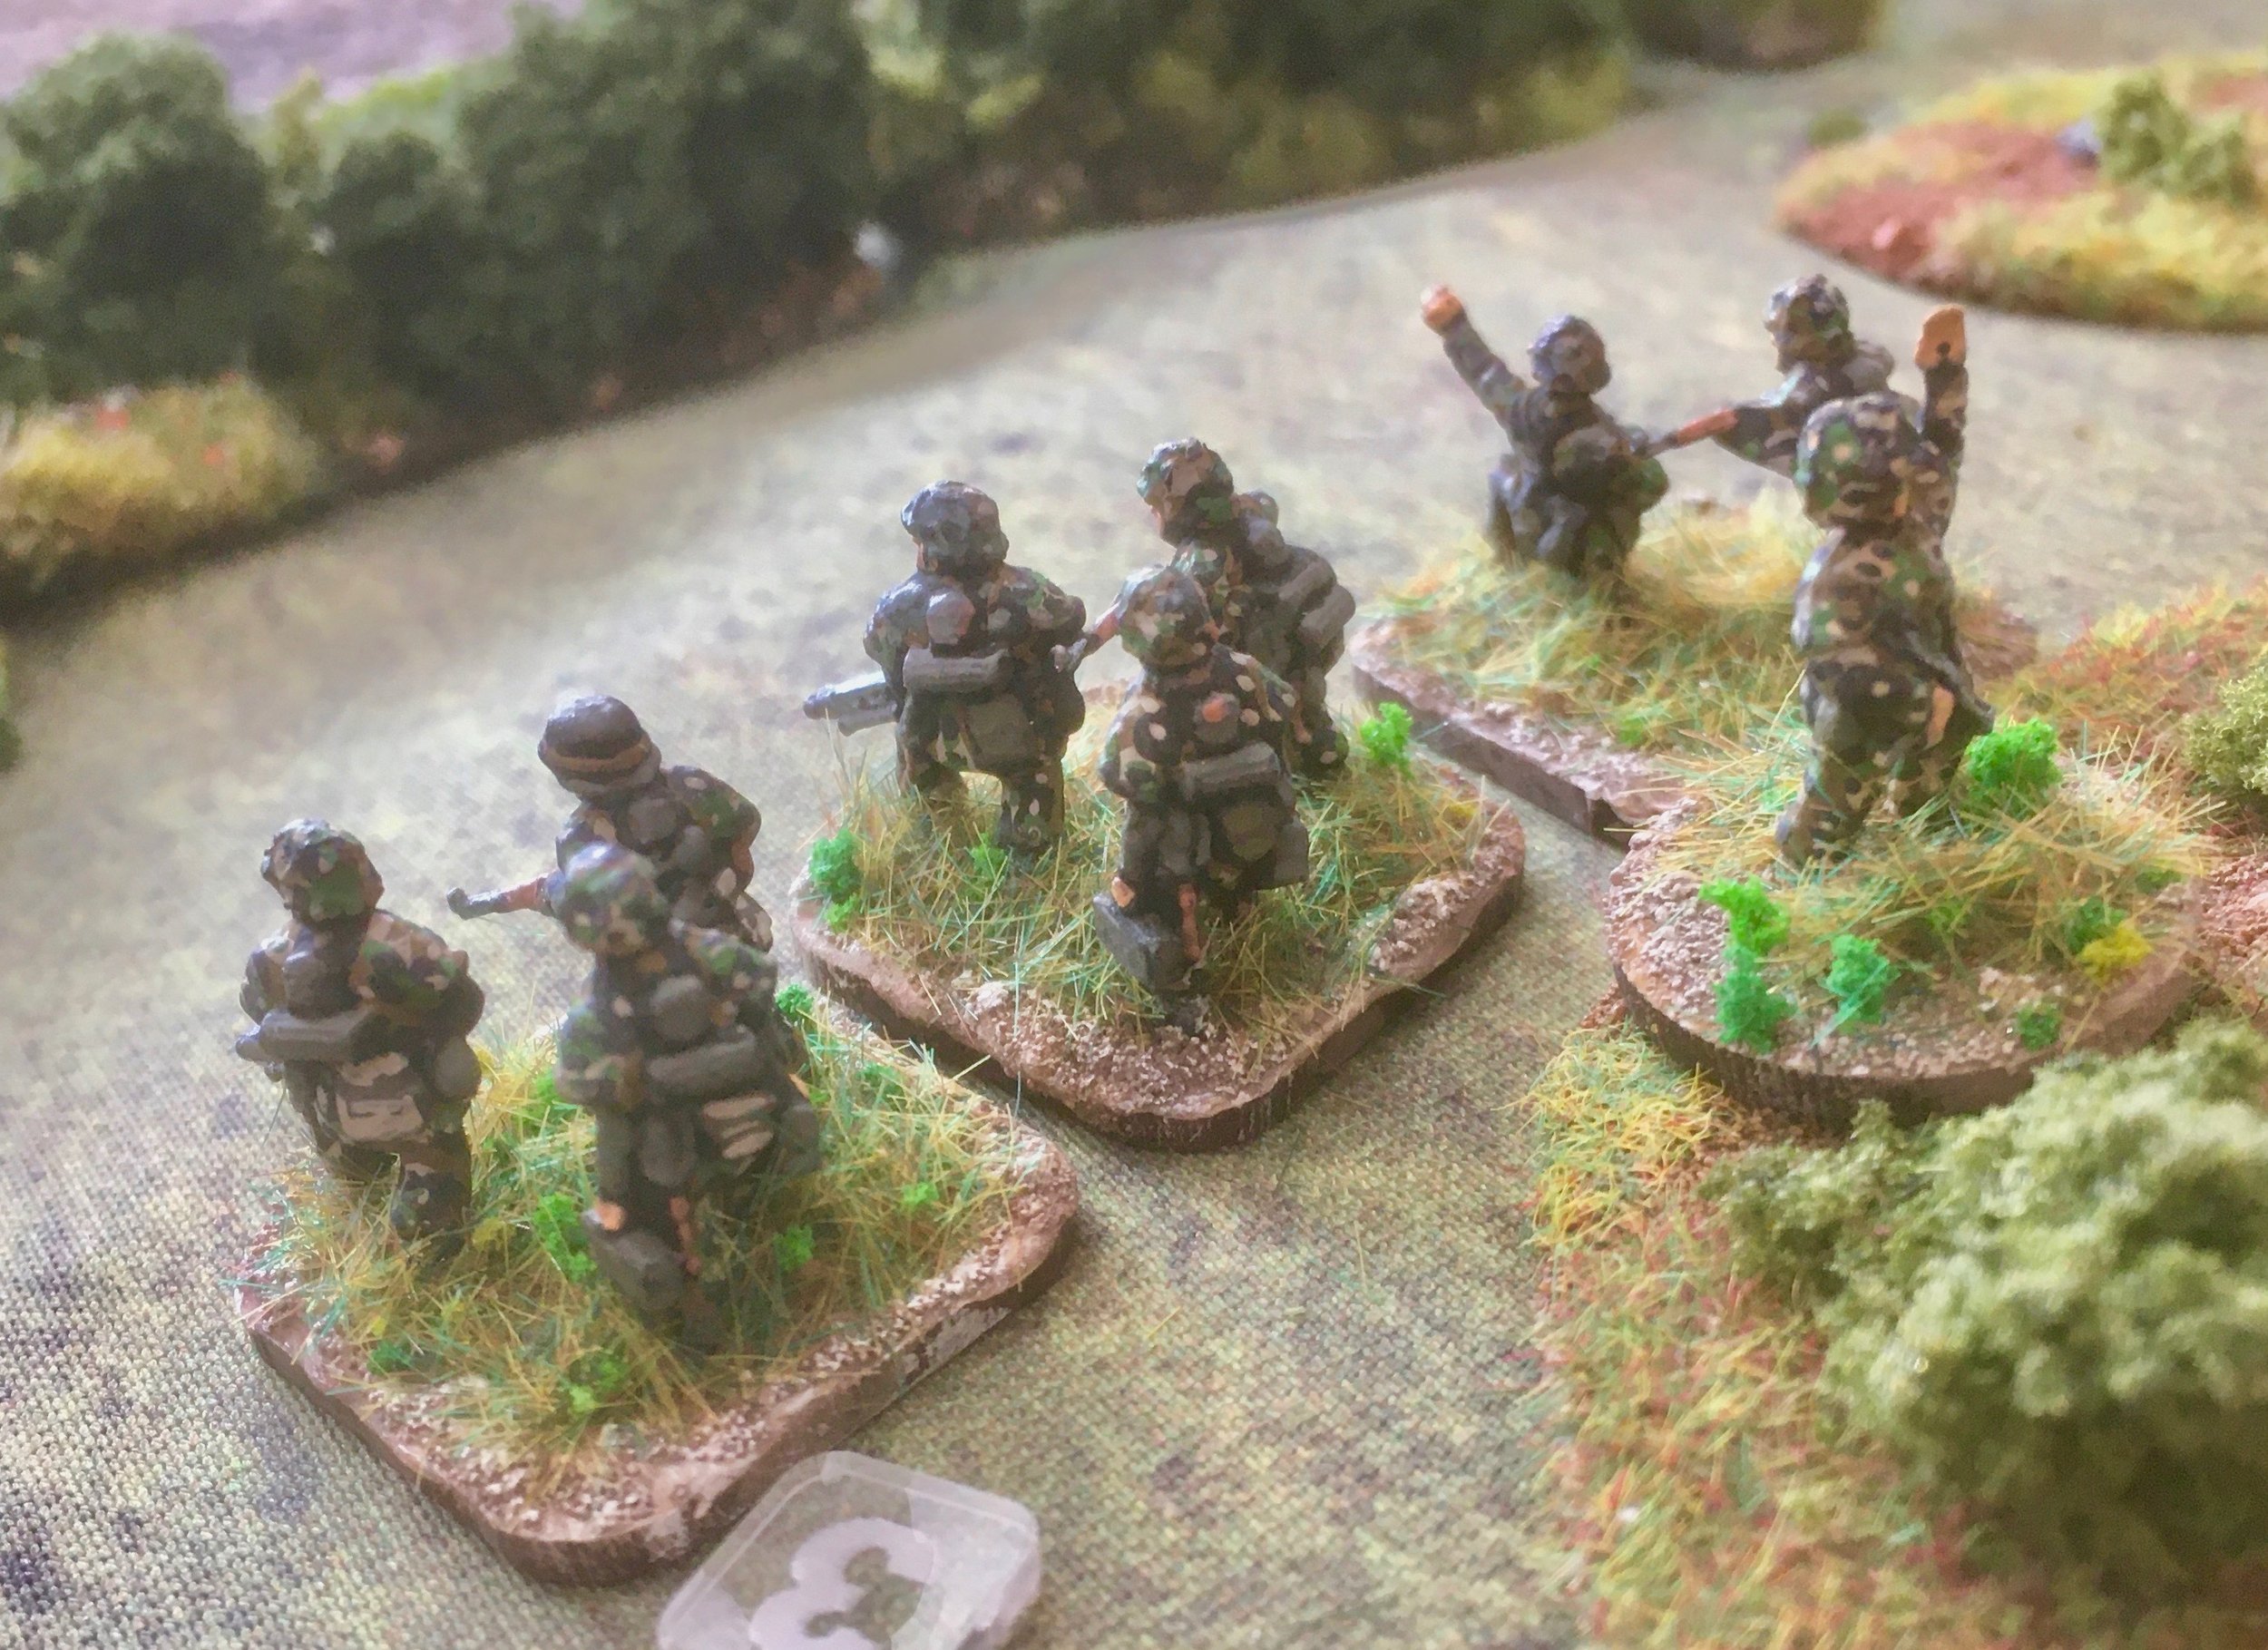
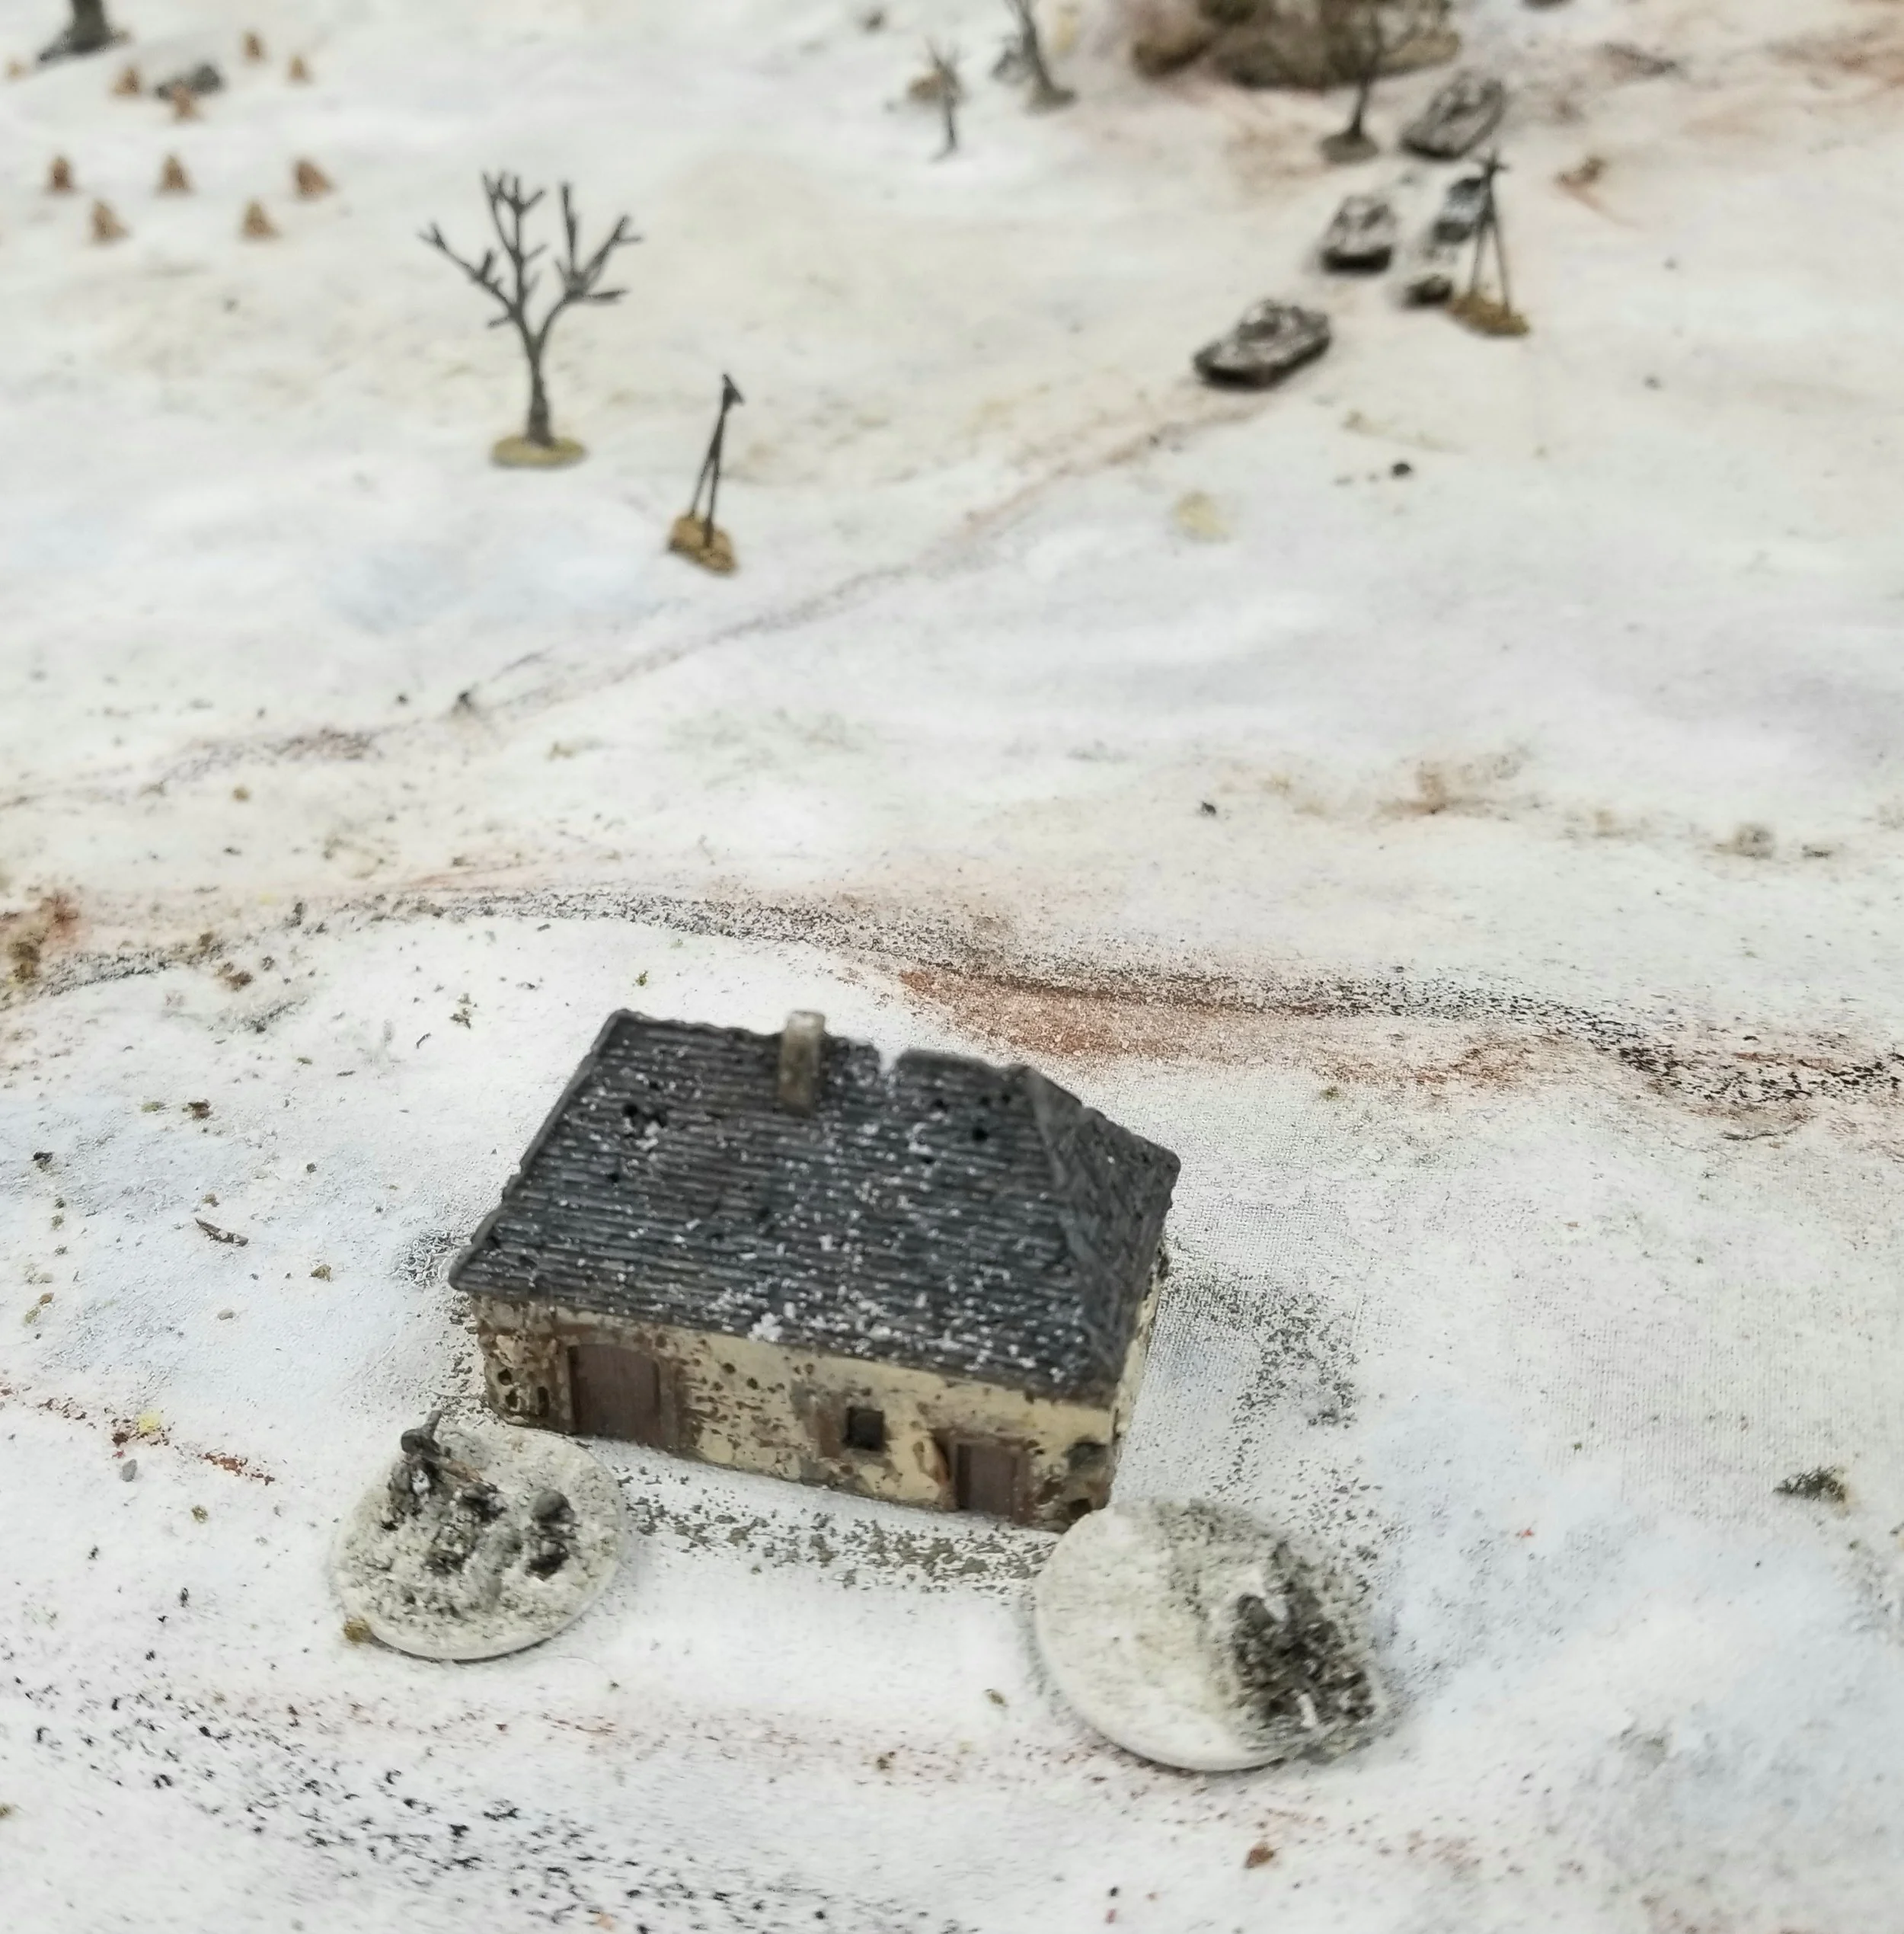
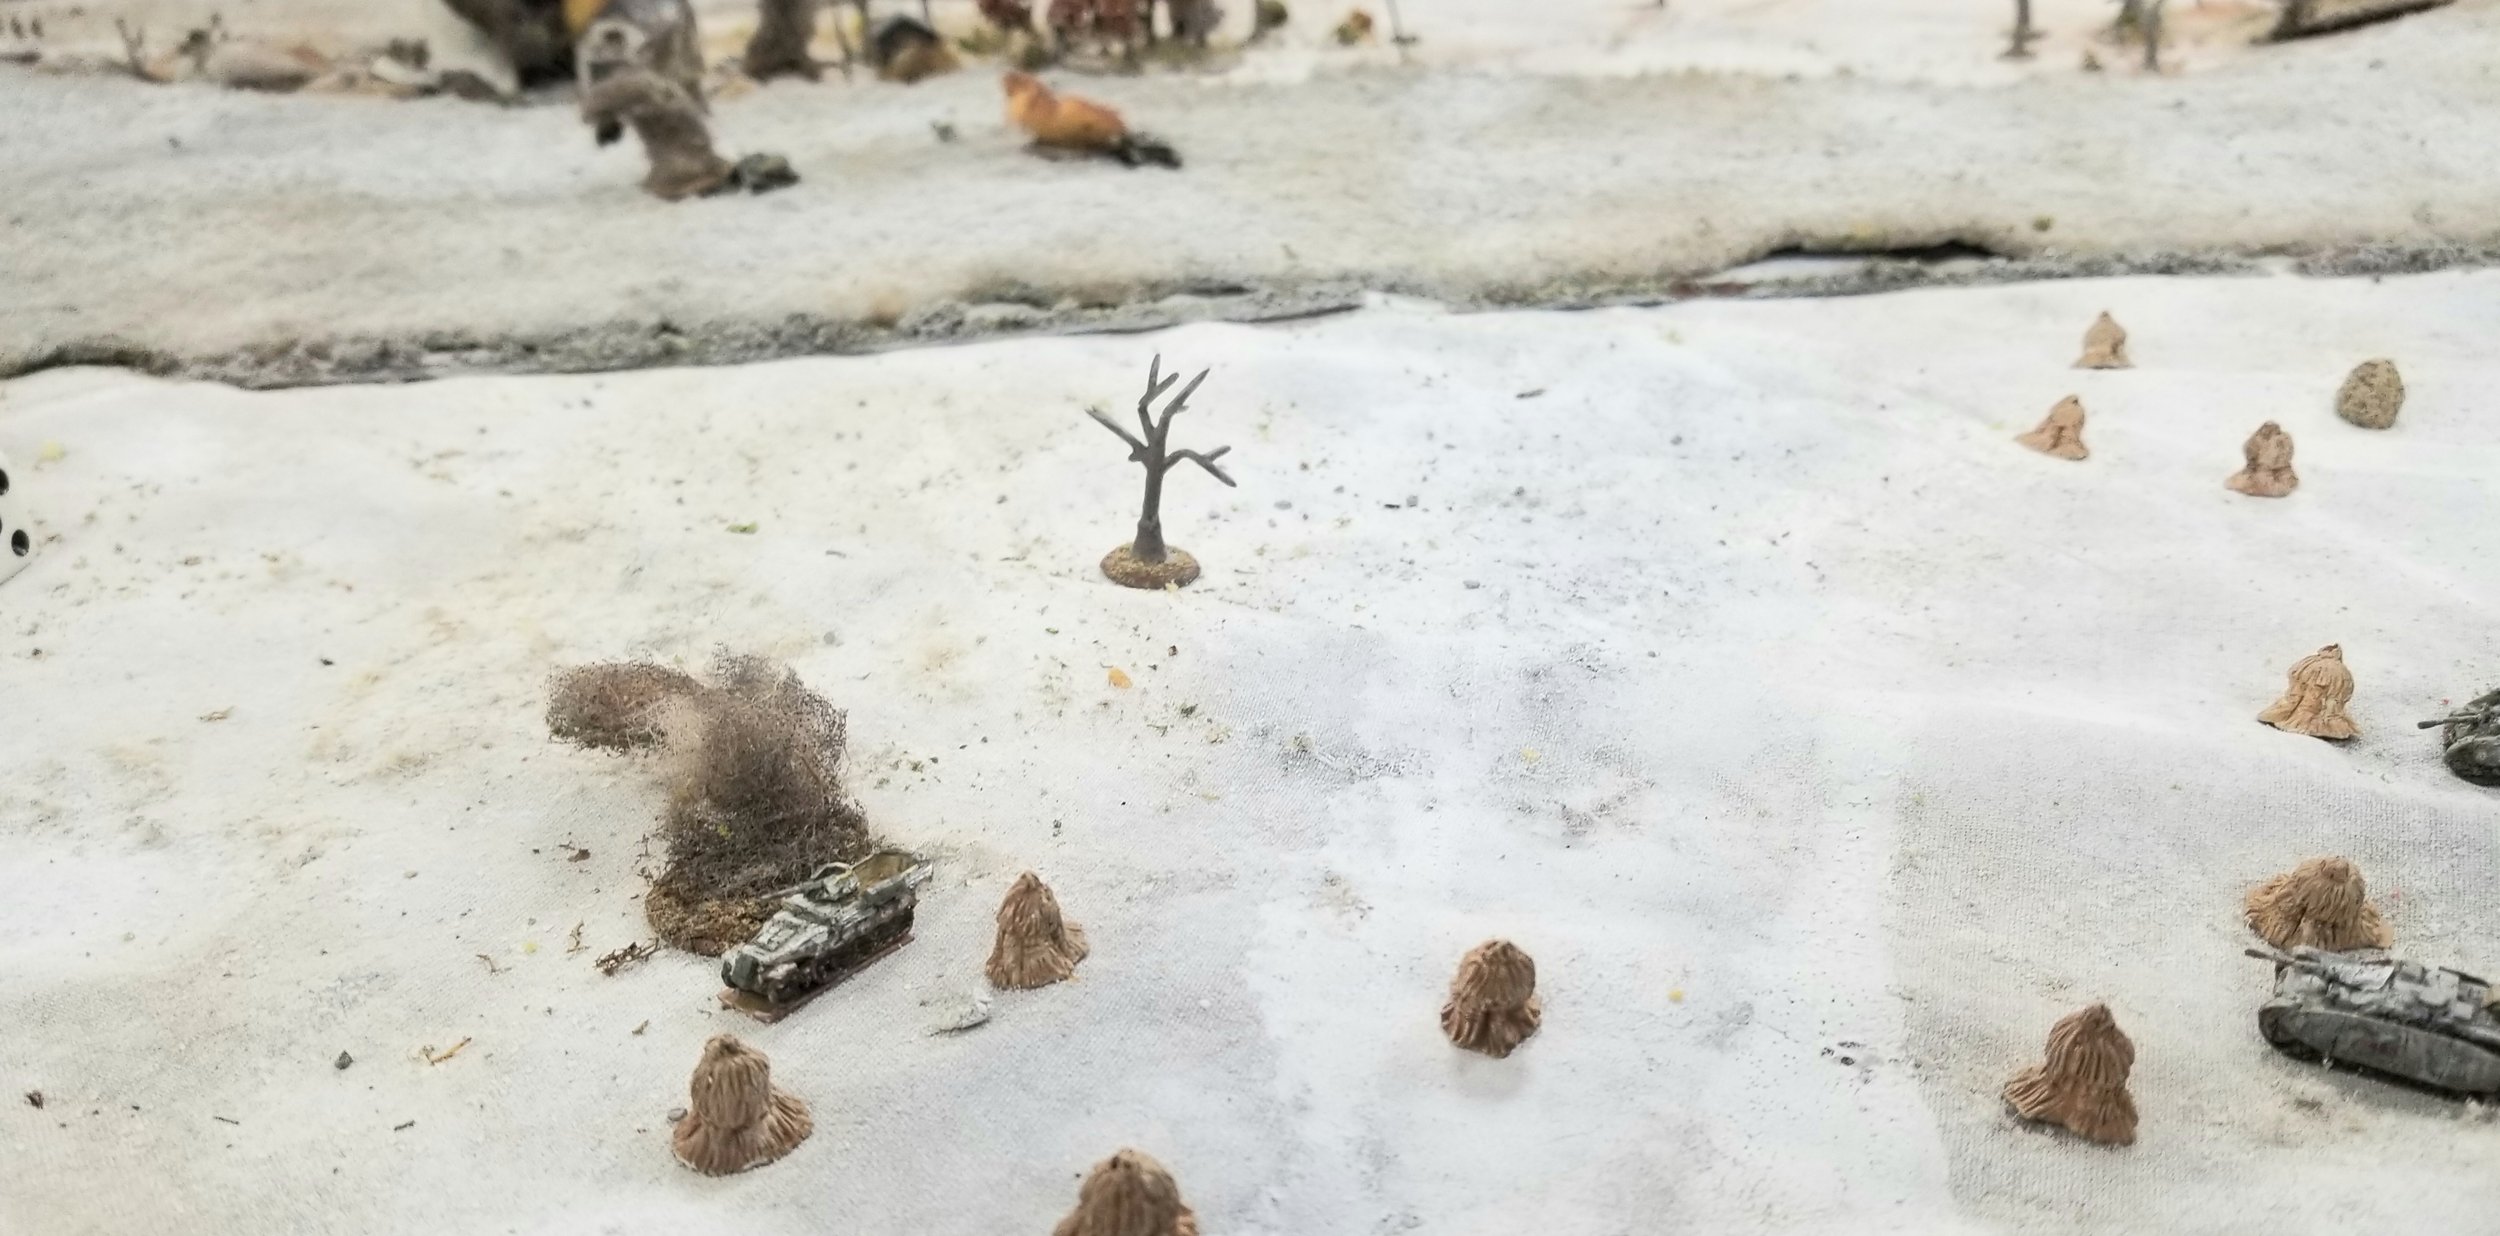
Over the Christmas period, I got a chance to play in a Christmas-themed game of I Ain’t Been Shot Mum set in late December 1944. It was a Battle of the Bulge scenario, with me playing a US force defending a major supply dump against an attack from a German armoured column. I could expect some support from nearby Brits, but couldn’t be sure when they would arrive.
View from the German end of the table
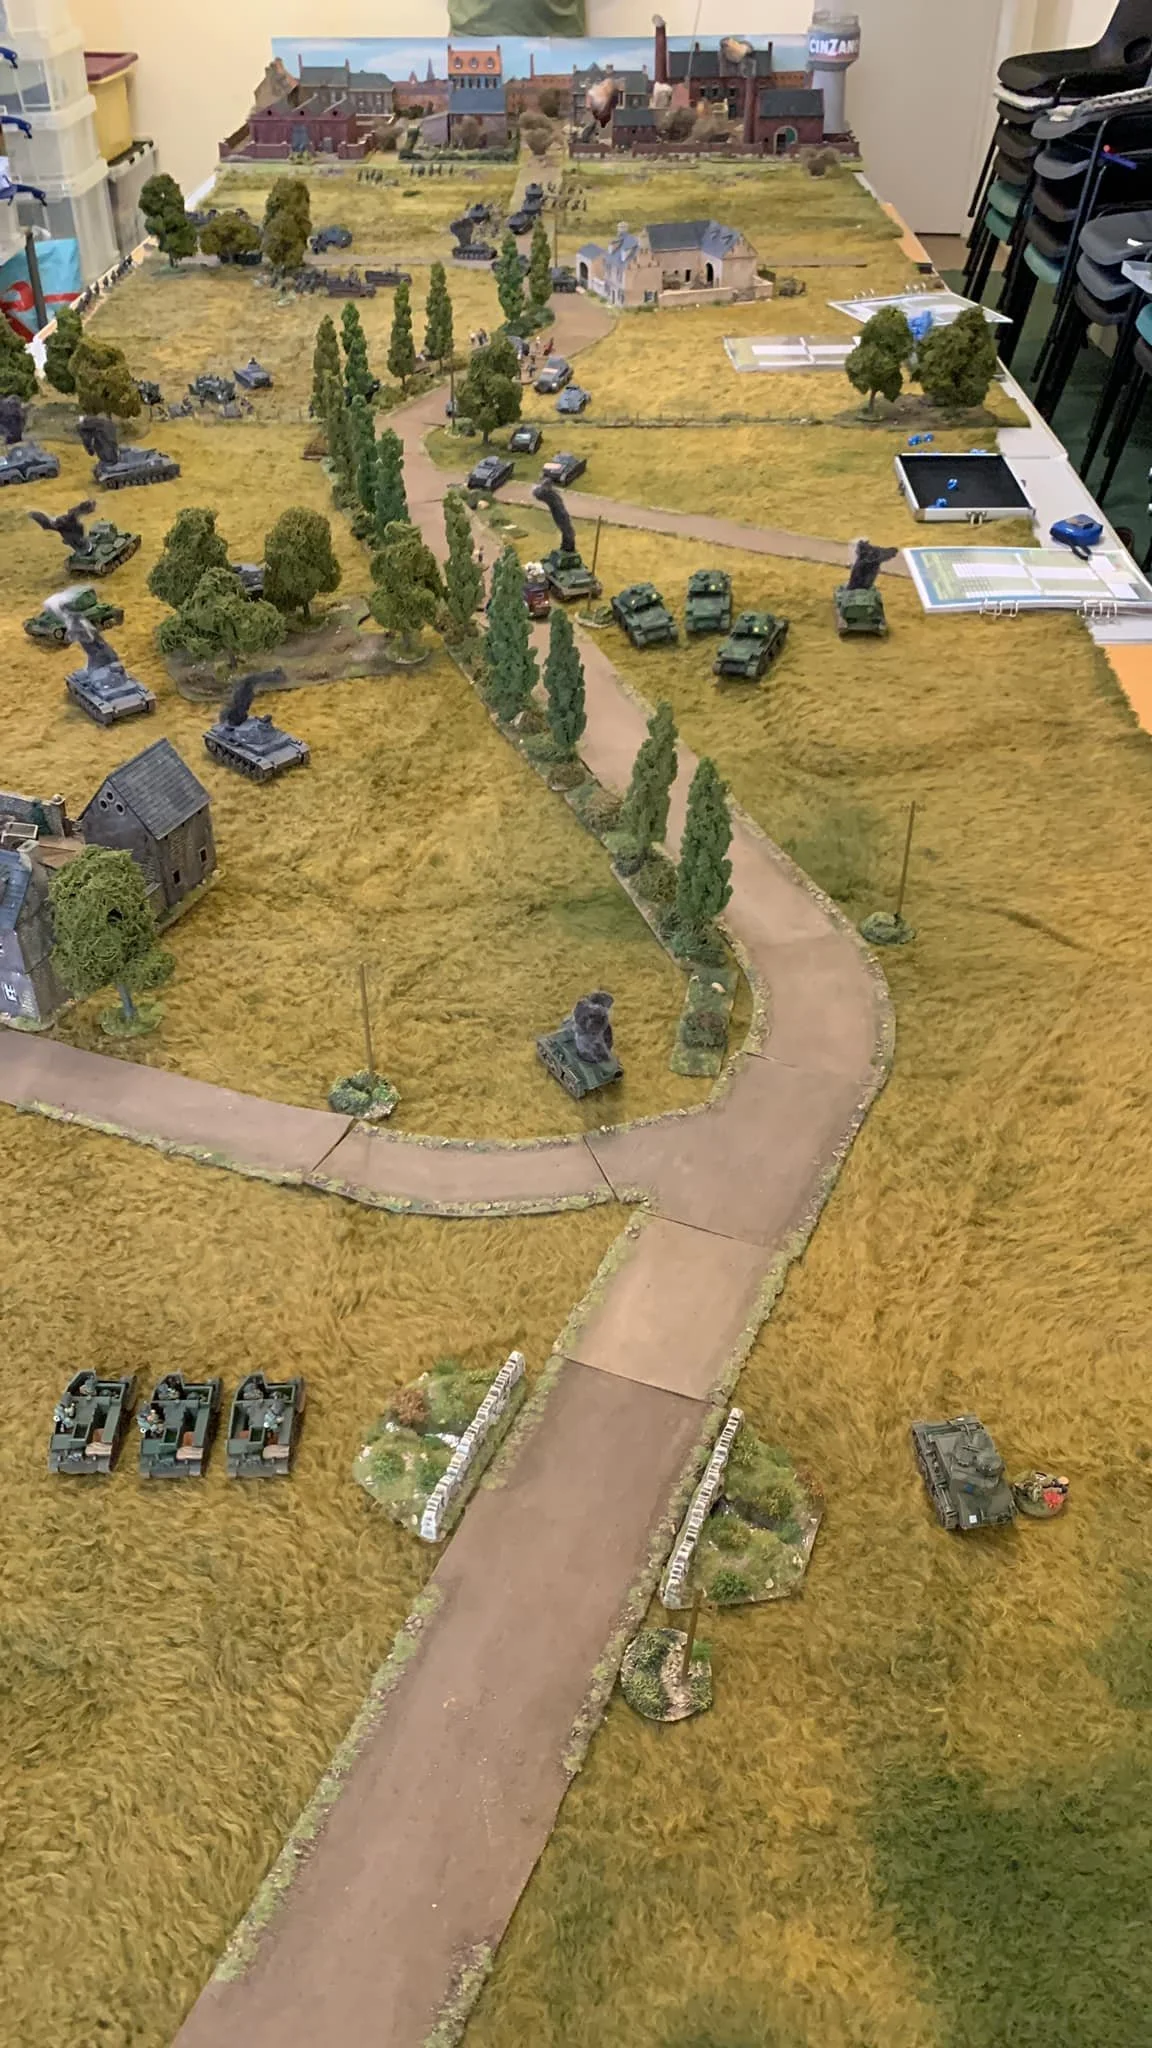
The Germans would arrive in two waves: firstly a reconnaissance force, secondly the main body.
The recon force consisted of a couple of half-tracks and an armoured car. One half-track hit the mines that I had laid where the road passed through the wood in the centre of the table, and the other two vehicles were soon disposed of by the two 76mm anti-tank guns that I had positioned dug-in in front of the supply dump and in the woods to the left.
With the recon phase of the game out of the way, it was time to move onto the main event. The German tactics were simple: big cats (three Panthers) up the right hand side of the table to fire hull down from behind the hill; a platoon of tank-hunters (two StuGs and a Marder III) up the middle to fire hull down from behind the hill there; and two platoons of infantry up the left side of the table to close assault the supply dump.
In defence, my tactics were also relatively simple: defend from the rear of the table except for one platoon of Shermans that would lurk behind the hill on my right hand side of the table - the idea being that I would effectively flank any Germans hull-down behind the other two hills whilst blocking anything coming up my right.
And, as you will see from the gallery above, this is exactly what happened.
The German infantry platoon marching unconcernedly towards the hill were raked by machine gun fire from two Sherman 75s, whilst two Sherman 76s knocked out the three tank hunters. The only fly in the ointment was that I just couldn’t kill any of his Panthers. Firstly, they were quite difficult to hit, being hull down, and secondly, when I did hit, their armour was thick enough to bounce my shells. Very frustrating!
My main concern was that the Germans would stop trying to suppress my fire and just launch an all out assault. There were still a couple of German Blinds to be revealed and, until the British arrived, all I now had left were a couple of Hellcat tank-killers, two small platoons of infantry, and seven Shermans. Sounds like a lot, but remember that my tanks/tank-killers were dying from a single hit from a Panther, whereas I had already hit the three Panthers over ten times with absolutely no effect!
With the eventual loss of the anti-tank guns, I was forced to deploy the tank-killers, both of whom soon succumbed to enemy fire. I was now weak on my left, but still the Germans showed no signs of coming forward, and time was ticking on…ticking on so fast, in fact, that it was now almost time to end the game.
Dave, the Umpire, declared that the Brits had now arrived, and a shed-load of British armour deployed just where I needed it, on the left. At the same time, the Germans deployed five Panzer IVs from behind a Blind and finally got moving forward towards the Shermans protecting my right flank.
It was, however, too late by then. The Panthers had a good time shooting holes in the British tanks (the Brits had the same problem I had, especially as their Fireflys were at the back of their column) but my Shermans could take out Panzer IVs, and did so. The clock finally clicked round to game end time (assume either the weather cleared and my jabos could take to the skies or that the Germans ran out of fuel etc) with my US forces still safely ensconced in position around the supply dump.
A great game of IABSM and a victory for my troops. I just wish I’d been able to take out a Panther, but they were all still fully-functional with only their paint scratched at the end of the game!
Robert Avery

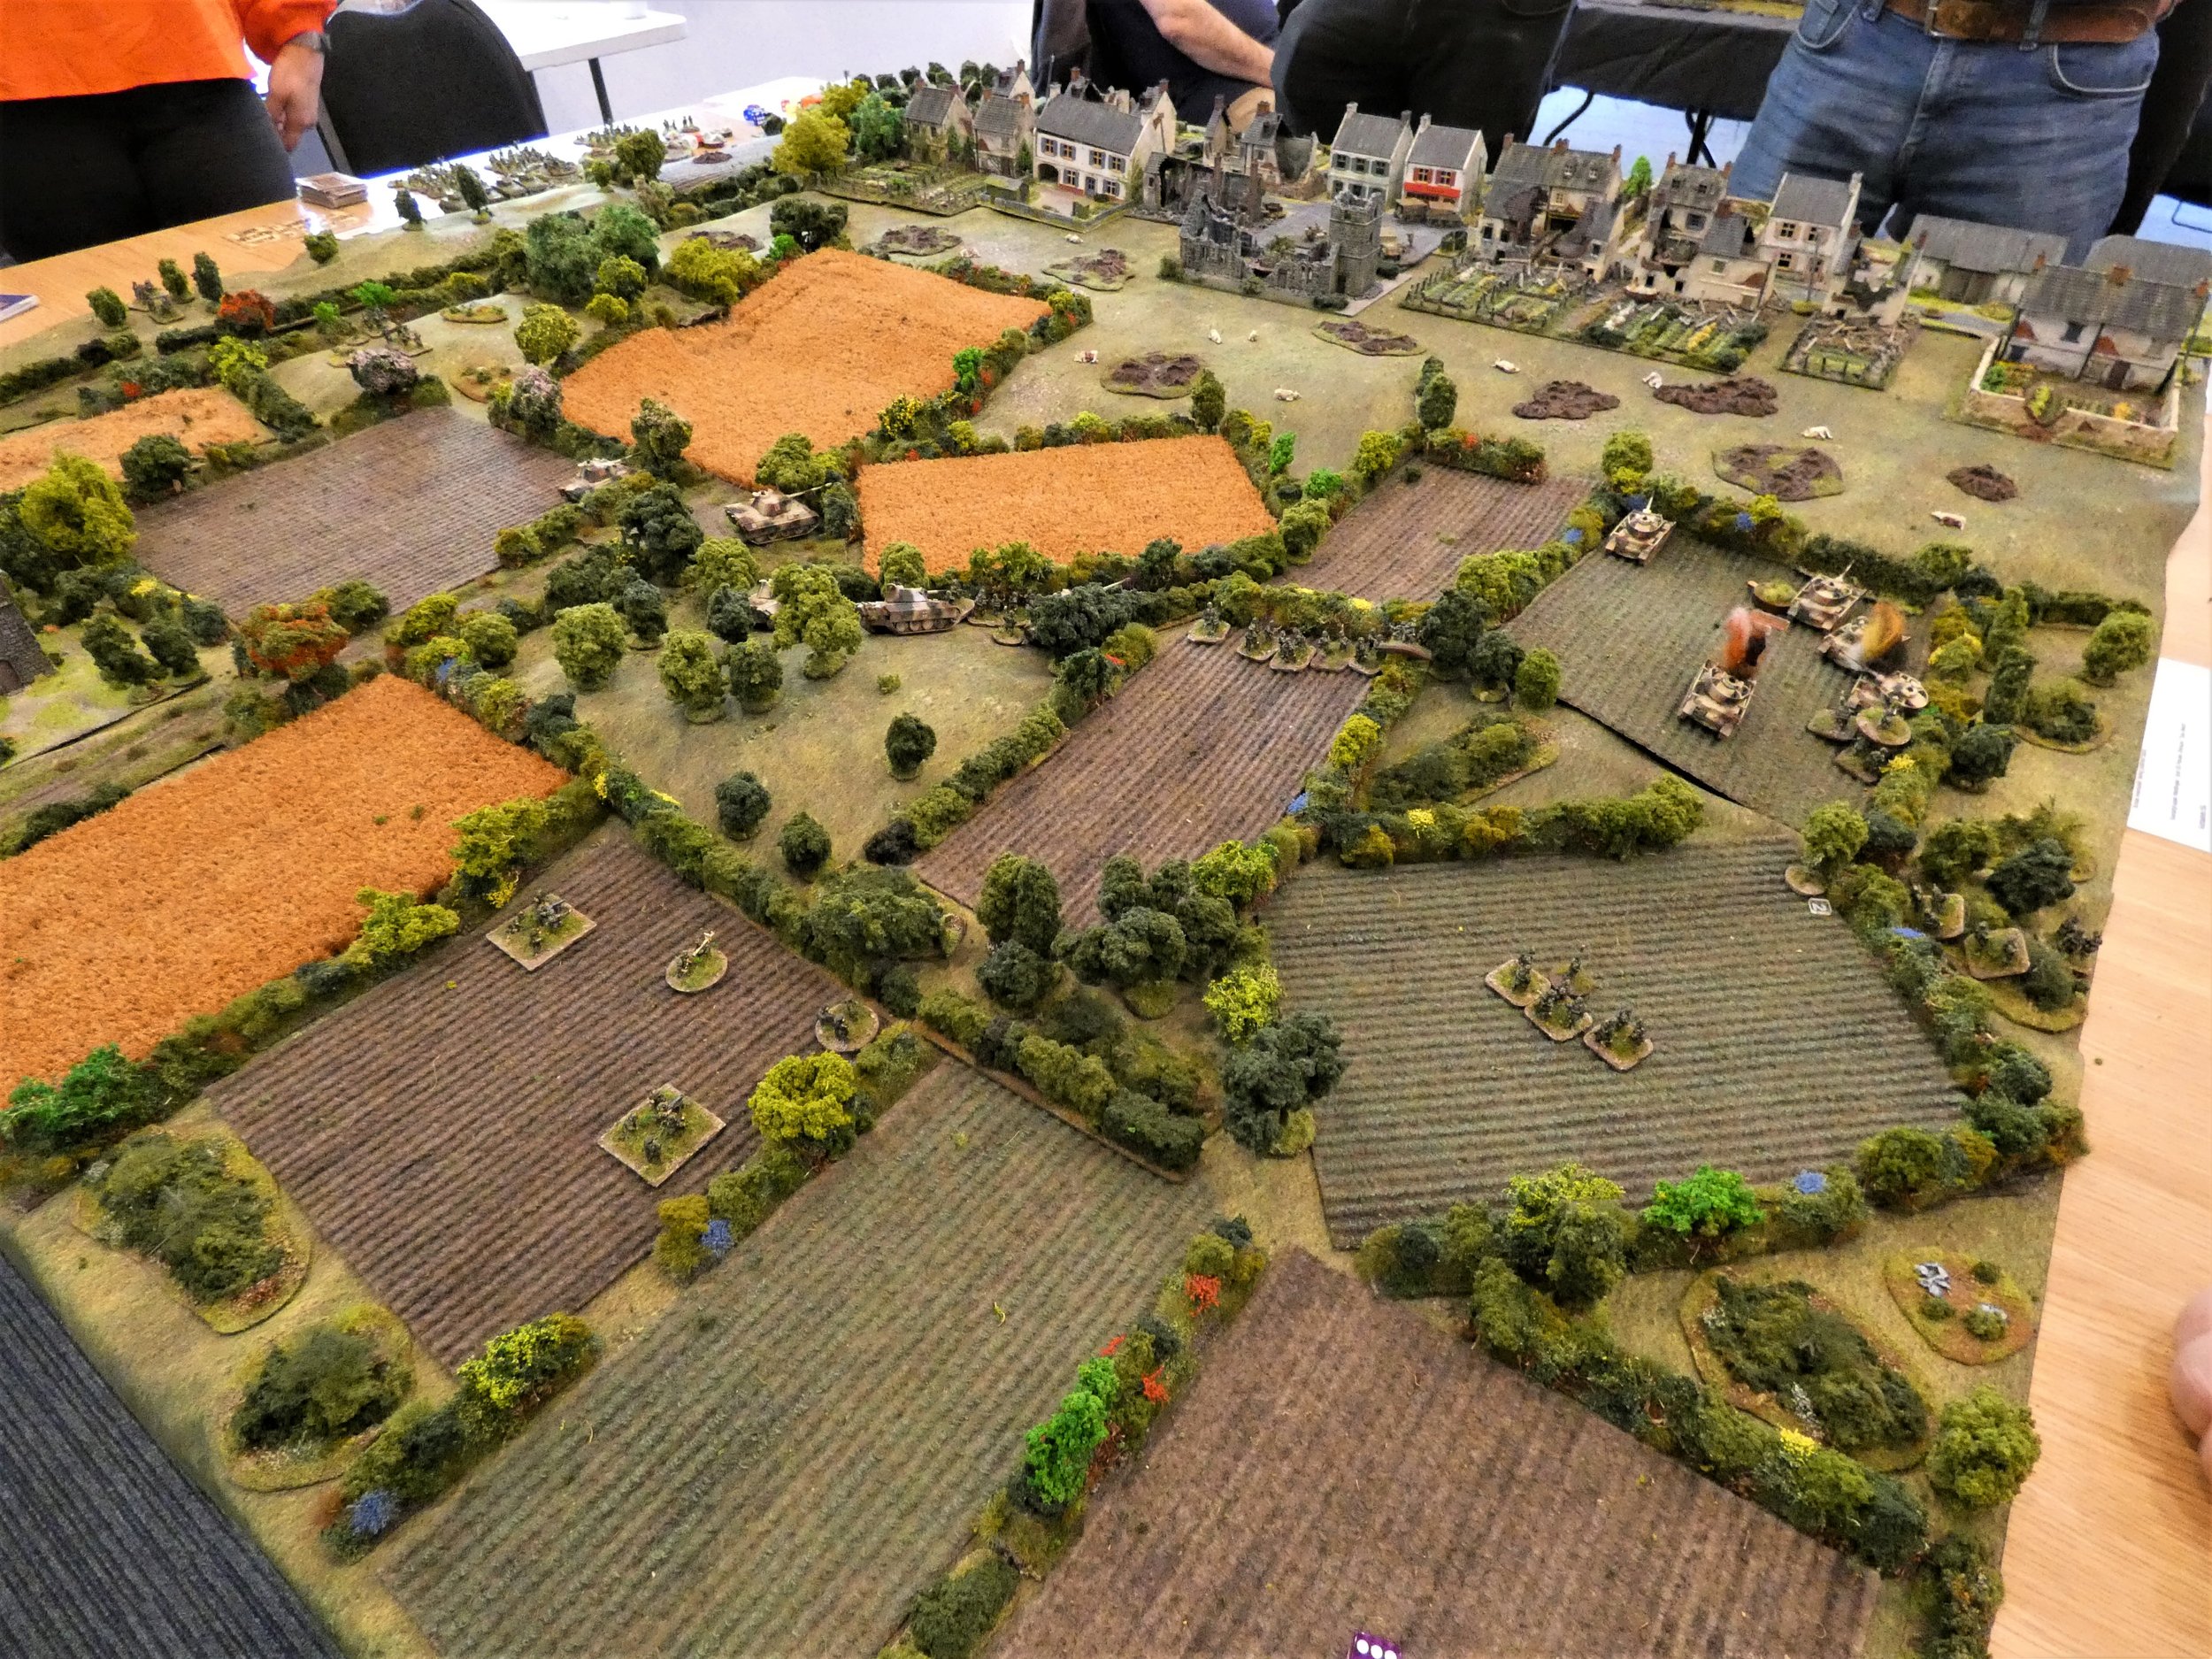
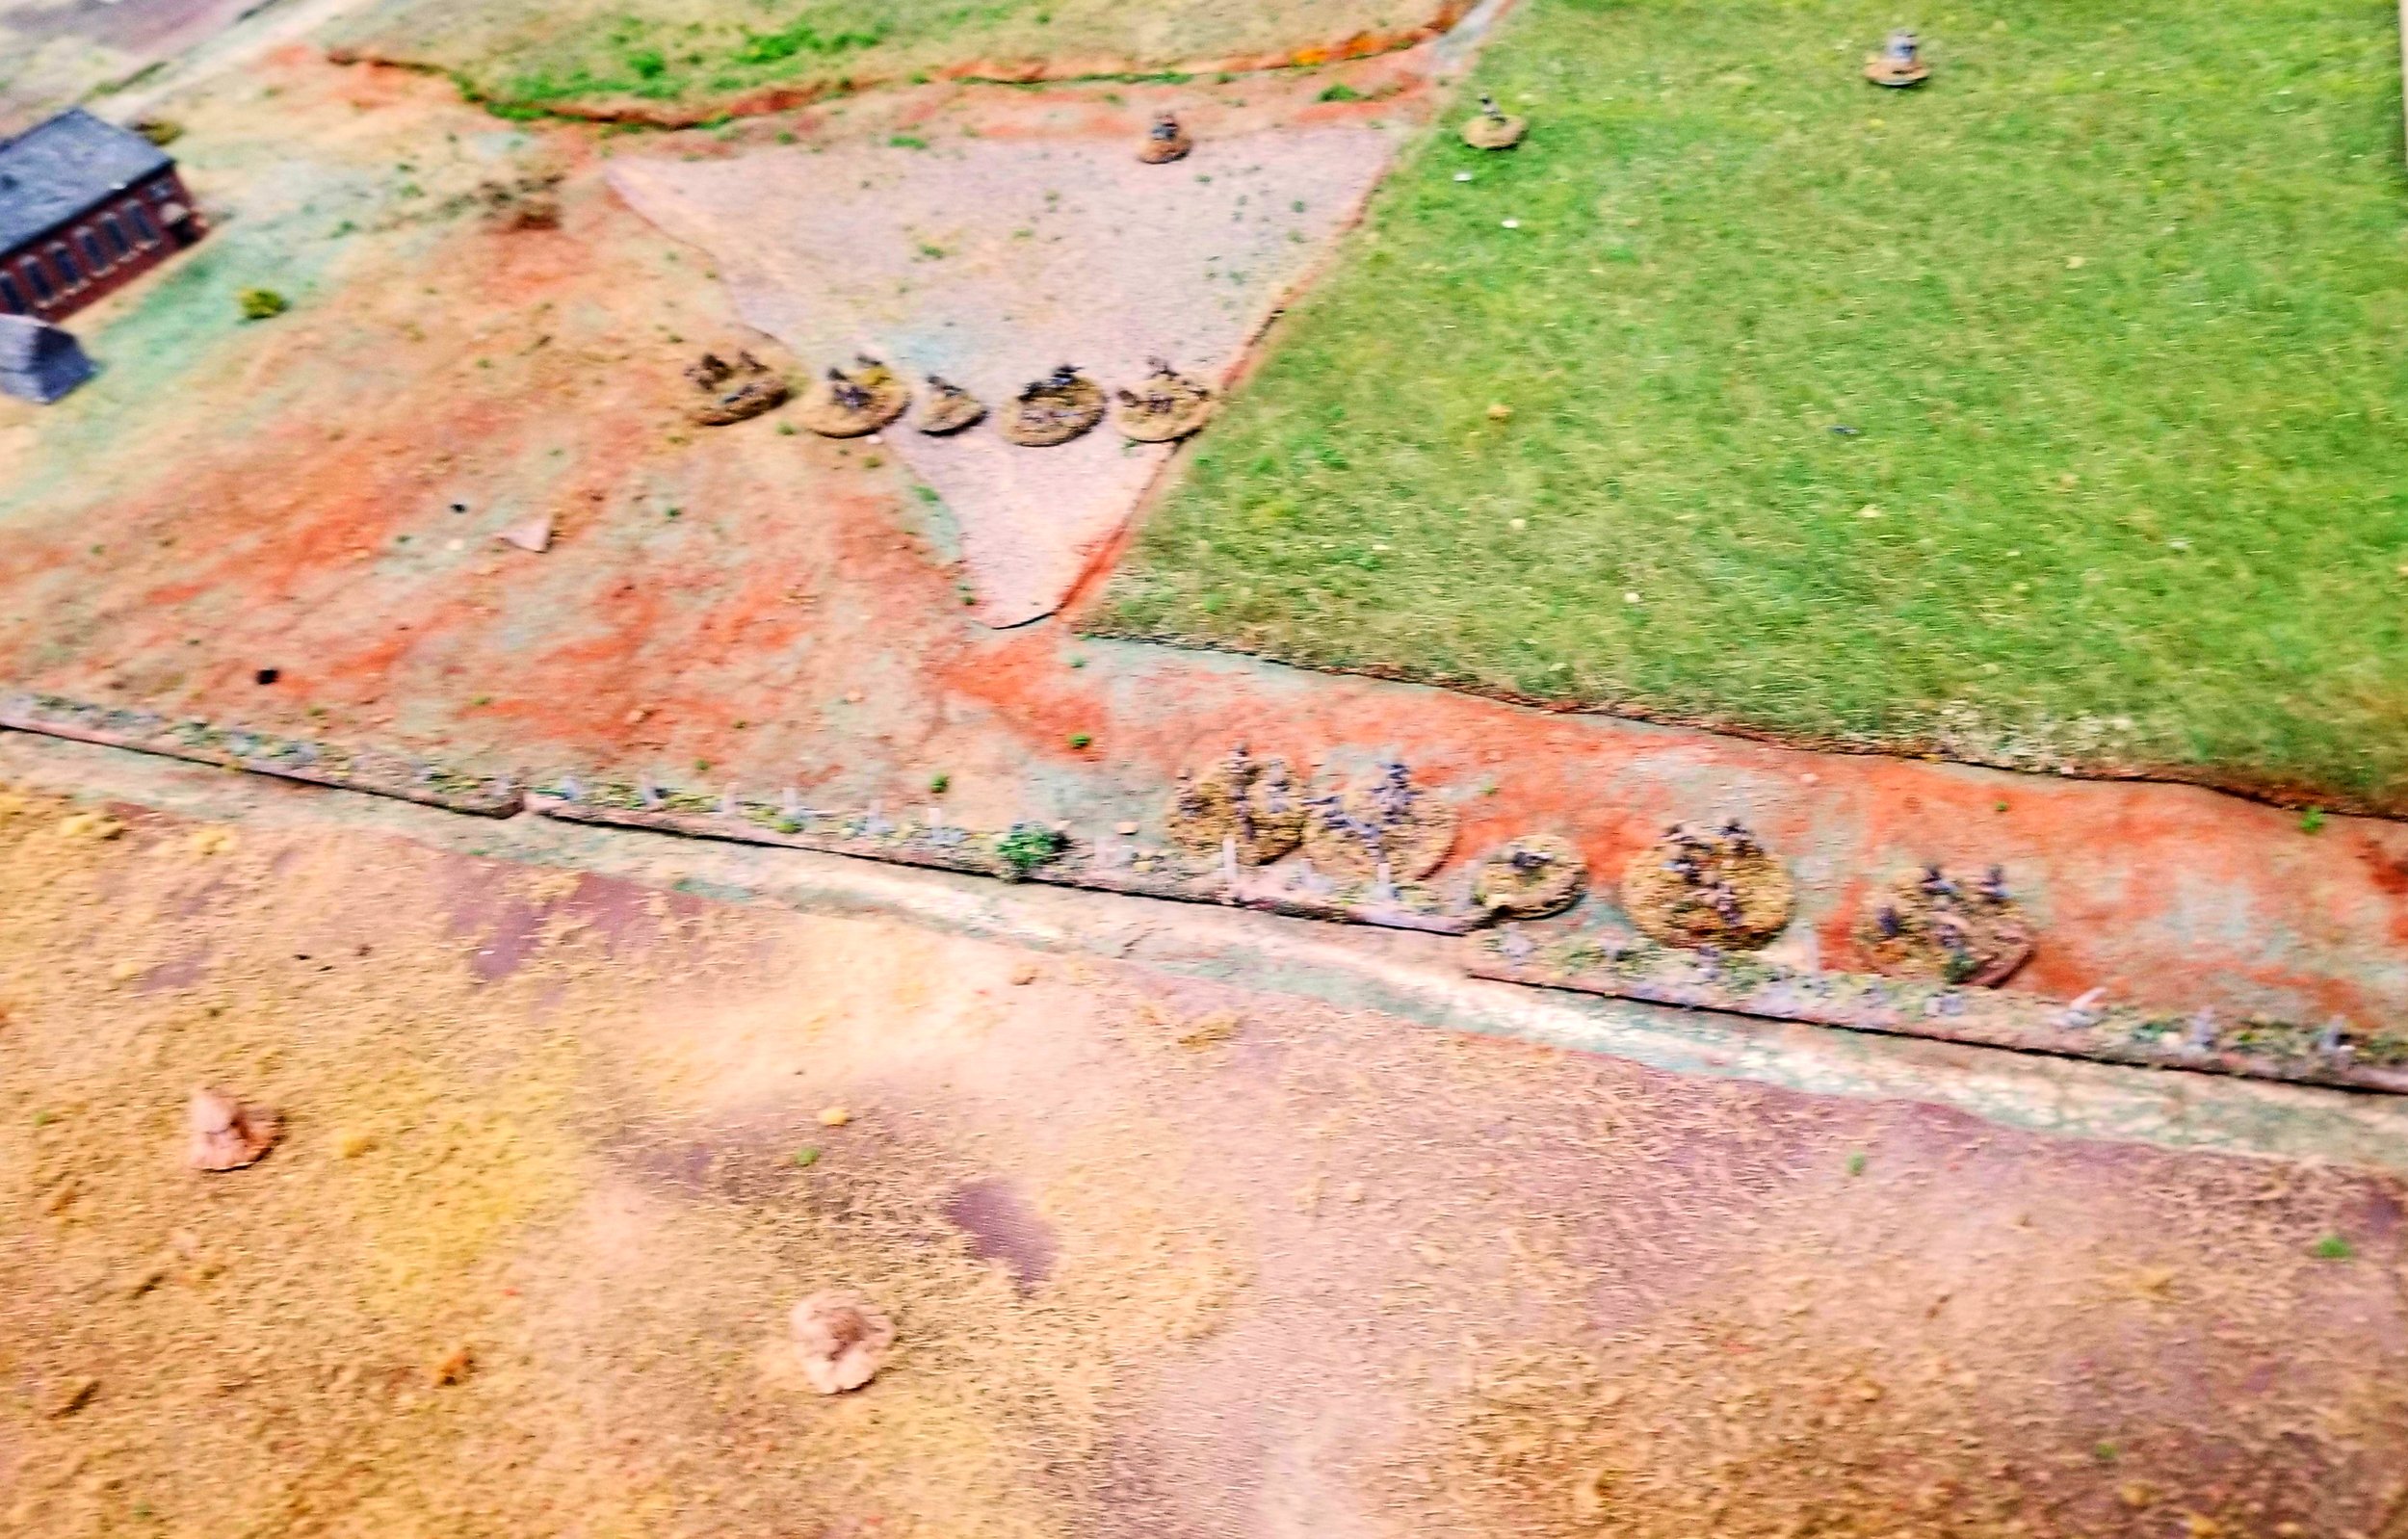
The first scenario in the Blenneville or Bust! scenario pack is a clash of reconnaissance forces.
The Americans are trying to scout whether the bridge at the far end of the table (by the chair in the picture below) is strong enough to take the weight of a medium tank. They enter the table on any of the roads at the near end. The Germans are trying to stop them doing so, and start the game under Hidden Blinds anywhere on the table.
The first action took place on the left hand side of the table, where a US reconnaissance column headed up the road as fast as it could. It soon ran into a platoon of German infantry hunkered down behind the bocage near the first field.
The Germans opened fire with a couple of Panzerschrecks, blowing two of the US column’s Staghounds to bits. Without enough infantry to suppress the German platoon, the rest of the American column had no chance of fighting their way through, so they settled down to use their 60mm mortars to keep the Germans occupied and called for help.
Another US column appeared on the other side of the table, but immediately came under fire from a German machine gun and SdKfz 250 half-track hiding in the central farm. The farm was also obviously holding more men, so the US recon platoon scattered off the road onto the hillside, attempting to take cover behind the various copses there. Two 60mm mortar teams were lost to machine gun fire before they could do so.
With both routes onto the table effectively blocked, the Americans called for their reinforcements. First to arrive were a couple of M8 HMCs, who immediately put the enemy troops blocking the left flank under fire, pinning them down even if hardly any casualties were inflicted.
Next up were four M5 Stuart light tanks. These looked really useful, but then I realised that their 37mm pop-guns weren’t going to have much effect against dug-in infantry, and with the emphasis on “light”, it was going to be risky to get close enough to the Germans to winkle them out with machine gun fire. Oh, and those two Panzerschrecks were still in the area and, although currently pinned by mortar fire, would love to take out a Stuart or two!
With the left hand column still pinned by the German platoon in front of them, the tanks busy keeping the enemy in the central farm occupied, it was down to the right hand reconnaissance column, what was left of it, to keep on-mission and heading for the bridge.
This they did, but unfortunately the Germans had more troops with which to stop them: a zug of four SdKfz 231 armoured cars with their 20mm cannon itching to get into action. These moved into a position to block the advance of the Staghounds on the right.
Fortunately their aim was not very good, and although bits were knocked off the closest Staghound, the rest were still available for action and opened fire in return, accompanied by one or two of the Stuarts who were, by now, trying to work their way around the farm albeit hampered by the rough ground in the fields.
All four of the German armoured cars were damaged in some way: with one blown up, one bailed, one with a gun knocked out, and the last with its capacity for movement severely curtailed. This was good news, but unfortunately the Germans then revealed another infantry platoon lurking behind the bocage near the bridge right on the flank of the path that the surviving Staghounds would have to take to get past.
Meanwhile on the left, with the Germans nicely disrupted by the Mortar Carriers, the Americans there laid down smoke and hurtled a Staghound along the road and past the blockage. This was useful, as that Staghound could go hell bent for leather and get to the bridge: provided, of course, that the Germans didn’t have anything else in the way further down the road.
Their efforts, however, proved unnecessary, as hurtling down the road, still under a Blind, came the seven jeeps of the American Intelligence & Reconnaissance platoon attached to 425th Infantry Regiment (“the Coyotes”). Just the sheer number of jeeps arriving proved too many for the Germans to stop, and as the US victory conditions involved only getting one unit onto the bridge (presumably to jump up and down a bit to see how strong it was), the Germans decided that further resistance was pointless and melted away.
The Americans had succeeded in their mission!
Robert Avery

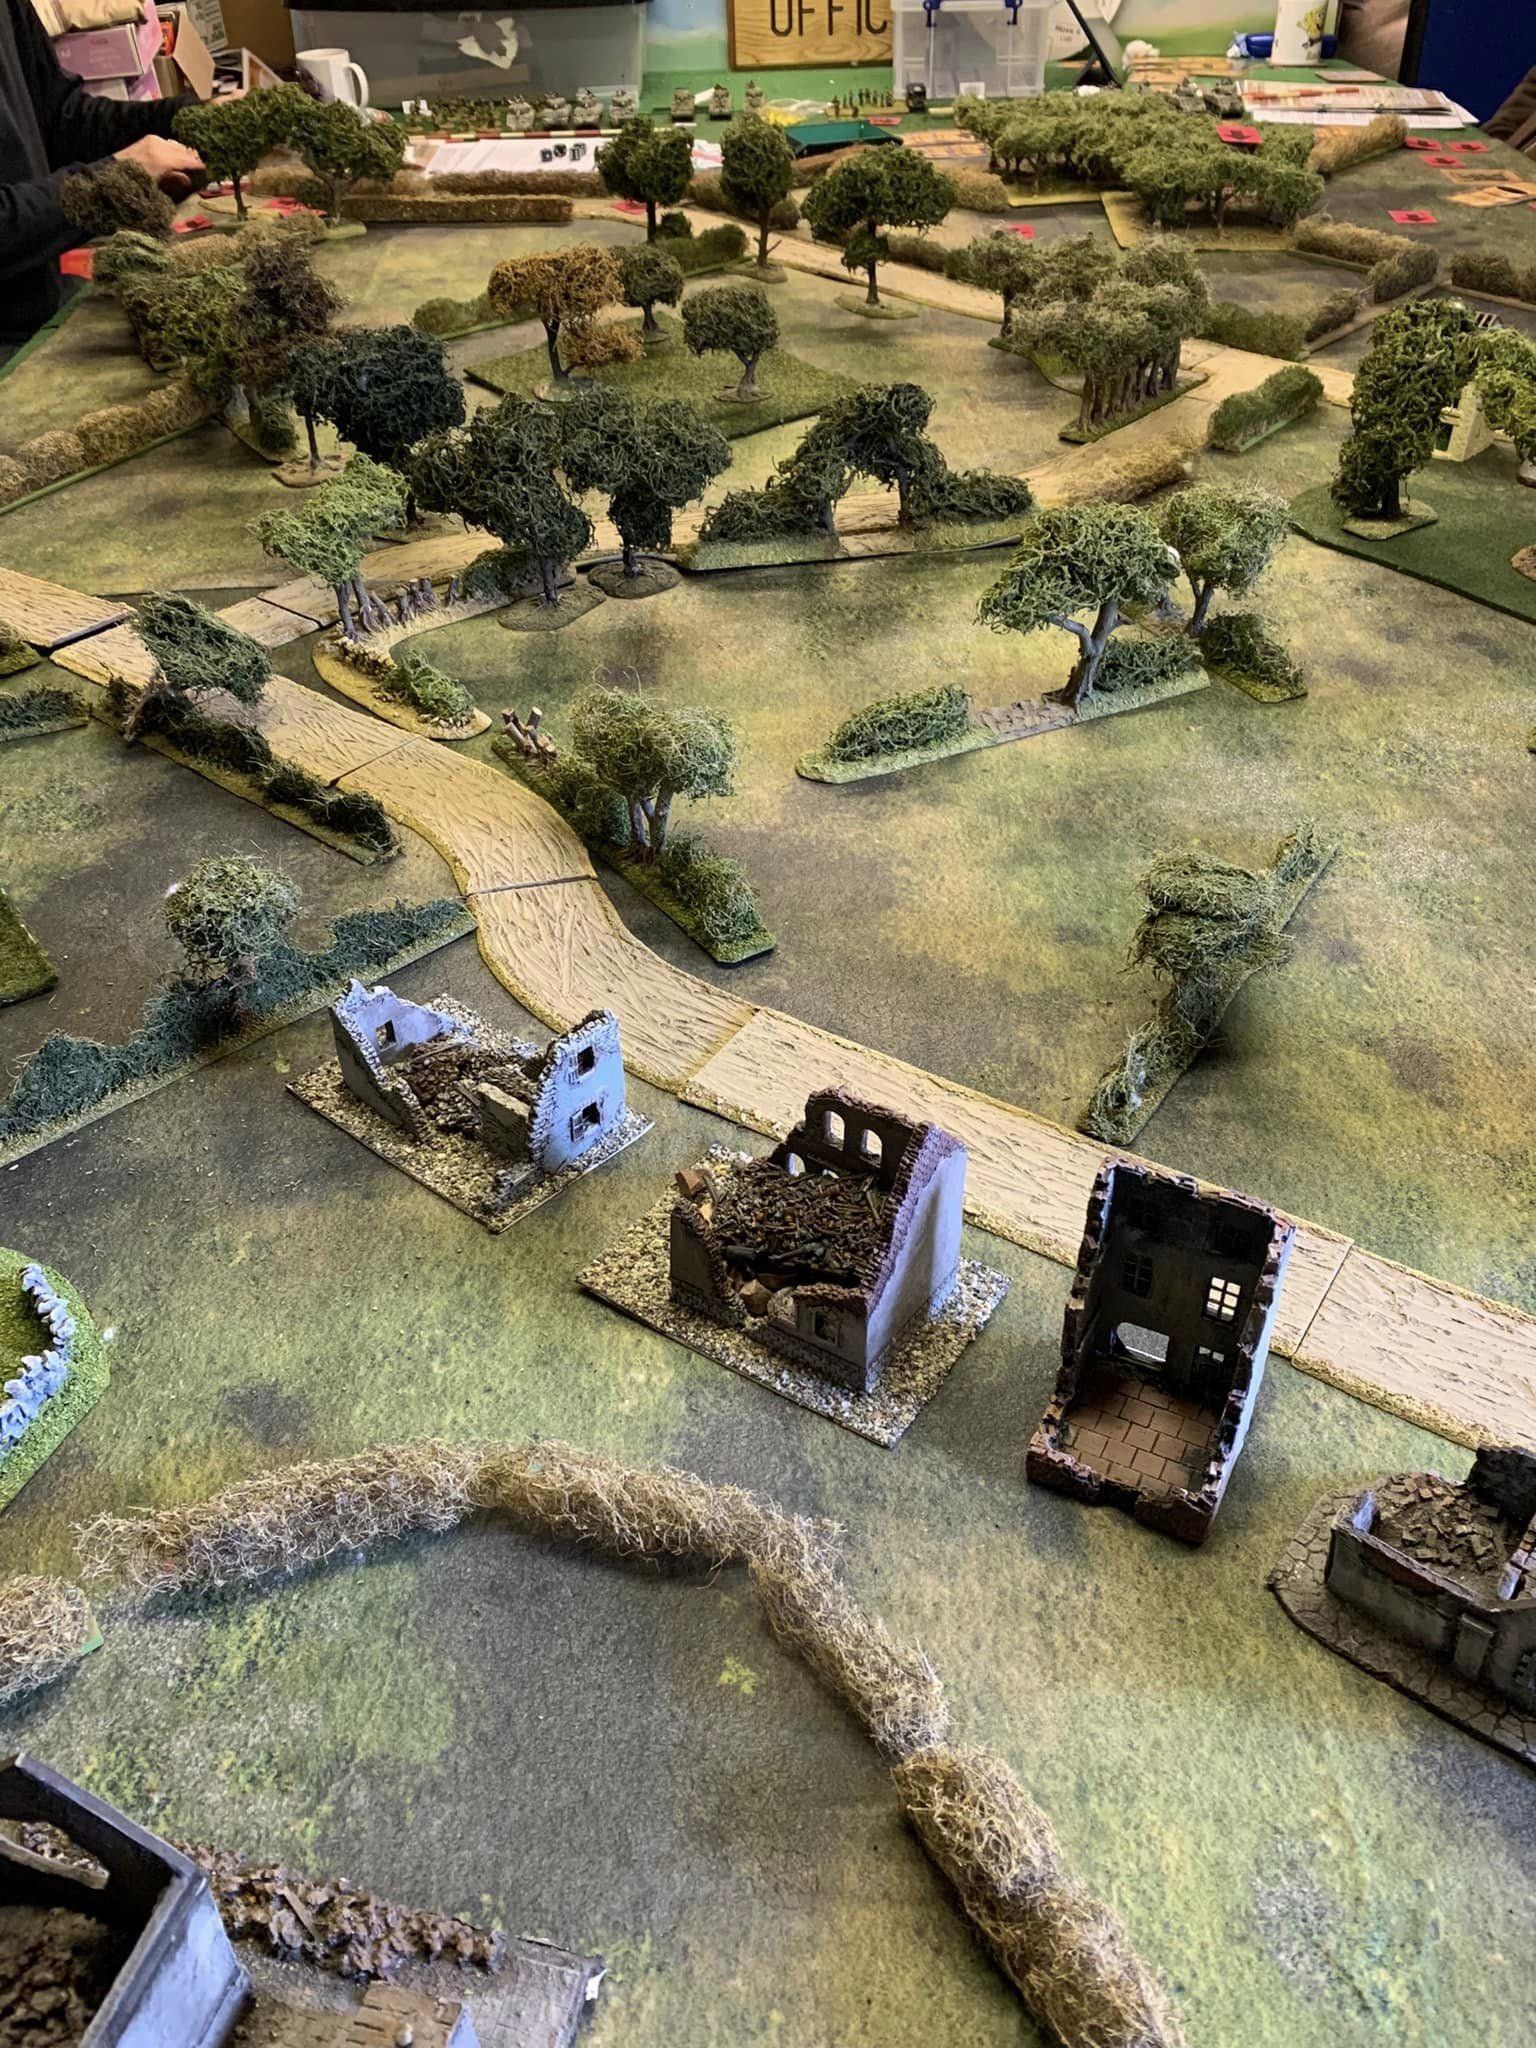
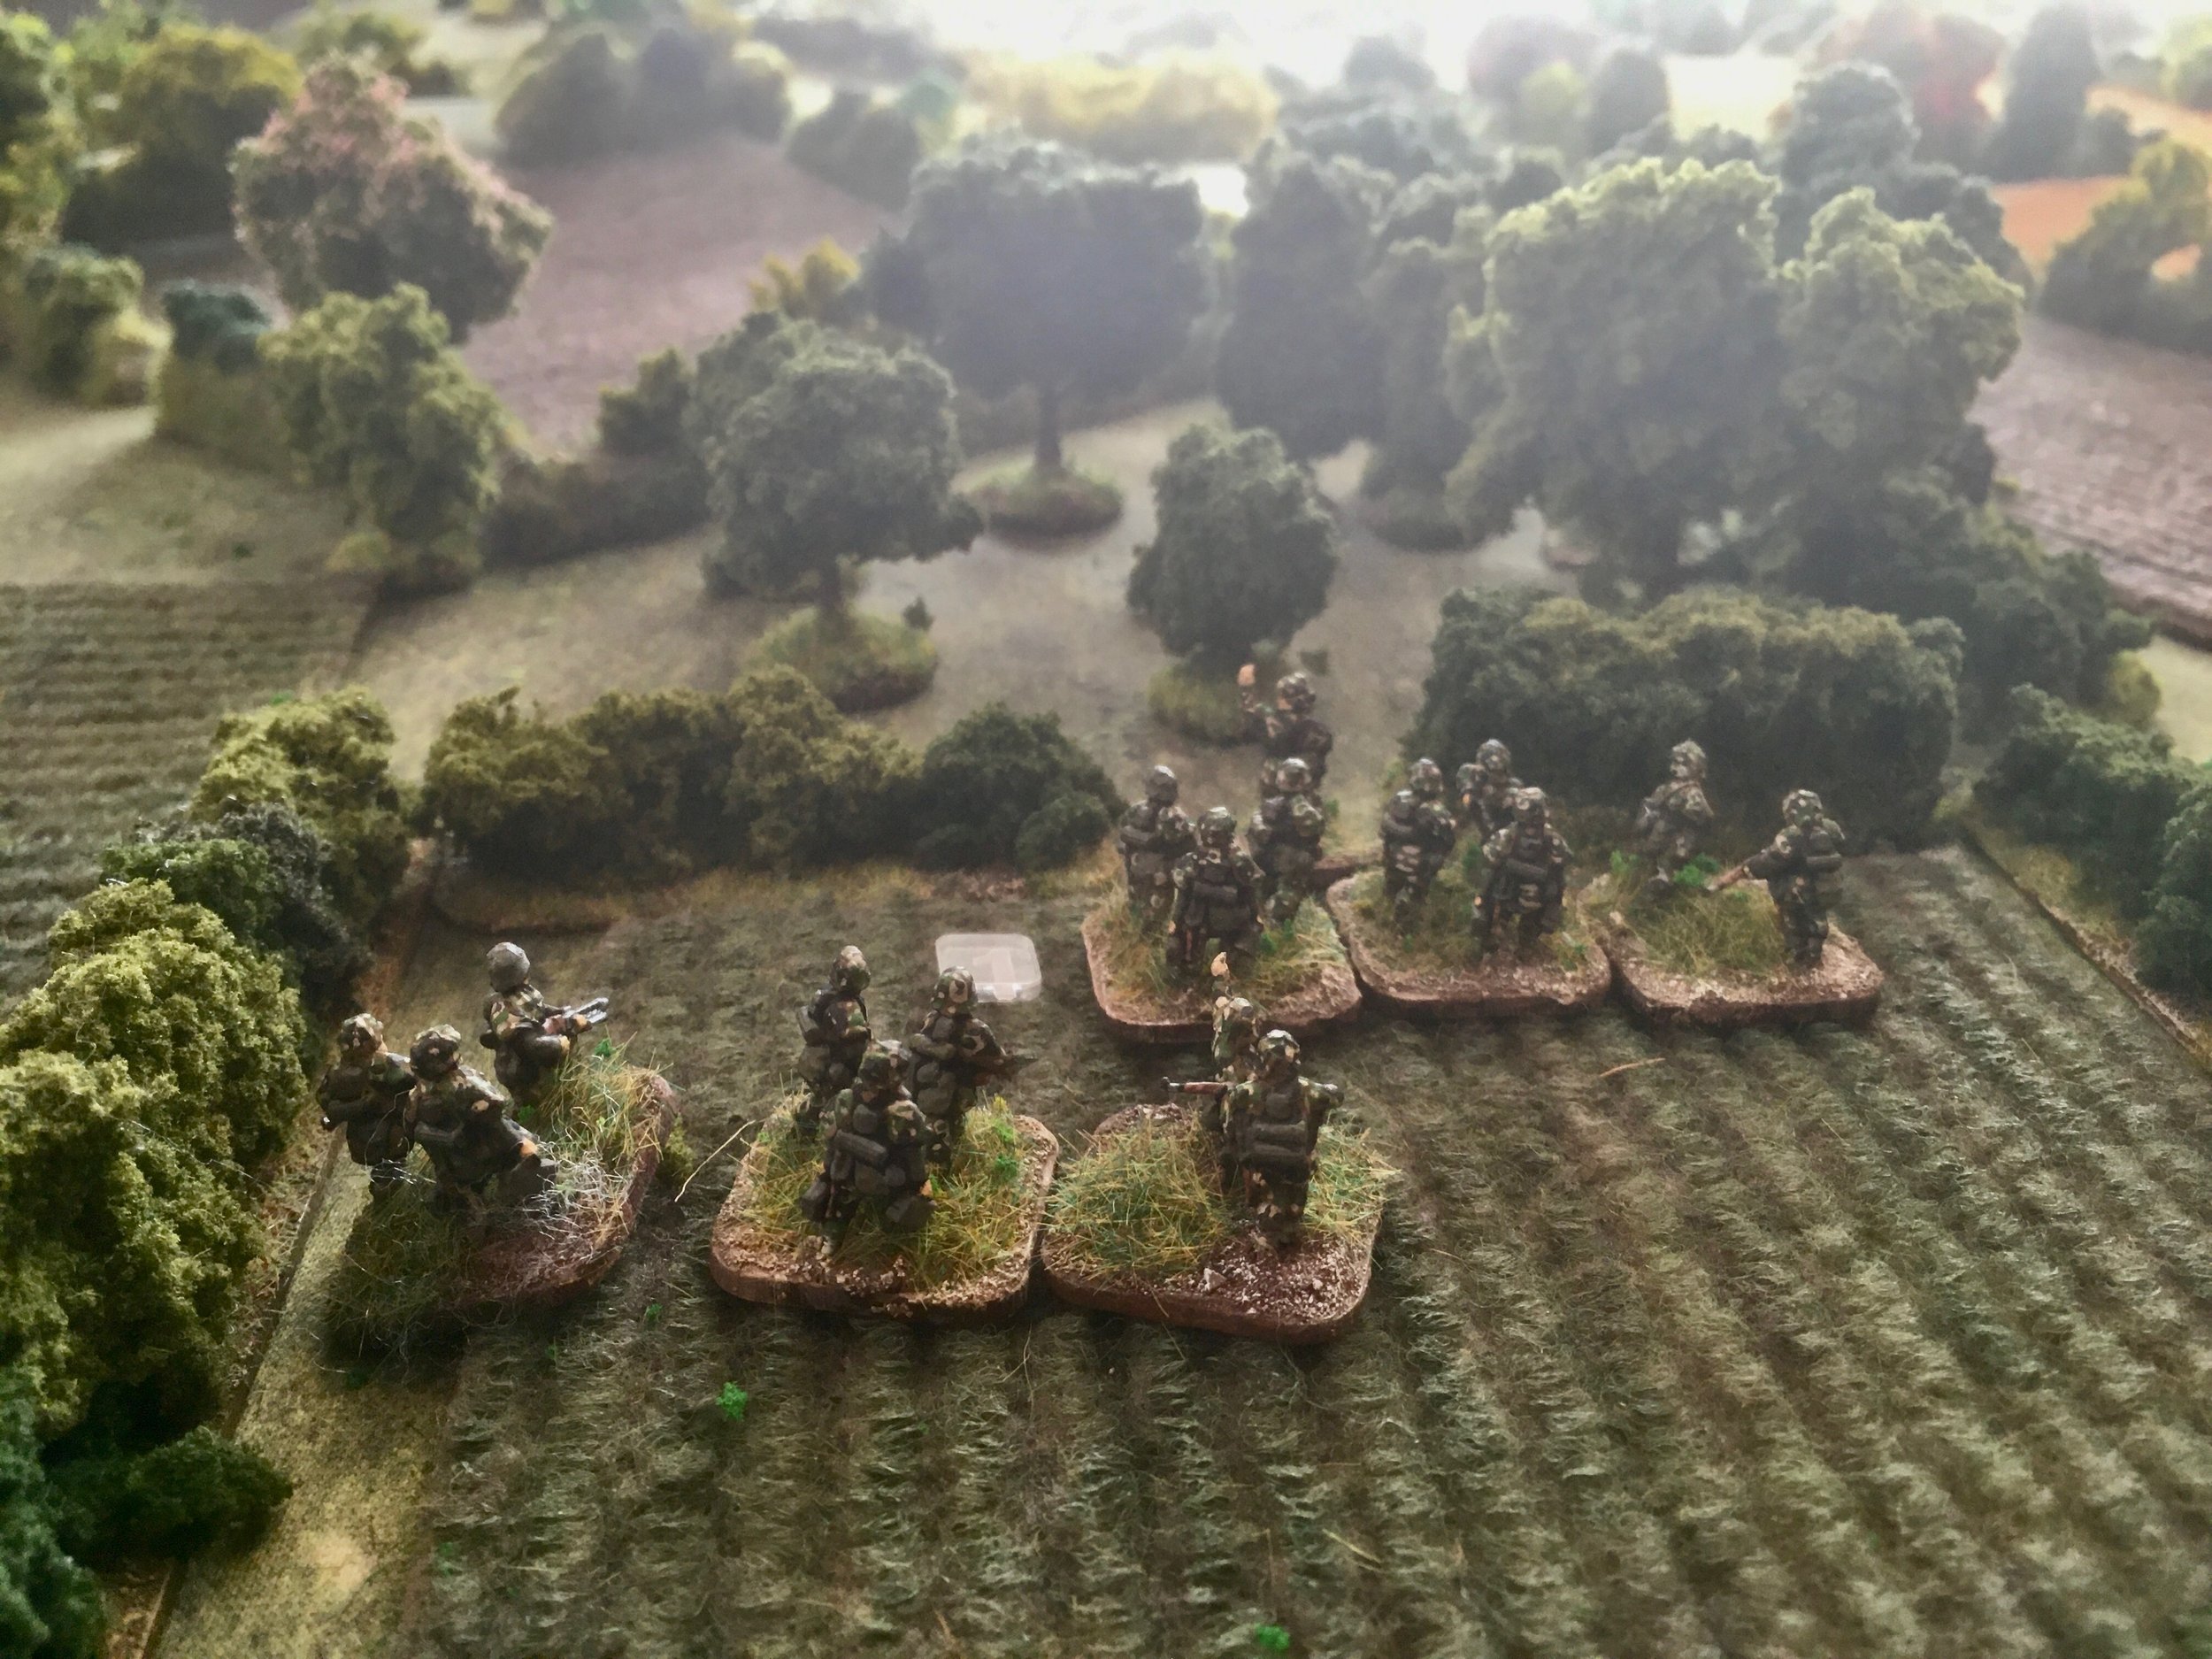
Pictures from a game of IABSM in 6mm based on an unspecified scenario from Chris Stoesen's In the Name of Roma! scenario pack, covering the actions of the Italian 80th Roma Regiment in the Soviet Union between August and December 1941. No captions unfortunately: just the photos.
Mark Luther

You're probably wondering what the all-fired hurry was with those terrain tiles.
Let me explain. No. It's too complicated. Let me sum up...
Today was a club all-day game, and Carl and I thought we'd try and get a good long game of IABSM in, since from experience the rulebook scenarios don't usually fit in an evening. This is partly because we don't play often enough, but also because most of the scenarios are very much two phases of operation, and it's a shame to miss out on this.
We went with scenario two from the rule book - basically the Americans have to capture the road off the southwest corner of the map (past the house on the hill, top centre). The roads, BTW, are the club's Battlefront roads, which I don't like, and will be replacing with someone else's flexible roads.
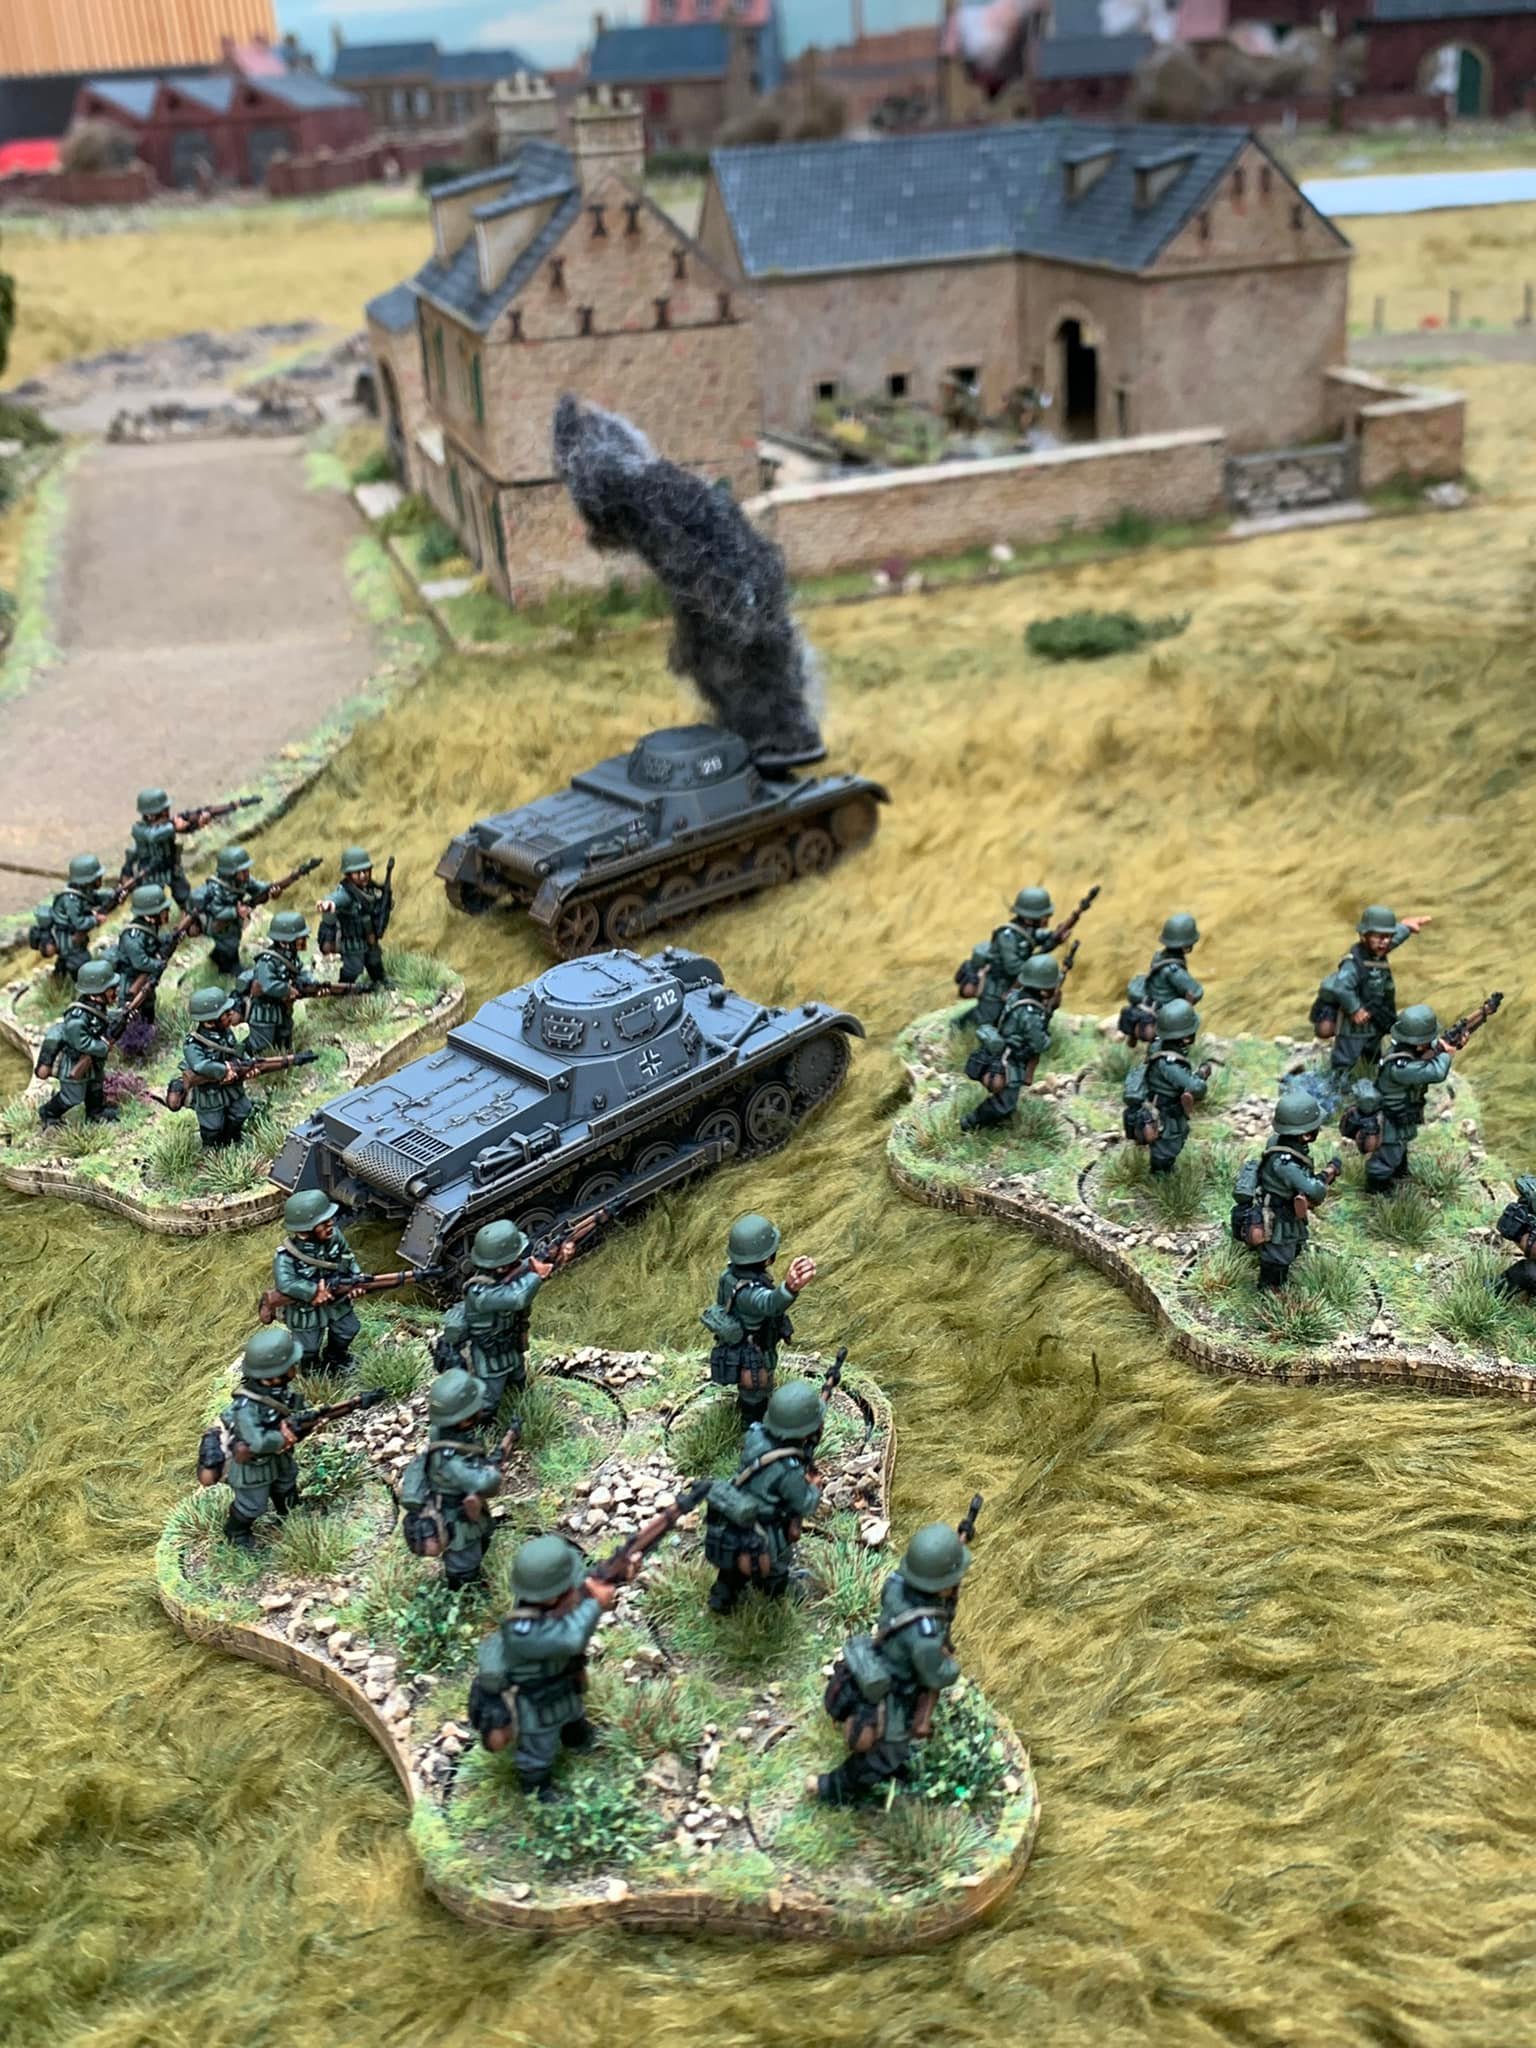
For me, fighting as the Germans, things started well - Carl's first American blind waltzed down the road, got spotted by the MG42 and Big Man in the house, and got one squad ripped to shreds, and then close-assaulted to heck and back. Needless to say, he was a bit more circumspect with the rest!
After a few runs through the activation deck, I had the river bridge (which with hindsight was a dumb and stupid place to deploy a section), Carl had a platoon in the walled courtyard by the house at the junction and most of the rest of his forces in the woods, and I was trying desperately to find cover along the road back towards the hill.
In short? Not a long term tenable position. With hindsight, I should have deployed at most one platoon and an MG42 where I could give his advance blinds a bloody nose, and set the remained up in and around the hill.
As it was, I wound up hightailing it back to the hill with the surviving forces, which was a trifle hairy. The platoon on the bridge got caught trying to cross the river, and the rest fetched up (under some woefully inaccurate mortar support from the FOO in the big house) in the scrub on the hill.
For a couple of runs through the deck, I got the upper hand - I'd have done better if one of my MG sections wasn't clinging on to life by a thread, but the other did get a blistering enfilade shot or two on one of the American sections, helped by the mortars finally landing a stonk in roughly the right place.
Unfortunately, weight of numbers and firepower told, and the Americans basically blasted away at the remains of the Germans and that was, as they say, all she wrote.
Great game, with an excellent opponent: my thanks to Carl. Hopefully we can get another game in a bit sooner.
Mike Whitacker

Played scenario three 'Action At Galmanche' from IABSM3 today at Stephen's in order to give the rules a try after our positive view of Chain Of Command (COC). Of course different scale with these being based around an infantry company rather than a single platoon as in COC.
We stumbled greatly over the card deck at start being unsure as to which cards are in from beginning. After playing a few turns then restarting, we realised that it's simply the Tea Break Card and two opposing Blinds cards. Once we saw how Blinds interact with the Spotting rules and Tea Break Card it all came clear. We then found the various Movement, Shooting, AFV and Shock rules easy to pick up (as essentially same/similar to COC) and the game fairly cracked along.
The rules have several ambiguous concepts (which the writers sort of expect player to 'common sense' a solution. For example not very clear when/if the Forward Observer card appears in deck or if he has to Deploy from a Blind to take actions. Also whilst it states tanks can fire Smoke the rules do not seem to cover it specifically (only indirect barrage style smoke is outlined) and we remain unsure if a single tank can fire smoke or how large its effect area is ?
Infantry units are fairly brittle as they can take combos of kills and shock often in large amounts. One thing we really liked was the multiple actions units can perform each activation (degrades through casualties and shock) and how they can activate on their own card or relevant Big Man card, this made the single German PAK40 very effective in the game despite facing four Shermans. The 'Ronson' rule make Sherman crews brittle with high chance they will abandon their tank.
As in most WW2 games the attacker has a tough old time against concealed and dug-in troops especially when lacking Artillery support (I got only a preliminary stonk).
On balance I liked the rules in many aspects but would probably plumb for Panzer Grenadier Deluxe or the Battlegroup series as 'go to' sets.
Sergeant Steiner

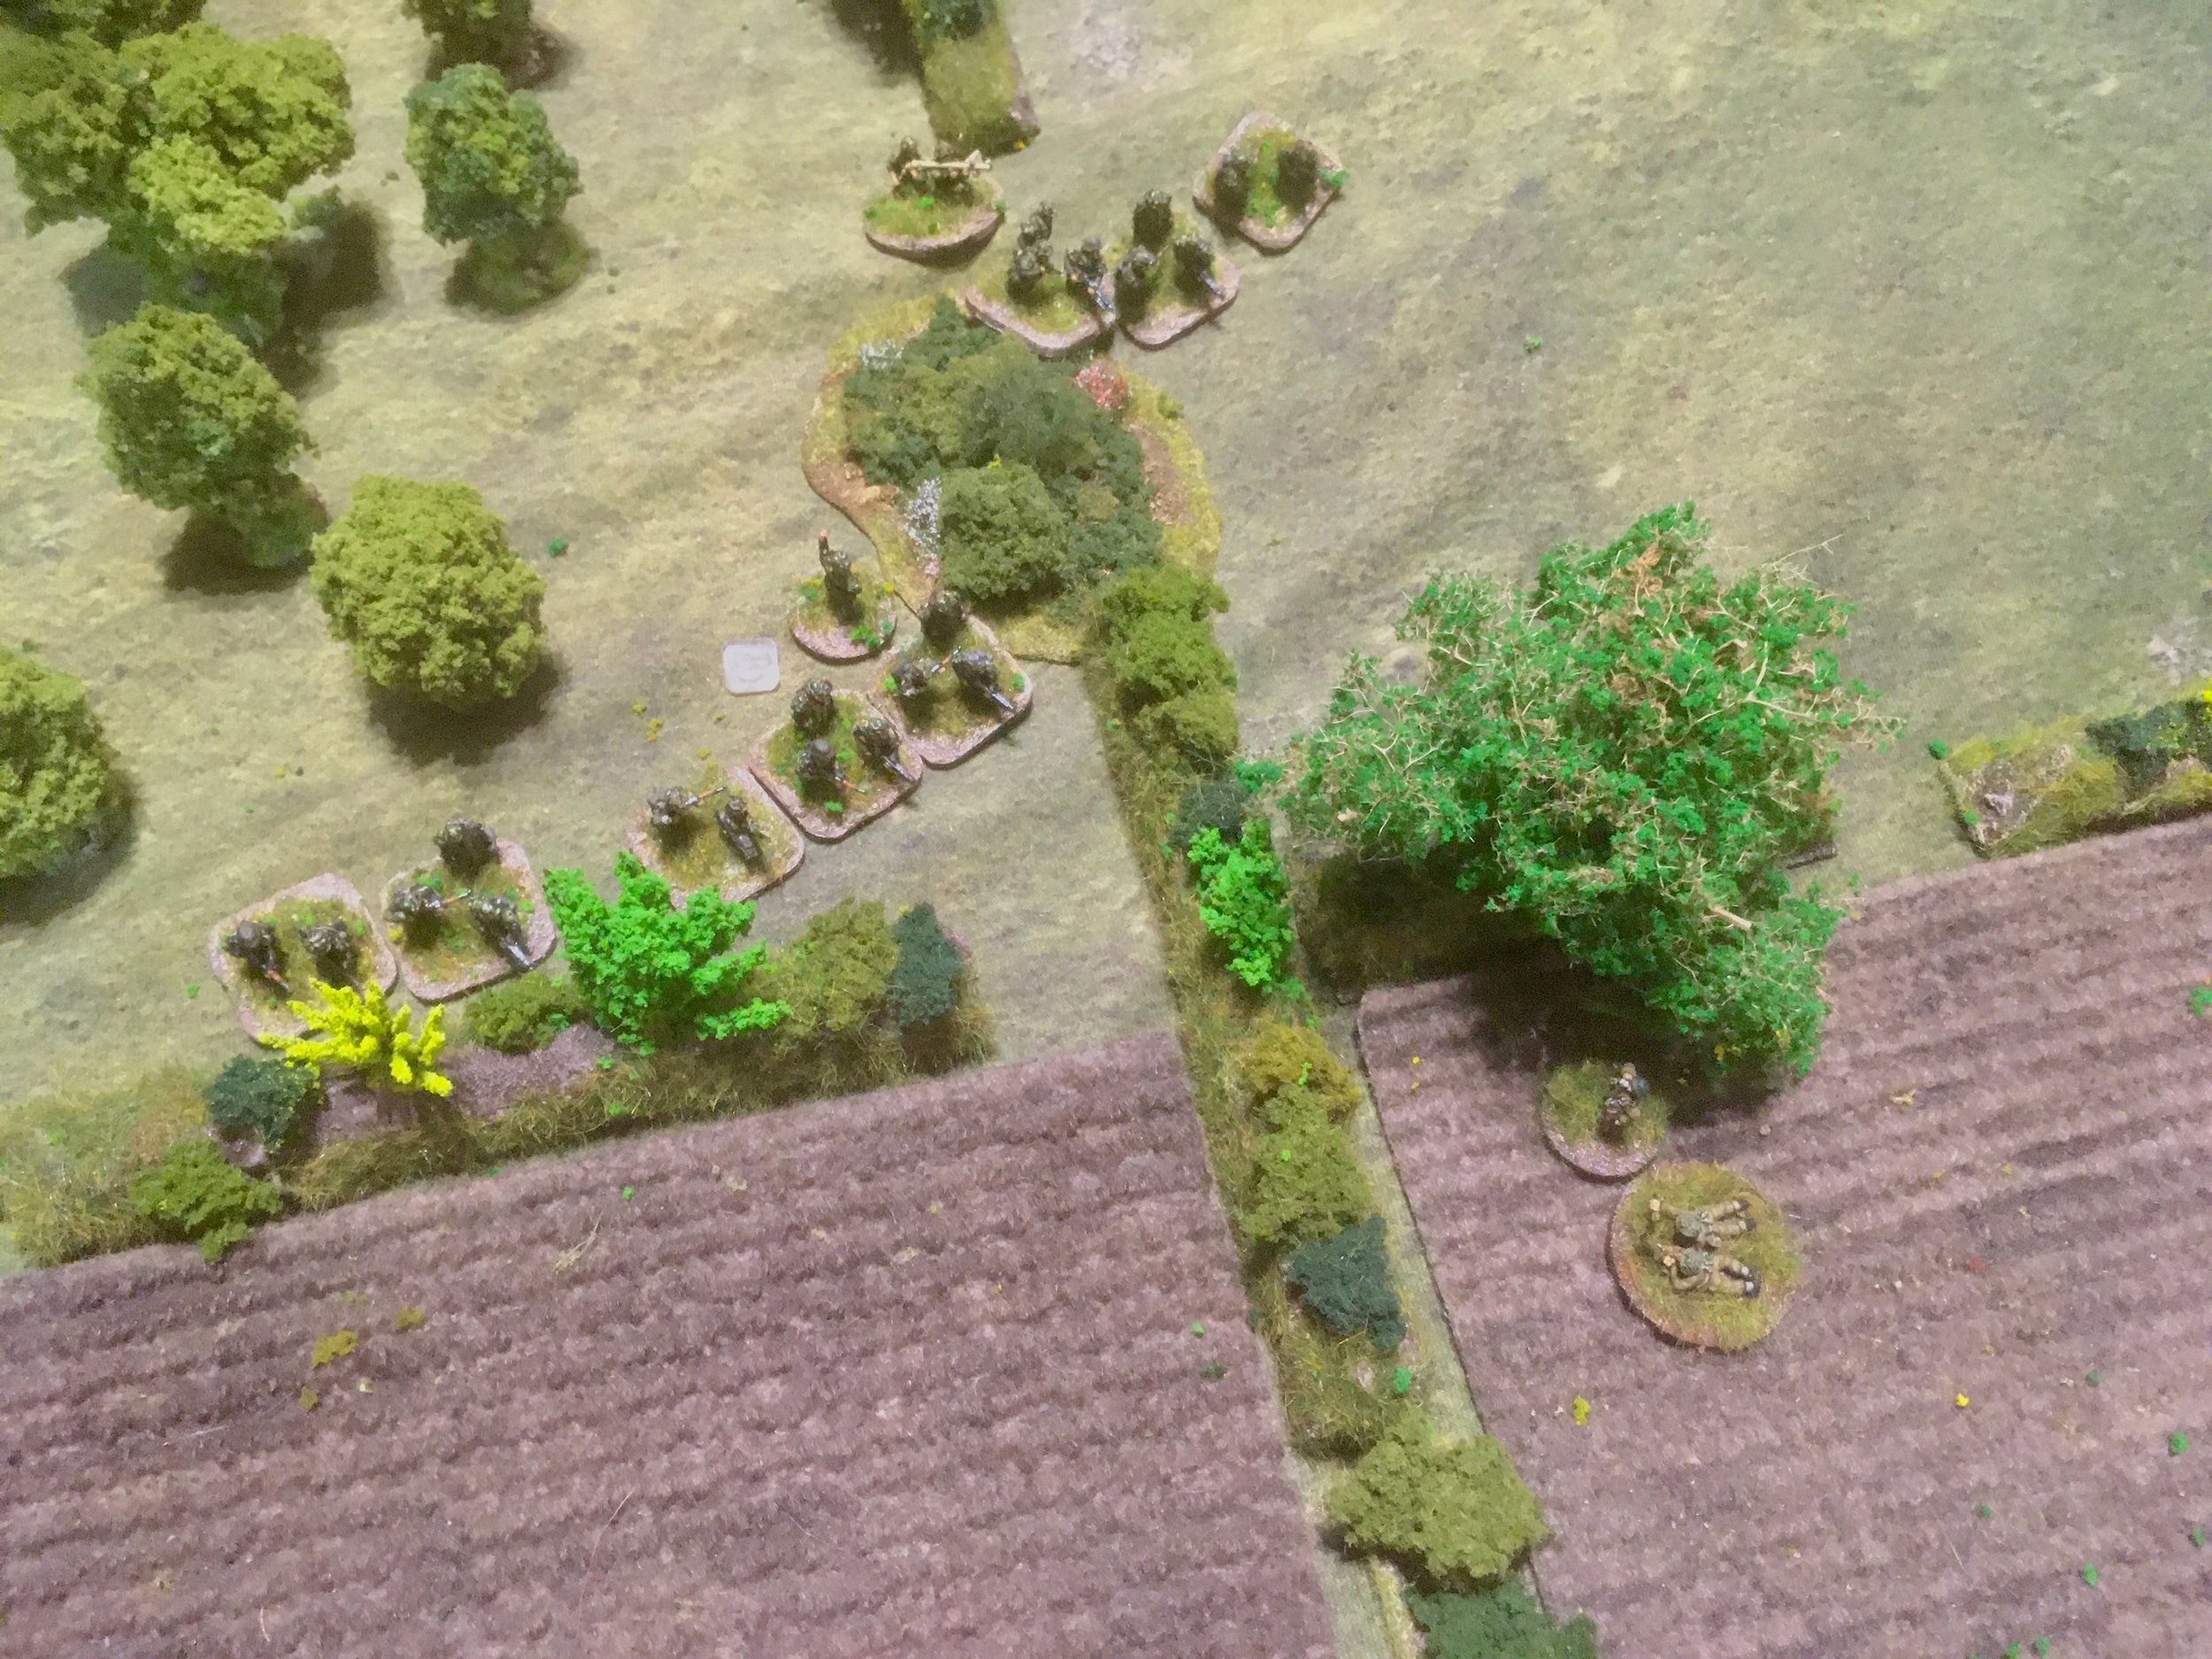
The second battle from the 41-Drive on Minsk skirmish campaign book. Elements of the 3rd Panzer Division are approaching Kobrin. The Soviet 205th Motorised Division have set up defensive positions to cover the retreat of of their Tank Divisions.
The Soviet troops may start in foxholes or trenches.
They have three platoons of Infantry and a 45mm ATG. The infantry platoons have prepared squads with extra grenades and Molotov cocktails.
The German force objective is to exit two AFVs off the eastern edge. They have a platoon of two PzII tanks, a platoon of two PzIIIs and two platoons of infantry.
All the woods are dense (no vehicle movement) the streams have steep banks and marsh along most of their length, vehicles may only cross at the bridge or the fords.
Although the Russians are dug in and outnumber the German Infantry they are of low quality and lack the leaders to motivate them, (one of the strengths of IABSM is that the rules can model a small highly motivated confident force to combat a larger less motivated force). This won't be an easy task for the Germans however, the close terrain does not suit the German armour. If their infantry do not protect them the Russian infantry will have plenty of opportunities to close assault the German armour.
As the Russians had prepared squads for such an event I added a tank killer card to the deck, which would allow one squad to close assault any German AFV within range.
Other cards in the deck:
Russian Big Man 1
Commissar
Tank Killers
Platoons 1 to 3
ATG
Russian Blinds
German Big Man 1 to 4
Rapid Deployment
Axis Rally
German Blinds
Platoons 1 & 2
Armour 1 & 2

With the main thrust of their attack through the Ardennes scheduled for 15th May, the Germans first launched a diversionary attack into Belgium designed to tie down the French First Army and their British allies.
Clashes began on the morning of 12th May, with the panzers driving a French armoured force back for no losses. The French, along with British reinforcements, consolidated around Hannut.
After the first wave of German attacks on the town, the French, worried about being outflanked, withdrew. The Germans, unaware of the French withdrawal, did indeed try and outflank the town, and ran into the French rearguard (infantry from 11th Dragoon Regiment and Hotchkiss tanks from 2nd Cuirassiers) at Crehen.
The Germans carried out a classic pin and outflank manoeuvre (medium tanks pinning, light tanks outflanking) and the French were forced to retreat. Some Cuirassier tanks were trapped in Crehen and were only able to breakout after a counterattack by the Somua tanks of 2ieme DLM.
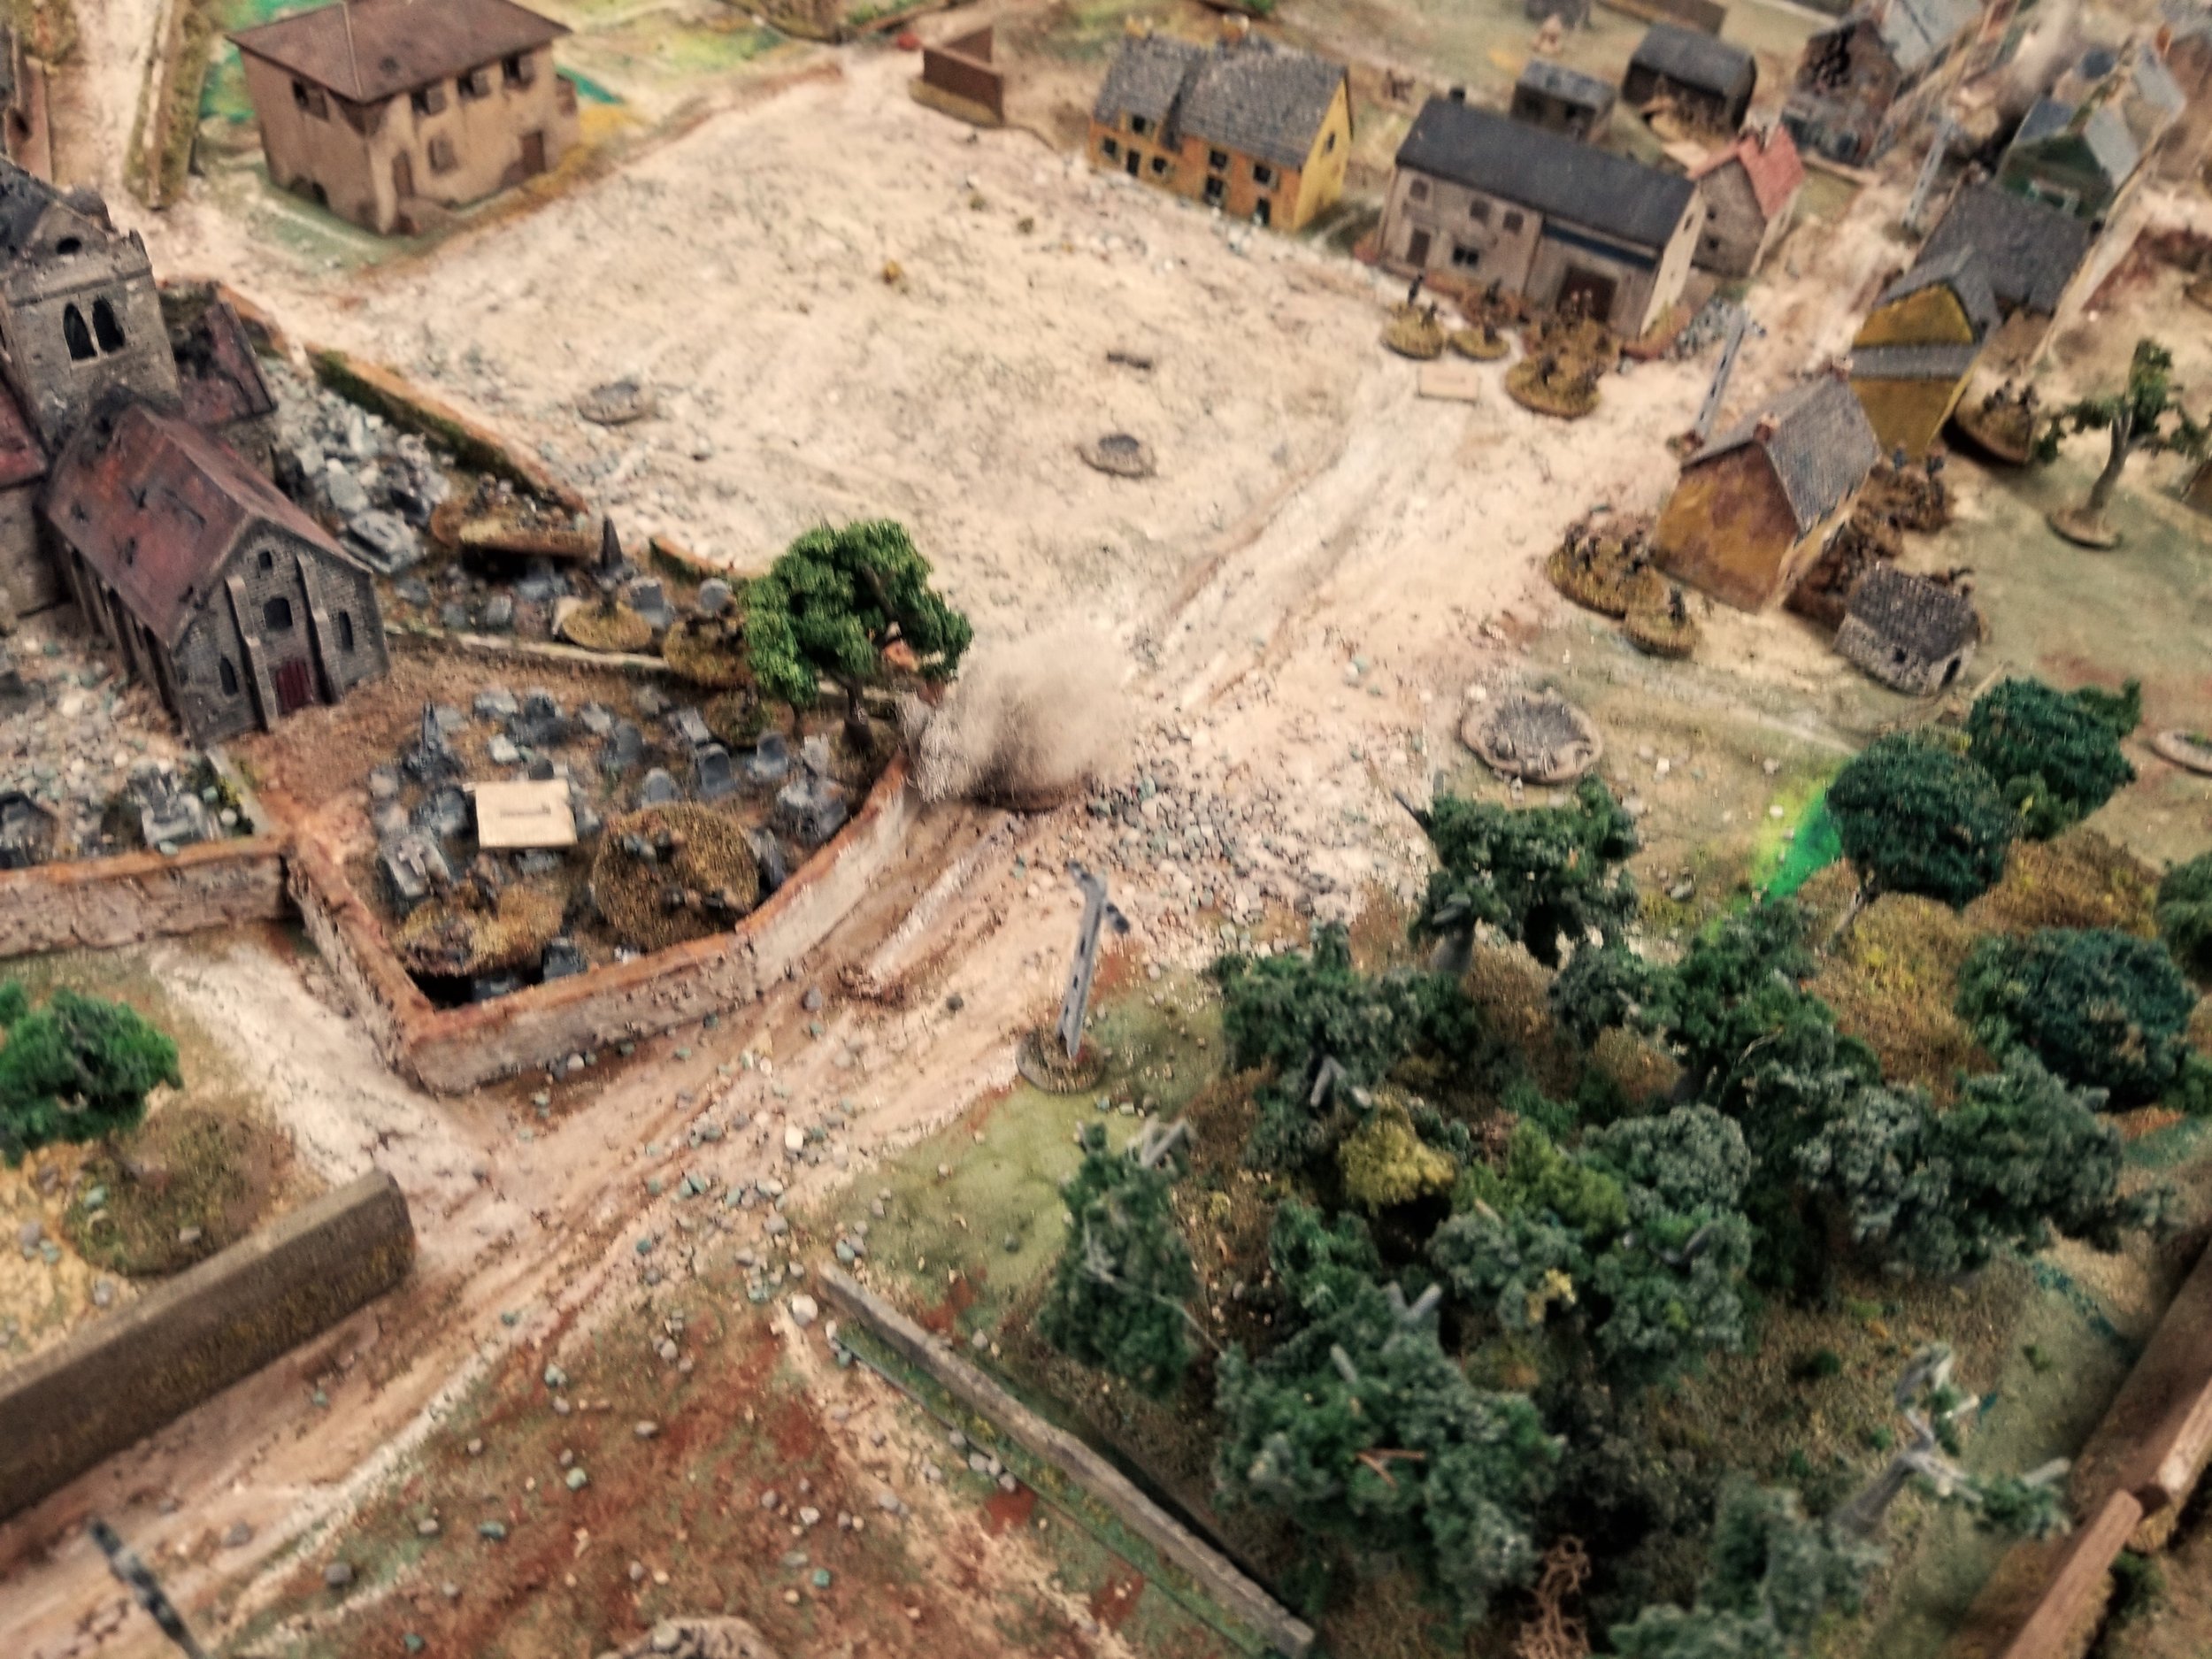
This scenario simulates the German assault on Crehen.
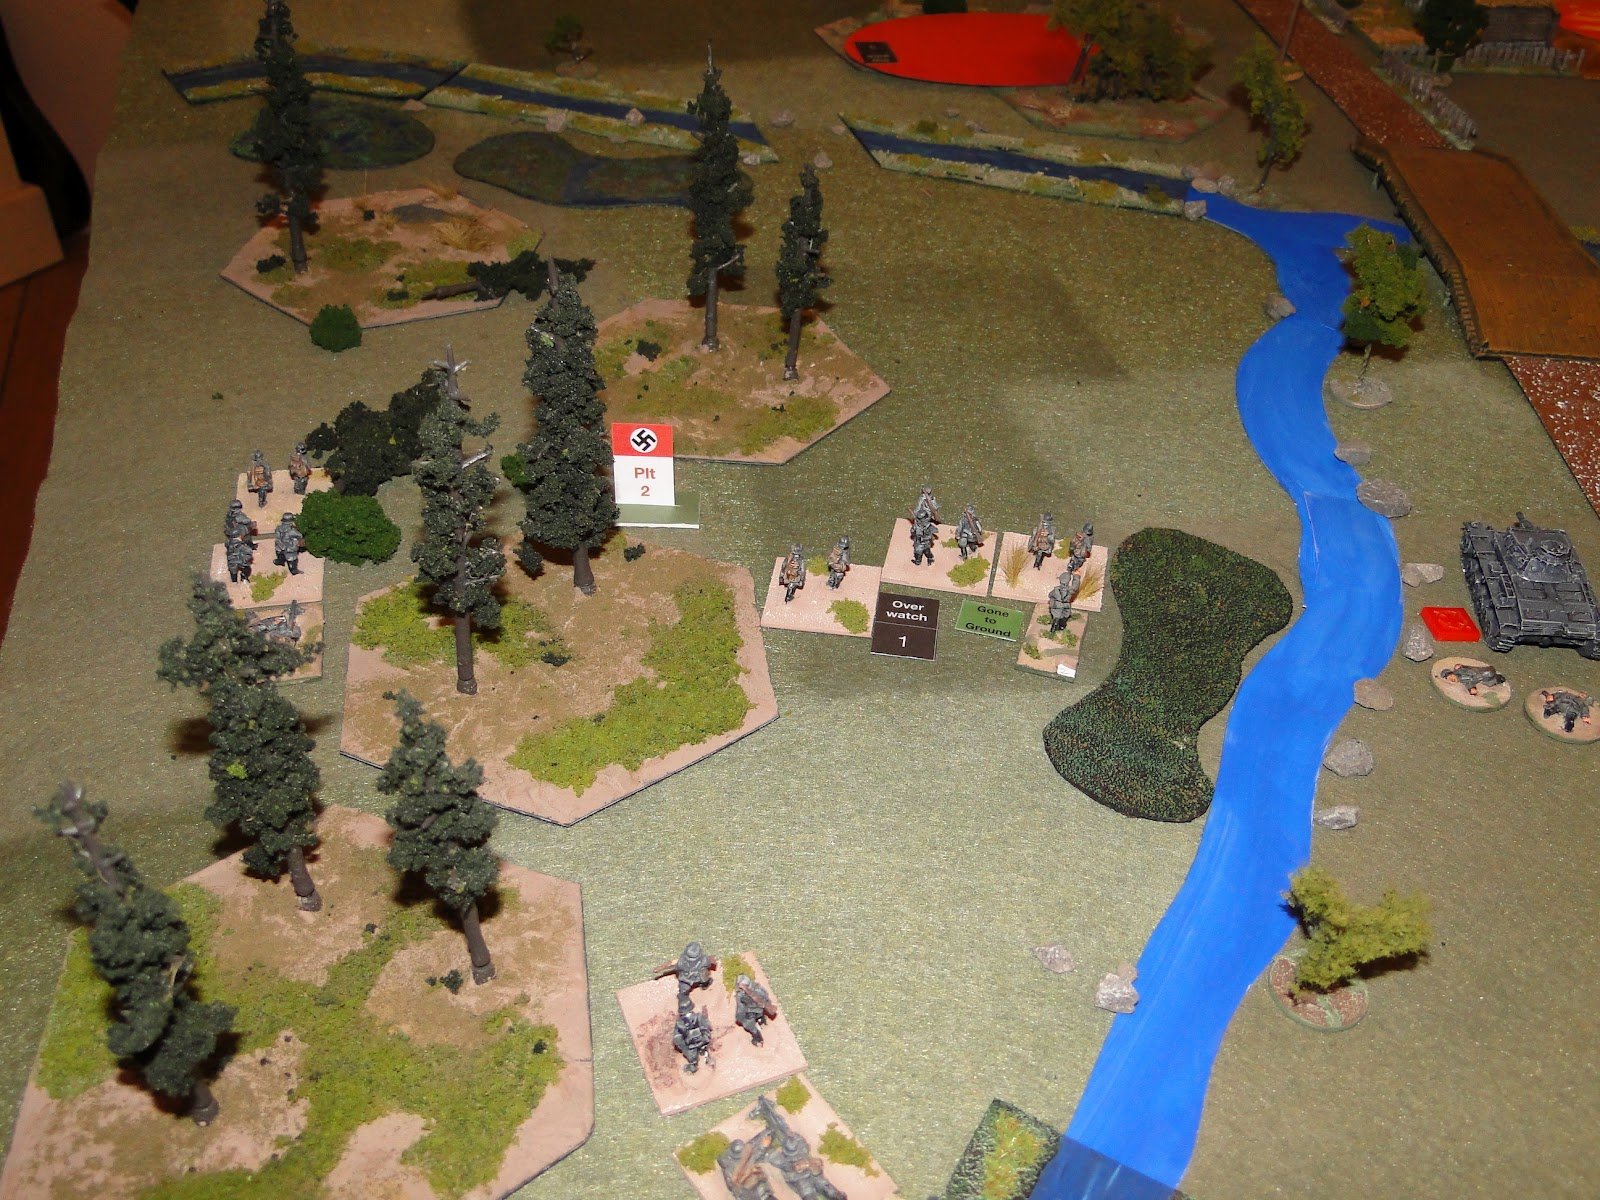
The picture below shows the small town of Crehen. The main German attack will come from the north (where the chair is!) with the outflanking attack coming from the east (down the road disappearing off to the right). The French are under Hidden Blinds anywhere south of the far wall surrounding the church.
The game began with a series of German Blinds pushing onto the table. Spotting from both sides took place.
A French 25mm anti-tank gun took out an advancing Panzer II with a lucky shot, but the French soon found themselves severely under fire. One Hotchkiss H-35 was hit by Panzer IVs despite being hull down behind a wall, and the French infantry discovered just how unpleasant it is to be in a building hit by a continual stream of 2mm autocannon fire!
As the Germans continued their relentless advance, the French really needed to deploy the rest of their defending force, especially the tanks, but the French Blinds card proved stubbornly elusive, so the Germans were able to concentrate their fire and really hammer those French that they could see.
To be fair, the German Blinds card was also failing to make sort of appearance, so at least the French weren’t being overwhelmed, but it was still pretty bloody for them, and the fact that the autocannon fire kept pinning them down meant that they couldn’t even retreat to safety deeper inside the town.
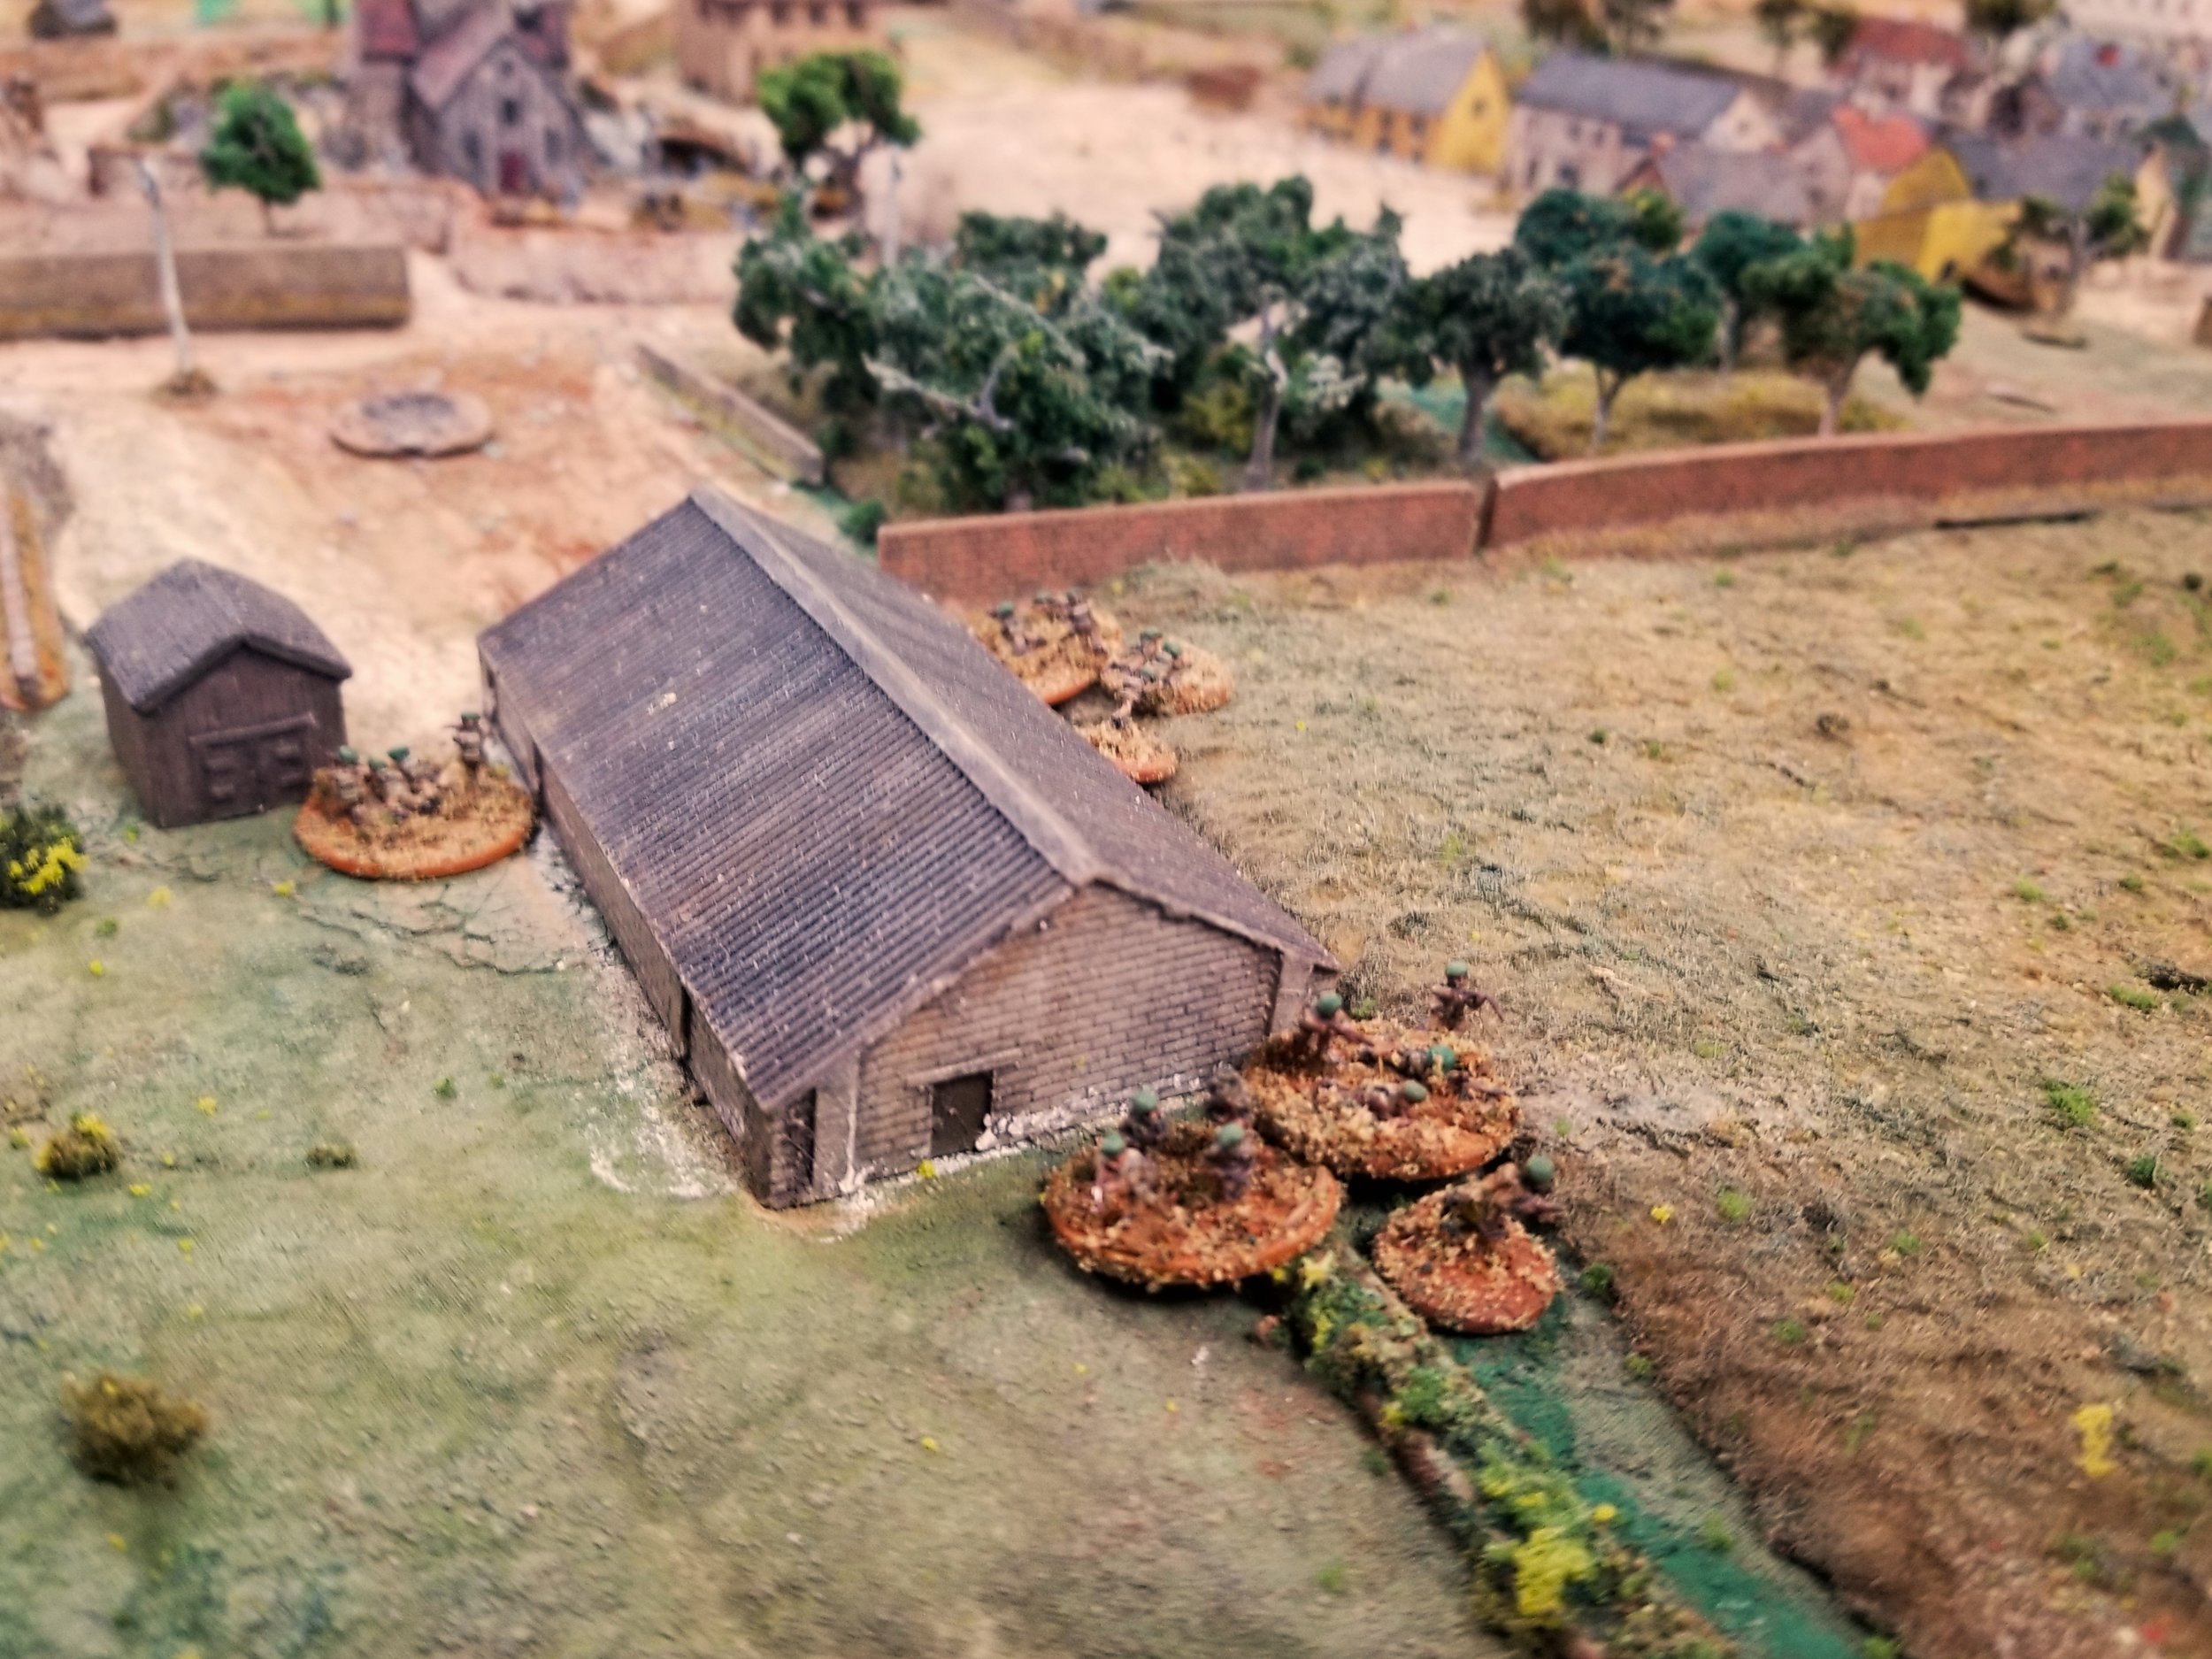
The French infantry on the right of their position had finally had enough and, despite the autocannon fire, headed backwards with loud cries of sauvez qui peut or whatever the correct French is! The Germans began to follow up, one of their infantry platoons taking cover behind the remaining Panzer IIs.
The Germans had also advanced infantry against the lone French anti-tank gun, which was not crewed by only a single poilu, the rest lying dead around the weapon. Things were not going well for les Francais!
Finally, however, the French Blinds card appeared, with the French taking full advantage and deploying everything they had left onto the table. On the right, another Hotchkiss de-cloaked and opened fire on the advancing Panzer IIs. Although it managed to blow the track off one enemy vehicle, it took six shots to do so: not exactly the stunning intervention that the French had hoped for!
The German Blinds card was, however, about to appear, and this gave the Germans the impetus they needed to push forward with their assault.
The last remaining anti-tank gunner was forced to flee his gun and, along with a nearby infantry squad, retreated into the town as German infantry charged out of the small wood in front of their position.
That was on the right. On the left the house sheltering a newly deployed infantry squad suffered a direct hit from a Panzer IV and caught fire, forcing the French to pull back…and there were Germans now in the churchyard as well!
Time for desperate action! Capitaine Croissant rallied his men, and with a loud shout of Vive la France, led them forward against the enemy in the churchyard. It was a glorious charge, and caught the advancing Germans completely by surprise, killing their office and sending the rest tumbling backwards almost as far as the table’s edge.
Unfortunately, the French had paused out in the open to hurl grenades and vile imprecations at the Germans…which left them at the mercy of a platoon of Panzer IIIs that came round the corner. Capitaine Croissant was cut down, and his men soon followed!
By this time, the German flanking force had also appeared, and were heading west at a rapid rate of knots. This was too much for the French, who ordered a general retreat: even their reinforcements (a platoon of Somua S-35 tanks) would still have left them outnumbered over 2:1, and their H-35s were no match for the nippier, well-crewed, well-armed German panzers. Crehen had fallen!
Robert Avery

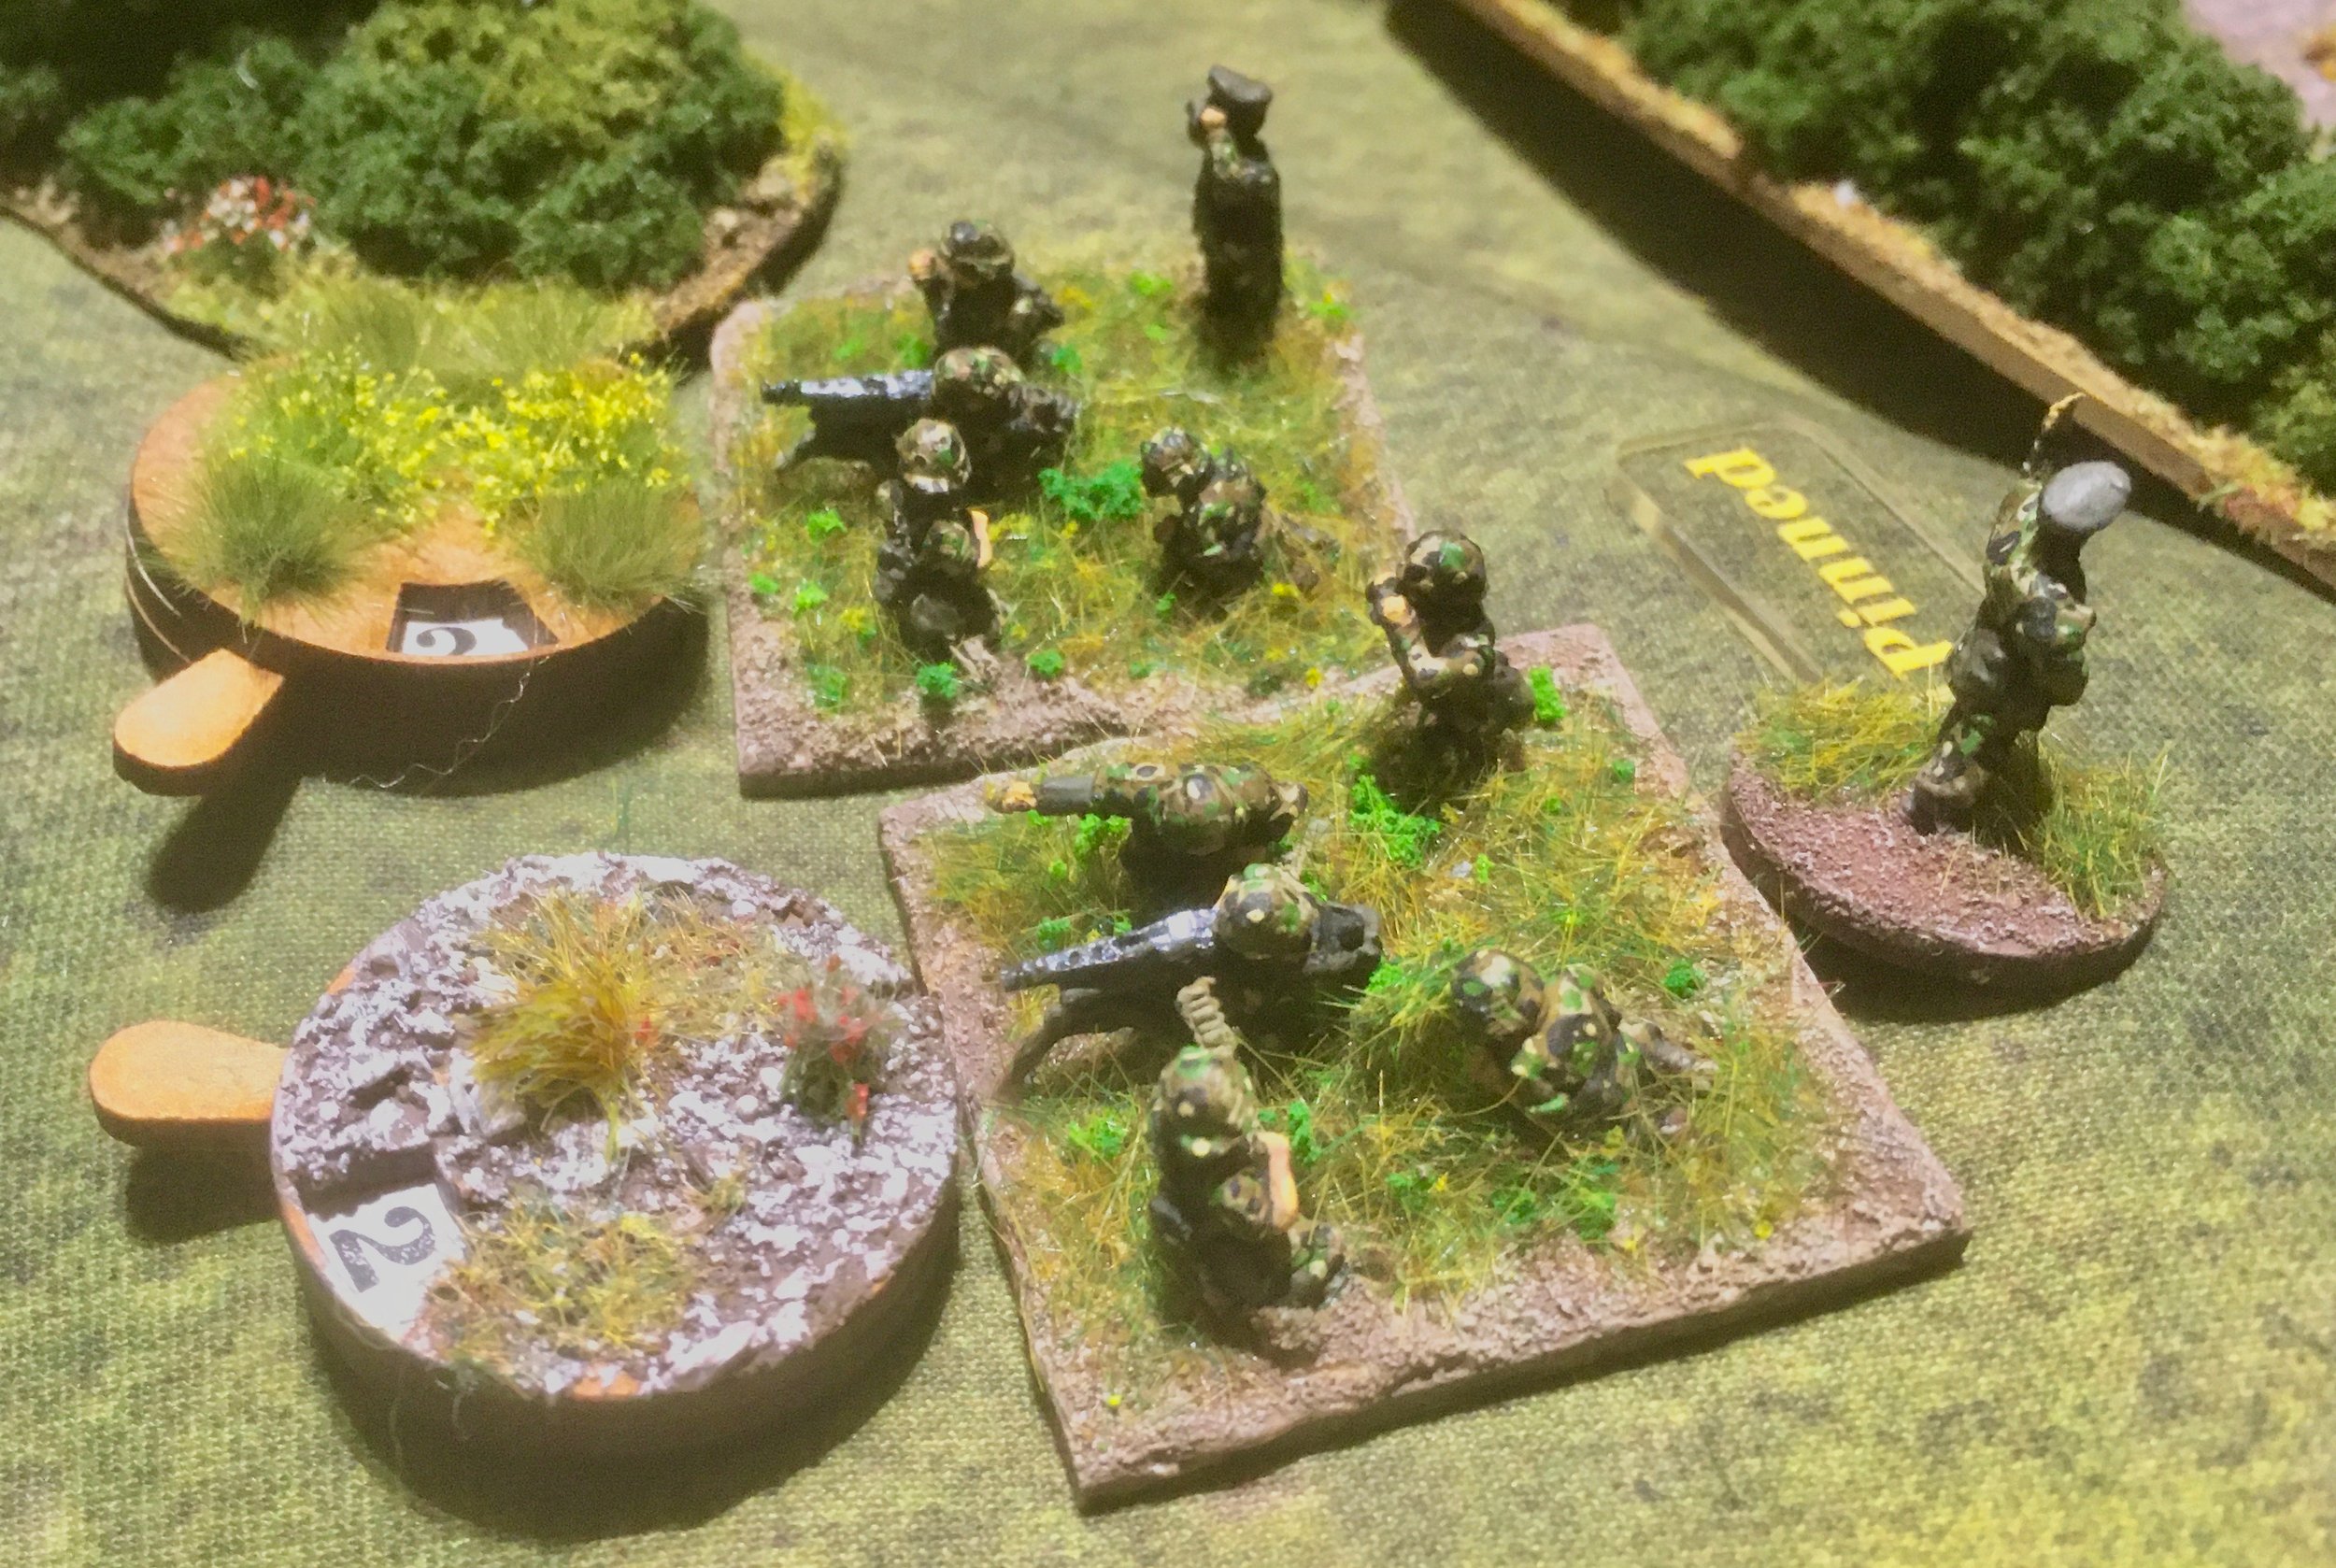
This was the April 16 attack up Reichstrasse 1 by 74th Guards Rifle Regiment to the slope in front of Seelow. There were a lot of Soviet units involved in the game but were understrength. Each Russian player had a weak company of two 2-section platoons with two MMG teams. There was also a Engineer platoon of two sections and two additional MMGs and a FO for some 82mm mortars. They were promised armor support but that was hung up in traffic and didn't arrive for five turns of the 'Time' card. This was five IS-2s of the 104th Heavy Guards Tank Regiment.
Rob had the left company, William had the Engineers and extra support (and tanks when they appeared). Sebastian had the center company. And Tim had the late arriving third company on the right.
The terrain was flat below the slopes and boggy. Vehicles could only ascend the slope on the road.
Since there wasn't a lot of anything but sitting and exchanging shots, I took the Germans. I had some elements of the 76th Pzgrd Rgt. 2 platoons of 2 sections each and 2 MMG teams and 2 PaK40s I also had a FO for 2 tubes of 82mm mortars.
But the main element was my newly painted Volkstrumm company (from 2D6wargaming). 3 platoons of 3 sections each and 2 MMG teams.
All Germans were dug in with the grenadiers deployed forward on the 2 ridge outcrops. There was also some barbed wire in front on the flanks.
Vehicle off road movement could result in bogging so I placed the ATGs to cover the Reichstrasse. 1 in the center and the other off to the right to get flank shots.
There were 2 slopes the attackers had to ascend and most of the front was open. The pzgrd were dug in on both ends. All troops had plenty of panzerfausts The Russians also had some captured ones.
I had so few troops I didn't bother to try to defend this location since it could be overwhelmed quickly. The Russians set up their HQ and support there
Williams engineers tried to clear the wire but were suppressed before they got to it. Rob had his company accompany the sappers and Sebastian was on the Reichstrasse side of the trees with his company. Their combined firepower was wiping out the grenadiers in this thin line.
My 2 sections and MMG team did a lot of damage to the attackers but were badly outnumbered.
It became apparent that the weak spot was the wooded slope next to the Reichstrasse. I placed extra trenched out, hoping that they would deter the Russians from going up the center and around their right
The German MMG team was eliminated along with most of the grenadiers. Sebastian moved his company to the left to skirt the woods and hill. One of the Engineer sections was destroyed but the other moved up to cut through the wire. By the time they finished making a gap the Russian survivors had flowed around to the flanks.
Tim took his units down the center of the table stopping at the wire fence
At one time there were 4 MMG teams in these buildings along with the battalion HQ and FO I even brought out my medical teams from 2D6wargaming. I just have those for looks.
Firing at long range was not very effective but they had plenty of ammo (and targets).
Tim prepares to move across the open. I hope to catch him with my mortars.
More Volkstrumm up at the top of the slope. I had a ATG up here also.
After finally getting through the traffic jam over the few bridges they headed up Reichstrasse 1. The roadblock might slow them down a bit also.
The tanks will have to use the road to get up the slope so infantry armor cooperation is necessary.
The panzers that were in the area had pulled back to reserve and were not released until April 17th. The Germans do have plenty of panzerfausts.
Meanwhile my left side grenadiers have been wiped out.
Once Tim's units hit the road I started firing from this position. It drew the mortars quickly though The CO was hit in the initial barrage.
Rob and Sebastian both moved some men up on this rise behind the grenadiers' trenches.
There really wasn't much to do as the German player but shoot and get shot. I certainly wasn't going to move out of my entrenchments.
I never had the troops to fill those at any rate. This company was down to 1 functioning platoon, their other getting wiped out in front of the wire.
The 122mm is a slow weapon and could get off 1 round per activation, but was efficient at pinning the Volkstrumm and cutting down their fire.
Where are the PaKs?
Using the fire from the numerous MGs and the IS2s, Tim makes a run up the center. The grenadiers try to fire into their flank but they are also under fire from mortars They do manage to get into the trenches but lose half their men.
This one was left unoccupied though.
The Germans lost a section and a MMG. The defeated Russian units moved back down the slope taking fire from the Volkstrumm to the right and grenadiers
Rob's remaining platoon moving up to the slope on the outskirts of Seelow
Lot happening here. Close combat left Russians and Volkstrumm holding opposite ends of 1 set of trenches.
The Pak managed to damage 1 IS2s' gun and cause engine problems on another tank.
The remaining IS2s and MMG teams are plastering the Volkstrumm line in the center
Mortars are catching 1 of Tim's units below the slope after it was repelled from their attempt to get into the Volkstrumm line.
The IS-2 in the rear managed to get stuck but the gun still works unlike one of its comrades.
The Russians were getting very low on warm bodies at this stage. We decided that they needed another battalion or more artillery to punch through to Seelow.
Casualties for the Russians were:
19 men plus a Pla CO in Rob's right hand company (out of 32)
19 men plus a MG team plus a Pla CO and a Company CO in Sebastian's center company.
15 men and a Pla CO in Tim's left/center company
The Engineers lost 9 of 16 men and their CO.
Total of 71 Soviets
The grenadiers had heavy losses:
the left side platoon wiped out (16 men plus a MMG team and the Platoon CO).
The far right unit had 8 men down, and lost their Platoon CO and the Pak crew.
The Volkstrumm lost 14 out of 30 in their center unit along with a MMG team and a Platoon CO. The platoon on the left had 11 casualties. The right side platoon was untouched.
Total of 36 Germans.
It was a nasty fight.
Mark Luther
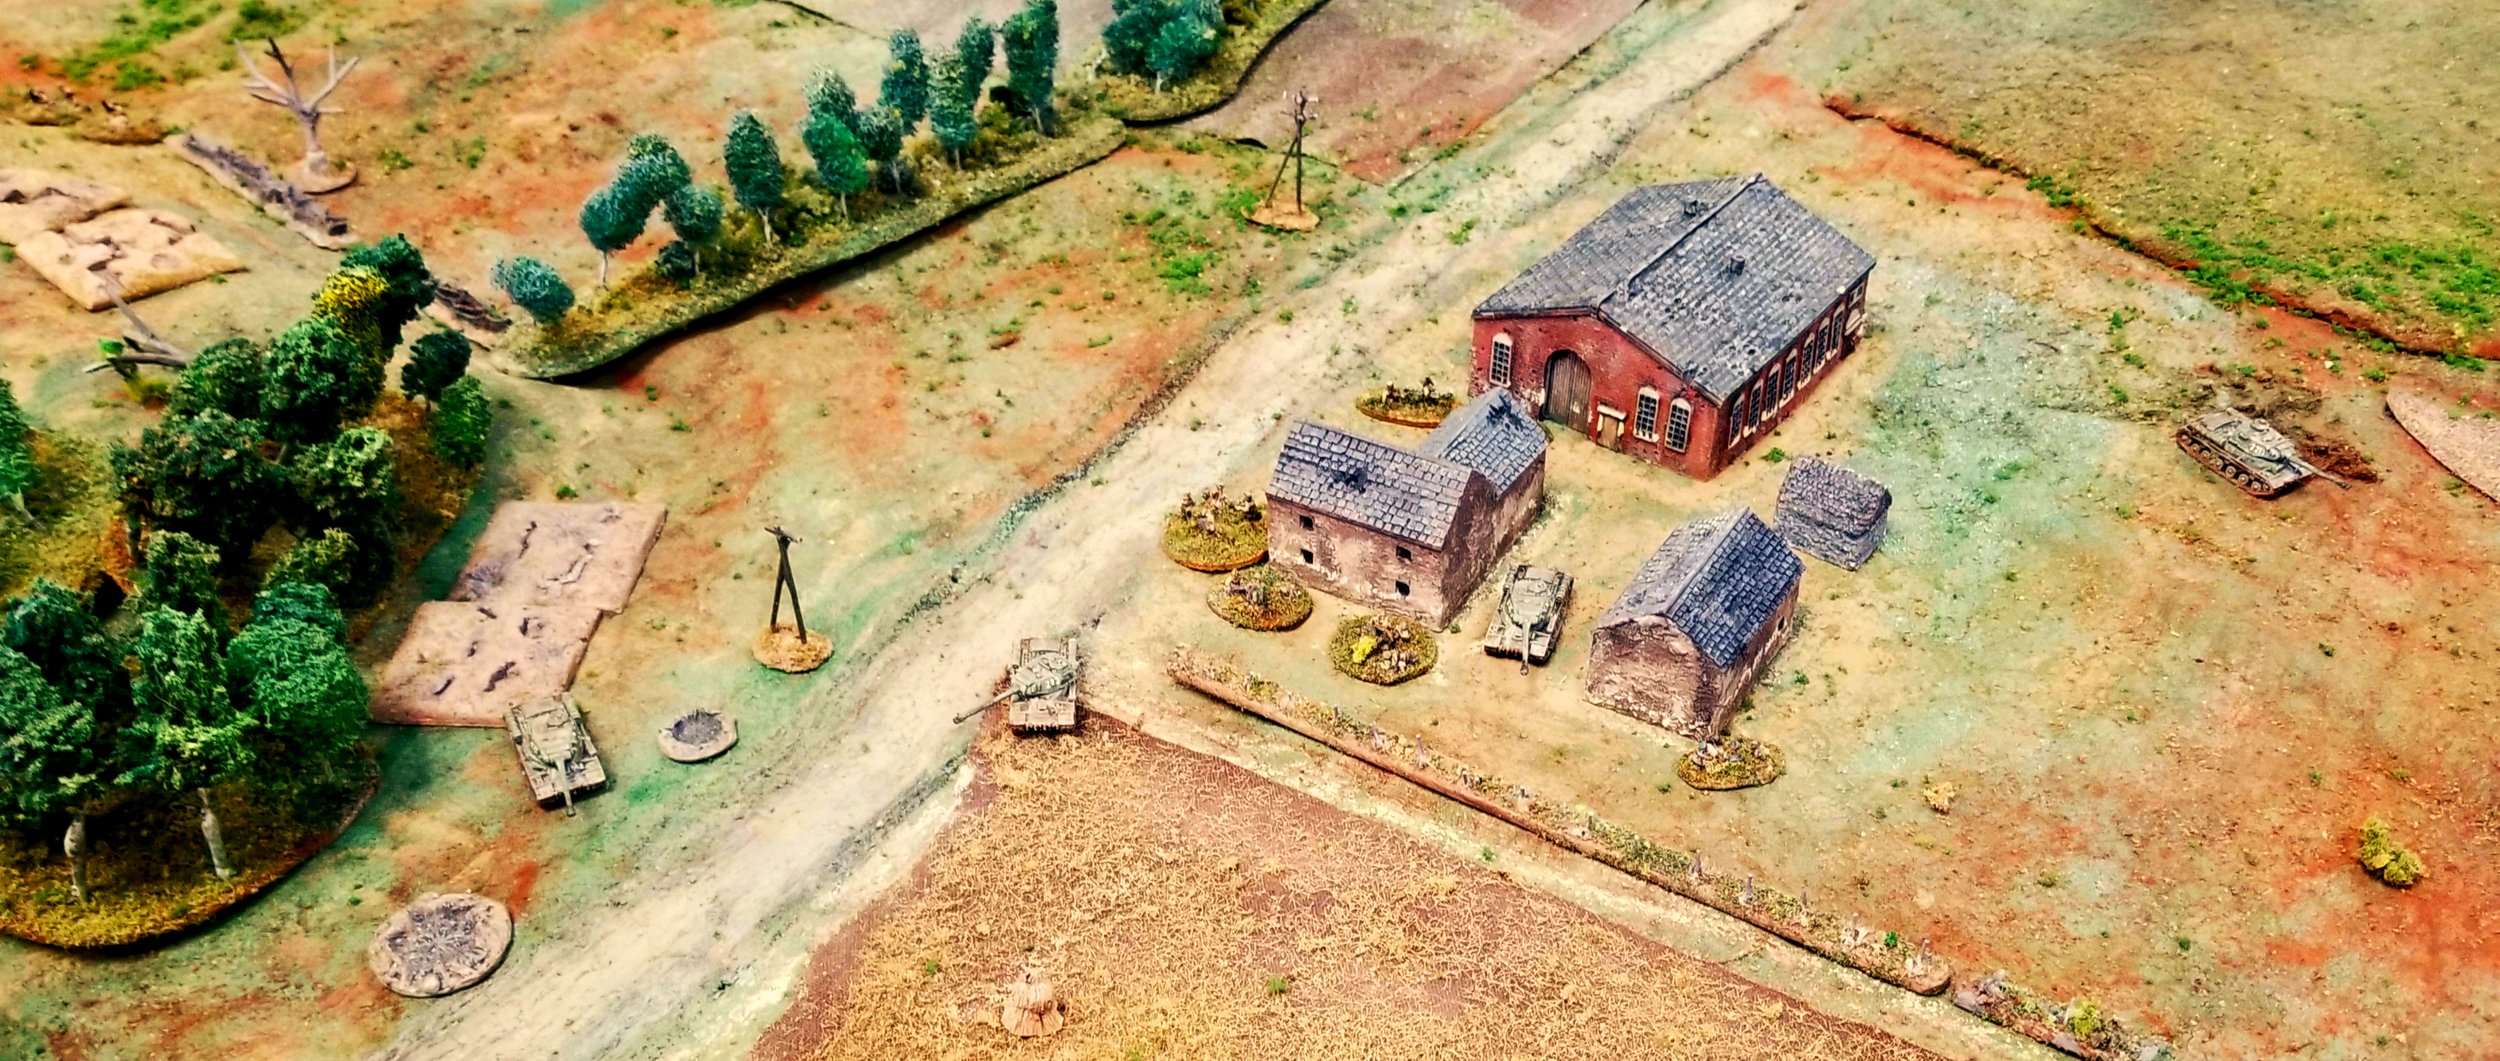
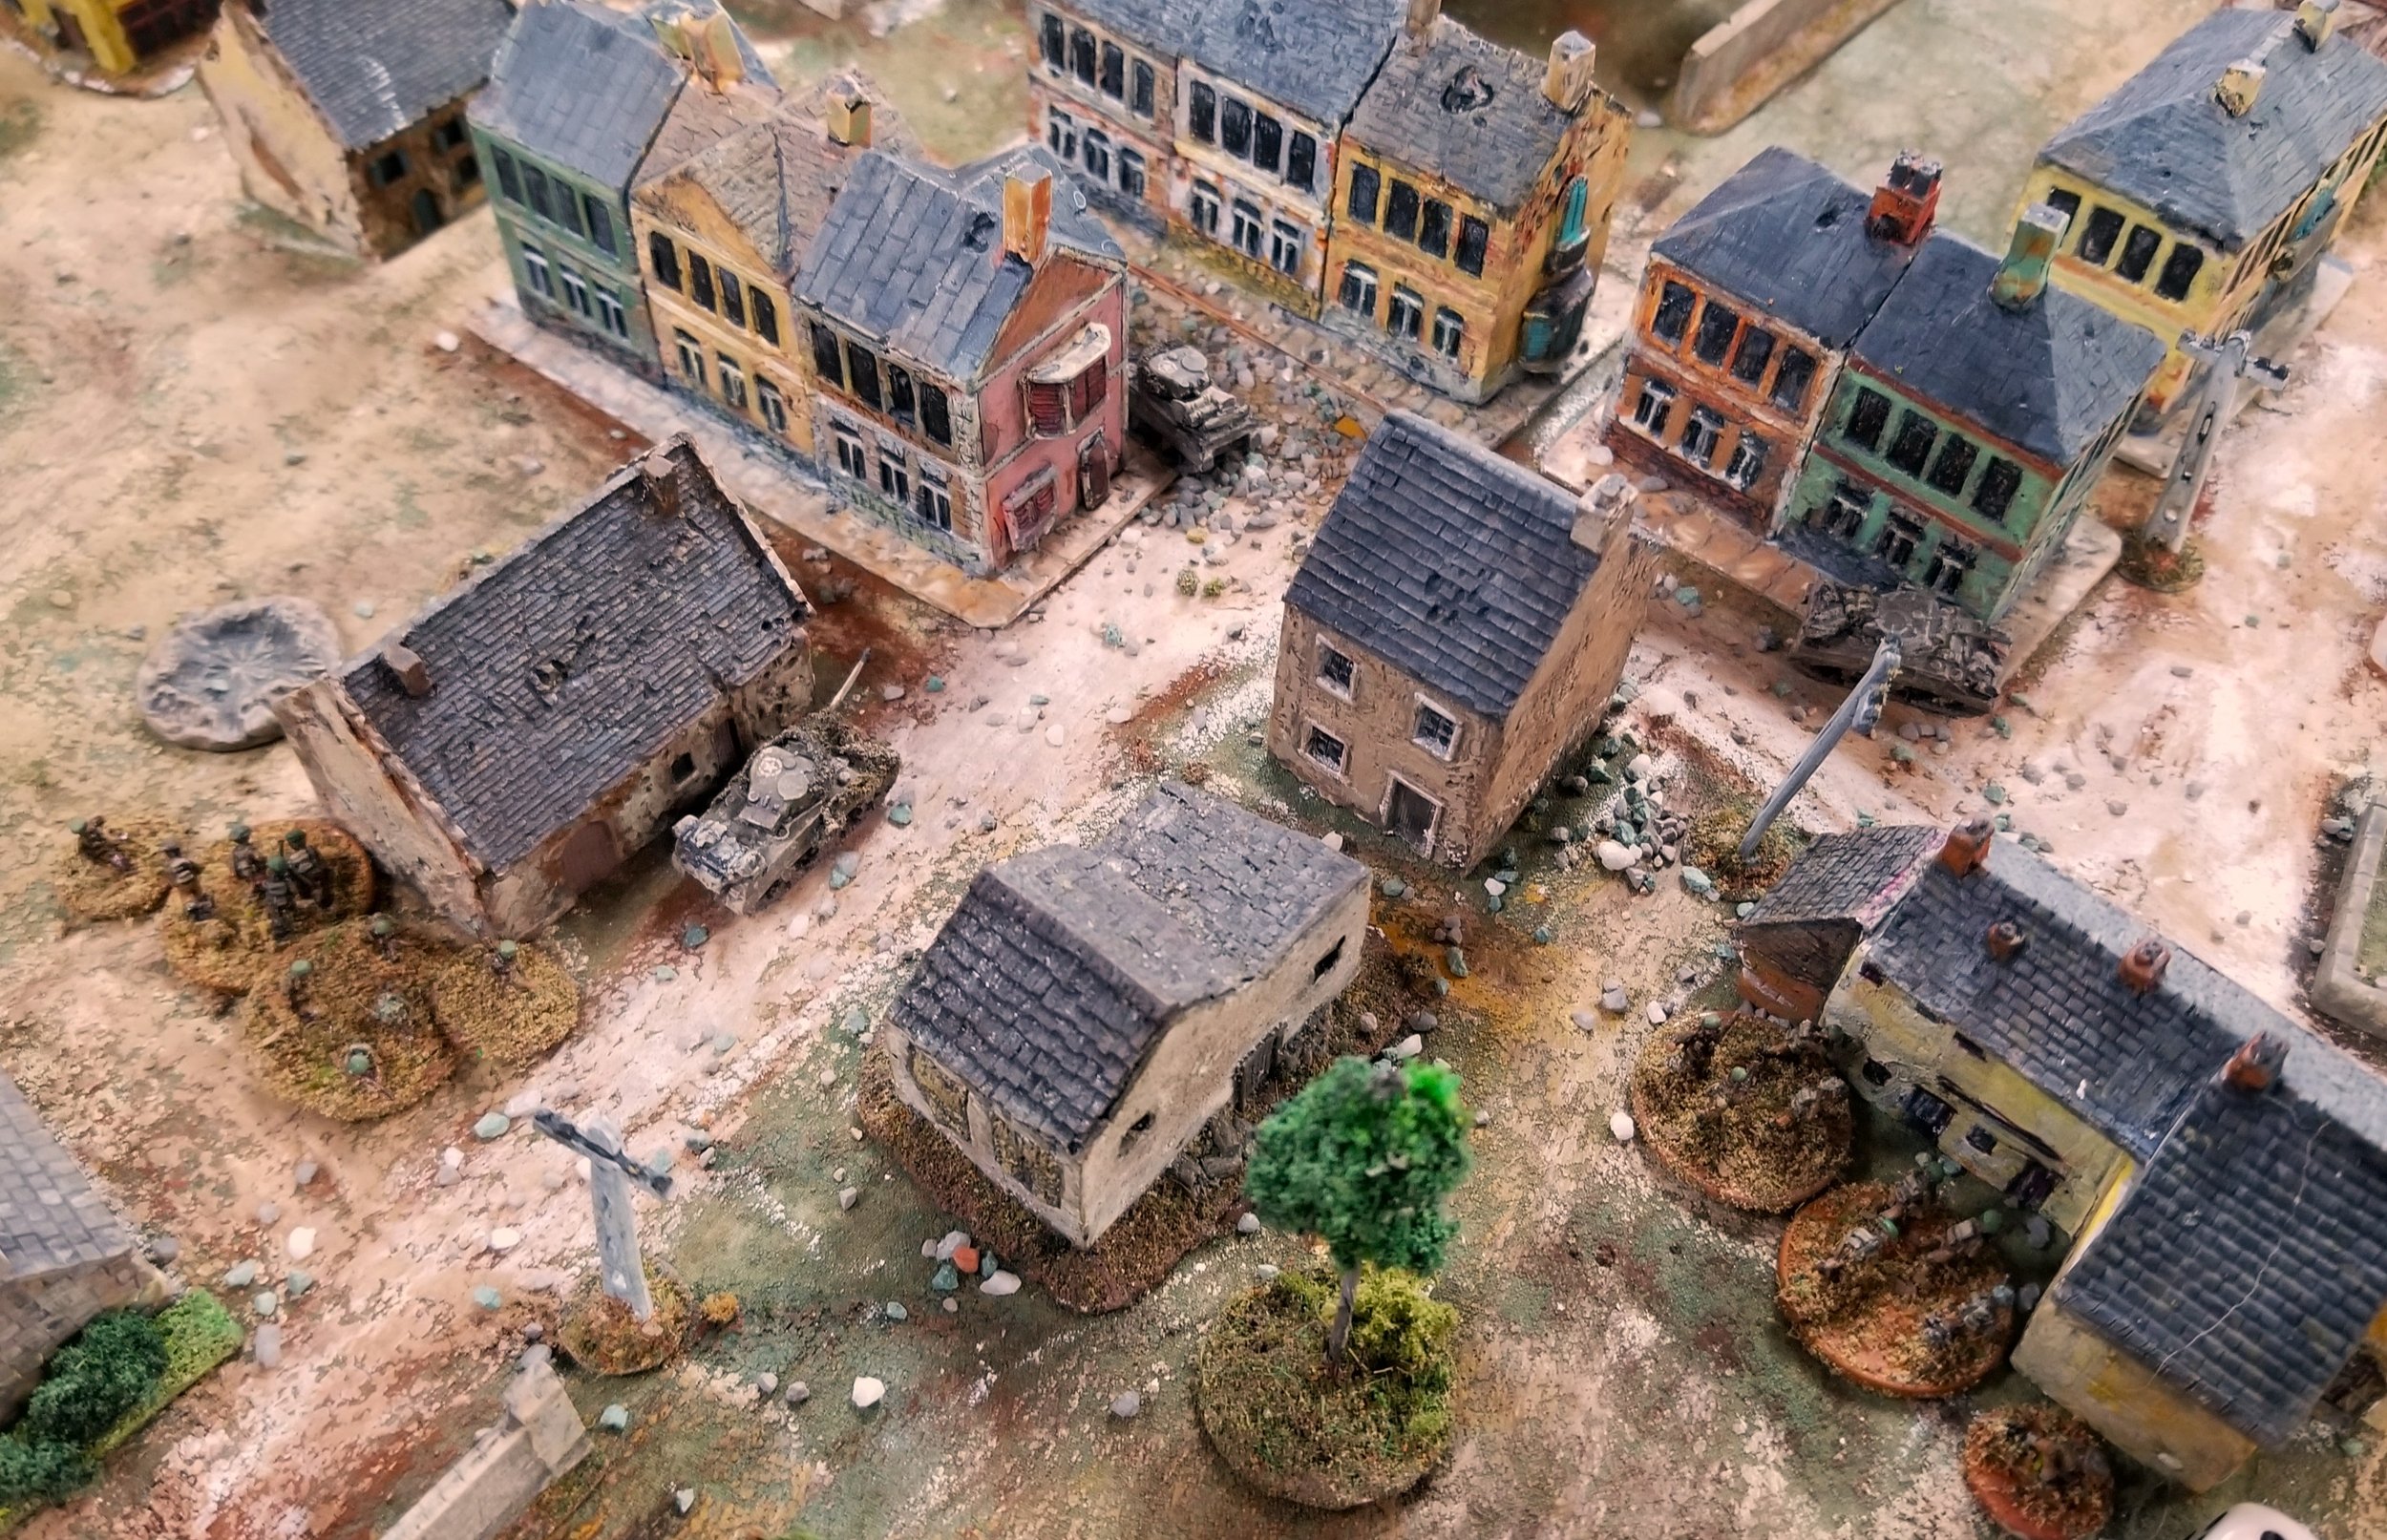
This was the second part of the Rots June 11, 44 game.
This was the actual assault into Rots by A and B Troops of the 46 RMC along with 2 and 3 Troops and the HQ tanks of the Fort Garry Horse.
The town was defended by elements of 4 Kompanie, 12 SS PanzerGrenadier Regiment and the grenadiers of 1st Kompanie PanzerGrenadier Regiment 26 of the 12th SS Division.
The attack would come from the NW and west side of the table (the near side) The village of LeHamel and the River Mue are off table to the west also.
Mark Luther
John played the Germans and he was told that the British & Canadians are to the north and NW.
William (in the beret) could bring the Commandos in from the roads on the west edge and we went with their historical route of the Chemin de la Cavee, which he is eyeballing.
We played this pretty historically with B Troop and the supporting 2 troop of FGH getting on table before the A Troops.
They came in along the Chemin de la Cavee from Le Hamel.
A Troop would come in 3 turns of the 'Time' card later to their left.
William hoped to get into Rots as quick as possible.
The Firefly is in the rear. The tanks advanced cautiously-really hoping the Commandos could precede them into the village.
John had 1 platoon (these were small 2 section platoons) of the grenadiers open up on William's left hand troop. Meanwhile his right hand troop kept advancing.
The high walls would require 2 APs to cross. The fresh units all had 4 APs to begin with. The Commandos also had large subsections of 12 men. 2 subsections /section and 2 sections per troop.
The 2 Troop moves up to the T intersection with a subsection of Commandos to their left.
This ATG had displaced from Le Hamel and set up to cover the T intersection in Rots. But the Commandos came in before John's supporting grenadiers could stop them. First encounter goes to the RMC.
I got to play in this one and I took the A Troop and accompanying 3 Troop in on the road from the NW edge. There was a lot more open ground here and I was planning on rushing across aa soon as all my men were ready.
My idea of a quick advance fell victim to my movement dice and the cards not coming up and a pair of active snipers.
B Troop flanks the road.
This was the platoon that started the firefight with William's men. After taking hits from the Sherman's 75s they fell back to the church where they could cover the right flank and my A troop.
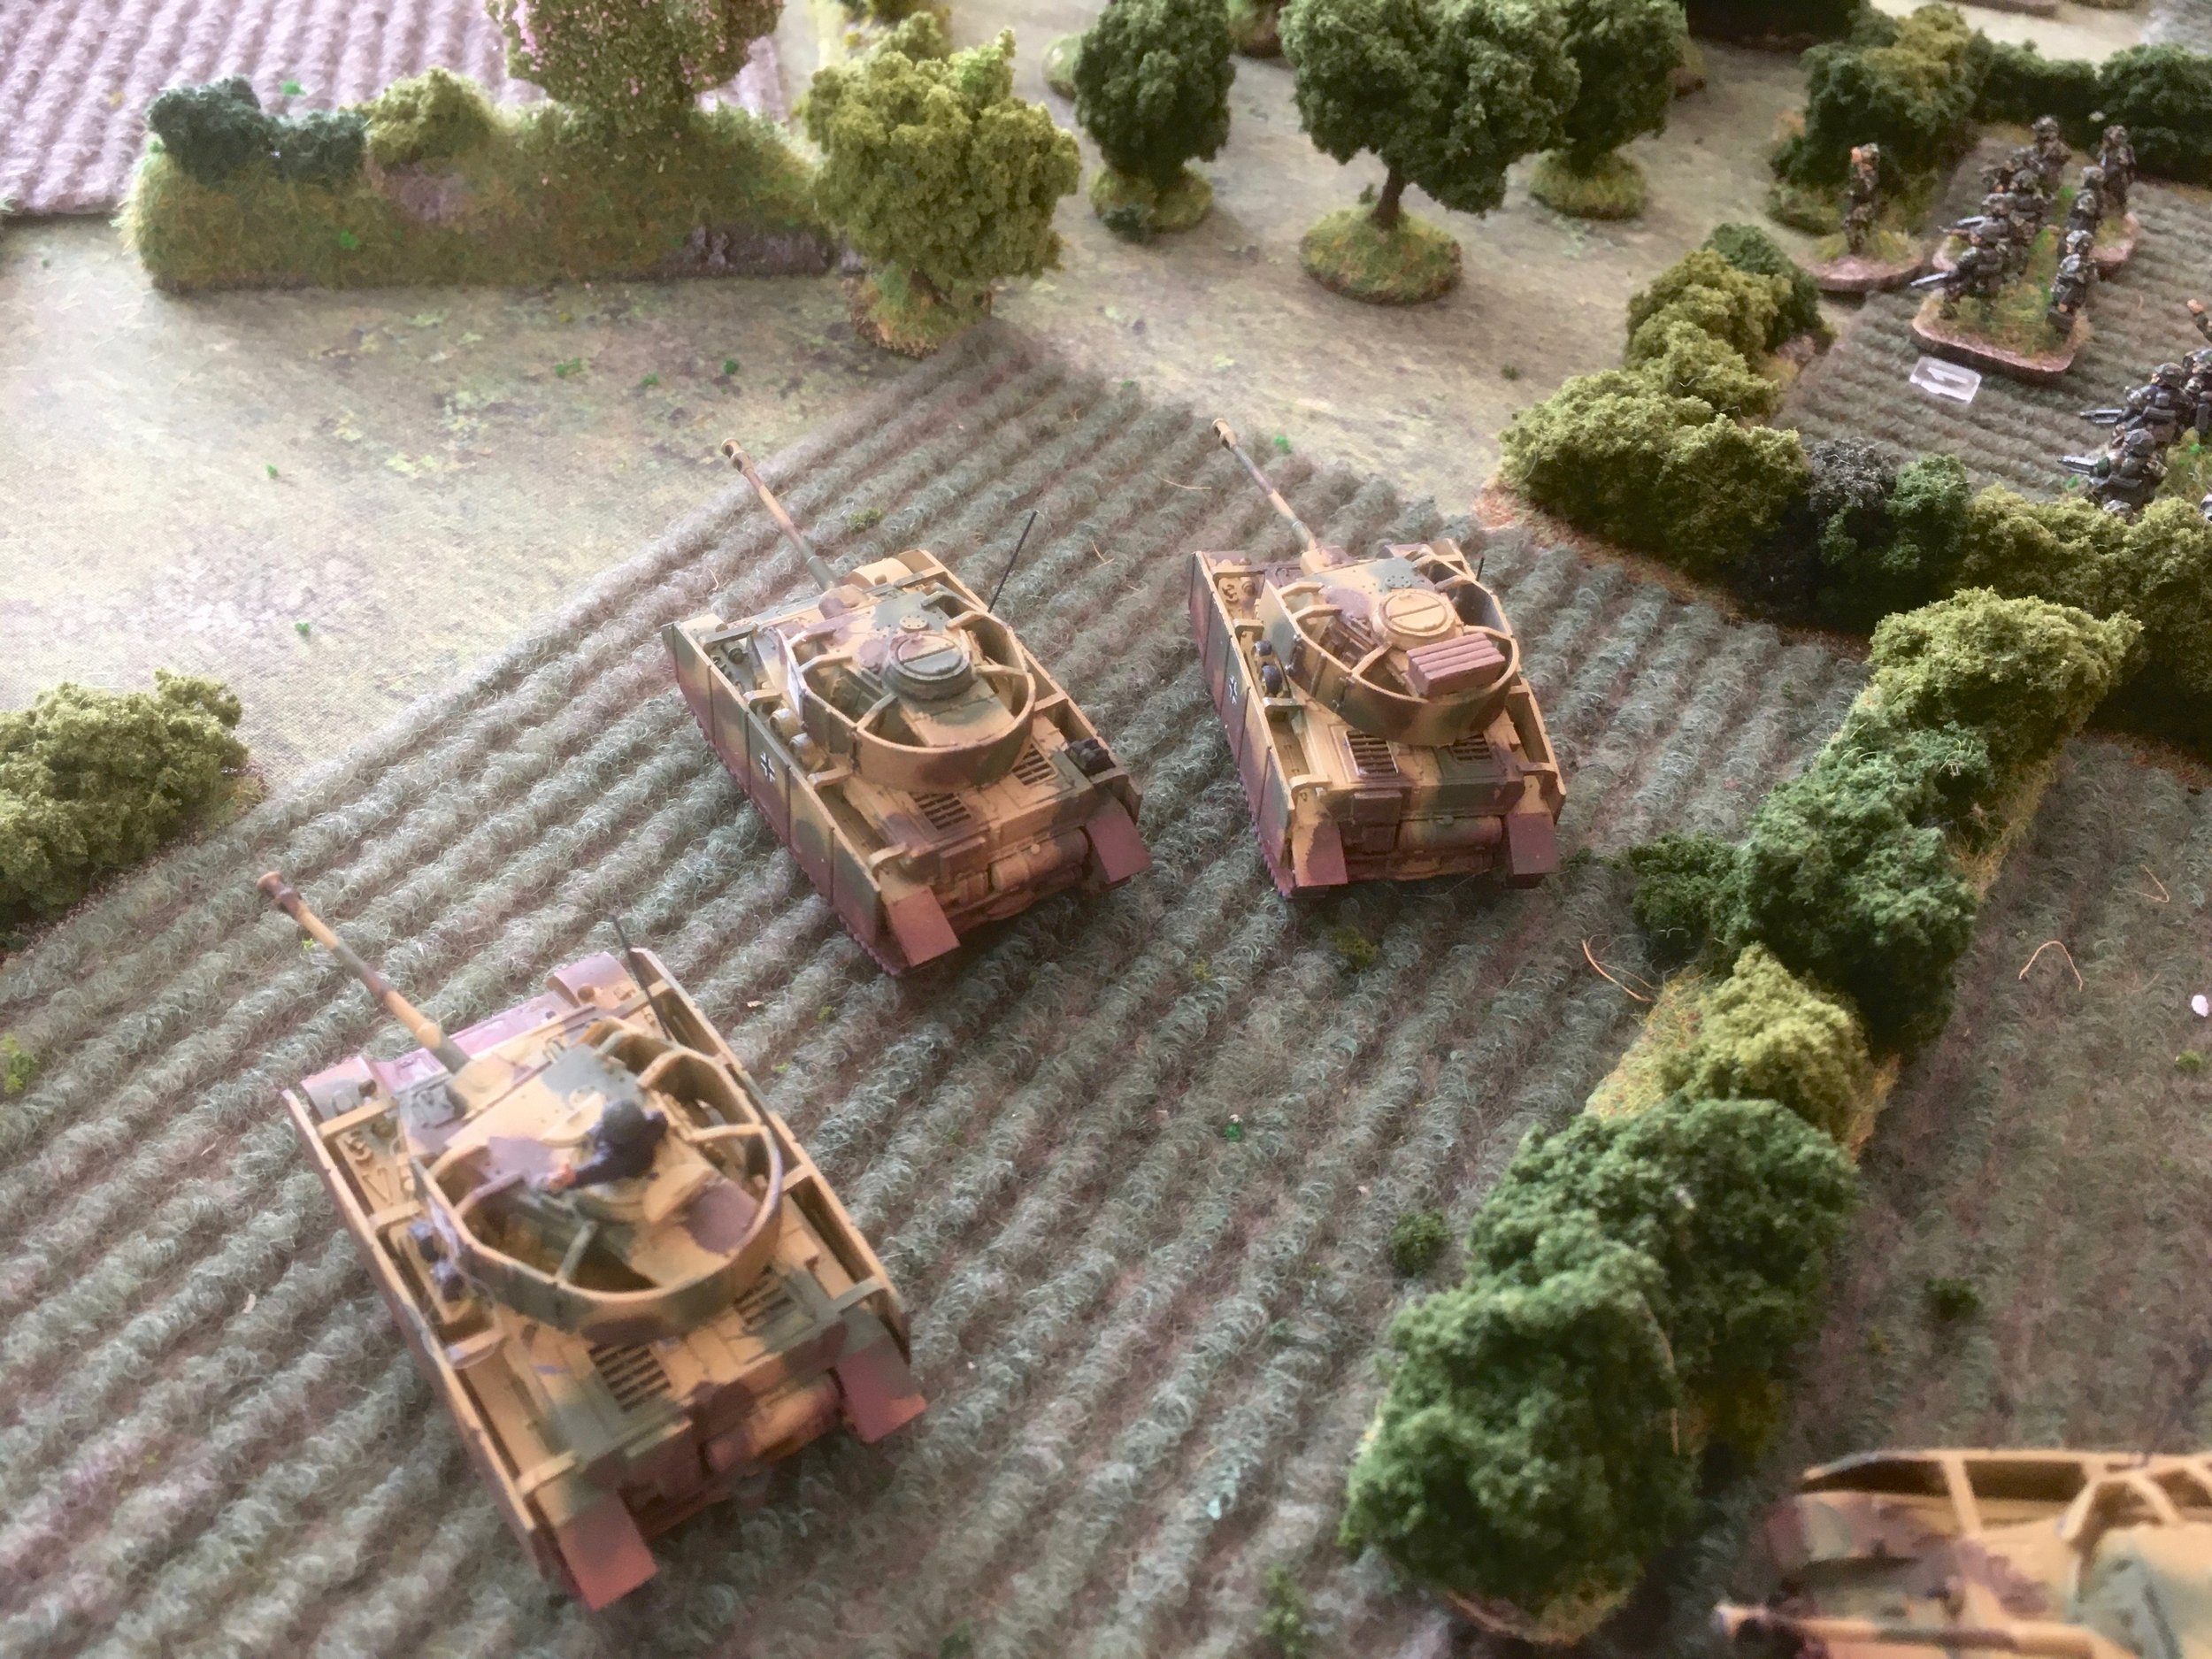
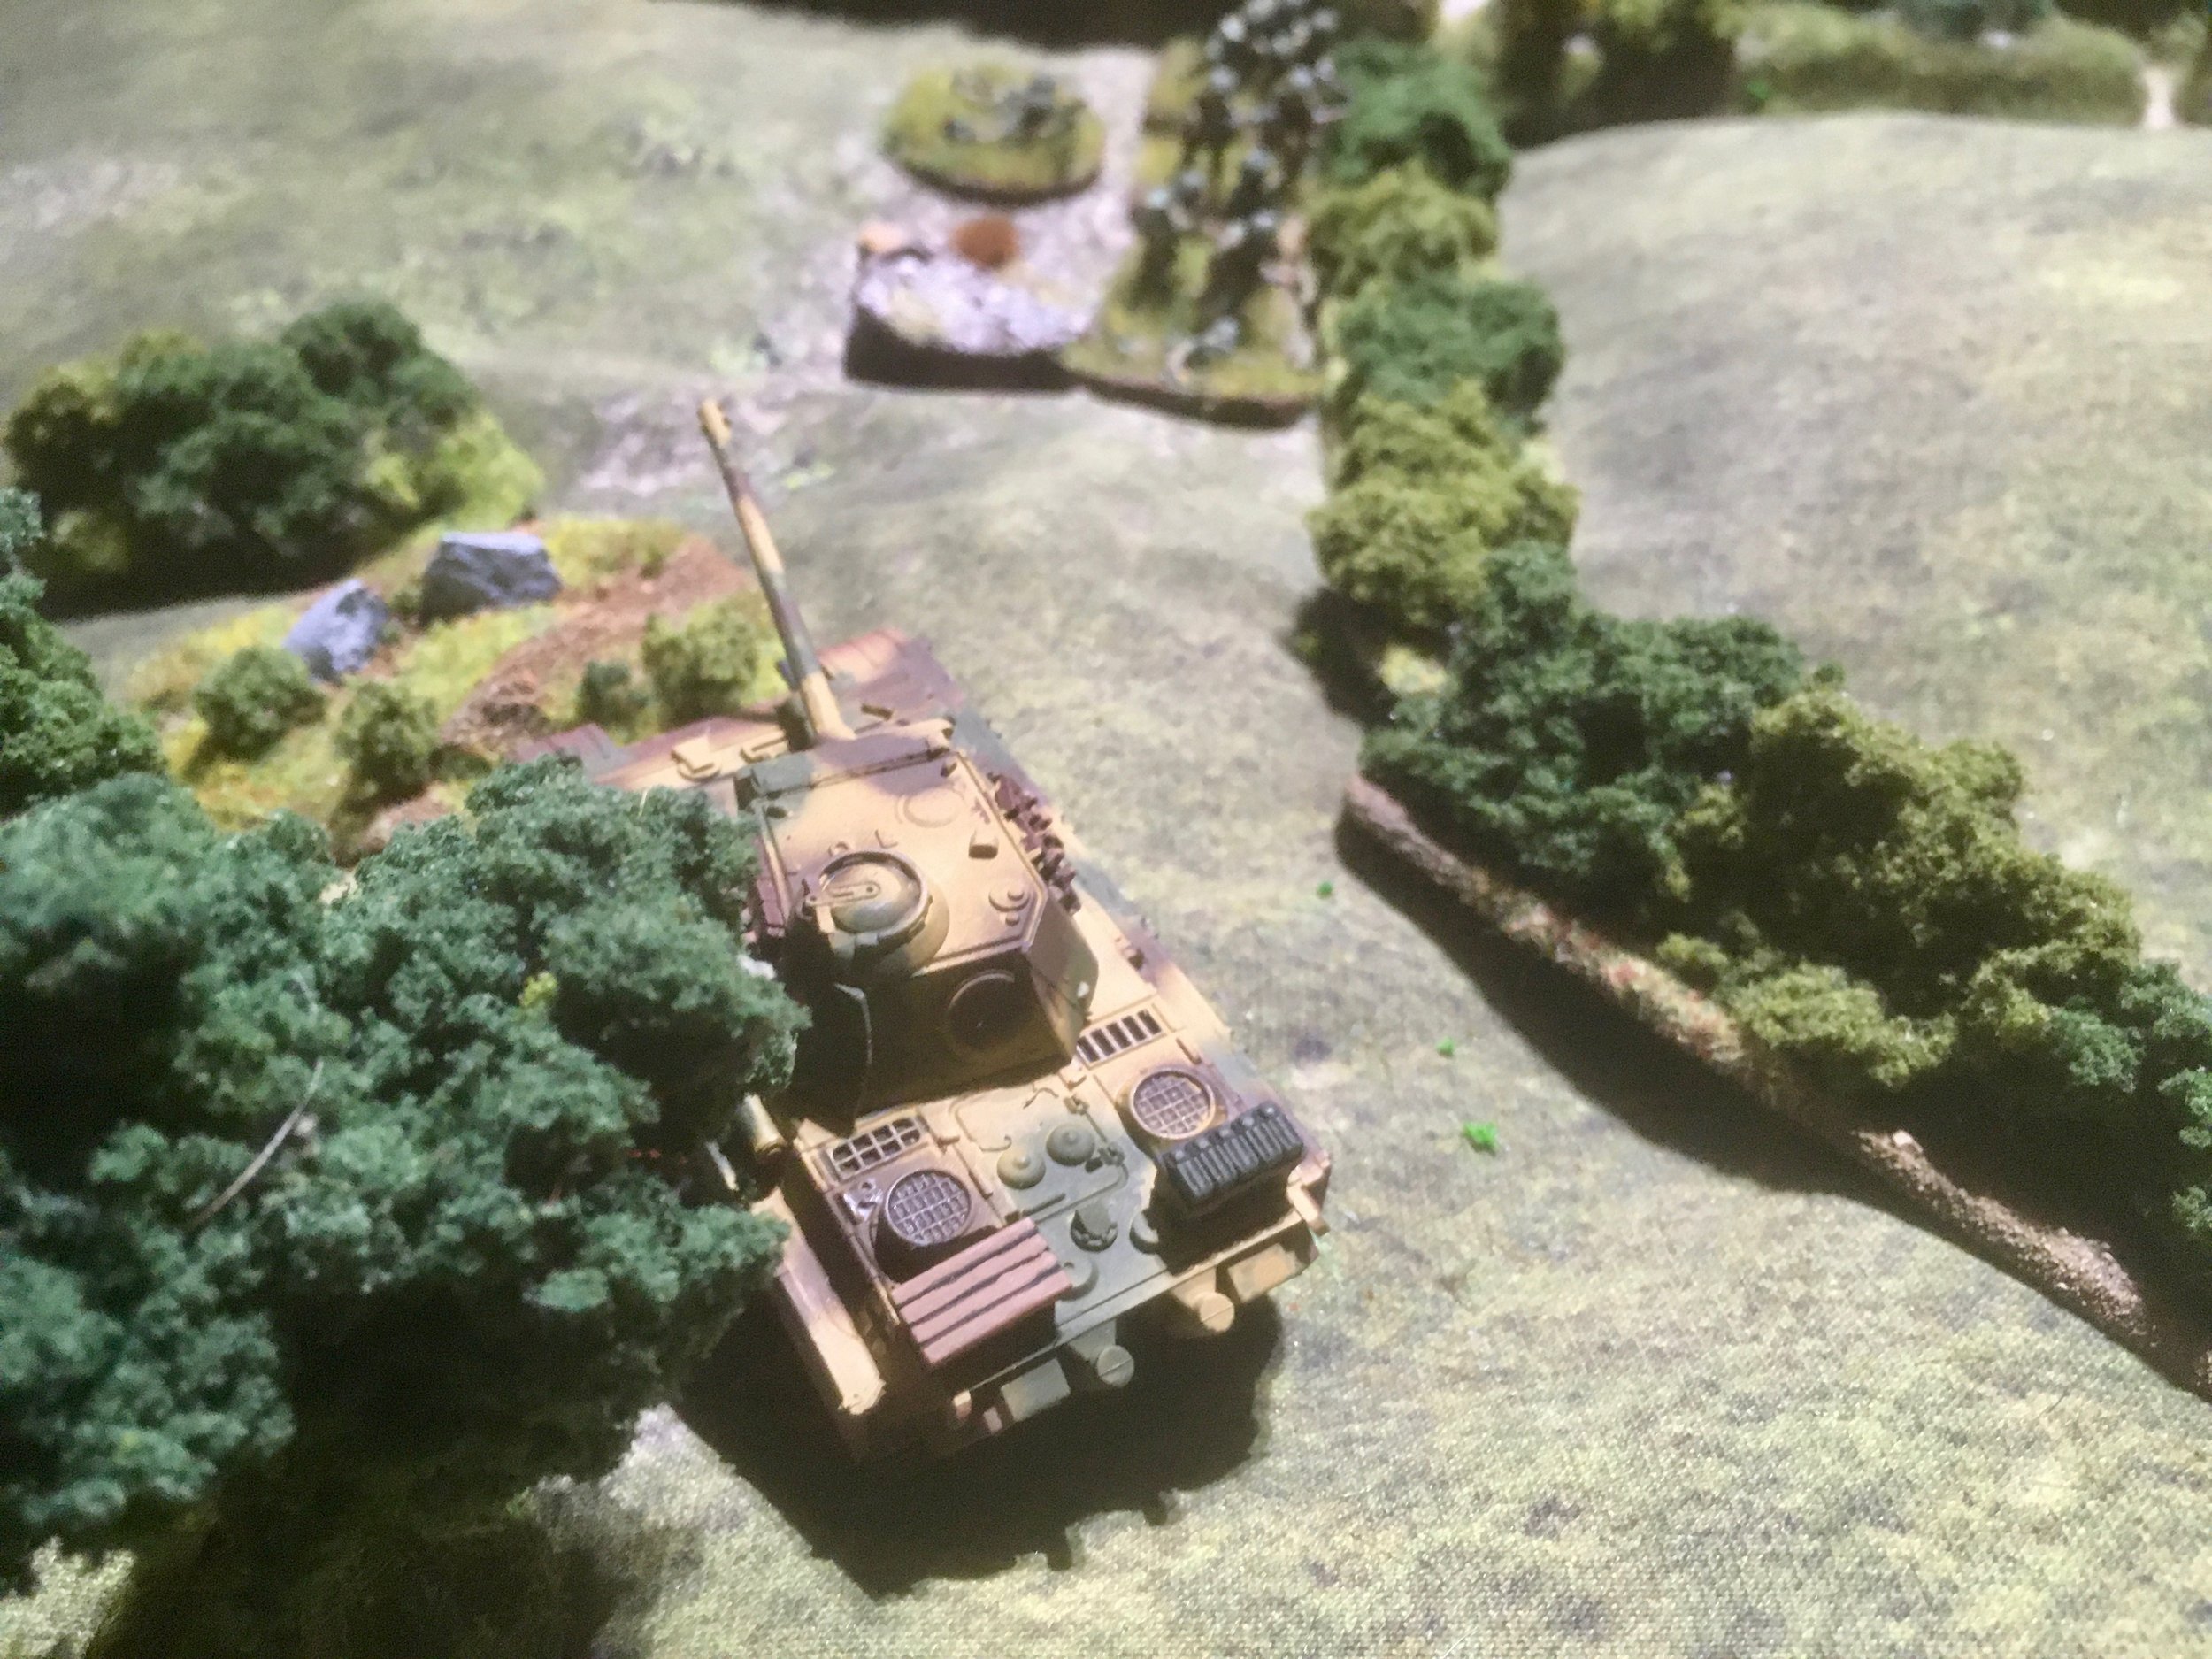
And take out the 2 Troop leader. John had 2 groups of 2 PzVs in support. One group was at the south end of the table and the other group was at the north end. Pre game stonks had knocked out one of their radios and caused some track damage to another slowing it down by 2 pips/dice.
Making their appearance known by KOing my lead M4.
One shot was enough to destroy 1 Sherman
With my A Troop going so slow in the open I decided to swing right and use some walls and hedges as cover against the fire from the Panthers
My 2 Section hugs the hedges and heads into the center of Rots
Meanwhile one of the M4s tries to outmaneuver a Panther
One stays at the north intersection and the other heads south to head off my A Troop advance.
It also fell victim to a PzV. A Troop moves to their right to find a more sheltered route into Rots.
Now if we only had another troop to come in on the northern edge we might get somewhere
John had concentrated his units to the north of the T intersection. He had 2 more platoons and the HQ section in the houses just south of the town square.
After a failed close assault by William they were leery of any Commandos sneaking up on them. Their infantry was not very near since John had placed them in the center of Rots.
William's Firefly made several shoot and scoot attempts but nothing penetrated the PzV. The smoking M4 in the street was blasted in the butt early. These are vey narrow roads so we would roll to see if there was any damage sustained when trying to squeeze pass another vehicle.
The Commandos are at the top (south) of the pic and grenadiers in the buildings at the bottom (north). William tries to lay some smoke but it is off target. His B Troop leader is one of the casualties.
The grenadiers are joined by a Panther and B Troop is getting hit hard.
But still no damage.
The plan is to neutralize the SS platoon in the graveyard and swing into the orchard and the back side of the Germans pinning down B Troop.
It lost an uneven fight with a Panther. But a close assault on one of the SS occupied buildings wiped out a grenadier section of the 3rd platoon. The Commando survivors had to retreat back quickly though.
Their second M4 victim is barely visible between them
A Troop fire from the large barn/warehouse is wearing the 2nd platoon down in the graveyard.
Except for my 2 Subsection of 2 Section which is still pinned down by snipers!
At the south end of the table along the Rue Froide
Heavy casualties between B Troop and 1 Kompanie. All firing at short range and lots of automatic weapons. B Troop was down 20 men and their Troop ldr. !st Kompanie down 16 men ( but started with 54 only).

This platoon was going to get the full weight of A troops firepower next but we were out of time.
I was disappointed that they had to call it a day. The Germans had reinforcements of 2 more Panthers and 2 sections of grenadiers coming in from the south and another troop of FGH was due in along with more Commandos from the Le Hamel edge of the table.
The SS defintely had the upper hand at this point with their Panthers shrugging off several hits from 75s and 17 Pounders.
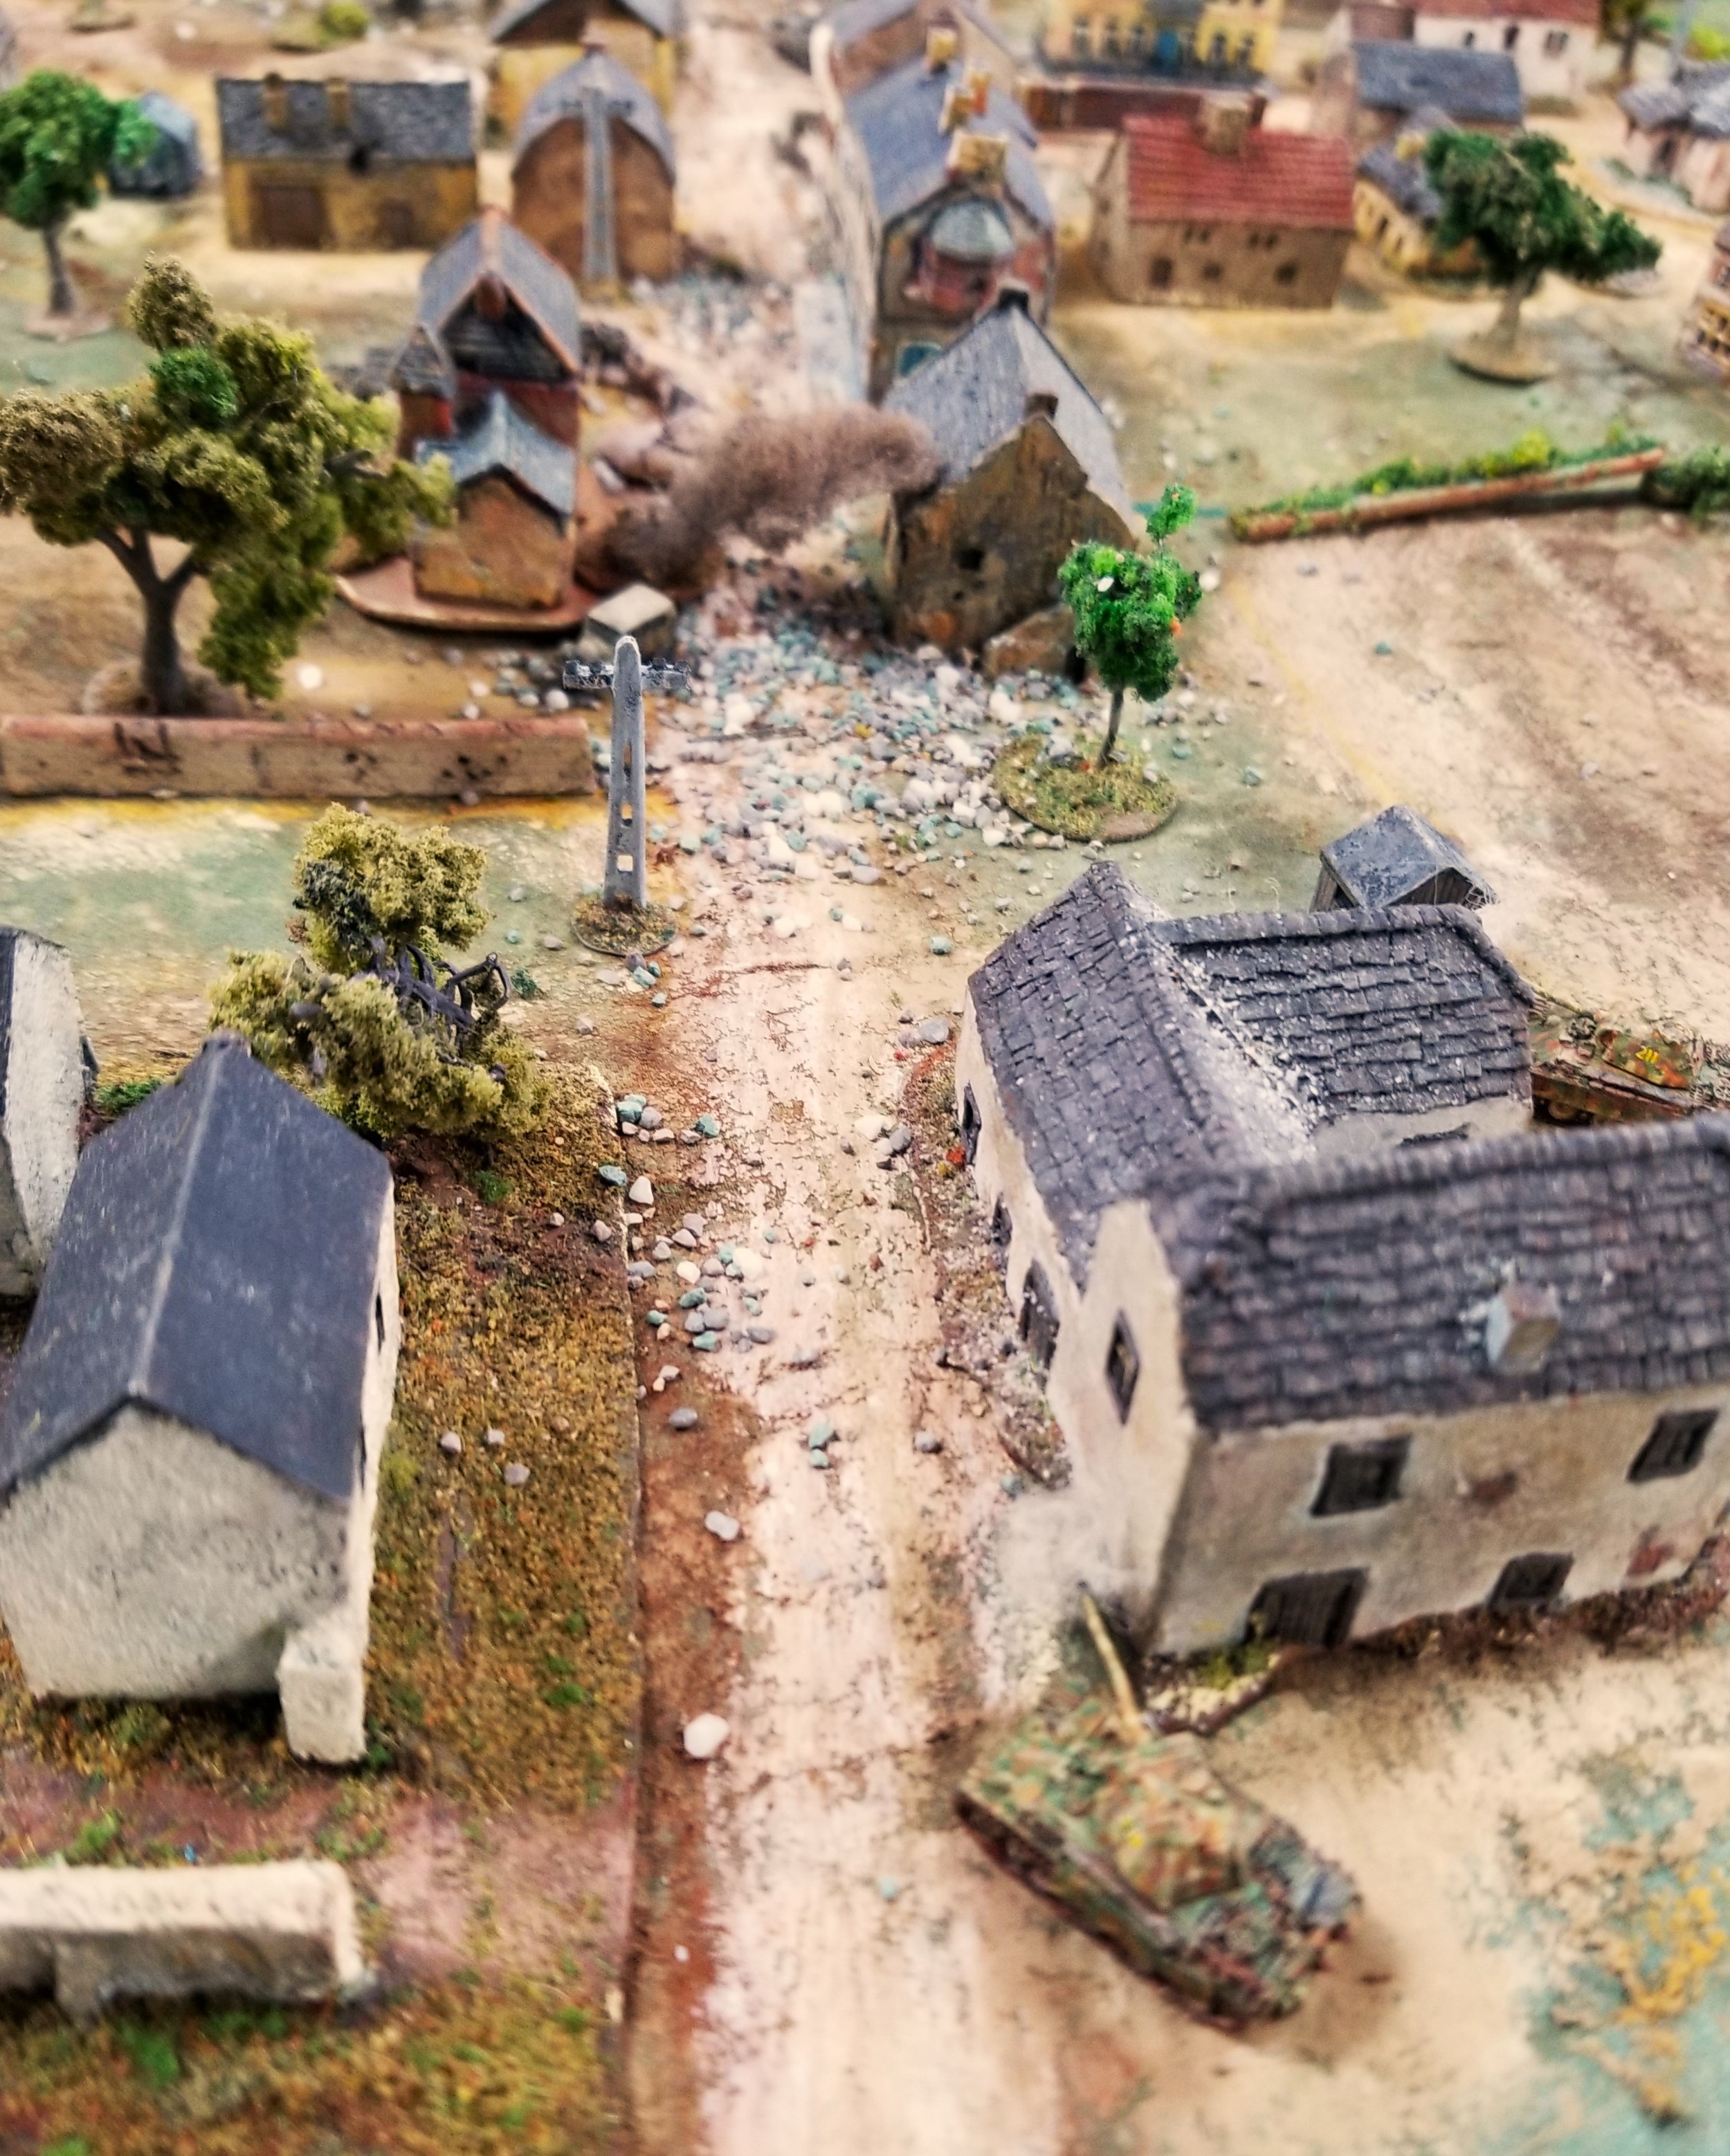
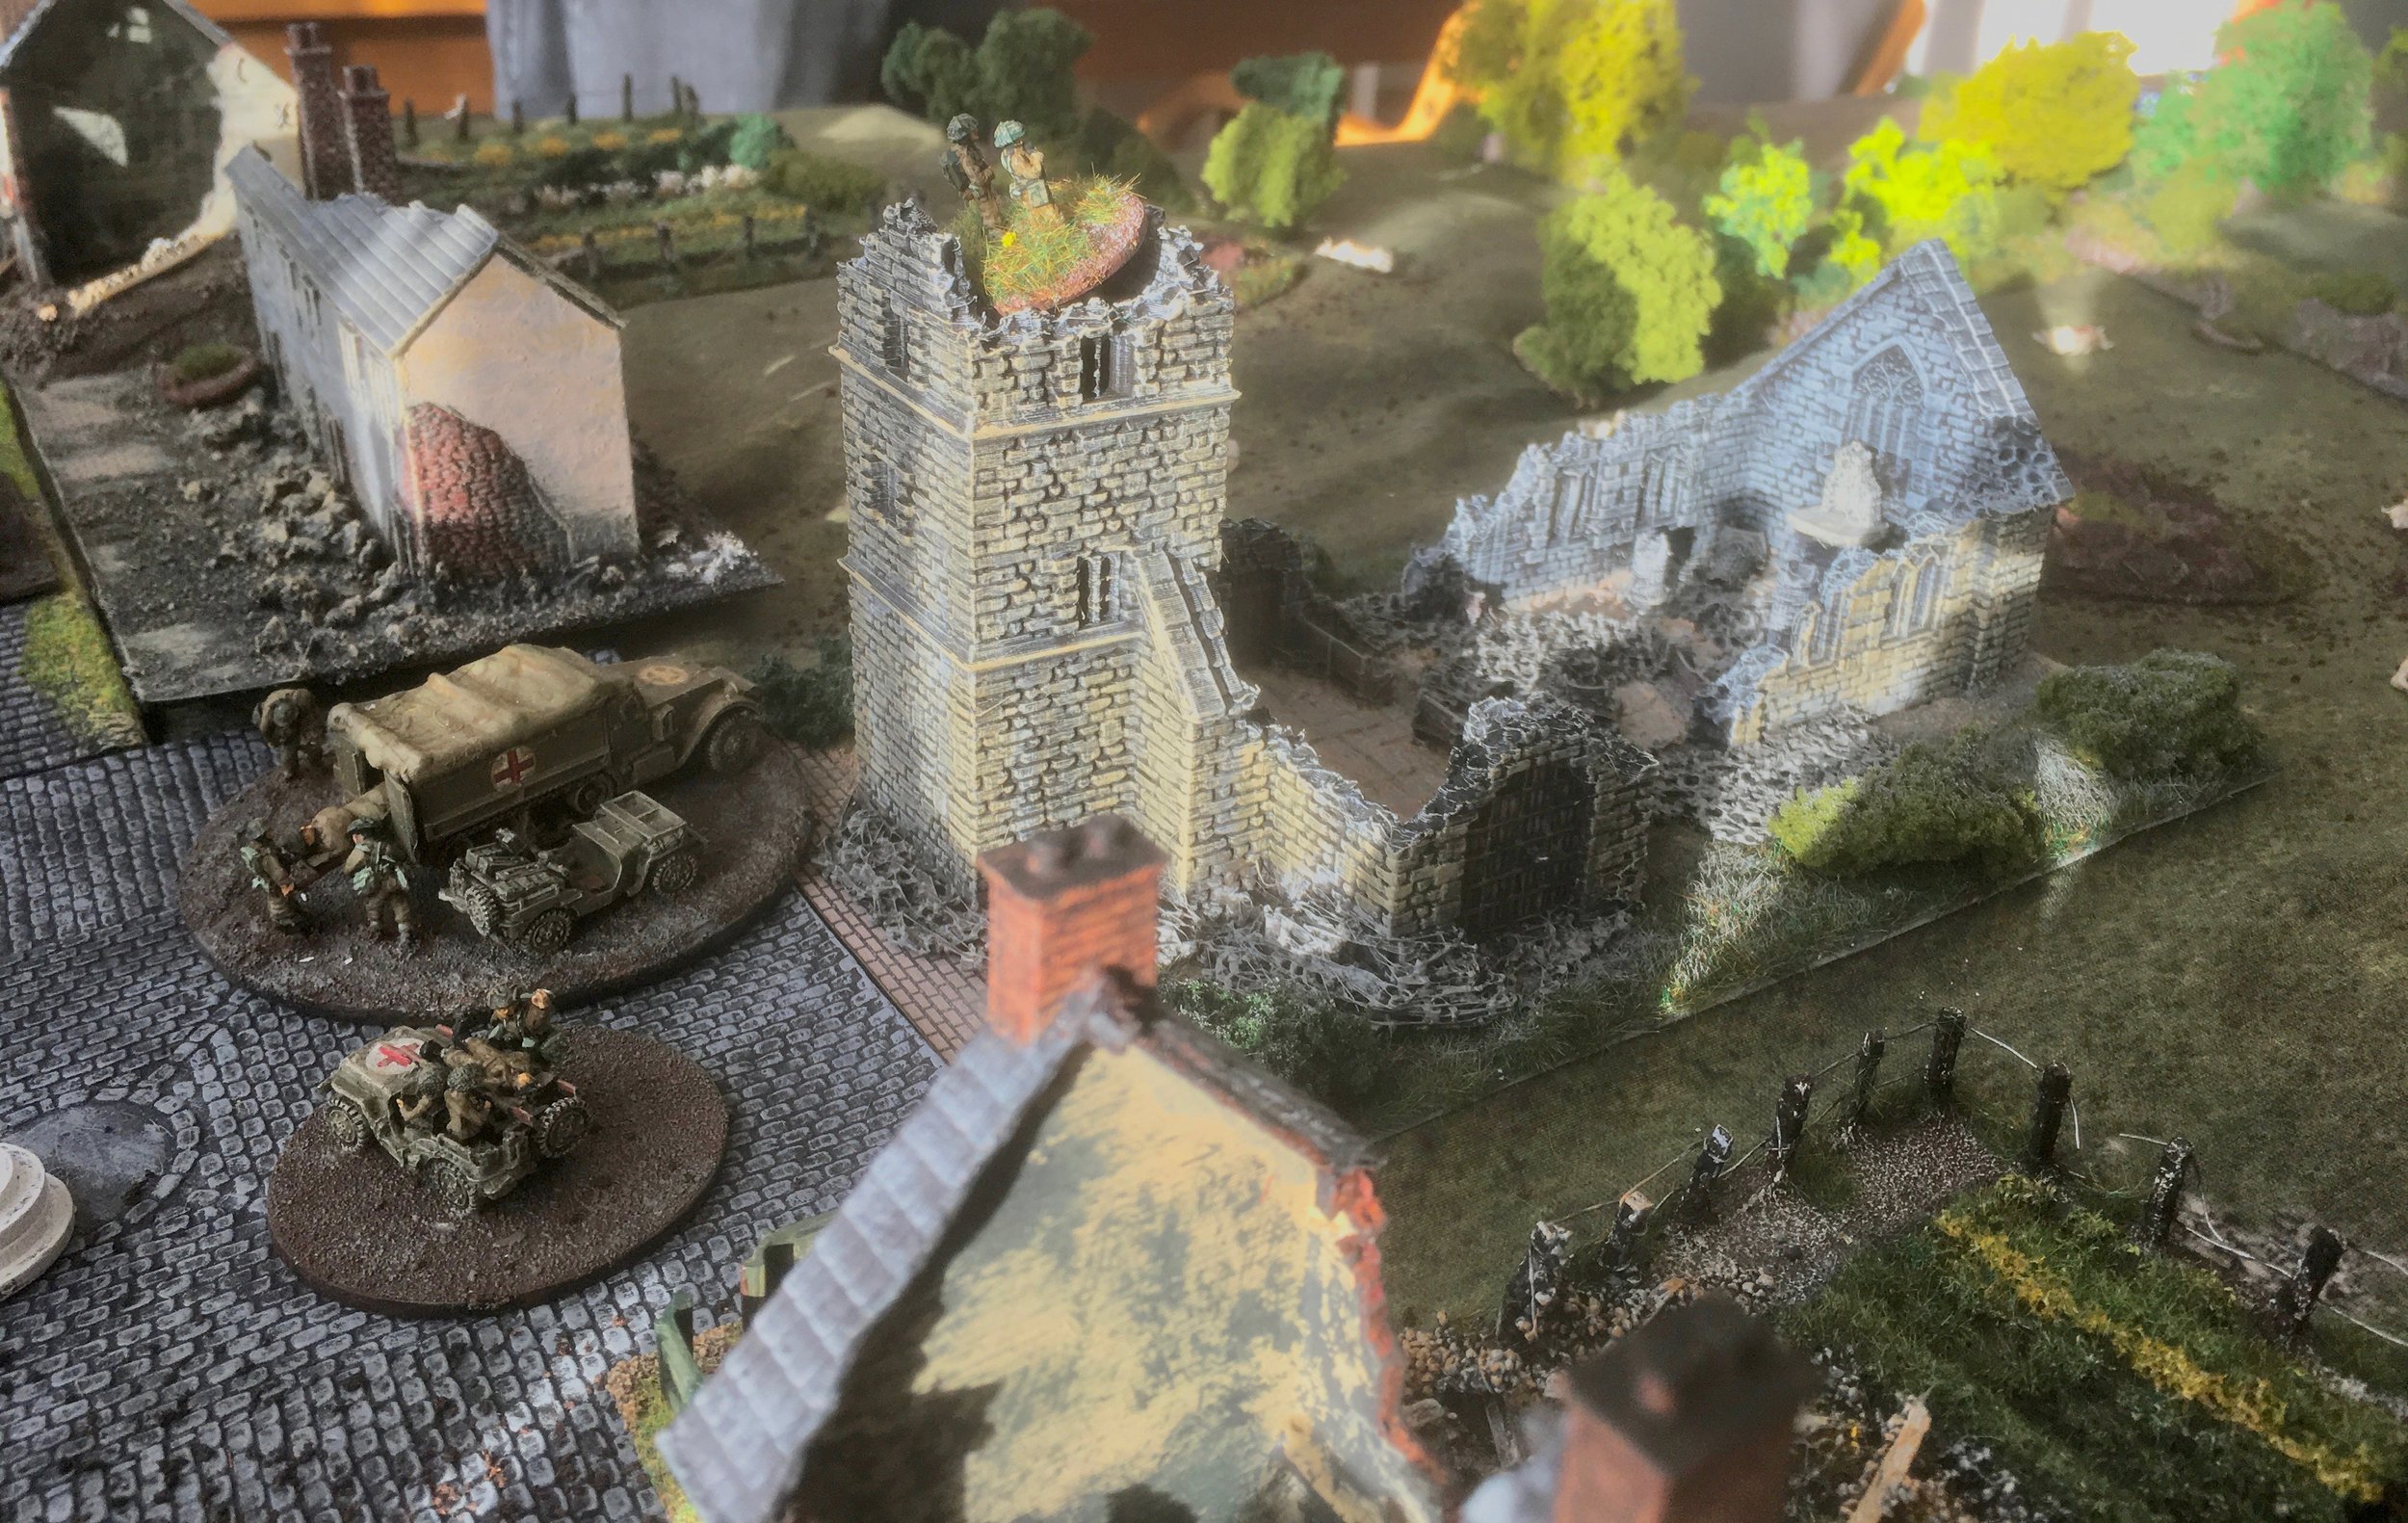
This was scratch built around the Leven Mare St Eglaise church. I could not bring myself to make it as destroyed as the actual Rots church was during the June 11 battle.
View from east side with the Rue Froide running left to right and the Chemin de la Cavee from Le Hamel coming in from the top.
Much more open around here.
Lots of high walls made movement very constricted. Room for 1 tank only on most roads.
Good idea of how dense this little village was and what a nightmare it was to coordinate movement.
B Troop came in from this edge and Chemin de la Cavee.
Woods and the Mue river are off to the right (west)
GigaBites Cafe has a great assortment of beers and ciders.

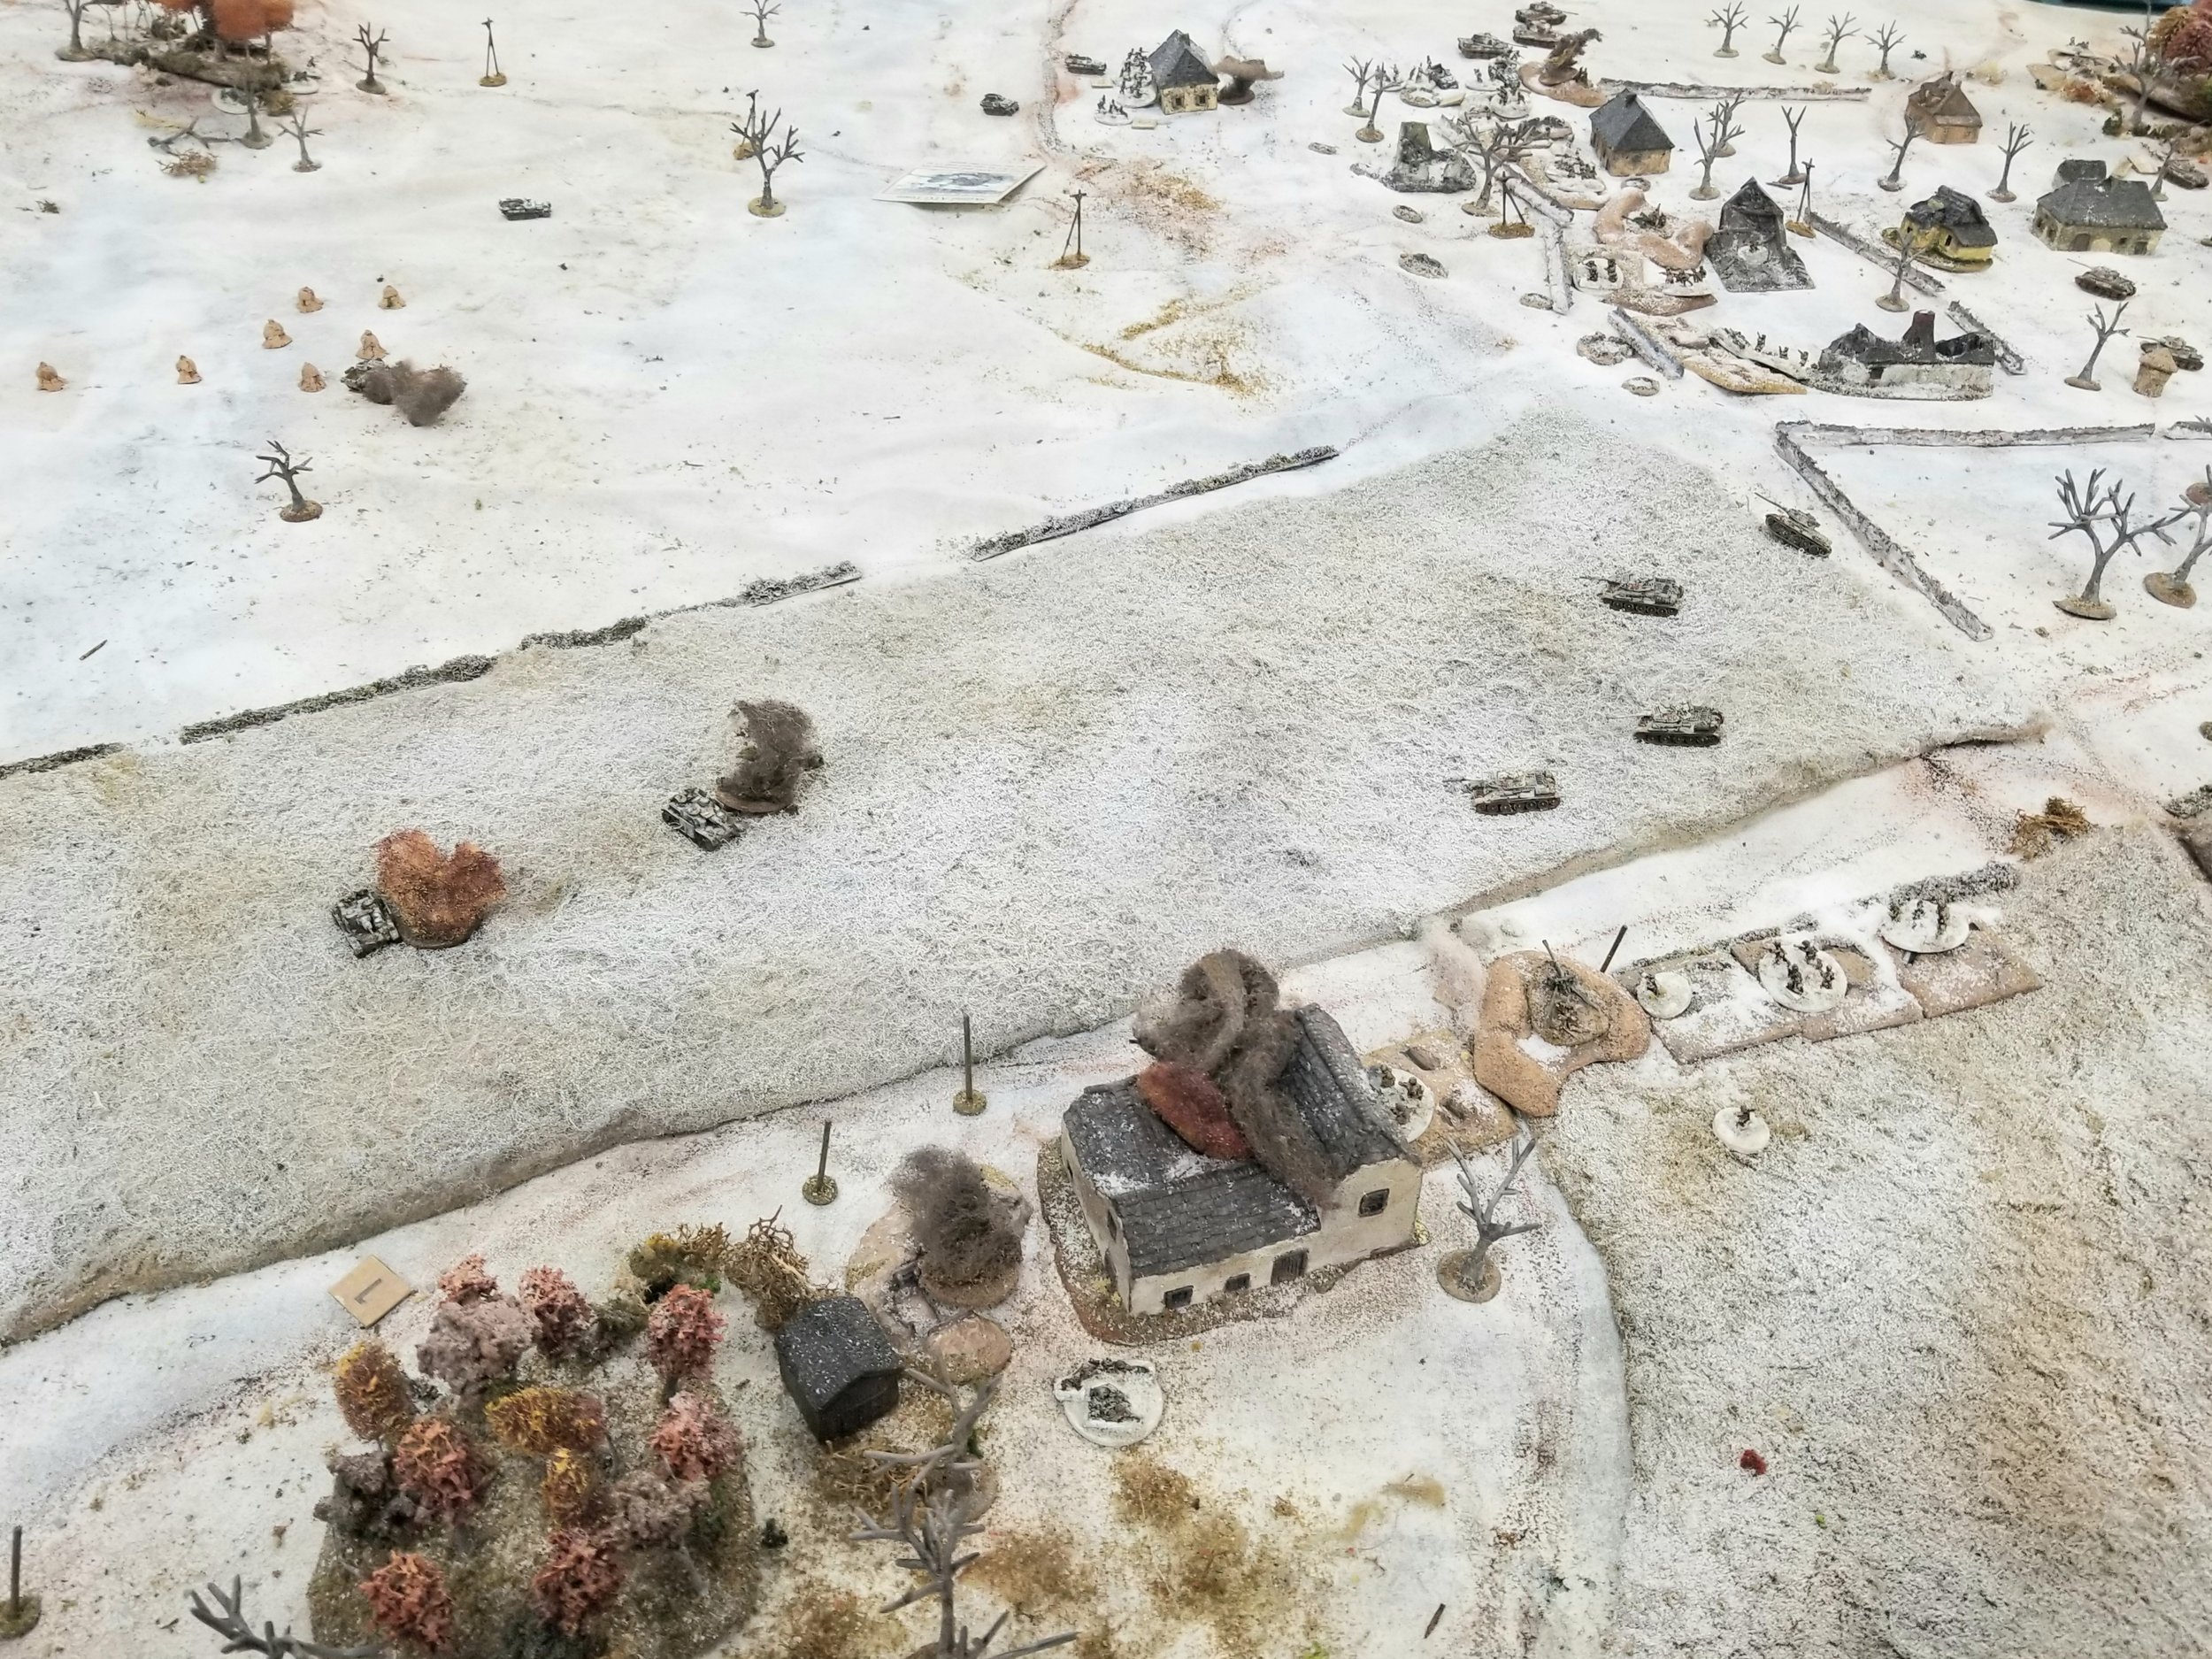
Had a great time a few weeks backs hosting/umpiring a game of the German attack on La Fiere on the afternoon of June 6th, 1944 against the 82nd Airborne. This is the battle after the Germans had taken Cauquigny earlier in the day.
I used the more detailed map in the Skirmish Campaigns book, Normandy '44 First Hours, and blended the OOB from that book and Scenario 3 from TFL scenario book, All-American.
Overall, the game results replicated history but the Germans did slightly better as they were able to cross the bridge and get into La Fiere. Their captured French tanks did not inflict much damage, however, and eventually were all taken out by the bazooka teams and a single 57mm AT gun wielded by the 82nd Airborne.
Figures are mostly Airfix and SHQ plus a few unpainted old Matchbox Germans. Tanks are 1/87 scale custom resin by a guy on eBay.
NOTE: We used regular card activation supplemented by the use of Command Cards as described by Derek Hodge. See Summer 2017 TFL Special.
Dan Albrecht
Here is a great write up by Shane Waley who played the German side:
Just returned home from an epic 7 hour game of I Ain't Been Shot Mum hosted by Dan Albrecht. Dave Goodwin and I took the part of German forces attempting to cross a causeway over flooded fields to secure a bridge that had been taken by the Allies in a previous battle.
We decided to lead with a tank squad, followed by mortar and artillery observers, followed by another tank, four platoons of infantry, and an HQ unit.
We were able to cross the causeway fairly quickly, using the lead tank to push a truck blocking the bridge out of the way. This led to an American anti-tank gun opening fire on us. Our artillery observer was able to get into a position where he could call down a strike on the American left, but our mortar observer was killed. While waiting for the bombardment to arrive, we pressed on with the infantry, trying to cross the bridge as quickly as possible.
To hold the bridge, the Axis troops would need to capture a manor house and buildings on top of a hill overlooking the bridge. First Platoon crossed the bridge, and headed toward the right flank.
It took a few turns, but the artillery bombardment finally arrived, striking American positions atop the hill to the left. Being dug in in foxholes, they took a few casualties and shock, but easily returned fire, stopping our tanks at the bridge. Being a choke point due to the flooded fields, we had no choice but to send our infantry over the bridge.
Using disabled and immobile tanks for cover, 2nd Platoon crossed and began to head to the left, but were caught out in the open and were cut to bits by the American defenders, and a friendly artillery strike that landed short.
3rd Platoon and our 4th tank had better luck, charging up the center, climbing the hill along the road. While the tank got in some machine gun fire, the infantry pushed the Americans out of thier foxholes, and capturing the anti-tank gun that had been destroying our armor. A bazooka team hit our last tank, causing it to quickly retreat back down the causeway.
During the chaos, a section of first Platoon became separated, taking heavy fire. They retreated down an embankment, spending most of the game there, trying to shake off their shock.
The next few turns involved a back and forth battle over the foxholes on the left. The Germans were pushed out, then the Americans, then the Germans, finally ending with mutual destruction on both sides, and empty but bloody foxholes.
In the center, our German infantry took heavy losses as soon as they cleared the bridge, with 4th Platoon completely destroyed. Being in the open and targeted by heavy machine guns, they were the proverbial sitting ducks.
While the left was a stalemate, and the center was a killing field, the Axis troops were able to make advances on the right. A well placed tank shell opened up one if the buildings, which was quickly charged and taken by ground troops of 1st Platoon. Americans quickly poured out of a second building to drive them back. Another bloody fight ensued, causing one American unit to retreat, but leaving only two men on the German side to hold two buildings.
More artillery fire landed on the Americans, but in the end they were able to knock out our last tank, retake one of the buildings, and mop up stray German infantry.
In the end, our German team had one squad of infantry left, right near the bridge, while the Americans had one squad, and one almost complete, though withdrawn, infantry Platoon left on the board.
A very bloody affair, and a great day of gaming.


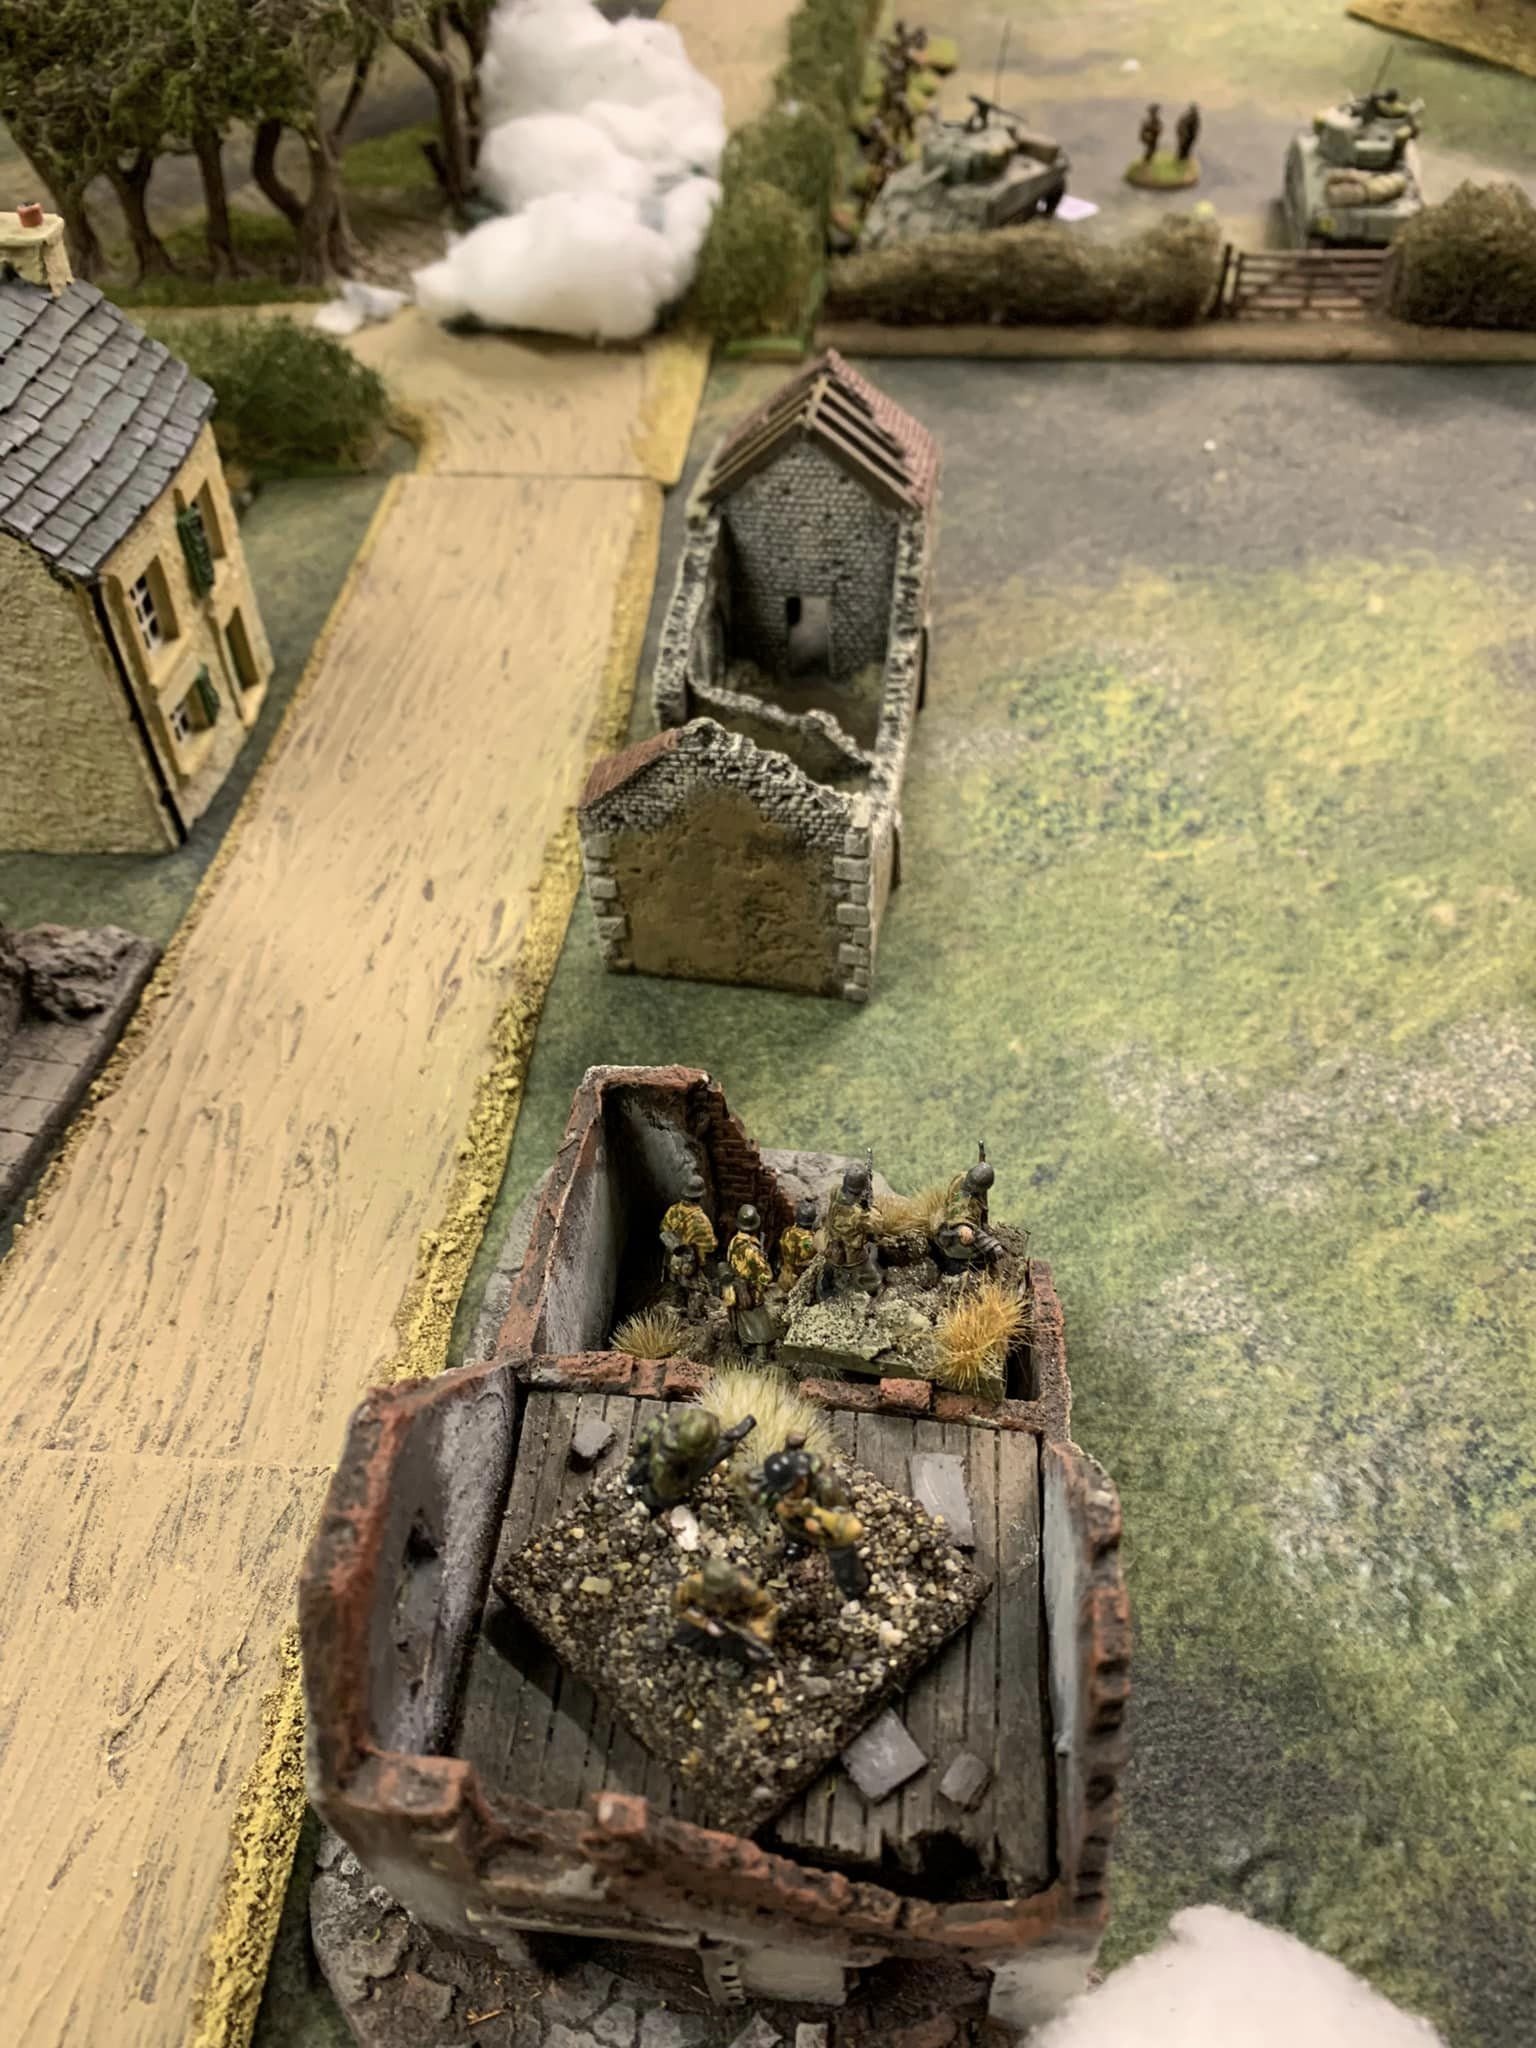
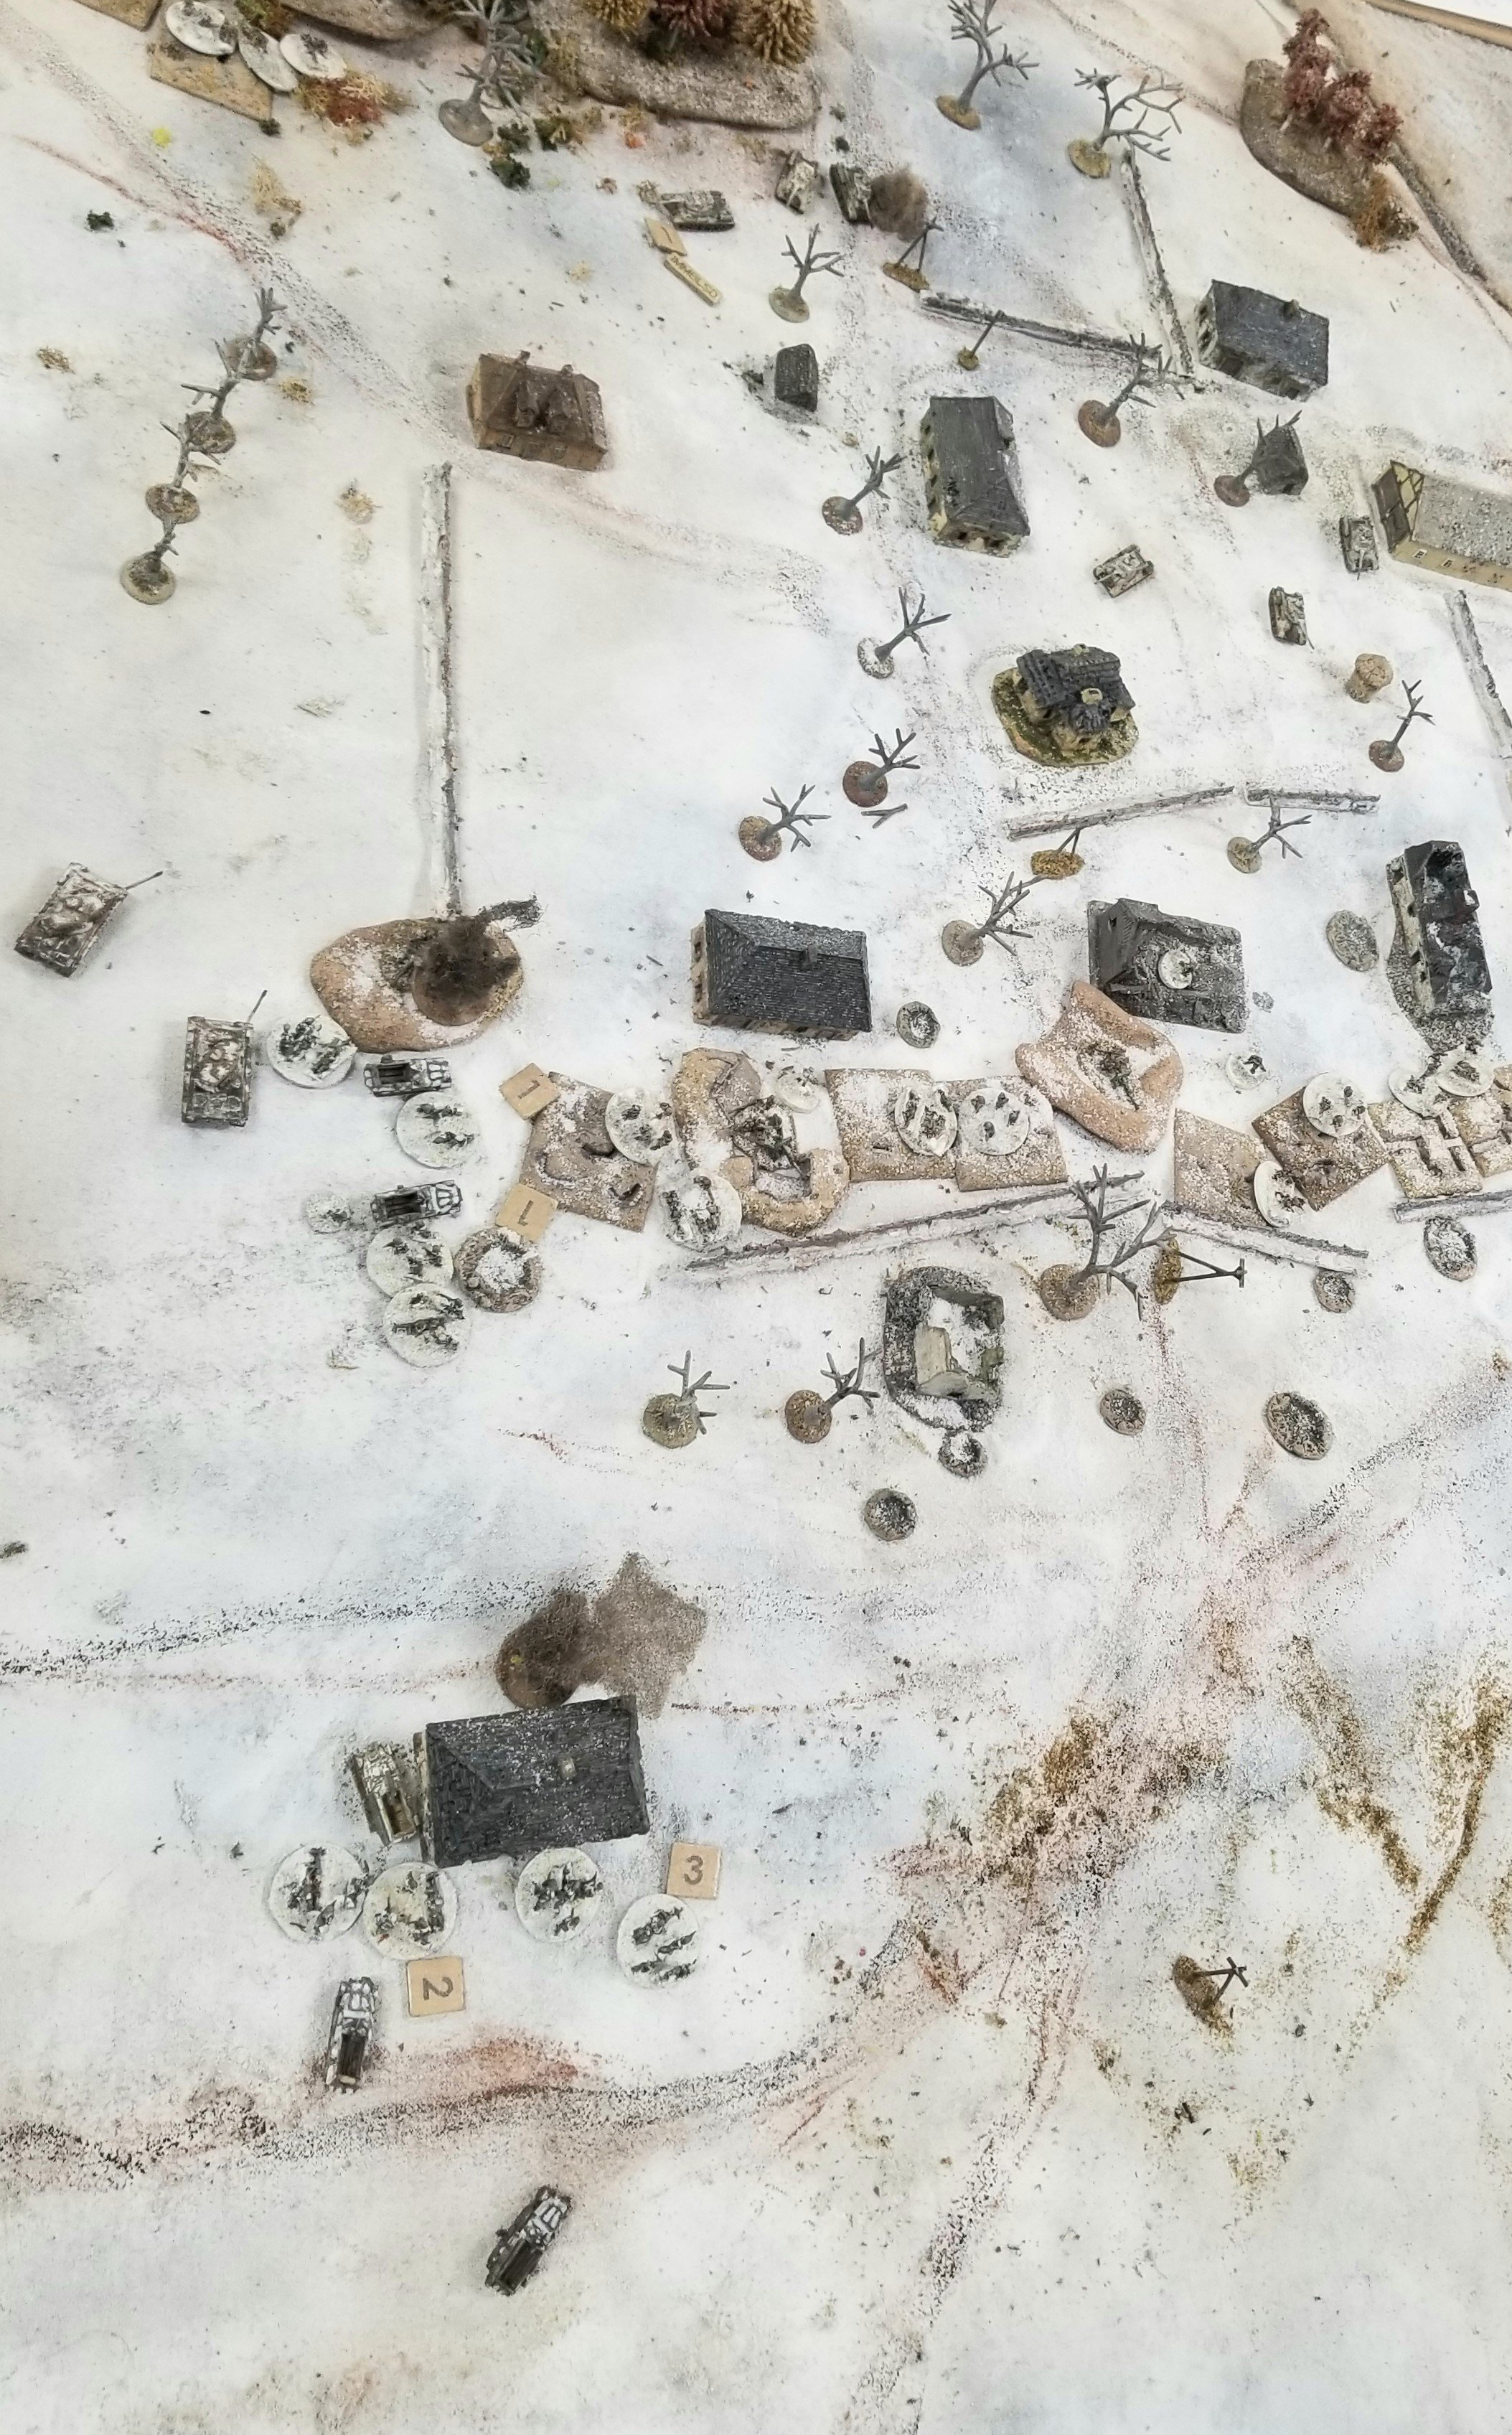
Following a discussion at the club, various people expressed an interest in playing I Ain't Been Shot Mum by the TooFatLardies. I had originally planned it for a relatively small game but ended up expanding it to cover 5 players.
The scenario was based on a what-if engagement between B Company of 2/Glosters (with some supports) defending the North West part of Cassel, from an assault by Kamfgruppe von Esebeck - a combined armoured and infantry force.
Here are a few pictures from the game:

Whisperin’ Al

A couple of months back Phil and Jenny invited Andy and myself down to try out an I Ain't Been Shot Mum (IABSM) scenario Phil had devised to run at the Operation Market Larden Lardy Day.
Coincidently it pretty much followed on historically from the Big Chain of Command game Andy had come up with, with elements of 2. SS Panzer-Division Das Reich and 9. SS Panzer-Division Hohenstaufen attempting to recapture the town of Rauray in Normandy from the 1st Battalion Tyneside Scottish.


Though they had put up a brave fight, the men of the 1st Battalion Tyneside Scottish had been defeated.
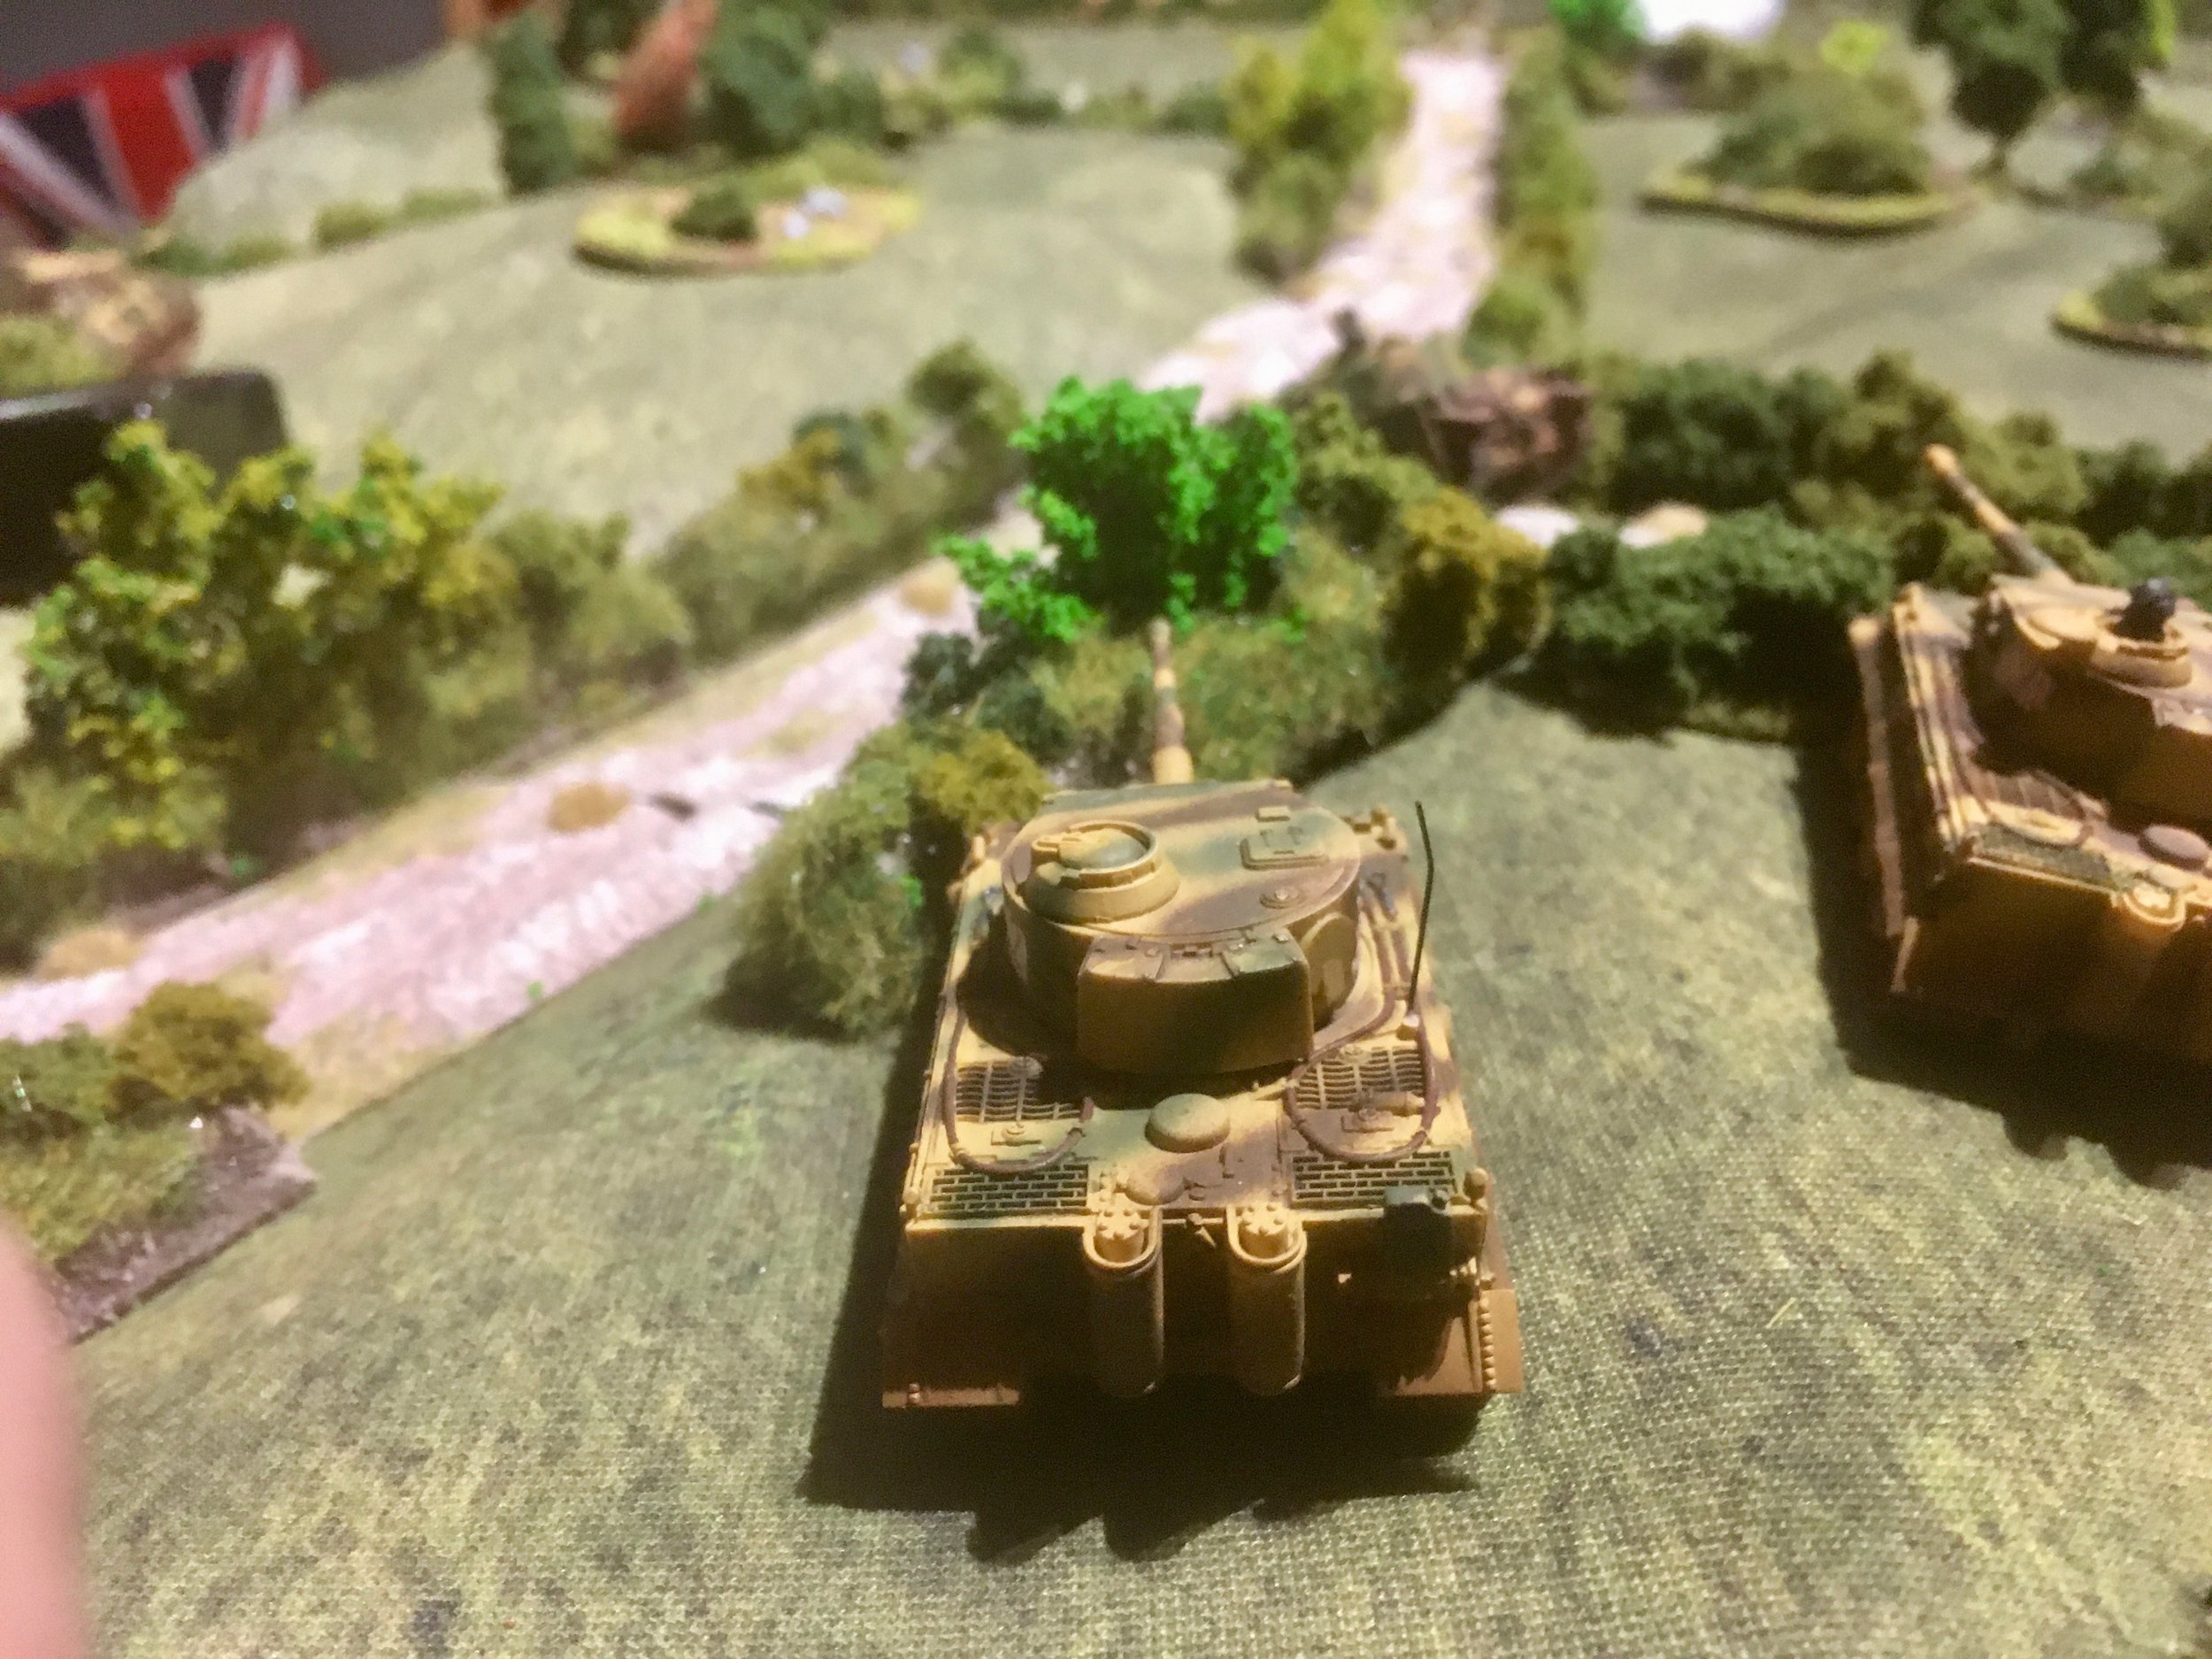
Well that was an intense game, I seriously doubted the ability of the Germans to make much progress in the face of the dogged British resistance, but the arrival of the heavier German tanks certainly helped turn the battle their way.
Once again Phil and Jenny put on a great game for Andy and myself, so big thanks to them. I understand it went down well at Operation Market Larden as well .
[Ed’s Note: it did: Noddy and I played in the afternoon game as the Brits…and won!]
Steve

Took our Calais game to Britcon today. Ran 2 games during the day. Seemed to go down well with the players and visitor.
The photos are just a random mix from both games. Was a bit busy on the game to take too many.
Many thanks to Jenny Turnerand Phil Turner for making the trip to help run the game.
Michael Curtis
Fingers Lane also took plenty of pictures: these with captions:


And Des Darkin took some pictures from the morning game:

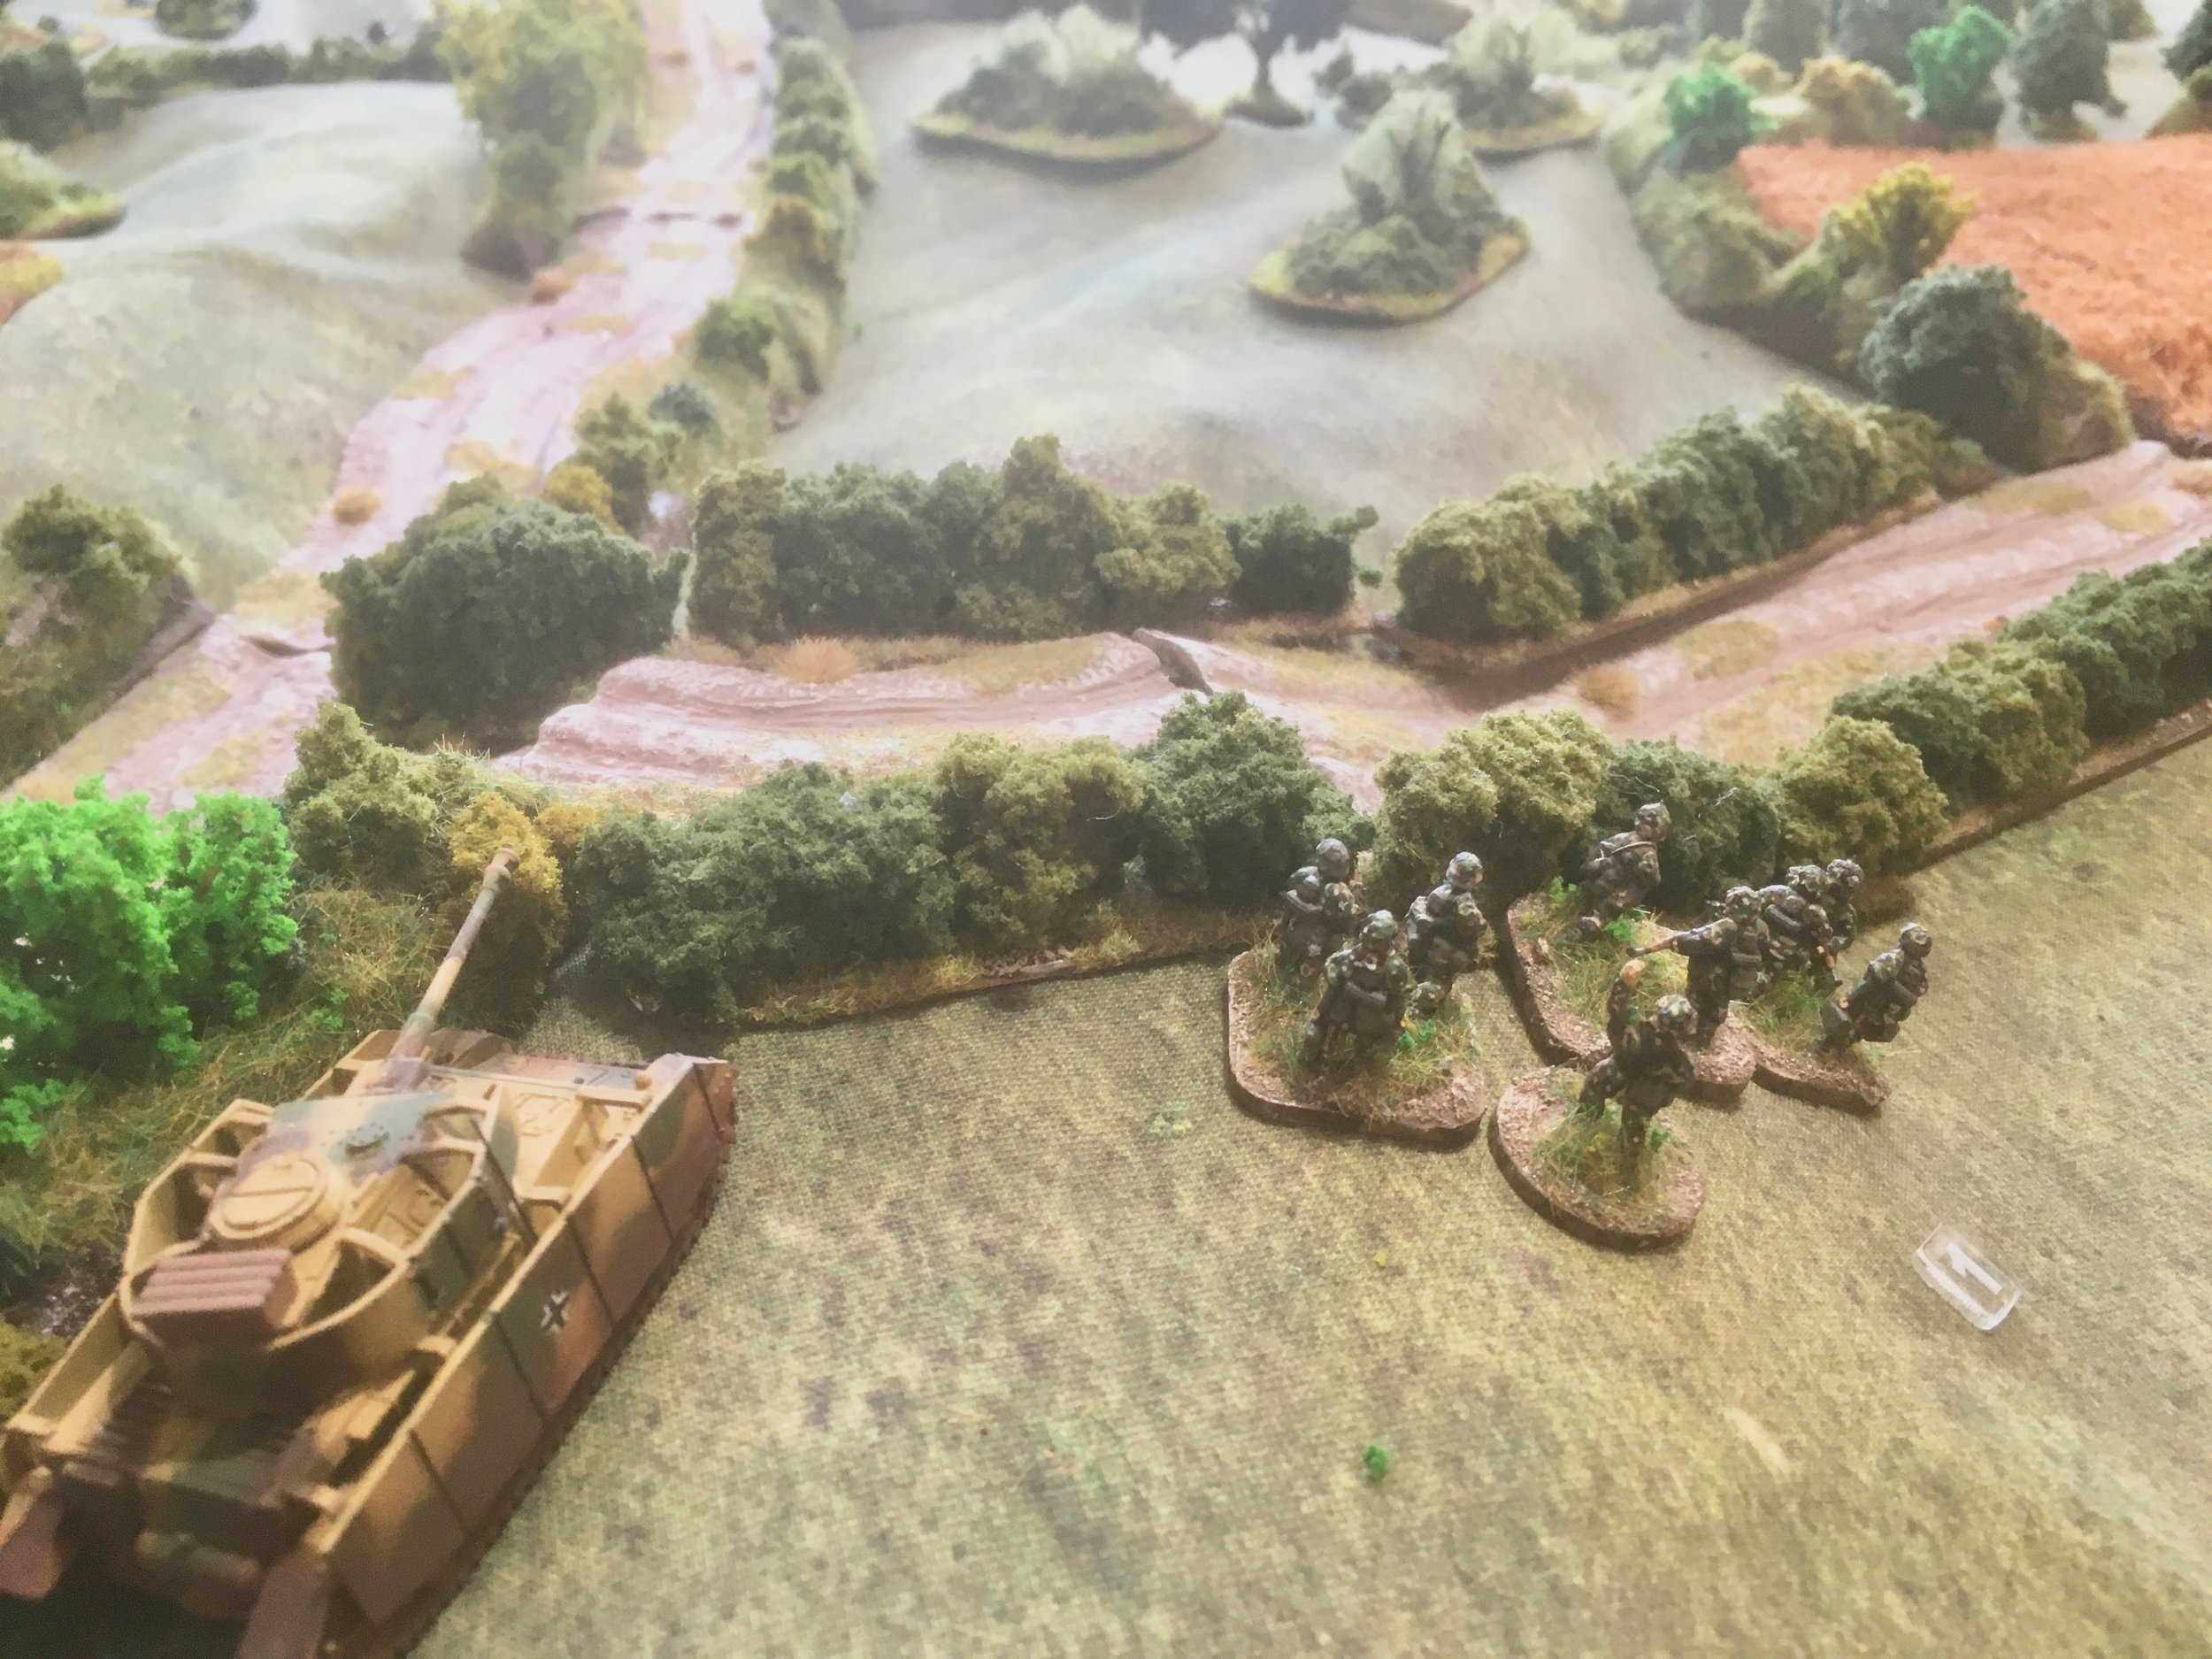
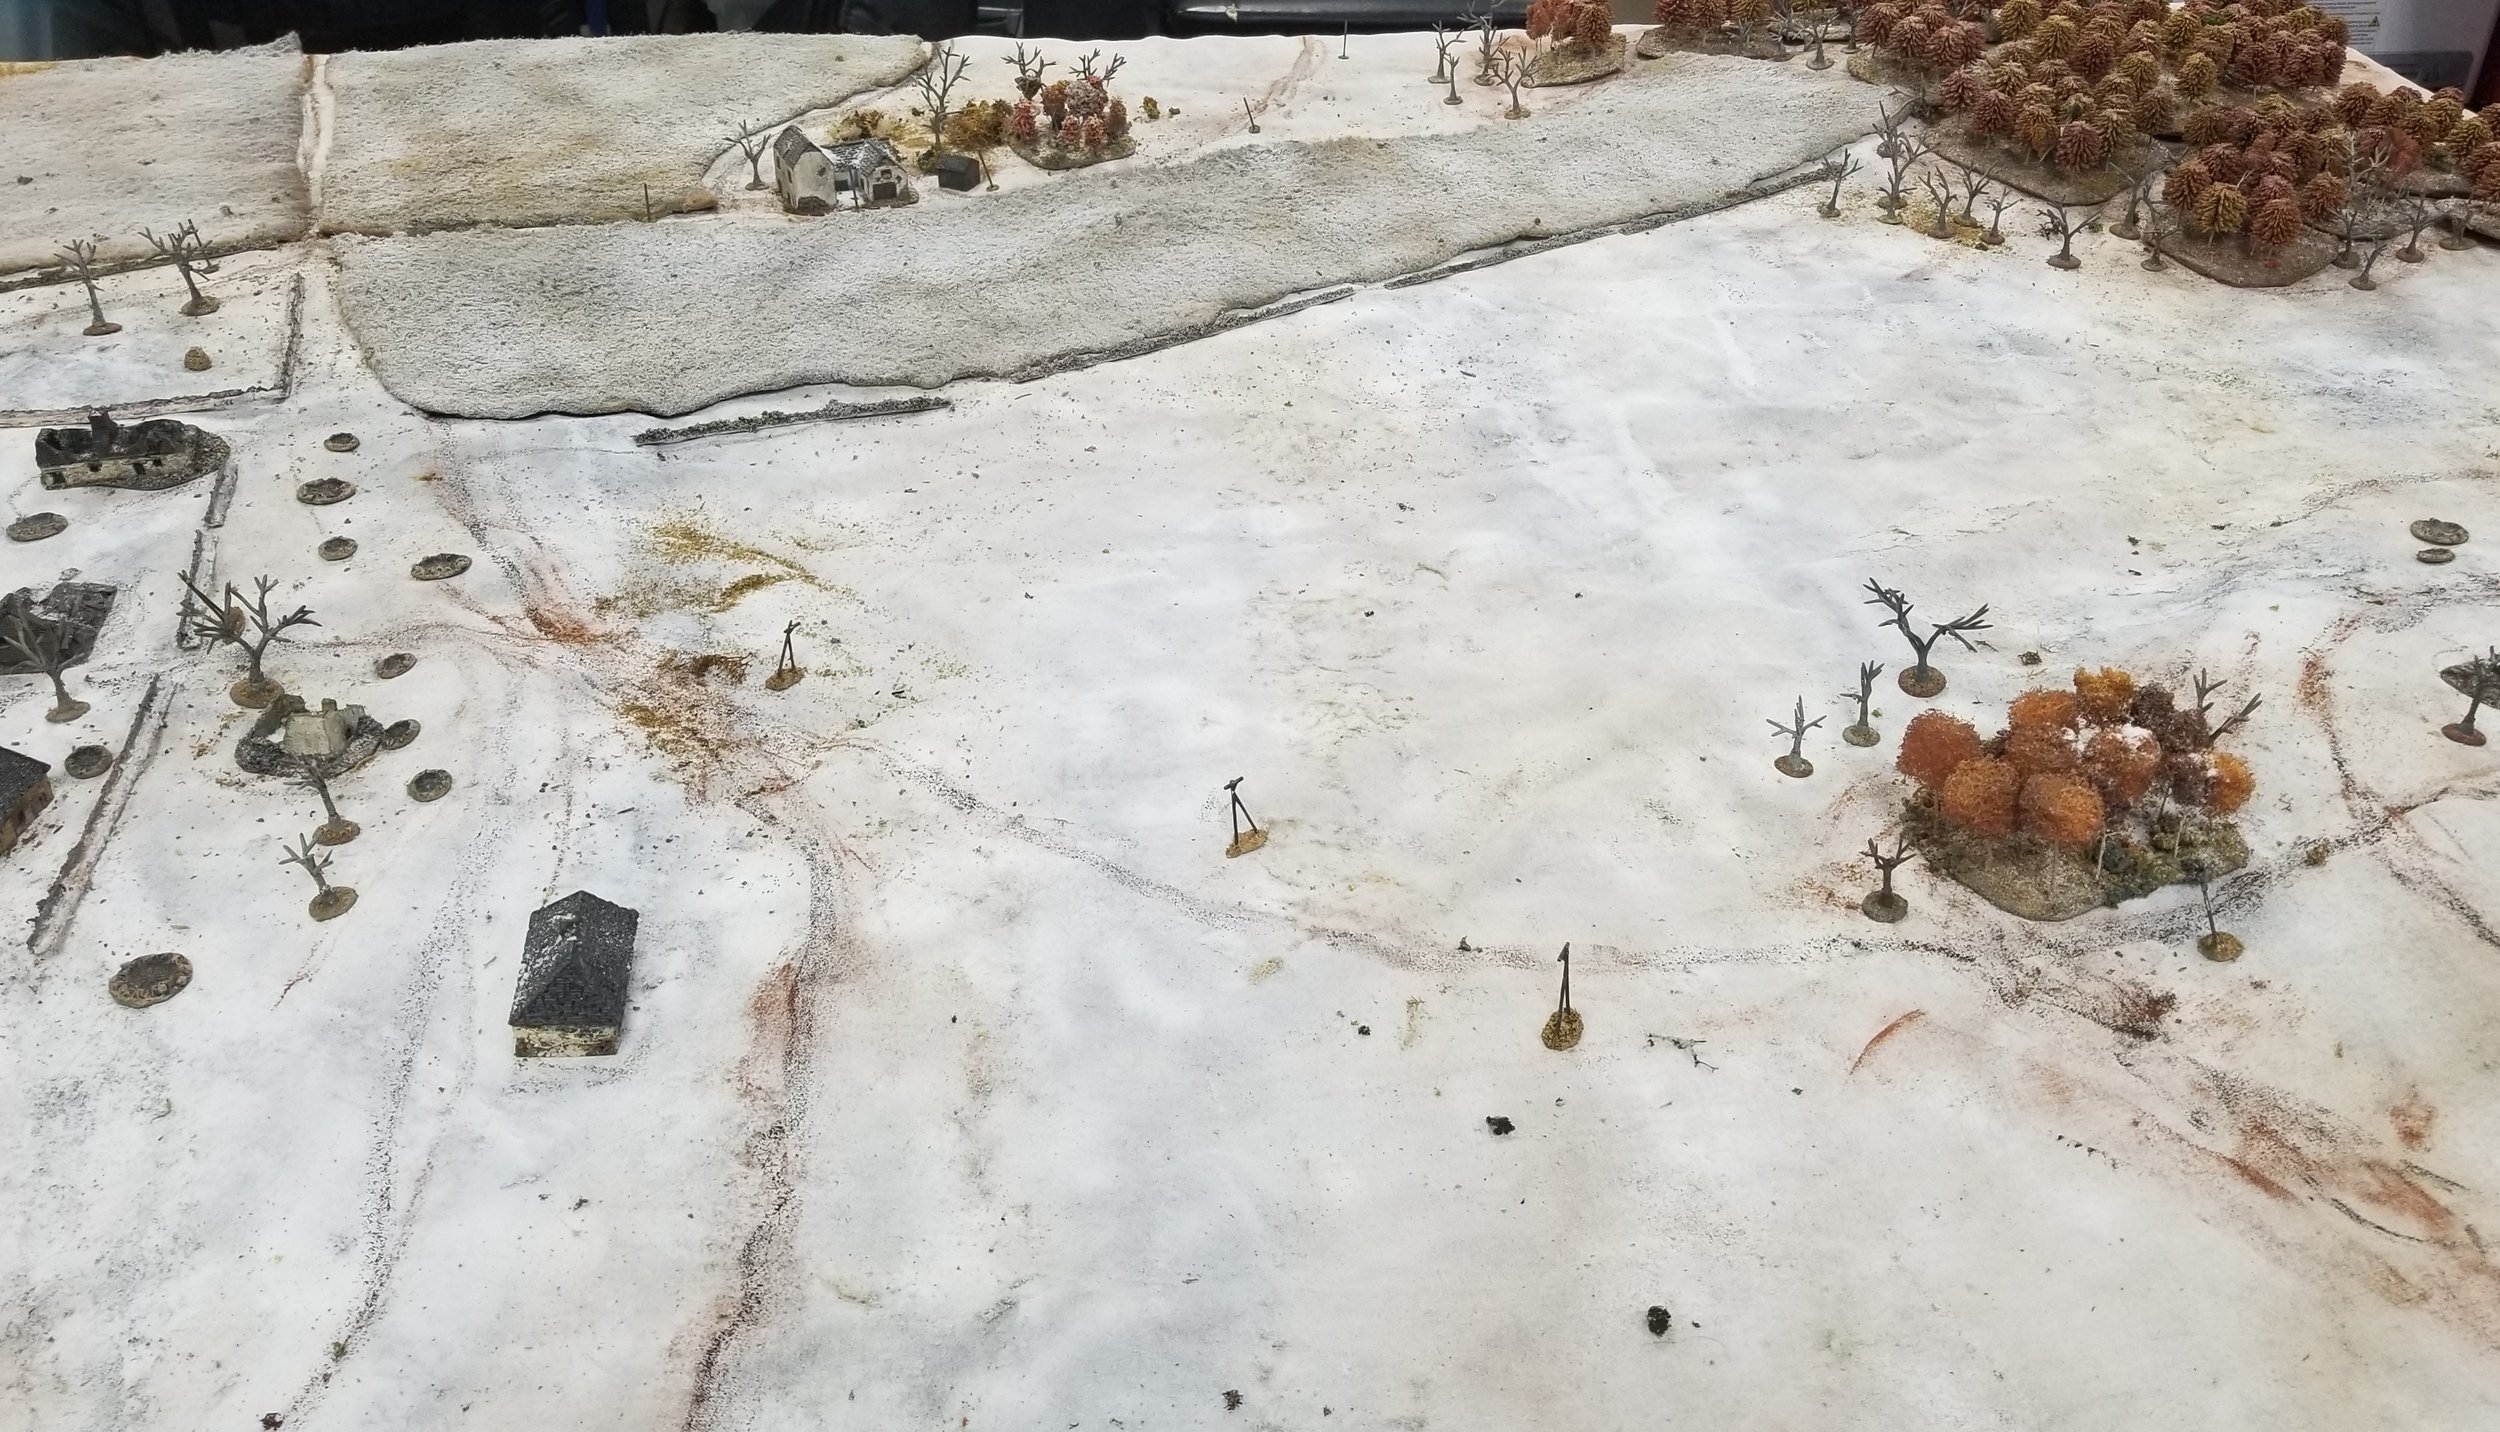
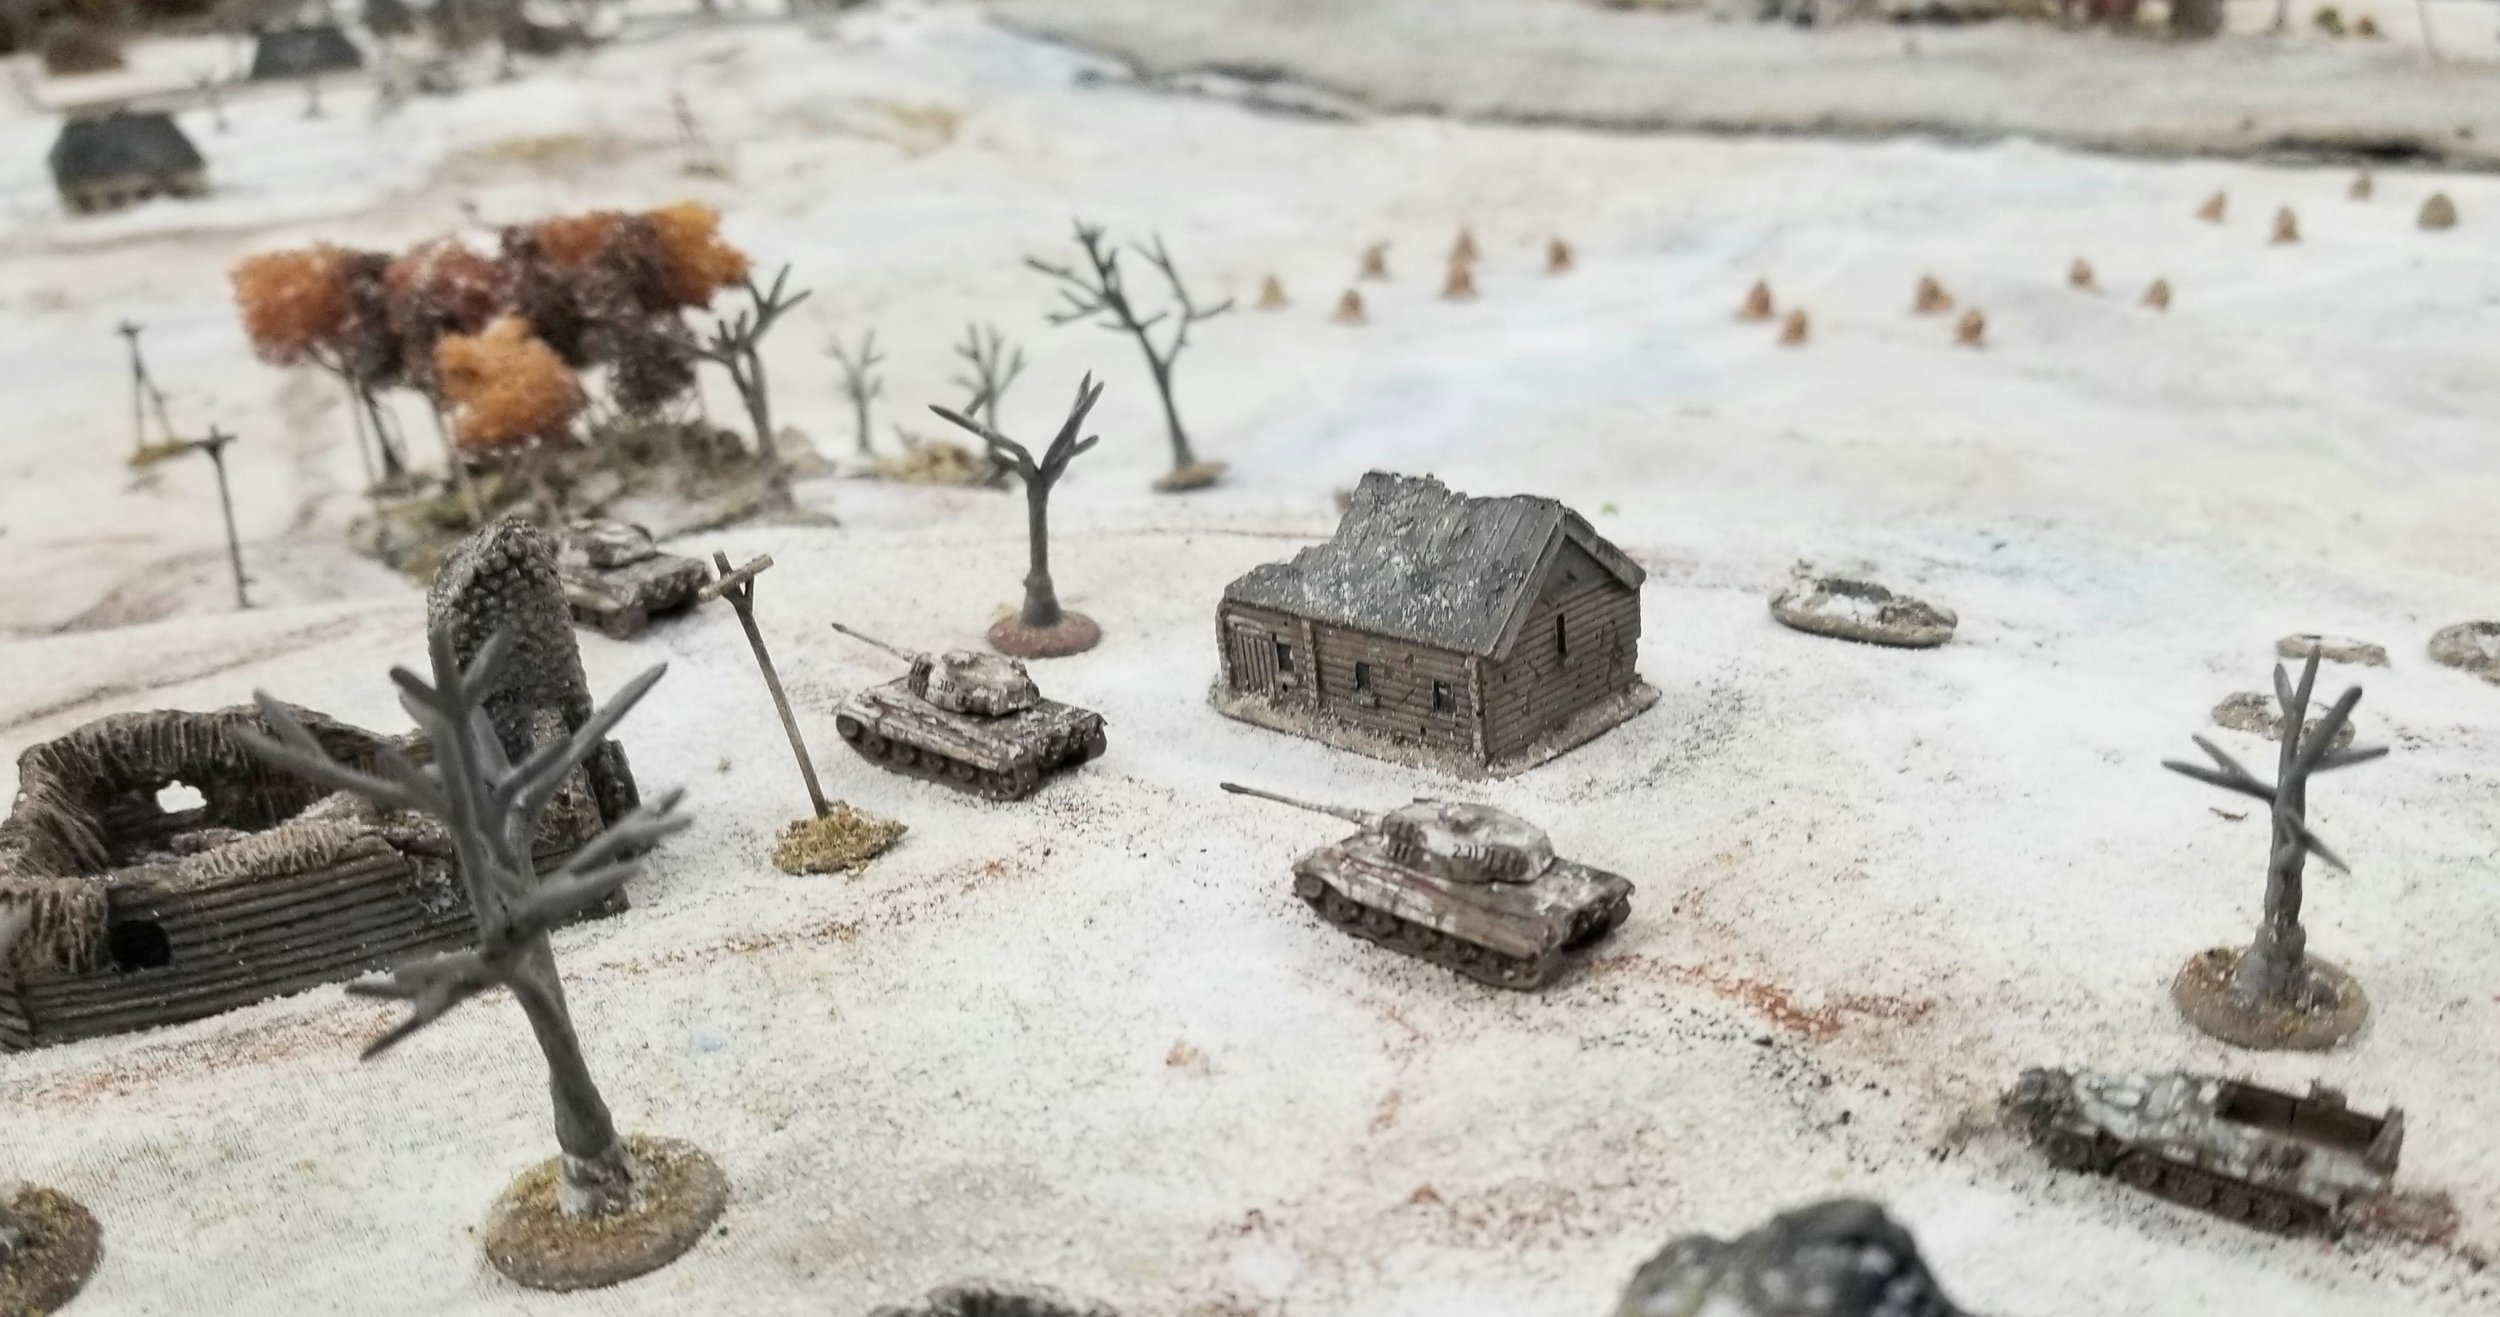
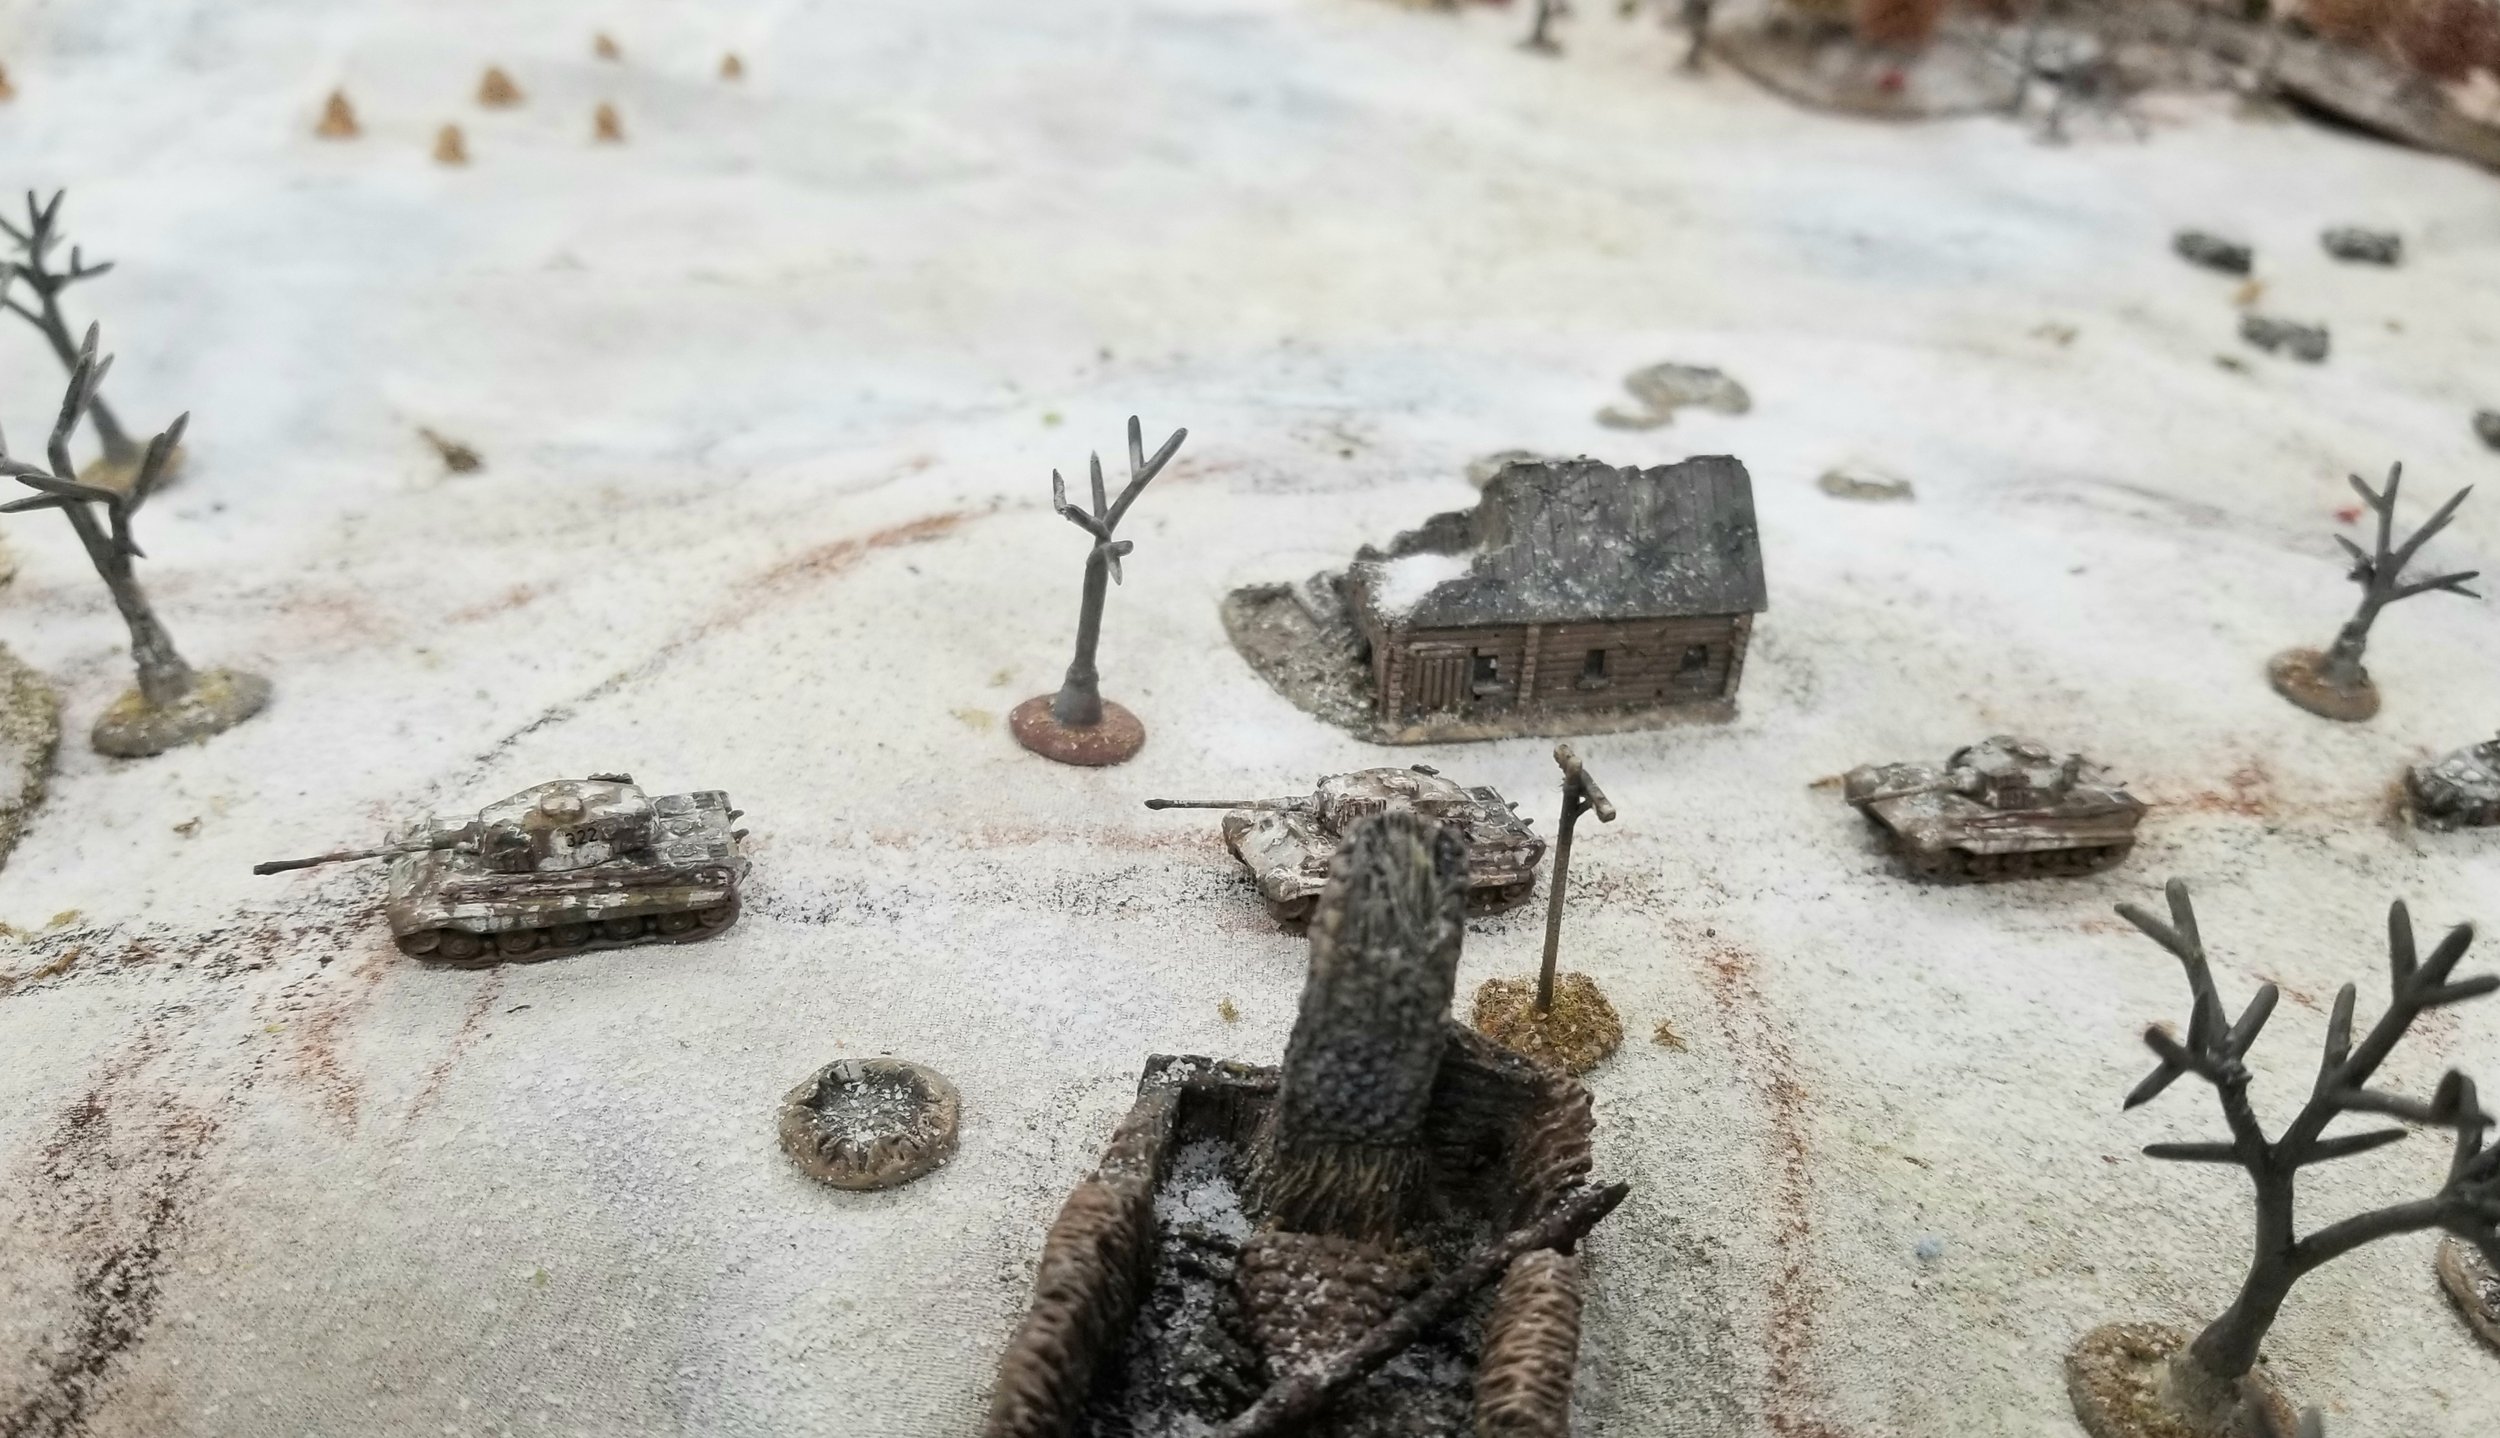
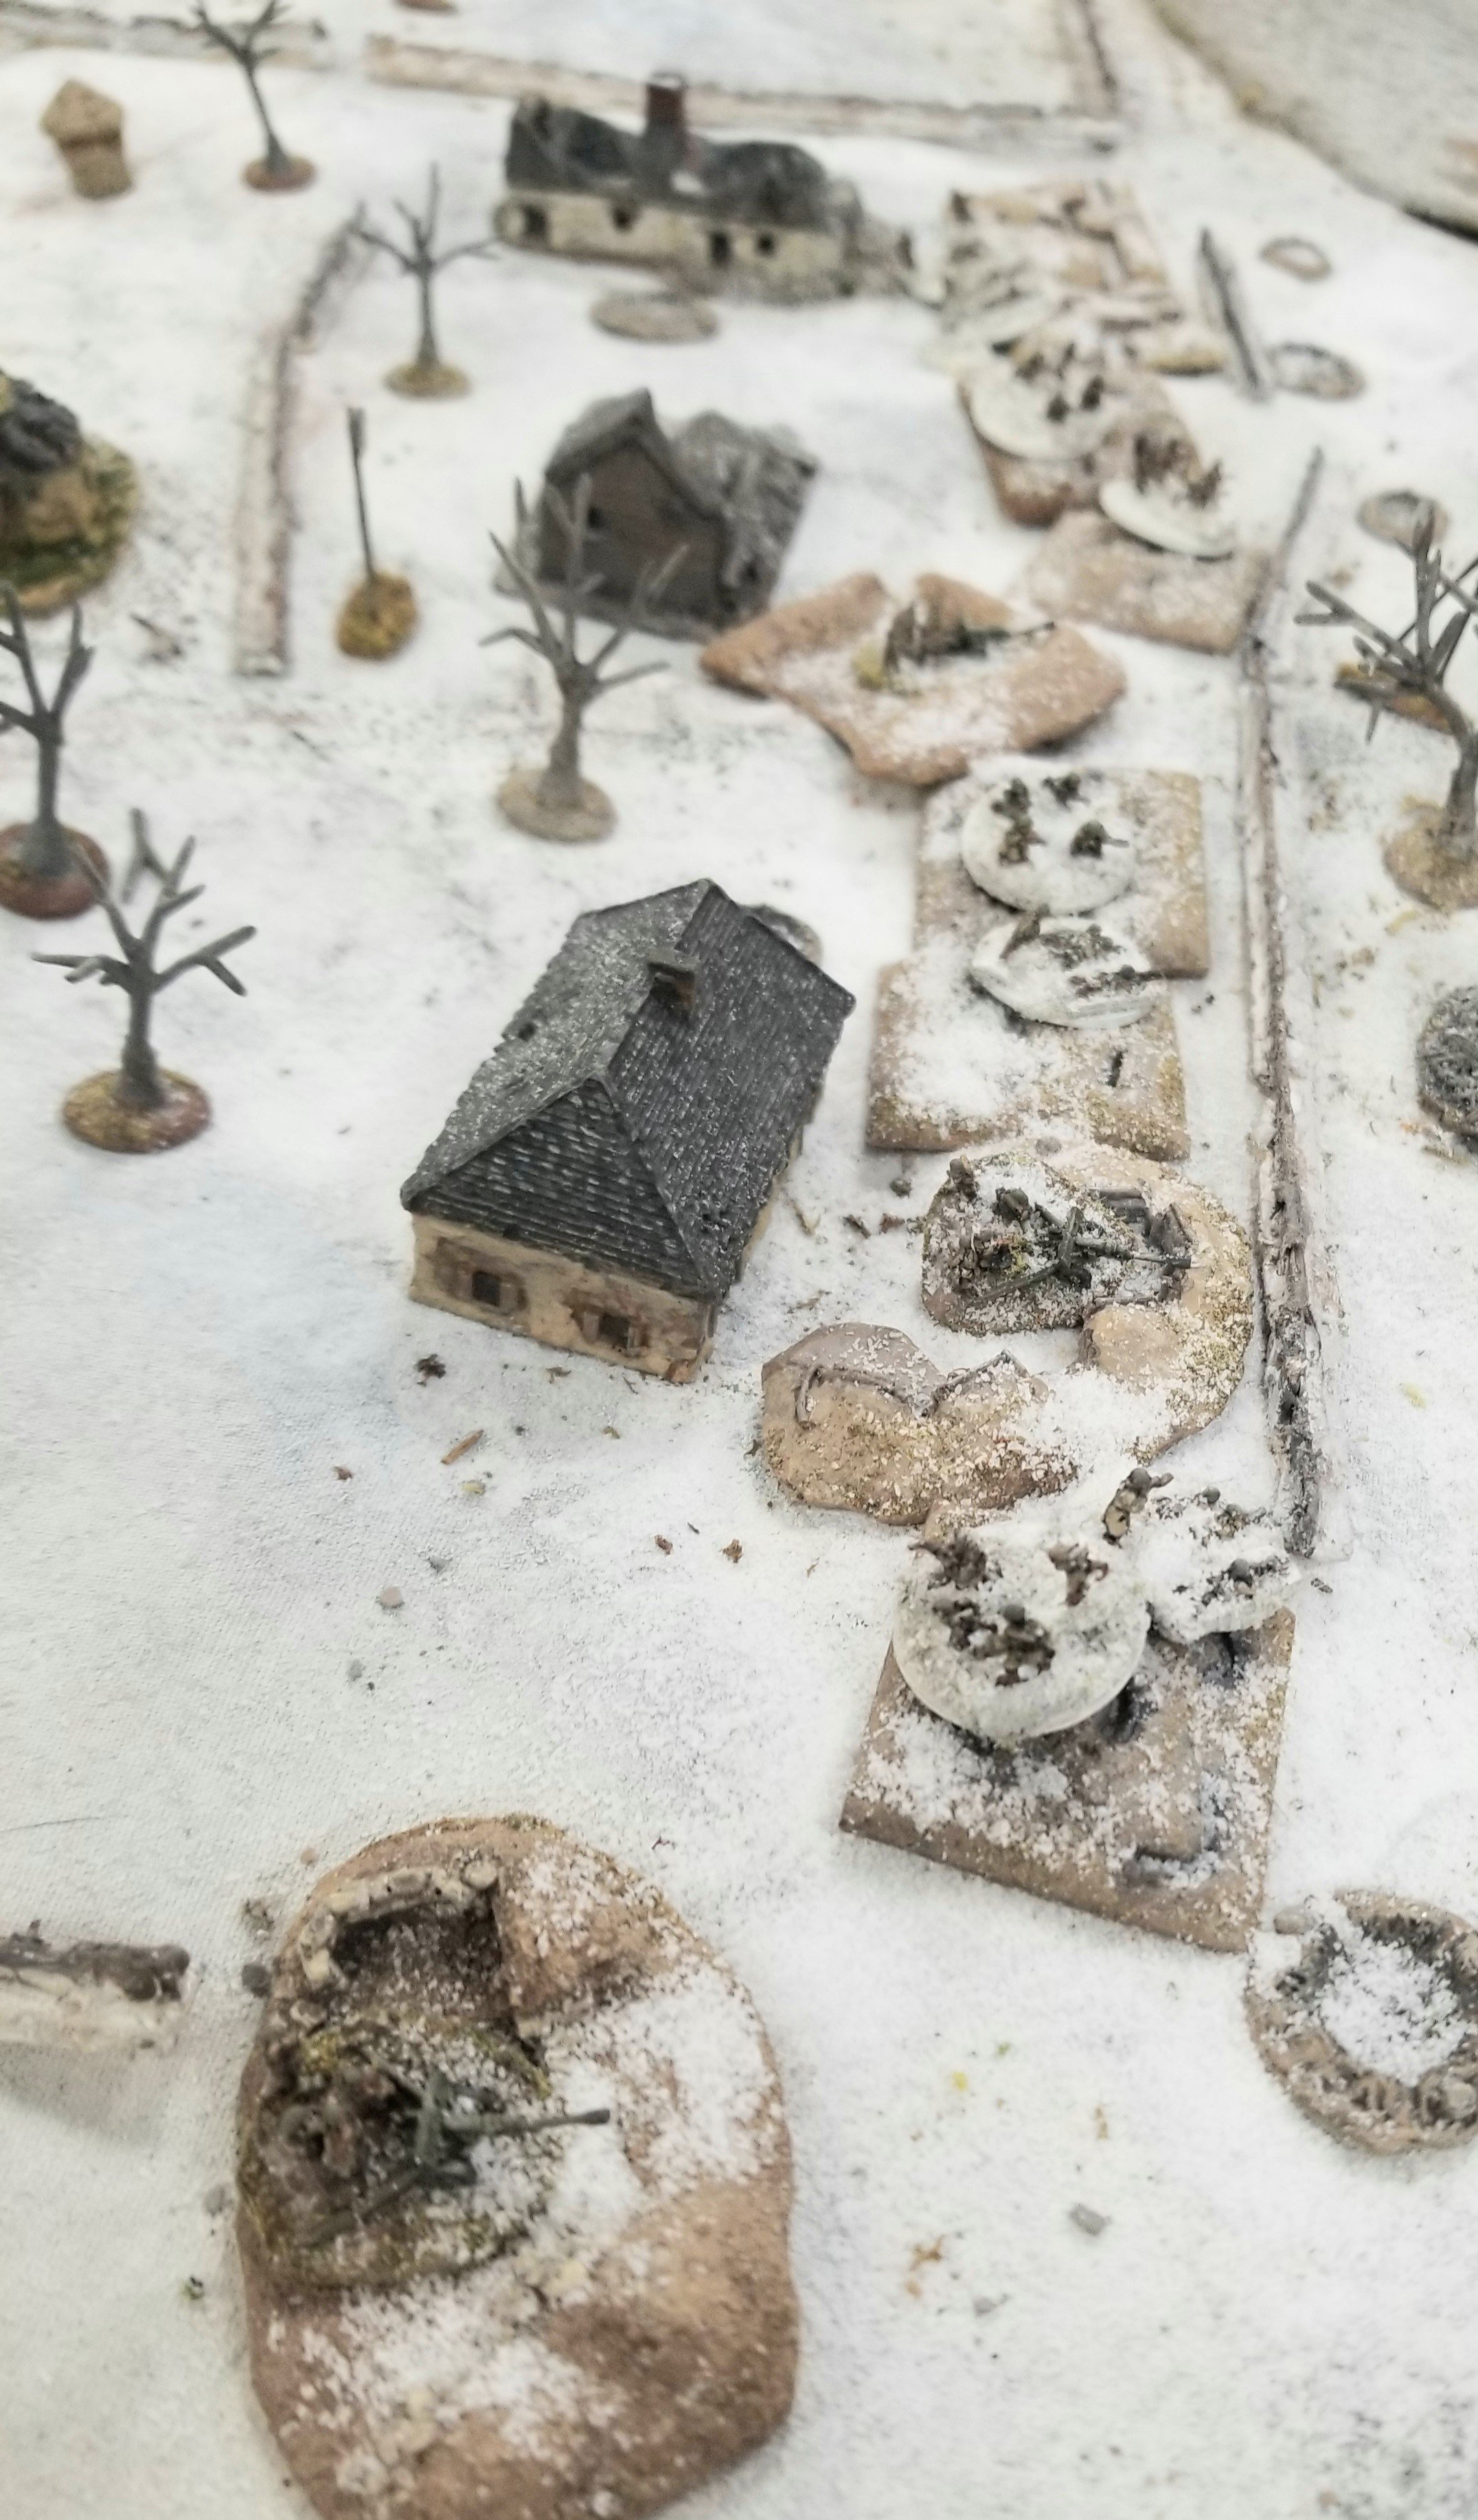
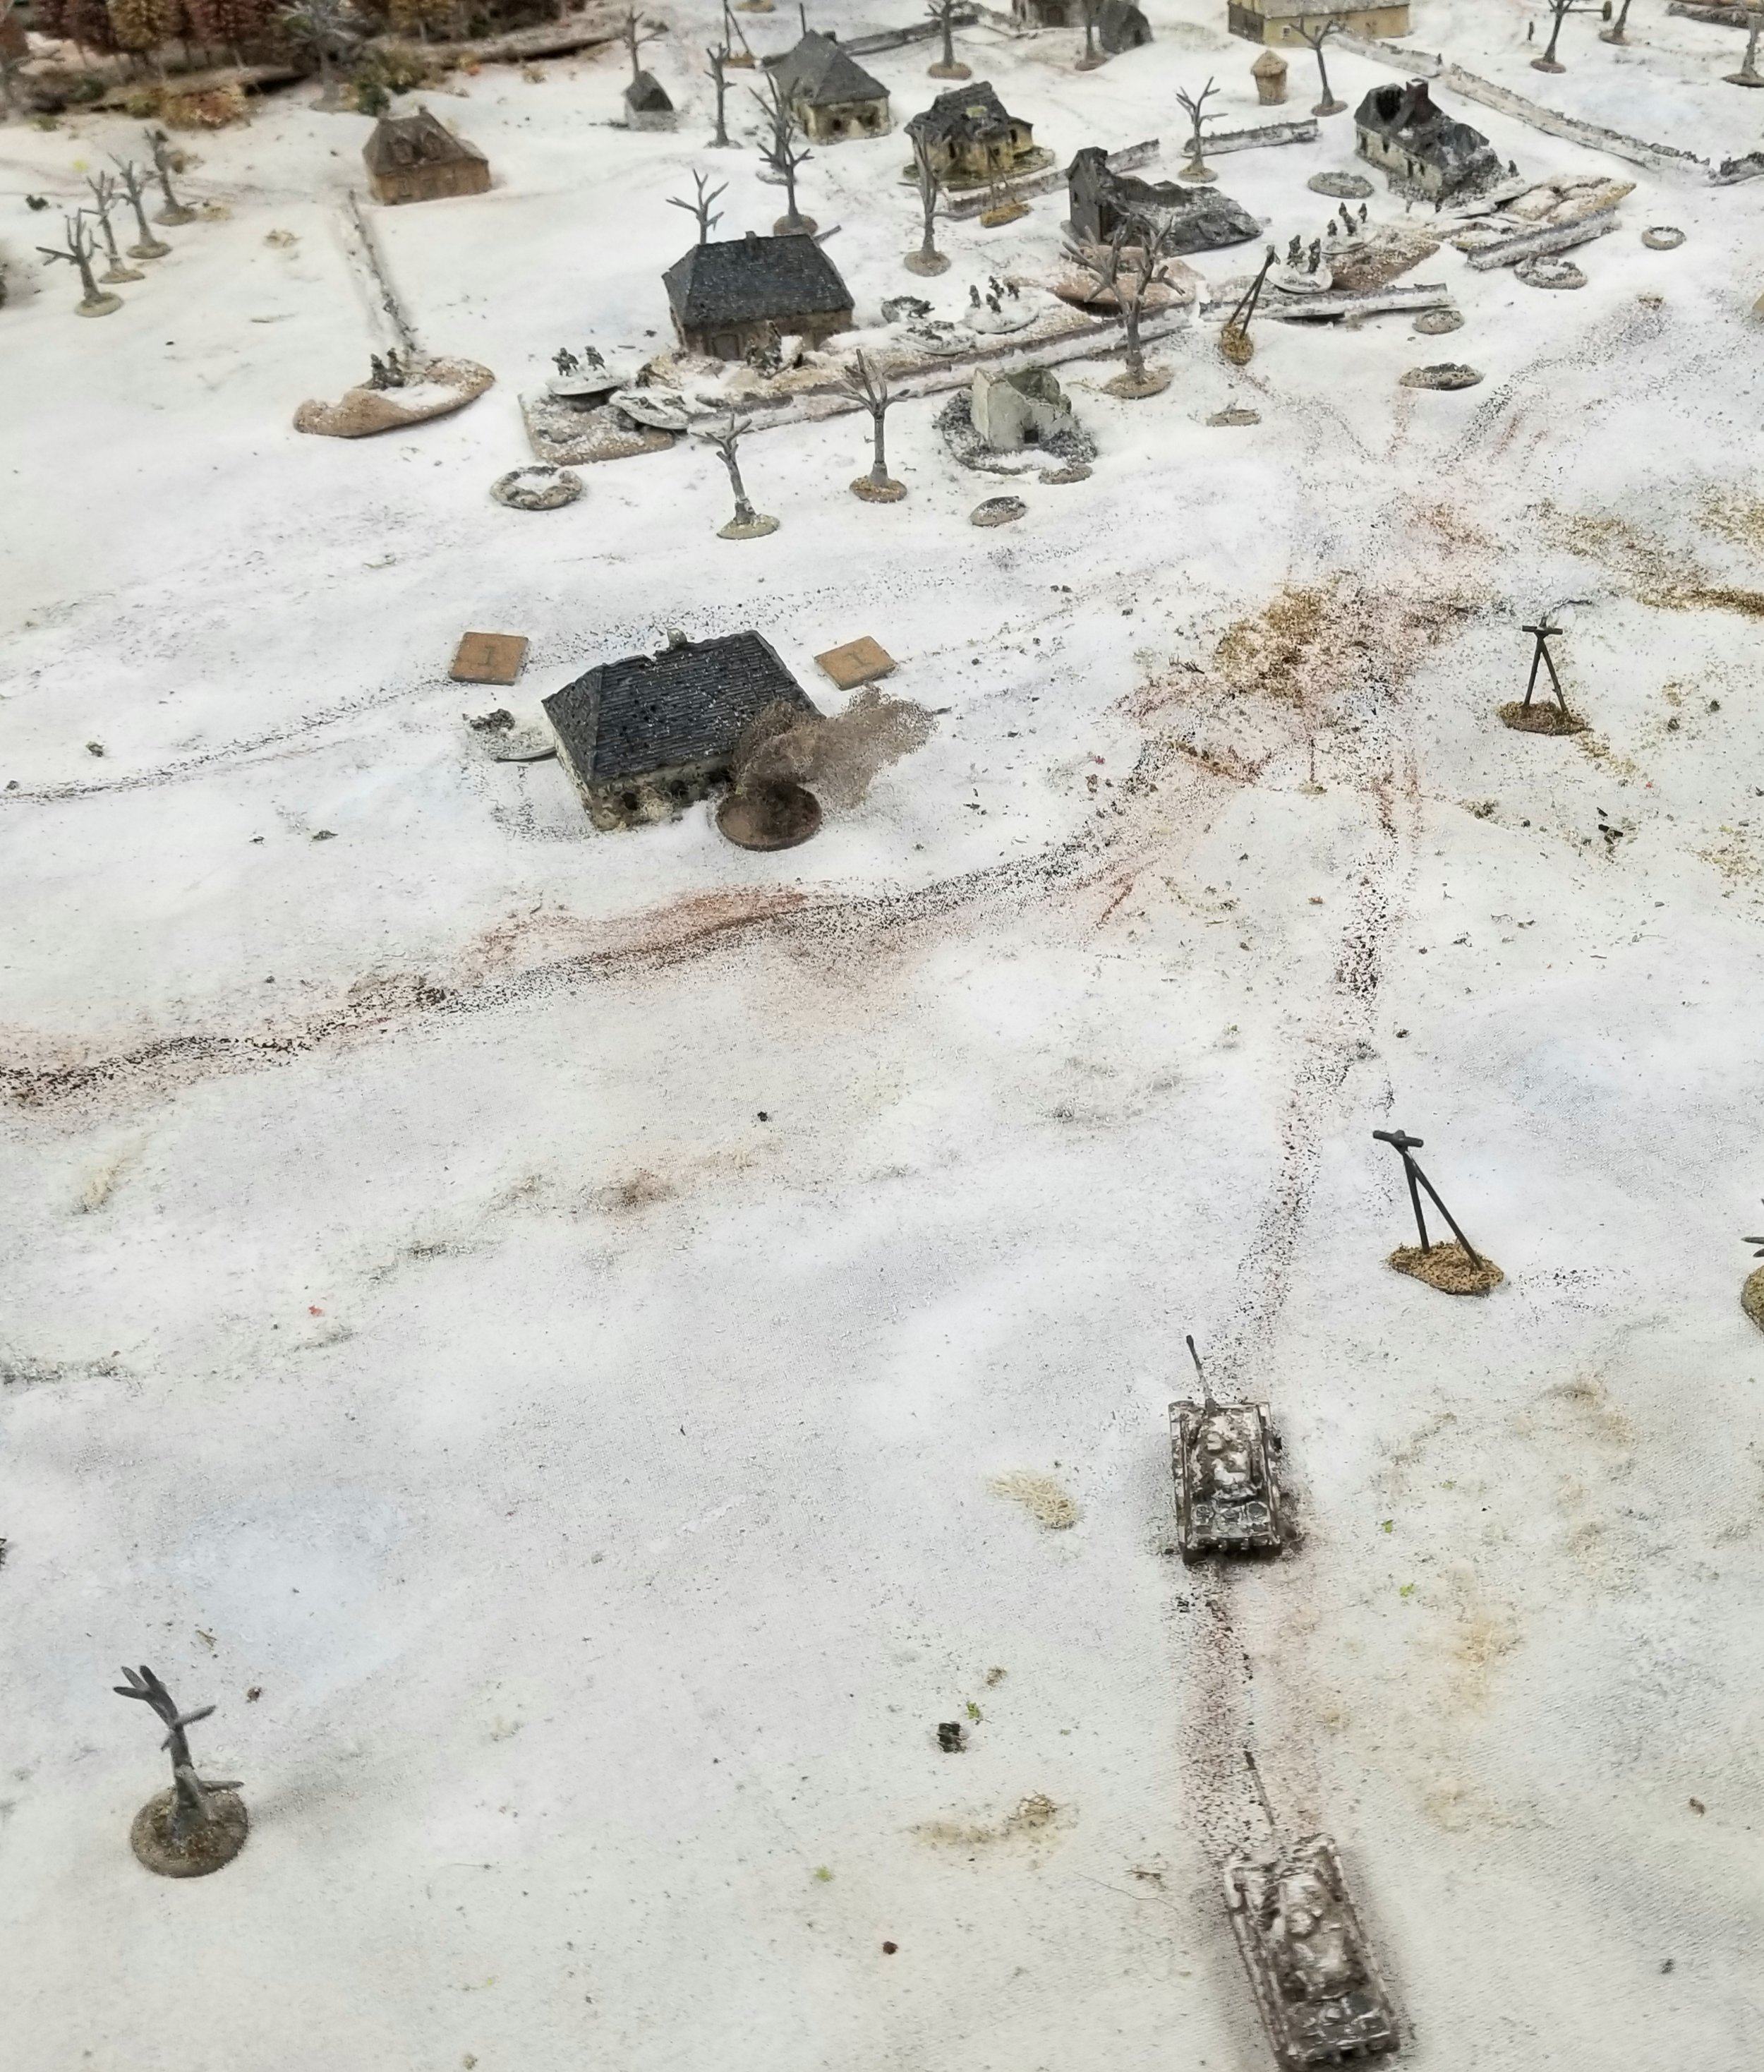
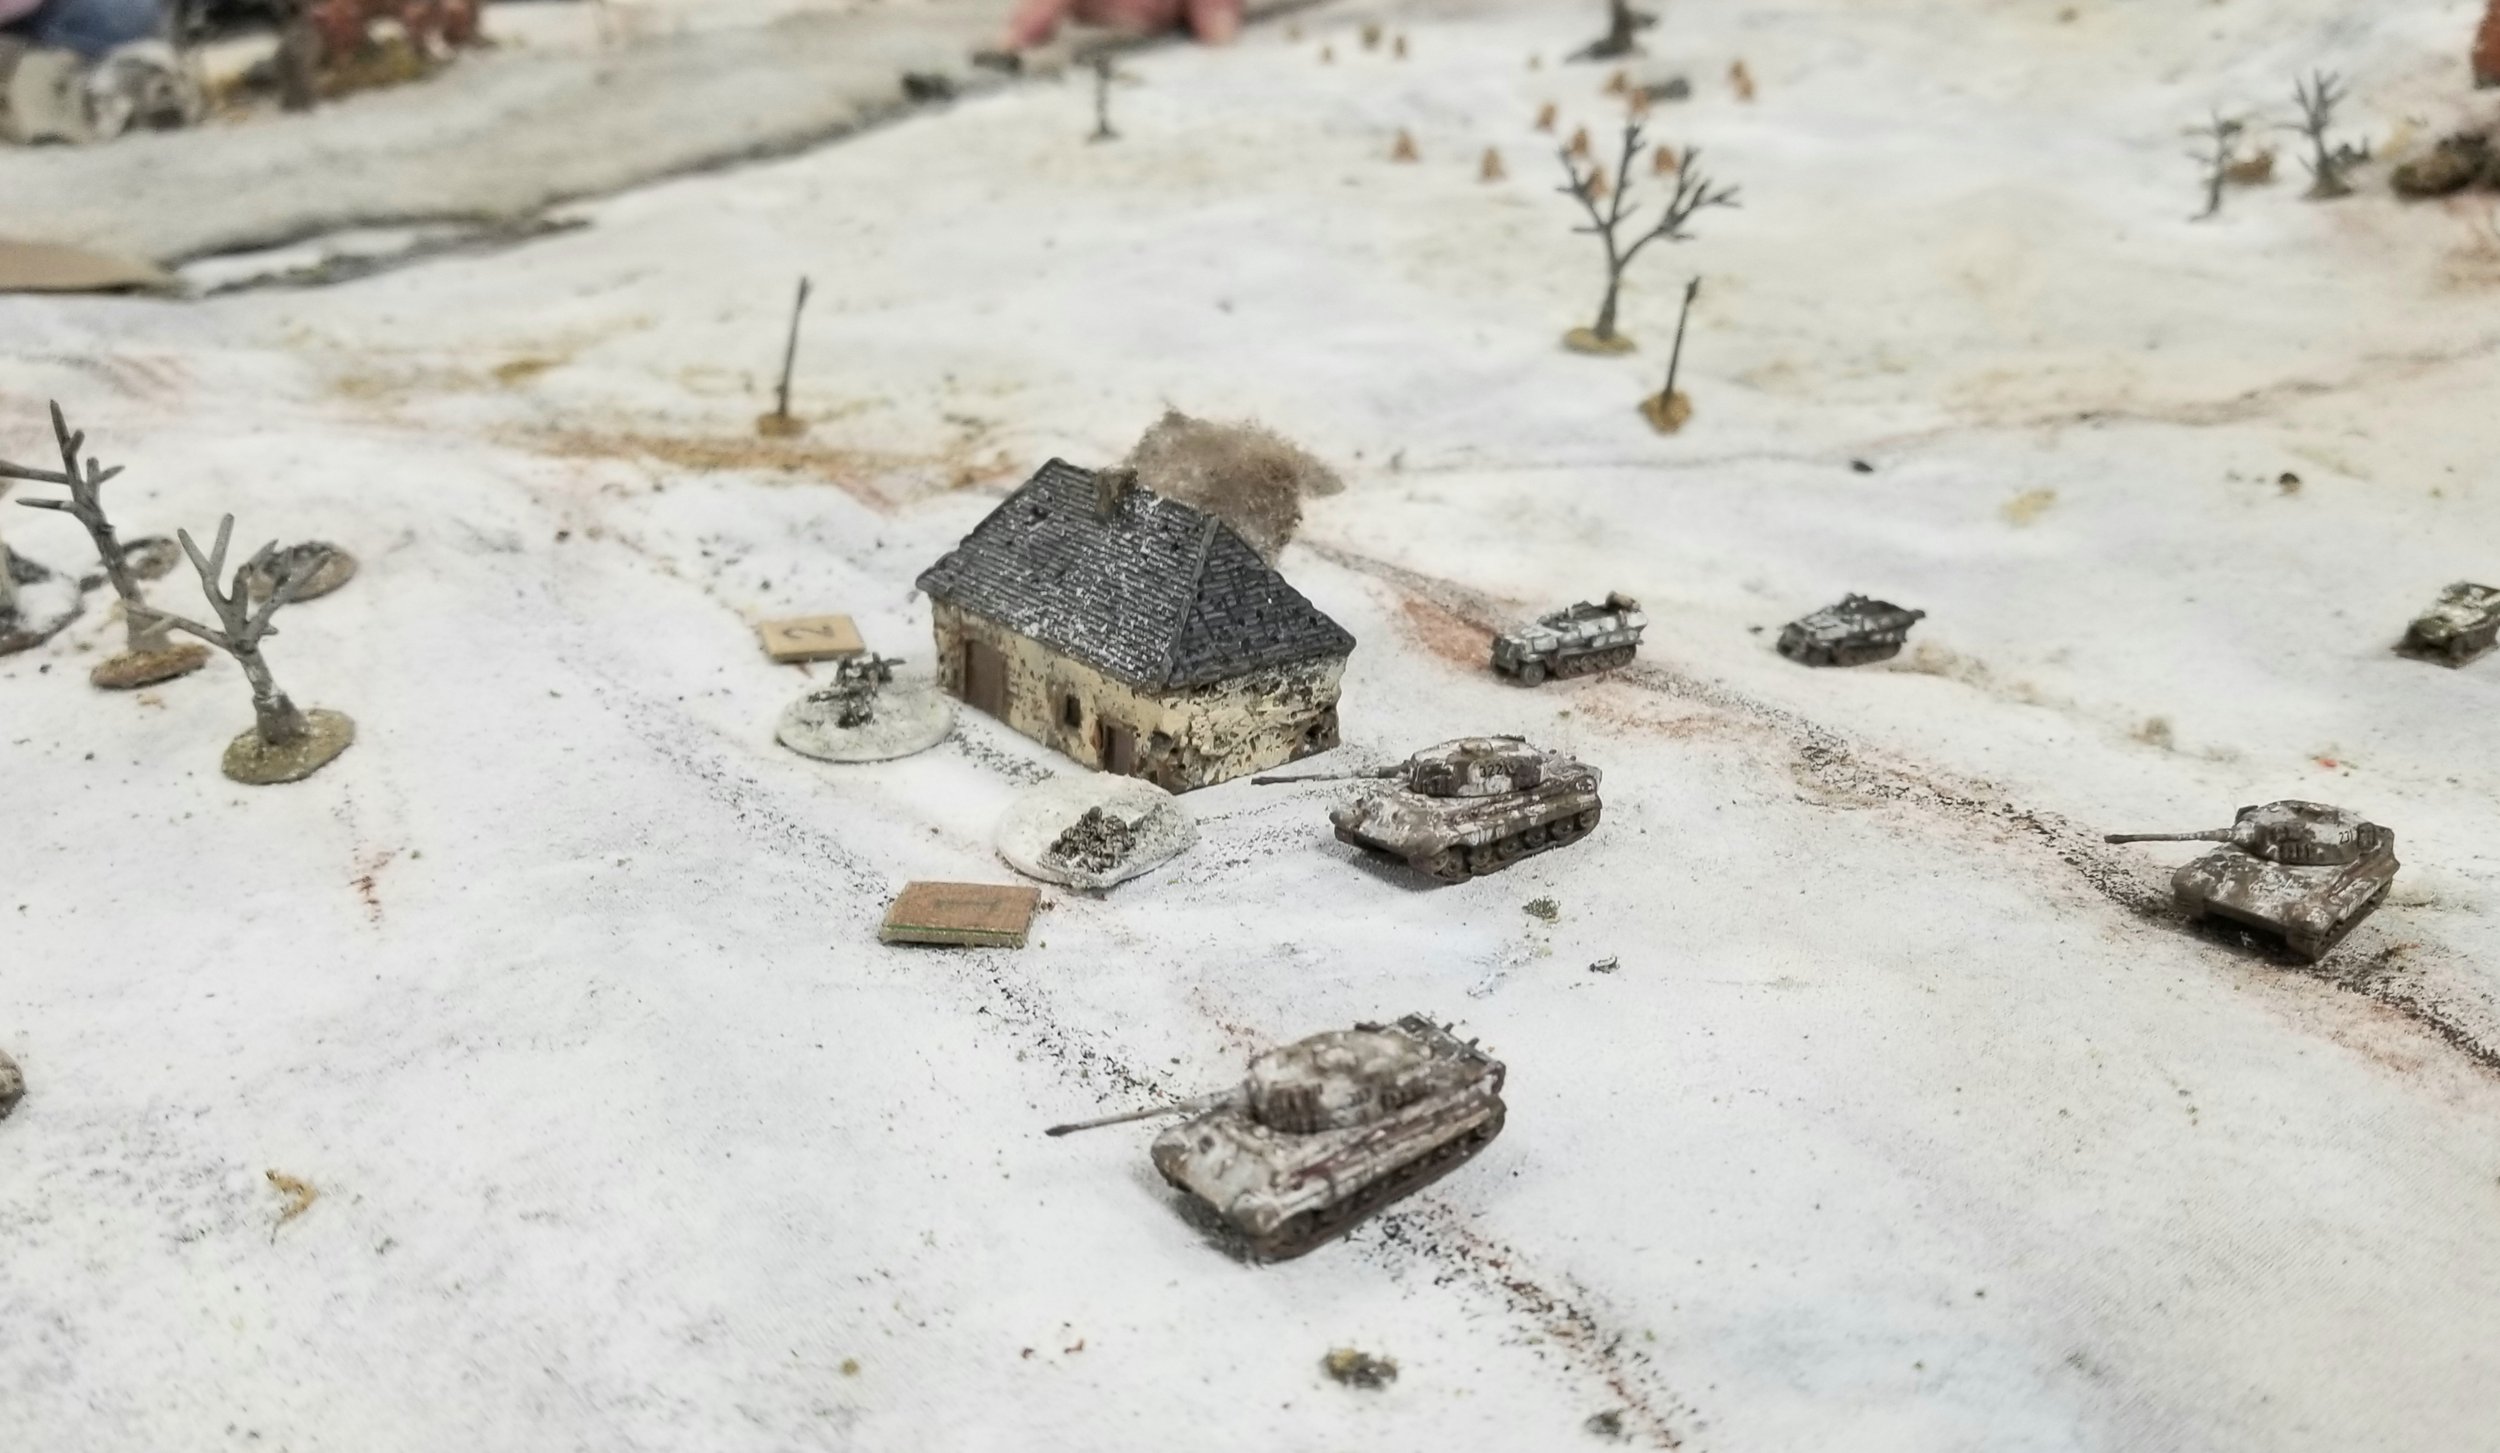
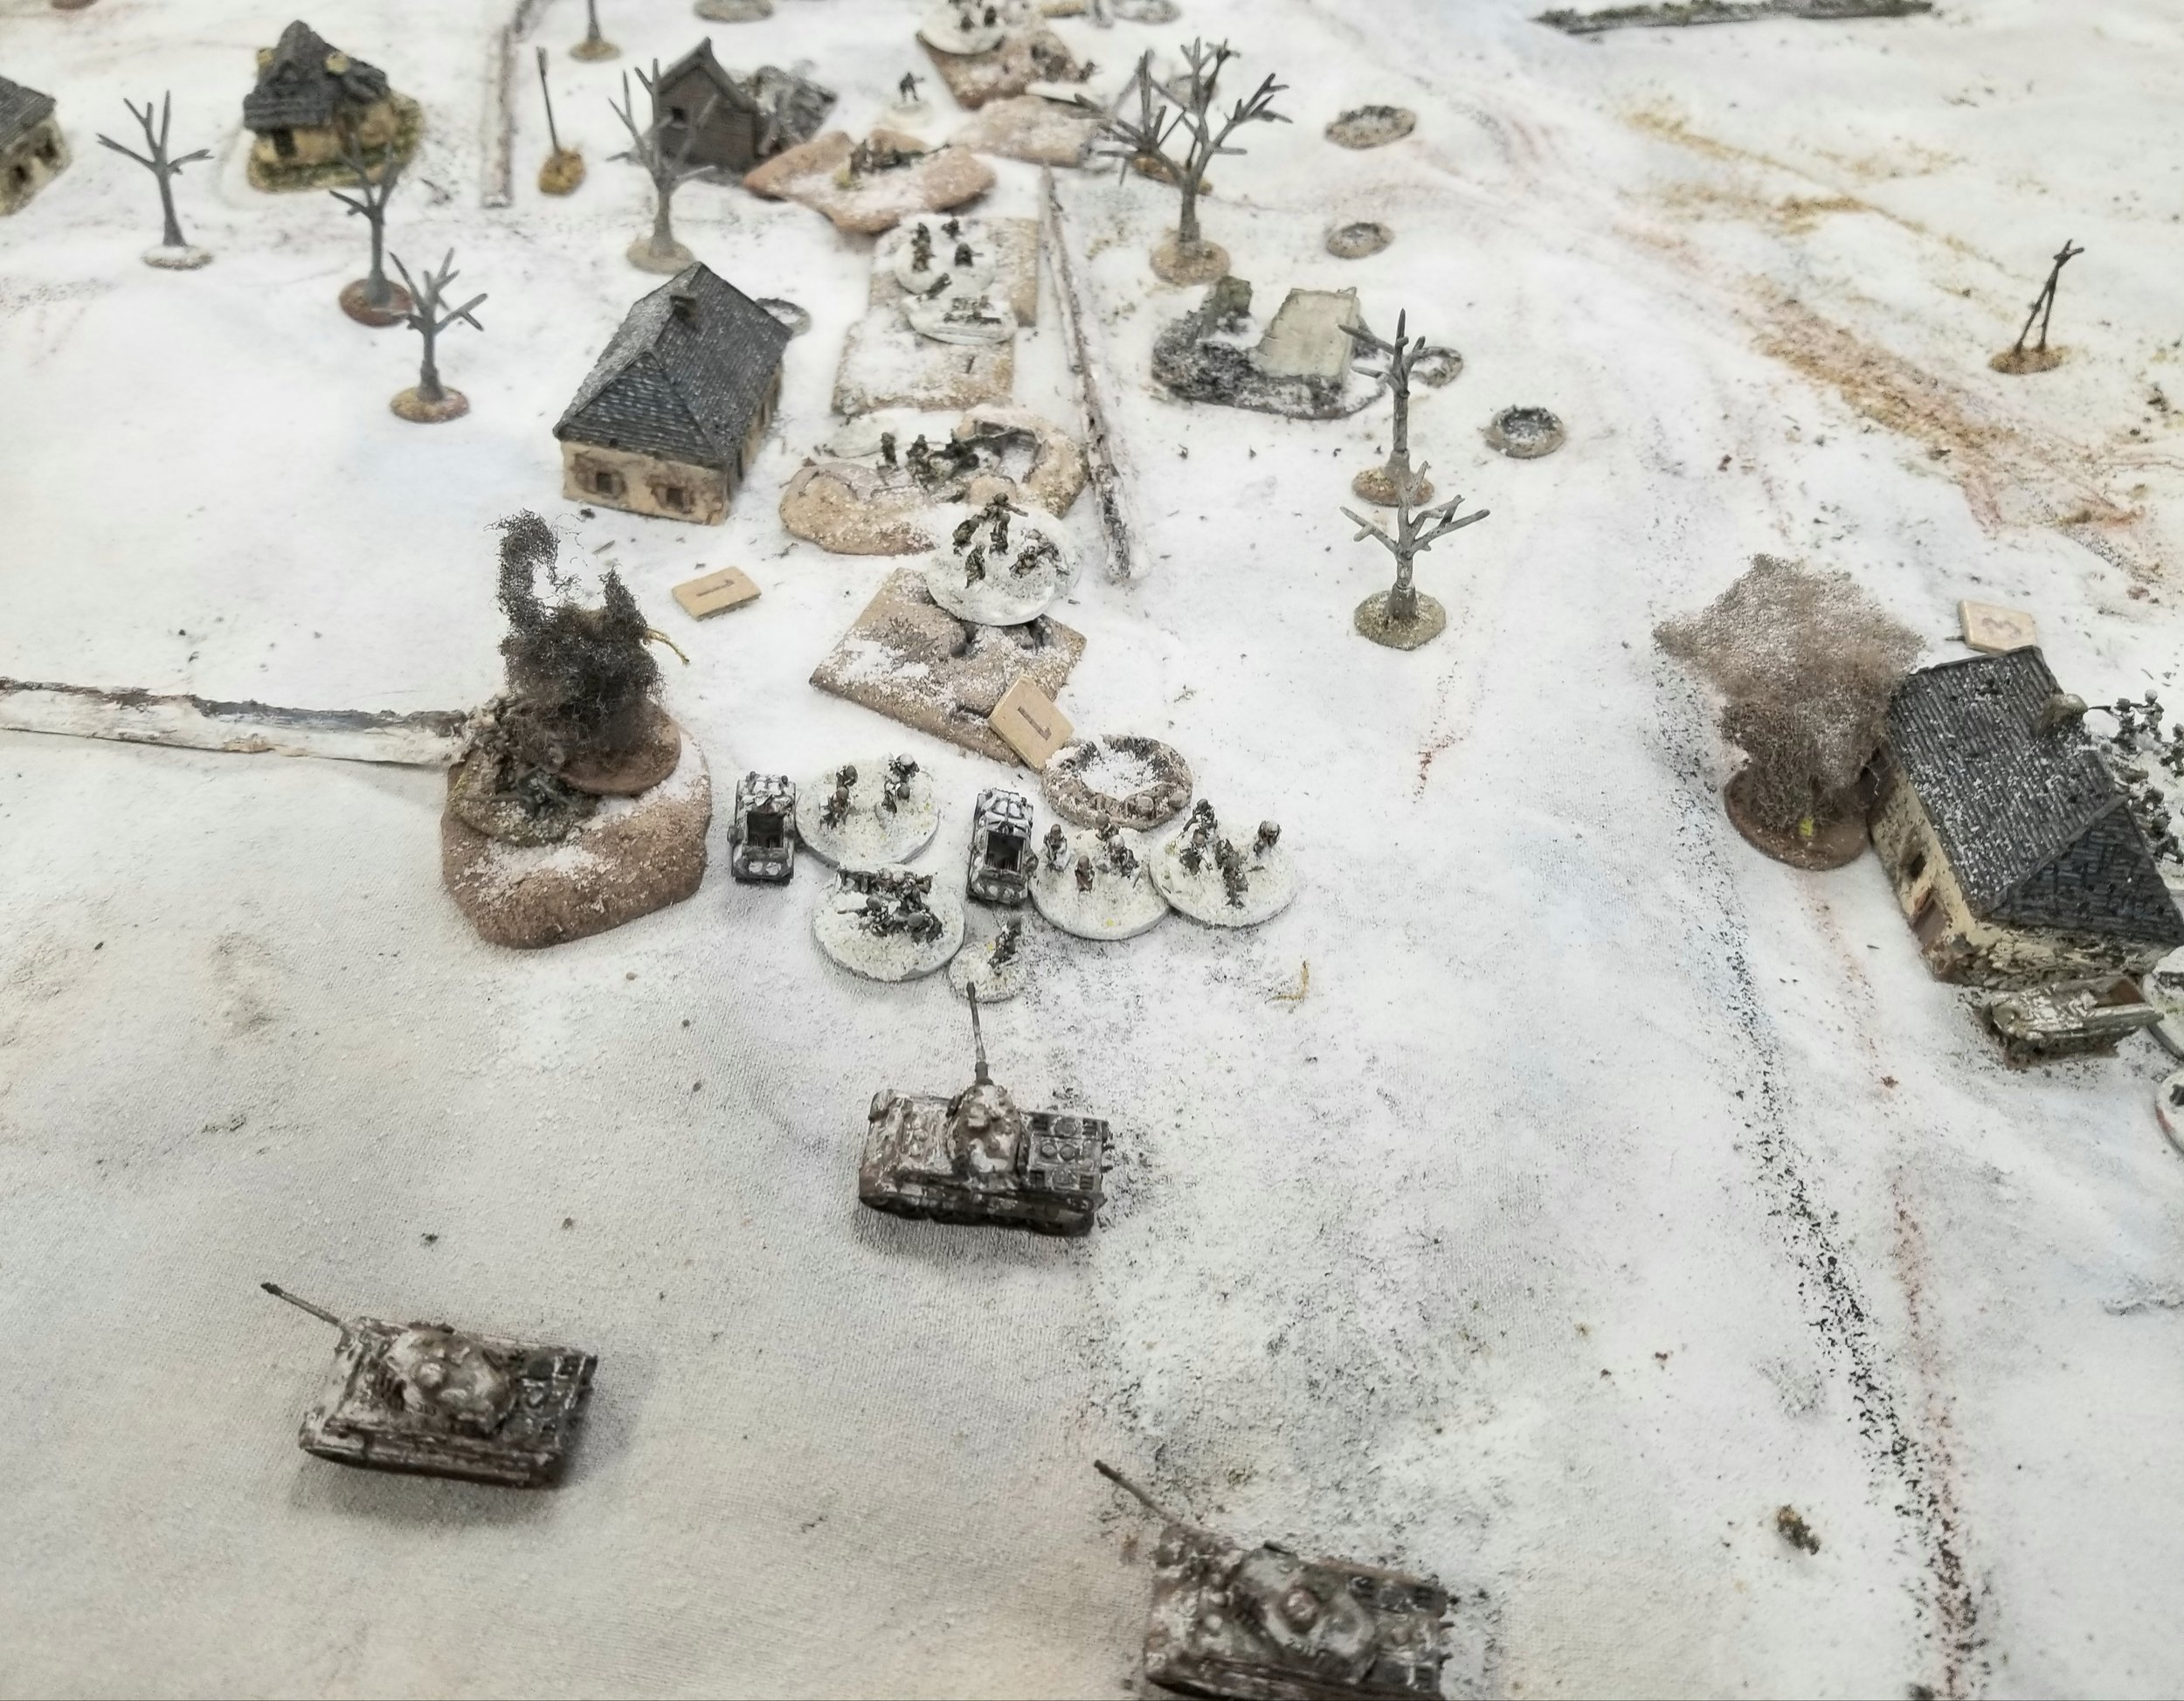
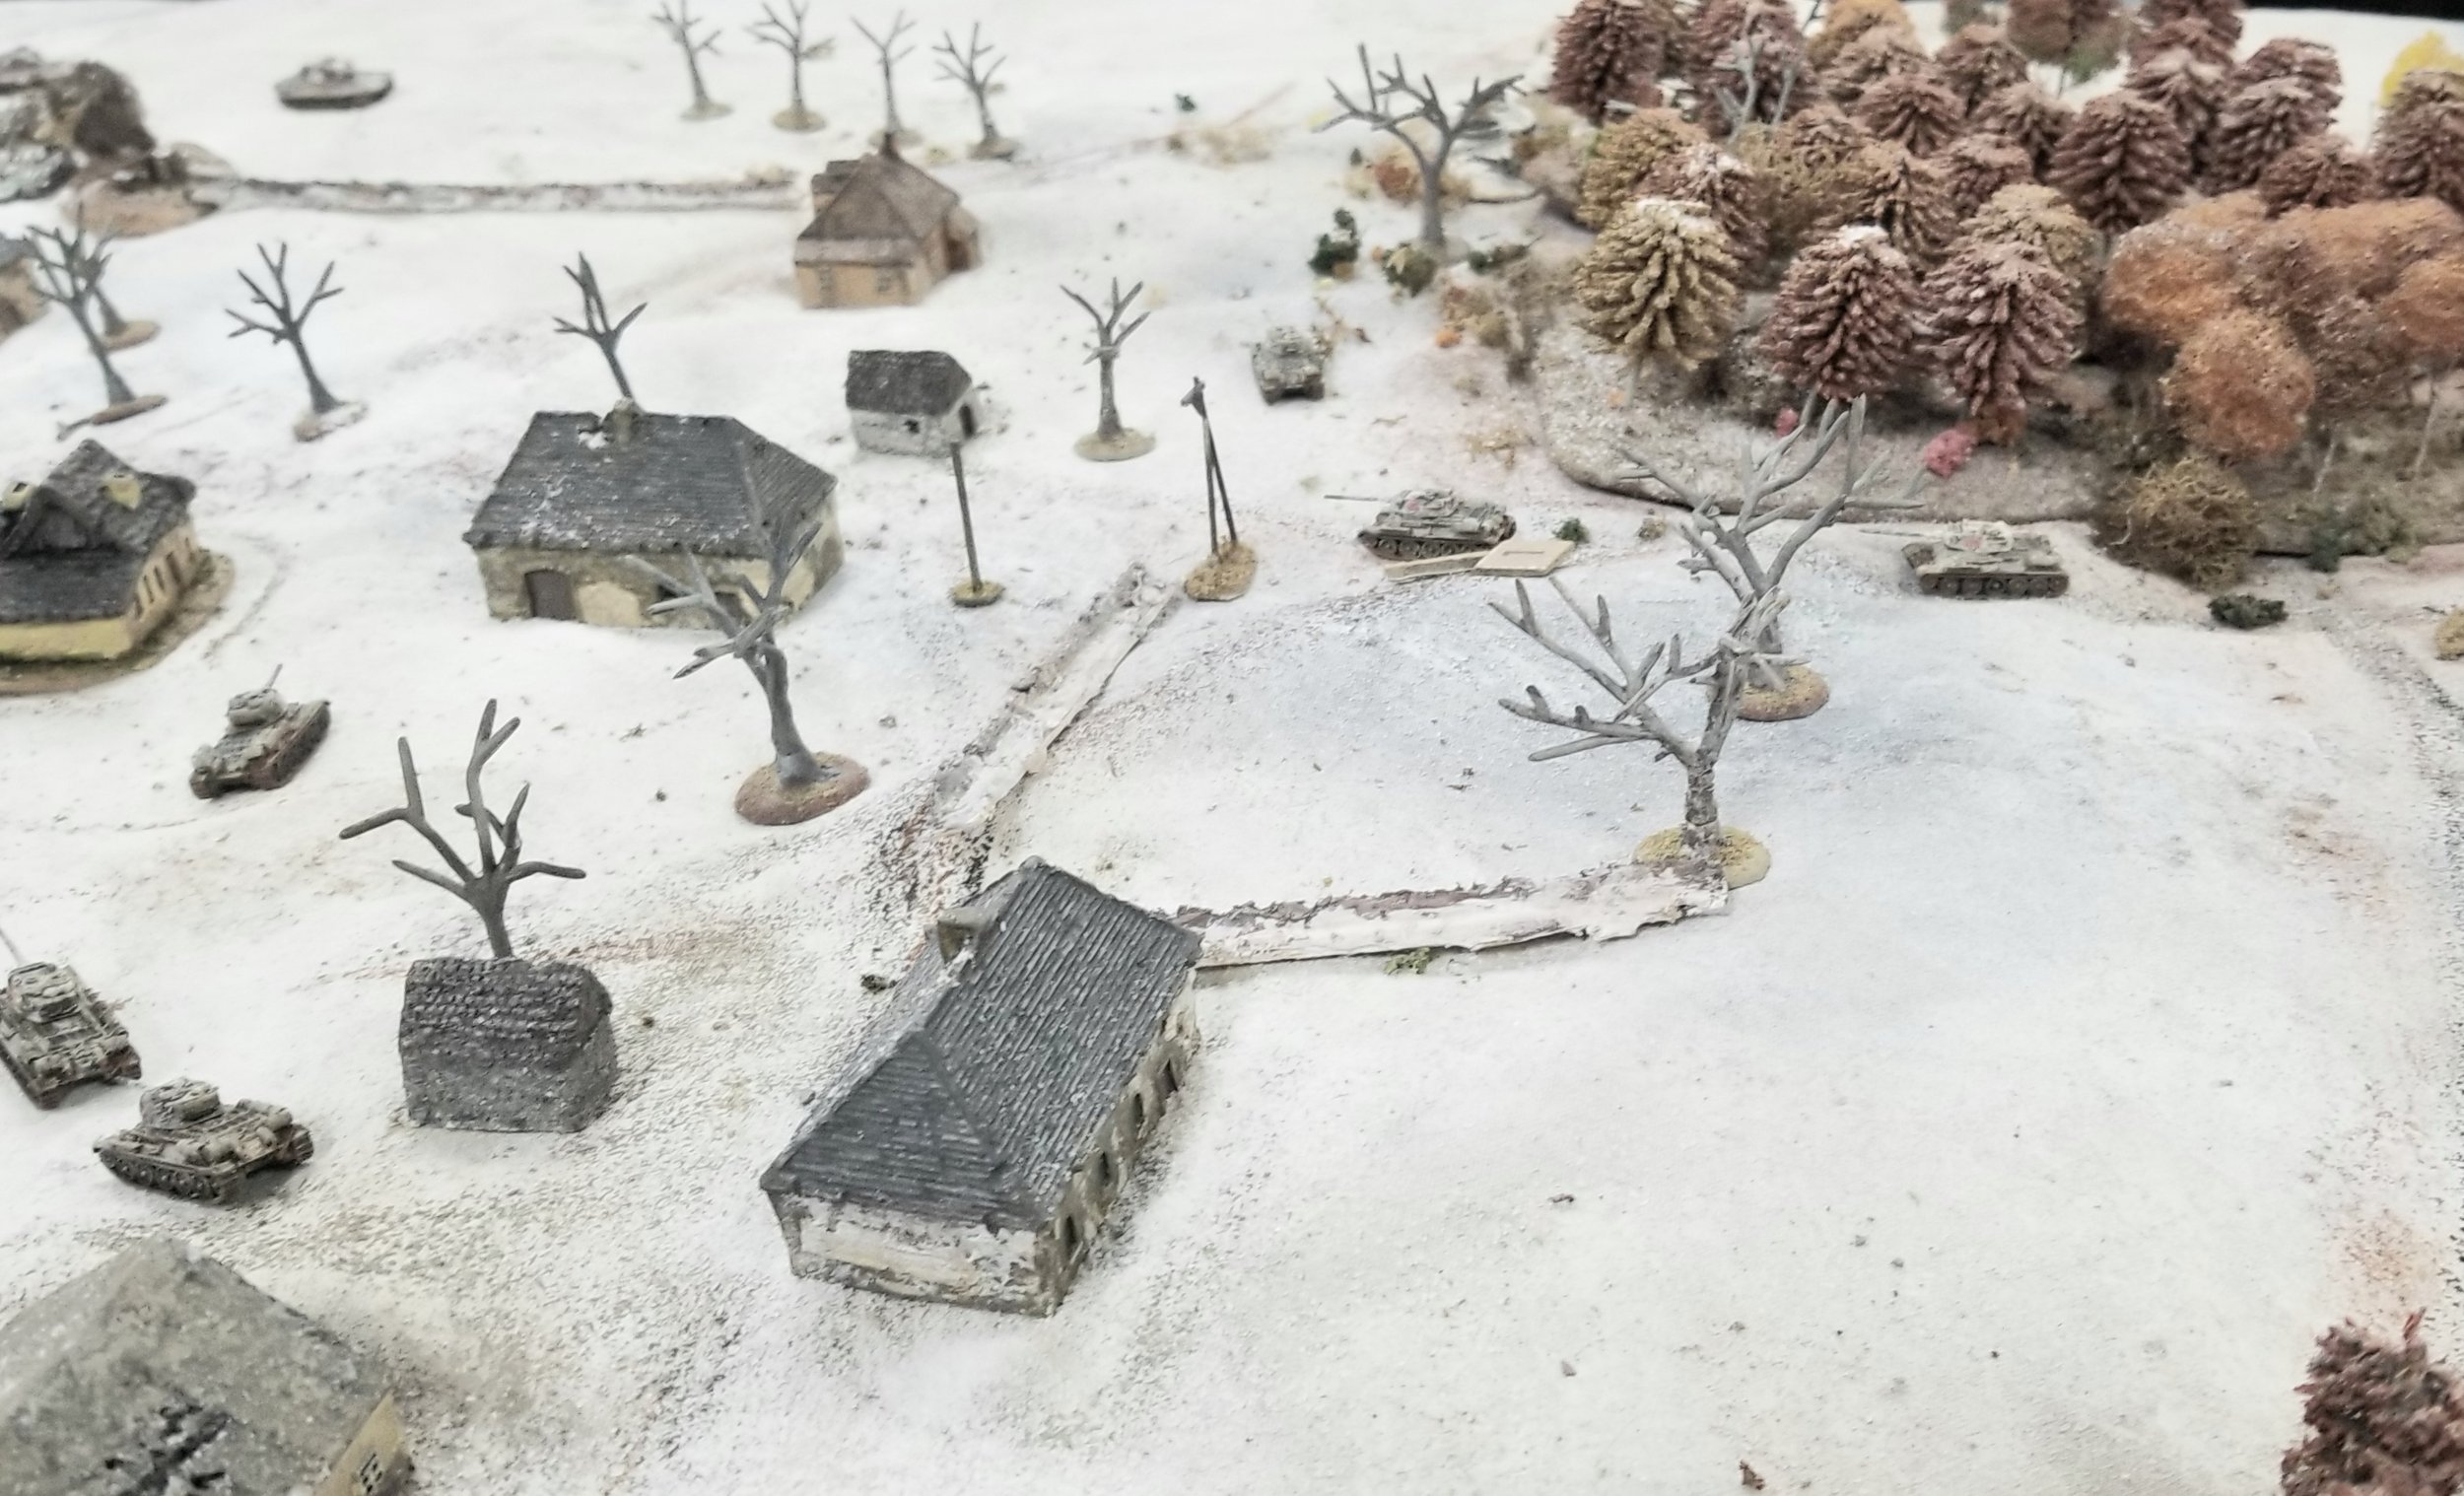
It has been quite a while since I did a winter game and the temp outside in GA felt like 100 degrees, so time for a cold looking table.
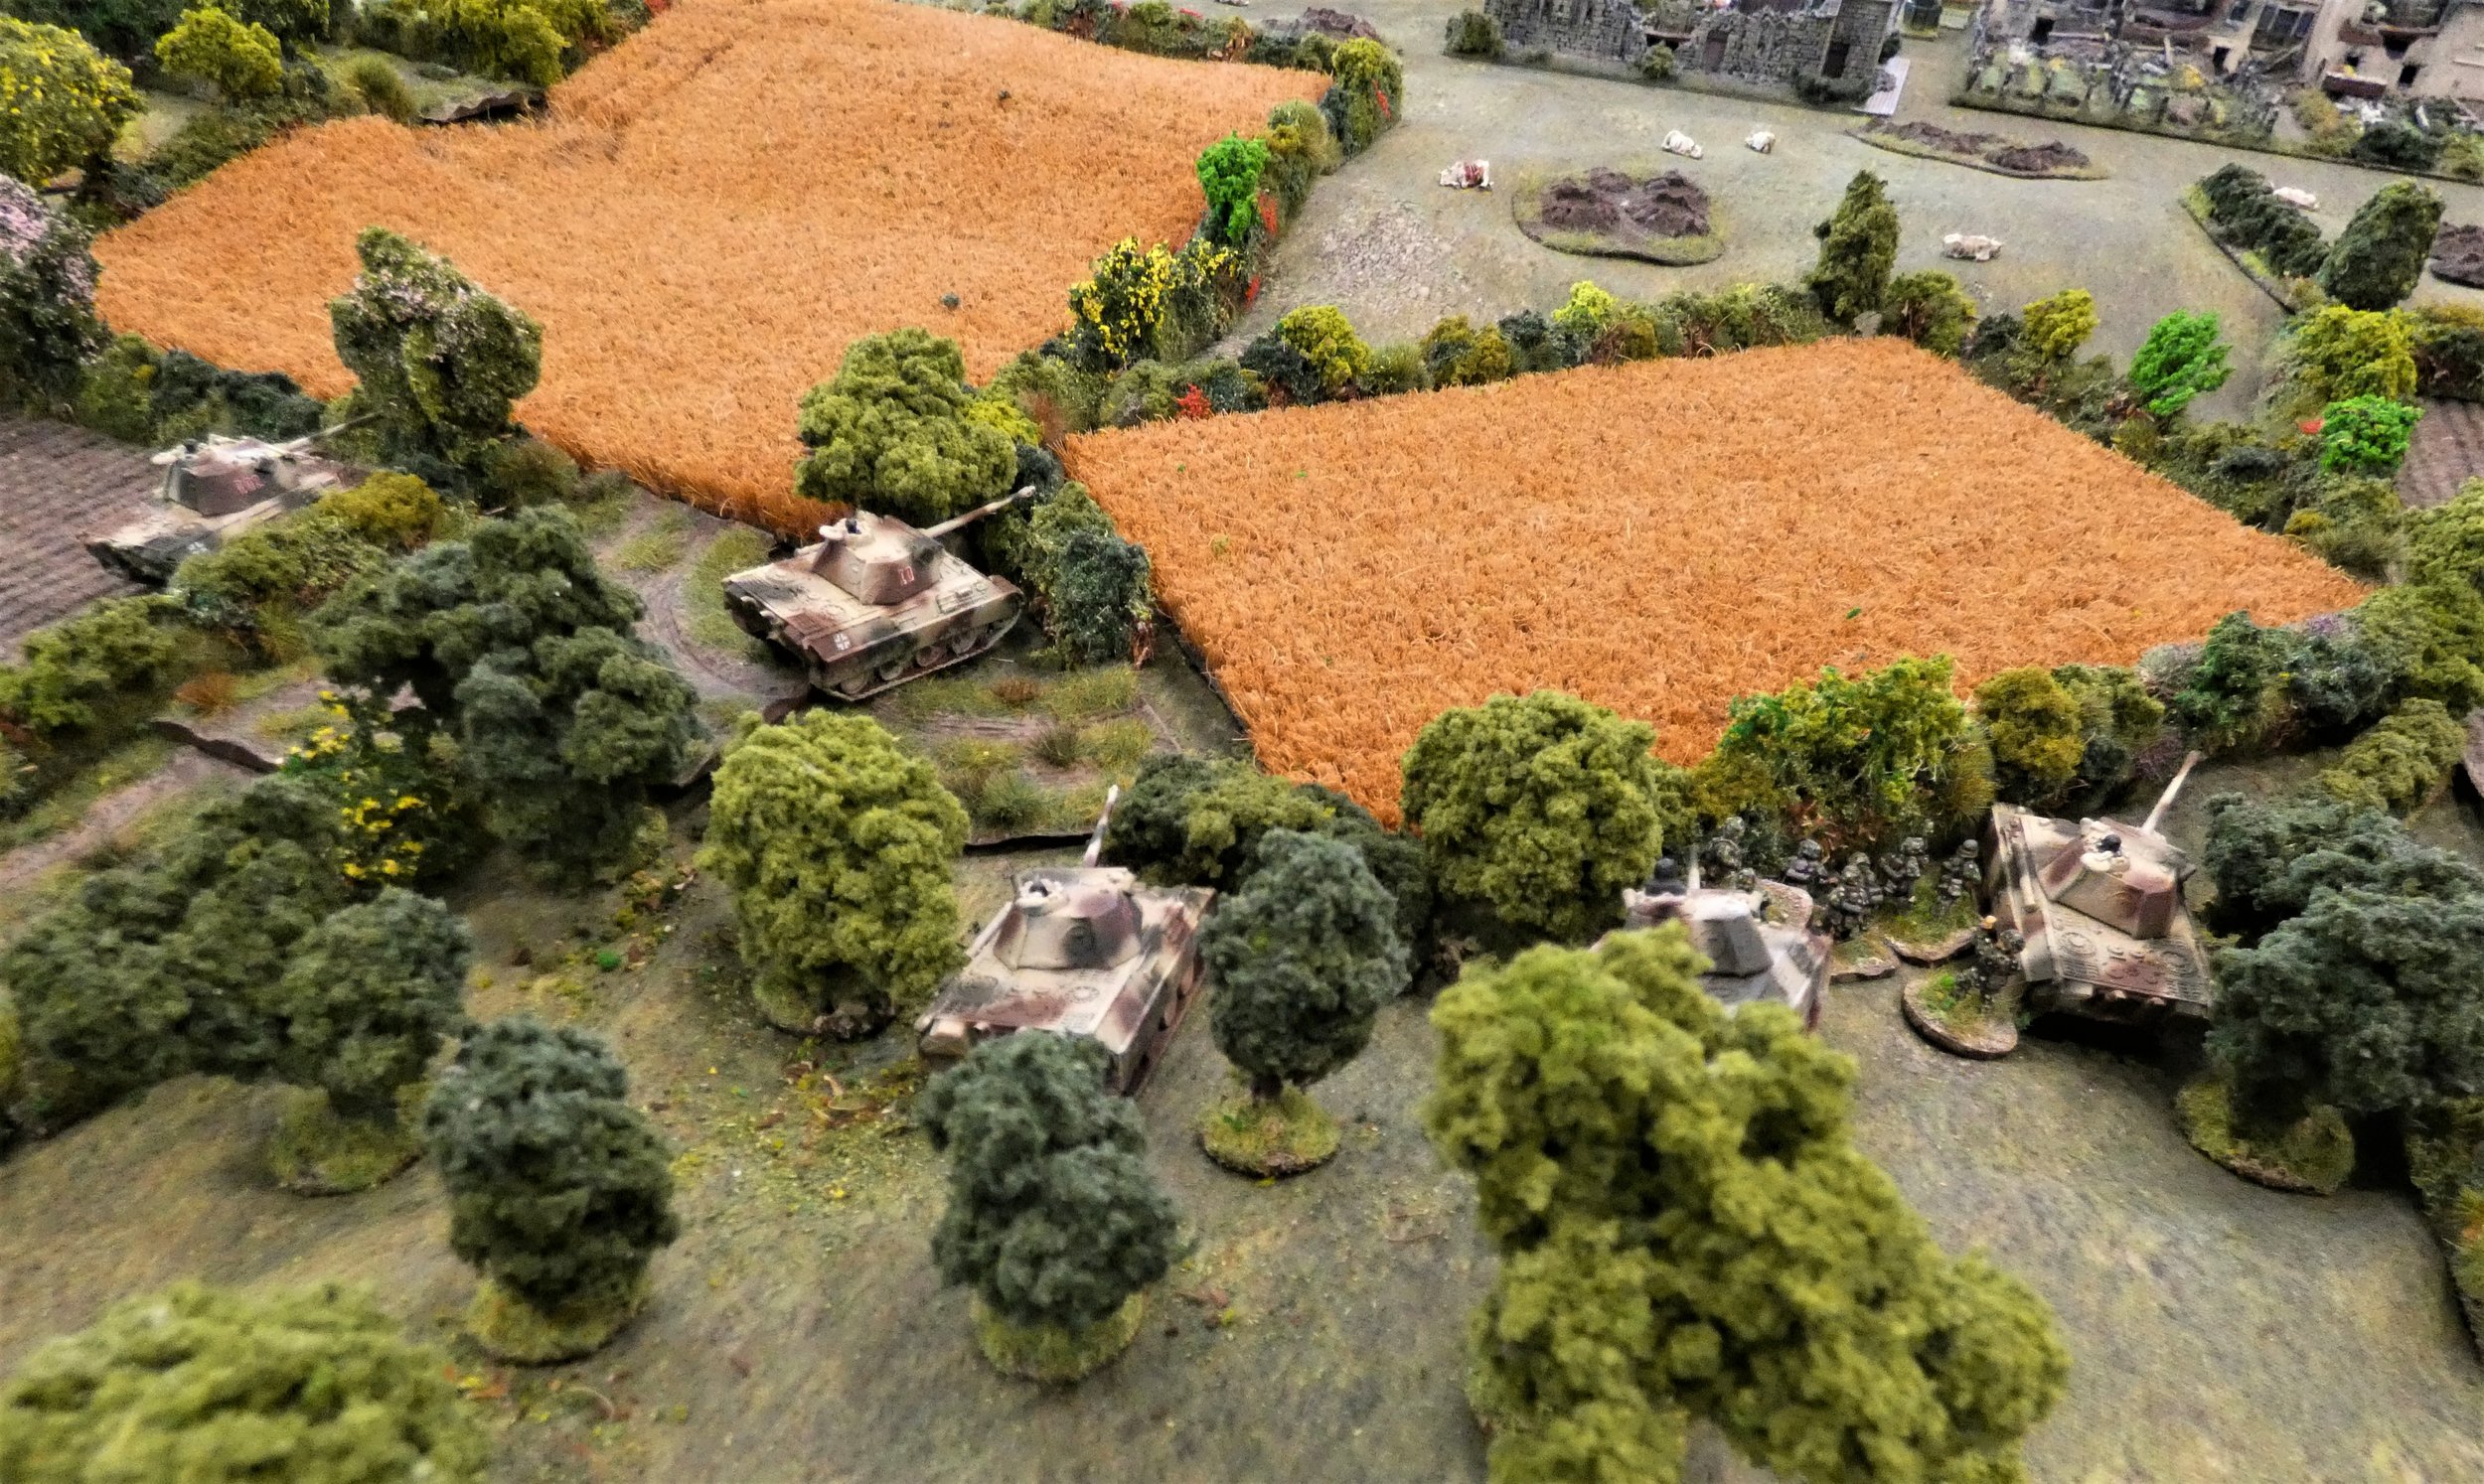
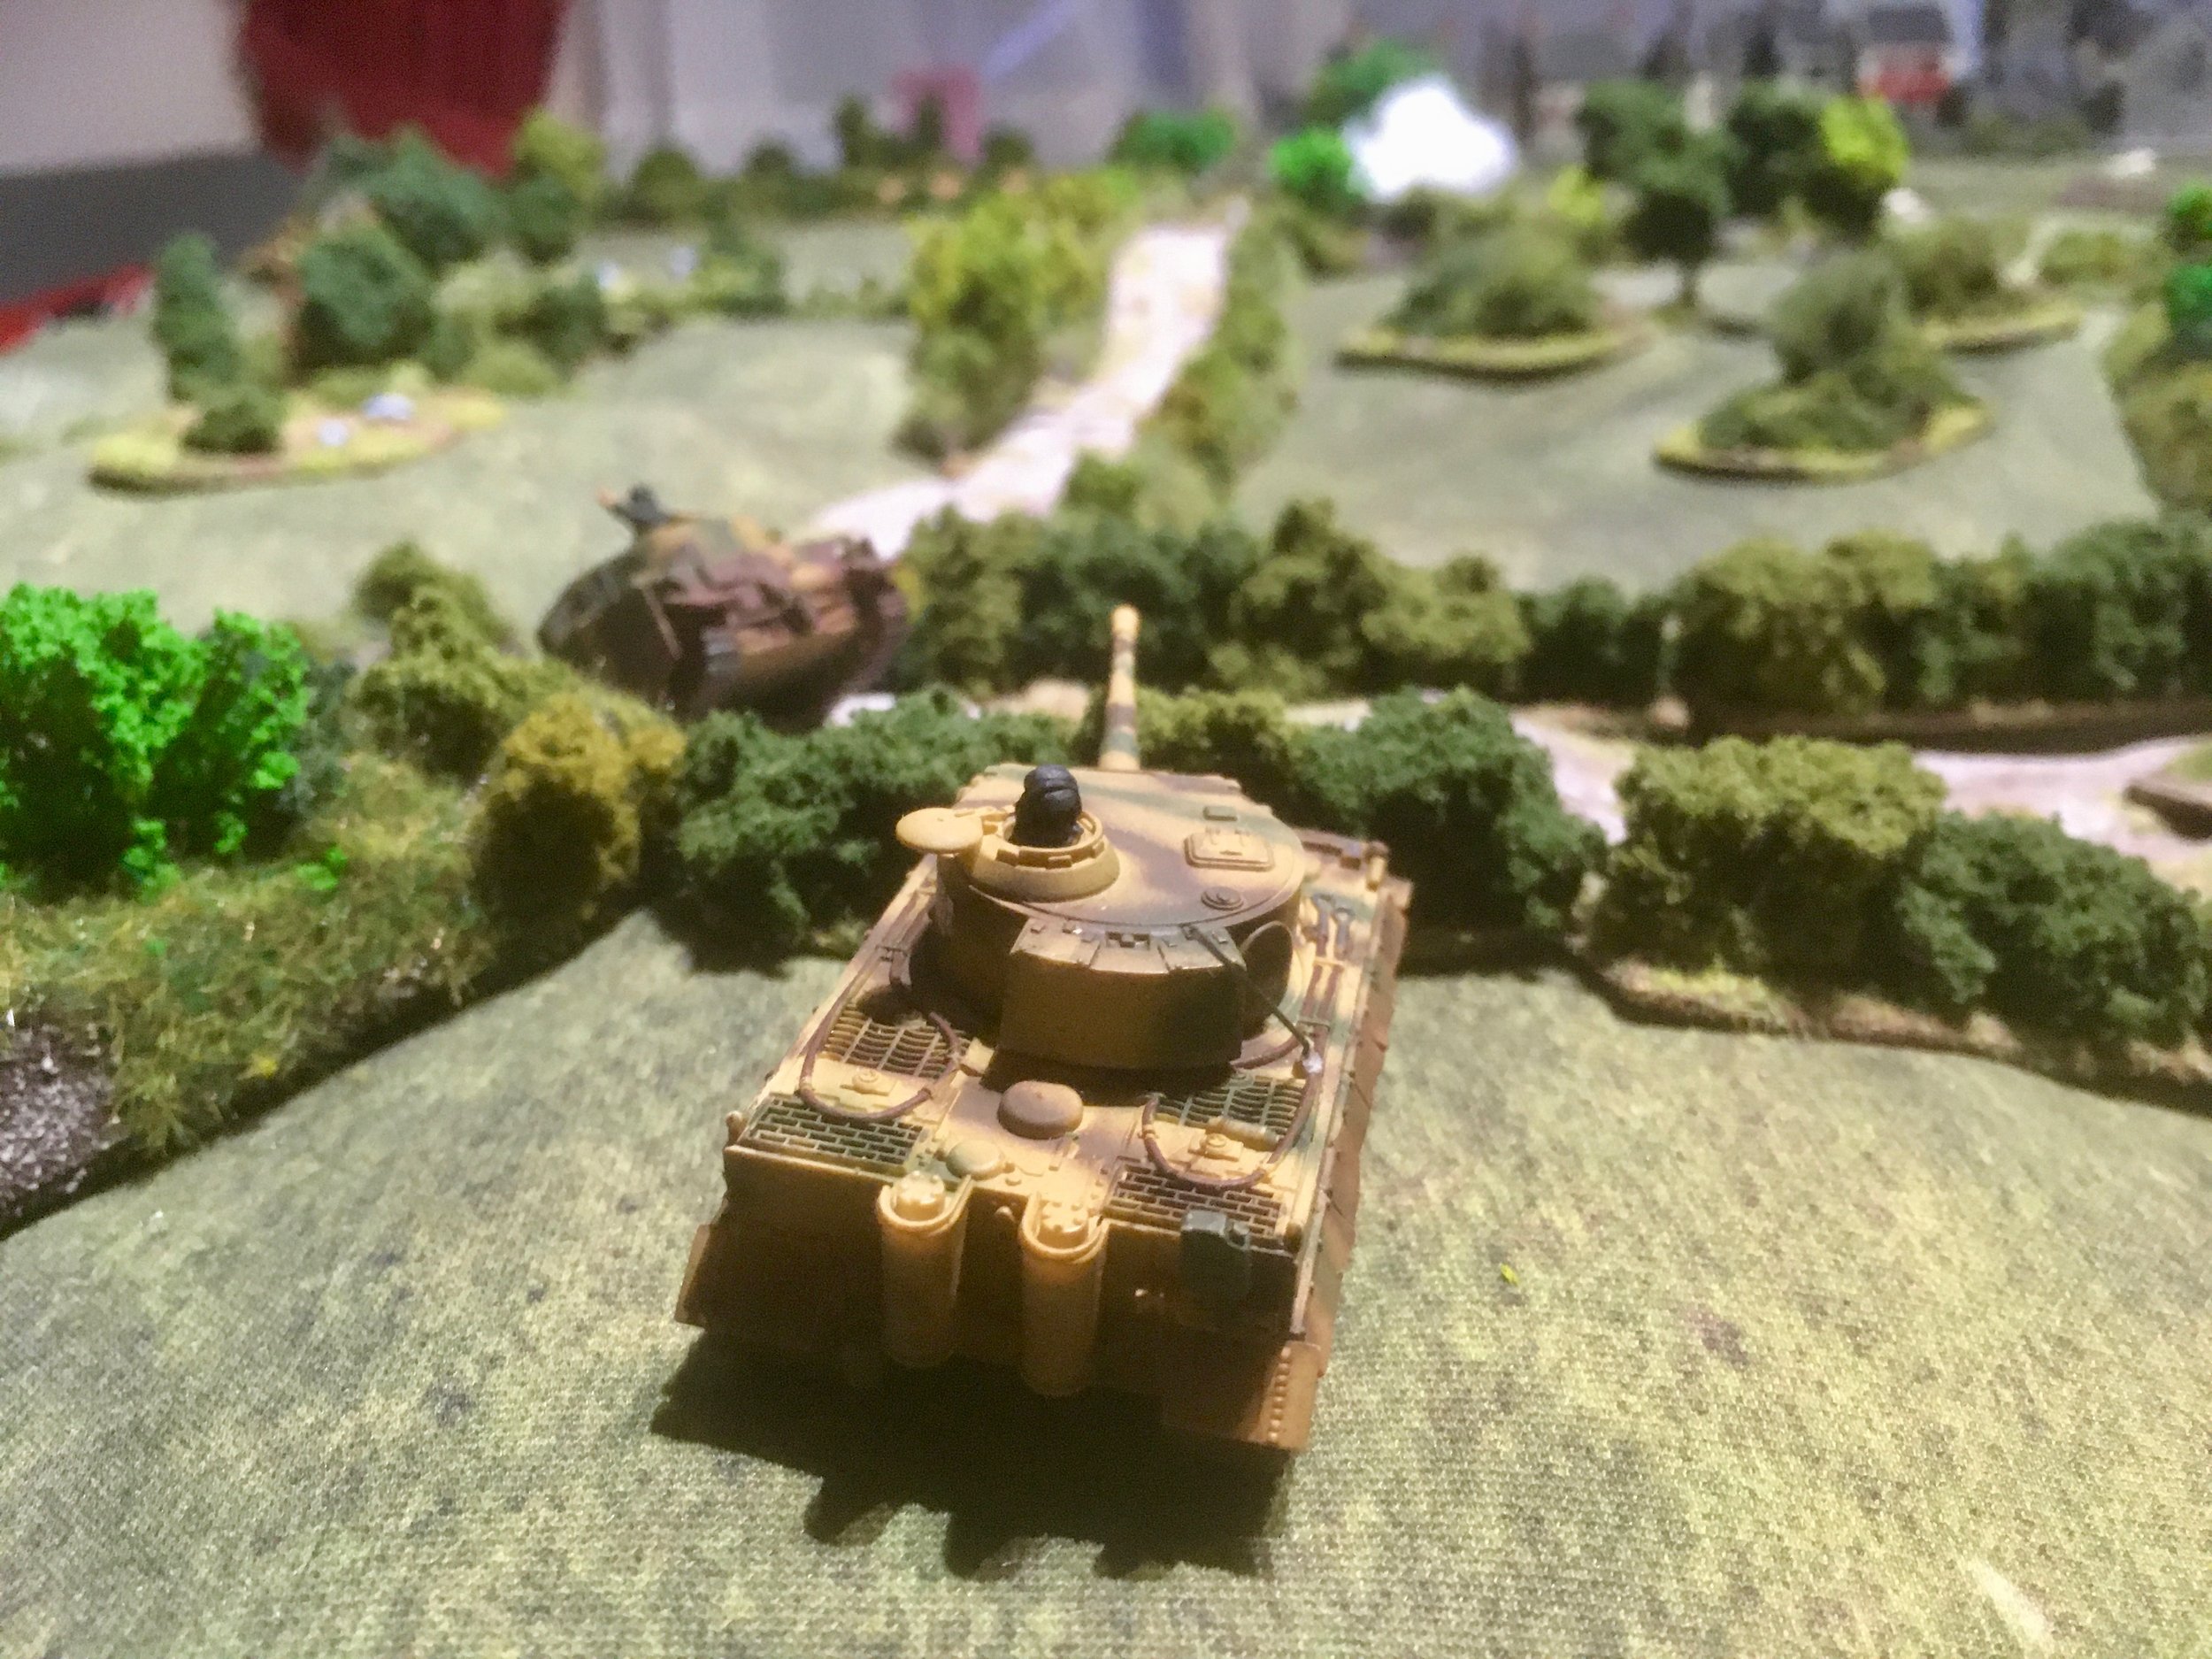
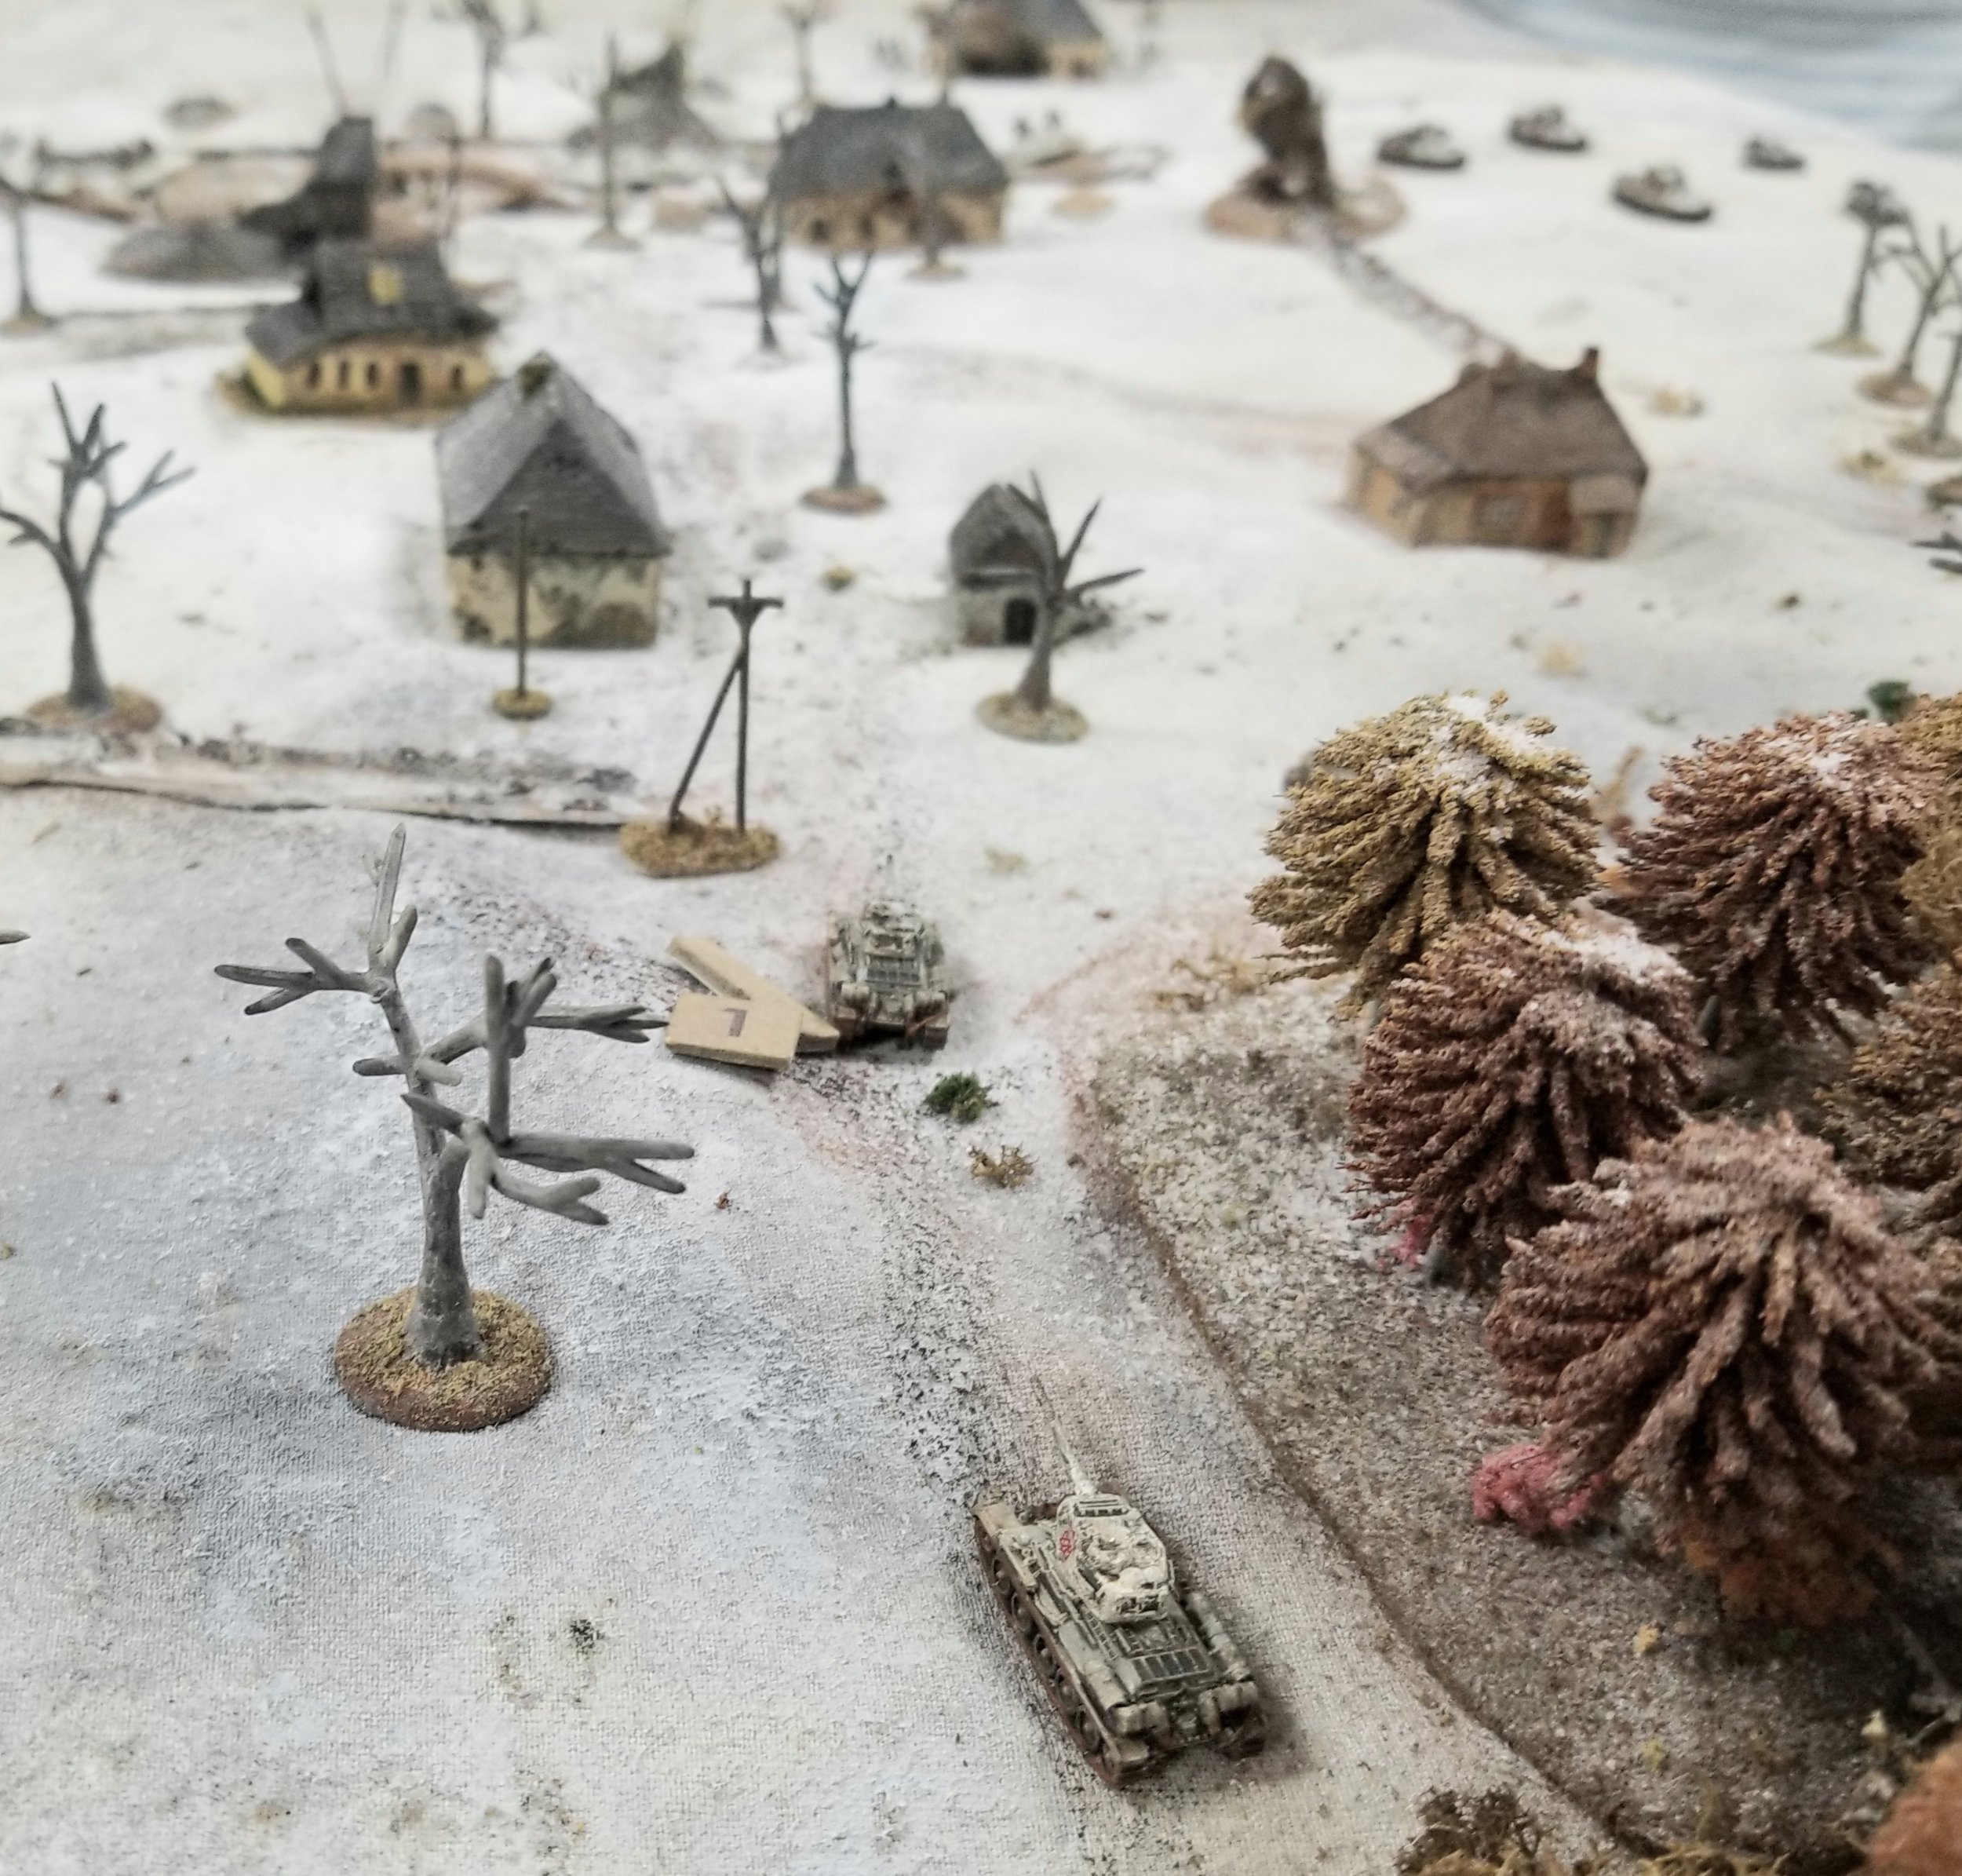
This was just a quickie scenario setup that wasn't based on a specific historical battle, but was inspired by the German actions to relieve Budapest in early 1945. I also wanted to get my Tiger IIs on the board.
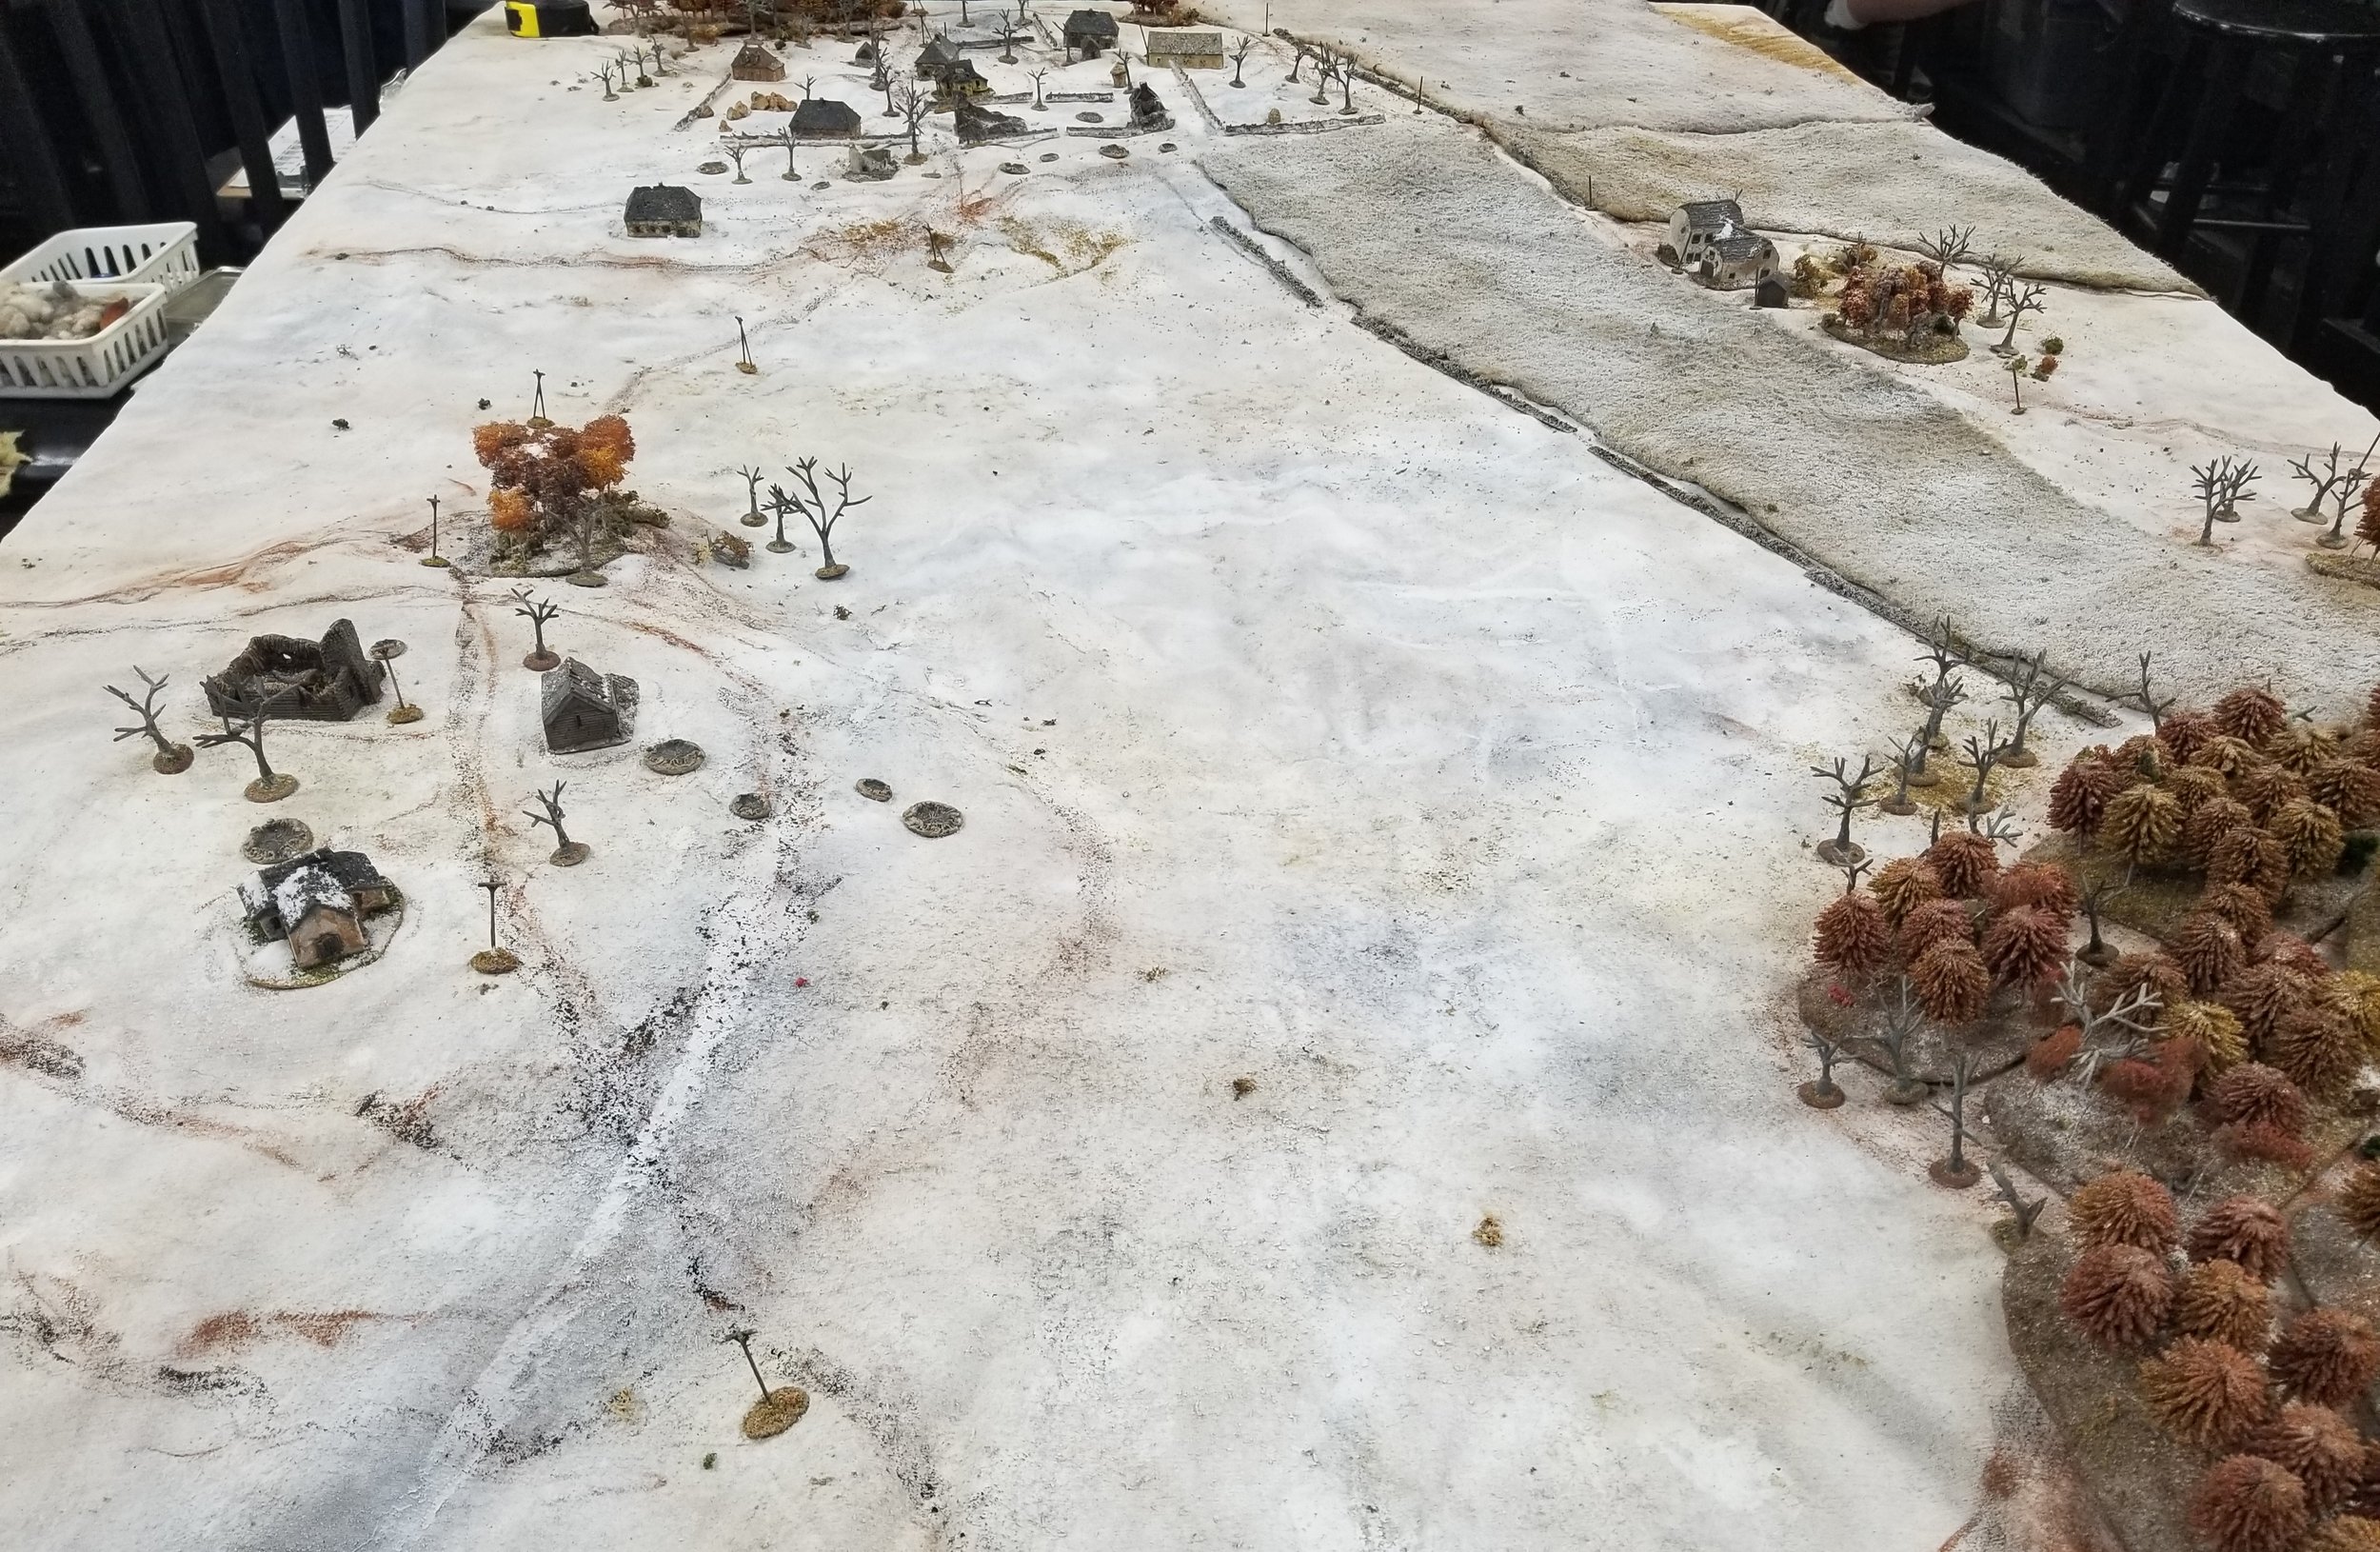
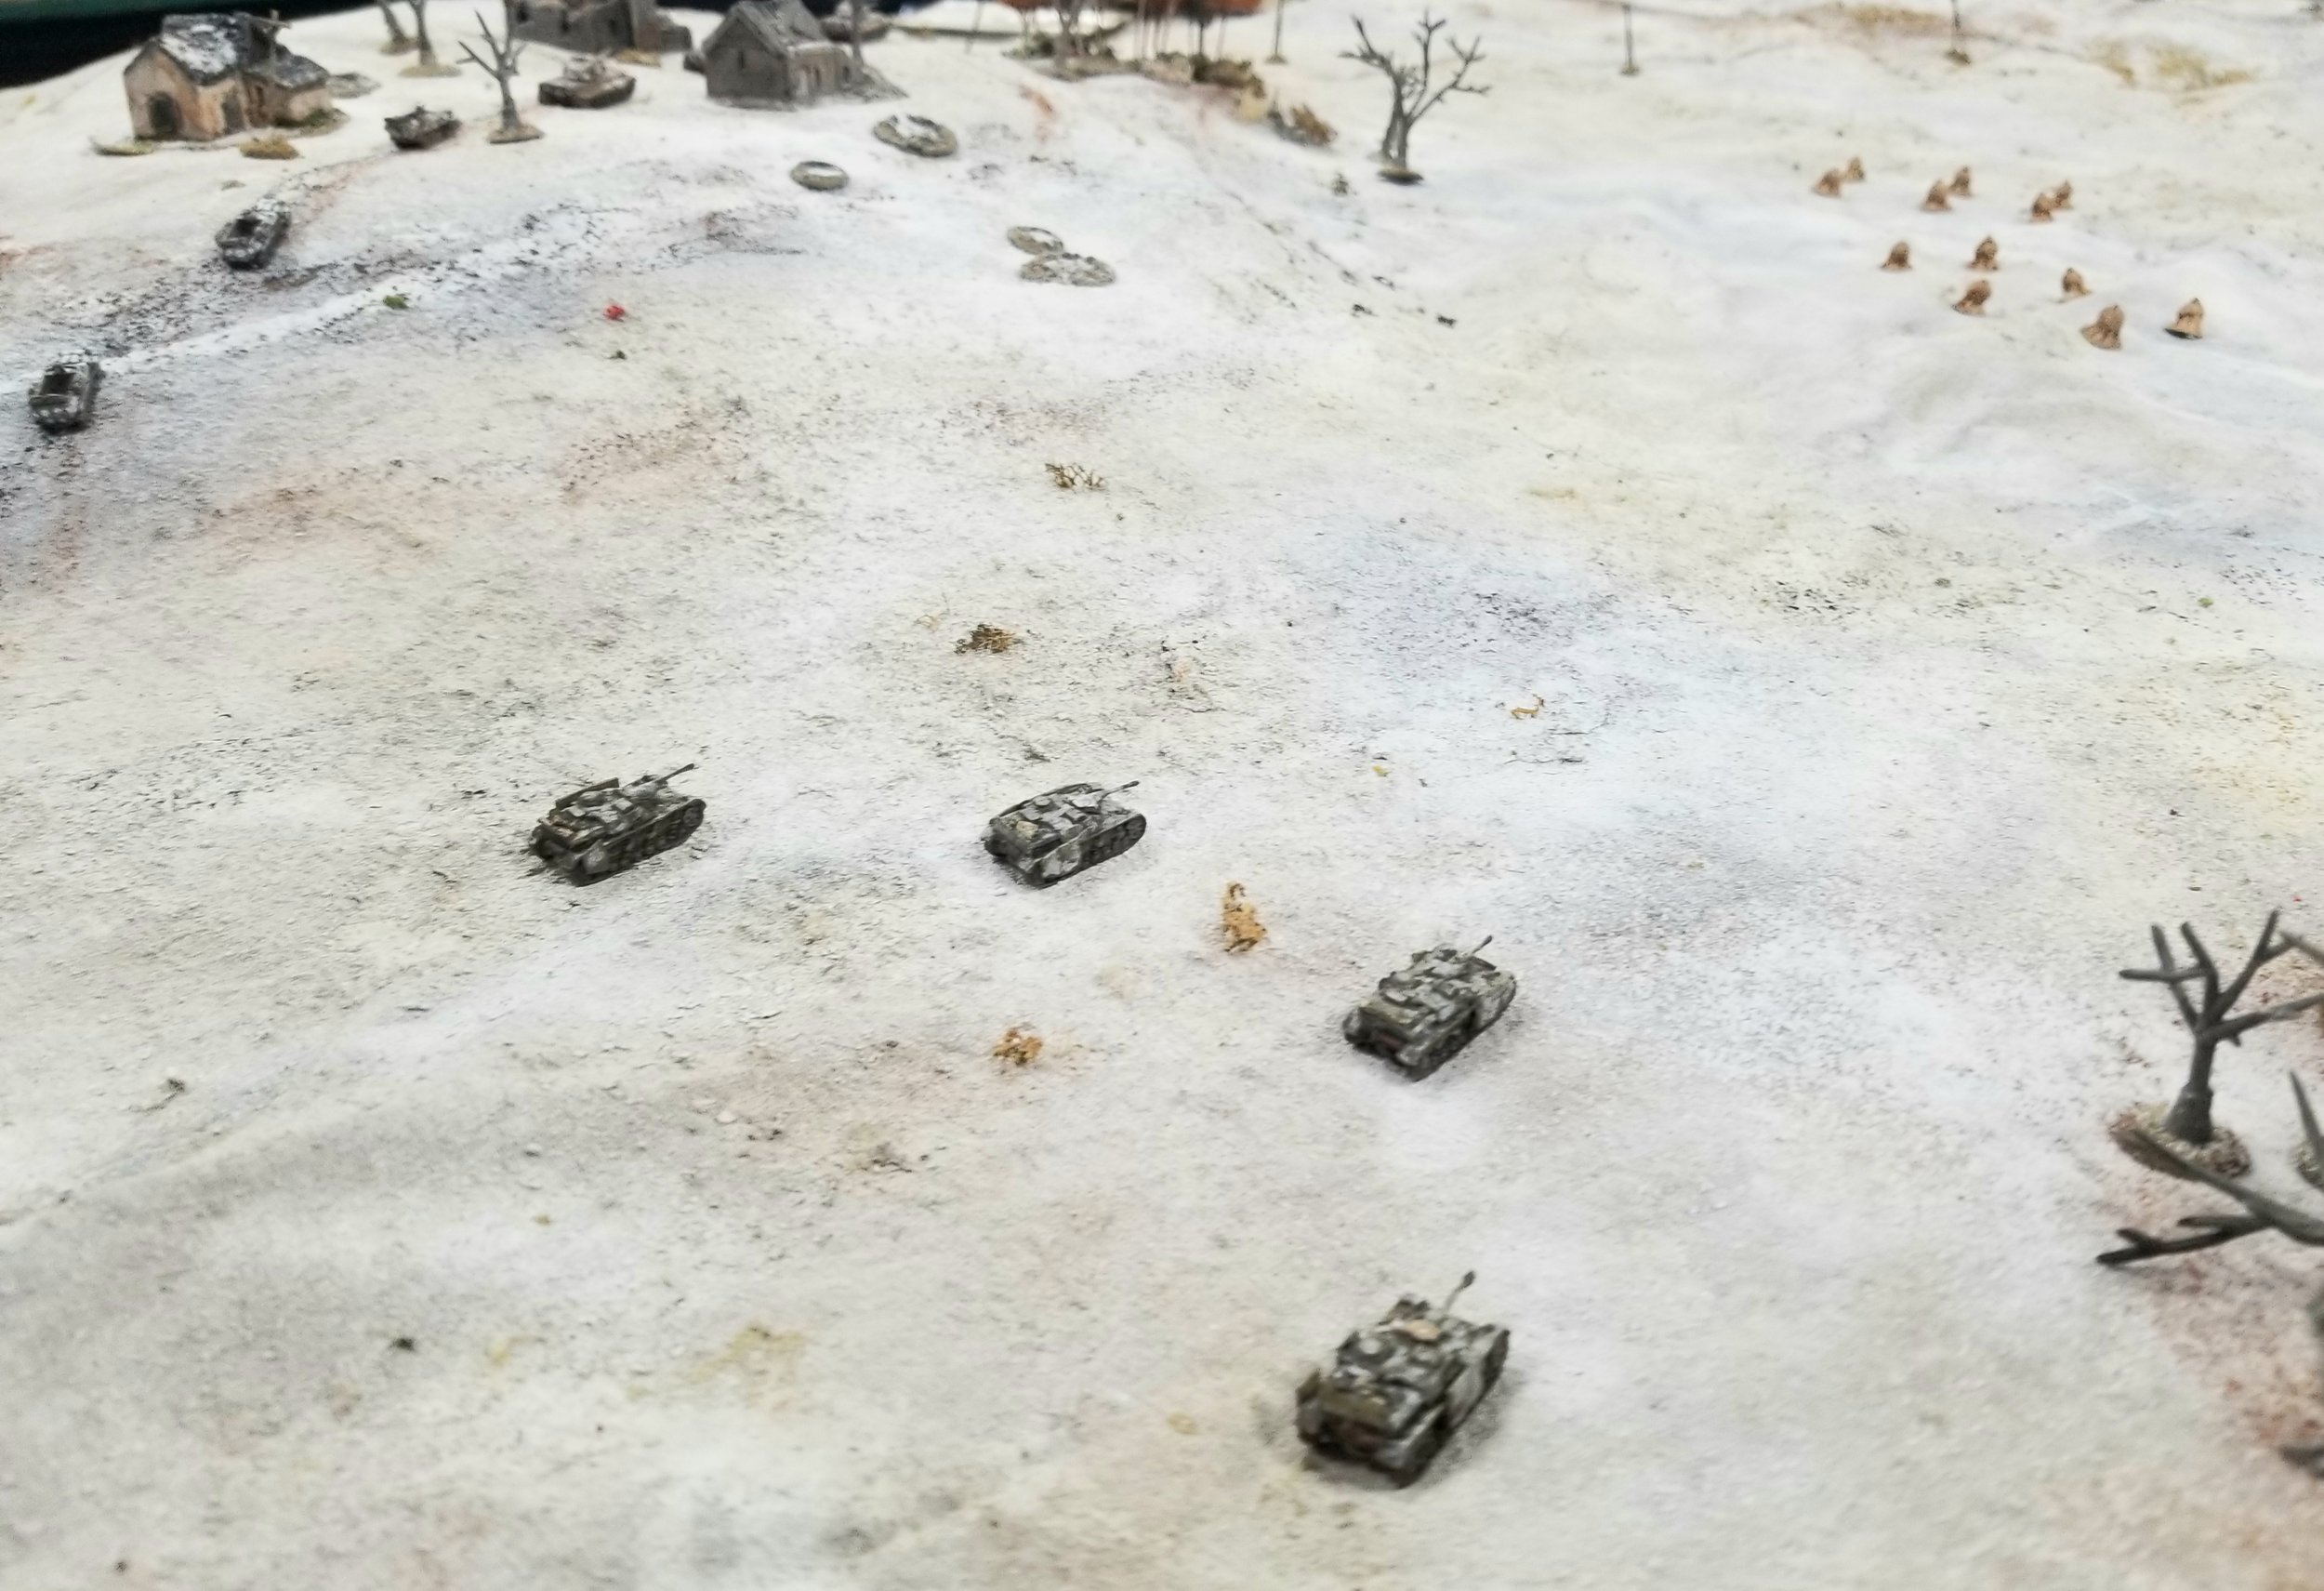
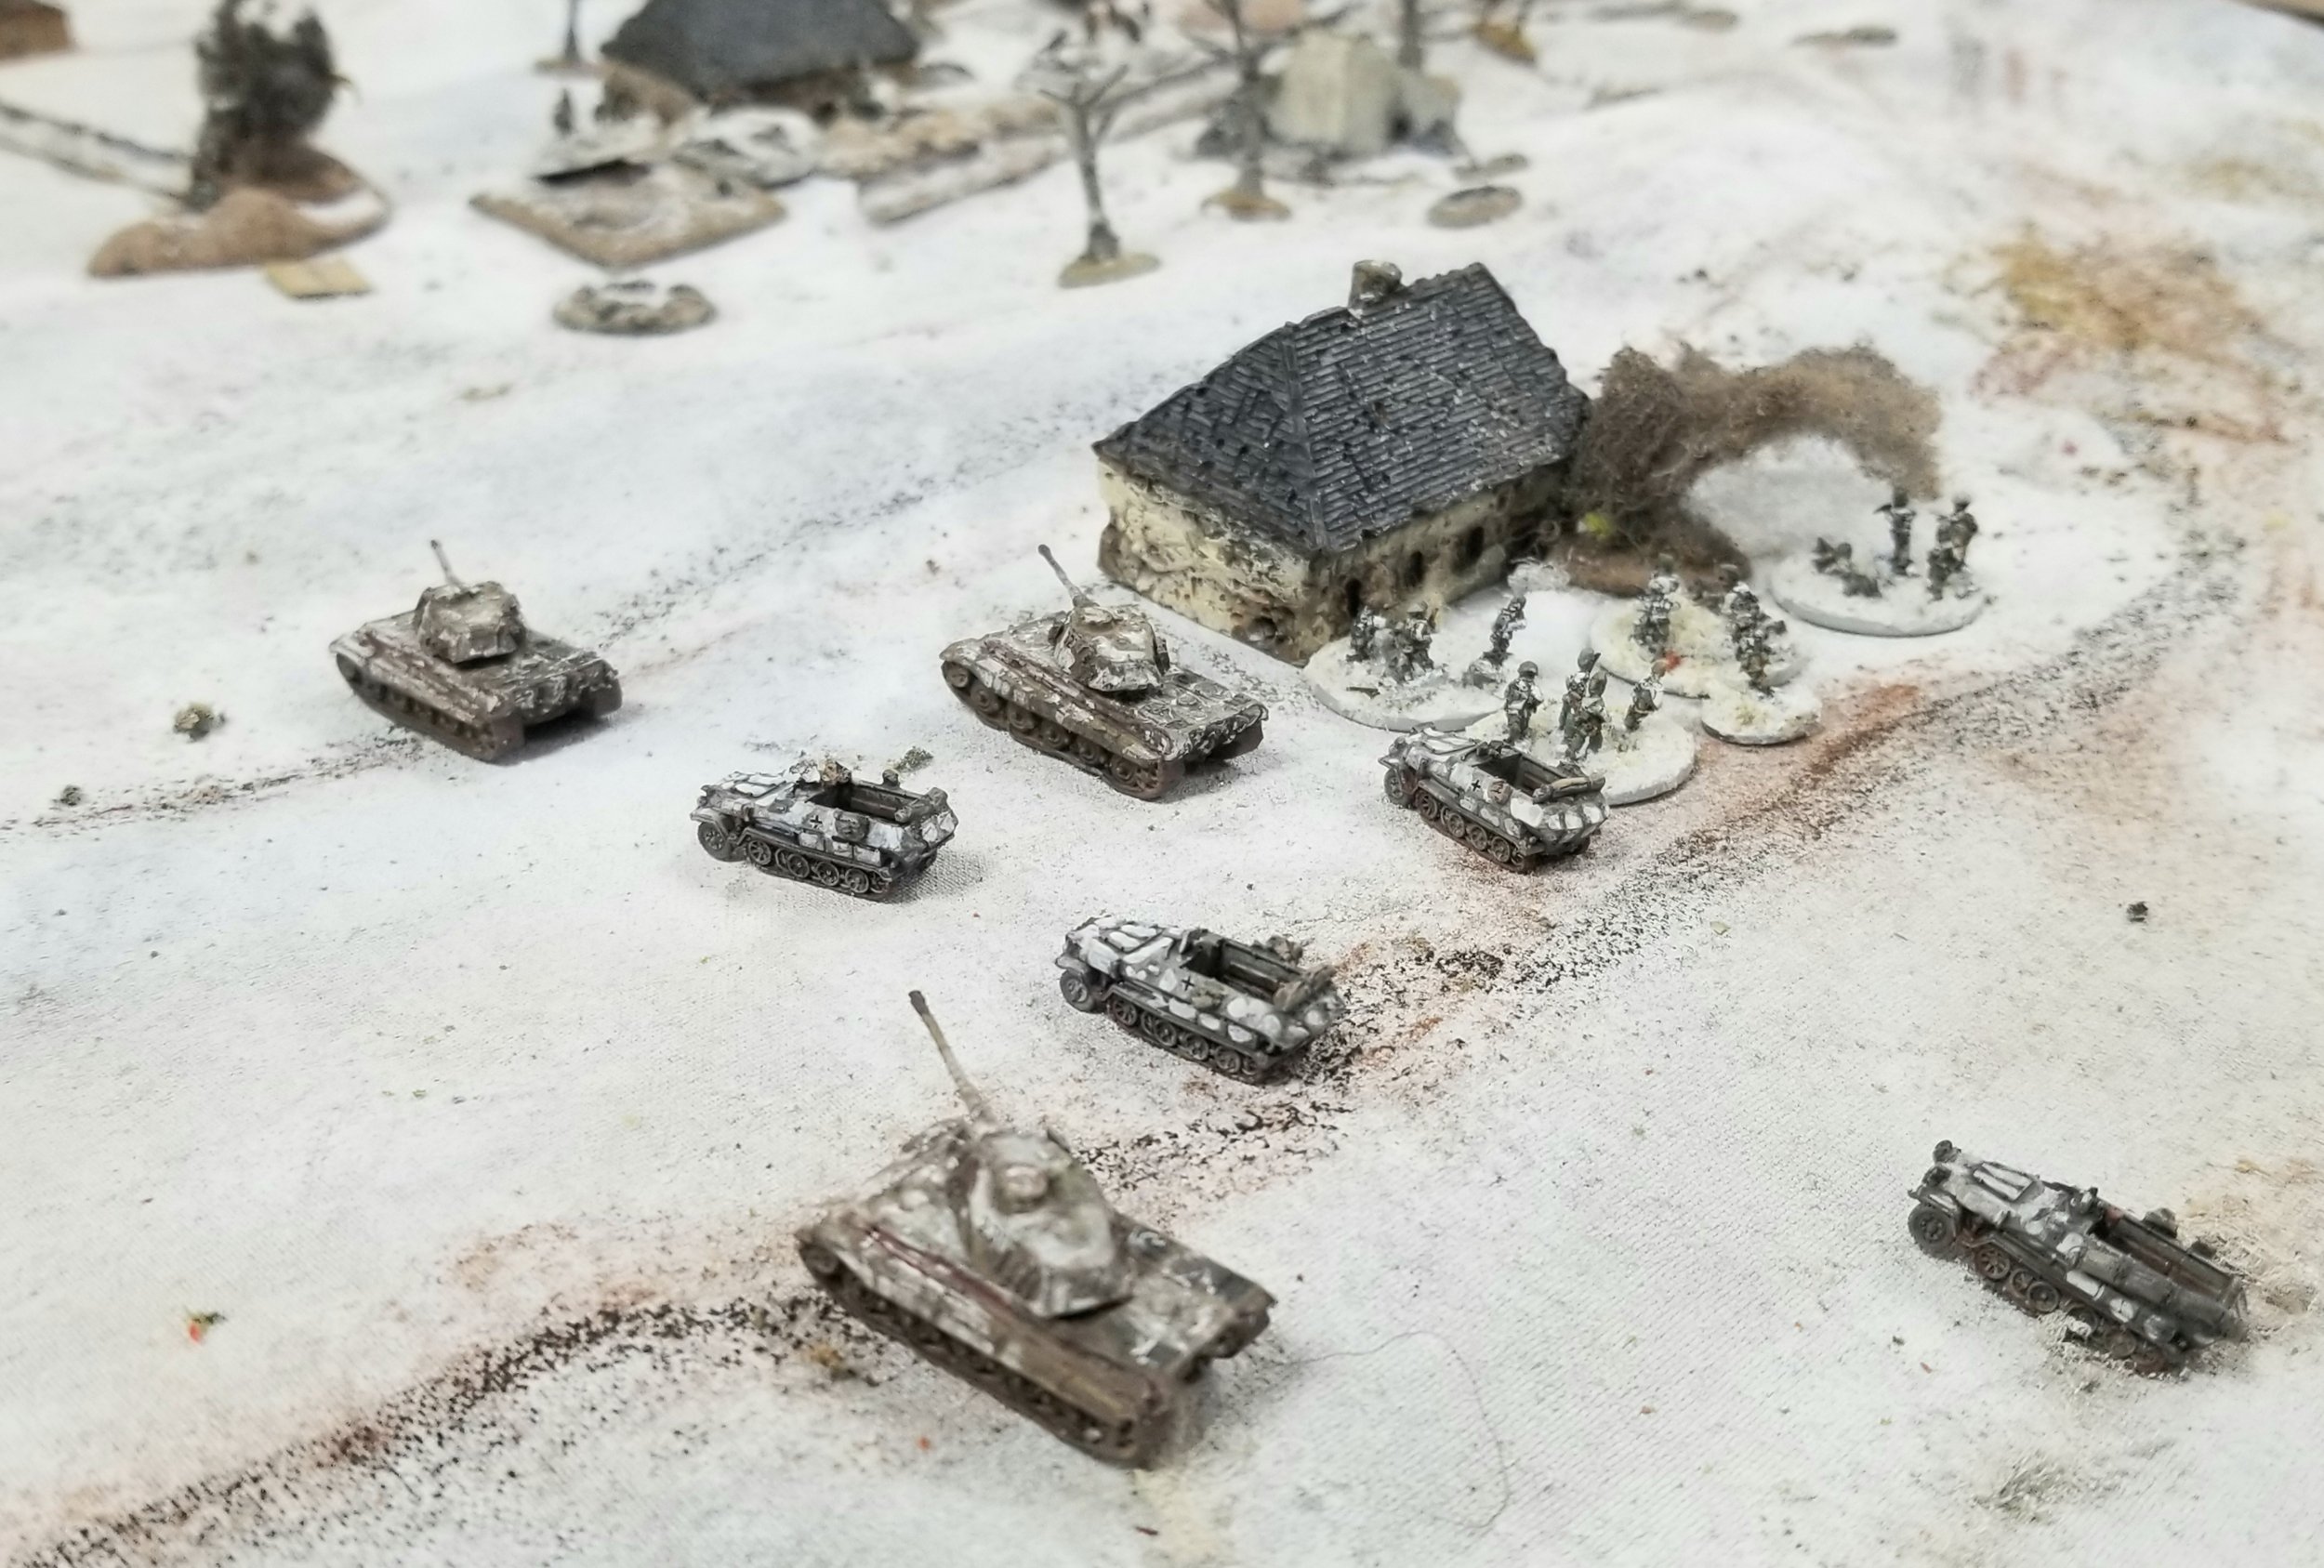
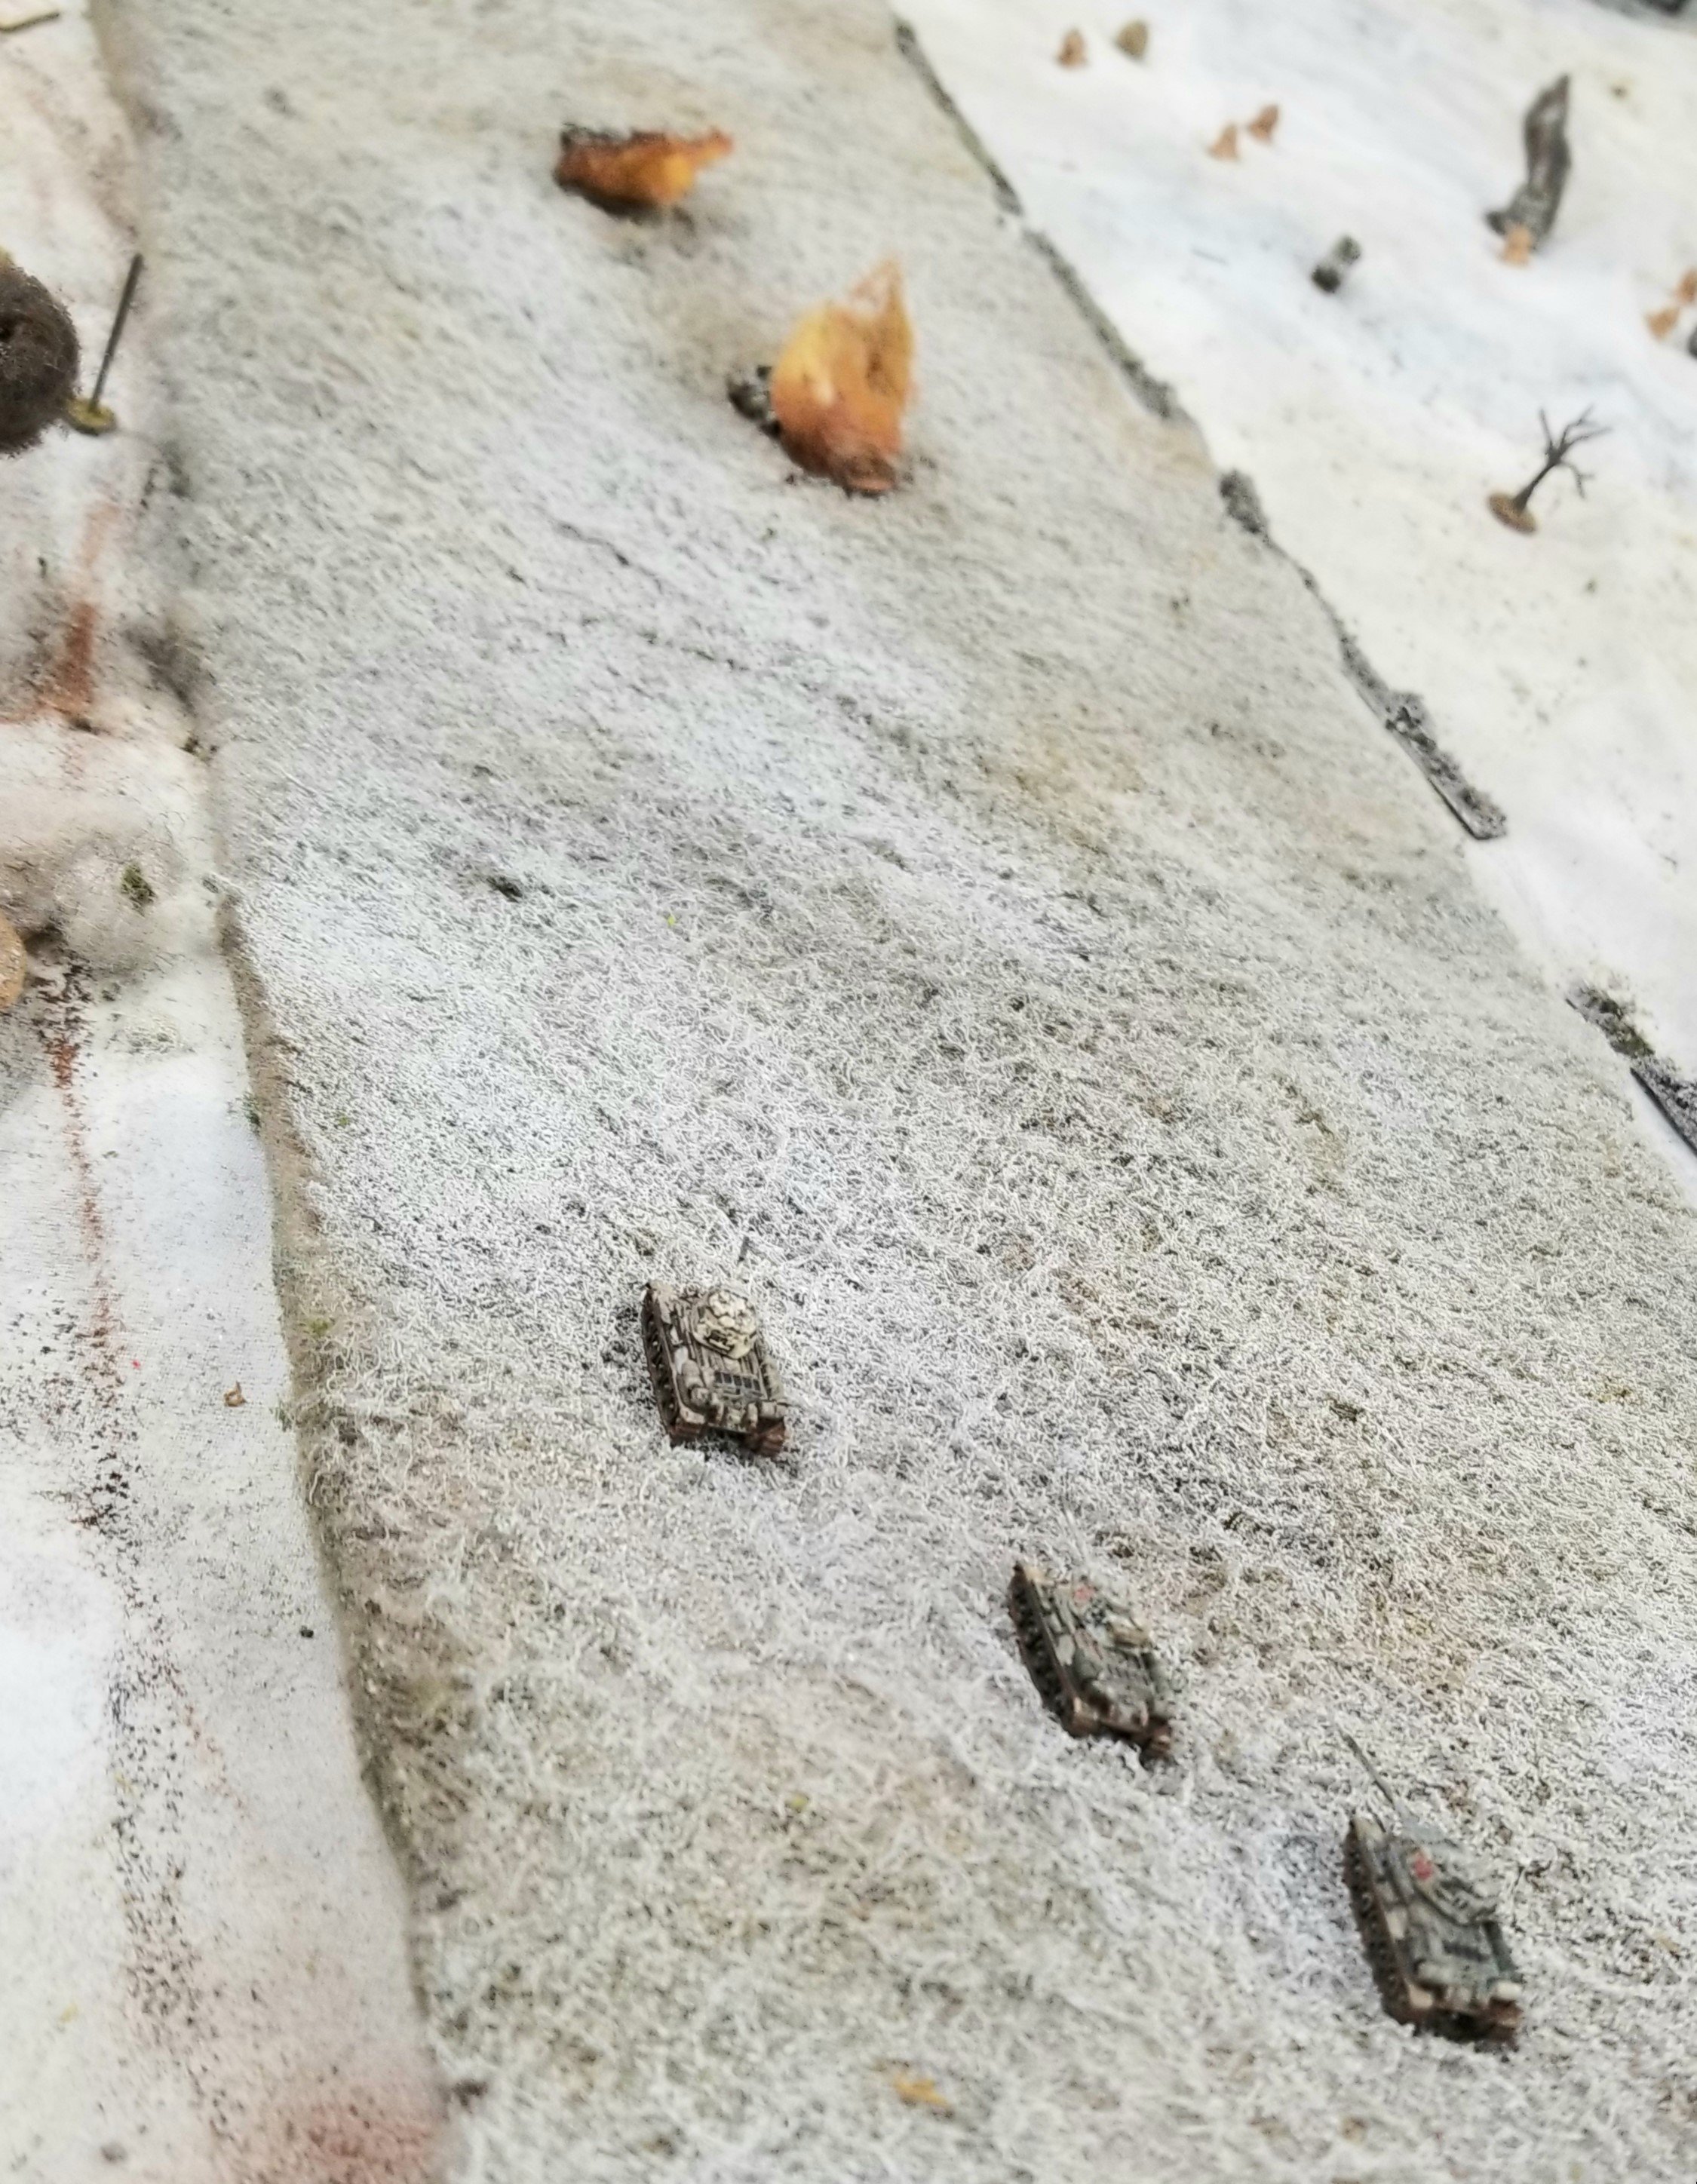
The Germans were tasked with getting their units off the far edge. They had a strong mobile force of 4 grenadier section and 4 MMG sections mounted in Sdkfz 251s, a Sdkfz 251/17 with a 20mm KwK38, a dismounted platoon of 3 sections that could ride on 4 StuG IVs and 3 Tiger IIs. The Tigers also had a +2 ace and the Stugs a +1 ace. Rob played the Germans and he had aa chance to get more Tigers but they failed to show. This bad dice roll was the first of his many bad die rolls.
Rob split his units with the Tigers and HTs going along the road on the left to avoid the (-2"/dice) movement penalty for the Tigers. The Stugs and tank riders went down the center of the open field.
For the entire game, Rob was to have incredibly bad movement dice rolls.
These were actually the very first GHQ models I bought over 40 years ago. They were the original molds and lacked much of the detail the newer models now have. I decided to repaint them in a messy whitewash and add some bits to hide their basic shape. So I took plenty of pics for sentimental reasons.
Also early models-in fact I can't even remember who made them.
There are grenadiers riding on these across the open
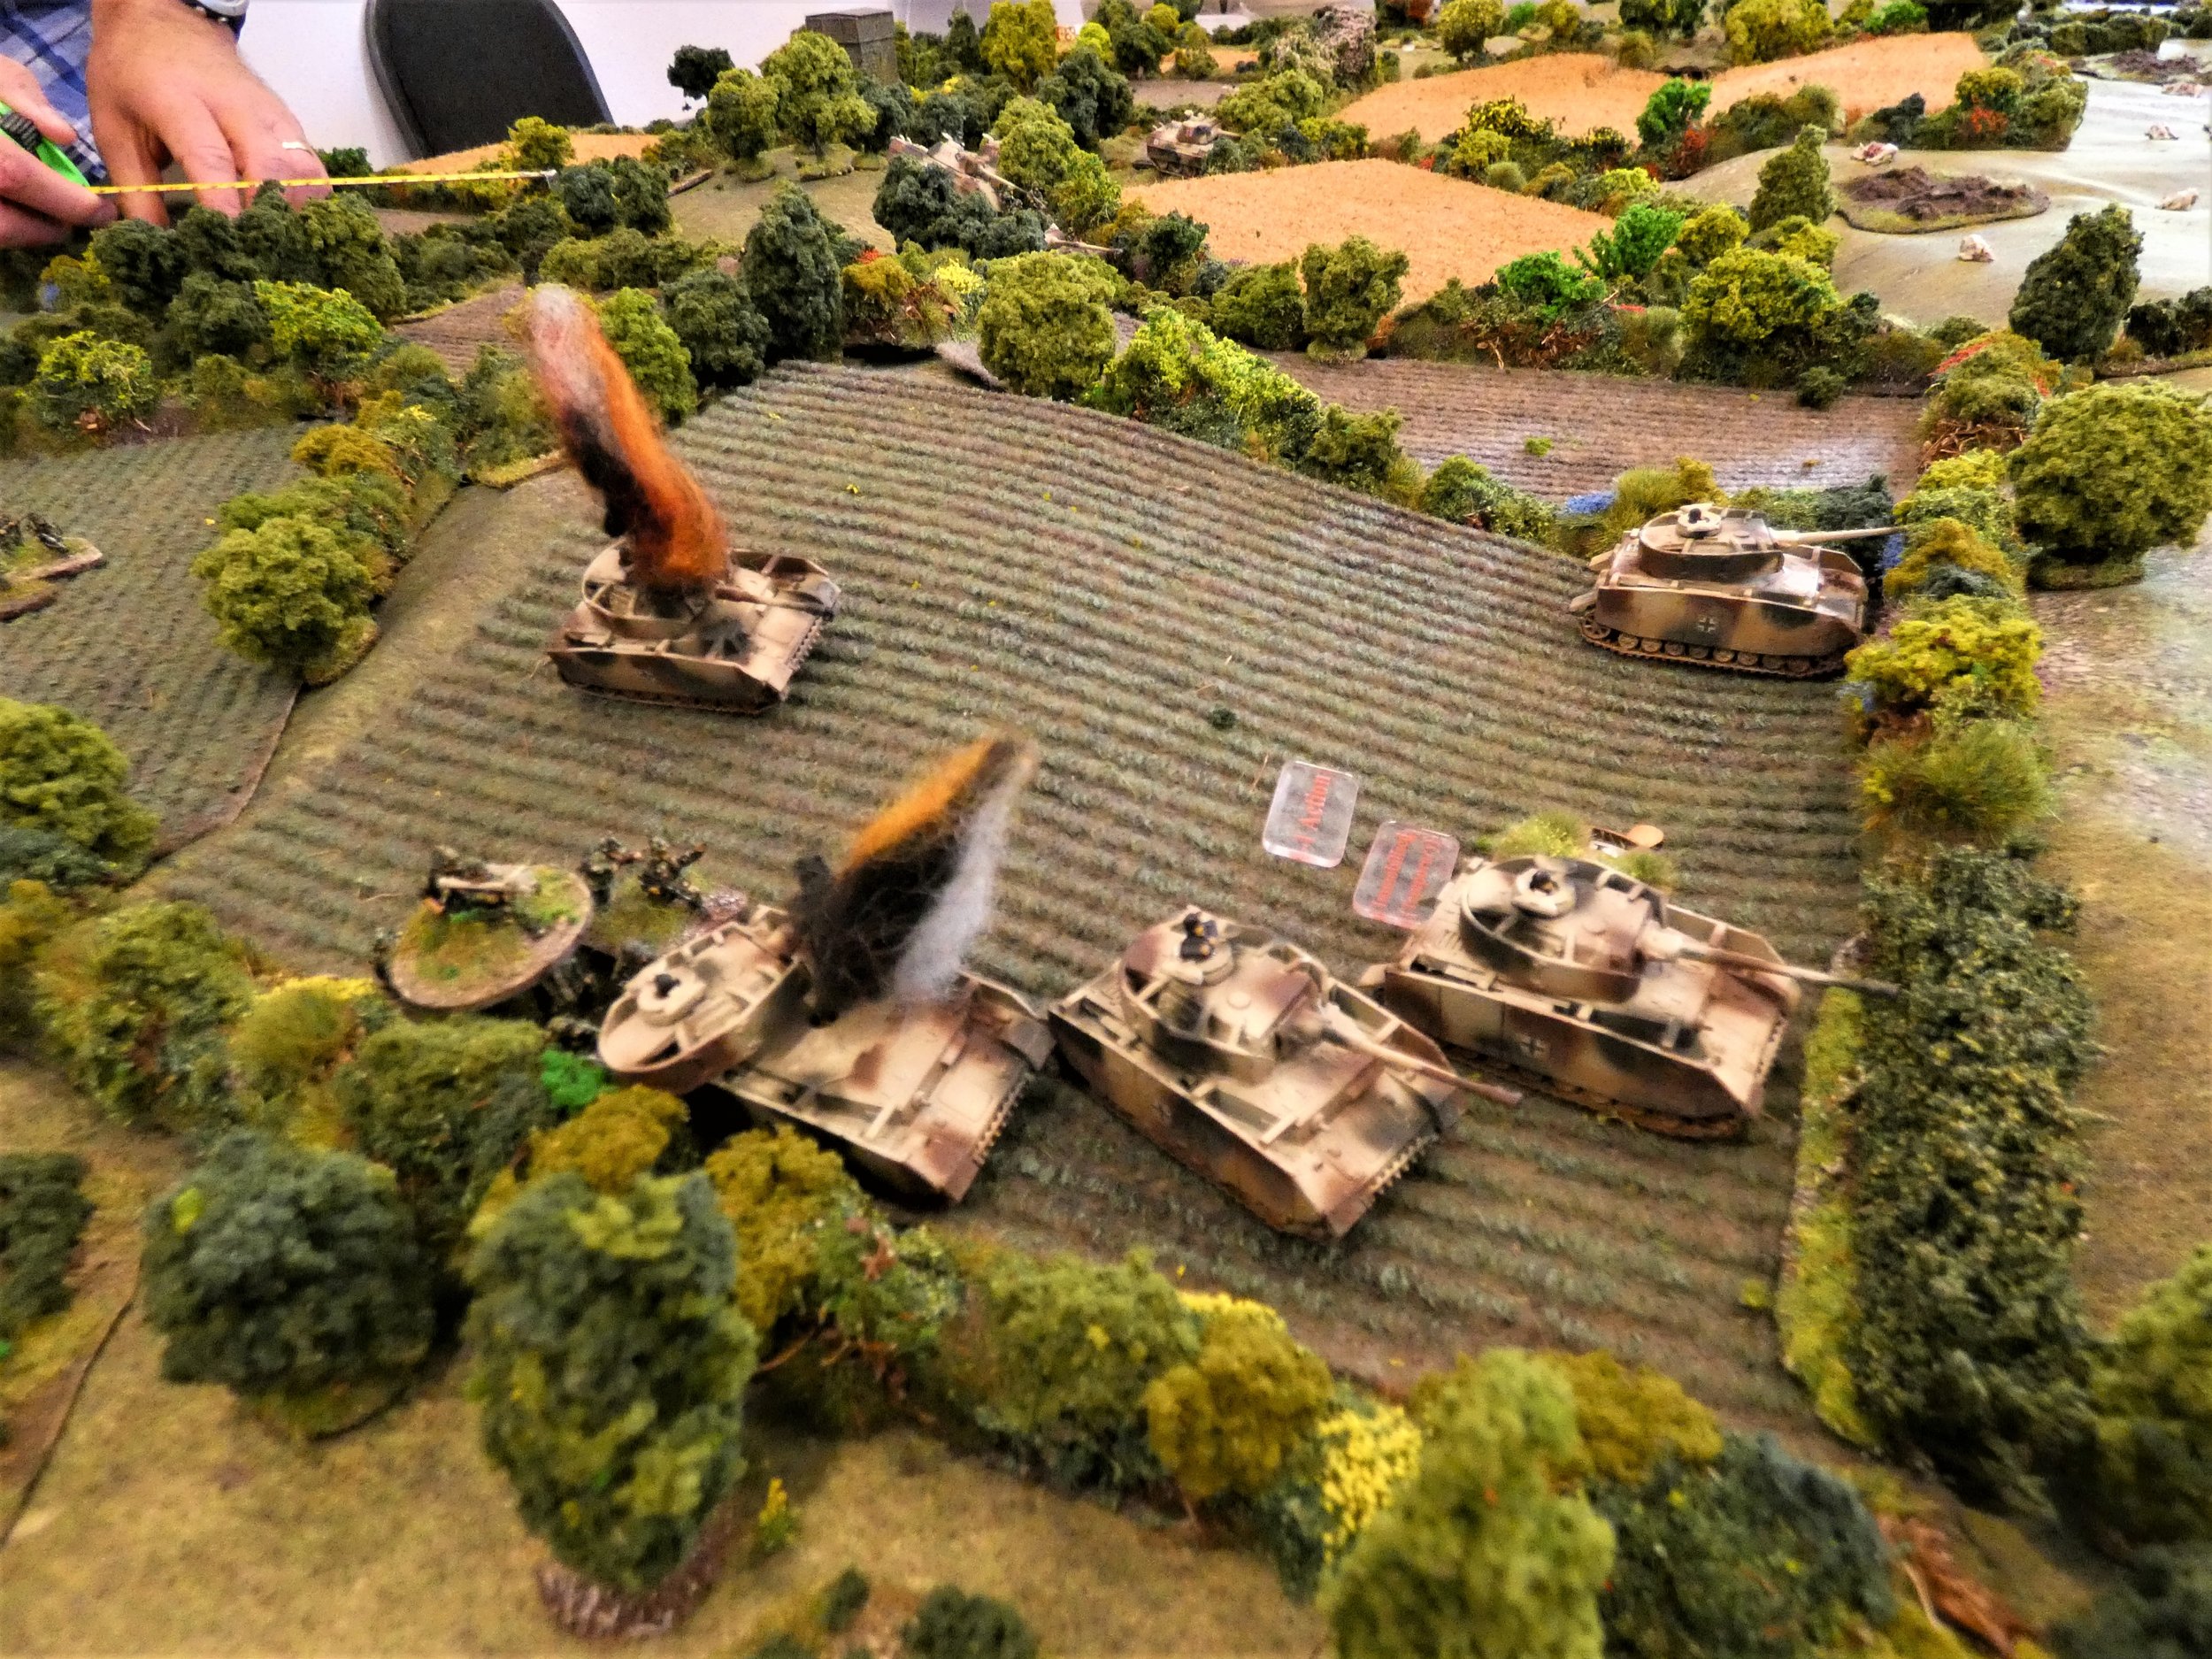
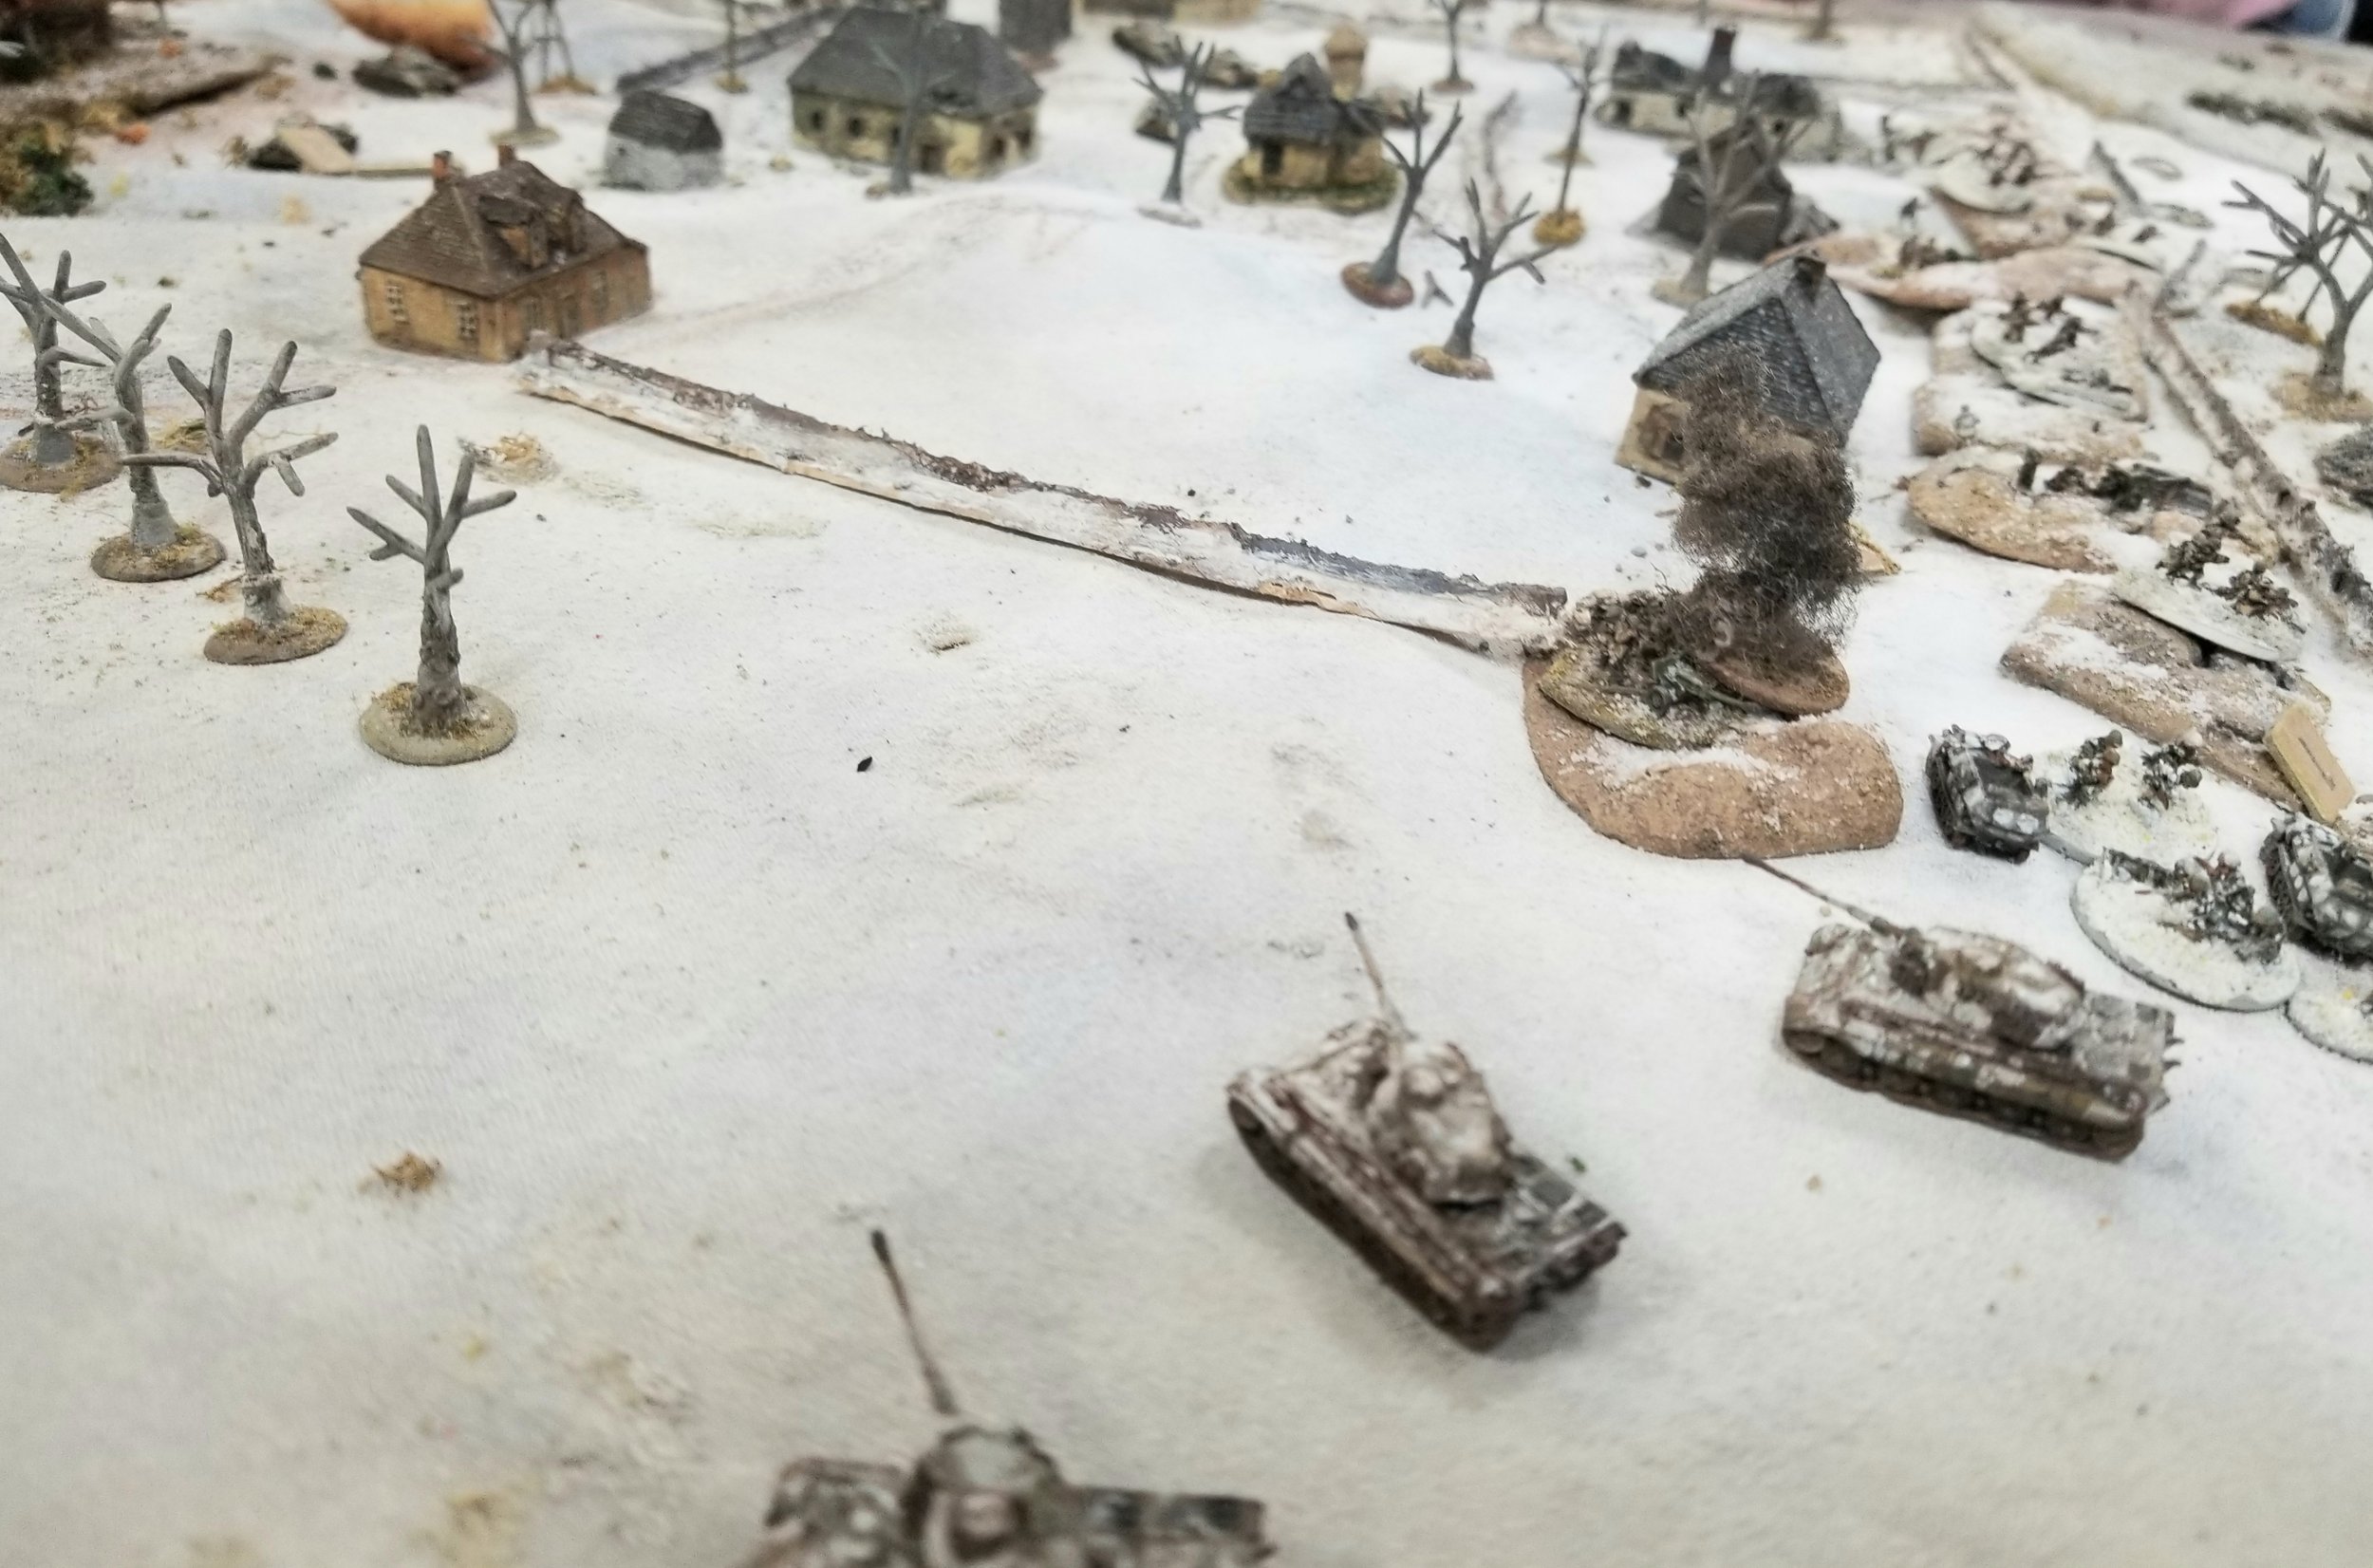
In keeping with Rob's dismal dice rolling ability, they managed to have 1 vehicle destroyed along with most of the riders, and the other Stug immobilized. Rob hit 2 out of 2 chances to take out his vehicles. An immobilized Stug is pretty useless.
At this point John decides to start firing with his units.
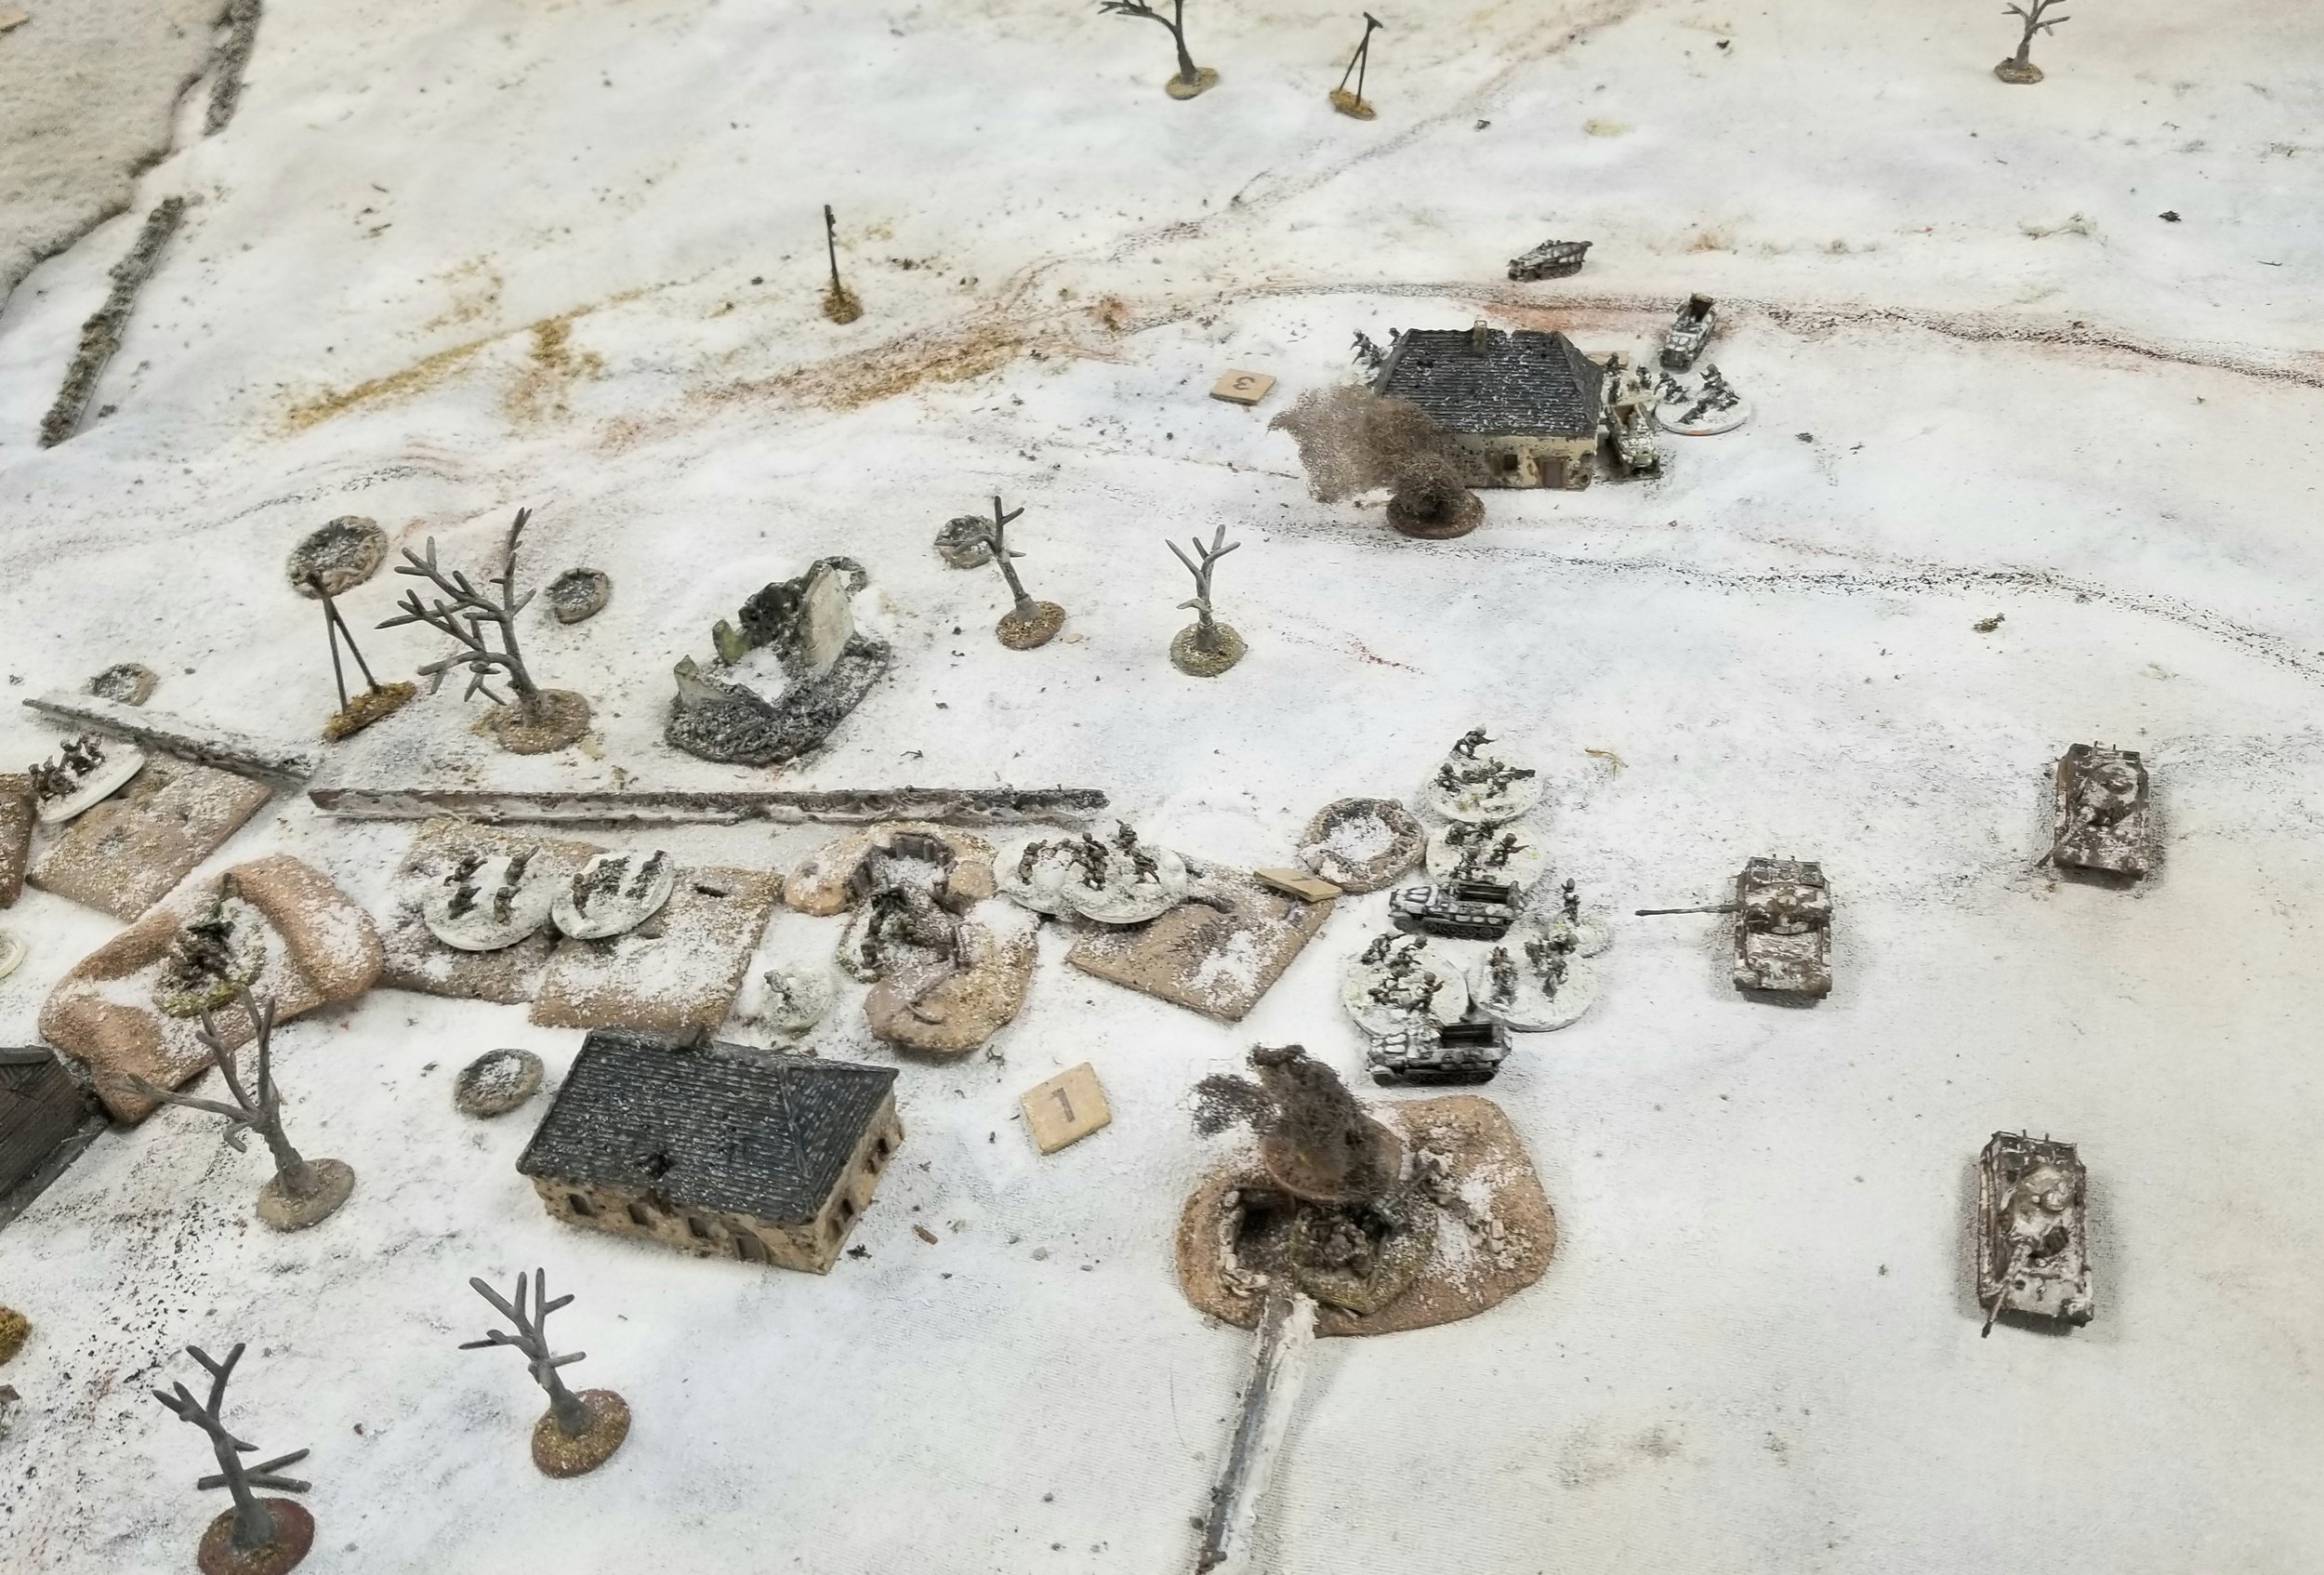
He had a company of 6 sections, 2 MMG sections, 3 ATR teams and 5 76mm ATGs. All of which could be dug in.
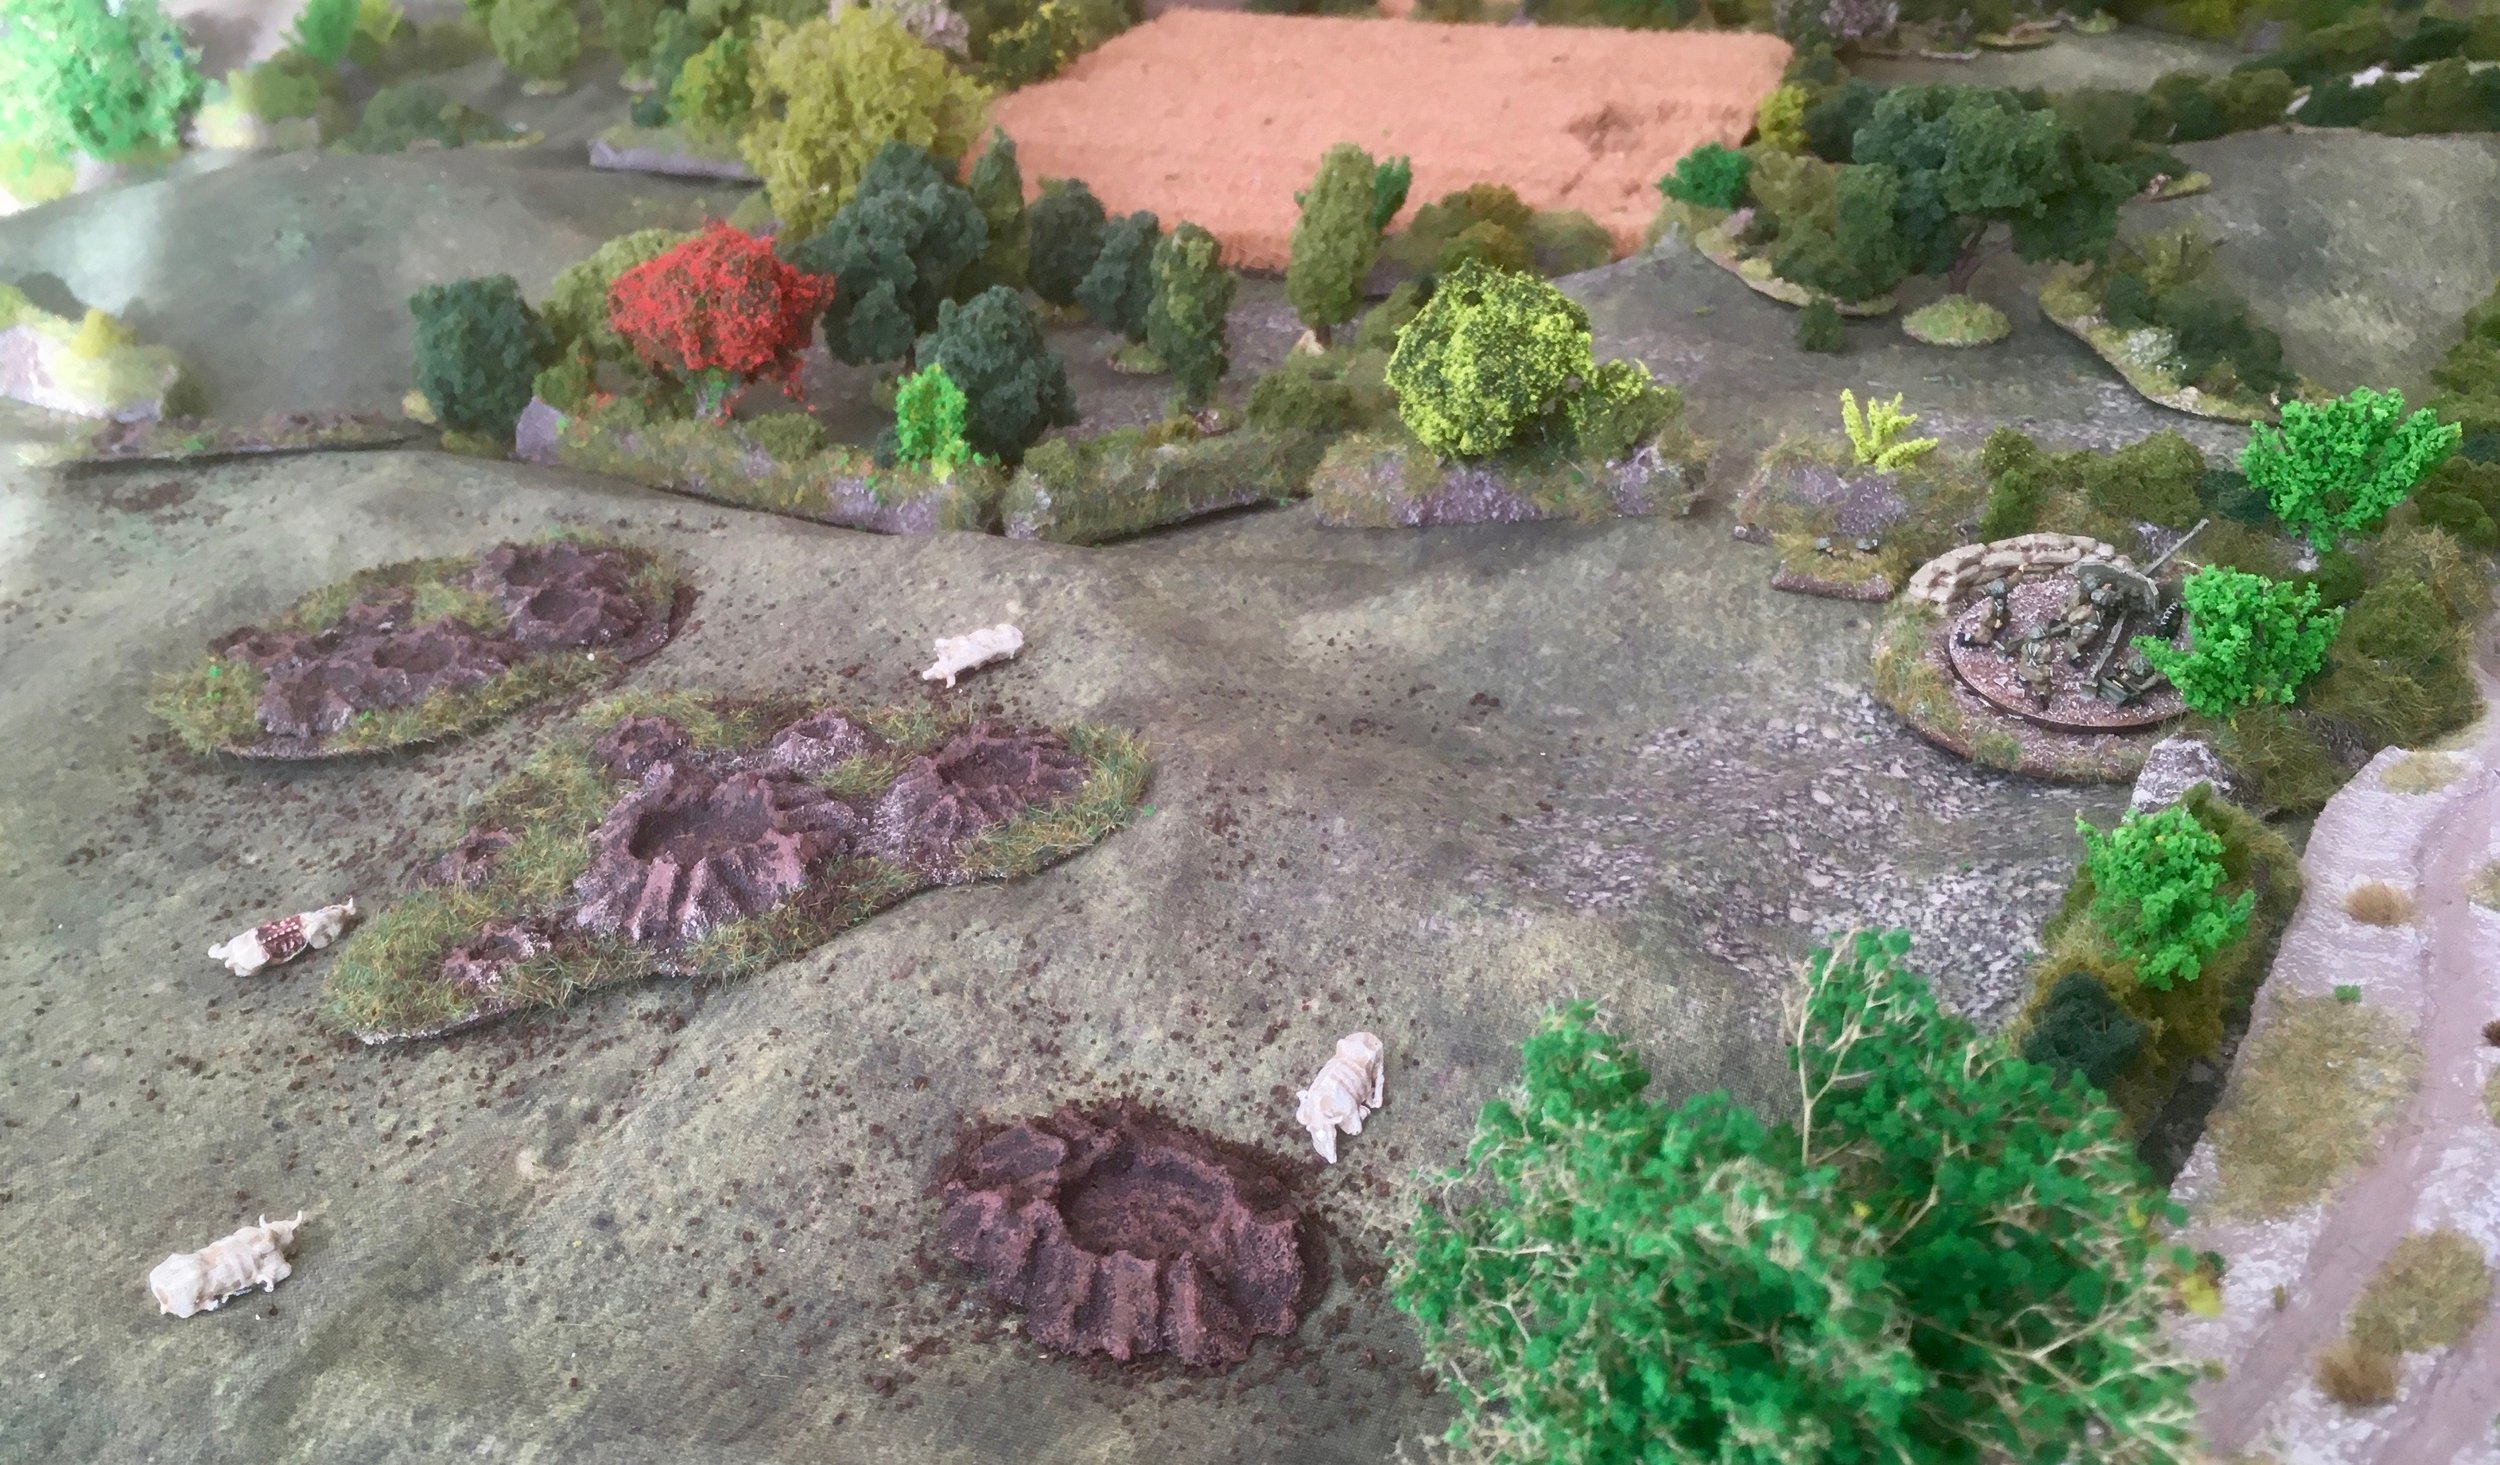
On his left along the farmstead he place 2 ATGs, a platoon, an an ATR.
The ATGs flanked the farm buildings and the ATR was on the far left
But bad movement rolls prevented them from getting too far.
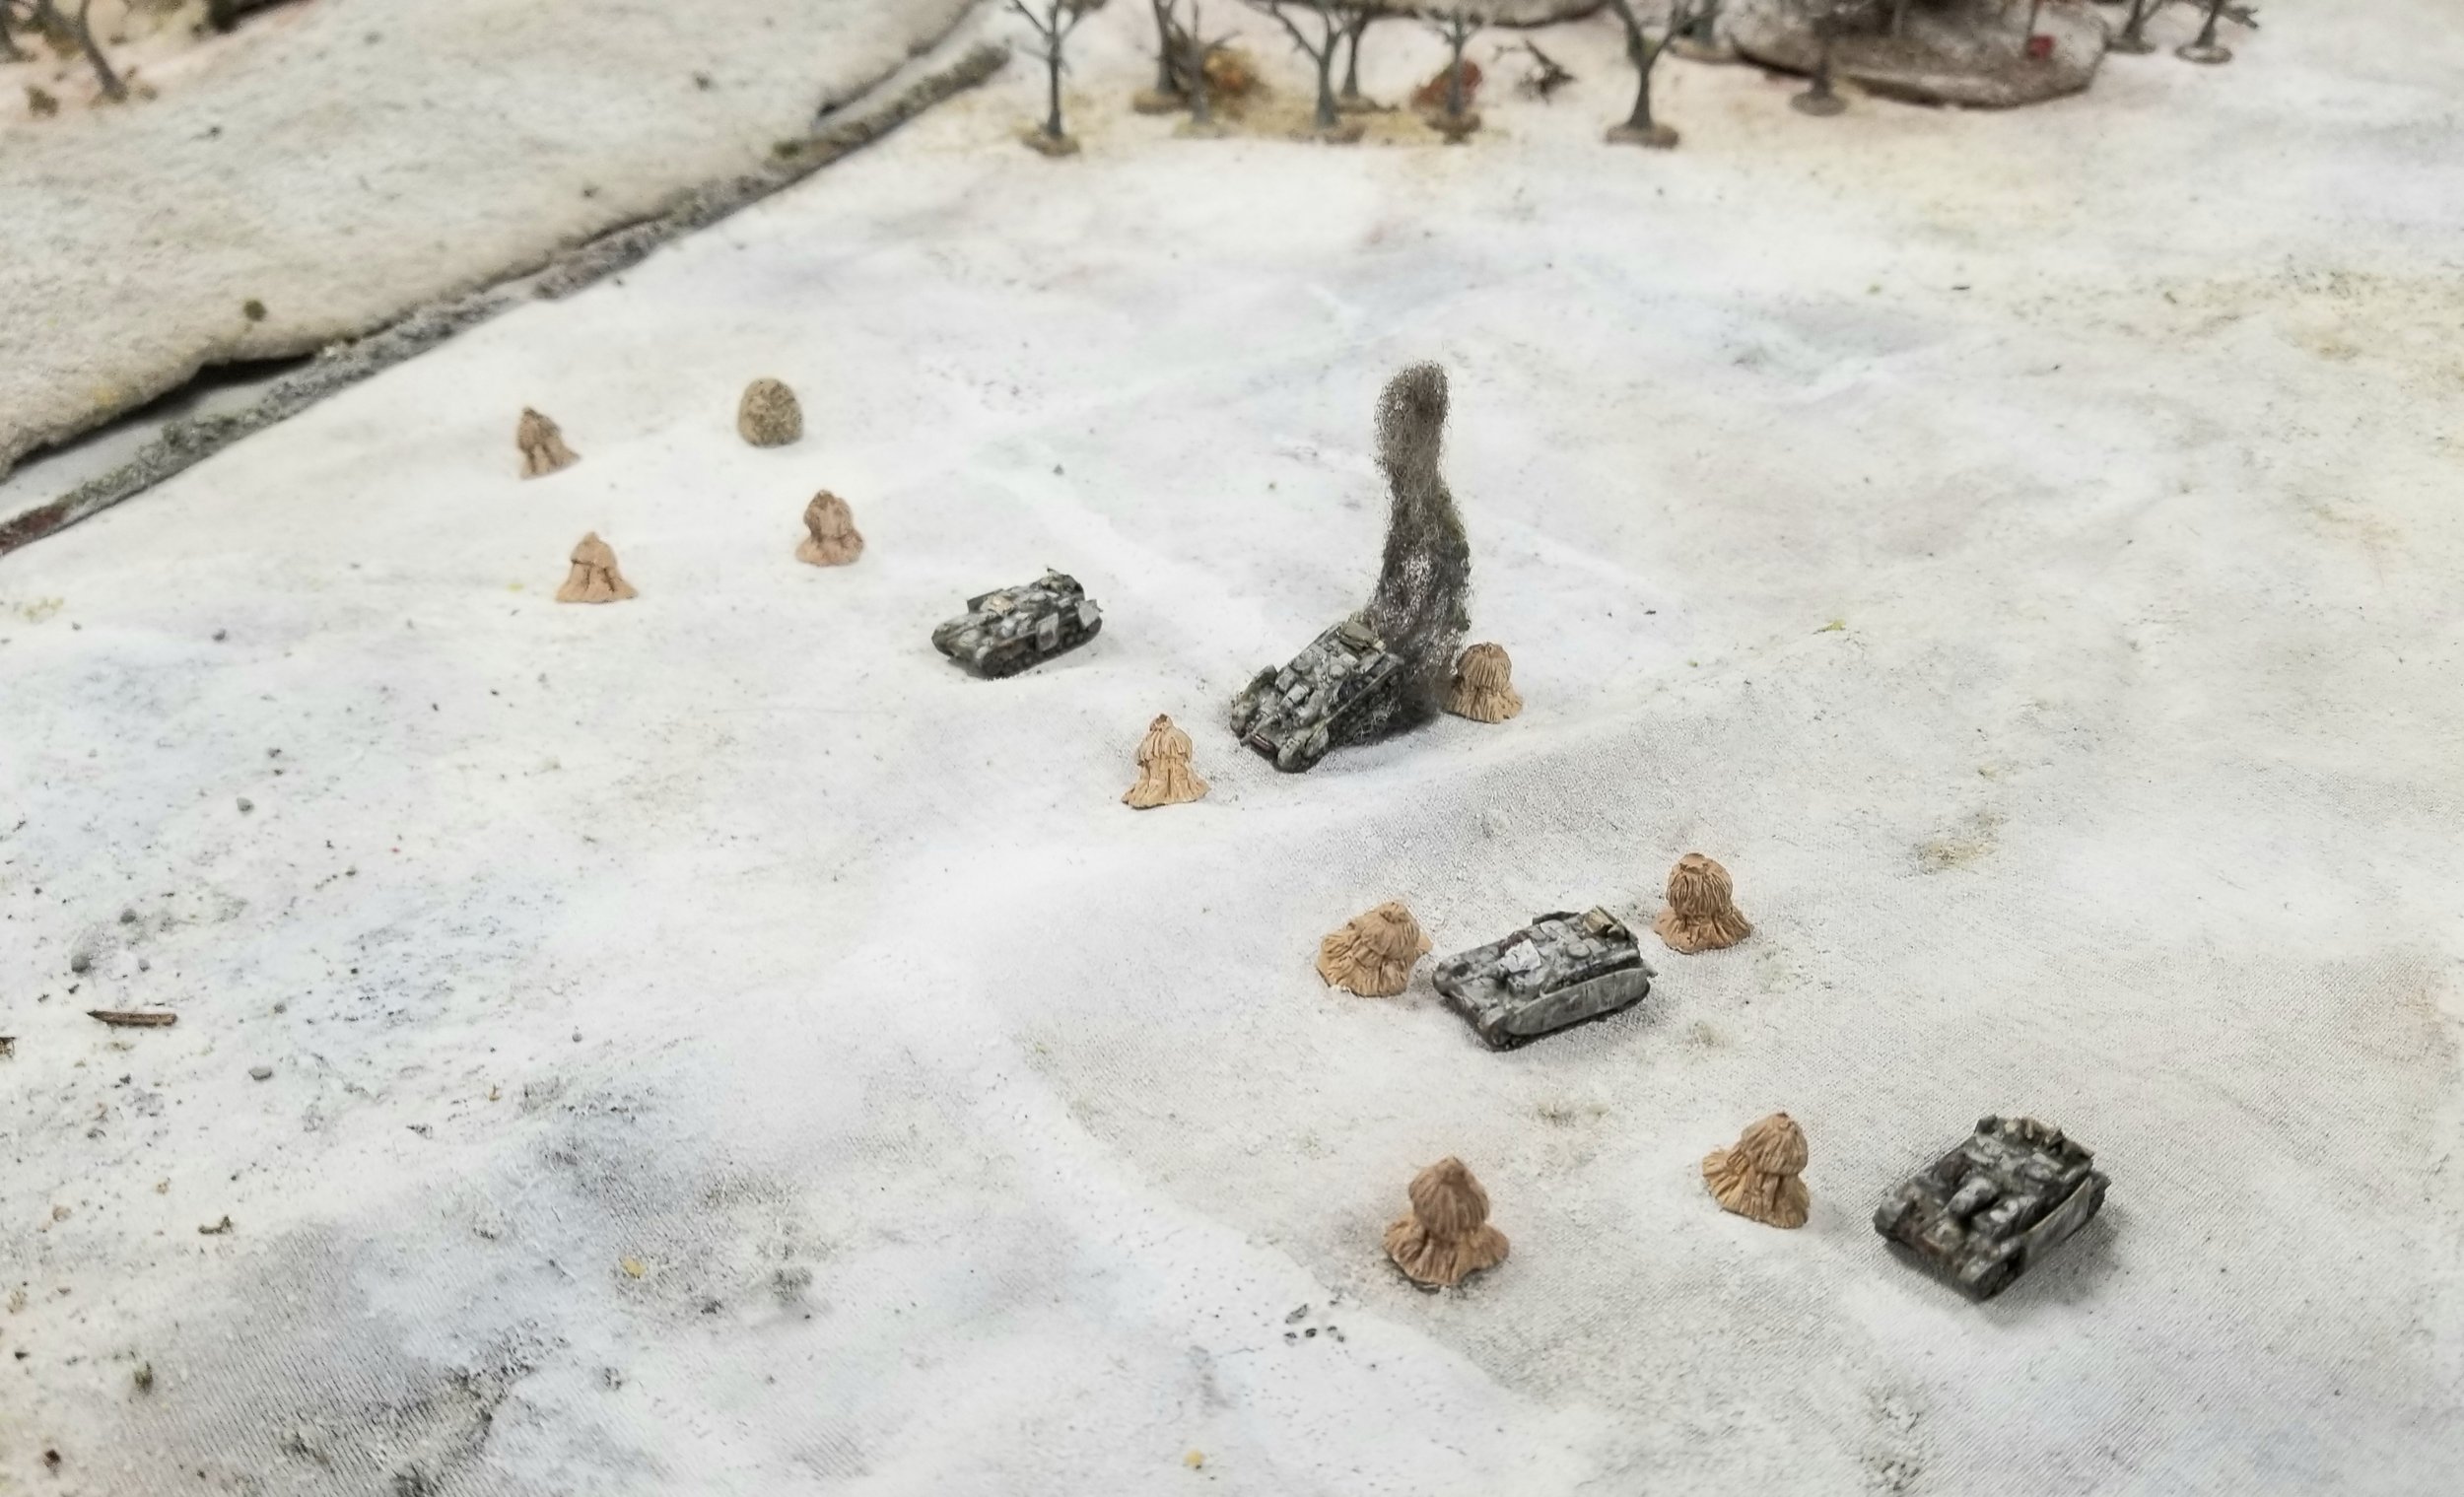
Rob's tank riders were taking many more casualties than they were giving (Have I mentioned his terrible rolls?), and the Stugs weren't doing much better against the ATGs.
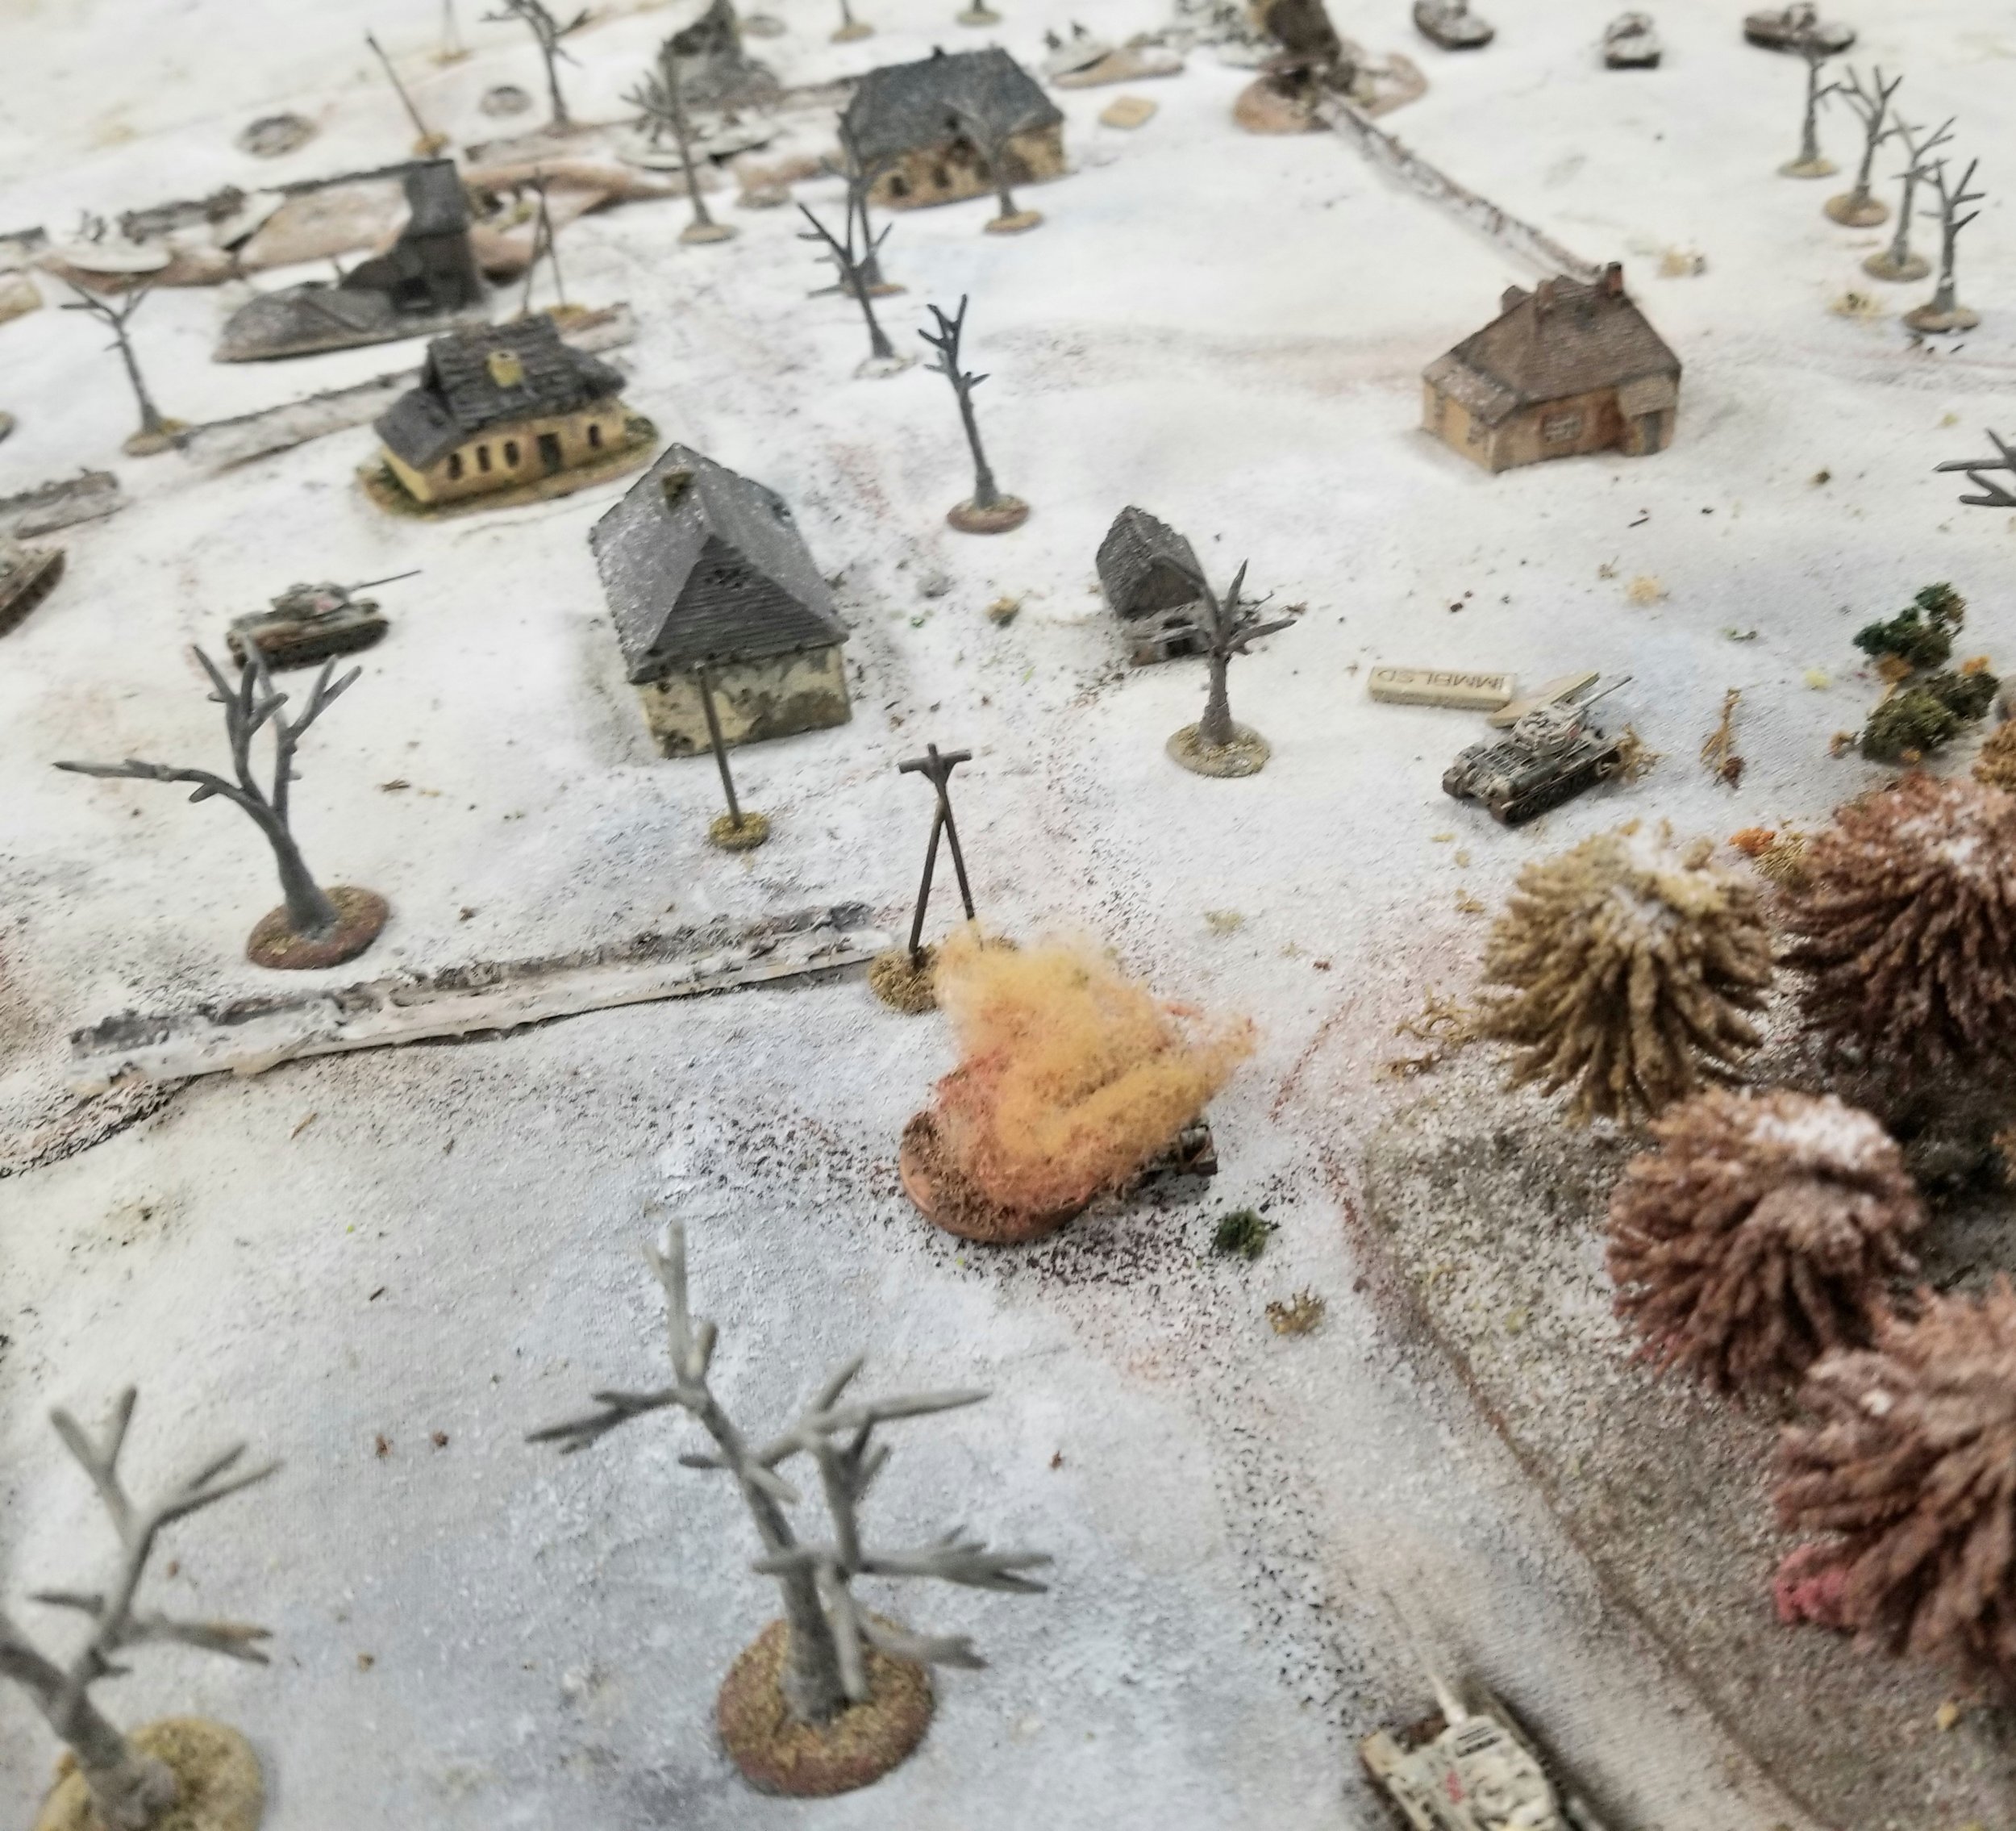
In this house John had placed a MMG team and an ATR. Their effectiveness against the Tigers was nil. For IABSM game purposes the Tigers have a armor rating of 14 while the ATRs have a Strike value of 3-which would be fine against the HTs but pretty useless against Tiger skin.
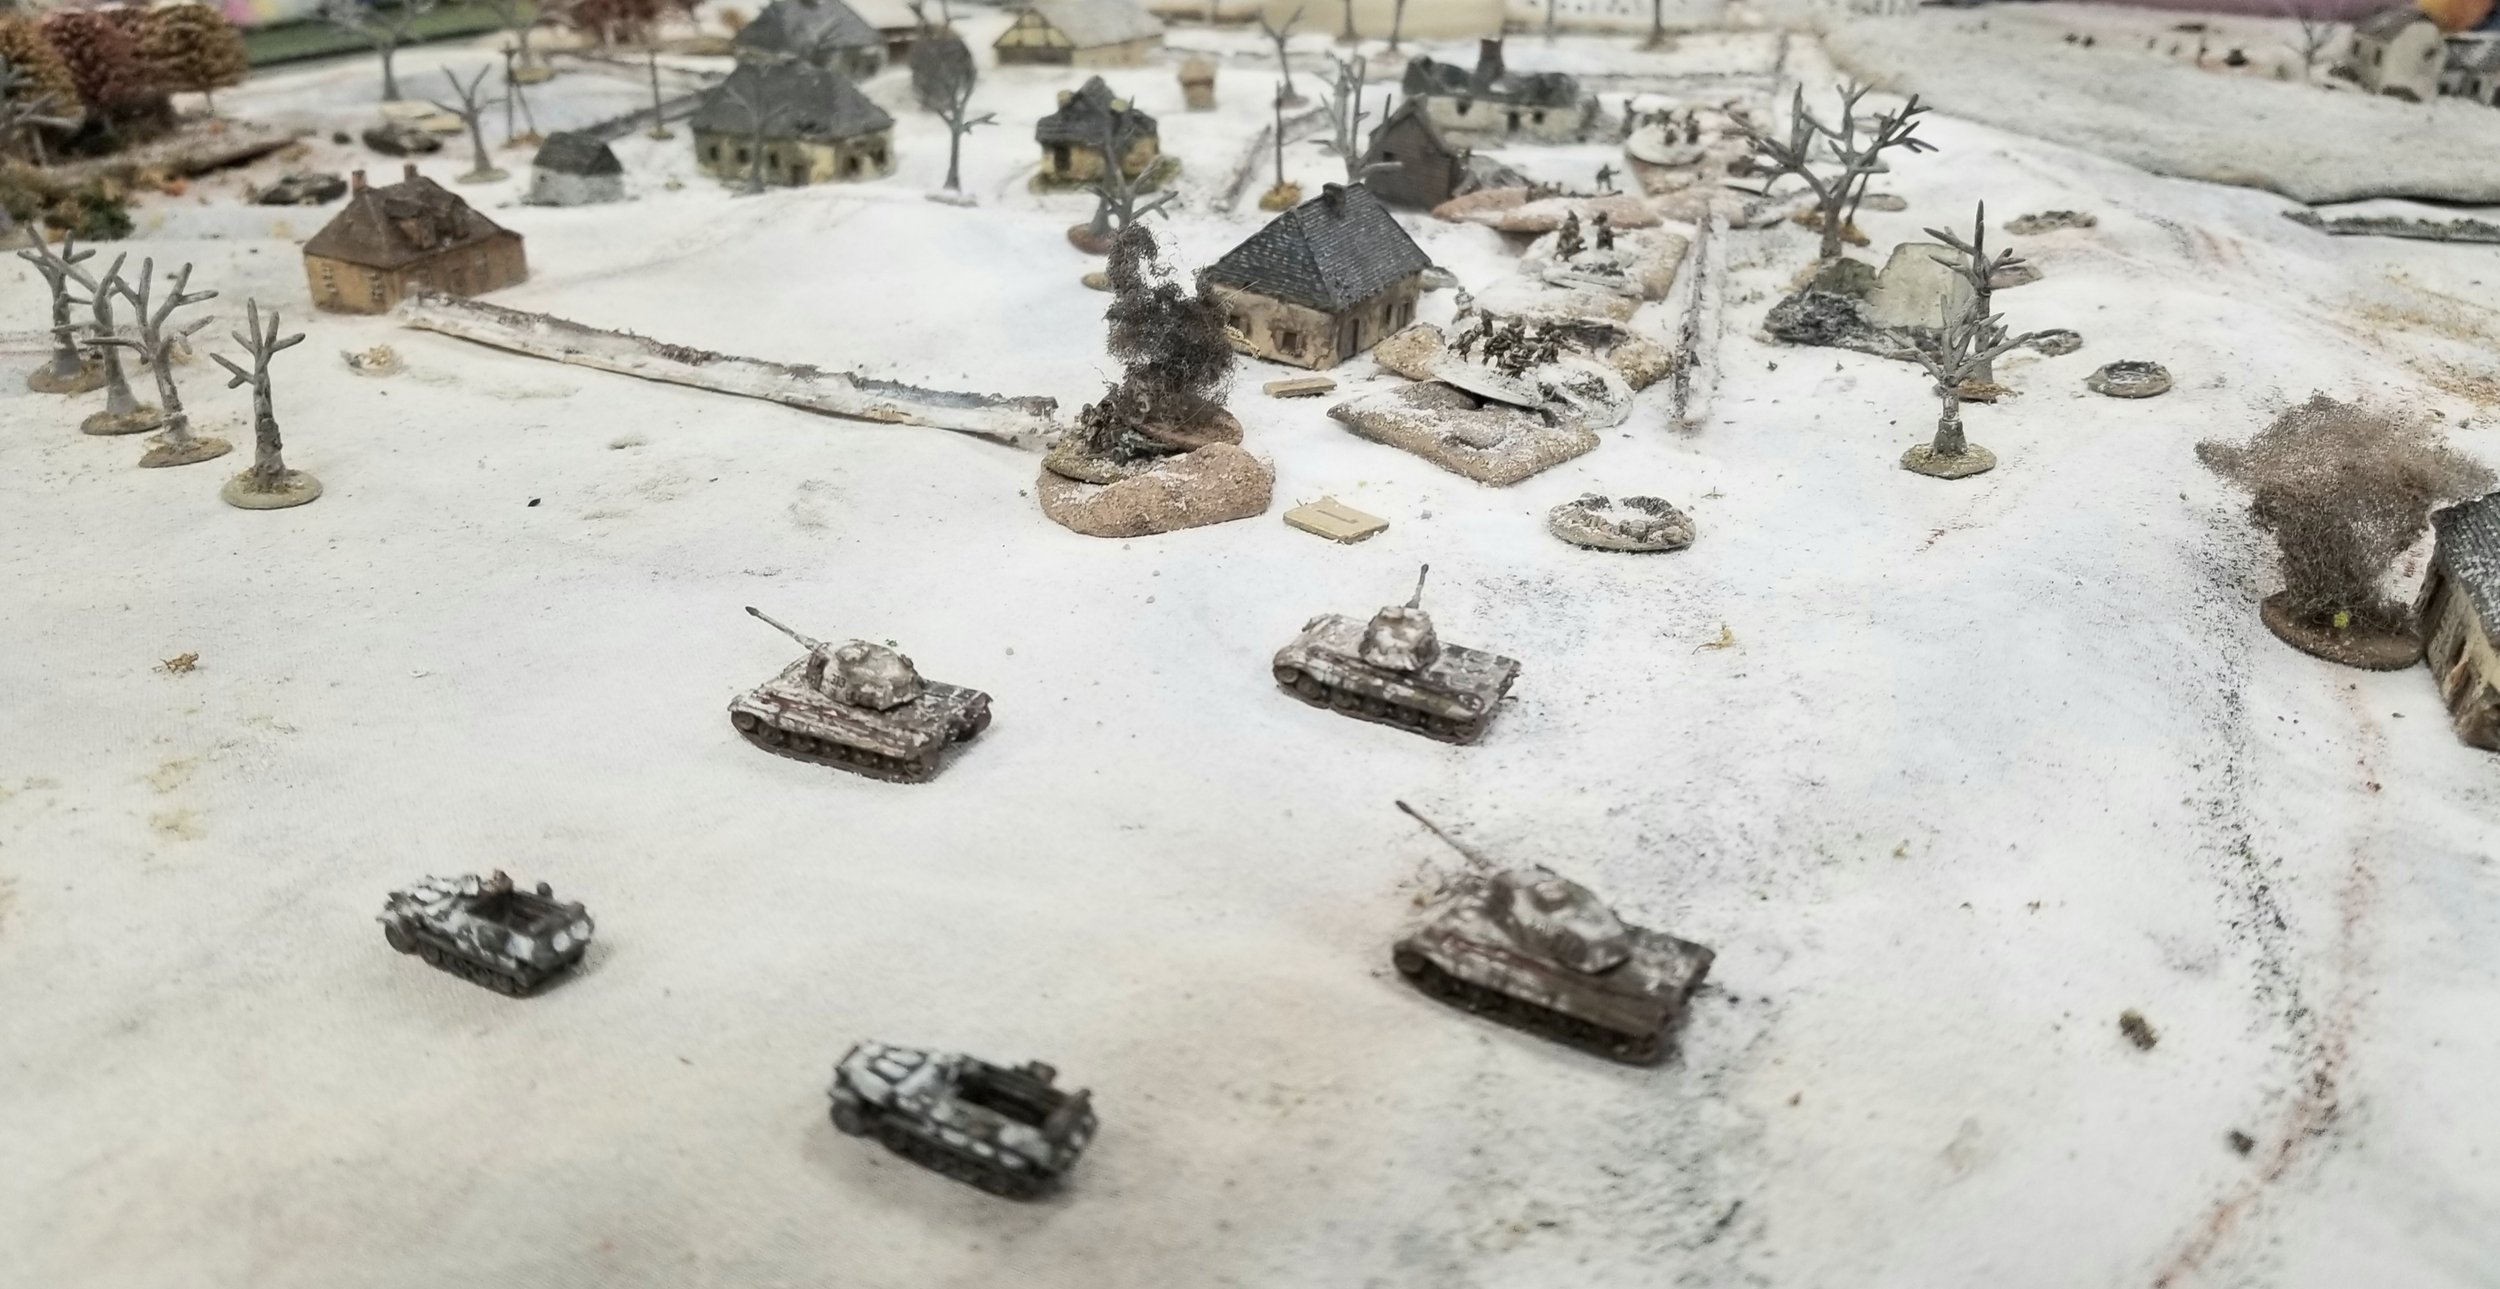
John had his main Pak front here in front of the village on the hill.
3 more 76mm ATGs and 4 more sections.
His back line was the 2 remaining MMGs and and ATR.
Rob's road bound movement was atrociously slow.
Rob sent the Sdkfz/17 over to help and it also did nothing as the grenadiers were worn down to combat ineffectiveness.
The ATGs on the hill also started to fire at the flanks of the Stugs.
Rob prepares to attack the Russian forlorn hope as the tanks try to outflank the Pak front
John's mobile reserves were a group of 10 T34/85s. At this stage of the campaign that is probably a battalion's worth. They would deploy on the 5th draw of the 'Time" card, which came not a moment too late for the Russians. The first T34 was hit almost immediately.
It wasn't much of a contest, but the Tigers were not taking out the Paks quick enough.
As much as Rob wanted to hustle across the table he was continuedly thwarted by his movement dice. Now he had some tanks to confront and his +2 ace (in the rear of the trio) was having trouble maneuvering to get shots.
The grenadiers came in from the right of the defenses and were starting to roll up the dug in Russians.
But John managed to keep his casualties down with some decent dice rolling--especially compared to Rob.
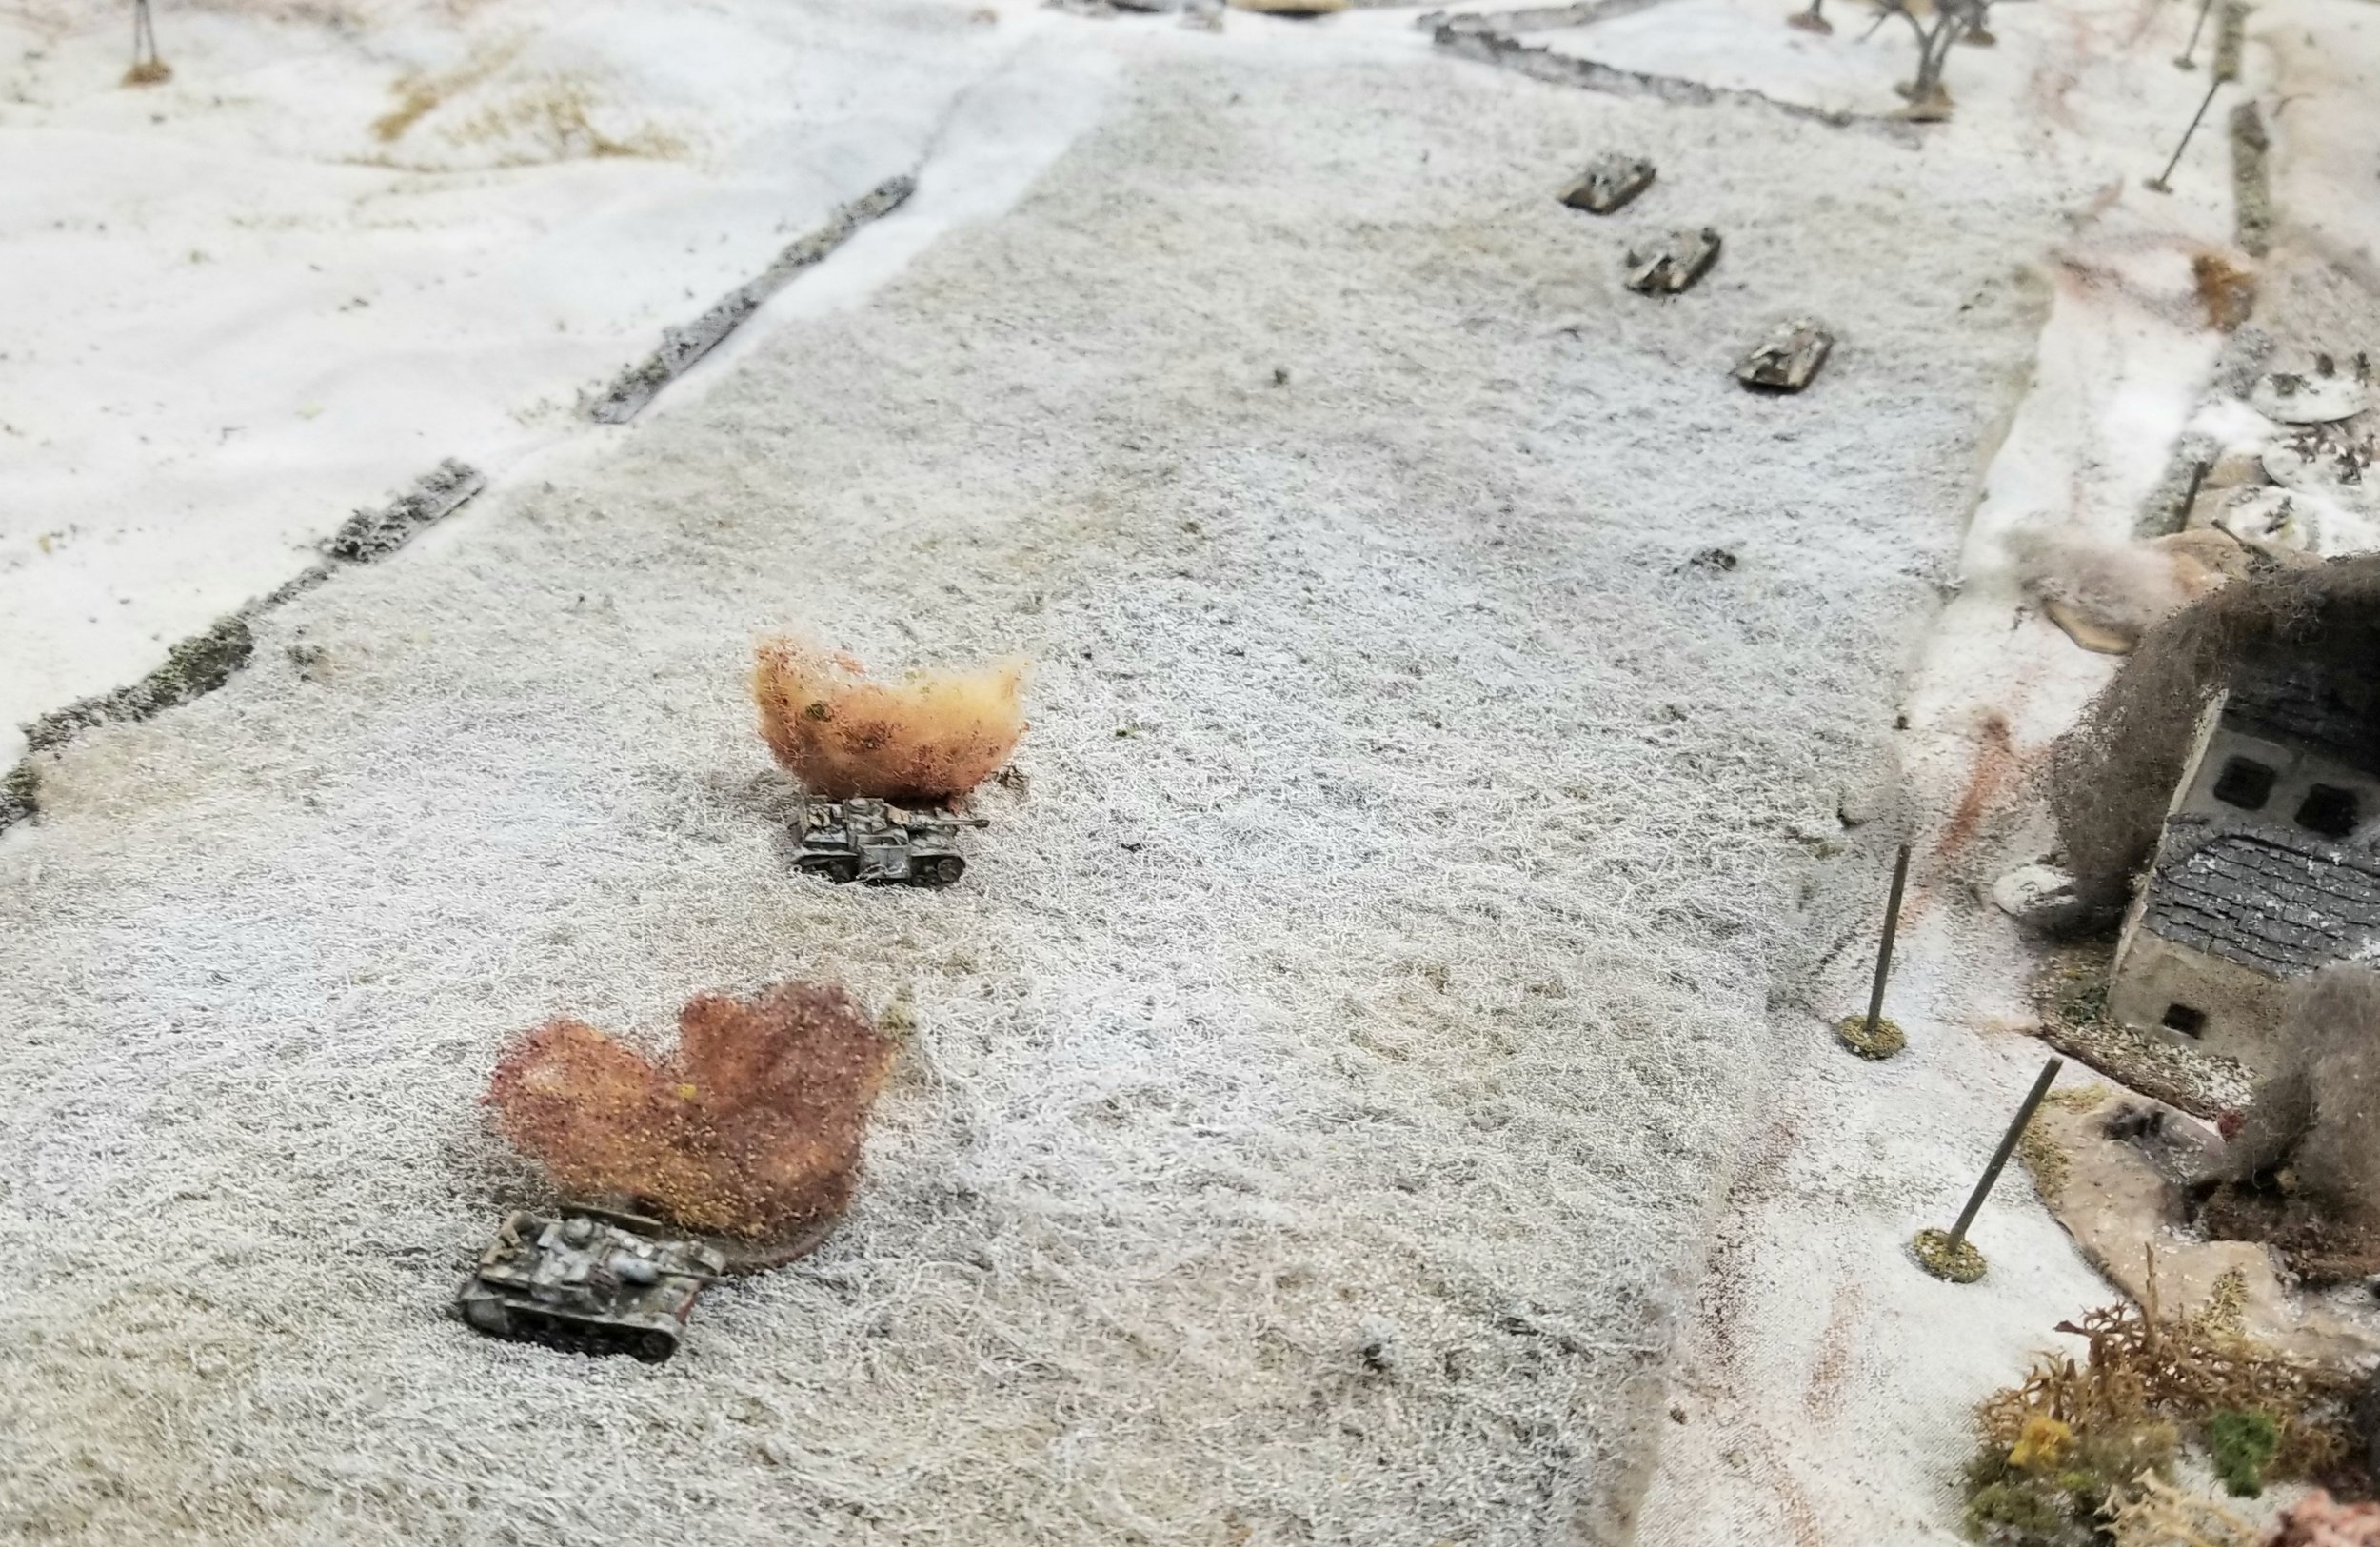
John sent 1 group of 3 T34s to go after the StuG IVs which the easily took out with flank shots.
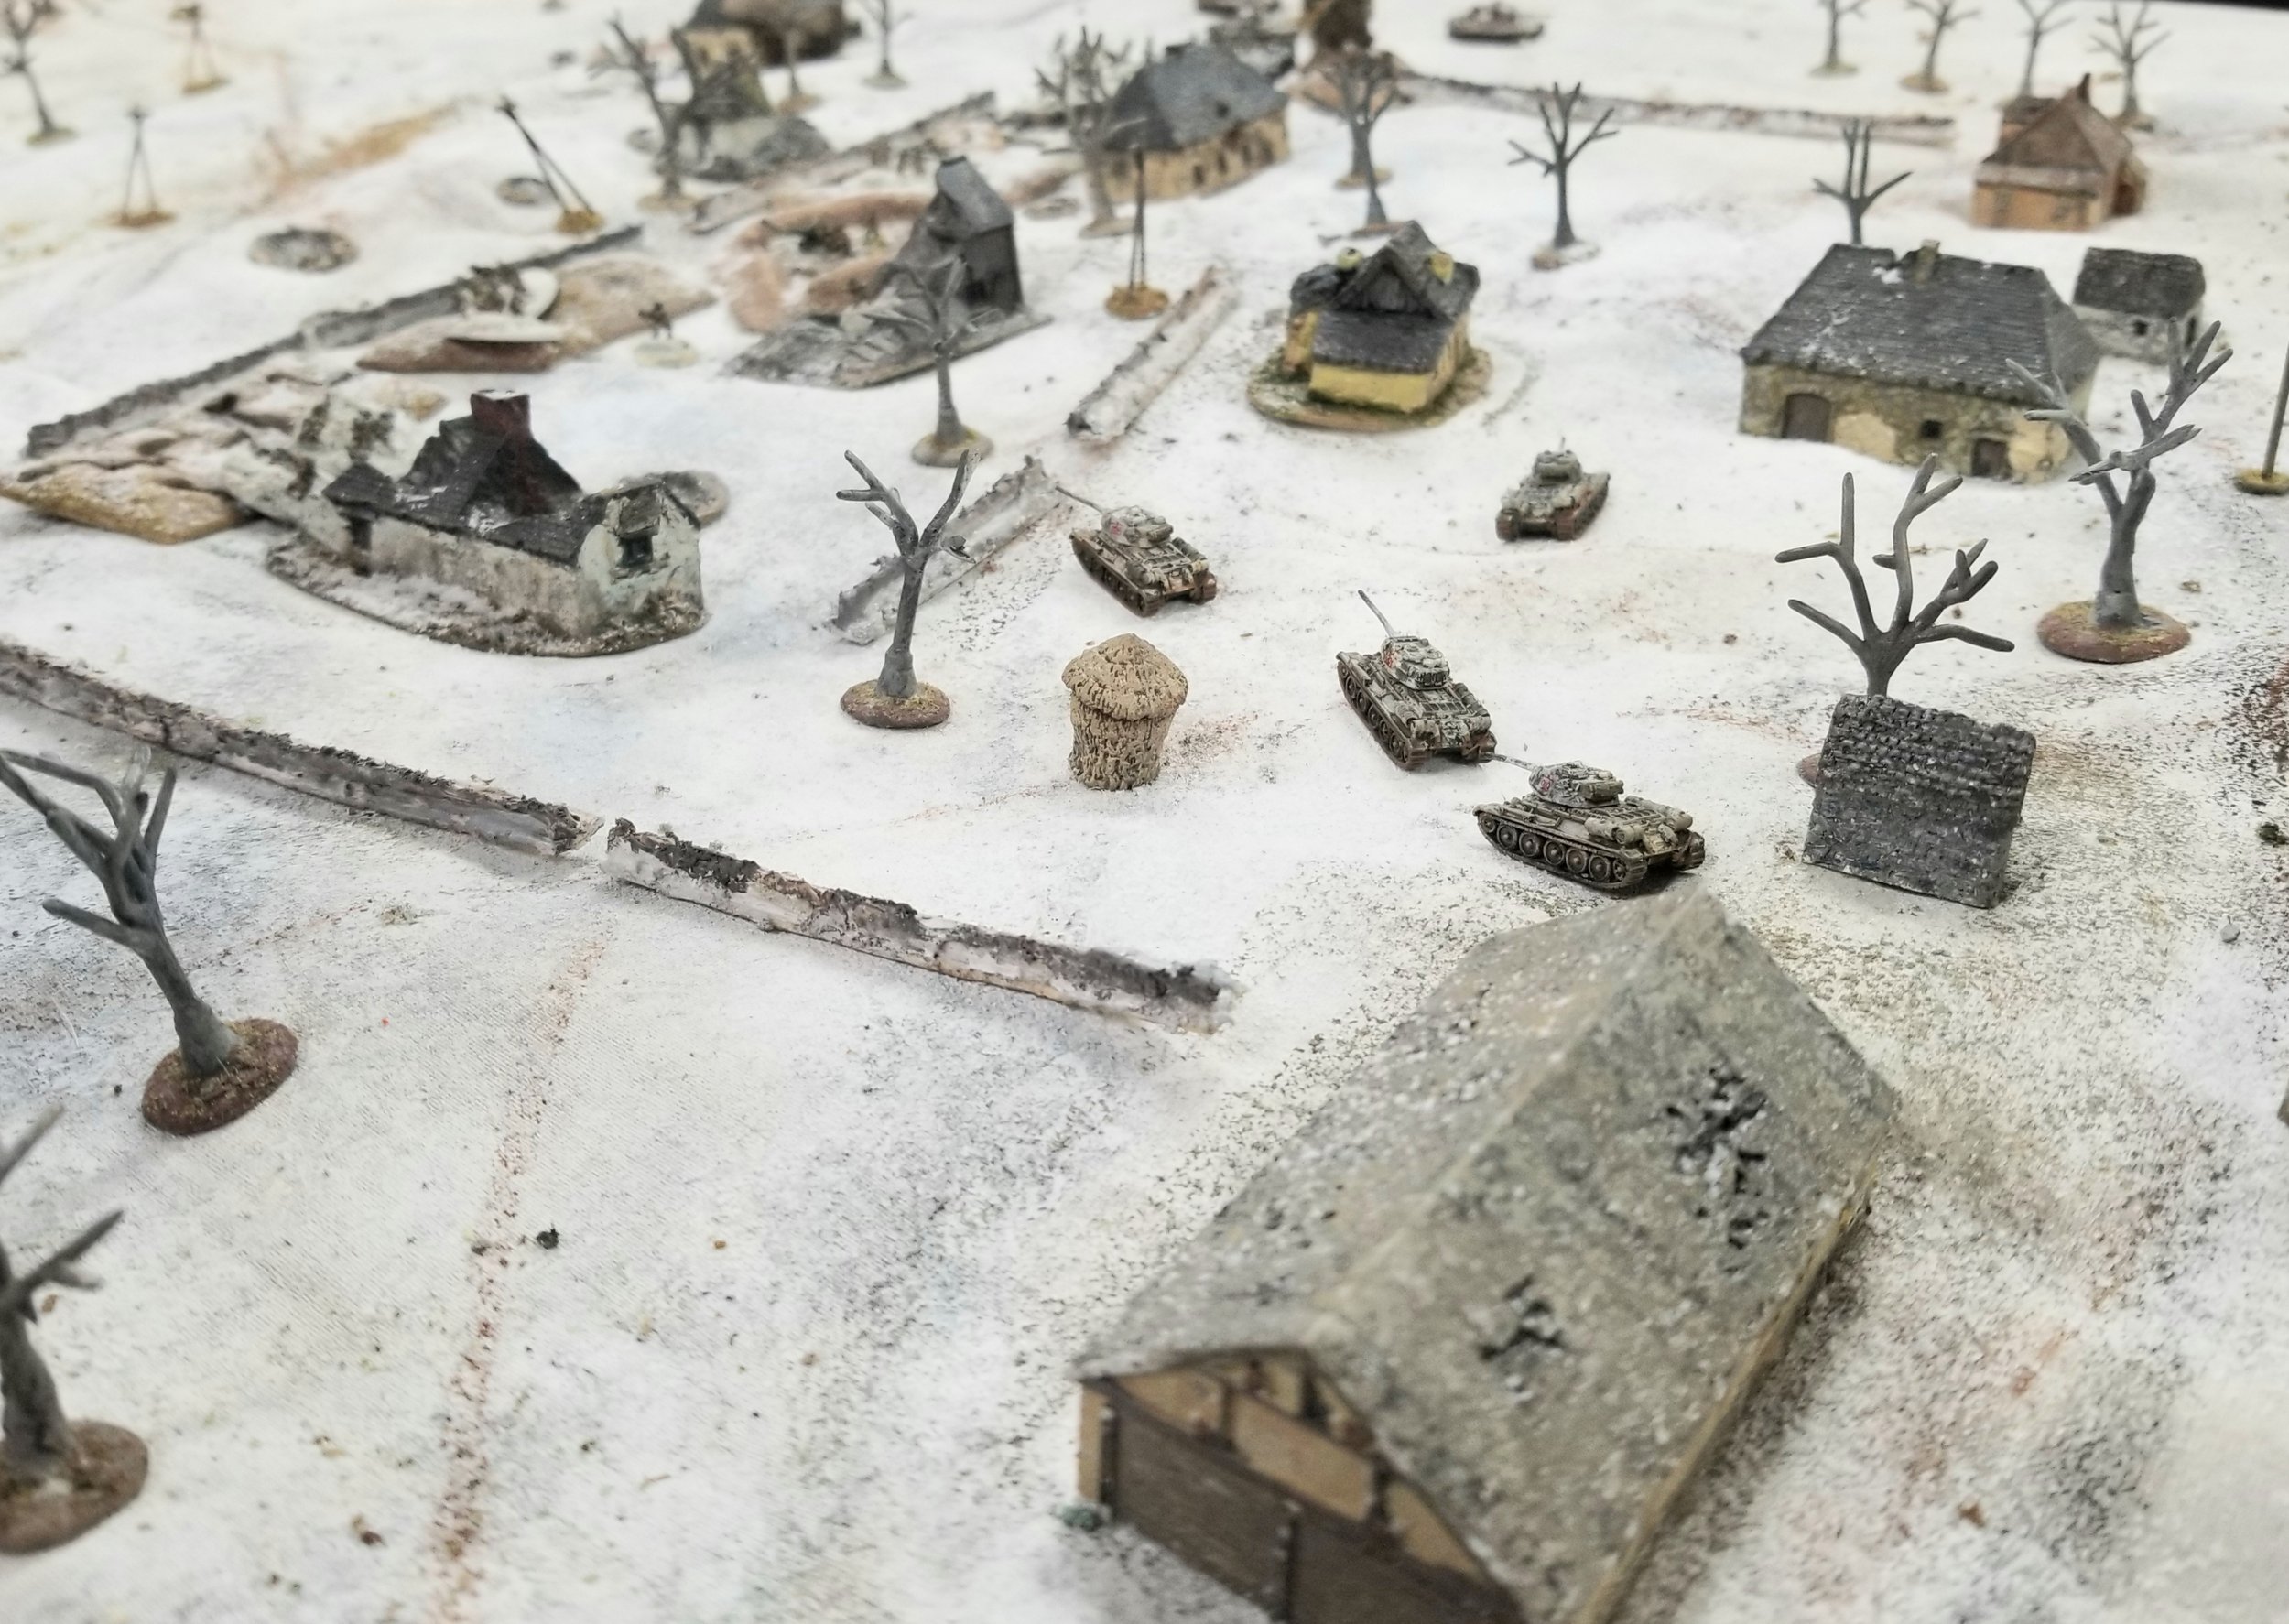
With only the Tiger IIs to worry about, and the right group of Germans destroyed, John was able to start to maneuver and confront the big panzers from front and flank.
They both too.k catastrophic hits
John was able to use the cover of the buildings to avoid the Tigers most of the time but when Rob's tanks fired they generally took out a T34.
The very first immobilized T-34 took additional damage and exploded.
And as usual Rob's movement dice were not enough to save this HT.
At this point we called it. I suspect that the majority of T34s would be taken out and Rob could roll up the trenches, but he definitely failed to exit the table.
The final toll was 2 76mm ATGs wiped out, 1 ATR gone, only 11 Russian infantry KIA and 3 T34s destroyed or abandoned.
But the Germans had 19 casualties among the tank riding plus their platoon CO, all 4 StuG IVs destroyed, the Sdkfz 251/17 destroyed, 10 grenadiers from the HTs KIA along with 1 platoon CO.
All in all, it was a bloody game for the Germans.
Mark Luther

A little Battle of the Bulge action with my son.
Yes, Tiger II’s are slow and M10’s do hurt tigers…
(Terrain is a work in progress)
Rick Staple