We decided to play a scenario from Chris Stoesen’s Campaign for Greece supplement. The book is dedicated to IABSM (I Ain’t Been Shot Mum) rules set from TooFatLardies. We love Chris’ book. First of all, he has done an outstanding and detailed work. Secondly, the book is about the World War 2 in Greek mainland -we are Greeks by the way- and the battles that took place there are more or less forgotten.
The scenario is the 14th out of the 16 scenarios that the supplement includes and its title is “End of the 4th Hussars” based on the actions of A Company of the 4th Hussars. These men were the advance guard protecting the retreating Dominion forces and were overrun in short order. The 5th Panzer Division was able to penetrate into the city of Kalamata.
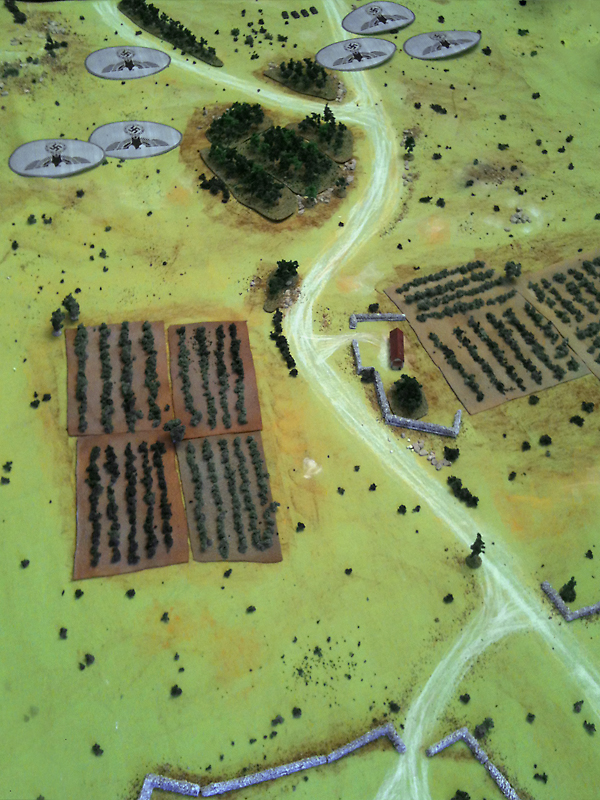
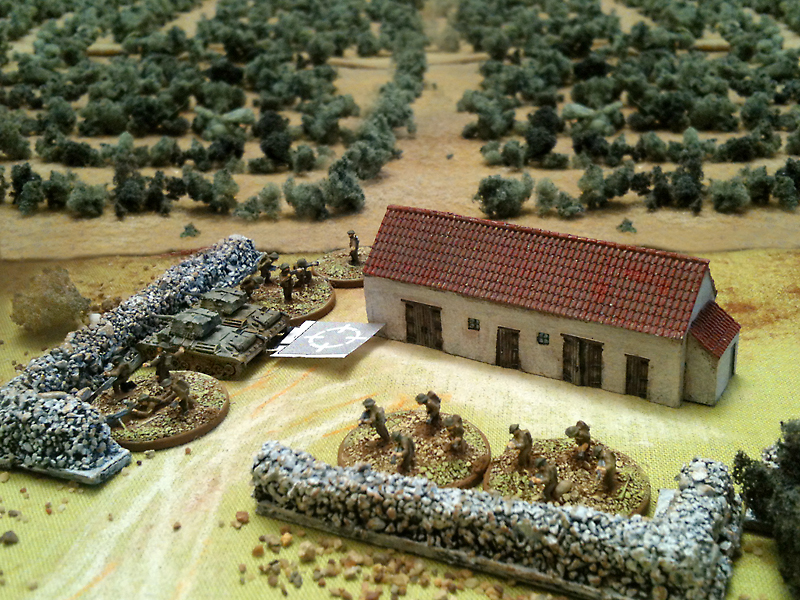
Bill was the commander of the plucky Brits, John was commanding the Germans, and I kept for myself the umpire’s role. The Germans had to clear the area and exit from the southern edge of the table in 10 turns. The Brits had to fight for their lives and delay the advance of the 5th Pz Div. as much as possible. So, here we are at the outskirts of Kalamata (southern Peloponnesos) in Greece in spring of 1941…